
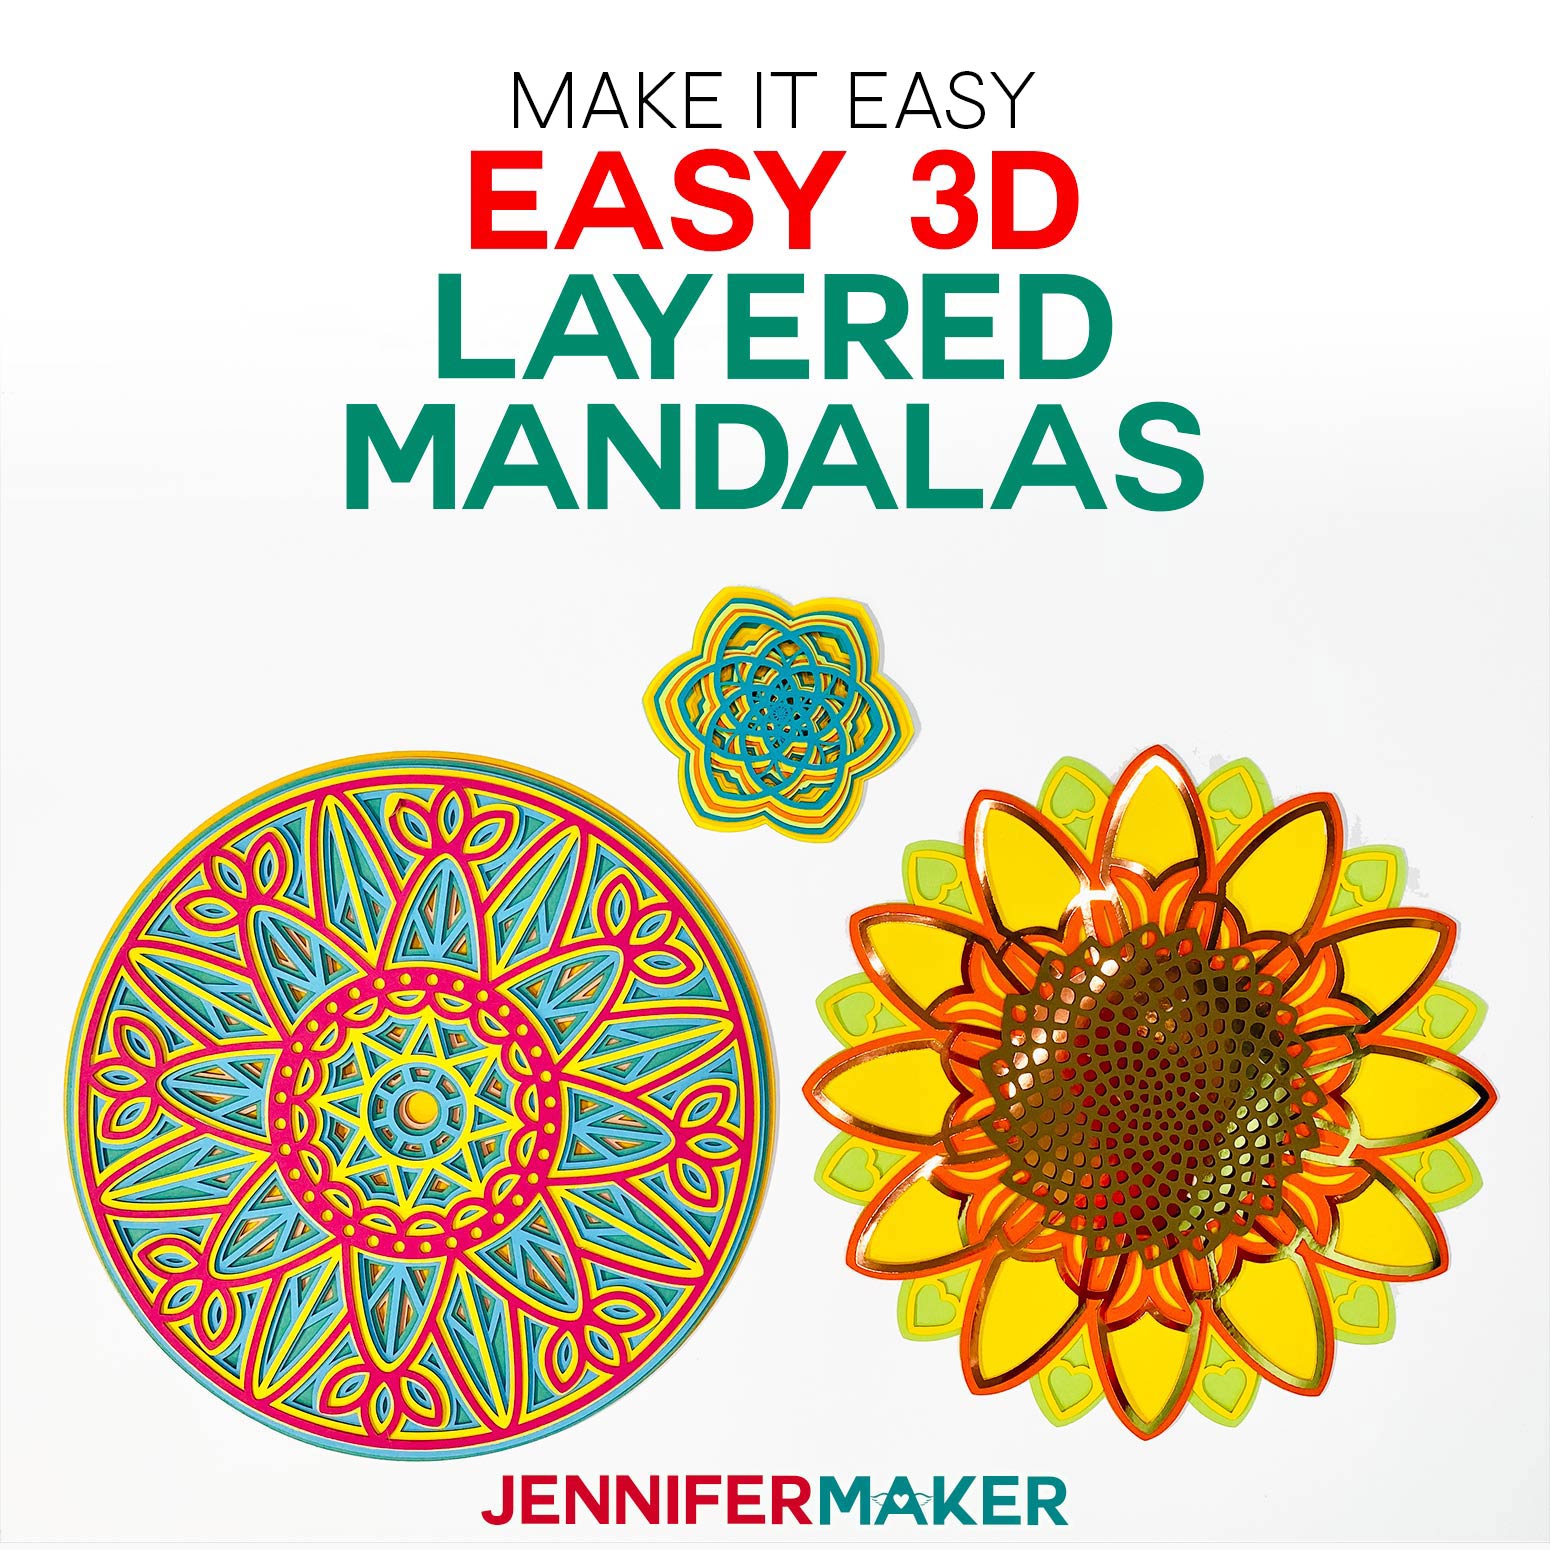
Learn how easy it is to make layered 3D mandalas that look amazing! These mesmerizing multilayered designs look stunning but are surprisingly easy to make!
If you’re anything like me, you’ve been seeing these amazing 3D layered mandalas all over the place recently. I have several on my blog, including my heart mandala, and my super cute Easter mandalas! For a fun twist, I have these really cute XO letters too! And the great thing is that these paper mandalas are surprisingly easy to put together! What makes them so easy is that your Cricut cutting machine does most of the hard work for you in cutting out the little details — all you have to do is stack them up and attach them together. 3D paper mandalas are really much easier than they look — which is half the fun! These 3D layered mandalas are part of our MAKE IT EASY Craftalong Challenge, filled with fun and EASY daily themed projects for your Cricut!

Watch the full step-by-step tutorial on how to cut and assemble 3D layered mandalas on YouTube:
You can make the 3D layered mandalas big and detailed, or small and simple. I’ve made them as big as 11.5″ wide and as small as 4.5″ wide. You decide!
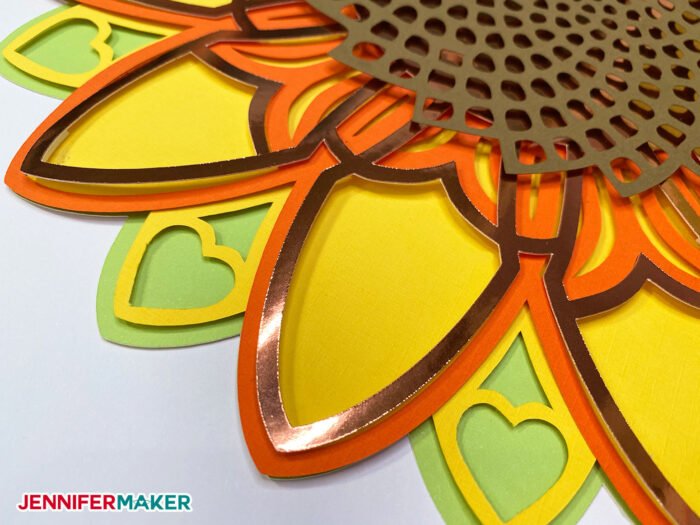
All you need is basic cardstock and a way to keep them together, like glue or spray adhesive. If you want to get the 3D look, you use spacers in between the layers — you can use foam mounting tape, pre-cut adhesive foam circles or squares, or just bits of cut cardboard, craft foam, or layered cardstock.
The secret to getting a beautiful look is to apply the spacers to the underside of each layer — that way you won’t see the spacers peeking through once it’s all put together.
We’ve designed three different FREE 3D layered mandala patterns for you to try, and they’re all very easy!
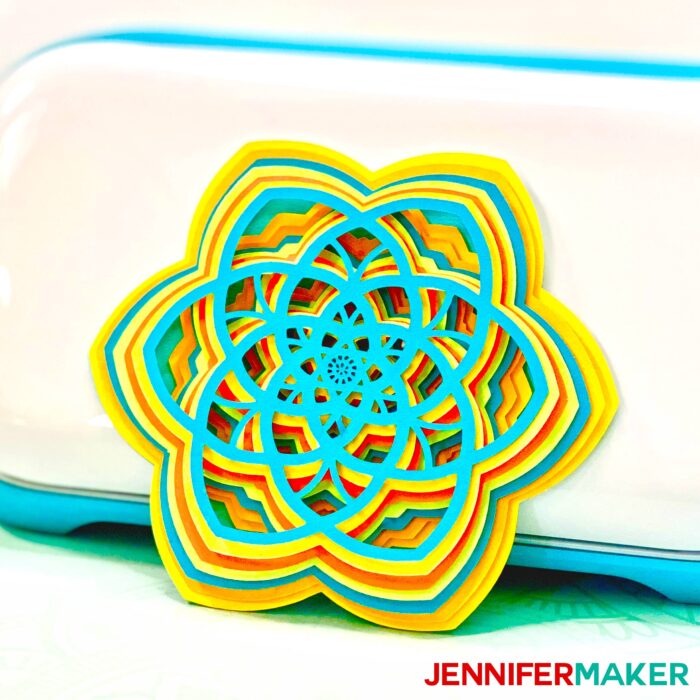
Here’s the flower mandala — this one is 8 layers! The flower mandala design is from the “Layered Wooden Sculptures” project in Instructables designed by watchmeflyy, which is copyrighted under a Creative Commons 4.0 license. Note that we modified the design to work with layered paper. Our new design is shareable under a Creative Commons 4.0 license as well and can be downloaded freely here. Learn how to make this mandala in the video above.
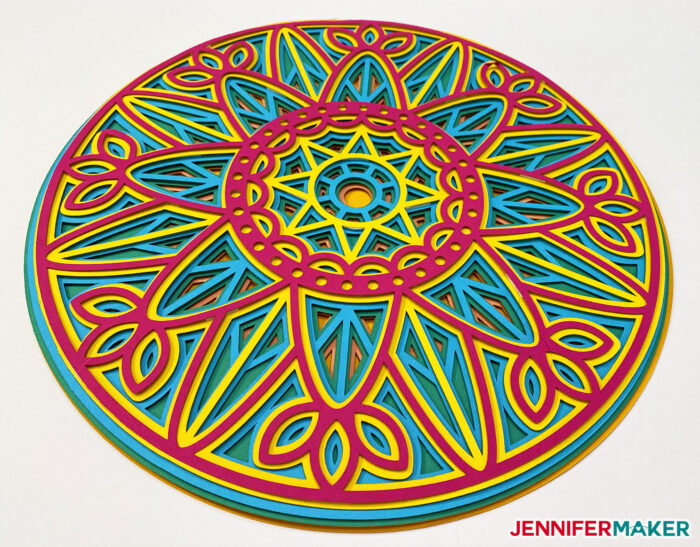
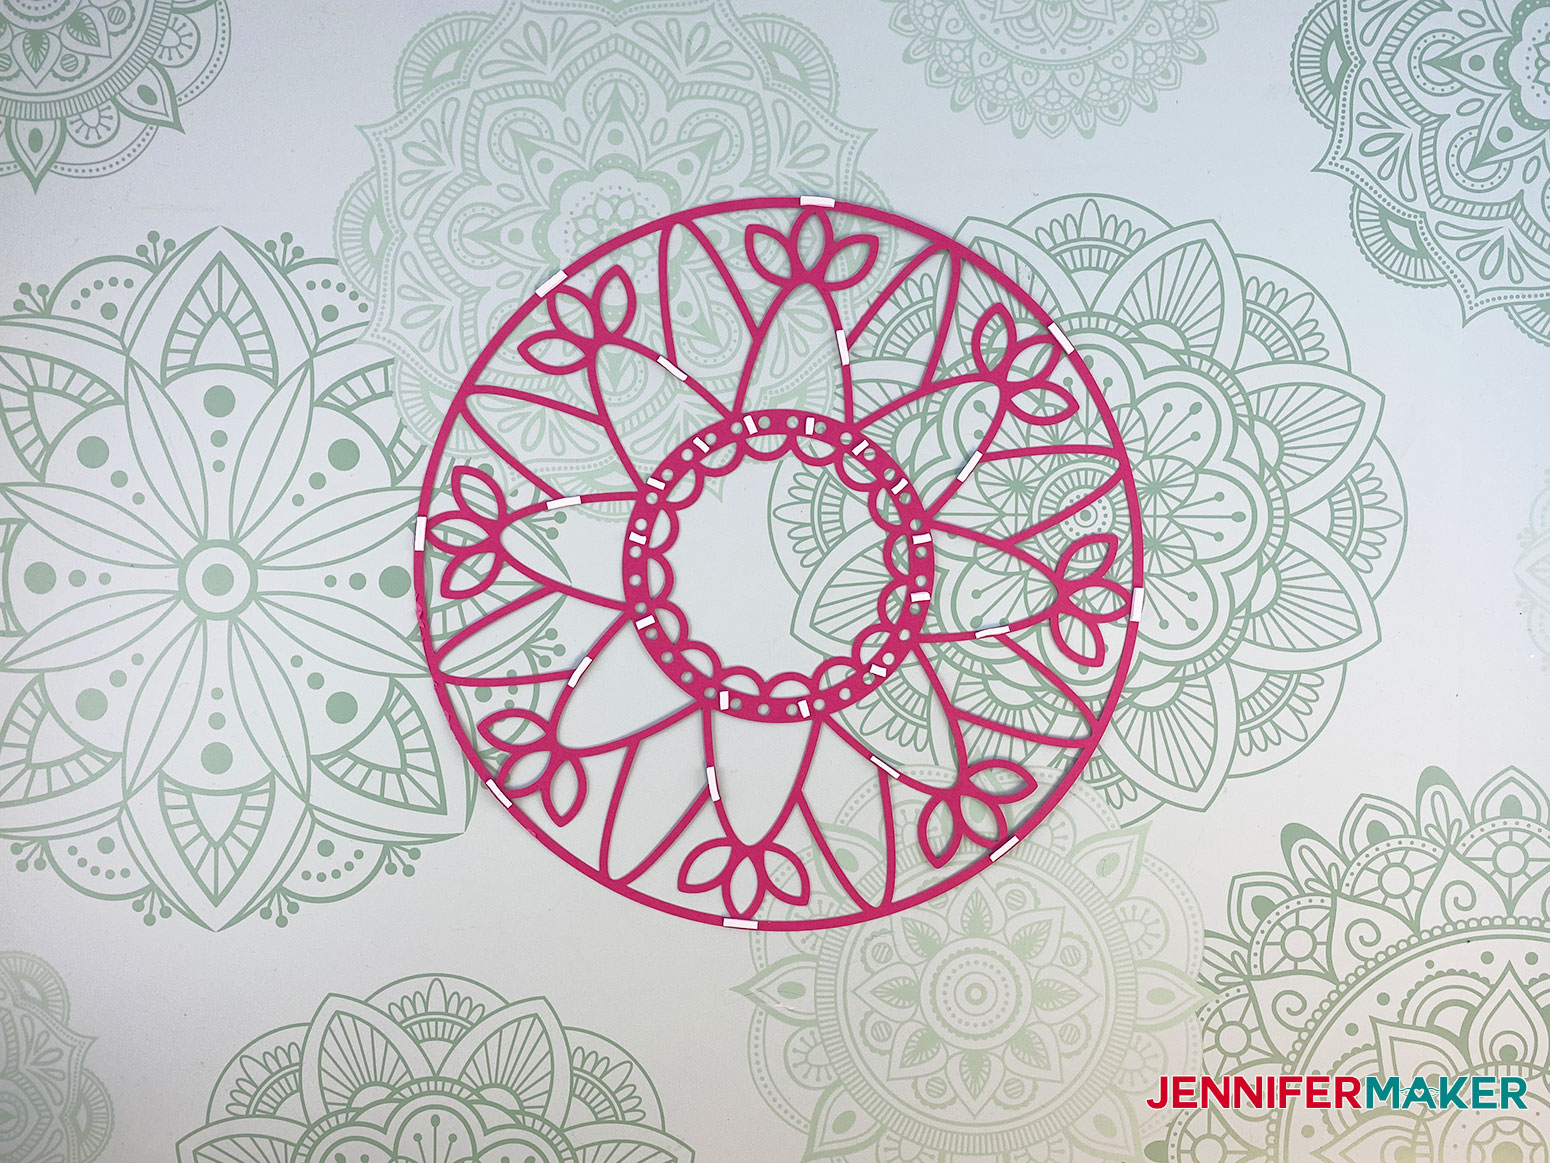
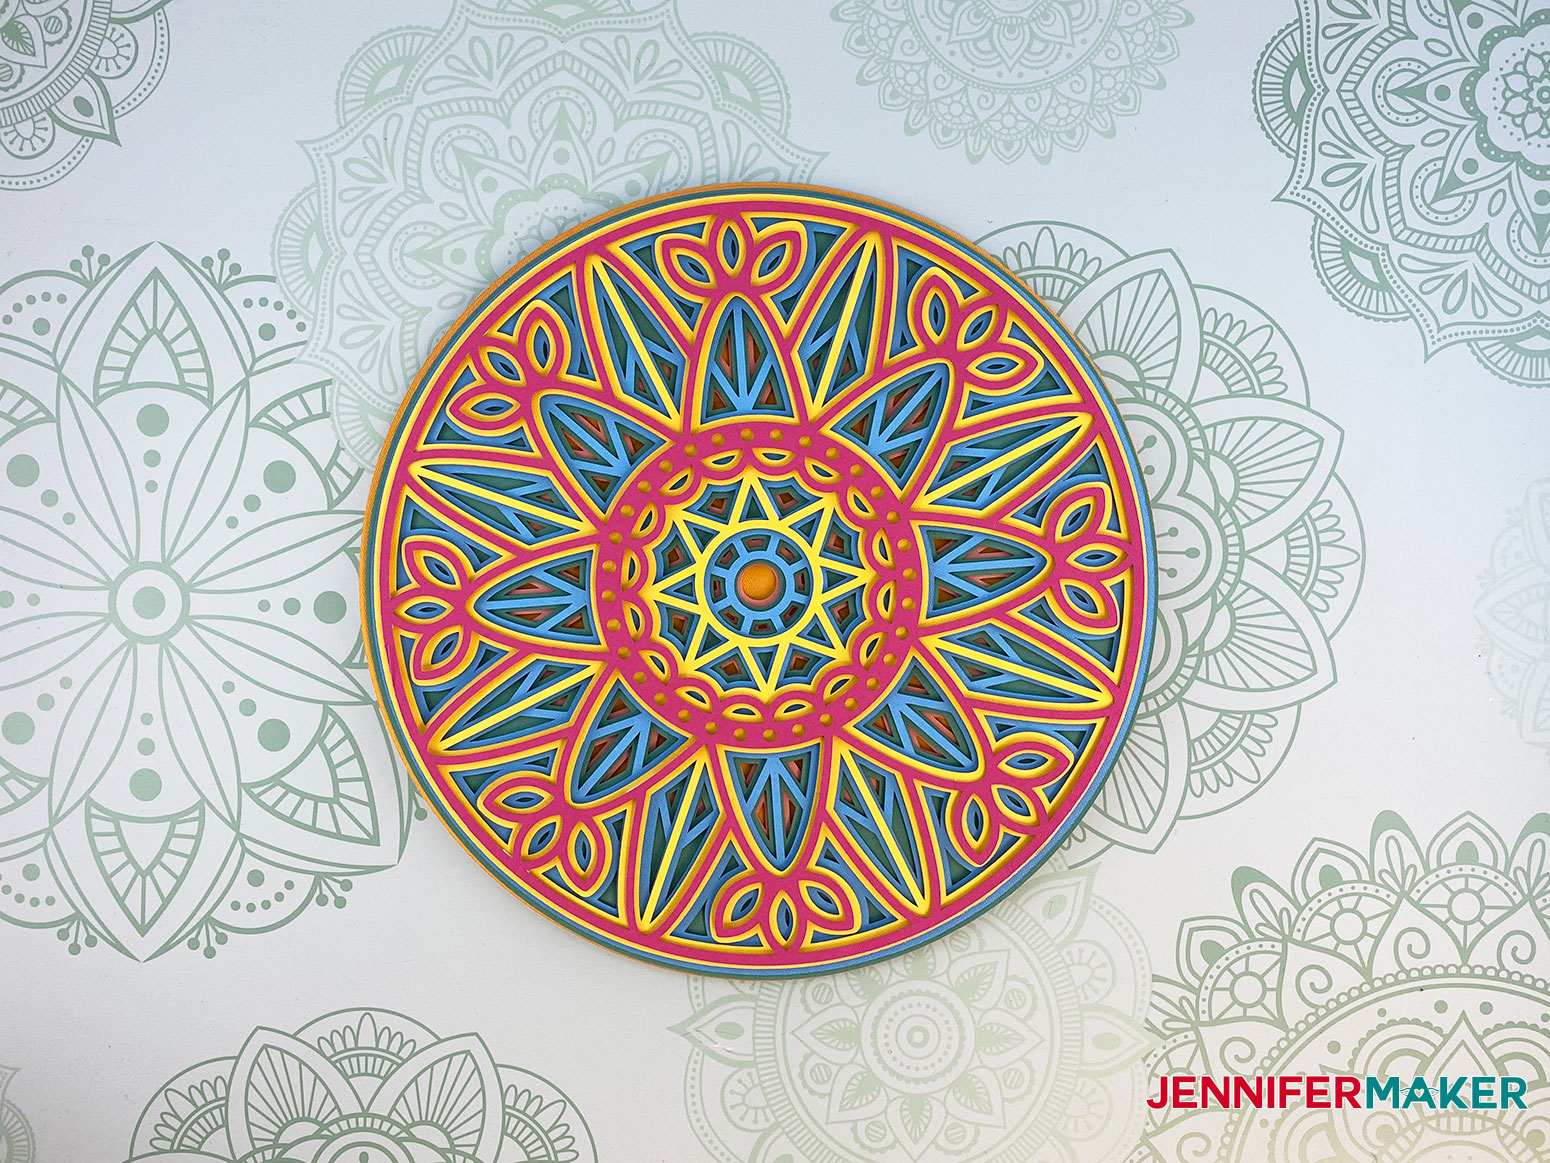
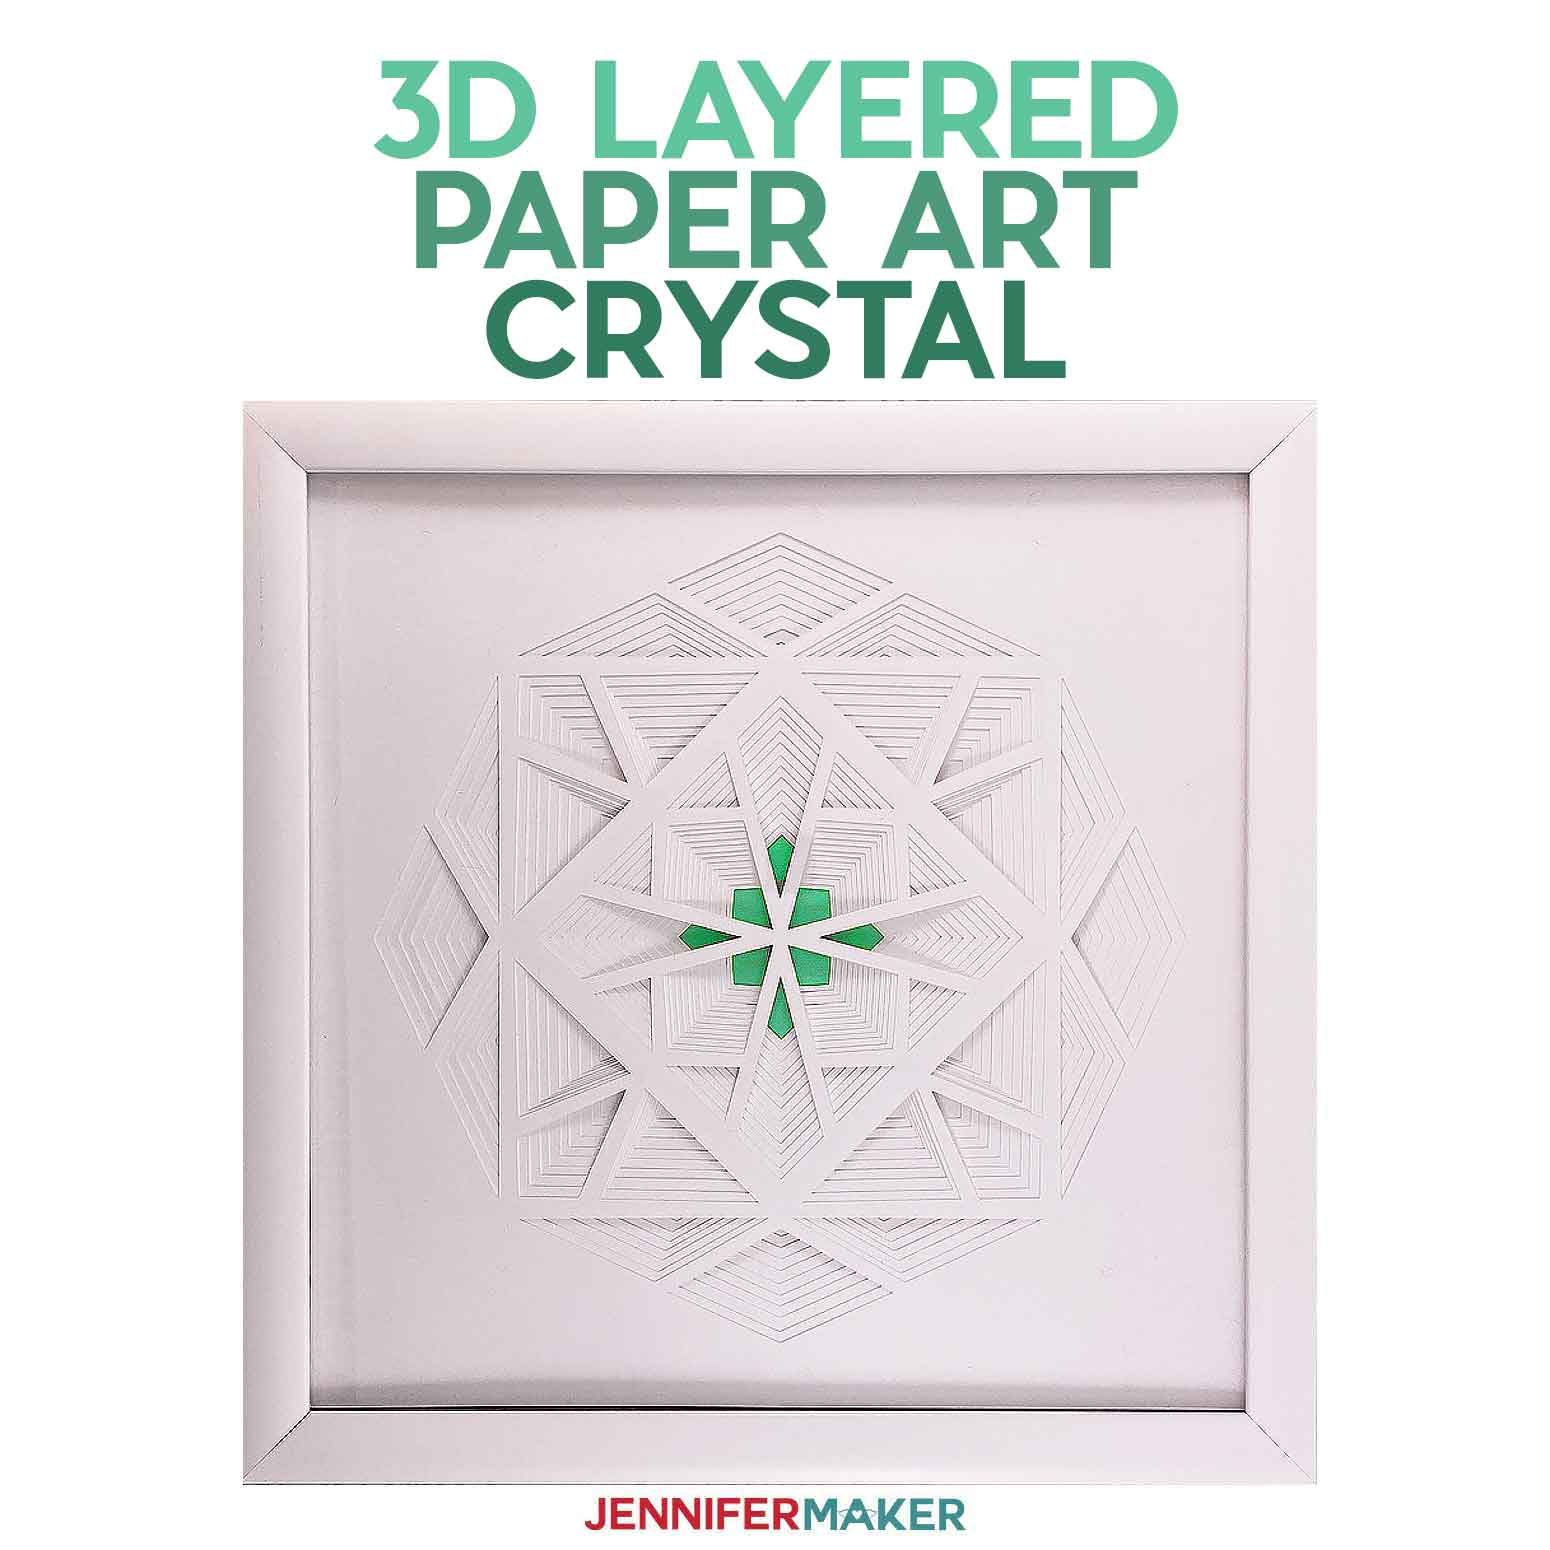
Here’s the wheel mandala — this one is just five layers. SO easy! Learn how to make this one in the photo tutorial later in this post.
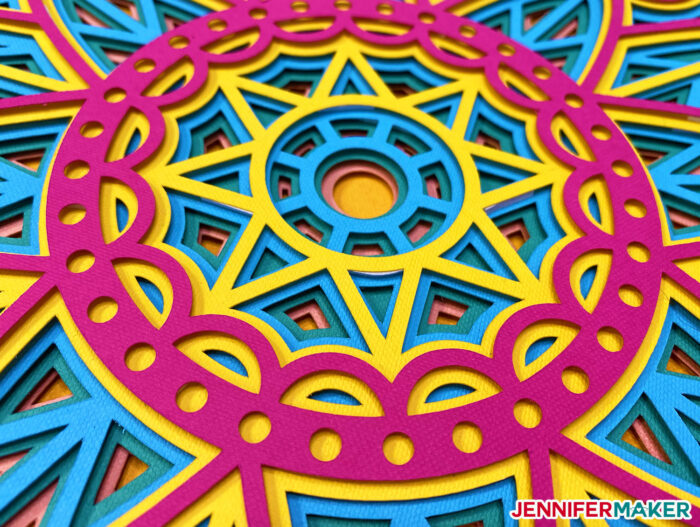
Here’s a detail of the wheel mandala:
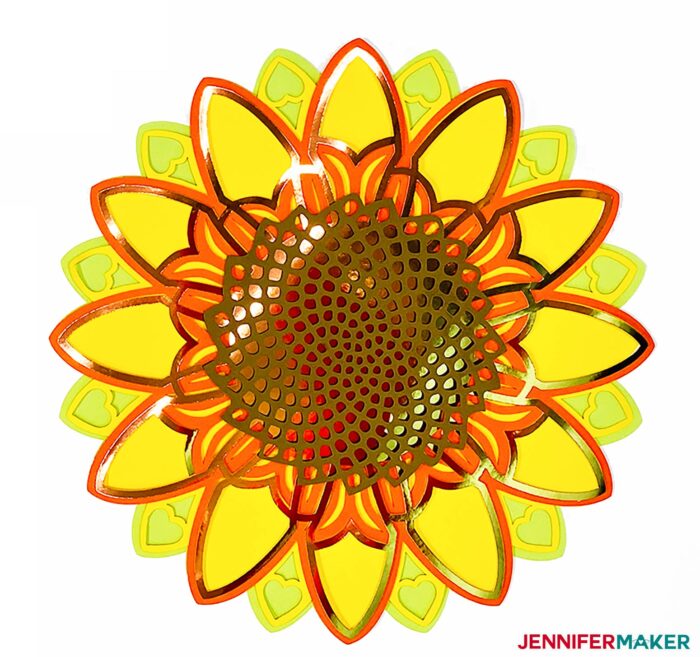
And here’s the sunflower mandala, which is just six layers. All are free in my resource library!
Let me show you how easy it is make 3D layered mandalas! This post contains some affiliate links for your convenience (which means if you make a purchase after clicking a link I will earn a small commission but it won’t cost you a penny more)! Read my full disclosure policy.
Materials to Make a 3D Layered Mandala on a Cricut Joy, Maker, or Explore!
View my Amazon shopping list with the exact items we used to make this project!
- 65 – 80 lb. Cardstock, poster board, Kraft board, or chipboard (like a cereal box) — get creative!
- Foam spacers (like double-sided foam dots or pre-cut adhesive foam squares, or mounting tape)
- XL Scraper (or a plastic store loyalty card)
- A cutting mat for your Cricut (green or blue works, just make sure it’s sticky!)
- Scissors to cut your foam mounting tape
- A ruler (helpful for lining things up)
- A way to cut your layers (you can cut these on any Cricut cutting machine)
- My free SVG design files (available in my free resource library—get the password by filling out the form at the bottom of this page)
Design #192 – Layered Wheel Mandala
Design #191 – Layered Flower Mandala
Design #190 – Layered Sunflower Mandala
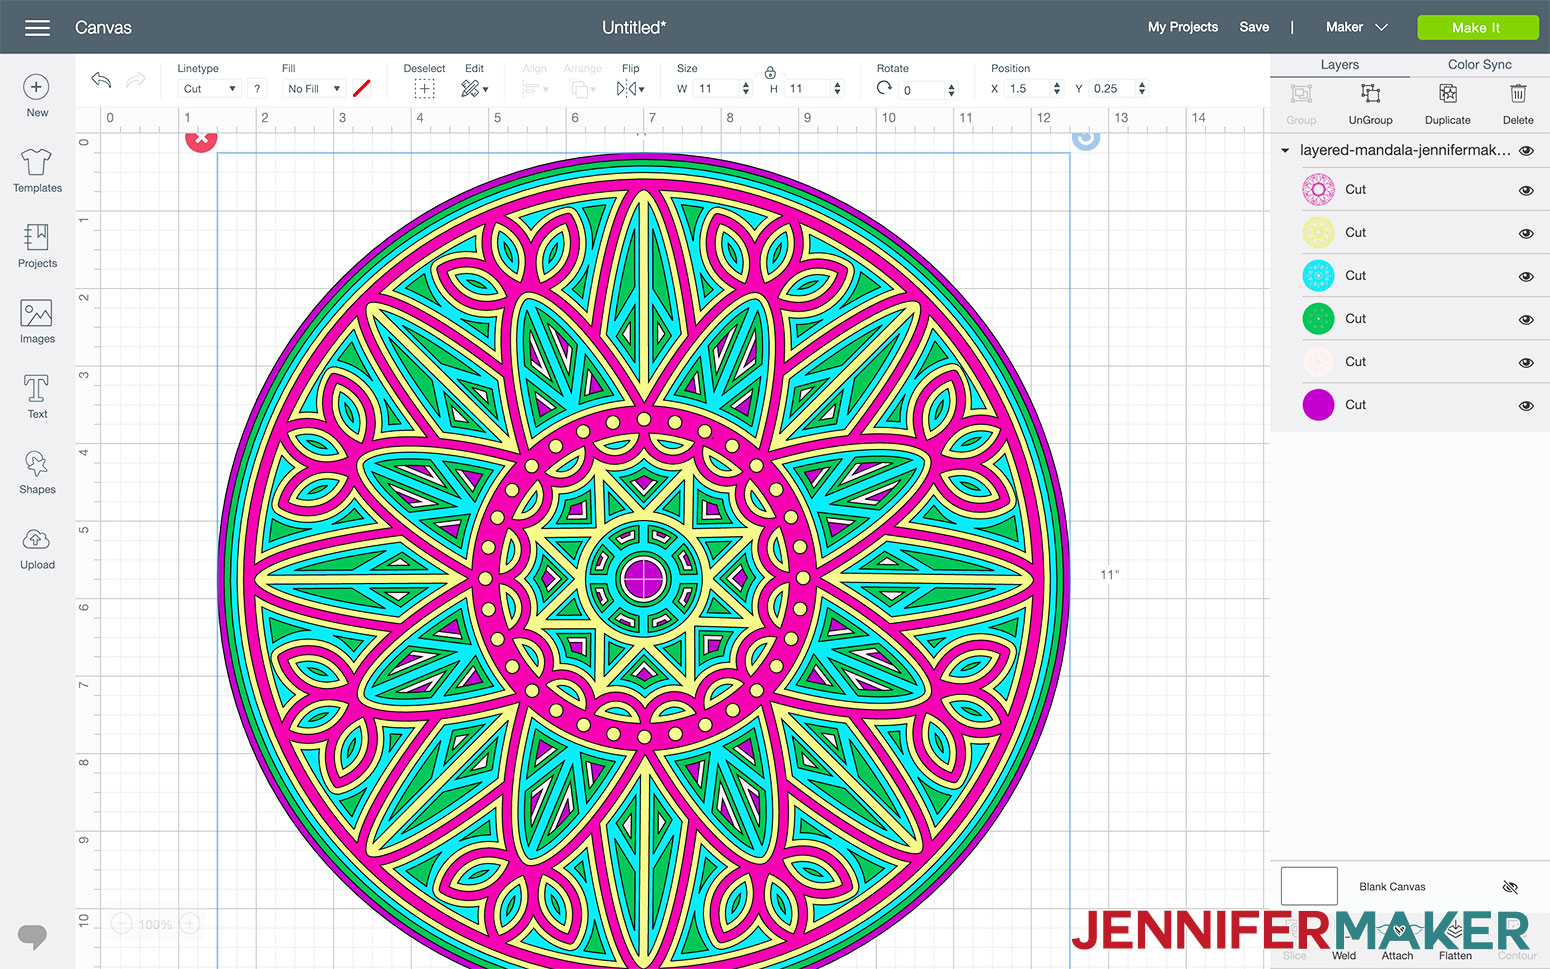
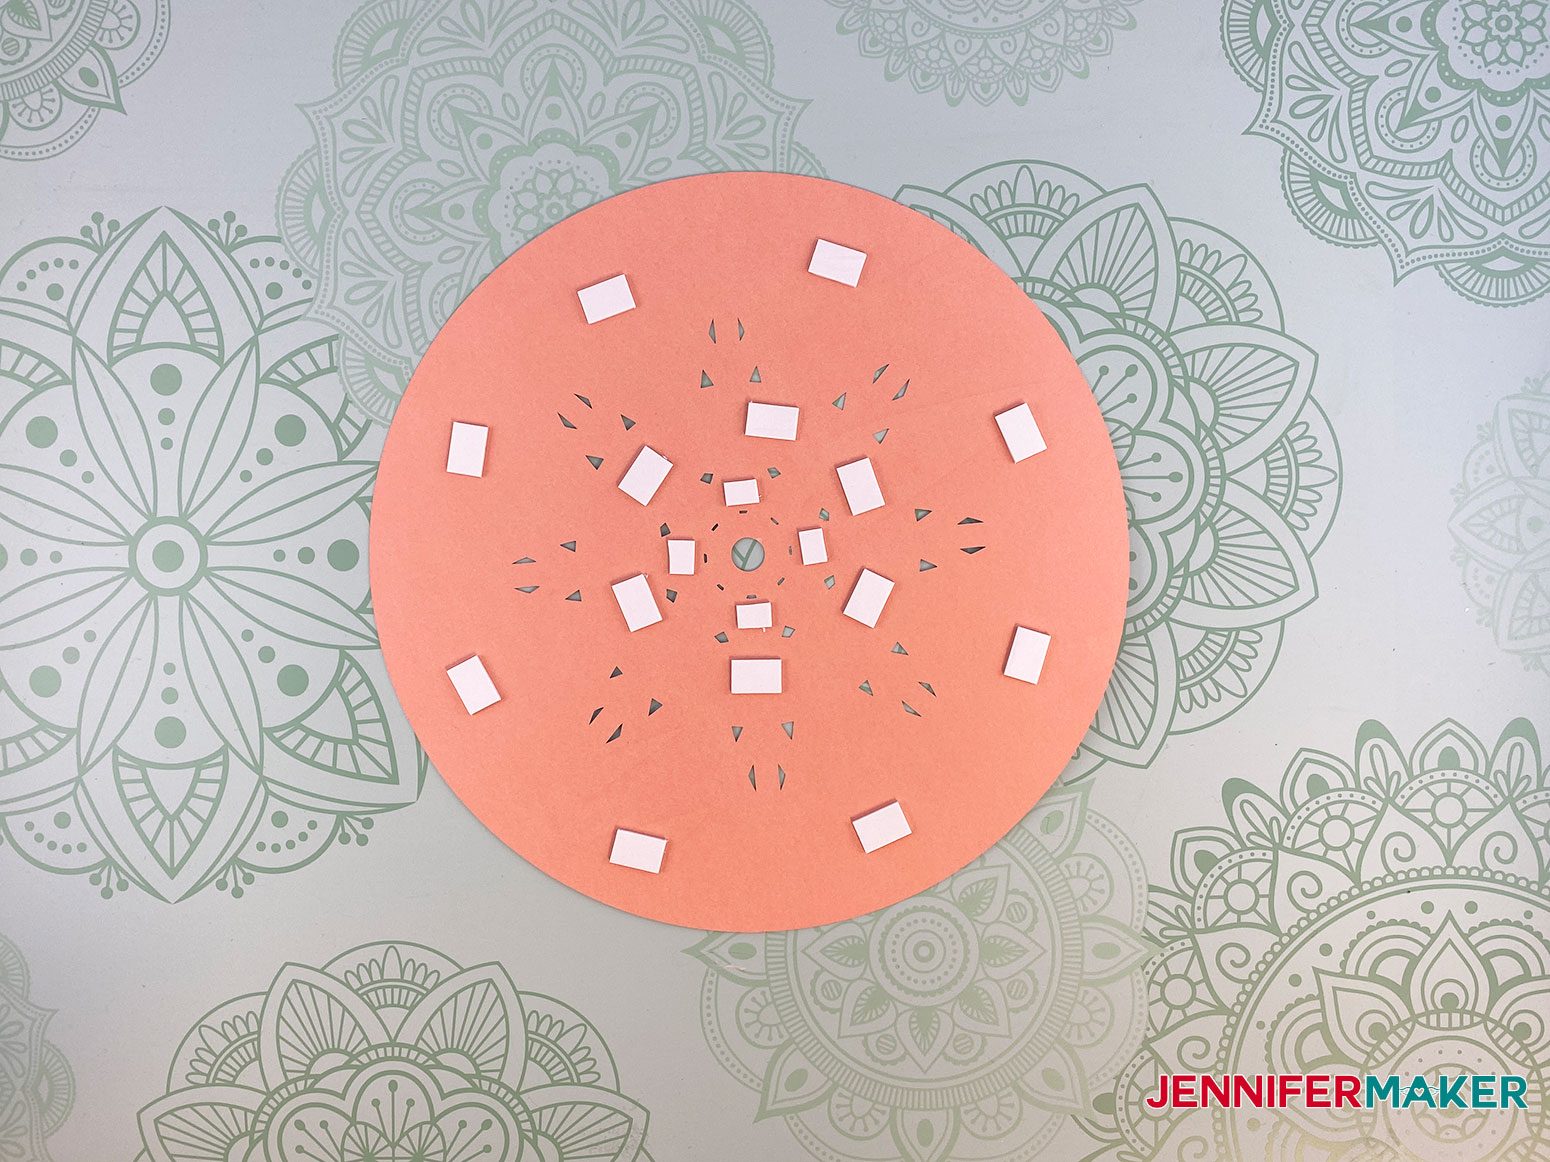
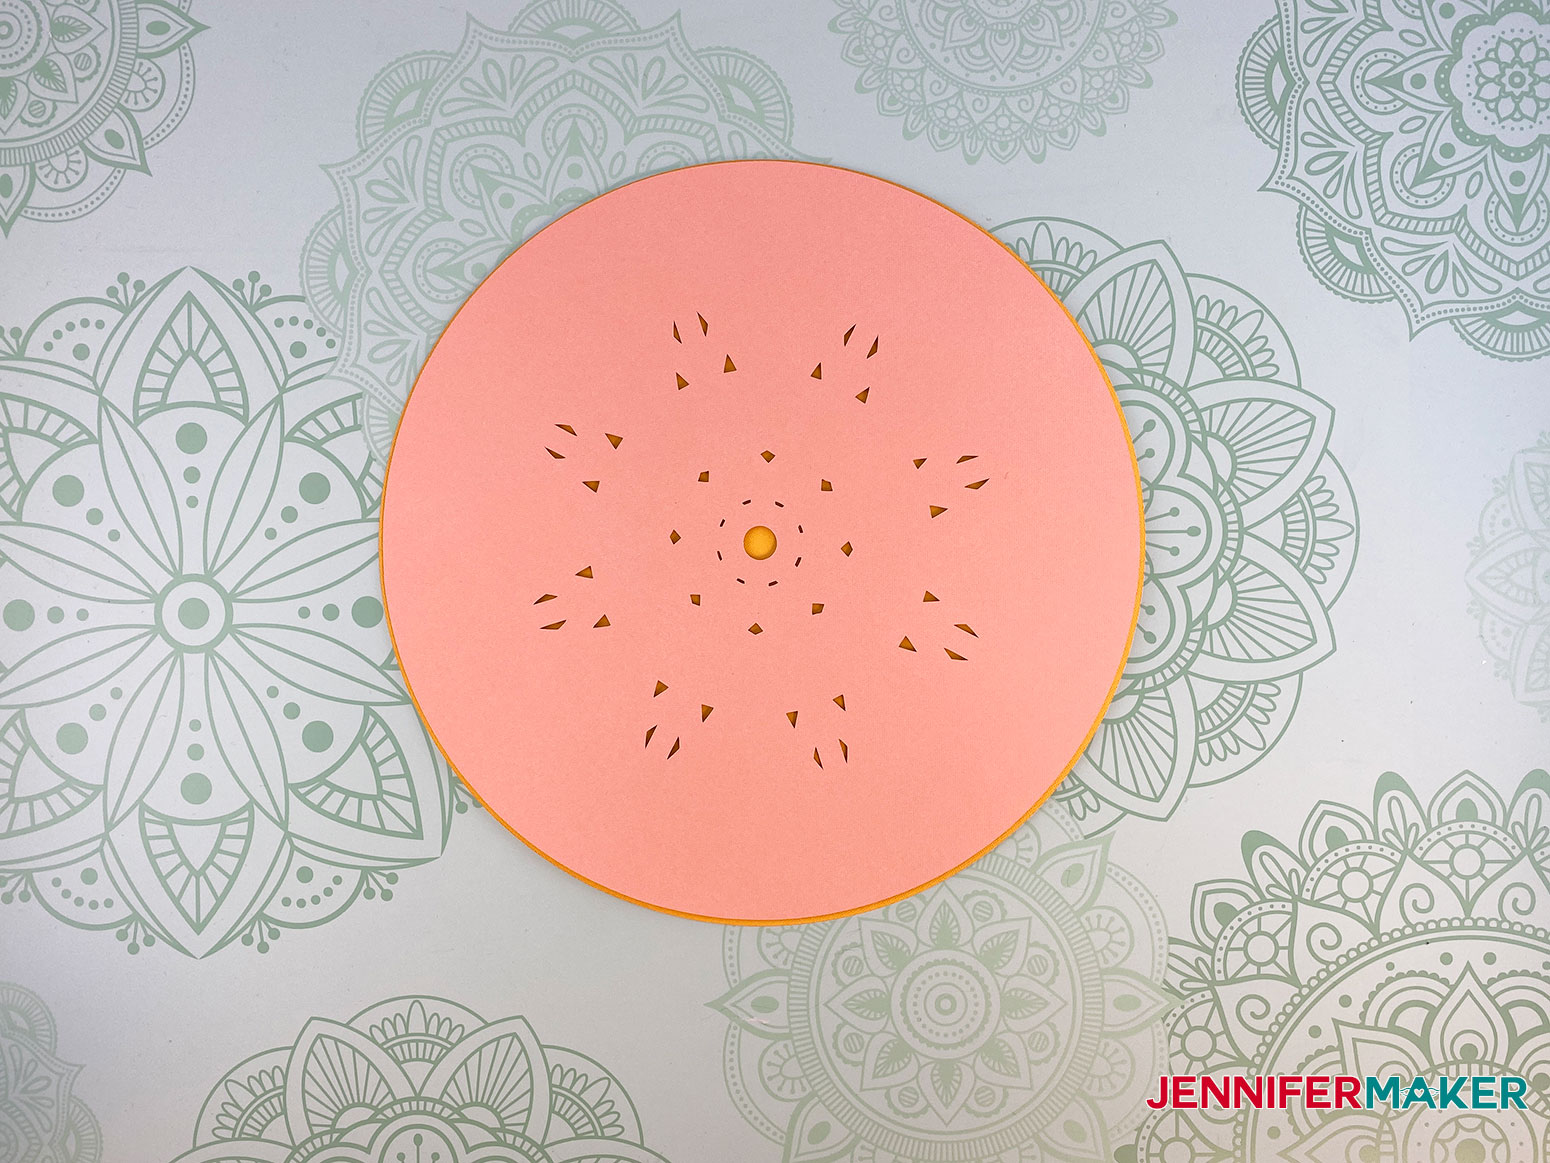
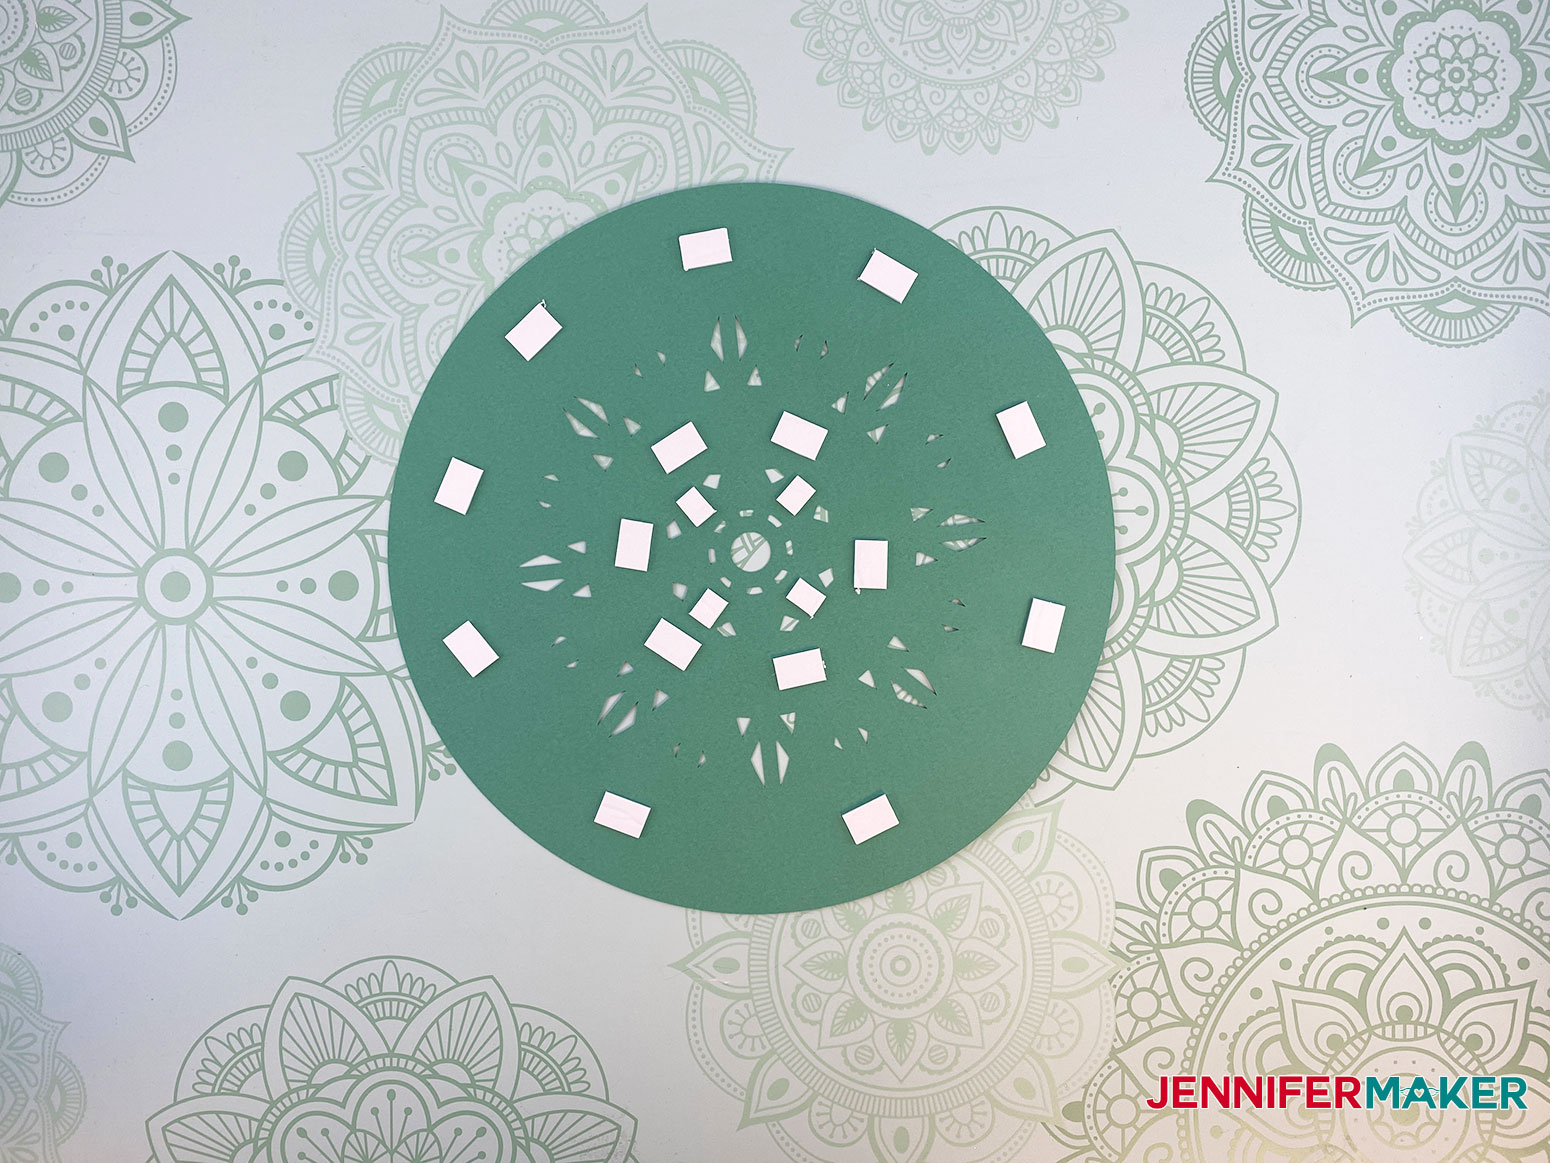
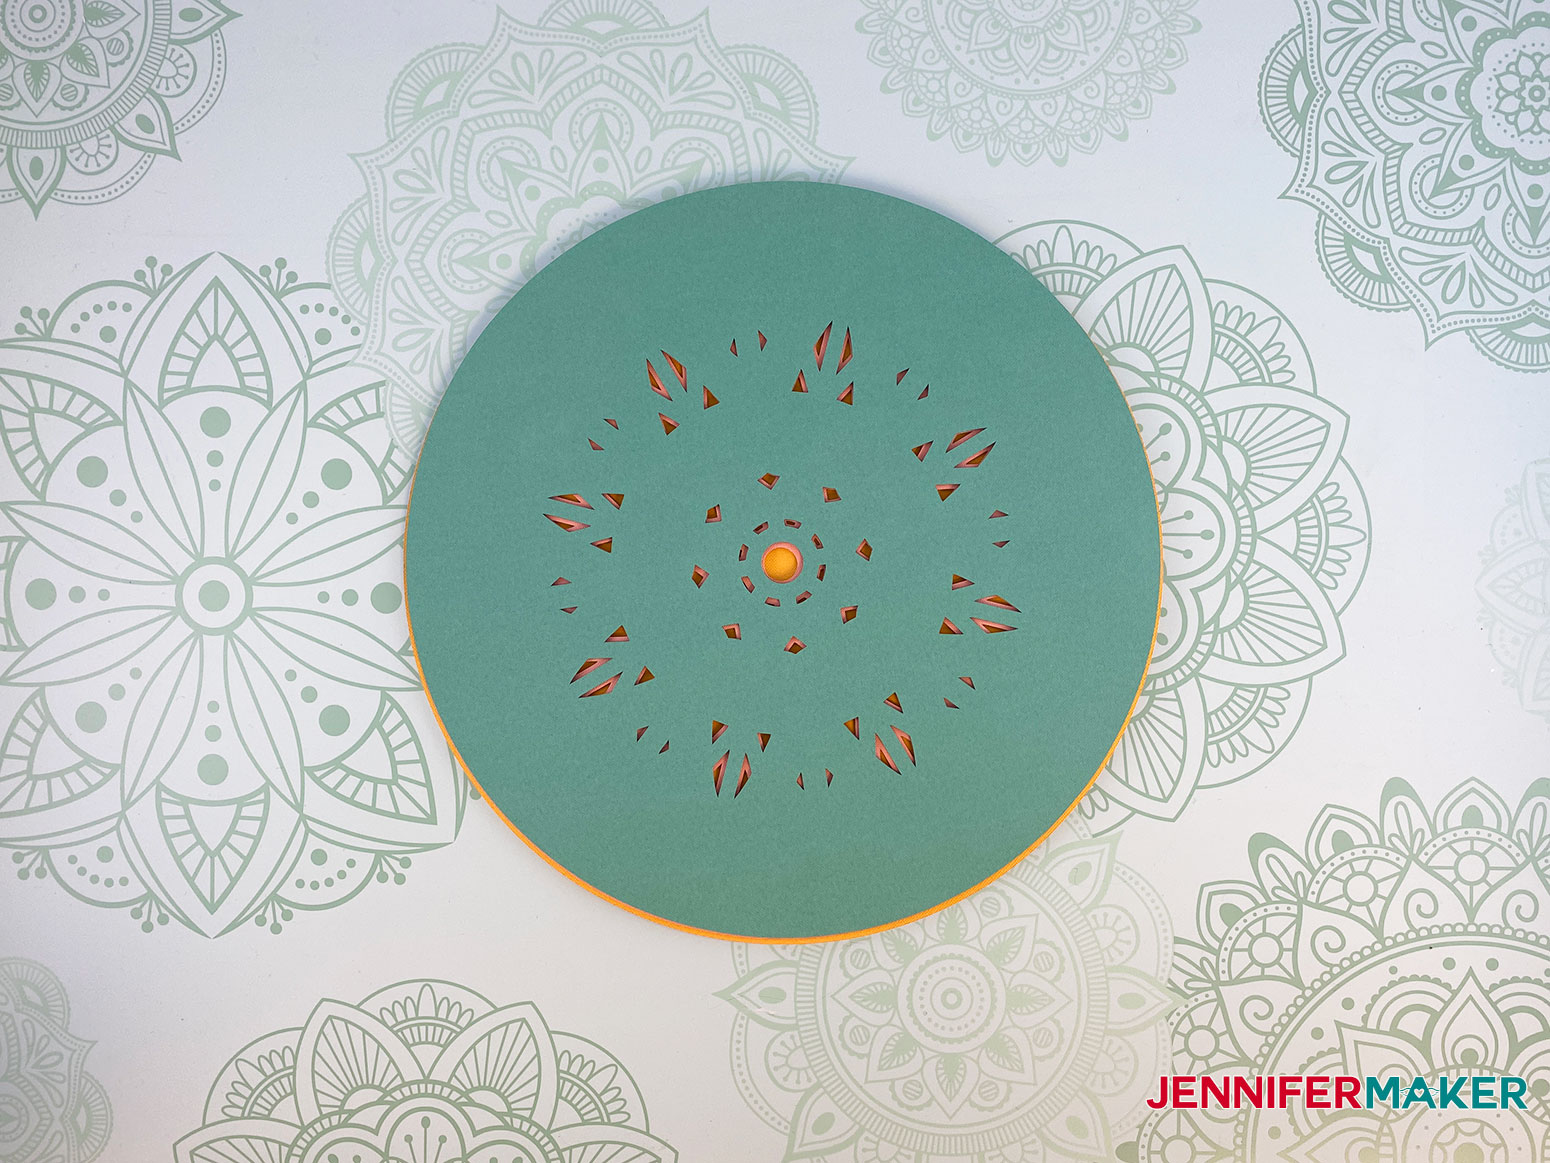
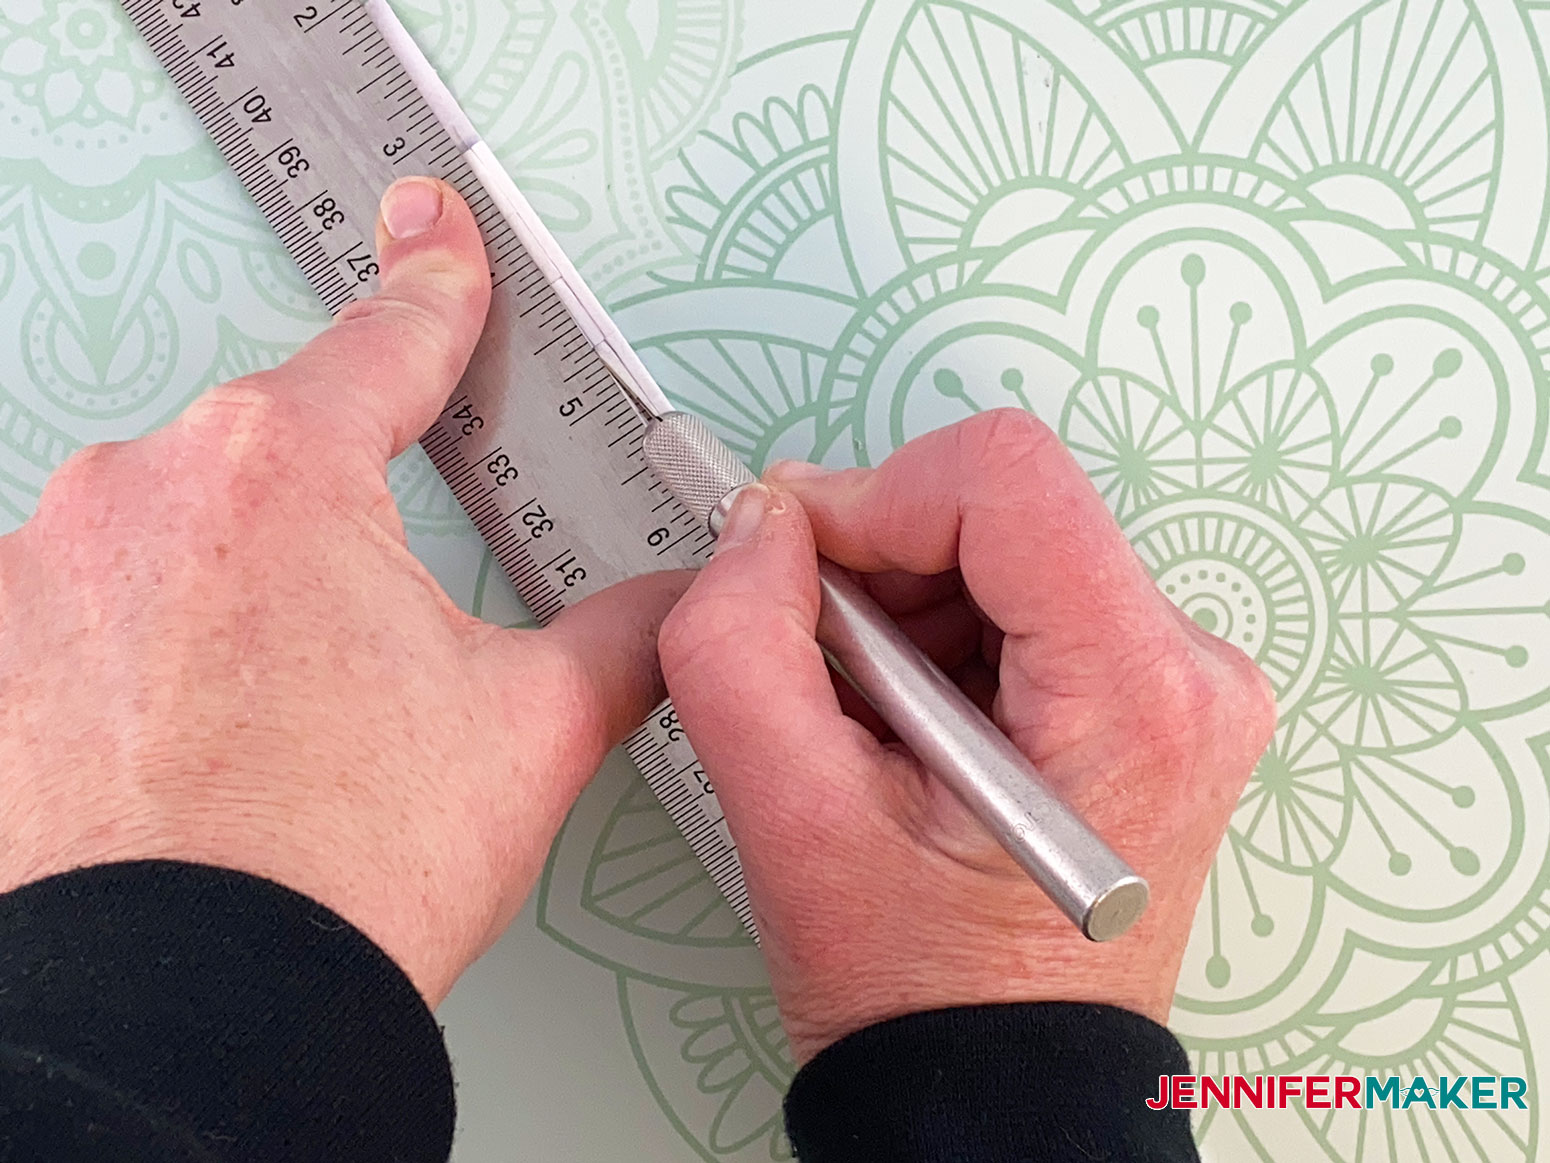
Learn how to make this beautiful six-layered mandala from cardstock. Upload my layered mandala SVG into Cricut Design Space. The design I use in this tutorial is the Layered Wheel Mandala (Design #192). This is what the file looks like when placed in Design Space. Adjust the size if needed. I’ve seen several similar designs displayed in shadow box frames. This design contains six layers for you to personalize with different cardstock colors. Once you have the size adjusted to your measurements, you are ready to click "make it." For the material, select the intricate cut setting for cardstock. This setting worked perfectly for me. As you cut your layers, each design will leave behind cut-out pieces on your mat. I used my extra large Cricut scraper tool to easily remove those pieces. Tip: If you're not sure how to upload an SVG cut file to Cricut Design Space, watch this helpful video training series I made. If you're on an iPhone or iPad, here's how to download and upload SVG files to the Cricut Design Space app. Now that you have your six pieces cut, you'll want to apply double-sided foam adhesive to the backside of Layers 1 through 5. This is how I applied the adhesive foam to layer five. Center and place Layer 5 on top Layer 6. TIP: As you place the layers on one another, lay them down lightly so you can adjust your placement, if needed, then press to the underlying layer. Add adhesive foam to layer four. Place Layer 4 on top Layer 5. When you apply the foam adhesive to Layers 1, 2, and 3, you'll want to use a ruler and blade to cut the foam into small strips. Continue placing the layers one on top of the other. Refer to the file in Design Space for placement. Below you'll see how I placed the foam adhesive on Layer 2. And here is Layer 1. Here is my layered mandala fully assembled. Special thanks to the JenniferMaker Design Fairy Team, specifically Design Fairy Caitlin, for helping me design and assemble this awesome layered mandala.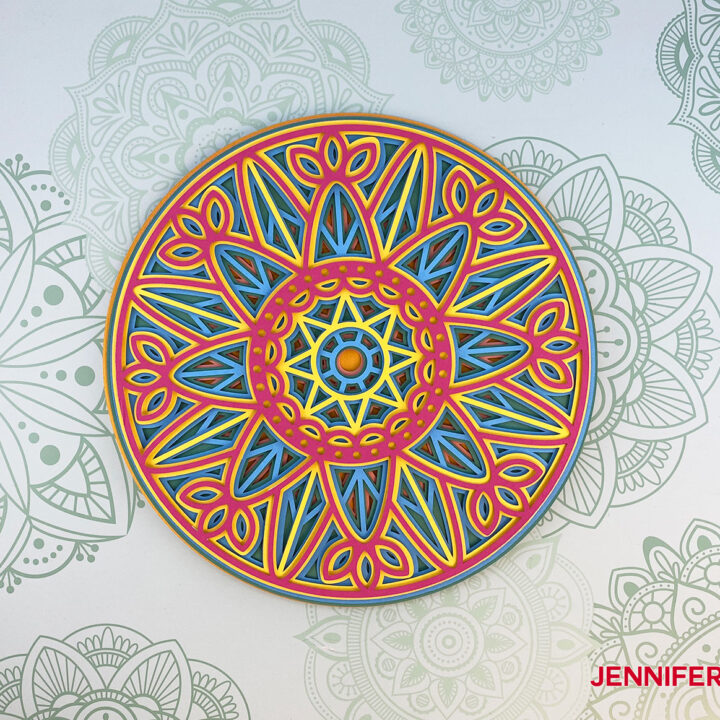
Layered Mandala
Tools
Instructions
STEP 1: GET MY FREE LAYERED MANDALA FILE
STEP 2: ASSEMBLE THE LAYERED MANDALA

Notes
ACKNOWLEDGMENTS
- Woosart
- Doodles and Grace (one of my Cut Above students — so proud of her!)
- MaWoodShop
- Extra Magical Designs
There are also some fun 3D mandalas available for sale on DesignBundles.net here:
Need more projects for today’s theme?
Today’s MAKE IT EASY Craftalong Challenge is to Uplift Us either with 3D papercrafts or something uplifting. If you are looking for other ideas, we have you covered!
- Paper Penguin Bomb
- Smashing Pumpkin Paper Bomb
- Paper Winged Heart with Hidden Message
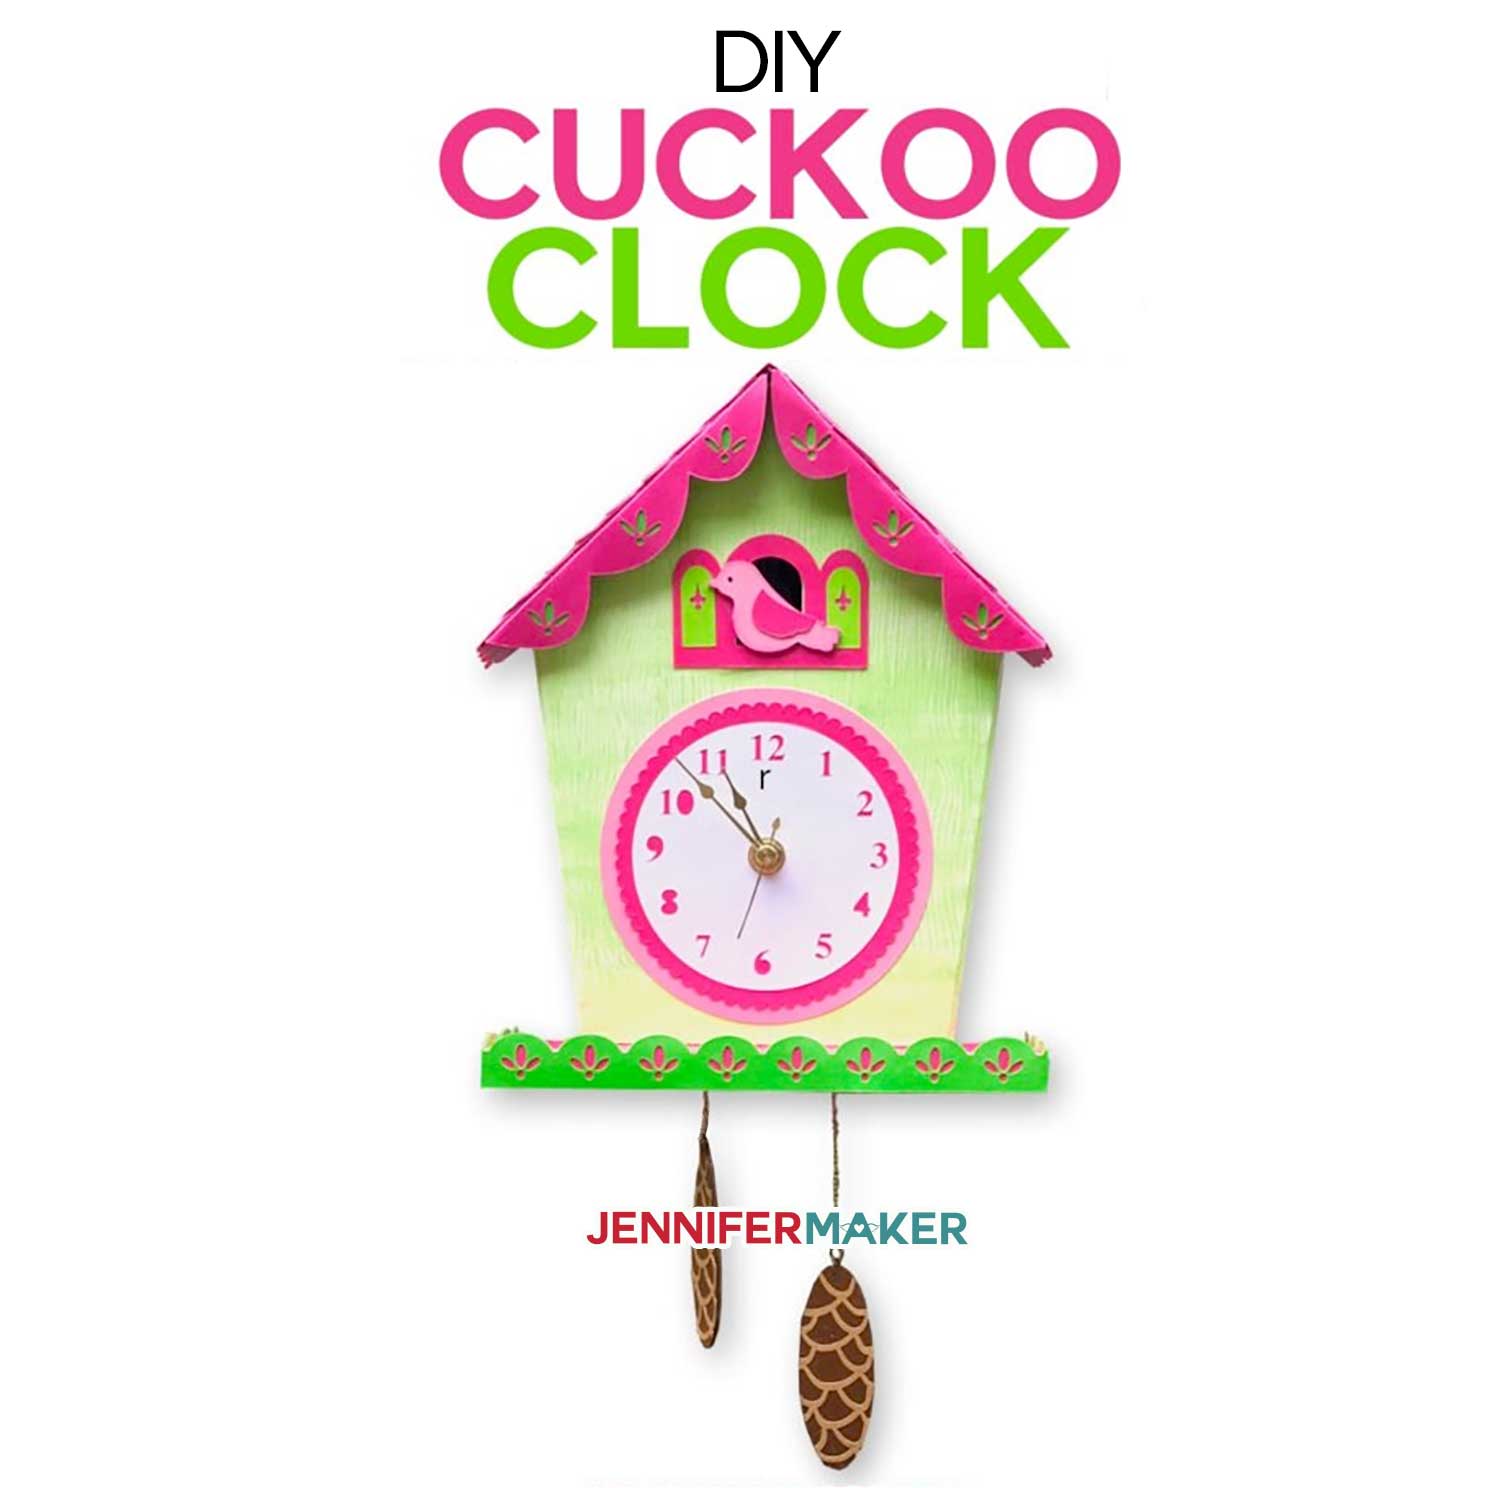
- Pop-Up House Cards for Halloween, Autumn and Christmas
- Pop-Up Birdcage
- Easy Pop-Up Butterfly Card
- Pop-Up Birthday Cake Card
- Pop-Up Heart Rainbow Card
- Pop-Up Grill Card & Gift Card Holder
- Pop-Up Game Controller Card & Gift Card Holder
- 3D Paper Candles
- 3D Family Tree
- Fairy House Card
- Paper Heart Box
- Explosion Box
- DIY Favor Boxes, Treat Boxes, Paper Luminaries
- Paper Dog & Puppy Boxes
- Paper Star Lanterns
- Paper Flowers
Answers to Your Questions About 3D Layered Mandalas
Q: What is the purpose of a mandala?
A: Traditional mandala designs are used in meditation practices among other purposes.
Q: What is a 3D layered mandala in papercraft?
A: While many crafters refer to designs like these as mandalas, they are mandala-inspired, not actual mandala designs. My free mandala SVG collection uses intricate designs and different colors that are reminiscent of traditional mandalas.
Q: How do I create a layered mandala in Inkscape?
A: I have a workshop, Mandala Magic, where you can learn how to make 3D layered mandalas in several different ways!
Q: How do you keep cardstock together in 3D layered mandalas?
A: I use a combination of craft glue and foam adhesive to secure the pieces in 3D layered mandalas.
Q. Do I have to use a Cricut machine to make 3D layered mandalas?
A: No! We always include several versions of each free file in the free download ZIP file. If you have a Silhouette Cameo, which uses Silhouette Studio, you can use the DXF file in Silhouette Basic Edition. If you have upgraded to Silhouette Designer Edition, Designer Edition Plus, or Business, you can use the SVG format with your Silhouette machine to cut each intricate design. If you don’t have a cutting machine, you can print and then cut out my digital download PDF files, too! The ZIP archive in my resource library includes these file types and more!
Q. Are your free SVGs just for personal use or is commercial use allowed?
A: Yes, you can sell physical products you make using my free cut files. We only ask that you give credit to JenniferMaker.com for the original designs and do not sell the digital files. If you use them, please share photos with us! We love supporting small businesses!
Get my free SVG files to make your own 3D layered mandala!
I cannot wait to see YOUR 3D layered mandalas in all the colors of the rainbow! If you use my free layered mandala SVG files, please share a photo in our Facebook group or tag me on social media with #jennifermaker.
This project is a part of our MAKE IT EASY Craftalong Challenge with fun and EASY projects you can do to learn how to use your Cricut! You can share your photos in our daily challenge theme thread here!
Love,

Want to remember this? Save this 3D Layered Mandala tutorial to your favorite Pinterest Board


So awesome, I am so glad you did this video. I liked that your daughter joined you on this project. It is a great project to do together.
Thank you for these 3 projects! You are on top of all the new ideas!
i love these, glad your daughter is there to help you..hers were cute
would these files work on any other cutting machines like a scan n cut?
Yes, our patterns work on ANY cutting machine that can read SVG or DXF files — many people with Scan ‘N’ Cut machines have cut my designs.
I just made the colorful large Mandala. That was really fun. I already have it mounted in a shadow box. Im hooked. Some of the mandala’s on the sites you recommended are absolutely breathtaking. Im ready to start another one. Might do some for gifts for friends. Thanks for the lesson.
I’m so happy to hear that you had fun making the mandalas!