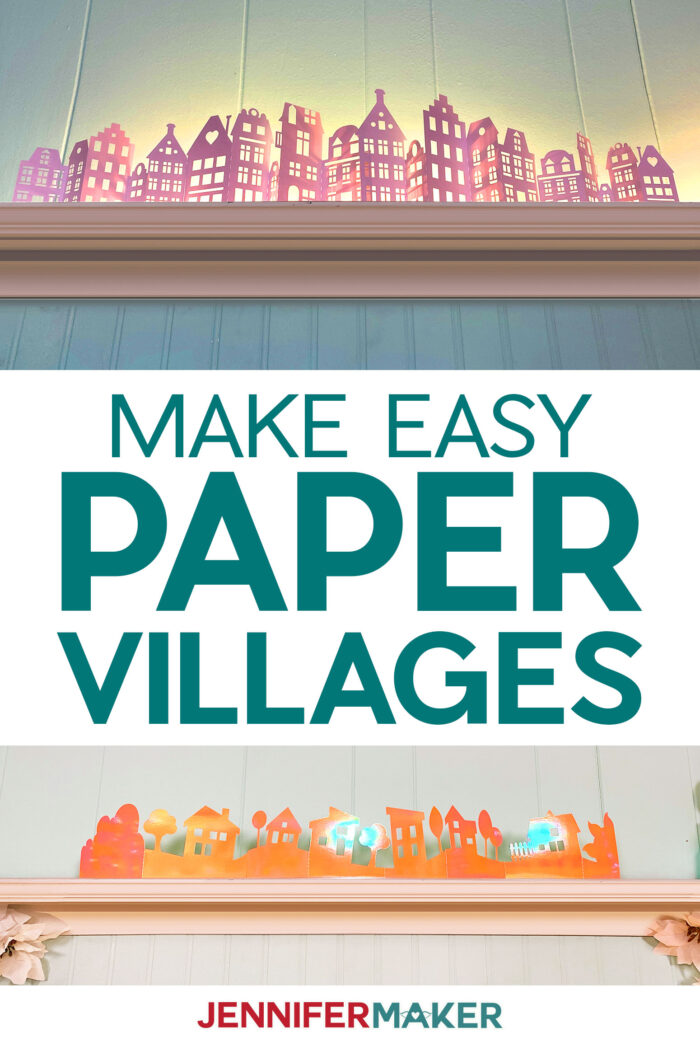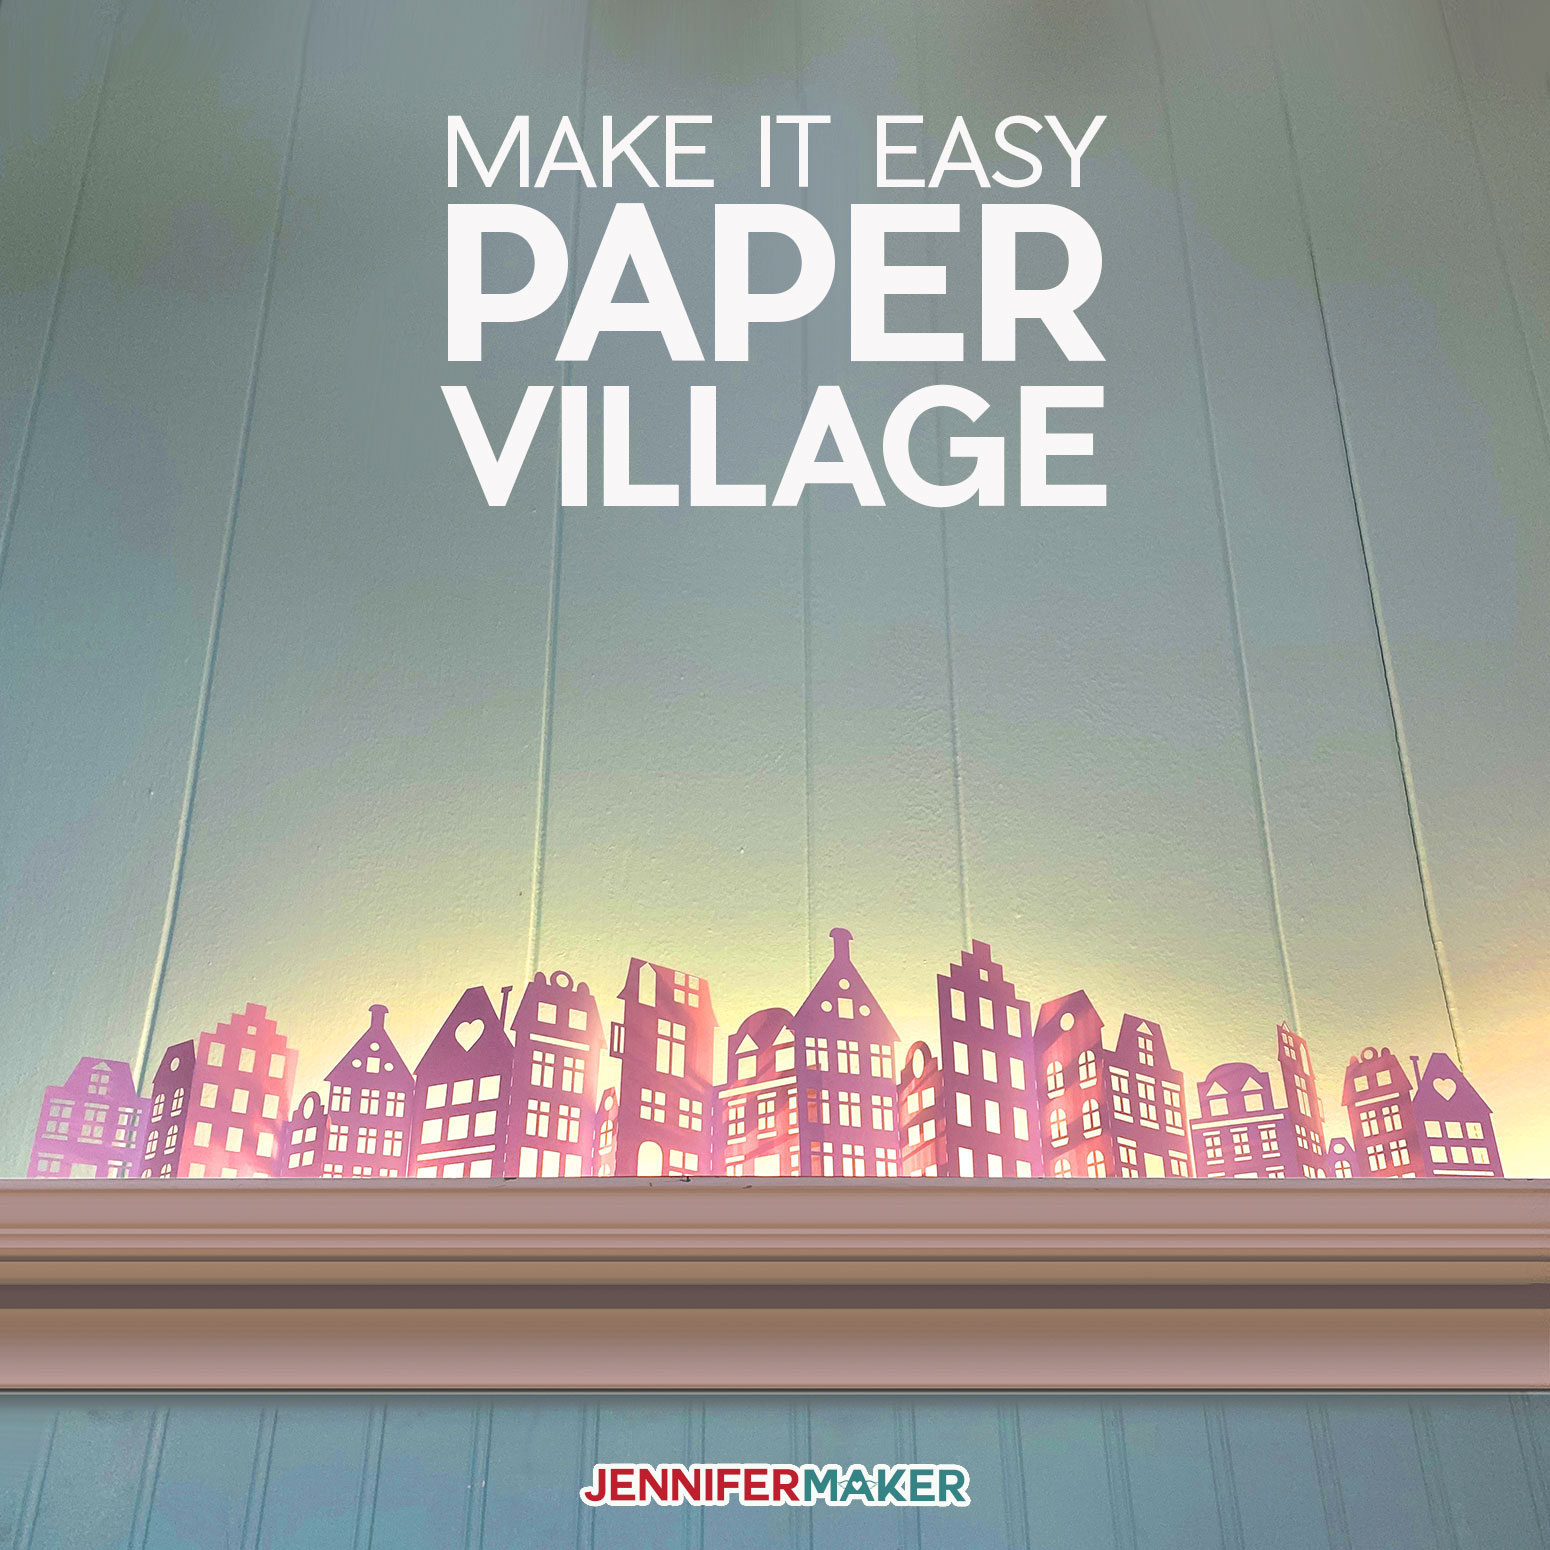
Learn how to make intricate cuts in paper to create easy villages. These super simple little papercraft projects can brighten up a mantle or bring cheer to a whole room!
Some of the very best craft projects are the ones that are the easiest to make! Last December I designed a paper Christmas Countdown Town papercraft that was super easy to do and SO many members or our crafting community ended up making it. I loved seeing everyone’s little towns all lit up. But it’s definitely not Christmas now and we need a paper village we can use any day of the year. So we’ve designed two new Paper Villages that will brighten up any room — spring, summer, fall, or winter! You can make easy paper villages as part of our MAKE IT EASY Craftalong Challenge, filled with fun and EASY daily themed projects! 
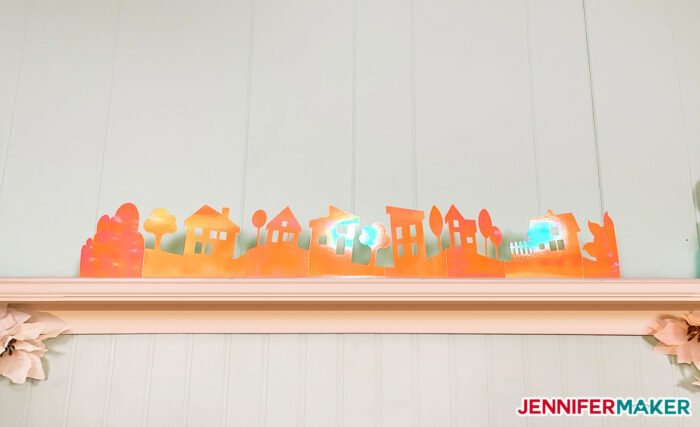
To give you some options, we made TWO different village designs. One is a playful cute village, all cheerful angles and cute shapes. Here’s what that one looks like cut out from holographic posterboard:
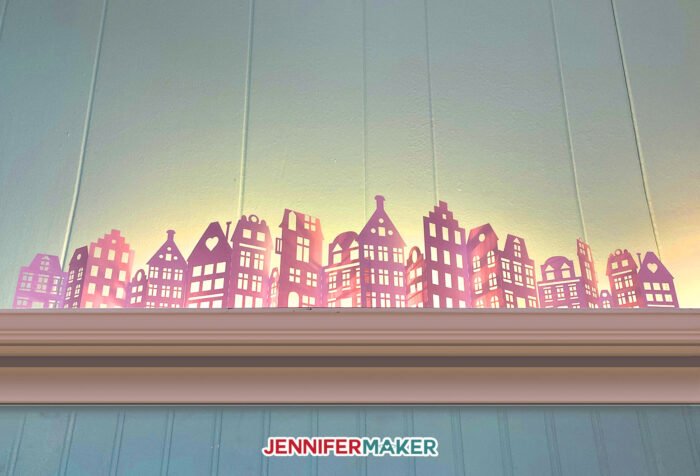
The second design is inspired by the Amsterdam canal houses, with tall row houses, lots of windows, and more intricate detail:
Both are really easy to make on a Cricut cutting machine! The trickiest part is getting clean cuts — check out my Cricut Cutting Tips if you have any problems!
Ready to make one of our super easy paper villages? Let me show you how to do it! This post contains some affiliate links for your convenience (which means if you make a purchase after clicking a link I will earn a small commission but it won’t cost you a penny more)! Read my full disclosure policy.
Materials to Make Easy Paper Villages on a Cricut Joy, Maker, or Explore!
View my Amazon shopping list with the exact items we used to make this project!
- 65-80 lb. cardstock or posterboard
- Tape
- XL Scraper (to get the bits off your mat)
- (Optional) Weeding tool (if you need to poke out the little cut bits)
- (Optional) LED tealights or a light strip
- A way to cut your paper village (I used the Cricut Joy and Cricut Maker cutting machine but they can be cut on any Cricut machine)
- Design #195 – My free SVG design files (available in my free resource library—get the password by filling out the form at the bottom of this page)
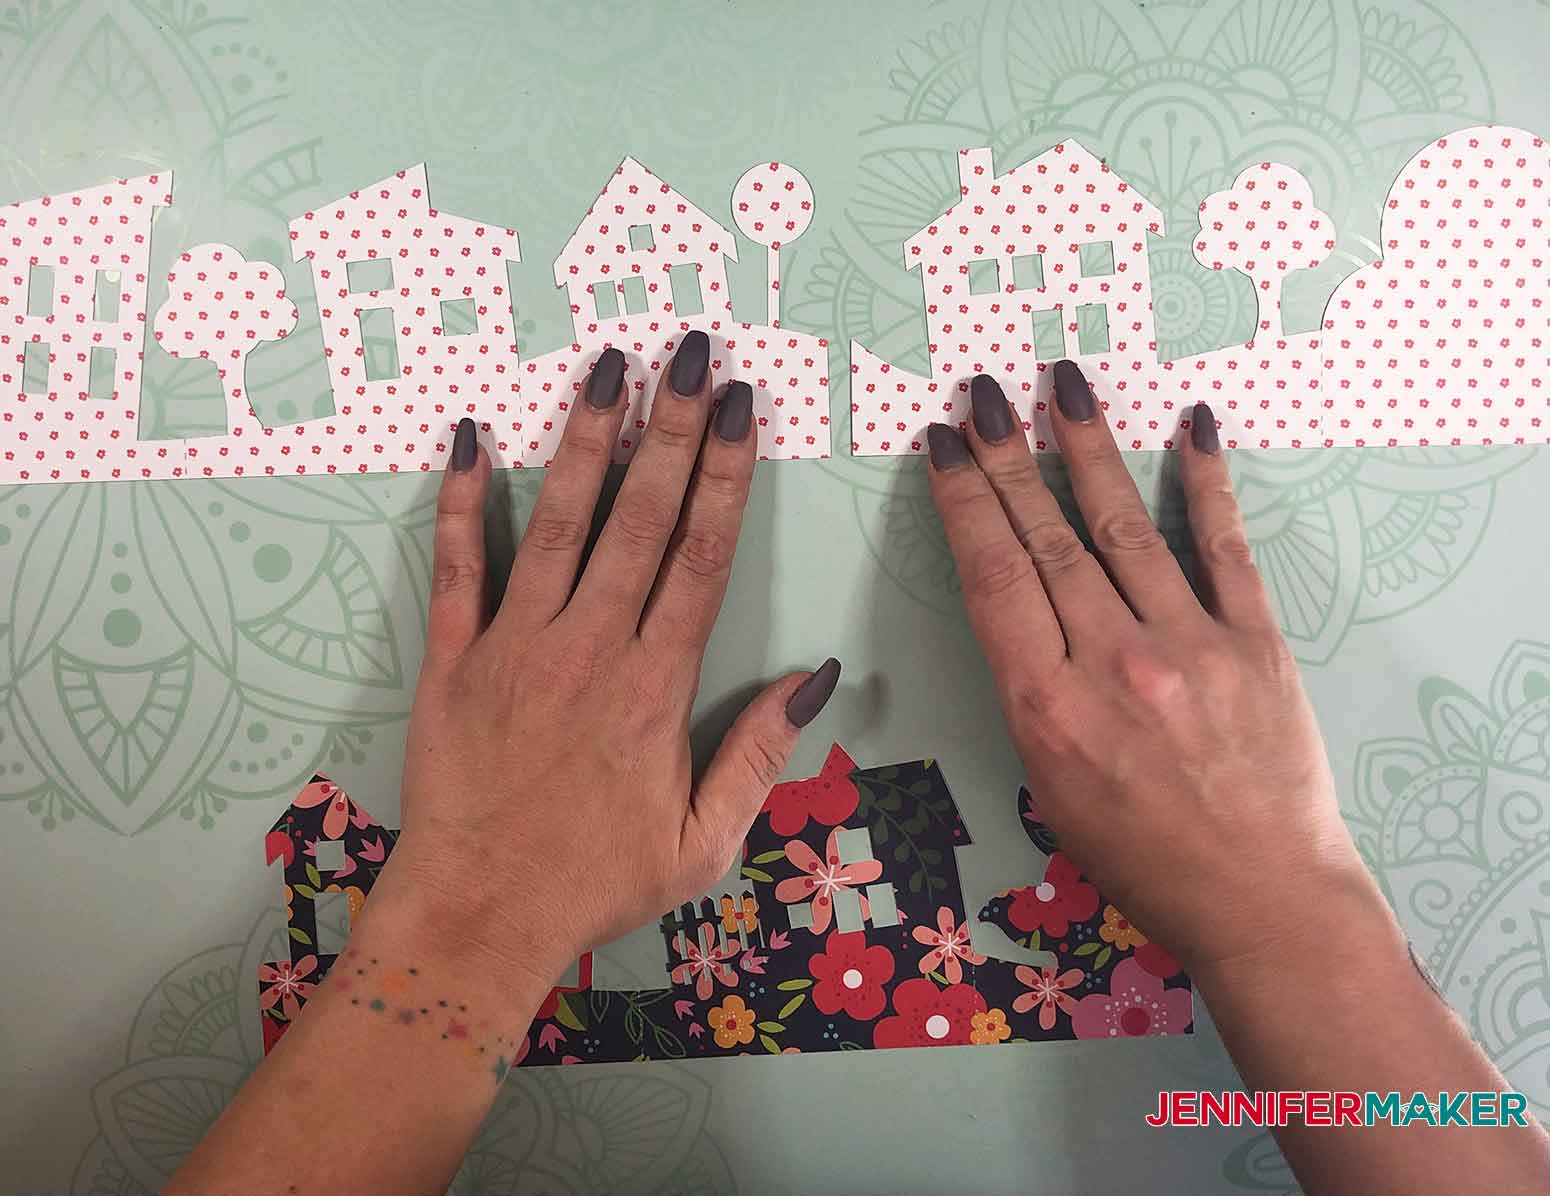
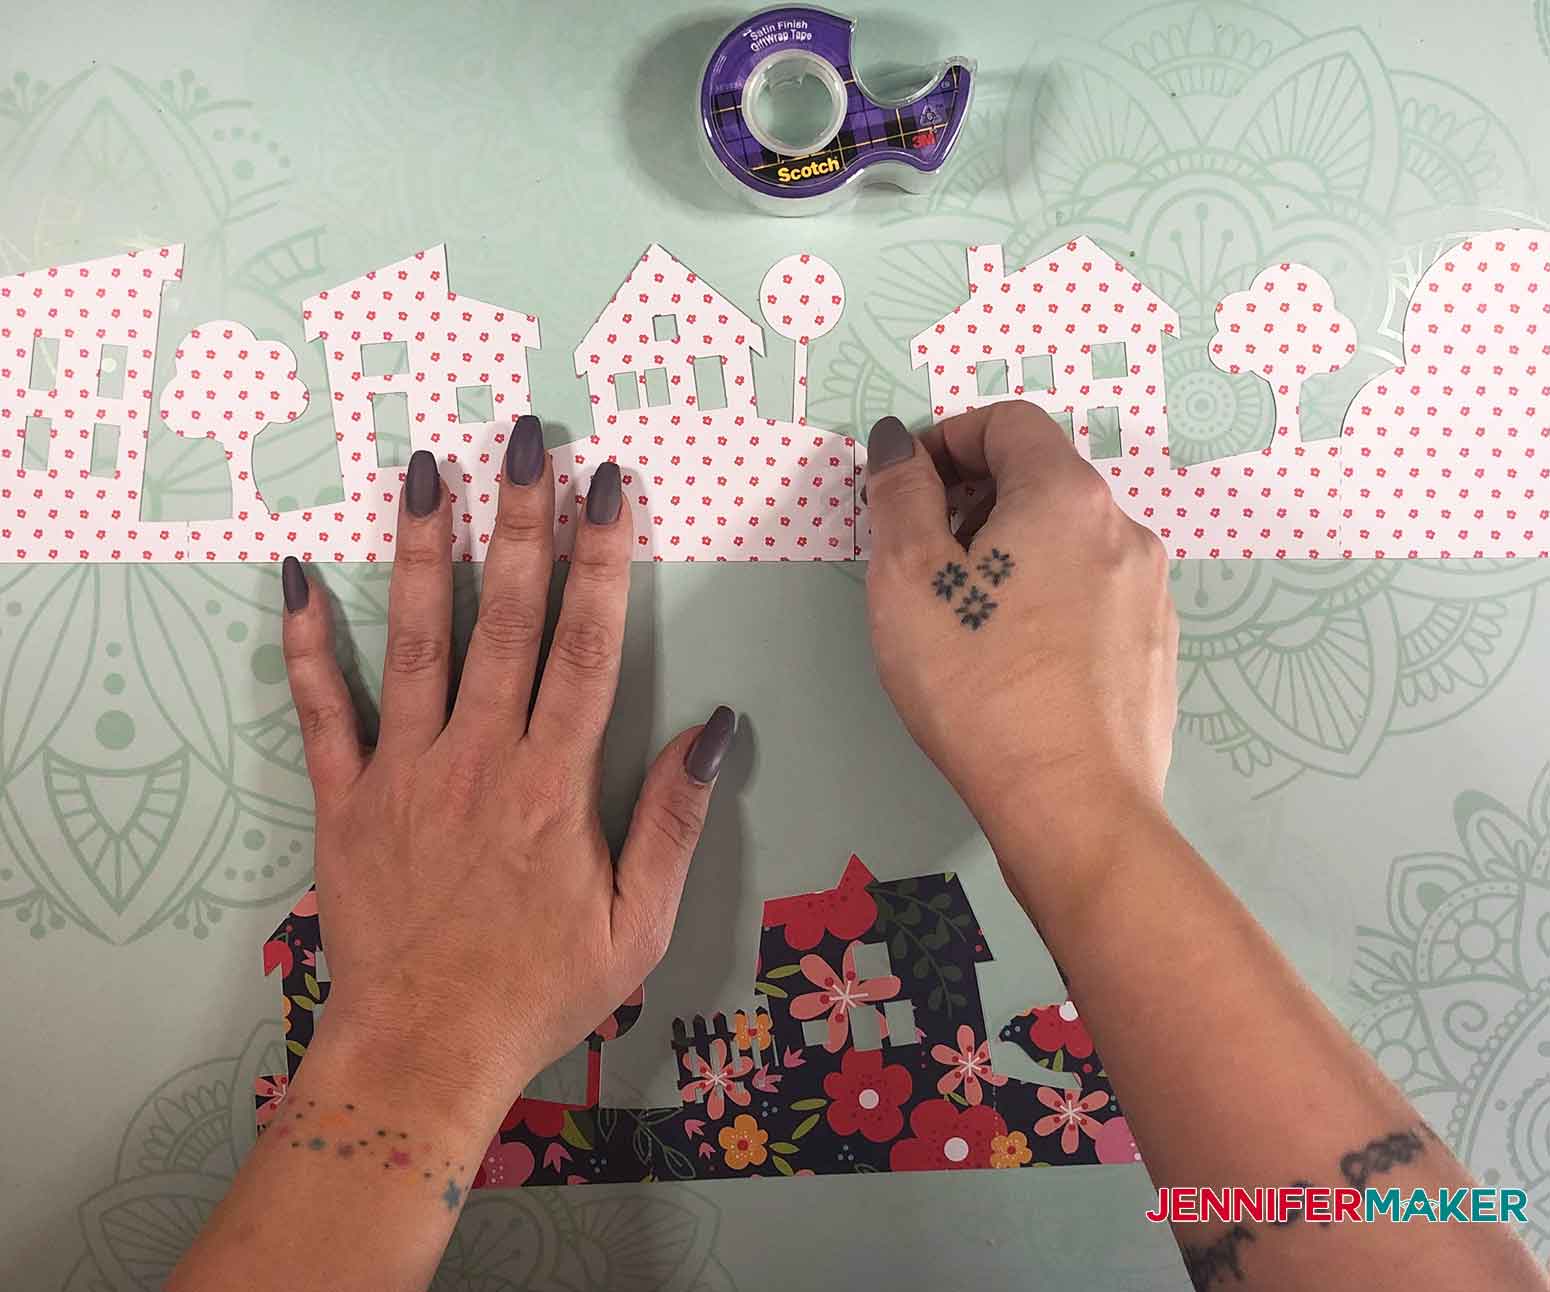
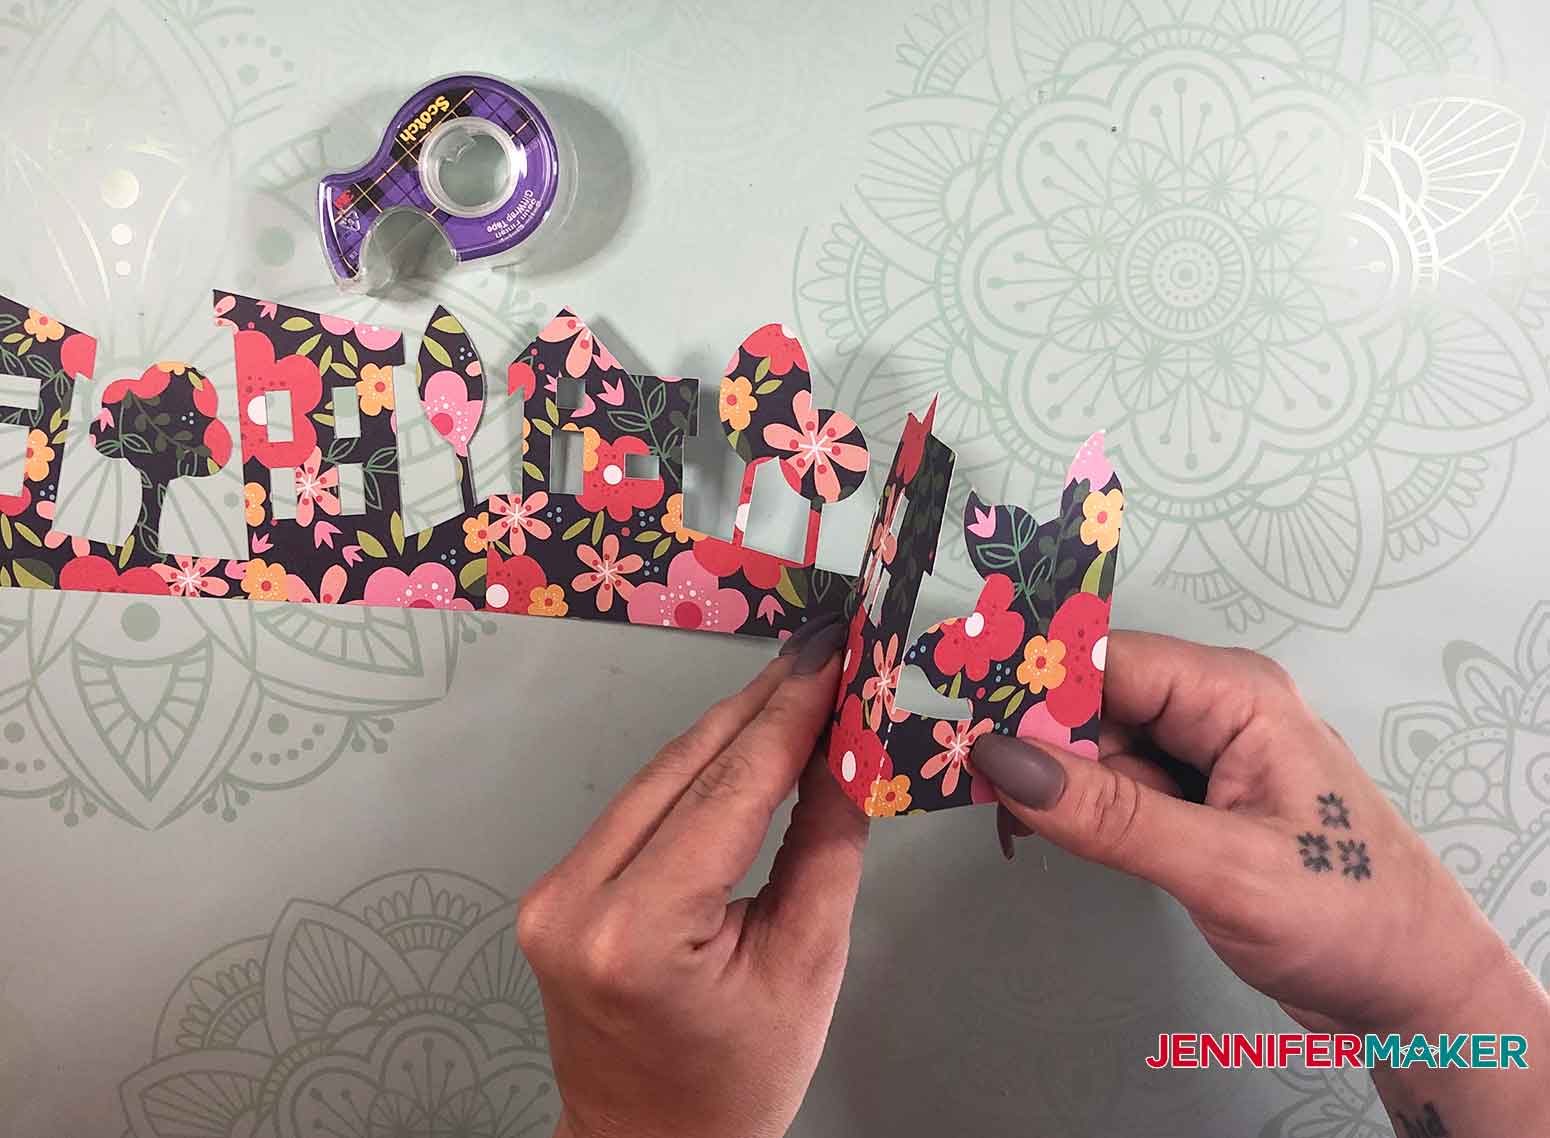
Create this easy paper village in no time! Download the Easy Paper Village design (Design #195) from my free resource library (get the password to the library in the form at the bottom of this post). You can cut the Easy Paper Village with a good craft knife but be prepared for that to take some time. I cut mine using my Cricut cutting machine and it was WAY easier Here’s what the Easy Paper Village SVG cut file looks like uploaded to Cricut Design Space If you’re not sure how to upload an SVG cut file to Cricut Design Space, watch this helpful video training series I made. If you’re on an iPhone or iPad, here’s how to download and upload SVG files to the Cricut Design Space app. Once the file is uploaded, you really don’t have to do anything. No scoring or ungrouping is needed. It’s all ready for you to cut! Just click Make It Now. I recommend you use a really good quality paper to cut this, as there are a lot of little cuts and you’ll notice the issues with bad quality cardstock a lot more. My favorite way to make this is to use a piece of card stock from one of my spring-themed stacks — I like to do this because then you can sometimes see the pattern through the paper when you light it from behind and it gives it a fun effect. It will take about 20 minutes to cut the building layer, so just set it to cut and go do something else. Once your Paper Town is cut, unload your mat, flip the mat over onto your work surface, and gently peel the mat away from the cut cardstock. This will minimize curling and ripping. Do be mindful of the trees, as they could tear off if you remove it too quickly. If the DO tear off, just reattach them with some tape or something. But I think you’ll be fine if you’re careful. If you’re lucky (and your cutting mat is sticky enough), most of the little pieces will stay on your cutting mat. If they do not, you’ll need to weed the little pieces out. You can use a weeding tool to poke the remaining little pieces out. Flip your paper village so the backside is facing up, and carefully line up each row side by side and tape them together. Now just fold the paper town, building by building. There are dashed lines where you need to fold to make it easier to fold them straight. I just folded mine up like an accordion. You’re all done — put your Easy Paper Village somewhere where you can see it to cheer up everyone! Special thanks to the JenniferMaker Design Fairy team for helping me design and assemble this awesome Easy Paper Town.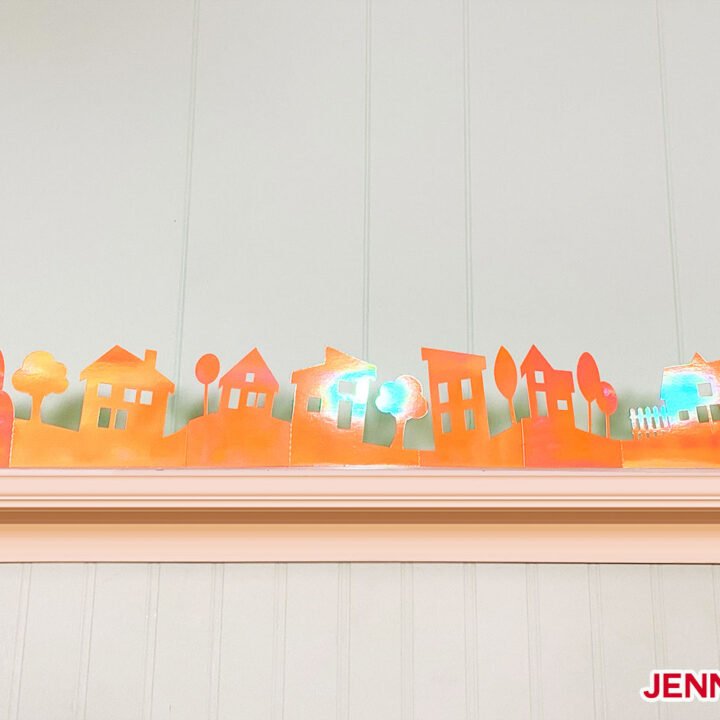
Playful Paper Village
Materials
Tools
Instructions
STEP 1: GET MY FREE DESIGN
STEP 2: CUT THE EASY PAPER VILLAGE

STEP 3: Put Your Paper Village Together
STEP 4: SHOW OFF YOUR EASY PAPER VILLAGE
Notes
ACKNOWLEDGMENTS
Need more projects for today’s theme?
Today’s MAKE IT EASY Craftalong Challenge is to “Be Together” by making a town-themed project, paper village or something with tape. If you are looking for other ideas, we have you covered!
-
- How to Make Larger than Mat Cardstock Cutouts: Baby Yoda is Off the Mat!
- Paper Christmas Village and Houses
- DIY Paper Village: Craft Cottage
- DIY Paper Haunted Houses
- Christmas Town Countdown Calendar
- How to Make Pop-Up Birthday Card
- 3D Paper Candles
- Pop-Up Birdcage
- Rolled Paper Rose Tutorial
- Custom Shadow Boxes
- Make A Paper Heart Box
Get my free SVG files to make your own easy paper villages!
Did you make one of our easy paper villages? Please share a photo in our Facebook group or tag me on social media with #jennifermaker.
This project is a part of our MAKE IT EASY Craftalong Challenge with fun and EASY projects you can do to learn how to use your Cricut! You can share your photos in our daily challenge theme thread here!
Love,

Want to remember this? Save this Easy Paper Villages tutorial to your favorite Pinterest Board