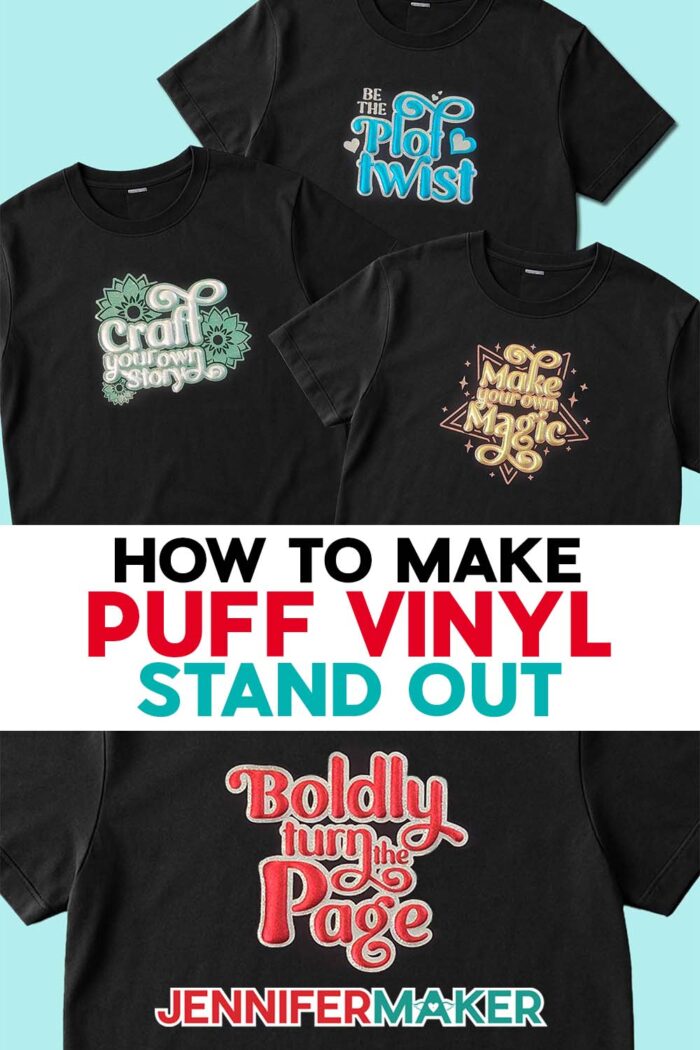
Learn how to make your puff stand out in this metallic puff vinyl tutorial!
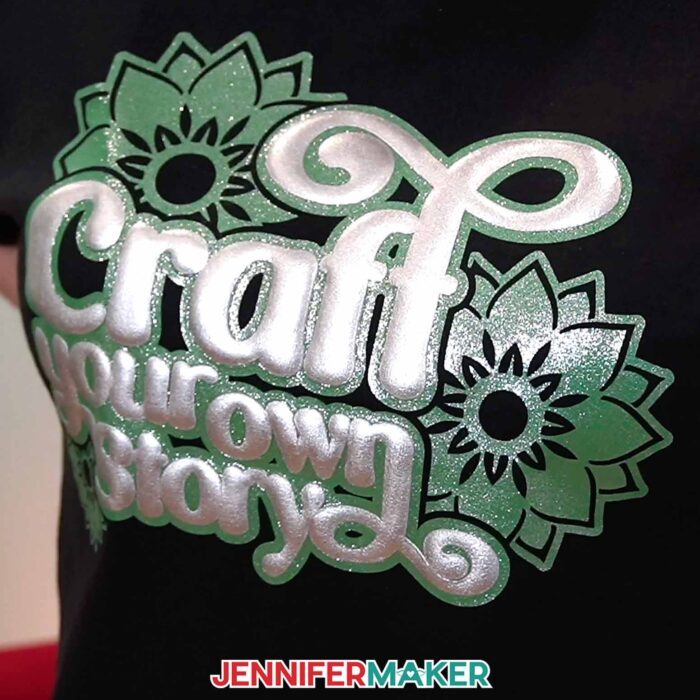
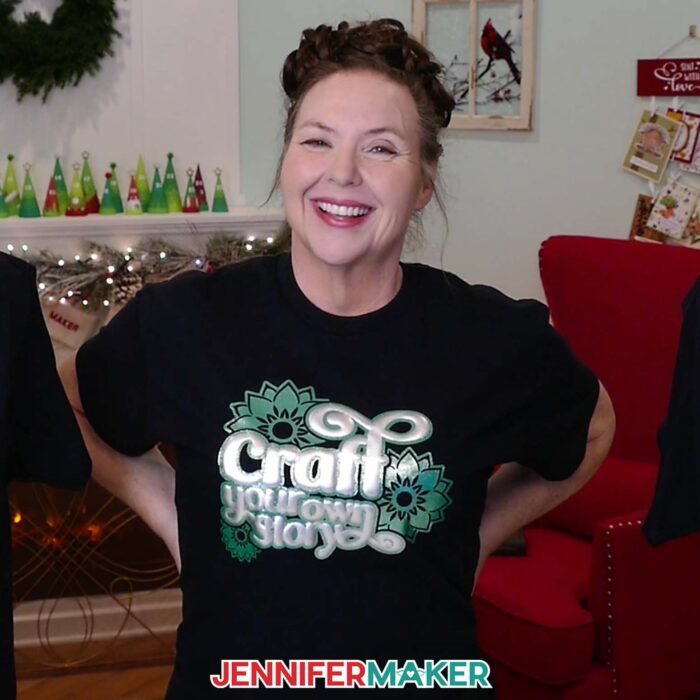
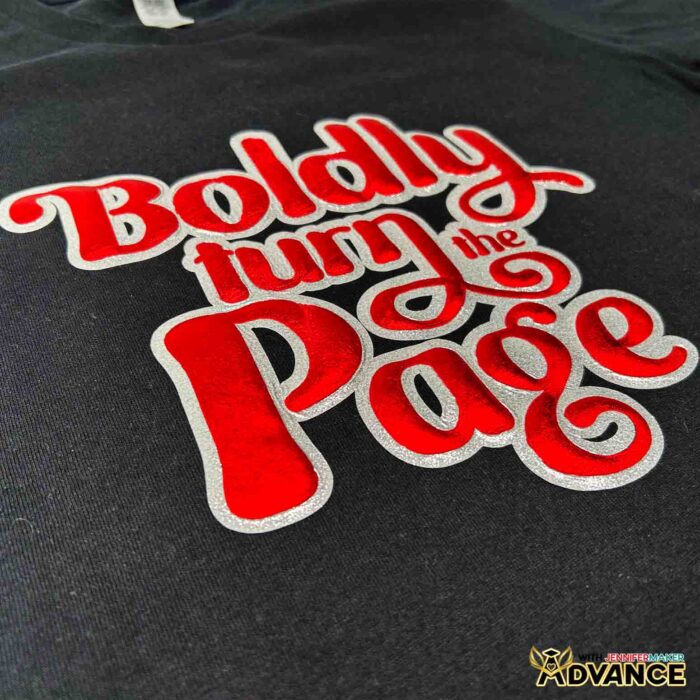
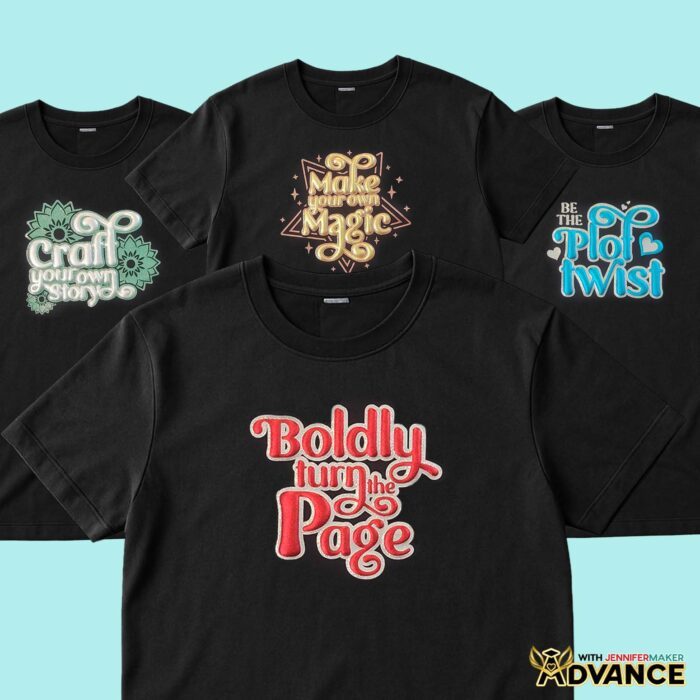
The real magic of working with puff heat transfer vinyl happens in an instant — that moment when you peel away the clear carrier sheet and your flat design suddenly rises into perfect, pillowy dimension. It’s a moment that never stops feeling satisfying, especially when some glitter vinyl frames every curve just right. That transformation is what pulled me into the puff vinyl trend, and my new and improved cutout layering method works well with a trendy glitter outline! I can’t wait to show you in today’s step-by-step puff vinyl tutorial just how striking the puff effect is when you make one small design change! Plus, my free designs are perfect for book lovers!
See the full step-by-step puff vinyl tutorial to learn my trick for the highest puff:


Before we even touch the press, there’s something important to understand about this improved design method. The trick isn’t in the tools or the temperature — it’s in the artwork itself. In my past puff vinyl projects, I kept noticing the same thing: when puff sits on glitter vinyl or another material: it struggles to fully expand. So for this project, I changed the structure of the design. I removed the glitter vinyl underneath the lettering and added cutouts so the puff vinyl can touch the fabric directly. That little shift opens up space for a smoother rise and turns an already fun technique into something that feels brand new.
This improvement also plays nicely with the tools we already know and love. Clean edges help the vinyl adhere without overlapping, and an even, straightforward layout with simple designs keeps everything crisp. And with a Cricut machine to cut the pieces, your edges come out perfectly! You can use the cut settings for the Cricut Maker 4 that I share in my video for other machines, too. If it’s your first time cutting a new material, it’s a good idea to run a test cut since every cutting machine cuts a little bit differently. I’ll show you which way the shiny side of your vinyl faces when cutting, and how to secure each type of vinyl to the cutting mat with a brayer, too.
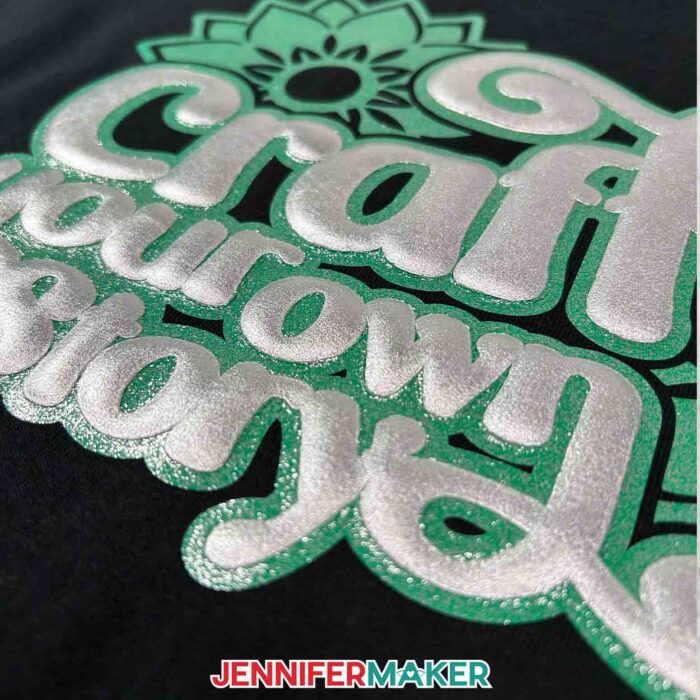
Once the pieces are cut, the weeding tool makes it easy to remove the glitter vinyl where the puff will sit. Those cutouts not only define the letters but also give the puff room to grow. And when the shapes are this open and clear, the vinyl shows off its gorgeous unique texture in a way that flat designs just can’t match. It’s one of the reasons this material is so popular!
We also have to talk about pressure, because puff doesn’t activate gently. It thrives under firm, even force, which is why I slide a wooden cutting board inside my shirt before pressing. That board gives the fabric a solid surface to rest on so the press — whether it’s a Cricut EasyPress or a Cricut Autopress — can deliver the right amount of pressure instead of sinking into a soft mat. And trust me, you need a lot of pressure for the most dramatic rise! Without that stable base, the vinyl expands unevenly, but with it, the heat reaches the entire design evenly and lifts into a beautiful, uniform raised effect.
This setup also makes it easier to press puff vinyl without worrying about wrinkles, bubbling, or accidental over-pressing. The vinyl gets exactly the environment it needs, and the cutouts guide it into its final shape. The end result looks polished and impressive, even if it’s your first time working with puff vinyl.
When it’s time to press, everything works together. Your machine focuses on heat while the design benefits from the direct contact with the fabric. Maintaining the right temperature, press time, and pressure supports that smooth, even rise. If you watch the video tutorial, you’ll see why I prefer parchment paper as the protective layer, and how pressing a second time transforms the look from “nice” to “wow.”
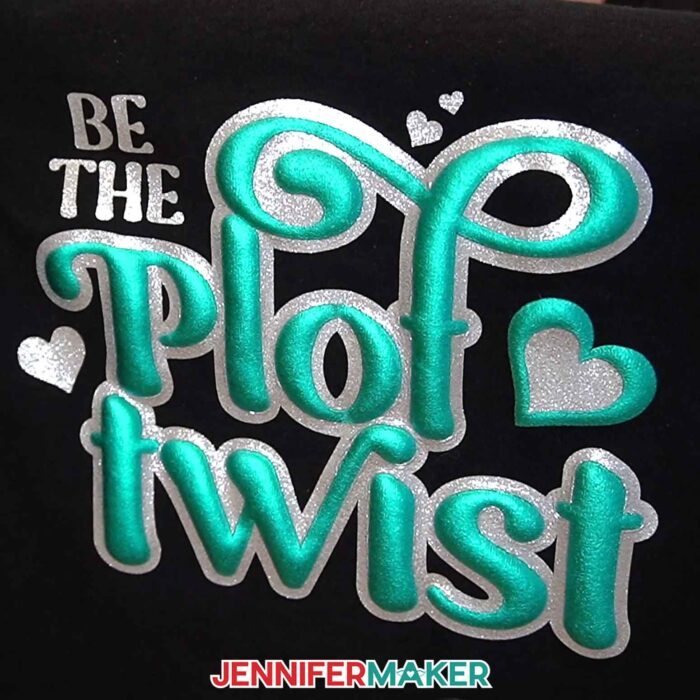
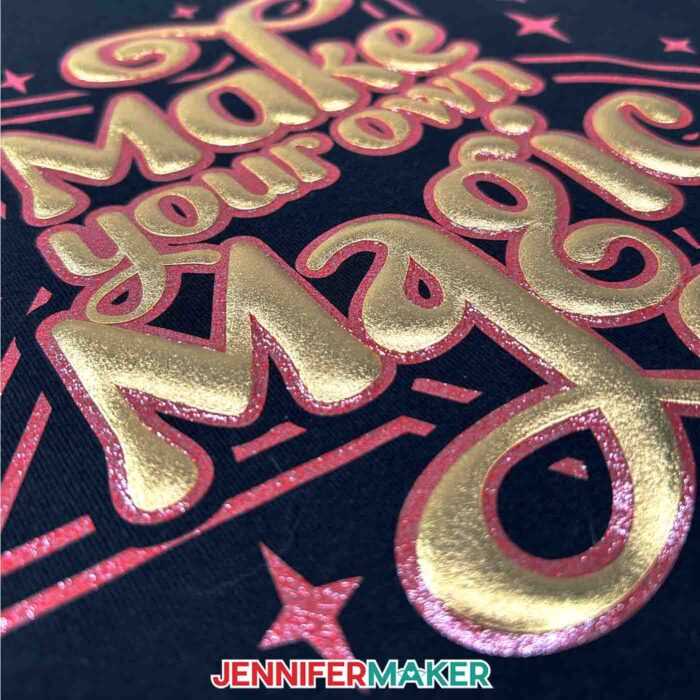
You’ll also see how this cutout method helps the glitter layer shine brighter. With this layout, the puff sits inside the open spaces, letting the glitter vinyl frame the letters. The two textures balance each other, creating depth and contrast.

If you want to try this exact look, you can grab the free SVG files from my library. They’re designed with the cutouts already built in, so they’re ready to load into Cricut Design Space or other cutting machine software. I walk you through how to resize the design using sizing templates, and how to choose the right settings for each material. Once you understand the structure, you’ll probably start dreaming up your own puff vinyl designs — because it’s hard to resist once you see how well this method works.
Working with puff HTV always feels rewarding, but this improved technique takes it a step further. When the puff rises neatly inside the glitter outline, the design blooms with personality. You can feel the lettering with your fingertips, and the texture adds such a fun, dynamic element to a basic shirt.
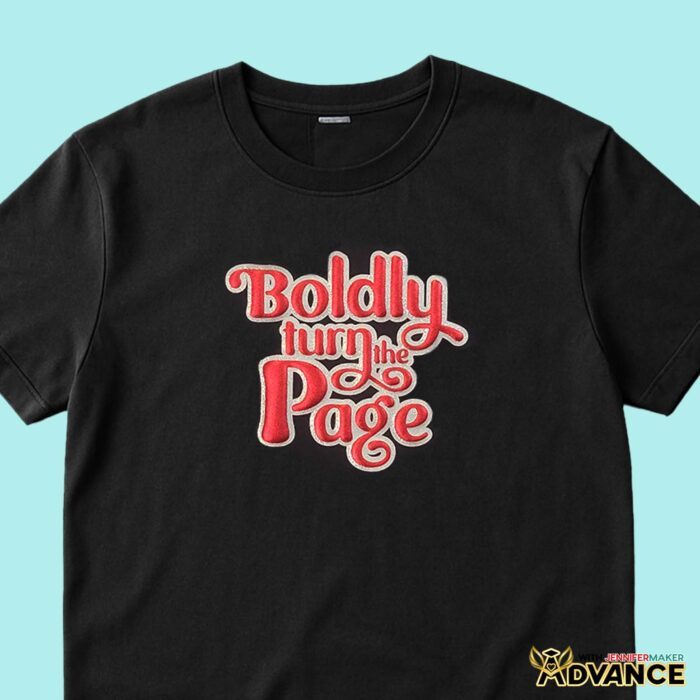
If you want to take this project a step further, join me in ADVANCE with JenniferMaker, where I’ll show you how to create your own puff vinyl T-shirt design. I’ll show you how to use special font settings and glyphs to make your letters look their best, and of course, how to create your letter cutouts! Learn more about ADVANCE with JenniferMaker here!
I hope you give this project a try and experience that joyful “puff moment” for yourself. When the design finally lifts and the shirt takes on that 3D shape, it’s hard not to smile. And once you master this updated method — and learn how to give the puff vinyl space, heat, and pressure to thrive — you’ll never go back to layering your puff vinyl on top of glitter again. So craft something bold, watch the design rise, and enjoy seeing your creativity literally lift right off the fabric.
Let me show you how to get your highest puff yet with my puff vinyl tutorial! This post contains some affiliate links for your convenience (which means if you make a purchase after clicking a link I will earn a small commission but it won’t cost you a penny more, there is no additional cost)! Read my full disclosure policy.
Materials to Make a Puff Vinyl T-Shirt
View my Amazon shopping list with the exact items I used.
- Cotton T-Shirt (I used a black shirt) -OR-
- Heavy Cotton T-Shirt
- Aqua Metallic Puff Heat-Transfer Vinyl -OR-
- Gold Foil Puff Heat-Transfer Vinyl -OR-
- Silver Foil Puff Heat-Transfer Vinyl
- Siser Sparkle Silver Glitter Heat-Transfer Vinyl (alternative)-OR-
- Siser Sparkle Red Glitter Heat-Transfer Vinyl -OR-
- Siser Sparkle Green Glitter Heat-Transfer Vinyl -OR-
- Red Metallic Puff Heat-Transfer Vinyl
- A way to cut your vinyl – I’m using the Cricut Maker 4, but you use any Maker series machine, a Cricut Explore Series machine, the Cricut Venture, or the Cricut Joy Xtra
- Cricut Green StandardGrip Machine Mat, 12″ x 12″
- Cricut EasyPress – 12″ x 10″ -OR-
- Cricut Autopress
- Pressing Mat
- Brayer
- Scissors
- Weeding Tool
- 1” Thick Wood Cutting Board – mine is 16″ x 11″ x 1″ but use one that will fit inside the shirt you’re making
- Lint Roller
- Measuring Tape
- Parchment Paper
- My free T-Shirt Ruler Guides
How to Make a Puff Vinyl T-Shirt!
Puff Vinyl Tutorial
Learn how to make a beautiful T-shirt with this metallic puff vinyl tutorial!
Materials
- Cotton T-Shirt (I used a black shirt) -OR-
- Heavy Cotton T-Shirt
- Aqua Metallic Puff Heat-Transfer Vinyl -OR-
- Gold Foil Puff Heat-Transfer Vinyl -OR-
- Silver Foil Puff Heat-Transfer Vinyl
- Silver Glitter Heat-Transfer Vinyl -OR-
- Red Glitter Heat-Transfer Vinyl -OR-
- Green Glitter Heat-Transfer Vinyl
- Design #790 (My free SVG/PDF/DXF design files are available in my free resource library - get the password by filling out the form at the bottom of this page)
Tools
- A way to cut your vinyl - I’m using the Cricut Maker 4, but you can use any Cricut Maker Series machine, a Cricut Explore Series machine, the Cricut Venture, or the Cricut Joy Xtra
- Cricut Green StandardGrip Mat, 12" x 12"
- Cricut EasyPress 3 - 12" x 10" -OR-
- Cricut Autopress
- Pressing Mat (for pre-heating only)
- Brayer
- Scissors
- Weeding Tool
- 1” Thick Wood Cutting Board (mine is 16" x 11" x 1", but use one that will fit inside the shirt you’re making)
- Lint Roller
- Measuring Tape
- Parchment Paper
- My free T-Shirt Ruler Guides
Instructions
STEP 1: GET MY FREE PUFF VINYL DESIGNS
First, download my puff vinyl design files from my free library - look for Design #790. Alternatively, you can use the Save This Project form near the top of this post and the design link will be emailed to you.
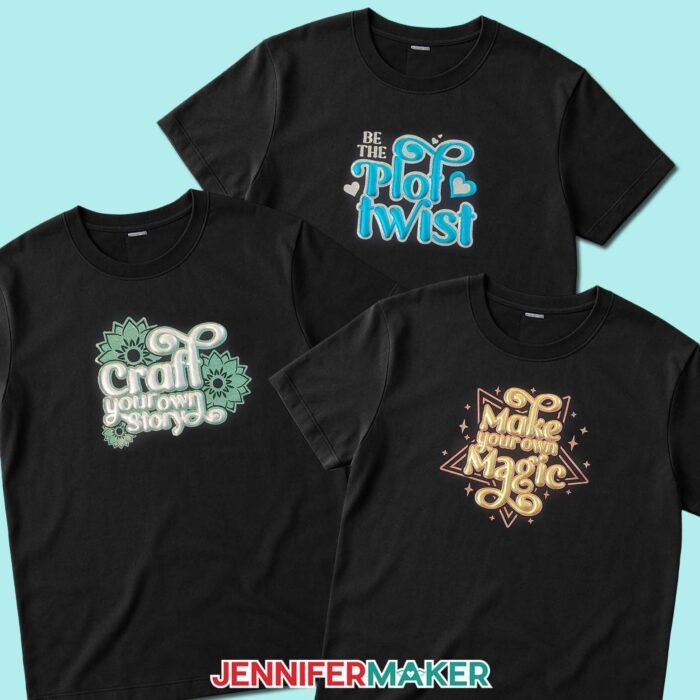
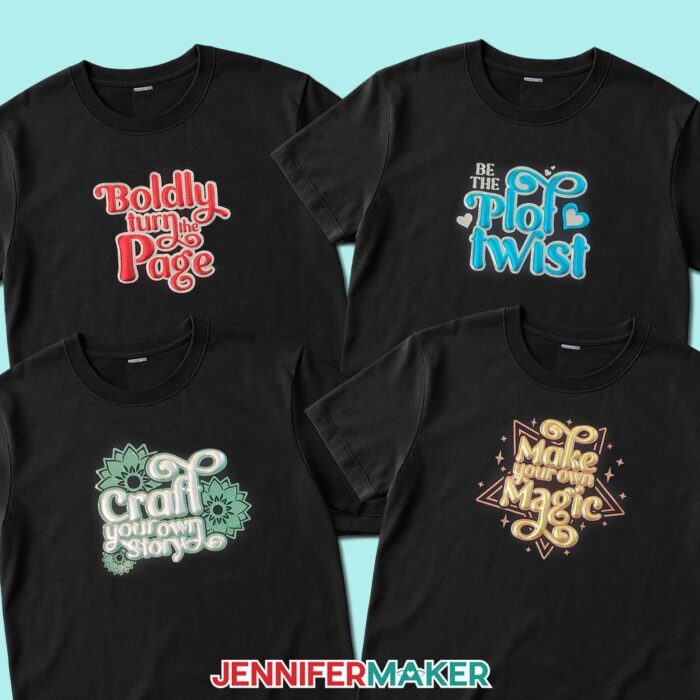
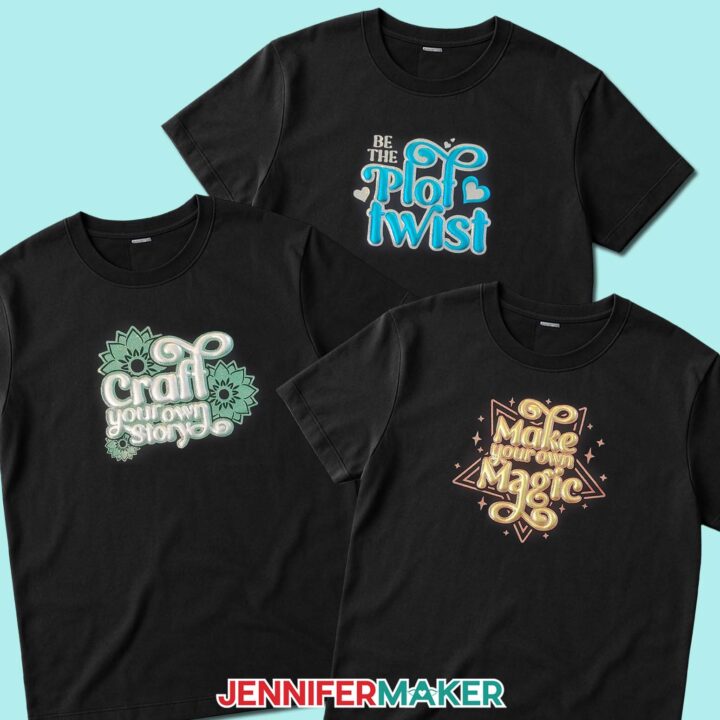
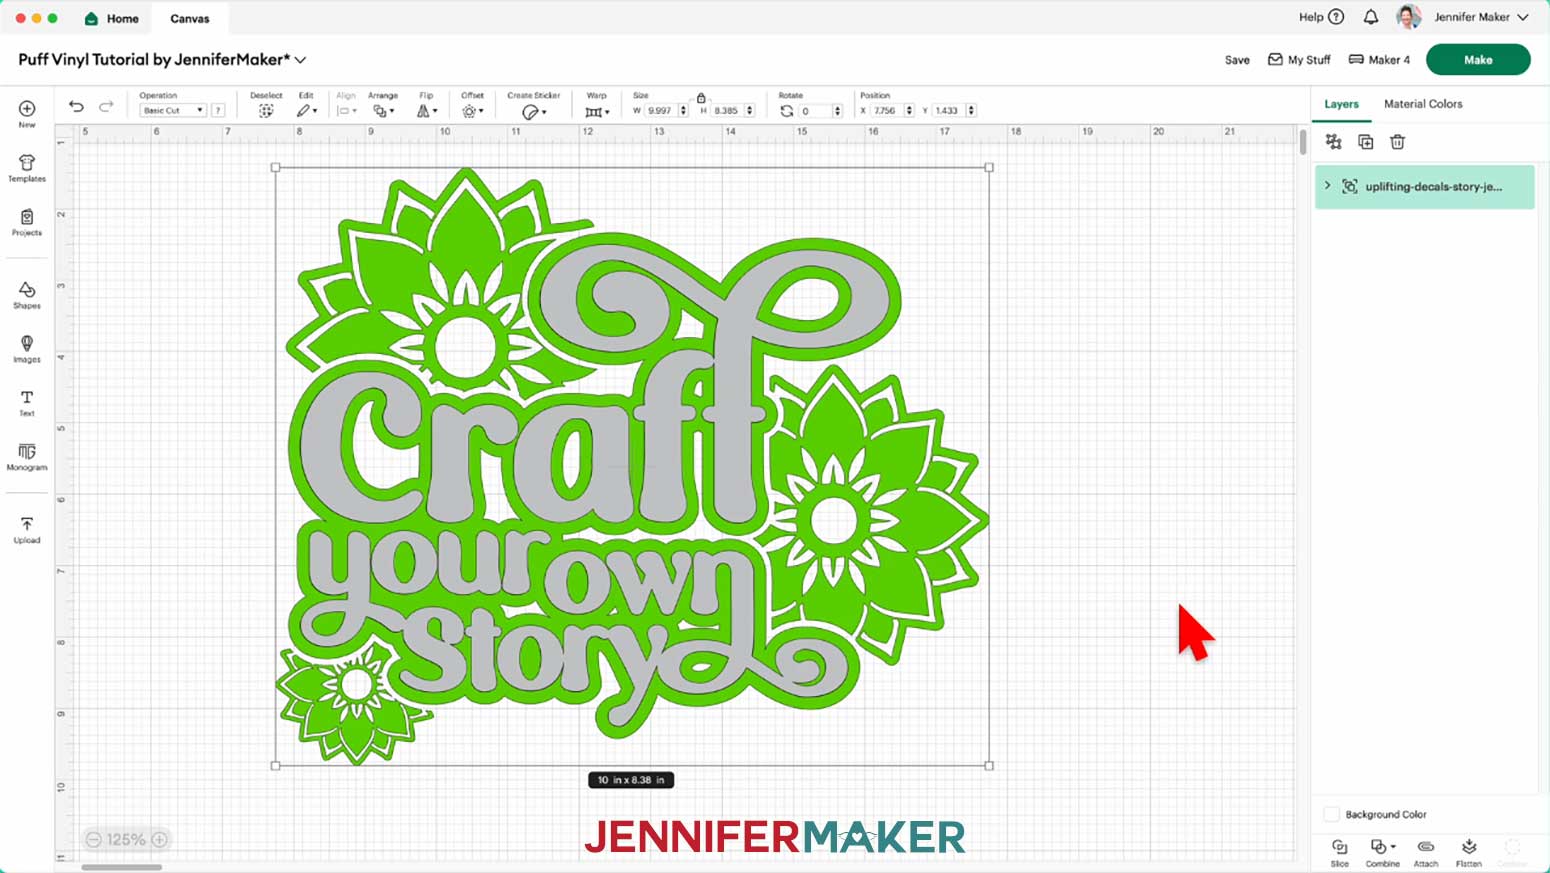
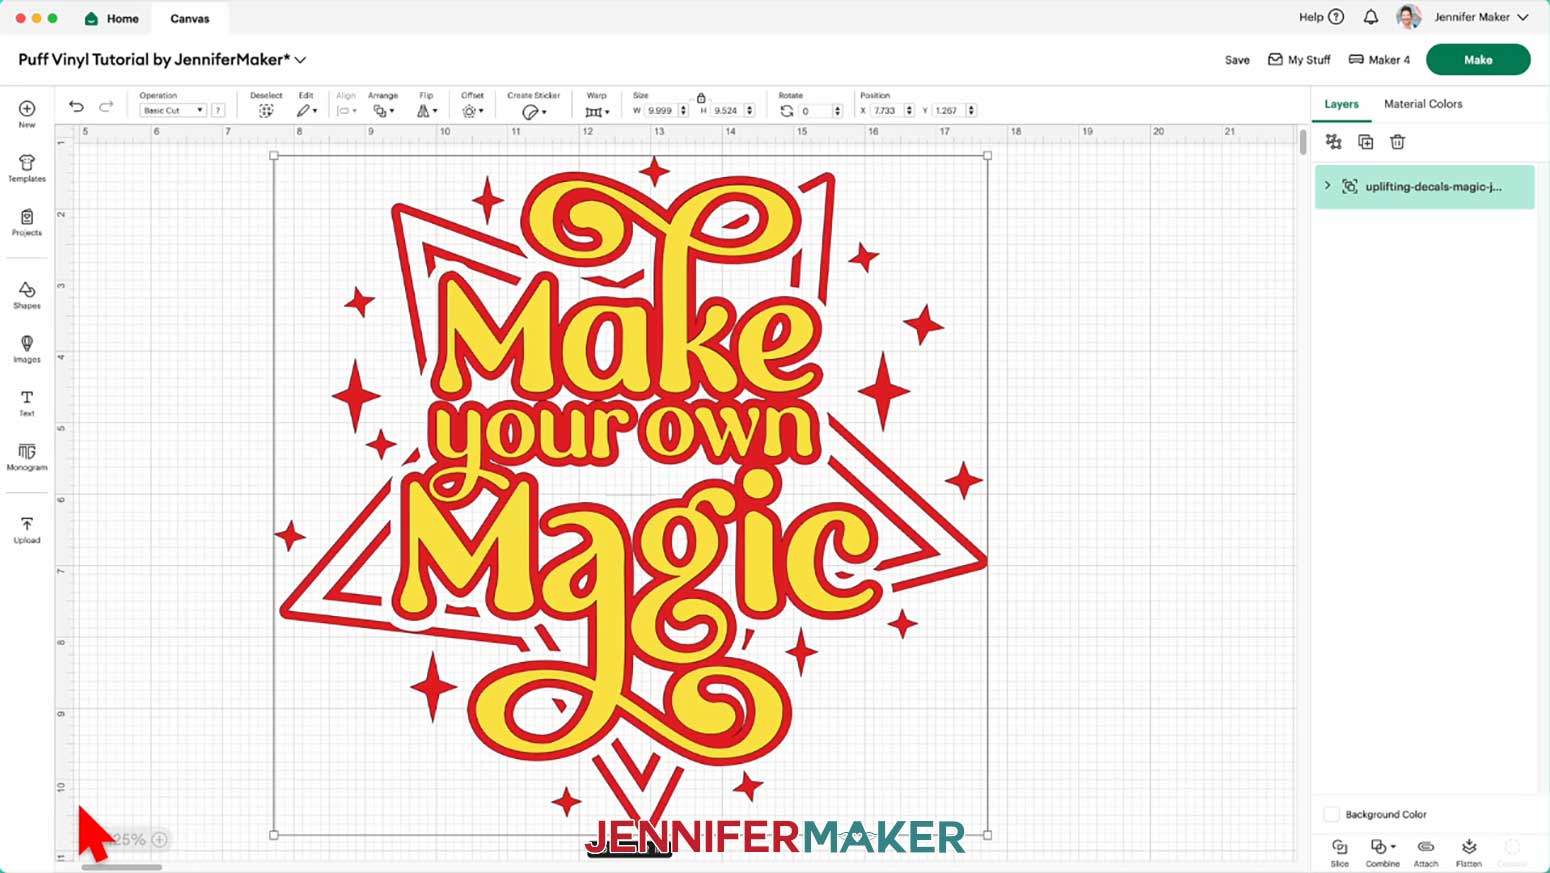
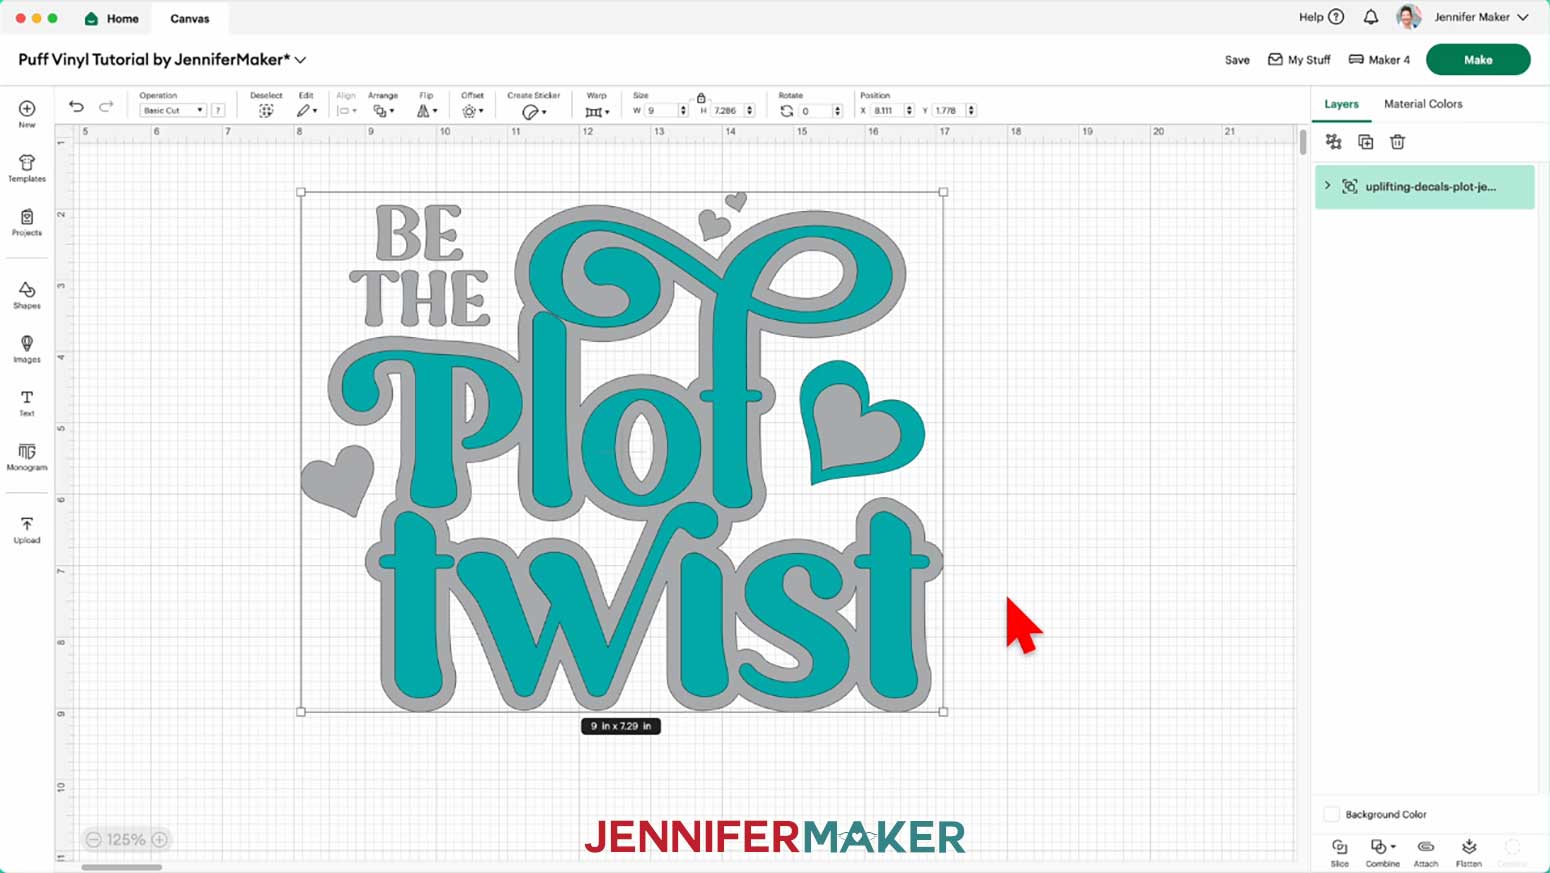
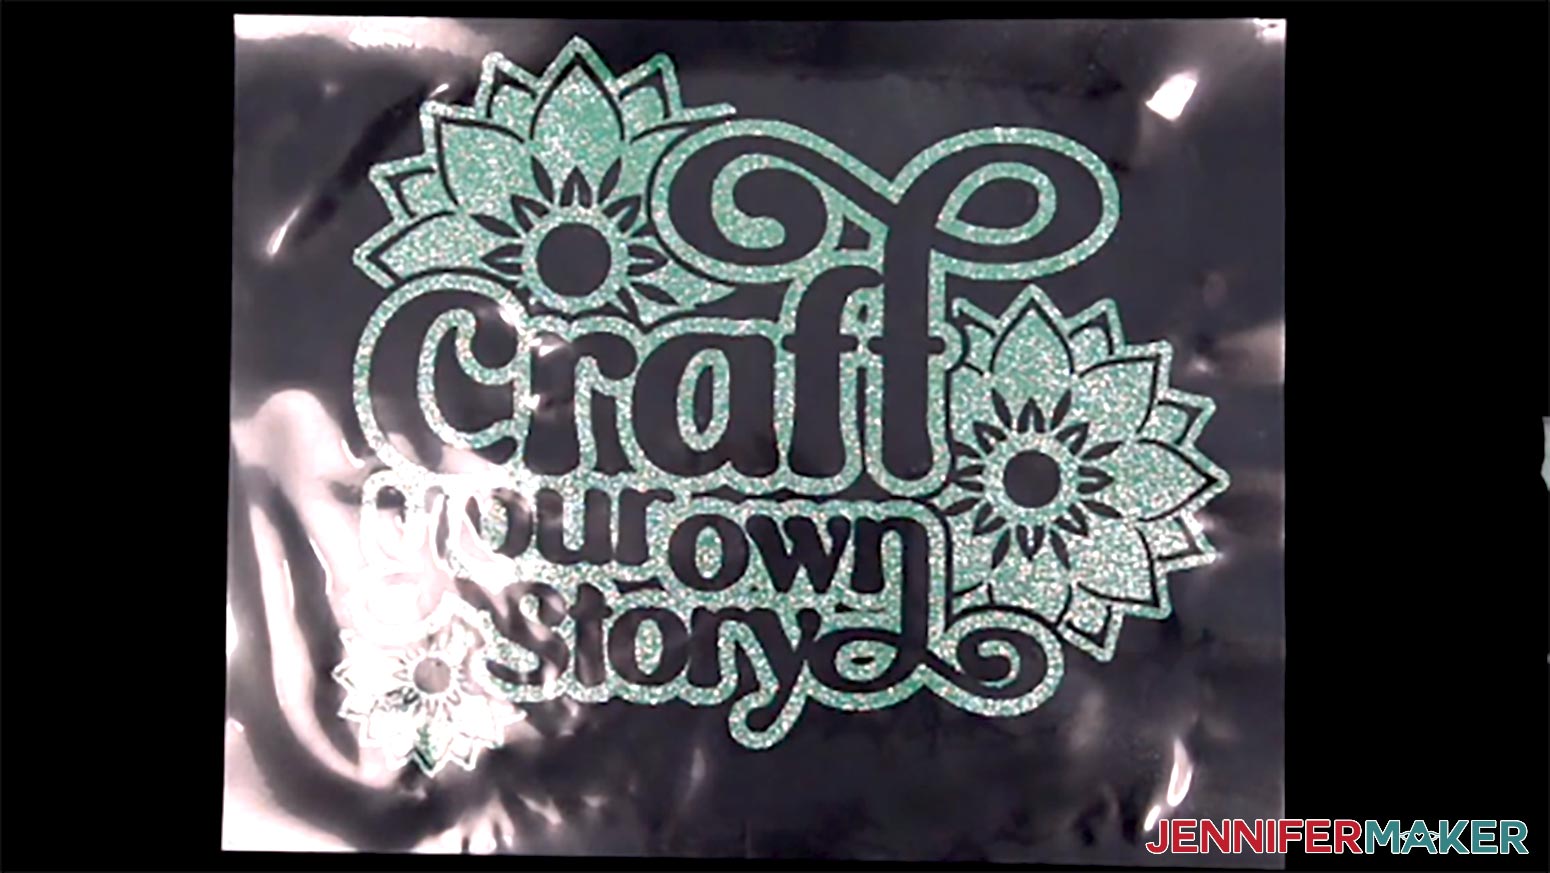
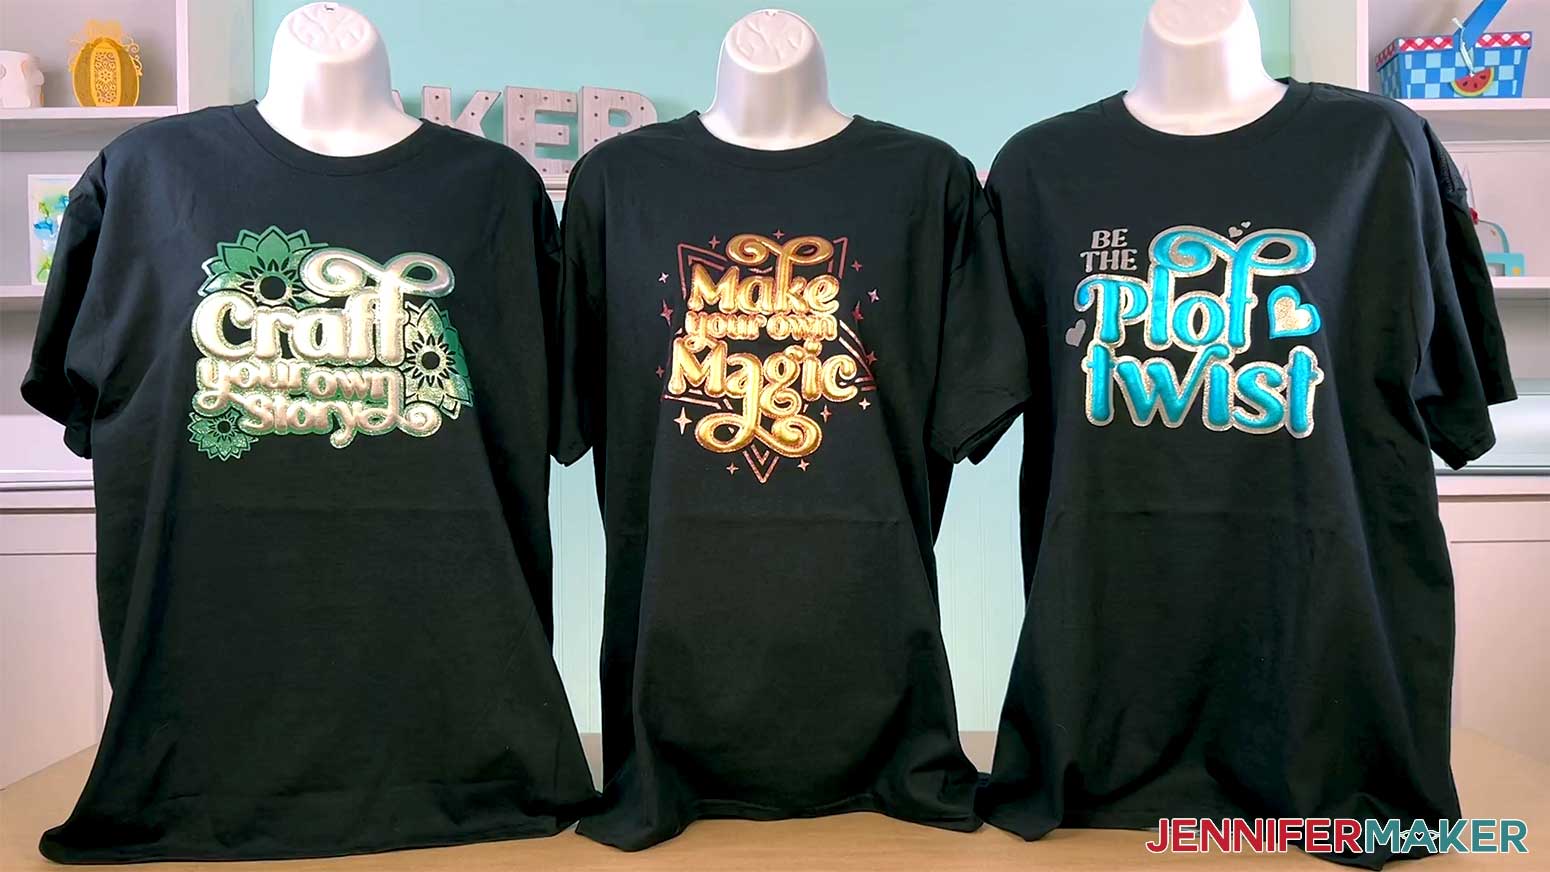
The SVG folder has three designs: “Be the Plot Twist,” “Craft Your Own Story,” and “Make Your Own Magic.”
There is also a DXF folder with cut files, and a PDF folder with versions you can print and use to cut the puff vinyl designs by hand.
TIP: If you’re not sure how to upload, go to jennifermaker.com/svgs to learn how to unzip and upload SVG files.
STEP 2: PREPARE AND CUT YOUR PUFF VINYL DESIGN
CRICUT DESIGN SPACE
1. In Cricut Design Space, open a blank Canvas.
NOTE: If you’re new to using Cricut Design Space, go to cricutkickoff.com for my introductory tutorial on Design Space basics.
2. Click “Upload” and then “Upload Image.”
3. Click “Browse.”
4. Select the SVG file of your choice.
NOTE: I’ll pick the “Craft Your Own Story” design, but you can use these instructions for all three designs.
5. Click “Open,” and then “Continue.”
6. Click “Upload” to add the design to your Canvas.
NOTE: Each design has a background layer with the lettering cut out for your glitter vinyl, and a layer with the lettering for the puff vinyl.
7. Click “Save” and give your project a name.
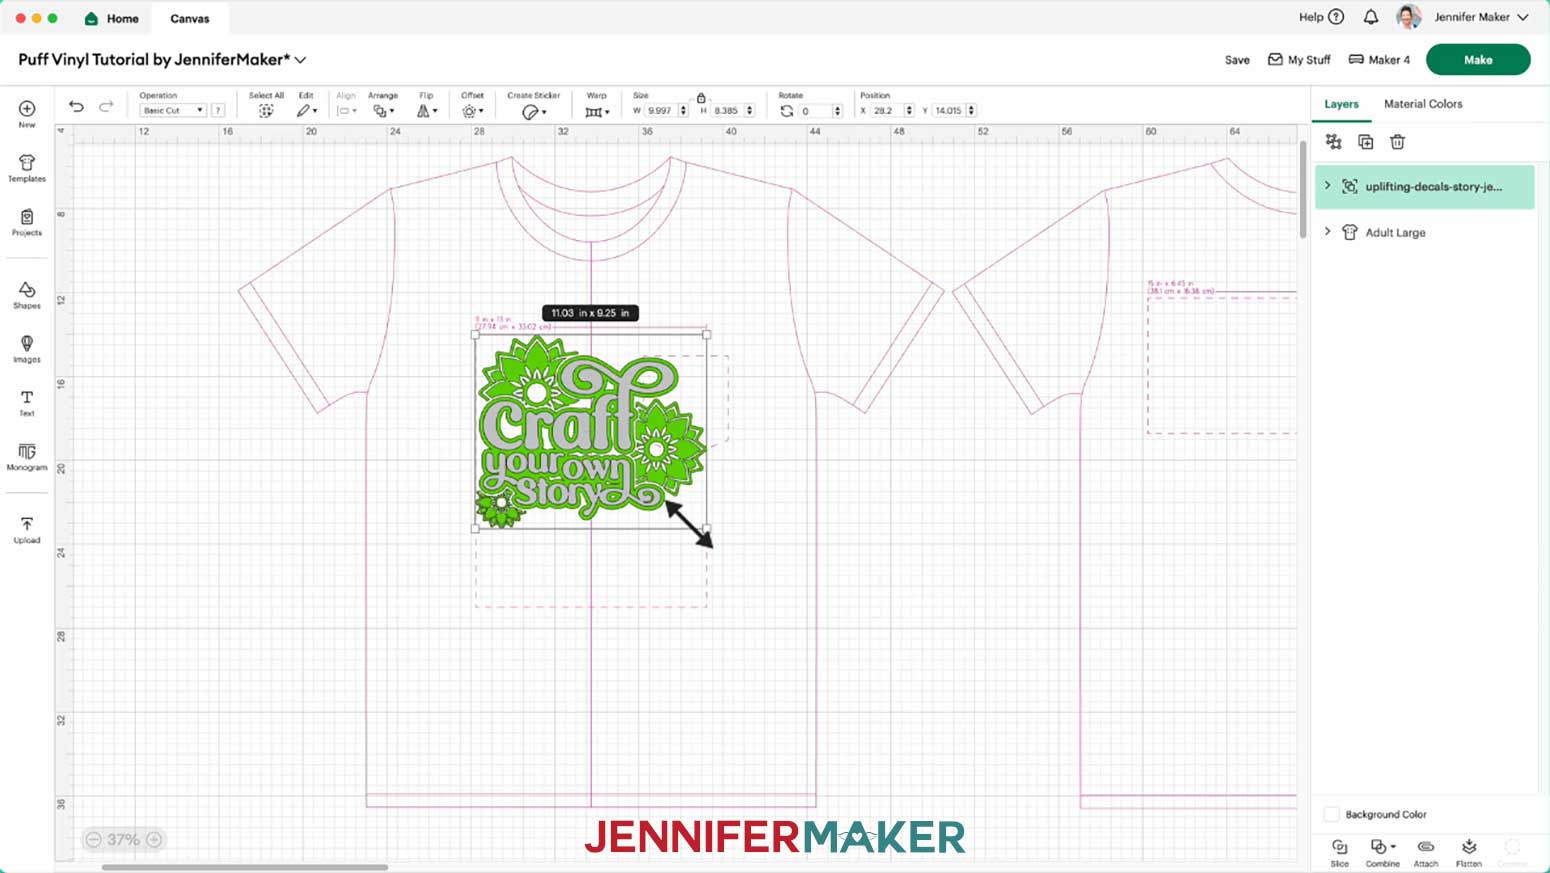
8. Click the “Templates” icon and then select “T-Shirt.”
9. Choose your shirt style and size in the “T-Shirt Layout Guide” section to add that template to your Canvas.
NOTE: I’ll choose “Adult Large.”
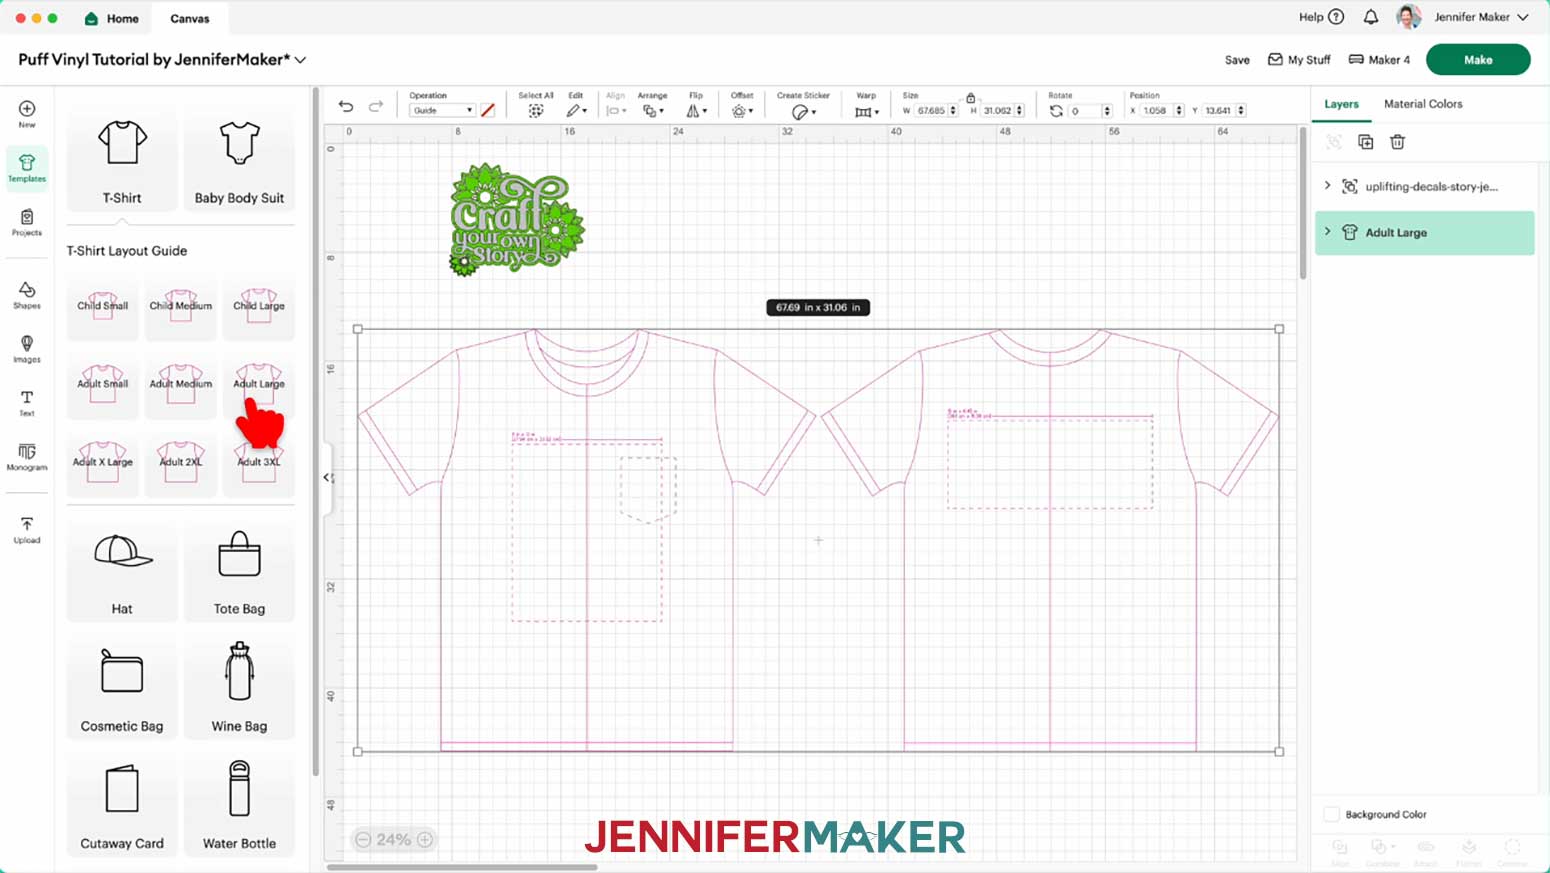
10. Move the design into the dashed square chest area of the T-shirt template to preview how it will look on your shirt.
11. If you’d like to adjust the size of your design, keep the “Lock” icon closed to maintain the proportions, and use the corner Resize handles to shrink or expand it.
TIP: Make sure to stay inside the dashed rectangle for the best placement, and keep your material’s maximum size in mind.
NOTE: The puff vinyl will expand to fill in some gaps, so keep that in mind and make a test version if you make the design much smaller.
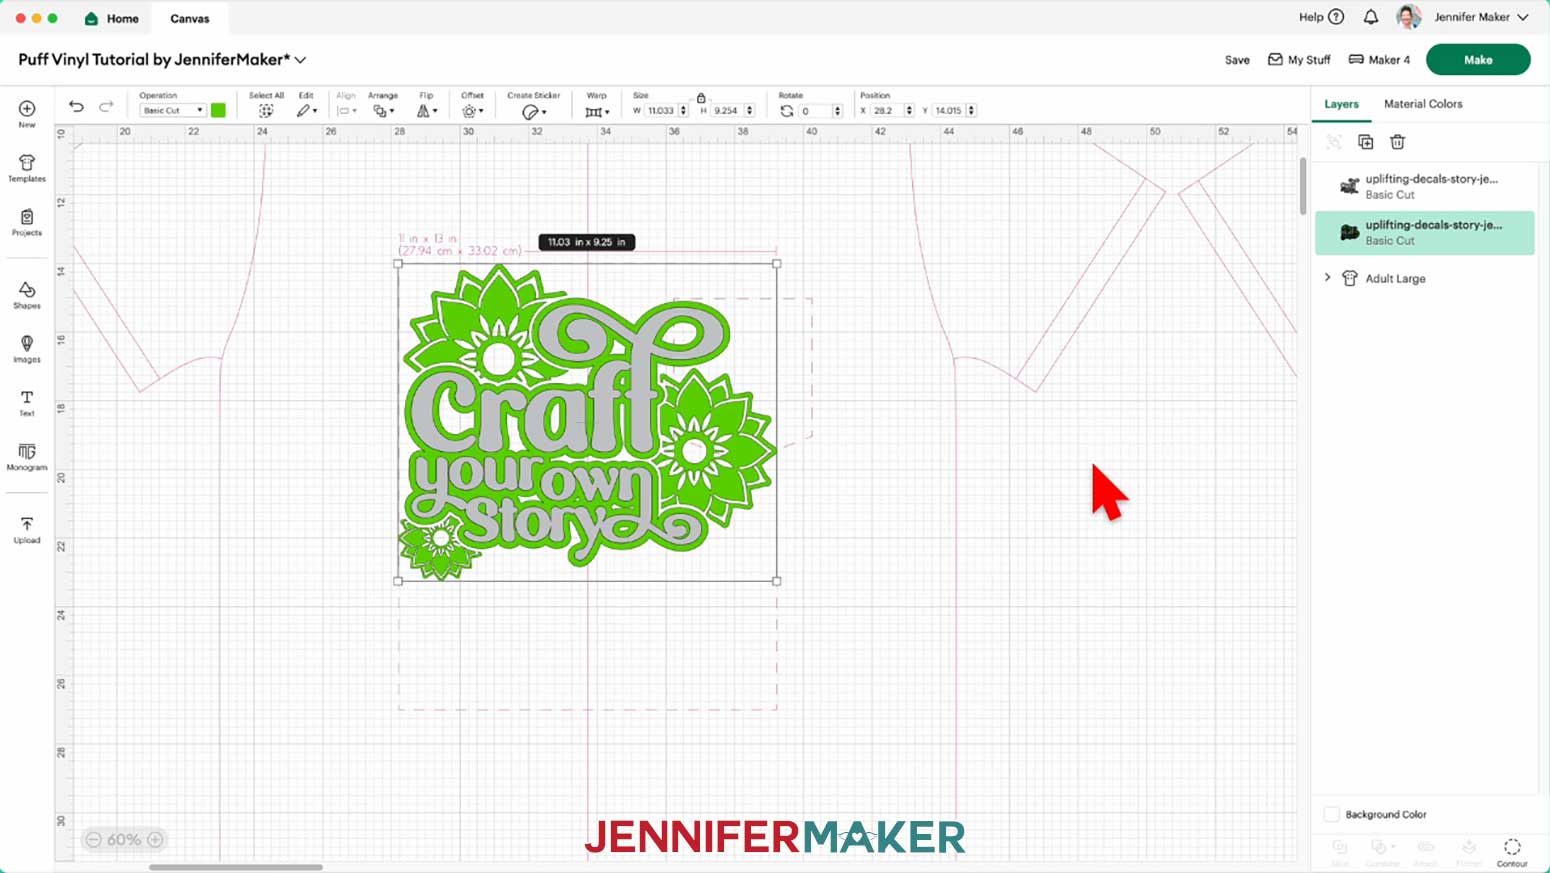
12. If you’d like to change the color of either layer to match the vinyl you’ll use for it, “Ungroup” the design.
13. Select the layer you want to adjust, then use the Color Box to choose a new option.
14. Your project is ready to cut!
CUTTING
1. Make sure the correct machine is selected in the top right.
2. Click “Make.”
3. On the Prepare screen, make sure the correct Material Size is selected for your mats.
NOTE: I’ll set both mats to “12 in x 12 in” so the entire grid is available.
4. Since we’re using Iron-on Vinyl, toggle the “Mirror” setting ON for both mats.
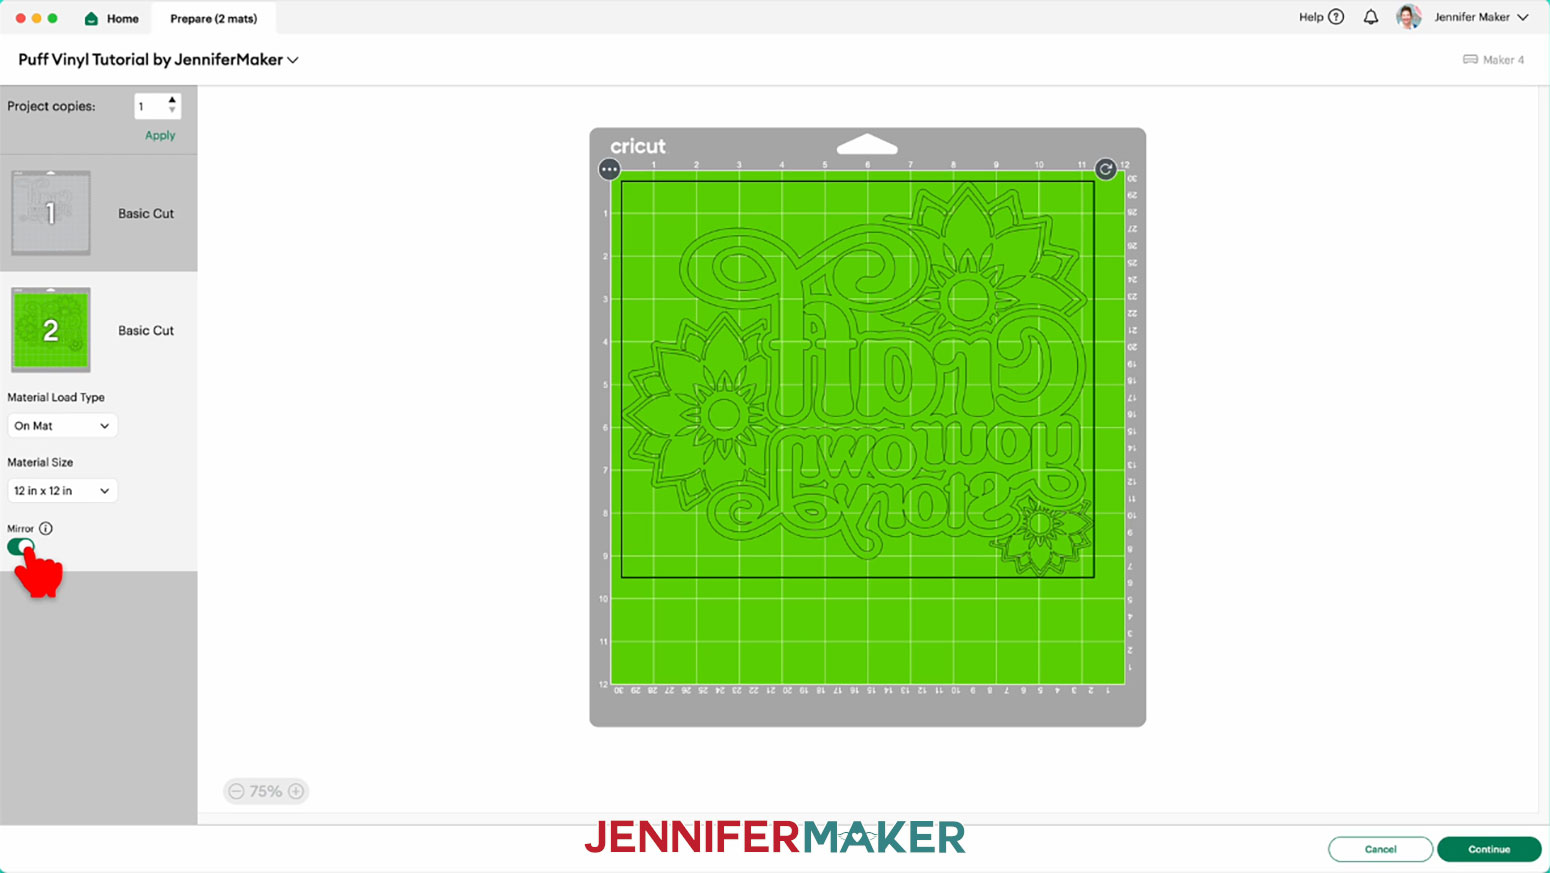
5. Click on “Mat 1” so it loads first on the next page, then click “Continue.”
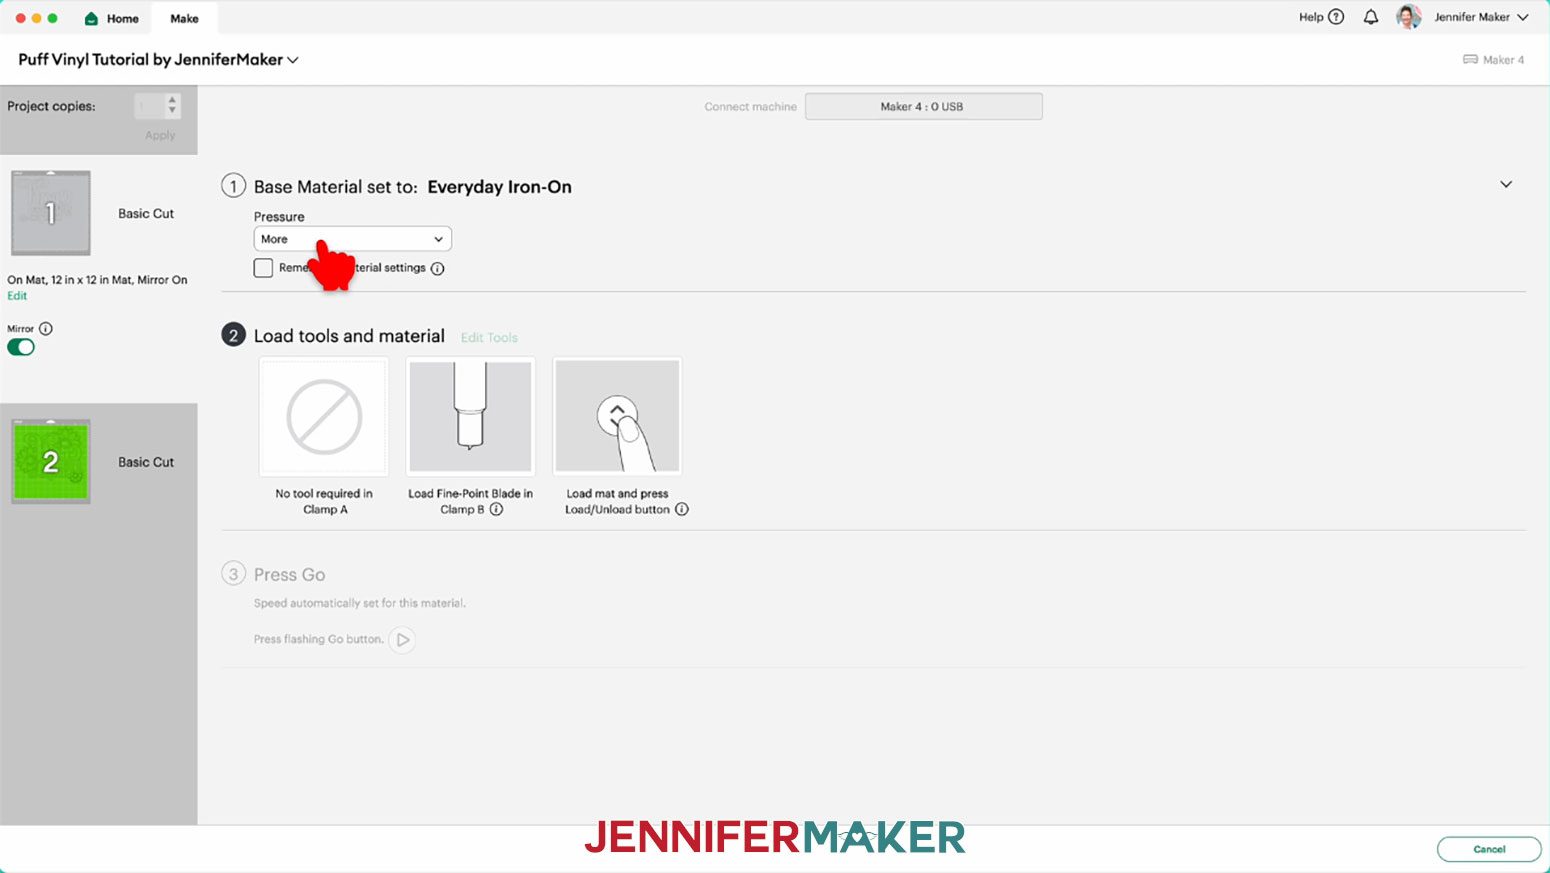
6. On the Make screen, set the “Base Material” for your first mat.
NOTE: My first mat has the text layer, which I’ll cut from puff vinyl. If you are using different colors, your design layers may be in a different order. I used the “Everyday Iron-On” material setting for both glitter vinyl and puff vinyl.
7. Change the Pressure to “More” for cleaner cuts.
8. Use a paper trimmer or scissors to trim your vinyl to cover the design area shown on the screen, plus an inch or so of buffer.
TIP: You can save smaller pieces of vinyl for other projects.
9. Place your iron-on vinyl with the carrier sheet (usually the shinier side) face-down on a green StandardGrip machine mat so it covers the design area on your screen.
NOTE: If you’re not sure which side is which, use a weeding tool to scratch a corner on each side. The one you can lift is the vinyl, which goes face-up for iron-on projects.
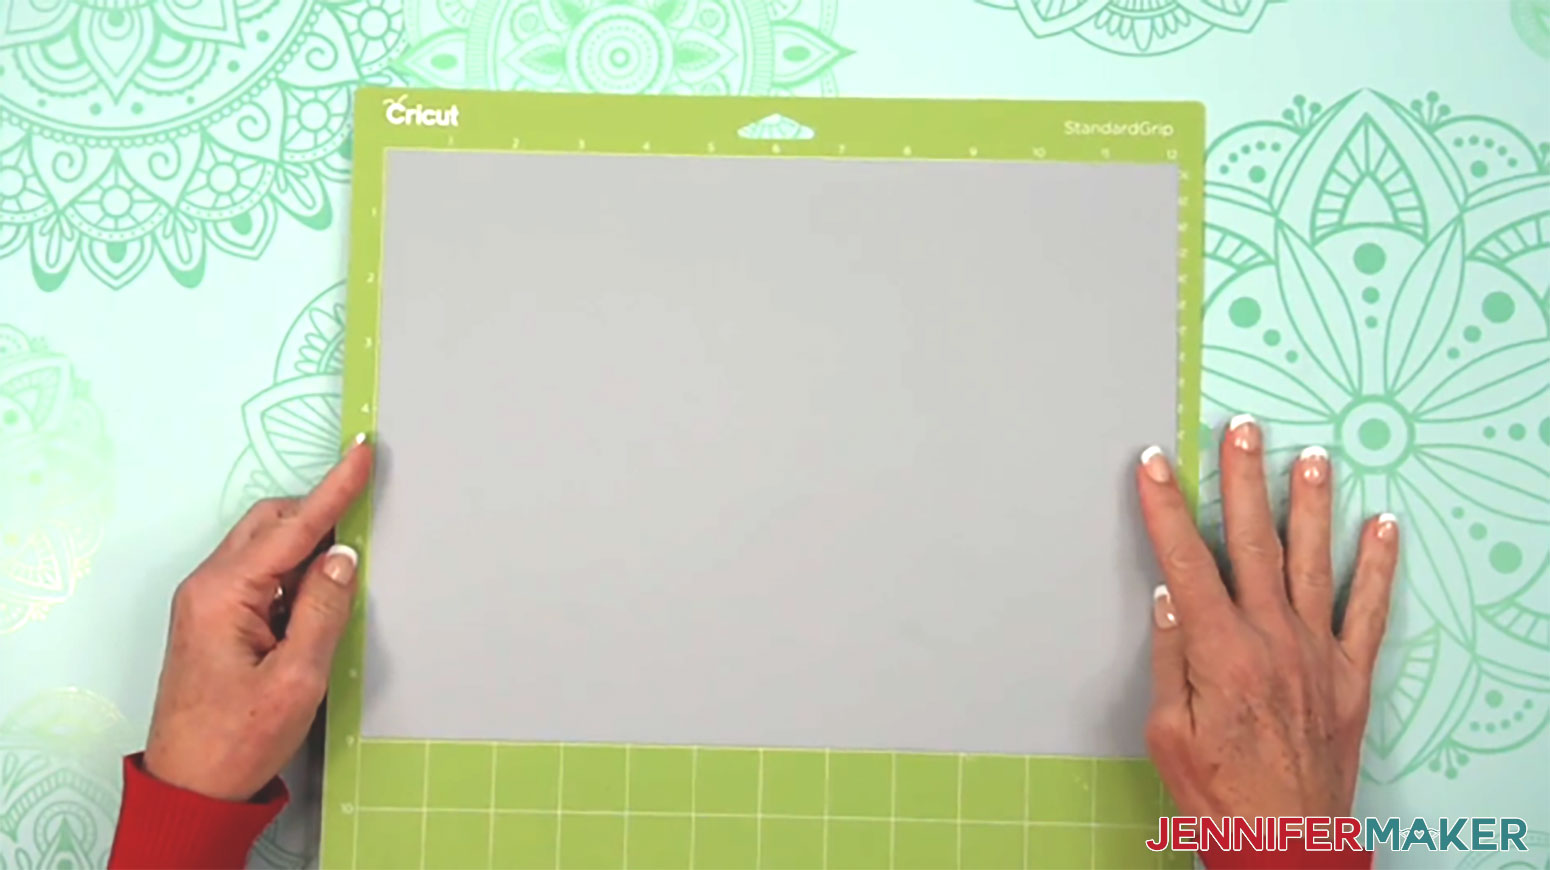
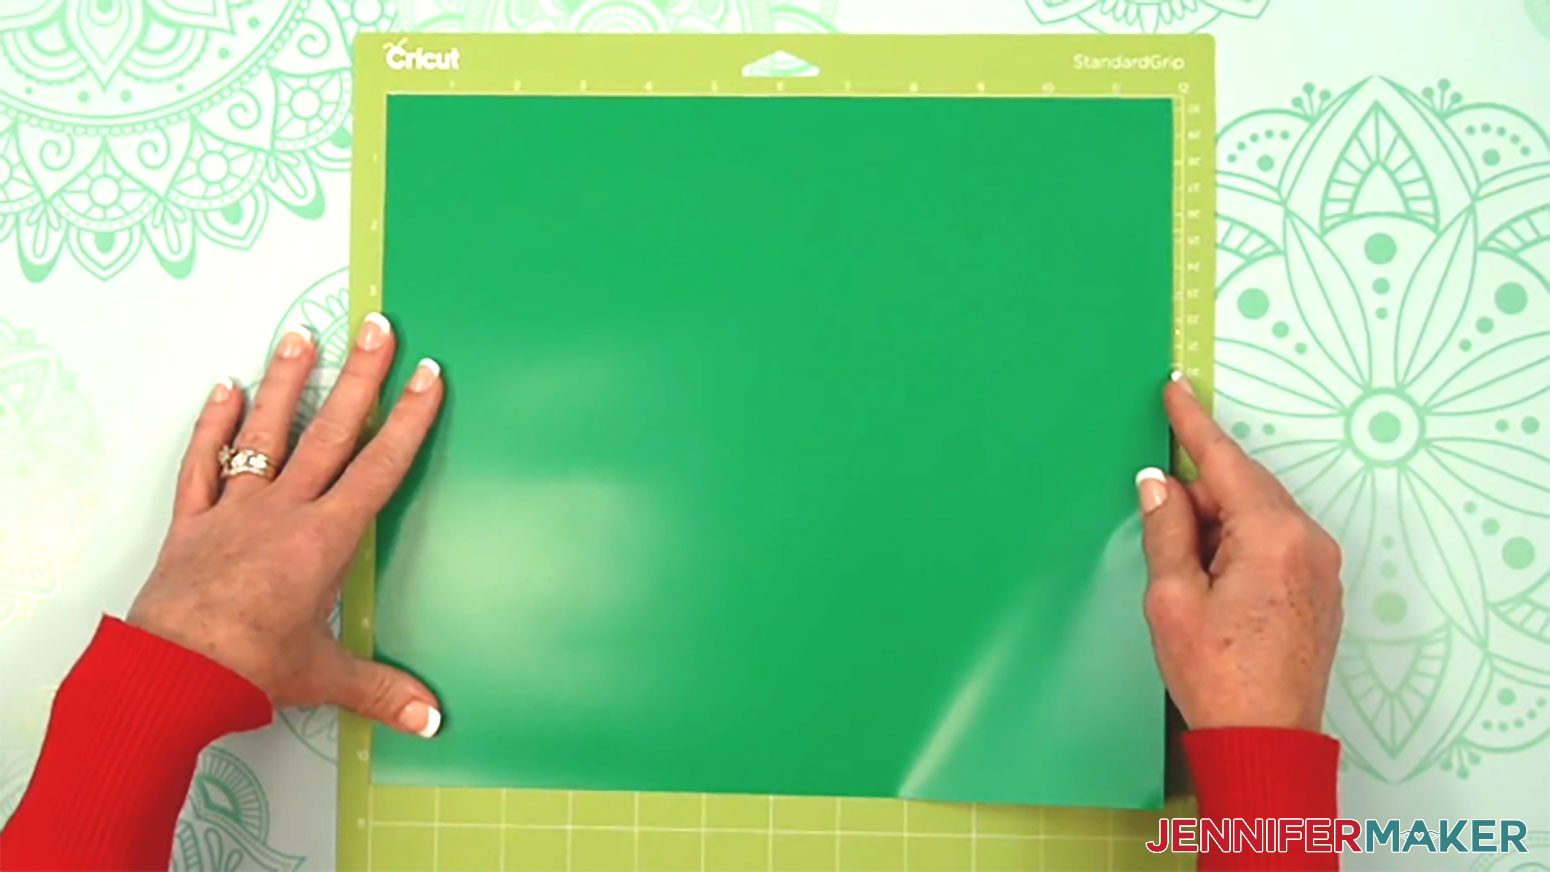
10. Use a brayer to make sure it’s fully adhered.
11. Check that your Premium Fine-Point Blade is clean and in the clamp.
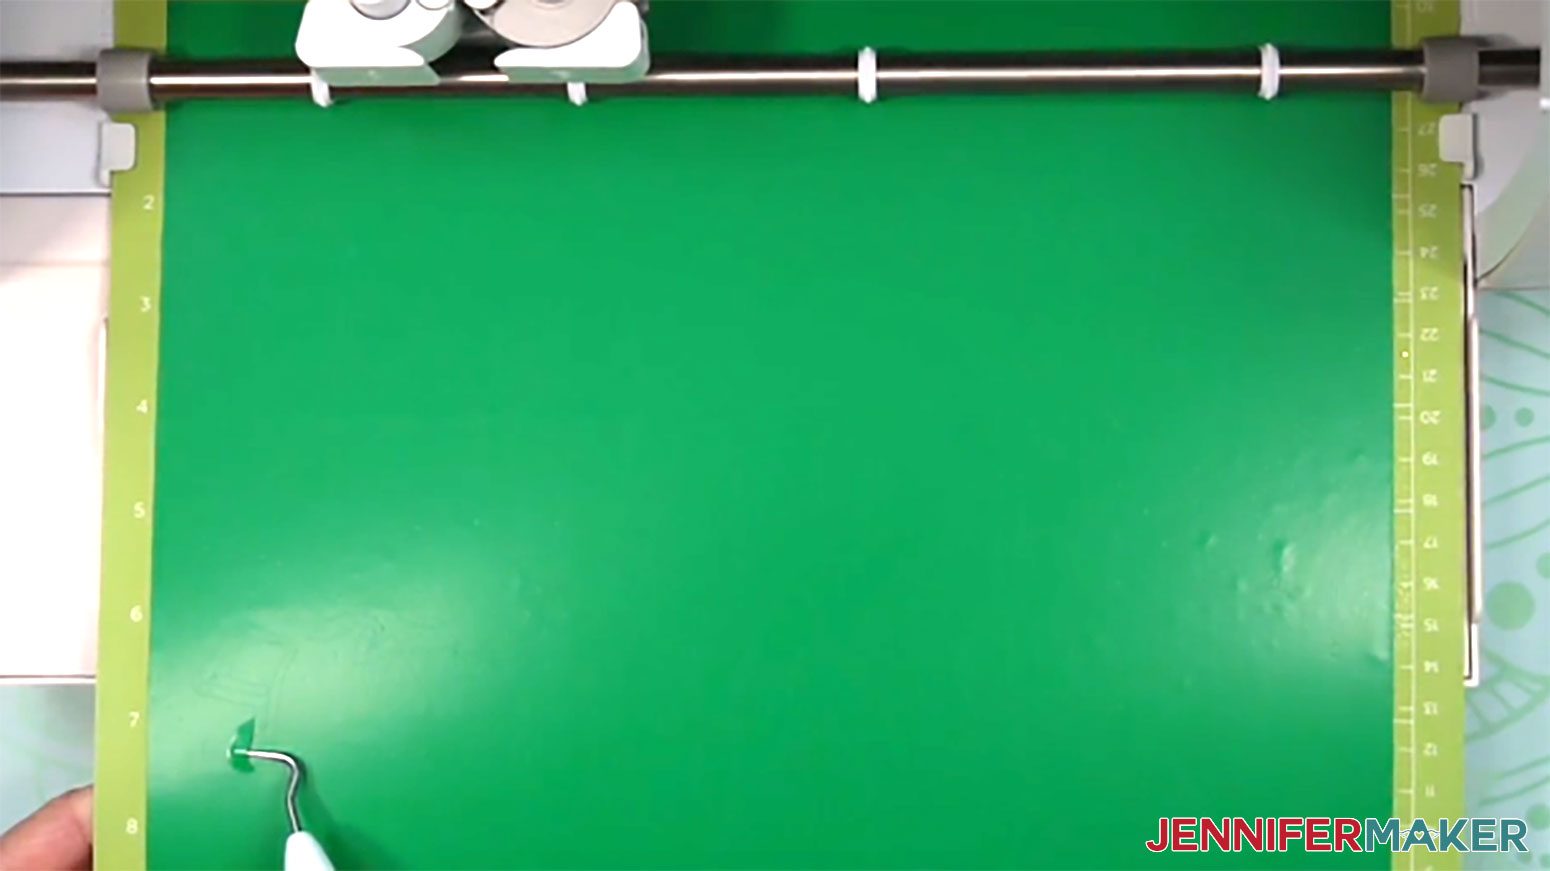
12. Press the flashing “Load/Unload” button to load the prepared mat into your Cricut.
13. Press the flashing middle button to begin cutting.
14. When it has finished cutting, don’t unload the mat right away. Gently lift a corner of the vinyl that isn’t part of your design to make sure the cuts went all the way through the material, but not the carrier sheet. If your cuts aren’t complete, press the middle button again to make a second pass of cuts in the same spots.
TIP: If you have any issues with your cuts, go to jennifermaker.com/cleaner-cuts for my best tips and tricks.
15. When the cuts are complete, unload the mat, and keep the vinyl decal on the mat for easier weeding.
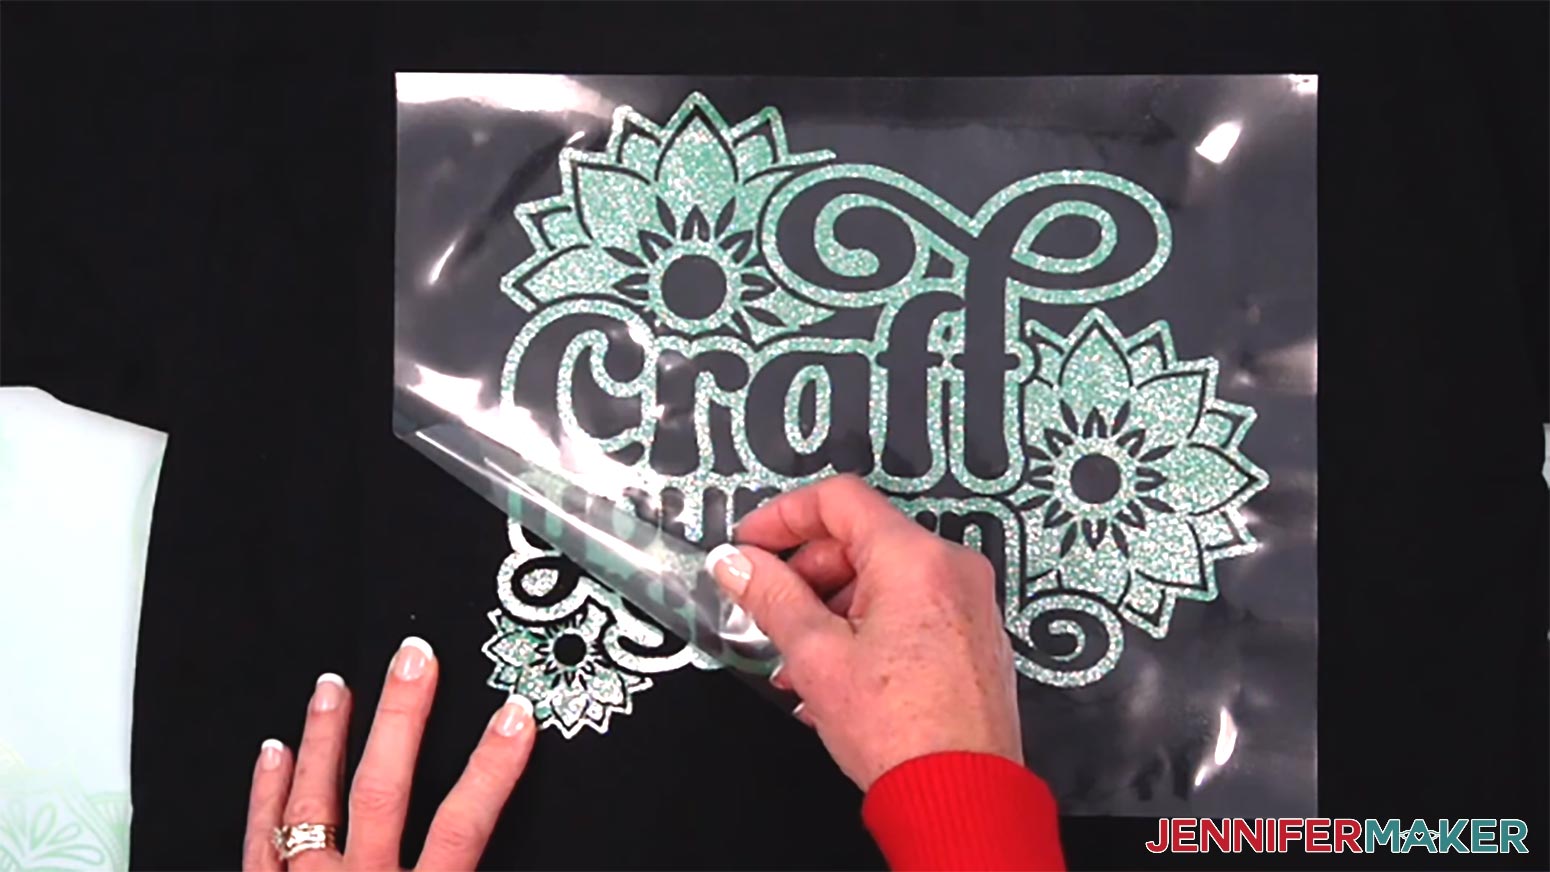
16. Use your weeding tool to remove the larger pieces of excess vinyl around the design.
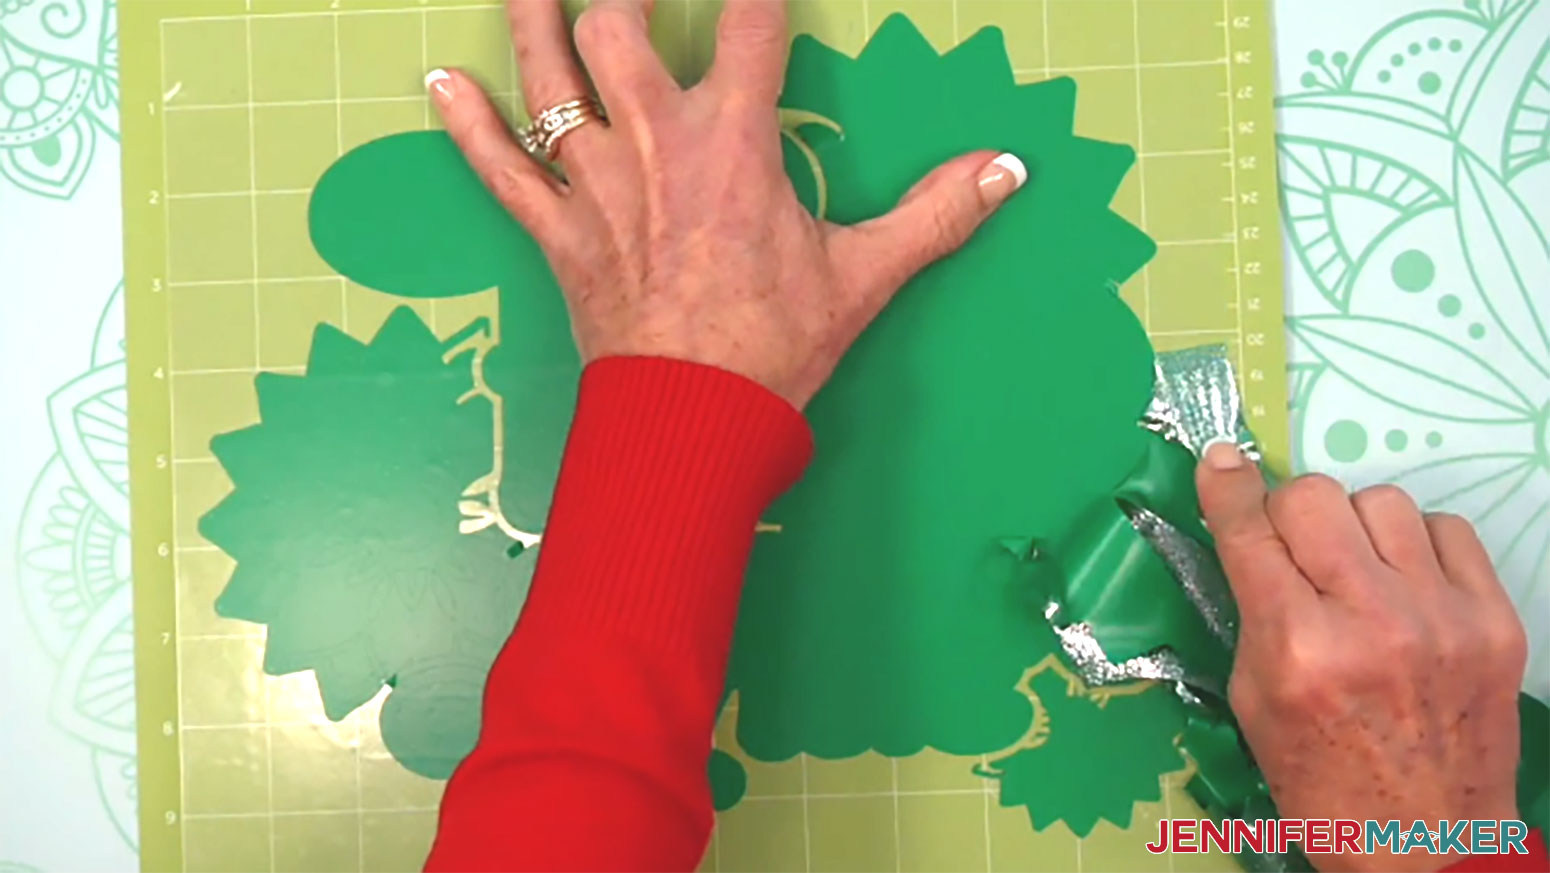
17. Then carefully lift the excess vinyl from the intricate parts of the design.
TIP: Peel the material away from the design instead of toward it to help keep delicate pieces in place.

18. If a delicate design element starts lifting, carefully anchor it to the carrier sheet with a rounded section of the weeding tool and lift the excess around the tool with your other hand or tweezers.
19. Once you’re done, make sure no elements have shifted, and gently nudge them back in place if needed.
TIP: Look closely at the carrier sheet, and you might be able to see lines where the design pieces go back in place.
20. Flip the mat over onto your work surface, and roll it back to release the vinyl’s carrier sheet.
21. Follow Steps 6-20 to cut and weed the remaining mat with the other material.
22. Lay both vinyl decals face up on a clean surface to make sure the correct pieces have been removed.
TIP: Refer to the Design Space screen if you’re not sure about a layer’s orientation.

STEP 3: ASSEMBLE YOUR PUFF VINYL SHIRT
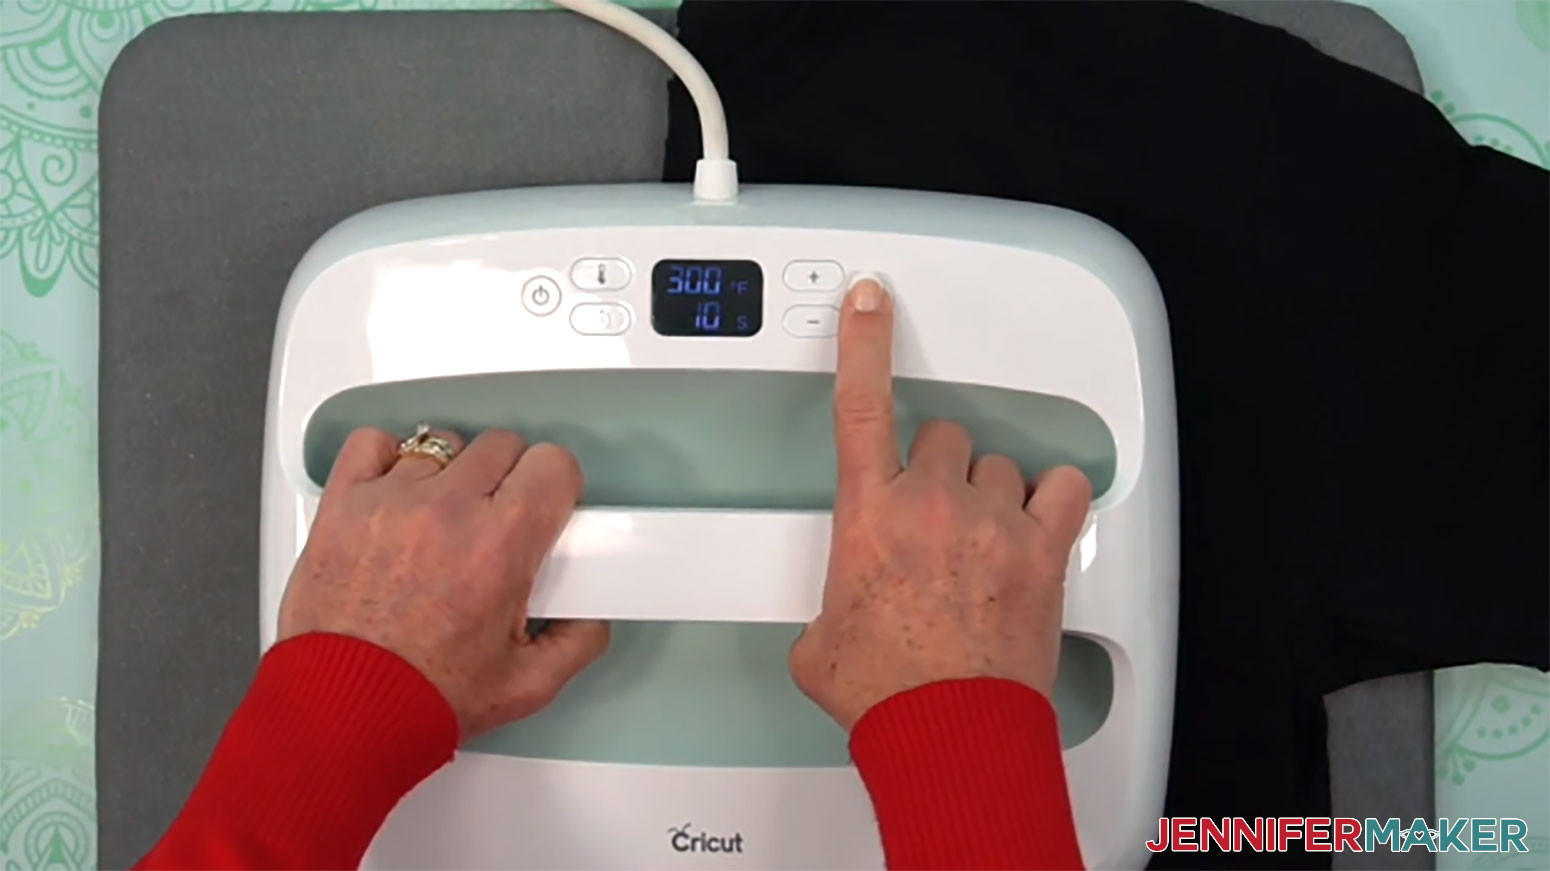
1. Set the temperature of your EasyPress to 300℉ (149℃), and set the timer for 10 seconds.
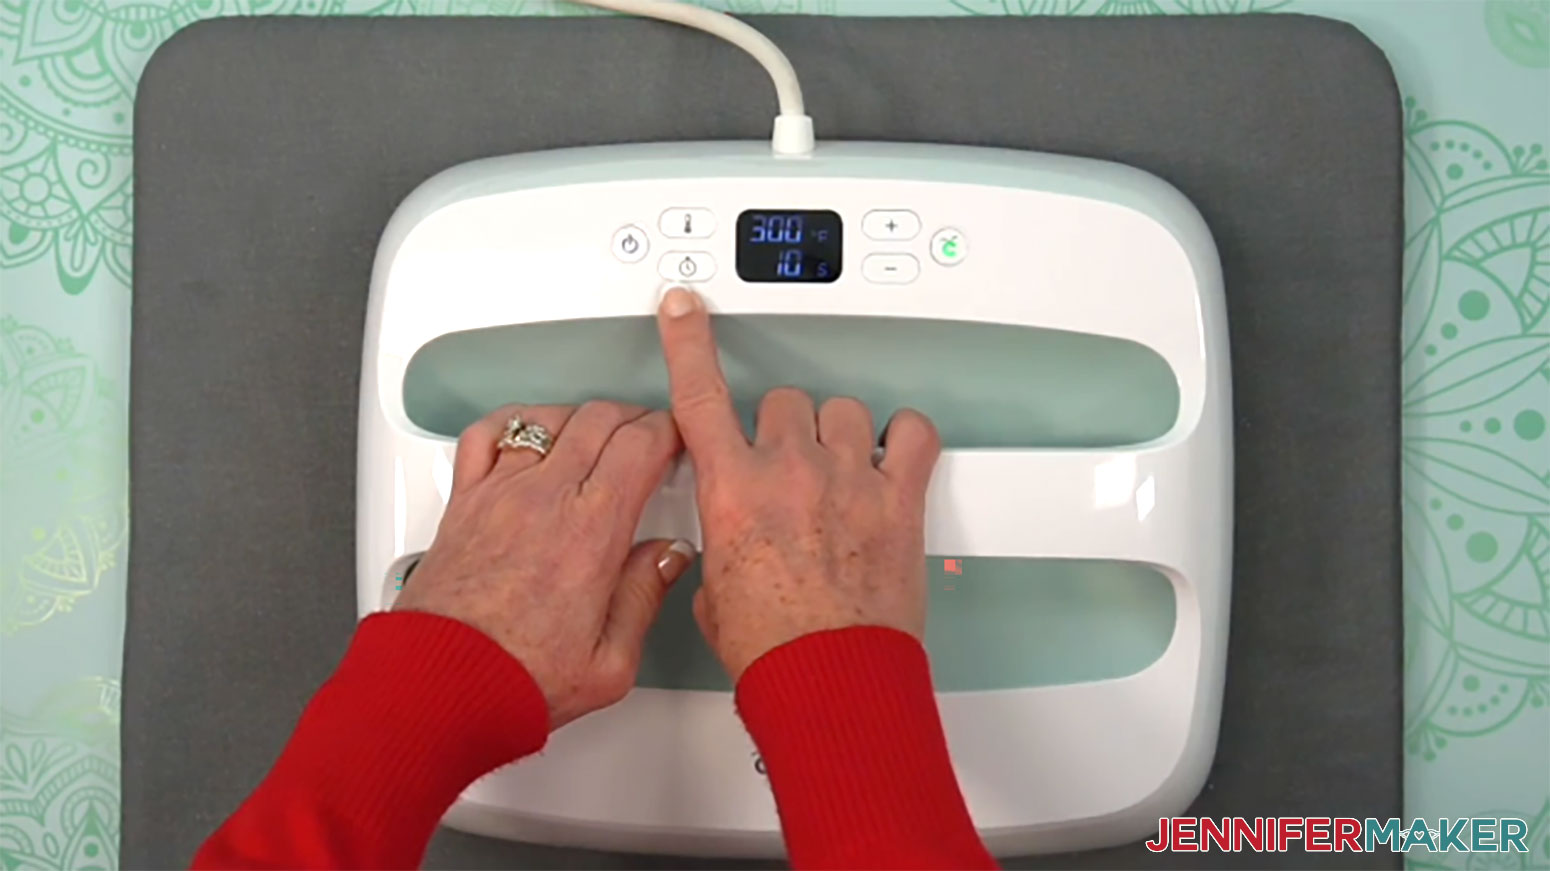
NOTE: My time and temperature settings are different from the manufacturer’s settings, but I’ve tested them for both types of vinyl with good results and prefer the results using my settings.
2. Lay your shirt flat and face up on your pressing mat.
3. Use a lint roller to remove any excess lint or debris from your shirt.
4. Fold your shirt in half vertically and press it for 10 seconds along the crease to remove moisture, pre-heat your shirt, and create a center alignment line.
TIP: Moisture will keep the materials from adhering and stop the puff vinyl from puffing up later on, so make sure the shirt, work area, and materials are all dry and free of steam or high humidity.
NOTE: Always remember to place your press back on its base after use, as it’s still hot.
5. Set the pressing mat aside, then unfold your shirt and lay it face up in your pressing area.
NOTE: If you’re using a Cricut AutoPress, remove the pressing mat before pressing the vinyl.
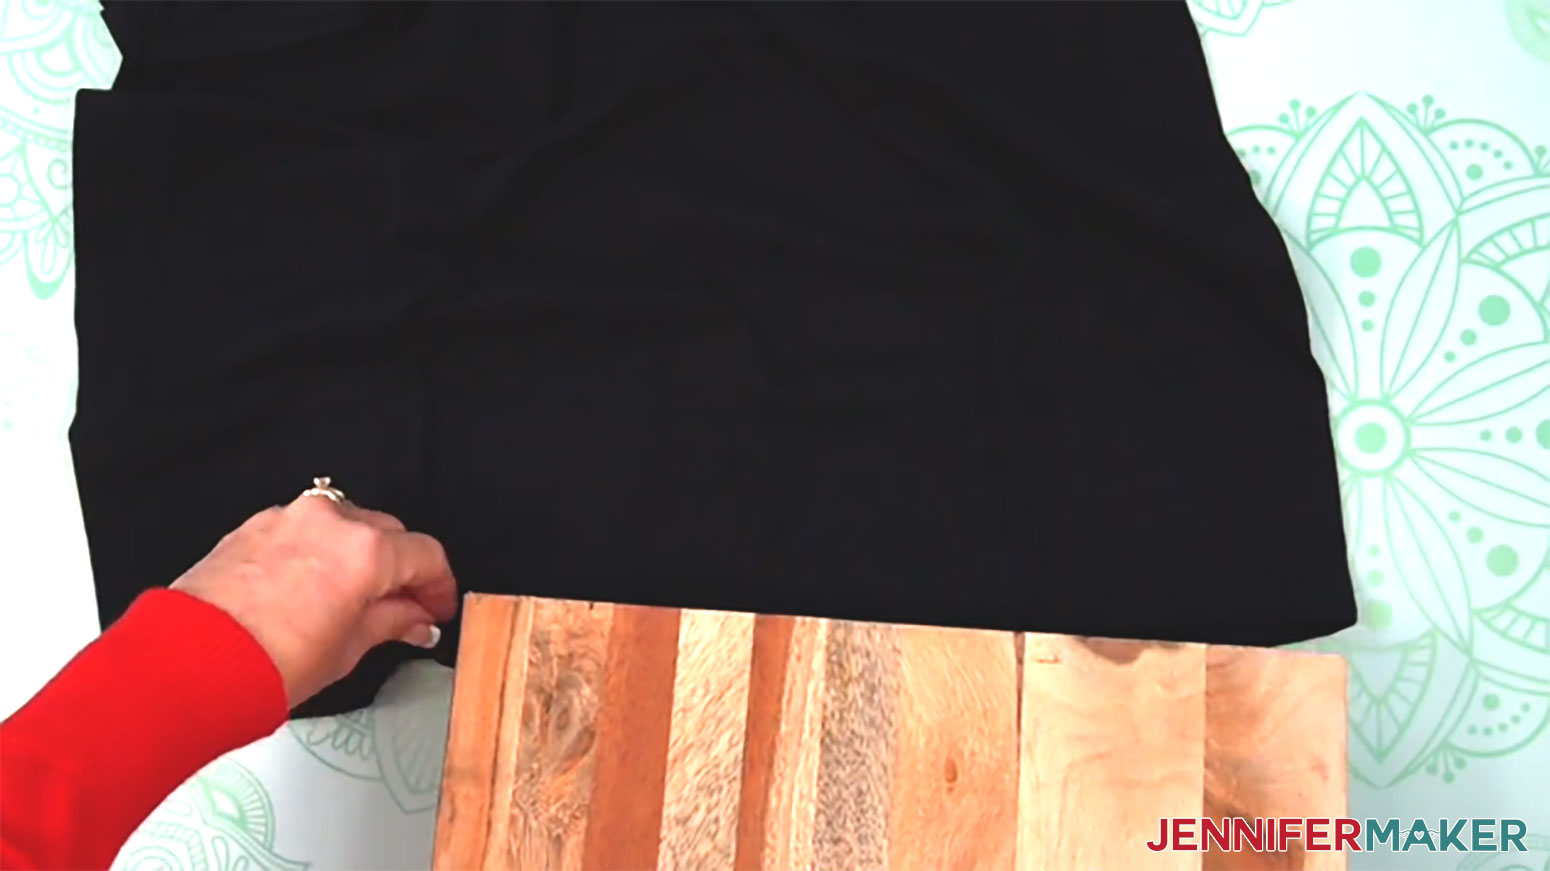
6. Insert the 1” wooden cutting board inside your shirt under the area where your design will be, and smooth out the fabric while leaving the center crease straight.
NOTE: Do NOT use a heat press mat or pressing pad inside the shirt because puff vinyl needs a smooth, hard surface to achieve the puff effect.
7. Make sure your work surface and the board are stable and sturdy enough to withstand heavy pressure.
8. Start with the glitter background layer first to anchor the design in place and make sure the puff vinyl can expand completely.
9. Hold the glitter vinyl sticky side down and fold the left side over onto the right side until the edges of the designs meet to find the middle.
10. Vertically crease the top and bottom edges of the carrier sheet–but NOT the actual vinyl–at the halfway point to mark the design’s center for alignment.
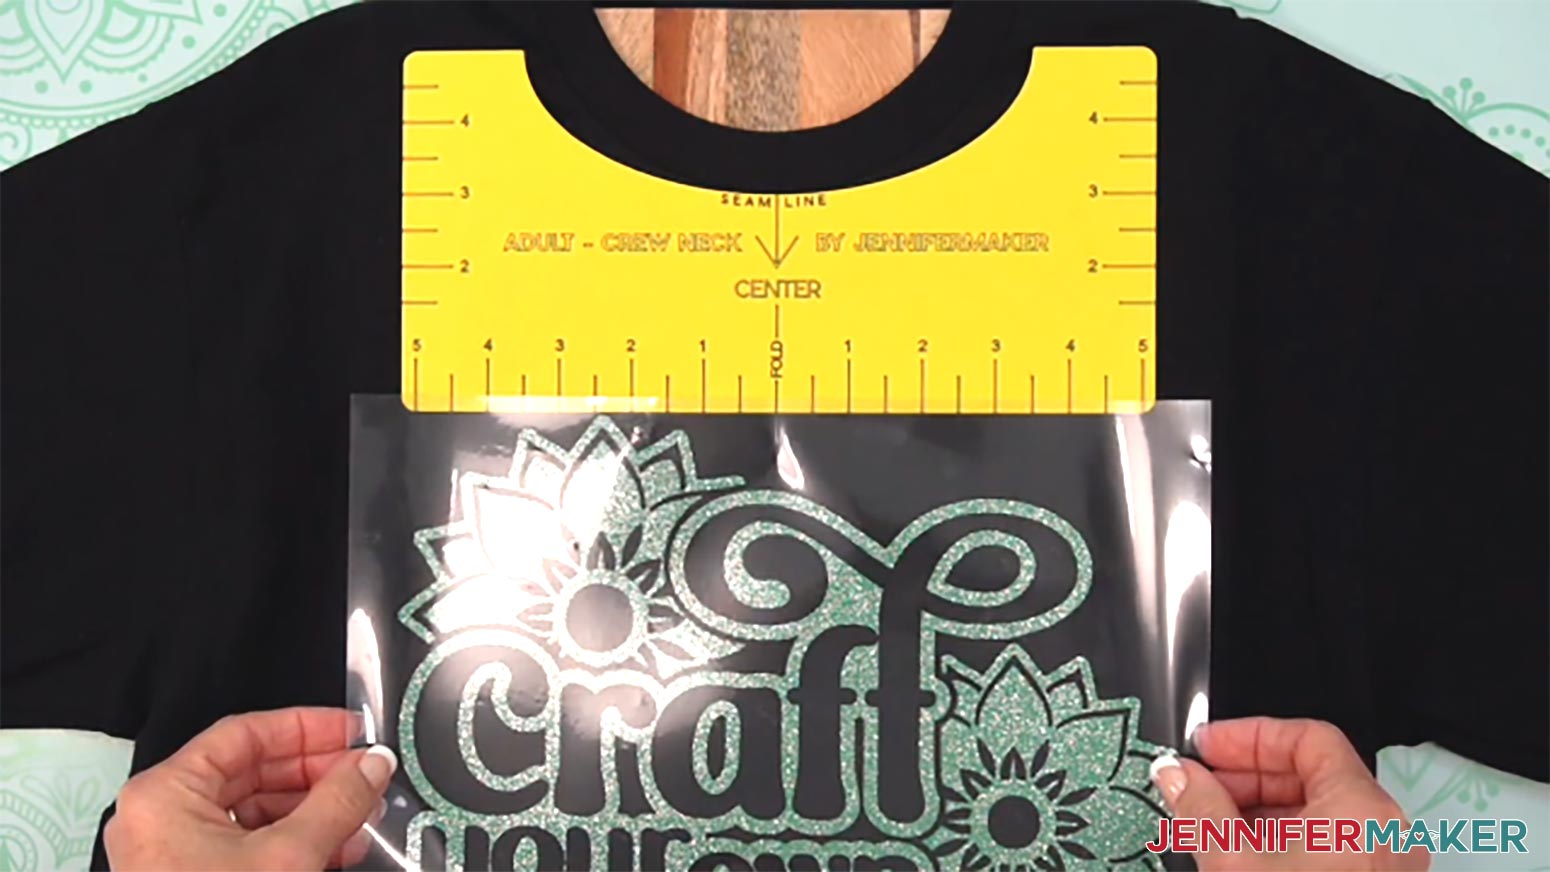
11. Place the T-shirt ruler just below the shirt’s collar.
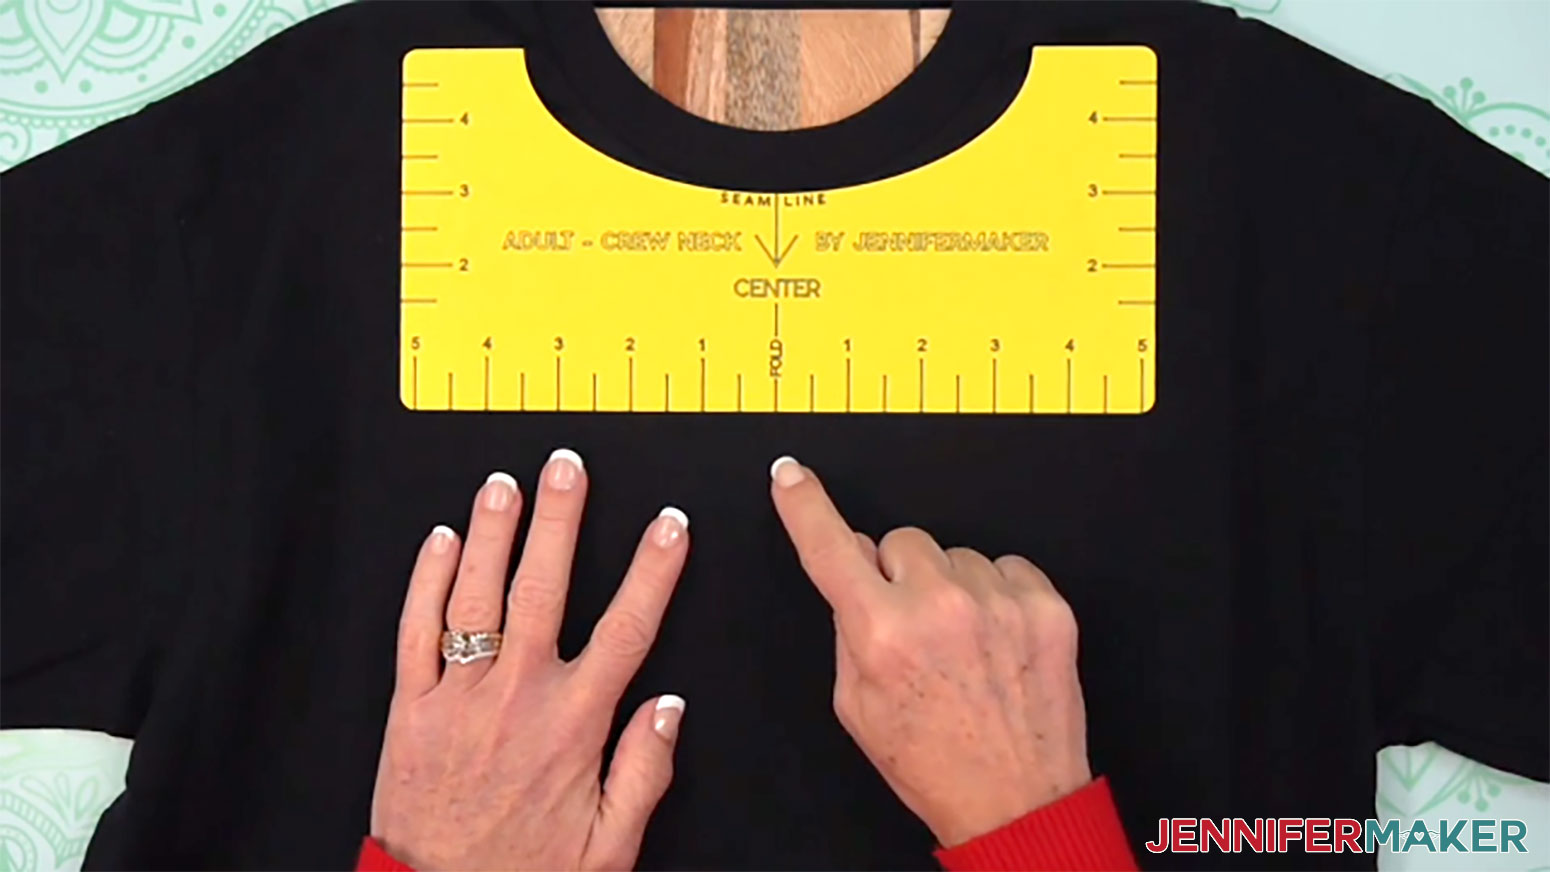
12. Place the glitter layer vinyl-side down so the top of the text rests along the bottom of the ruler, and the creases on the carrier sheet line up with the crease on the shirt.
NOTE: If you’re not using one of my T-shirt rulers, place the top of the design about 2-3” below the shirt’s collar.
13. Pat the empty carrier sheet sections down to lightly stick to the fabric.
14. If you’re using the T-shirt ruler, remove it.
15. Cover the design with a clean piece of parchment paper that is larger than the design and the heat press.
NOTE: Parchment paper keeps the temperature more consistent and helps keep the finish of the puff vinyl glossy.
16. Make sure the temperature of your EasyPress is at 300℉ (149℃), and the timer is set for 10 seconds for this base layer.
NOTE: Since we press this material again while adding the puff vinyl, using short presses keeps the glitter vinyl from burning.
17. Cover the entire area of your design with the EasyPress and hold it in place. Press straight down with firm, even pressure for 10 seconds.
TIP: Keep pressure even on both sides of the press for best results.
18. When the time is up, remove the EasyPress.
19. Let the carrier sheet sit until it’s cool to the touch, but not completely cold.
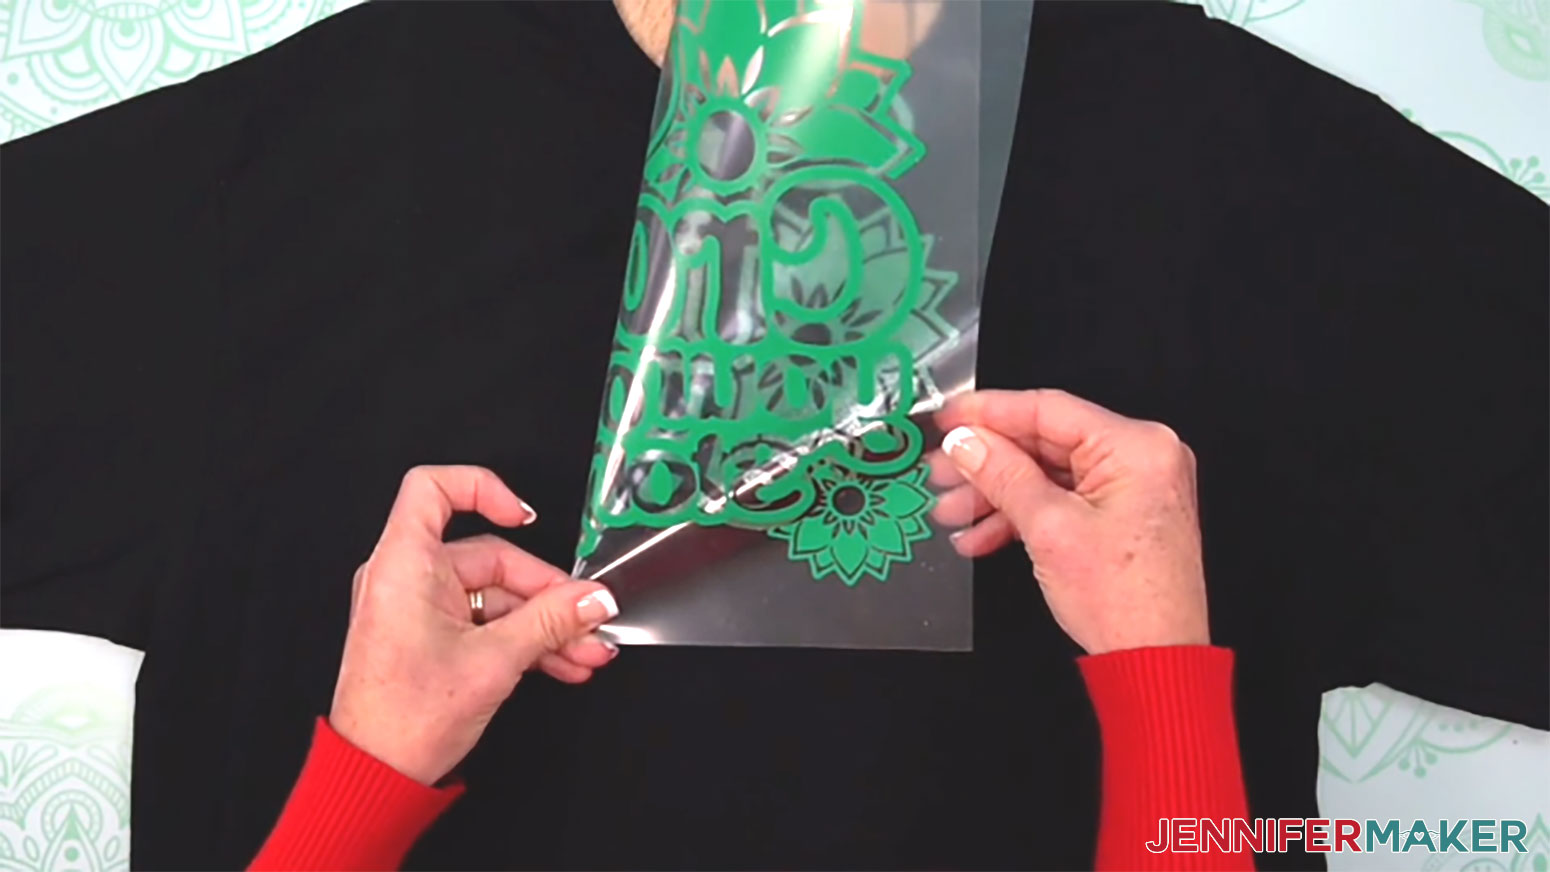
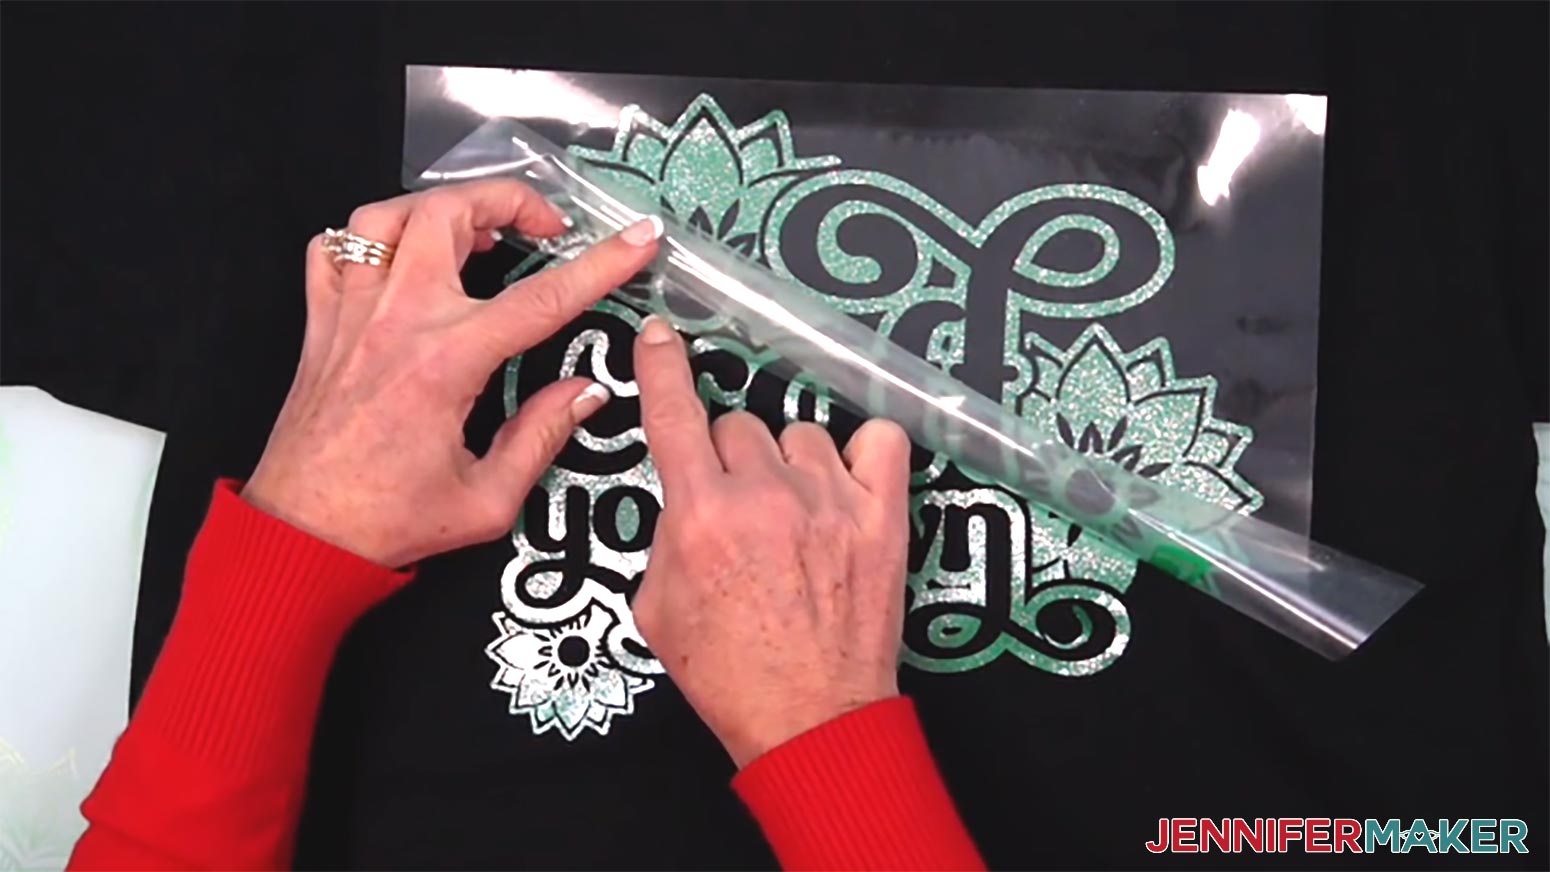
20. Hold the shirt in place with one hand and lift a corner of the carrier sheet with the other to begin rolling it back along itself.
21. Keeping the carrier sheet rolled back on itself, gently peel it away from your anchoring hand in a smooth motion to uncover the vinyl held in place.
22. If the vinyl starts to come up, pat it down, replace the carrier sheet, and re-press for just a few seconds. Let it cool down, then use the same motion to try removing the carrier sheet again.
NOTE: This layer is just tacked down, not fully adhered, so it’s ok if small edges lift.
23. Place the puff vinyl material side down on the first layer, making sure the background layer of glitter vinyl is evenly visible around the edges.
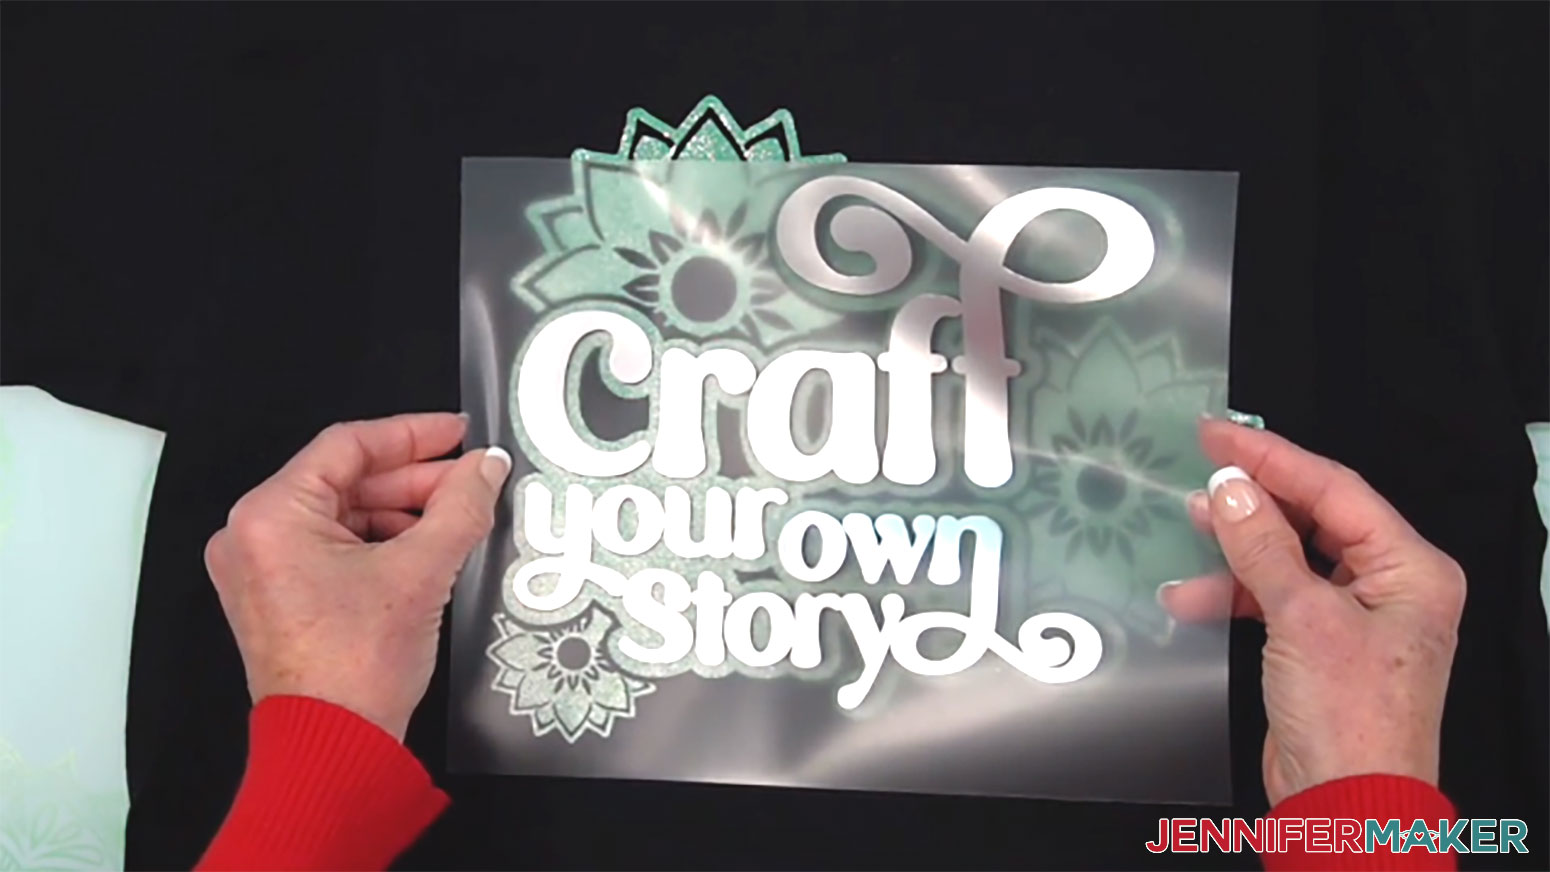
24. Cover the design with a clean piece of parchment paper that is larger than the design and the heat press, and make sure it covers any vinyl not protected by the carrier sheet.
25. Make sure the temperature of your EasyPress is at 300℉ (149℃), and the timer is set for 10 seconds.
26. Cover the entire area of your design with the EasyPress and use some of your body weight to press it in place with as much pressure as you can safely apply for 10 seconds.
27. When the time is up, lift the EasyPress and let the vinyl and carrier sheet cool in place for about five minutes, or until the board, shirt, and vinyl are all completely cool.
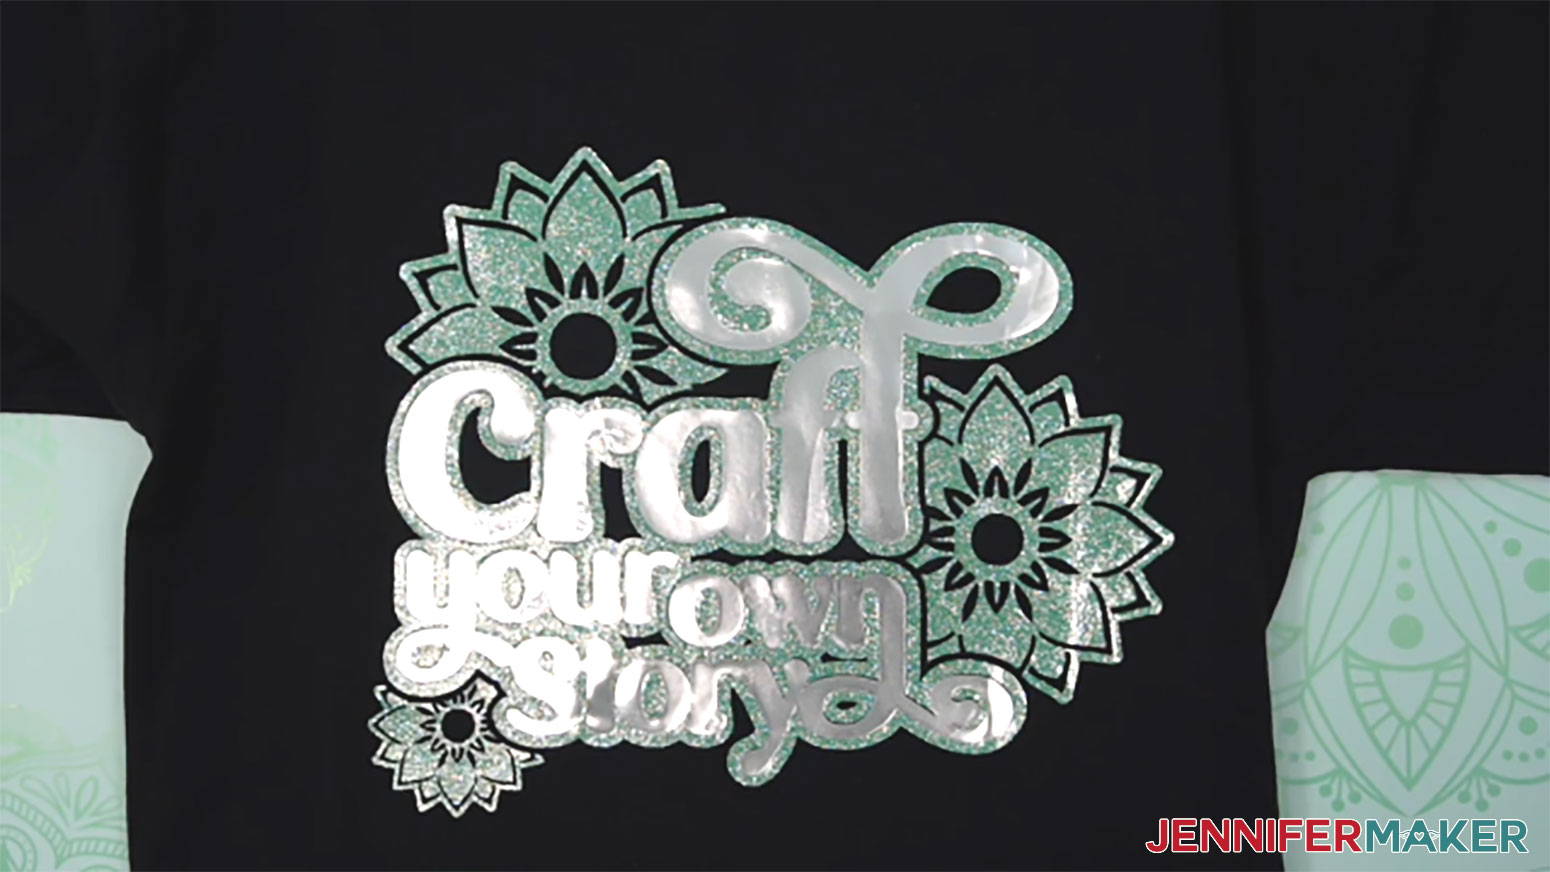
NOTE: The vinyl won’t be puffy yet – this is normal.
28. Use one hand to anchor the shirt and the other to gently roll the carrier sheet off. The puff vinyl is just tacked down at this point, so it’s ok if some edges lift. Just pat them back in place. Don’t apply heat again, because that can prematurely activate the puff effect.
29. Cover the entire design with parchment paper.
30. Make sure the temperature of your EasyPress is at 300℉ (149℃), and the timer is set for 10 seconds.
31. Cover the entire area of your design with the EasyPress and hold it in place. Press with firm, even pressure on both sides for 10 seconds.
32. When the time is up, lift the EasyPress and remove the butcher paper to reveal the puff!
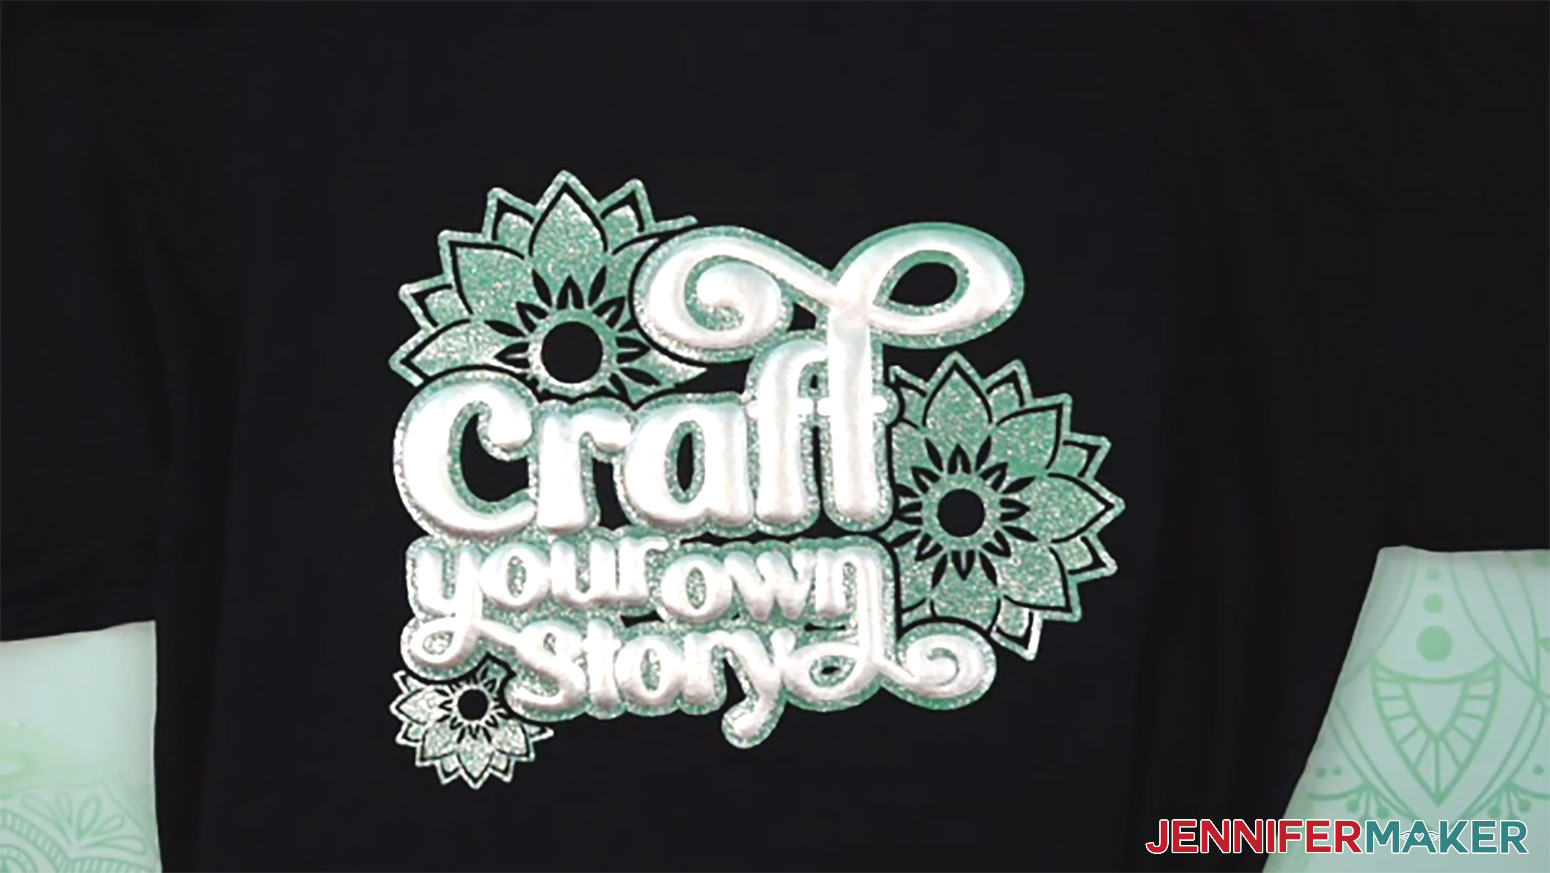
STEP 4: SHOW IT OFF
You now have a fun and shiny puff vinyl T-shirt to show off your style!
Answers to Your Questions About My Puff Vinyl Tutorial
Q: I want to design my own puff vinyl design for a T-shirt. How do I do that?
A: You can learn how to design a custom puff vinyl T-shirt in my ADVANCE program. Learn more about ADVANCE here!
Q: Which side of puff vinyl goes down?
A: Always adhere your metallic puff vinyl to your green Cricut StandardGrip machine mat shiny side UP. This is different from regular HTV, which typically goes shiny side down.
Q: What setting do I use on Cricut for puff vinyl?
A: I found that using the “Everyday Iron-On” with “More” Pressure cut settings worked well for me when cutting my design on my Cricut Maker 4 with the Premium Fine-Point Blade. These settings work for the glitter vinyl, too!
Q: Do you have to mirror puff vinyl?
A: Yes, because you are cutting it from the back of the sheet, not the front. So the carrier sheet goes against your machine mat, while the shiny side is face up. When you go to press, the material is flipped the other way, so your design needs to be flipped, too.
Q: How long do you heat puff vinyl?
A: For this project, you heat the puff vinyl twice in 10-second increments. The first press with the carrier sheet still intact anchors the vinyl to the fabric. The second press without the carrier sheet activates the puff.
Q: Do you peel puff vinyl hot or cold?
A: For the highest puffs, you want to make sure the puff vinyl is completely cool after the first press before removing the carrier sheet. It will still be flat at this point, which is normal. Heat from the second press is where the magic happens!
Q. Why is my puff vinyl not sticking?
A: If you find your puff vinyl isn’t sticking well to your fabric, the likely culprit is not enough pressure. Increase your pressure for your first press for best results–you want to use as much pressure as you can! Also, make sure your temperature is at the right setting, that you cover the entire design while pressing, and that you have a hard surface (like the cutting board) underneath your fabric.
Q: Why are there so many short presses for this project? Can’t we layer the vinyl and press it all at once?
A: I know it seems like a lot, but I promise each short vinyl press has an important purpose! The first short press anchors the glitter layer to your shirt. The second press anchors the puff vinyl to your shirt. While the third and final press activates the puff vinyl so it rises above the shirt’s surface and gives it that fun texture! We use short presses and wait for the material to cool so we don’t burn the glitter layer since it’s present for all three presses.
Q. Can you repress puff vinyl?
A: Once your puff vinyl activates, repressing it will ruin the puff effect. Additional heat won’t make it rise any higher. So be sure that your puff vinyl design fits entirely under your heat press so you can transfer the entire thing in one press, check all your press settings to be sure they’re correct, and use the right amount of pressure. For any questions, be sure to watch the tutorial!
Q. Why is my puff vinyl bubbling?
A: If your puff vinyl is bubbling, you may have the temperature on your heat press up too high. Lower your temperature and try again with a fresh test.
Q. How do you care for puff vinyl?
A: Be sure to wait at least twenty-four hours after applying your vinyl before the first wash. Wash it inside out, with cold water and mild detergent, on your machine’s gentle cycle, and don’t use bleach. Hang dry your puff vinyl shirt for best results and longest life.
Q. Which fabrics and fabric blends work with puff vinyl?
A: Puff vinyl applies well to cotton, cotton/poly blends, uncoated polyester, polyester/acrylic, and similar fabrics. It does NOT work with nylon.
Get my free puff vinyl SVG/DXF/PDF design files!
(If you do not see the signup form above, click here.)
I love seeing what you make with my tutorials and how you customize them! Please share a photo of your puff vinyl T-shirt in our Facebook group or tag me on social media with #jennifermaker.
Love,

Want to remember this? Save this Puff Vinyl Tutorial to your favorite Pinterest Board!