
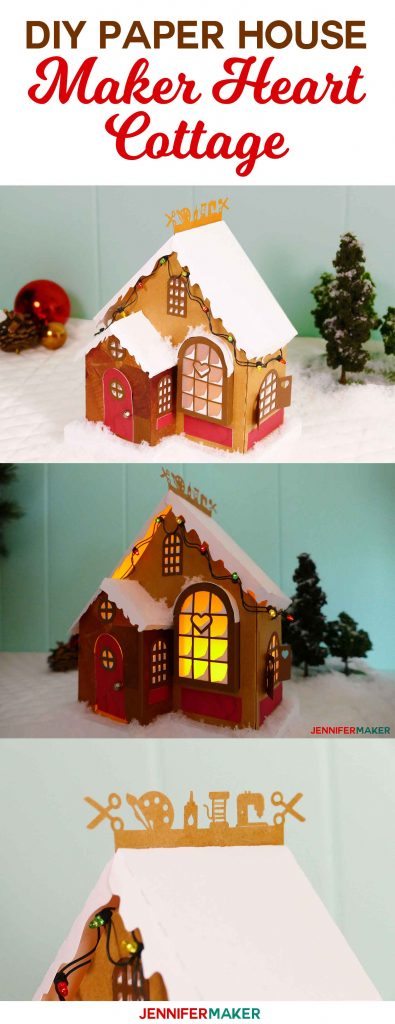
 Happy December! Today is the first day of my MAKE IT MERRY: 25 Days of Maker Projects here on the JenniferMaker blog. I’m starting out this fun endeavor in a big way with a DIY paper village cottage I designed. I call this my Maker Heart Cottage, and it’s the first in the series of 3D paper village buildings.
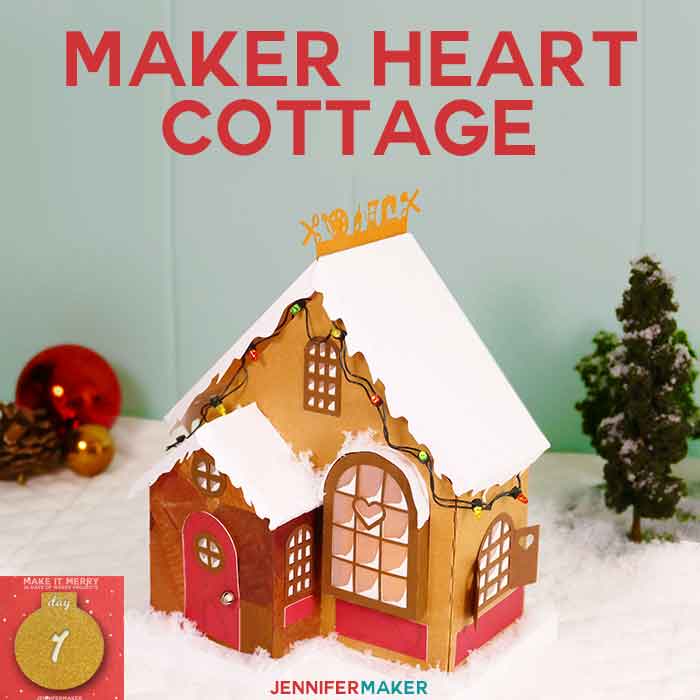
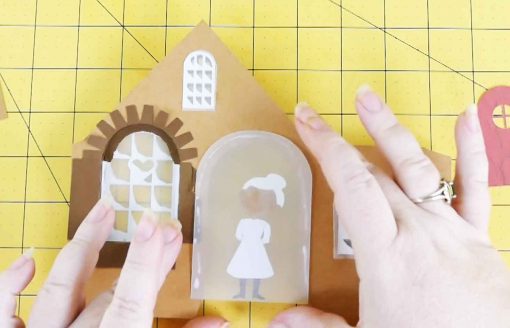
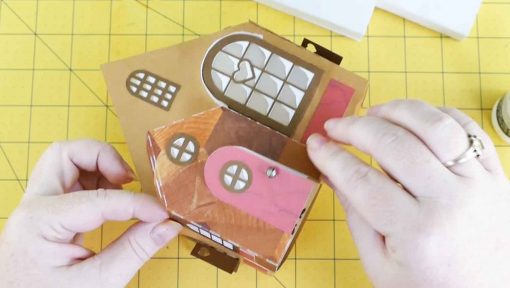
The Maker Heart Cottage is a crafty little cottage. Details include craft tools “carved” into the roofline and crafty hearts on the shutters. The door opens and inside is a crafty lady (or Mrs. Claus, your choice) standing inside. You can personalize her with your favorite craft! The top of the building lifts off so you can put two LED tealights inside for added effect.
I designed this cottage to be about the same size as popular ceramic holiday village buildings, so it will fit right in with your display if you already have one.
I also did my best to make this as easy to cut out as possible, eliminating all traditional score lines in favor of perforated lines. That means you should just be able to upload and go!
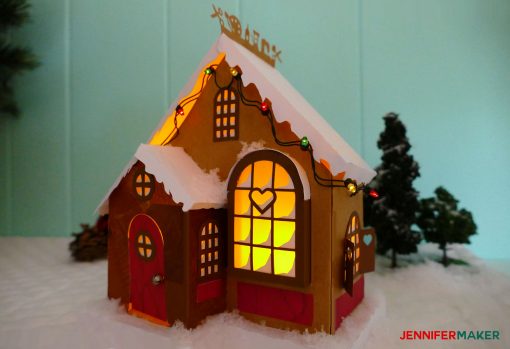
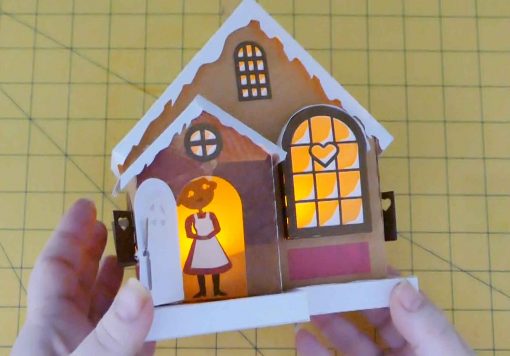
Here’s what this cute little cottage looks like when it’s lit up!
Here are the craft tools at the top of the roof:

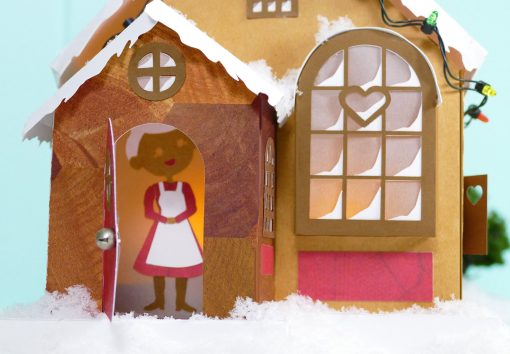
And here is the crafty lady inside (could it be Mrs. Claus)?
My friend Amy over at amygonnacraft.com made my paper house and it’s adorable!


You can make this yourself! I will show you how to do it. This post contains some affiliate links for your convenience (which means if you make a purchase after clicking a link I will earn a small commission but it won’t cost you a penny more)! Read my full disclosure policy.
Materials for the DIY Paper Village (Maker Heart Cottage)
- 65 lb. cardstock: red (1), white (3), light brown (2), dark brown (1) — I used 8.5″ x 11″ Core’dinations for everything except the 12″ x 12″ light brown, which I used a piece of wood-grain printed paper instead.
- Vellum (one sheet, 8.5″ x 11″)
- Mini bell-shaped brad (I used these exact ones)
- Tacky glue and/or tacky tape and/or spray adhesive
- Two LED tealights
- (Optional) Mini LED Christmas Lights (I used these exact lights)
- (Optional) Faux snow (I used this stuff, looks like real snow)
- A way to cut out your paper (I recommend the Cricut Explore or Cricut Maker)
- Design #65 – My free Maker Heart Cottage cut file (available in the Free Resource Library—get the password to it by filling out the form at the bottom of this email)
How to Assemble the Maker Heart Cottage
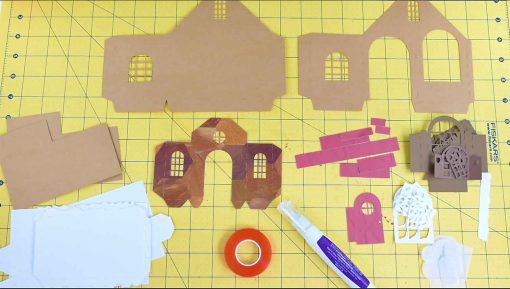
First, cut out all of your cardstock pieces. If you upload this to Cricut Design Space, you need only to click “Make It” and the software will organize the file into 8 mats by color. Change everything to 8.5 x 11, except for one of the light brown sheets, which needs to be 12″ x 12″. There are no traditional score lines. I am experimenting with putting in perforated lines instead of score lines to make it easier to cut out and fold.
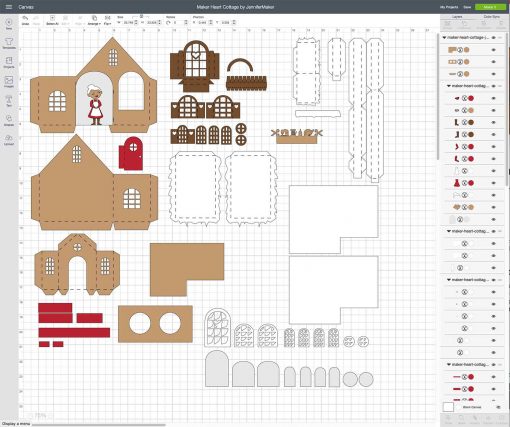
Note: The gray layer shown at the bottom is the vellum layer—everything else is card stock.
Here are the pieces cut out and ready to assemble:
The first thing you should do is glue the vellum windows to the snowy window frames (with the snow in front). There are seven sets of these. Light glue or spray adhesive works best here.
Next, glue the vellum/snow windows onto the back side of each wall piece. Match up the sizes to determine which window goes where. You want the white cardstock snow layer to be sandwiched in between the outer wall and the vellum. And the snow should be piling up on the bottom of each window frame.
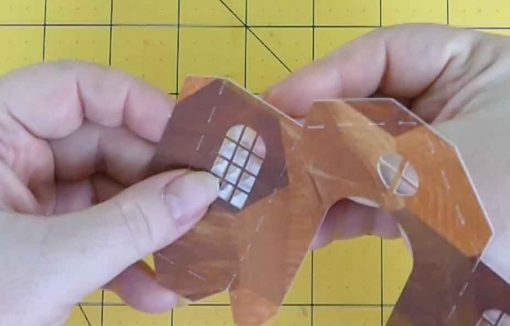

Glue the brown frames onto the front of the walls. Do this for six of the windows, but do not yet do the bay window.

When you glue on the window frame with the shutters, fold the shutters up a bit and don’t glue the shutters to the paper.
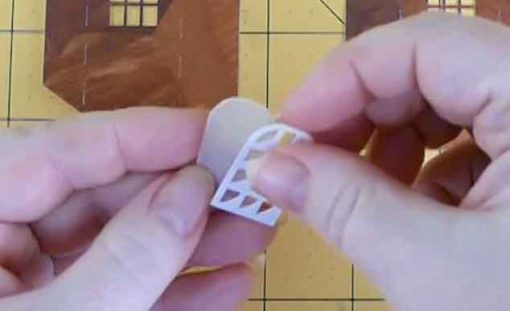
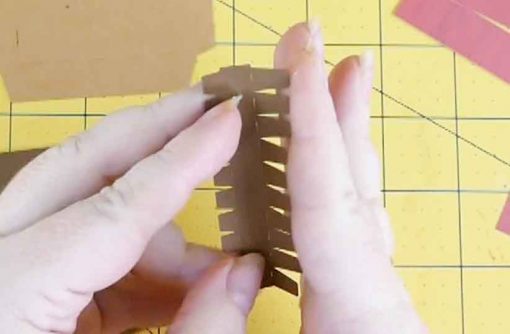
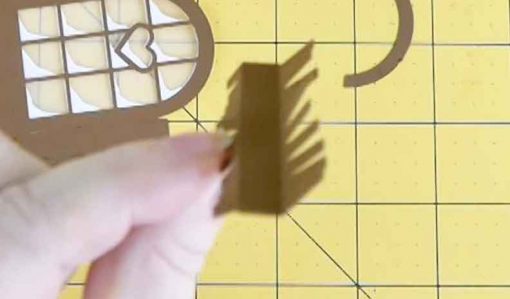
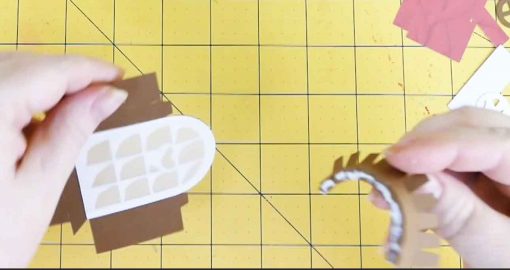
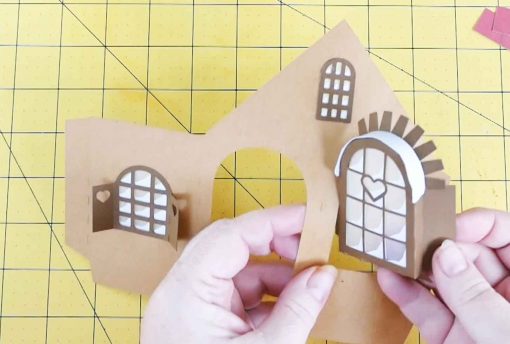
To assemble the bay window, first fold the thing that looks like a double-sided comb. The “teeth” on the top get folded in one direction, while the teeth on the bottom get folded in the opposite direction.
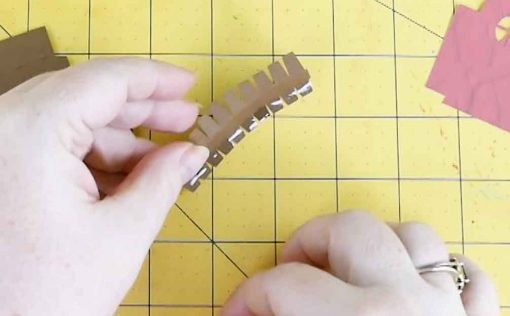
Now put glue on the shorter set of “teeth” and glue the arch piece to it. This will start to create the archway of the bay window.
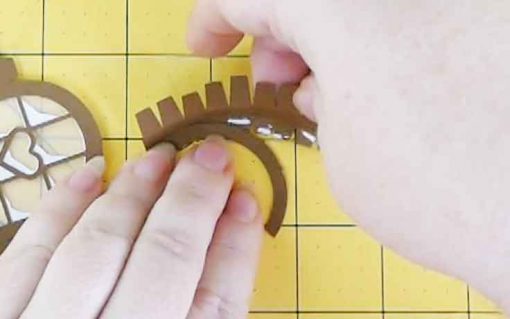
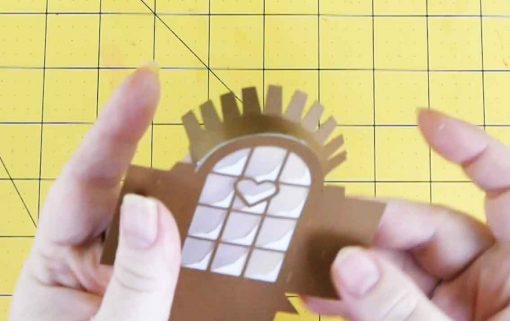
Now glue that arch to the back of your bay window (onto the vellum side).
Fold the side of the bay window so they form the sides of the window. Then fold again, at the second line, in the opposite direction.
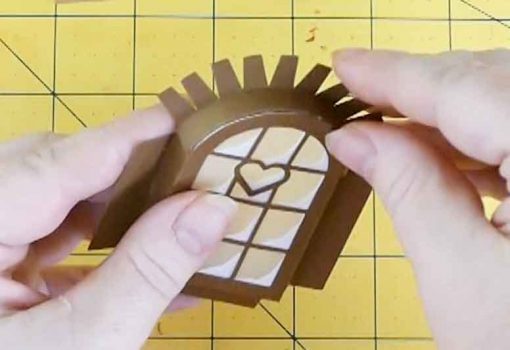
Before you finish with the bay window, glue the small white rectangle onto the top to simulate snow.
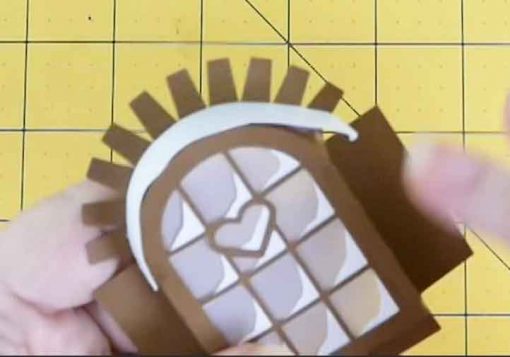
Gently push the bay window into the wall (from the front) and glue it down in the back.

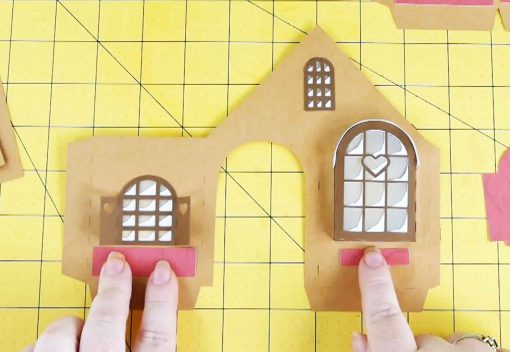
Glue the red rectangles under the windows (these are “window boxes”). Just match up the size to each window (with the frame on). There will be a big long one leftover—that goes on the back of the house.
Assemble and glue your Mrs Claus / crafty lady. Feel free to personalize her as you wish! I designed her so she could be holding your favorite craft in her hands. Glue her to the largest piece of vellum, aligned at the center bottom.
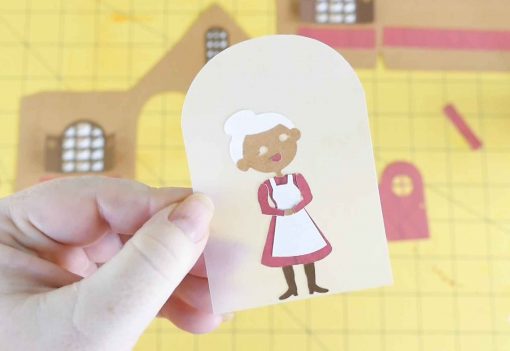
Now glue that vellum to the back of the portico wall.
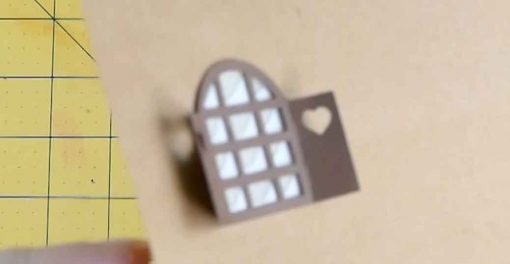
Glue the snow, vellum, and frame onto the window on the door (if you haven’t already), attach a mini brad for the door handle, and glue the door’s tab to the underside of the portico wall.

Ok, that’s it for the walls!
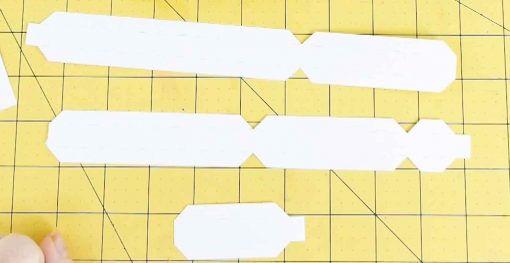
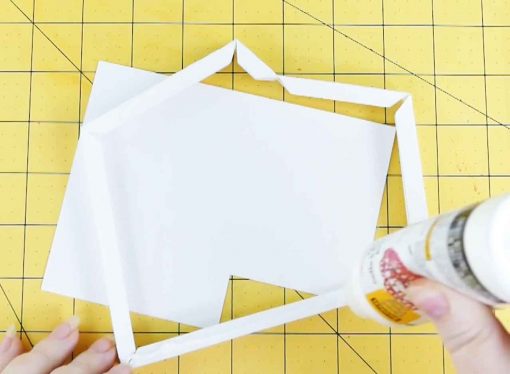
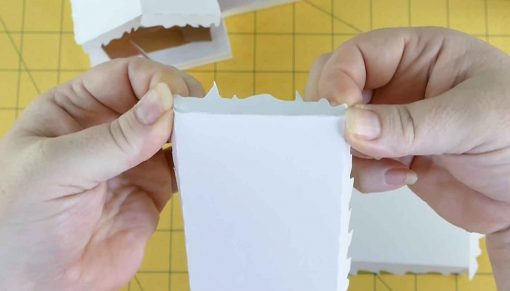
Now, to assemble the base, begin by laying out your strips in this order and arrangement, then glue them all together at the tabs on the end.
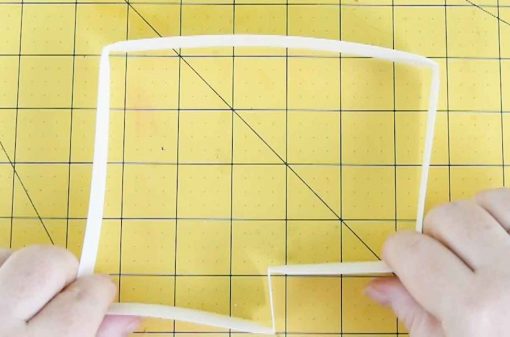
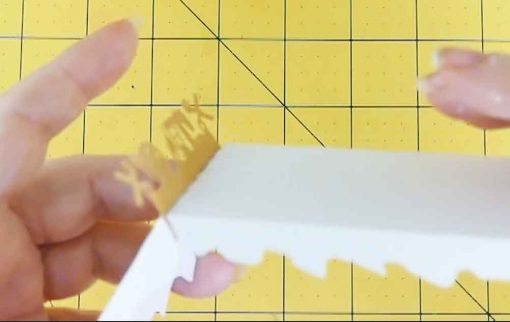
Now fold in all of the tabs at the top and bottom of your glued strip.
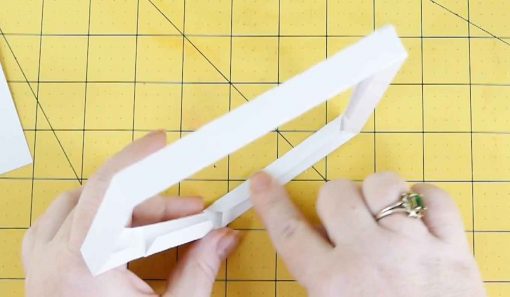
Now glue the bottom of the strip to one of the large white base pieces.
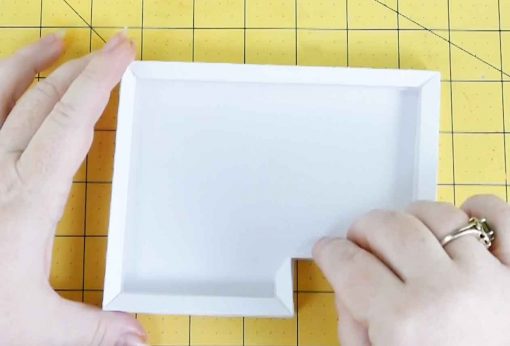
Flip it over and glue the other large white base piece to the other side of the strip. This is your base! It will keep your house sturdy and make it easier to move about.
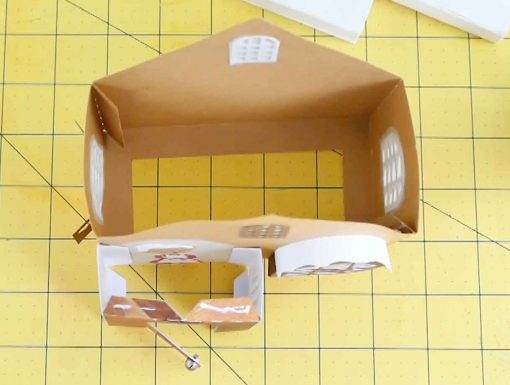
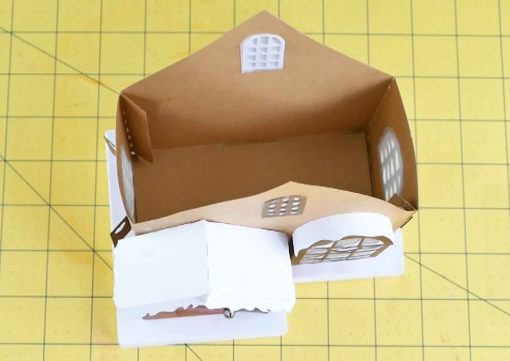
Let’s get our walls up! Fold in the tabs on the sides of your two big walls and attach them to one another on both sides.
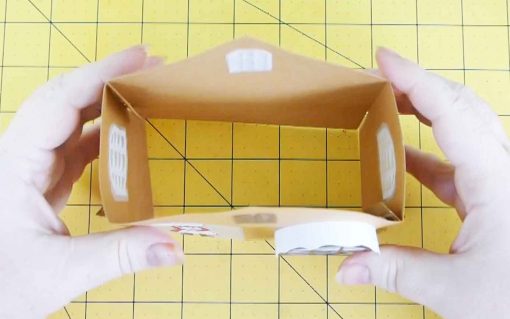
Now fold up the tabs on the bottom and glue each corner so the tabs adhere to each other at the edges. This will make it easier to glue down to the base later.
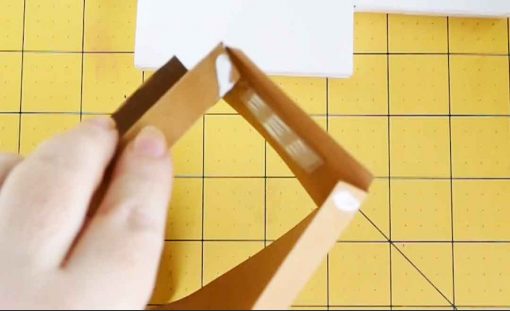
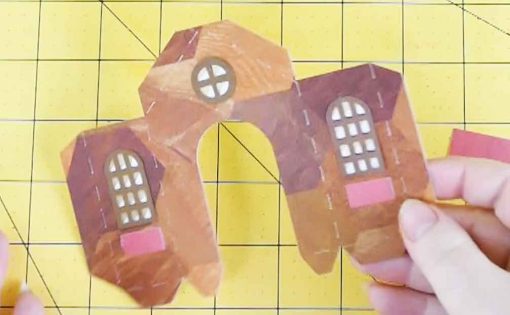
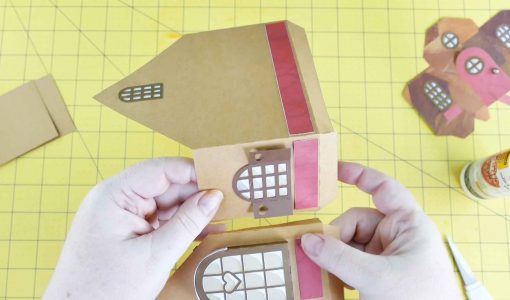
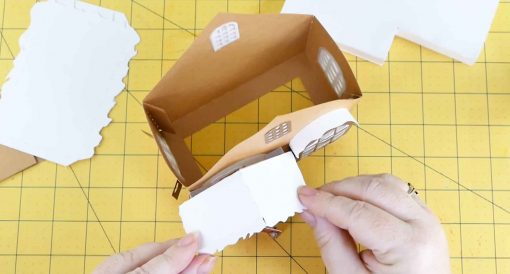
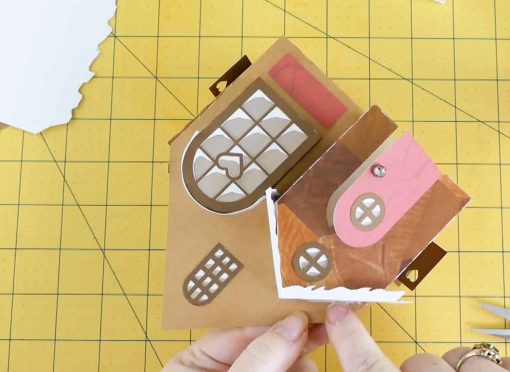
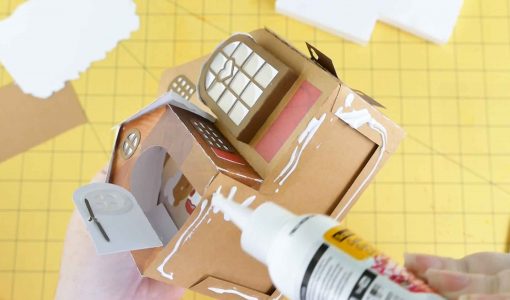
Fold the portico and glue to the front of the cottage. Note that there are small slits on the cottage to indicate where the portico’s right side should go (to help you get it in the right position).
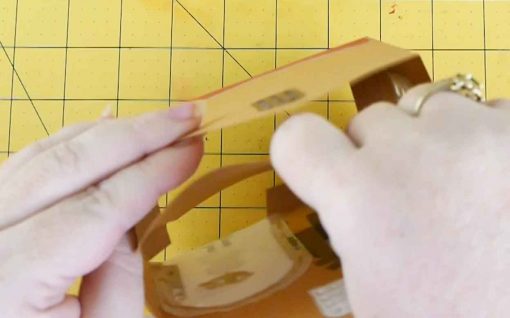
Fold and glue the long white roof onto the portico.
Note that there are tabs on the portico’s roof that glue to the side of the cottage, too.
Insert the floor of the cottage so that it rests on top of the folded tabs at the base of the cottage.
Glue the folded tabs at the bottom of your walls to your base. There should be an equal about of space on the base that sticks out from the house on all sides. The base is intended to be larger than the house.
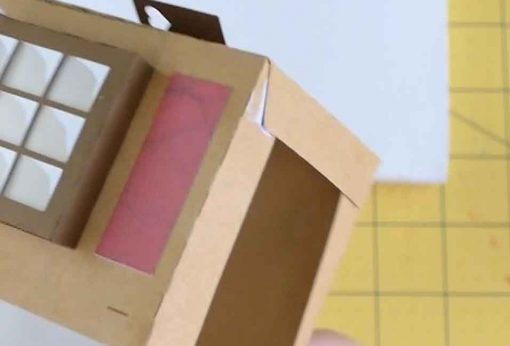
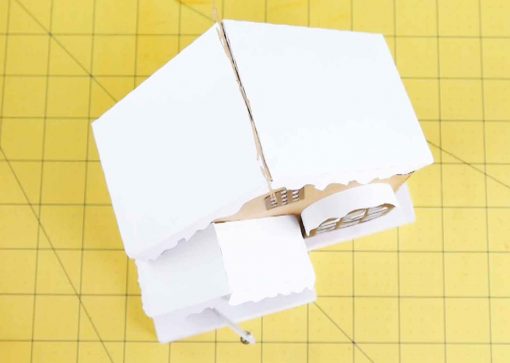
We’re almost done! Fold the tabs down on the roof pieces. Glue the tabs together at the corner to form a sort of lid that will go on the house.
Now glue the two roof pieces together, with the last piece (the roofline finial) sandwiched in between. You can tell which sides of the roof glue together because there are no icicles hanging down on those sides.
The roof can now simply rest on top of the cottage. I don’t recommend you glue it down, because then you can get in and out to put in tealights!
Speaking of tealights, the rectangle with the two circles is for putting tealights in. You just squeeze the lights into those holes. Then they won’t slide around on you inside, and it’s easier to put in and out, too!
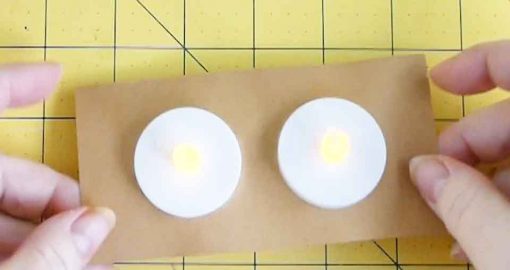
Put the lights in, put the roof back on, and you’re done!
If you make this paper village house, please let me know! Share a photo with me at [email protected] or tag me on social media with #jennifermaker.
Get my free template and cut files for the Maker Heart Village
https://forms.convertkit.com/303932?v=6
Also, be sure to visit tomorrow to open the Day 2 gift of my MAKE IT MERRY: 25 Days of Maker Projects Christmas! If you want to be notified of when there is a new gift ready to open on my blog, just fill out this form!
Love,

Want to remember this? Save the Maker Heart Cottage to your favorite Pinterest board!
More gifts for you in my MAKE IT MERRY: 25 Days of Maker Projects Christmas:


This is absolutely adorable!!! Thank you so much!
Thank you so much, Pamela!
How can I upload the svg file to Cricut Maker?
Details on how to upload SVG files to Cricut Design Space are in this video I made: https://www.youtube.com/watch?v=syhIh0ur4_M&feature=youtu.be
This is amazing how kind of you to share your hard work.
I LOVE your patterns. You are so creative. I a lolsove that you changed the score lines to cut/score lines. I did that myself to your fairy cottage because honestly I don’t think the Cricut scoring tool works that great on all types of cardstock. So, thanks for doing that!
Also, thank you for so generously sharing your hard work!!!
Merry Christmas and a Happy, Healthy New Year!