Learn how to create sublimation on wood signs!
Dye sublimation is a great option for adding colorful designs to many projects, but did you know it’s not limited to fabric? Yes, you can transfer a sublimated print to many hard surfaces with the right techniques and materials. You can even create sublimation on wood signs! I’ll show you how using illustrations, but you can use the same approach to create a wood photo panel!
Watch the full step-by-step sublimation on wood tutorial:

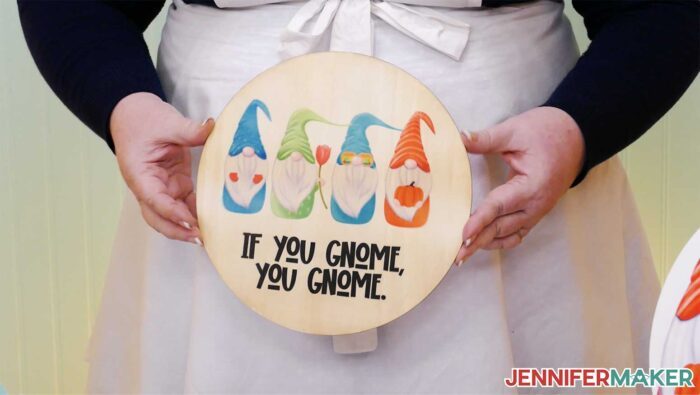
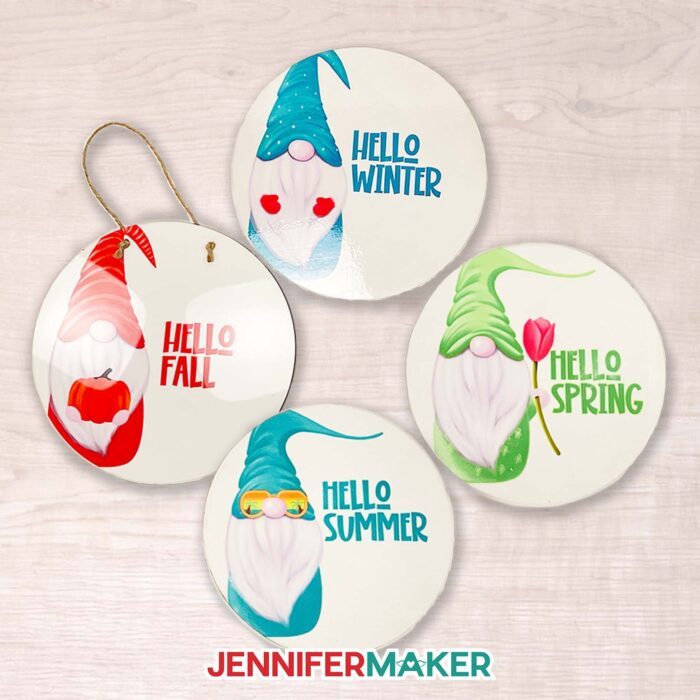
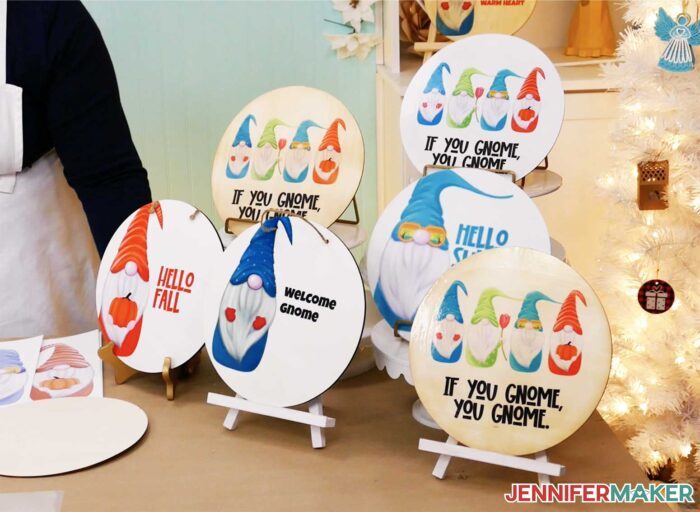
Wood signs are popular craft projects, but incorporating sublimation dye can really expand your options! You can use my free seasonal gnome designs to get started, then create your own sublimation on wood designs!
But it takes some special techniques, so I’ll show you different ways to transfer a sublimation design to a wood surface. I tested sublimation on wood methods with a laminating sheet, special heat transfer vinyl, and a clear liquid coating with different preparation steps.
2025 Update: After a while, the designs using the Clear Dye Sub HTV are blurry, so I don’t recommend using it if you want the project to last a long time.
I also found that adding a layer of white paint helps the vibrant colors stand out on wooden pieces, so I recommend taking the time to paint one one. Surprisingly, it helps keep the blank from warping under the heat press, too!
If you want to see the wood grain and don’t mind less vivid colors, you can skip painting the wood.
In the full video, I’ll show you all the results and compare them with a similar sublimation blank if you don’t need a wooden surface. I think my findings will surprise you!
You will need a sublimation printer with special ink and sublimation transfer paper, and a laptop or desktop computer to make your sublimation on wood project. I used my Epson printer, but you can find information on several printers in my Best Sublimation Printer to Buy in 2022 post. You can see my recommendations for the best results in my Sublimation for Beginners Ultimate Guide.
To transfer the design, you can use an EasyPress, traditional heat press machines, or a Cricut Autopress, which is my favorite heat press machine. You usually cannot use a household iron because sublimation ink activates at 350°F (175°C) and irons can’t reach such high temperatures.
Good ventilation is important any time you use a sublimation process. Have your windows open and a fan going to help the fumes from sublimation dyes dissipate quickly. And don’t breathe in very close to the project while it’s still warm.
Let me show you how easy it is to add sublimation on wood! This post contains some affiliate links for your convenience (which means if you make a purchase after clicking a link I will earn a small commission but it won’t cost you a penny more)! Read my full disclosure policy.
Materials to Make a Sublimation on Wood Project
View my Amazon shopping list with the exact items we used to make this project
- Uncoated 10″ Natural Wood Blank Rounds with Picture Hanger and either:
- Polycrylic Topcoat with a Paintbrush, 2″, 2-sided Sponge and a bowl of water, or
- Clear Dye Sub HTV, (2025 Update: These tests blurred after some time!) or
- 11″ x 17″ Laminating Pouches.
- Flat White Latex Paint with a Foam Roller and Paint Tray will give you a better result with any option and Press & Seal Food Wrap makes cleanup easy. or
- Sublimation Blank Door Hanger, 10″
For any version:
- Sublimation Printer – I used my Epson ET-4700 with Hippoo ink with the relevant ICC profile
- Sublimation Paper
- Heat-Resistant Tape
- Heat Press like an EasyPress and Pressing Mats or an Autopress
- Paper Trimmer
- Google Account – if you want to customize a design
- Lint Roller
- White Uncoated Butcher Paper (not parchment paper)
- White Cardstock 12″ x 12″ for protective paper
- Ventilation – I used this Fan
- Pencil
- Craft Knife
- Scissors
- Ruler
- Self-Healing Cutting Mat
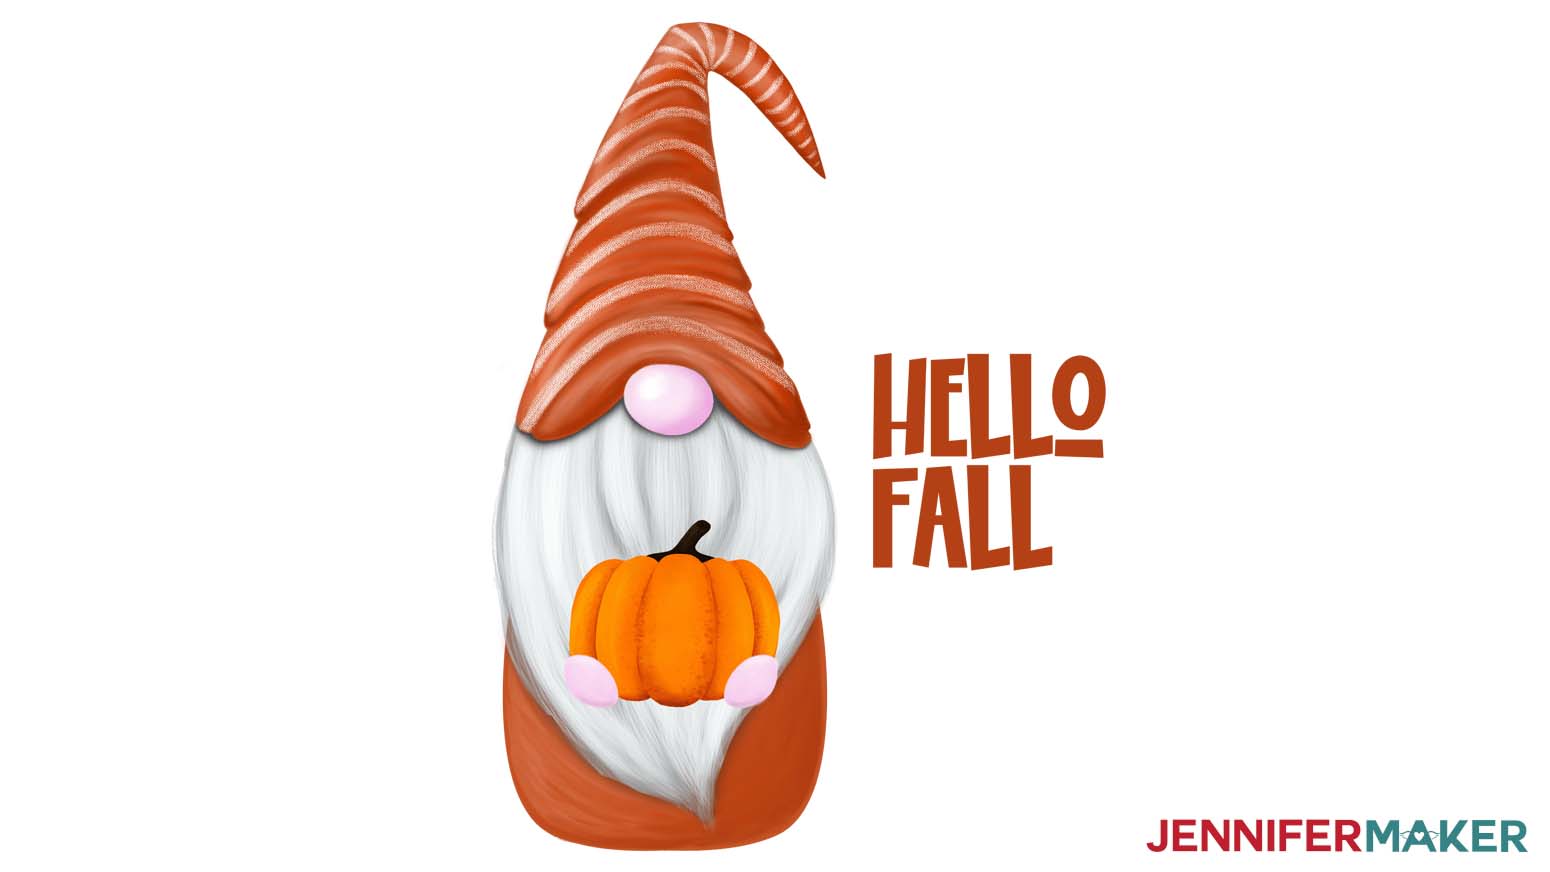
- Design #455 – My free Sublimation on Wood PNGs (available in my free resource library—get the password at the bottom of this post)

How to Make Your Own Sublimation on Wood Signs
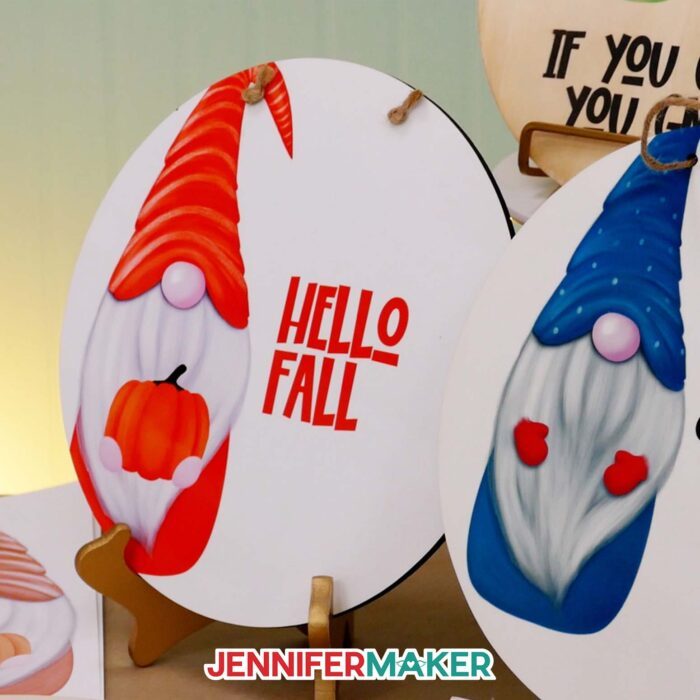
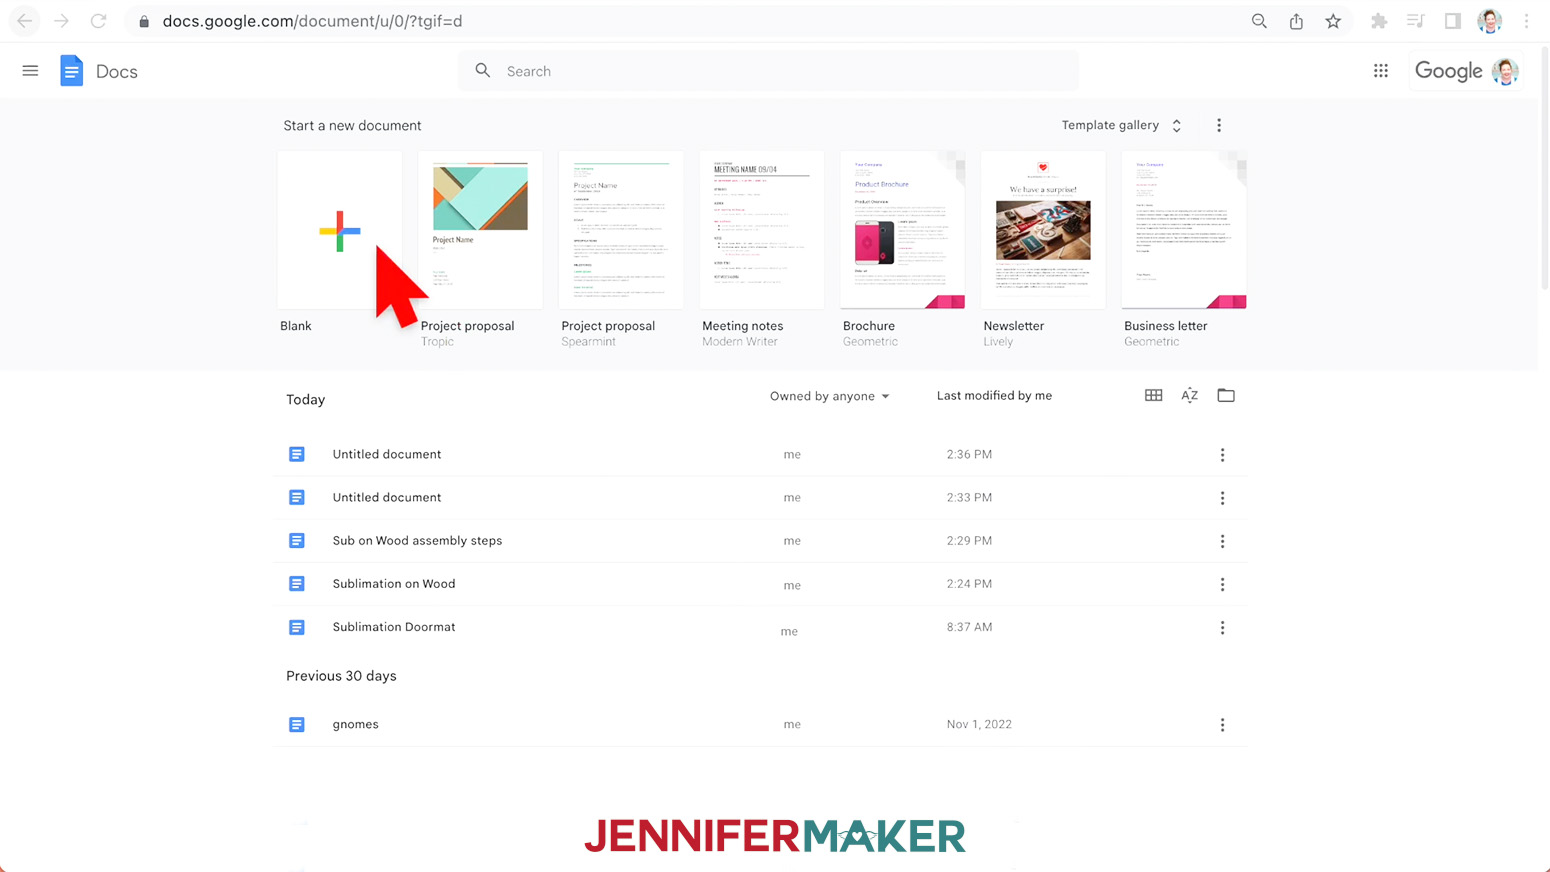
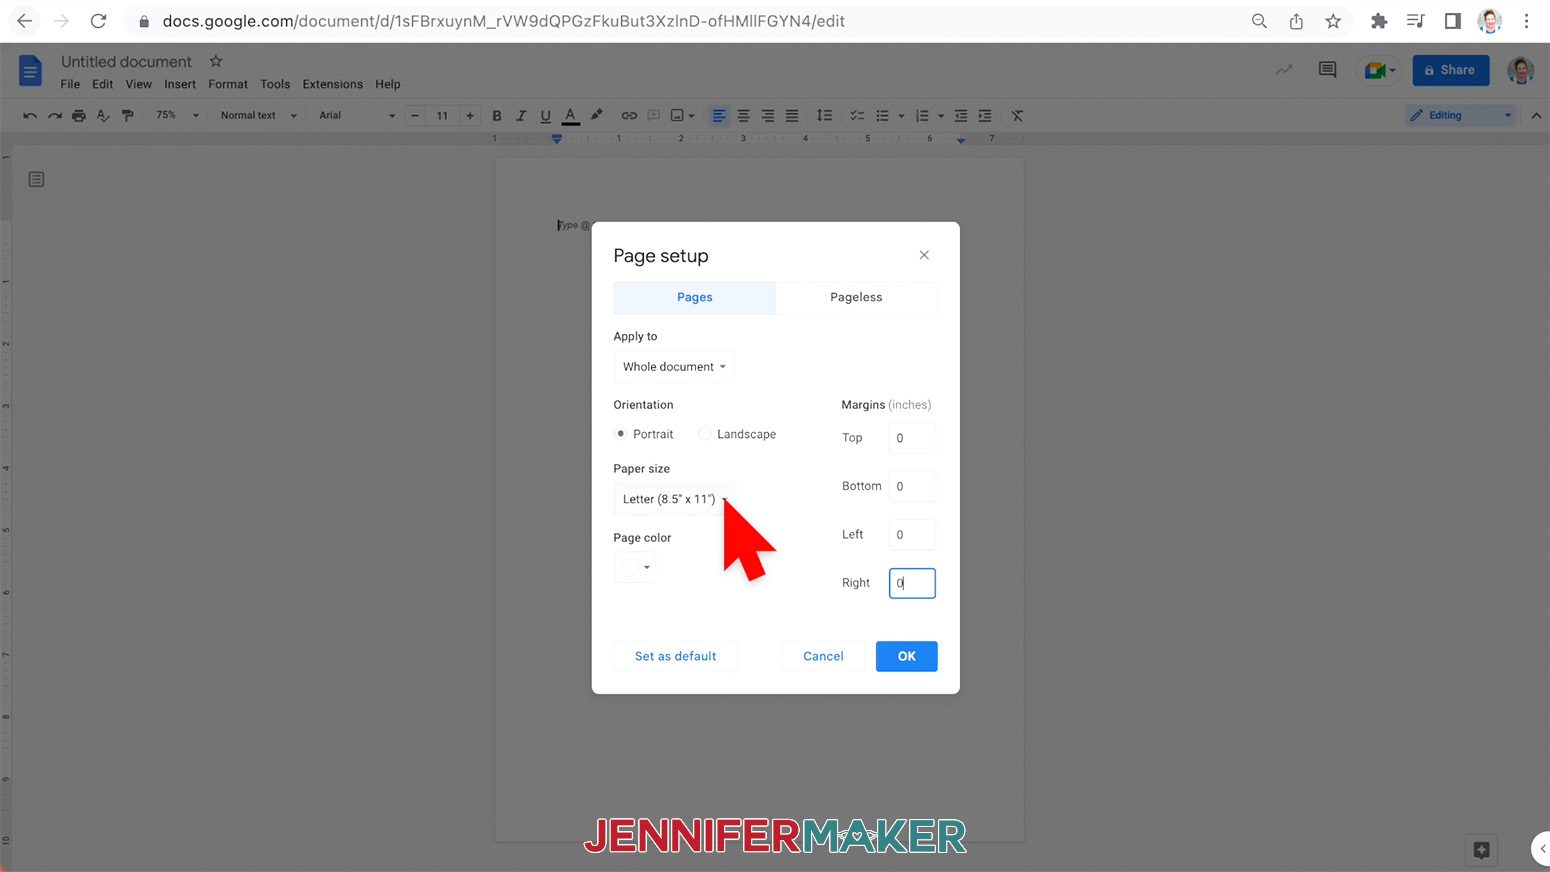
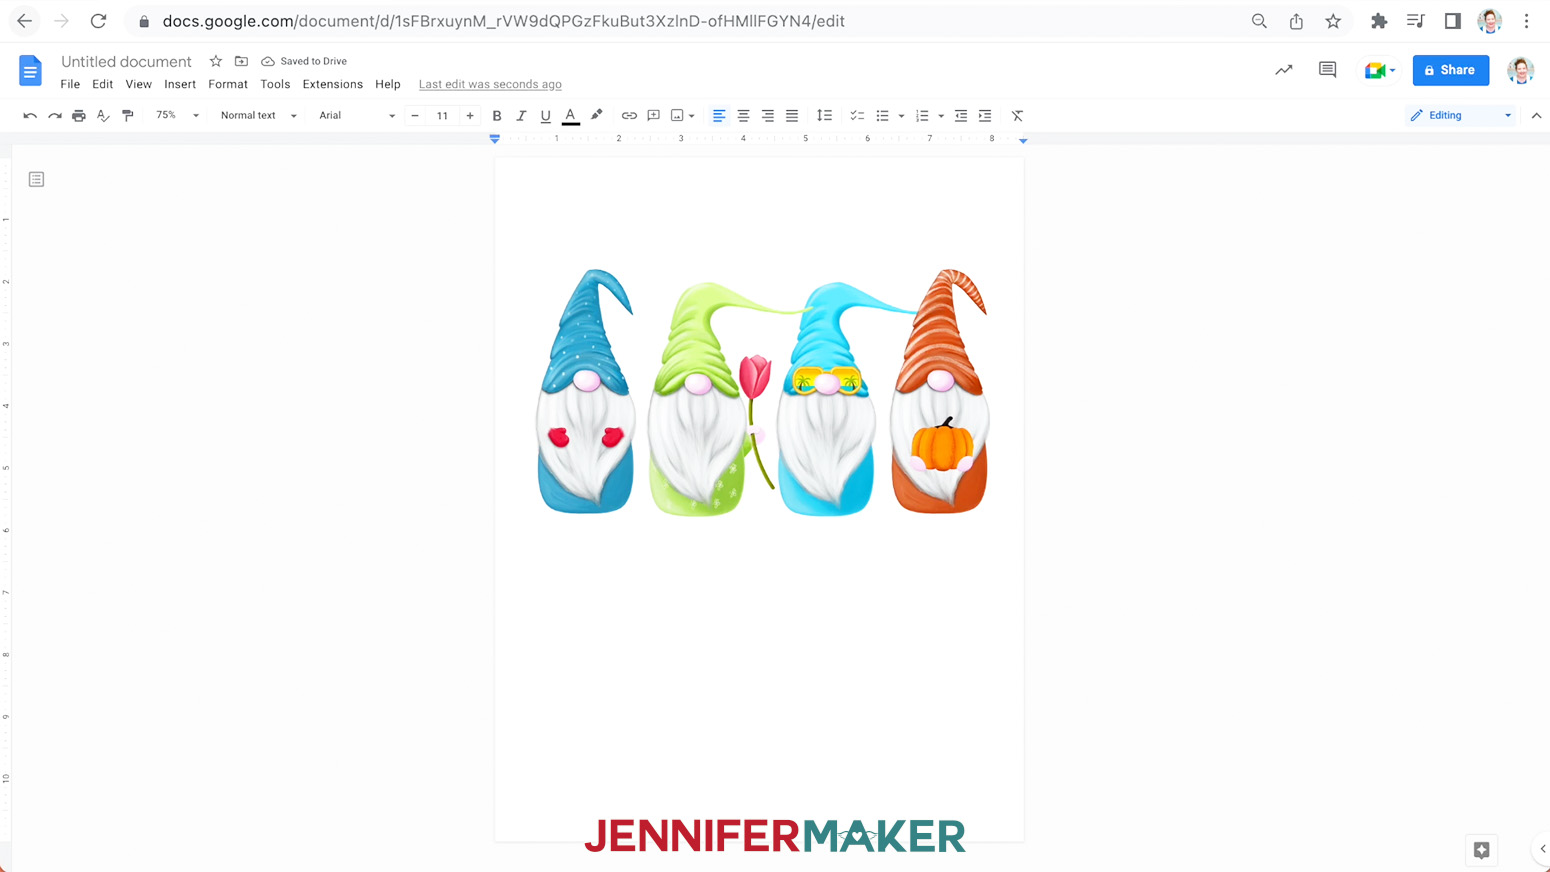
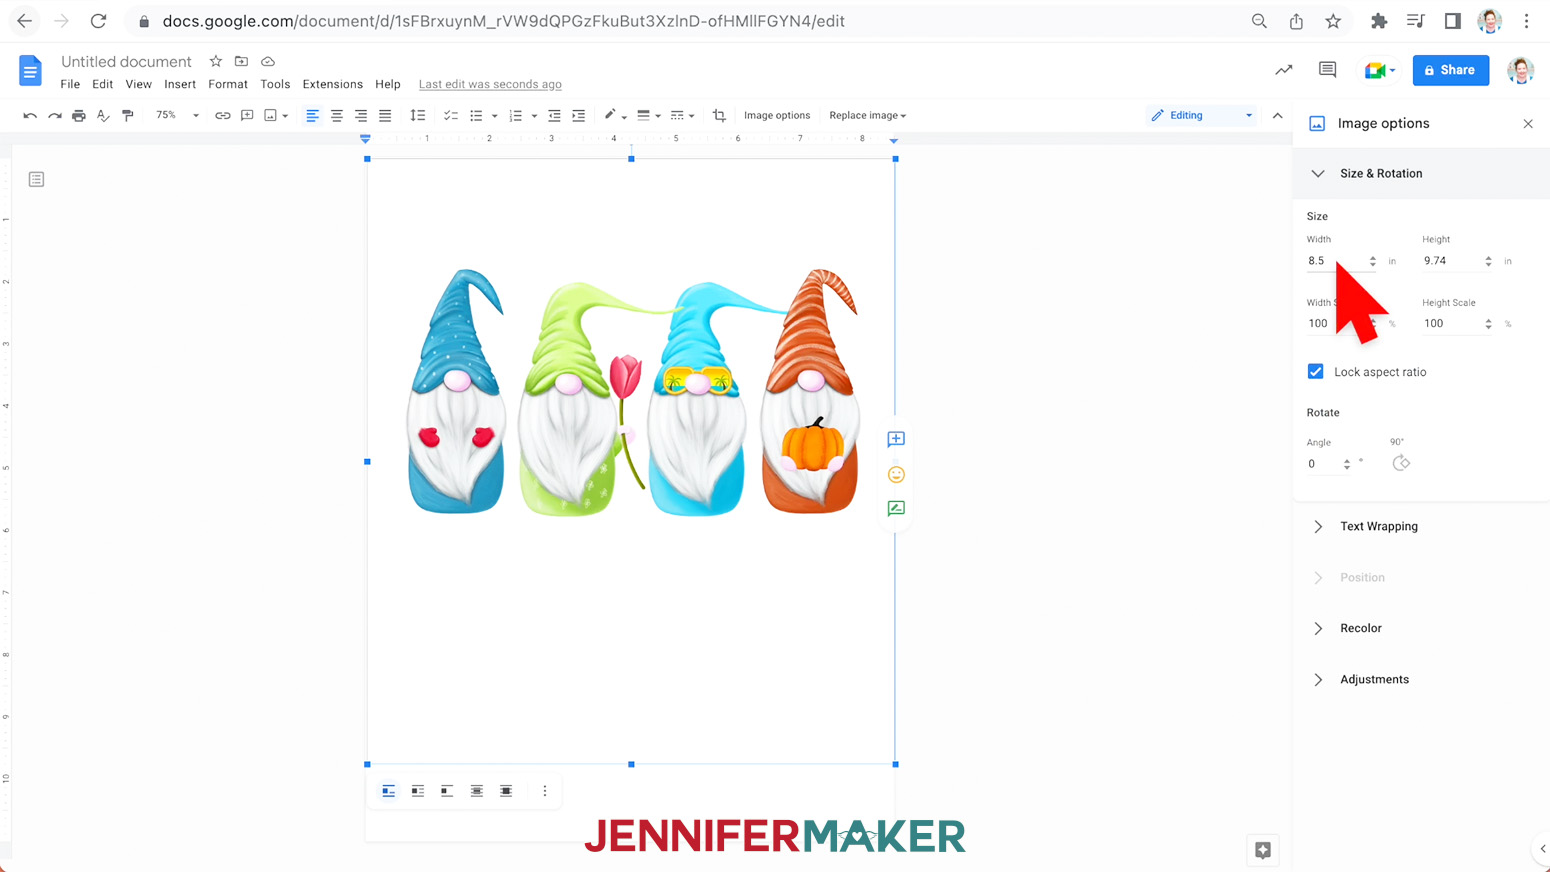
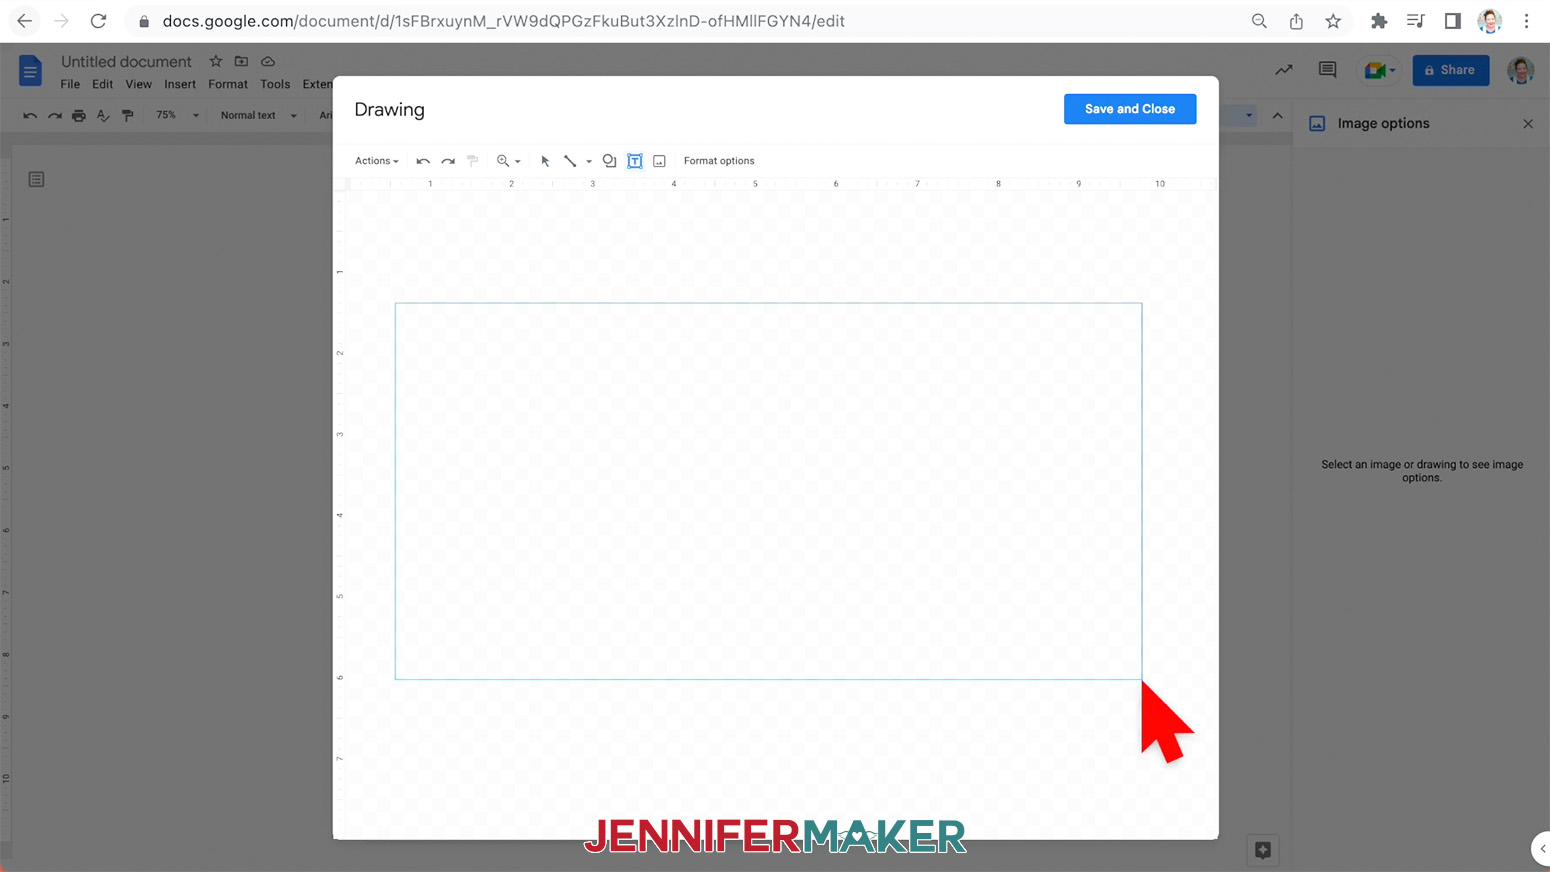
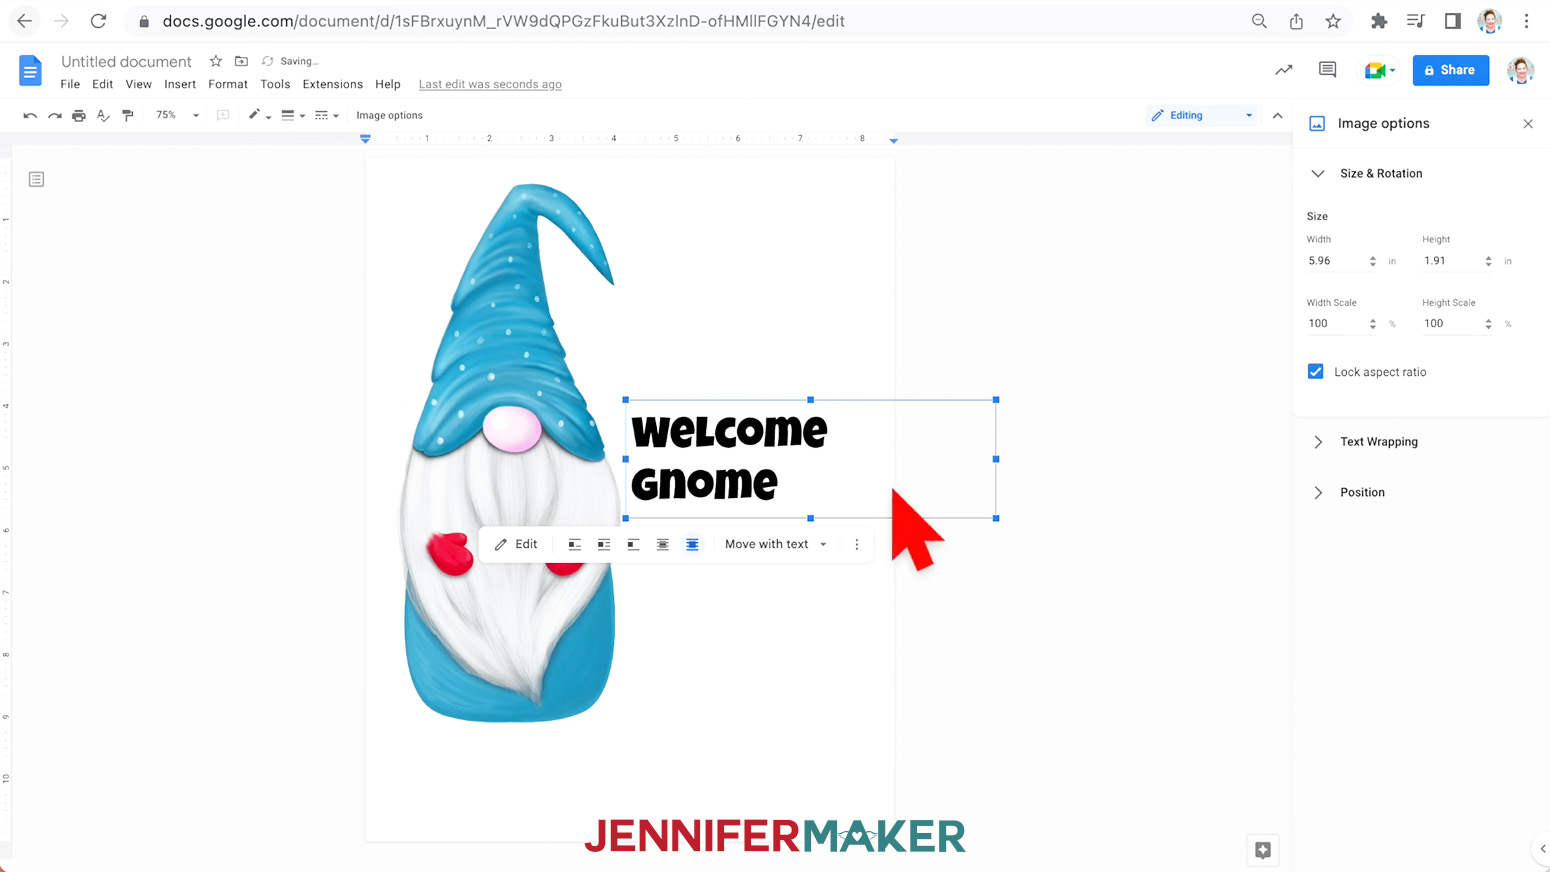
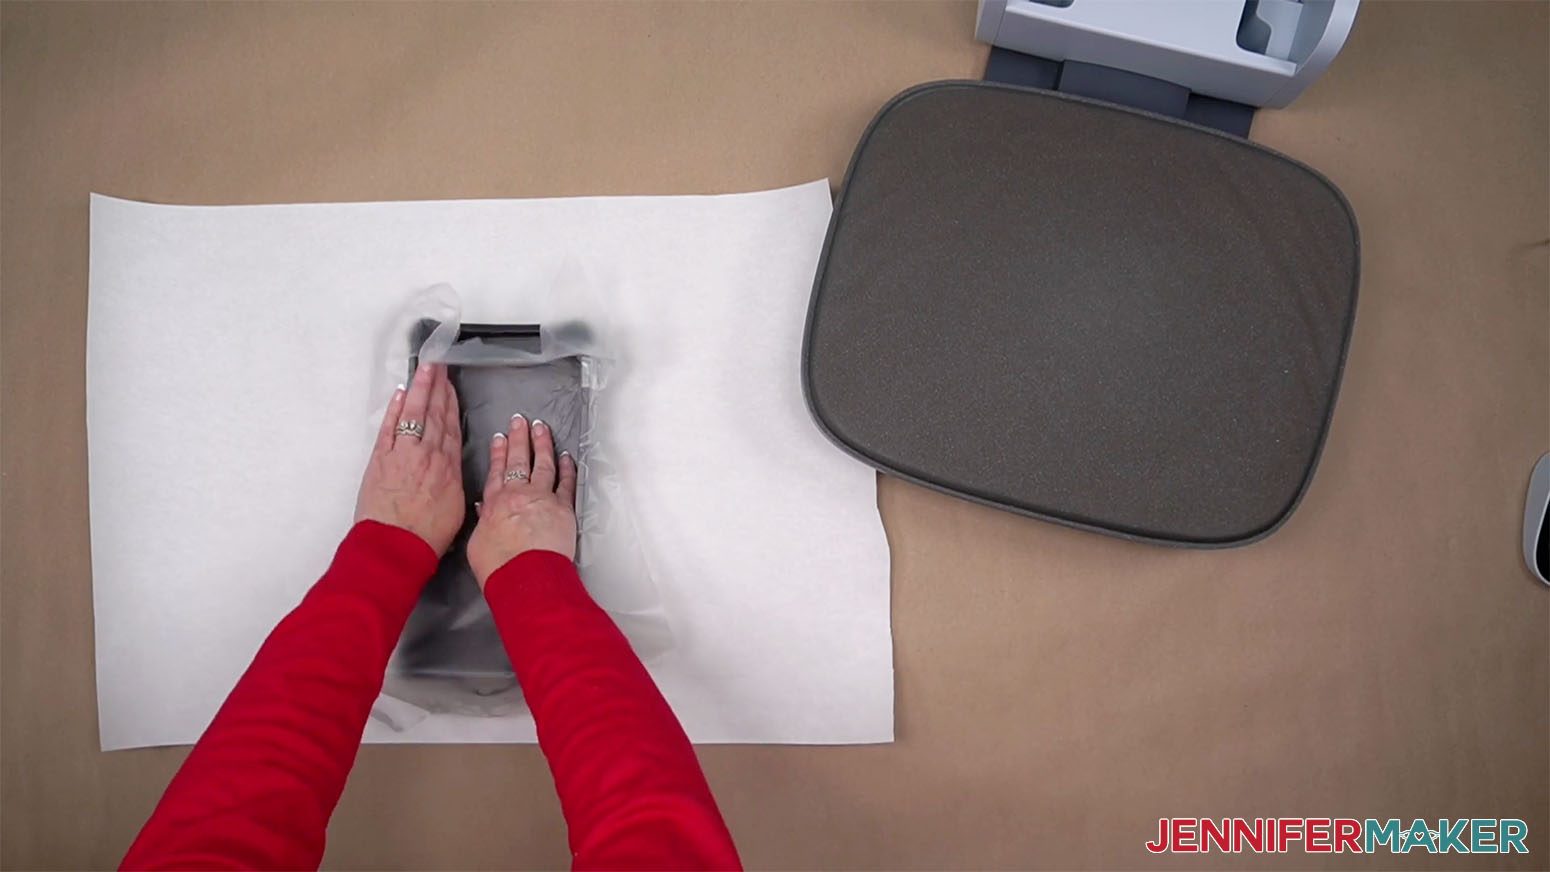
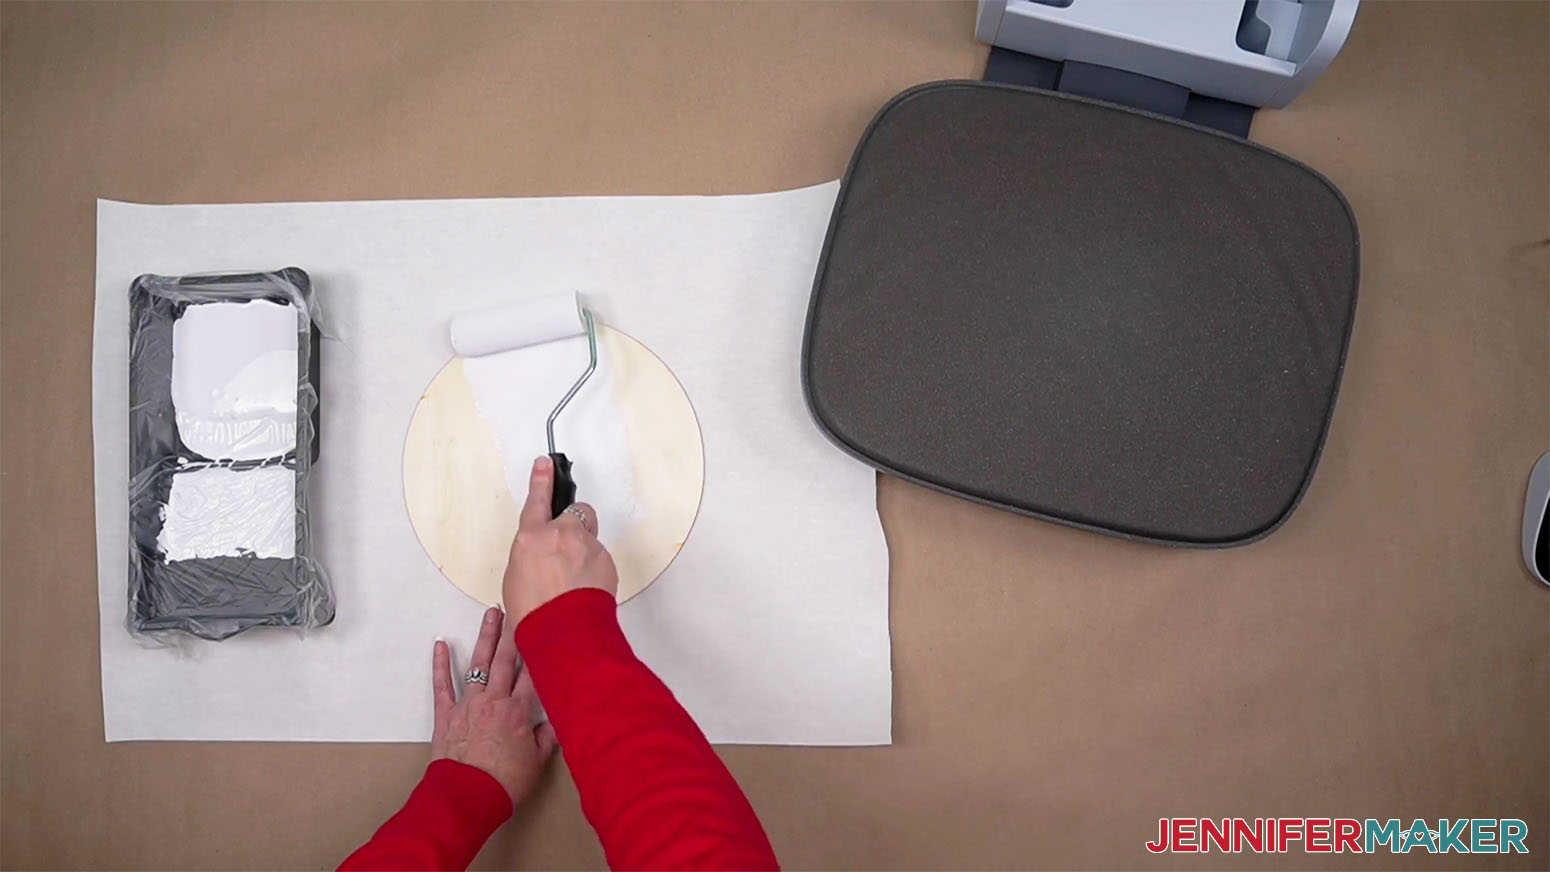
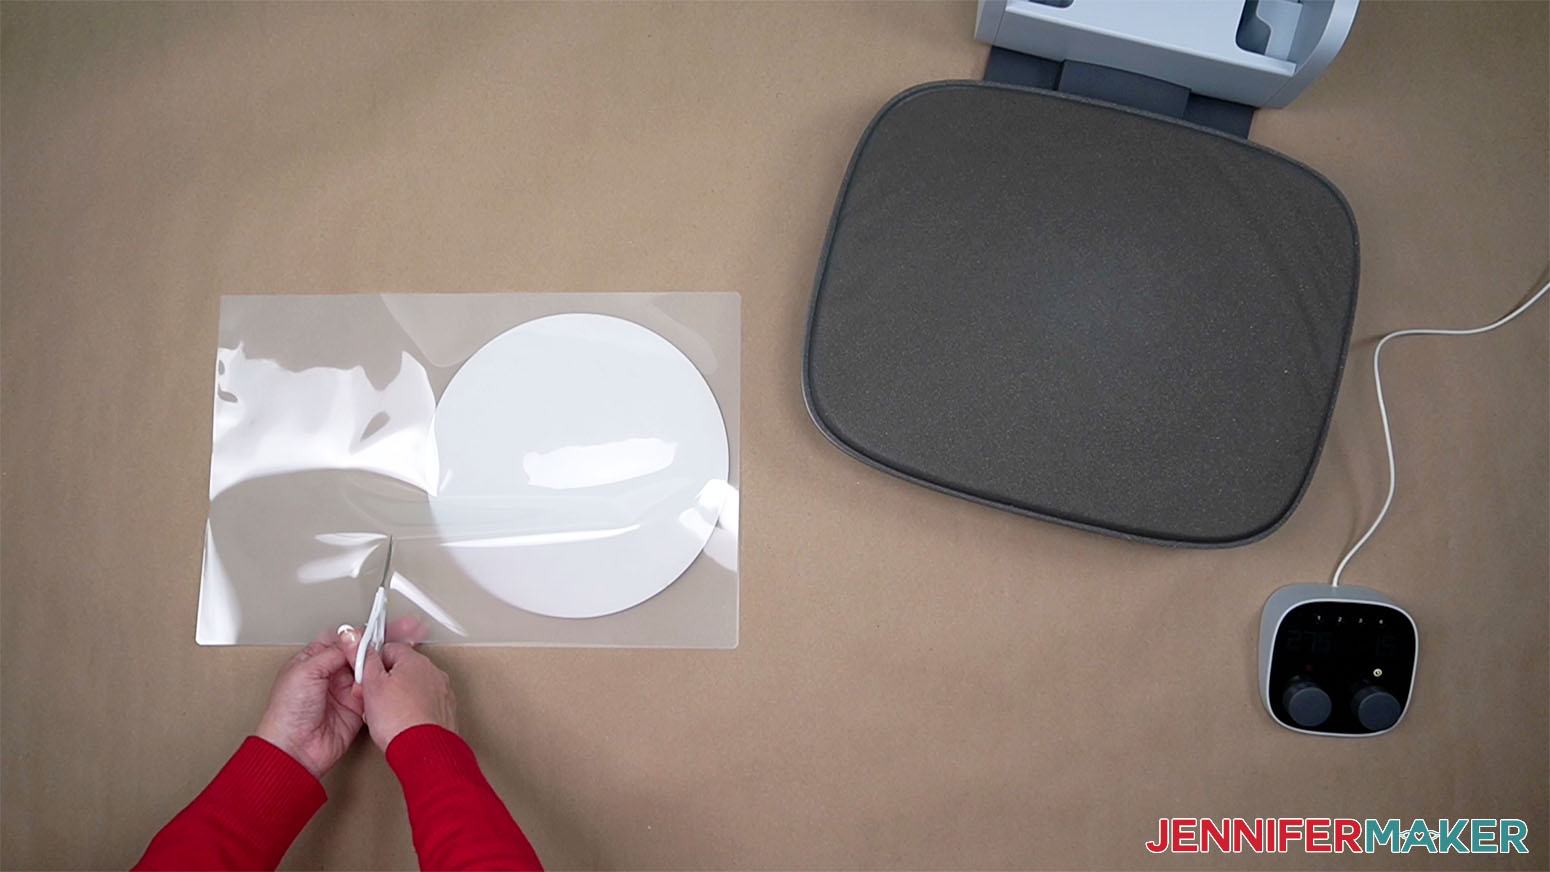
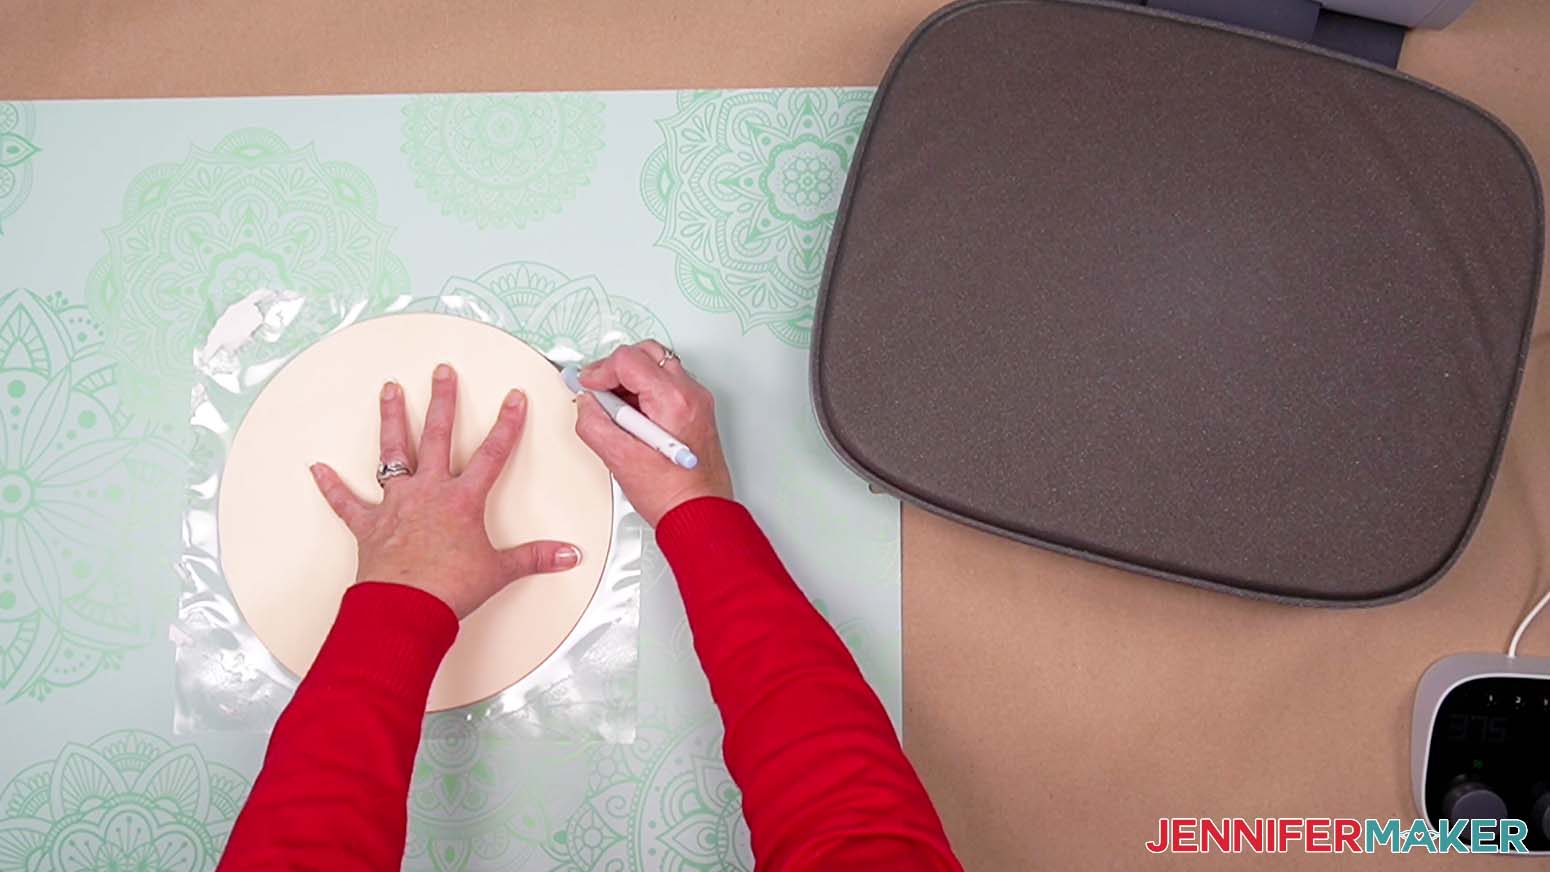
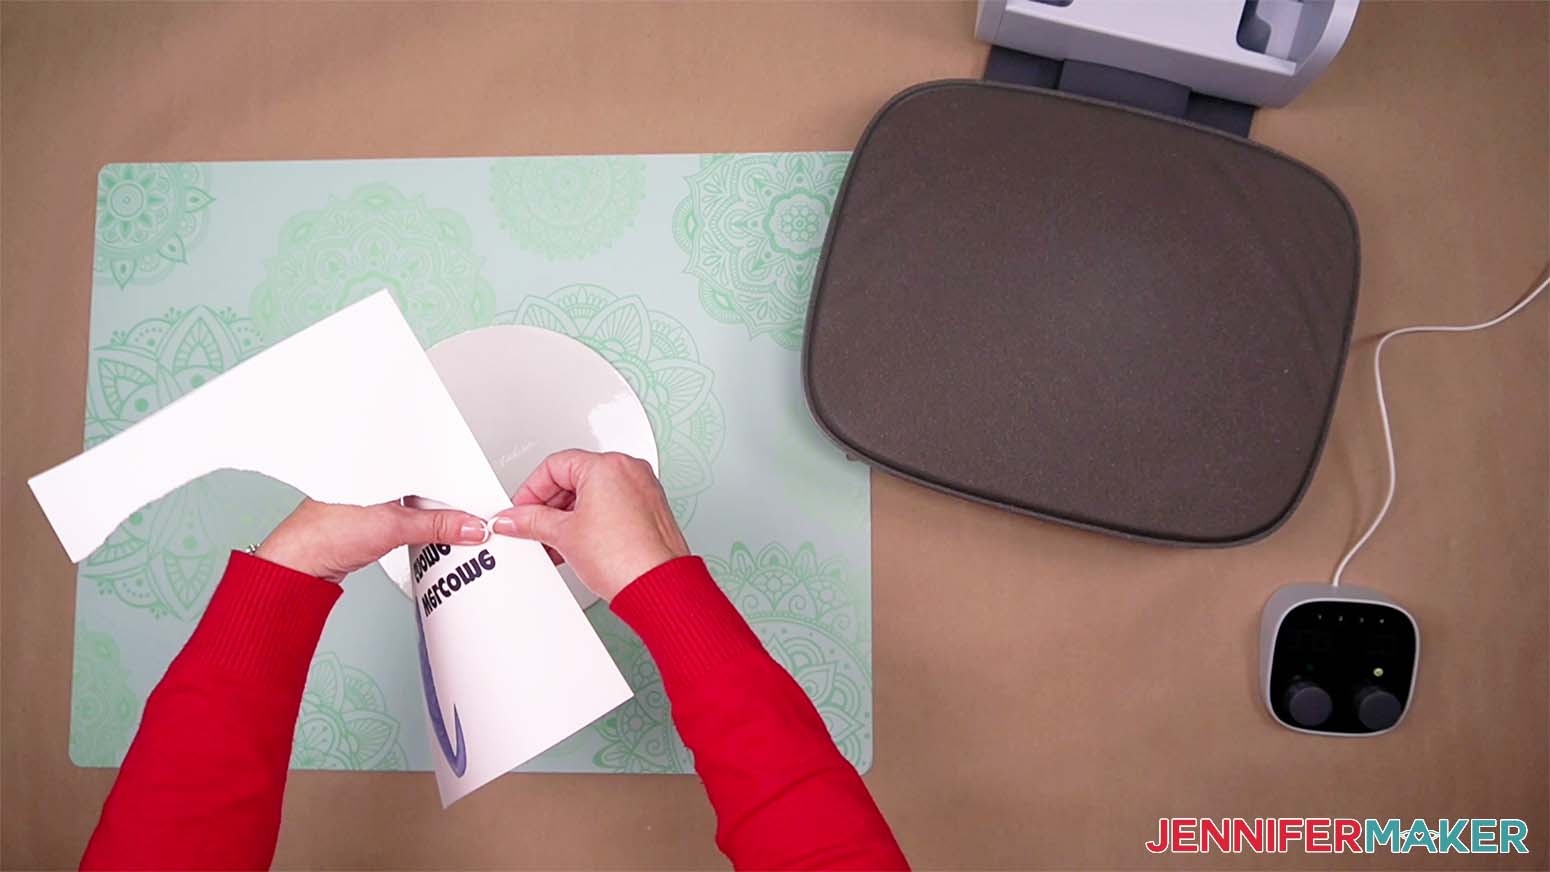
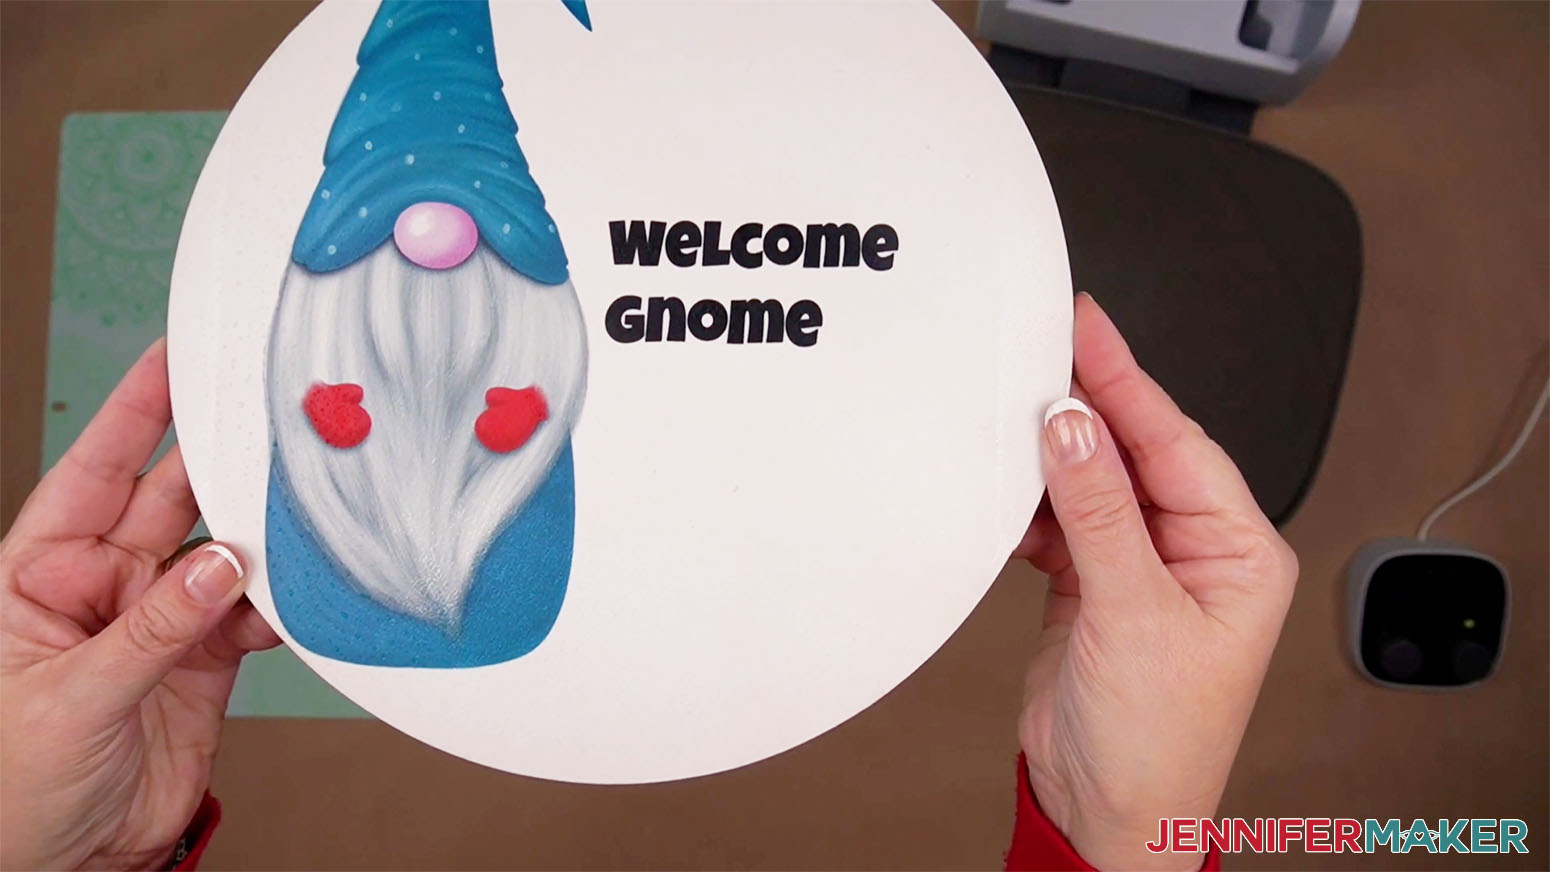
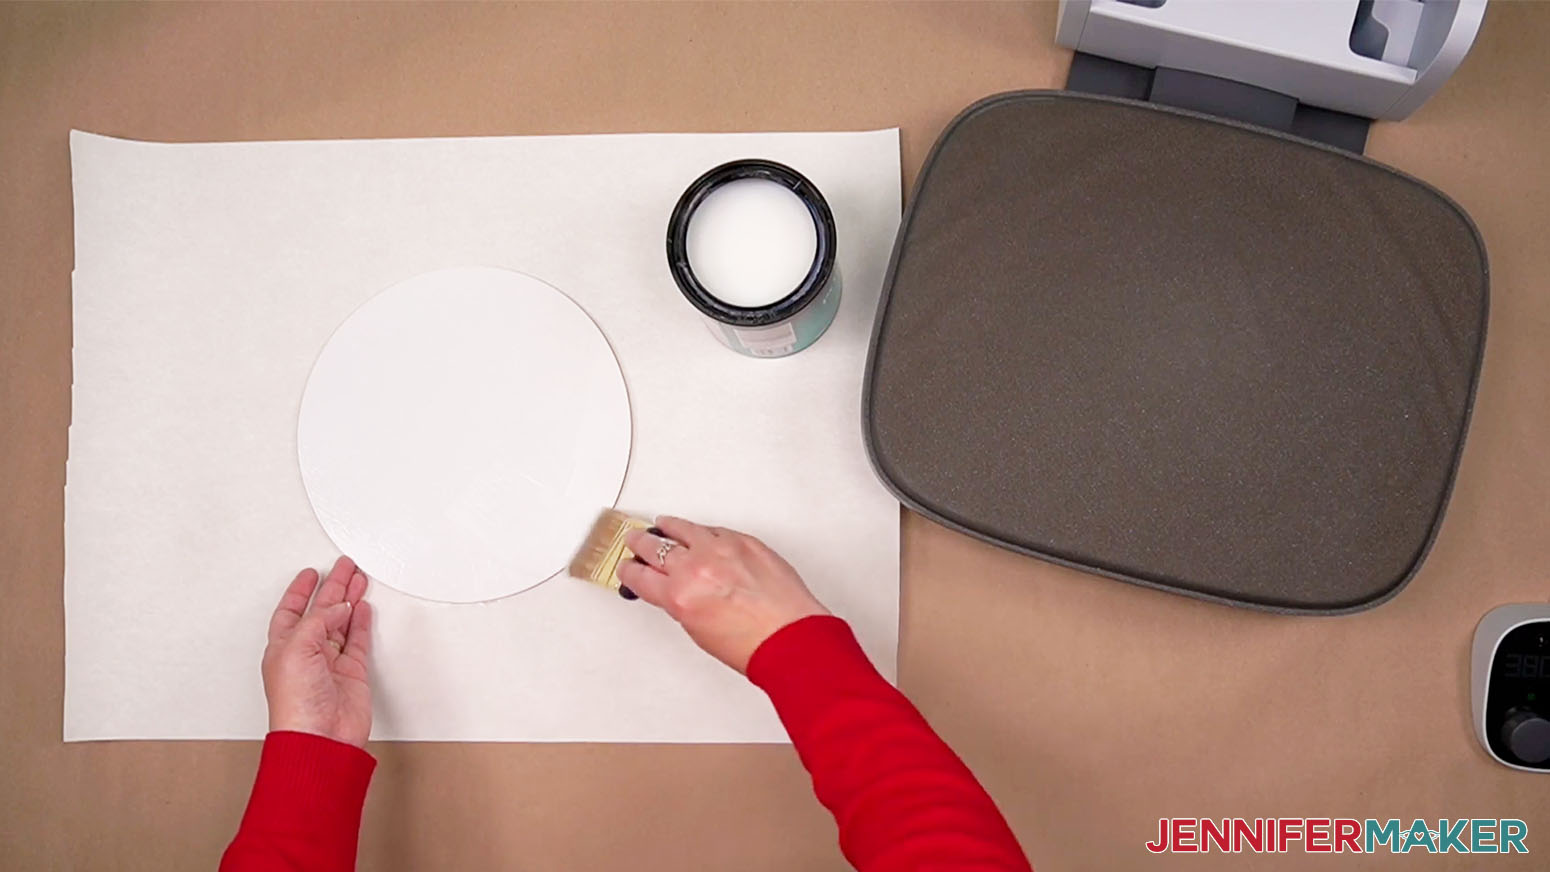
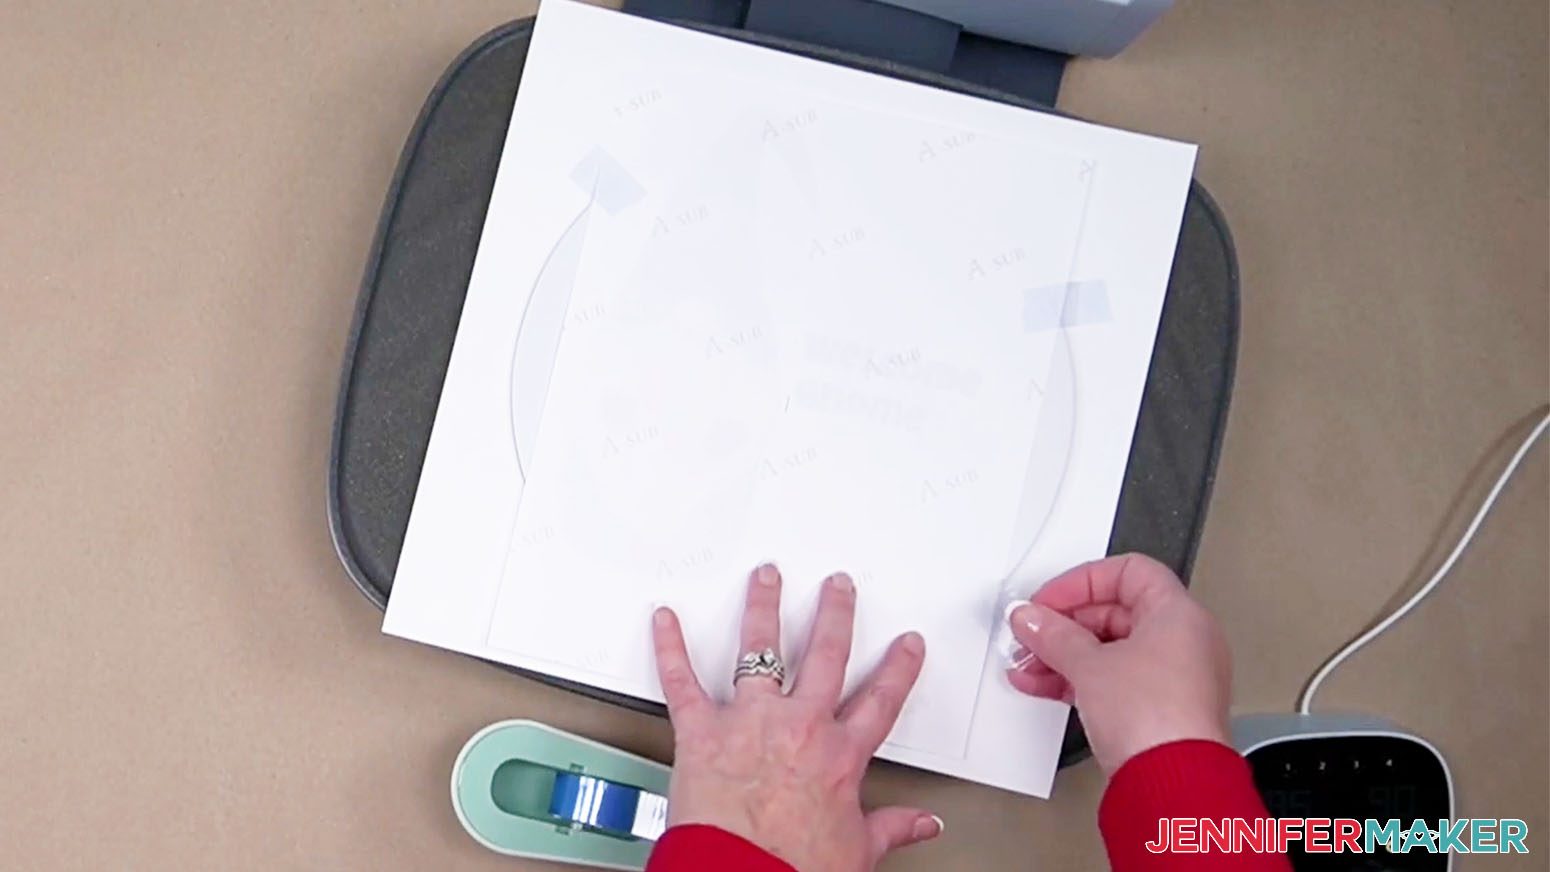
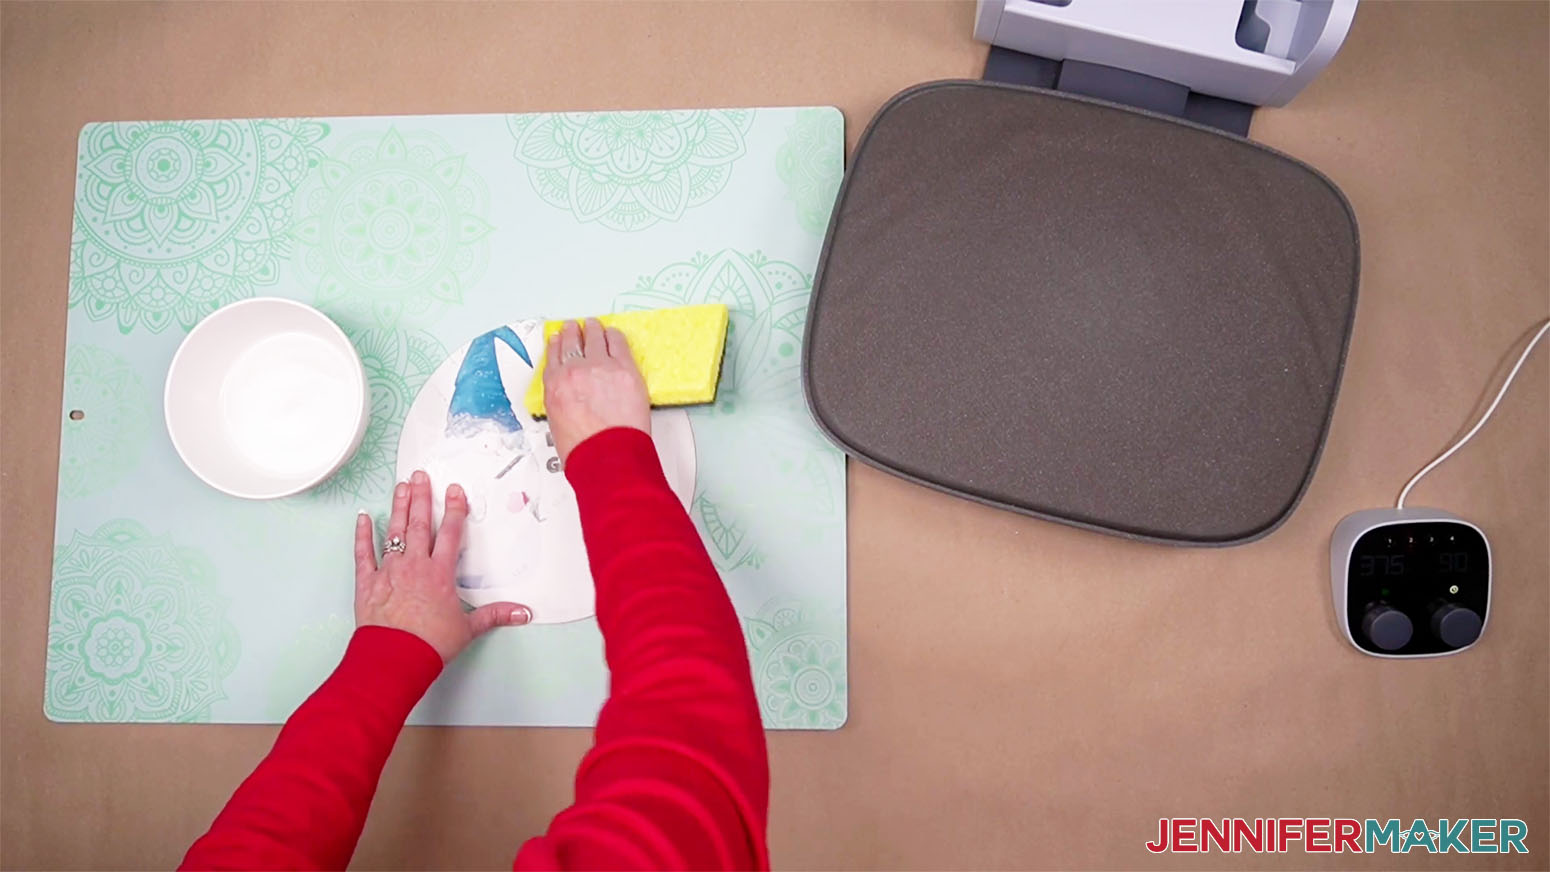
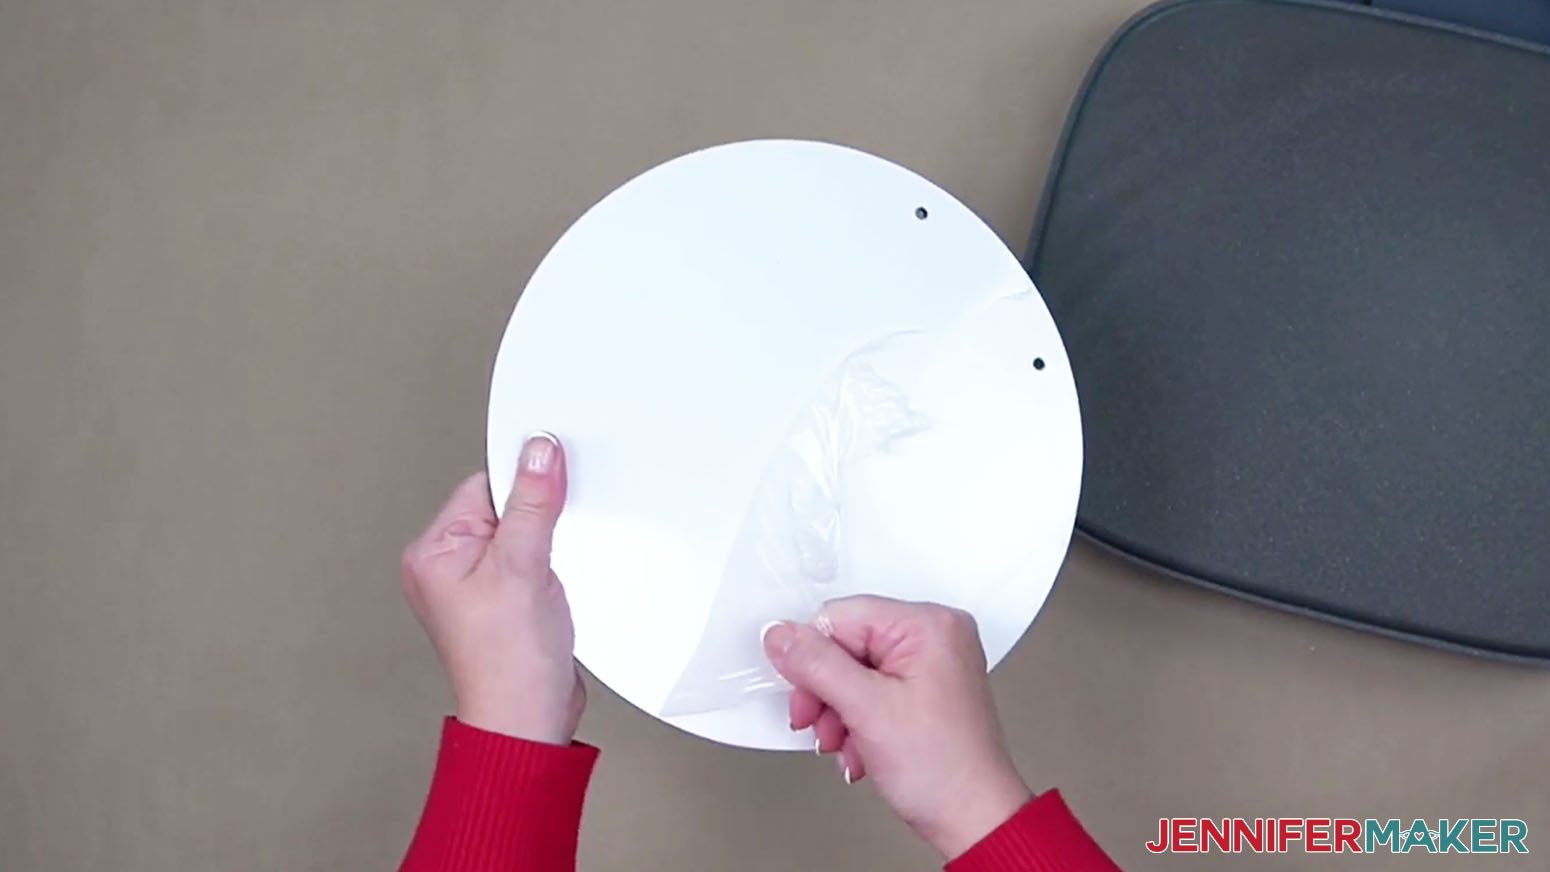
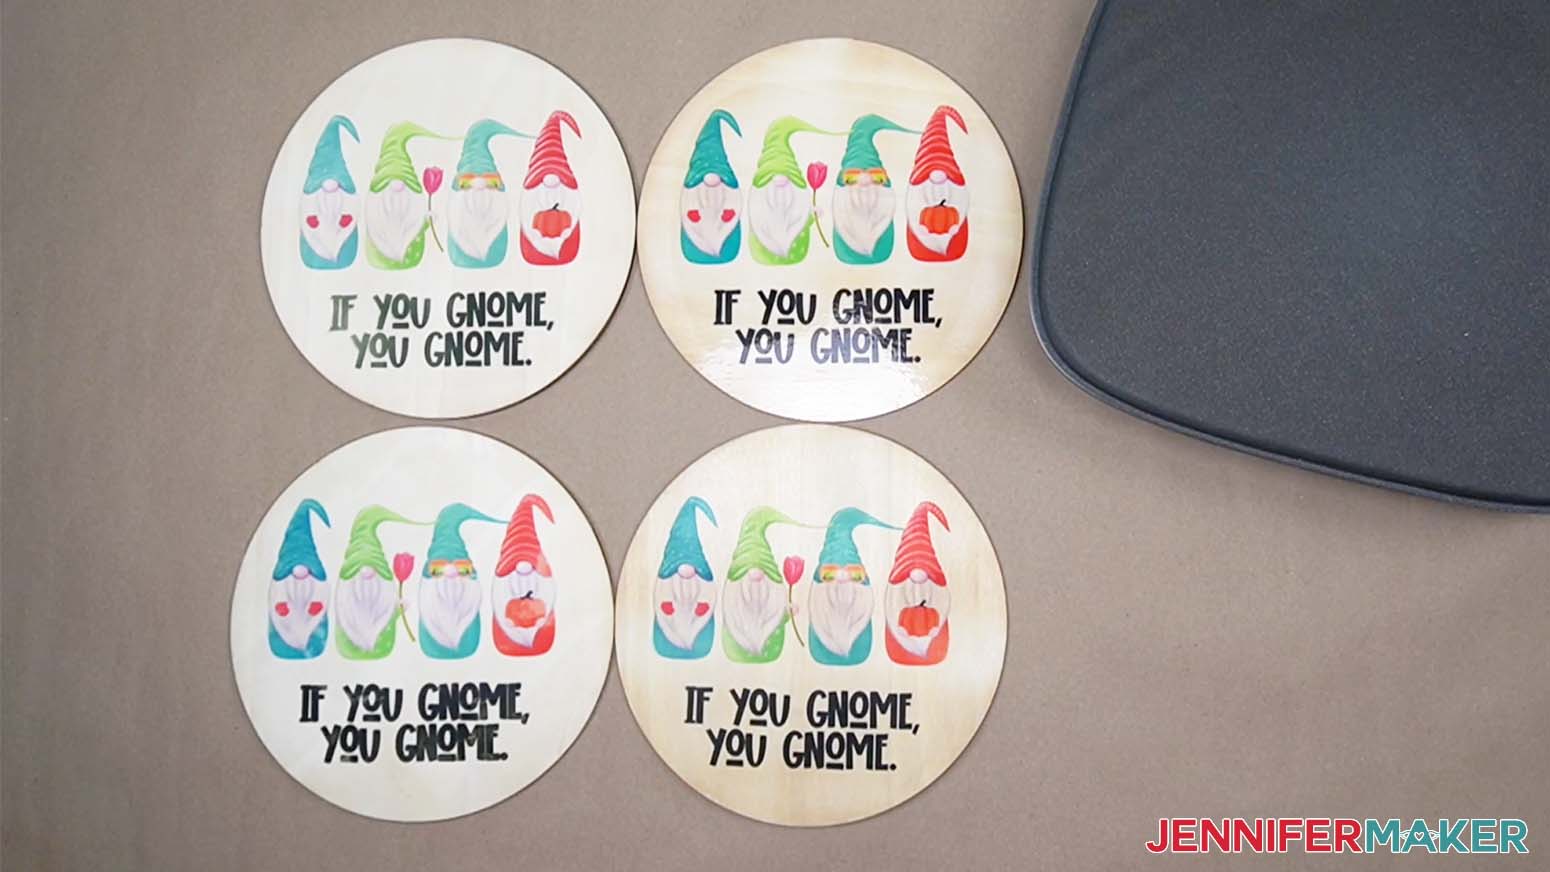
Learn how to use sublimation on wood signs with several techniques! Download the files and pick your design. There are five options: The Four Seasons of Gnomes The Winter Gnome The Spring Gnome The Summer Gnome The Fall Gnome All these designs have a blank version for personalization. I'll show you how to customize that version of the gnome group. Measure your wooden sign blank. Mine is 10" at the widest and tallest points, so we'll use that dimension to resize the design if needed. Open Google Docs in the Google Chrome web browser on your computer. You can also download and open the Google Docs app, but be aware that you won’t be able to install or access any printer profiles from a mobile device, and you’re also limited in features, so I do not recommend it on a mobile device. (Note: You will need a free Google account to use the free Google Docs software.) With Google Docs open, click on "Blank" in the upper left corner to open a new document. Go to the "File" menu and select "Page Setup". Change your margins to “0” and change your Paper Size to match your sublimation paper size. Mine is 8.5" x 11". Go to the "Insert" menu, select "Image", and select "Upload from Computer". Locate the sublimation design you want to use (hint: it’s probably in your Downloads folder), and click "Open". The image will appear and fill your page — it will not necessarily come in at the size originally designed. Resize your image to fit your blank. To resize right-click the image, select "Image Options," make sure the "Lock aspect ratio" box is checked, and change the Width or Height field. For the four gnomes image, I set my image size to 8.5" x 4.83" so there's still room for some text. If you are using one of the single gnome designs, I suggest 4.24" x 9.05". This will cause the gnome to bleed off the edge, but it's a great effect for the sign and fills the space nicely with text to the side. Adjust the image on your page by selecting it, then click on the second icon from the left in the menu below it, which means “Wrap Text”. Now, you can click and drag the image anywhere on your page. I recommend putting your design in the center of your page, as that ensures it won’t get cut off at the edges and you have plenty of space for cutting/tearing edges. If you want to personalize your design with text, go to the "Insert" menu, select "Drawing," and "New." In the Drawing dialog box that appears, click the Text box icon near the top, the square with a T in it. Click, drag, and release in the drawing area to create a text box. Type your text, choose your font and size, and click Save & Close. I chose "Luckiest Guy" and 50 for the size. Now just click on your new text and choose the fifth icon from the left, “Wrap Text (in front of text)” from the menu that appears below it. You can now reposition your text anywhere on your page. If you need to change anything about your text, click Edit from the menu below it. I centered mine by eye. Print the design following my earlier Sublimation Design Printing tutorial. I tested out several materials to help sublimate on wooden signs: lamination pouches,Clear Dye Sublimatable HTV, and polycrylic coating. I also transfered the design onto a specially-made sublimation blank of the same shape and size to compare the results. Here's how to try each approach. For the wood signs, the most important step is making sure the wood blank does not have any moisture in it by preheating. Even if it doesn't feel like it, there is moisture in the wood! And I have found that this excess moisture will cause the sublimation transfer to ghost or smudge. To preheat your blank, turn on your heat press (I'm using a Cricut Autopress) and set the temperature to 380° and time to 50 seconds. Once the temperature has been reached, place a clean piece of white cardstock on the pressing area and put the wood blank on top of it. Place a clean sheet of white butcher paper on top and press. If you notice "smoke" coming out of your press, don't worry! Nothing is burning, that's actually steam! Now that the wood blank has been dried out, we can prepare the surface for sublimation. Each of the methods works on the plain wood sign, but painting it white will help the design's colors be more true to the original and limits warping in thinner rounds. I'll show you comparisons. Pour a small amount of white latex paint into your paint tray. TIP: For easy clean up, place a large piece of Press and Seal food wrap on the bottom of your paint tray. Start by pressing the wrap onto the bottom and then adhere it to the sides of the tray. When you are done painting, peel off the wrap and throw it away. Protect your work surface with butcher paper. Using a foam roller, spread the paint evenly on the wood blank - you only need to paint one side. Let it dry completely before continuing, I'd give it a good hour. The paint should be dry to the touch and you fingers should not have any paint on them. I found that one coat of paint does the trick, feel free to add another coat just make sure that it is dried before you continue. TIP: To help dry your paint place your wooden blank on a piece of butcher paper on your heat press and turn it on. The temperature can be set around 300°. Today, I’m going to sublimate the Four Seasons of Gnomes design on a 10" wooden blank, but you can use these steps for any of the design options in the collection. Be sure to open a window or set up a fan to improve your ventilation. Lamination Pouches The 11" x 17" lamination pouches are great for covering a large area like the wooden blanks. Set your heat press to 375° and the time to 15 seconds. Separate the laminate pouch and cut one side of the pouch large enough to cover the entire circle. Place a clean piece of white cardstock on the pressing area. Put your dry painted wood blank on top, face up. Lint roll the wood blank to remove any debris that will interfere with the process, then place the laminate sheet dull side down. The laminate can go over the edges of the sign, but make sure it doesn't exceed the size of the cardstock! Cover everything with a clean sheet of butcher paper. Press for 15 seconds. When the time is up, remove the cardstock then carefully remove the blank. The laminate might stick to the cardstock, just gently peel away the paper. Next, place the wood blank face down on a self-healing cutting mat and trim away any excess laminate with a craft knife. Now, we're ready to sublimate! First, feather the edges of the design by gently ripping around the edges of the paper. This will help smooth the transition, because the cut edge of the sublimation paper can indent the laminated surface. To help with alignment, note the center of the design on the back with a little pencil mark. Place your print face down on the prepared blank, then use a ruler to find the center of the sign and line up the pencil mark. Secure the print with heat resistant tape. Press at 375° for 90 seconds. When the time is up, you can remove the butcher paper. To prevent ghosting, leave the print to cool for a couple of minutes to let the sublimation process complete. After it has cooled, remove the tape and paper. Clear Dye Sublimatable HTV Use Clear Dye Sublimatable HTV for a less shiny, matte look. Set your press to 320° and time to 20 seconds. Cut a piece of the HTV a little larger than the wood circle. Lint roll the wood blank. Place a clean piece of white cardstock on the pressing area. Put your dry, painted wood blank on top face up followed by the Clear Dye Sublimatable HTV, dull side down, shiny side up. Make sure that the HTV doesn't exceed the size of the cardstock! Again, it's ok if it goes over the edges of the sign. Cover everything with a clean sheet of butcher paper. Press for 20 seconds. When the time is done, carefully remove the butcher paper and blank. The vinyl might stick to the cardstock, just gently peel away the paper. Make sure the wood blank is completely cooled off before proceeding, usually about 5-10 minutes. Next, place the wood blank face down on a self-healing cutting mat and trim away any excess vinyl with a craft knife. Now we need to peel the carrier backing away from the HTV. This can be a bit tricky. Using a fingernail, gently pry the backing away from the edge of the wood blank. The HTV might peel a little bit off of the wood, if this happens, just hold it down with your thumb and carefully remove the backing from the rest of the vinyl on the wood blank. Set your heat press to 380° and the time to 50 seconds. Place a clean sheet of white cardstock on your press and put the wood blank on top, face up. For the Clear Dye Sublimatable HTV, I recommend not trimming your print and letting the edges of the paper hang over. Place your print face down on the prepared blank. To help with alignment, note the center of the design on the back with a little pencil mark. Place your print face down on the prepared blank, then use a ruler to find the center of the sign and line up the pencil mark. Secure your print with heat resistant tape. Try to tape your print to the protective cardstock on the bottom. I found that the heat resistant tape tends to really stick to the HTV and started to pull the HTV off of the wood. Press at 380° for 50 seconds. When the time is up, you can remove the butcher paper. To prevent ghosting, leave the print to cool for a couple of minutes to let the sublimation process complete. After it has cooled, remove the tape and paper. Polycrylic Coating To apply the polycrylic coating to the painted wood blank, use a paint brush instead of a roller. Using a roller made the surface very bumpy. Make sure to use a lint roller to remove any dust or debris before starting, too. Let this coat dry completely before continuing - about an hour. The surface should be dry to the touch and not sticky. I found that one coat of polycrylic was good for the transfer. Set your press to 375° and the time to 90 seconds. Place a clean piece of white cardstock on the pressing area. Put your dry painted wood blank on top of that, face up. Lint roll the wood blank to remove any dust. Place your print on the wood blank and secure with heat resistant tape, face down. To help with alignment, note the center of the design on the back with a little pencil mark. Place your print face down on the prepared blank, then use a ruler to find the center of the sign and line up the pencil mark. Try to tape your untrimmed print to the protective cardstock on the bottom. I found that some of the paint peeled off when the tape was being removed. When the time is up, let it cool to avoid ghosting and remove from the press. Paper tends to stick to the polycrylic but if you use a damp sponge you can remove the paper easily. Most of the paper came up easily using the soft side of the sponge. If you have some paper that is really stubborn, it's ok to use the scrubber side of the sponge. Sublimation Blank If you want to skip all the preparation steps, you can purchase sublimation blanks just like the signs. Set your press to 365° and time to 10 seconds. Make sure to peel the protective plastic off the blank before you put it in the press. Preheat at 365° for 10 seconds. Place a clean piece of white cardstock on the press then the sublimation blank, face up. To help with alignment, note the center of the design on the back with a little pencil mark. Place your print face down on the prepared blank, then use a ruler to find the center of the sign and line up the pencil mark. Secure your print with heat resistant tape and cover it with clean white butcher paper. Press at 365° for 90 seconds. When the time is up, you can remove the butcher paper. To prevent ghosting, leave the print to cool for a couple of minutes to let the sublimation process complete. After it has cooled, remove the tape and paper Results I got varying results with each method. The clear winner is the sublimation blank! The colors were crisp and it's the fastest way to make a cute sign. For the wood blanks, you can sublimate on the natural unpainted surface, but you lose a lot of detail and the color is muted and they can warp. Painting them white first helps with both challenges. If your heart is set on an unpainted look, try using a thicker wood blank. If your wood blank warps, use a sponge and water to dampen the unfinished side. Set the sign on a couple sheets of butcher paper and place heavy books on top. Leave this over night and the sign should straighten a bit, but it's really worth using a thicker blank instead! The best of the wood signs is the lamination pouch. It's easy to prepare and the colors are vivid. Next is the clear dye sub HTV, I like this method because of the matte finish, it's not as shiny as the other two. The polycrylic works well enough, but there is a lot of extra work trying to get the paper off the wood. I also tried a spray subli glaze. This method had a few extra steps like curing the blank in a non-food oven. The smell was really bad and the end result was low on the success rate compared to the methods I just showed you. I do not recommend this method. Add the included rope hanger to the sublimation blank by threading one end of the rope through one of the holes from the back. Tie a small knot at the end and pull tight. Repeat for the second hole. For the wood rounds I added a picture hanger to the back. Looking at the front, note the top center by placing a piece of tape and wrapping it over the edge to the backside. This will not only help you determine the center, but also make sure you don't put the hanger on lopsided. Measure 3 " down from the top of the circle and mark with a pencil. Peel off the backer from the adhesive and place the bottom of the hanger on the 3" mark. Make sure it has stuck to the wood and gently bend the top tab back just a little bit. Typeface used in designs: Wonderful Display
Sublimation on Wood
Materials
Tools
Instructions
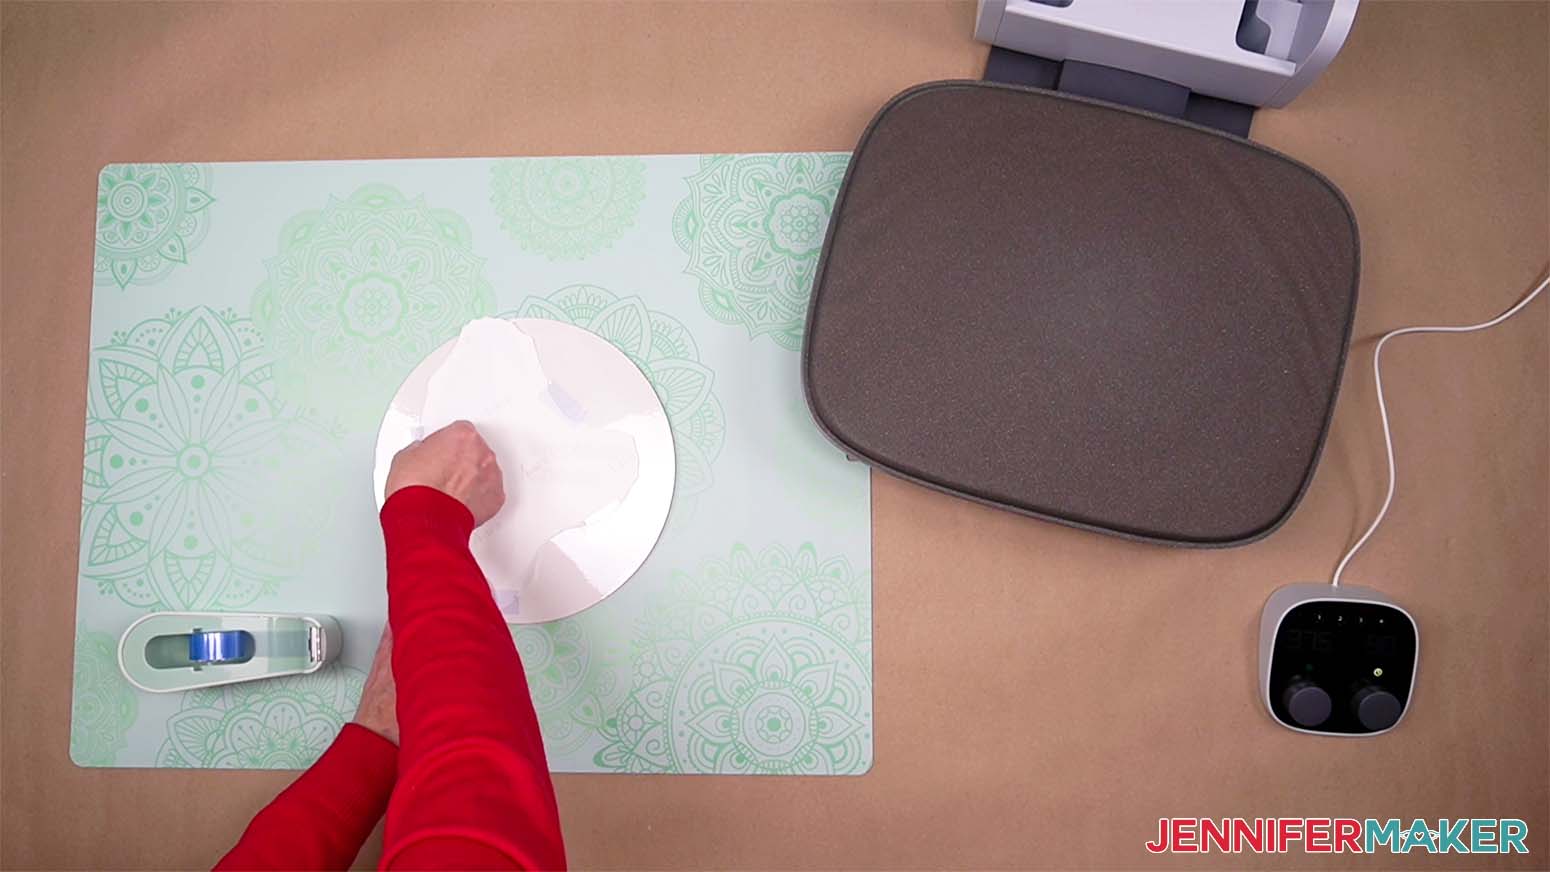
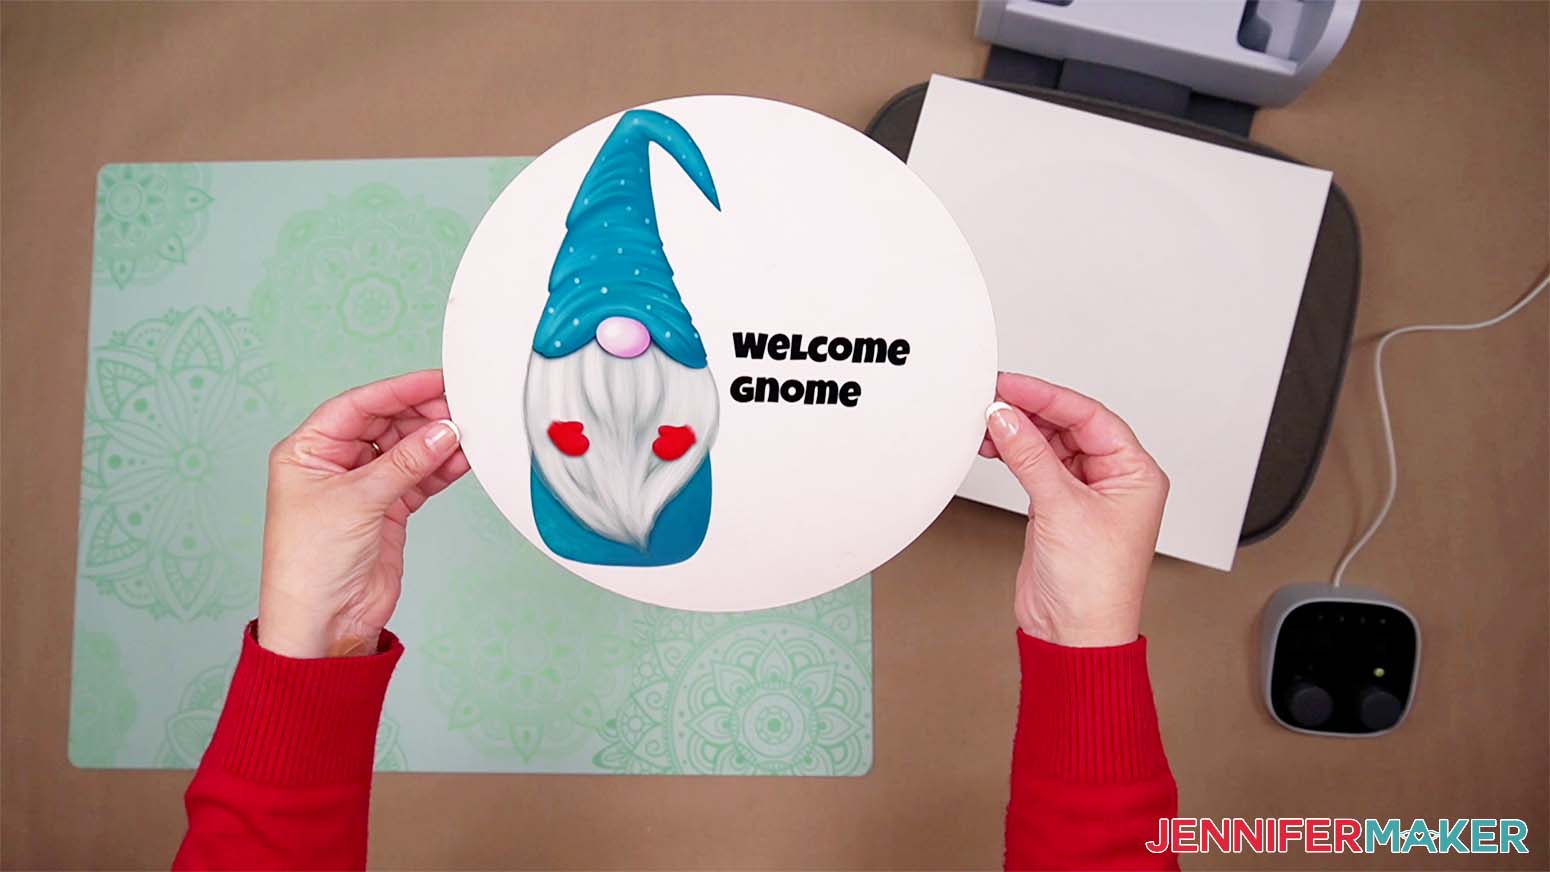
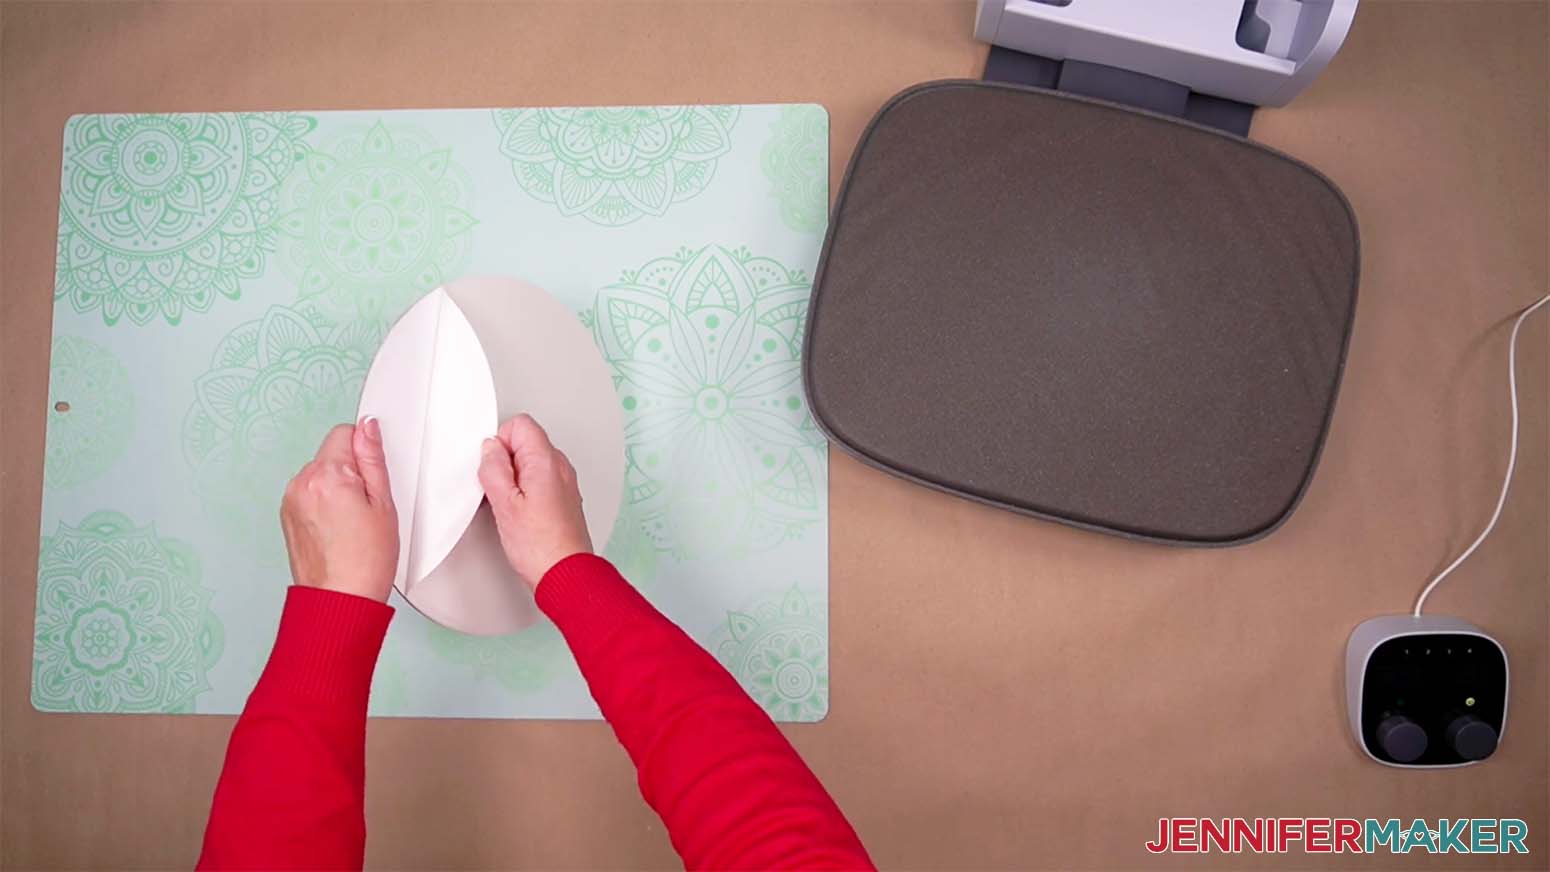
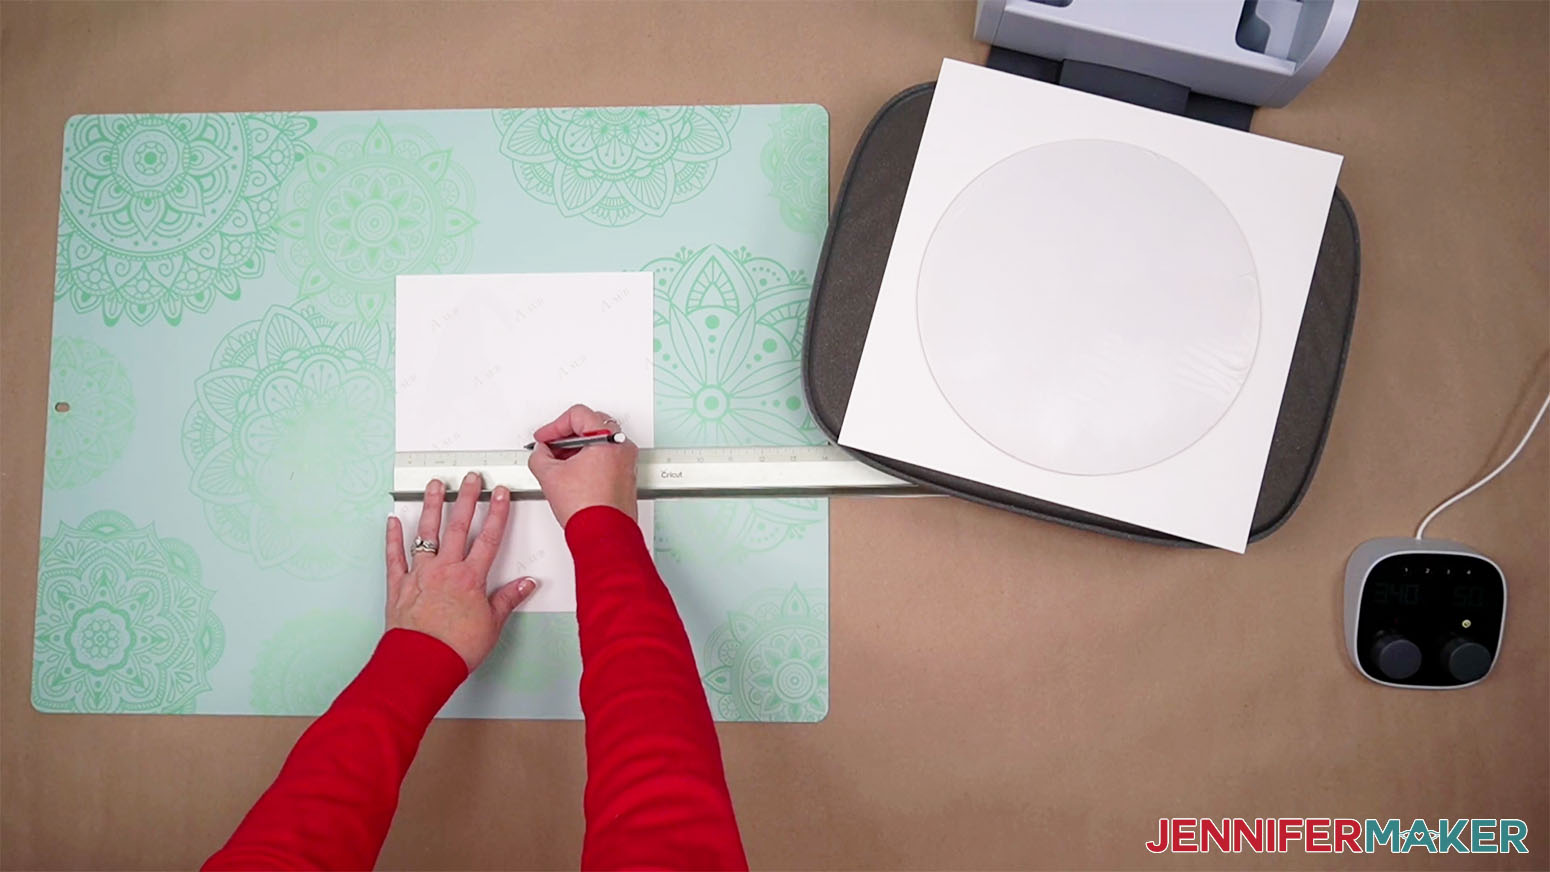
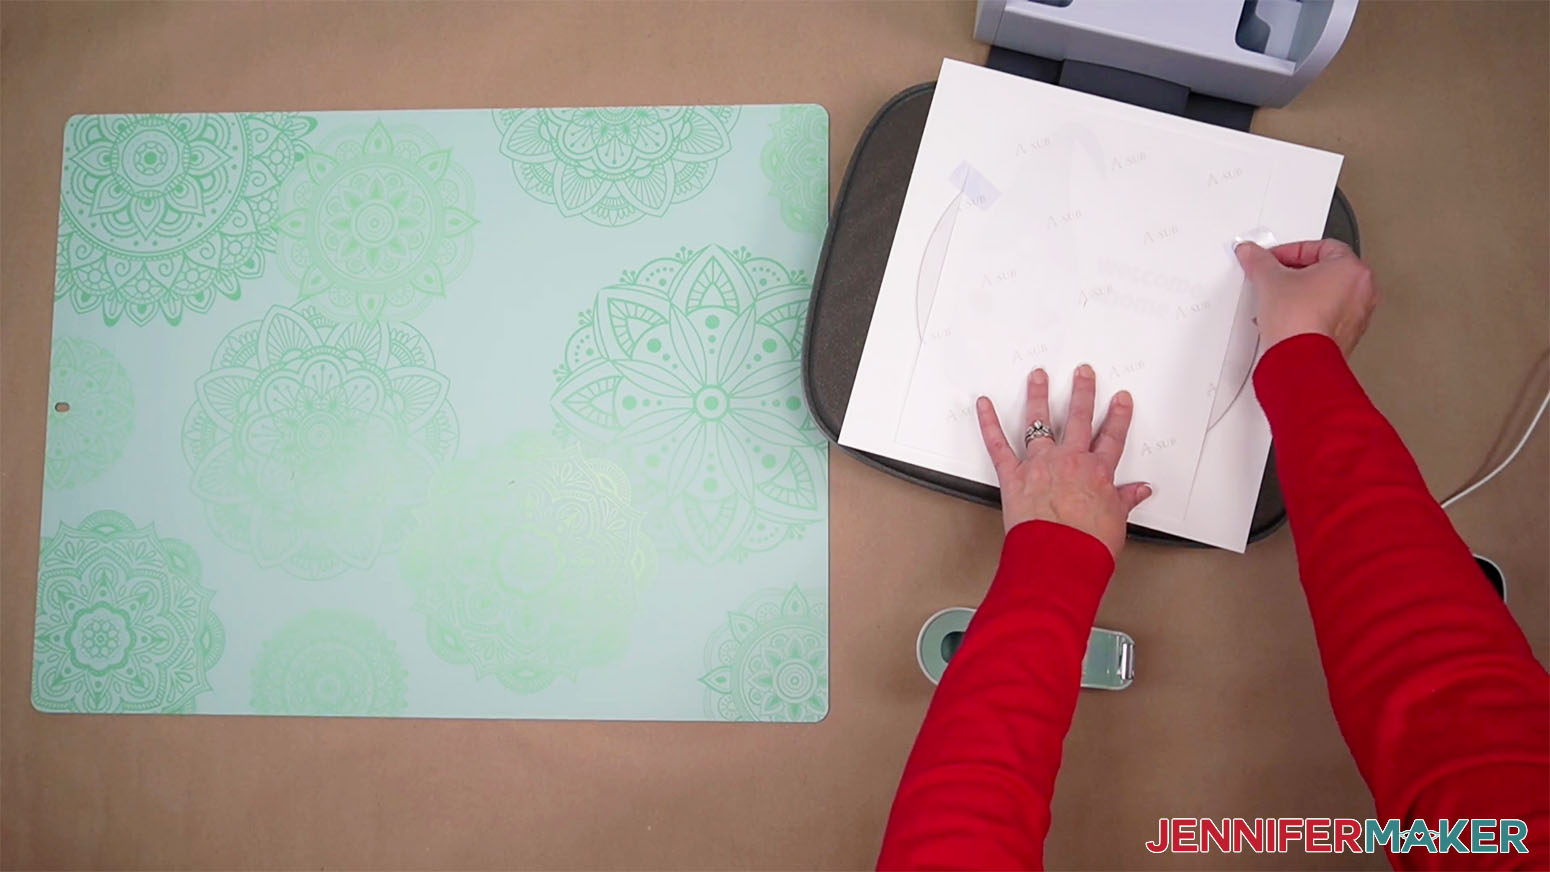
STEP 1: GET OR PREPARE A SUBLIMATION DESIGN
You can use any of my Sublimation on Wood design files from my resource library, Design #455. You can also make your own design.


![]()
![]()
![]()
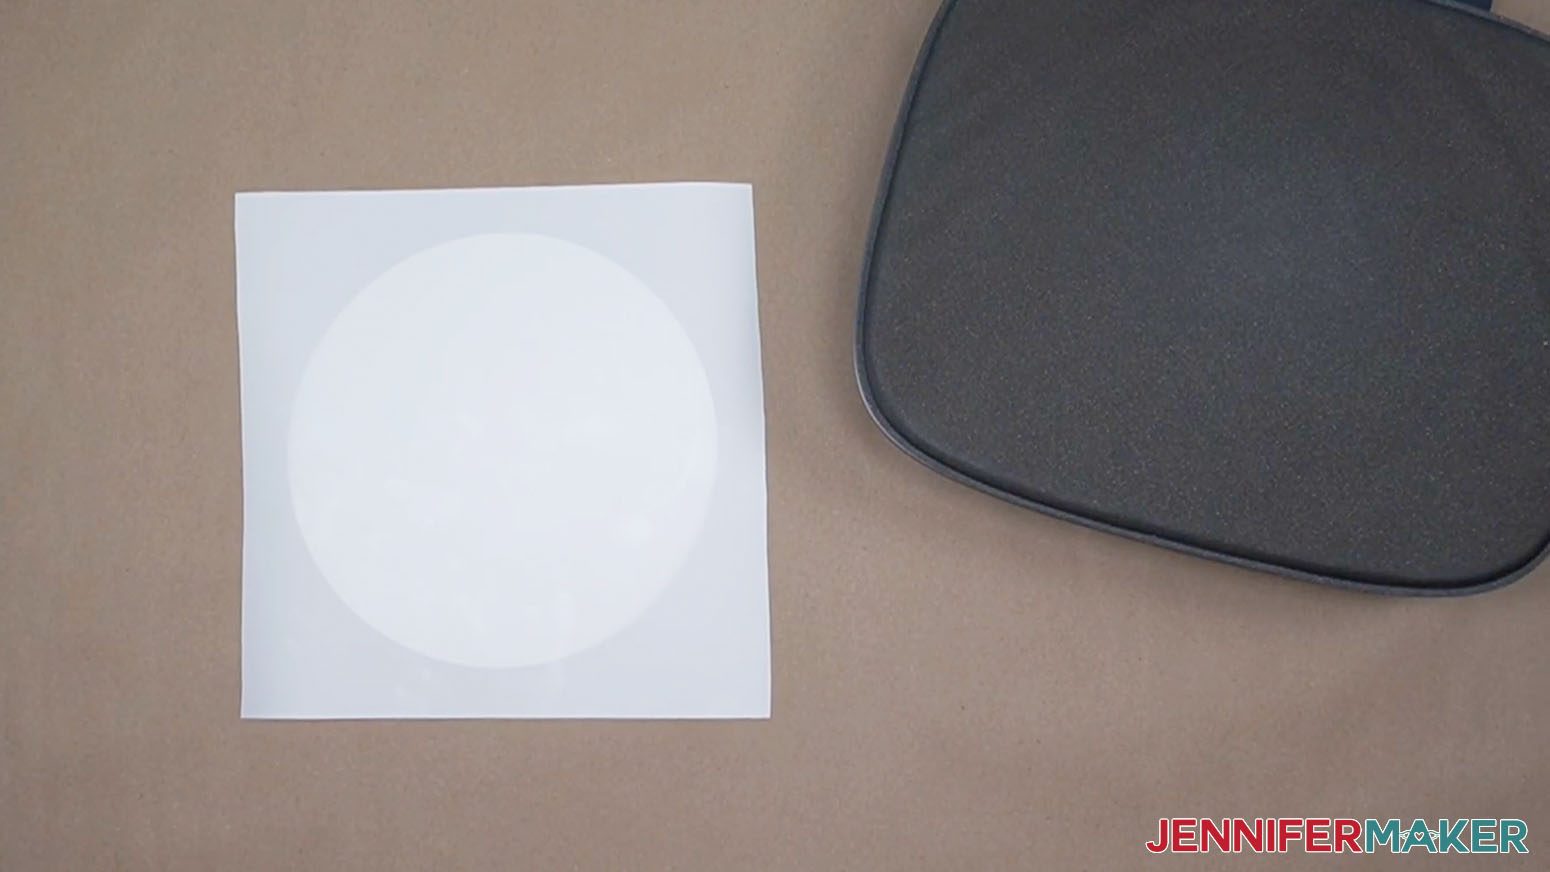
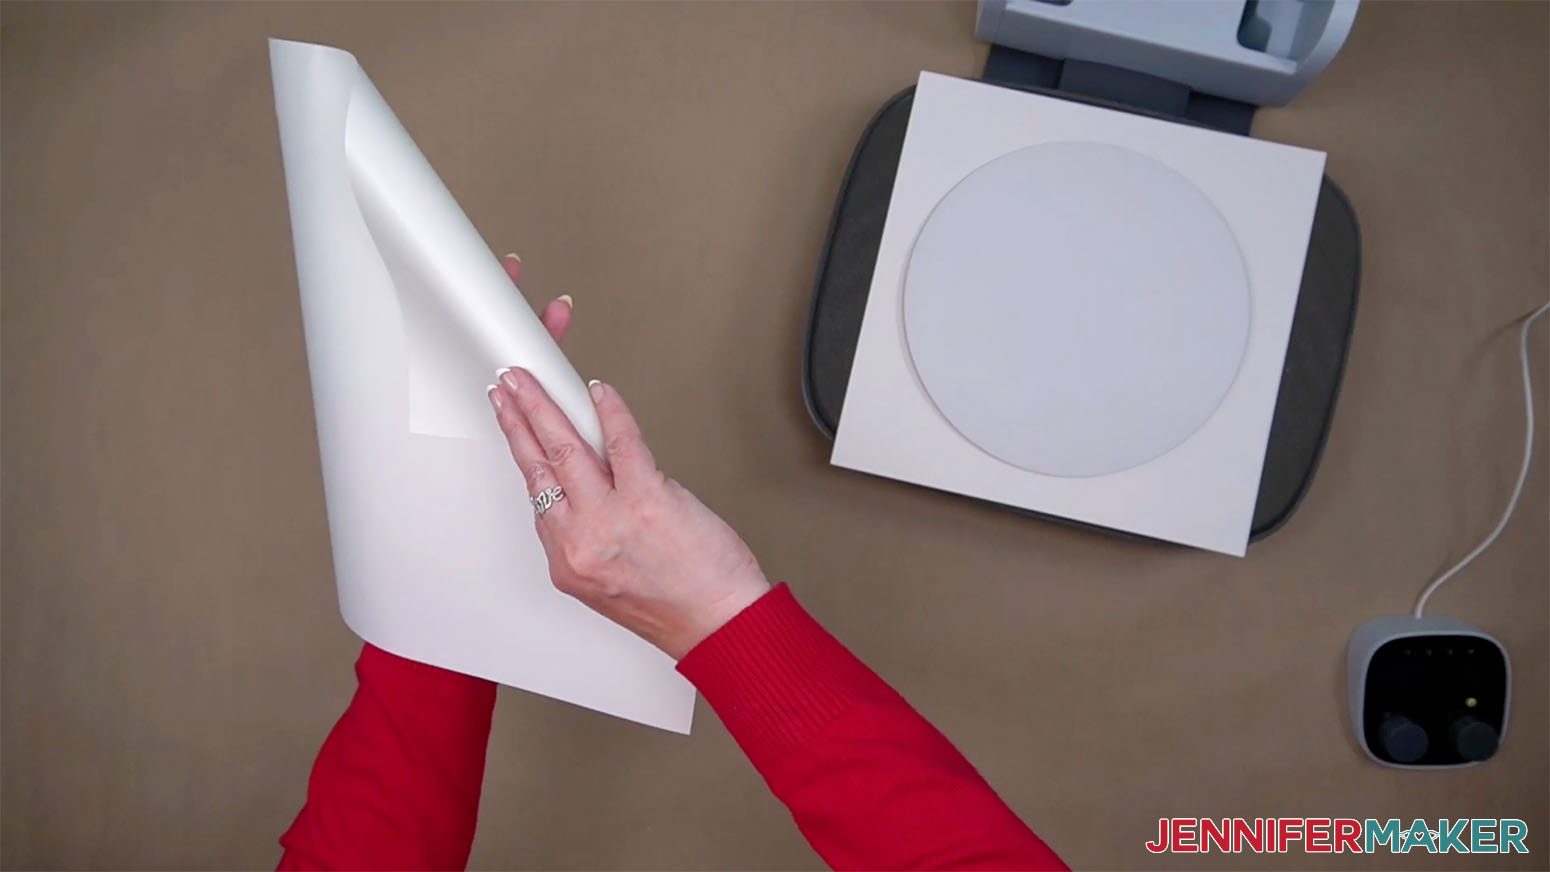
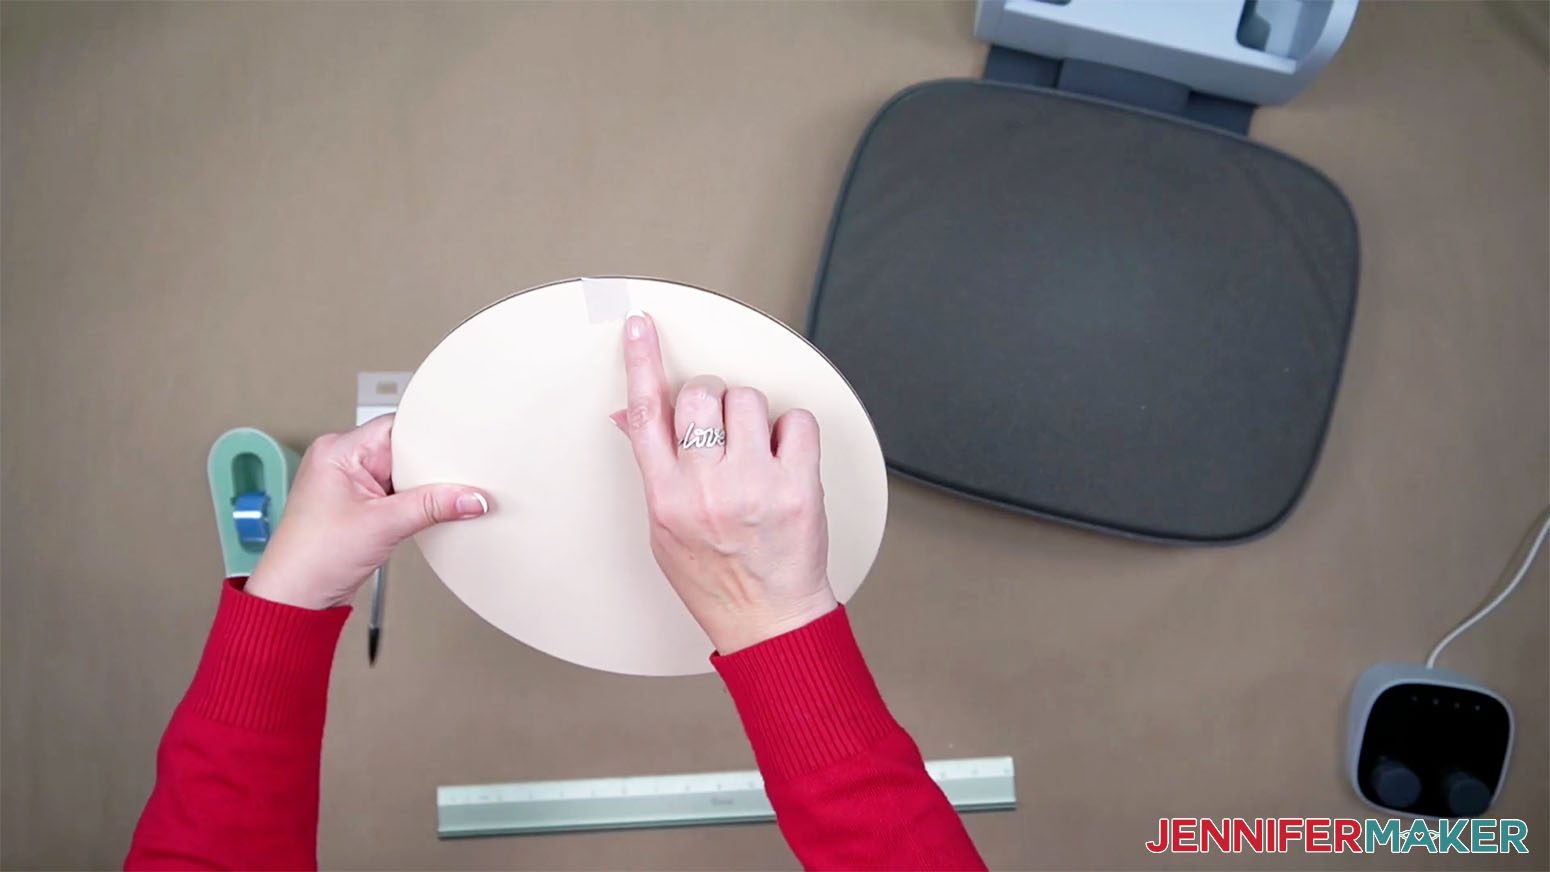
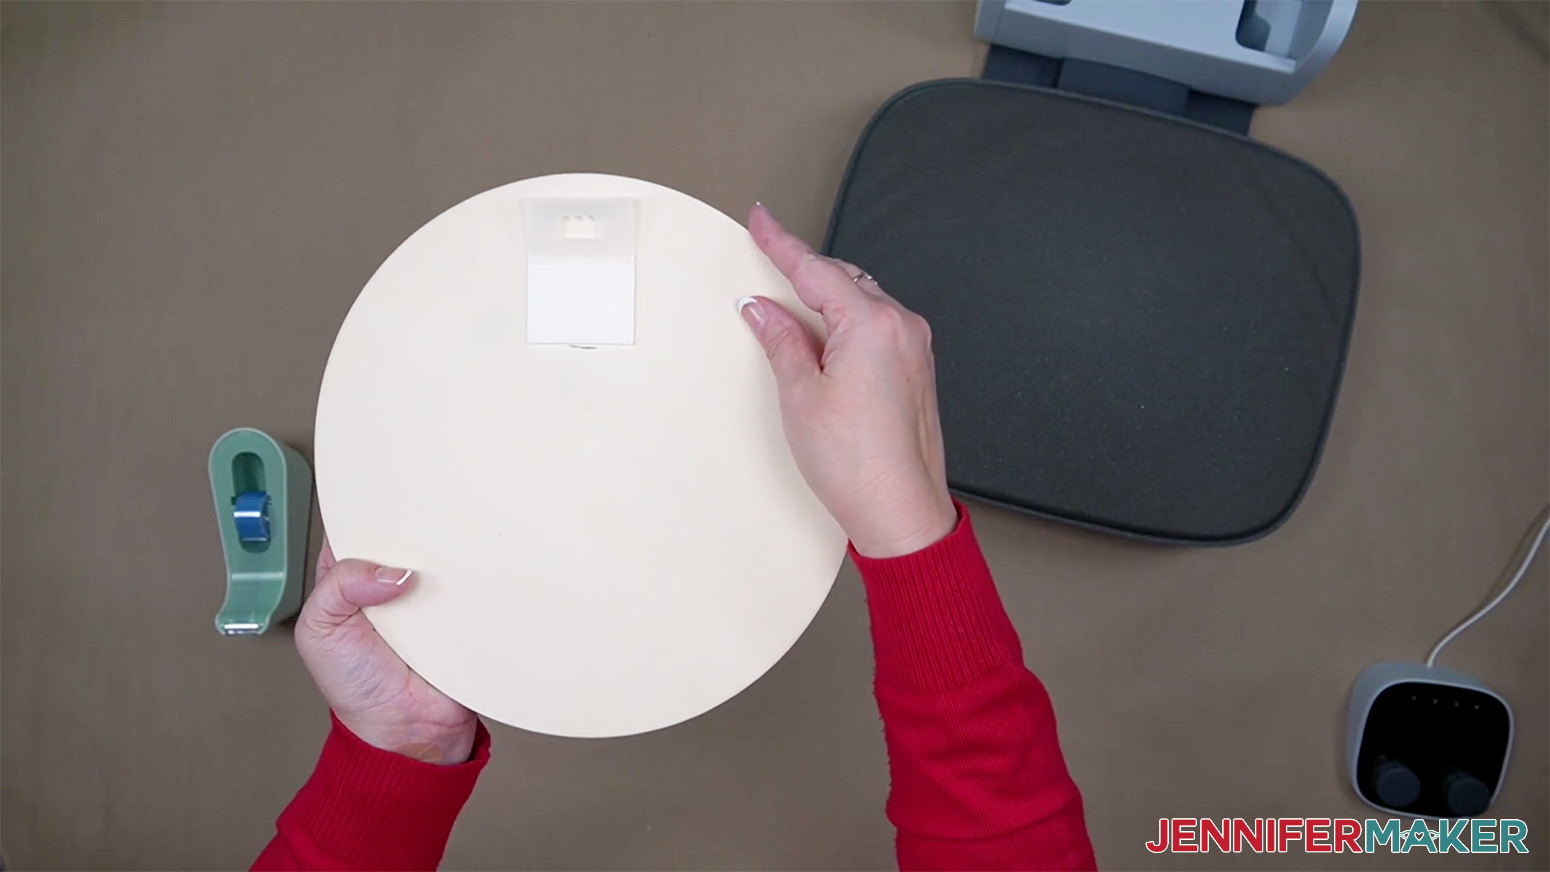
STEP 2: PREPARE THE WOOD BLANK
![]()
STEP 3: SUBLIMATE YOUR DESIGNS
![]()

![]()
![]()
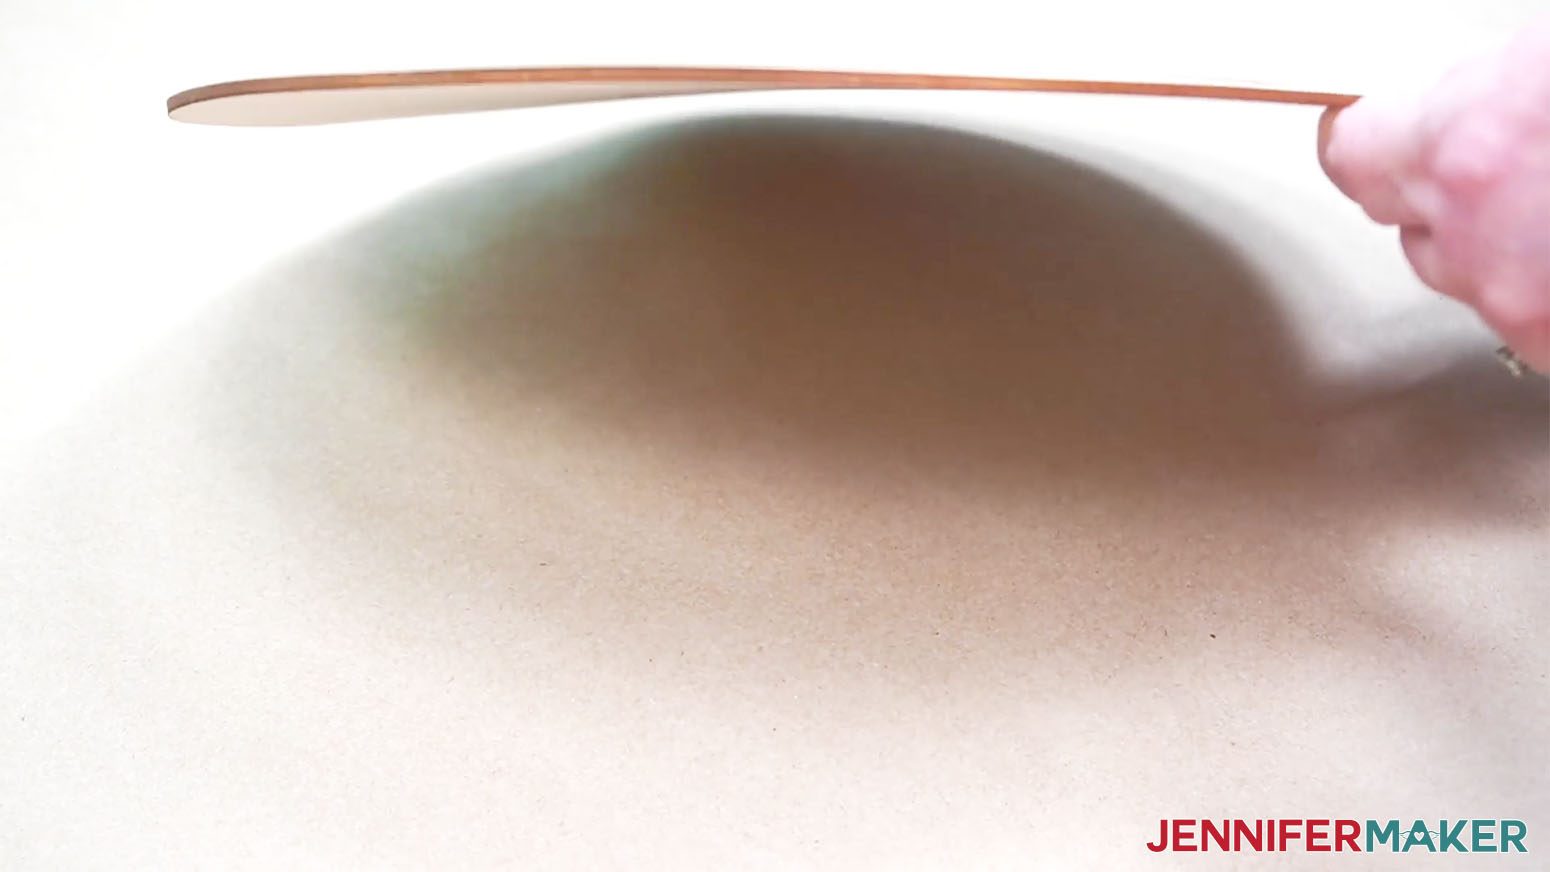
![]()
STEP 4: SHOW IT OFF
![]()
Notes
Free Alternative: Norch
Answers to Your Questions About Sublimation on Wood
Q: Can you do sublimation on wood?
A: Yes! You do need to prepare your wooden surface, though. White painted wood worked much better than plain for me.
Q: How do you prepare wood for sublimation?
A: There are several good options to prepare sublimation on wood projects, see my tutorial for the comparisons.
Q: Can you heat press on wood?
A: Yes, you can sublimate on wood with a heat press, including wood slices!
Q: Can you sublimate on Dollar Tree wood?
A: A wooden blank from Dollar Tree will probably be thin, but you can probably sublimate on it. I do recommend painting it white to help avoid warping.
Q: Can you sublimate on MDF wood?
A: Yes, you can sublimate on wood composites, like MDF board.
Q: Where can I find images to create my own full color printed designs?
A: In addition to my free resource library, check out Cricut Design Space, Adobe Photoshop, Design Bundles, Silhouette Studio software, Creative Fabrica, Creative Market, Font Bundles, and other online marketplaces for ready-made designs and assets to make your own files for your sublimation on wood projects.
Q: How long will my sublimation project last?
A: There are many variables, but if you follow my tips, your sublimation project should last a long time!
Q: Is sublimation better than vinyl?
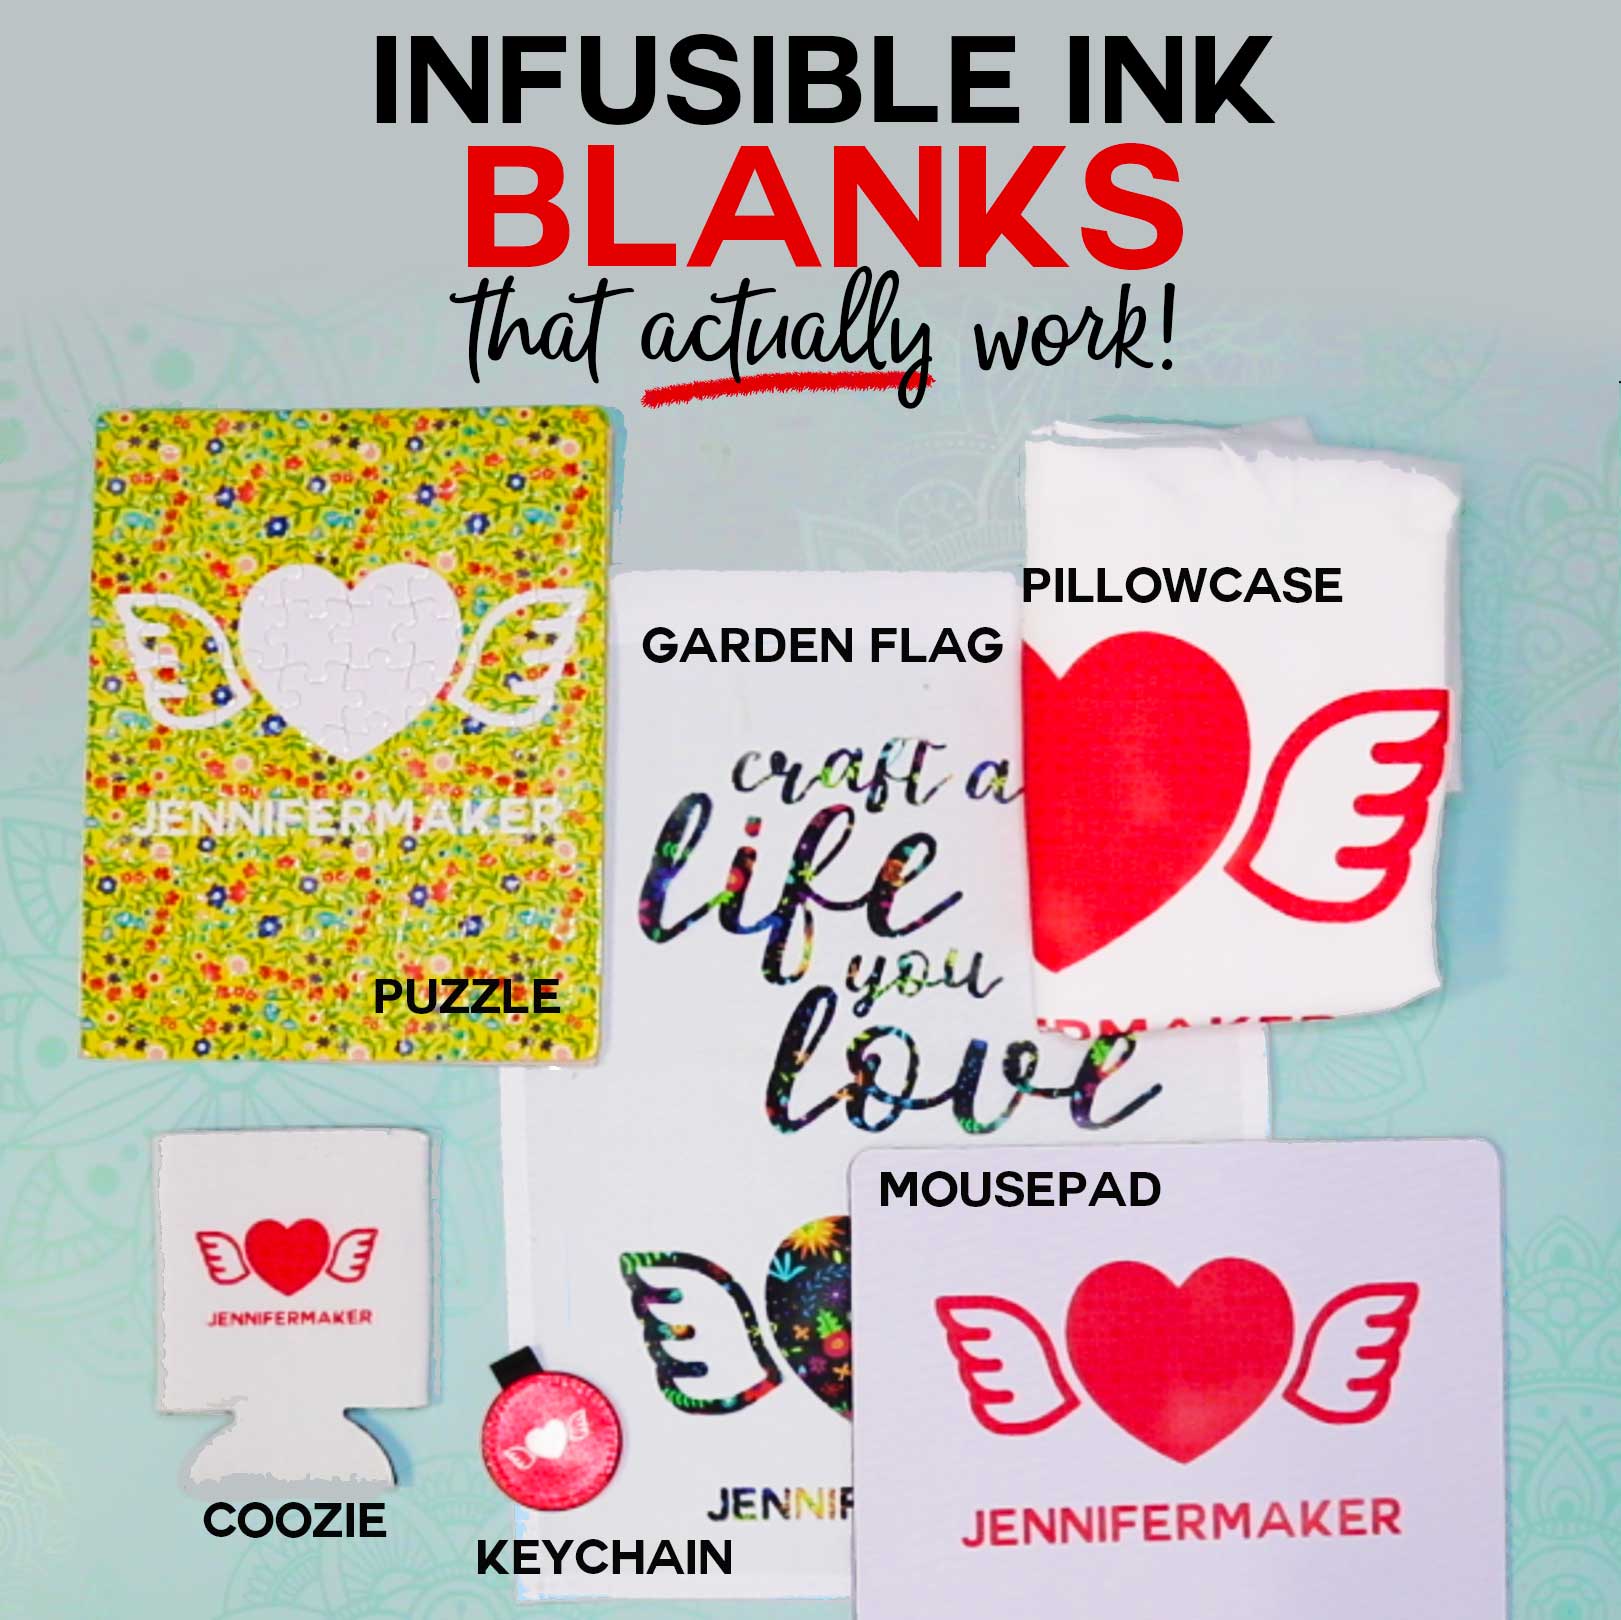
A: It all depends on your preferences and goals! Dye sublimation is fast, flexible, and permanent, but it requires some extra equipment that heat transfer vinyl doesn’t. It’s comparable to Infusible Ink, but more customizable. However, vinyl works at lower temperatures.
Q: Can I use a sublimation printer for regular prints, too?
A: No, a high-quality sublimation printer (whether purpose-built or converted) only prints in sublimation ink. And you cannot really switch a converted printer back to being an inkjet printer without a LOT of effort and wasted ink. An Epson Ecotank printer is an inexpensive option to convert.
Q: What kind of paper do I use?
A: While some people will use just regular laser paper, I really recommend you use special sublimation paper for the best and most vibrant results and ink transfer. I used A-SUB paper during my tests.
Q: What kind of ink do I use?
A: You must use special sublimation ink to do sublimation projects. I used Hiipoo Ink for these tests.
Q: How do I test my sublimation prints for vibrancy and color?
A: Use my free subliflower design to see how your colors look on the special paper! It’s Design #385 in my resource library!
Q: How do I learn sublimation for beginners?
A: Join Sublimation Startup for a logical, step-by-step guide to getting setup for success with sublimation! You can ask questions and feel confident that you’ll get help! The Sublimation Startup mini-course is also great for those who enjoy learning from Jennifer Maker’s easy-to-understand, calm, and clear method of teaching. This is a no-fluff, no-mess, no-distraction workshop … it’s like sitting down with Jennifer in her craft room to learn directly from her! We work in logical steps to build your understanding and confidence with sublimation, and then provide support to keep helping you as you continue on your journey! Register now!
Q: What is Merry Maker Mingle?
Each day in December leading to Christmas, I present you with a brand new “gift” — a project to craft, make, or do. You can make these projects on a Cricut cutting machine or by hand if you don’t have one. Most of our Merry Maker Mingle projects will come with a fun video with yours truly, a step-by-step printable photo tutorial, and a free pattern/SVG cut file. Sign up to get daily updates and prizes!
Get my free SVG files to create Sublimation on Wood Projects
(If you do not see the signup form above, click here.)

I also have a group just for sublimation crafting where you can get help and tips from other crafters who love to sublimate, too! Come join us at jennifermaker.com/sublimationgroup to ask questions, share ideas, and get inspired!!
I love seeing what you make with my designs and how you use them! Please share a photo of your sublimation on wood project in our Facebook group or tag me on social media with #jennifermaker.
Love,

Want to remember this? Save this Sublimation on Wood Tutorial to your favorite Pinterest Board!