
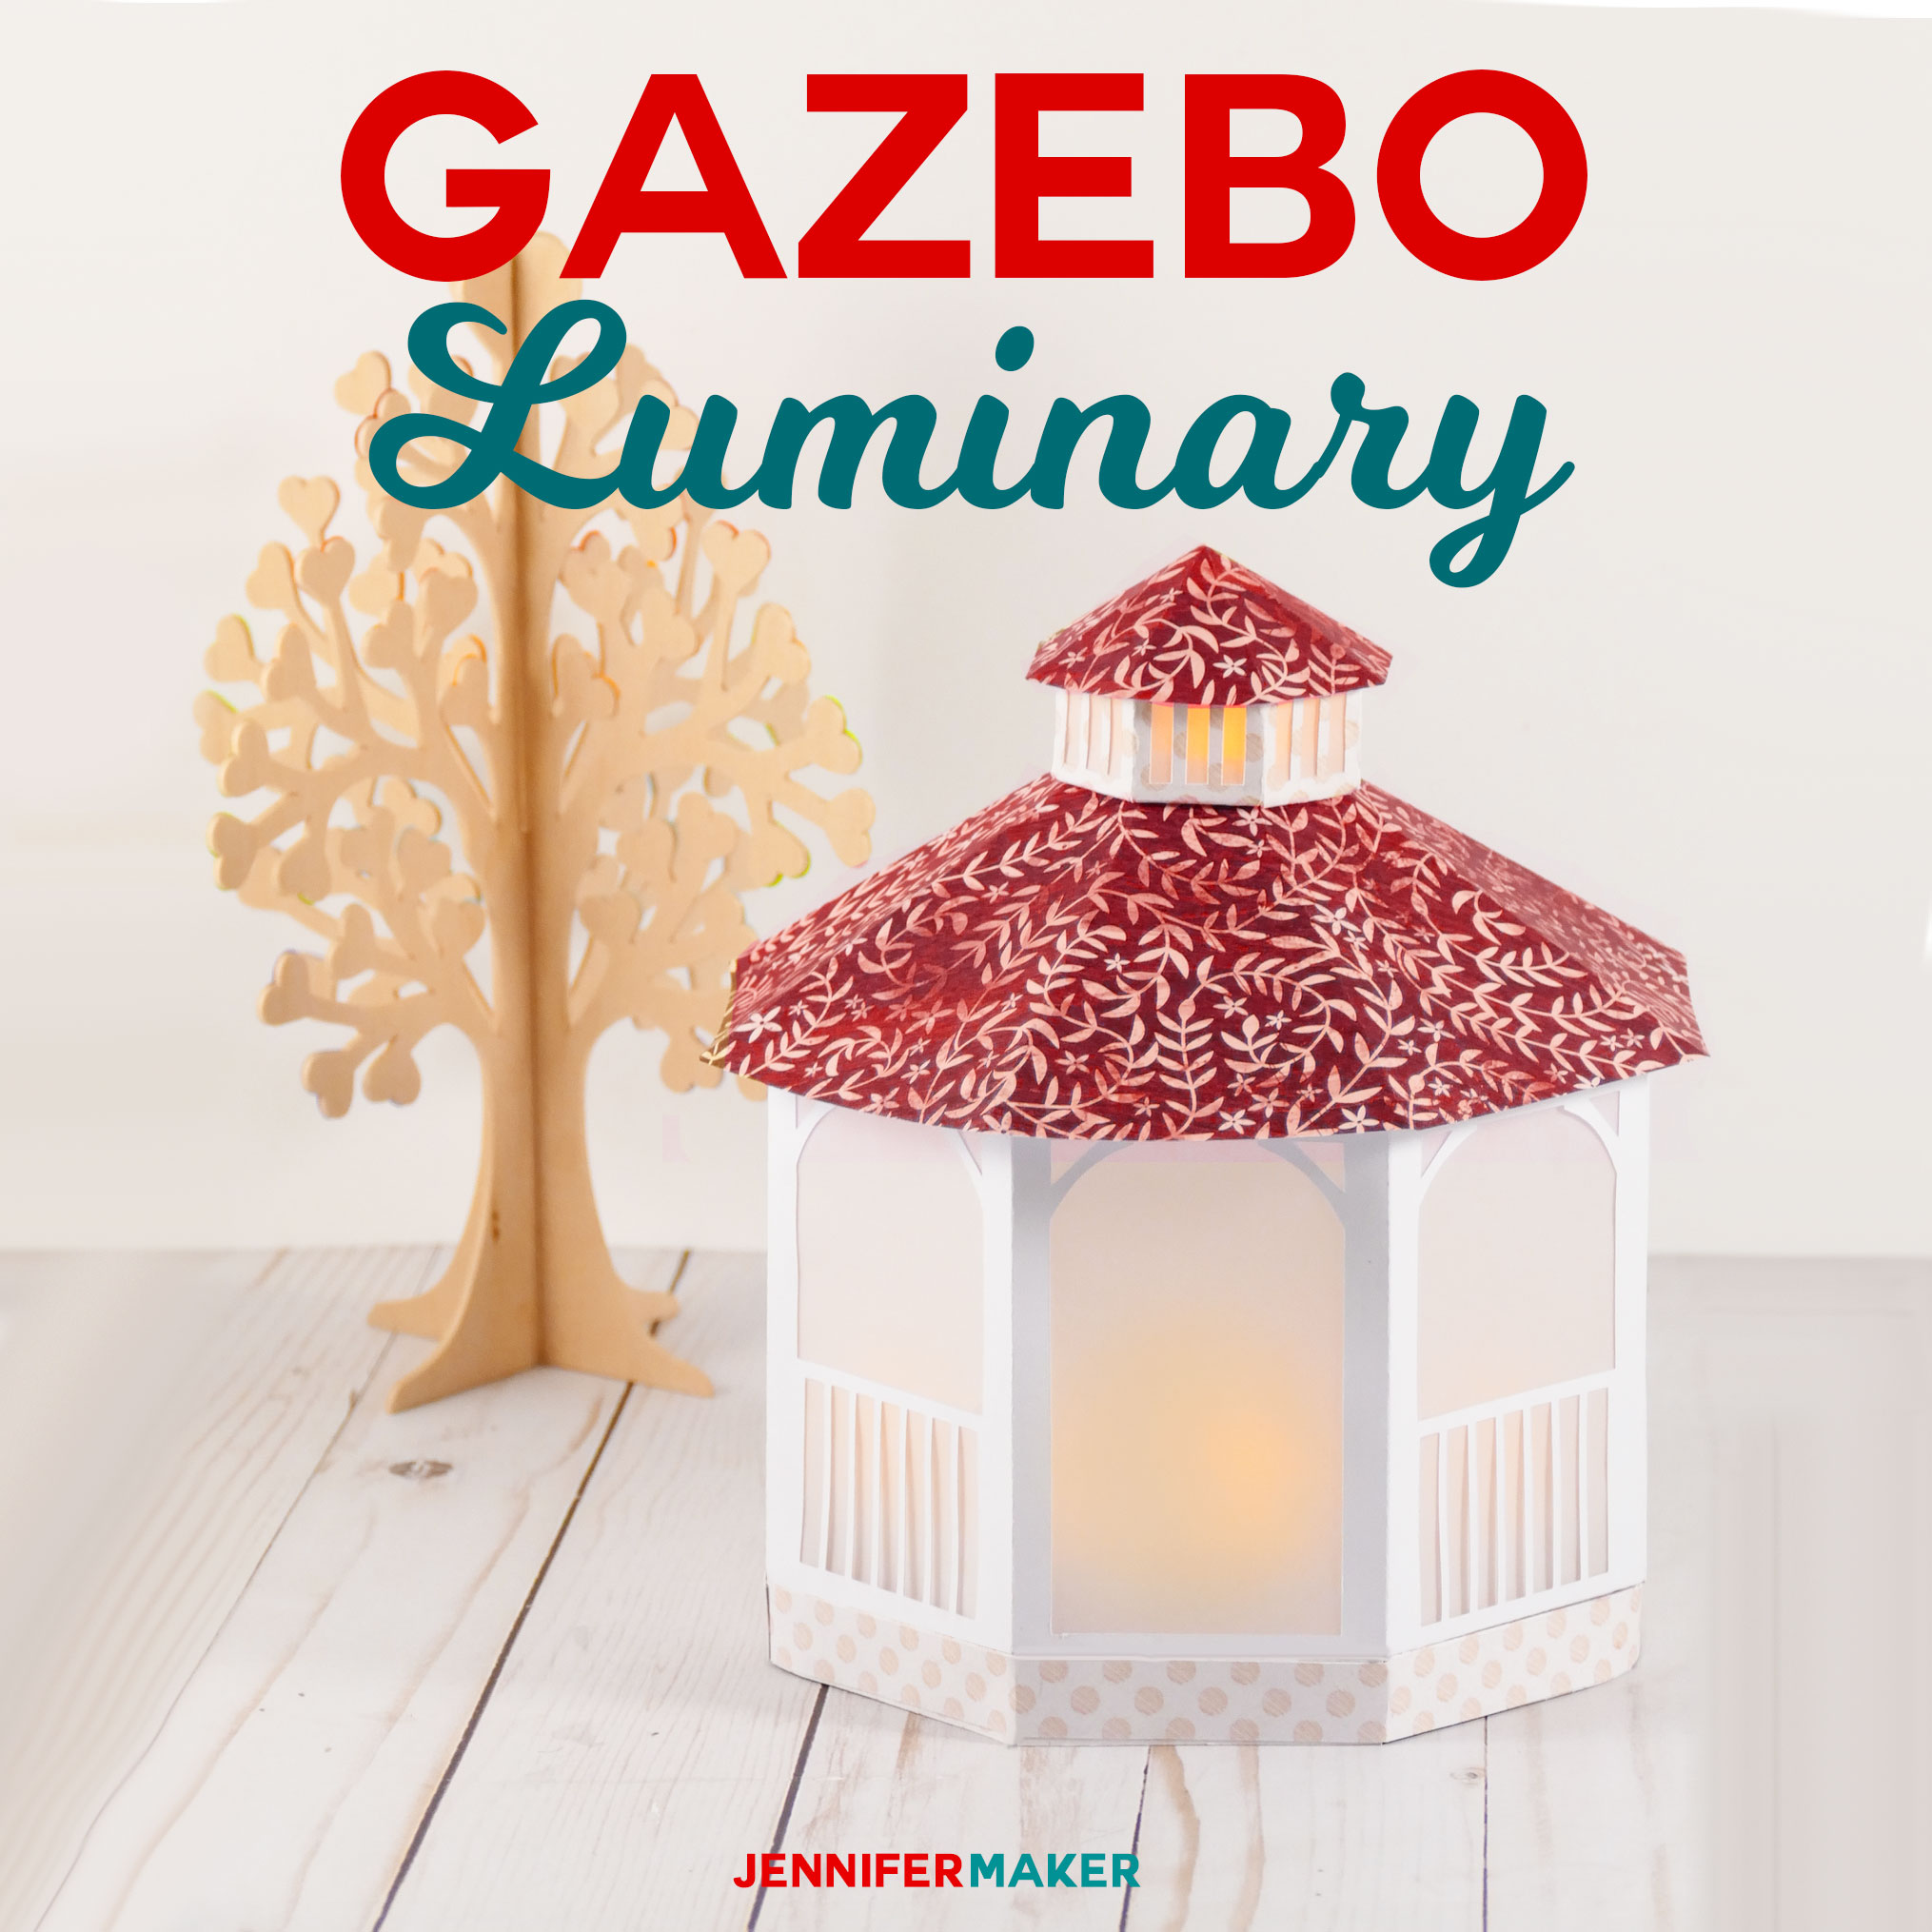
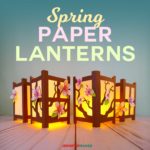
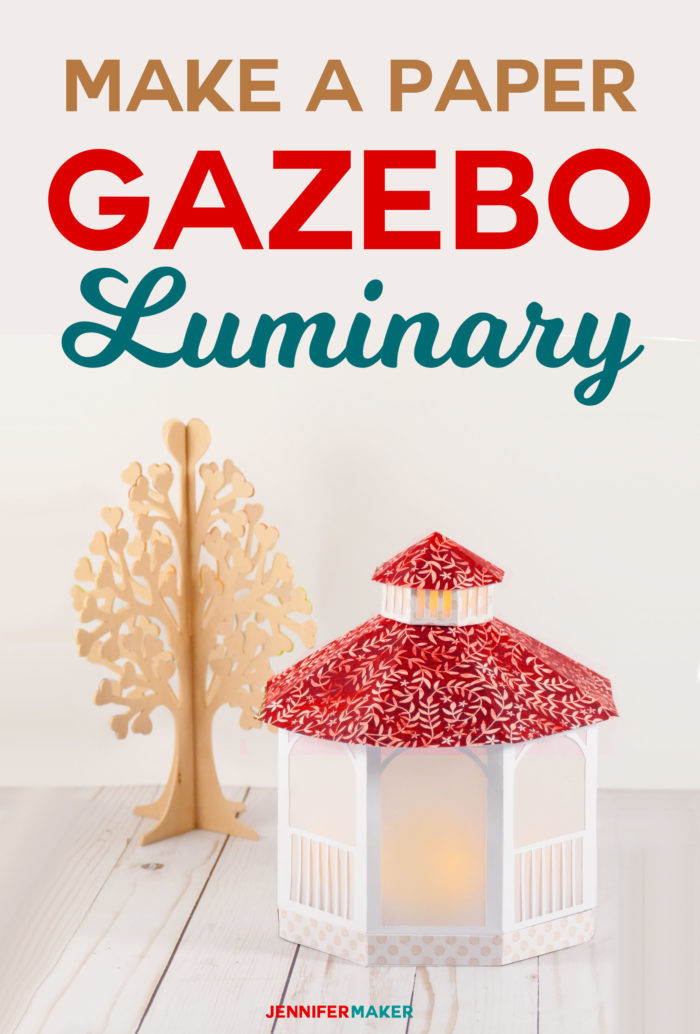
Make a pretty paper gazebo luminary that glows!
Summer is coming up fast, and that means concerts in the park, outdoor weddings, and romantic strolls. And there’s nothing quite like a pretty summer gazebo to make each of these things extra special. To celebrate this, I designed a paper gazebo luminary for all the hopeful romantics like me out there. This would also make a lovely Mother’s Day gift or a wedding reception centerpiece.
Want to save this project? Enter your email below and we’ll send the project straight to your inbox.

This is such a fun, summery paper lantern! It would look beautiful sitting on a mantle or as a centerpiece, I think. You could dress it up with little paper butterflies or paper flowers, too!
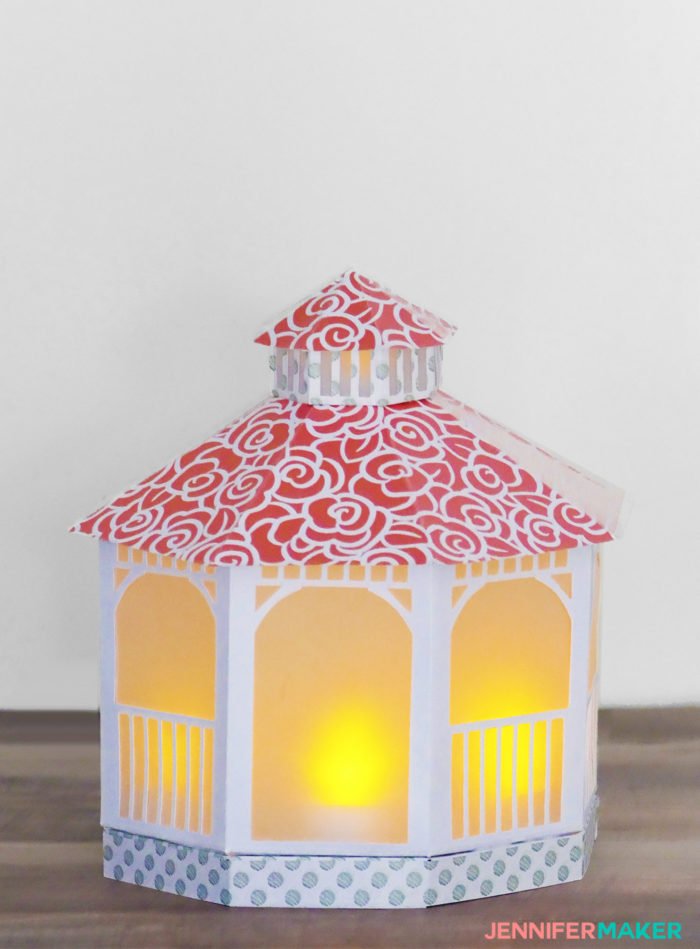
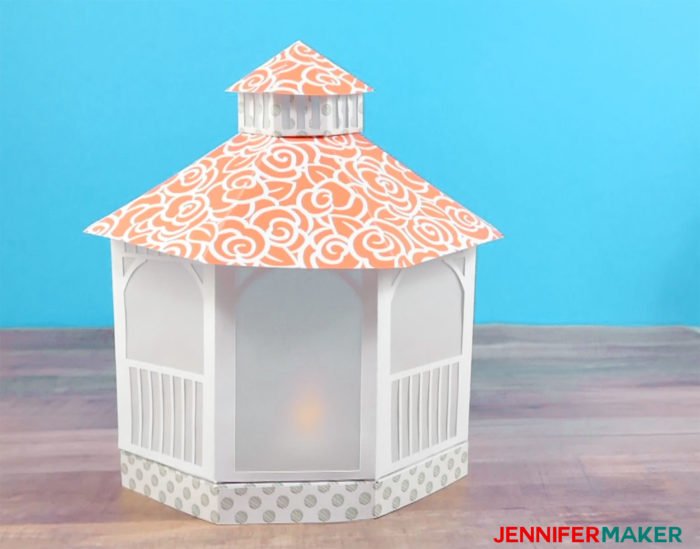
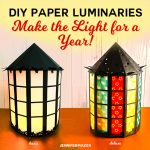
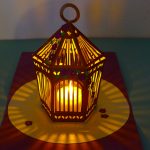
Here’s what the paper gazebo looks like with the lights on inside…
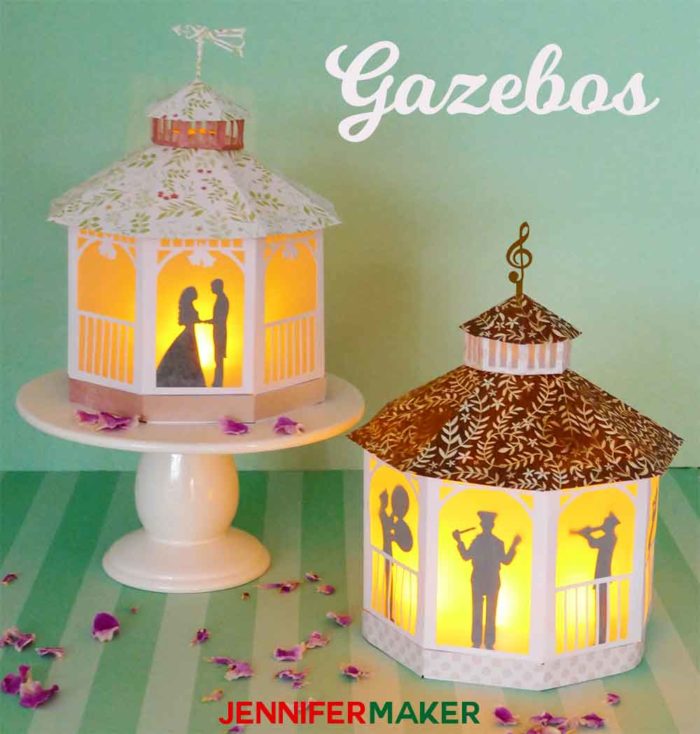
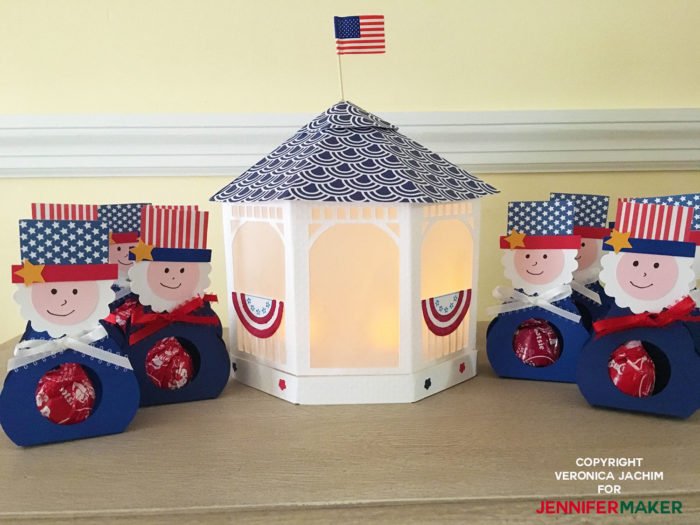
I’ve also included some extra design variations for the gazebos. One paper gazebo has band members, and one has couples for a wedding. Here is a photo of those variations:
So let me show you how to make a paper gazebo! This post contains some affiliate links for your convenience (which means if you make a purchase after clicking a link I will earn a small commission but it won’t cost you a penny more)!Read my full disclosure policy.
Materials for the Paper Gazebo Luminary
- Three sheets of 65lb. 12″ x 12″ cardstock in two contrasting but complimentary colors (extra if you want to put any figures inside your gazebo)
- Two sheets of 8.5″ x 11″ vellum (if you don’t have vellum, you can use wax paper)
- Tacky glue
- LED tealights to put inside your lantern
- A way to cut your paper (I used a Cricut)
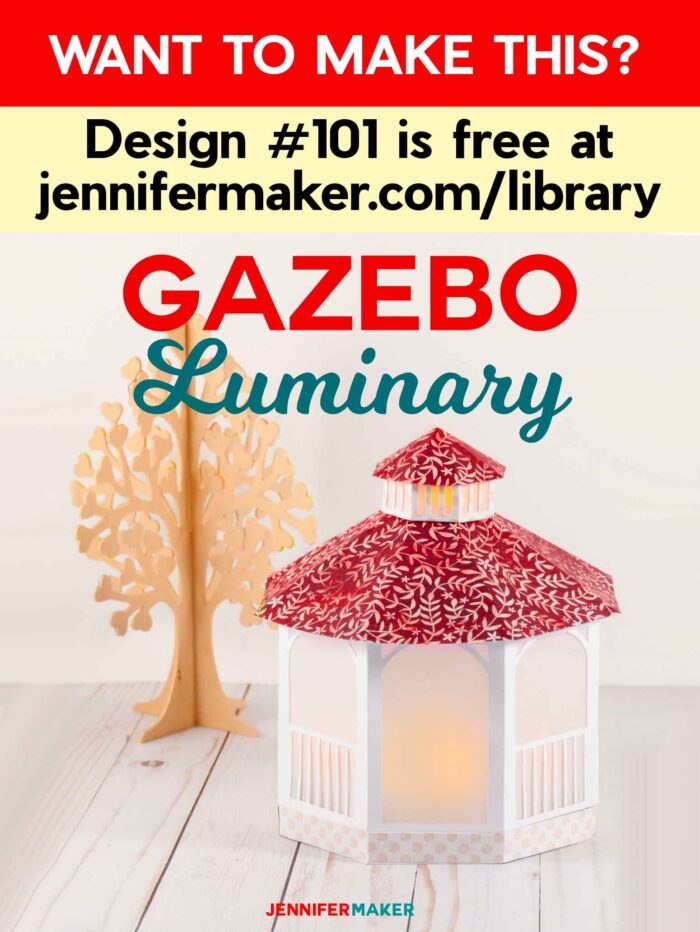
- Design #101 – My free SVG/DXF cut file/patterns (available in my free resource library—get the password at the bottom of this post)
How to Make Your Paper Gazebo Luminary
First, download the paper gazebo pattern (Design #101) for this project from my free resource library. If you’re going to cut it out on your cutting machine, upload the file to your design software.
Tip: If you’re not sure how to upload an SVG cut file to Cricut Design Space, watch this helpful video training series I made. If you’re on an iPhone or iPad, here’s how to download and upload SVG files to the Cricut Design Space app.
Here’s what the basic paper gazebo luminary looks like when uploaded to Cricut Design Space:
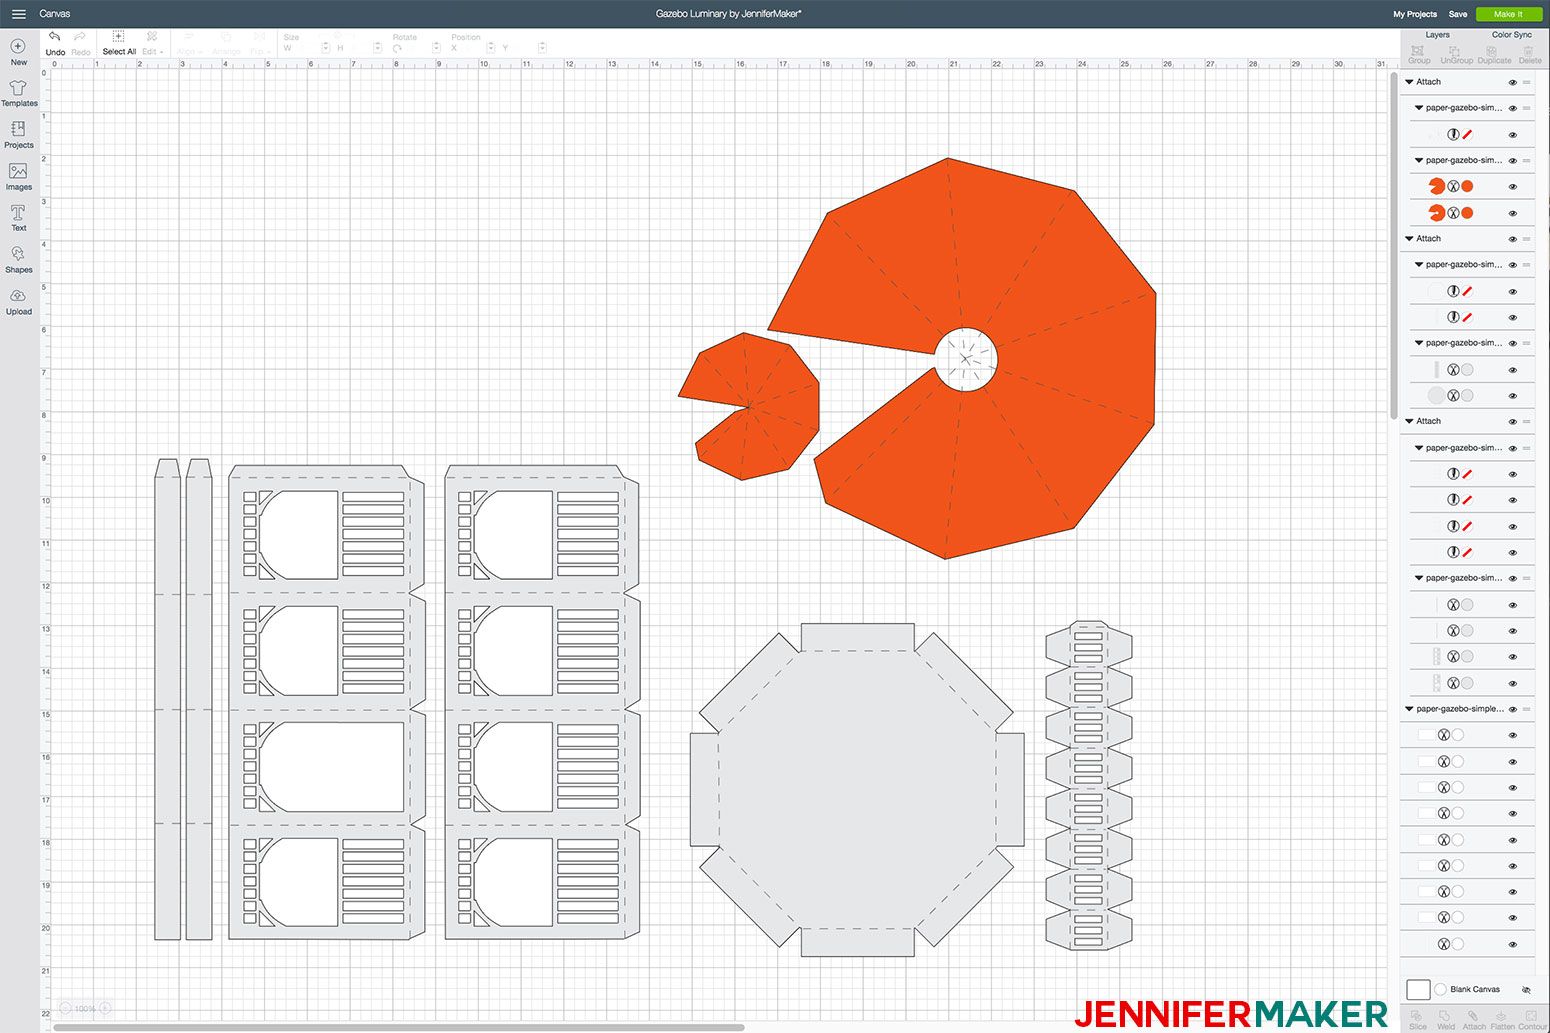
July 2024 Update: Note that score lines are NOT pre-attached, so you’ll need to set and attach them. View this guide to learn how to set score lines.
Here are the pieces you’ll need to make a basic paper gazebo — two side pieces, eight vellum panels, one vellum strip, roof, roof cap, roof cap side, base, and two base strips.
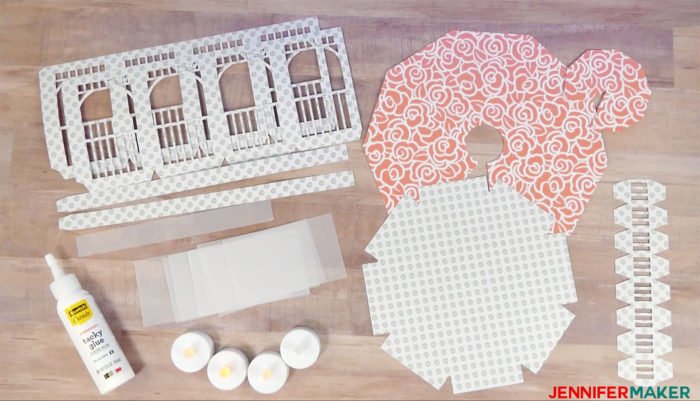
In addition to the cut paper pieces, you’ll want tacky glue, several tealights, and possibly some tape (if you want to tape an LED in the roof cap).
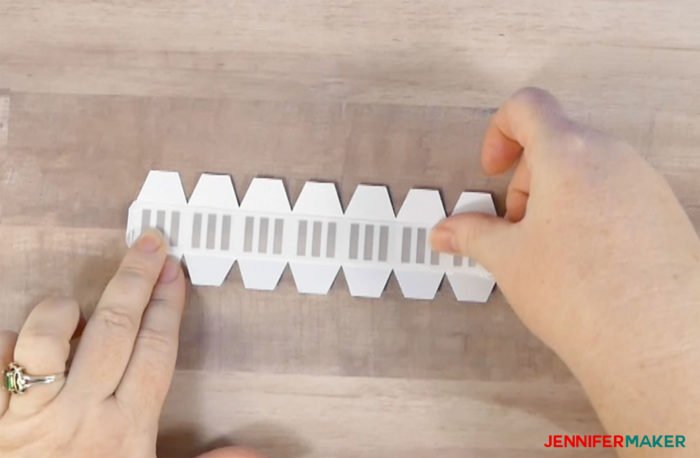
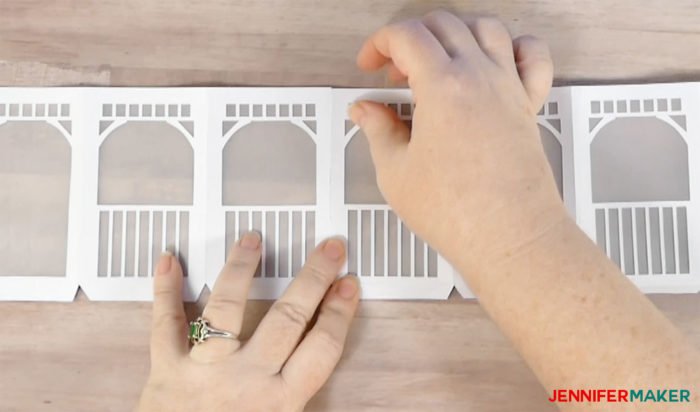
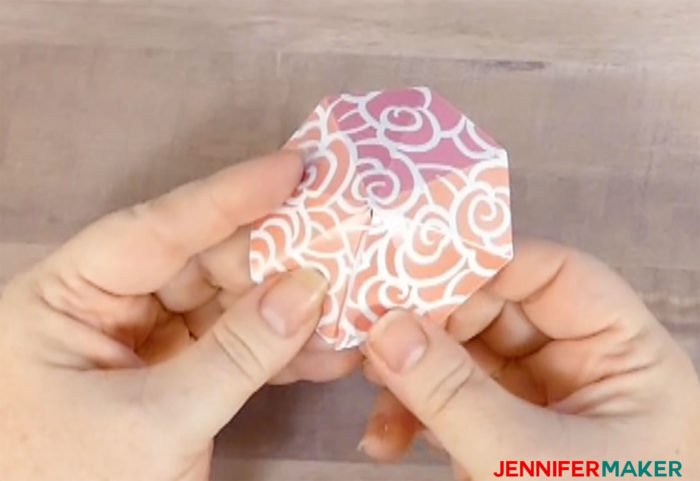
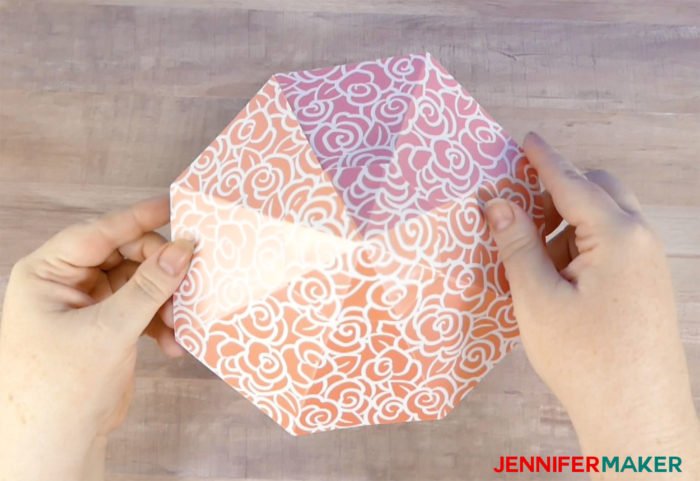
To begin, fold the paper gazebo sides on the scorelines as shown below.
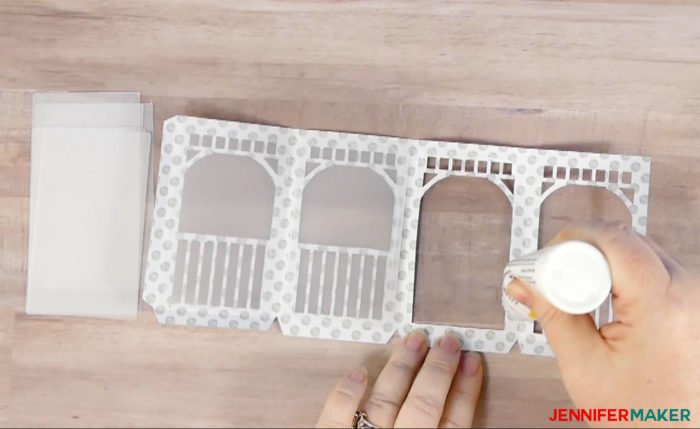
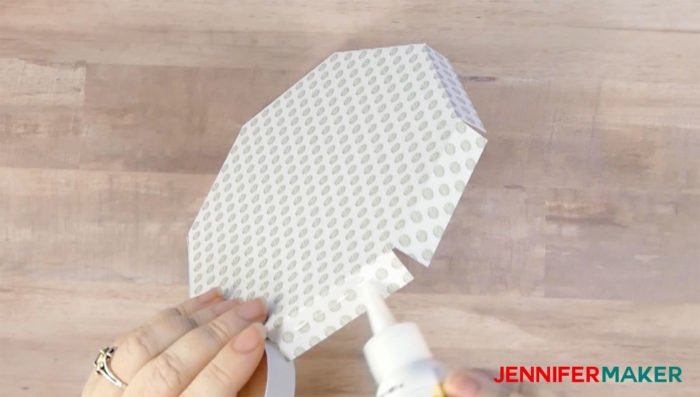
Once both sides are folded, glue the vellum panels into place on the back of each side.
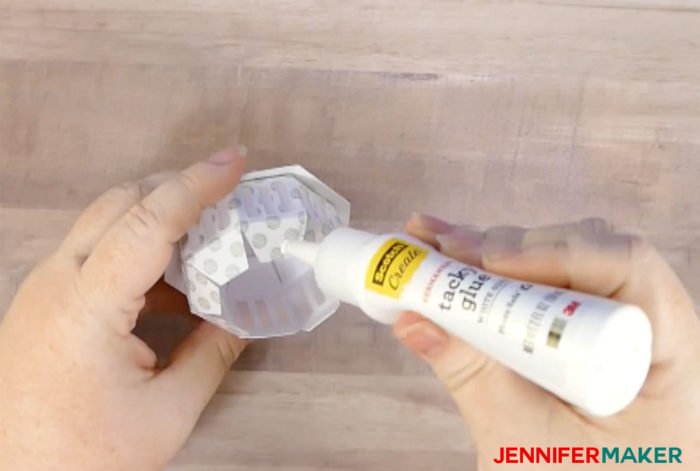
Now fold and glue the roof cap sides as shown below.
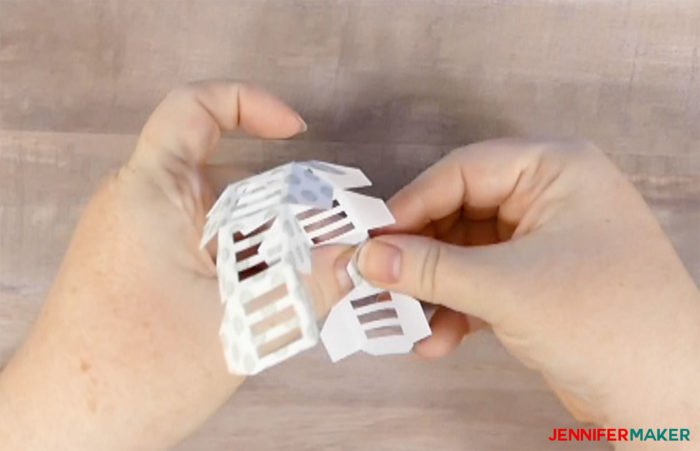
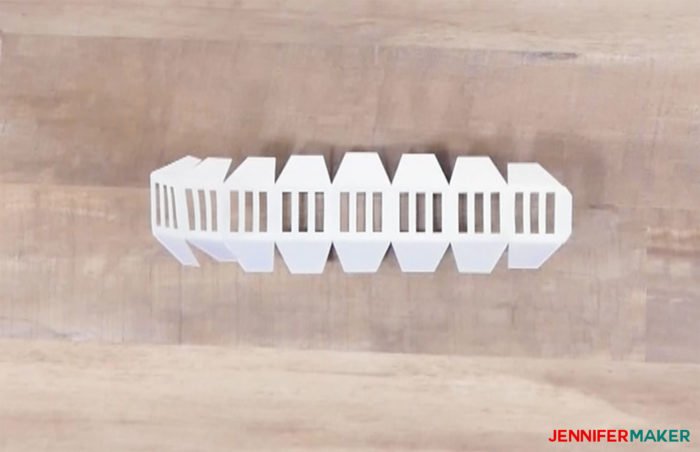
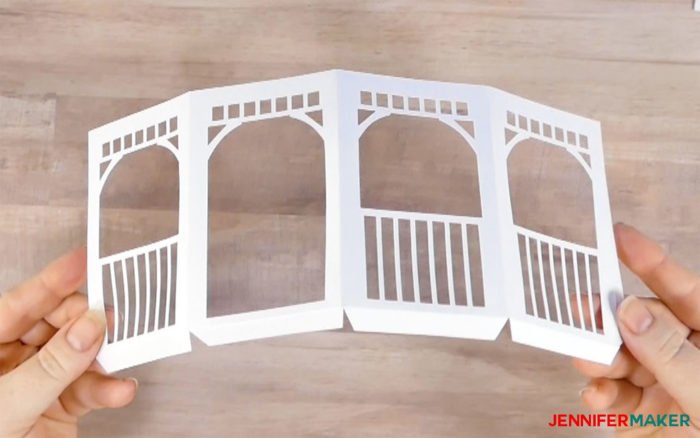
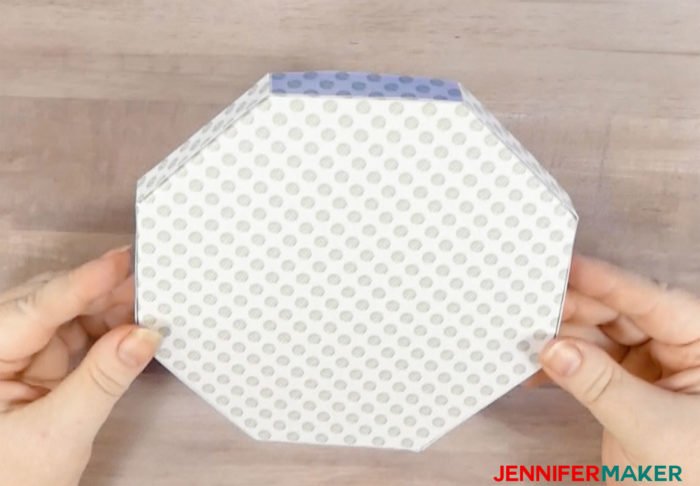
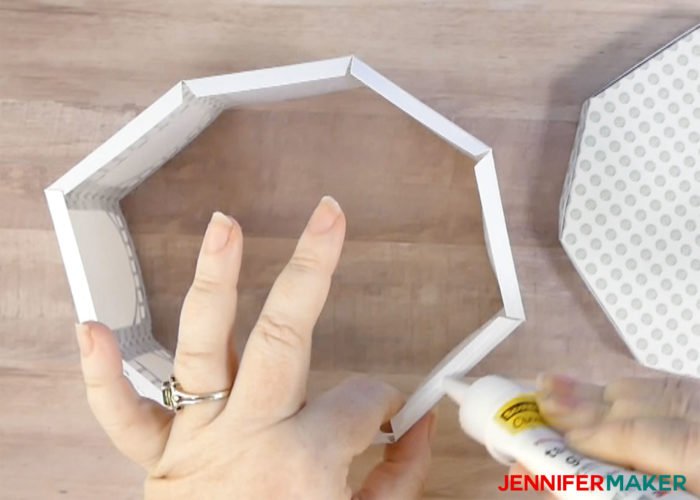
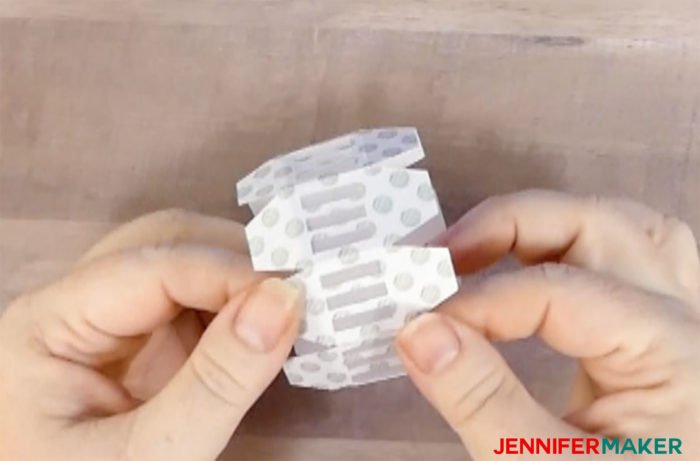
Next, glue the paper gazebo sides together. First you put the two sides together at the tab, then you glue them end to end.
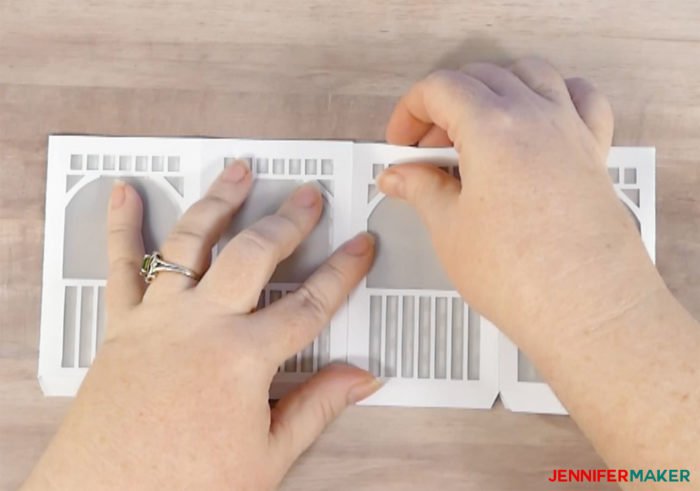
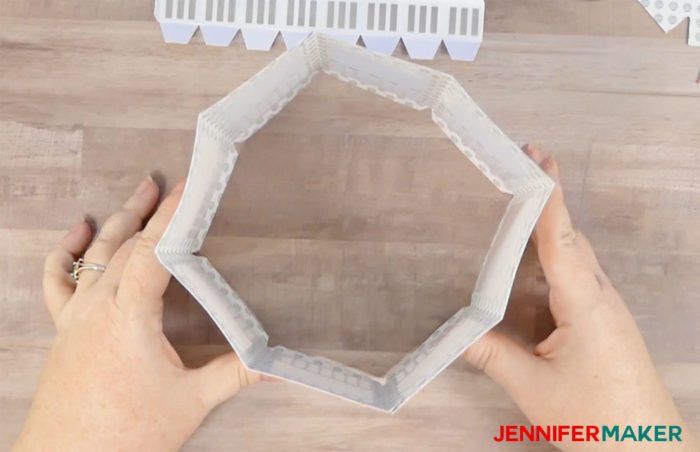
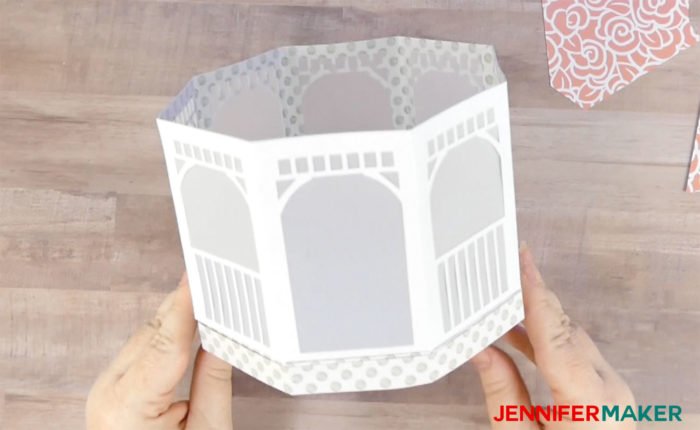
This is what the paper gazebo sides look like when all glued together.
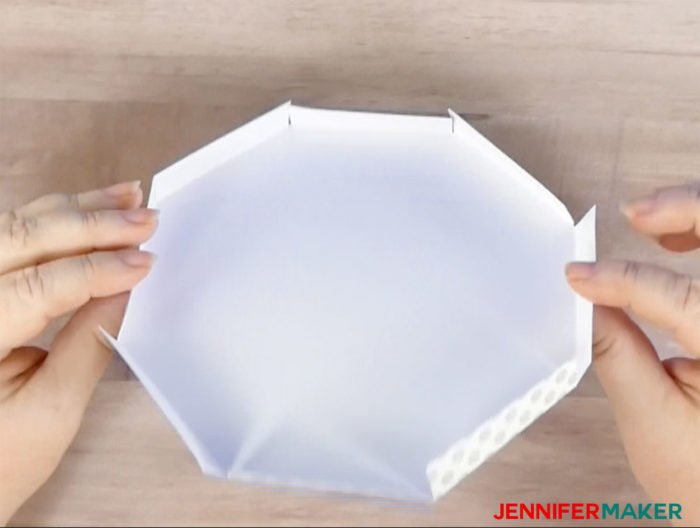
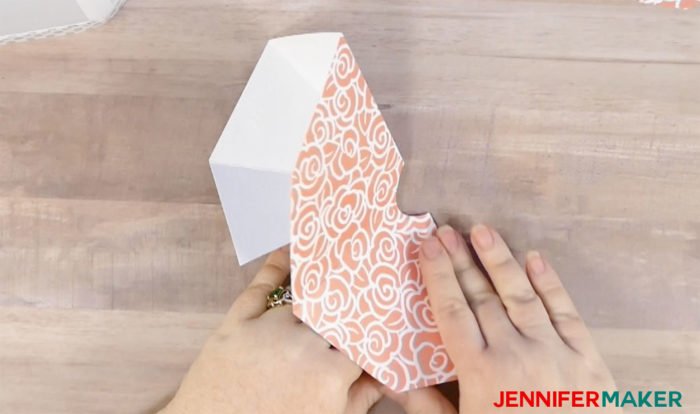
Now, it’s time to make the base of the paper gazebo luminary. Start by folding in the tabs as shown in the image below.
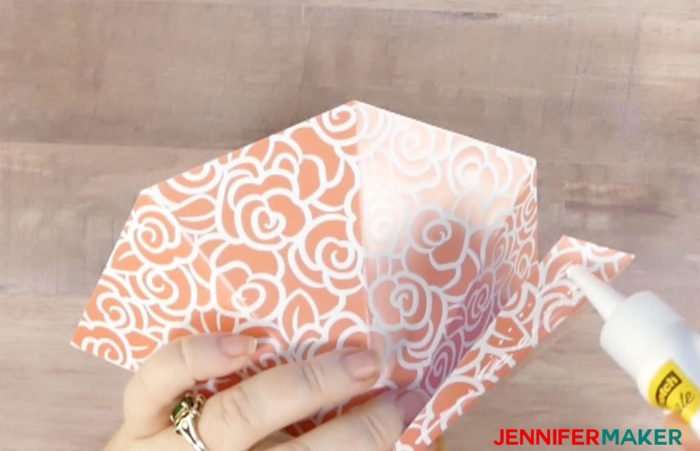
Now. fold and glue together the two long strips that go over the base’s edges.
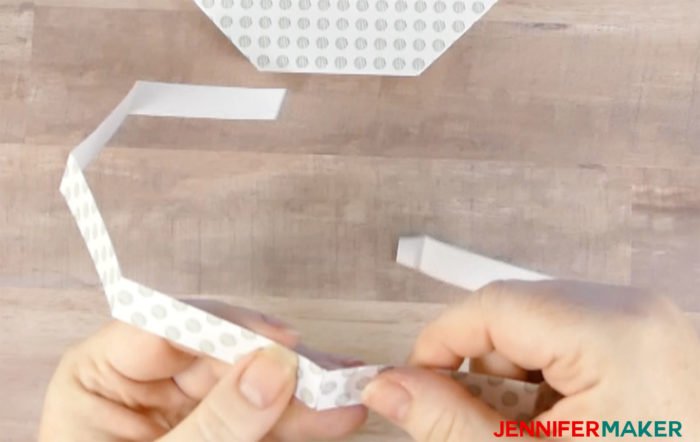
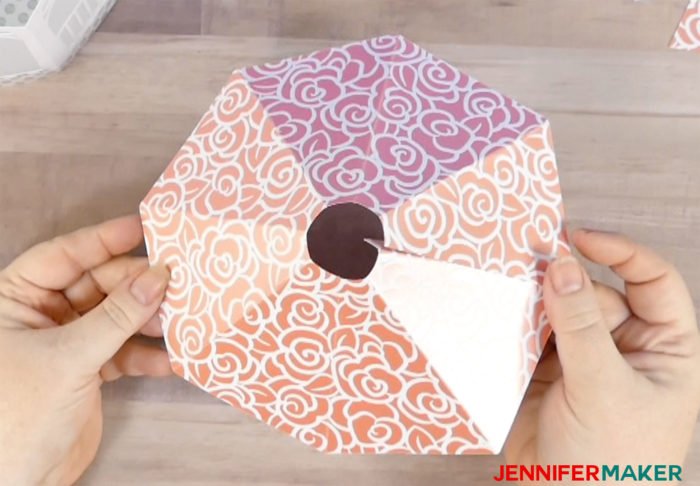
Glue the strip along the perimeter of the base.
Here’s the finished base of the paper gazebo luminary.
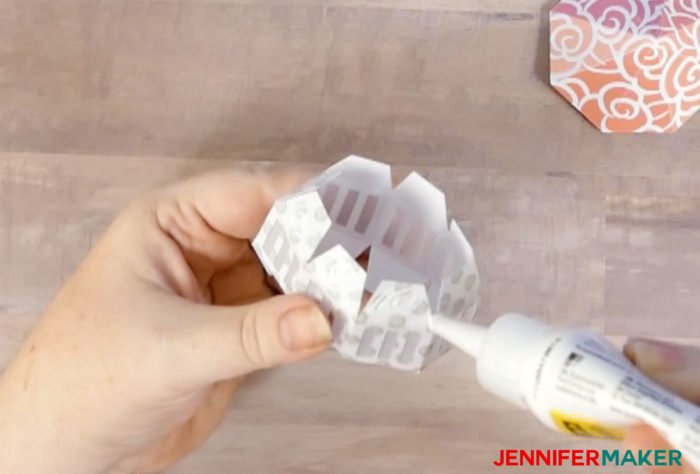
Now it’s time to attach the paper gazebo sides to the base. Put glue on the tabs at the bottom of the gazebo.
Then turn the gazebo right side up and press it onto the base. You’ll need to gently move it into place and press down on each tab so it sticks.
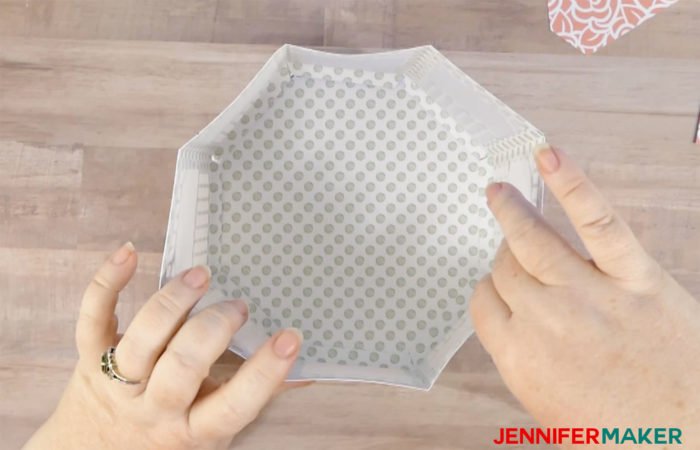
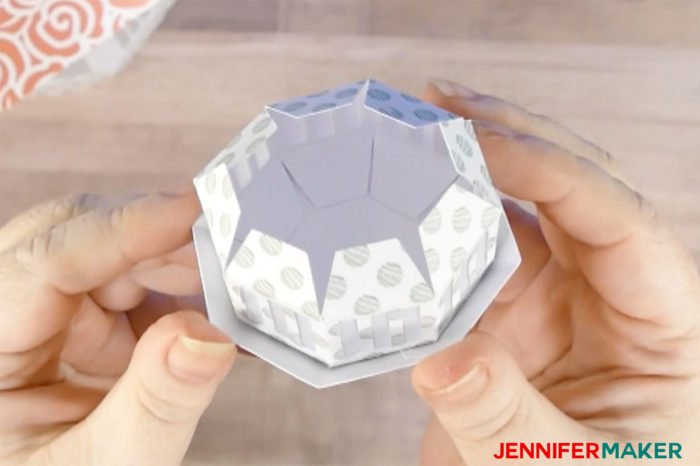
This is the paper gazebo luminary sides attached to the base.
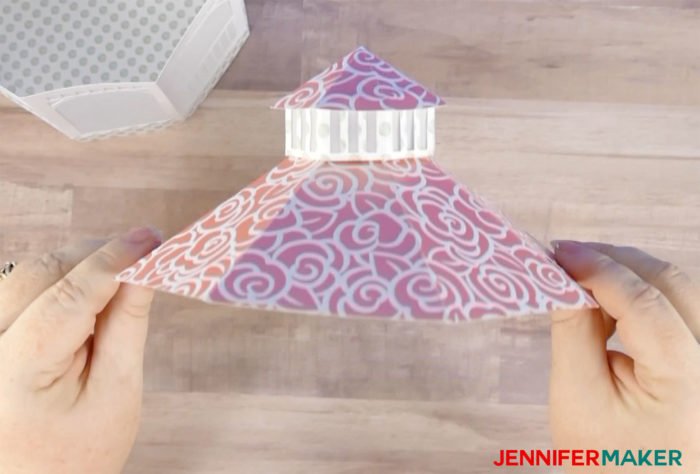
Now that the base and sides are done, it’s time to fold the roof.
Here’s the folded roof of the paper gazebo luminary.
Glue the roof closed to make the cone shape.
Also fold the smaller roof (the roof cap) in the same way.
Now, glue the two ends of the roof cap together.
Put glue on the tabs of one end of the roof cap sides.
Press the sides into the underside of the roof cap of the paper gazebo, taking care to center it.
Now, glue the other tabs on the roof cap sides.
Press the tabs onto the larger roof of the paper gazebo, taking care to center the cap on the roof and line up the folds.
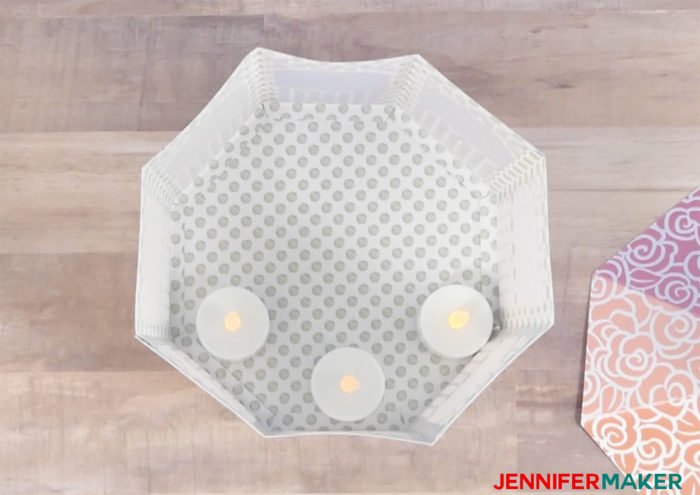
Now put LED tealights in your paper gazebo — I used three.
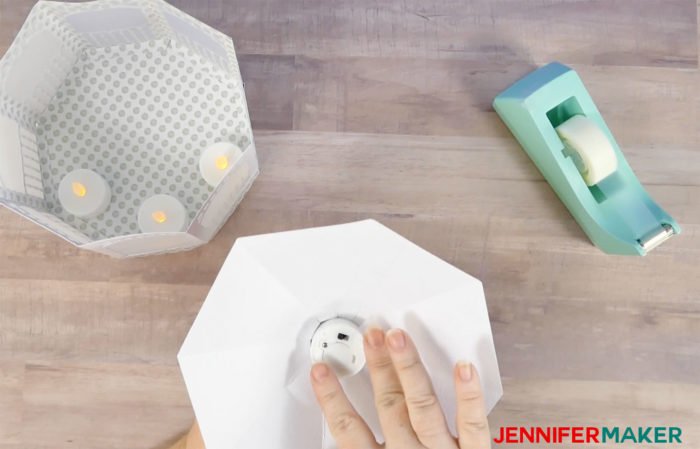
You can also (optionally) put another LED tealight in the roof cap — just use tape to keep it in place.
Now just put the roof on your paper gazebo luminary and enjoy!
Isn’t it pretty? Ah, I love it!
And here is a patriotic paper gazebo made by reader Veronica Jachim — I love this! (The cute little Uncle Sams are from the basic design of the snowman lollipop holder from My Scrap Chic.)
Get my free cut files for the Paper Gazebo Luminary
If you make paper gazebos, I’d love it if you tag me on social media with #jennifermaker. If you do, I’ll add your name to my Master Lantern Makers list!

If you’re eager to make more luminaries and lanterns today, check out these fun projects!
Want to remember this? Save these Paper Gazebos to your favorite Pinterest board!

Charming work Jennifer, thank you.
Amazing! I cannot wait to make. Thank you for all you do.
Amazing! Thank you for all you do
You’re welcome!