Learn how to make a fun and easy wall art in just a matter of minutes. This beautiful 3D Butterfly Mandala can even be made even faster from Smart Paper on a Cricut Explore series, Maker series, Joy series, or Venture!
Do you ever need a quick win? I know I do! I love easy projects, like my Butterfly Heart Canvas and my Butterfly Pop-Up Card. And now that I have the new Cricut Explore 3 that uses Smart Paper without a mat, I can cut even faster now. So I want to share a new butterfly project that can be cut and assembled in less than fifteen minutes on the Cricut Explore 3! Seriously! Of course, you can make this 3D butterfly wall art on any Cricut cutting machine, just not quite as fast.
2026 update: This project will work with any Cricut Explore series machine, Cricut Maker series machine, Joy series machine, or the Cricut Venture!
Get a new Cricut Explore 3 or Cricut Maker 3 machine here!
Watch how quick the 3D Butterfly Wall Art goes together here using the Cricut Explore 3:

I love creating a wide variety of projects but I always get excited when I have an idea and can execute it with ease. I get a lot of requests for easy projects, projects that can be done quickly, or ones you can work on with young children. I am so excited that this really fun 3D Butterfly Wall Art design fits all those requirements and more! What else can you ask from a 15-minute project?
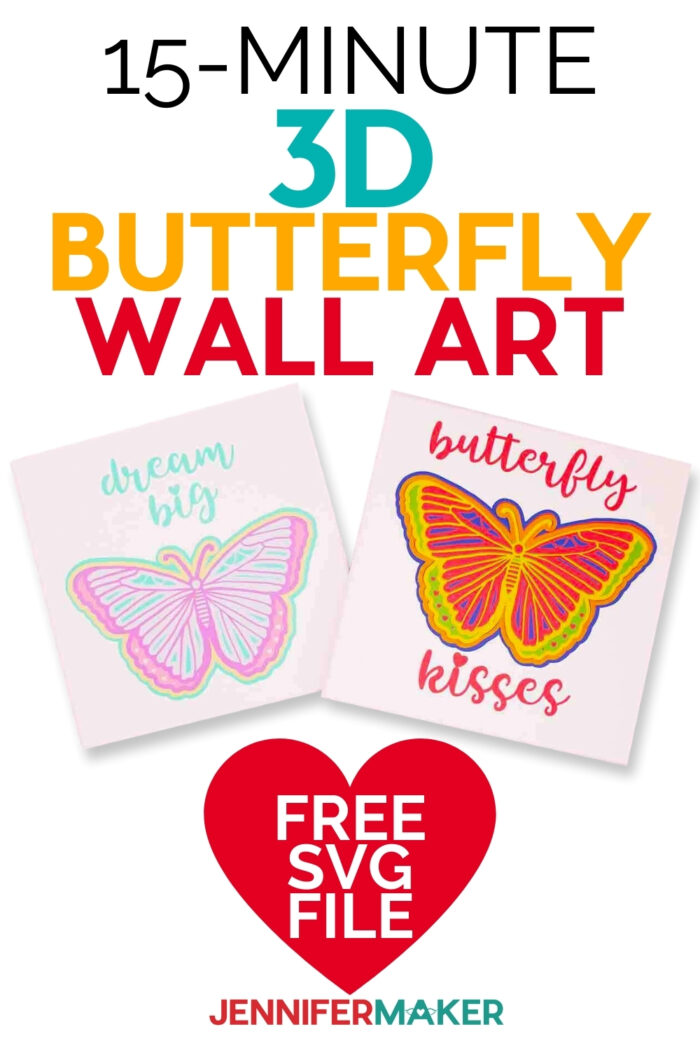
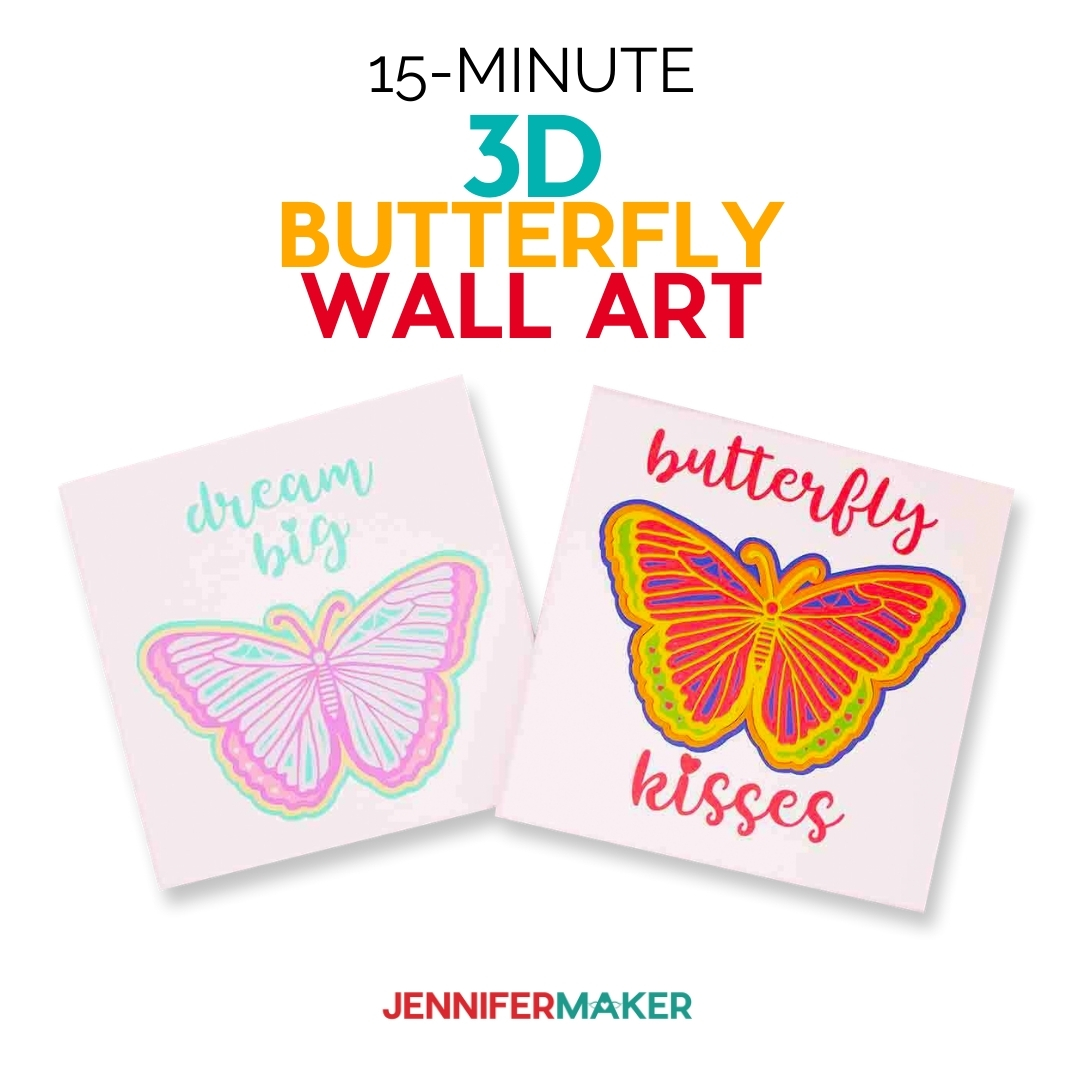
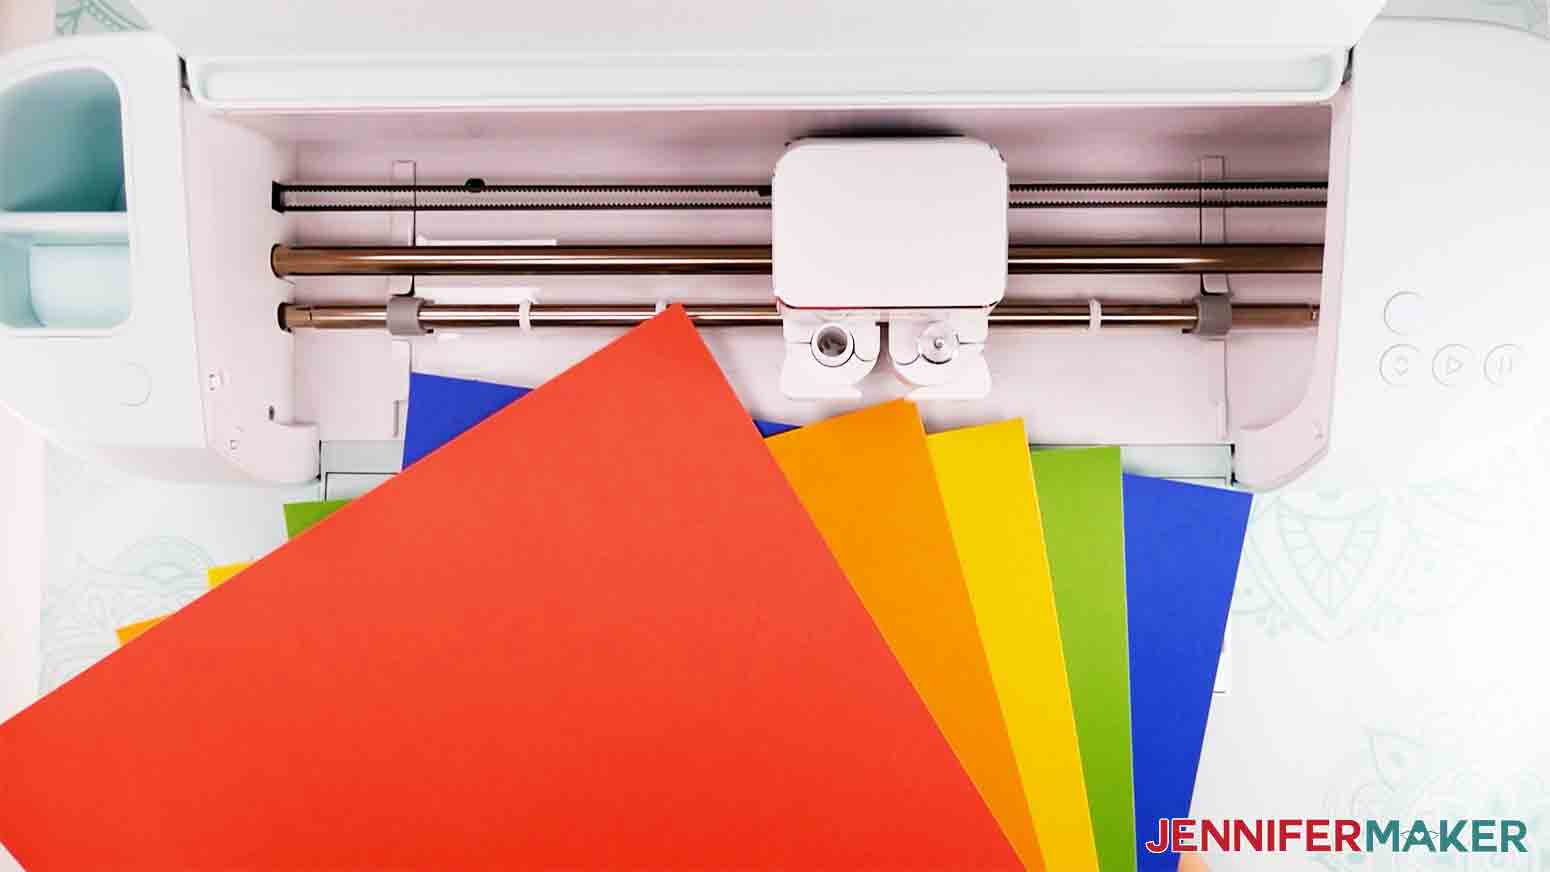
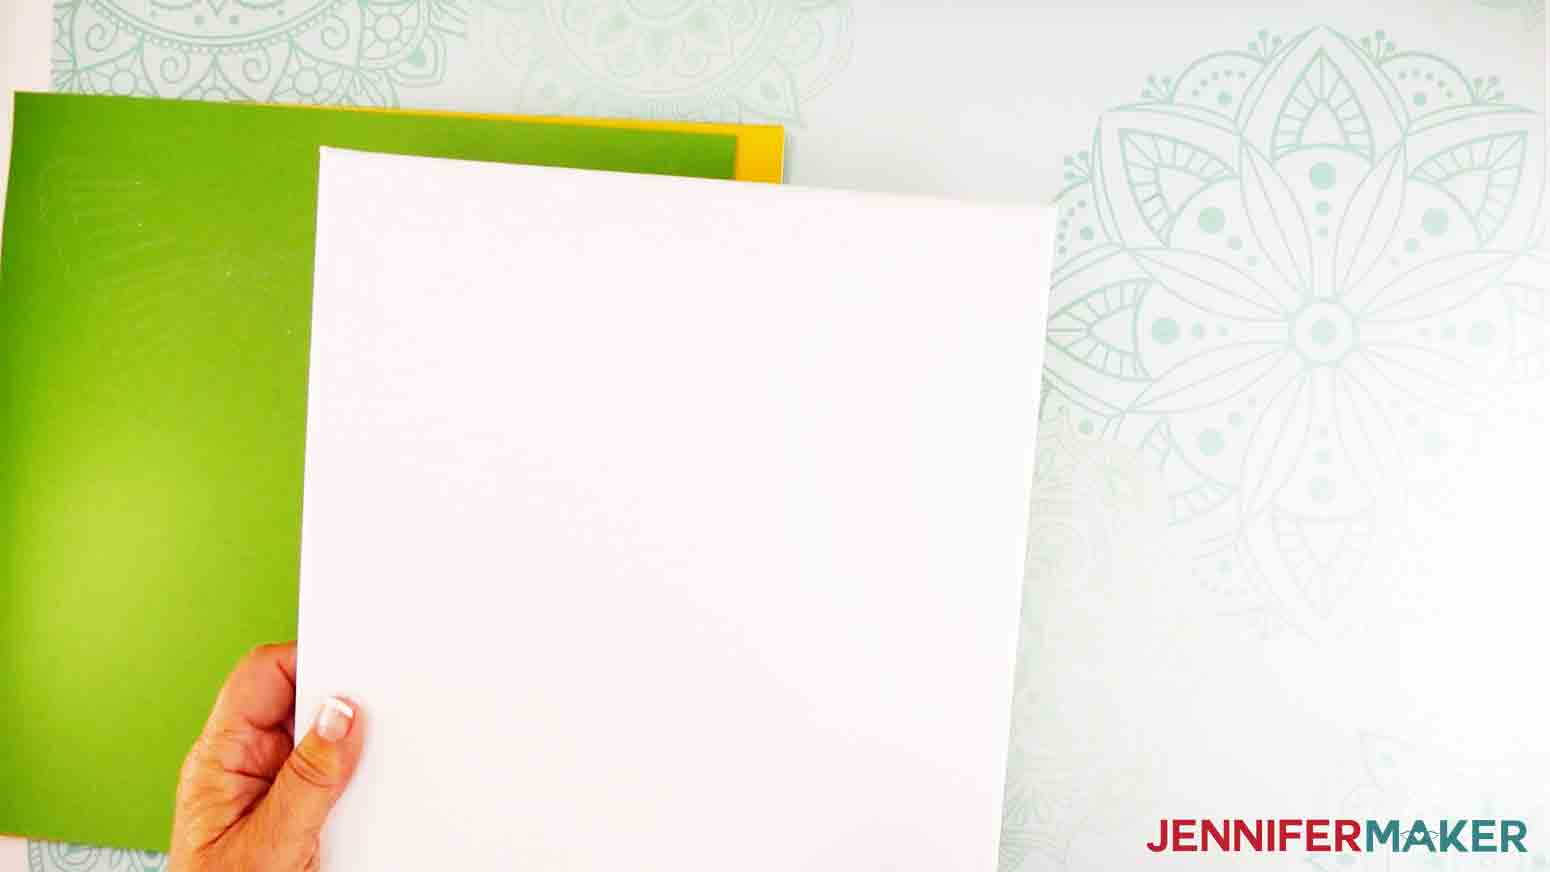
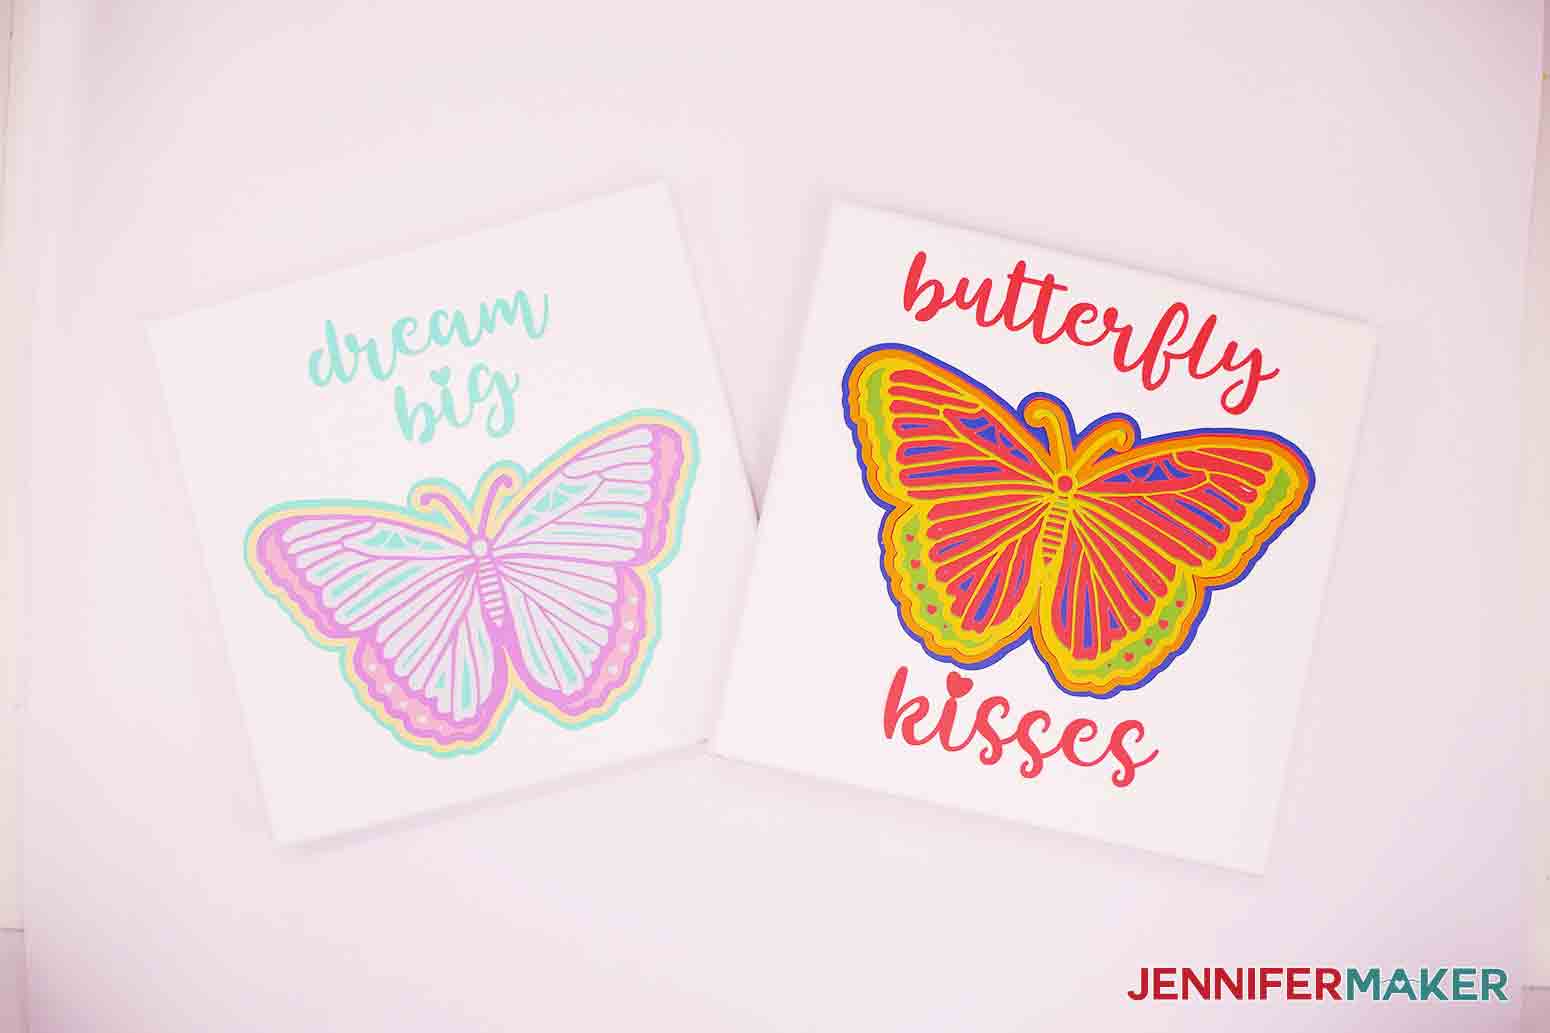
You don’t need a lot of supplies which is, of course, a win! You only need five (5) sheets of Cricut Smart Paper Sticker Cardstock. I love bright colors so I chose colors from the Bright Bows package!
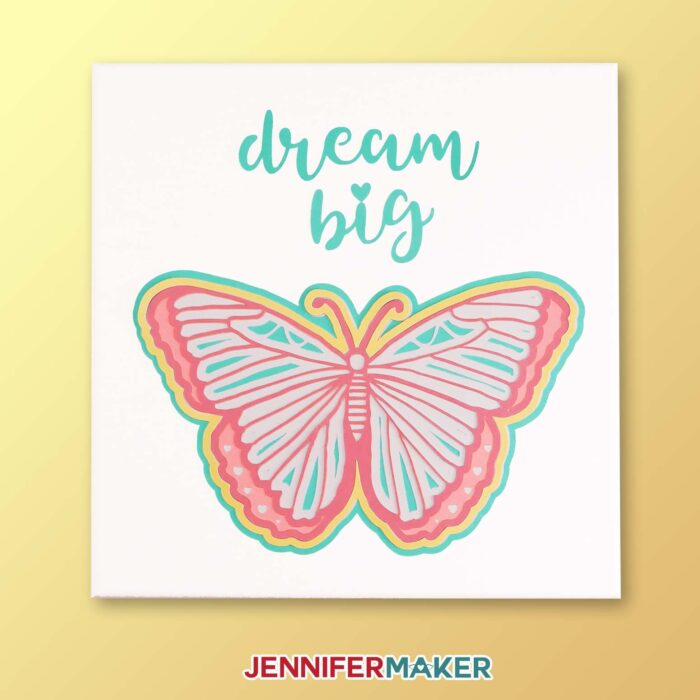
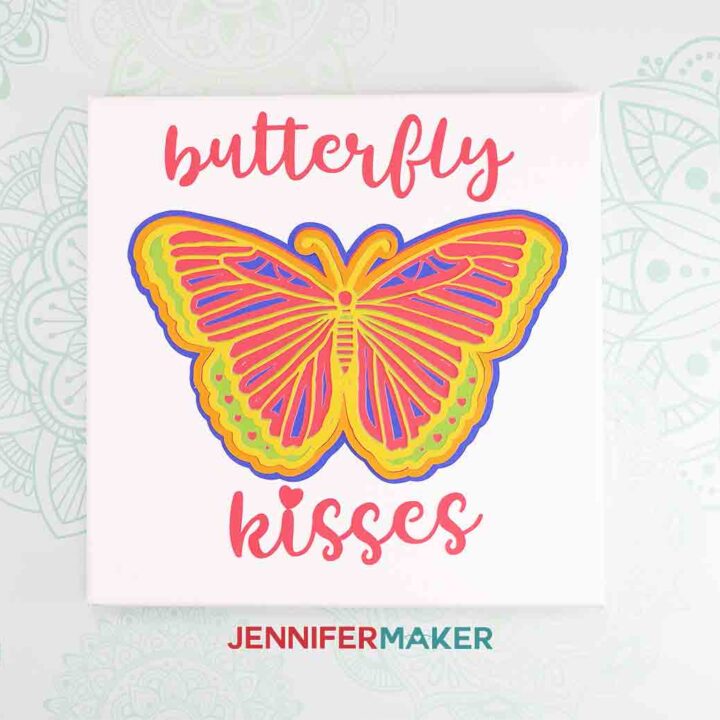
And here is the same butterfly made with the pastel pack of Smart Paper … so pretty!
Now, this project can be done with the original Cricut Explore or Cricut Maker as well! Instead of using Cricut Smart Paper Sticker Cardstock, you can use regular cardstock and assemble the butterfly with foam dots or tacky glue. Even with this added step, the 3D Butterfly Wall Art is one of the easier mandalas I have made!
Also, I don’t want to leave out the Cricut Joy! You can make this on the Cricut Joy if you re-size it down just a little (max size on Joy: 7.25″ x 4.495″).
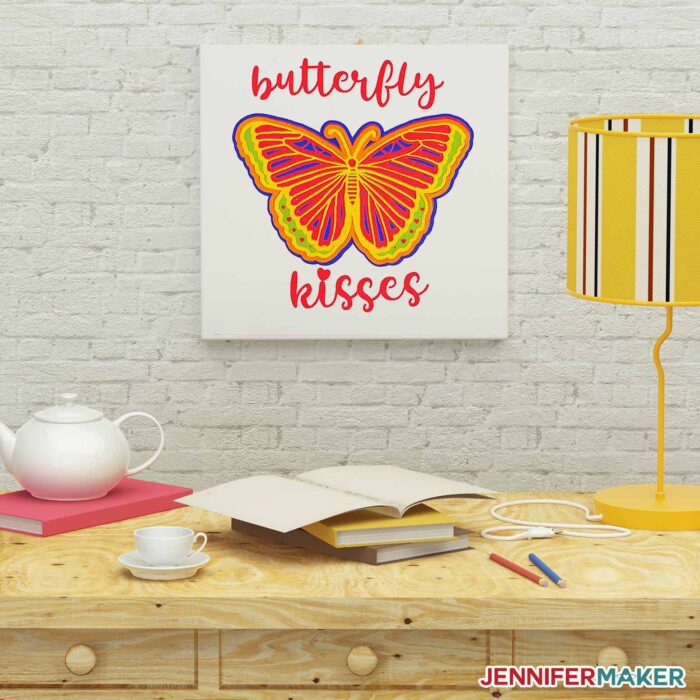
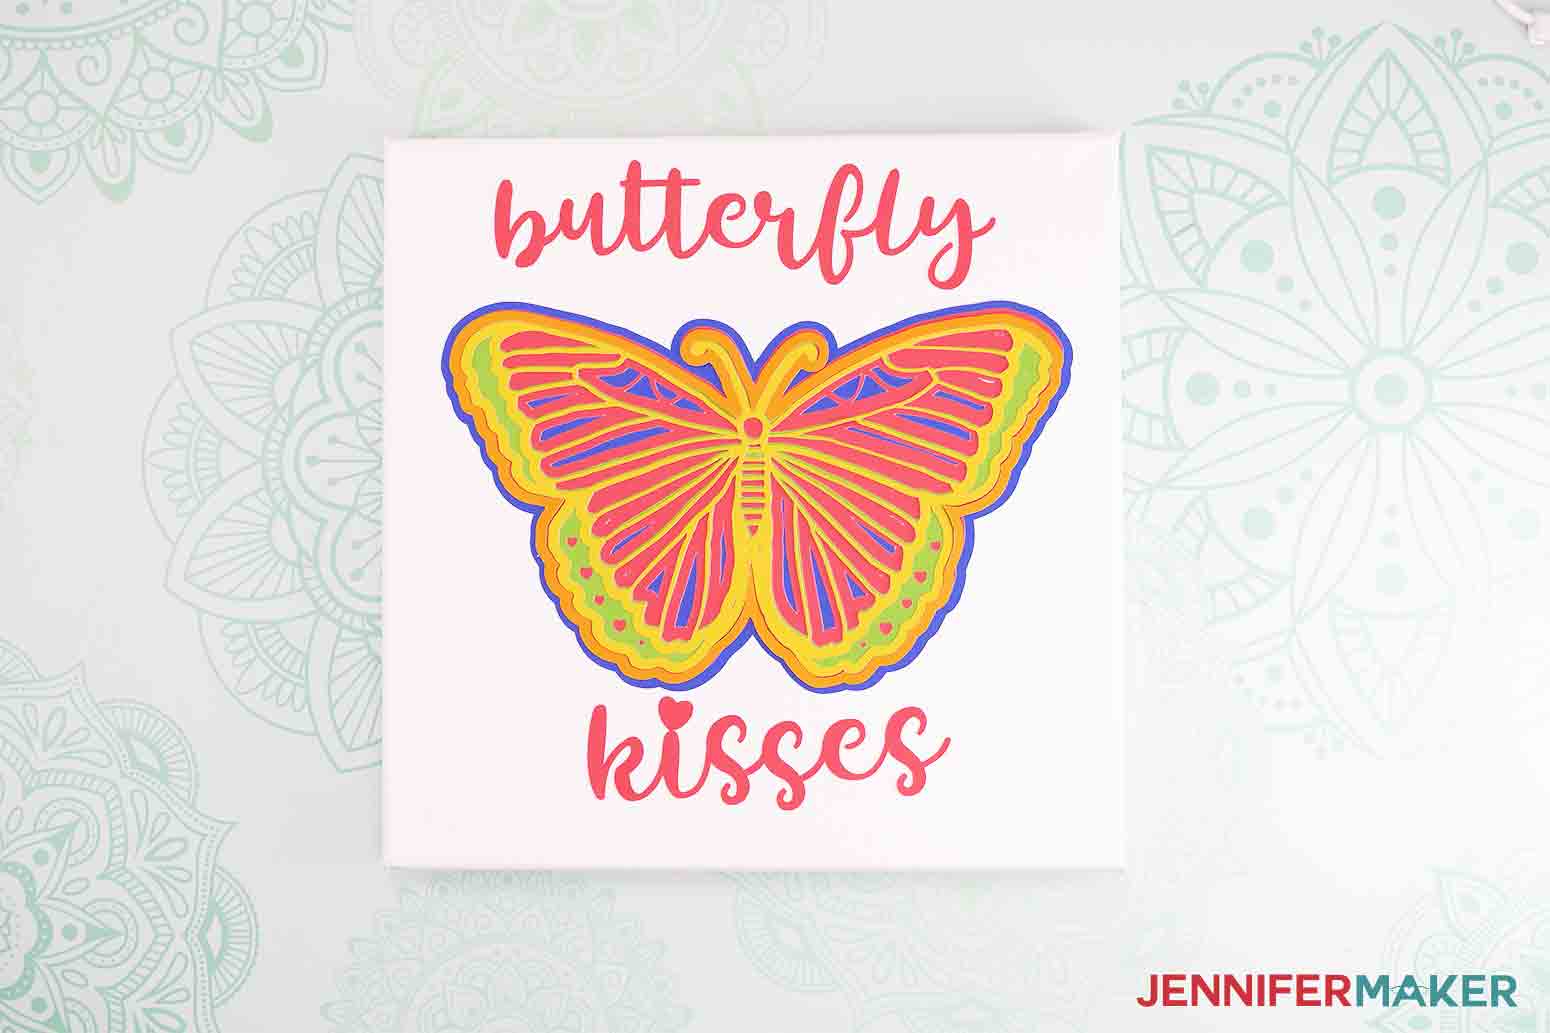
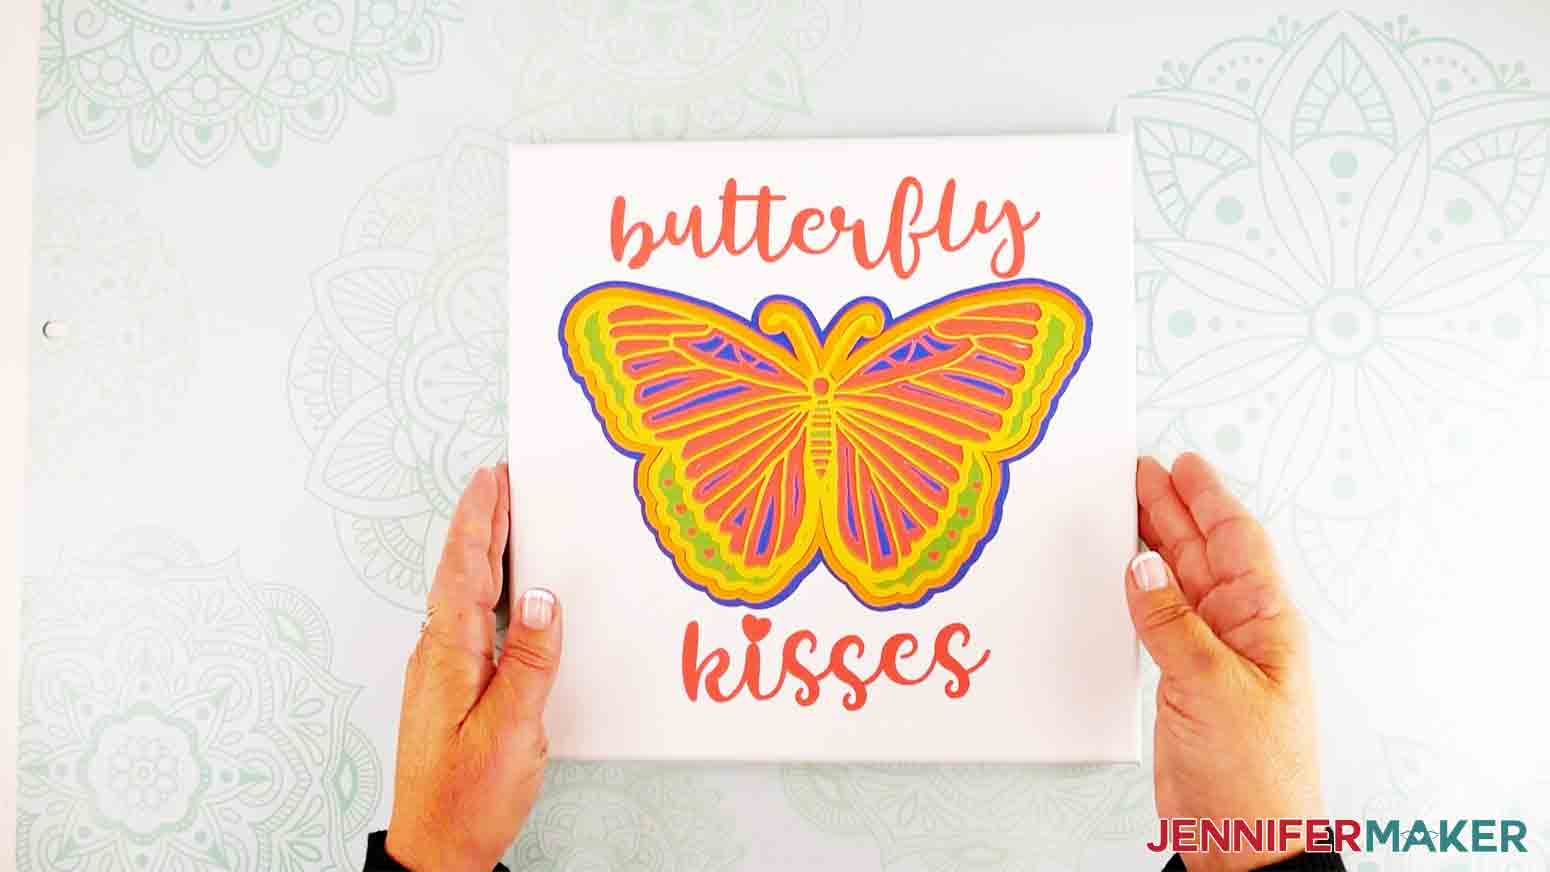
I used one (1) 10″ x 10″ canvas to display my beautiful butterfly. and sprayed tacky spray on my canvas before applying the stickers (or cardstock) to help the adhesive stick to the canvas.
For the font, I used the Tingler script which is one of those fonts I just like to go back to a lot!
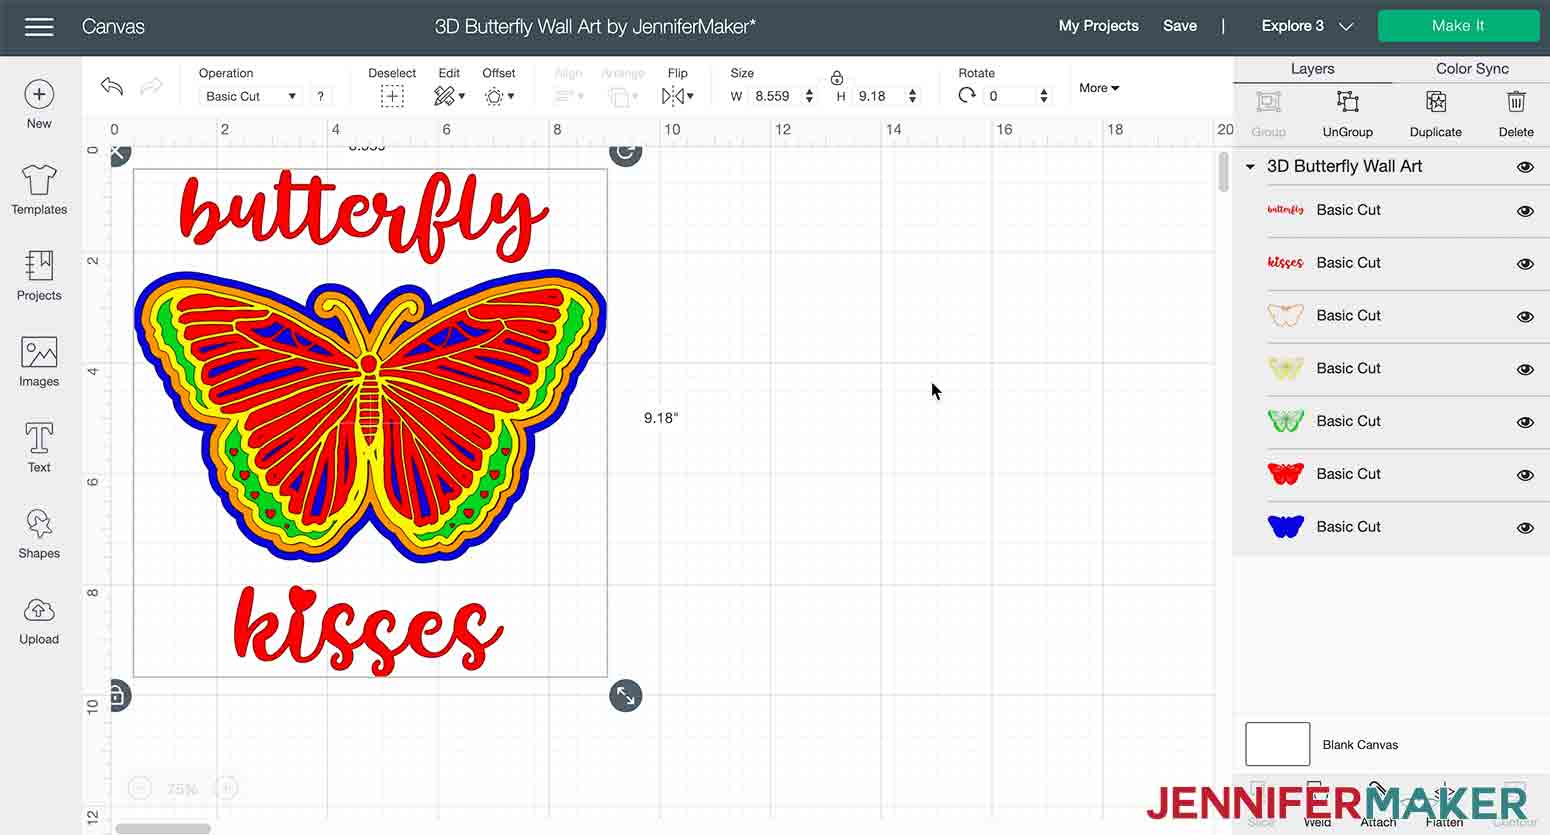
The final size of 3D Butterfly Wall Art on canvas is 10 x 10 inches. The butterfly alone measures 8.559″ x 5.307″. I love that we have the flexibility to resize it however we like!
Let me show you how easy it is to make this pretty 3D butterfly wall art project! This post contains some affiliate links for your convenience (which means if you make a purchase after clicking a link I will earn a small commission but it won’t cost you a penny more)! Read my full disclosure policy.
Materials to Make Adorable 3D Butterfly Wall Art
View my Amazon shopping list with the exact items we used to make this project!
- Five (5) sheets of Cricut Smart Paper Sticker Cardstock (I used Bright Bows)
- One (1) 10″ x 10″ Canvas
- Tacky Spray (Optional)
- Tingler Script Font (Optional)
- Cricut Blue LightGrip Machine Mat 12″ x12″
- Cricut Straight Weeding Tool
- A method to cut your Smart Paper Cardstock – I used the amazing Cricut Explore 3 but you can use any Explore, Maker, or Joy series machine, as well as the Cricut Venture
- Design #309 for your 3D Butterfly Wall Art – My free SVG/PDF/DXF design files are available in my free resource library – get the password by filling out the form at the bottom of this page
How to Make Your Own Fun 3D Butterfly Wall Art
3D Butterfly Wall Art
This tutorial will show you how to make a fun and easy project with your Cricut in just a matter of minutes...a beautiful 3D Butterfly Mandala you can give as a gift or hang on your wall.
Materials
- Five (5) sheets of Cricut Smart Paper Sticker Cardstock (I used Bright Bows)
- One (1) 10" x 10" Canvas
- Tacky Spray (Optional)
- Tingler Script Font (Optional)
- Design #309 (My free SVG/PDF/DXF design files are available in my free resource library - get the password by filling out the form at the bottom of this page)
Tools
Instructions
STEP 1: GET MY FREE 3D BUTTERFLY WALL ART DESIGN
Are you looking for a Cricut project that's super quick and easy to put together? A project that you can cut and assemble in about 10 minutes? Sound too good to be true? Well this time it isn't. Thanks to the new Cricut Explore 3 and its lightning fast cutting speed, we have come up with a pretty project that will take you no time at all!
If you've spent any time on my blog or in my Facebook groups you know I absolutely LOVE butterflies. Some of my most popular are my Butterfly Heart Canvas, my Giant Butterflies and of course my Butterfly Pop-Up Card.
It's my love of these beautiful creatures that inspired this project. My 3D Butterfly Wall Art. It's actually a layered butterfly mandala and it's made with the new Cricut Smart Paper Sticker Cardstock, which is what makes this project so easy!
 You can get the SVG to make this beautiful 3D Butterfly Wall Art in my free resource library -- it's design #309.
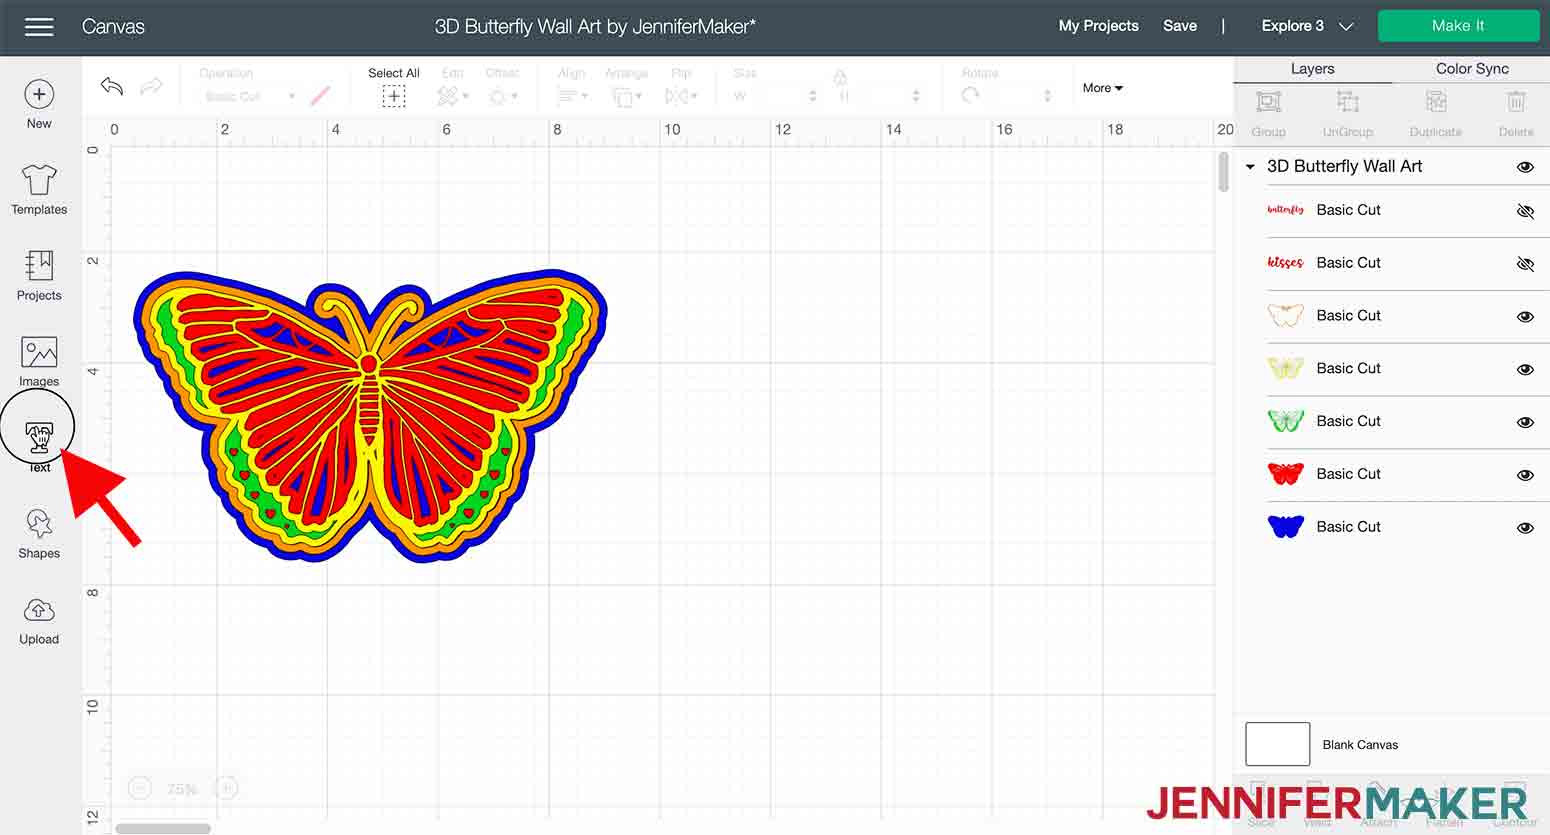
This is what my 3D Butterfly Wall Art design SVG file looks like in Cricut Design Space.
TIP: If you are not sure how to upload an SVG cut file to Cricut Design Space, watch this helpful video training series I made. If you are on an iPad or iPhone, here is how to download and upload SVG files to the Cricut Design Space app.
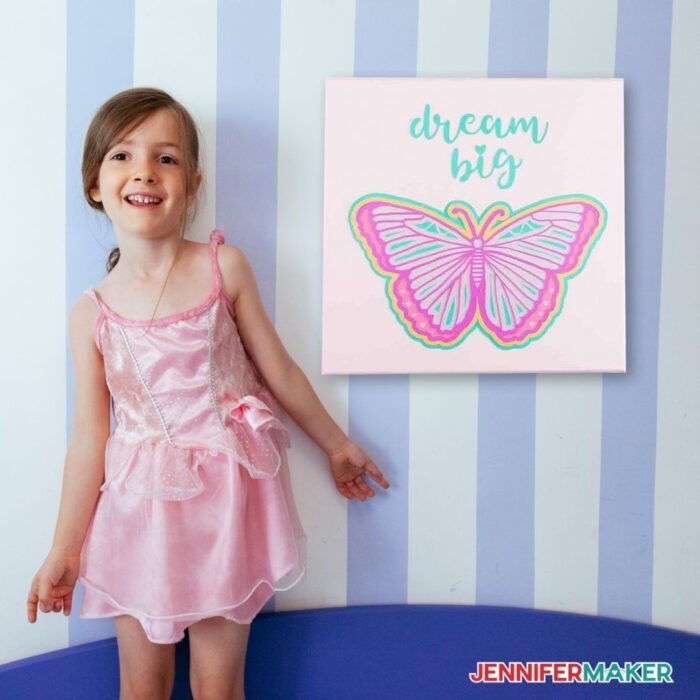
You can cut it just like this or you can change the text to anything you like. Simply hide or delete the words "butterfly and kisses" in the layers panel on the right and add your own.
![]()
Click "Text" in the left hand column.
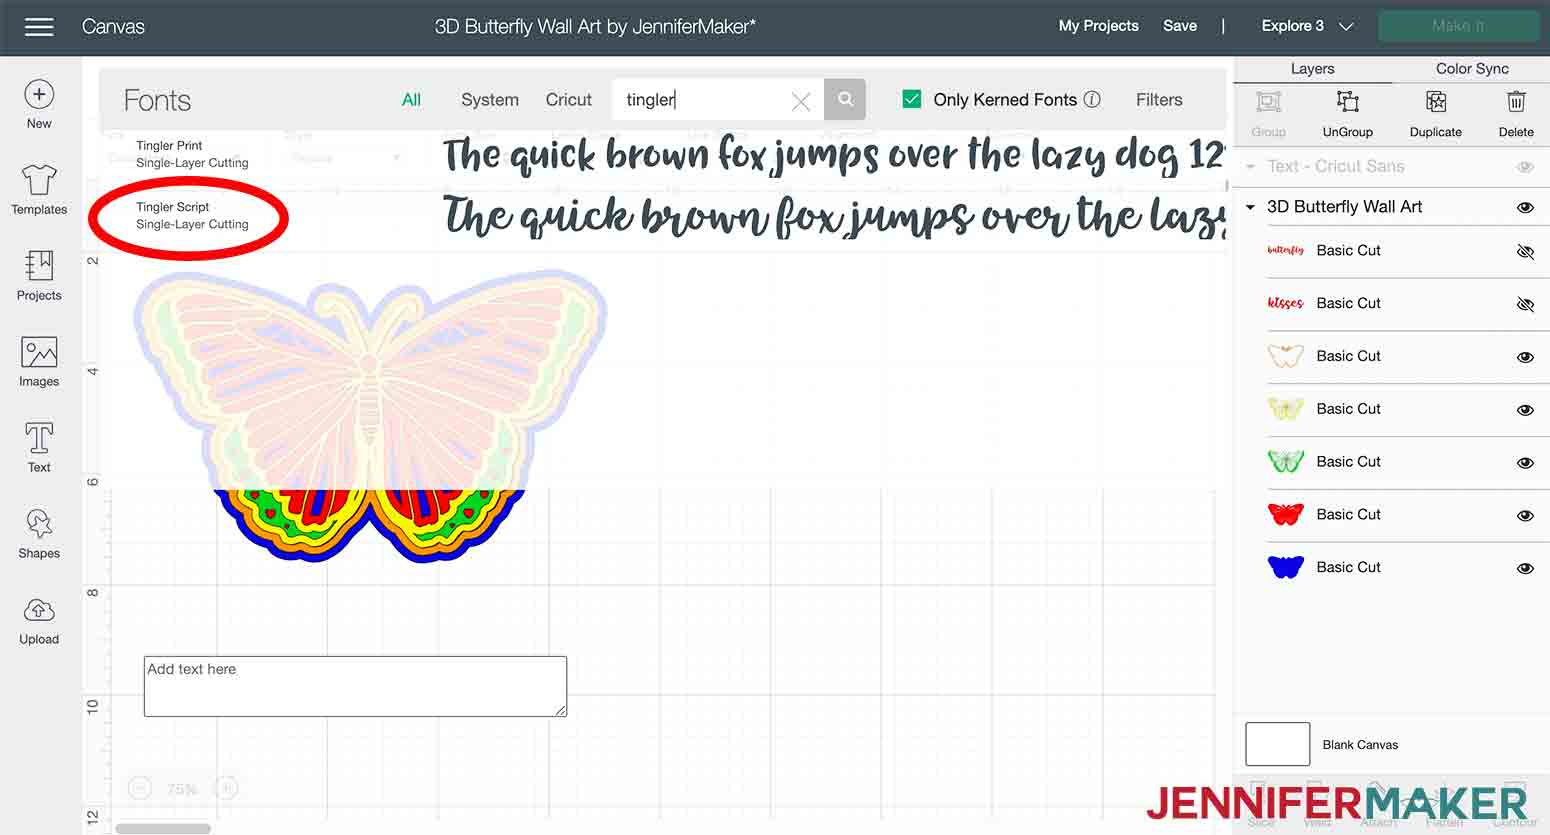
Now choose your font from the dropdown menu at the top.
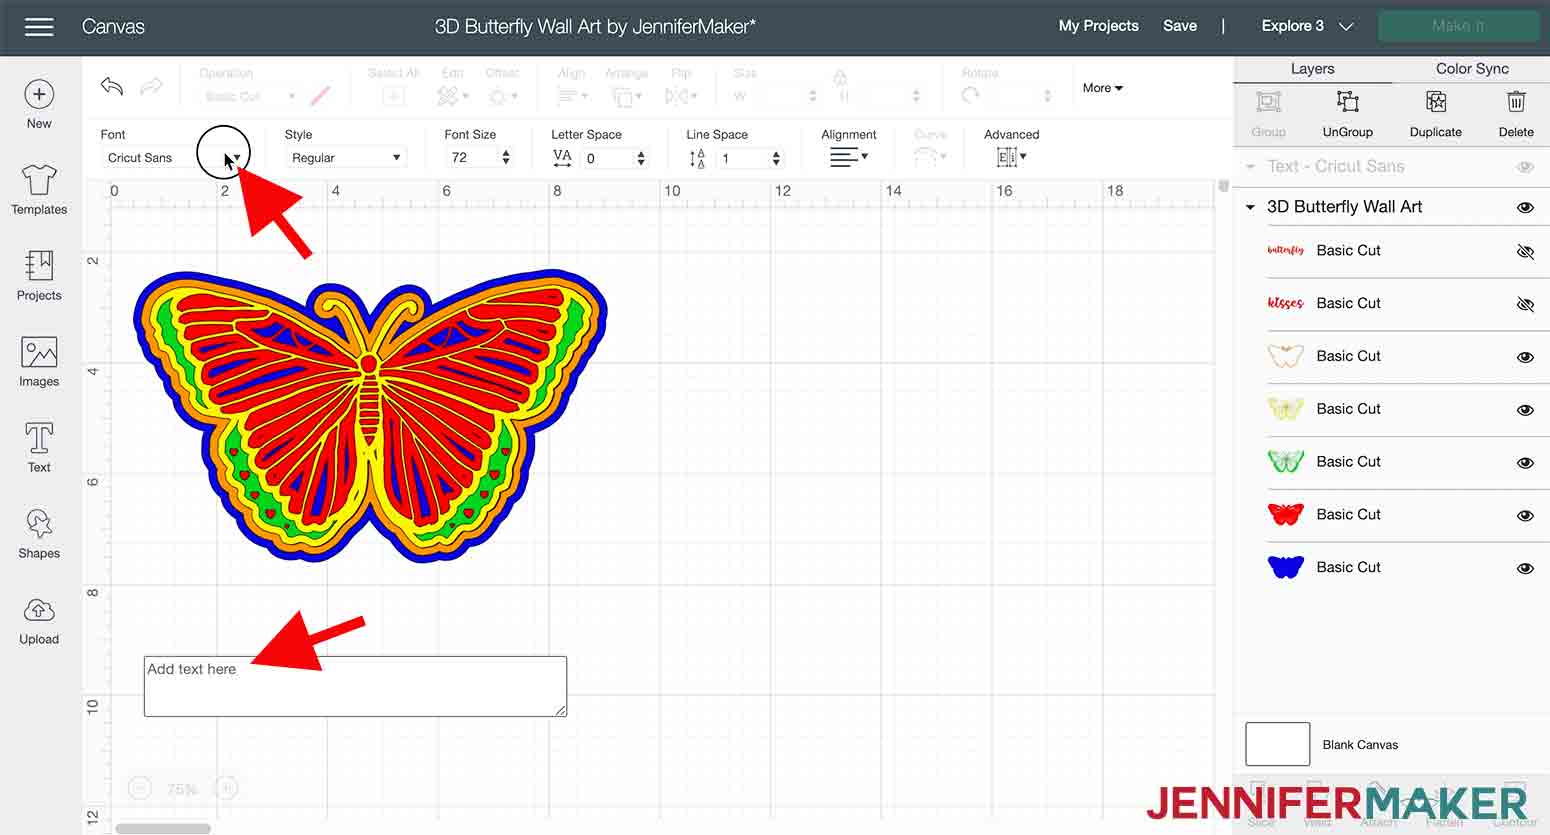
I'm using Tingler Script. Now type anything you'd like...maybe "dream big" or "spread your wings"...or even "Happy Birthday," it's totally up to you!
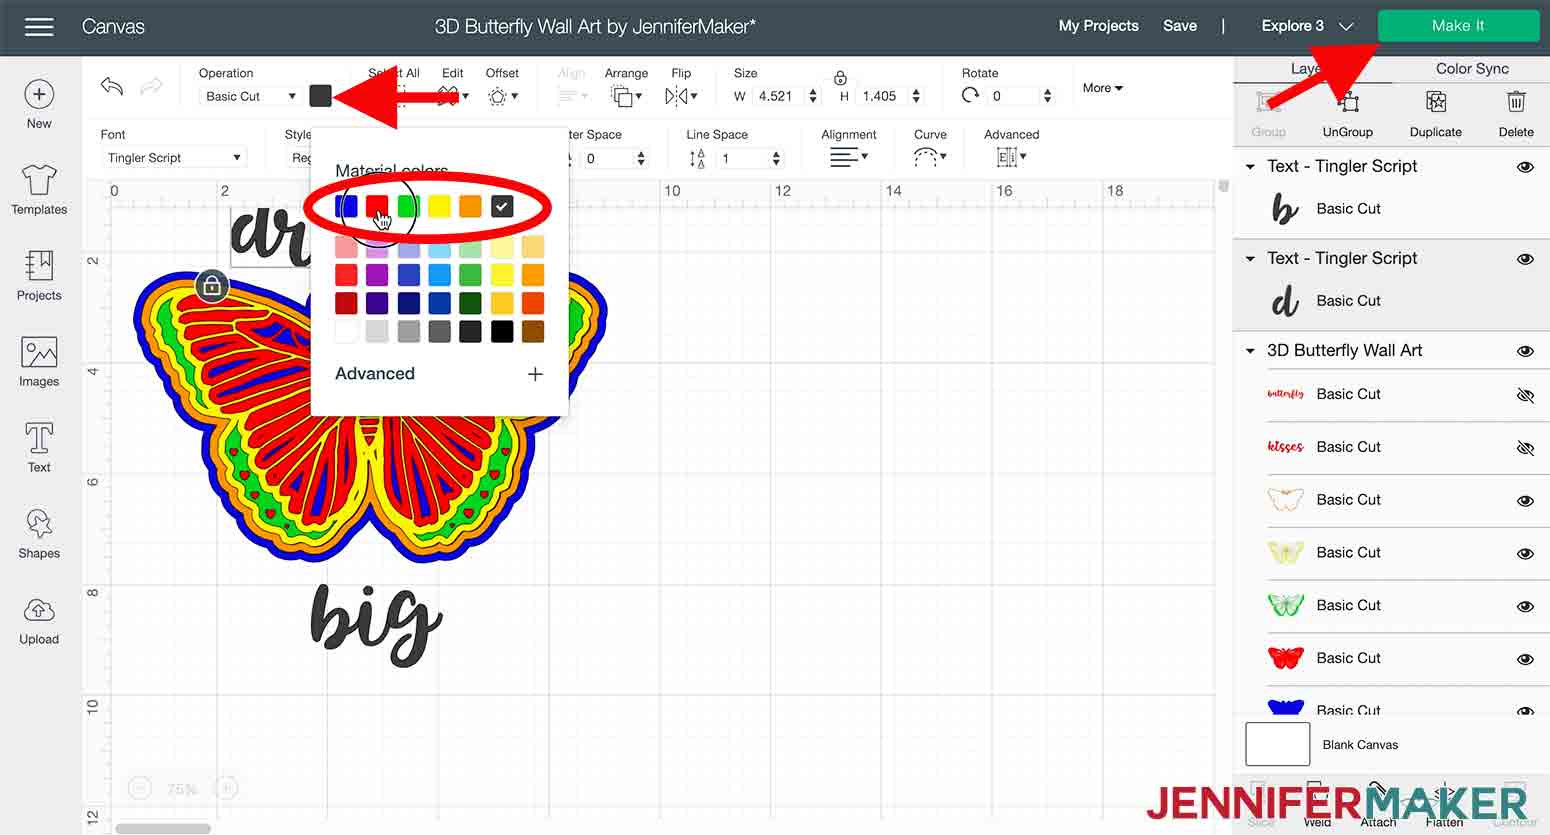
To change the text color, click in the color picker box and click on any color.
And here’s a fun tip in case you didn’t know, the top row of colors are all of the colors included in your project, this way your colors will be a perfect match!
Now click "Make It."
Since we are using Cricut's Smart Paper Sticker Cardstock we don't need a mat, how cool is that? So choose "Without Mat", then click "Done" and "Continue."

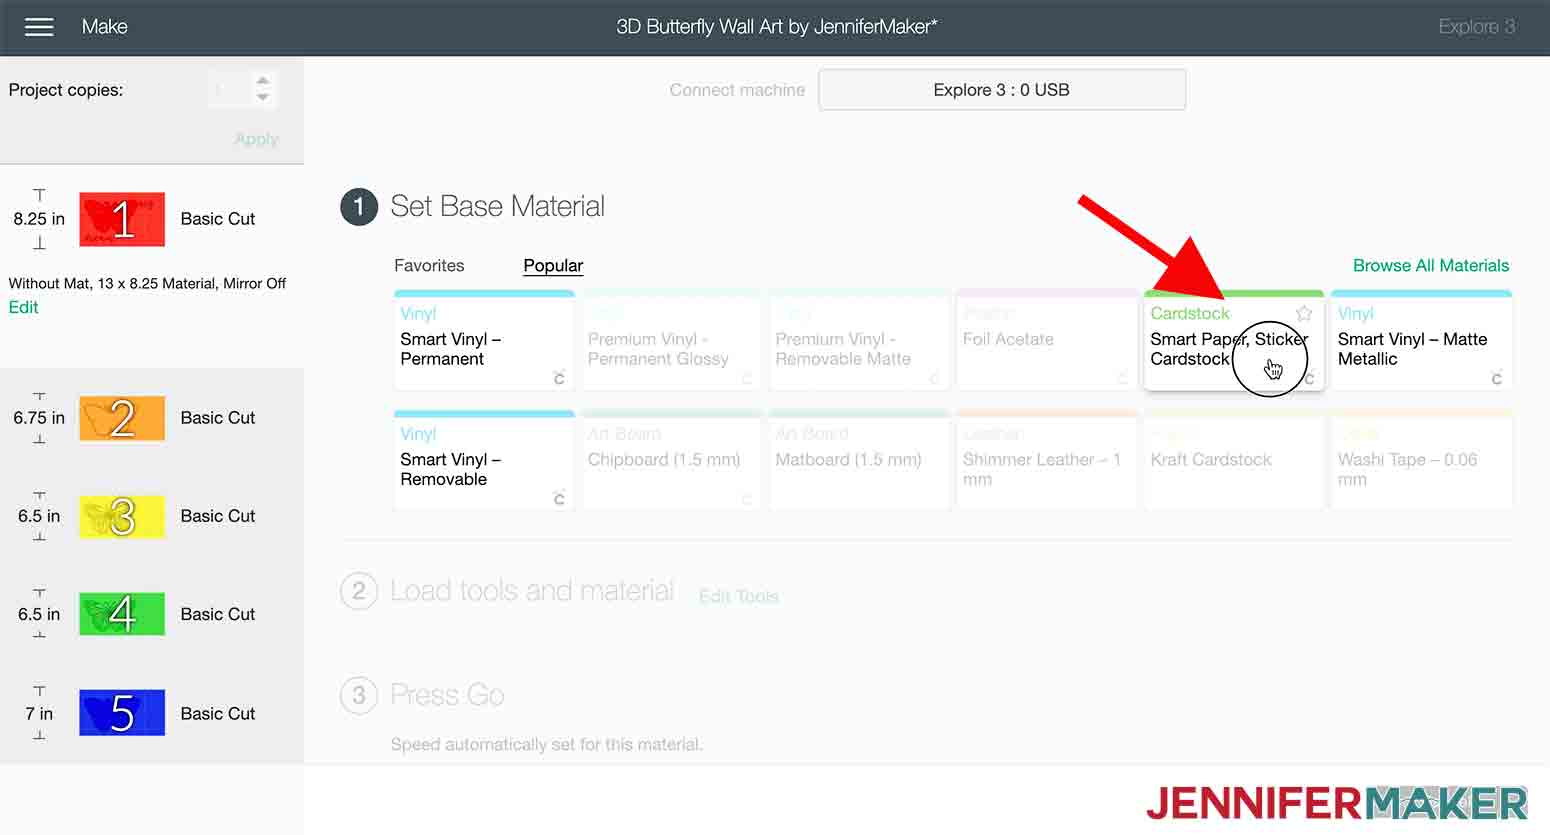
Next, choose "Smart Paper Sticker Cardstock and click "Done."
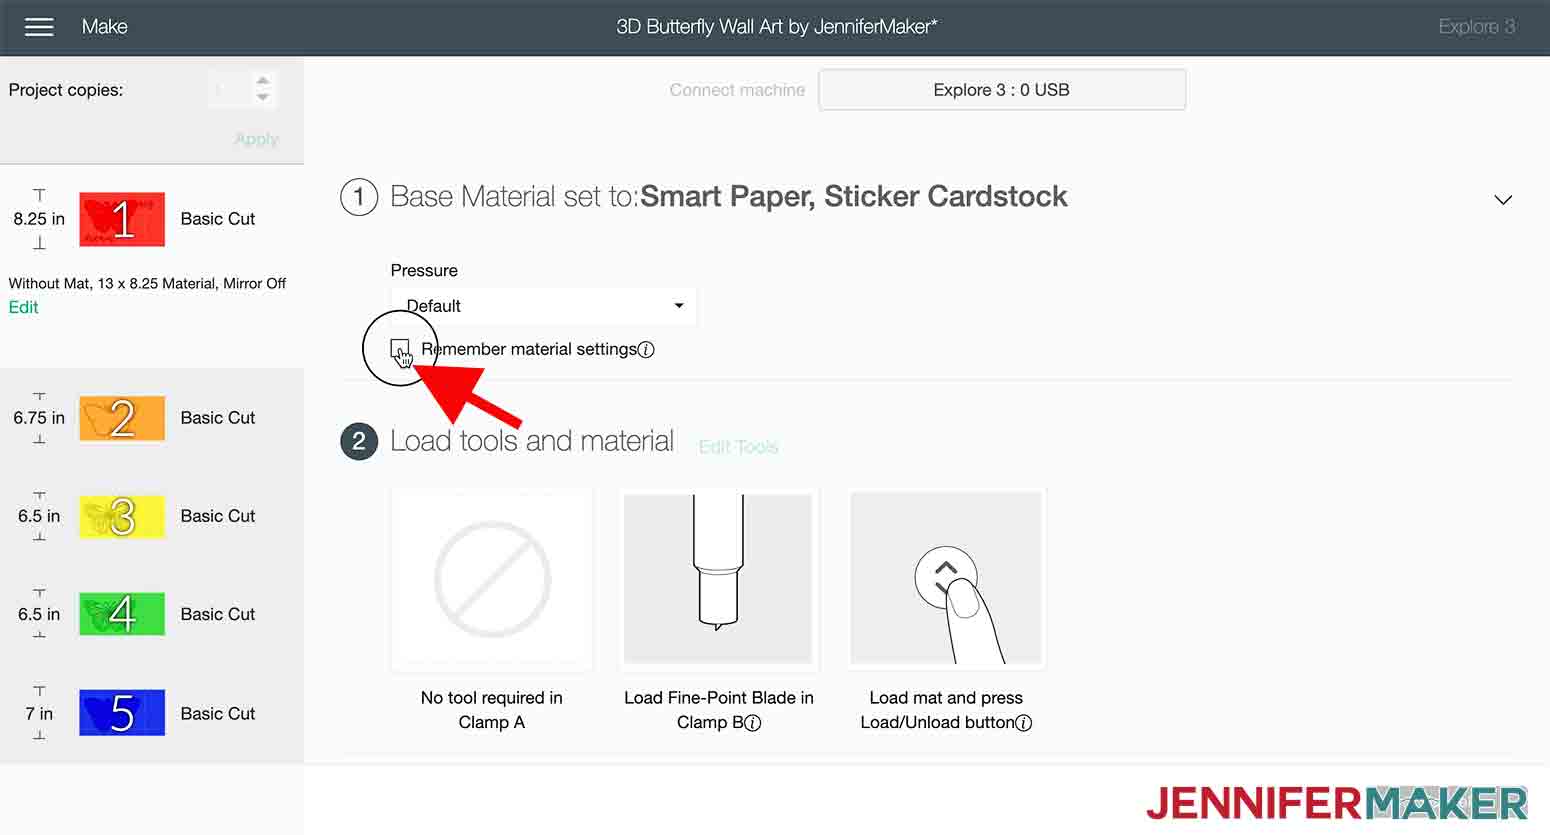
IMPORTANT: On the next screen you will see a box under Pressure and Default that says: "Remember Material Settings," click that box. That tells the Cricut Explore 3 to use the same cut pressure and materials for all of the cuts without a mat or with the Smart Material.
STEP 2: CUT YOUR 3D BUTTERFLY WALL ART
Now you are ready to cut!
There are 5 layers to this 3D Butterfly Wall Art project and I'm using rainbow colors for mine, but again, this is your creation, so you can use whatever color combination you like!
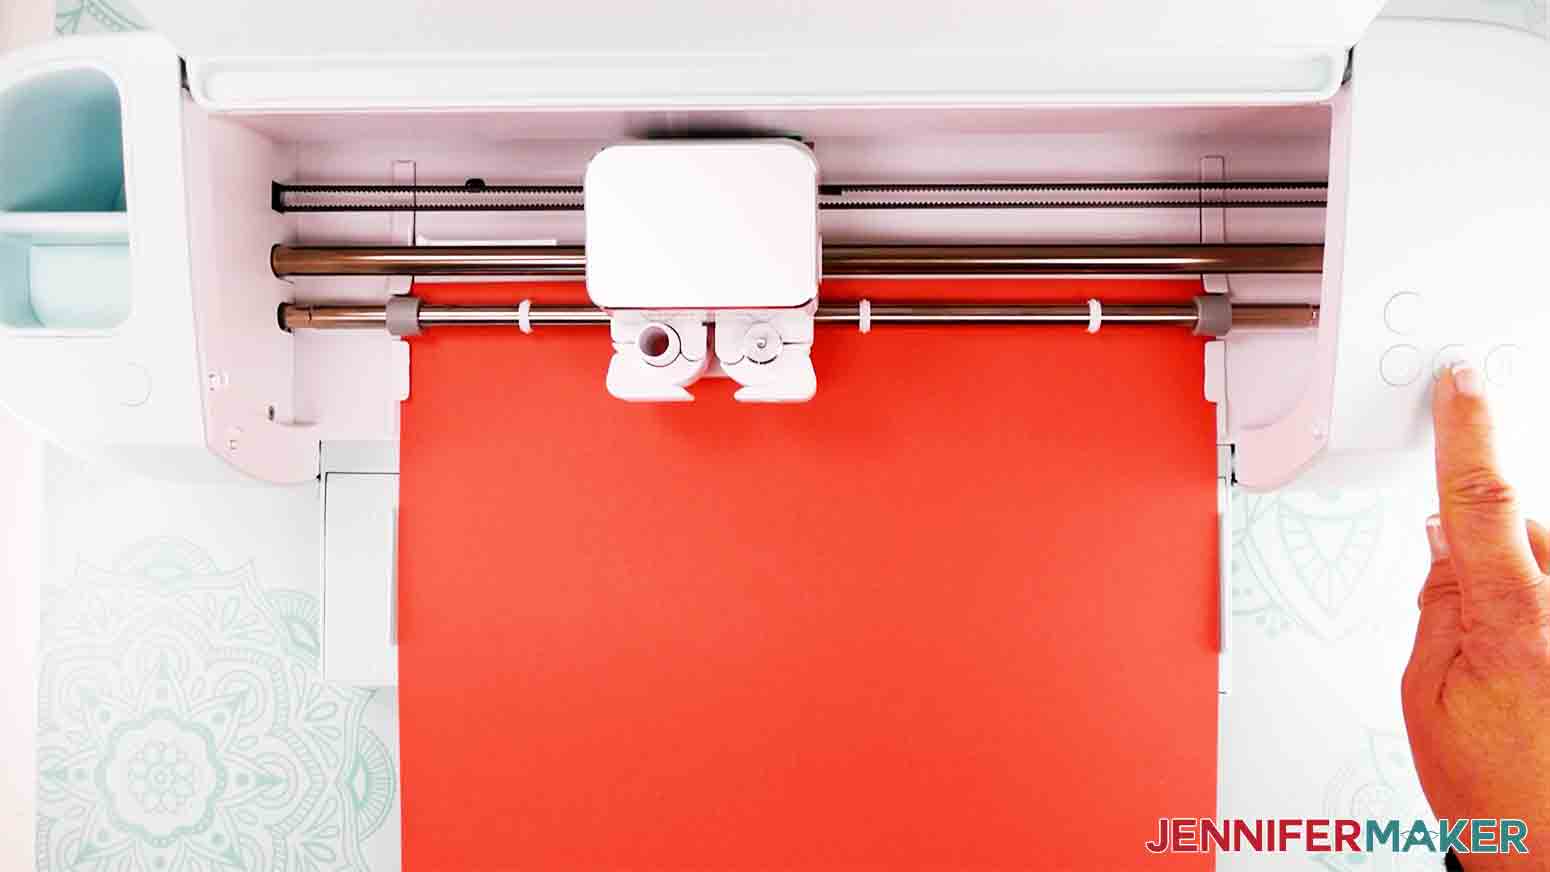
Insert your first piece of Smart Paper Sticker Cardstock and press load and then the flashing button that looks like a "Play" button to start your cut.
TIP: If you are using the same colors as me and forget what color comes next when you are cutting you can refer back to your device and look on the left to see what color comes next. If you are using different colors and designated those when you were getting everything set in Design Space follow that order OR better yet, just stack your paper in the order you plan to cut.
Remember how I said this is a quick project...just watch how fast the new Cricut Explore 3 cuts! It's crazy fast.
I actually set a stop watch and I was able to cut and assemble the whole project in around 10 minutes!
STEP 3: ASSEMBLE YOUR BUTTERFLY CANVAS
Once all of your cuts are complete it's time to assemble your work of art!
First, grab your 10" x 10" canvas.
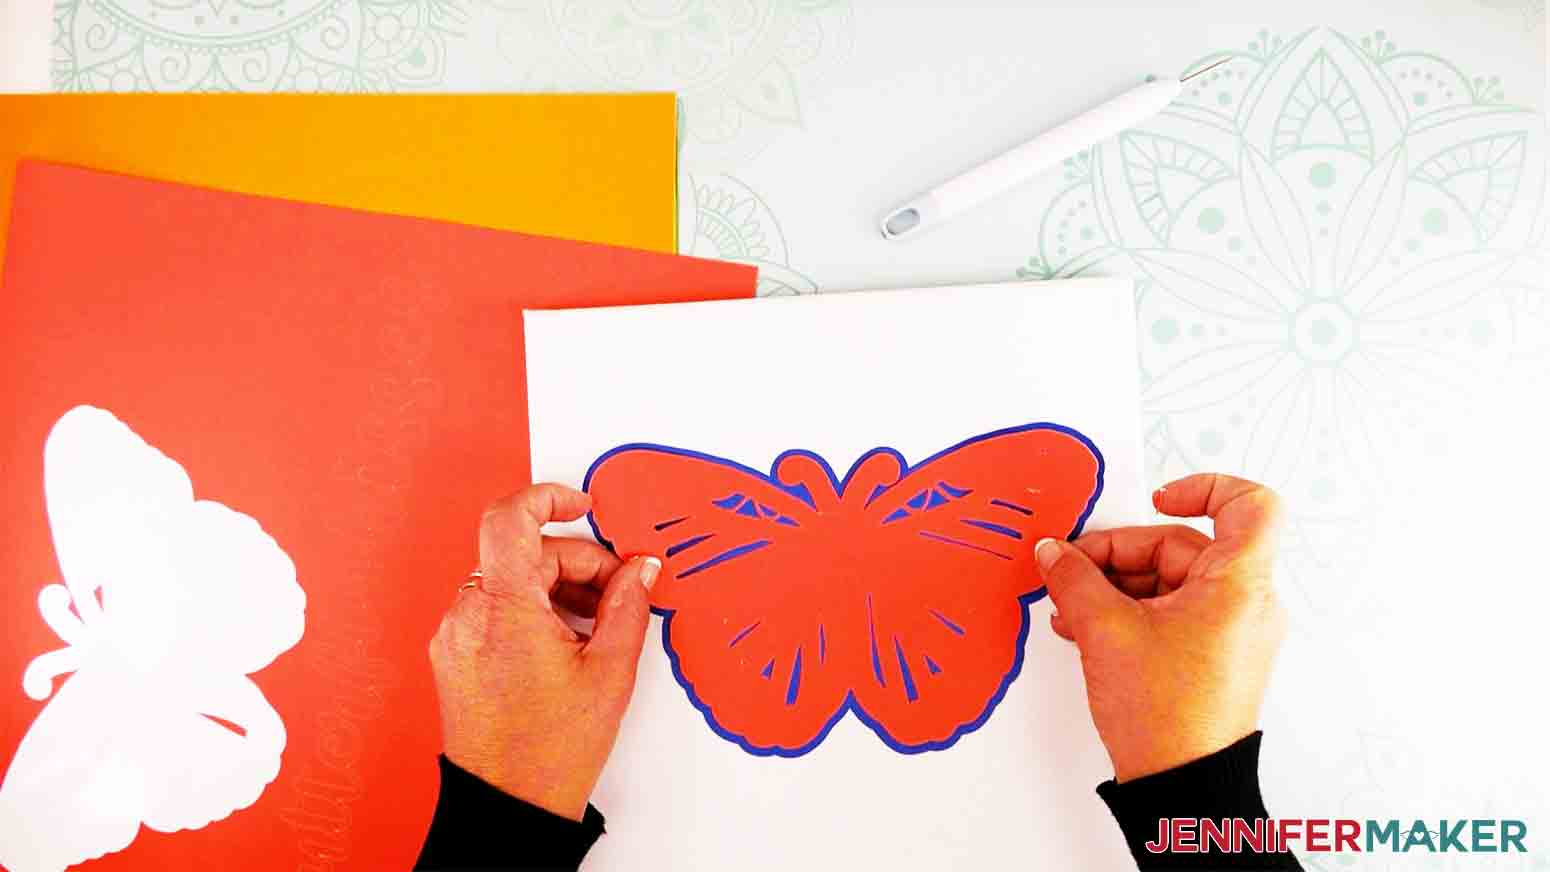
Now, one by one flip over the Cricut Smart Paper Sticker Cardstock and gently fold it back to release the sticker paper. Start with the bottom layer.
If you are using the same colors as me your layers should match these:
Bottom/Layer 1: Blue, Layer 2: Red, Layer 3: Green, Layer 4: Yellow, Top/Layer 5: Orange
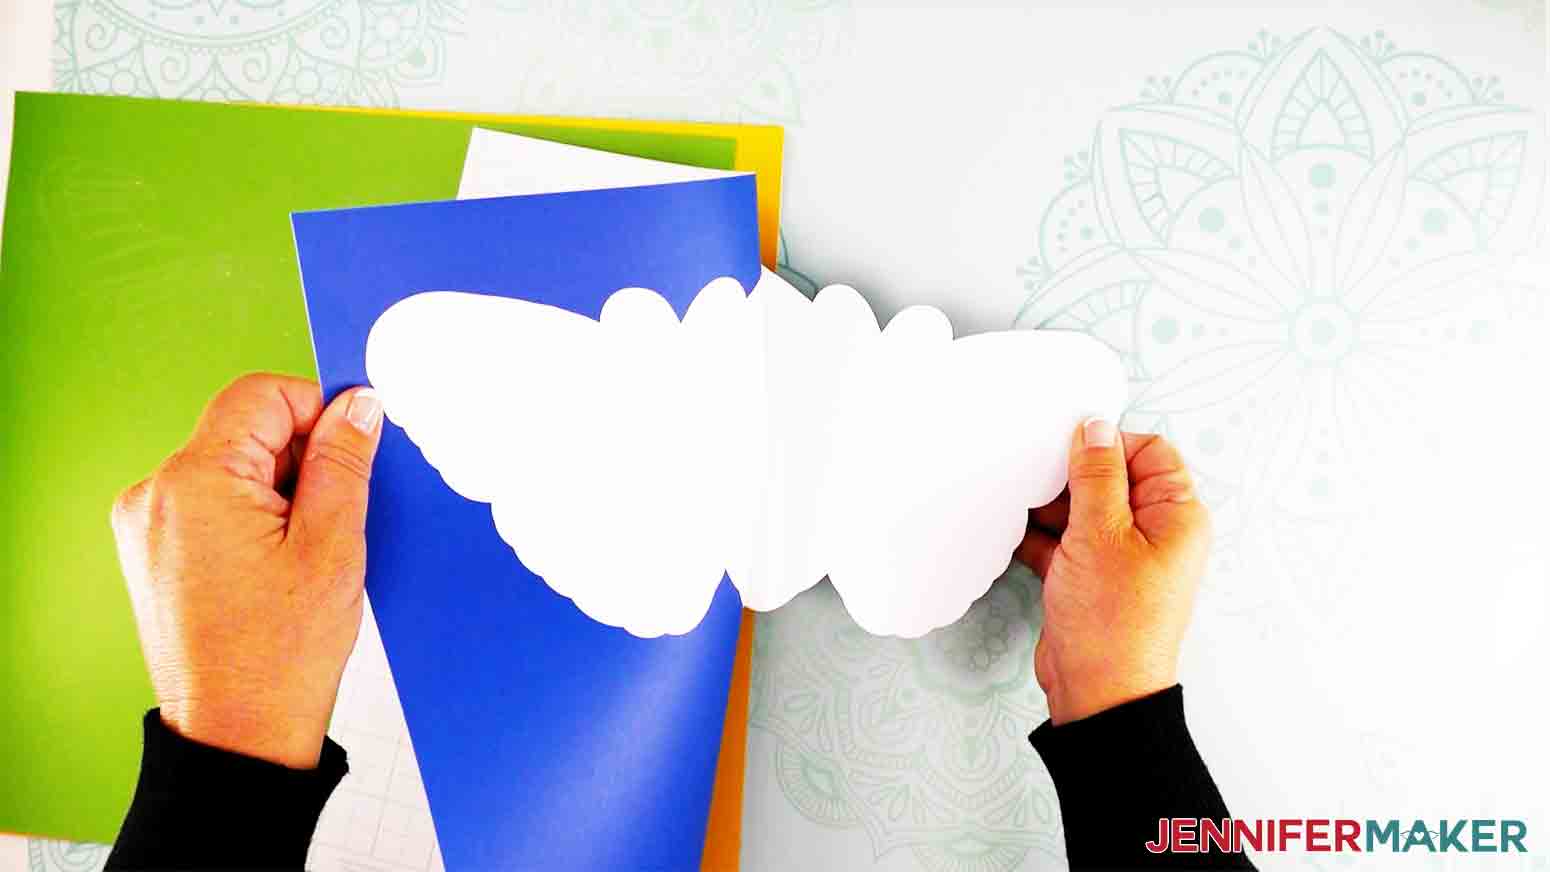
Place the bottom layer in the center of your canvas and press gently to help it stick.
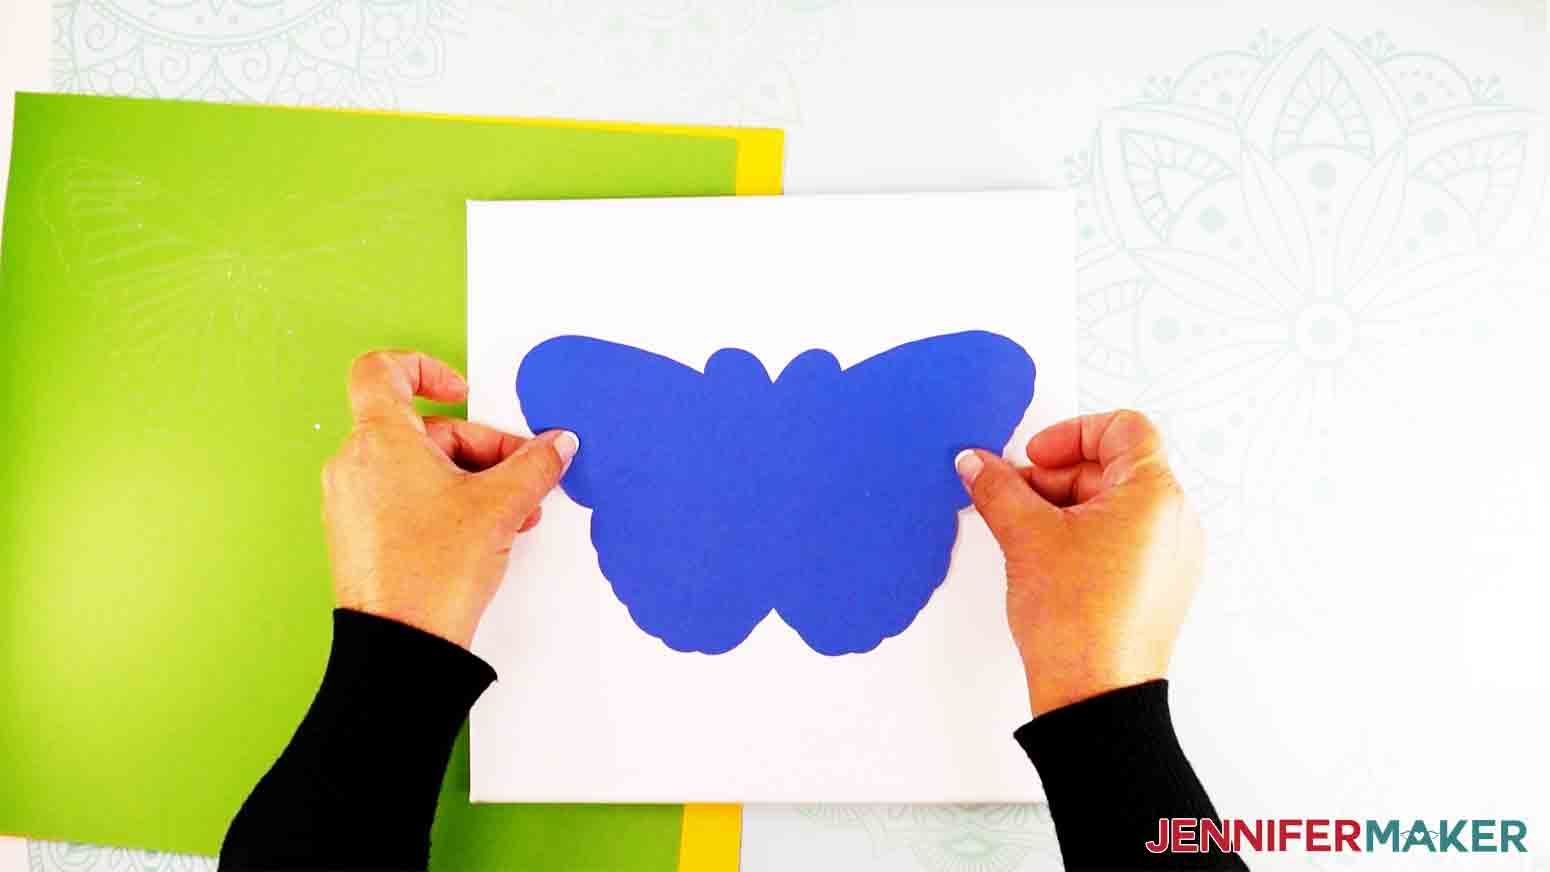
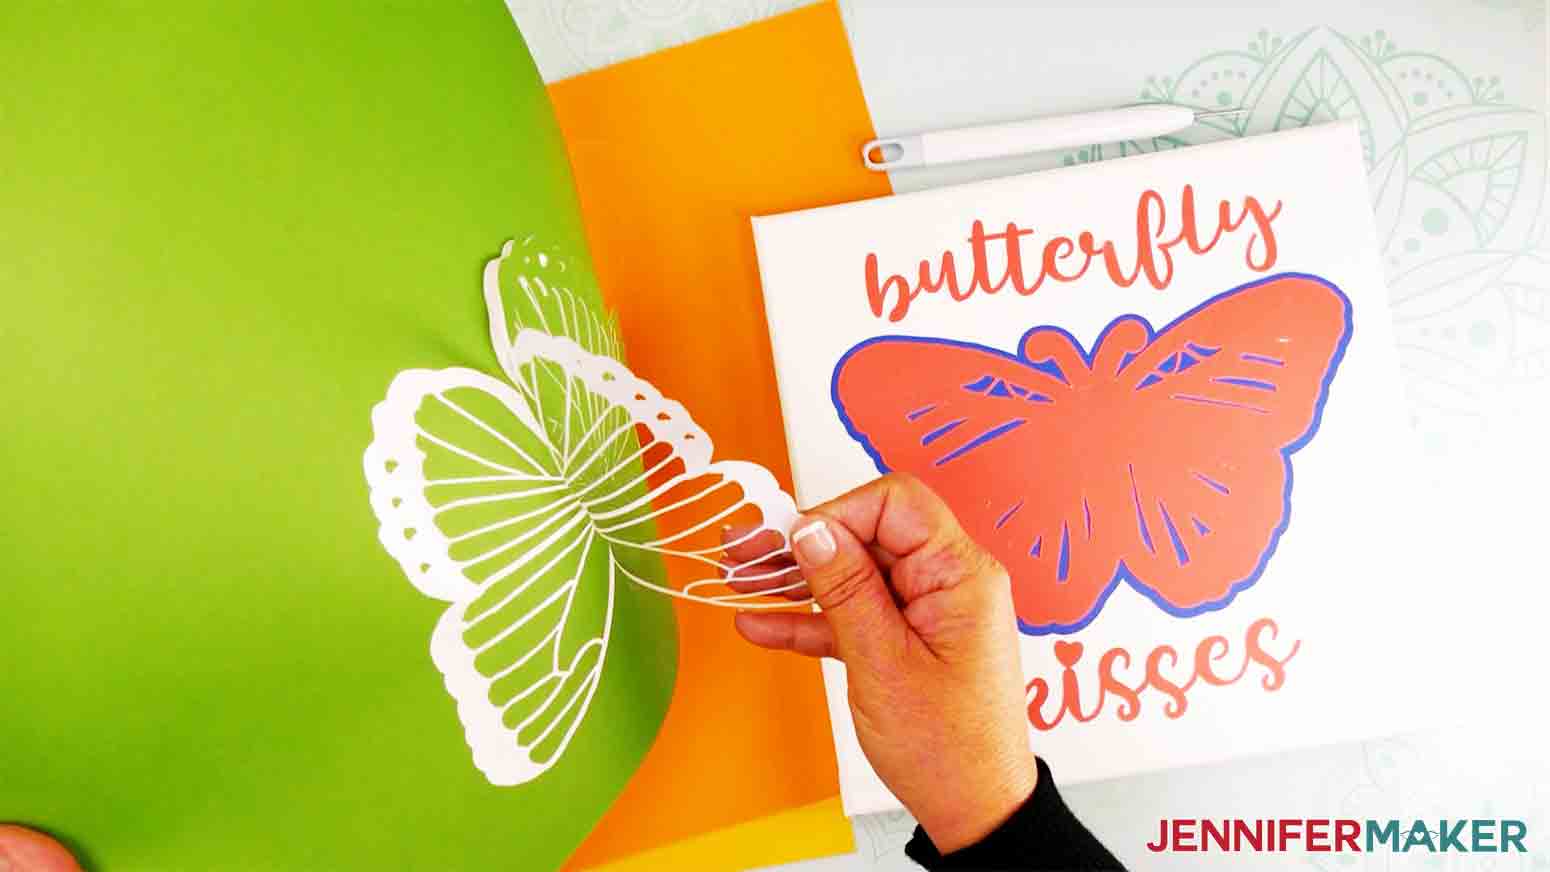
Continue doing this with the remaining four sheets of Cricut Smart Paper Sticker Cardstock.

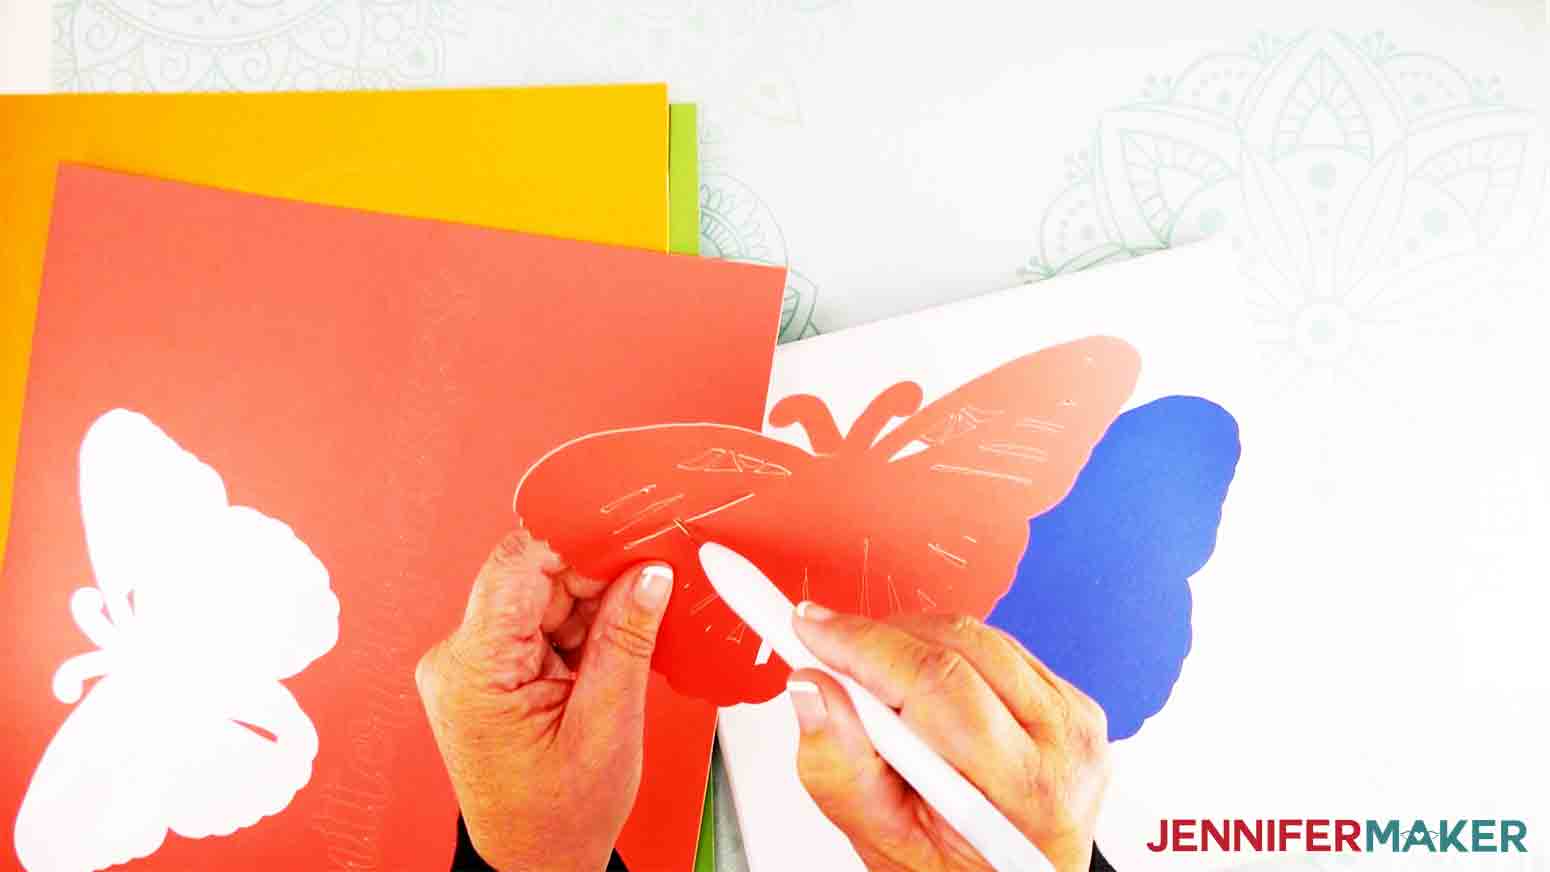
TIP: Some pesky pieces might not pop out on their own. If not, you can use a weeding tool to pop them out or just use your fingers and push them through to pop them out.
If you are using words that are red like mine those will cut with the red layer and you can add those on the canvas wherever you like.
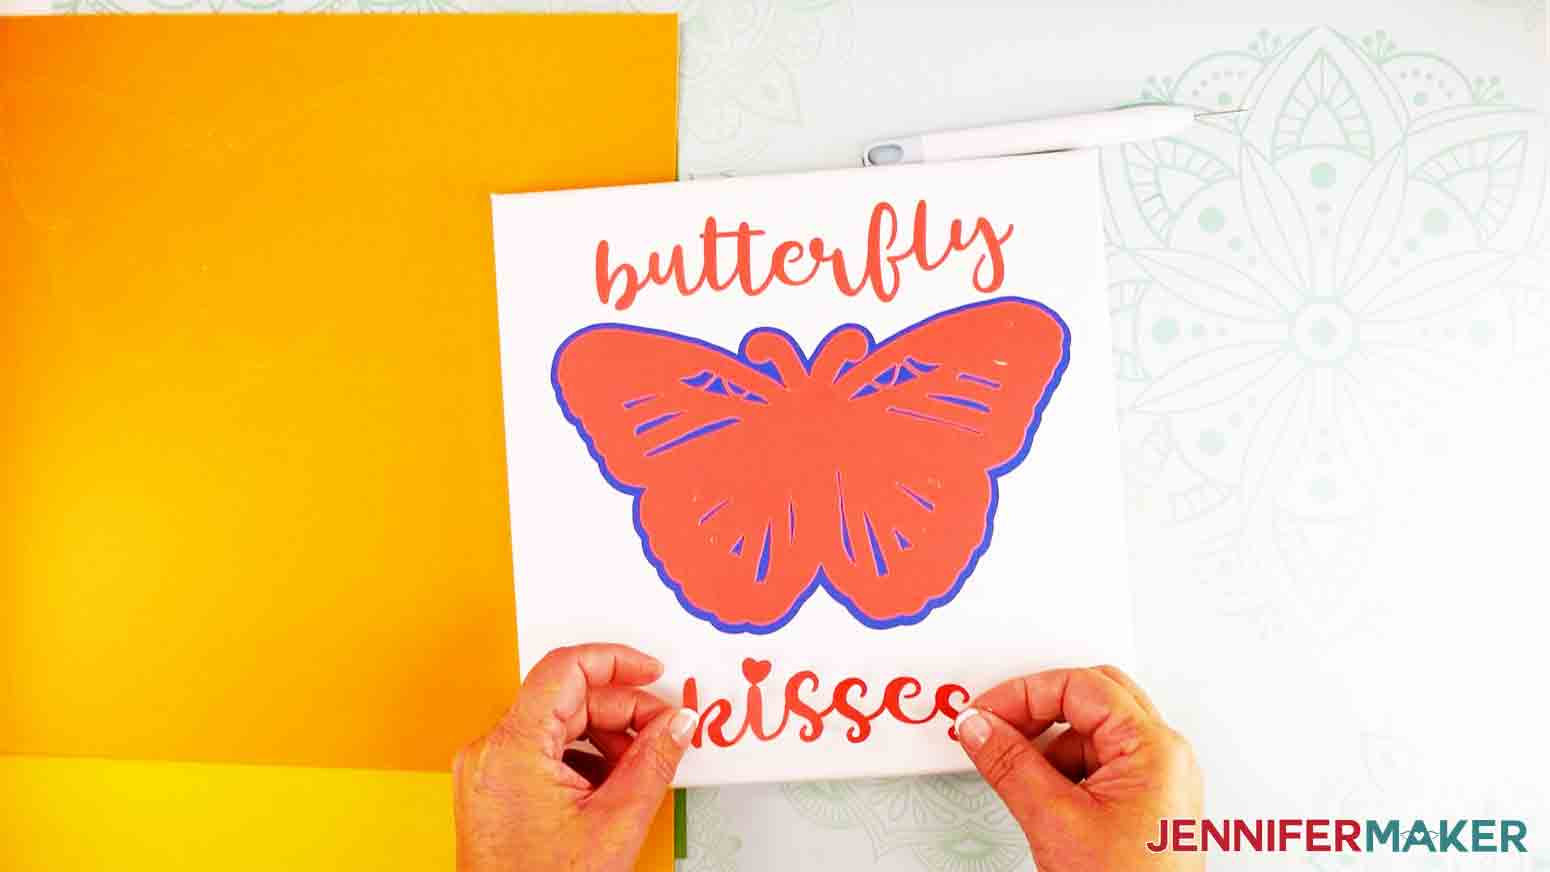
As you peel off each layer stack them on top of each other.
Make sure to keep all the pieces aligned. But remember, it doesn't need to be perfect to be beautiful.
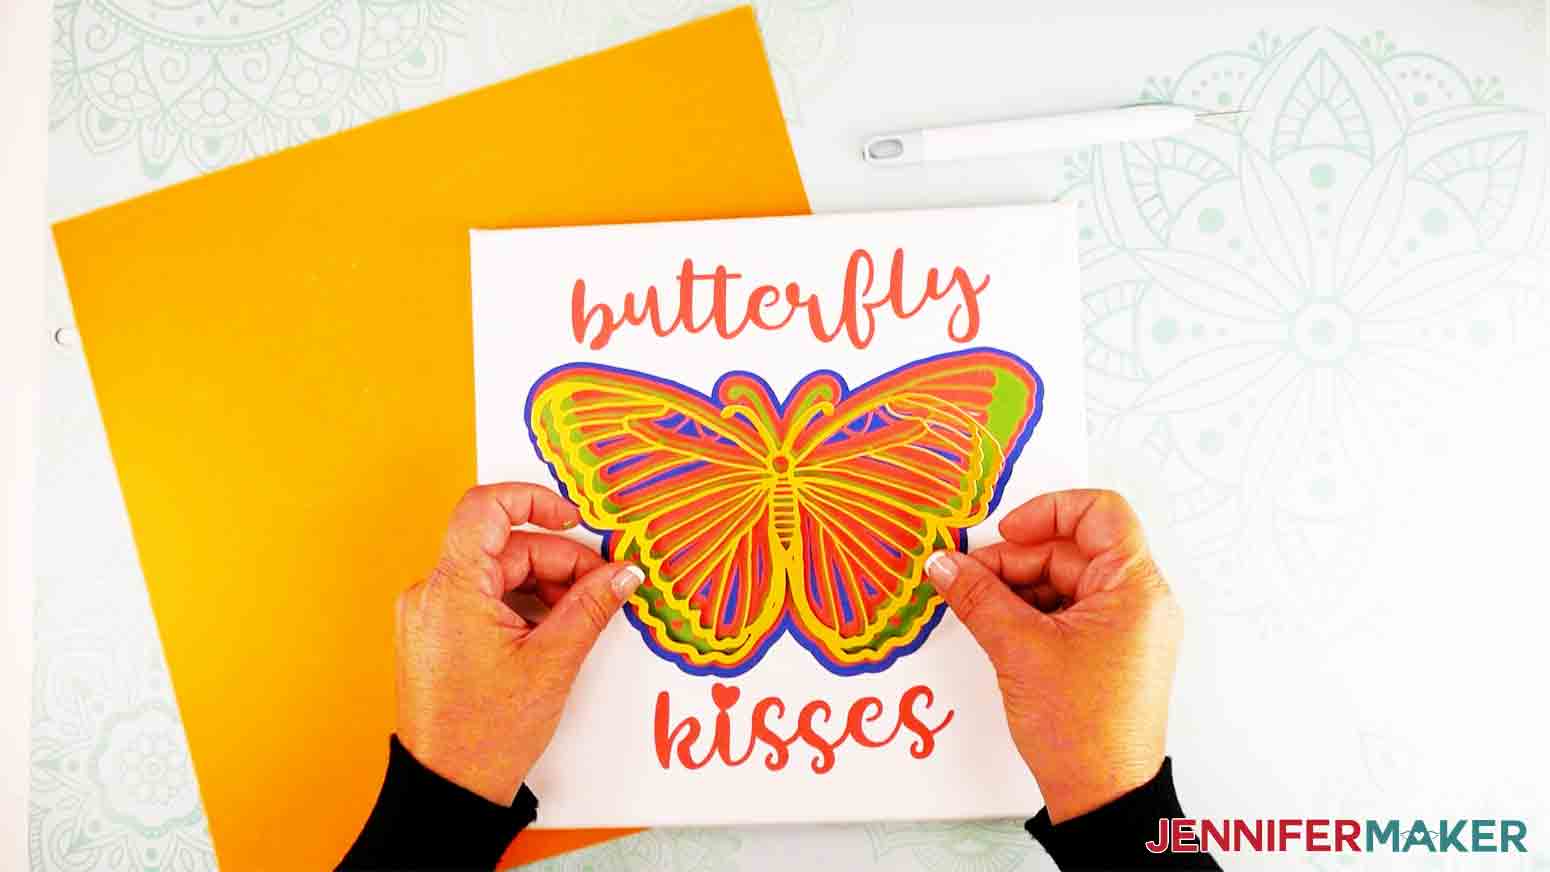
STEP 4: SHOW IT OFF!
And that's it! You're done! Now you can show it off!
Wasn't that quick and easy to assemble? It's honestly one of the easiest layered mandalas I've ever made and I've made a lot: a Heart Mandala, some cute Easter mandalas and a fun XO mandala...just to name a few. All of those were put together with glue, tape or foam dots, which takes time. The beauty of this Cricut Smart Paper Sticker Cardstock is that the paper is already sticky so you can skip that step altogether...a huge time-saver!
Of course if you don't have any Cricut Smart Materials on hand you can also make this 3D Butterfly Wall Art with cardstock as well on any of your Cricut cutting machines, but remember you will also need foam dots, tape or glue to hold it together.
One last tip, if you want to make your canvas a little more sticky before applying your sticker cardstock, spray it with tacky spray and let it dry before you start your project.
Notes
The final size of the 3D Butterfly Wall Art on canvas is 10 x 10 inches. The Butterfly alone measures 8.559" x 5.307"...however, feel free to resize it however you like. It can be cut on the Cricut Joy if sized appropriately (max size on Joy: 7.25" x 4.495")
FONT USED: Tingler Script
Answers to Your Questions About How to Make 3D Butterfly Wall Art
Q: How do I get the new Cricut Explore 3 cutting machine?
Order a Cricut Explore 3 at the Cricut Shop!
Q: You said I could make it with my Joy, but the design doesn’t fit!
You will need to resize the SVG in order for it to fit on the Joy! You can either change the size by moving the selection handles of the butterfly, or change the measurements to a maximum of 4.495”.
Q: Won’t it look strange if I place it on a 10” x 10” canvas after resizing it down that much?
You could choose to make several small butterflies on a large canvas, or, if you wanted to keep the project looking the same, a 5” x 7” canvas would work fine!
Q: Could I use cardstock instead of sticker paper?
That’s a great idea! You can see how I used cardstock on canvas for another butterfly project by looking at my Paper Butterfly Canvas Wall Art Heart!
Q: Can I use my Explore Air 2 to cut this out?
Absolutely! Any Explore or Maker can create the 3D Butterfly Wall Art!
Get my free SVG files to create these Adorable 3D Butterfly Wall Art Pieces
I’d love to see YOUR beautiful 3d butterfly wall art projects and how you choose to decorate them! Please share a photo in our Facebook group or tag me on social media with #jennifermaker.
Love,

Want to remember this? Save this 3D Butterfly Wall Art Tutorial to your favorite Pinterest Board!