Learn how to use Color Changing HTV to create dynamic T-shirts!
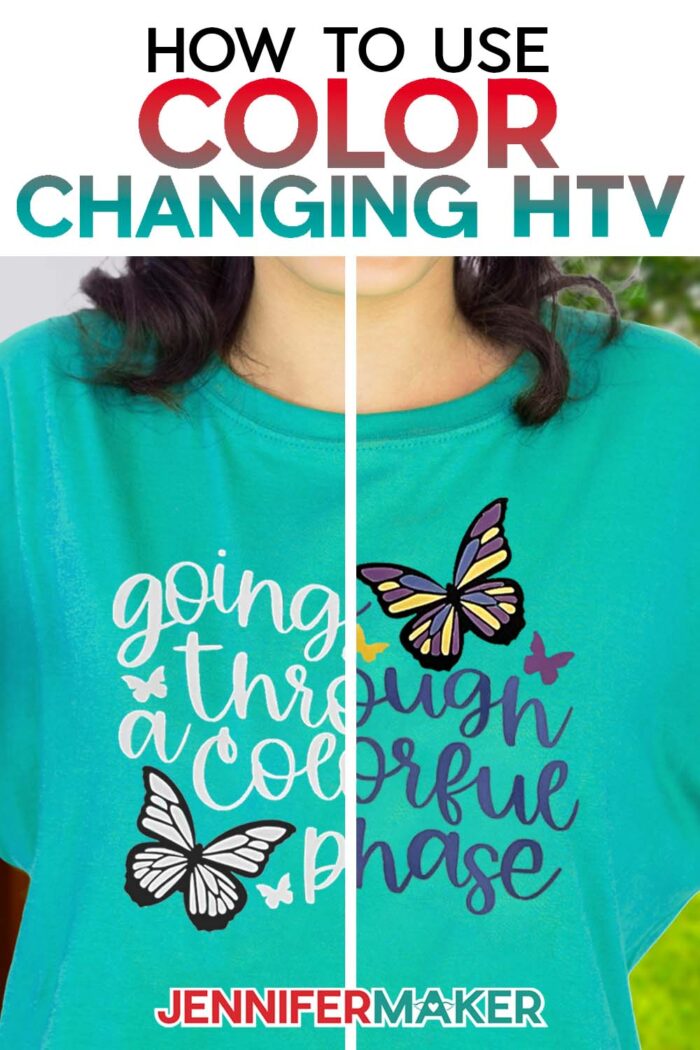
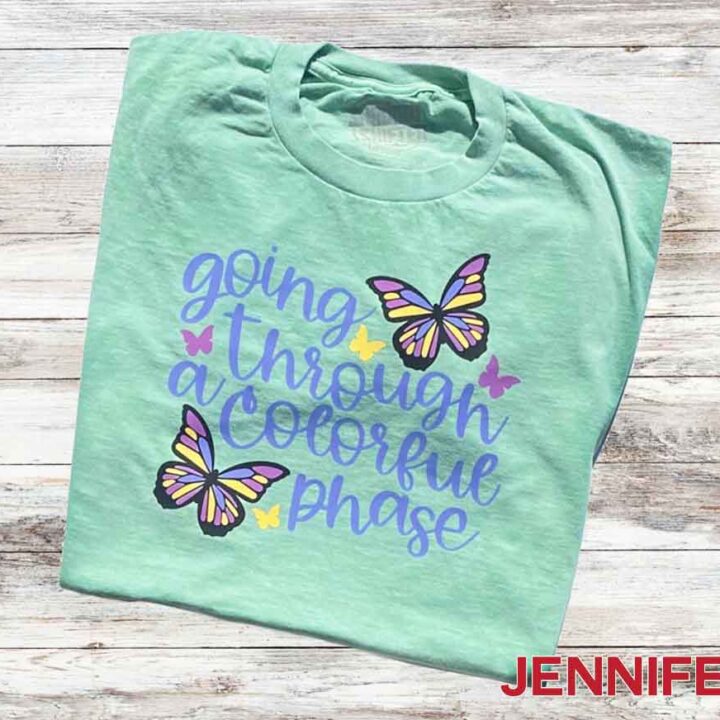
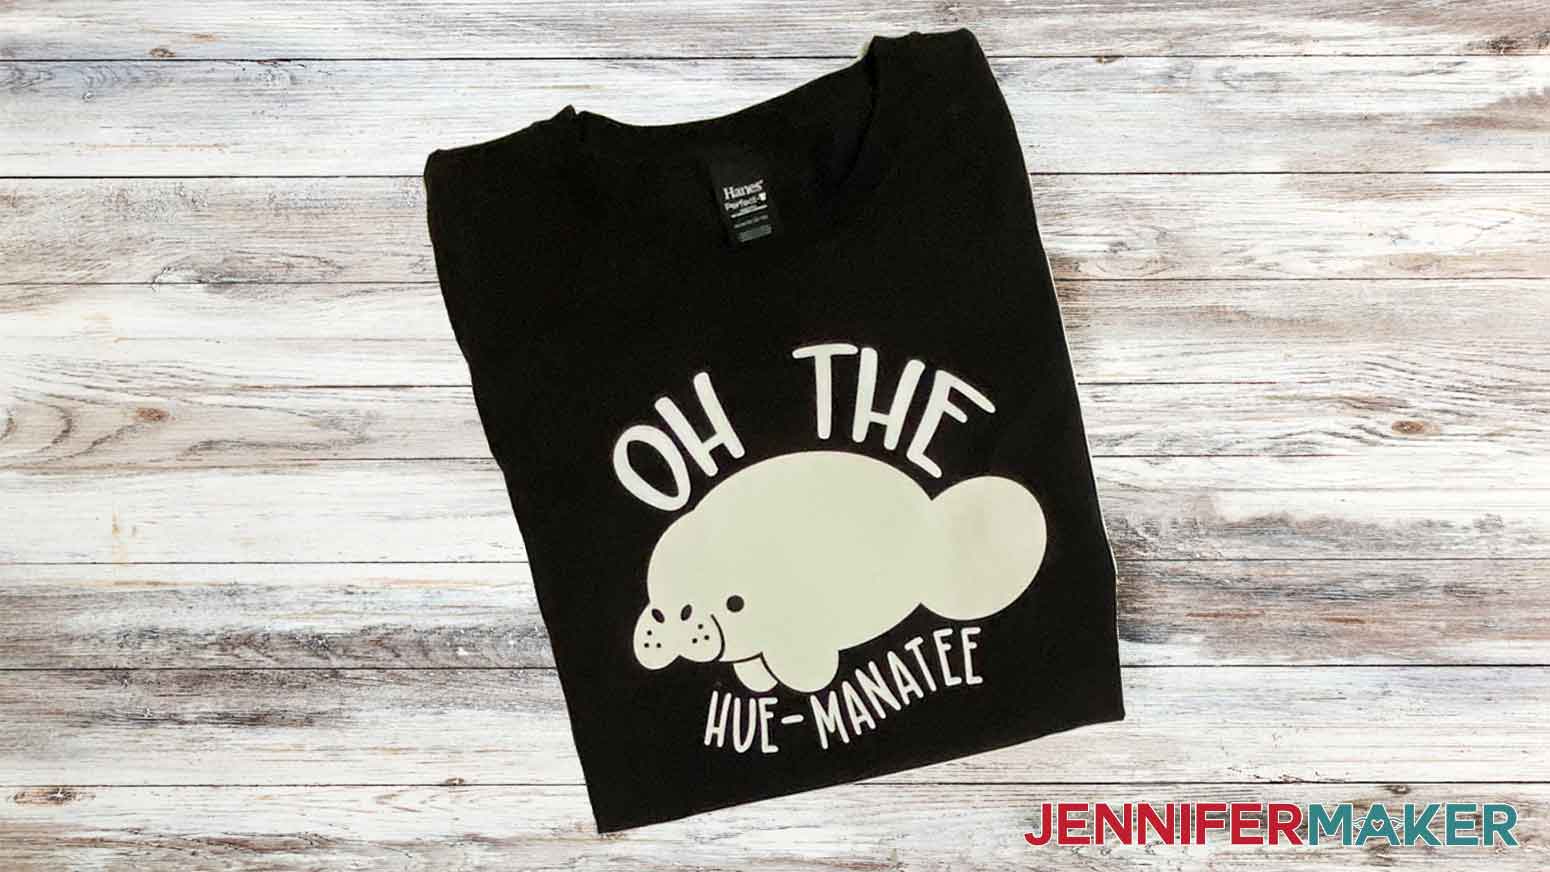
These 80s and 90s styles sure are making a comeback, aren’t they? Summer will be here before we know it, and it’s a time of year when the nostalgia really heats up. Color changing effects are a fun retro trend that I’m thrilled to see resurface! This should come as no surprise, since you all know I’m a big fan of color. When I saw Cricut’s new UV-activated color changing HTV, I knew I had to try it right away. And it is so cool! In the absence of UV light, the vinyl looks white, but when it’s exposed to sunlight or a blacklight, it turns a different color! How neat is that?
See the full step-by-step video tutorial on how to use color changing HTV:
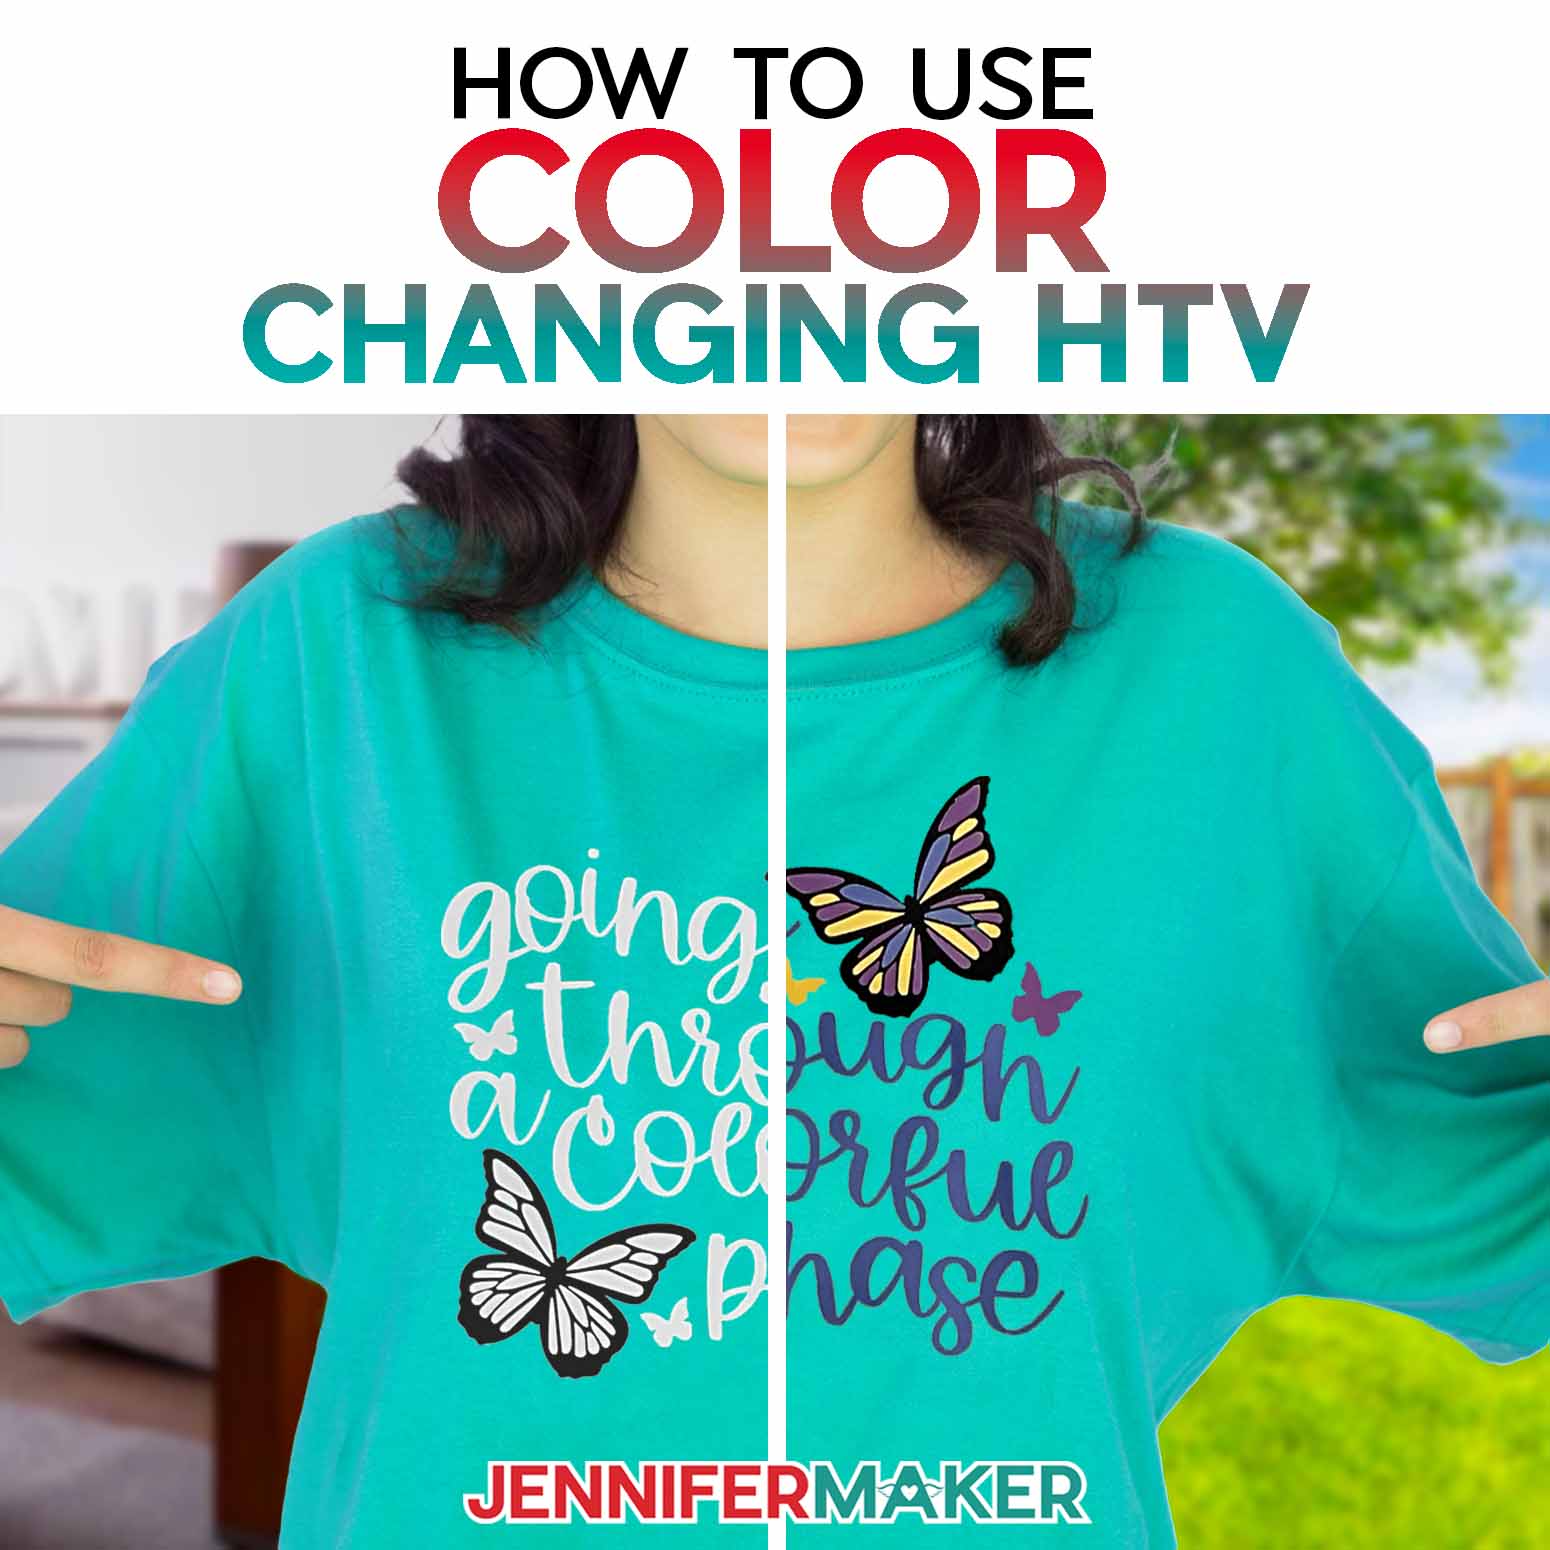

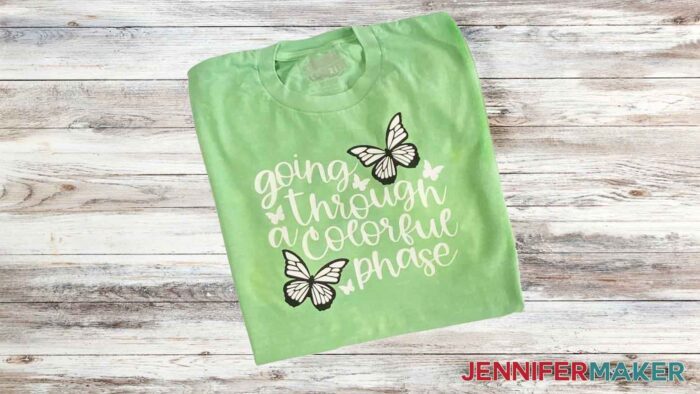
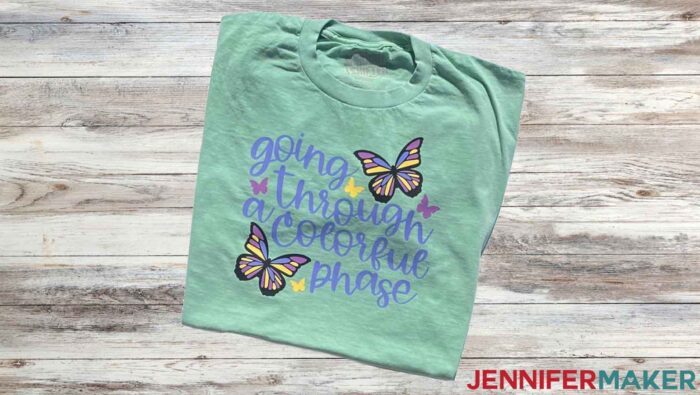
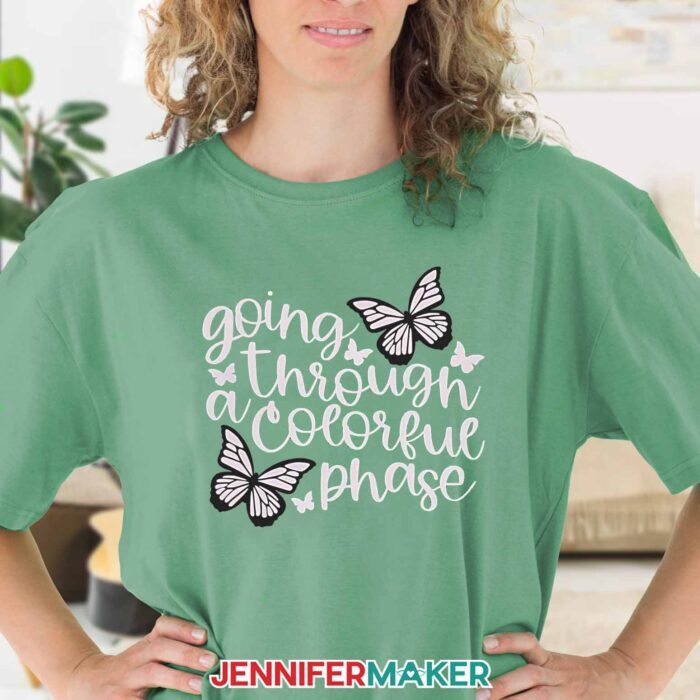
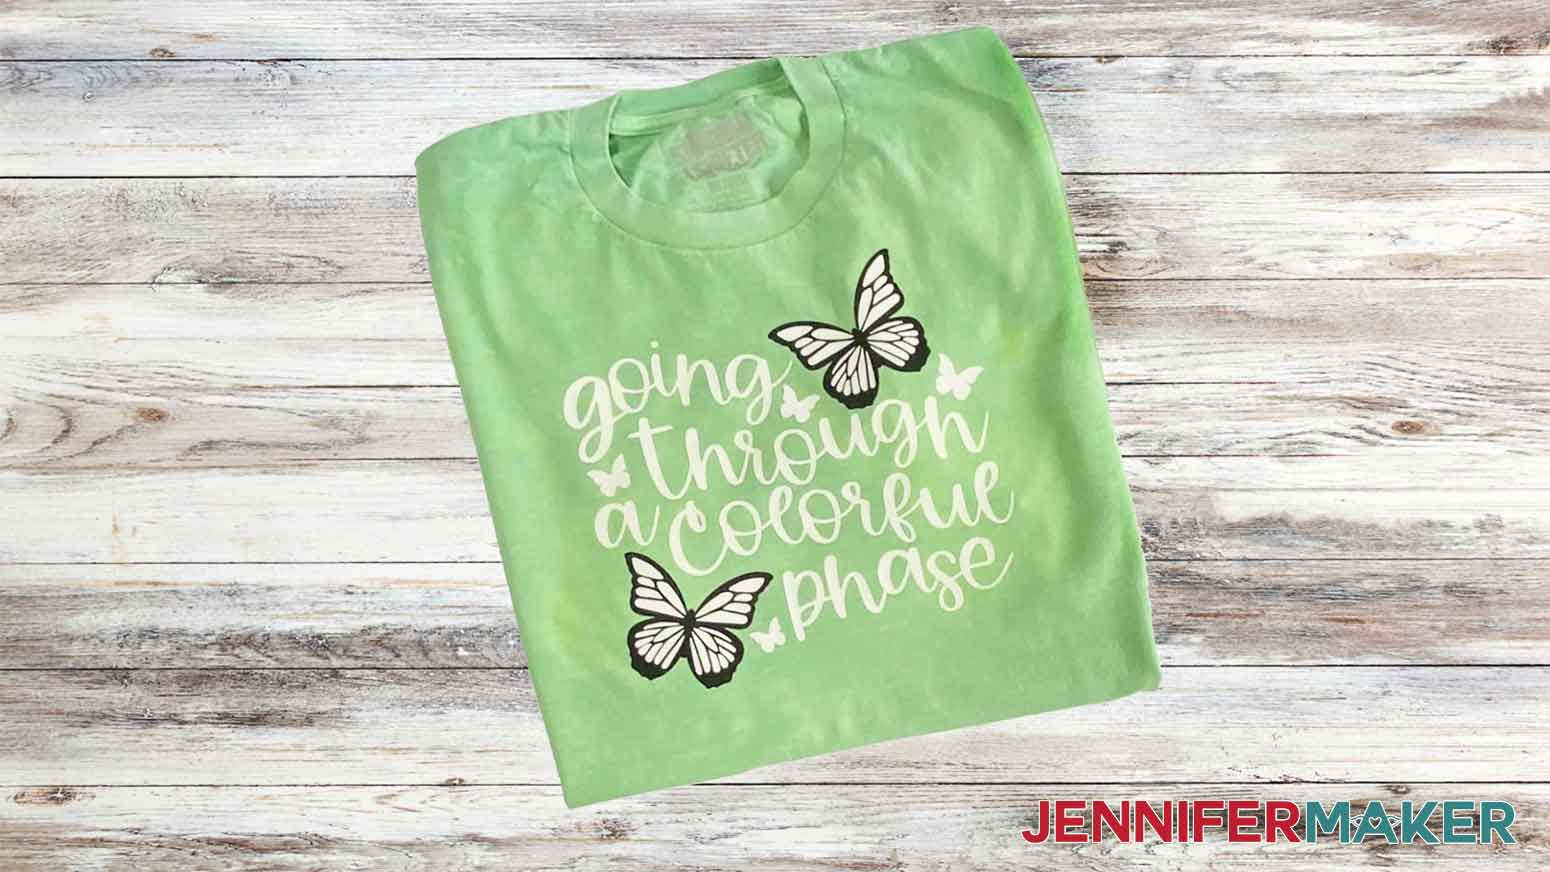
Today I’ll show you how to make super cool color changing T-shirts with UV-reactive color-changing vinyl designs. I’ll even show you how to layer your color changing HTV for maximum colorful effects! You can use your own design, but to demonstrate I’ve created two designs just for this tutorial. First, a cute butterfly design where “Going through a colorful phase” and the wings pop with color outdoors!
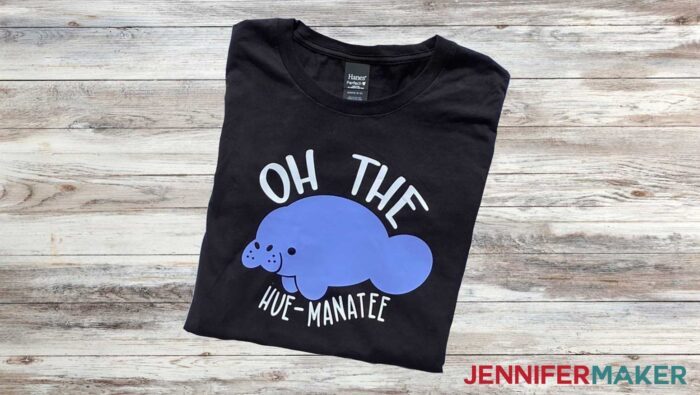
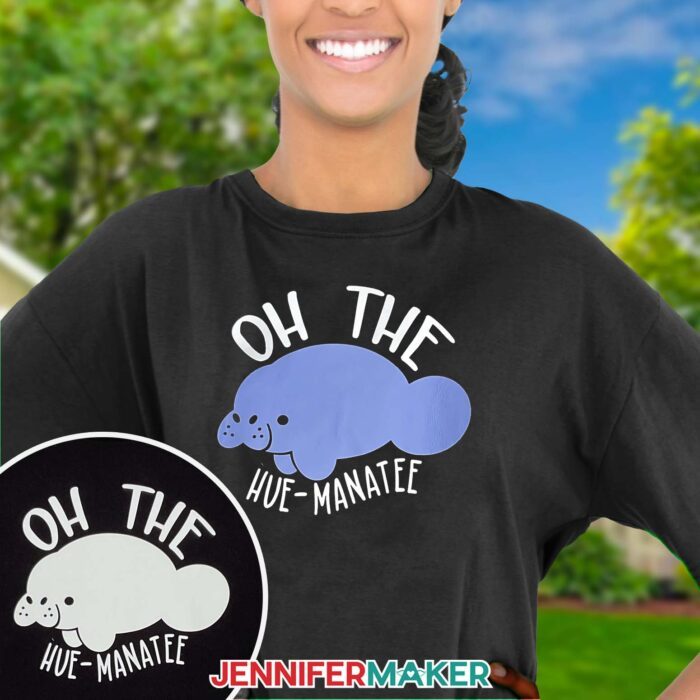
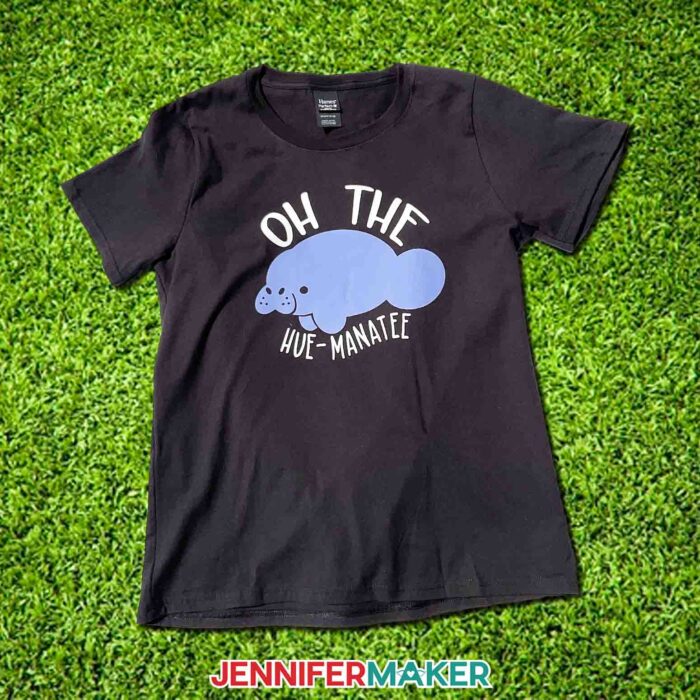
And a friendly “Oh the hue-manatee” for my fellow nature and wordplay lovers!

You’ll notice these designs are multicolored! I thought, why use one solid color when I could mix it up for a more creative edge? I’ll walk you through how to layer your HTV and apply it the right way, without overheating any of your layers. I’ll demonstrate layering three colors of color-changing vinyl with one color of Everyday vinyl, and I’ll teach you how to protect your heat transfers from the heat press with a used carrier sheet.
You can apply your color changing vinyl to any color shirt you like, just be sure that the material is safe for heat-transfer. And, the more color, the better!
Remember these? This shirt is made from fun color-shifting material that reminds me of a Hypercolor shirt, and is heat activated. What could be more fun than applying color-changing vinyl to a color changing shirt!
To cut your design, you’ll need a Cricut cutting machine. This project will work on all Cricuts, even the Joy! You’ll also need a heat source like a Cricut EasyPress, AutoPress, or even a household iron. Just make sure you keep that “steam” setting off!
With a warmer temperature right around the corner, these shirts just scream summer and nostalgia — two things I love almost as much as crafting and teaching you!

Ready to make your own incredible T-shirts with color changing HTV? This post contains some affiliate links for your convenience (which means if you make a purchase after clicking a link I will earn a small commission but it won’t cost you a penny more)! Read my full disclosure policy.
Materials & Tools to Make Color Changing HTV T-Shirts
- Cricut UV Color Changing Iron-On Vinyl (I used Yellow, Purple, and Blue)
- Shadow Shifter Adult Unisex Color Changing T-Shirt (I used “Green to Yellow”)
- Hanes Women’s Perfect-T Short-Sleeve T-Shirt (White -or- Black)
- Cricut Everyday or Smart Iron-On in black -or- white
- A method to cut your iron-on vinyl (I used the amazing Cricut Maker 3 but you could also use the Cricut Explore 3 or even the Joy!)
- Heat Press like the Cricut EasyPress
- Cricut Scissors and Weeding tool
- Paper Trimmer
- Cricut Heat Resistant Tape
- Lint Roller
- My handy T-Shirt Guide
- Cricut EasyPress Mat or a Folded Towel
- Cricut Kraft Knife
- Pencil
- Butcher Paper
- Cricut Self Healing Cutting Mat
- Design #489 – My free SVG collection (available in my free resource library—get the password at the bottom of this post)
How to Use Color Changing HTV

How to Use Color Changing HTV
Cut Cricut's new color changing HTV and apply it to a shirt! The UV reactive iron-on vinyl is white inside but shows its colors outside or when exposed to UV light.
Materials
- Cricut UV Color Changing Iron-On Vinyl in Yellow
- Cricut UV Color Changing Iron-On Vinyl in Purple
- Cricut UV Color Changing Iron-On Vinyl in Blue
- Shadow Shifter Adult Unisex Color Changing T-Shirt in Green to Yellow
- Hanes Women's Perfect-T Short-Sleeve T-Shirt in White
- Hanes Women's Perfect-T Short-Sleeve T-Shirt in Black
- Cricut Everyday Iron On in black
- Cricut Everyday Iron On in white
- Design #489 – My free SVG collection (available in my free resource library—get the password at the bottom of this post)
Tools
- A method to cut your Smart Iron-on Vinyl, I used the amazing Cricut Maker 3 but you could also use the Cricut Explore 3 or even the Joy!
- Cricut Green StandardGrip Mat 12x12"
- Easy Press 2 Heat Press
- Cricut Scissors and Weeding tool
- Cricut Portable Trimmer
- Cricut Heat Resistant Tape
- Lint Roller
- T-Shirt Guide
- Cricut EasyPress Mat (or a Folded Towel)
- Cricut Kraft Knife
- Cricut BrightPad Go
- Pencil
- Cricut Self Healing Cutting Mat
Instructions
STEP 1: GET MY FREE DESIGN FILES
First, download my SVG/DXF/PDF files from my free resource library. It's Design #489.
I've included 2 SVG designs to upload and cut out of Cricut color-changing HTV, also known as iron-on vinyl.
First, this cute "Oh The Hue-Manatee" design 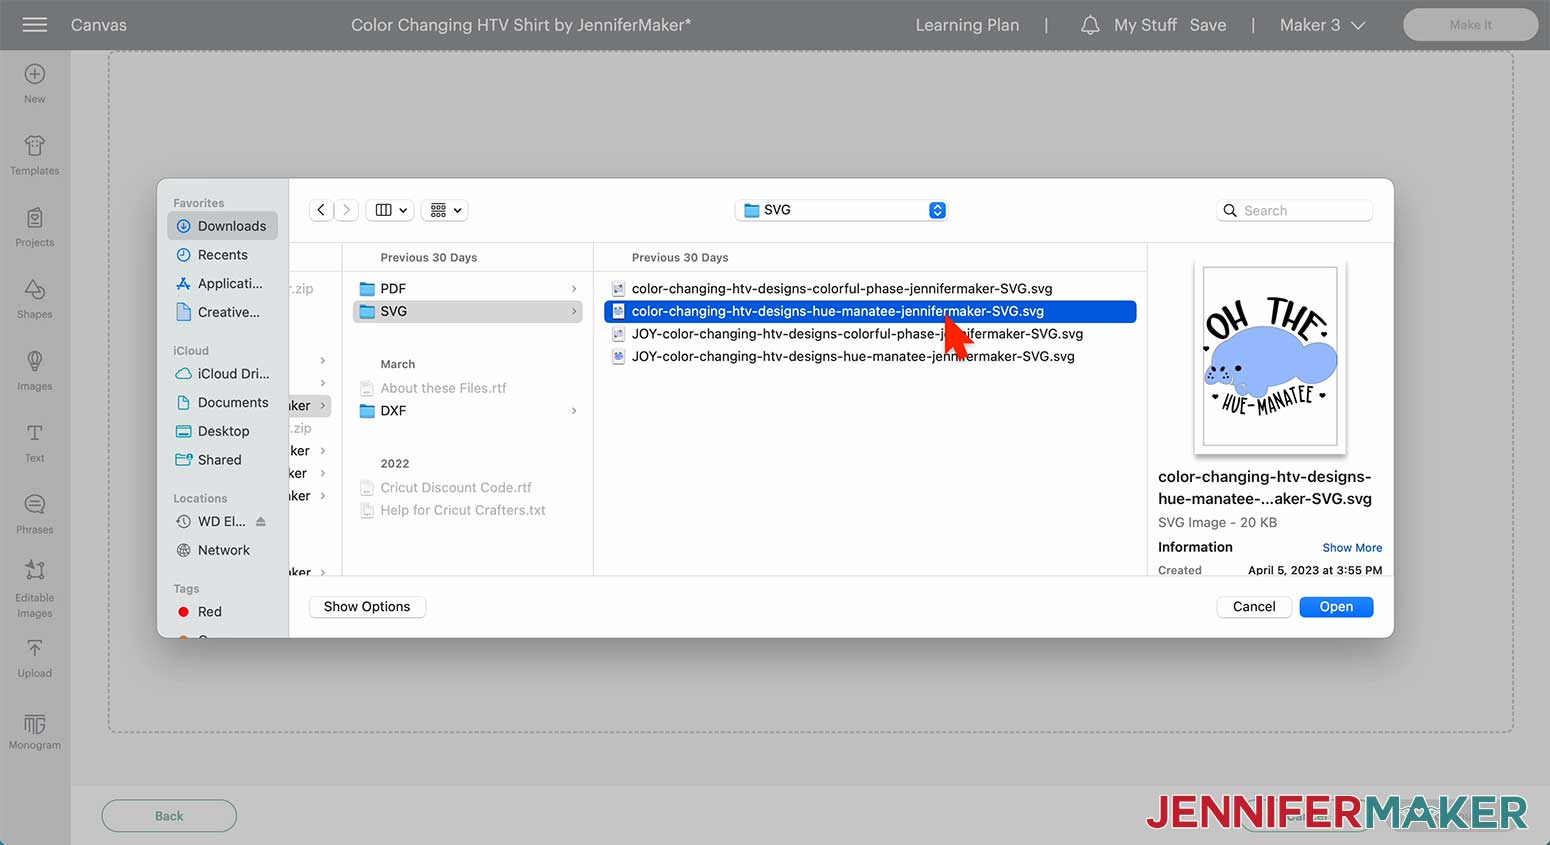
And also this "Going Through a Colorful Phase" design 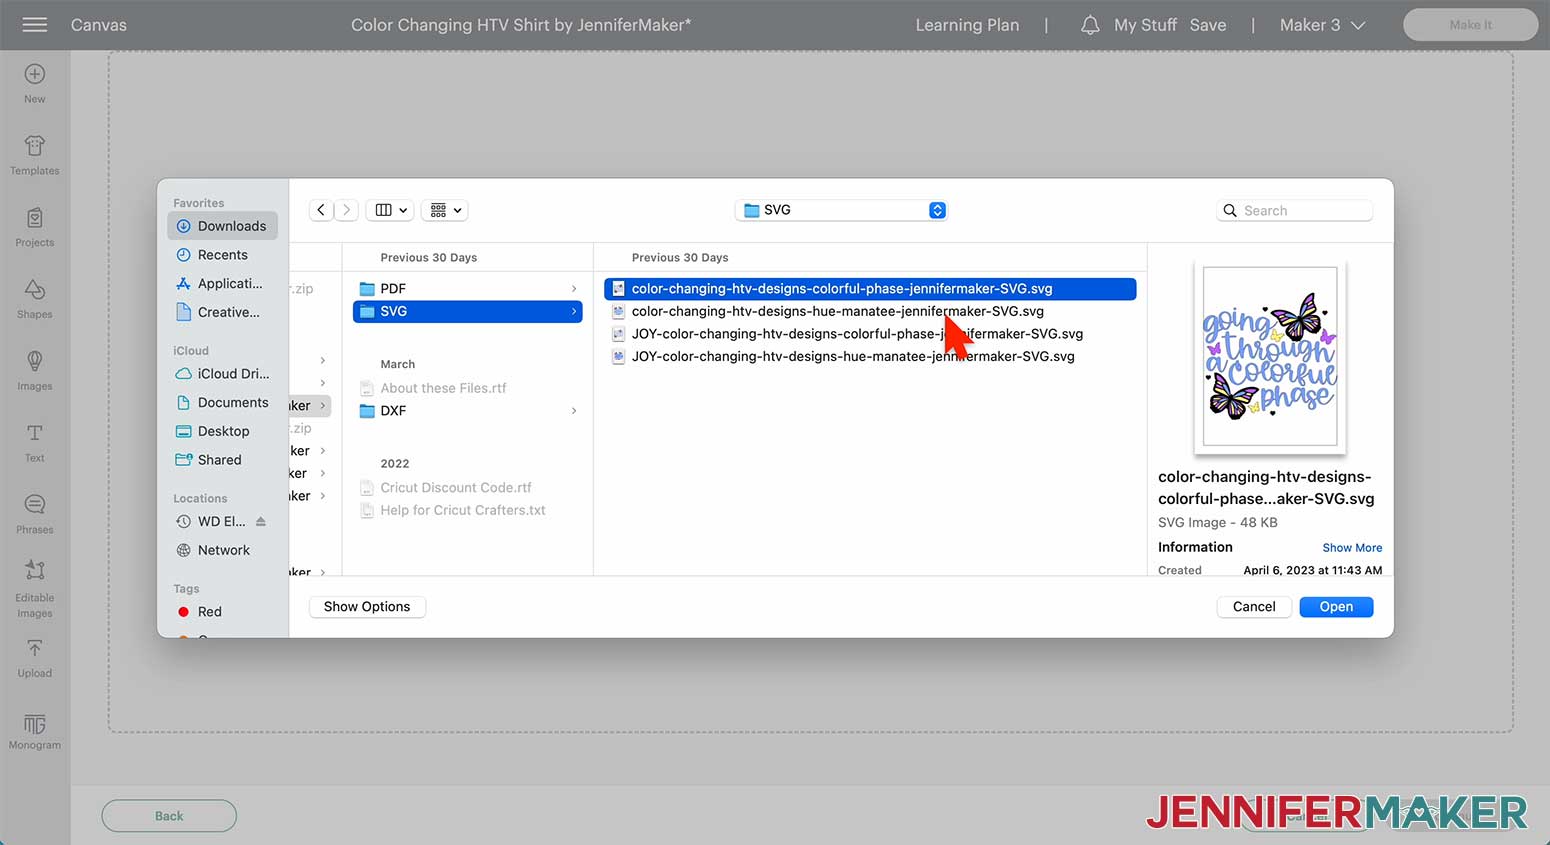
I'll use my Maker 3 to cut my "Going Through a Colorful Phase" design out of Cricut color-change HTV but you can use Explore or even Joy to make my fun color-changing designs.
If you’re not sure how to upload an SVG file to Cricut Design Space, watch this helpful video SVGs Made Simple training series I made. It will help you SO much!
If you're on an iPhone or iPad, here's how to download and upload SVG files to the Cricut Design Space app.
STEP 2: CUSTOMIZE THE FILES
Here is my "Going Through a Colorful Phase" design on the canvas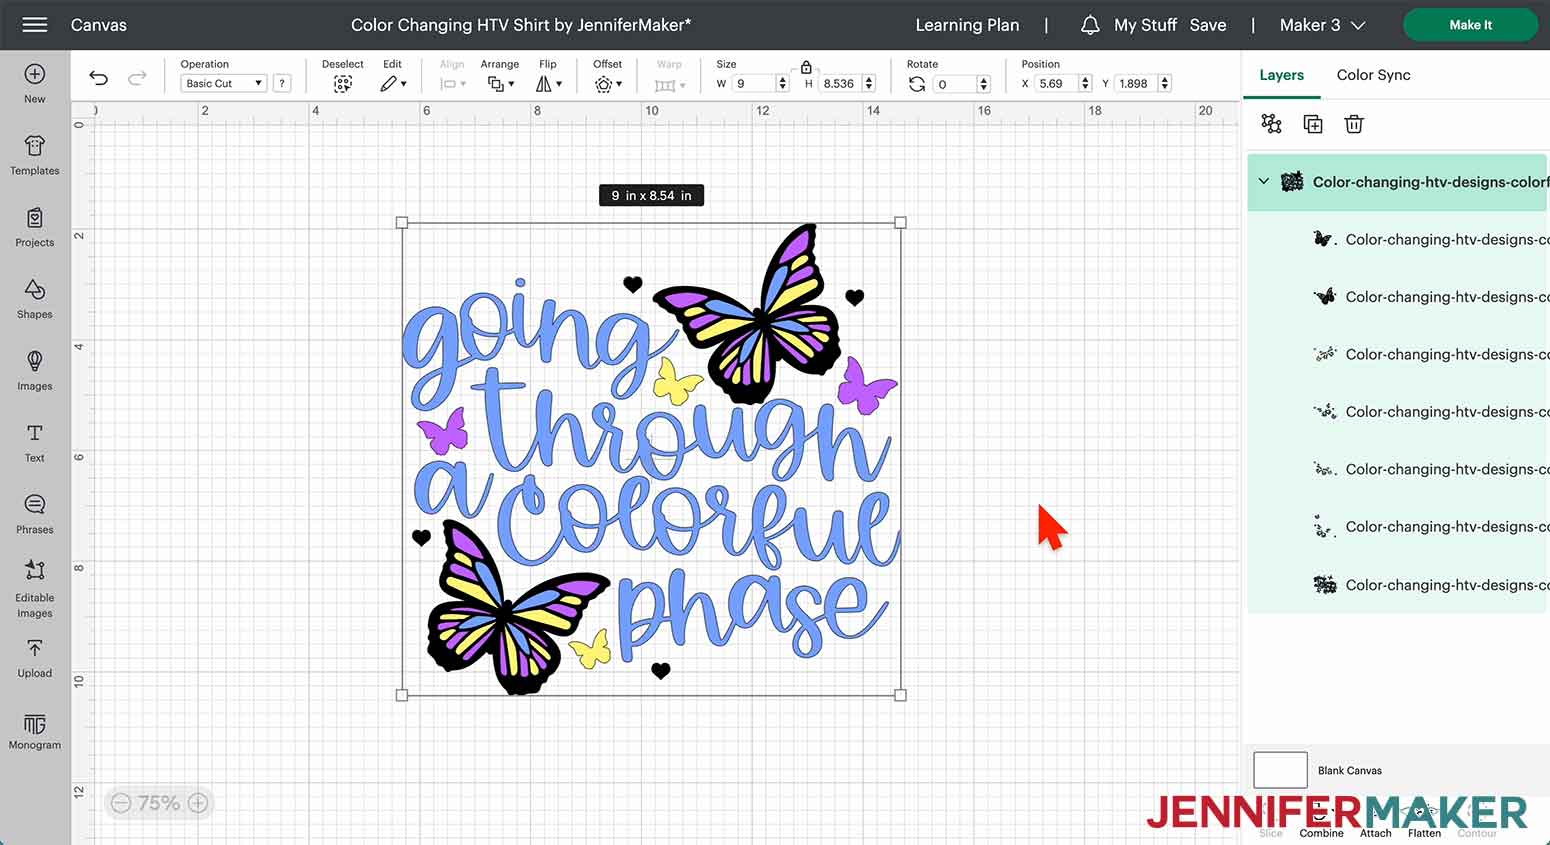
I'll use the Classic t-shirts template in Design Space by clicking on templates on the upper left-hand side of my Design Space canvas, then select Women's Short Sleeve in Medium from the drop-down menu at the top.
I think this design looks nice at around 9 inches, but you can resize your design if you'd like. 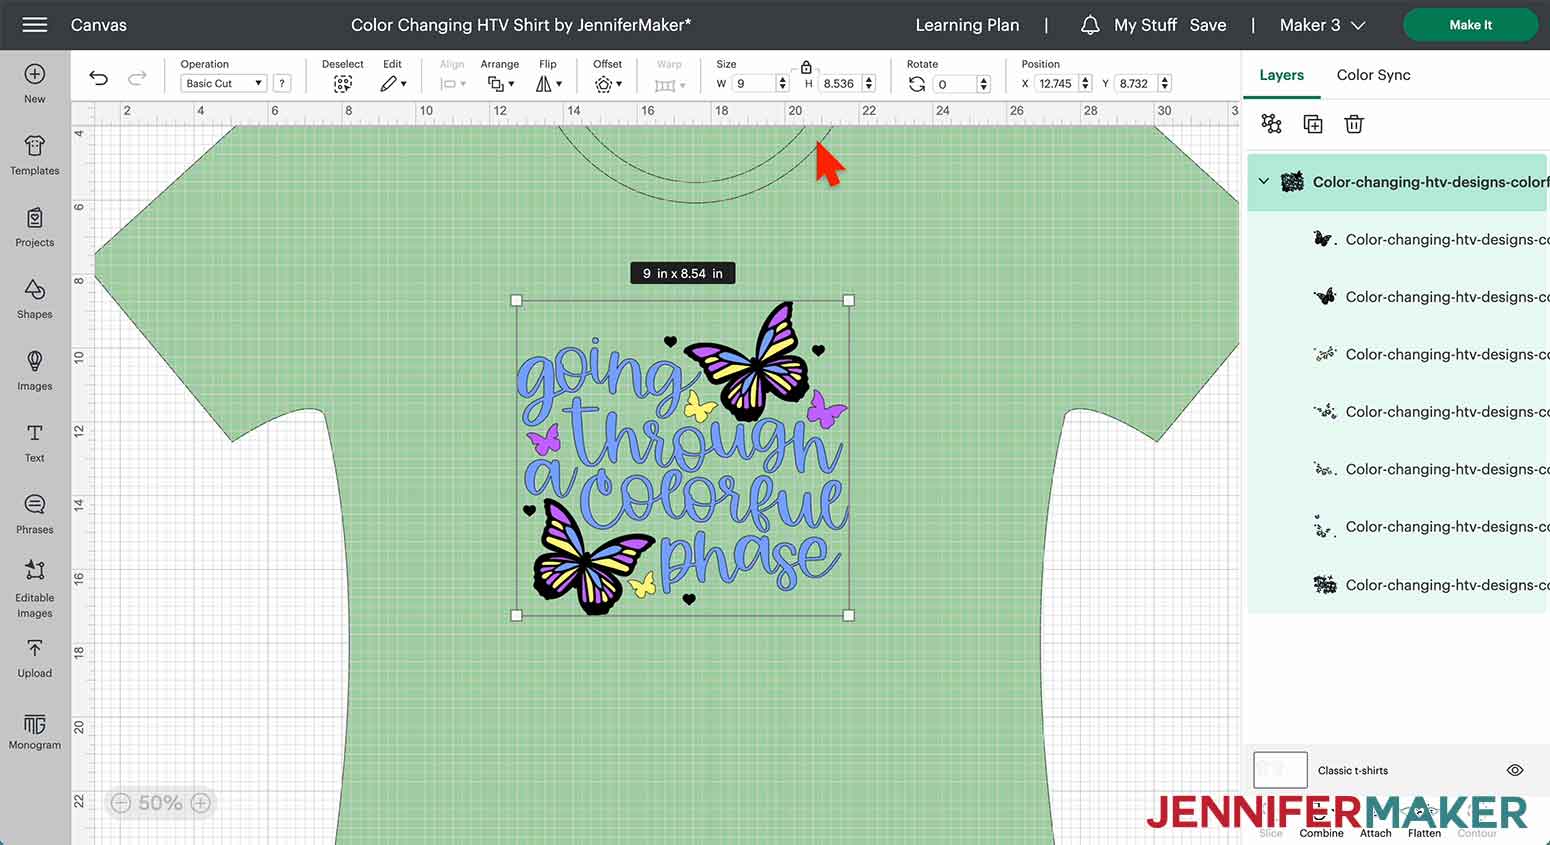
Since I'm using color-changing HTV, I've separated the design into several layers for maximum effect when the color change takes place. Feel free to change up the colors or even incorporate different styles of HTV.
You'll also notice some extra hearts around the design, I've added those as registration marks to make it easier to line up each layer of vinyl. 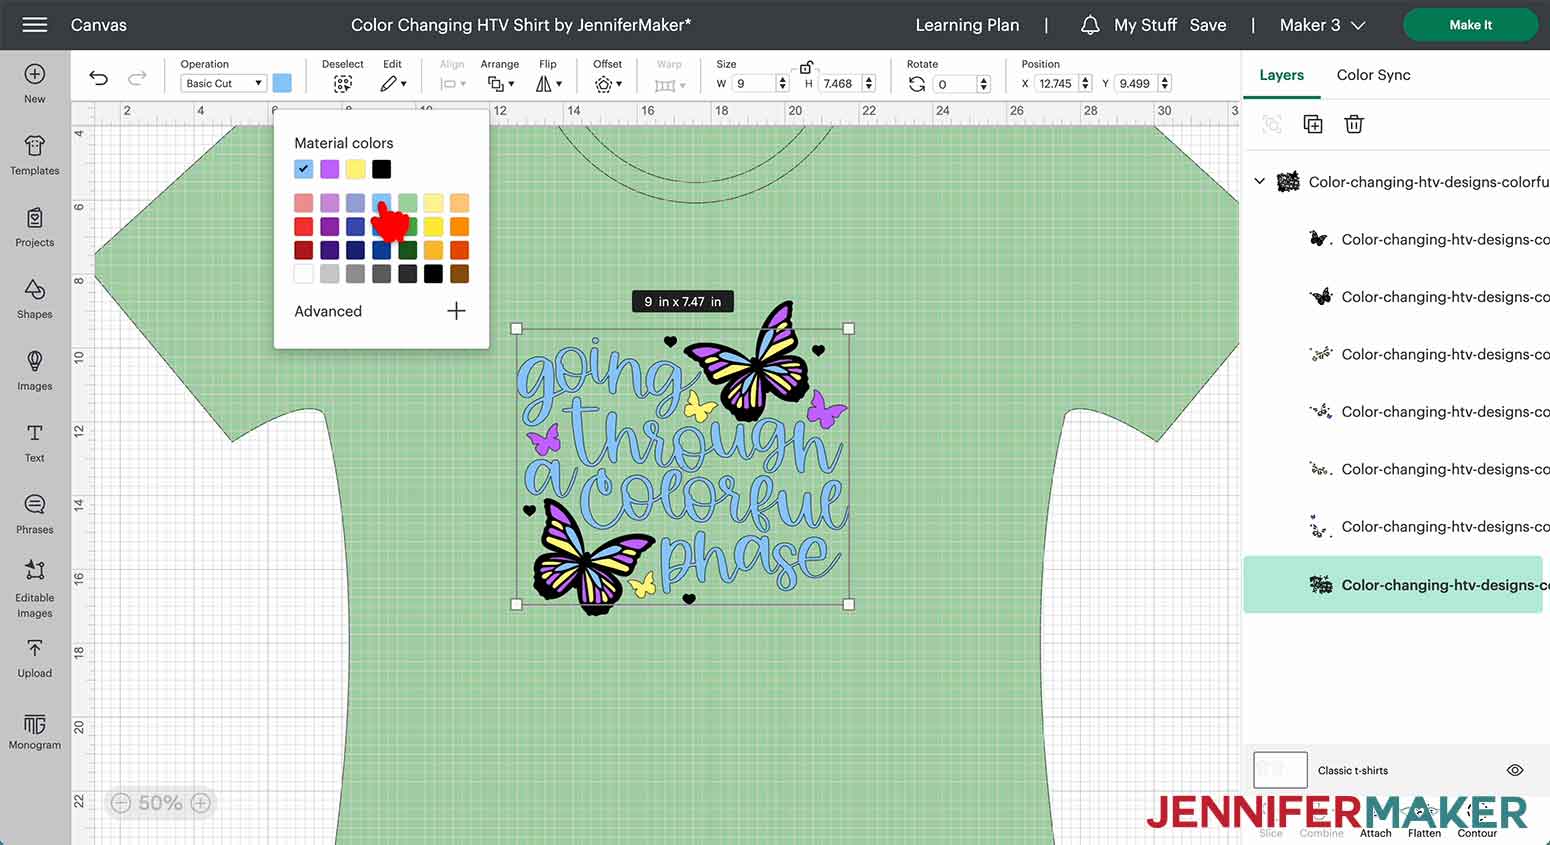
TIP: If you have an SVG design with many layers, you can add registration marks to help line up your layers. I used this method to make my Sunflower T-shirt.
Everything on my canvas is good to go. Make sure that the correct machine is selected, then click Make It.
STEP 3: CUT THE HTV DESIGN
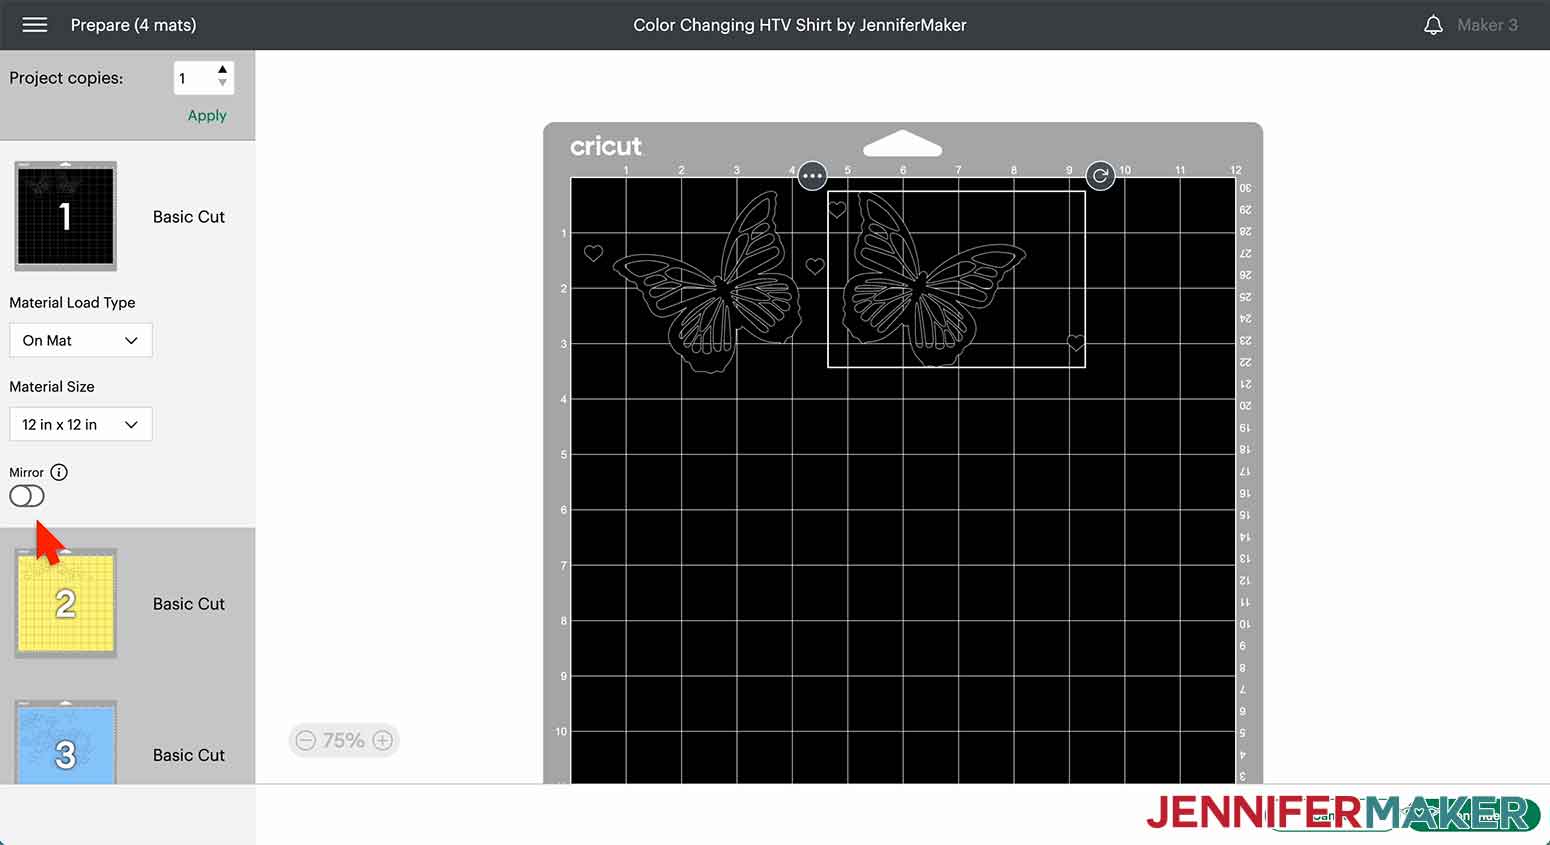
In the Prepare screen, I will select "on mat" if asked and set the material size to 12"x12" and REMEMBER TO MIRROR each mat.
I now have four mats to cut and I am ready to press Continue in the bottom right.
On the Make screen, I will choose Everyday Vinyl. If it’s not in your favorites, you can click “Browse All Materials” and use the search window to find it. Select "More" pressure to ensure the best cut.
Using a brayer to smooth the HTV - shiny side down- onto a clean green StandardGrip mat and set the Base Material on the Make screen to UV Activated Color Changing Iron-On. Then I set the Pressure to more so I get a nice clean cut.
I will line up my mat with the guides on my Maker 3, check that the Fine Point blade is in clamp B, and press the flashing load/unload button.
Press the flashing Go button to cut the butterfly outlines.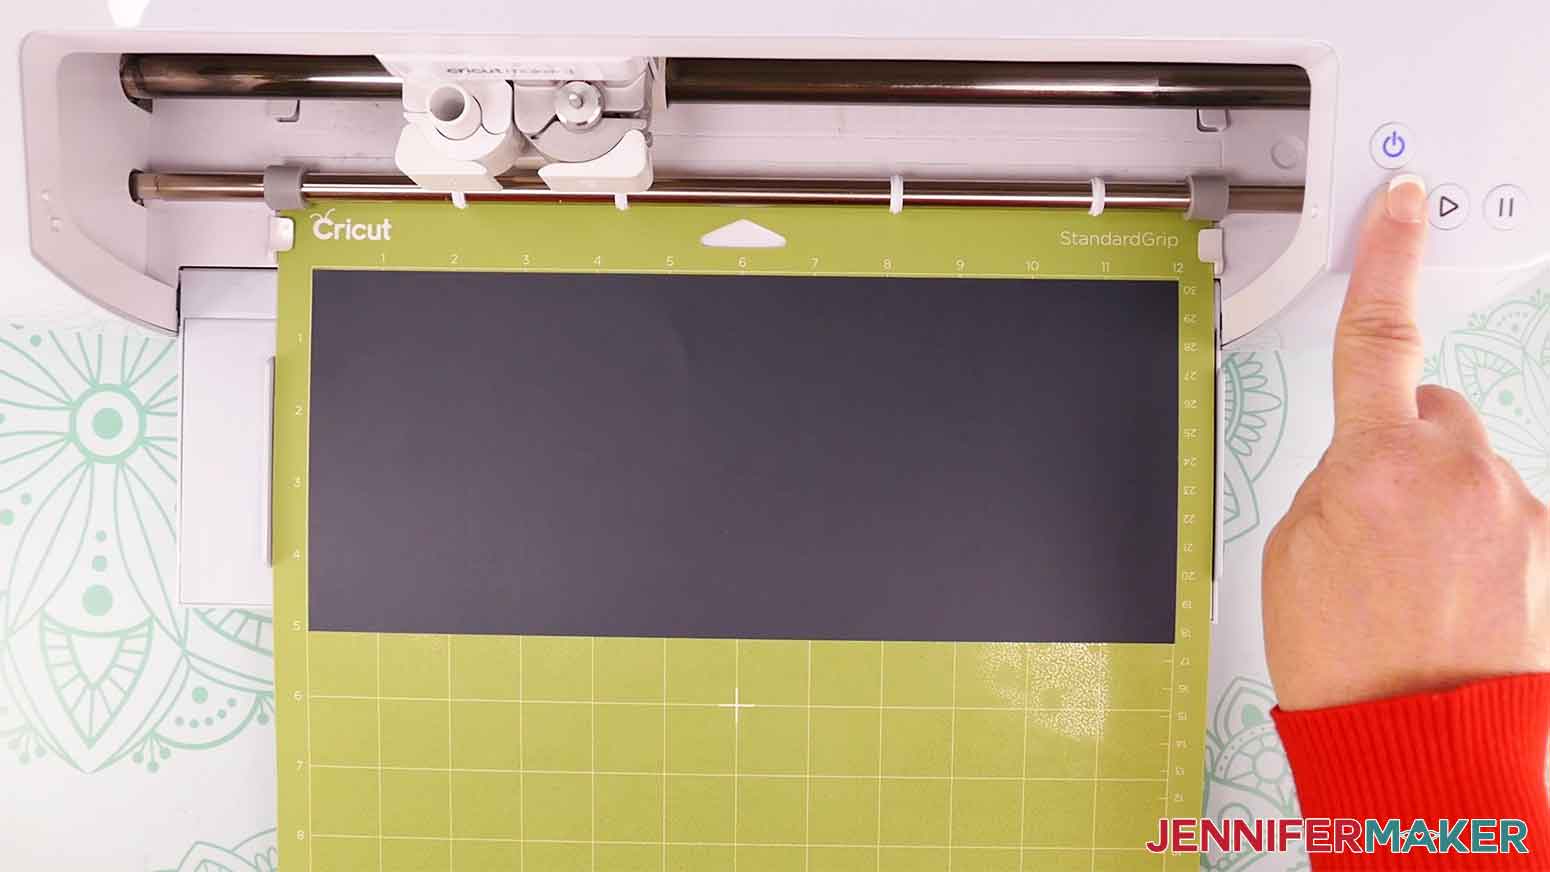
If you ever have any questions about cutting vinyl, I have a great resource to help. It’s “The Ultimate Guide to Vinyl” and among other things, it explains how to tell which side of the iron-on vinyl goes down on the mat. You can find it on my blog at Jennifermaker.com/vinylguide.
Once the mat is finished cutting, I will press the flashing Unload button to remove it.
Repeat the same steps for the next 3 mats but change the material setting to UV Activated Color Changing Iron-On with the pressure set to More.
Next, I'll use my Cricut Weeding Tool and weed out the negative space in the design.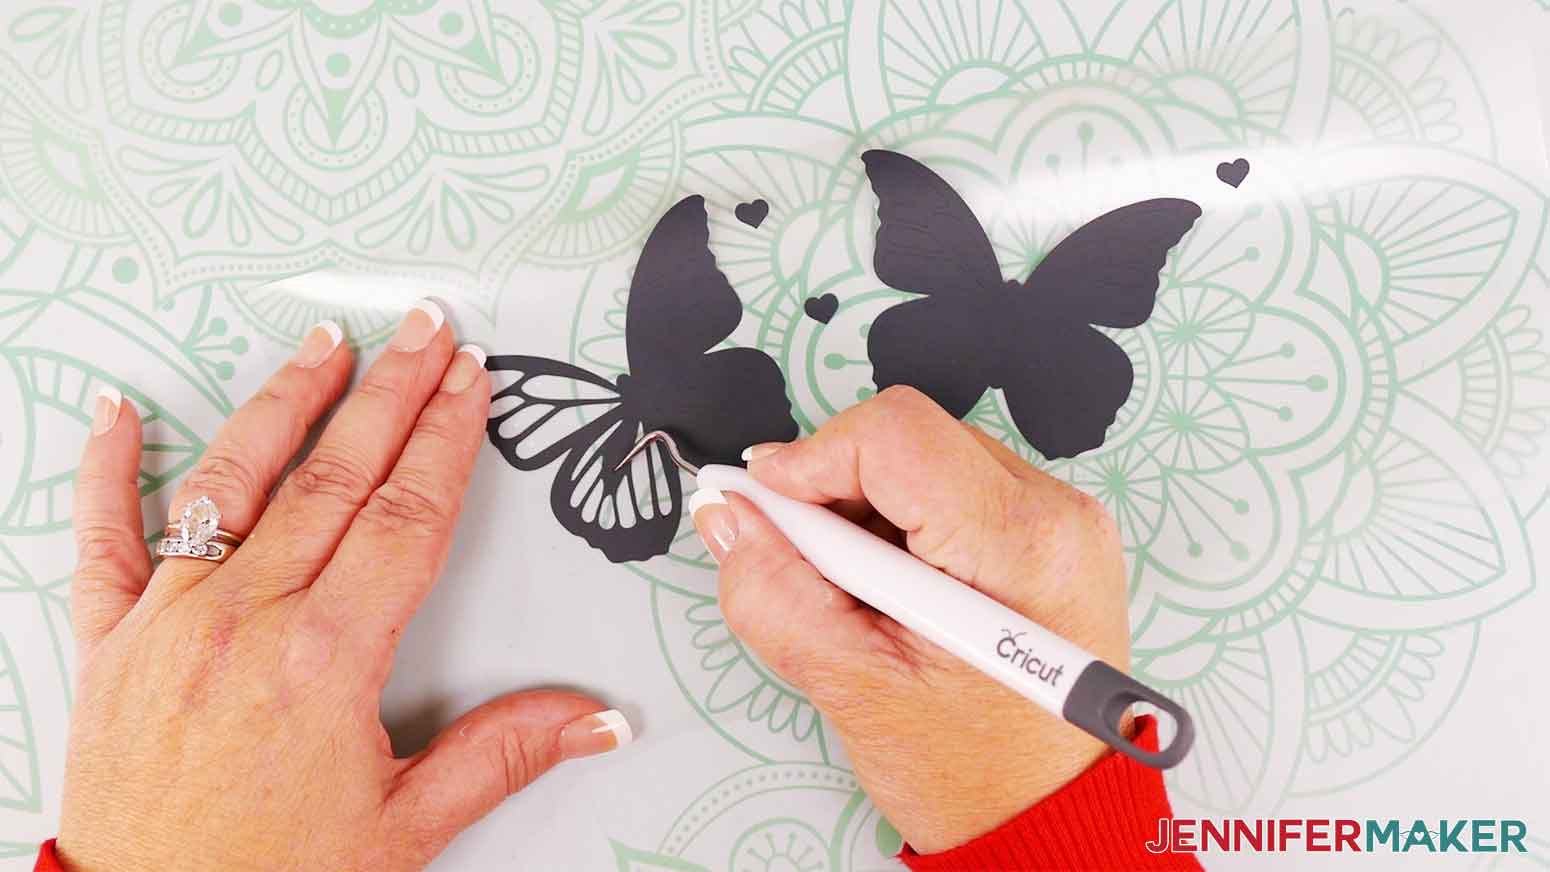
Double check to be sure you've weeded all the small pieces.
TIP: Sometimes the iron-on vinyl doesn't want to come free very easily. If this happens, I make a small knick in the corner with my craft knife. You don't want to cut all the way through. Just cut through the iron-on vinyl layer on the matte side (the cut side) and peel from there. I find that this small cut makes it easier to peel off the vinyl.
TIP: If you are having trouble seeing the cut paths of the vinyl as you’re weeding, the Cricut BrightPad GO can help with that. The light helps reveal the cut lines of the design to make the weeding process much easier.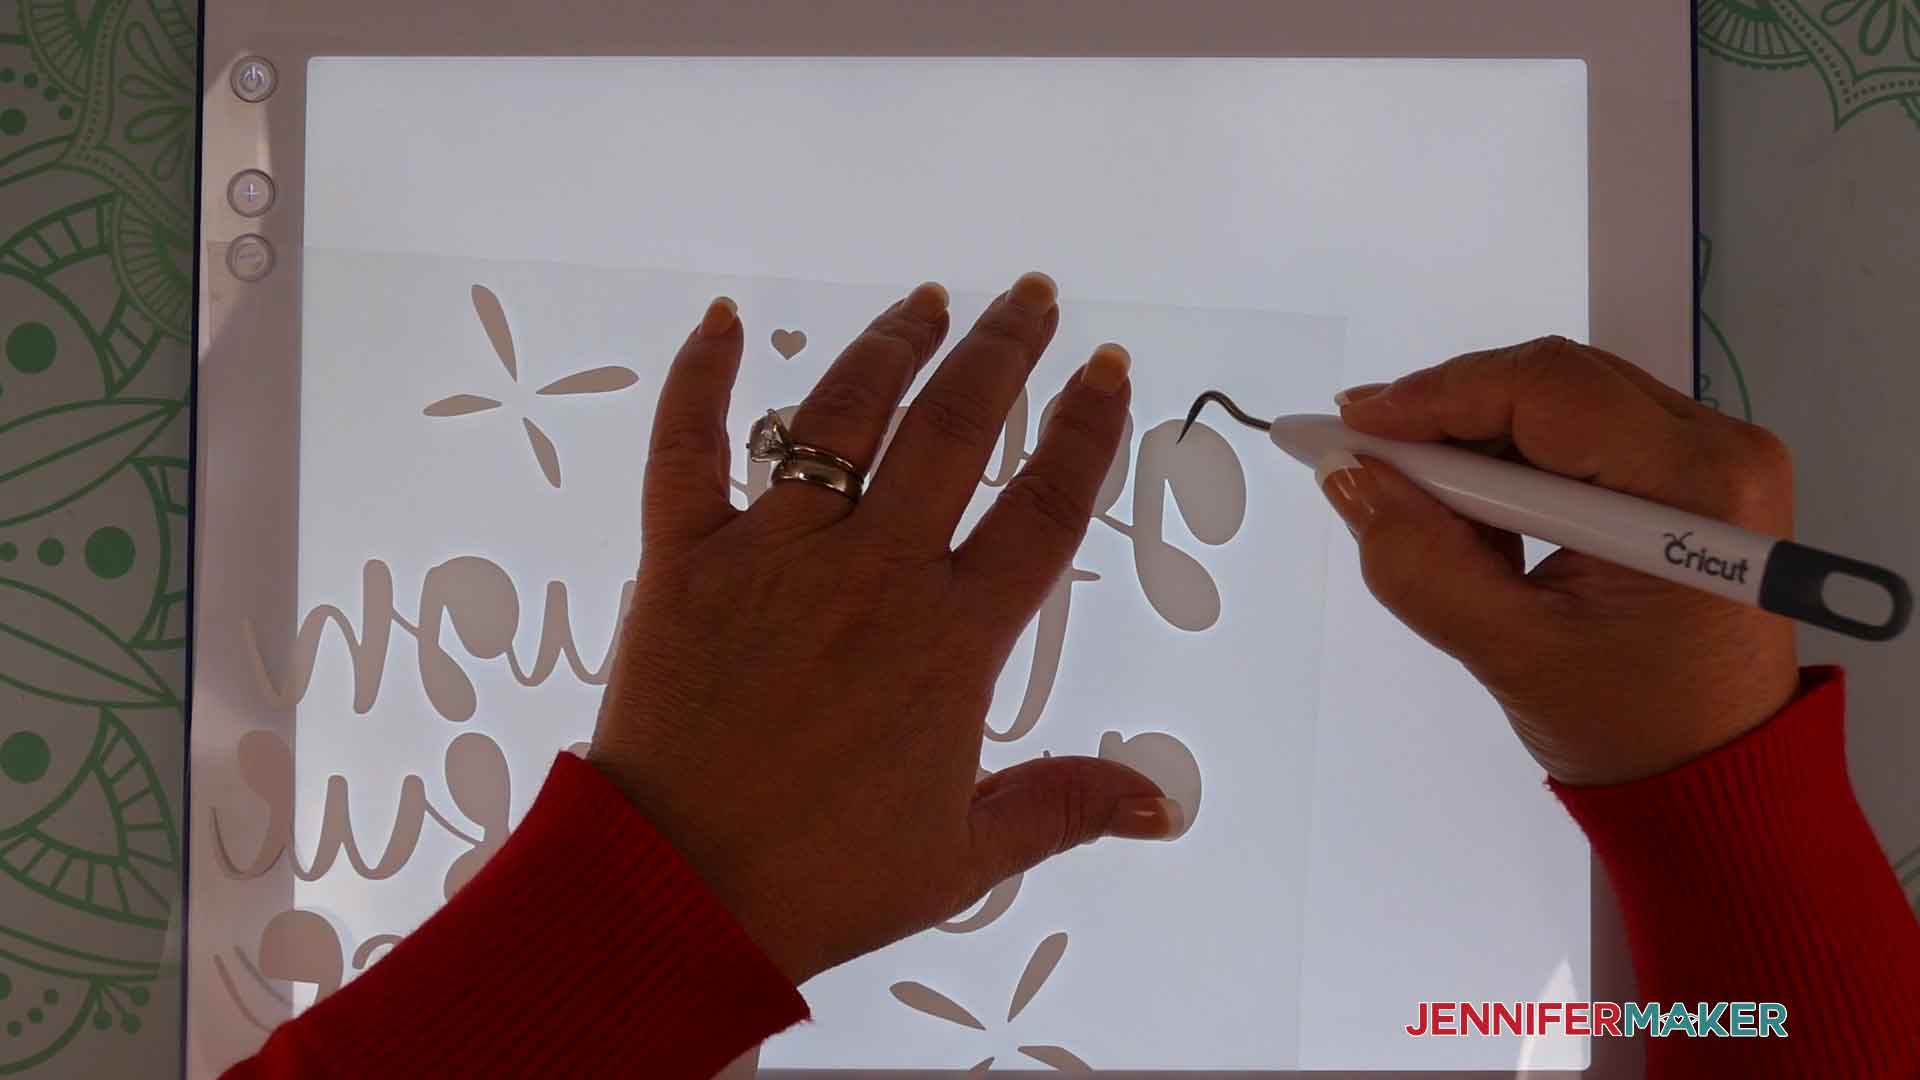
After I've finished weeding all three colors and the butterfly outlines, I'm ready to layer my iron on vinyl.
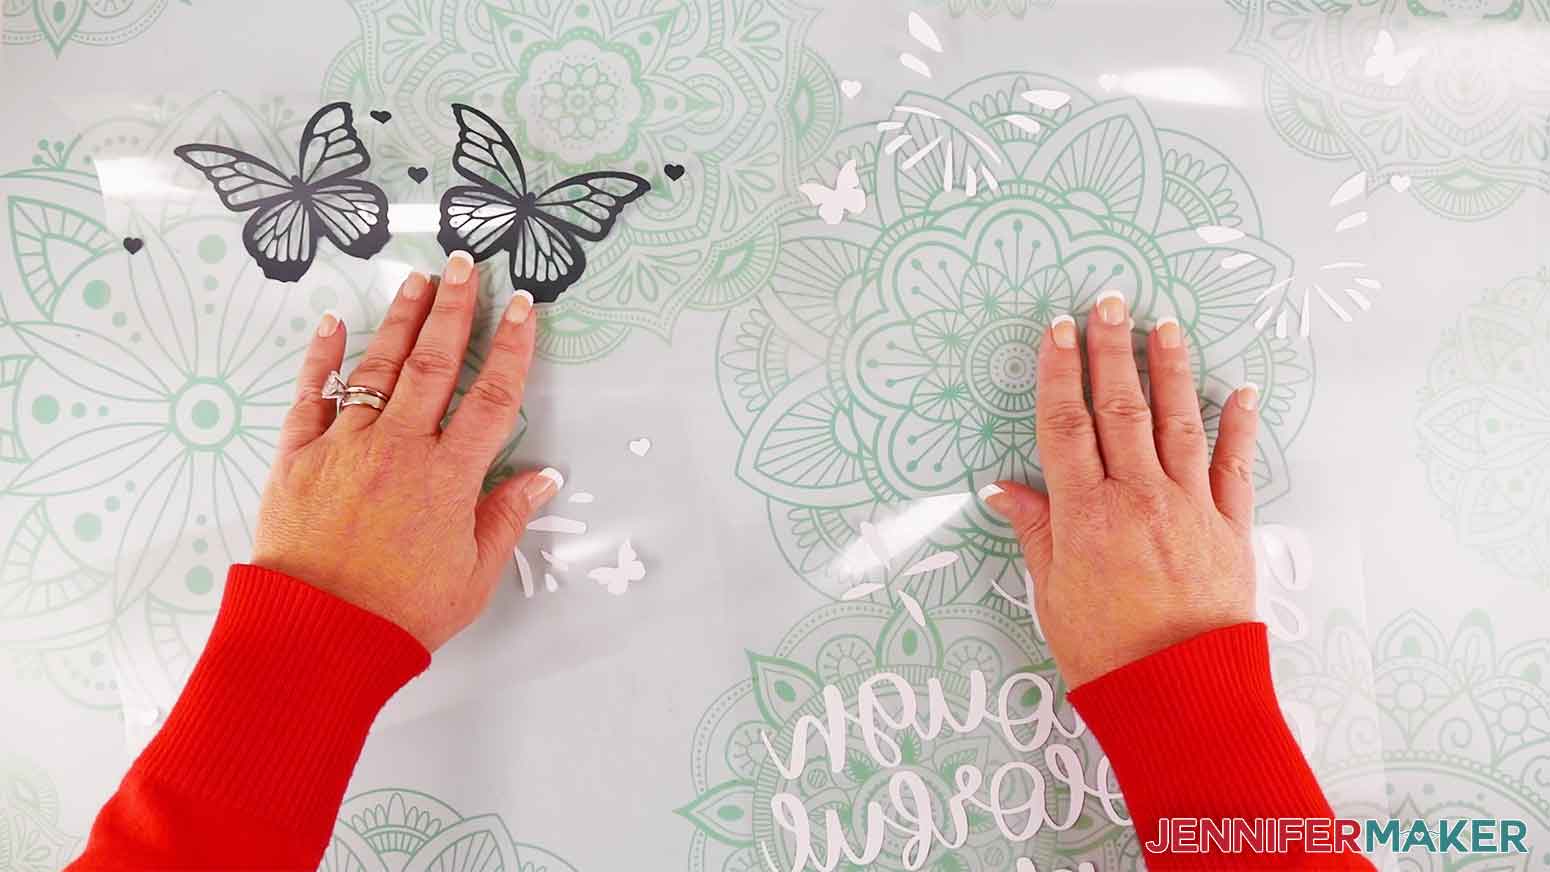
TIP: If you don't want the extra hearts to be pressed onto your final shirt, use a small piece of heat-proof tape and apply it directly to your shirt under the registration marks. You'll still be able to see the hearts, but they won't be on the finished shirt.
STEP 4: LAYERING THE COLOR-CHANGING HTV
First, if you are using a Cricut EasyPress, refer to the Cricut EasyPress Interactive Quick Reference Guide for how to prep your material and machine, apply it, and care for the finished product. This takes the guesswork out of the process!
I’ll use my Cricut Easy Press to apply the design, along with a pressing mat, but you can also use a regular household iron and a folded towel.
I will preheat my EasyPress, and even though the guide calls for me to set my EasyPress to 315°F (157°C), I’m going to set mine to 300°F (149°C). Since we are layering HTV, we don't want to overheat the materials. If you use an iron and cotton t-shirt, set it to the cotton setting. If your shirt is something other than cotton, you may need a different setting for your material.
Note: When using a household iron, remember to set it to the cotton setting with NO STEAM.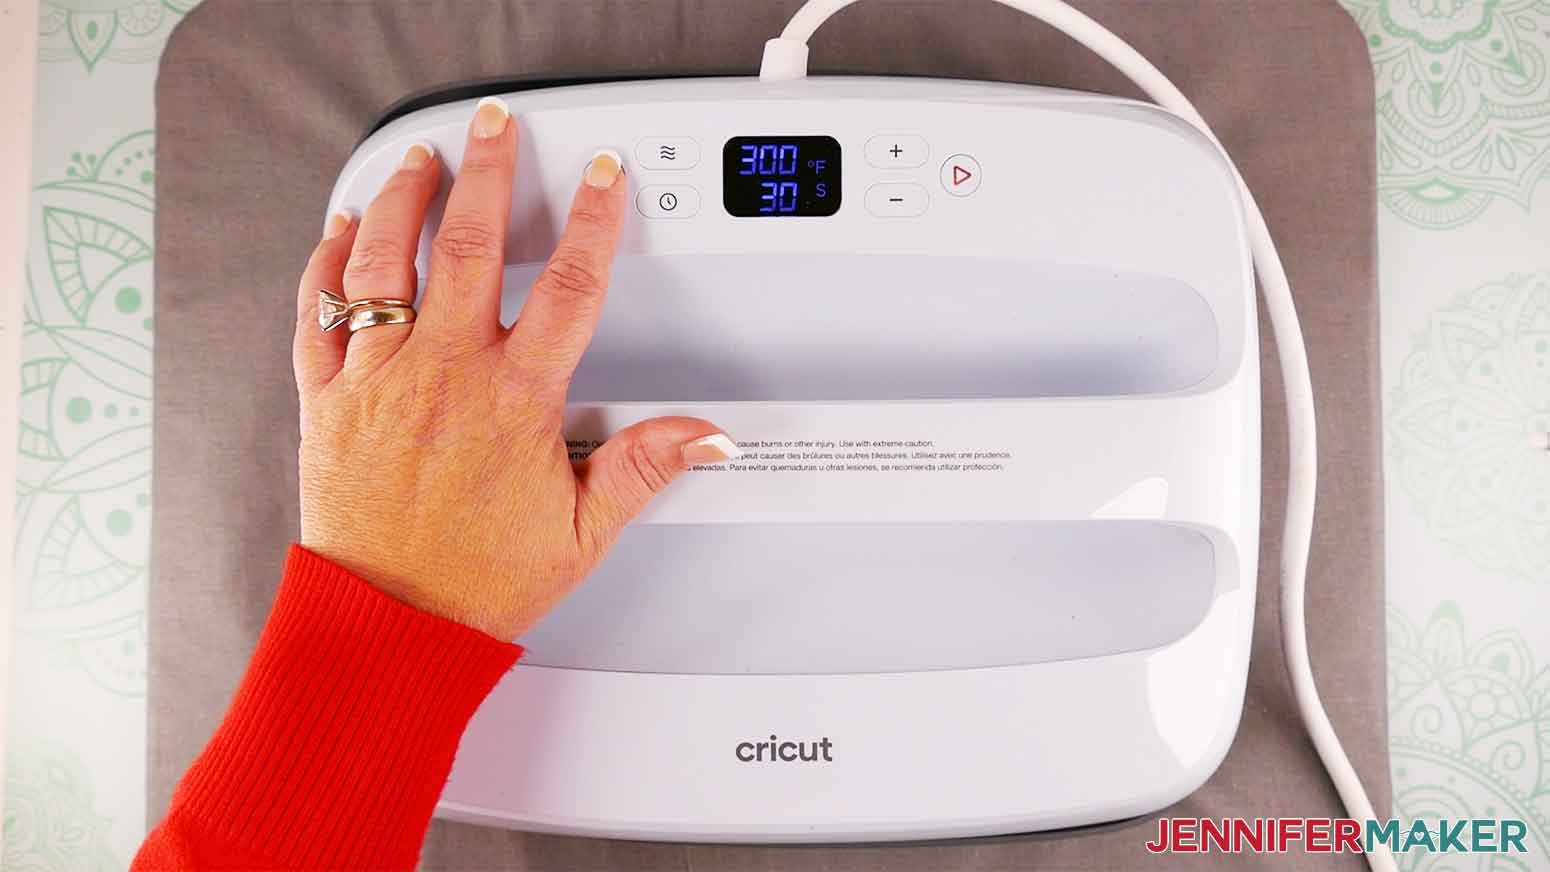
Find the vertical center of your shirt. The simplest way to do this is to fold your shirt in half by matching up your sleeves. Place your t-shirt on a Cricut EasyPress Mat or folded towel to protect your work surface.
Use your EasyPress or iron to put a little crease on the center fold. When you open your shirt you'll know exactly where the center is.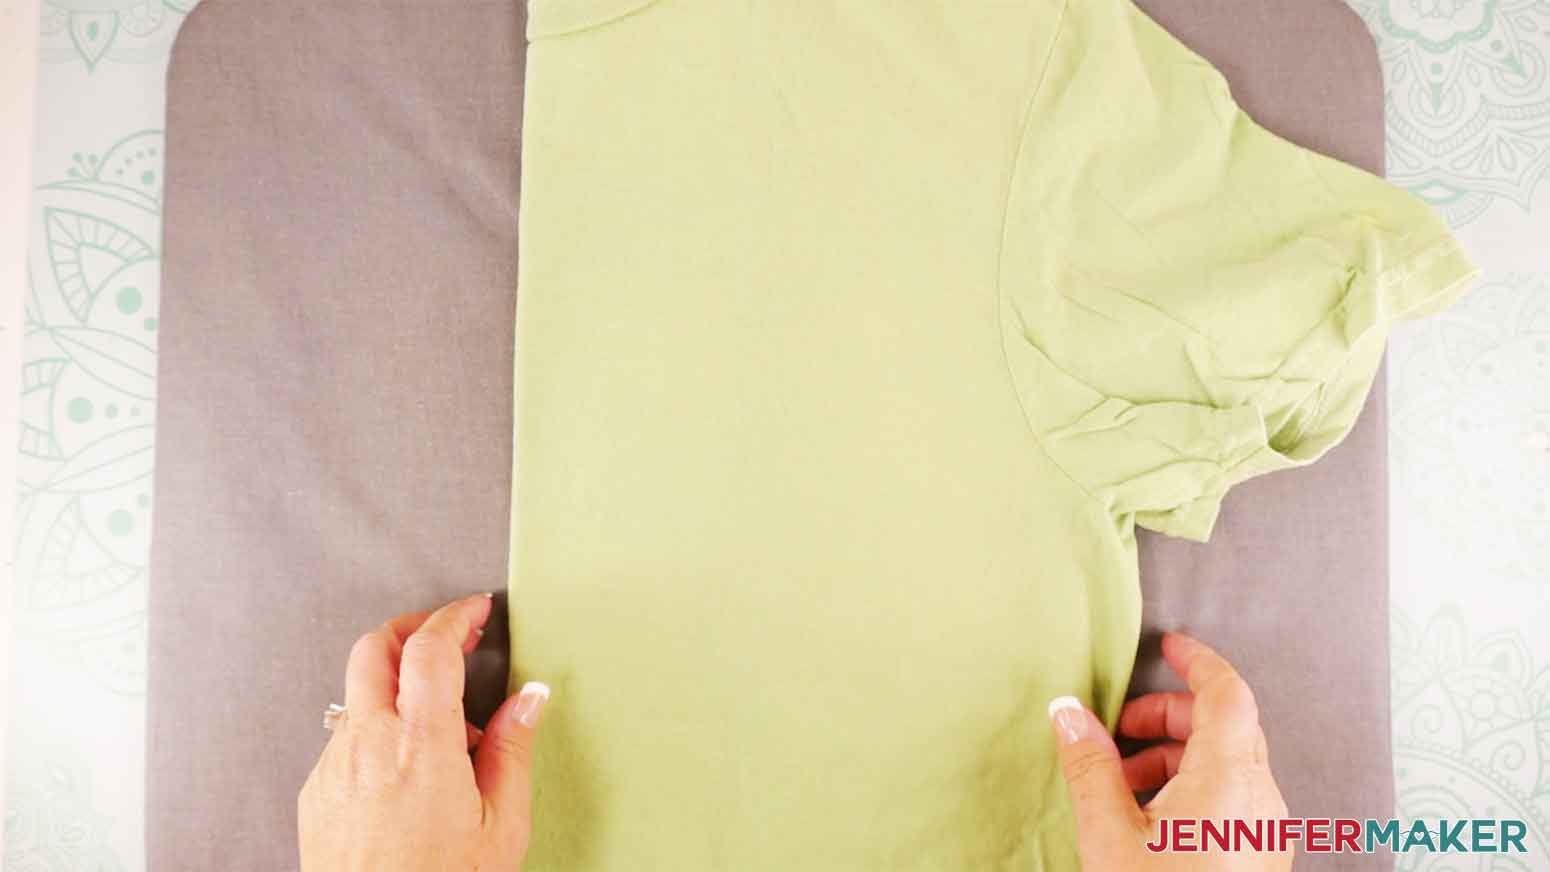
TIP: Putting a crease in your shirt like this also serves to pre-heat the material. It won’t impact the final design at all.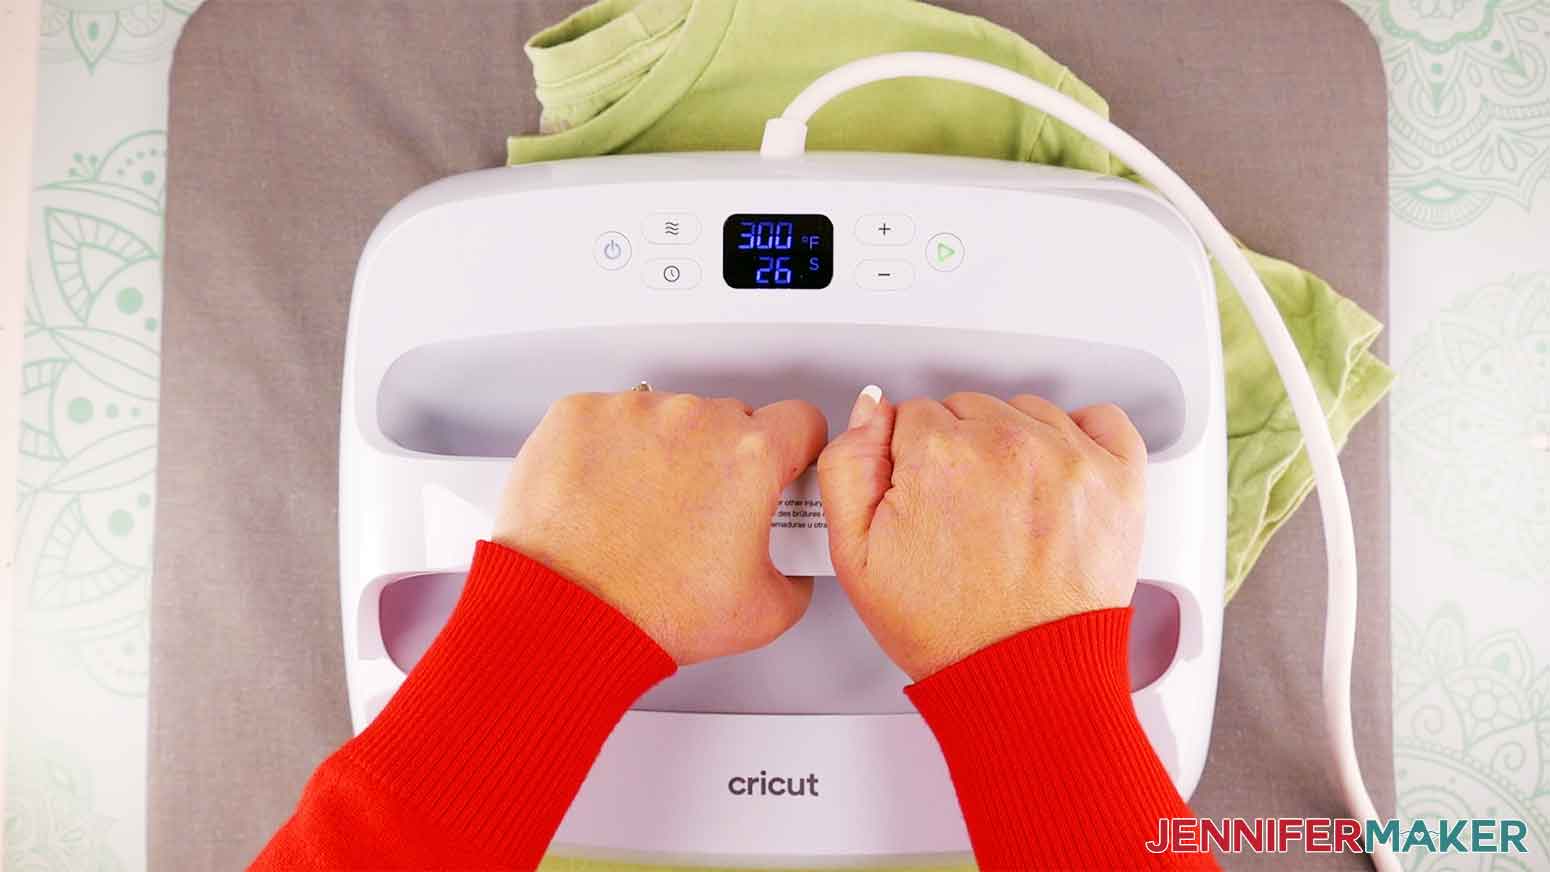
Use a lint roller to clean any stray lint or fuzz from the area of your shirt where you plan to adhere the vinyl. 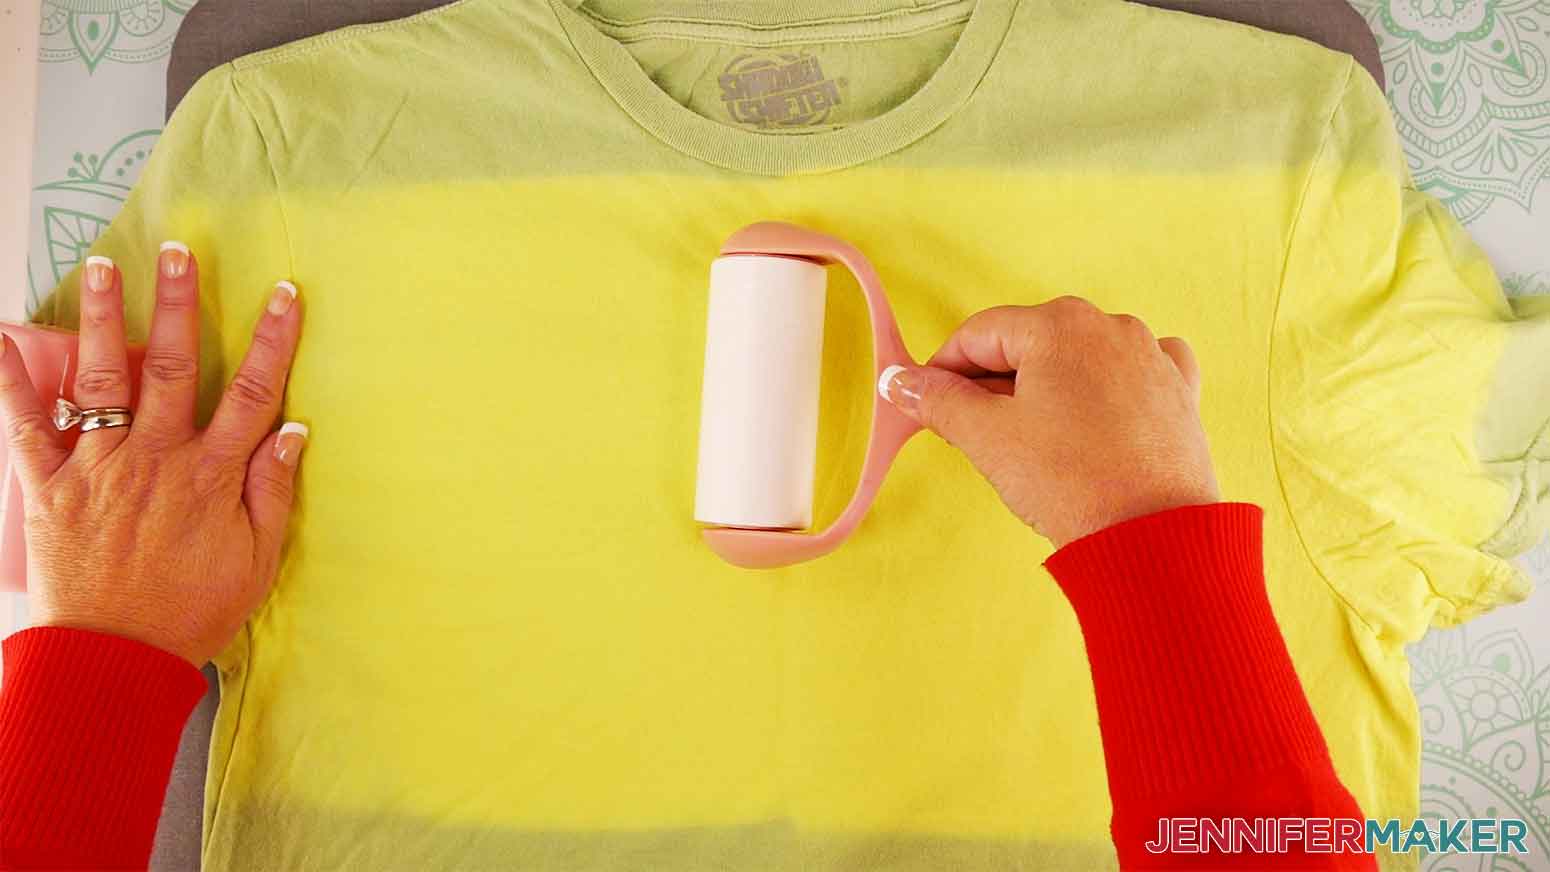
Open your shirt up flat, since the text layer will be on the bottom, I will center it on my shirt first.
It helps to fold the non-sticky sides of your bottom layer in half vertically against each other (it won't hurt your design), then open it up and align the creases in the vinyl to the creases in your shirt. 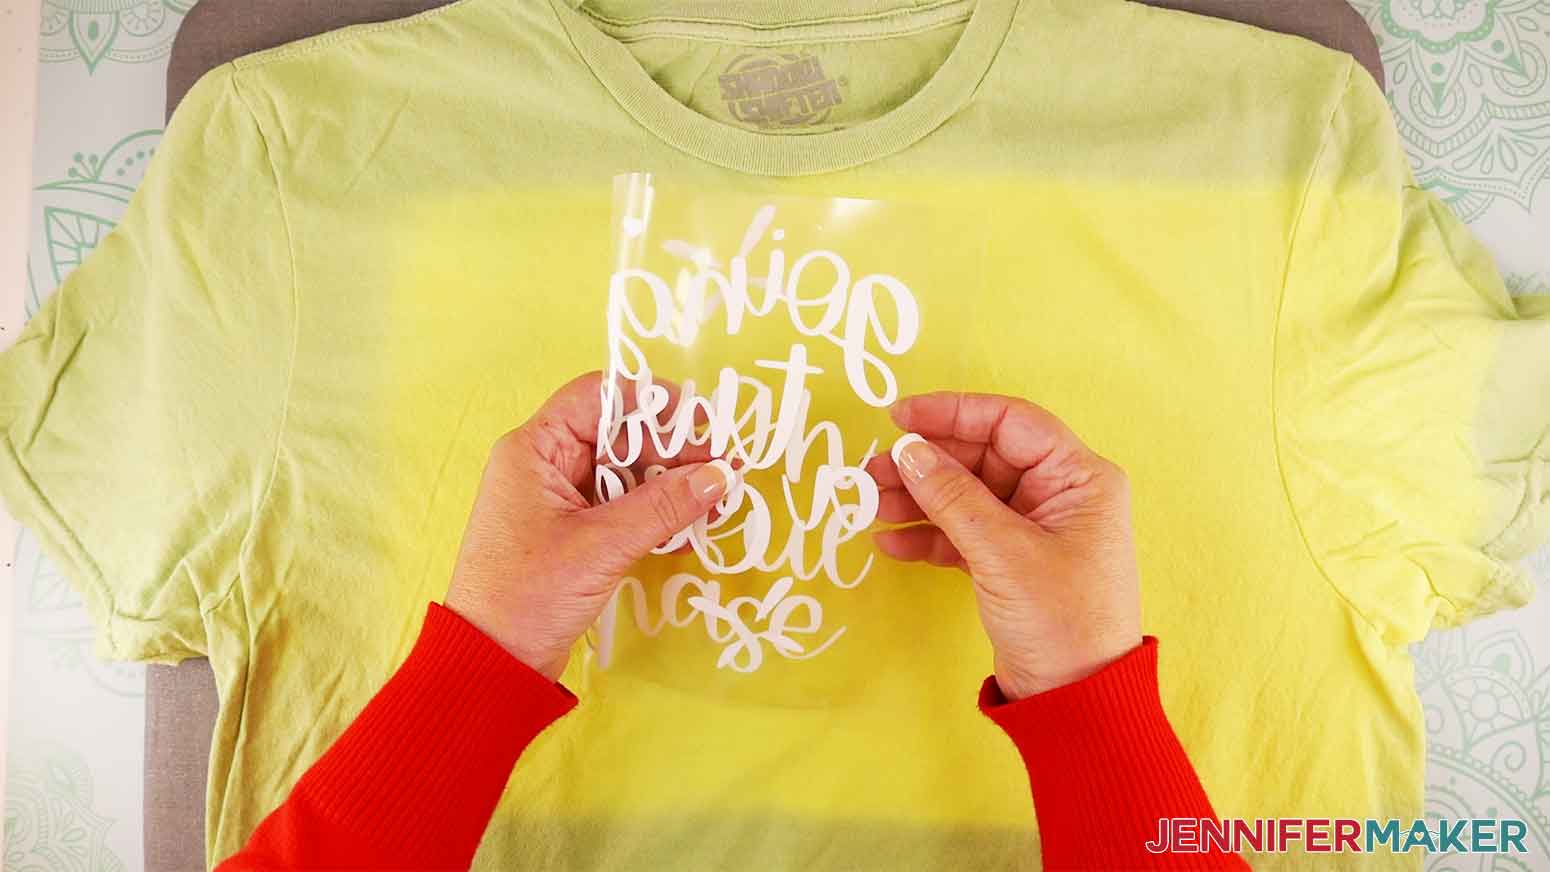
Remember, place the sticky side of the carrier sheet against the t-shirt so the shiny carrier sheet is between the vinyl and your EasyPress or iron.
You can also use my T-Shirt Rulers to ensure the design placement is the correct distance from the neck of the shirt. 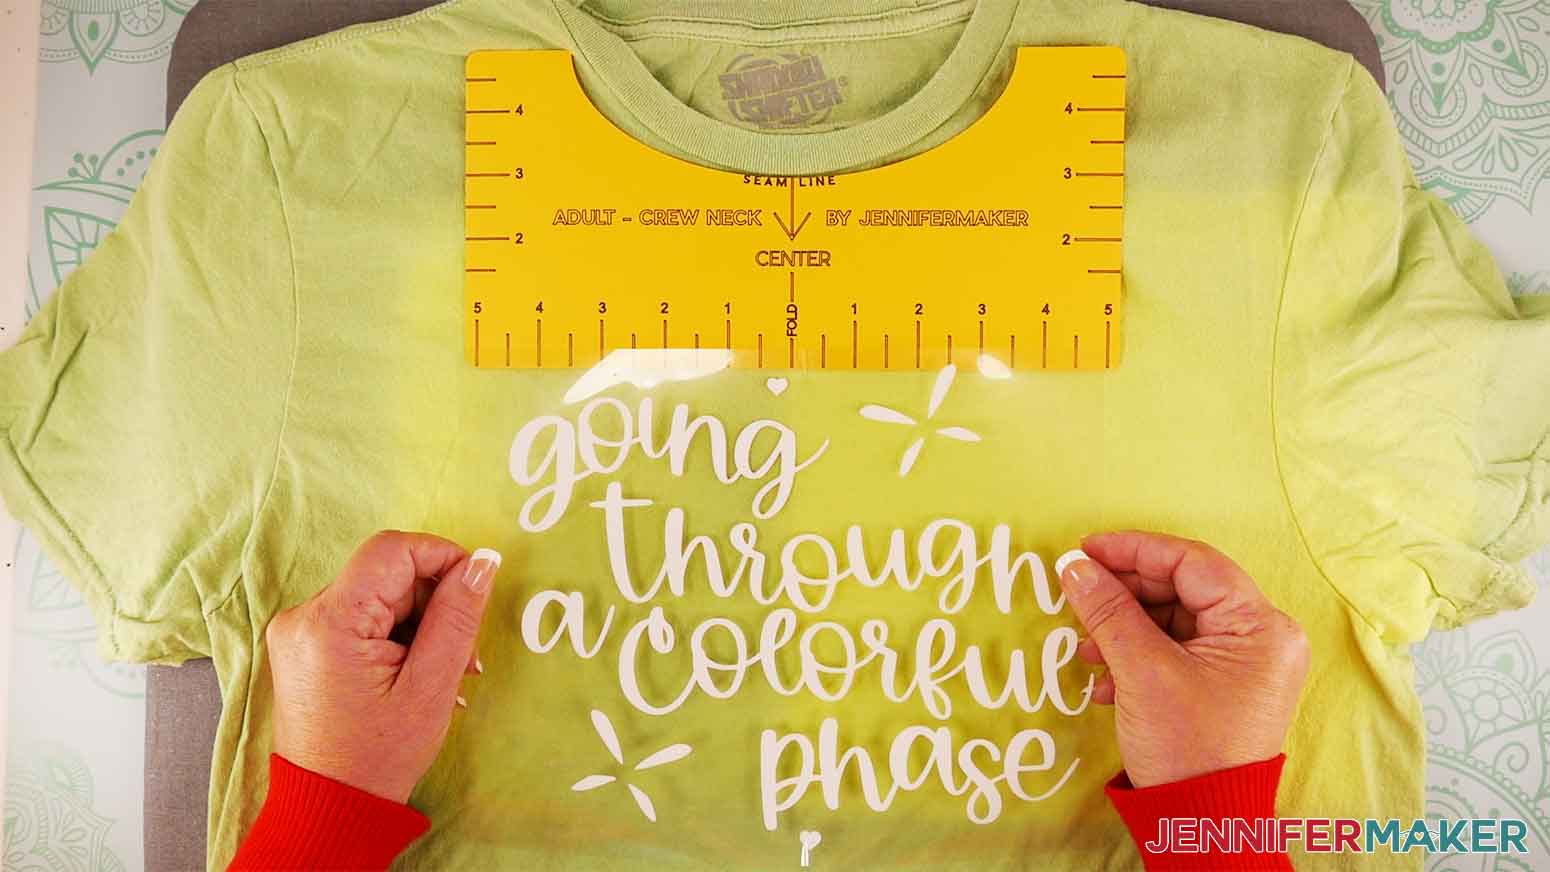
The next step is to apply your design, but do not follow the Cricut Heat Guide for the temperature or length of time. Because we are LAYERING our iron-on vinyl, we have to press the bottom layers for less time to avoid overheating our design when we do subsequent layers.
I pressed my first layer, the blue text layer, at 300°F (148° C) for 10 seconds, allowing the HTV to cool slightly and gently peel the liner away. If any of the vinyl lifts, stop peeling and replace the butcher paper. Press for an additional 3 seconds. After the HTV is cooled a bit, and adhered to my shirt, I can remove the liner and press the next layer
There is a chance that three (3) seconds might not be long enough and that’s okay, you can always add a few seconds of extra heat, just do it in increments and check to see if the vinyl is adhering to the fabric. Heat times will vary depending on your climate.
TIP: If your carrier sheet doesn’t stay in place on your t-shirt, tape it down with heat-resistant tape.
Now take the second layer, the butterfly outlines, and position them over the bottom layer. You'll note that the bottom layer has shrunk just a little bit. This is totally normal for iron-on vinyl; the more you heat it, the more it shrinks. A little shrinkage isn't that big of a deal. I will line up the registration marks over the blue hearts at the top and bottom of the text. Once you have the second layer in place, cover it with the clear liner from the first layer.
IMPORTANT: You do not want any vinyl to touch your heat press or iron.
Press it all down with your hand and make sure it doesn't want to move. If it wants to move at all, tape it down with heat-resistant tape to keep it perfectly in place.
Press the second layer, but again, only for a few seconds. It's very important that you do not heat it any longer than a few seconds, or it'll just be too much heat by the time you get to the final layer.
Again, peel the carrier sheet off very slowly while the iron-on vinyl is slightly cool.
Repeat for the third layer, the yellow small butterflies and the wing sections, matching the registration marks to the layer below. 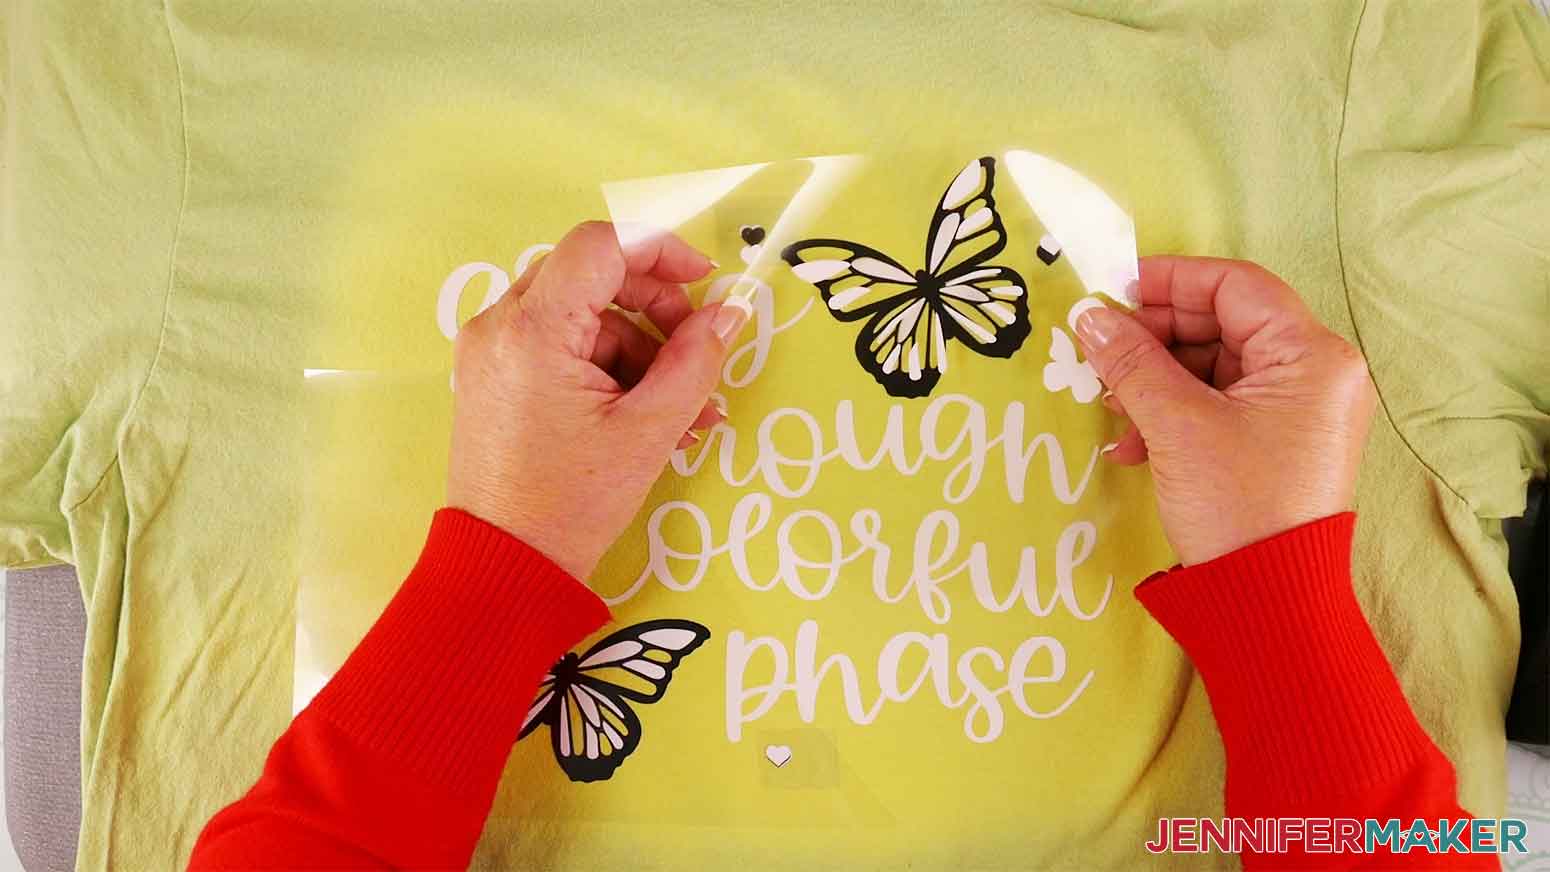
I have included a PDF layering guide in the design file if you need some extra help. 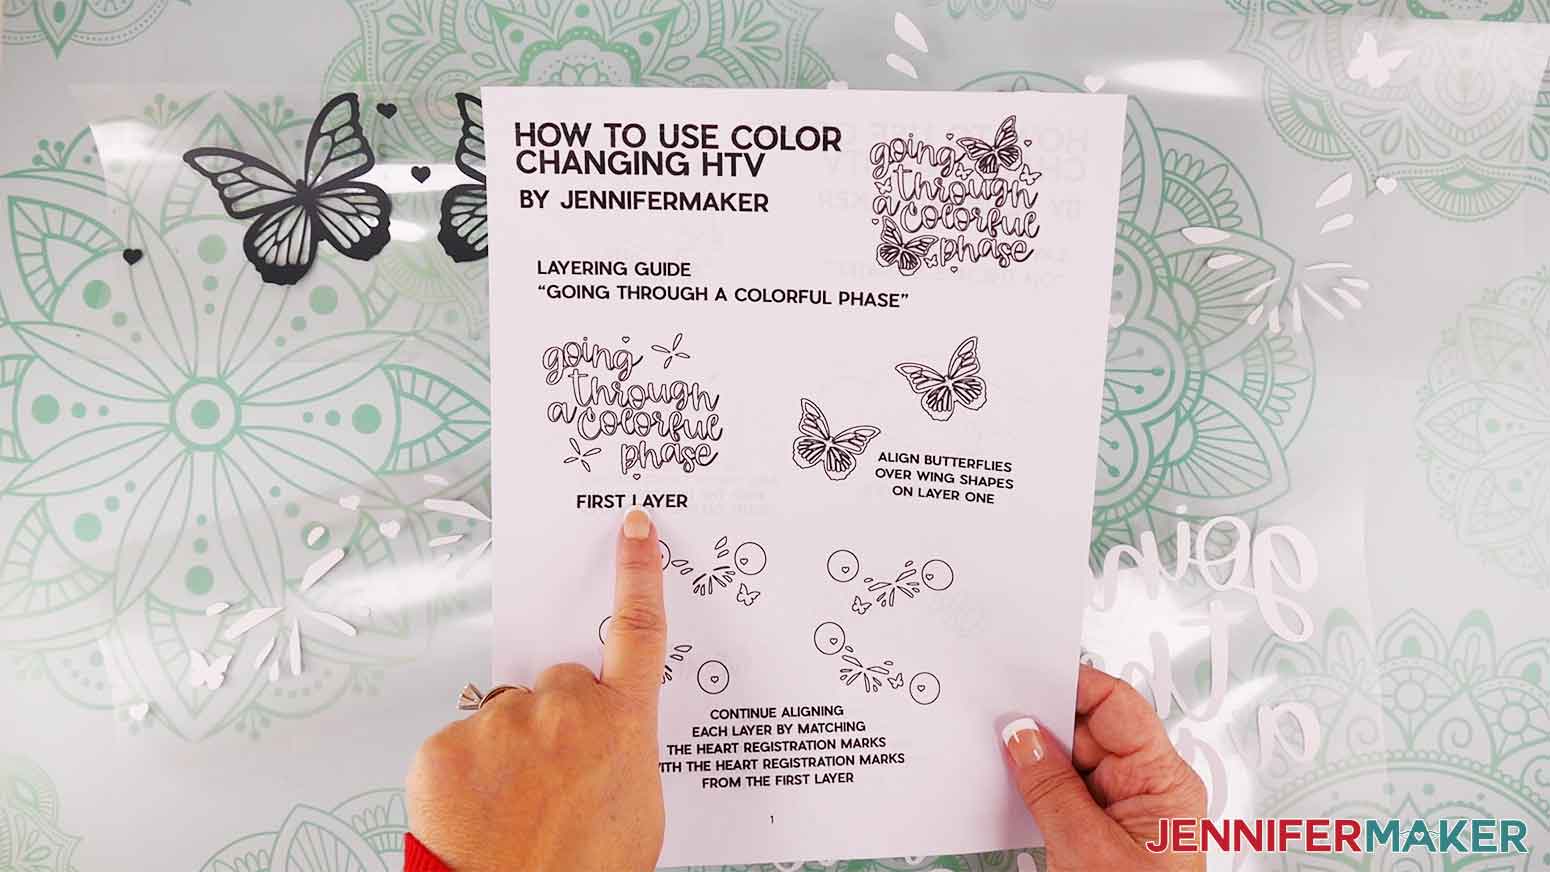
Press the third layer for three seconds or so. Allow the HTV to cool slightly before slowly removing the carrier sheet.
When you get to the final layer, the purple butterflies and wing sections, layer make sure to use the first layer's clear liner and place it over the design.
Make sure ALL the vinyl is covered with liner. Since this is the last layer we can press it for longer at a higher temperature to complete our press. Increase the temperature of your EasyPress to 315°(157°C). 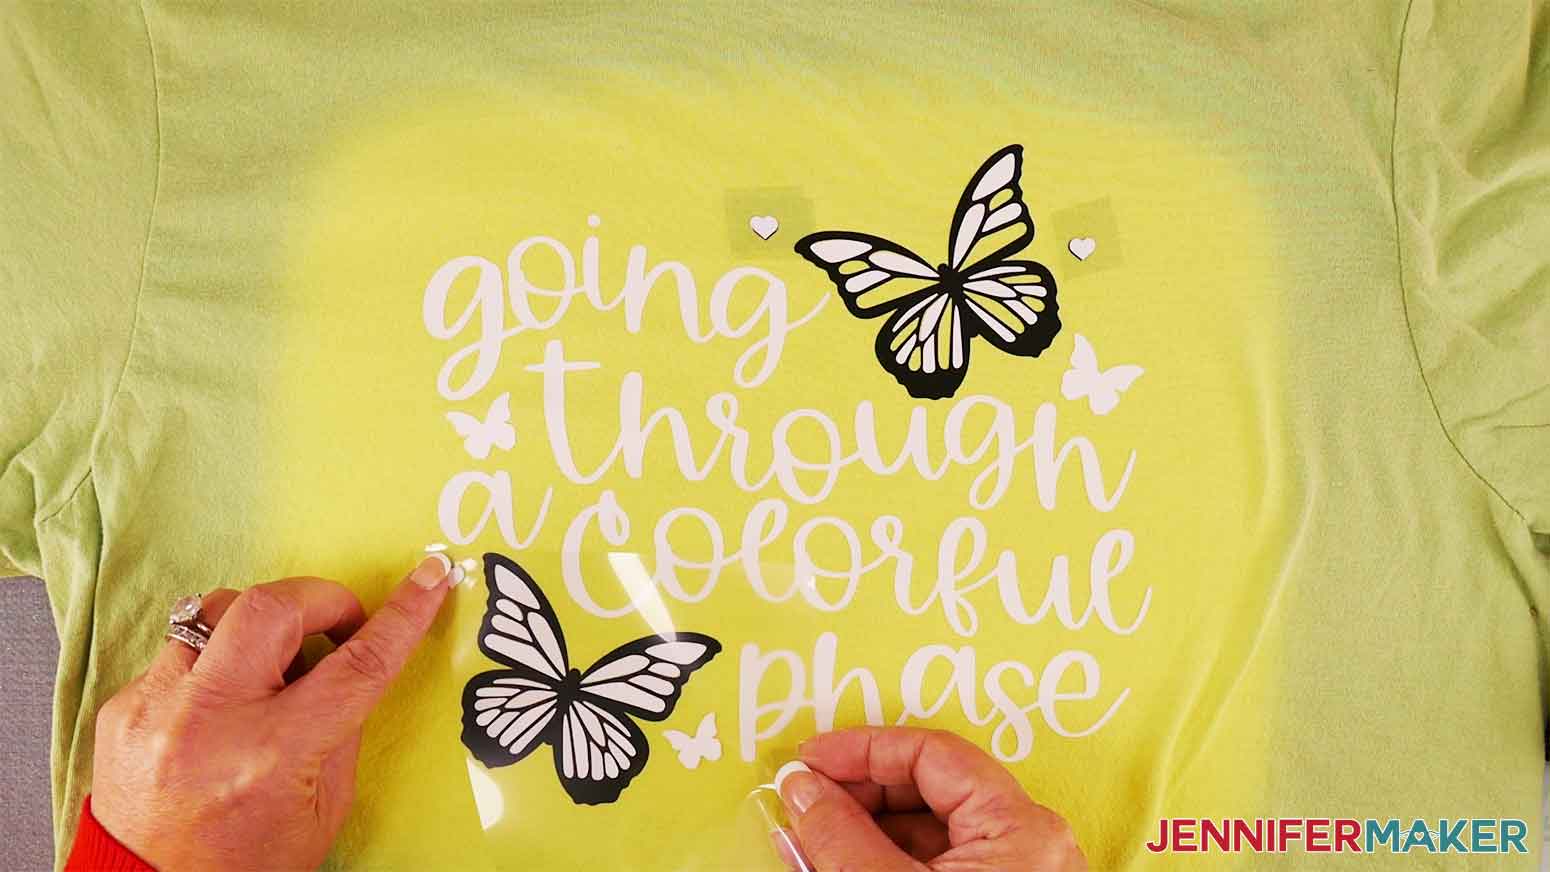
When it's ready, press this last time for 20 seconds and only peel away the carrier sheet when it's completely cool.
STEP 5: SHOW IT OFF! (Display ideas, finishing touches)
Here are my color-changing t-shirts both in and out of the sun!
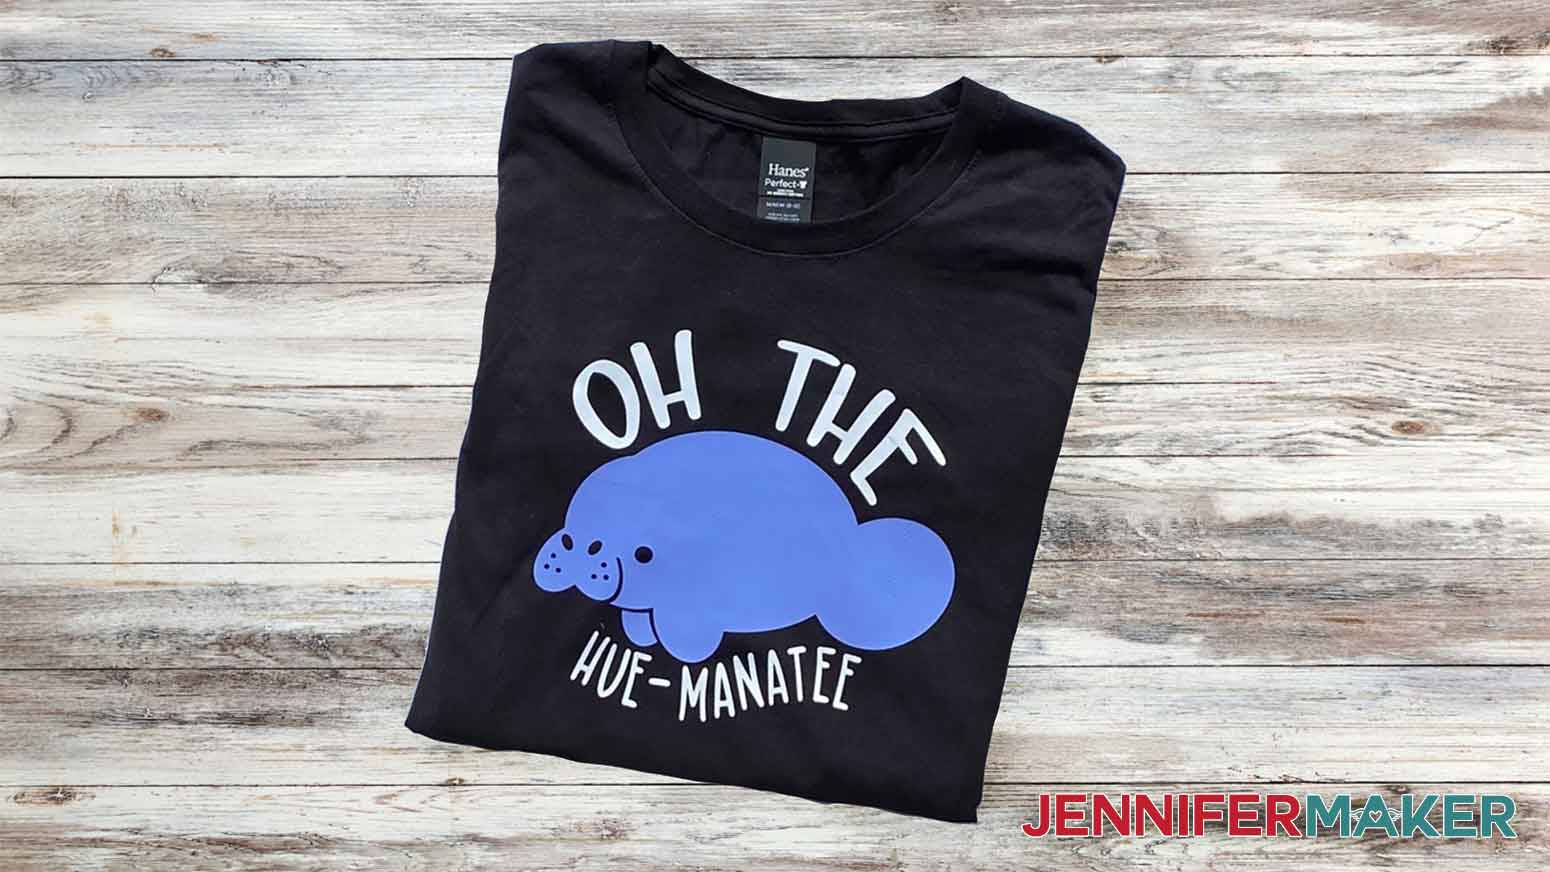

To assemble the "Oh The Hue-Manatee" design, first, begin with the manatee and then line each layer up with each set of registration marks.
NOTE: The manatee eye, whiskers, and snoot dots are optional - you don't have to include them if you're pressing onto a dark shirt.
Care: Allow 24 hours before washing.
Only wash inside out in cold water and tumble dry low.
Do not iron over the vinyl. If ironing is needed be sure to flip the shirt over and iron the back.
You can view the care guide at jennifermaker.com/easypress.
Enjoy!
Notes
Fonts Used:
JM Sweet (manatee design) available as Design #496 in my free resource library
Girl Talk (butterfly design) is available for purchase from FontBundles: Girl Talk
Free script alternative from DaFont: Scarlet Heart Font
Answers to Your Questions About How to Use Color Changing HTV
Q: How does color changing HTV work?
A: It’s UV magic! Not really, but it kind of seems like it. UV heat transfer vinyl is white until it’s exposed to UV rays from the sun (or a blacklight). Once the UV color changing heat transfer vinyl is out of the light, the color fades and returns to white.
Q: What is heat sensitive vinyl?
A: In addition to their UV-reactive vinyl, Cricut also carries other color changing vinyls like heat color-changing and cold color-changing permanent adhesive vinyl for use on any smooth surface. These are really fun to apply to cups, mugs, tumblers, and other hard surfaces that change when exposed to hot or cold temperature to show off the fun vibrant color change effect! When the temperature returns to normal, the permanent vinyl returns to its original color.
Q: What setting do you use on Cricut for color changing vinyl?
A: When cutting Cricut’s color-changing heat-transfer vinyl, apply it to a green StandardGrip mat, glossy finish side down. In Design Space, choose the “UV Activated Color Changing Iron-On” material setting with the Pressure set to “More”. When it’s time to apply the vinyl to your shirt, use the Cricut EasyPress to apply 30 seconds of firm pressure at 315 °F. If you’re using the AutoPress, press a 315 °F for 40 seconds. If you notice any rippling in your HTV, lay some butcher paper on top before pressing.
Q: Can you change colors in Cricut Design Space?
A: Yes, you can change the colors of your design in Cricut Design Space. Select the item you want to change and then click the color box at the top and select the color. All items of the same color will cut together on the same mat.
Q: Can you use iron on vinyl without a heat press?
A: Don’t have a heat press machine? No problem! While an iron isn’t suitable for some types of vinyl (like puff vinyl), you can absolutely use an iron to apply Cricut’s color changing heat-transfer vinyl. If you’re using an iron and cotton t-shirt, set it to the cotton setting. If your shirt is something other than cotton, adjust your settings accordingly. Always remember to turn the steam setting OFF!
Q: Can I use iron-on vinyl on polyester?
A: Iron-on or heat-transfer vinyl can be applied to materials like cotton, polyester, or cotton and poly blends. Use it to create eye-catching patterns for t shirts, tote bags, pillows, and other surfaces. This goes for all types of heat-transfer vinyl, not just the UV shift kind we’re using here! When making UV light-sensitive color-changing HTV T-shirts, always check your fiber content before beginning your project.
Q: Is iron-on vinyl washing machine safe?
A: Machine wash or hand wash garments with HTV vinyl on cold with a mild detergent, then hang or tumble dry low. Following these care instructions will help lengthen the life of your T-shirt as well as your transferred image.
Get my free SVG files to make Color Changing HTV T-Shirts!
I’d love to see YOUR colorful creations using color changing HTV! Please share a photo of your finished product in our Facebook group or tag me on social media with #jennifermaker.
Love,

Want to remember this? Save this tutorial on Color Changing HTV to your favorite Pinterest Board!