
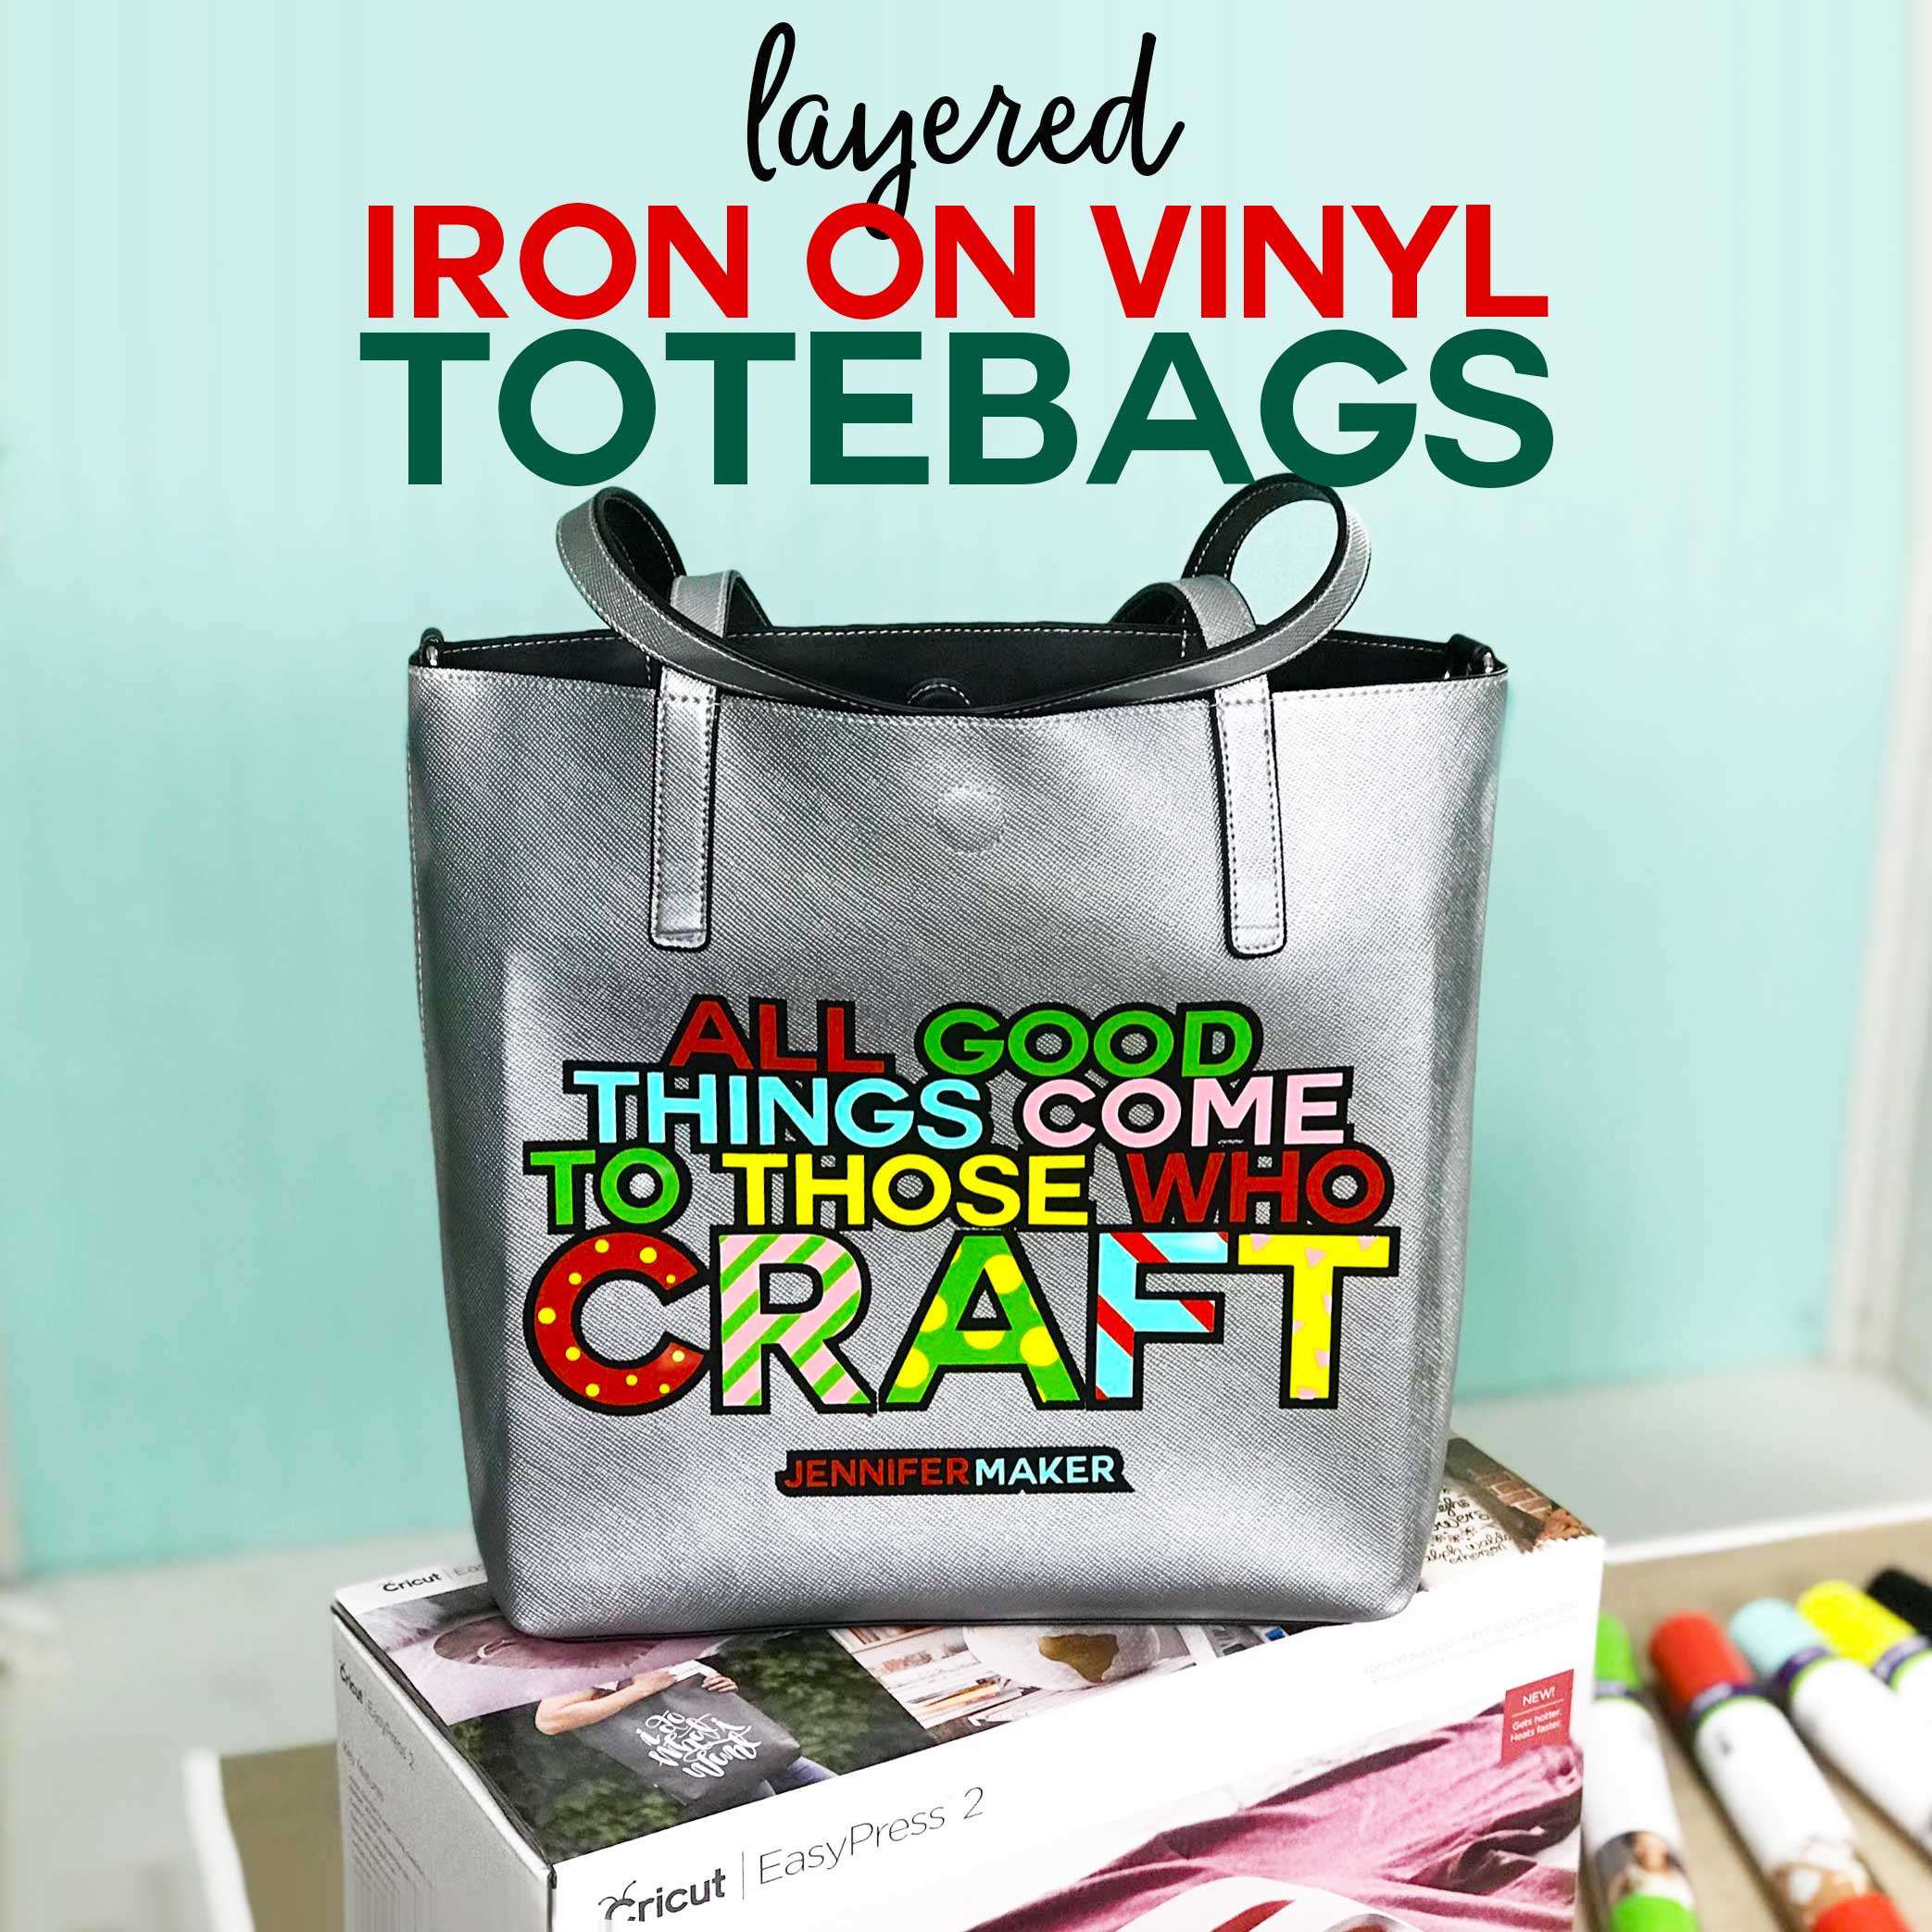
Personalize a faux leather tote bag with layered iron-on vinyl for a classy look on a budget! And you can download and use my layered iron on vinyl design for free!
Today we’re embellishing tote bags with personalized designs! You can use Cricut Infusible Ink to make awesome totebags, but for this tutorial we’re going to layer iron-on vinyl! You can do this using a Cricut to cut out the vinyl and a Cricut EasyPress to iron it on your tote bag. Tote bags are SO easy to personalize thanks to the Cricut, and they make great gifts, too.
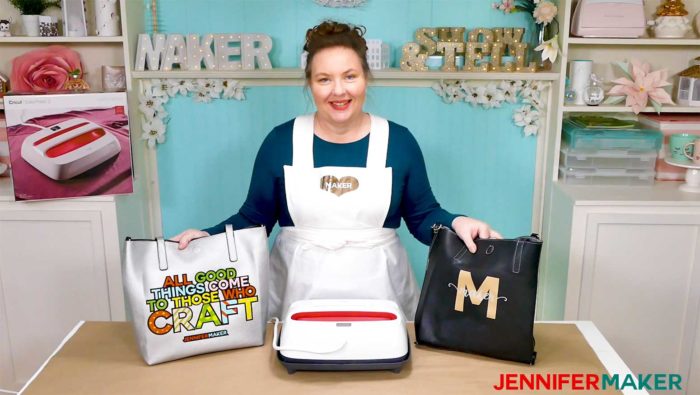
These reversible, pleather tote bags you can get in many stores these days are perfect because they look classy and yet are inexpensive! You can get them for anywhere from $10-$30. I got mine from Wal-Mart for just $14. And because they are reversible, you can put something on both the inside and outside for a little versatility. You can have a serious work side and a playful fun side, for example!
And that’s just what I did in today’s projects. A simple layered iron-on vinyl design for my serious side, and then I turned the bag inside out for a more complex layered iron-on vinyl design for my crafty playful side.
Now, if you’ve been following me for any length of time, you know what a Cricut fan girl I am. I got my first Cricut nearly two years ago now and it’s not an exaggeration to say it changed my life. Which is why I’m super pleased to announce that for this project, I am working WITH Cricut. Yes, this post is sponsored by Cricut, who graciously sent me some iron-on vinyl to use for today’s project!
I’ve also created two designs for the tote bag. You’re welcome to use both for your own bags — you’ll find them in my resource library (get the password by signing up at the bottom of this page).
If you need ideas for your own crafty totebag, here are some popular crafty sayings you could put on:
- I’m so crafty I sweat glitter
- I craft therefore I am
- She believed she could craft so she did
- Been there, crafted that!
- The desire to create is one of the deepest yearnings of the human soul.
- Keep calm and craft on
- Crafting is the answer — who cares what the question is
- Classy and crafty
- Being crafty isn’t just a hobby… it’s a way of life
- Makers gonna make
- Eat. Sleep. Craft. Repeat.
- Creativity is a mess and I’m very creative
- Money can’t buy happiness but it can buy craft supplies
- I was crafty when it wasn’t cool.
- Who needs fingerprints when you have hot glue?
- Love to craft.
- Craft The Love
- When life gives you hands, make handmade
- Make something every day.
- My craft stash isn’t too big; my craft room is too small.
- Live. Love. Craft.
- Every day is a good day to craft.
- I craft. Get over it.
- Craft like no one’s watching.
- If you can’t stand the mess, get out of the craft studio
- In crafting there are no mistakes, just unique creations
- Will work for craft supplies.
- Craftiness is happiness
- Crafting is the best medicine.
- Craft happens here.
- Being creative is not a hobby, it’s a way of life.
- Love is a well stocked craft room
- All good things come to those who craft.
- Craft a life you love;.
- All good things come to those who craft.
Whew!
Many thanks to the readers and viewers who requested I teach you how to layer iron on vinyl (Amy B., Karelly L., Tenille, Michelle B., Becky C., Maria Z., Ruth D., Laura P., Carrie E., Katoshia Y., Nadine C., Vanessa B., Teresa W., Sue B., Vickie H., Cori W., Ashley, Rose Z., Sherri W., Rhonda, Flor A., Vicki P., Dawn B., and Julie H.).
Key concepts taught in the video tutorial include how to mirror layers, how to cut vinyl, how to use the Cricut EasyPress 2, and how to layer vinyl.
See exactly how to iron on vinyl with a Cricut EasyPress 2 in this step-by-step video below:
Now let’s make a cute tote bag with layered vinyl! This post contains some affiliate links for your convenience (which means if you make a purchase after clicking a link I will earn a small commission but it won’t cost you a penny more)! Read my full disclosure policy.
This is a sponsored conversation written by me on behalf of Cricut. The opinions and text are all mine.
Materials for Layering Iron On Vinyl
- A totebag (Be careful here — the first totebags I tried from Target just would NOT let me apply the vinyl. Not all totebags are the same! I used ones I bought at Wal-Mart.)
- Iron on vinyl (also called Heat Transfer Vinyl, or HTV) — I used Cricut Everyday Iron-On
- A protective sheet, a pillow case, a doubled-up pressing cloth, or a Teflon sheet — I used a pillow case
- A pressing mat or a hard surface for pressing (no ironing boards!)
- A way to iron on your vinyl (I used the Cricut EasyPress 2)
- A way to cut your iron-on vinyl (I used the amazing Cricut cutting machine!)
- (Optional) Fonts I used for these designs were Couture and Michelle Script (for the monogram) and Crafty Font (for the craft quote)
- Design #130 – My free SVG/DXF/PDF cut files/patterns (available in my free resource library—get the password at the bottom of this post)
How to Layer Iron-On Vinyl (HTV)
Tip: You can watch my video to see the entire process of layering iron-on vinyl step by step!
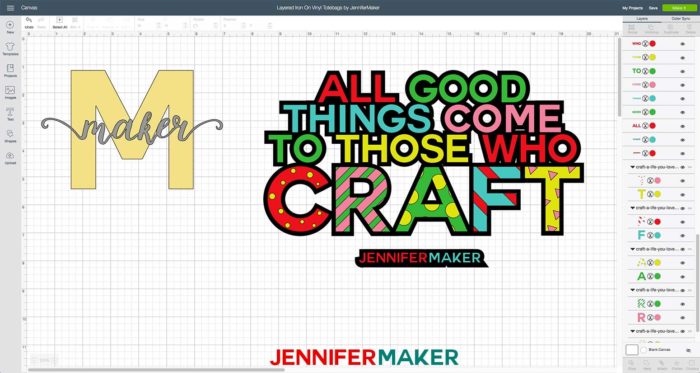
First, if you want to use either of my cute tote bag designs (Design #130), download them from my free resource library (you can get a password for it by signing up at the bottom of this page). Upload the file(s) to Cricut Design Space.
Tip: If you’re not sure how to upload an SVG cut file to Cricut Design Space, watch this helpful video training series I made. If you’re on an iPhone or iPad, here’s how to download and upload SVG files to the Cricut Design Space app.
IMPORTANT: Remember to MIRROR your designs when cutting out iron-on vinyl!
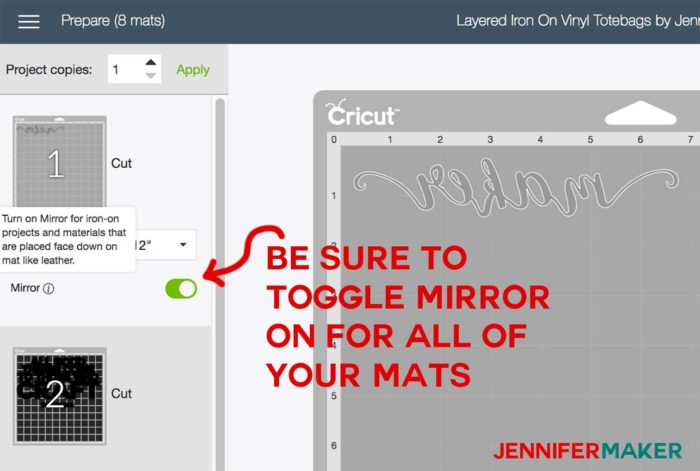
Cut out your iron-on vinyl using your Cricut. Choose the appropriate material. For this project I am using Everyday Iron-On. I used the green StandardGrip Mat and Fine Point Blade.
Remember, iron-on vinyl needs to be placed FACE DOWN (shiny side down) so it cuts the vinyl not the carrier sheet.
Note: Not sure which side of the vinyl goes down on your mat? Read my guide here!
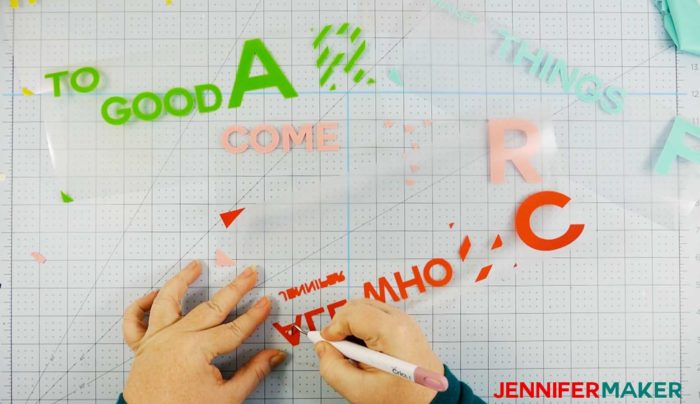
Once your vinyl is cut out, carefully weed out the parts you do not want in your design. I find it helps to hold the vinyl up to a light source at an angle to see the cut lines… and use a weeding tool.
Having trouble weeding? Read my tips for weeding here!
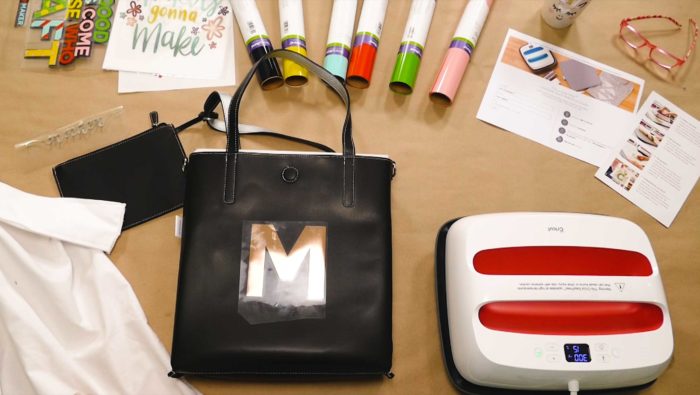
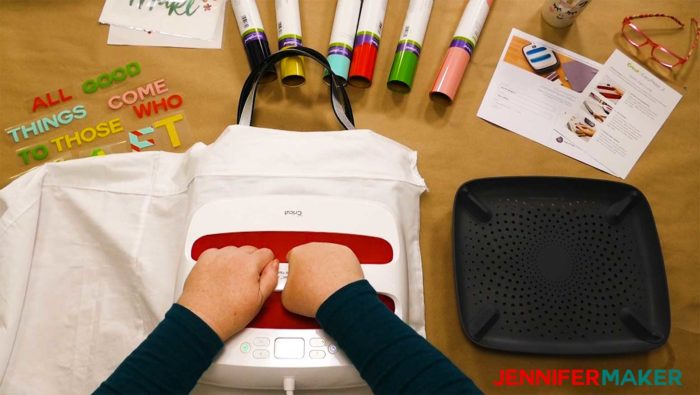
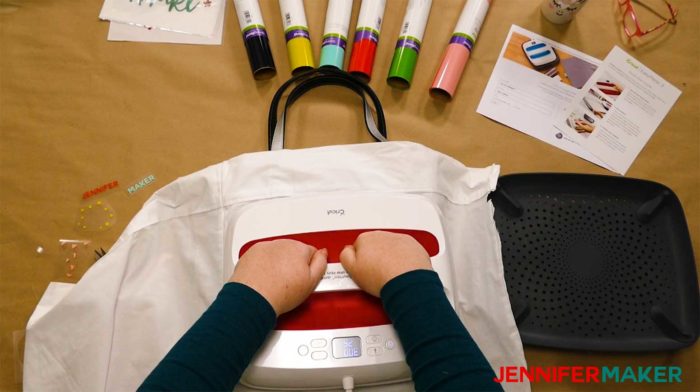
Get out your Cricut EasyPress and power it on. I set my Cricut EasyPress to 300 F for 30 seconds in order to adhere my vinyl to my faux leather bag, but your temperature and duration may vary. Check the Cricut EasyPress Interactive Quick Reference Guide to see what temperature is best for your vinyl and material.
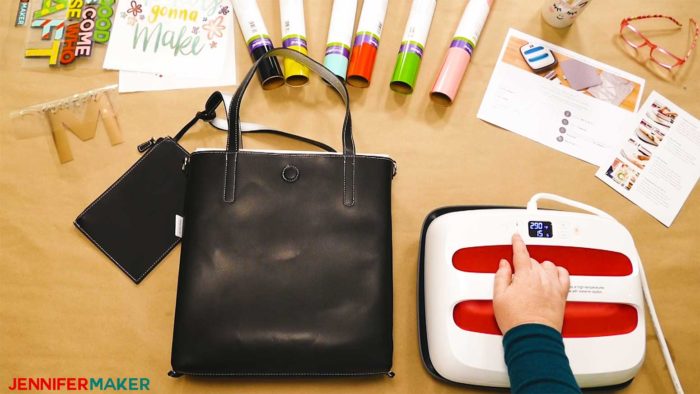
Note: Be sure to use some sort of protective sheet, pillowcase, pressing cloth, or Teflon sheet between the EasyPress and the bag to protect the surface of the bag.
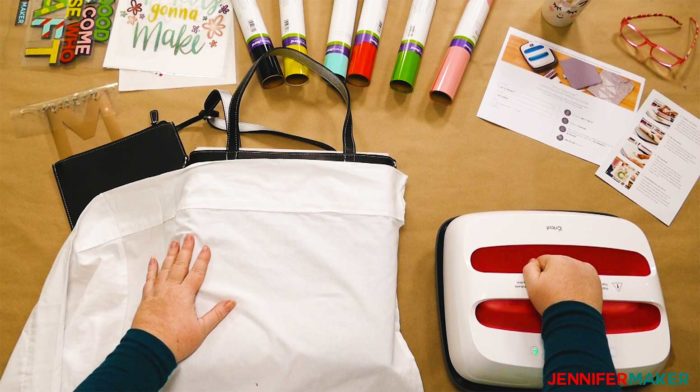
Also, I found it helpful to pre-heat your faux leather totebag with the EasyPress before you actually press your iron-on vinyl onto it. I heated mine up for 30 seconds with the EasyPress.
The first layer to go on is the bottom layer.
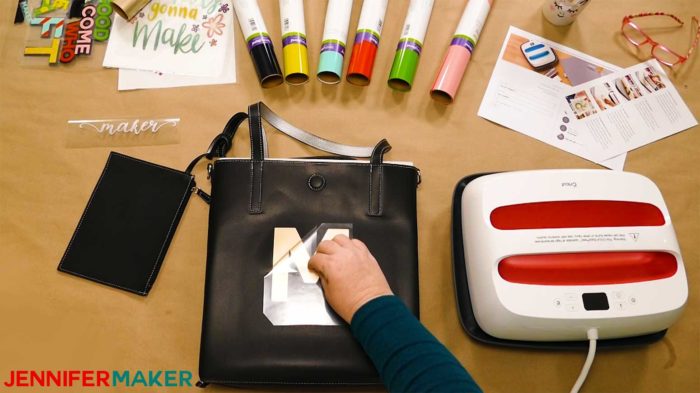
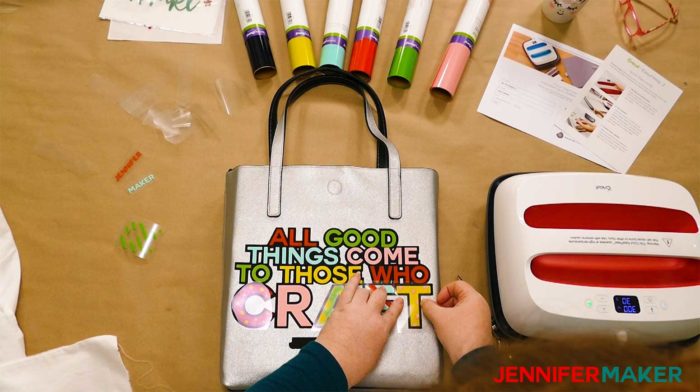
After your first pressing, allow the vinyl to cool for 5-10 seconds before gently pulling off. It should be warm, not hot. If you notice that some vinyl is not adhering, replace the carrier sheet and press it again. You may need to do this several times to get all of your vinyl to stick. I had to press my black layers 3-4 times to get it to stick on this faux leather. If it has adhered, continue to slowly and gently remove the carrier sheet.
Then work from there building up layers as you go. You can do multiple layers at once long as they aren’t touching. The big key to remember in layering vinyl is to not heat any two touching colors at the same time.

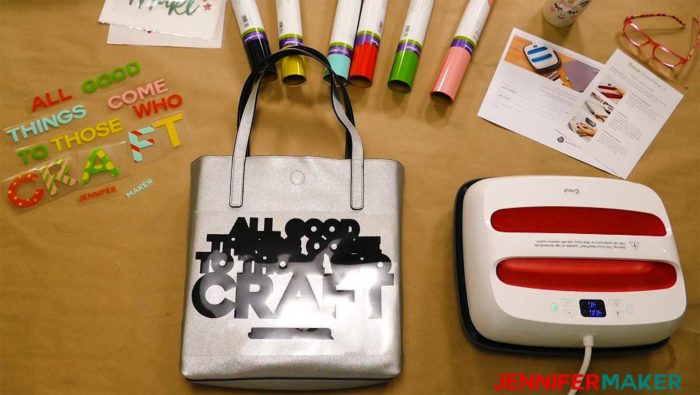
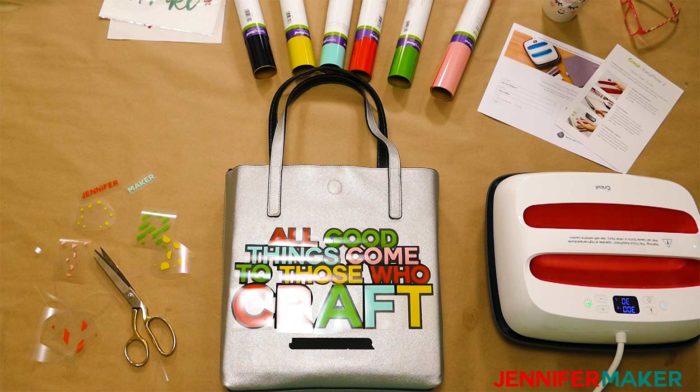
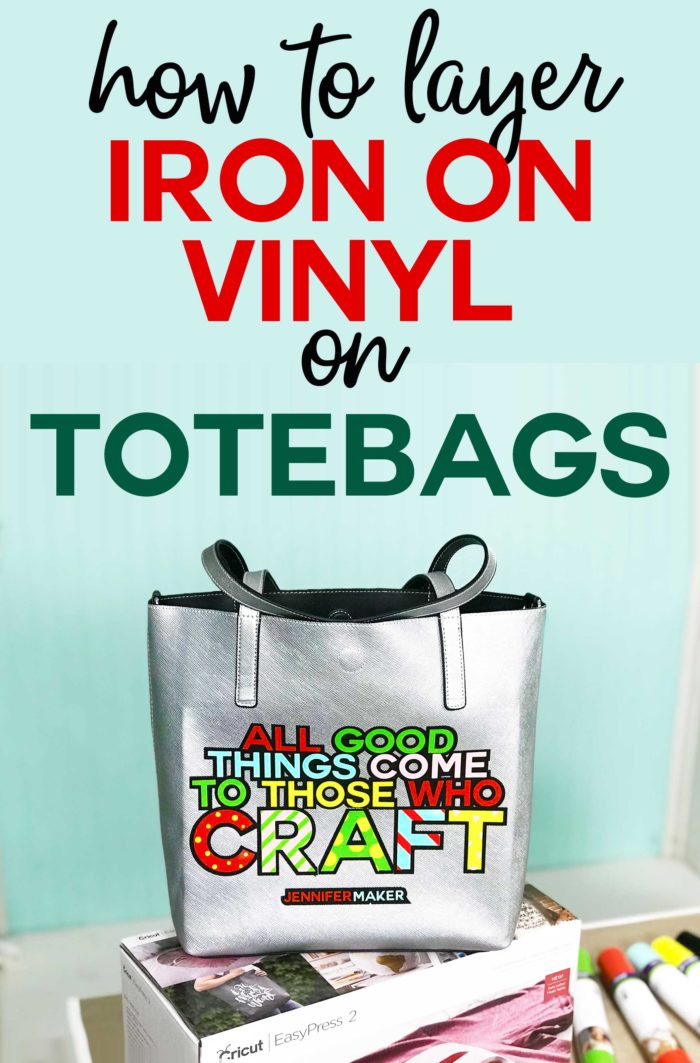
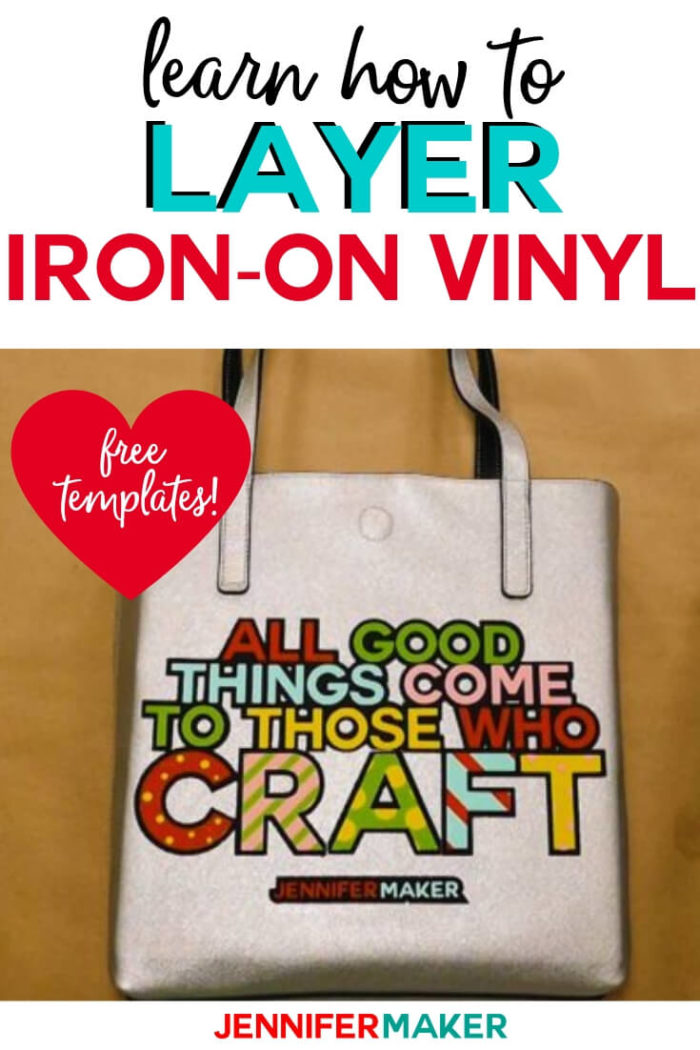
Once you have mastered a simple, two-layer iron on vinyl design like this, you’re ready to try something more complicated like my multi-layer “Good Things” design. For this layered iron-on vinyl design, the black layer goes on first.
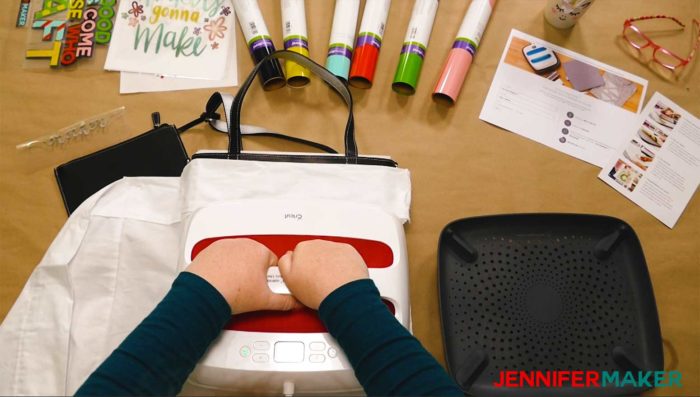
Like before, place a protective layer on top of your vinyl and tote bag and press with your EasyPress. Again, I pressed at 300 F for 30 seconds.
Check that your iron-on vinyl has adhered, and if not, replace the carrier sheet and press again.
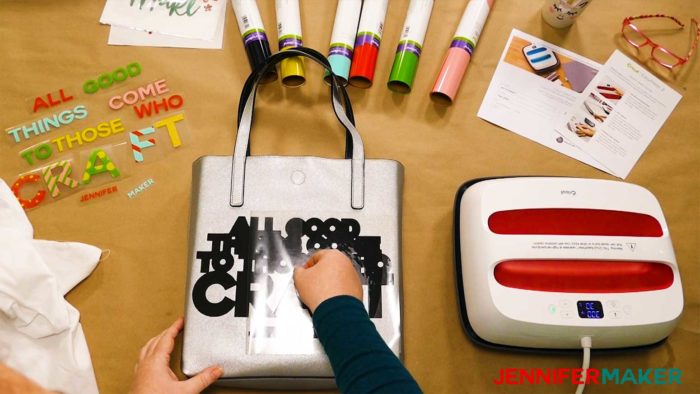
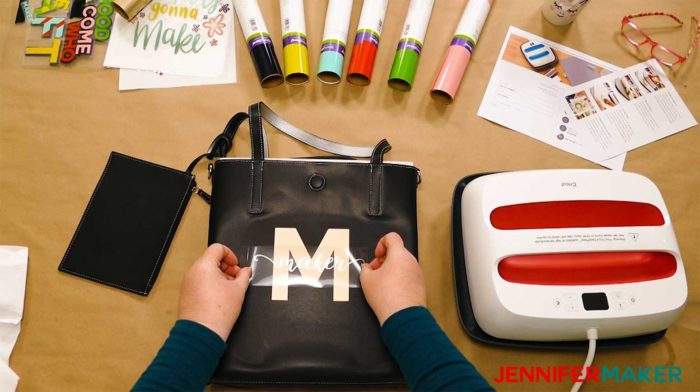
Once your base layer is adhered to your tote bag, you can begin placing the next layer up. Remember, you can do multiple colors so long as they are not touching one another. For this design, you may need to cut the carrier sheets very close to the edge of the vinyl to ensure it’s not touching another carrier sheet or vinyl bit.
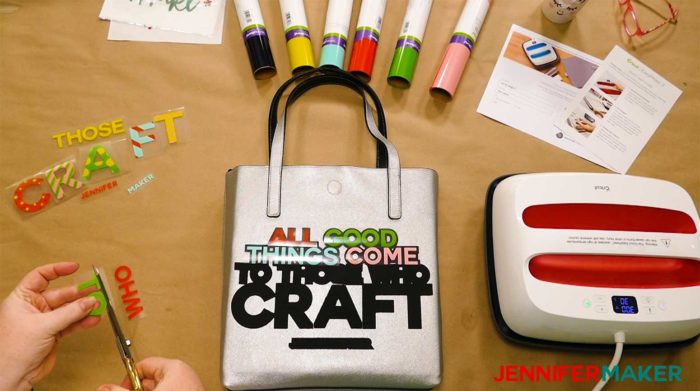
Once you have your layers in place, cover again with your protective sheet and press with your EasyPress. I did the same temperature and duration as before — 300 F for 30 seconds.
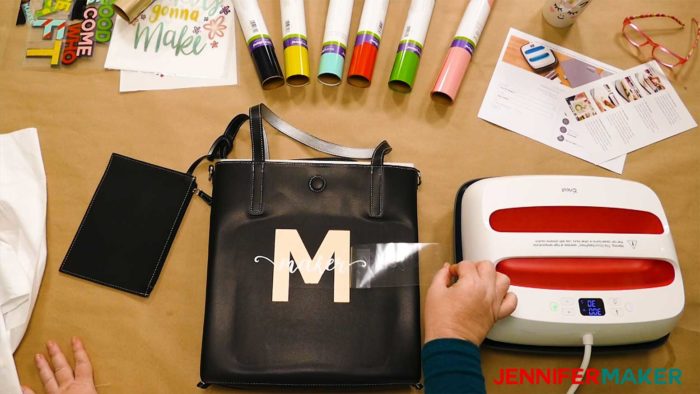
Continue layering your iron-on vinyl.
I did this design in four primary layers — first the black, then the colored letters, then the designs on the individual letters, then my name at the bottom.
Get my free SVG cut files for the Layered Iron On Tote Bag
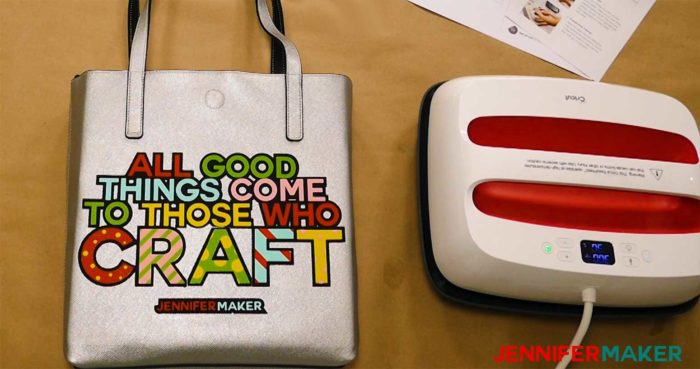
It turns out the hardest part of making this tote bags was the FIRST layer, not the subsequent layers as I anticipated. Getting vinyl to stick to faux leather is a challenge, and you have to go slow and check to see if the vinyl is adhering, as you saw. They look great, and I’m happy with the results, but it took longer than I thought because of the difficult material. If you’re thinking of making a tote bag and it’s your first project or two, I’d recommend you try putting vinyl on a CANVAS bag first — they are really SO much easier to work with! I never have any problems getting vinyl to stick on my canvas bags.
And it was actually really nice to have the big EasyPress for this project, as I could cover the entire design in one pass and I KNOW that cut down on my make time.
I’m really pleased with my personalized tote bags!
If you make a totebag with layered iron-on vinyl (or anything!) with this design, please share a photo in our Facebook group, or tag me on social media with #makershowandtell.
See all of the projects, tutorials and free designs in The Great Maker Show and Tell Challenge! There is one for each day of the 25 Days of Christmas! This is my gift to you for the tremendous support, enthusiasm, and love you’ve shown to me and my little blog over the past two years. To “open” a gift, hover over the day’s image and click the download icon.
[ess_grid alias=”25days2″]
Love,

Want to remember this? Save the Layered Iron On Vinyl Tutorial to Your Favorite DIY Pinterest Board!
So finally found your day 17 here on your website. Something wrong with sharing on facebook? Well doesn´t matter I now I can find all lovely tutorials here.