
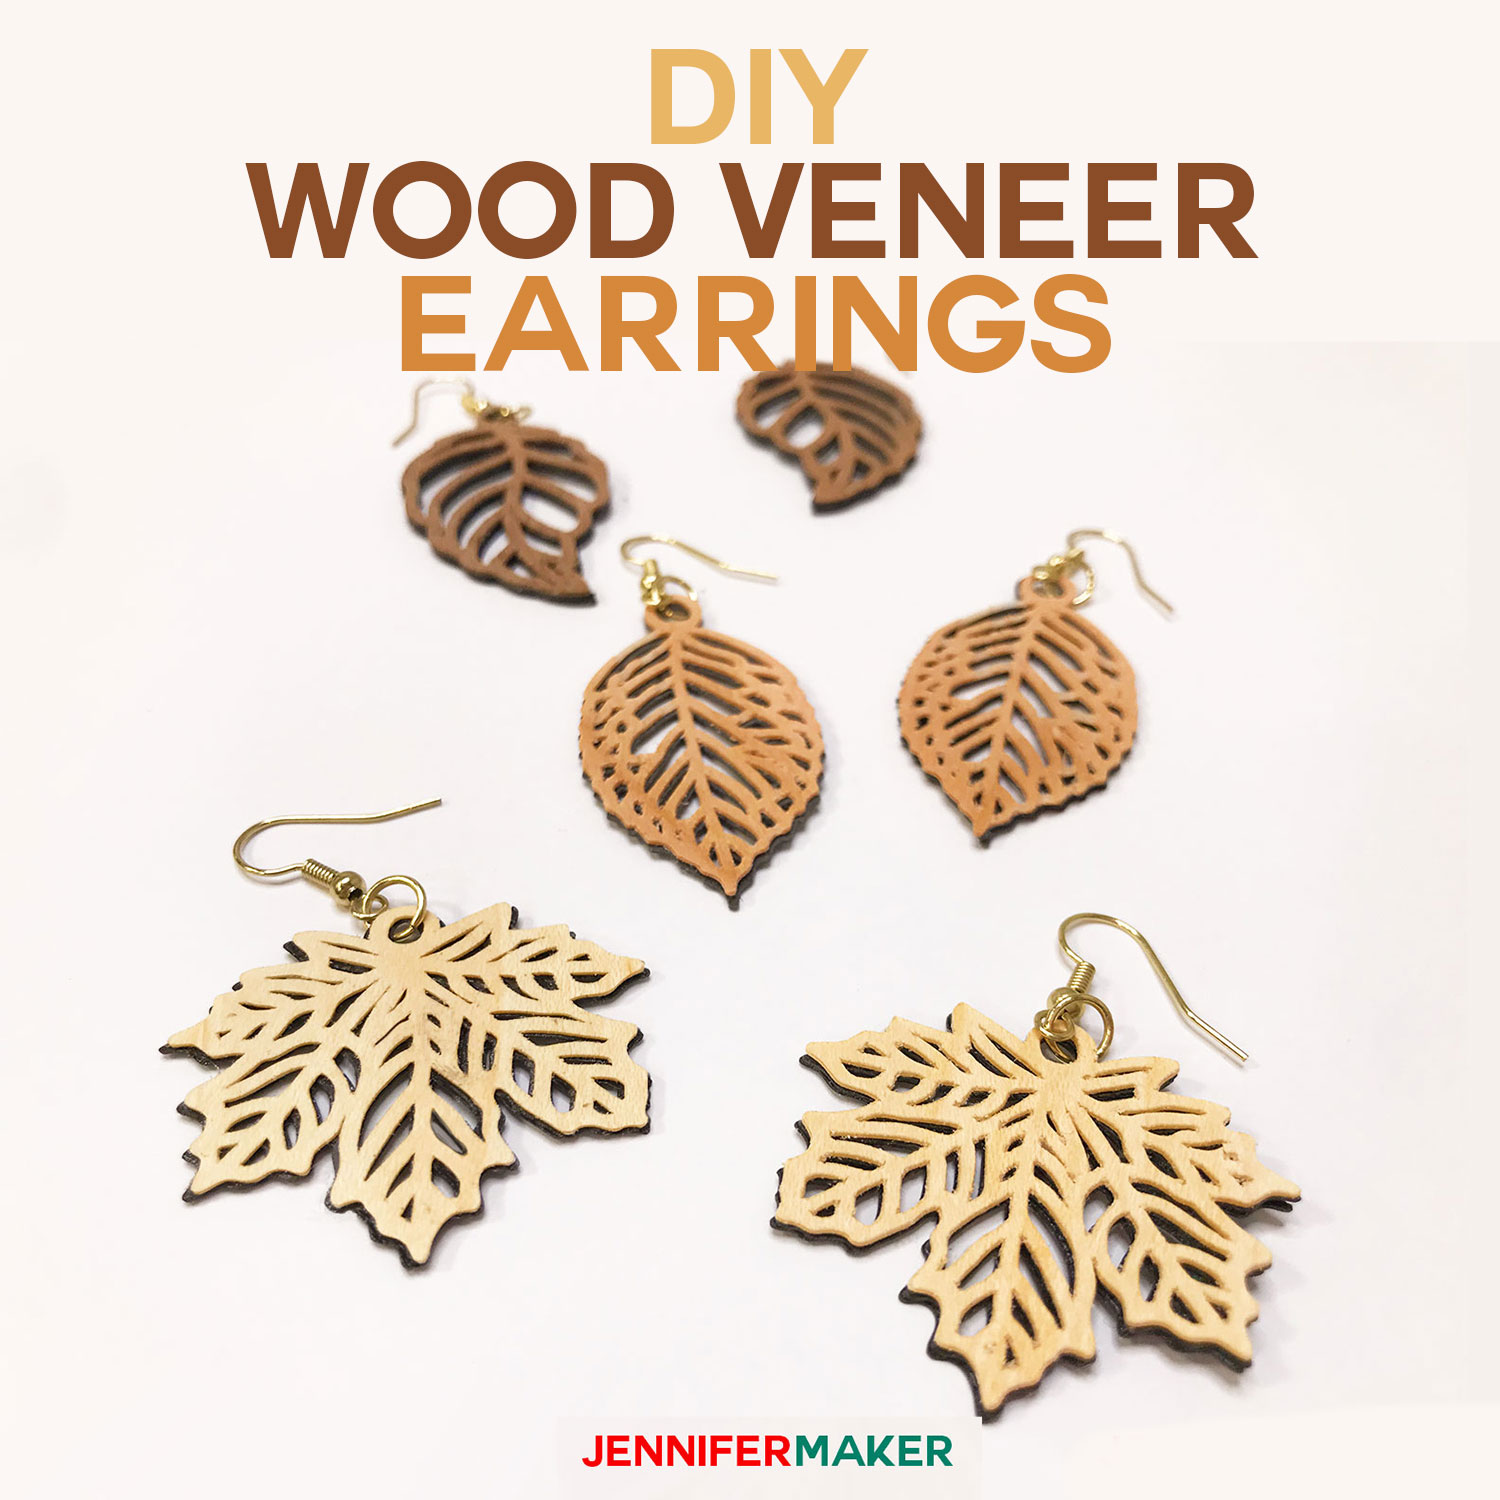
Learn how to cut beautiful earrings using Cricut Wood Veneer sheets! In this tutorial, I show you how to create drop-dead gorgeous cherry, maple, and walnut leaf earrings that you can cut on either your Cricut Explore or Cricut Maker.
Leaves are falling on a daily basis here in Michigan. It’s fall and I LOVE it! To celebrate, I’ve designed a set of pretty leaf earrings you can cut from gorgeous real wood veneers on your Cricut Explore or Maker. Why earrings? So many of you made the faux leather earrings earlier this year that I knew you’d love to know how to make wood earrings, too! Yes, that’s right, you can cut wood veneers on your Cricut Explore — all you need is the Deep-Point Blade (in the black housing) and you’re good to go. And because the Cricut wood veneers come in three wood types—Maple, Cherry and Walnut—I designed maple leaf earrings, cherry leaf earrings, and walnut leaf earrings. It just made sense, and they turned out SO pretty! I’m in love with these Cricut wood veneer earrings!
In fact, let’s talk about the Cricut Natural Wood Veneers, as this is the first time I’ve used them. First, they are REALLY nice! The veneers are made from genuine wood, and they are super smooth. Best of all, you can see the natural grain really well. AND, they’re thin which means you can cut them on the Explore. I’m super impressed with these wood veneer sheets. Here’s a few things you should know about Cricut wood veneers:
- Wood grain patterns and color will vary because these are made from real wood. But that means every project will be unique, so this is good!
- The veneers aren’t all exactly the same thickness, and that’s because of the nature of the genuine wood. For example, the Walnut veneer is a little thicker than the Maple veneer, which in turn is a little thicker than the Cherry veneer.
- If you want a veneer with more grain, pick Walnut —but more grain means it’s a bit more fragile, so handle it with more care.
- Don’t bend veneers along their grain as they will crack or break.
- Cricut recommends you use tweezers rather than a spatula to remove veneers from your cutting mat. I didn’t know this before I made my earrings and I used a spatula (which worked okay for this small project), but you should know that tweezers might work best.
- You can learn more about Cricut Wood Veneers here.
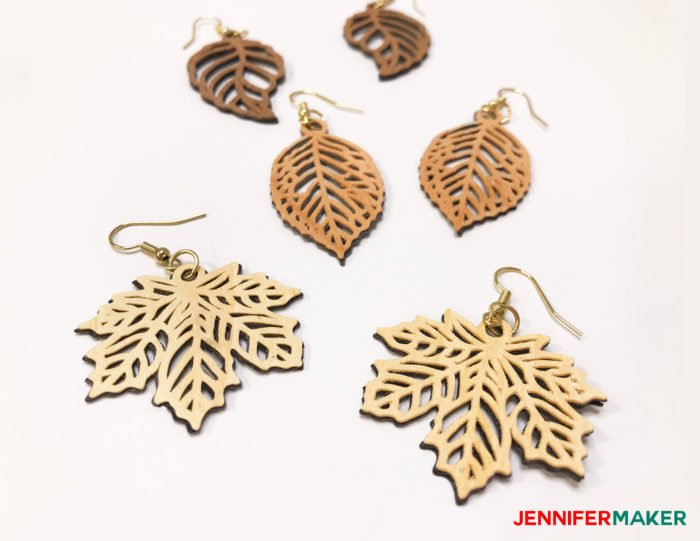
You can make my Cricut wood veneer earrings with lovely intricate cuts, like this:
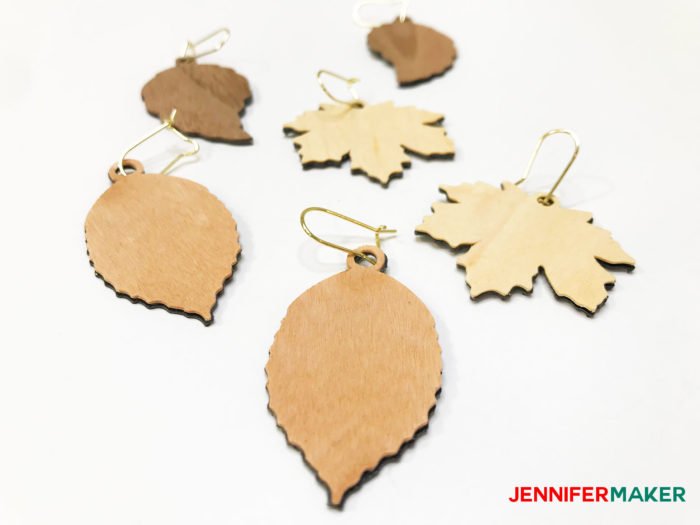
Or cut the wood veneer earrings out more simply like this:
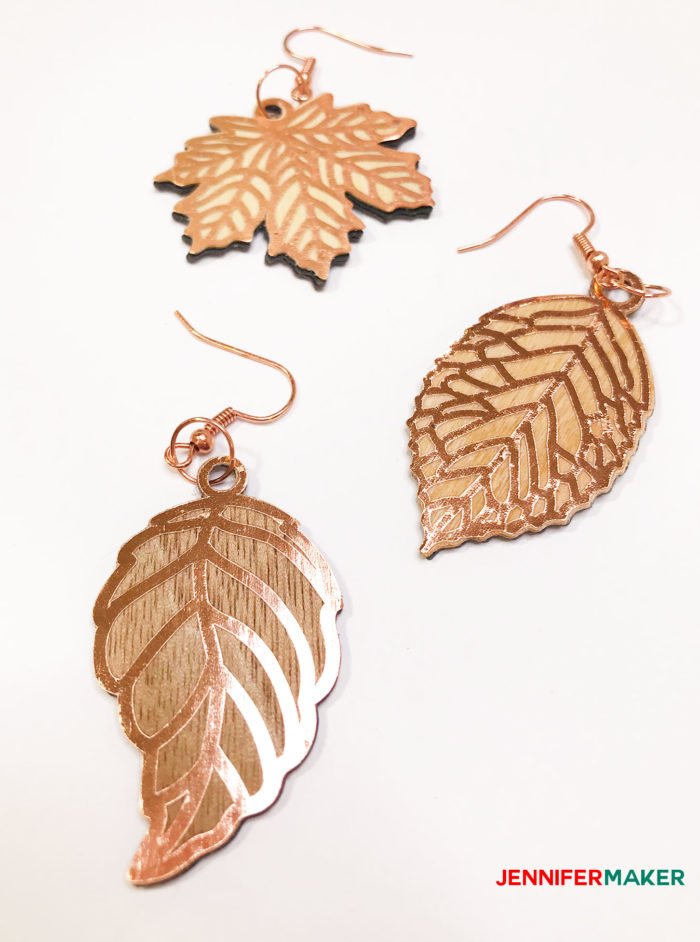
Or get really fancy and cut the intricate shapes out from metallic foil iron-on vinyl and put it on top of the simple wood earring shapes, like this:
Now because the wood veneer is quite thin, I am backing all of the earrings with multiple layers of black cardstock or Kraft board. This gives the earrings rigidity, protects them from cracking or breaking, and makes them look a little like laser-cut wood, which I think is fun!
The finished size of these earrings is about 1.3″ to 1.8″ long, depending on the design.
I happen to think these would make GREAT gifts for nature lovers!
So let me show you how to make these pretty Cricut wood veneer earrings! This post contains some affiliate links for your convenience (which means if you make a purchase after clicking a link I will earn a small commission but it won’t cost you a penny more)! Read my full disclosure policy.
Materials for Cricut Wood Veneer Earring
- 1 sheet of Cricut wood veneer — you can get it in maple and walnut
- 1 sheet of black 65 or 80 lb. cardstock or Kraft board
- (Optional) Metallic iron-on vinyl
- (Optional) Cricut Mini EasyPress (for applying the iron-on vinyl) and small EasyPress Mat
- Earring hooks
- Jump rings
- Needle nose pliers
- Tacky glue
- Permanent spray adhesive
- Spray sealer, gloss or matte (UV and moisture resistant)
- A way to cut out your wood veneer and cardstock (I used my Cricut Explore! with the Deep-cut Blade and Fine-Point Blade, as well as a StrongGrip Mat (Purple) and a StandardGrip Mat (Green)
- Painter’s tape or masking tape
- Design #161 – My free pattern/files (available in my free resource library—get the password by filling out the form at the bottom of this page)
How to Make the Cricut Wood Veneer Earrings
Step 1: Get my free leaf earring design (Design #161) from my free resource library (get the password to it in the form at the bottom of this post).
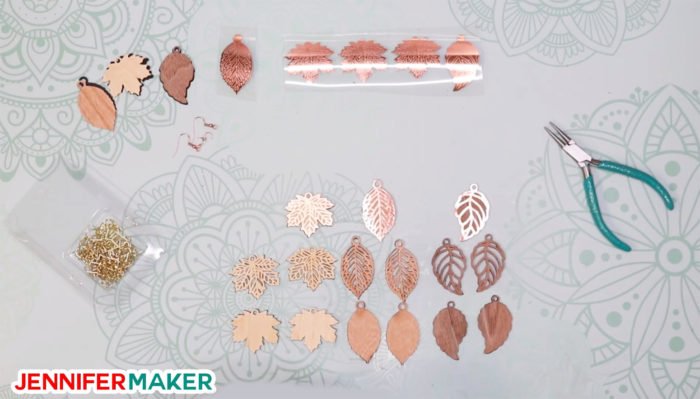
Step 2: Cut out your earring pieces. You want one veneer layer and at least two cardstock or Kraft board layers to go underneath. Here’s exactly the pieces you need to cut for each type of earring:
- Simple Leaf Earrings: Cut out one set of the simple design on veneer and two sets of the simple design on black cardstock or Kraft board.
- Intricate Leaf Earrings: Cut out one set of the intricate design on veneer and two sets of the intricate design on black cardstock.
- Simple Leaf Earrings with Intricate Cut Overlay: Cut out one set of the simple design on veneer, one set of the intricate design in iron-on vinyl, and two sets of the simple design in black cardstock or Kraft board.
You can cut these earrings design by hand (I’ve included a PDF file in my library—I recommend using an X-acto knife for the details) or you can use a cutting machine like a Cricut (which is what I used). Here’s what the leaf earrings SVG file looks like uploaded to Cricut Design Space:
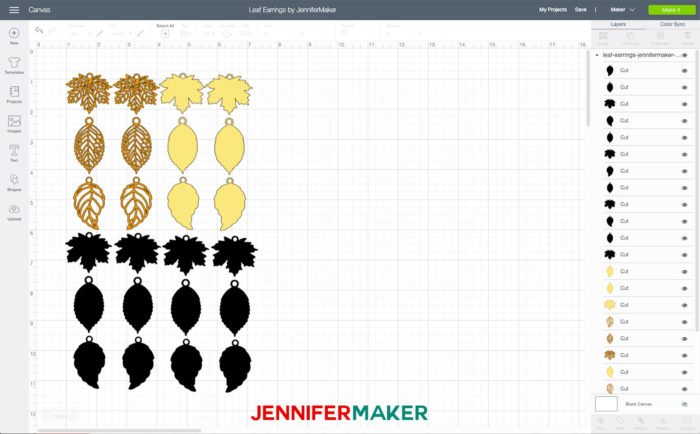
If you’re not sure how to upload an SVG cut file to Cricut Design Space, watch this helpful video training series I made. If you’re on an iPhone or iPad, here’s how to download and upload SVG files to the Cricut Design Space app.
Notes: If you use a Cricut cutting machine, you’ll need to use the Deep-Point Blade (in the black housing) to cut the veneers. The Fine-Point blade is used to cut the black cardstock, Kraft board, and iron-on vinyl, but be aware that you may have issues getting the intricate details cut from Kraft board — my Kraft board wasn’t up to the task and I had to use cardstock for the intricate cuts. The good news is no ungrouping, attaching, or scoring is necessary in this design.
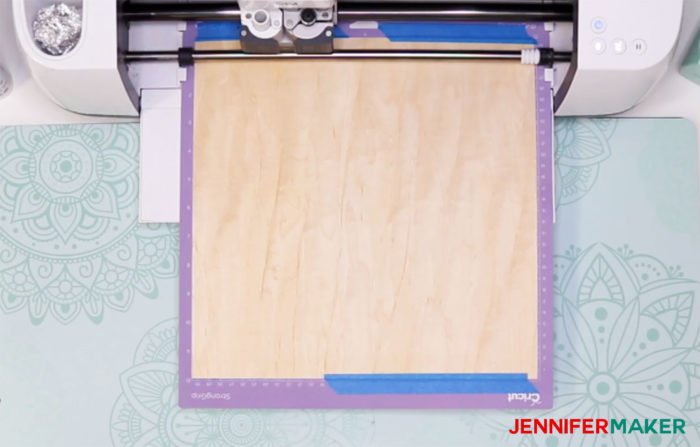
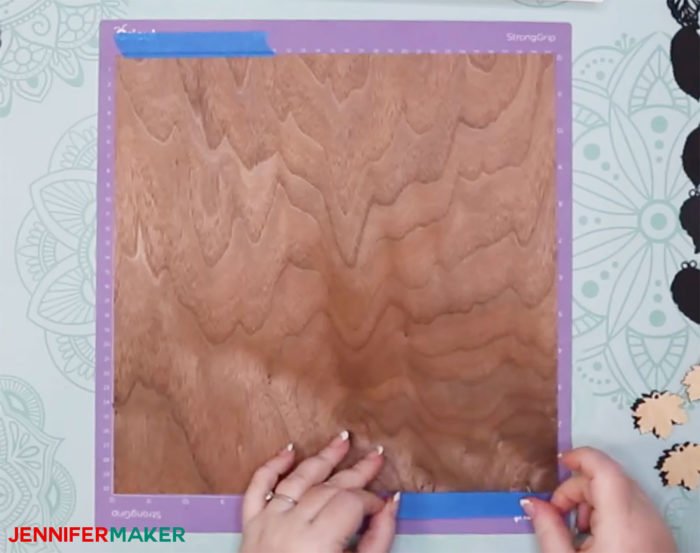
Important: When you cut the wood veneer with your Deep-Point blade, you must tape down the edges of your wood veneer on the StrongGrip mat, like this:
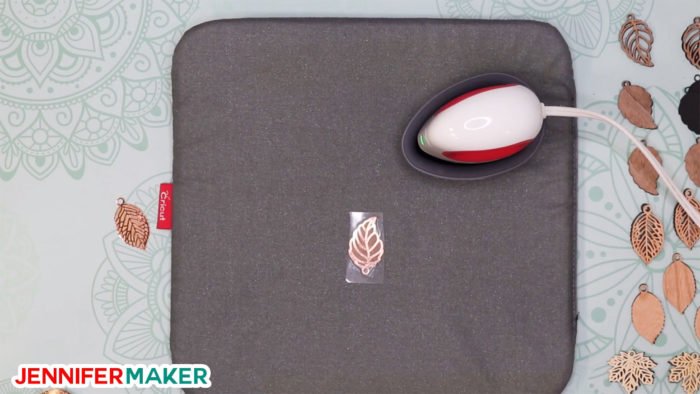
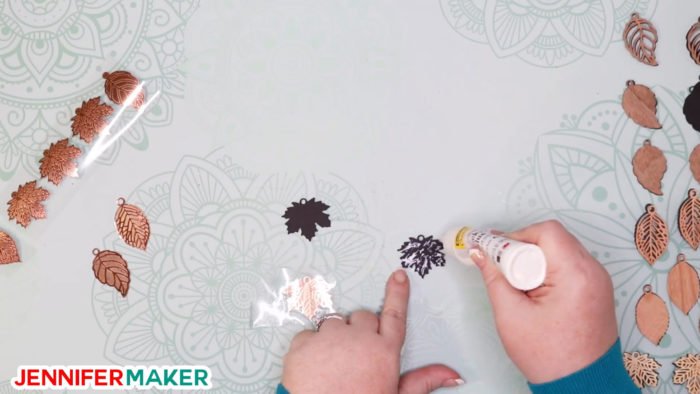
Step 3 (Optional): Press on the vinyl overlays. If you’re going to put the metallic foil iron-on vinyl overlay over your veneer earrings, do it this point. To do this, I set my Cricut Mini EasyPress to the Low settings, pre-heated the veneer for five seconds, pressed the vinyl on the veneer for 25 seconds, then allowed the vinyl to cool before peeling off. Check the Cricut Heat Settings to see how to do it with your EasyPress (note that I chose foil vinyl on cardstock to get these settings).
Step 4: Glue your earring pieces together. For the simple earrings, use a fine layer of tacky glue. For the intricate earrings and overlays, you’ll want a permanent spray adhesive. Press together well while the glue sets.
Step 5: Seal your earrings to protect them. To protect the delicate veneers and cardstock, spray your glued earrings with a permanent protective finish. You can choose whether you use matte or gloss, but I recommend gloss if you put the metallic foil on otherwise they’ll look dull. Give them about an hour to dry.
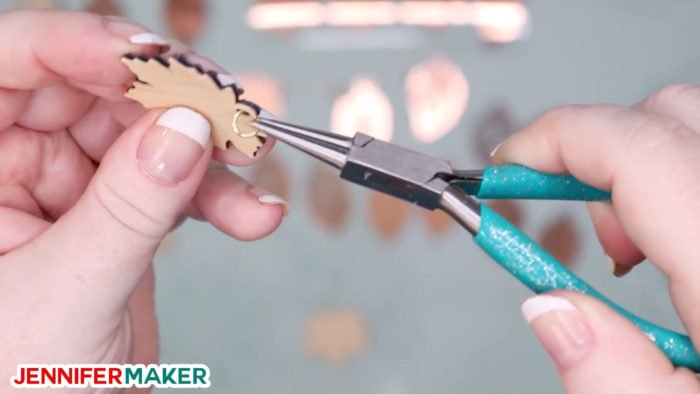
Step 6: Add your jump rings and earring findings. Using your jeweler’s needle nose pliers, attach jump rings and earring findings to each earring.
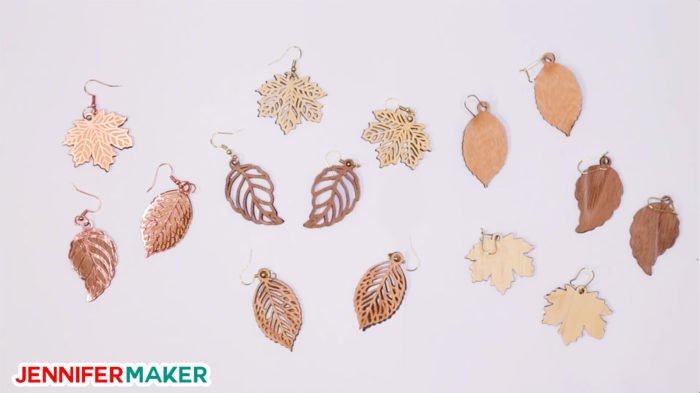
Voila! Beautiful, delicate, amazing earrings that everyone will love!
Get my free template and cut files for the Cricut Wood Veneer Earrings
I’d love to see your earrings! Please share a photo in our Facebook group, email it to me at [email protected], or tag me on social media with #jennifermaker.
Love,

Want to remember this? Save the Cricut Wood Veneer Earrings to your favorite Pinterest board!


Amazing and thanks for
the instructions and files!
Carla from Utah