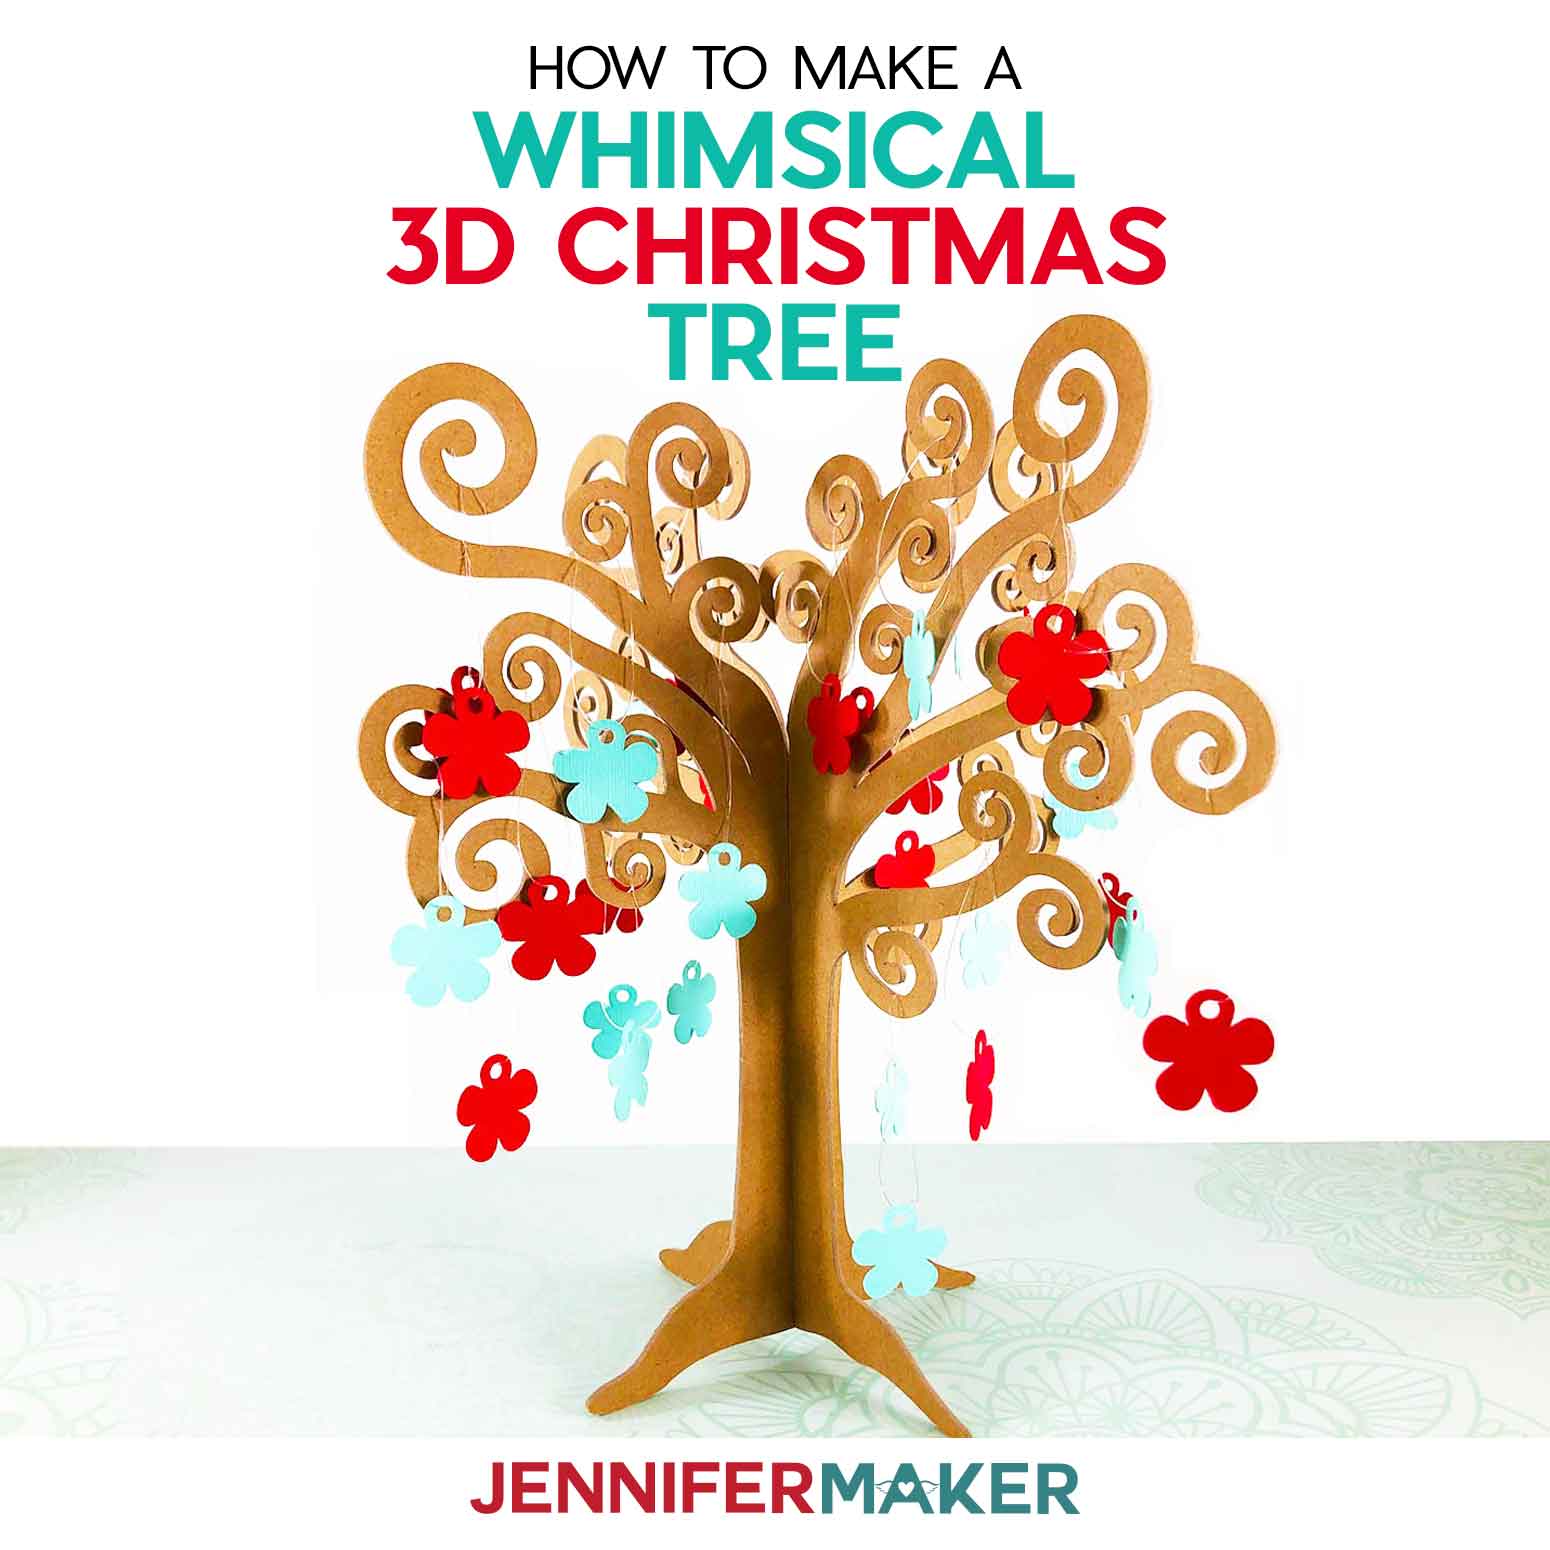
Learn to make a whimsical 3D Tree with Paper Ornaments to decorate your home for the holidays or all year round.
This cute 3D tree will be a great addition to any decor! It has such a whimsical look that it would be cute displayed just as is, however, I added some seasonal paper ornaments that will also dress it up as well. I enjoy designing beautiful things we see in nature. In the past, I’ve shared tree designs such as my Pop-Up Apple Tree Card, 3D Family Tree, and even a Christmas Tree Luminary. So for Day 8 of The Great Maker 25-Day Gift-Away Challenge, I am showing you how to decorate with a fun whimsical 3D tree.
See exactly how to make your own 3D tree with ornaments in my tutorial video (or keep scrolling if you prefer a printable step-by-step photo tutorial):

 What is The Great Maker 25-Day Gift-Away? This is an annual tradition here at JenniferMaker! Every day for the first 25 days of December we gift you with a brand new project, design, tutorial, and video. On top of that, we host a giveaway with 25+ prizes. Some of the amazing prizes are Cricut cutting machines, sewing machines, gift cards, and beautiful print editions of our popular Cricut Coach Playbook. You can even earn bonus entries for sharing photos of the daily projects! Click here to learn more about The Great Maker 25-Day Gift-Away!
There’s just something about trees, whether they are pine trees, apple trees, or family trees! This cute tree will be a great addition to any decor! It has such a whimsical look that it would be cute displayed just as is, but I added some seasonal paper ornaments that dress it up as well.
This tree would make a great stand-in for a Christmas tree if you want something a little different, but it would also look cute in the spring with summer flower ornaments. Or how about turning it into a family tree with the everyone’s names on it — what a great gift that would be!
To make this tree, you’ll want a strong material. You can use wood, acrylic, heavy chipboard or Kraft board, depending on how you plan to cut it.
If you have a laser cutting machine, like a Glowforge, go for draft board, a pretty wood or acrylic in one eighth inch thickness, like this one.
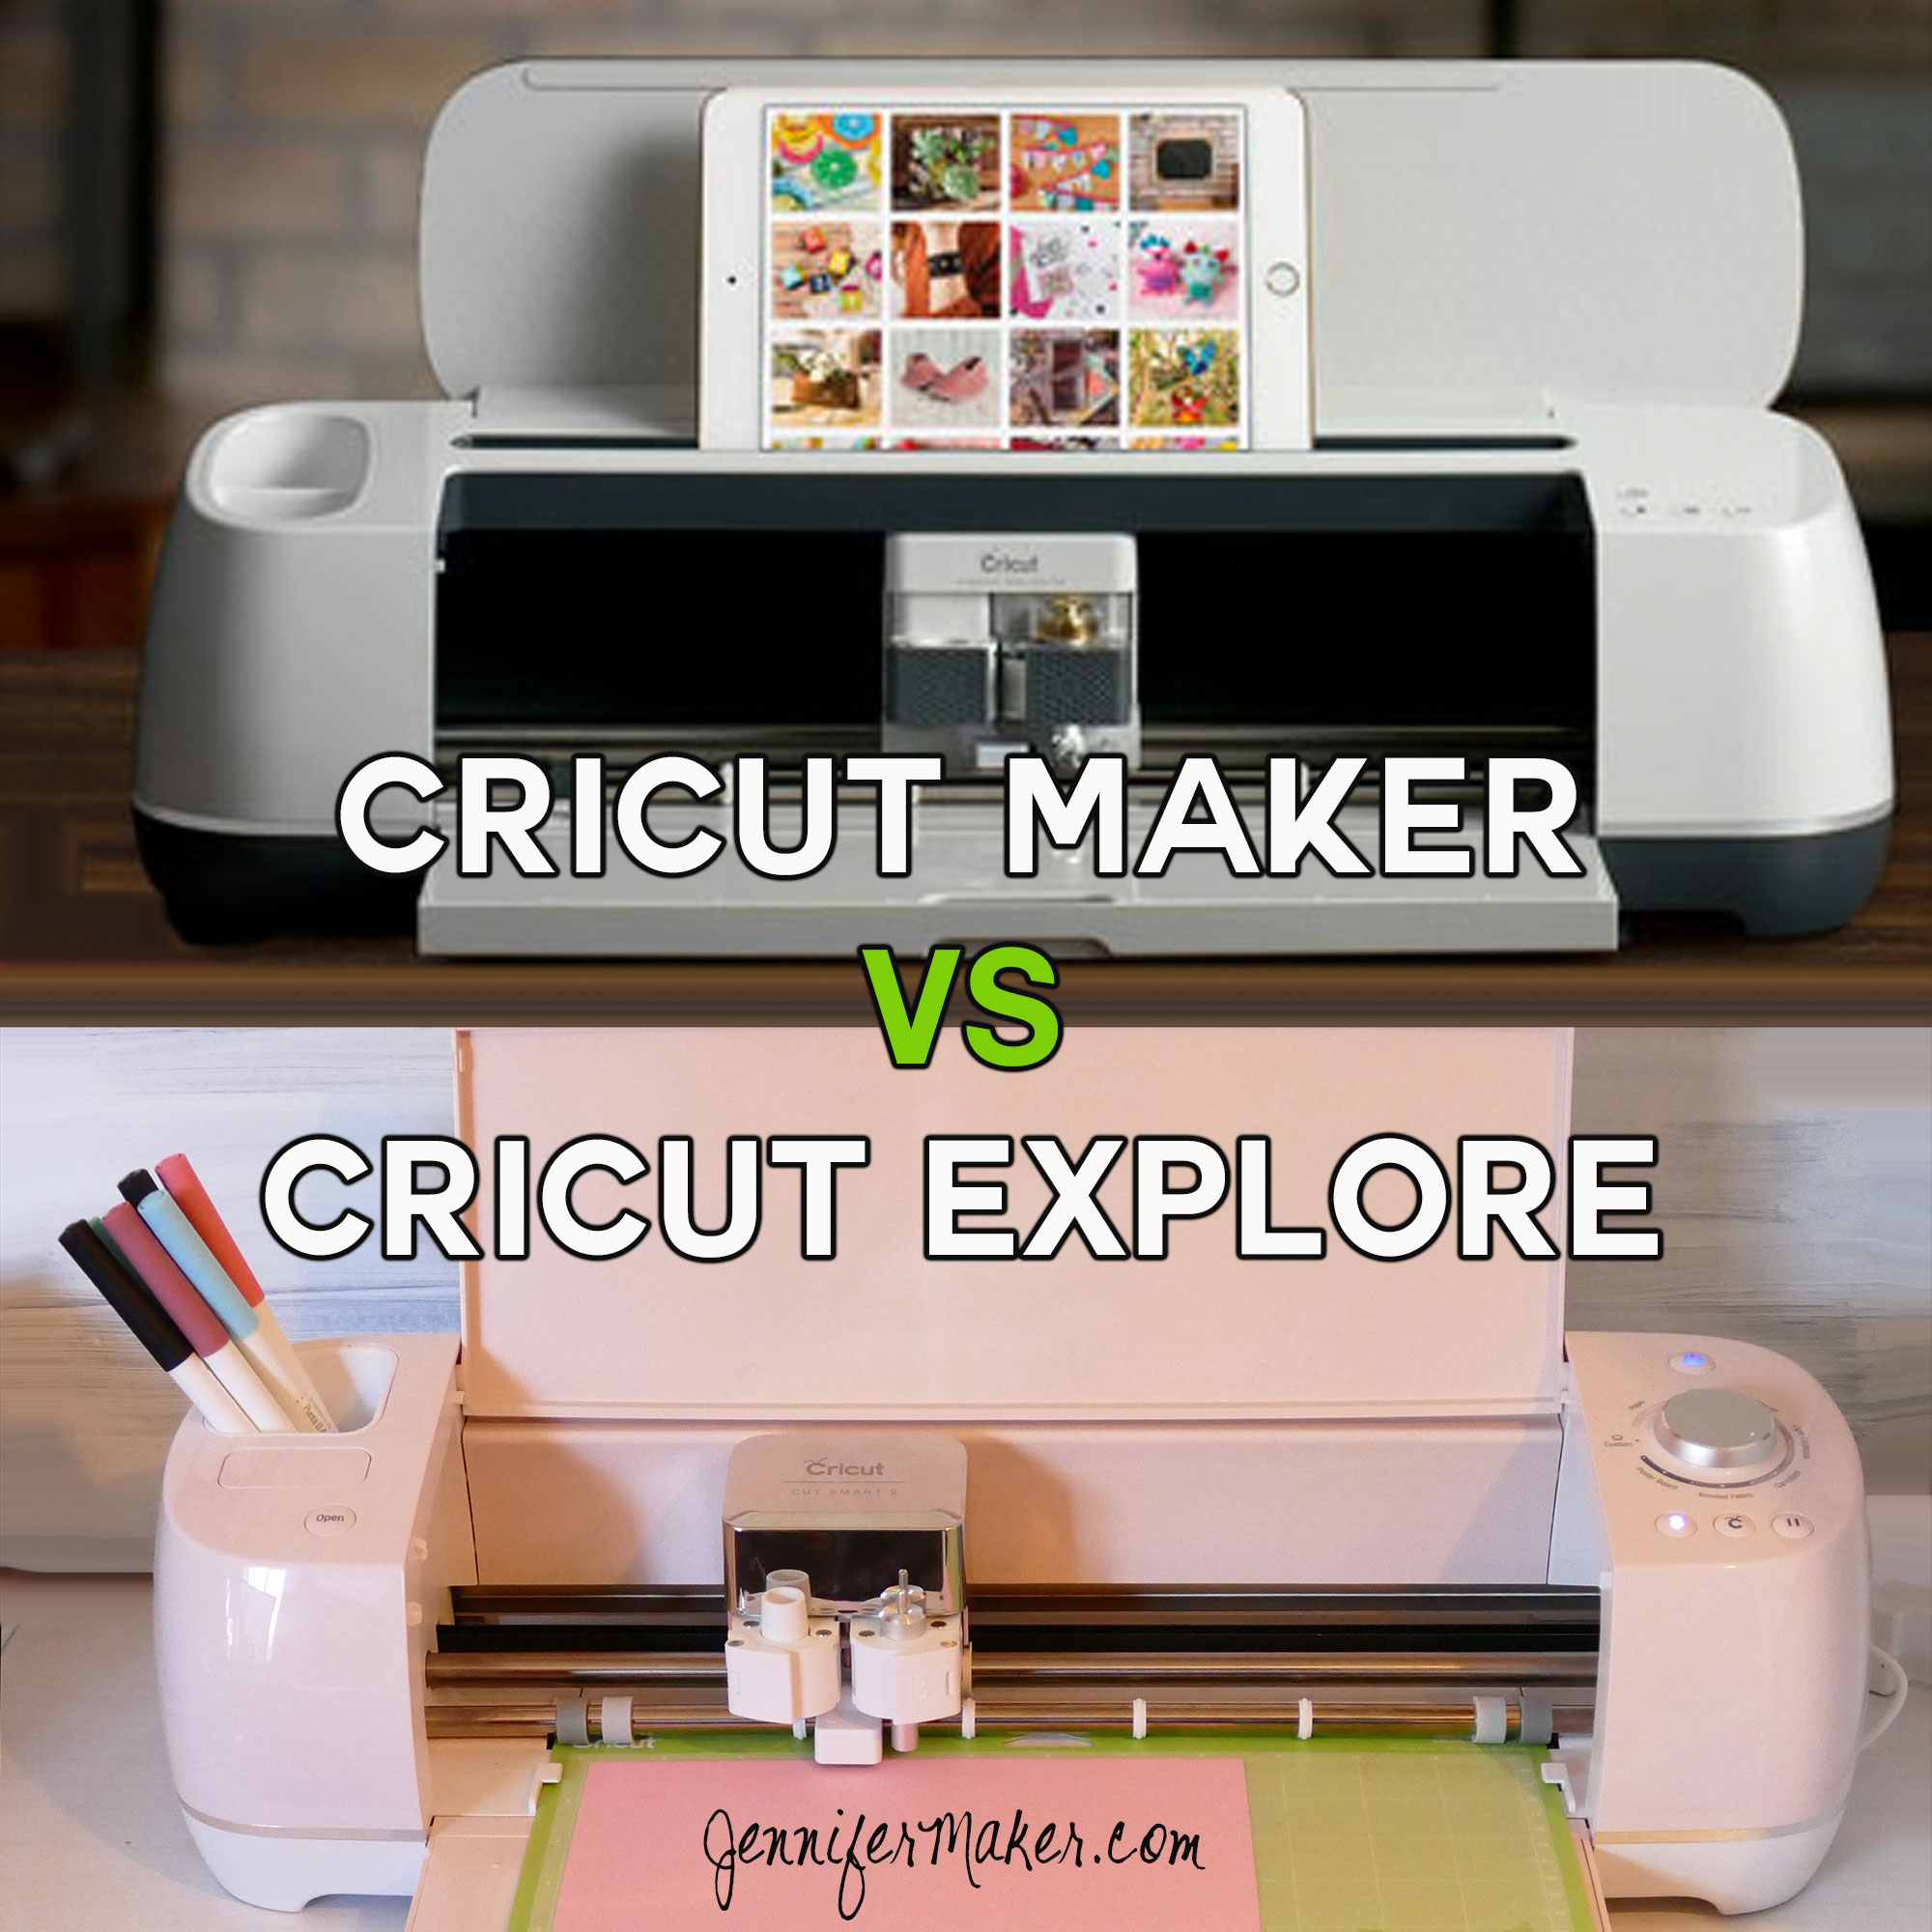
If you have a Cricut Maker cutting machine and the knife blade, you can cut heavy chipboard!
Cricut Explore owners should opt for the Kraft board version and you’ll want to cut multiple layers to give it strength, then glue them together with tacky glue.
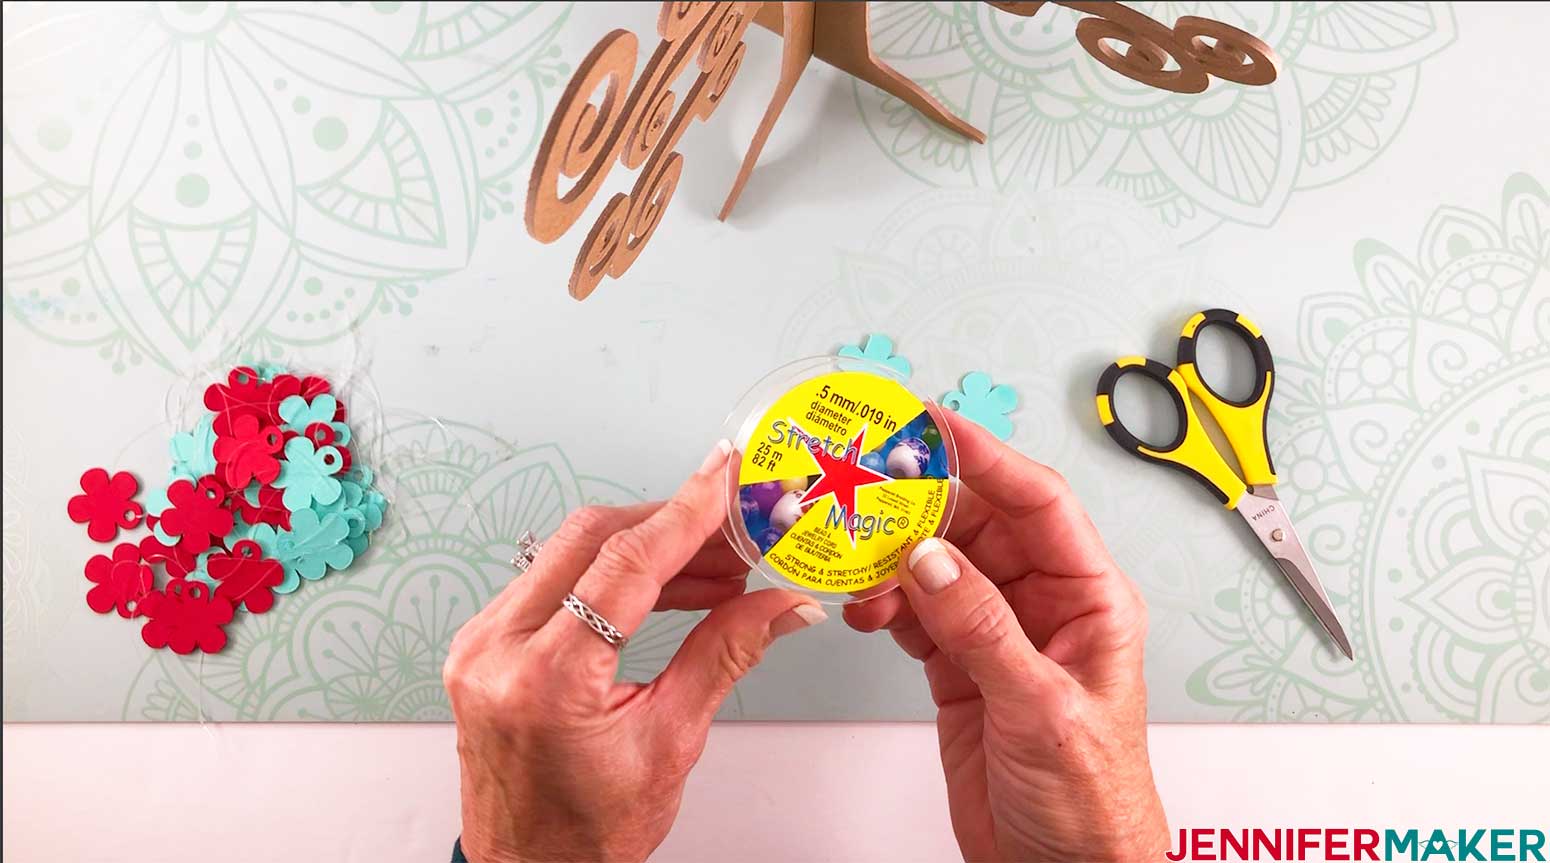
You also need some cardstock to make your ornaments, plus some transparent jewelry cord to hang them, but you could also use string or twine.
And that’s it! Now you just need the pattern for the tree. You’ll find my free tree designs with nine ornament templates in my free resource library.
So let me show you where to find the designs, and then I’ll show you how to cut and assemble your tree! This post contains some affiliate links for your convenience (which means if you make a purchase after clicking a link I will earn a small commission but it won’t cost you a penny more)! Read my full disclosure policy.
Materials to Make a 3D Tree with Paper Ornaments
View our Amazon shopping list with the exact items we used to make this project!
- Heavy Chipboard (11″ x 11″) (Maker Only)
- Kraft board (12″ x 12″) (Cricut Explore or Maker)
- Acrylic, 1/8″ thick (Glowforge Only)
- Cardstock
- Stretch Magic Jewelry Cord (Or any kind of string or twine)
- Cricut StrongGrip Mat (purple mat) for the heavy chipboard
- Cricut LightGrip Mat (blue mat) for the Kraft board
- Cricut Knife Blade and Housing (Cricut Maker Only)
- Masking Tape or Painters Tape
- A way to cut your vinyl (I used the Cricut Maker cutting machine but this can also be cut on a Cricut Explore)
- My free SVG design files (available in my free resource library—get the password by filling out the form at the bottom of this page)
How to Make a 3D Tree with Paper Ornaments
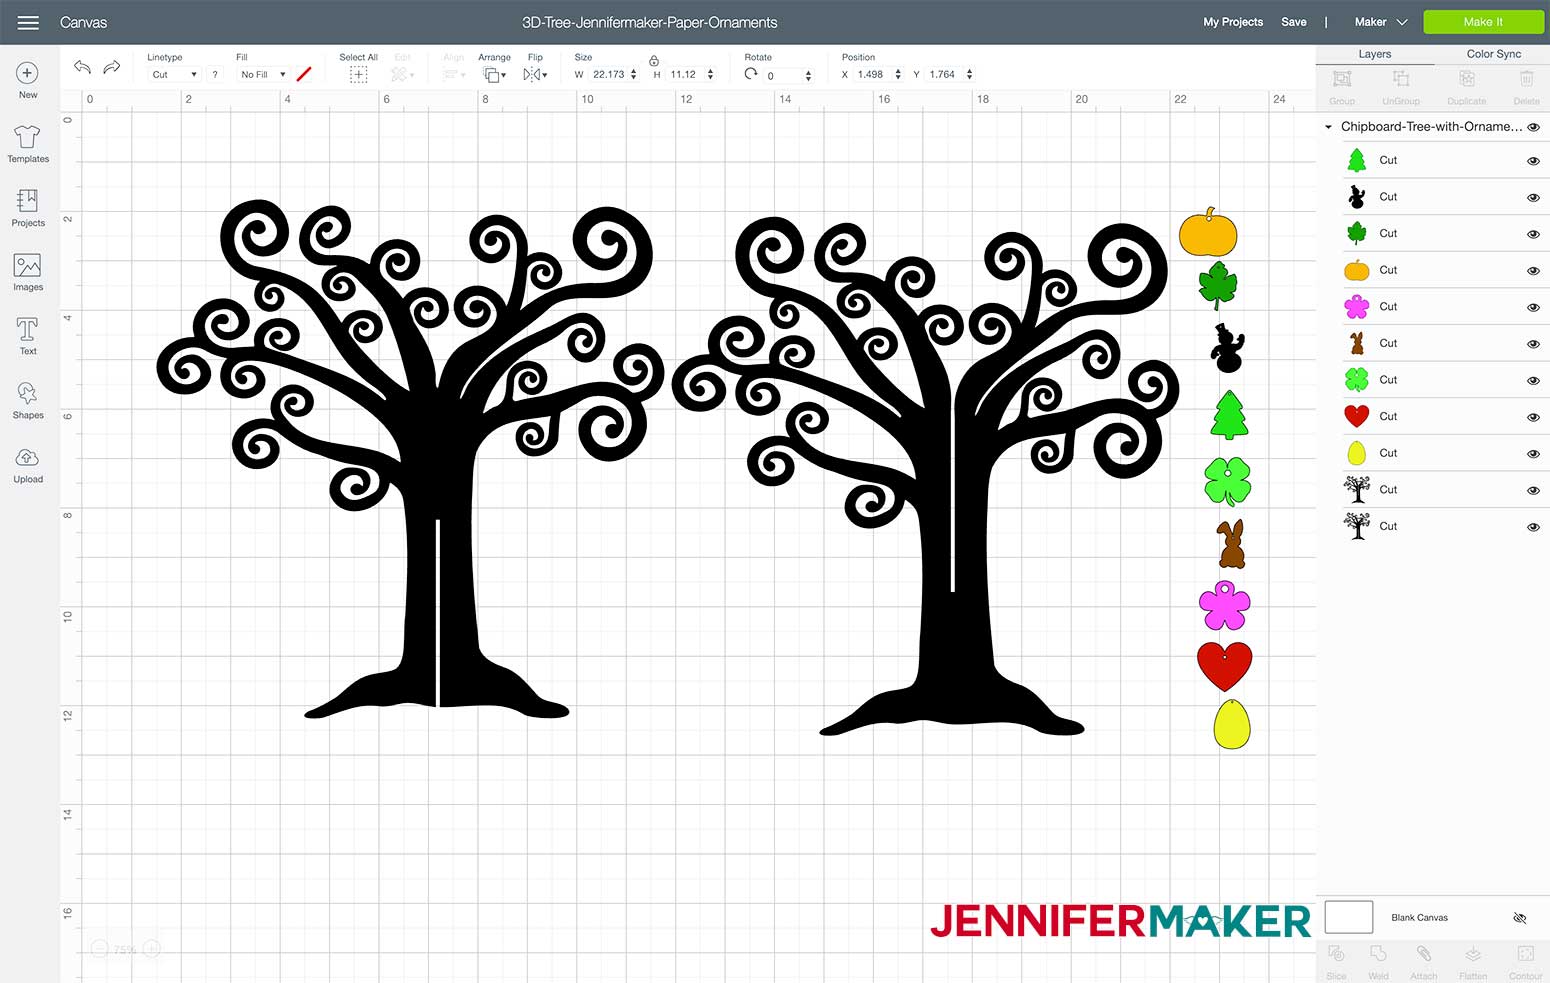
This cute 3D tree will be a great addition to any decor! It has such a whimsical look that it would be cute displayed just as is, however, I added some seasonal paper ornaments that will also dress it up as well. You can get my 3D Tree with Paper Ornaments SVG file #259 from my free resource library (get the password to the library in the form at the bottom of this page. Here is what my 3D Tree design file will look like when you upload it to the Cricut Design Space: Tip: If you are not sure how to upload an SVG cut file to the Cricut Design Space, watch this helpful video training series I made. If you are on an iPad or iPhone, here is how to download and upload SVG files to the Cricut Design Space app. You can cut this tree from multiple layers of Kraft board on a Cricut Explore, from Chipboard on a Cricut Maker, and from wood or acrylic that is 1/8 inch thickness on a Glowforge laser cutting machine. You will want the "whimsical-3d-tree-sixteenth-inch-jennifermaker-SVG" version of this design if you're cutting on a Cricut Maker or Cricut Explore. Once the 3D Tree file is uploaded into Design Space, I ungrouped the design. Since I want to cut the trees first I'm going to "hide" all of the ornaments for now. You can do this by selecting them each individually and clicking on the "eye" icon next to the selection or you can select them all at once, click group, then click on the "eye" icon. This will hide them all together. Cutting on the Cricut Maker:
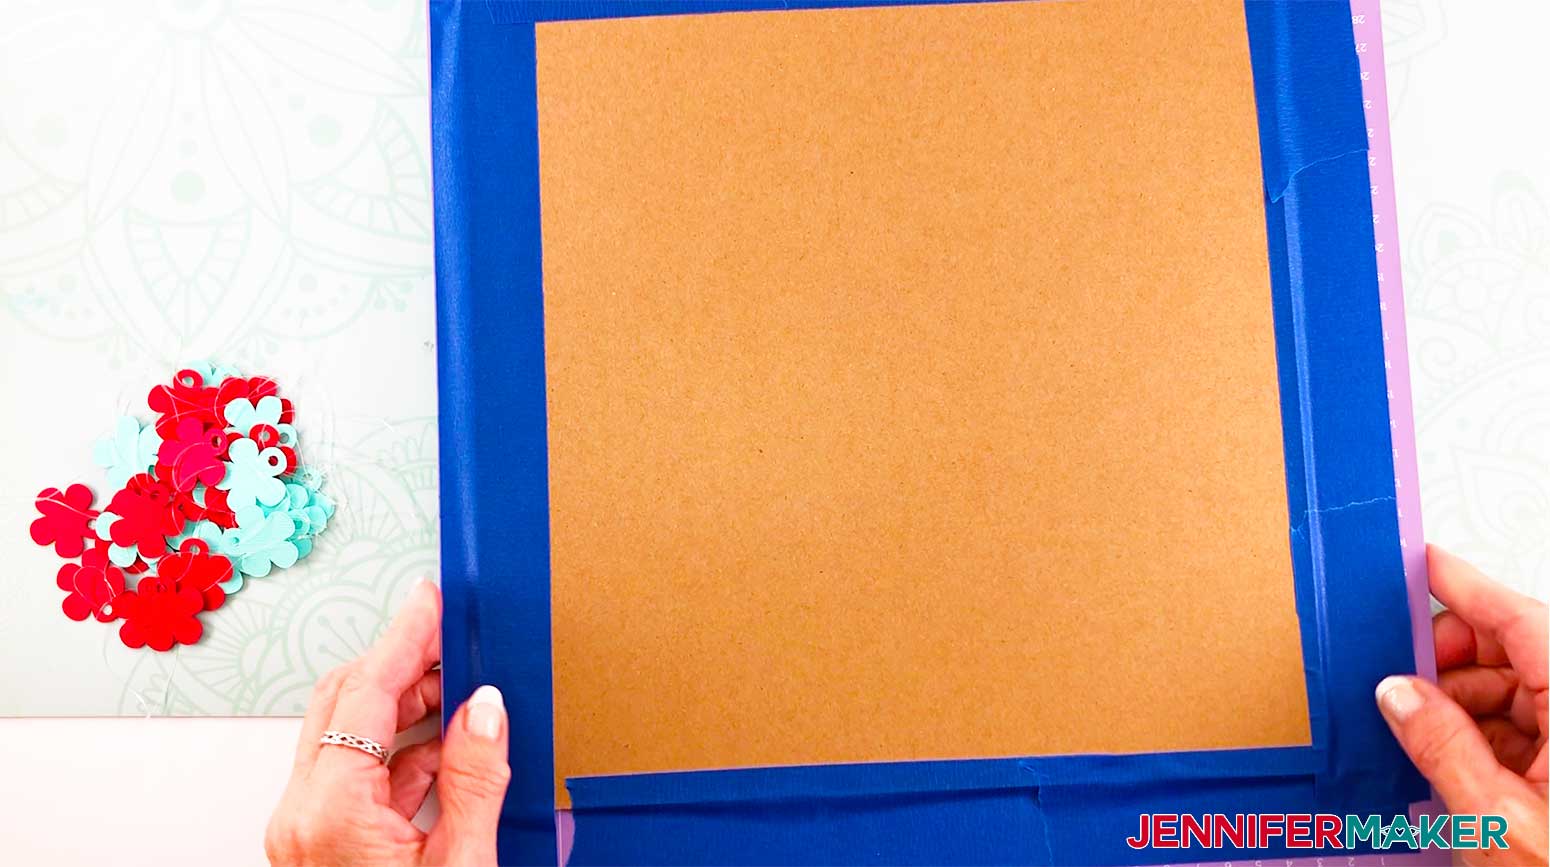
I cut the 3D tree on the Cricut Maker using the Knife Blade and Housing. I used Cricut Heavy Chipboard as my material for the tree. Cricut does recommend for best results, open the chipboard and lay flat for 24 hours to acclimate material to your climate. If your chipboard starts to warp, place it under a heavy object. This project takes a little more than 2 hours to cut the two trees on the Cricut Maker. Click Make It, verify you have two mats with a tree part on each mat. Click Continue on the mat preview screen then click on browse all materials and choose Heavy Chipboard as the material to cut. Place the material you are cutting on the Cricut StrongGrip mat. Use a brayer to create a firm bond between the material and your mat. Tape all four edges of chipboard to the mat within 1” of the corner (masking tape or blue painter’s tape recommended) On the Cricut Maker machine, move white star wheels all the way to the right to avoid making an indentation in your material. Load the mat into the machine and click the flashing button to begin to cut. The Maker's default setting is to make 24 passes when cutting heavy chipboard. The machine will make multiple passes while increasing the pressure with each pass. I recommend you check on your cut frequently. Sometimes you may get little pieces that are no longer held down by the mat. if that happens just use the pause button on your machine and remove the pieces. You may also want to pause your machine from time to time to check the blade, just to make sure it is free of debris. Do not eject the mat. Once pieces are removed resume the cut. I recommend you keep an eye on your Maker as it cuts, as it may be done in as little as 18 passes. To check, just pause your machine, lift up a corner, and see if it’s cut all the way through yet or not. Cutting on the Cricut Explore:
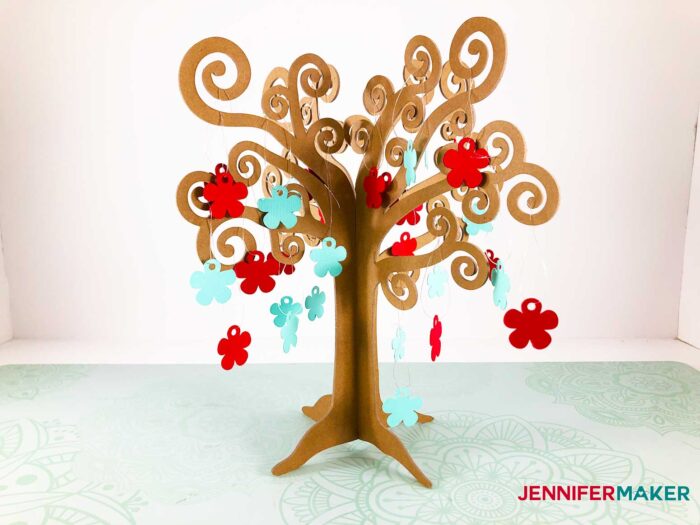
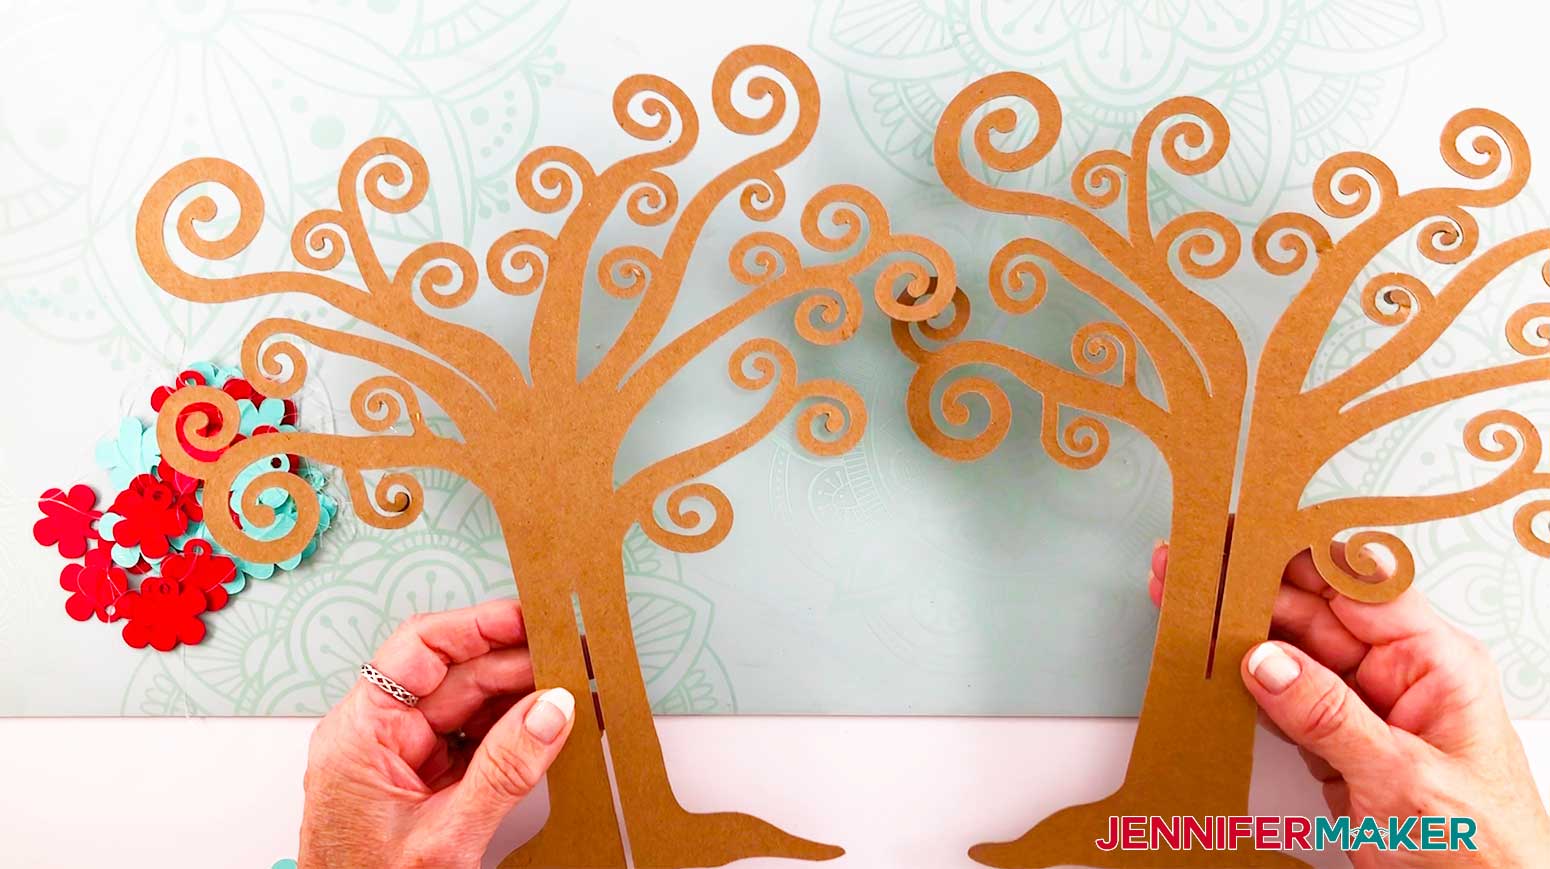
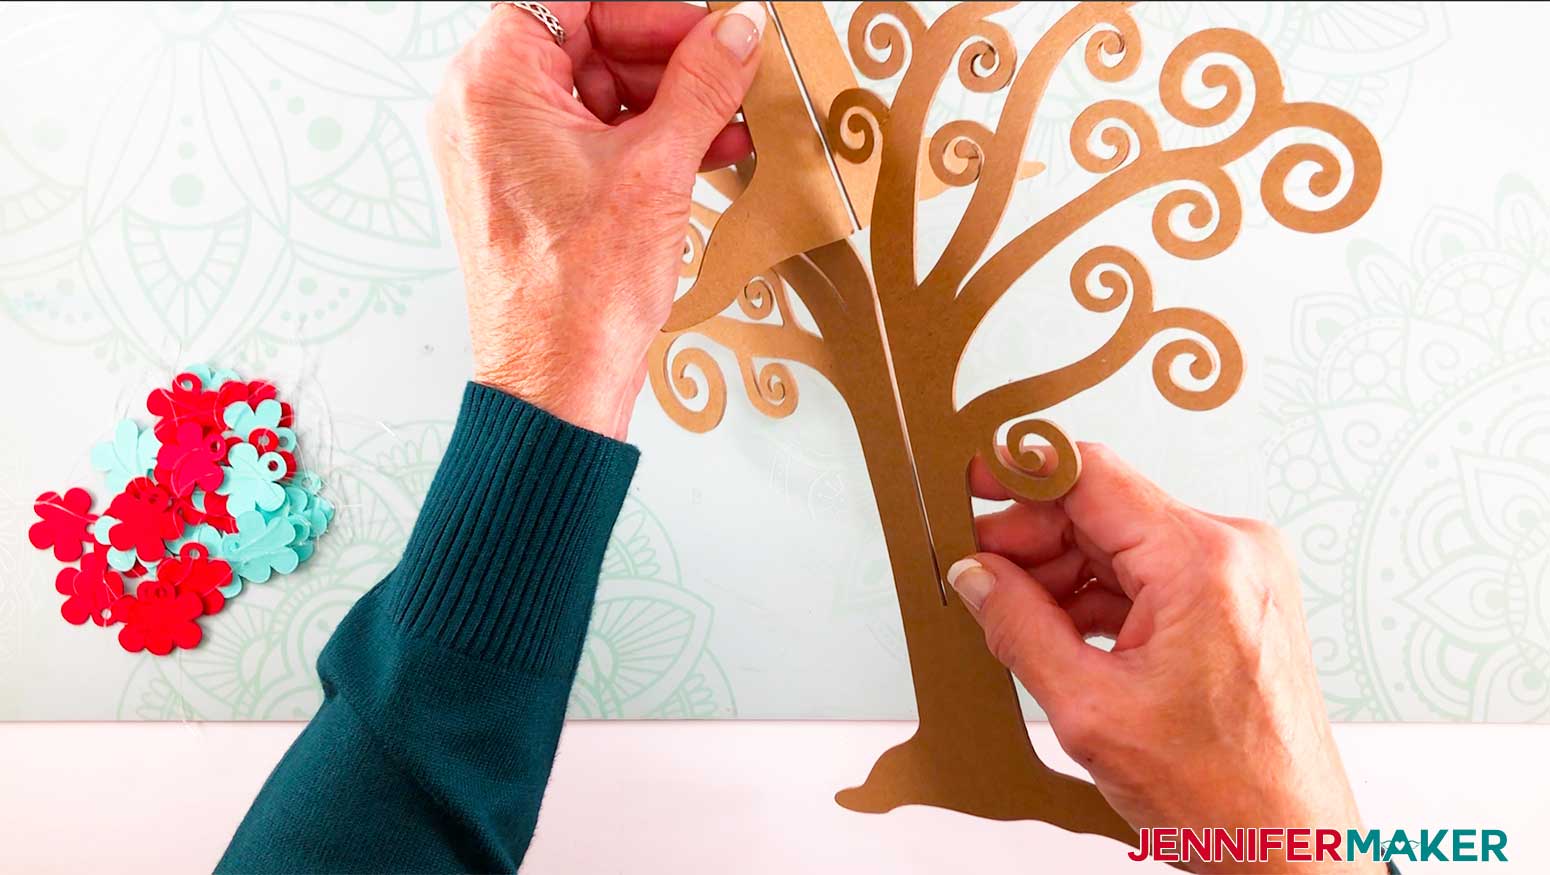
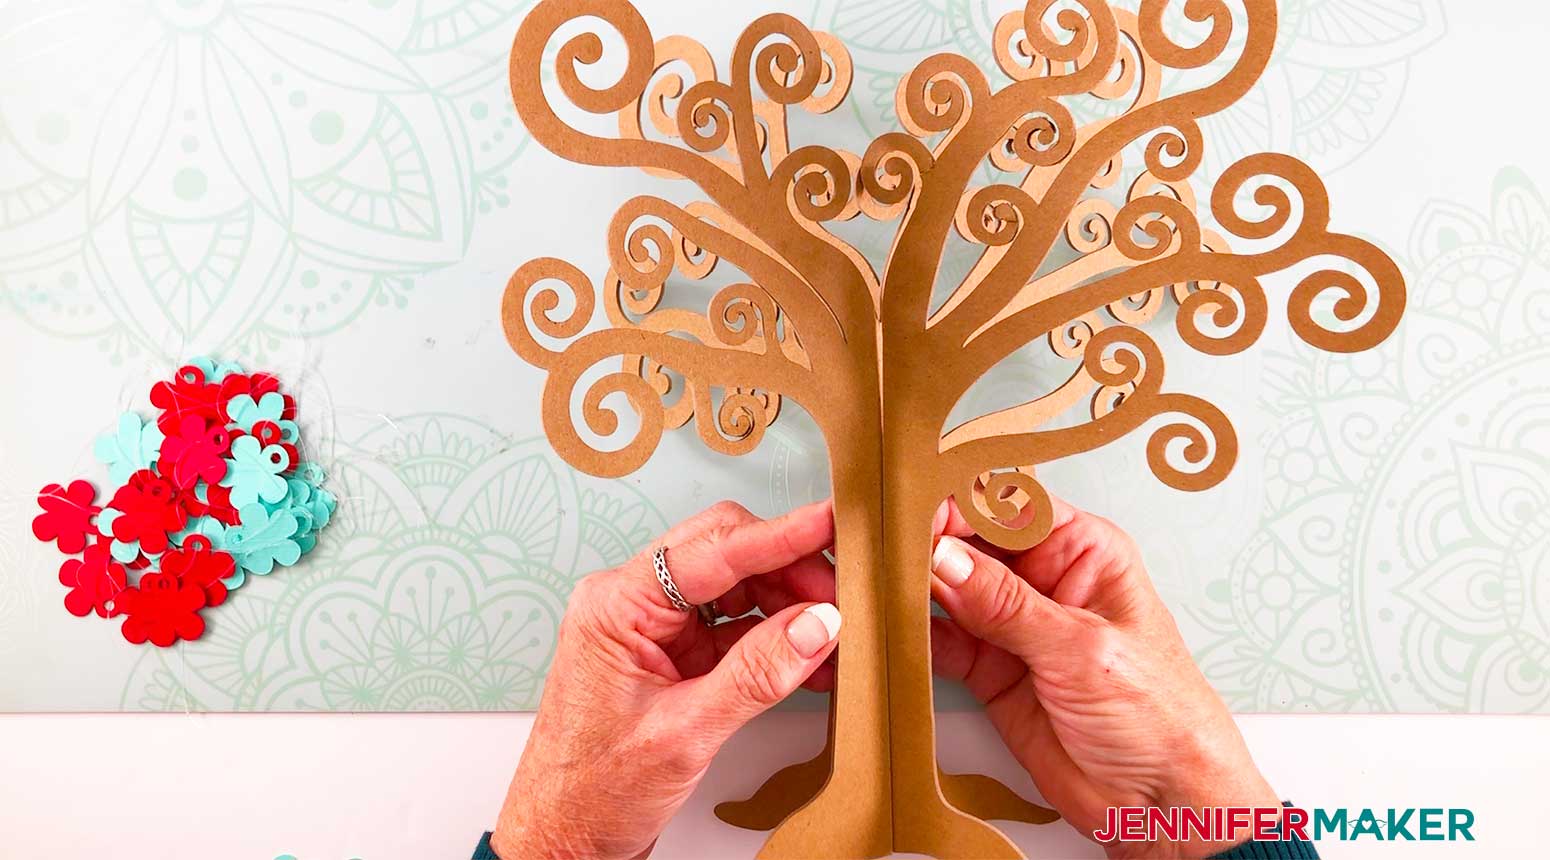
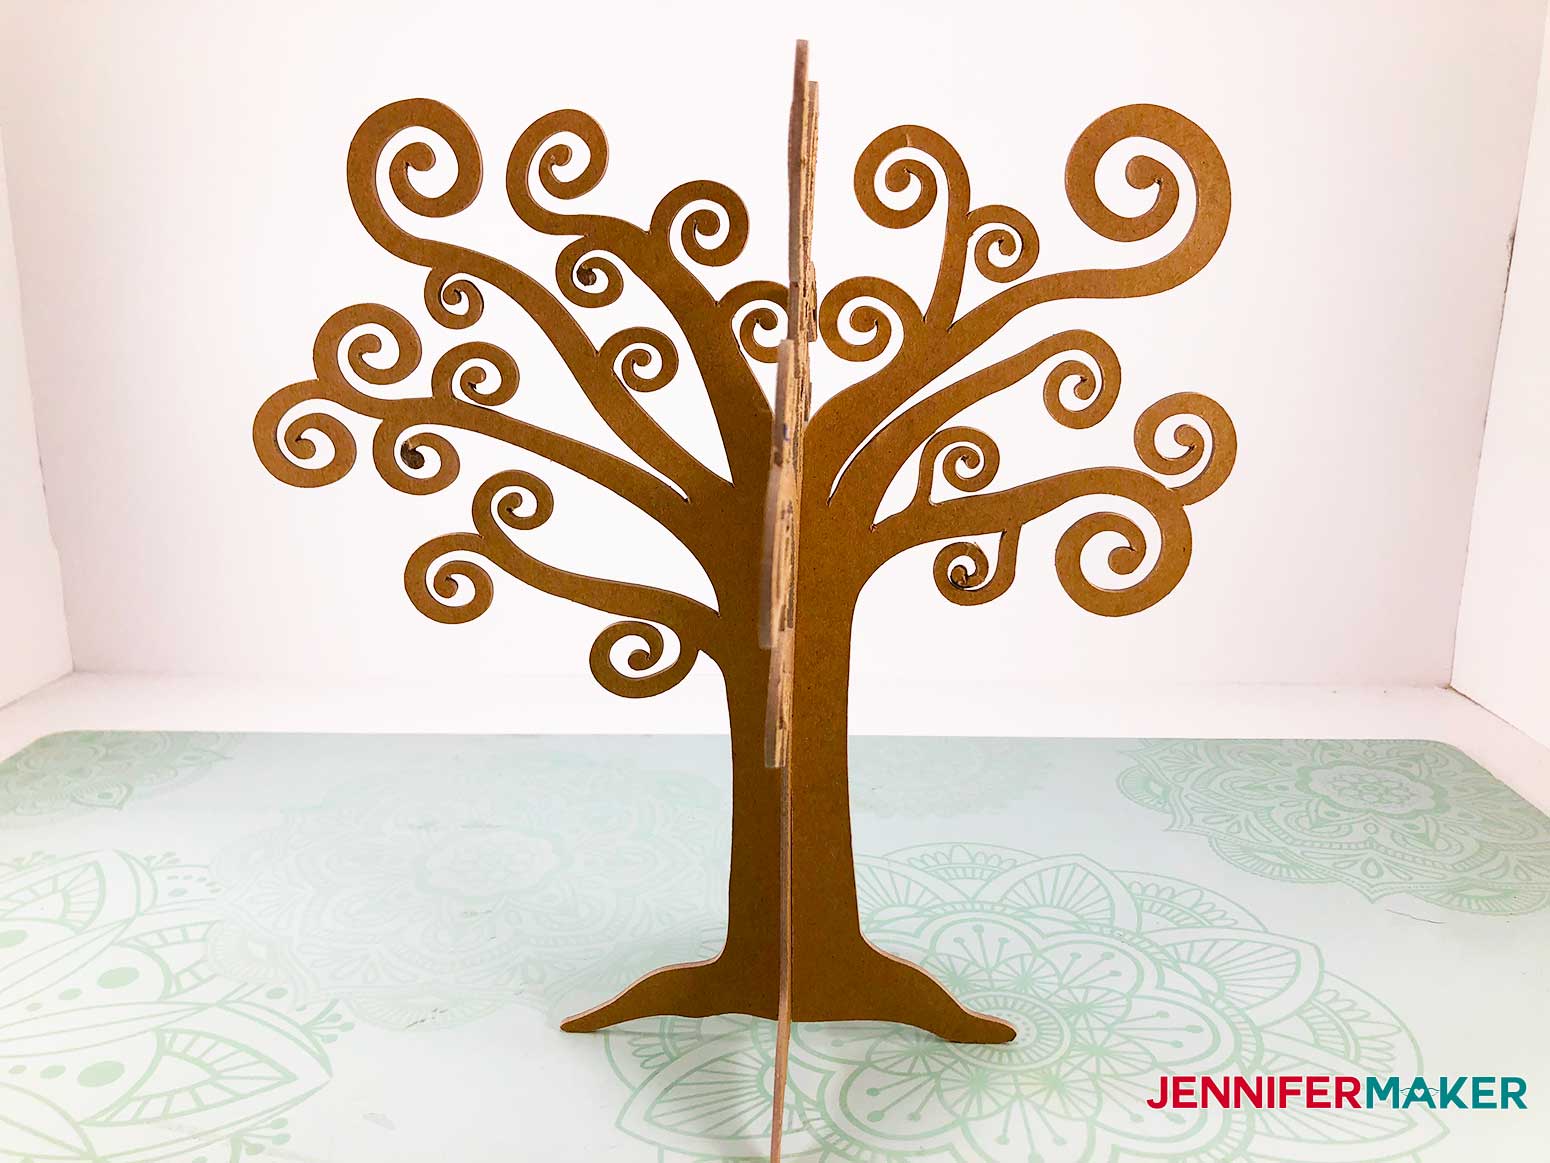
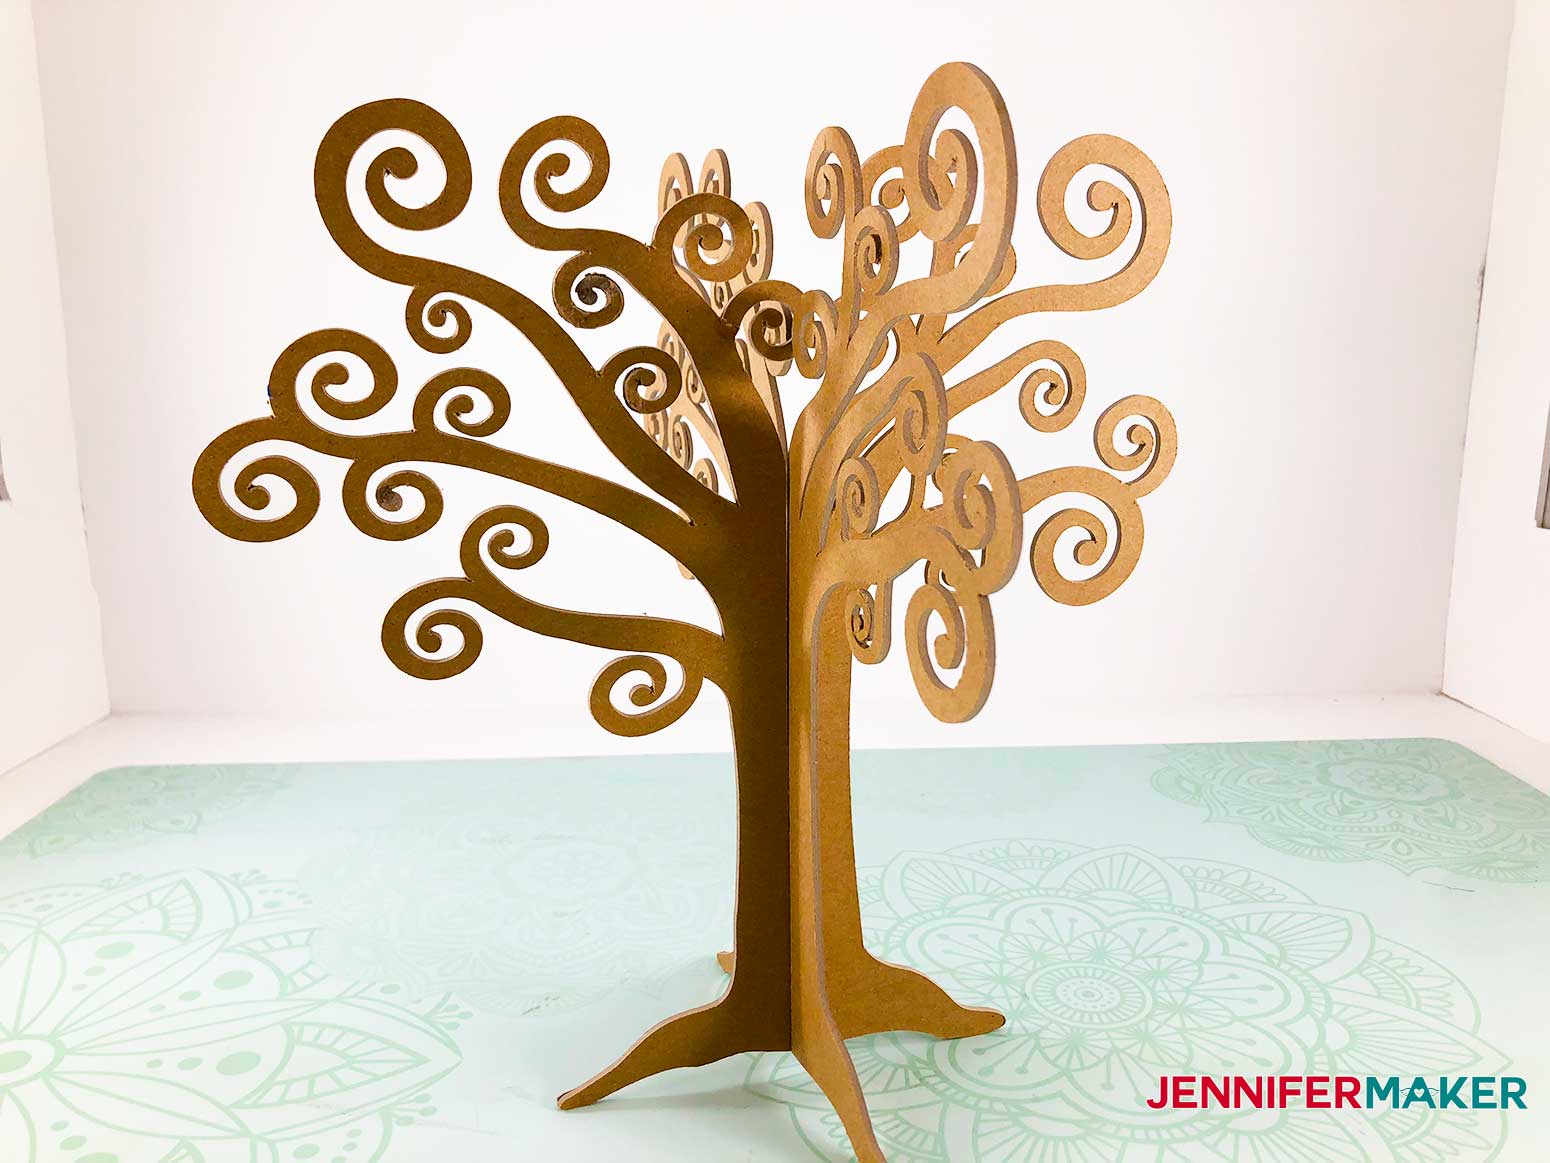
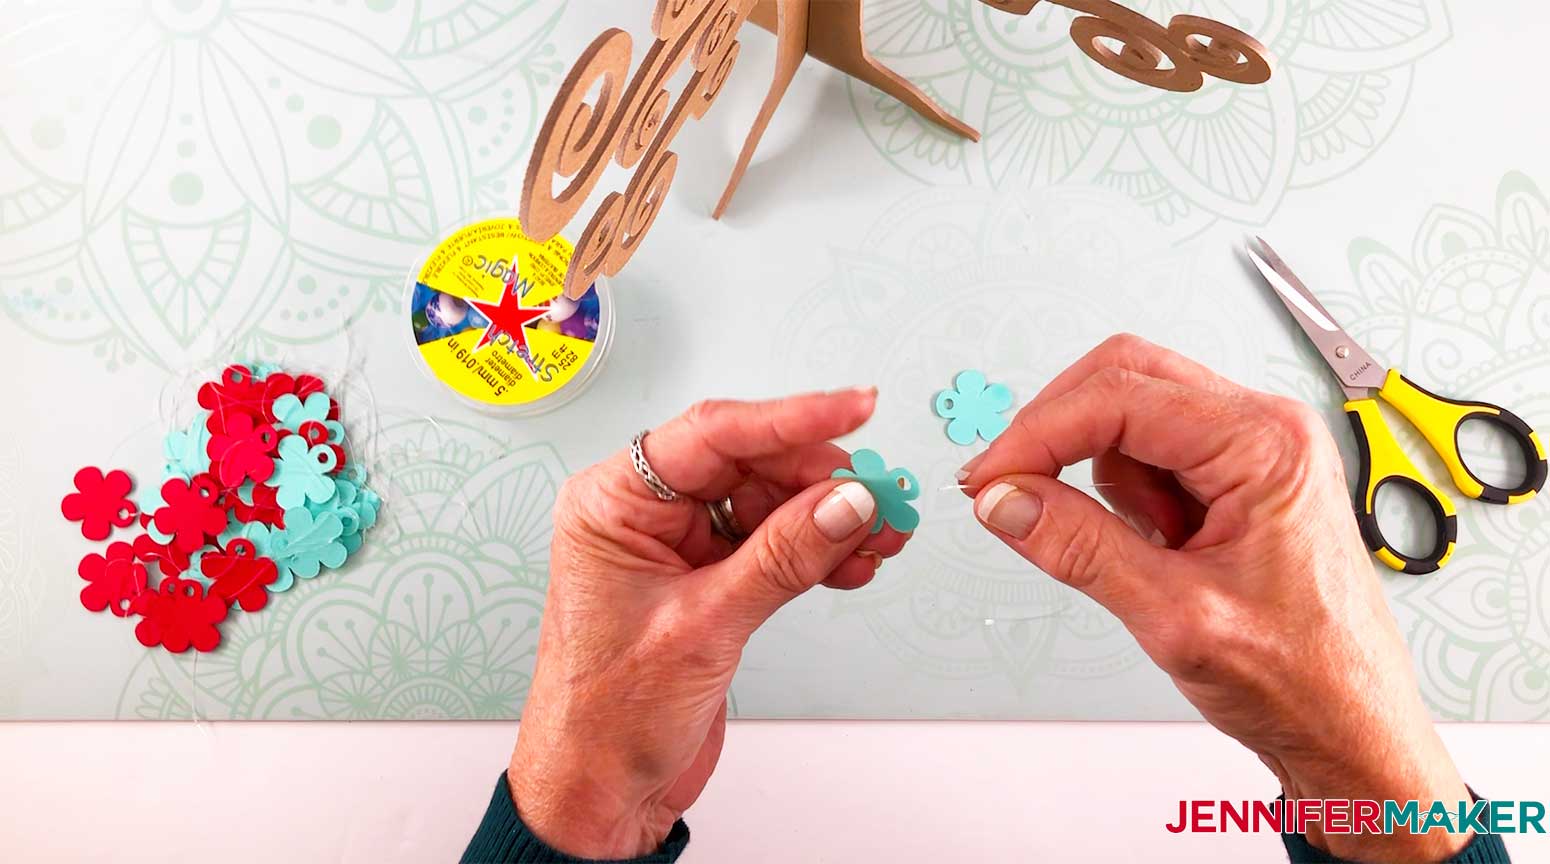
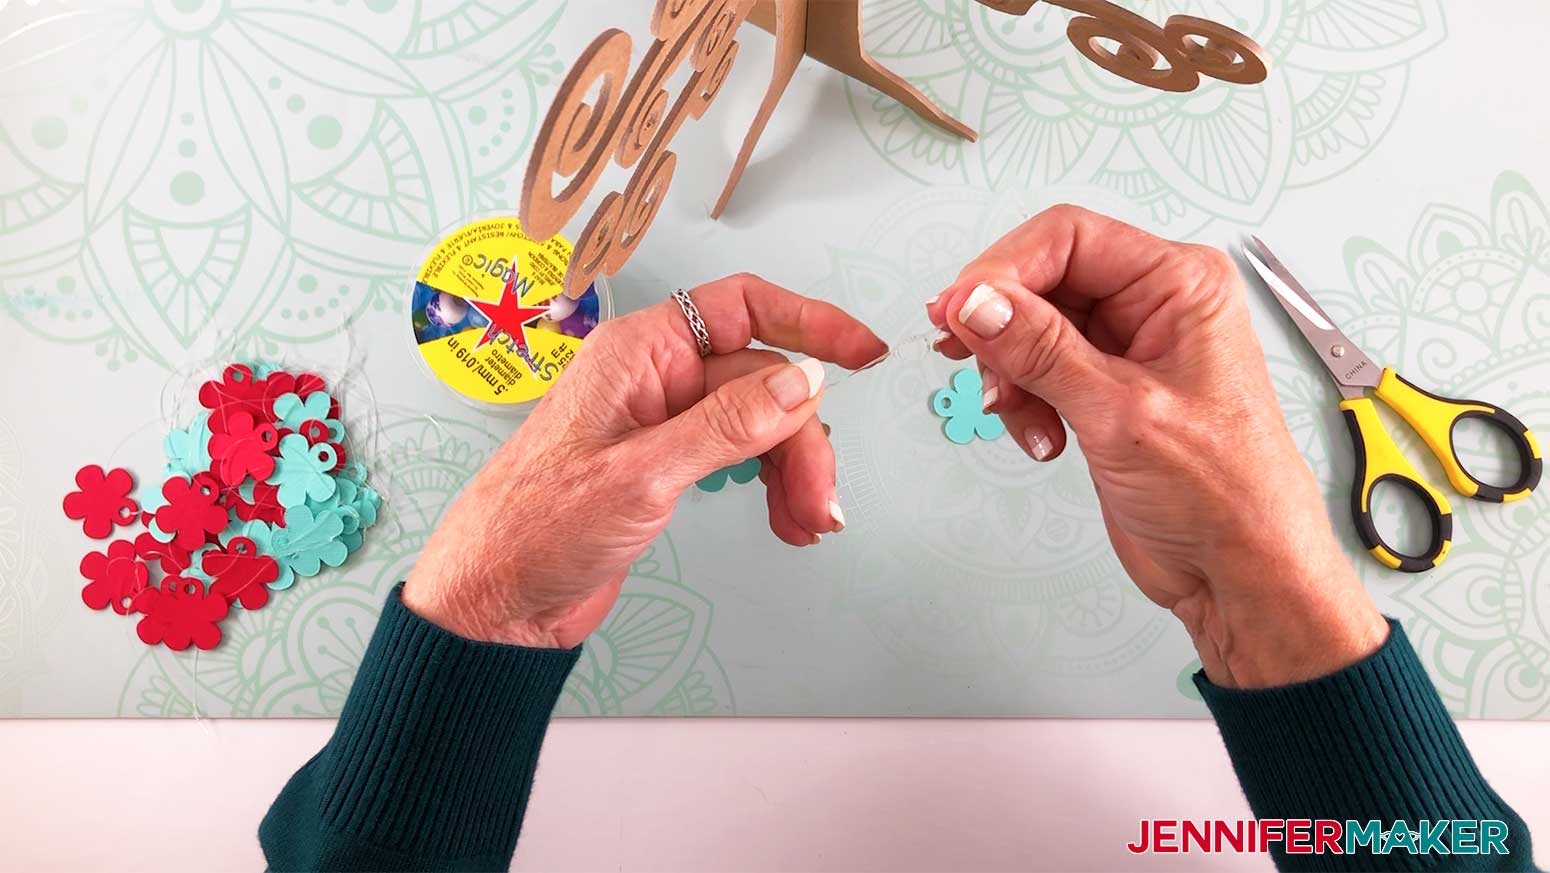
If you are making this tree on another cutting machine like the Cricut Explore, the Kraft Board version of the 3D Tree may require multiple layers glued together for stability depending on your preference. I used the Cricut Kraft Board as my material, however, you can experiment with other types of cardboard you may have on hand. I used 3 sheets of Kraft Board for each tree piece, along with the Fine Point Blade and housing. I duplicated each tree piece two times so I had 3 of each tree piece. To Duplicate, right click on the tree and select duplicate from the drop down menu that appears. You will do this twice for each tree piece so you will end up with 6 tree pieces to cut. Click Make It. You will want to verify you have 6 mats to cut. Place the material you are cutting on the Cricut LightGrip mat. Use a brayer to create a firm bond between the material and your mat. Turn the Dial on the Cricut Explore to Custom and select Kraft Board from the list of custom materials. Load the mat into the machine and begin to cut. Once you have cut the tree pieces, glue the pieces together. I found that placing the glued pieces under a heavy object helped keep them nice and flat while drying. Select the paper ornament (s) you want to decorate the 3D Tree with and cut them from cardstock of your choice. Cutting on the Glowforge laser cutter: If you are making this tree on the Glowforge laser cutter, you will want to use the eighth-inch SVG if you are using eighth inch thick material, like acrylic or wood. To assemble the 3D Tree, it is as simple as sliding the two pieces together! The tree that has the slit in the bottom of the trunk slides easily into the other piece. You may want to hot glue the two pieces together however I wanted to be able to take them apart for storage so I did not glue mine. Hanging your paper ornaments is simple as well. I used Stretch Magic clear cord to hang my ornaments. You could also use twine or string or even ornament hooks. I think the clear cord looks best. Just thread the cord through the hole in the ornament, tie a knot in the cord and you are ready to hang the ornament. Enjoy your 3D tree decorated or undecorated, it is so fun either way! The finished dimensions of my 3D Tree are approximately 11 inches x 11 inches. Special thanks to the JenniferMaker Design Fairy Team, specifically Design Fairy Vicki, for helping me design and assemble this fun 3D Tree. As an Amazon Associate and member of other affiliate programs, I earn from qualifying purchases.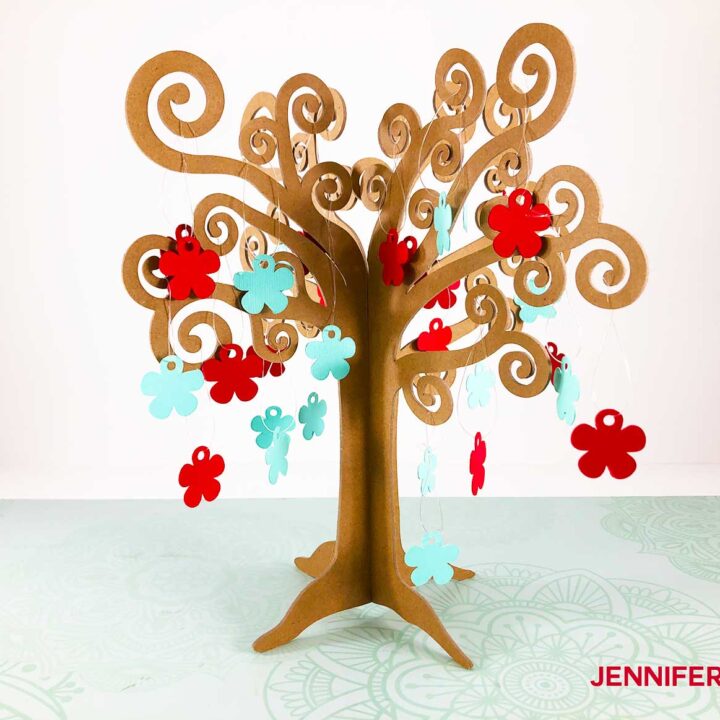
3D Tree with Paper Ornaments
Materials
Tools
Instructions
STEP 1: GET THE 3D TREE DESIGN
STEP 2: CUT THE 3D TREE DESIGN
STEP 3: ASSEMBLE YOUR DESIGN
STEP 4: SHOW IT OFF!

Notes
Recommended Products
Answers to Your Questions About Making A Whimsical 3D Tree with Paper Ornaments
Q: What is the best material for this whimsical tree if you have to use the Cricut Explore?
It would be best to opt for the kraft board version, cut multiple layers and then glue them all together with tacky glue for a stronger piece! You can also use poster board, or the cardboard from a cereal box!
If you are using either the Explore or the Maker, it is VERY important to set the materials setting to the correct type of material! If you try creating the tree on a Maker using a light chipboard, for example, do not use the heavy chipboard setting. This WILL cause your project not to be cut correctly
Q: What materials can be used for the Cricut Maker?
In addition to craft board and poster board, you can use chipboard for the Cricut Maker.
Q: Can you just double up 65 lb. cardstock?
Probably not. Even 65 lb. cardstock will be floppy when glued together! You could try 110 lb. cardstock and that might be rigid enough to keep the tree from flopping over, but craft board or poster board would truly give you a better result than trying to work with cardstock!
Get my free SVG files to make a Whimsical 3D Tree with Paper Ornaments
I’d love to see your 3D tree decorated for the holidays or if you make this design to display all year round with different decorations. Please share a photo in our Facebook group or tag me on social media with #jennifermaker.
See all of the projects, tutorials, and free designs in The Great Maker 25-Day Gift-Away Challenge!
Love,