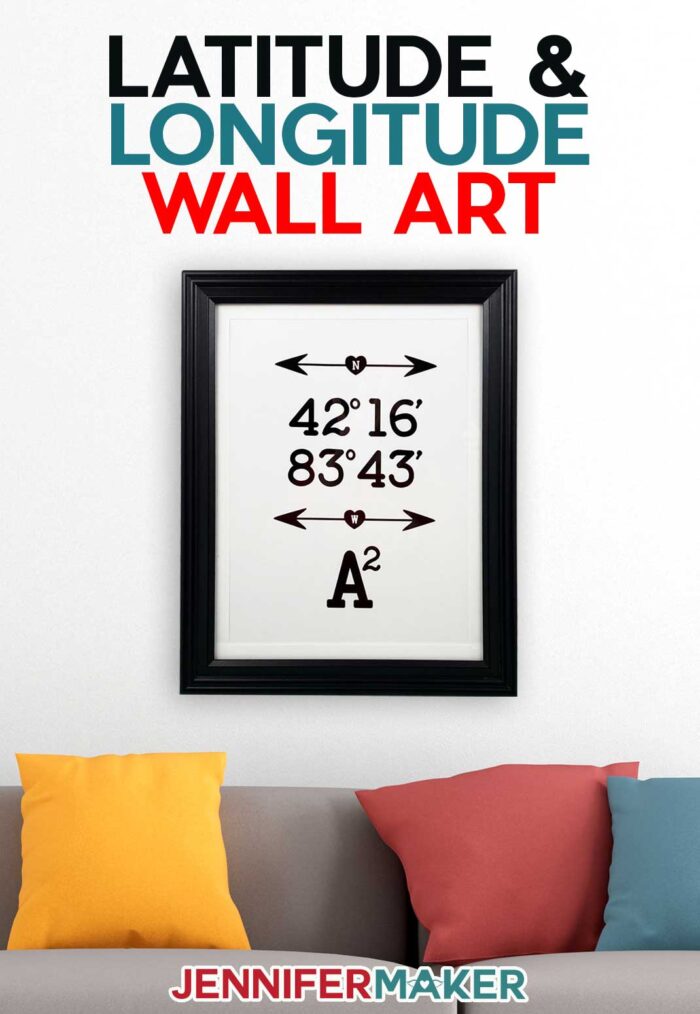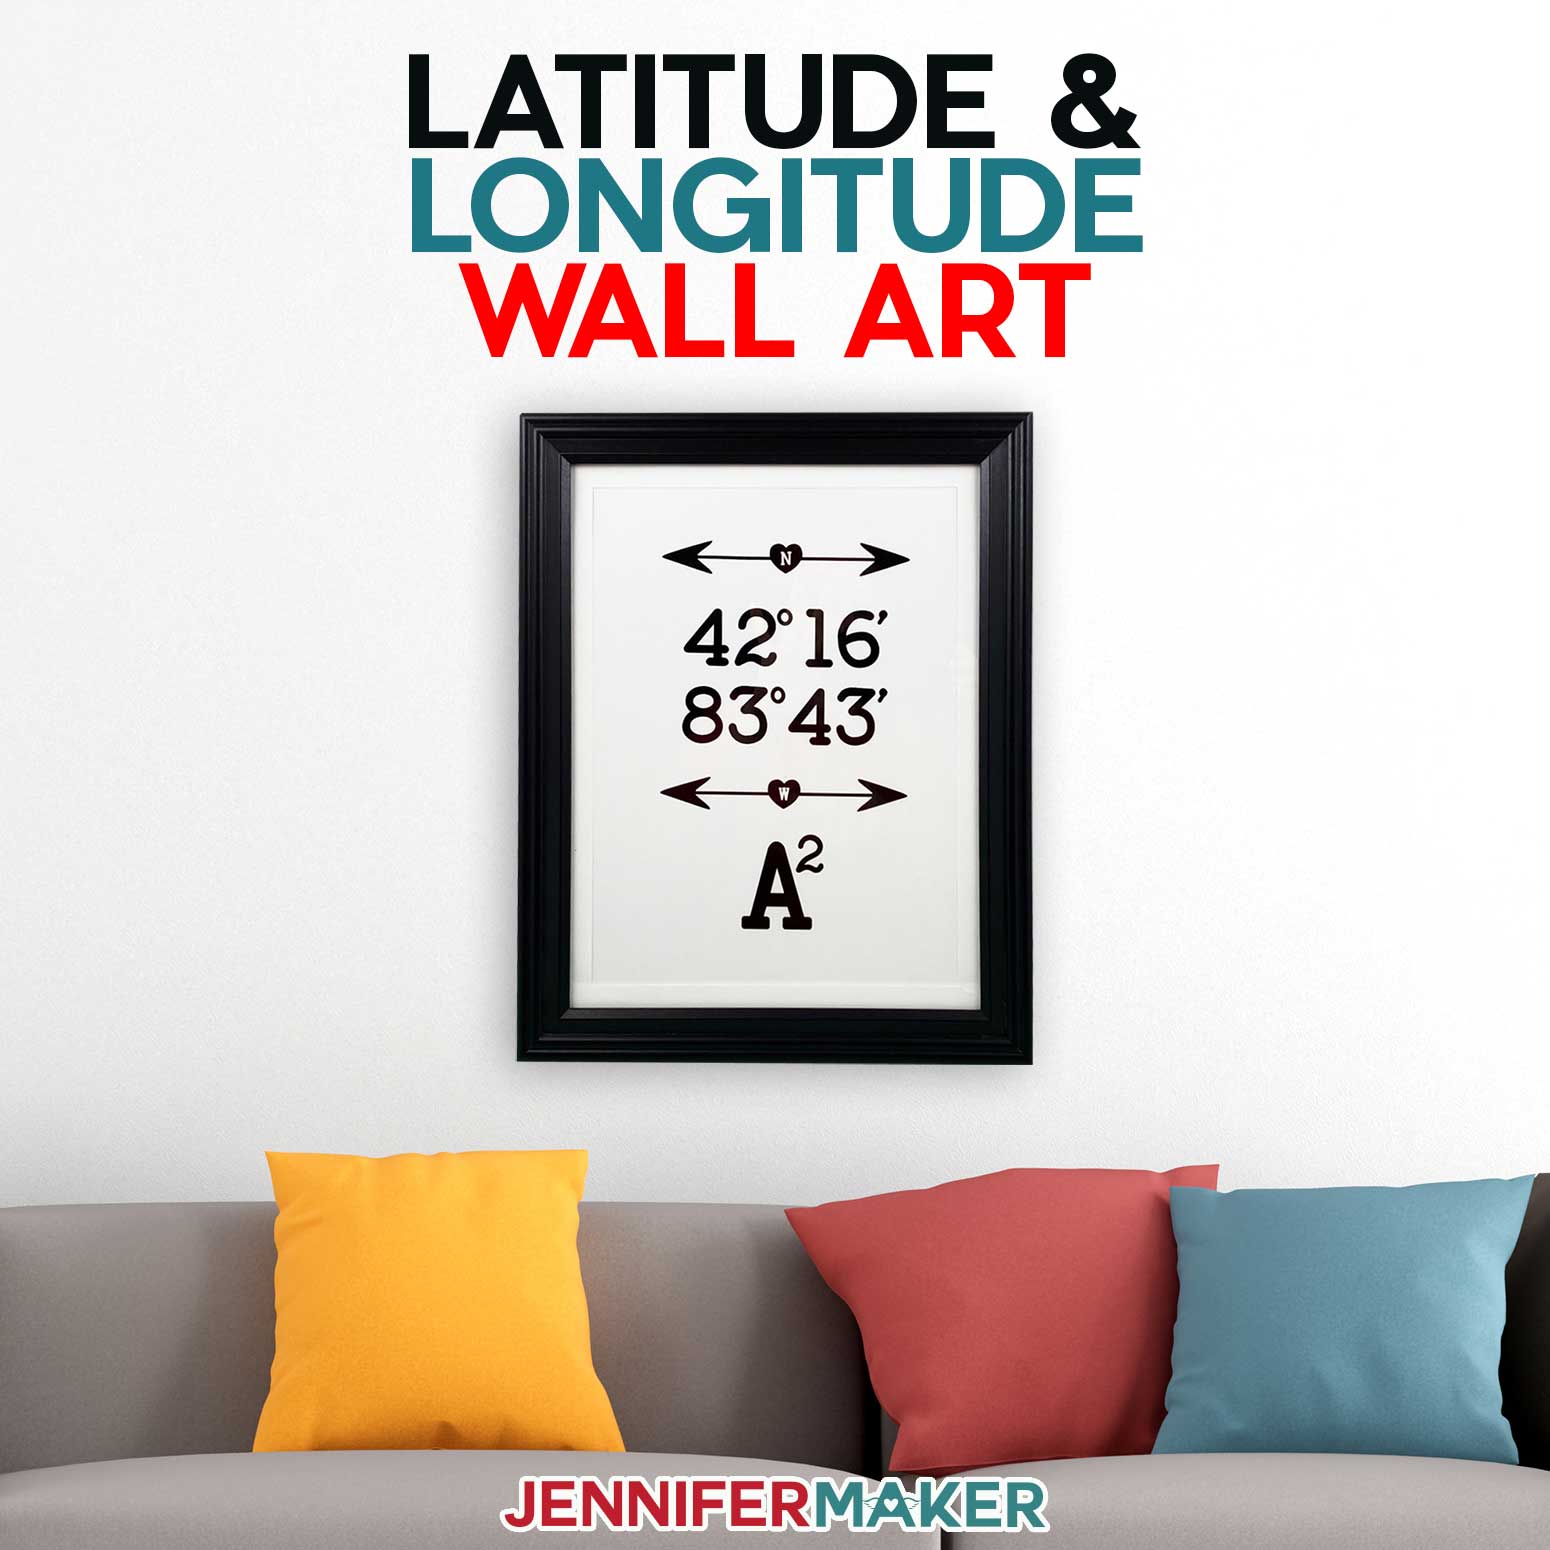
Learn make customized latitude & longitude wall art with your own coordinates!

Let me show you how easy it is to make wall art with your Cricut using my free SVGs! This post contains some affiliate links for your convenience (which means if you make a purchase after clicking a link I will earn a small commission but it won’t cost you a penny more)! Read my full disclosure policy.
Materials to Make Latitude & Longitude Wall Art
View my Amazon shopping list with the exact items we used to make this project
- Permanent Vinyl (I used Cricut Black Vinyl)
- Standard Grip Transfer Tape
- One (1) sheet of 11″ x 14″ paper
- One (1) 10″ x 13″ Picture Frame
- One (1) pen (I used a Black FriXion Erasable Pen)
- Painter’s Tape
- (Optional): Font: Baltimore Typewriter / Free Font Alternative: Courier
- A method to print and cut your stickers – I used the Cricut Maker but you can also use the Cricut Maker 3 or Explore Series machines
- Standard Grip Cutting Mat 12″ x 12″
- Weeding tool
- Scraper tool
- Design #368 – My free decorative arrows SVG/DXF/PDF (available in my free resource library – get the password by filling out the form at the bottom of this page)
How to Make Latitude & Longitude Wall Art
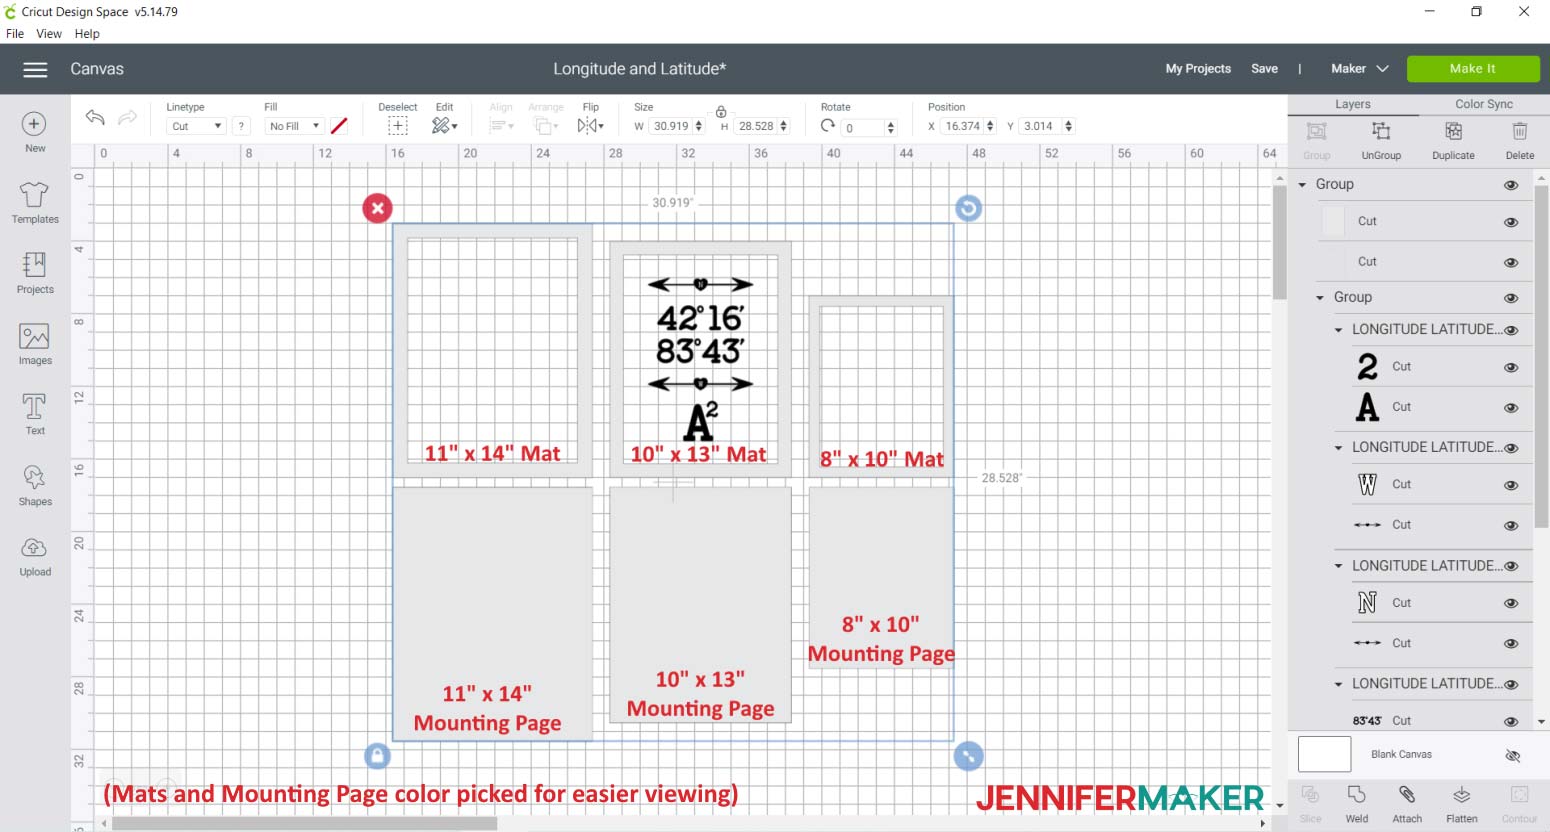
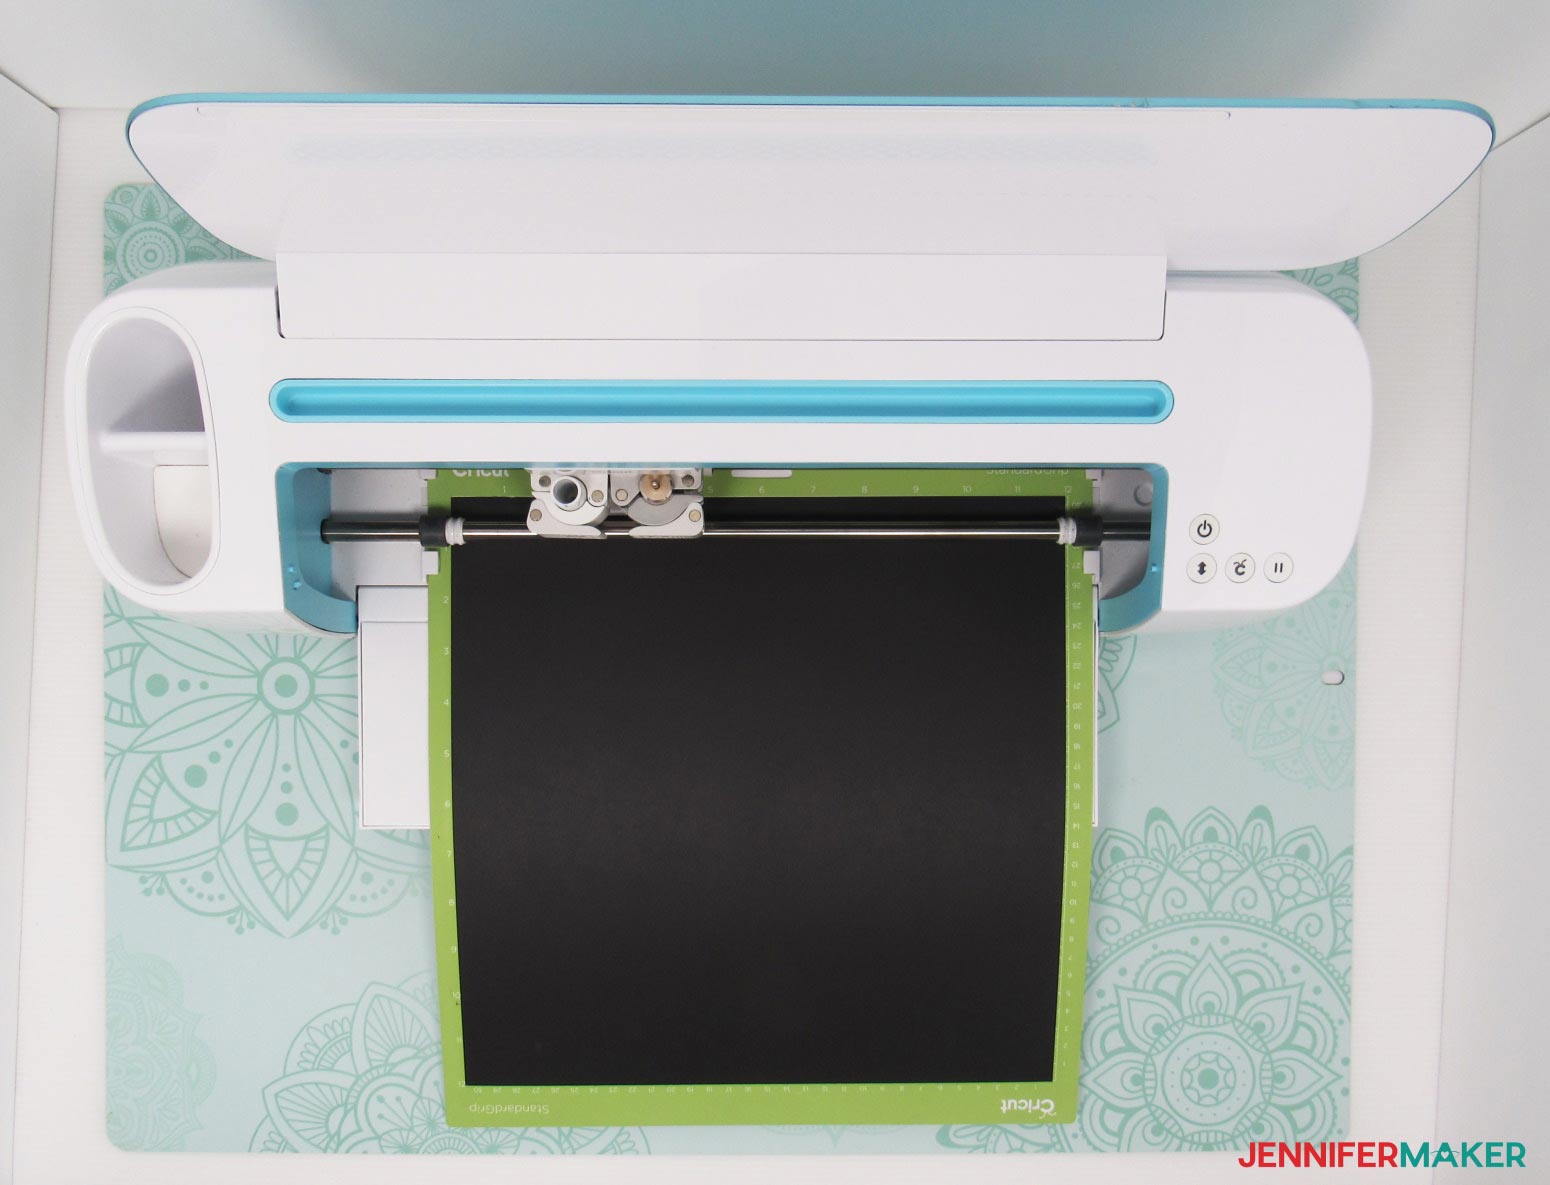
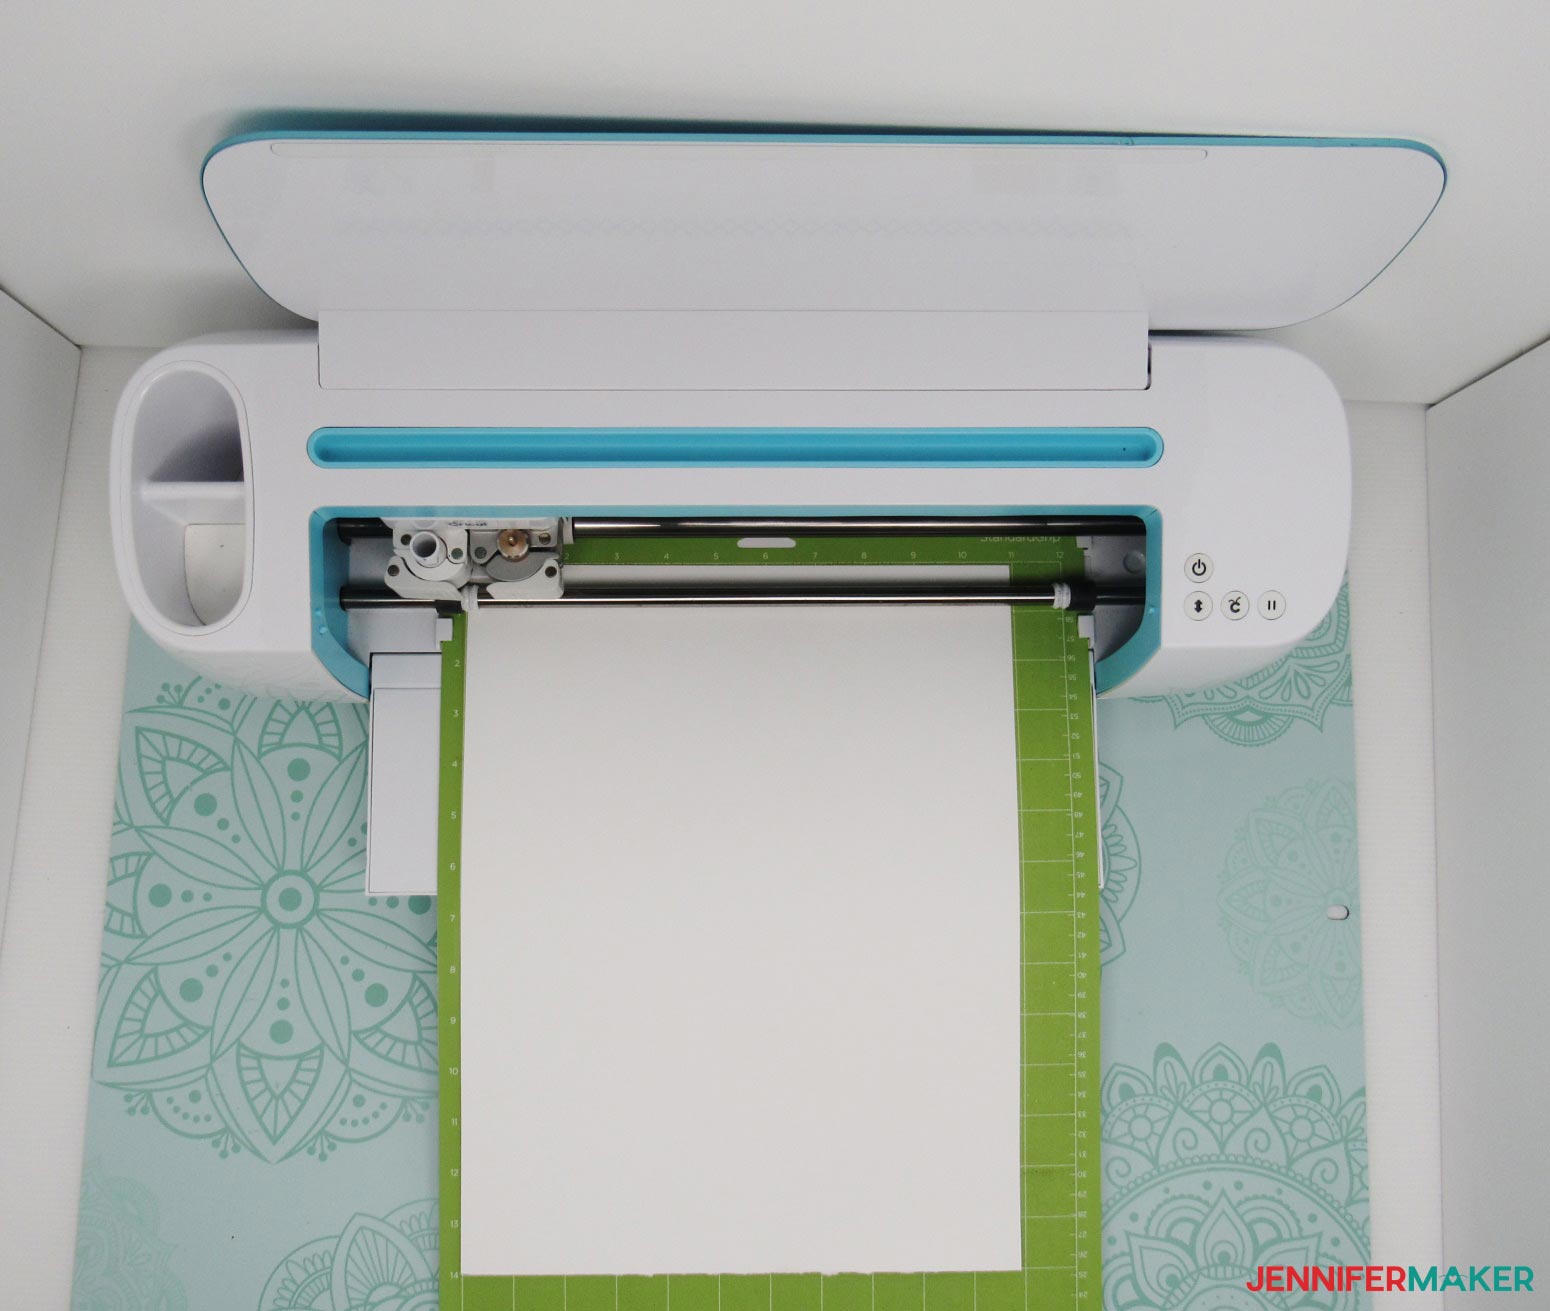
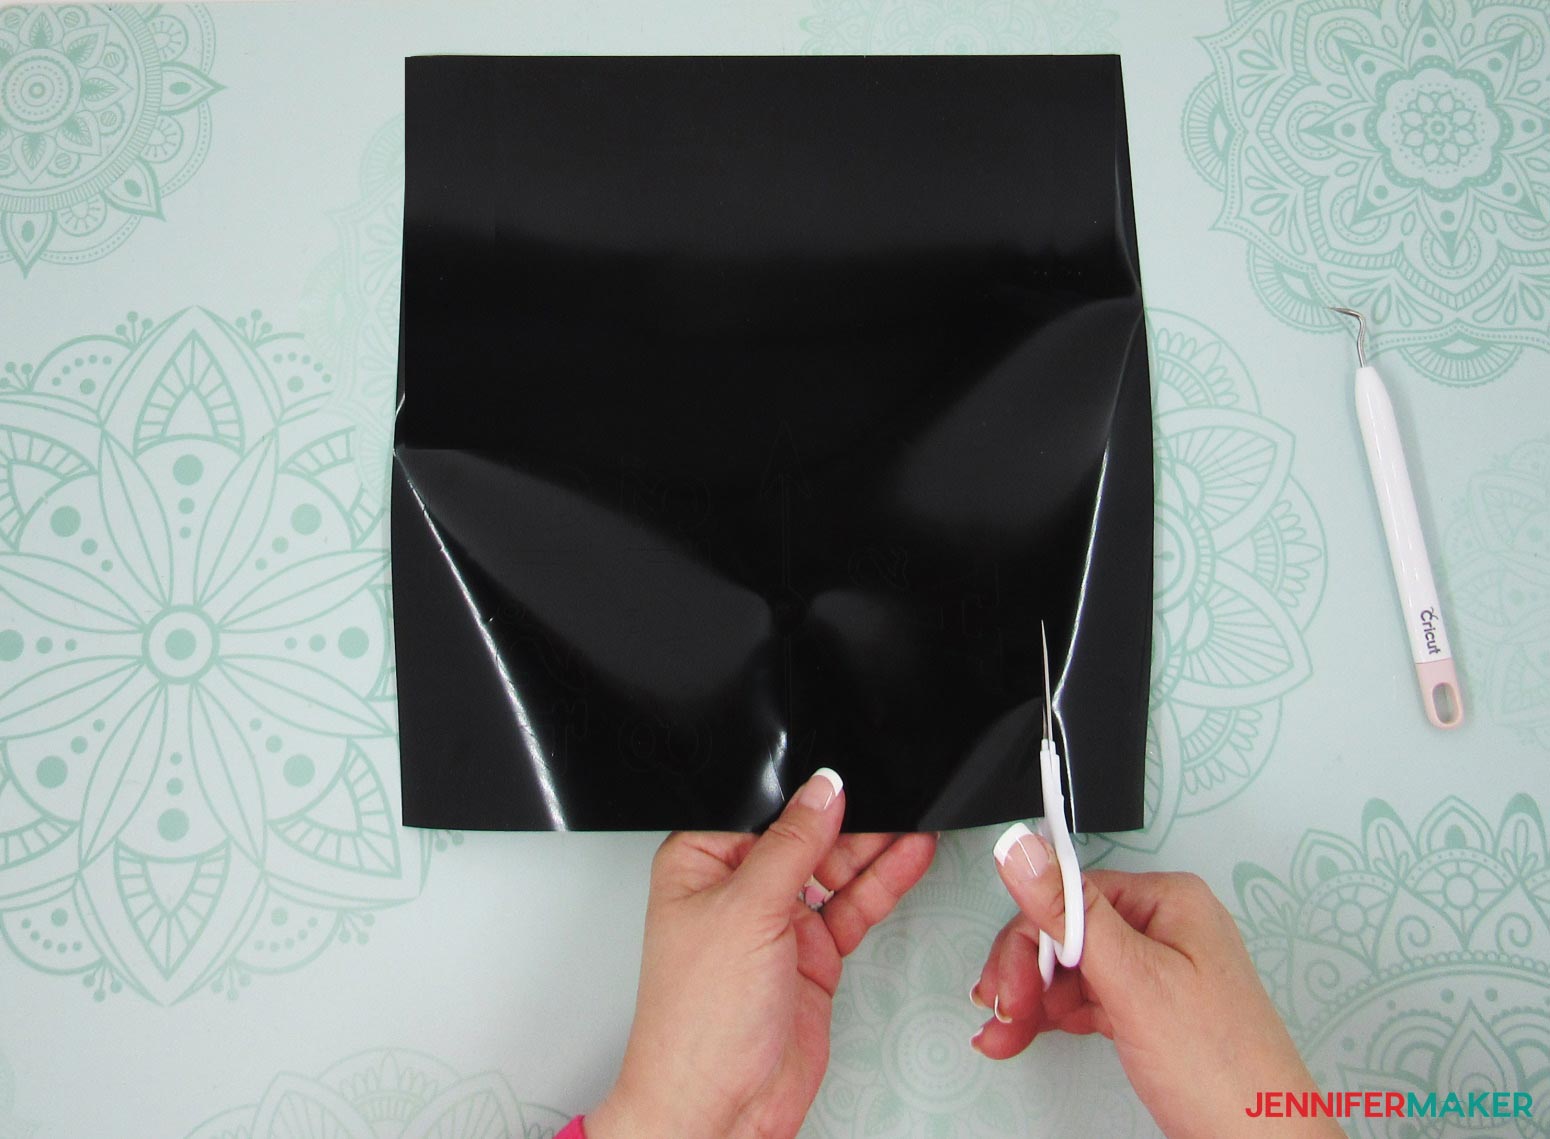
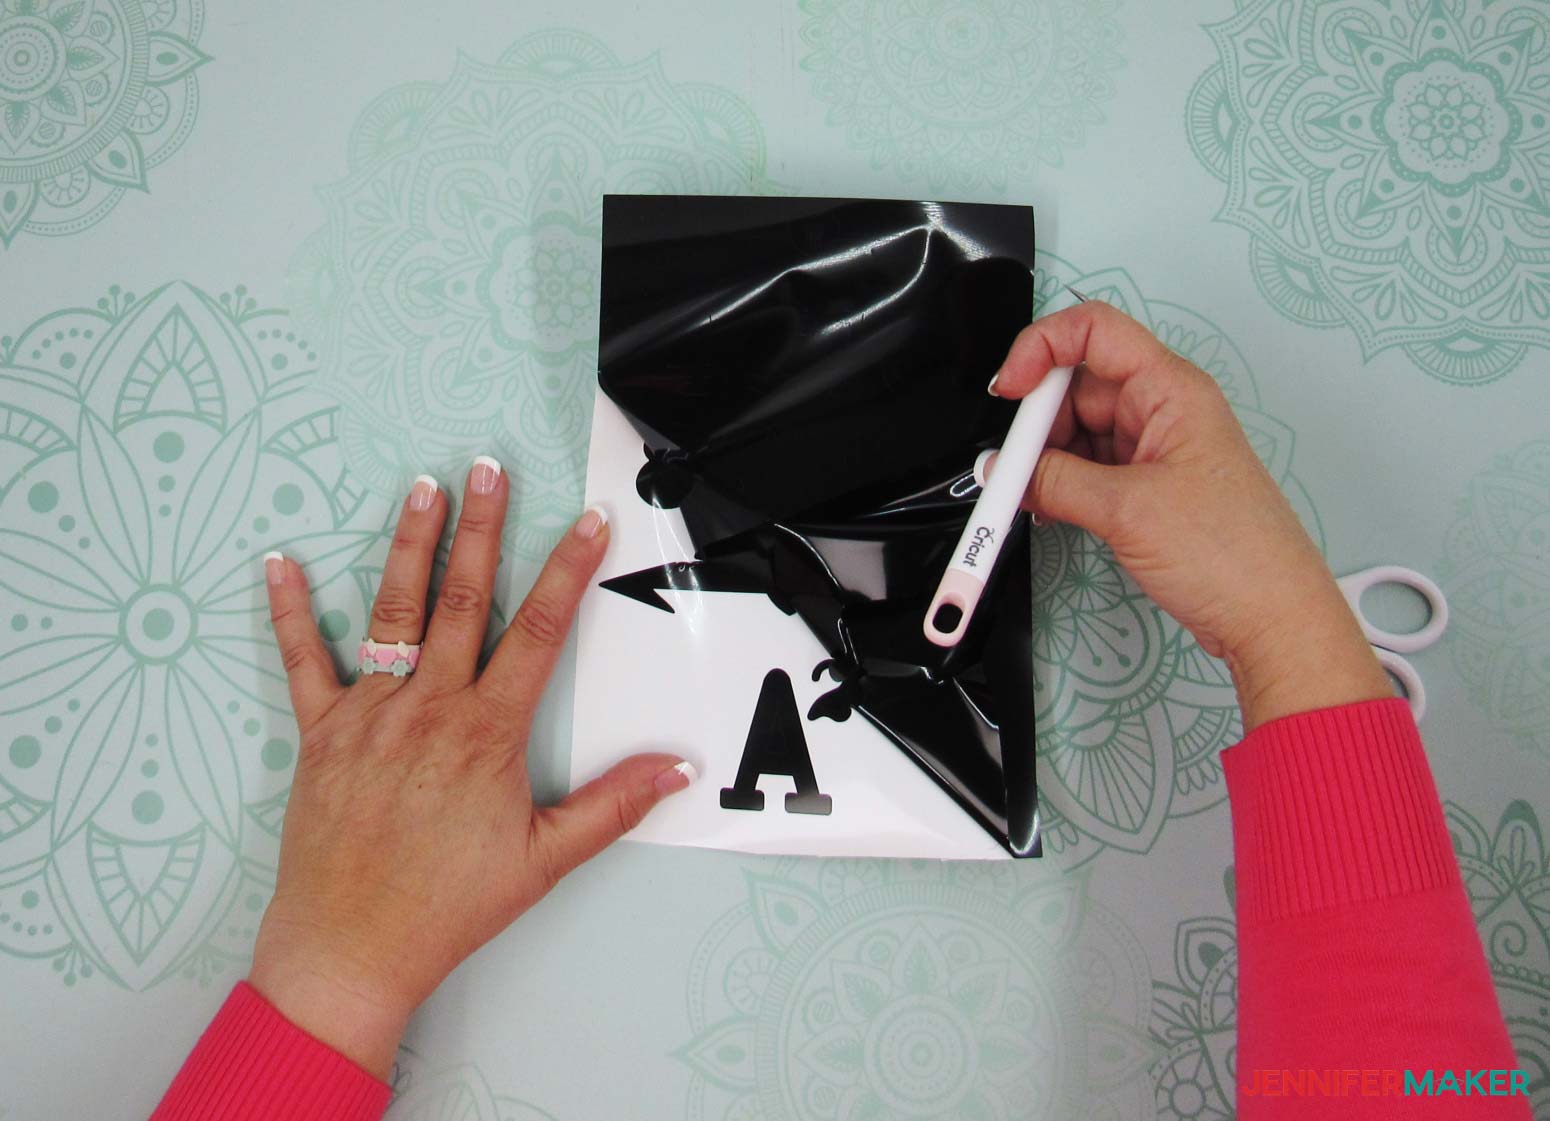
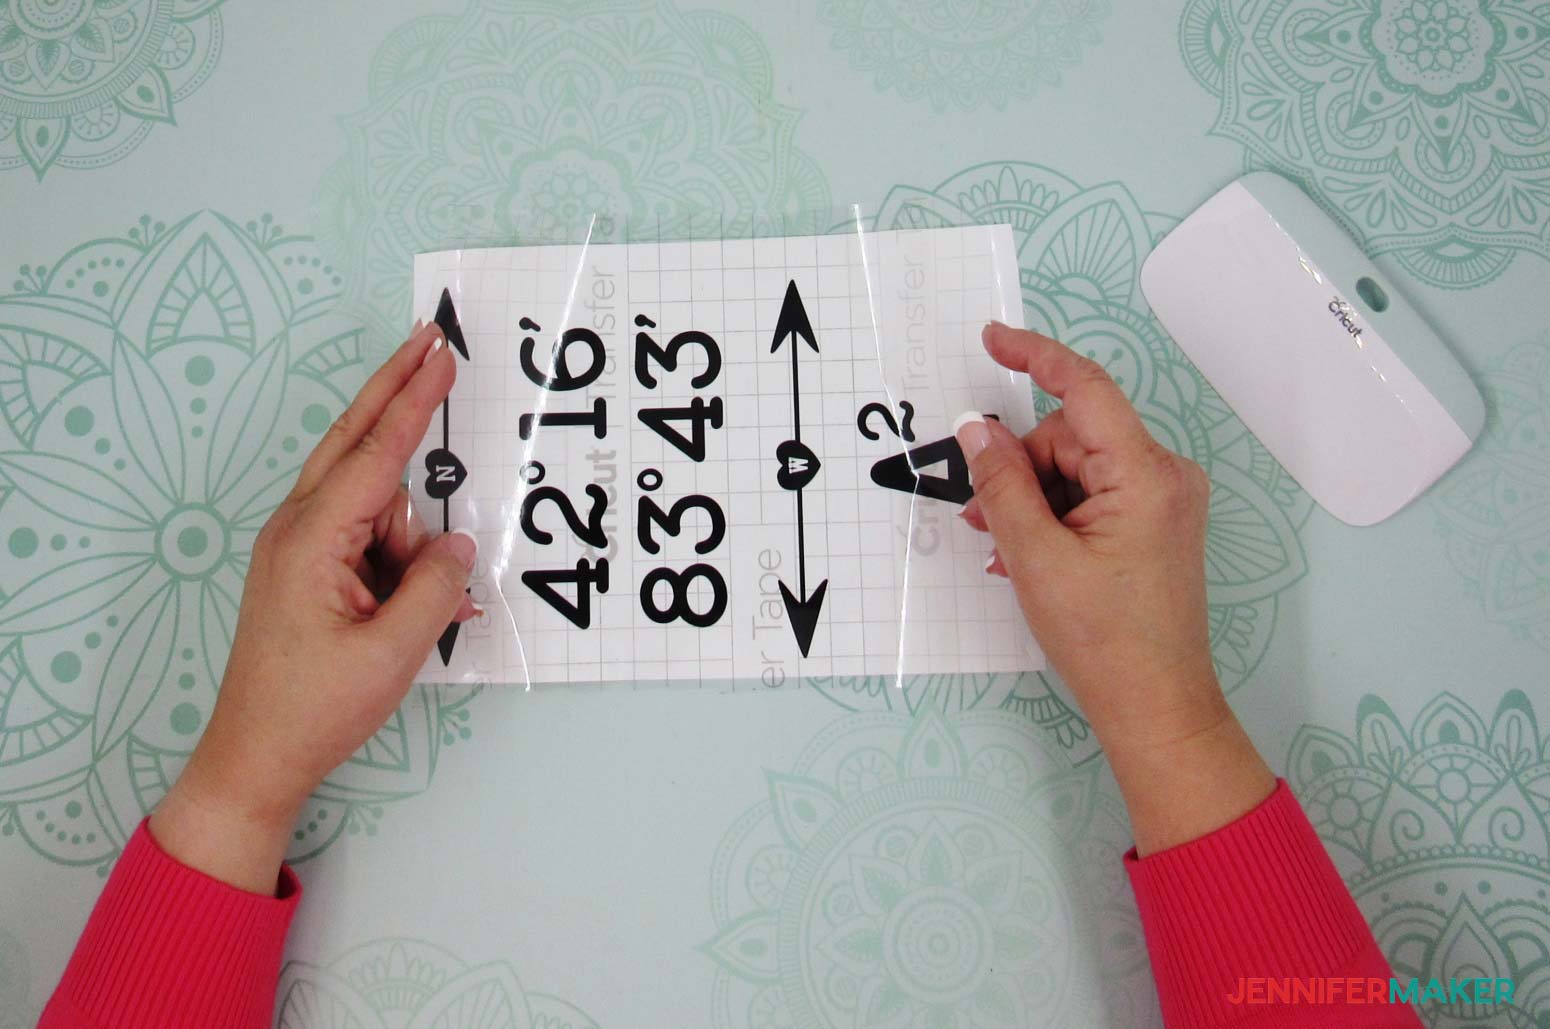
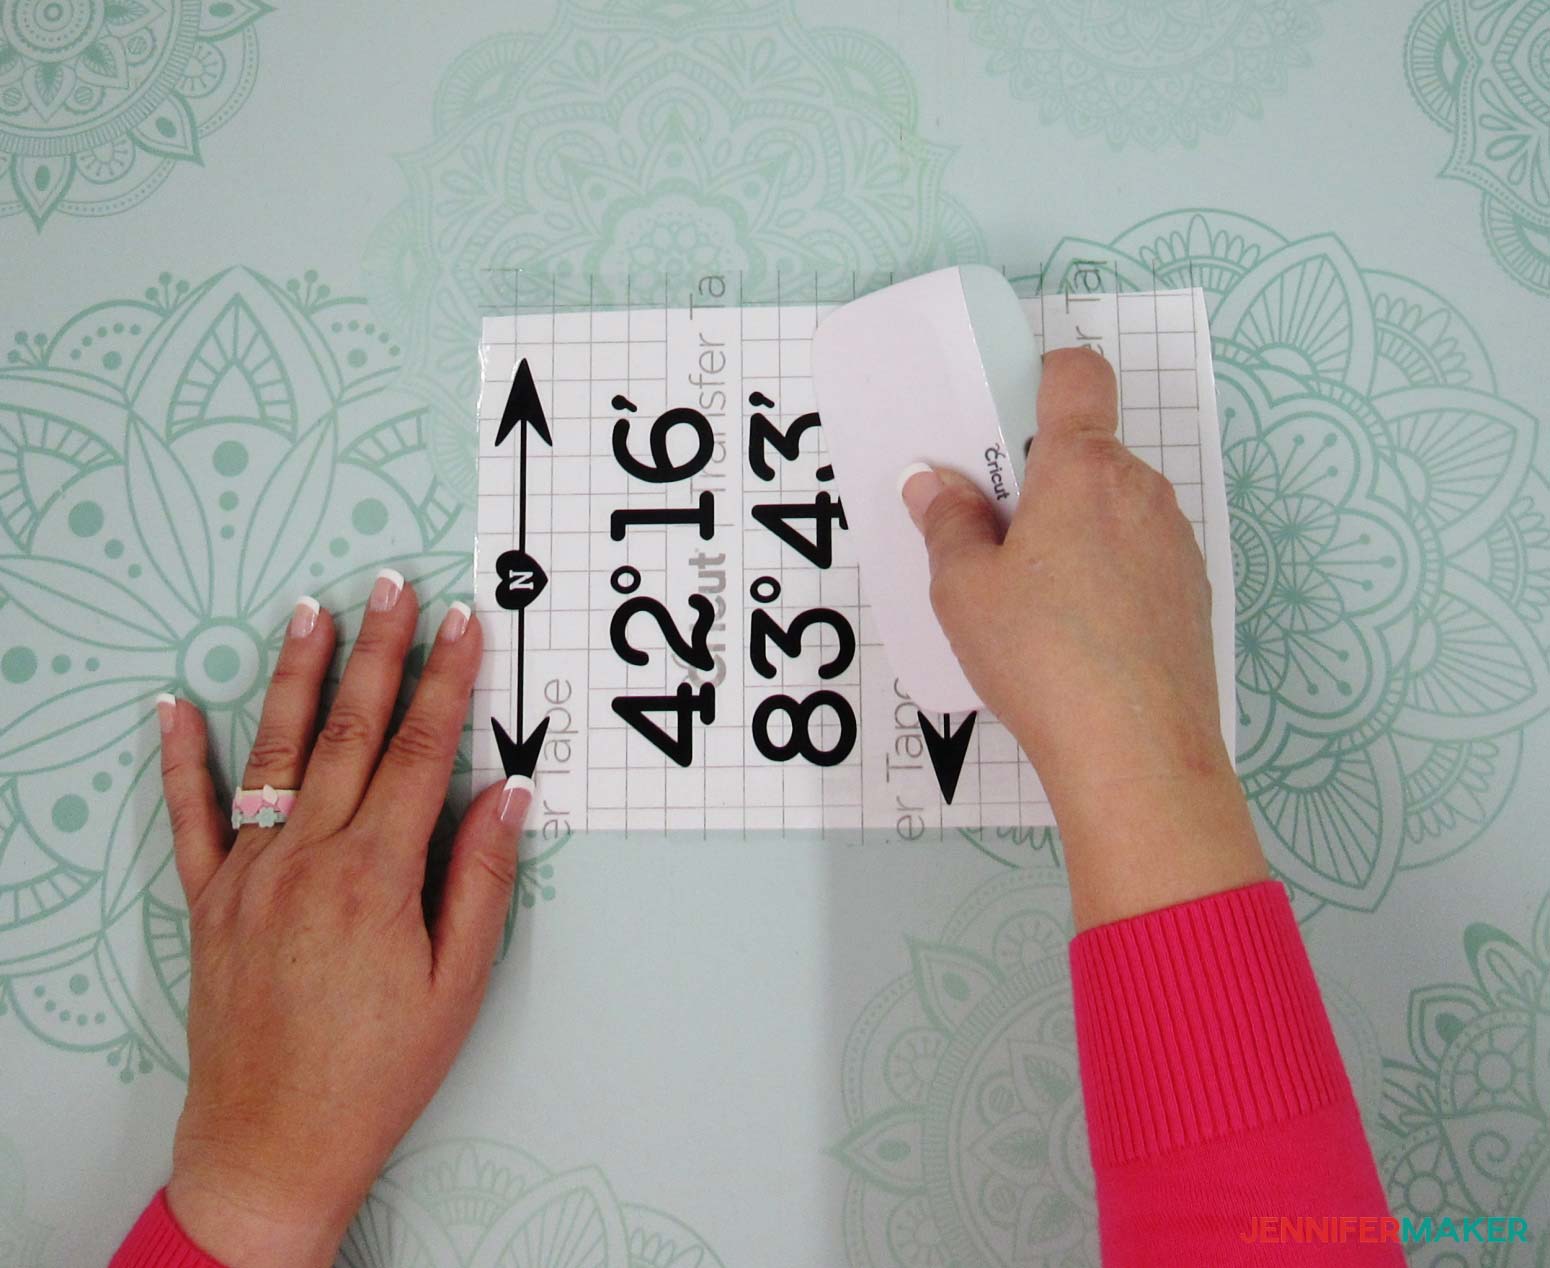
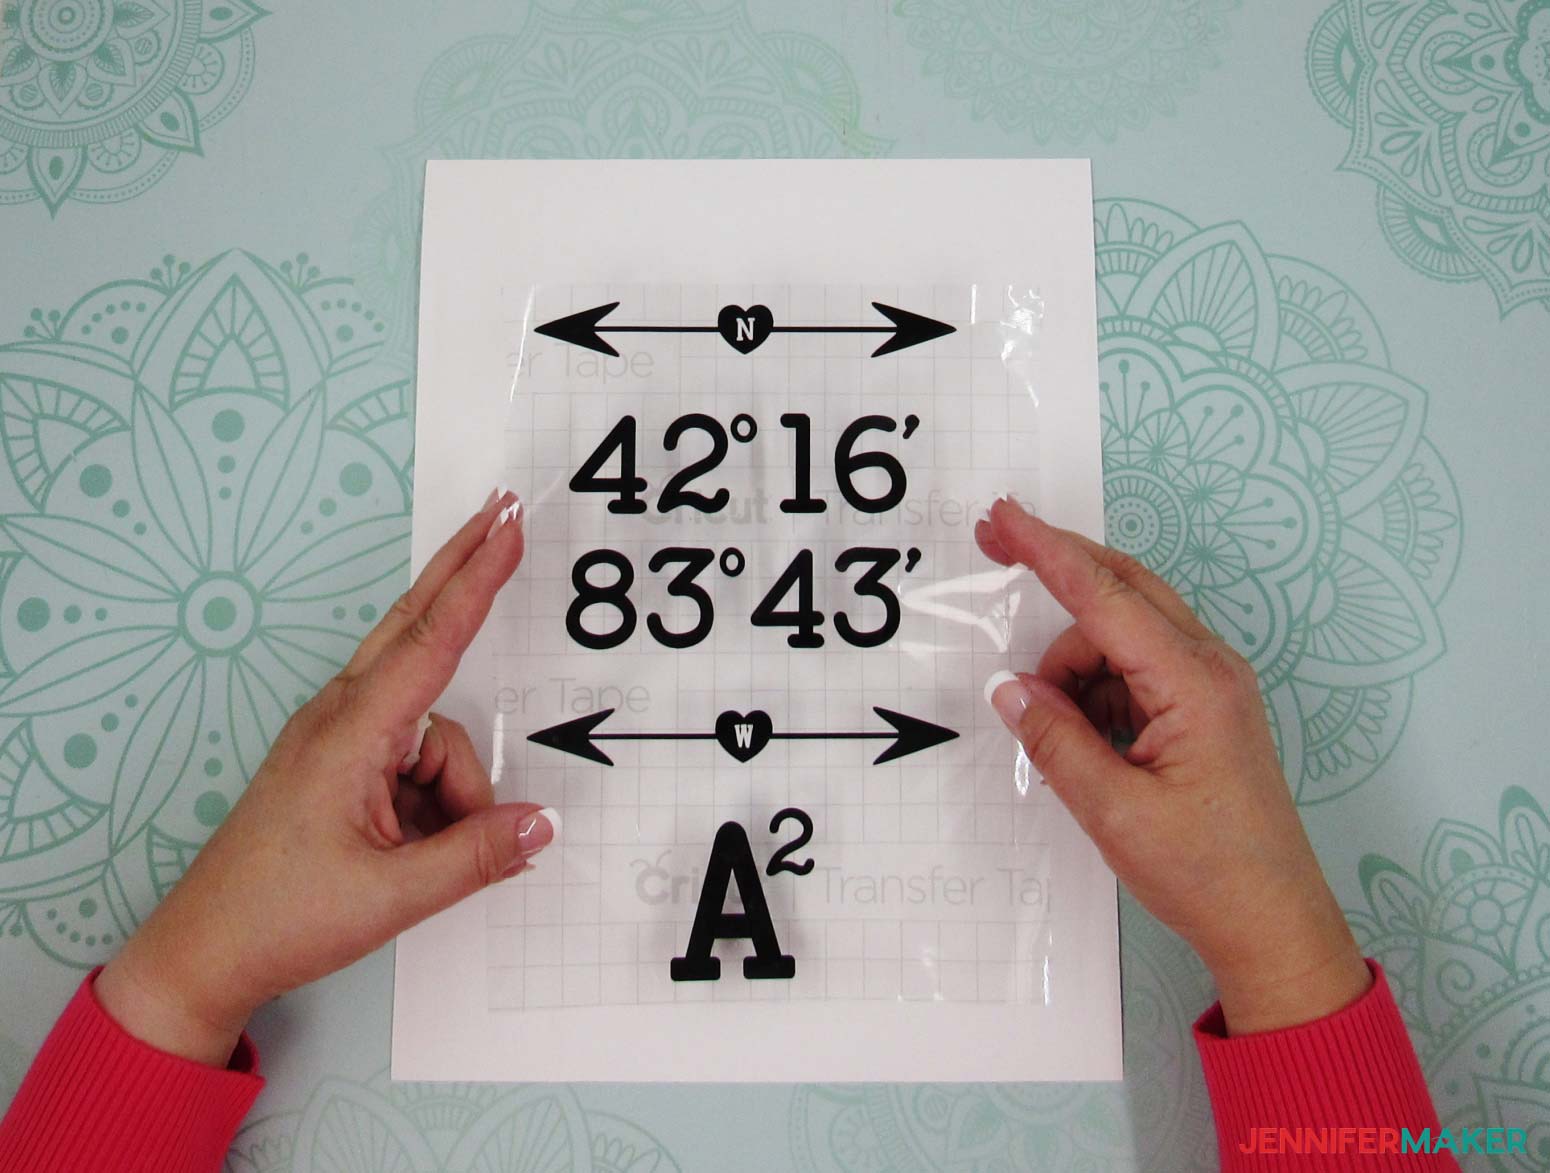
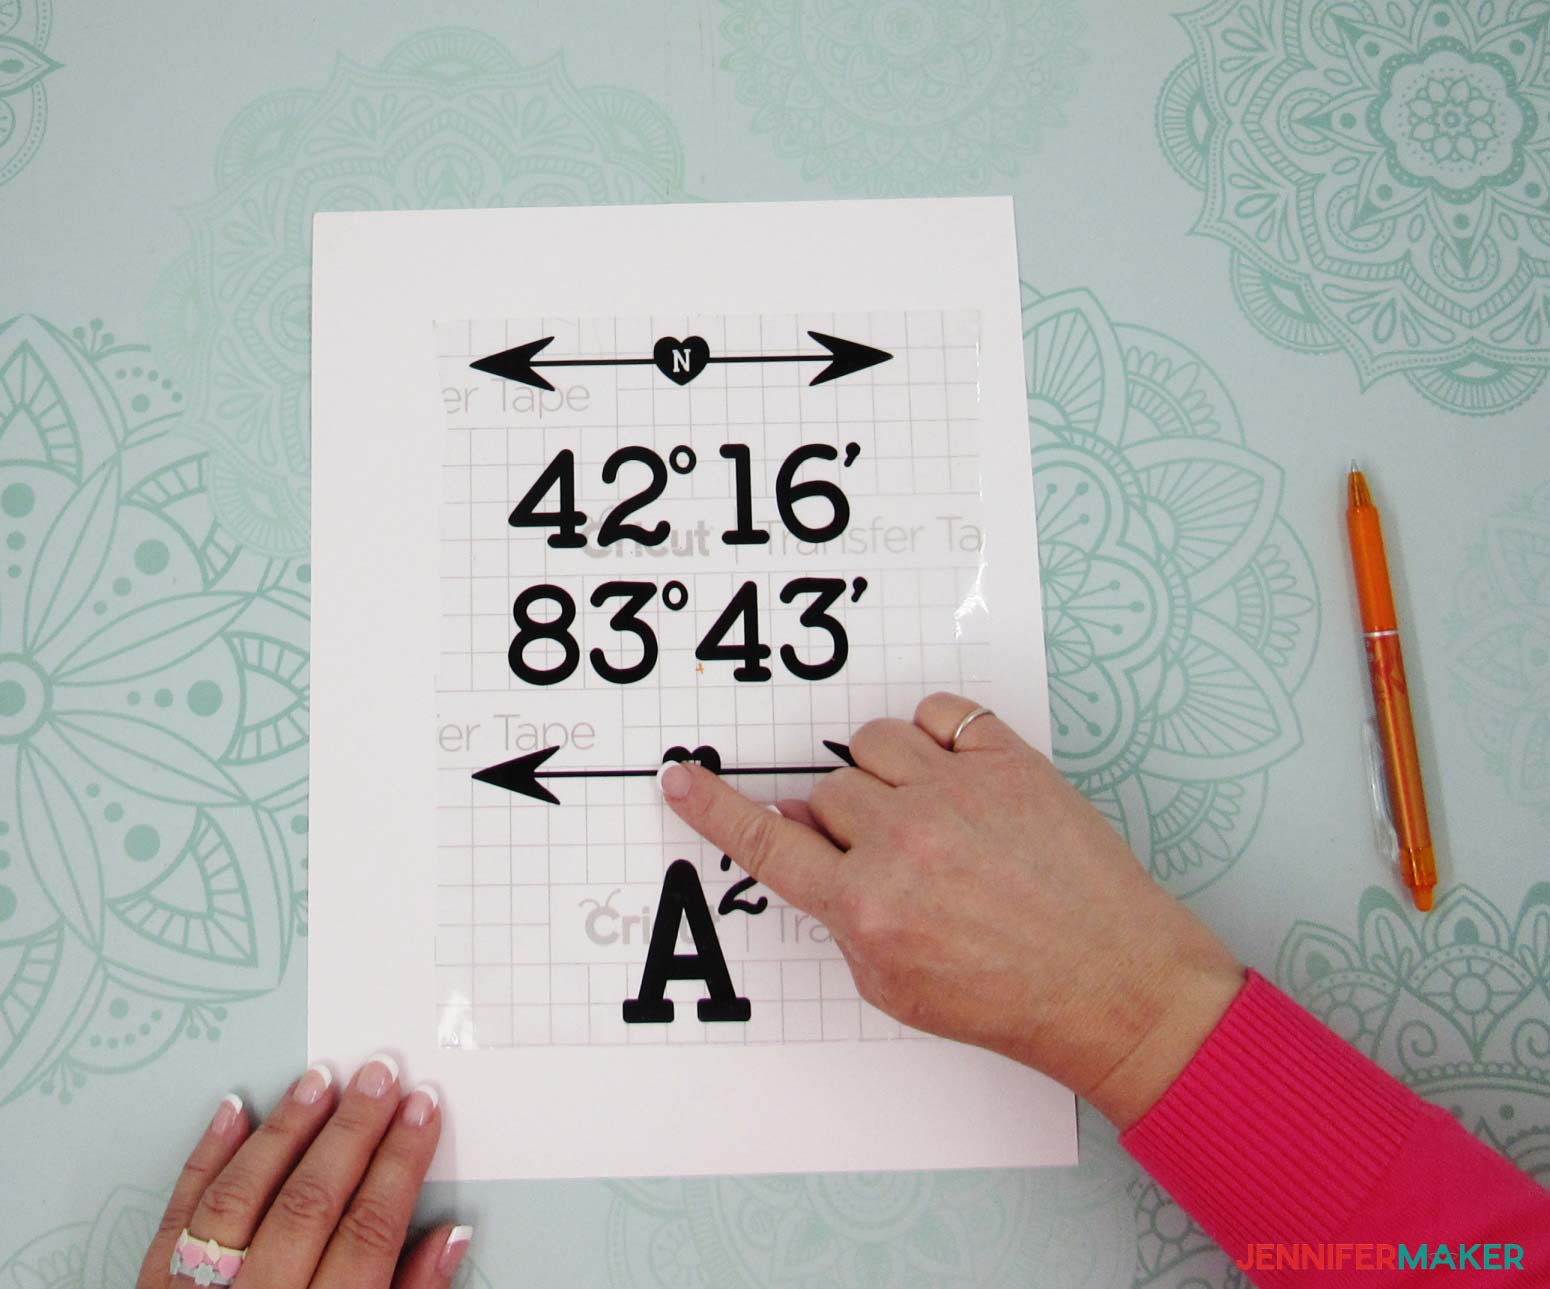
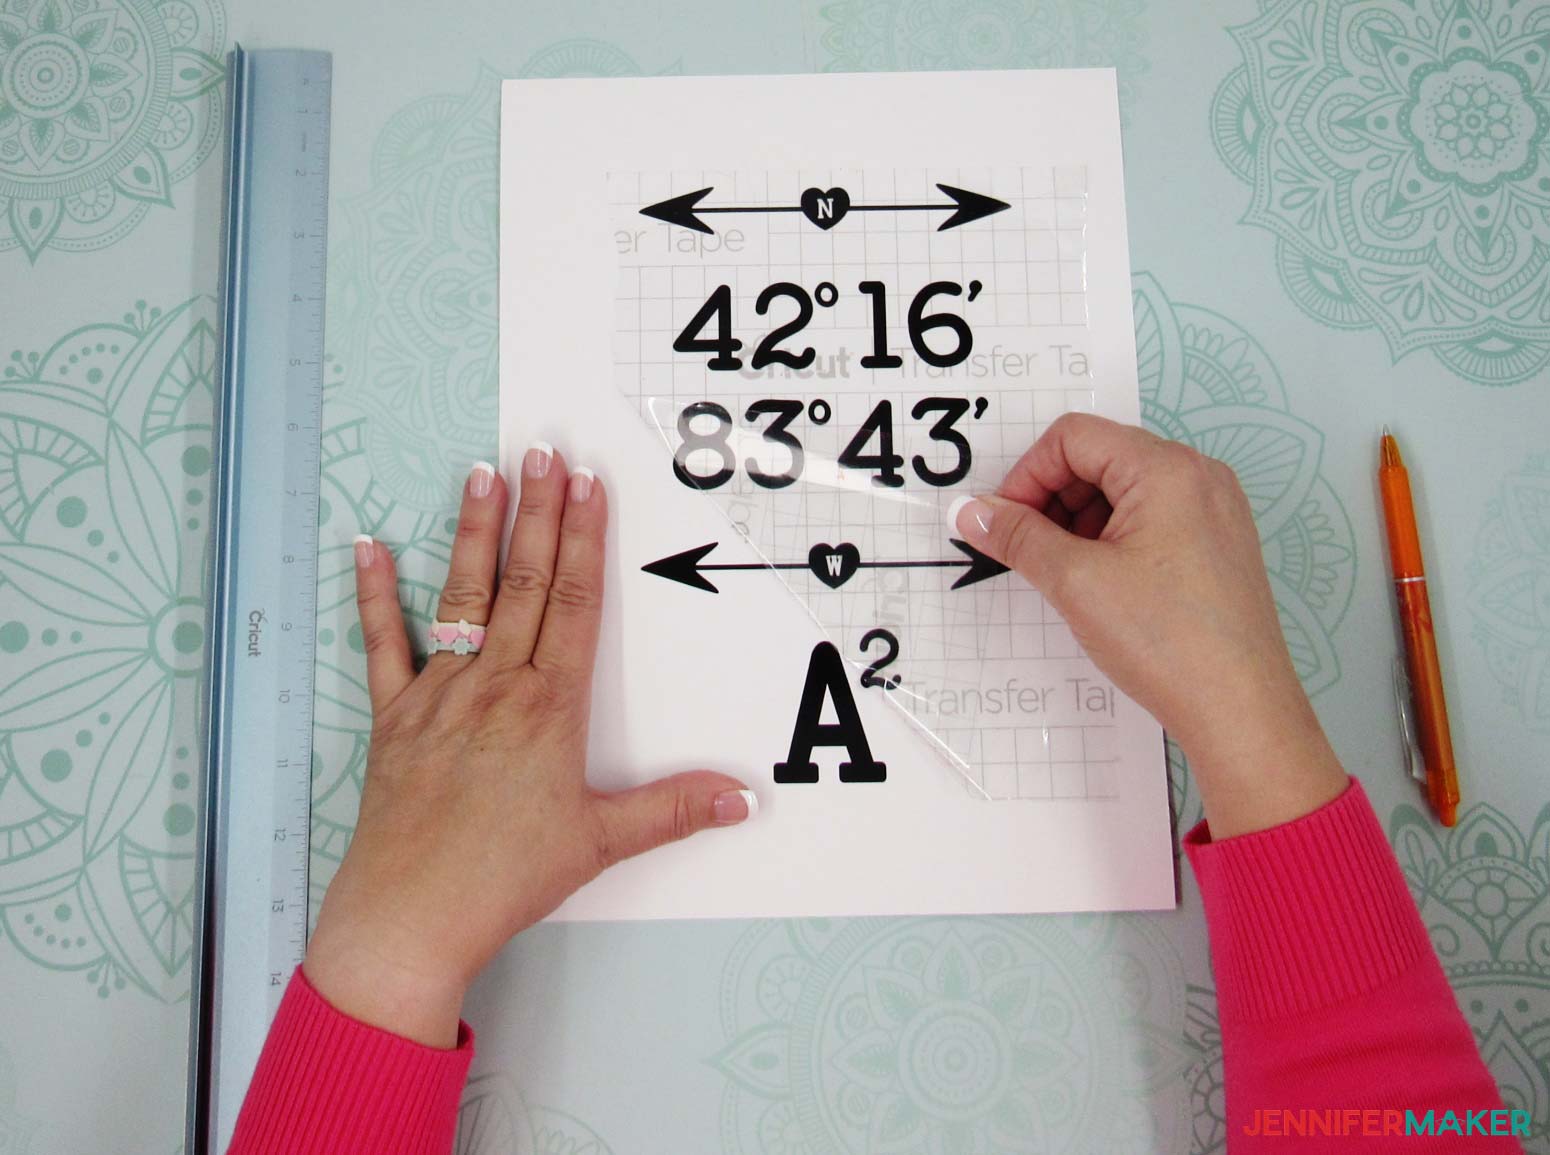
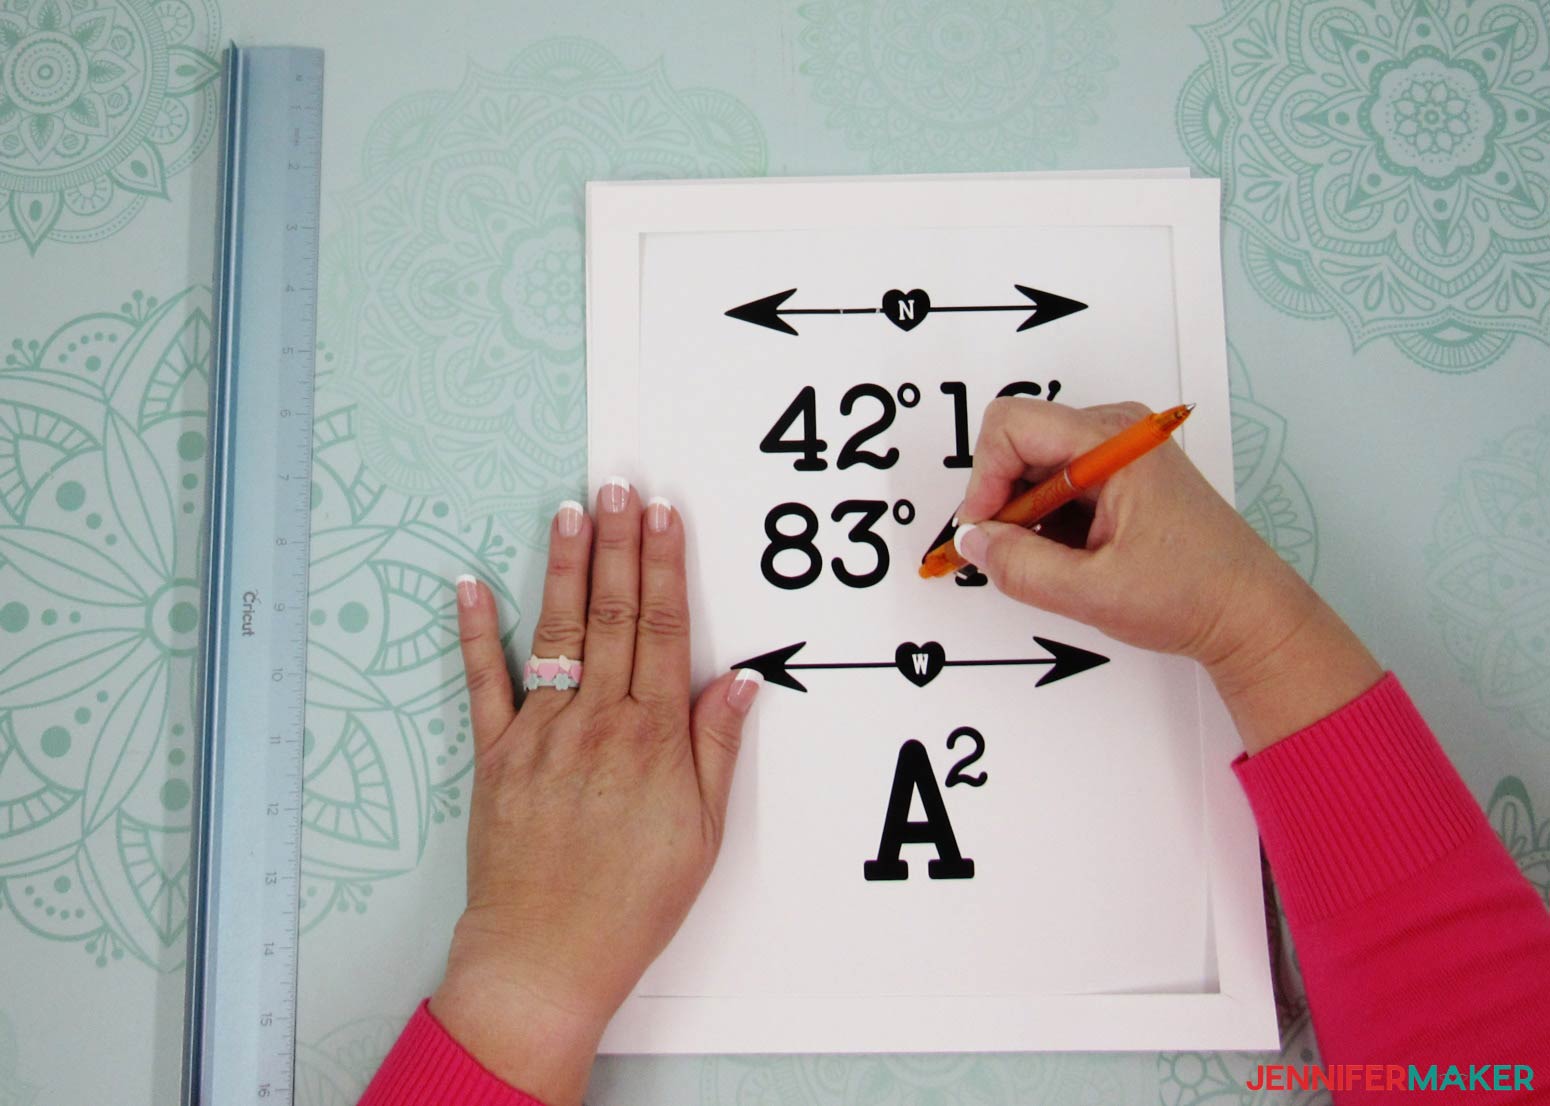
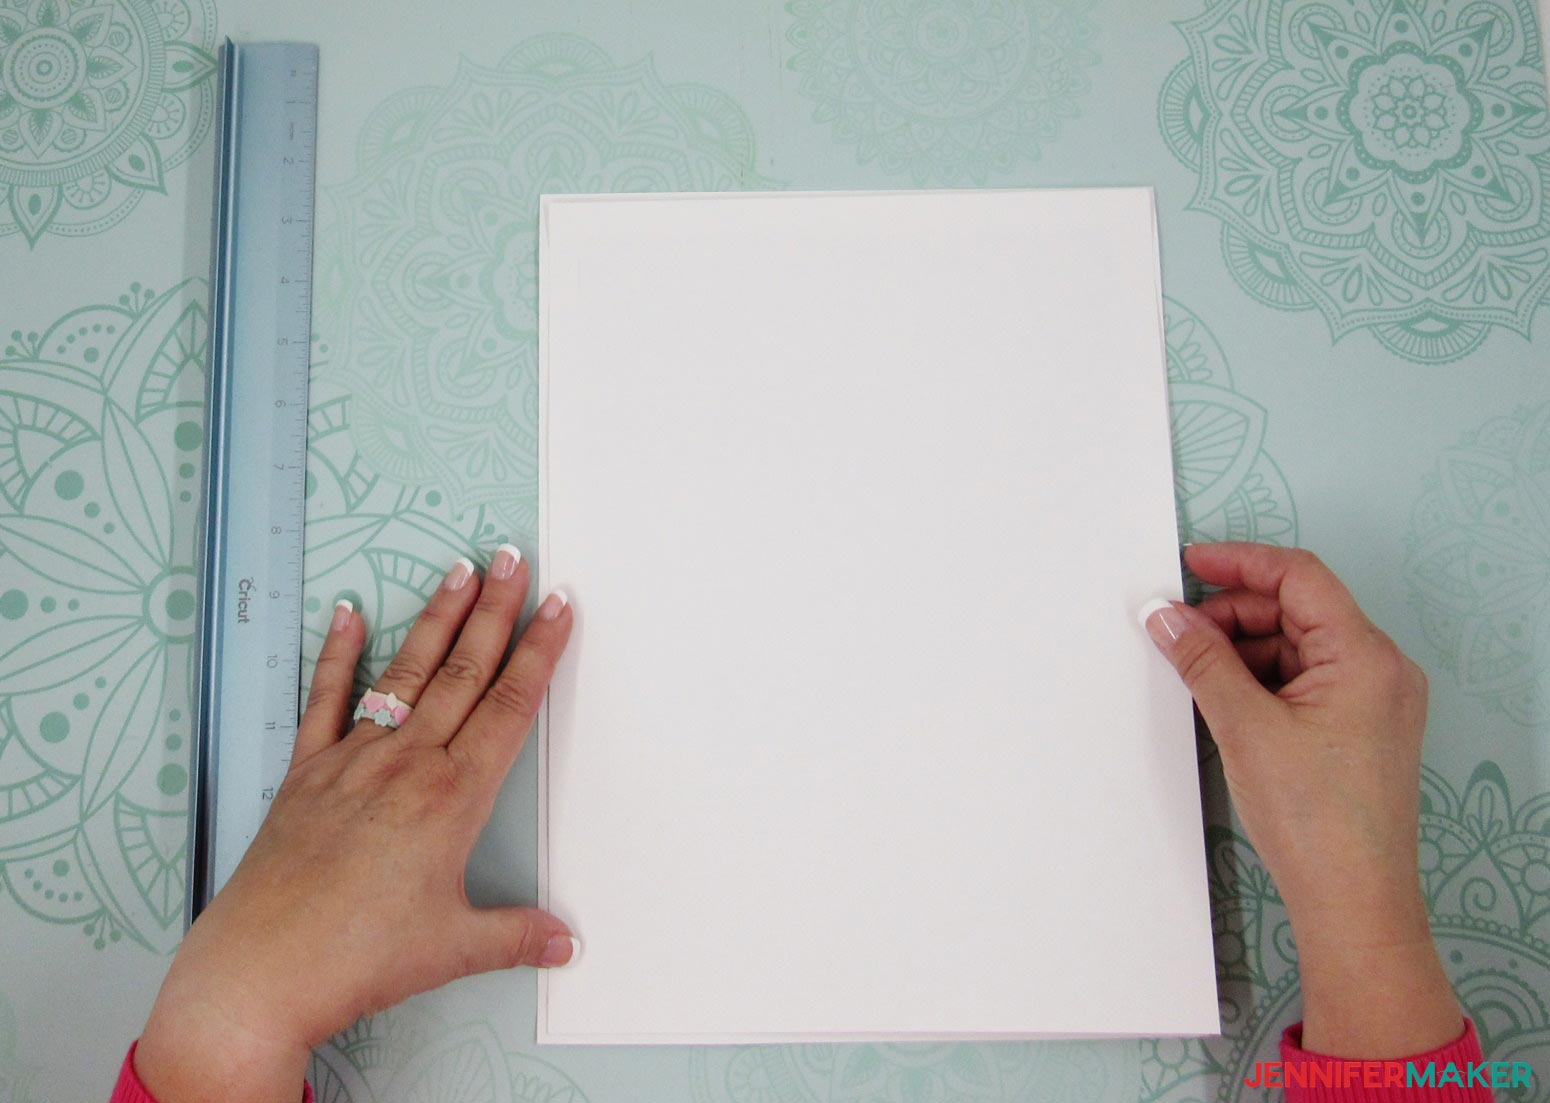
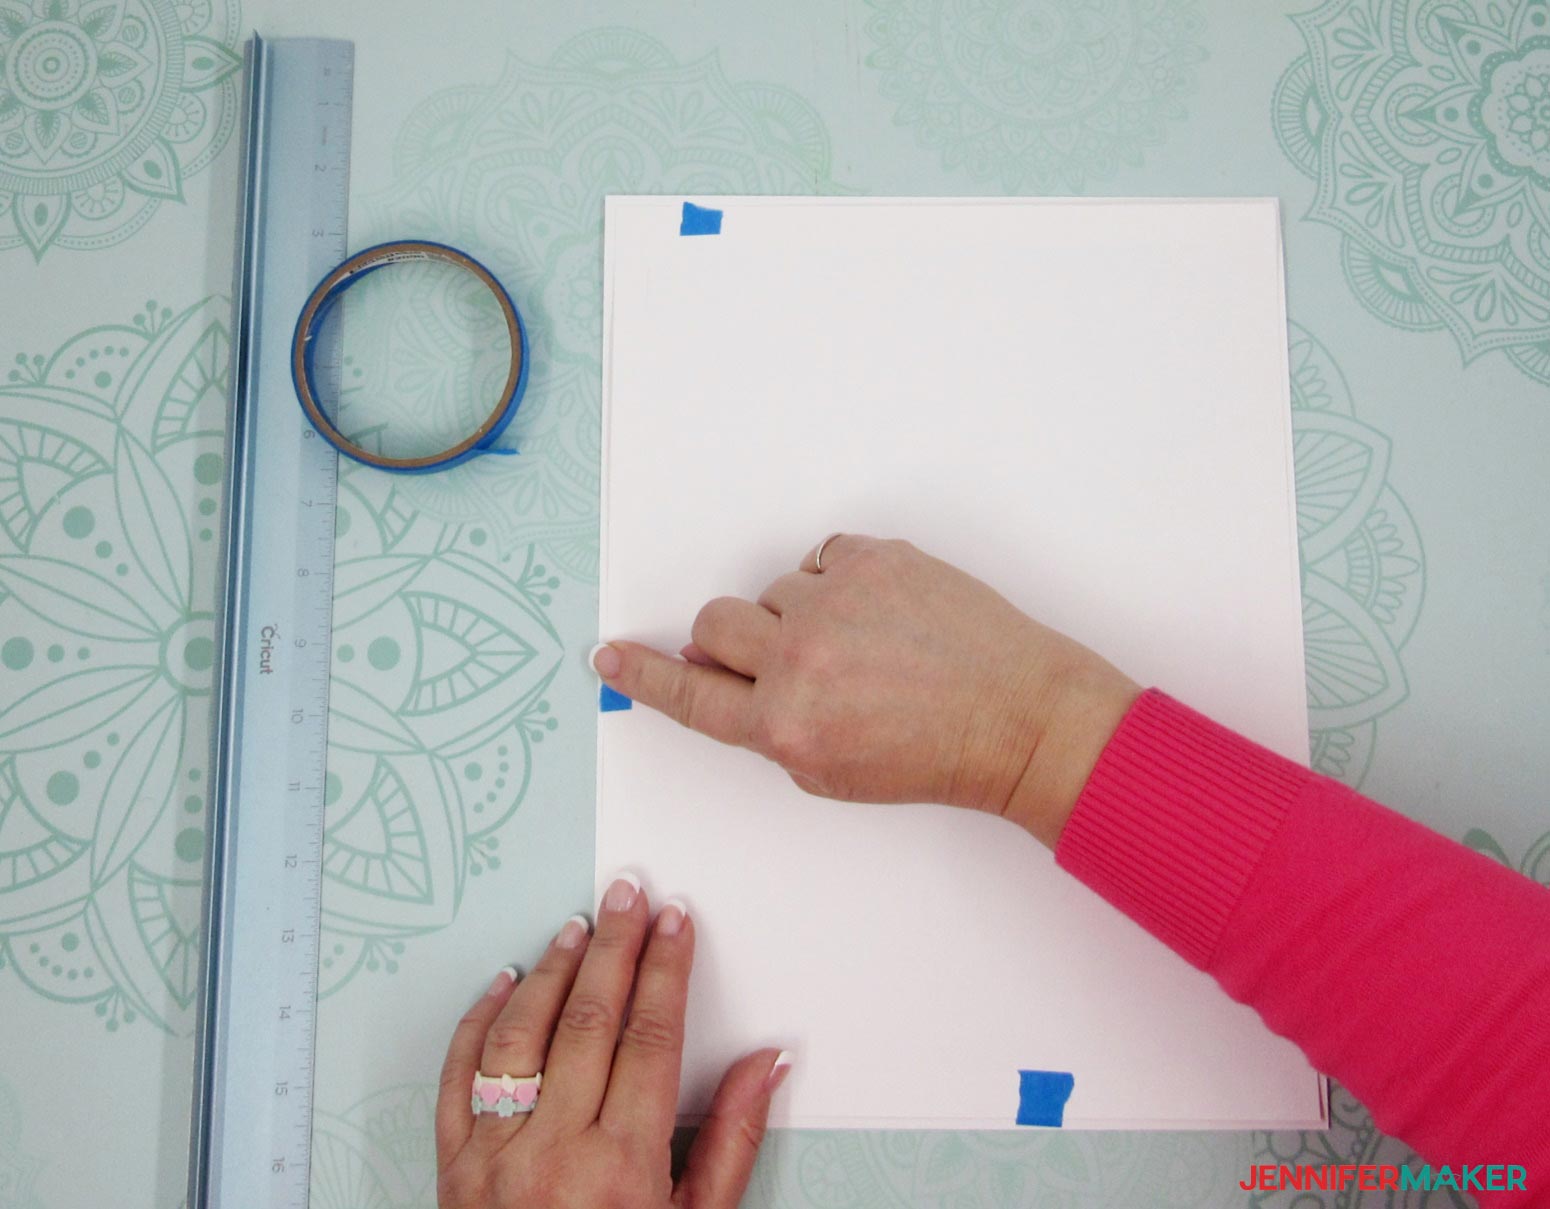
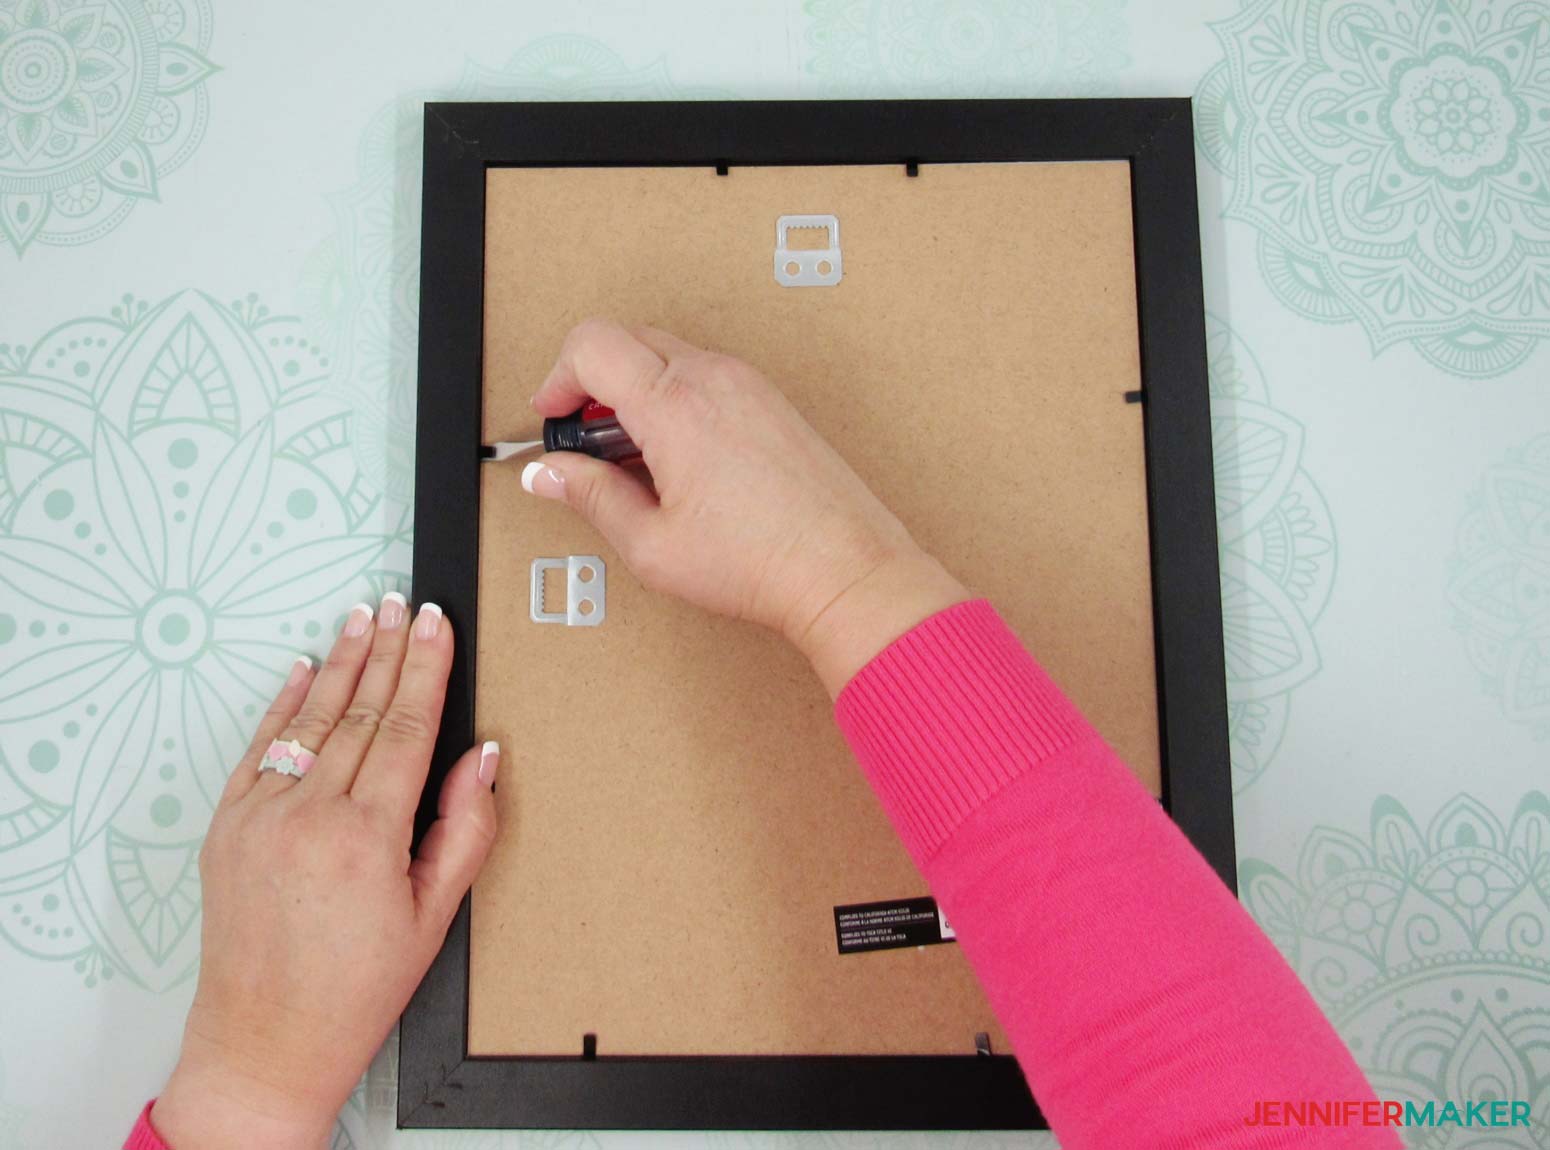
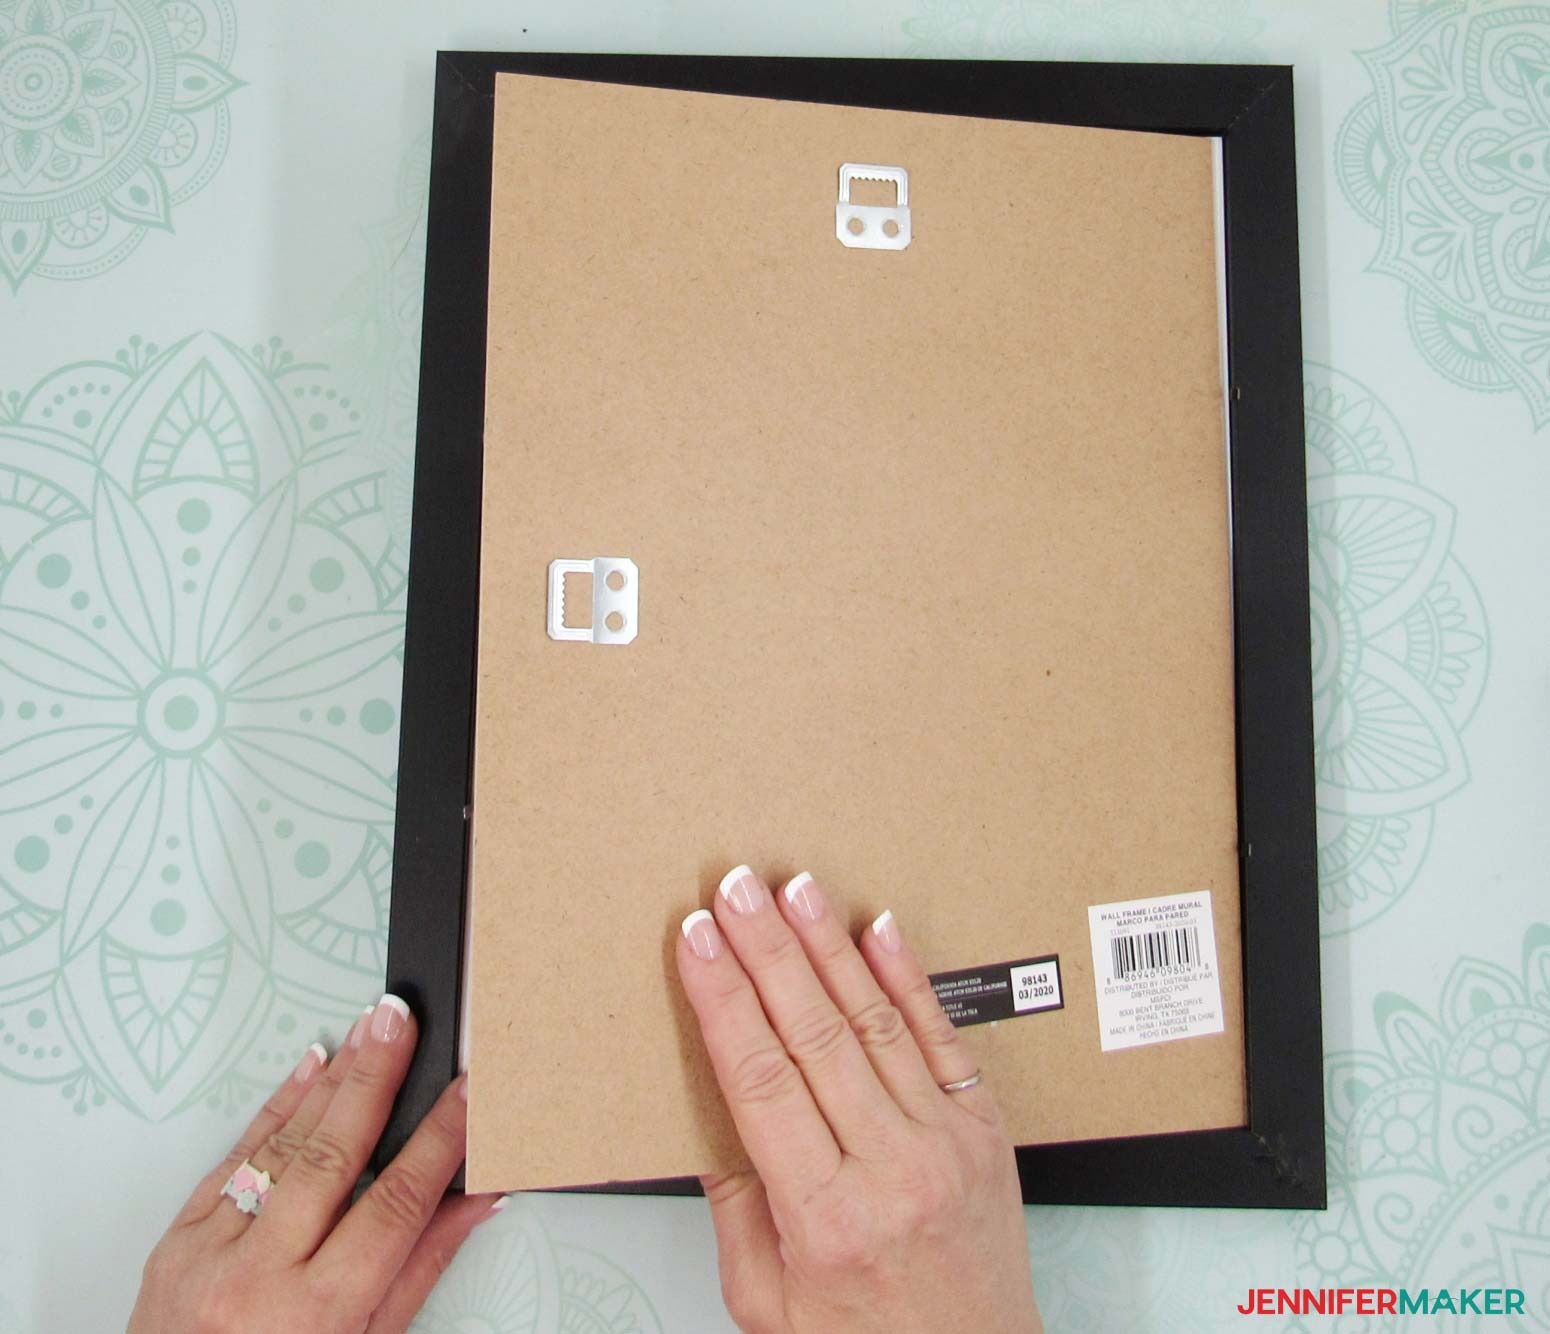
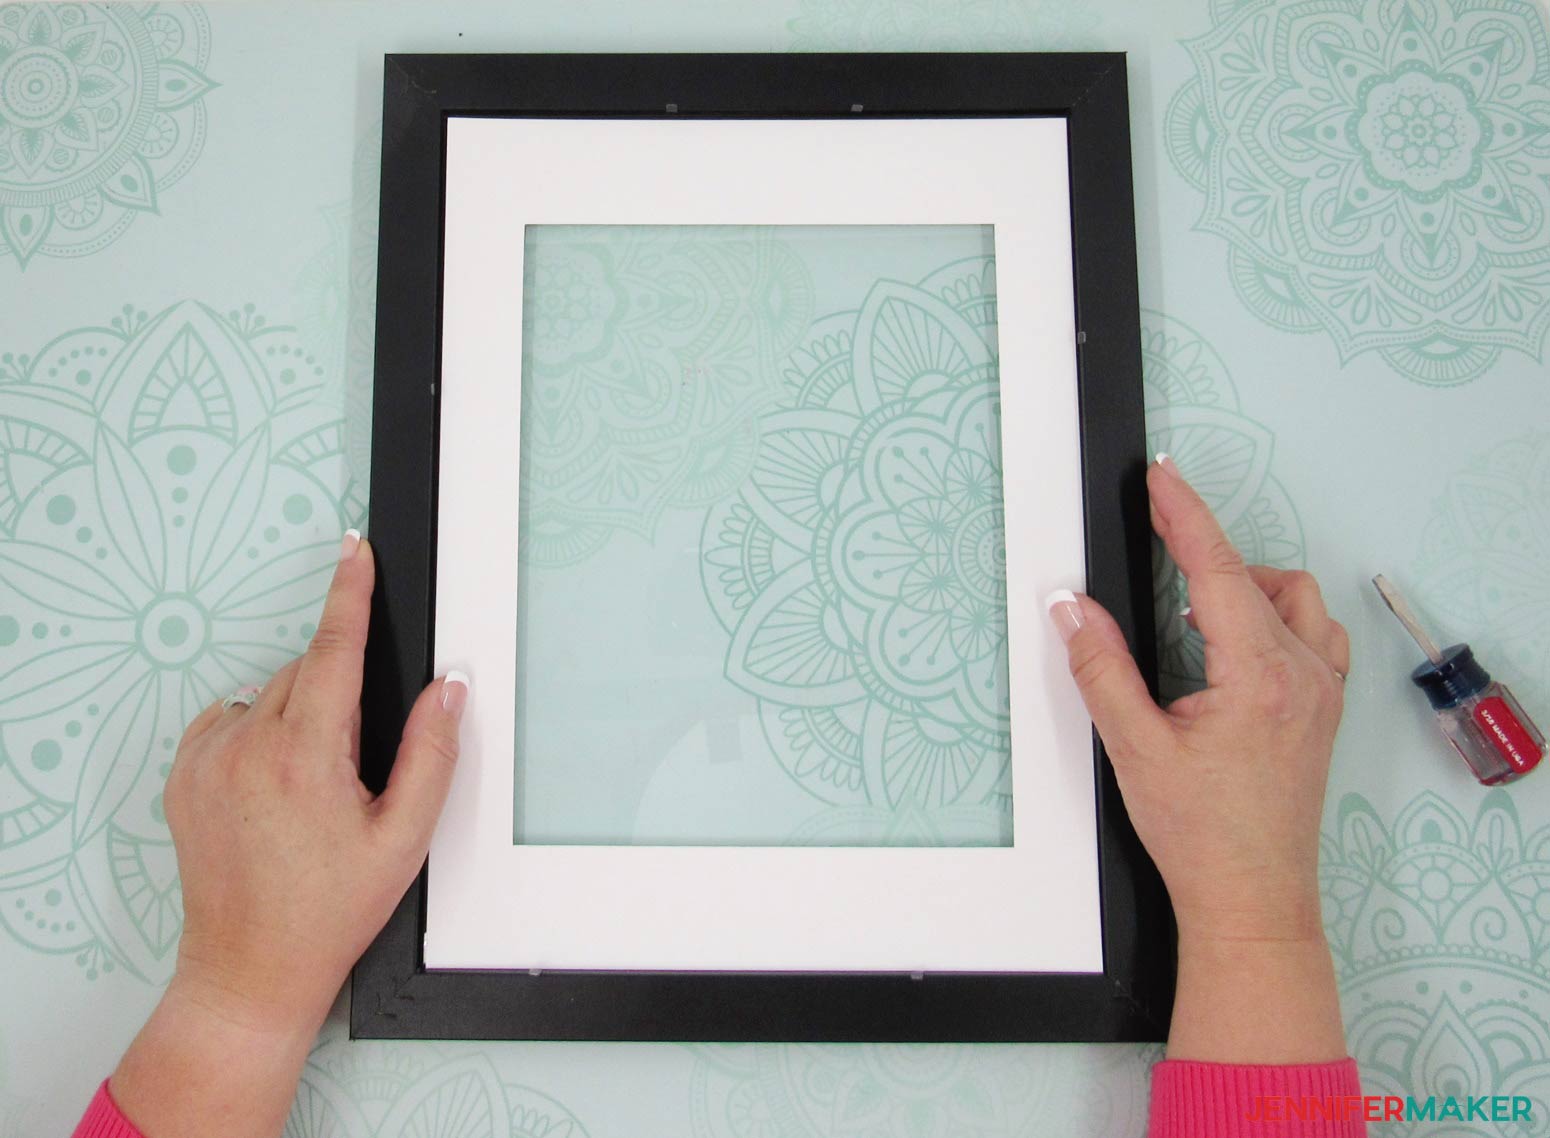
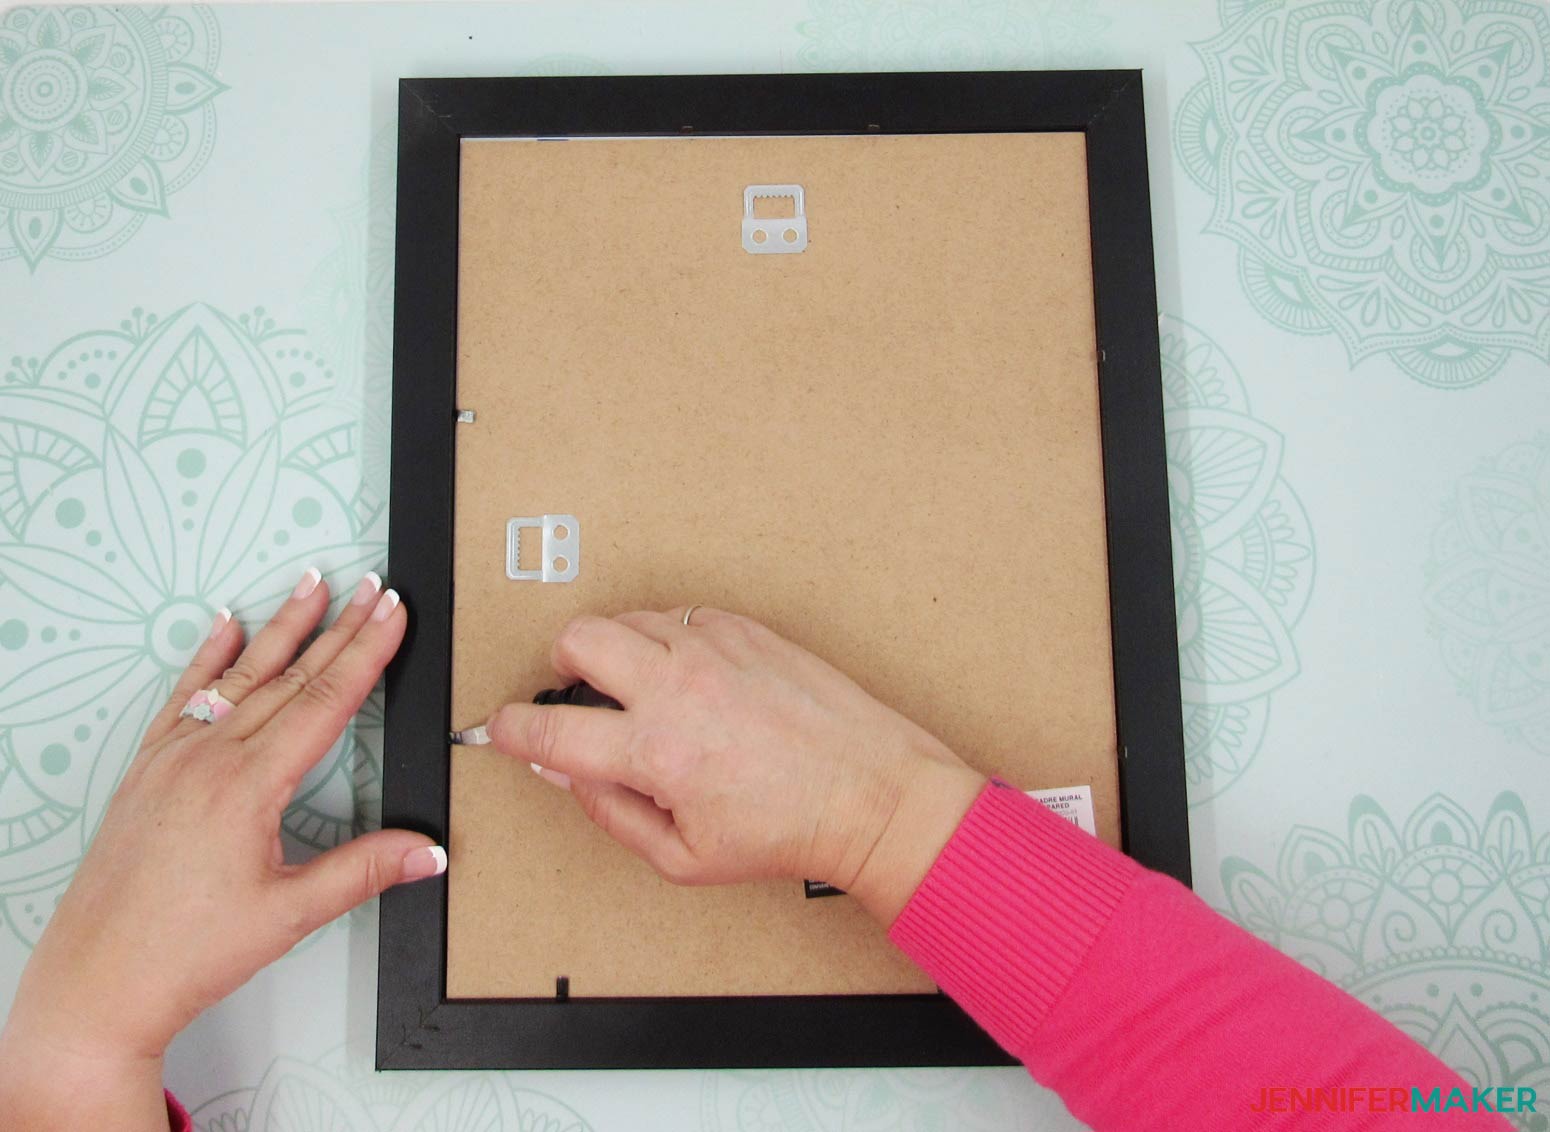
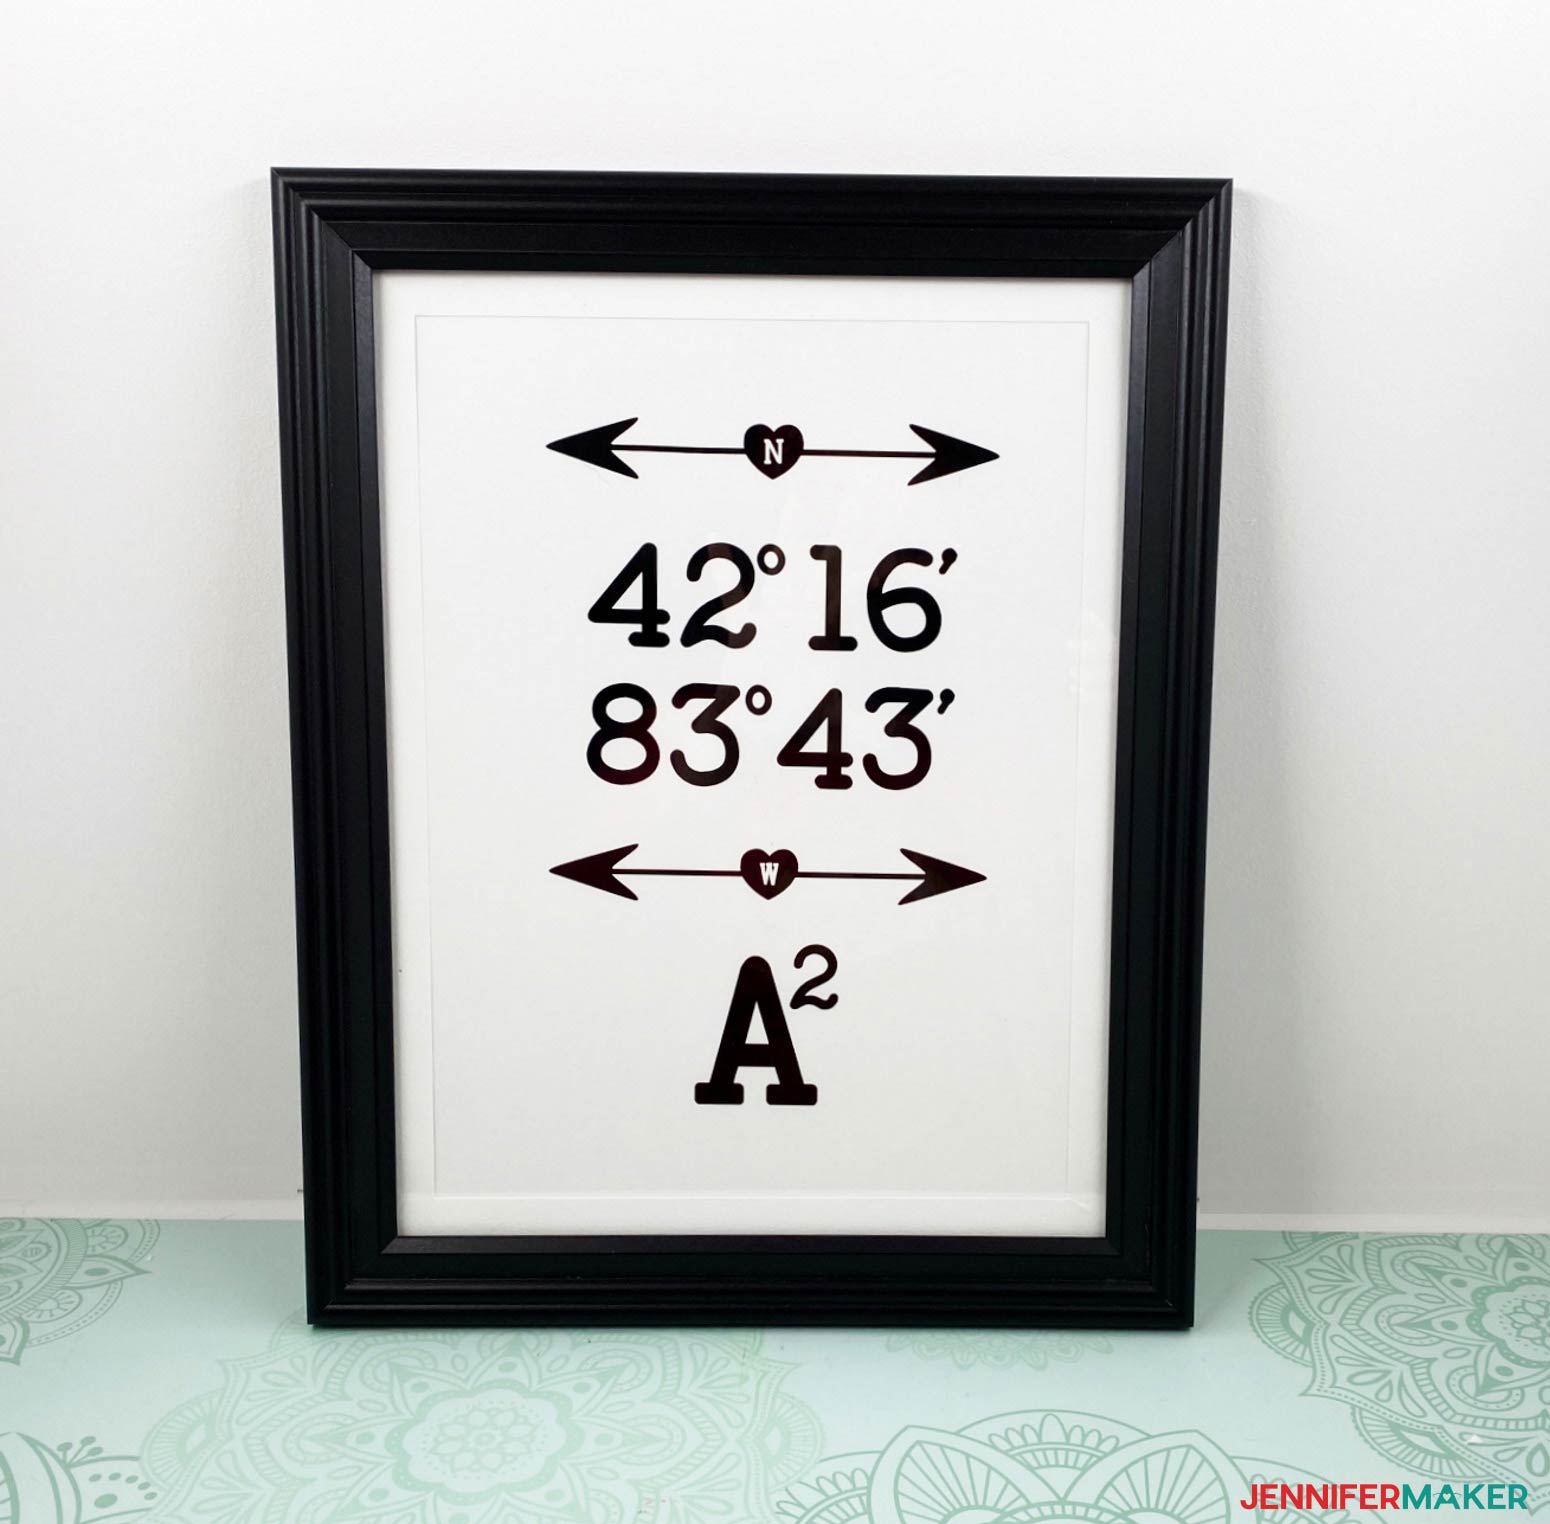
Let me show you how to make a fun, personalized piece of wall art! Go to gps-coordinates.org to easily get your own longitude and latitude coordinates. Once you have your coordinates, it's time to move to the next step. Get Design #368 which is the free SVG file for this tutorial. You can download it from my free resource library (get the password to the library in the form at the bottom of this post). Tip: If you are not sure how to upload an SVG cut file to Cricut Design Space, watch this helpful video training series I made. If you are on an iPad or iPhone, here is how to download and upload SVG files to the Cricut Design Space app. This project is much more of a "do it yourself" guide more than anything else. The font is "Baltimore TypewriterBold". I have provided a link to it at FontBundles.net in the Materials List. I would also suggest you pattern your personalized Longitude and Latitude coordinates as I have in my design. To further personalize the Longitude and Latitude Wall Art design, you may wish to add an exact address where I currently have A2 placed (A-squared is a local nickname for Ann Arbor). You may also want to add a local phrase, or reference, to your Longitude and Latitude Wall Art design. To add your text, go to Cricut Design Space and click Text on the left side and type your desired information. If you don't use Baltimore Typewriter Bold or Courier, then choose a font that is big and bold, and chunky for the best effect. If you need to bold your chosen font, you can do that by going to the Style dropdown menu and choosing Bold. The Style dropdown menu is located to the right of the Font dropdown menu. To add Special Characters in Windows click the Start button. When the Start Menu opens, scroll down to the Windows Accessories folder. Expand it and you'll see the Character Map shortcut. If you're running Windows 10, you can access Character Map via Start > All Programs > Accessories > System Tools > Character Map. For IOS, the easiest way to display the Mac OS Characters palette is to open Font Book and select your font. You can then browse through the various symbols and special characters, and double-click on the one you want to use. I also include how to find special characters in fonts in my Knockout Design Sign Tutorial for Cricut Design Space. You may also need to adjust the Letter Space until your text looks good, keeping the letters quite close together. Note: If your letters aren’t kerning properly, go ahead and click Advanced > Ungroup to Letters and manually adjust them. Just be sure to select all of your letters and Weld when you’re done. Remember to pattern your personalized Longitude and Latitude coordinates as I have in my design. You will also want to make sure all of your text is Attached to each other before cutting, if you don't you will have a jumbled mess. To do this, select all of your text at one time, and click the Attach icon at the bottom of the Layers Panel. Tip: If you’re not sure how to install fonts, please check out my Font Installation tutorial and video! Once you have chosen the size and contents for your Longitude and Latitude Wall Art design it is time to cut your vinyl and cardstock. I have included three matting sizes for you to choose from: 11" x 14", 10" x 13", and 8" x 10". Simply ungroup the design and hide the mat sizes you do not want to use. You can hide the mats you do not want to use, by clicking on the Eye icon on the Layers Panel in Design Space. Also, you will need the 12" x 24" Standard Grip machine Mat for the 11" x 14" and/or 10" x 13" design. As mentioned above, make sure all of your text is Attached to each other before cutting, if you don't you will have a jumbled mess. Place your vinyl shiny side up on a Cricut standard grip machine mat (green). Select Premium Vinyl for your materials setting and click the Make It Button to proceed with cutting Once your vinyl is done, load the cardstock you wish to use for the matting. I like to use Canson Mix Media paper and it comes in a multitude of sizes. After you have removed the vinylhttps://jennifermaker.com/wp-admin/edit.php?post_type=mv_create from the mat, carefully cut it down to size and save the extra vinyl for another project. Now it's time to cut and weeded your vinyl. Place Cricut Standard Grip Transfer Tape on your weeded design and burnish it down with your scraper tool. Set it aside while you prepare the cardstock mounting page to transfer it to. Find the center point of your mounting page for easier alignment. I use FriXion erasable pens. Make your marks with light pressure and erase them after placing your design. Remove your design/transfer tape from the carrier sheet. Align on your mounting page and gently place it on the page. Once you have laid down the design/transfer tape press lightly, and with only your fingertip, go over the vinyl. Carefully remove the transfer tape, while leaving the vinyl on the page. Erase the center point marks. Once your design is in place, turn it over and place it on top of your mat. Hold in place with painter's tape. Turn it over and make sure everything is aligned properly. We are in the home stretch! Take your chosen frame and remove the back. I always use a snubnosed screwdriver to safely open the metal tabs. Your fingers will thank you. Remove the back and remove everything inside. This frame came with its own mat, so why not use it? By not using it, you will be able to make your design larger. Making your own custom-sized mats allows you to save time and money with future projects. Place your matted design inside the frame, replace the back, and push the metal tabs back into place with your snubnosed screwdriver. You are now ready to hang, or gift your Longitude and Latitude Wall Art! Fonts Used: Baltimore Typewriter Font As an Amazon Associate and member of other affiliate programs, I earn from qualifying purchases.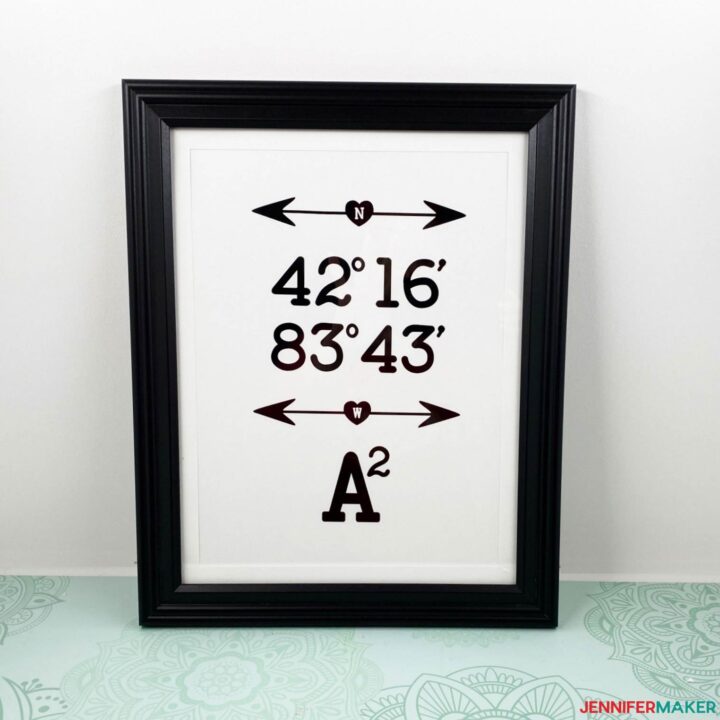
Longitude and Latitude Wall Art
Materials
Tools
Instructions
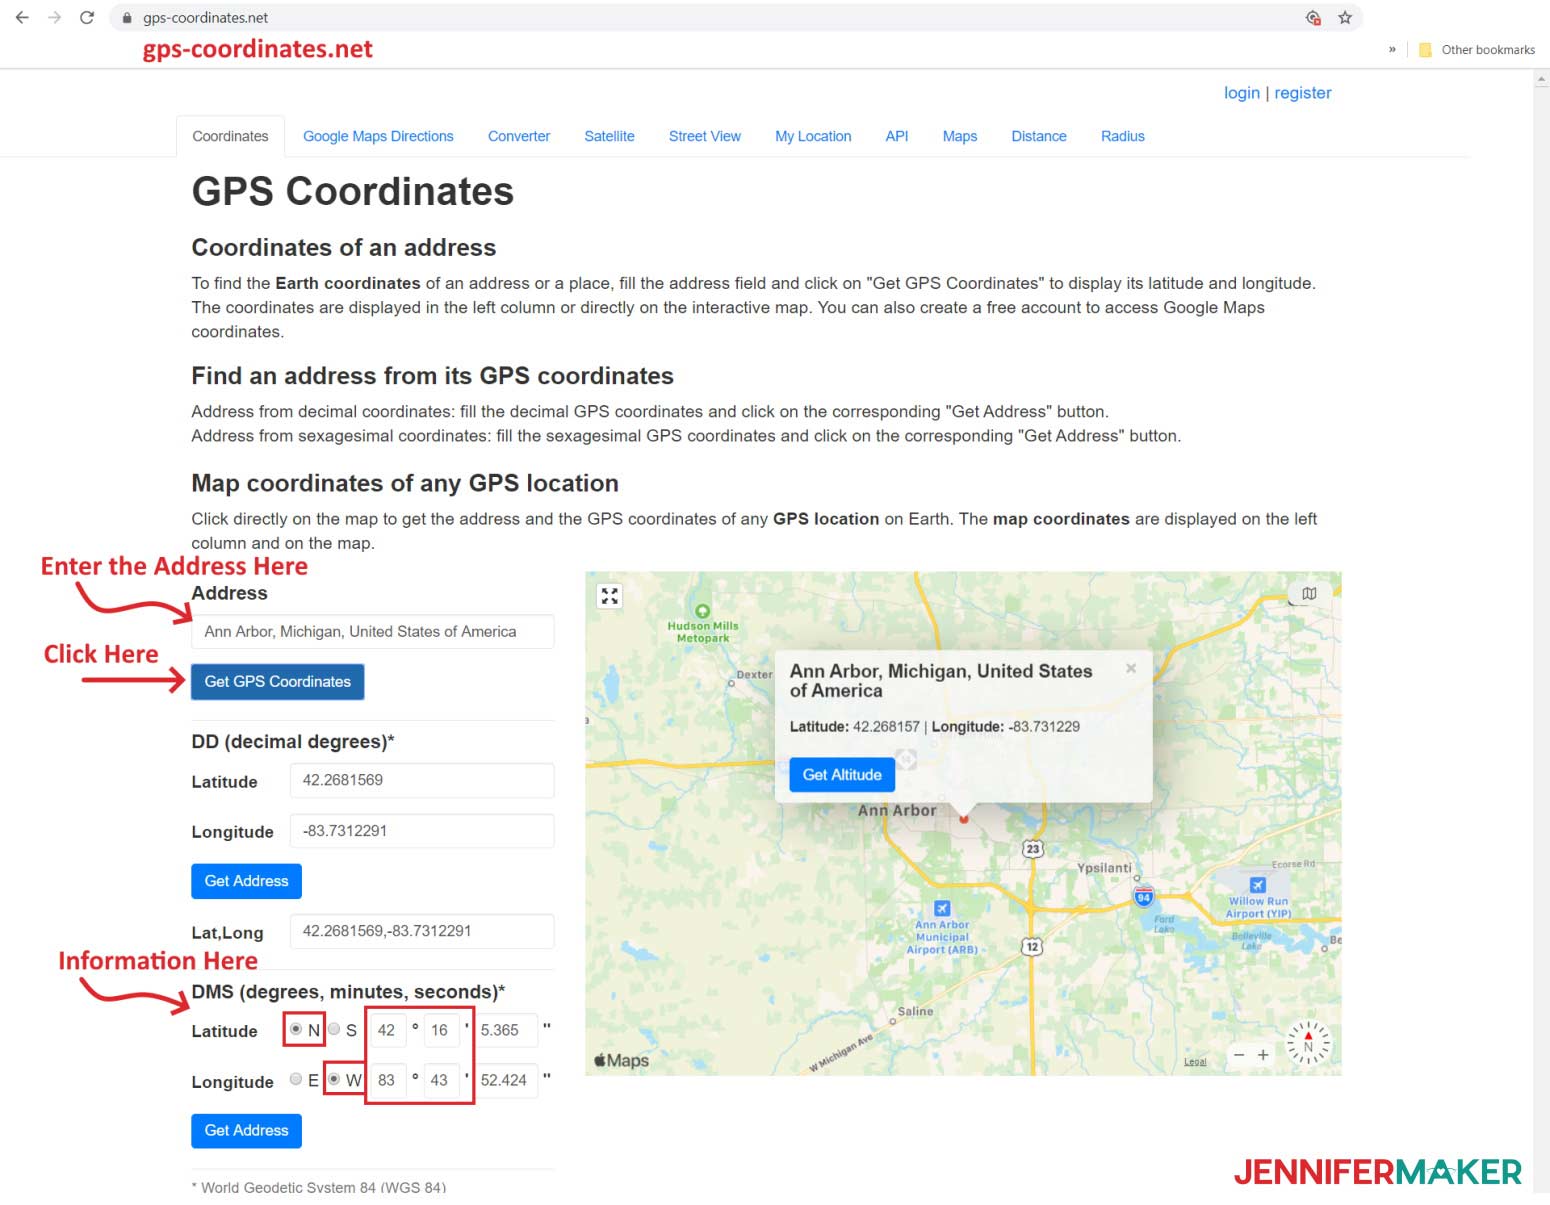
STEP 1: Get Your Coordinates
STEP 2: Get my Longitude and Latitude Wall Art Design
STEP 3: Design Your Wall Art
STEP 4: Cut Your Materials
STEP 5: Assemble Your Wall Art Design

STEP 6: Show it Off
Notes
Recommended Products

Answers to Your Questions About How to Make Latitude & Longitude Wall Art
Q: Can I change the design to use my own coordinates?
Yes! Go to gps-coordinates.net to get your own coordinates.
Q: Can I sell these designs on my Etsy shop/online store?
Thank you for wanting to create and sell our designs. The only thing we ask is that when selling the completed designs that you give credit to Jennifermaker.com and that you not sell the SVG or png file.
Q: I am not a Cricut Access member, do I have to pay for the fonts?
If you are not a Cricut Access subscriber. and do not want to worry about paying for a Cricut font, you can click on “System” at the top of the window to only use the fonts installed on your computer. Remember, you can also use Courier which is available free here.
Get my free SVG files to make your wall art
I love seeing what you make with my designs and how you use them! Please share a photo of your wall art made with your Cricut in our Facebook group or tag me on social media with #jennifermaker.
Love,

Want to remember this? Save this Latitude & Longitude Wall Art tutorial to your favorite Pinterest Board!