Learn about the newest & coolest sublimation shirt ideas to take on your crafting journey!
I still smile when I think about the moment I peeled back my first successful sublimation T-shirt transfer. It looked so good I was genuinely surprised! I was expecting the colors to appear dull and maybe a little patchy or uneven. Instead, I found myself staring at a smooth, bright design that looked like it came straight from a professional press. That thrill is exactly why I love exploring new sublimation shirt ideas. It’s also why I wanted to share the process in a beginner-friendly way so you can skip the confusion and jump straight into creating something you’re excited to wear.
Watch the full step-by-step tutorial on how to make your favorite sublimation shirt ideas come to life:

The magic of this project begins with understanding why sublimation is so easy … once you know the basics. With the right fabric and a few simple tools, you can create beautiful sublimation shirts even on your very first try. The secret is that sublimation ink is a solid on its printed paper, turns into gas as it heats, then back into a solid as it cools. It bonds with polymers (like the polyester fibers in a shirt) and leaves a smooth, soft finish, so the design becomes part of the fabric itself. The result is a durable print that won’t crack or peel, even holding up through many wash cycles. That’s why sublimation shirts are so popular for everyday wear and as lasting meaningful gifts for special occasions.

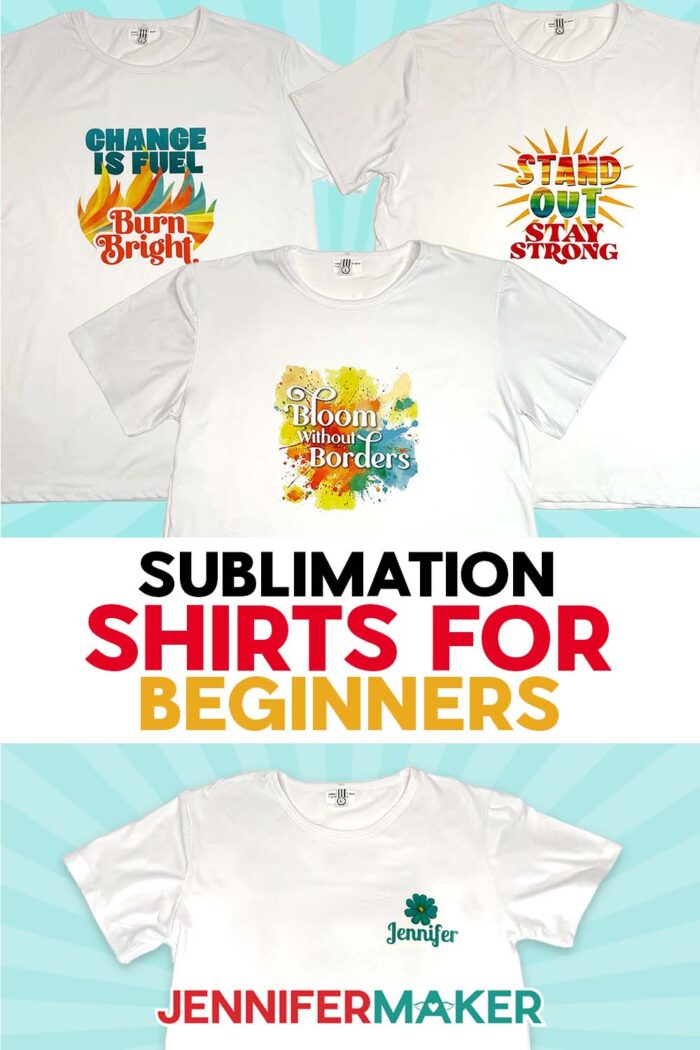
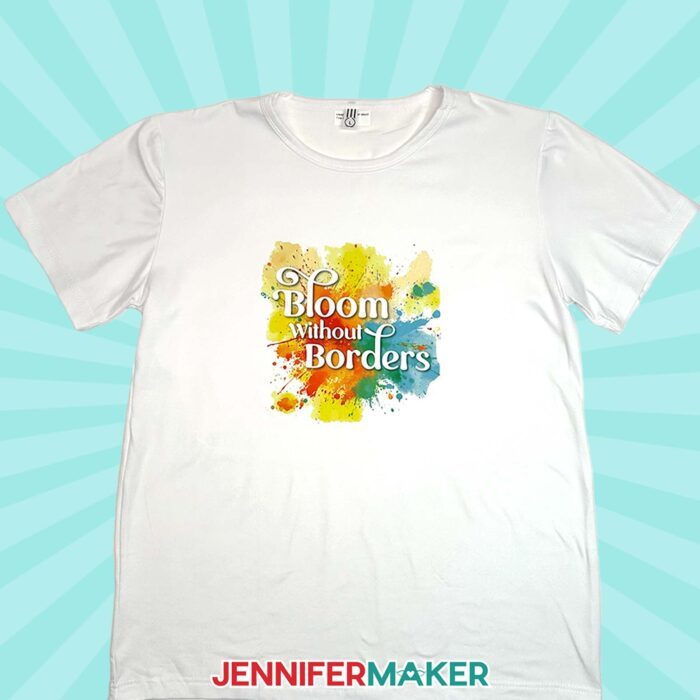
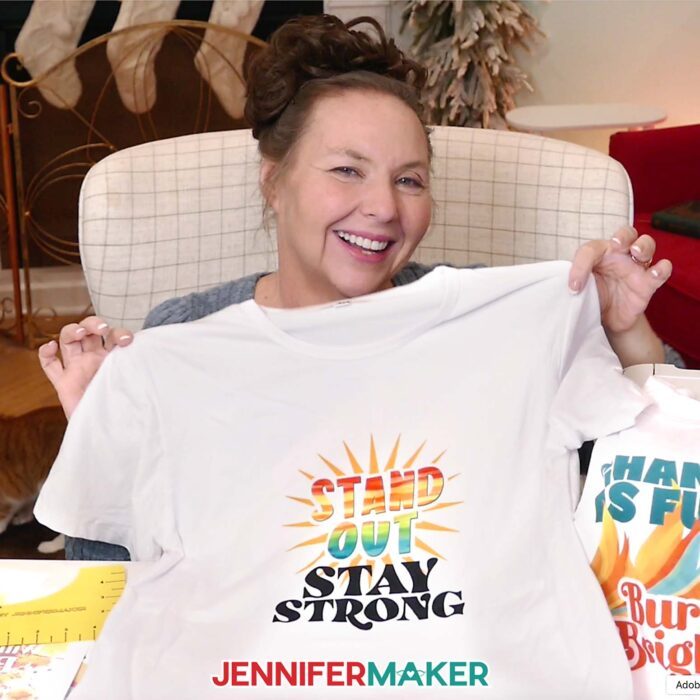
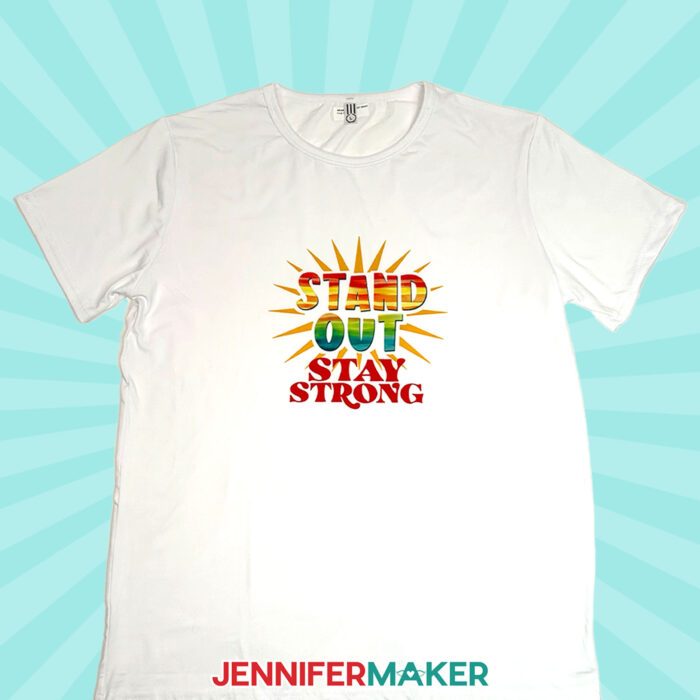
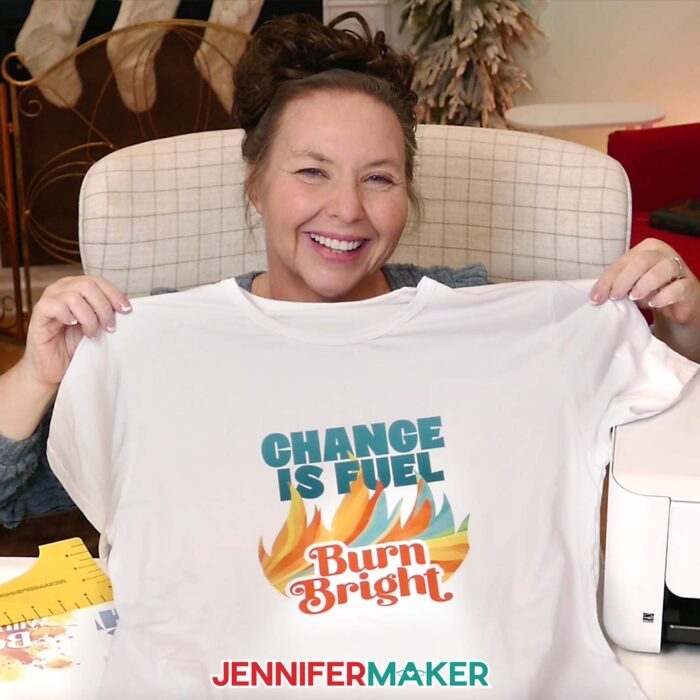
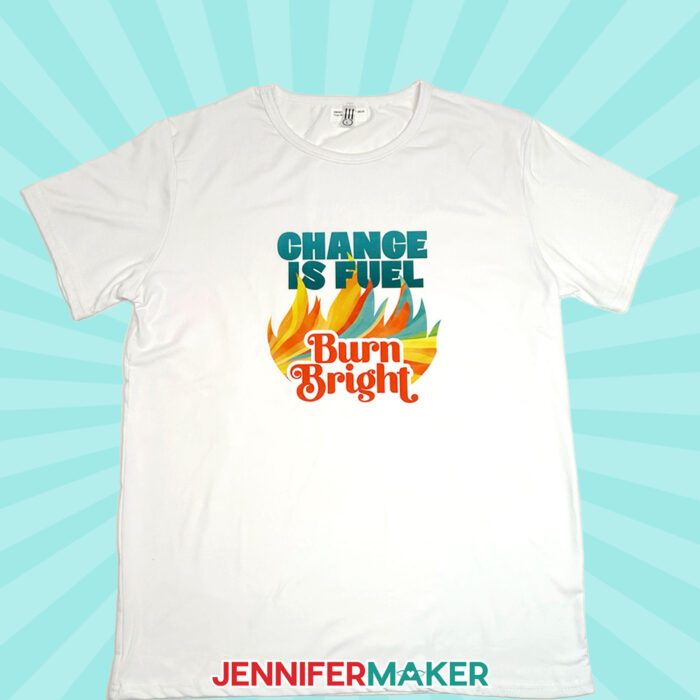
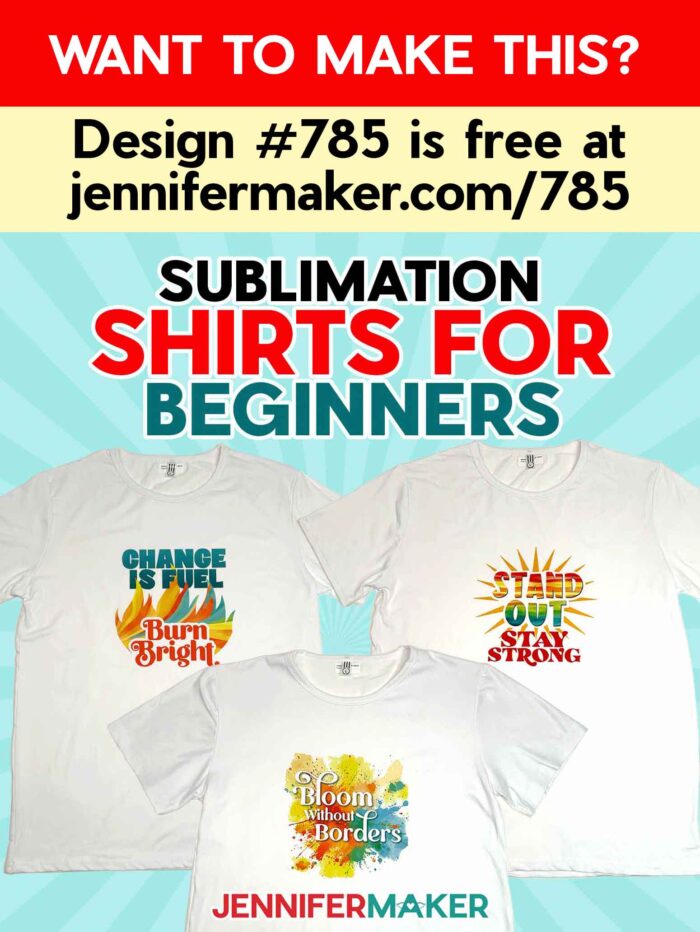
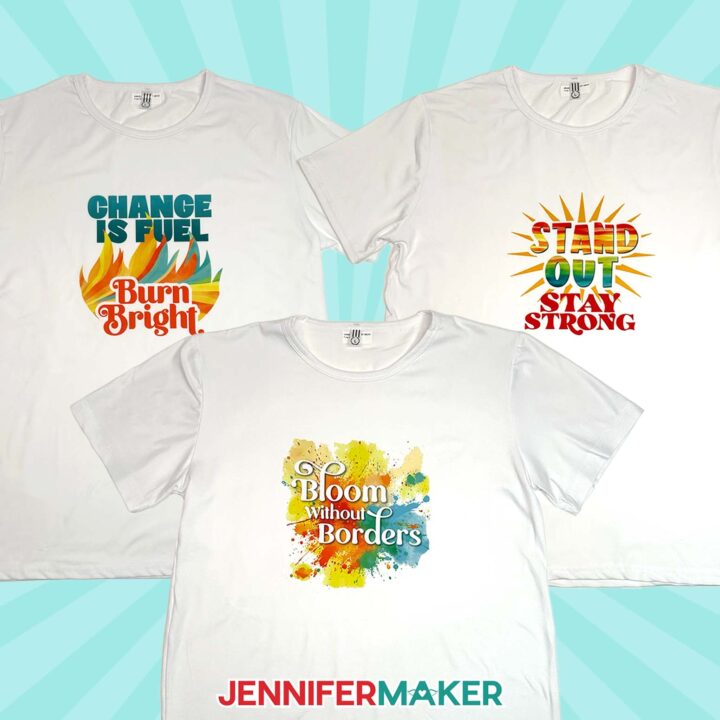
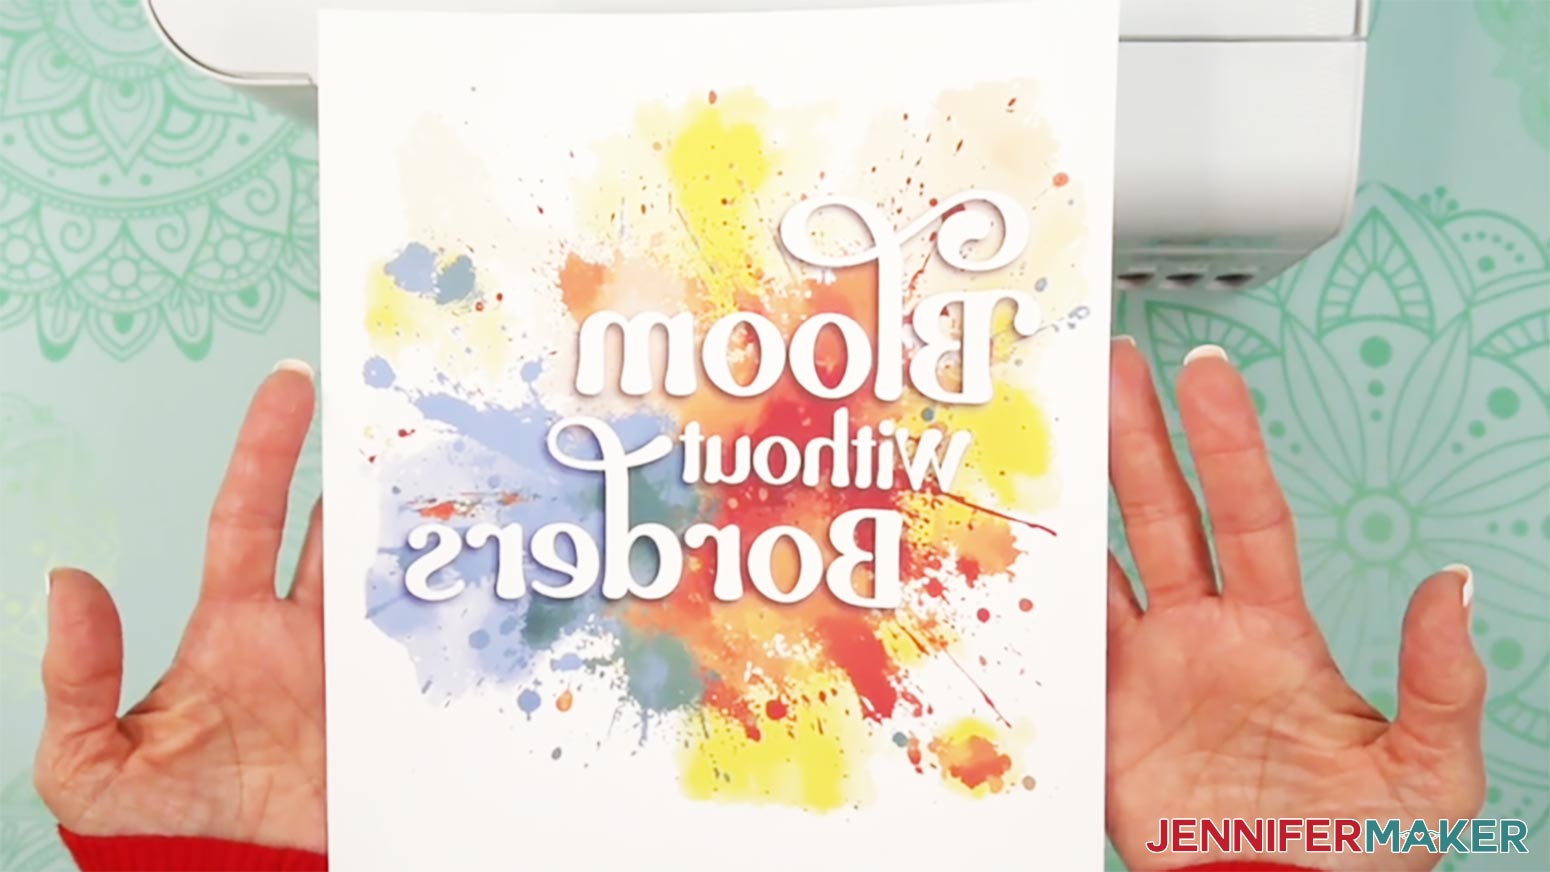
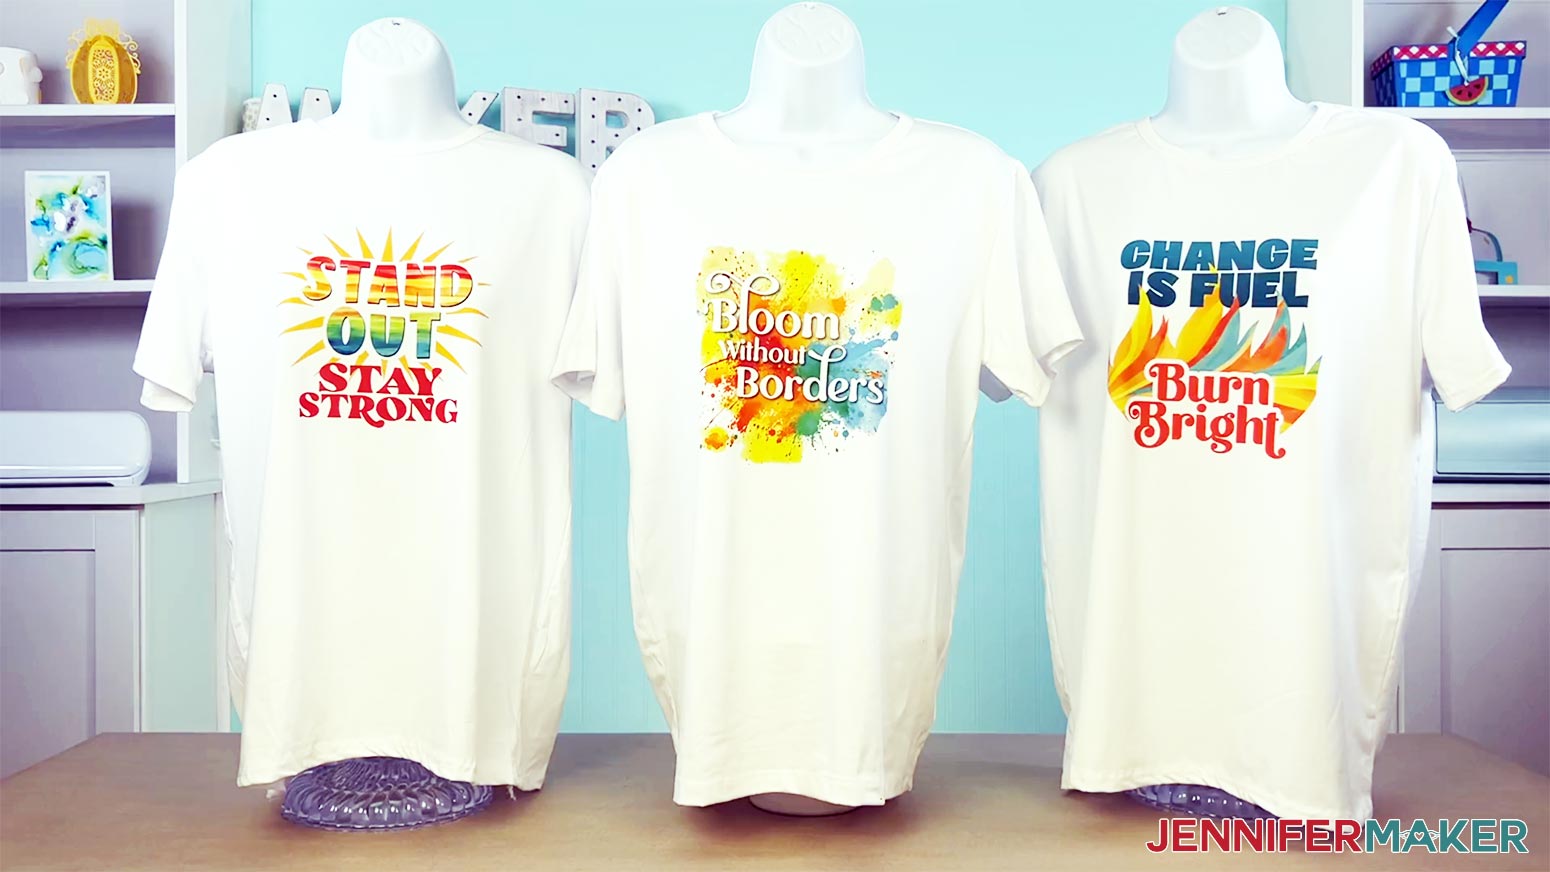
For my easy T-shirt designs, I layered inspirational sayings on top of bright PNG artwork made with an AI image generator and editing software: “Bloom Without Borders” on a colorful splash background; “Change is Fuel, Burn Bright” surrounded by a rising flame design; and “Stand Out, Stay Strong” paired with radiant sun rays. They are crisp, full of rich color, and have so much detail! Designs like these are perfect for showing how vibrant colors can come to life on the right shirt. Feel free to download my free images or experiment with your own sublimation shirt ideas! In fact, exploring your own sublimation designs is one of the most enjoyable parts of the learning curve, and it doesn’t take long before you’re dreaming up new themes, messages, or artwork to try next.
Before you print anything, it helps to choose the best materials from the start. Sublimation blanks can come in many forms, but for shirts you’ll get the best results by choosing white or light-colored shirts with high polyester content, ideally 100%. A blend will still work as long as the fabric is at least 65% polyester, but the colors become softer as the polyester percentage drops. Sublimation ink is transparent, so white shirts will show your design without interference from the base color. Once you have the right shirt ready, you can prepare your artwork in Google Docs or another easy tool. It may not seem like an obvious choice, but Docs is great for beginners because it allows you to size your image easily before printing. Plus, it’s free!
When preparing to print, make sure you’re using sublimation paper and a sublimation-ready printer filled with special sublimation dyes rather than regular ink. A standard office printer simply won’t work for this process. Choosing the right sublimation printer helps ensure clean lines and consistent color in your final design. Set the print quality to high, select the best matte photo setting, and mirror your image so it presses correctly. After printing, give the paper time to dry, even if it looks ready to use. That extra pause helps keep your sublimation transfers crisp and smudge-free. And don’t worry if your print looks a little dull–this is completely normal! Heating the ink during pressing will bring its colors to life!
Pressing the shirt is where the real magic happens. Before adding heat, take a moment to lint-roll the fabric and slide a piece of cardstock inside the shirt to protect the back layer. Tearing the edges of the paper around the design softens the border and makes the print blend into the shirt more naturally. When you’re ready, center the transfer face down on the shirt and and tape it securely using heat-resistant tape so nothing shifts during pressing. Even slight movement can cause transfer errors called ghosting, so securing all sides is worth the extra few seconds.
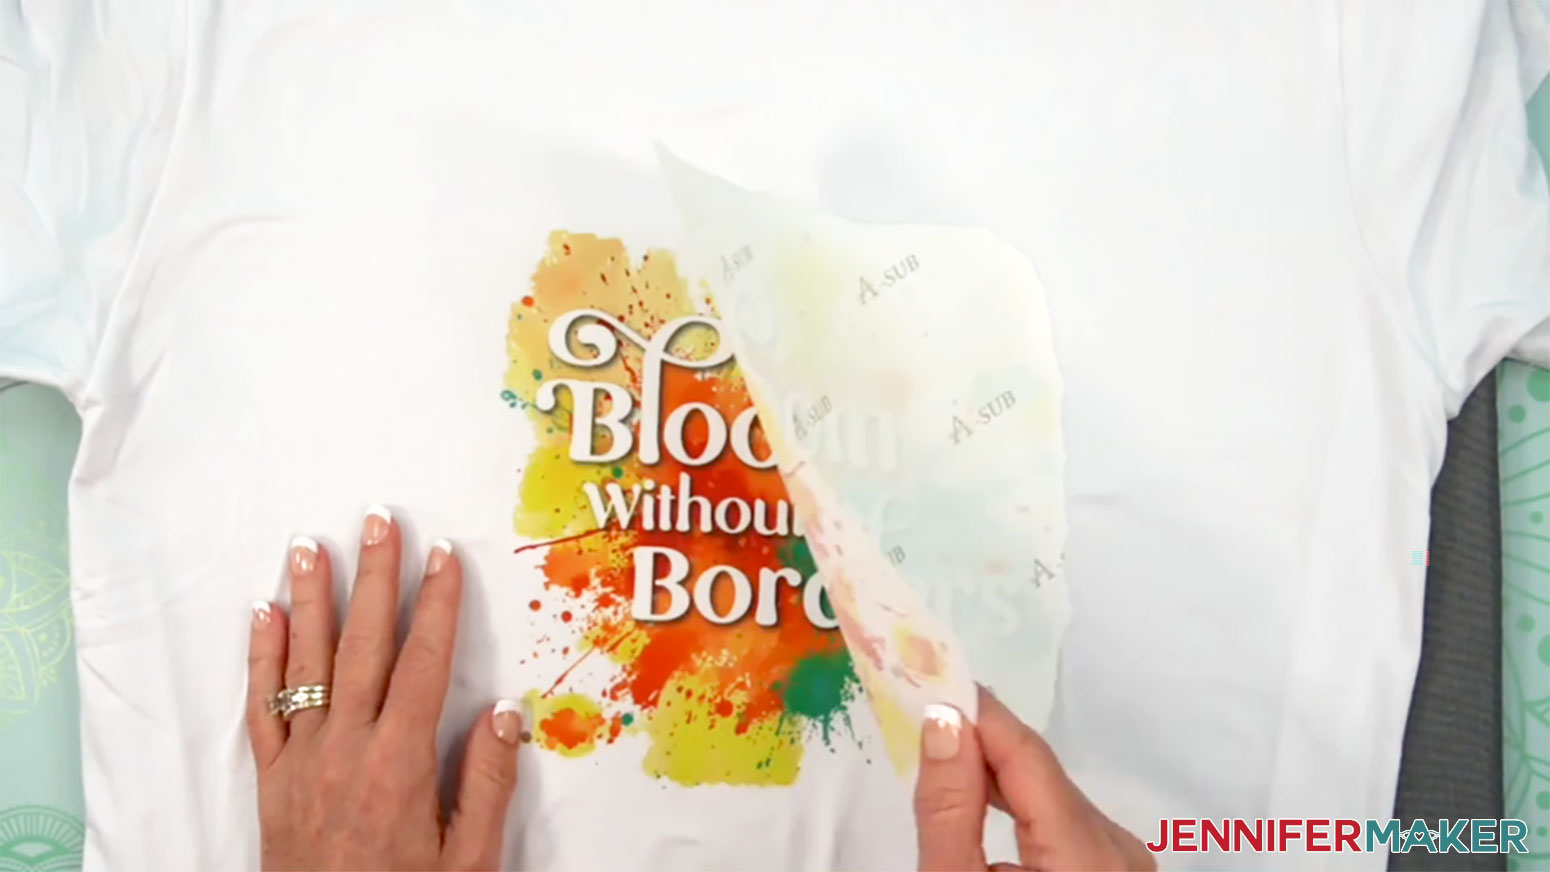
When the press reaches the correct temperature, place protective paper on top of the design to capture any excess ink and keep it from dyeing the press. Place the press directly over the design without sliding it. Keeping the press completely still ensures a clean, permanent print without ghosting (shadowy double images) or blurring. After the timer beeps, lift the press straight up and remove the protective paper. Let the shirt cool for a moment so the ink settles, and then peel back the design’s paper to uncover the finished artwork. No matter how many times I do this, I am still surprised and delighted at the big reveal!
Caring for sublimation prints on shirts is easy. Wait 24 hours before washing, turn the garment inside out, use cool water, and dry gently for the best results. This simple care routine keeps your long-lasting designs bright and beautiful, even with regular wear. The finished result looks and feels store-bought, yet carries the personal touch only handmade pieces can offer.
What I love most about this method is how beginner-friendly it is while still creating professional-looking results. Sublimation T-shirt projects can showcase unique designs for personal use or display inspiring messages. They can even celebrate memories, and make great gifts for people you love! The fact that the ink becomes part of the fabric means the finished shirt remains soft and flexible, with colors that hold up beautifully over time. With just a little practice and a few key steps, sublimation printing unlocks a whole world of creative possibilities.
Whether you’re making shirts for fun, experimenting with sublimation shirt ideas for craft fairs, or customizing something special for a friend, this technique lets you create pieces that feel polished and personalized at the same time. Because the process can capture so much detail and produce such vibrant colors, it’s an ideal way to turn artwork, quotes, or illustrations into wearable expressions of creativity. And once you understand how to work with sublimation paper, choose the best sublimation-ready items, and follow the heating process, you’ll find that you can apply these same steps to many other sublimation blanks beyond shirts.
If you’re curious to learn more about all the different projects you can make with sublimation, my Sublimation Cookbook is a great resource! It contains tons of helpful information and diagrams, including tried-and-true settings for many different materials! It’s designed to help sublimation beginners succeed on their very first try. Plus, it’s filled with tips to help you get comfortable with sublimation transfers, pressing techniques, and choosing the best materials.
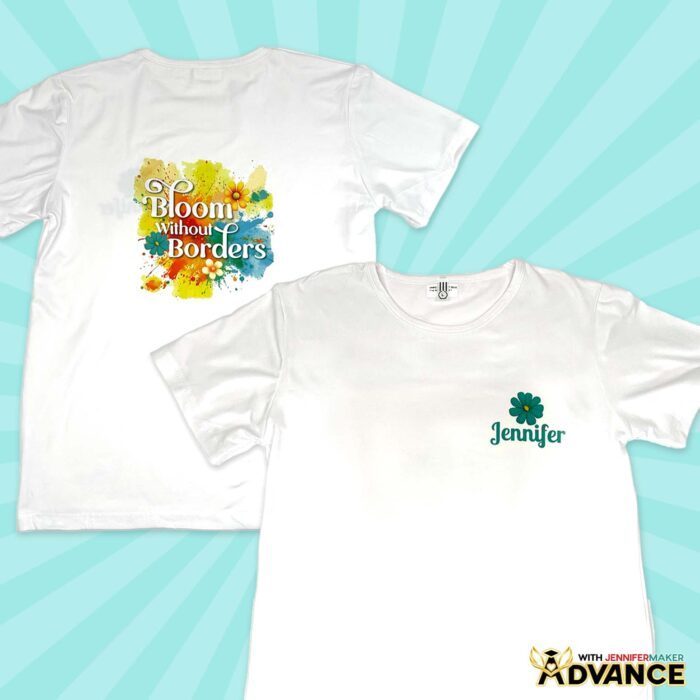
Interested in creating your own version of this project? There is a special workshop waiting for you in my ADVANCE with JenniferMaker program. I show you exactly how to use free Canva design software to create colorful custom designs for the back of your shirt. Then I teach you how to create matching designs for the front, too. I even include my best tips for transferring your designs on both sides so your sublimation ideas look their best!

Whether you stick with the provided artwork or explore your own designs, you’re well on your way to creating shirts that are bright, meaningful, and made entirely by you. Once you see how simple and rewarding the process of sublimation can be, it opens the door to endless creative ideas. Keep experimenting, keep learning, and most of all, keep making things that make you smile!
So, want to learn how to bring your sublimation shirt ideas to life? Let me show you how easy it is! This post contains some affiliate links for your convenience (which means if you make a purchase after clicking a link I will earn a small commission but it won’t cost you a penny more)! Read my full disclosure policy.
Materials to Make Sublimated T-Shirts
View my Amazon shopping list with the exact items I used.
- One (1) 100% Polyester White T-Shirt
- One (1) sheet of 8.5” x 11” A-Sub Sublimation Paper 125g
- 12” x 12” White Cardstock
- White Uncoated Butcher Paper
- A Free Google Account
- Sublimation Printer (I used a converted Epson EcoTank ET-2800 Inkjet Printer)
- Sublimation Ink
- Heat Press (I used the 9” x 9” Cricut EasyPress 3)
- Cricut EasyPress Mat
- Heat-Resistant Tape
- Lint Roller
- Fan (for ventilation)
- Scissors -OR-
- Paper Trimmer
- Ruler or Measuring Tape
- T-Shirt Ruler Guide (optional)
- Design #785 (My free PNG design files are available in my free library – get the password by filling out the form at the bottom of this page)
How to Make Sublimation T-Shirts
Sublimation Shirt Ideas
Learn how to create colorful, vibrant tops with these sublimation shirt ideas!
Materials
- One (1) 100% Polyester White T-Shirt
- One (1) sheet of 8.5” x 11” A-Sub Sublimation Paper 125g
- 12” x 12” White Cardstock
- White Uncoated Butcher Paper
- Design #785 (My free PNG design files are available in my free resource library - get the password by filling out the form at the bottom of this page)
Tools
- A Free Google Account
- Sublimation Printer (I used a converted Epson EcoTank ET-2800 Inkjet Printer)
- Sublimation Ink
- Heat Press (I used the 9” x 9” Cricut EasyPress 3)
- Cricut EasyPress Mat
- Heat-Resistant Tape
- Lint Roller
- Fan (for ventilation)
- Scissors -OR-
- Paper Trimmer
- Ruler or Measuring Tape
- T-Shirt Ruler Guide (optional)
Instructions
STEP 1: GET MY FREE SUBLIMATION SHIRT DESIGNS
First, download my colorful sublimation shirt designs from my free library – look for Design #785. Alternatively, you can use the Save This Project form near the top of this post and the design link will be emailed to you.
In the PNG folder, you’ll find three bright and vibrant T-shirt designs ready to print for sublimation: “Bloom Without Borders,” “Change Is Fuel,” and “Stand Out, Stay Strong.” I made these designs with the help of AI art generation and adjusted them with image editing software.
TIP: If you’re not sure how to download Zip files and upload designs, go to jennifermaker.com/svgs. The steps are similar for PNGs and Google Docs.
STEP 2: PRINT YOUR SHIRT DESIGN IN GOOGLE DOCS
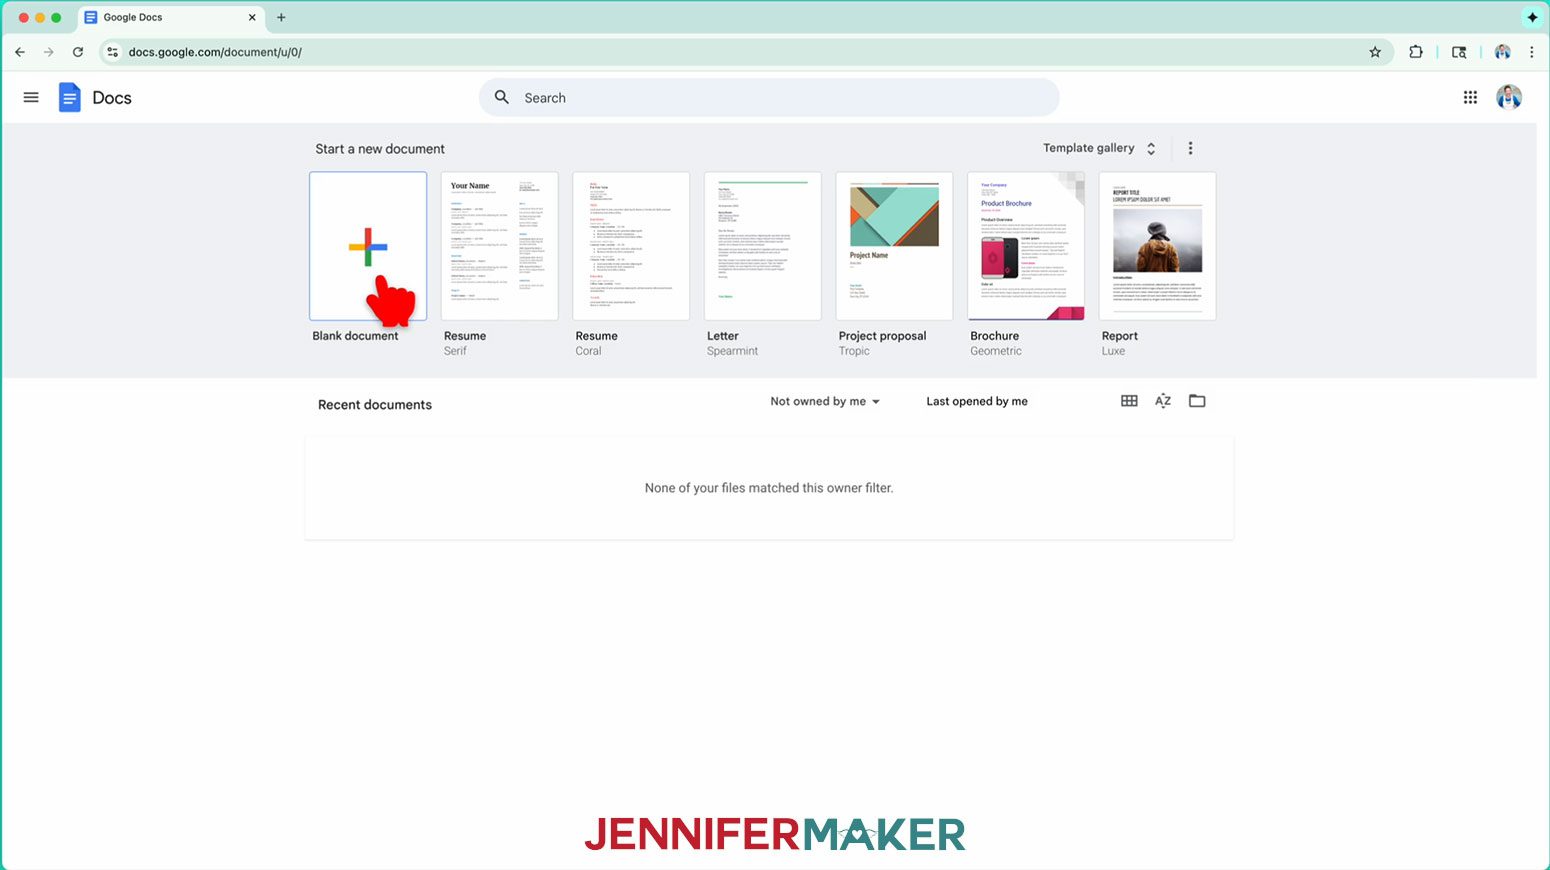
- Open Google Docs in the Google Chrome web browser on your computer. NOTE: You will need a free Google account to use the free Google Docs software. TIP: You can also download and open the Google Docs app, but you’ll have limited access to features, so I do not recommend it on a mobile device.
- Click “Blank document” at the top left to open a new document.

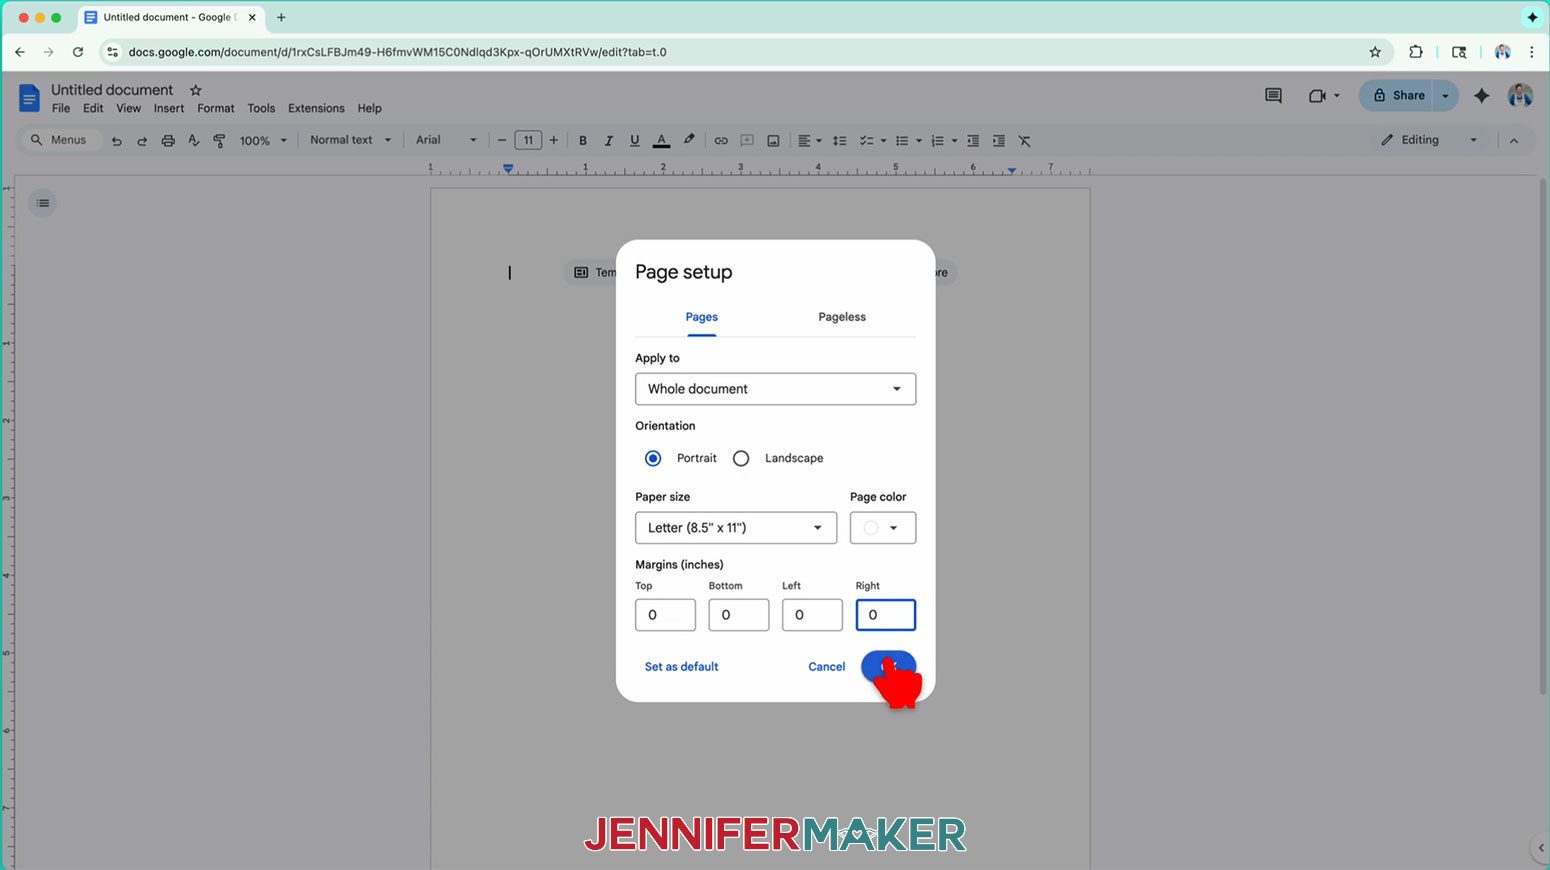
- Go to the “File” menu and select “Page setup.”
- Make sure the box next to “Portrait” is checked to match the design orientation.
- Change your “Margins” to “0” to use more of the page.
- Change your “Paper size” to match your sublimation paper size.NOTE: I’m using 8.5” x 11” or letter-size paper.
- Click “OK” to apply the settings.
- Click the area that says “Untitled document” at the top and type a name for the file.
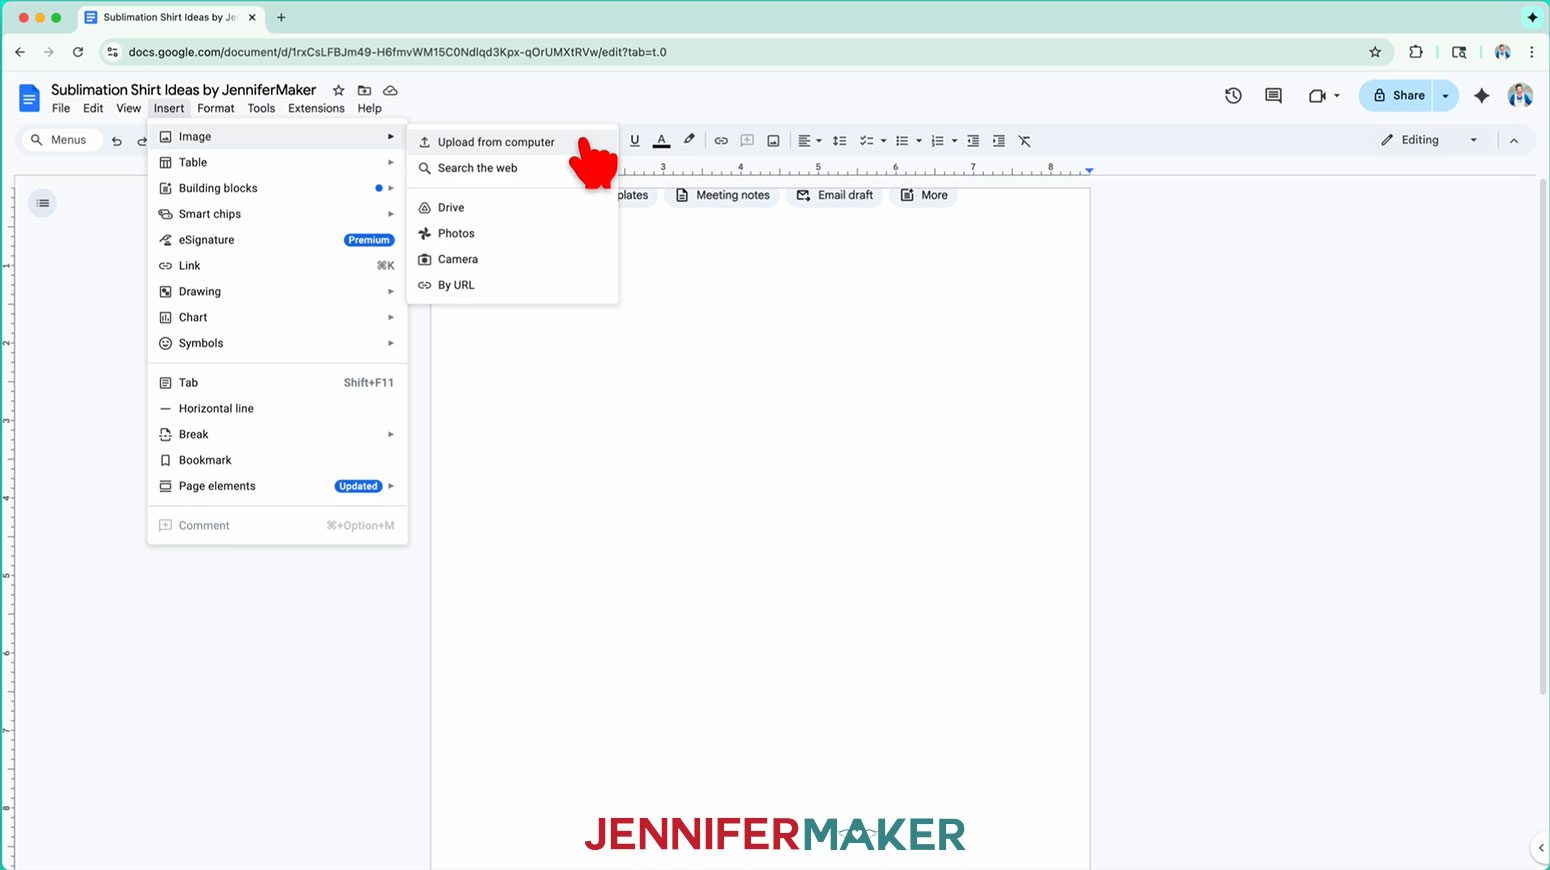
- Go to the “Insert” menu, select “Image,” and click “Upload from computer.”
- Select the PNG file with the sublimation design you want to use.TIP: You’ll most likely find it in your “Downloads” folder.NOTE: I’ll demonstrate with the “Bloom” design.
- Click “Open.”
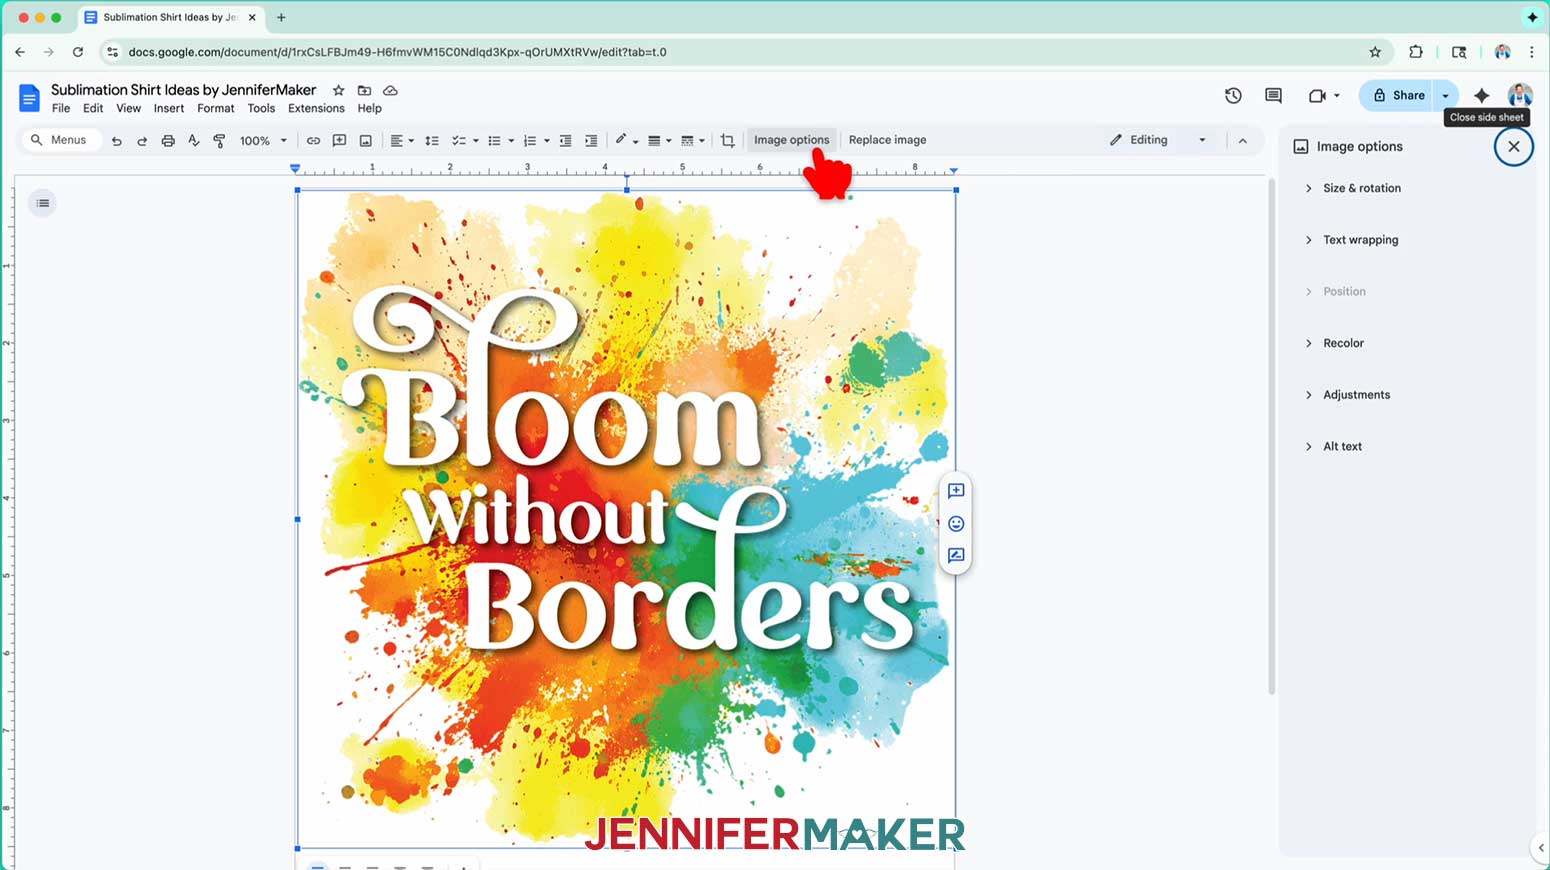
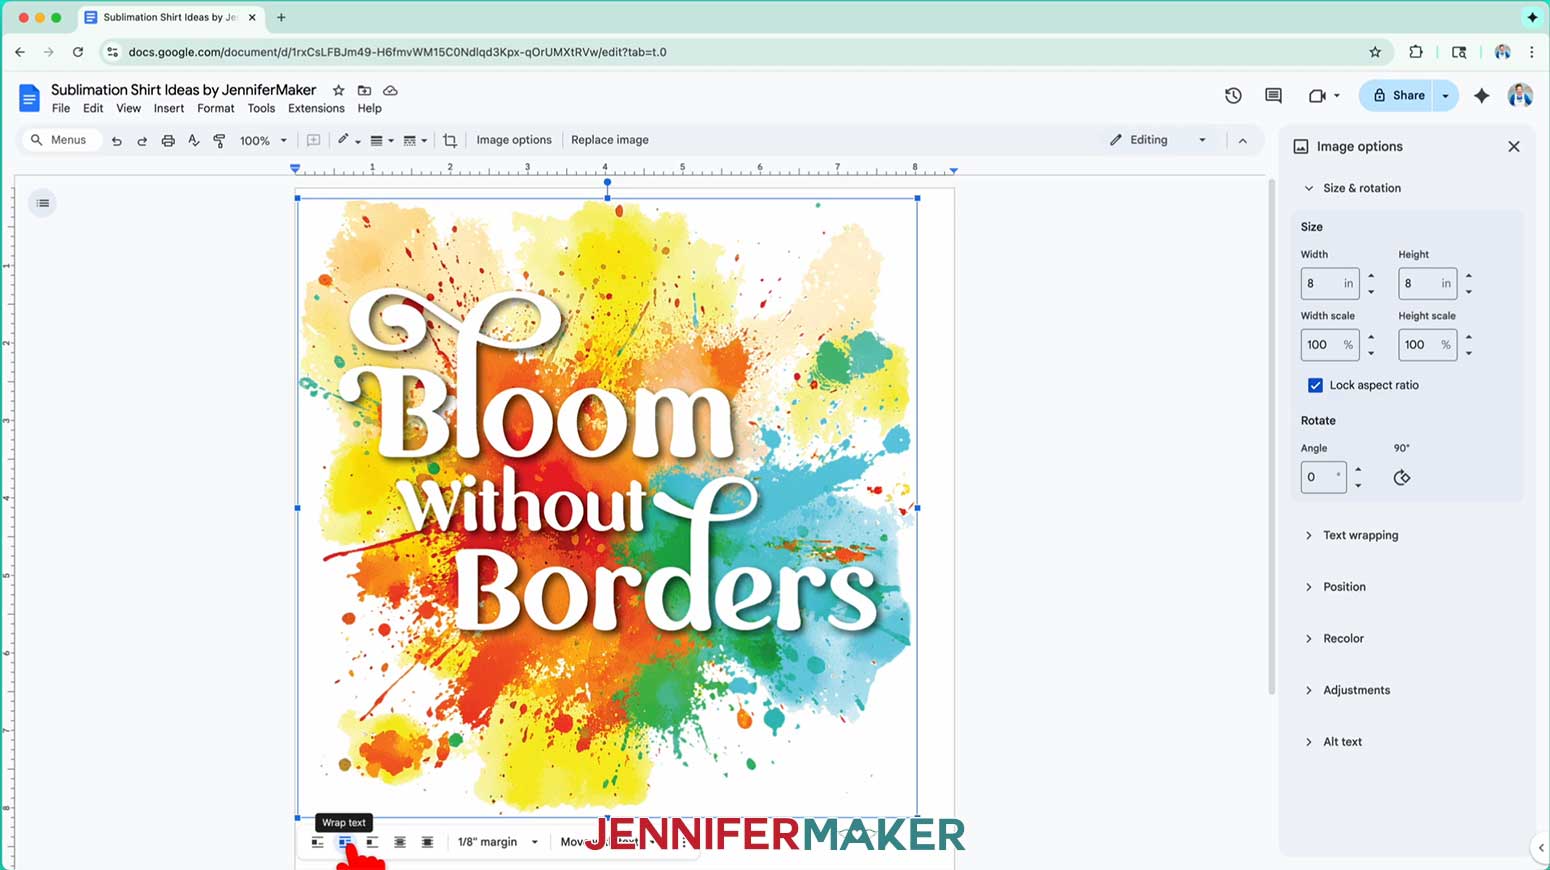
- To resize the design, click “Image options” at the top of the page.NOTE: You can also open the menu by going to “Format,” “Image,” and “Image options.”
- Select “Size & Rotation.”
- Keep the “Lock aspect ratio” box checked to maintain the design’s proportions.
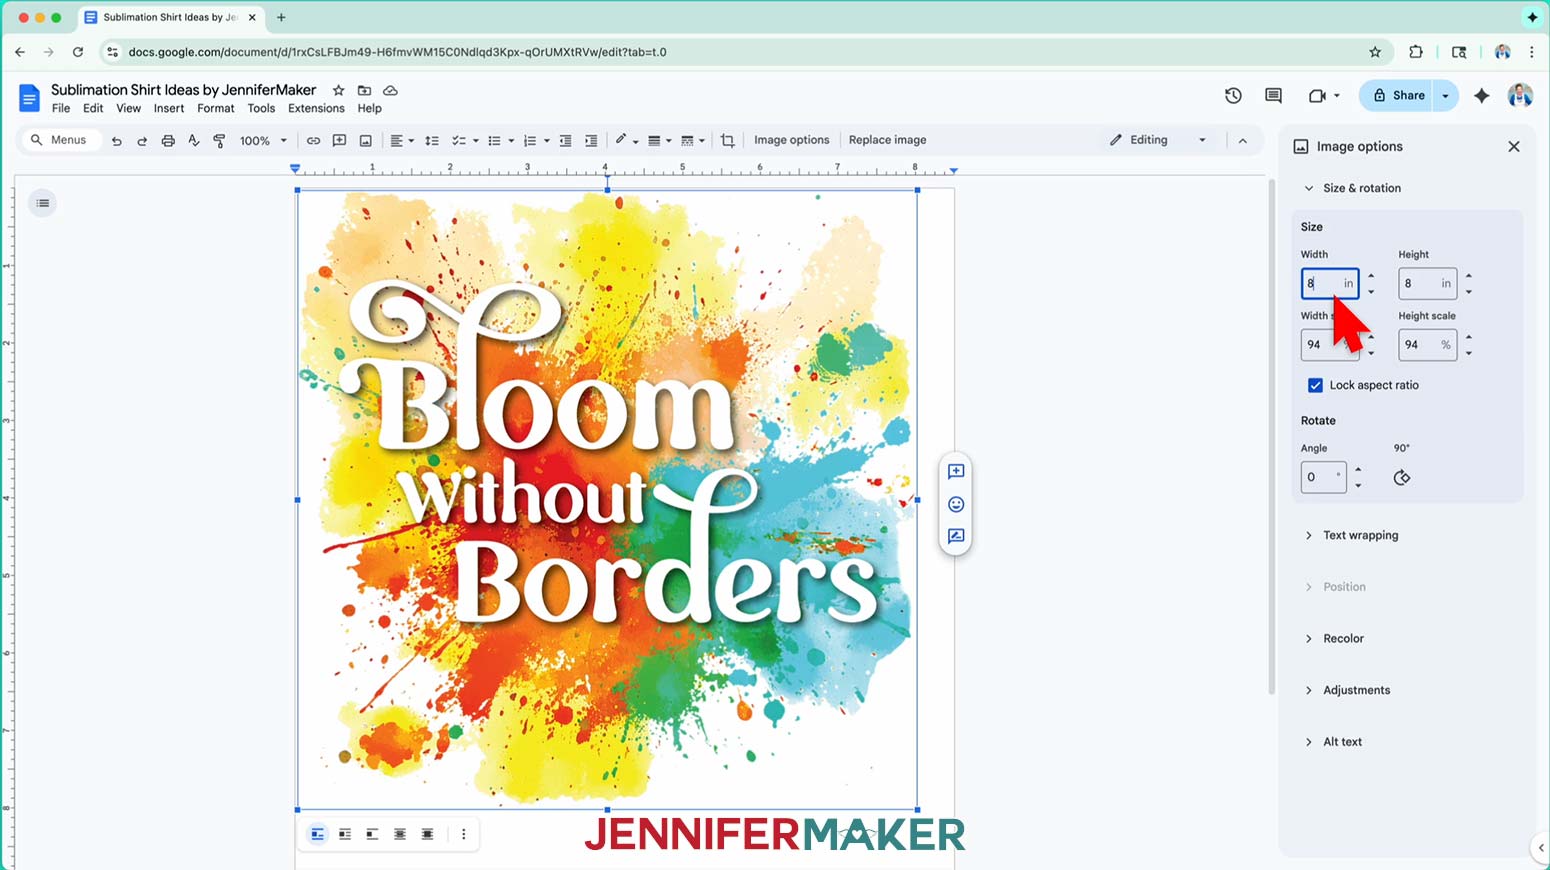
- Change the “Width” field to match the design area you want to create. I’ll make my design 8” wide, leaving space for a margin on all four sides.NOTE: If you’re making a different size shirt, you can adjust the design size to fit the area you want to fill as long as it will fit your printer paper. You can find recommended maximum design sizes for different shirts in my T-Shirt Ruler Guide.
- The “Height” field will automatically adjust proportionately.
- Click the image and select the “Wrap text” icon from the menu that appears below it.NOTE: This setting lets you move the design anywhere on the page.
- Click and drag the image to the center of your page, as that ensures it won’t get cut off at the edges.
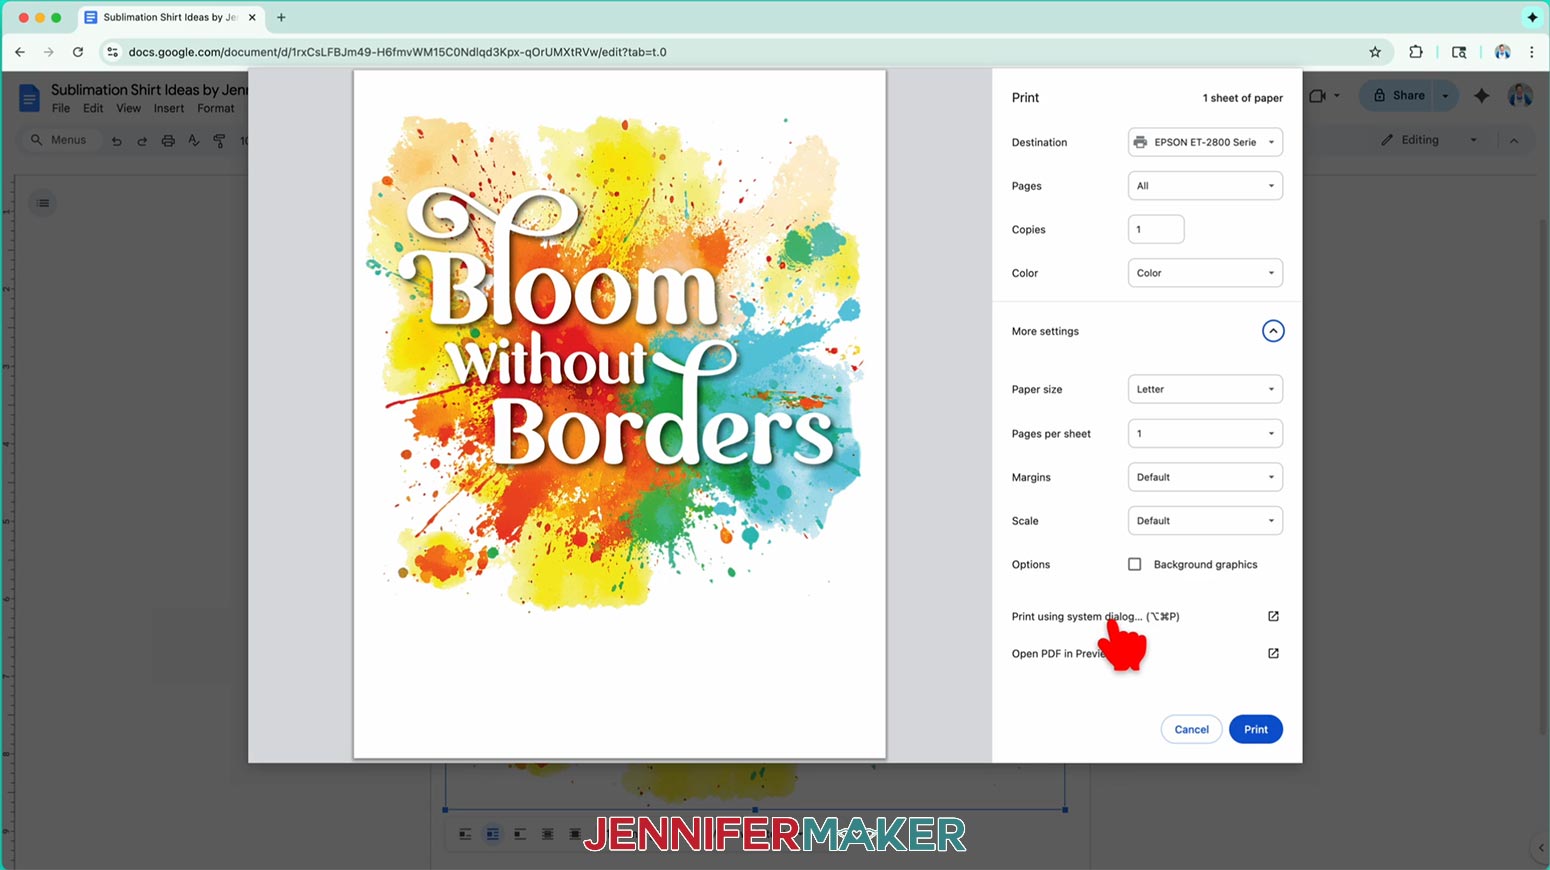
- Go to the “File” menu and choose “Print.”
- Select your sublimation printer under “Destination.”
- Click the arrow beside “More Settings” to select “Print Using System Dialog.”
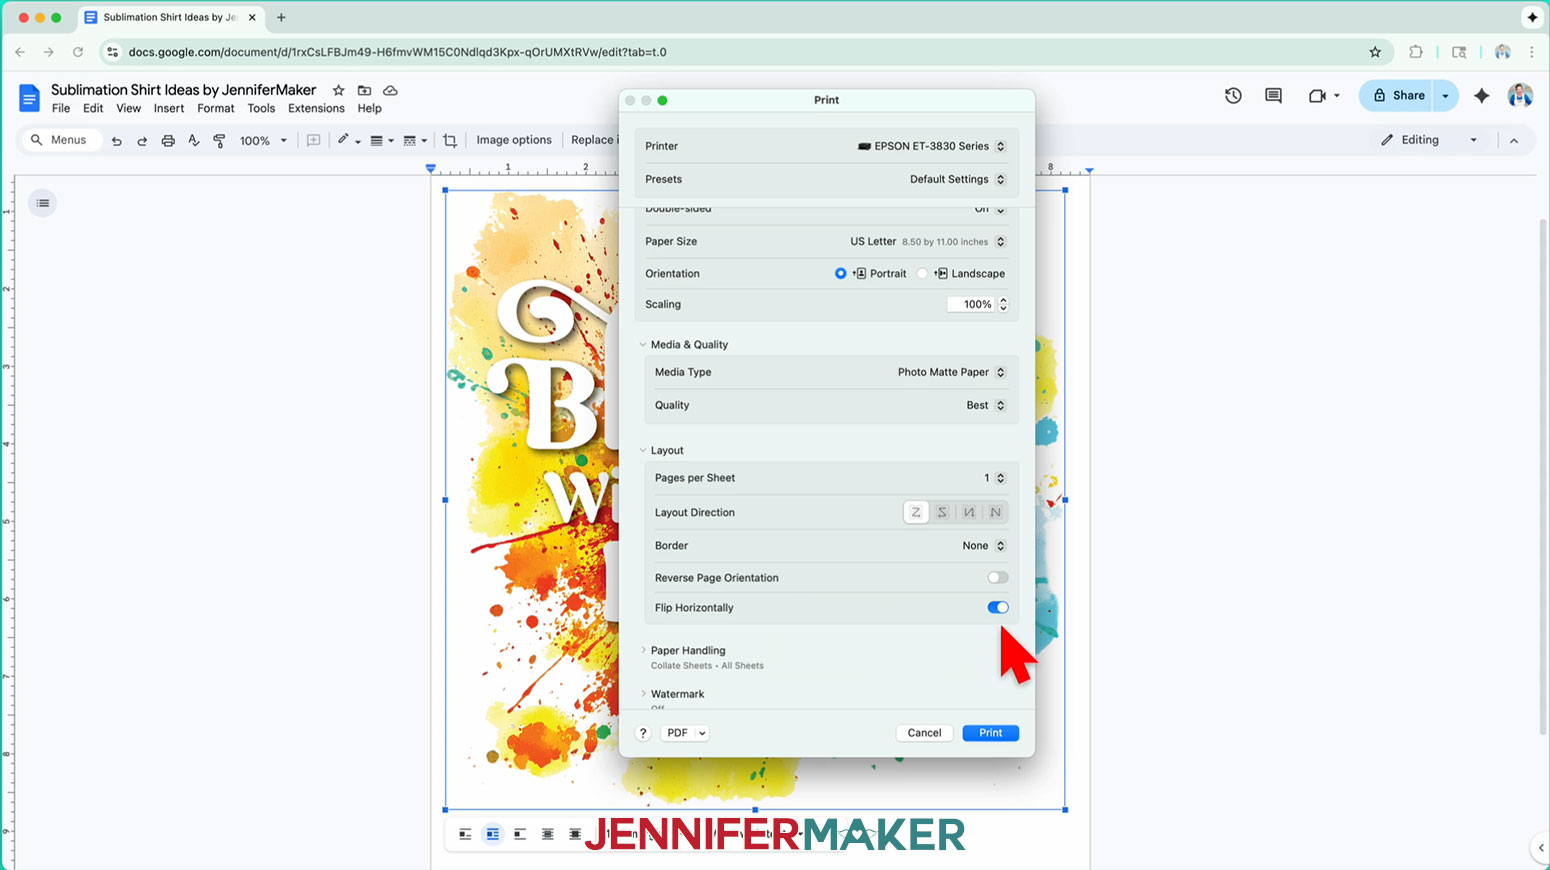
- Your print menu may look different from mine -- just make sure that you “flip horizontally” to mirror the image and select the highest print quality and the best matte photo paper setting. Double-check the sublimation printer and paper size settings to make sure they’re still correct.
- Load a sheet of sublimation paper correctly into your sublimation printer.NOTE: Check the packaging for information on how to load the paper.
- Click “Print.”
- Allow the print to dry before handling it, as the ink can smear.
 NOTE: The printed design will appear lighter before pressing.
 - Your image is ready to press!
 NOTE: This setting lets you move the design anywhere on the page.
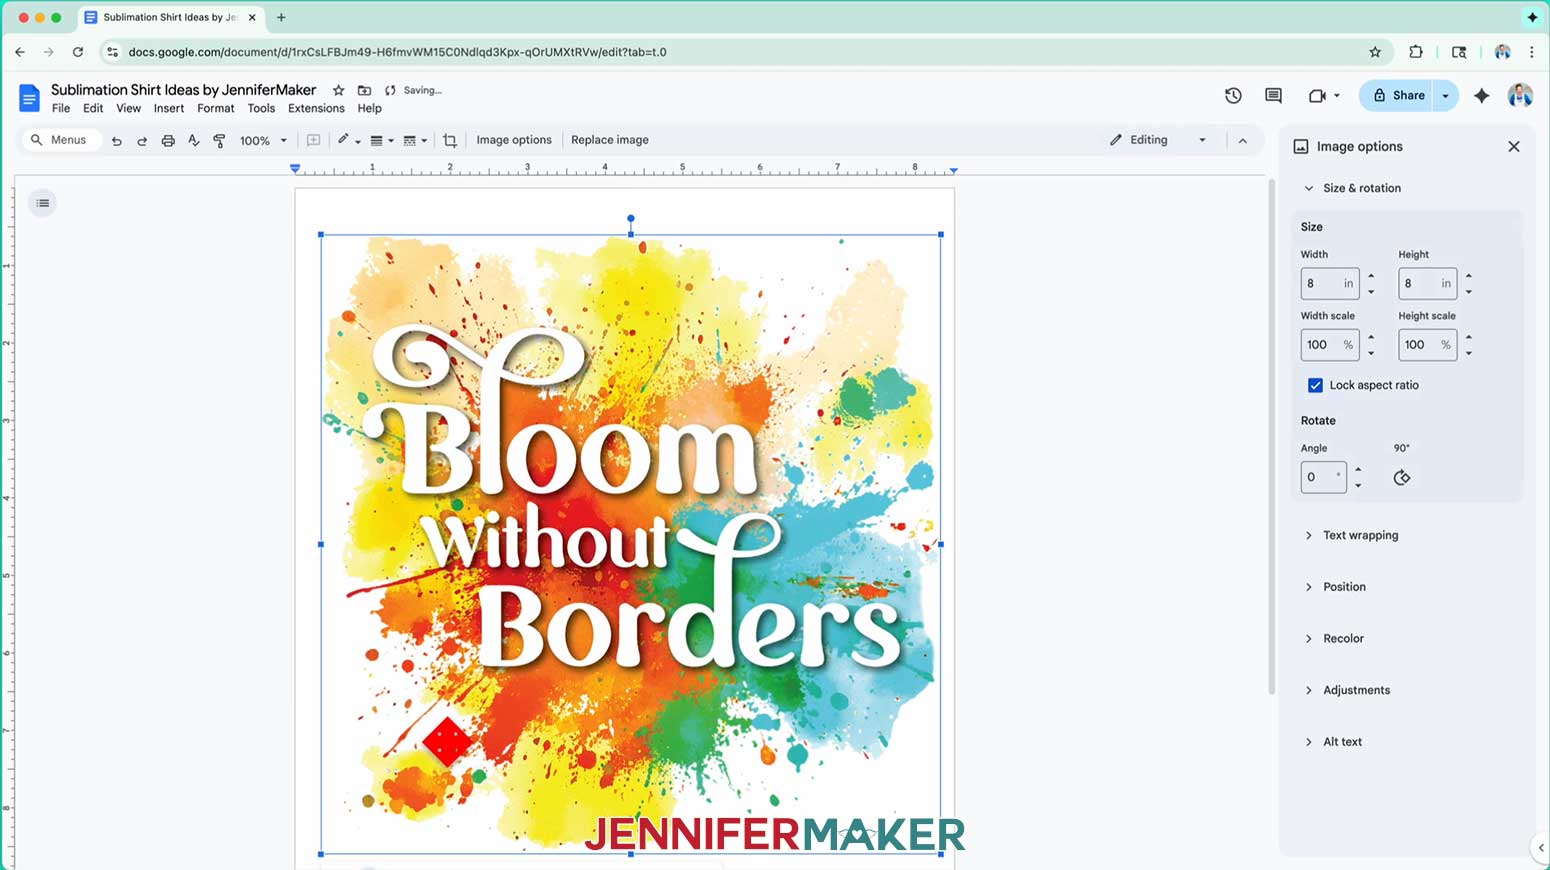
 NOTE: The printed design will appear lighter before pressing.
STEP 3: SUBLIMATE YOUR SHIRT
IMPORTANT: As with all sublimation projects, open a window and turn on a fan to improve your ventilation before beginning.
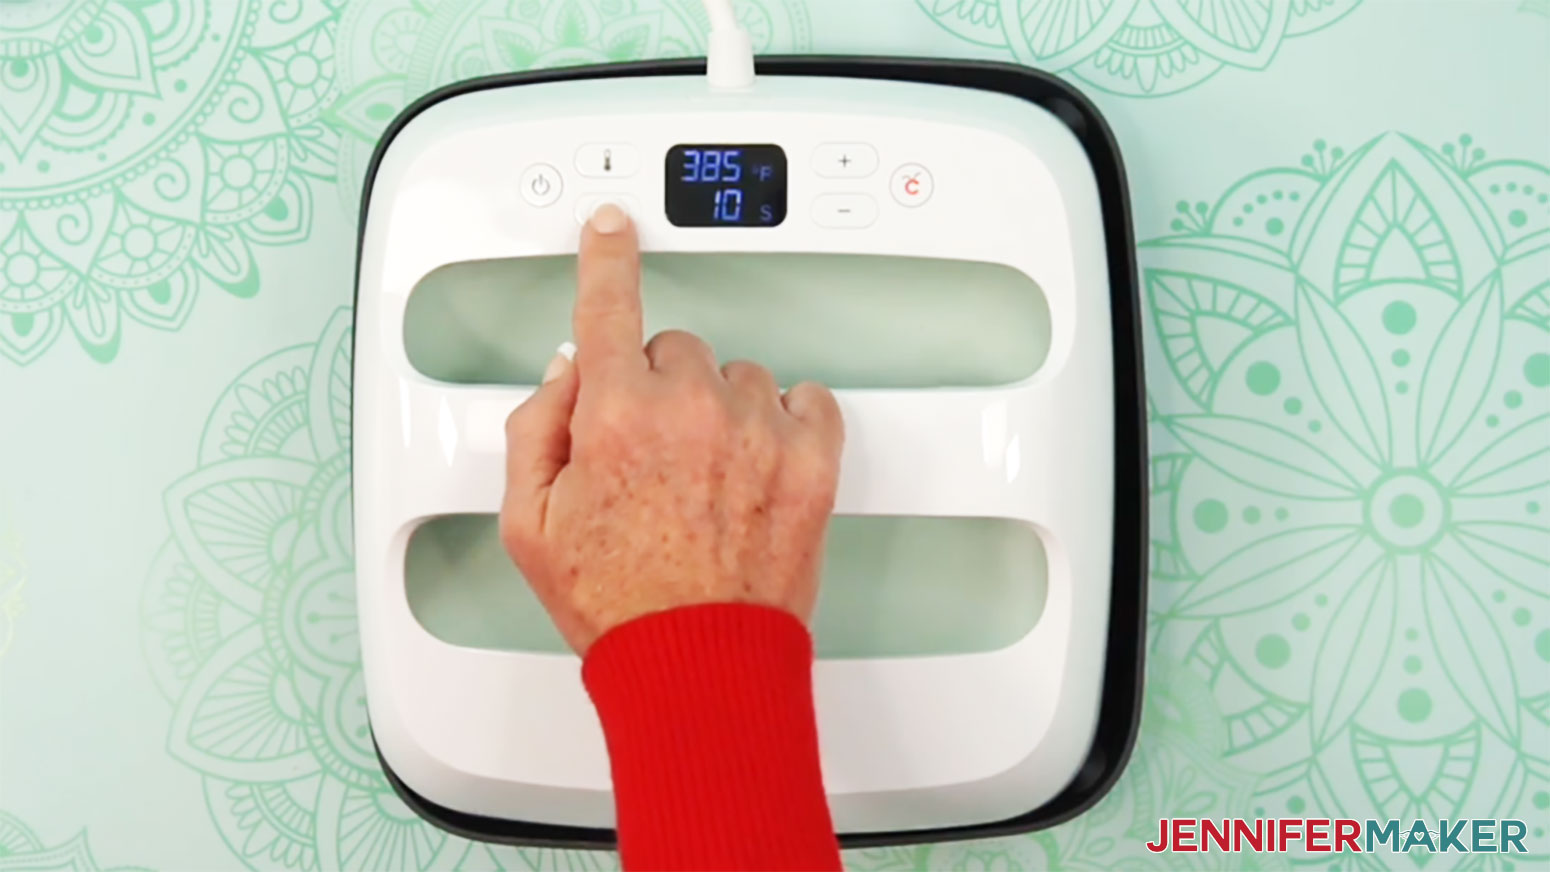
- Set the temperature of your EasyPress to 385℉ (196℃), and set the timer for 10 seconds. TIP: I followed the time and temperature settings for 100% polyester T-shirts in my Sublimation Cookbook. Inside, you can find the settings for tons of other sublimation projects, too!
- Place your pressing mat on your work surface.
- Use a lint roller to remove any excess lint or debris from your shirt.
- Fold your shirt in half vertically and press it for 10 seconds along the crease.NOTE: This makes a center line in the fabric to help align your design and pre-heats your shirt at the same time.TIP: Always remember to place your press back on the base after use.

- Unfold your shirt and lay it face up on the pressing mat.
- Slide a piece of white cardstock inside the shirt under where your design will be to protect the back layer.
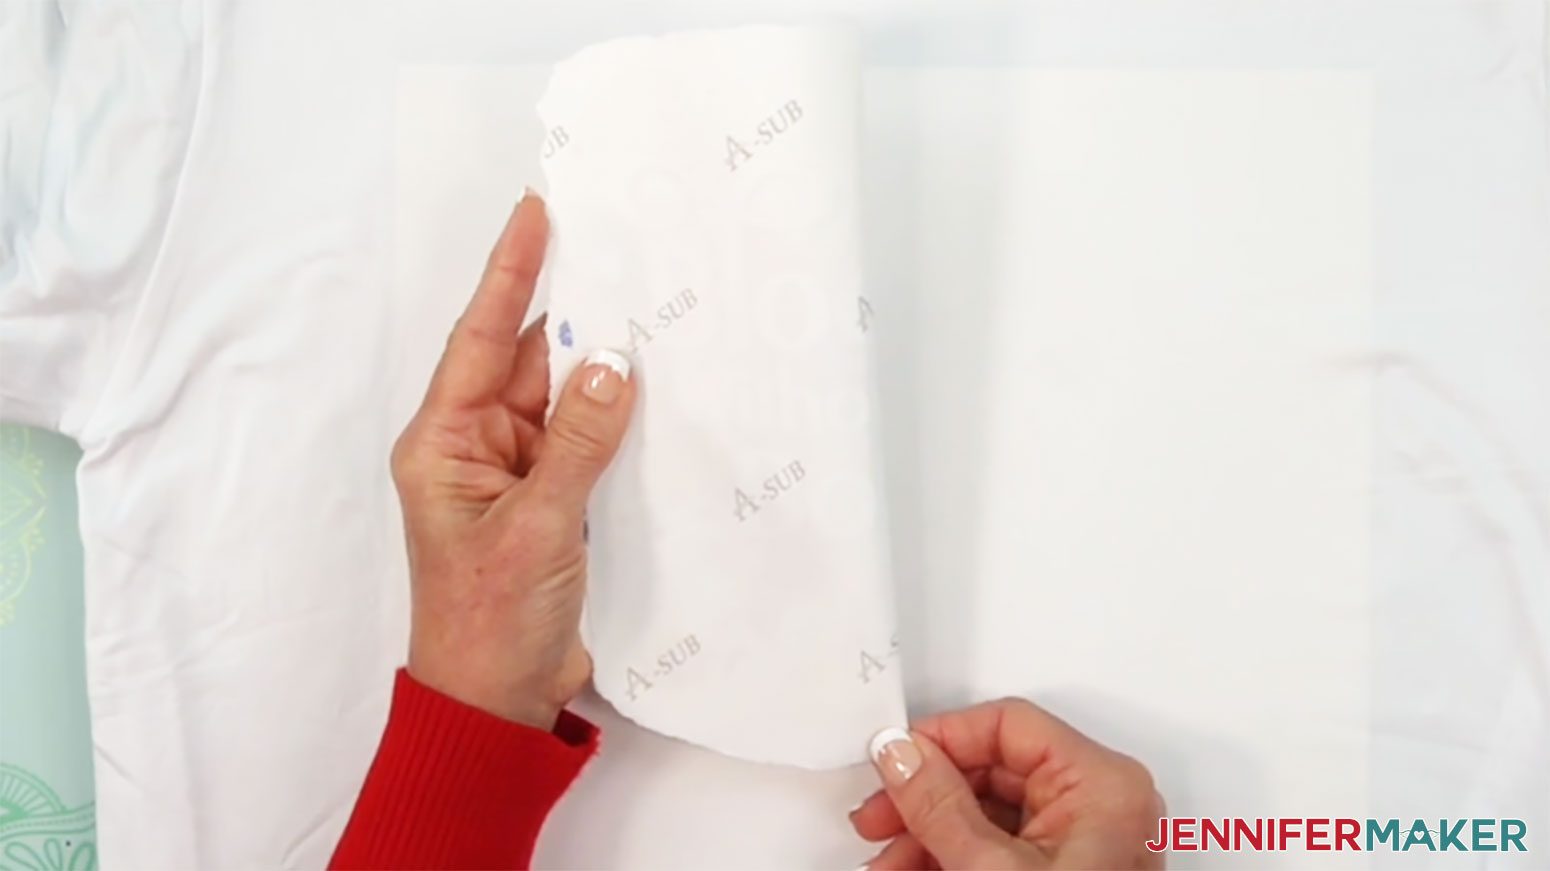
- Use scissors or a paper trimmer to trim the print close to the design, or gently tear the edges to smooth out the transition and minimize pressing lines at the edges of the paper.

- Gently curl your printed design along its vertical center, and crease it at the top and bottom of the paper. Don’t fold through any of the printed image!
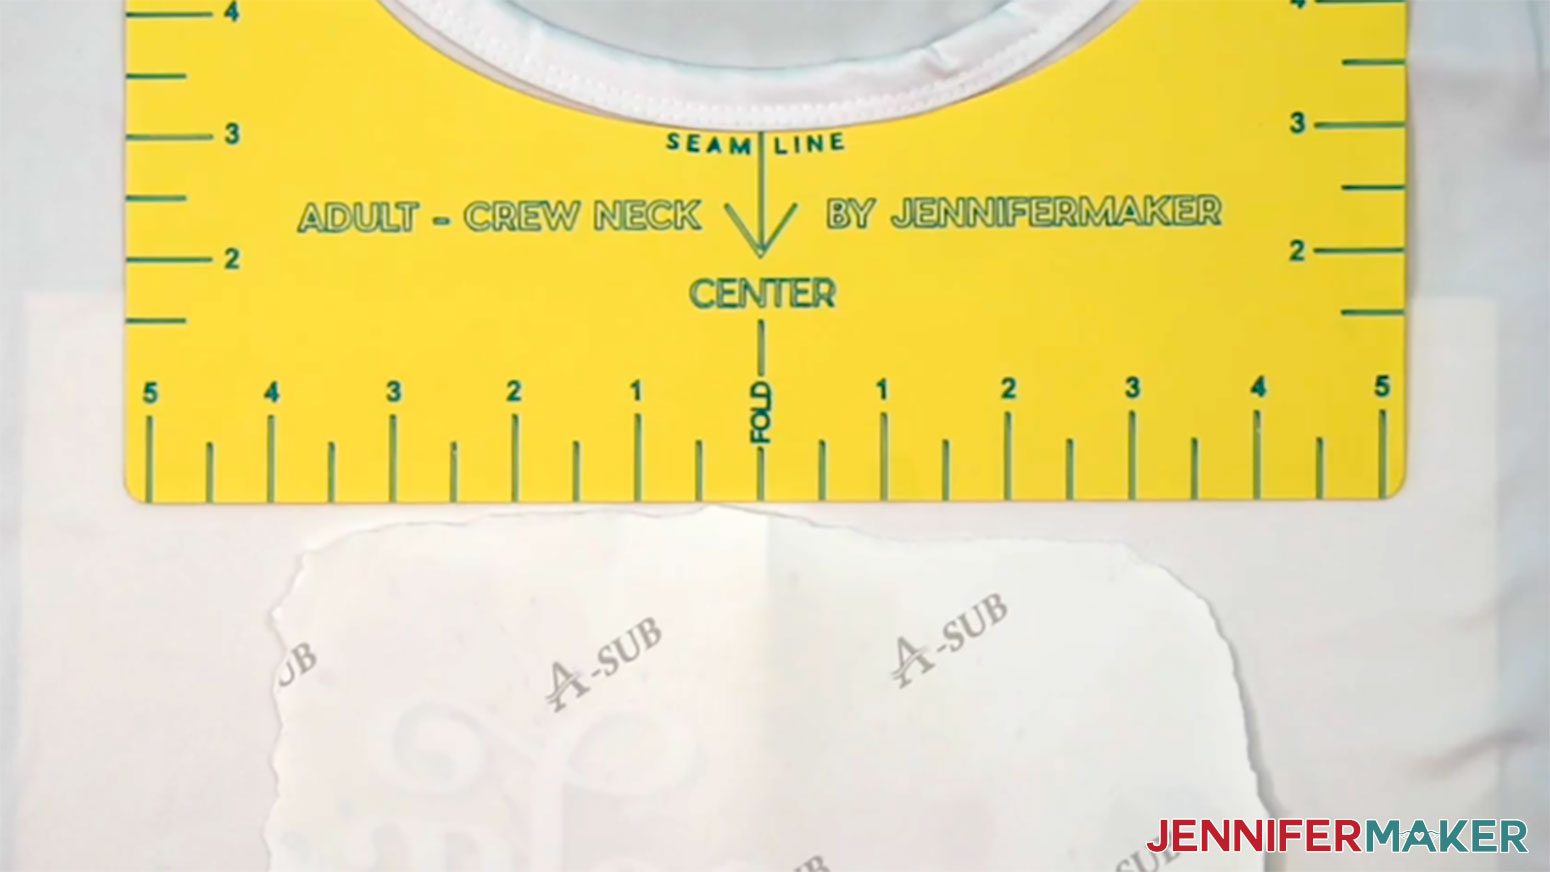
- Lightly place the design about 2-3” below the shirt’s collar, ink-side down, lining up the creases on the paper with the crease on the shirt.NOTE: To get the best placement for your design, use one of my free T-Shirt Rulers.
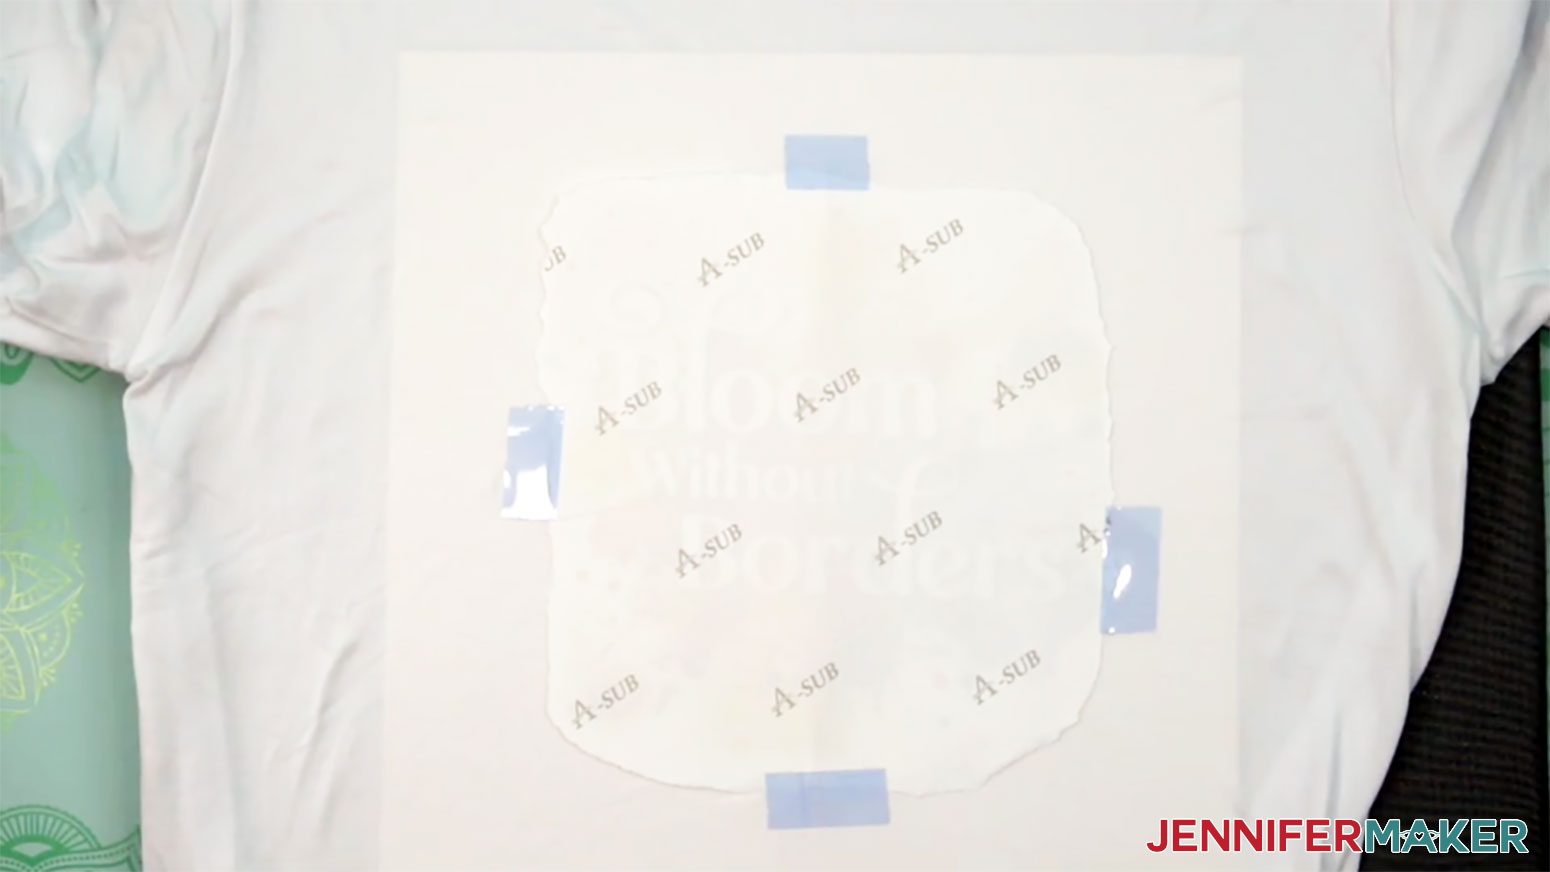
- Use heat-resistant tape on all four sides to secure the design to the fabric, making sure it’s smooth.NOTE: Avoid placing tape over the design to prevent discoloration when pressing.
- If you’re using the T-shirt ruler, remove it.
- Place a fresh piece of white uncoated butcher paper on top of the design. Make sure it’s larger than the design and the heat press.
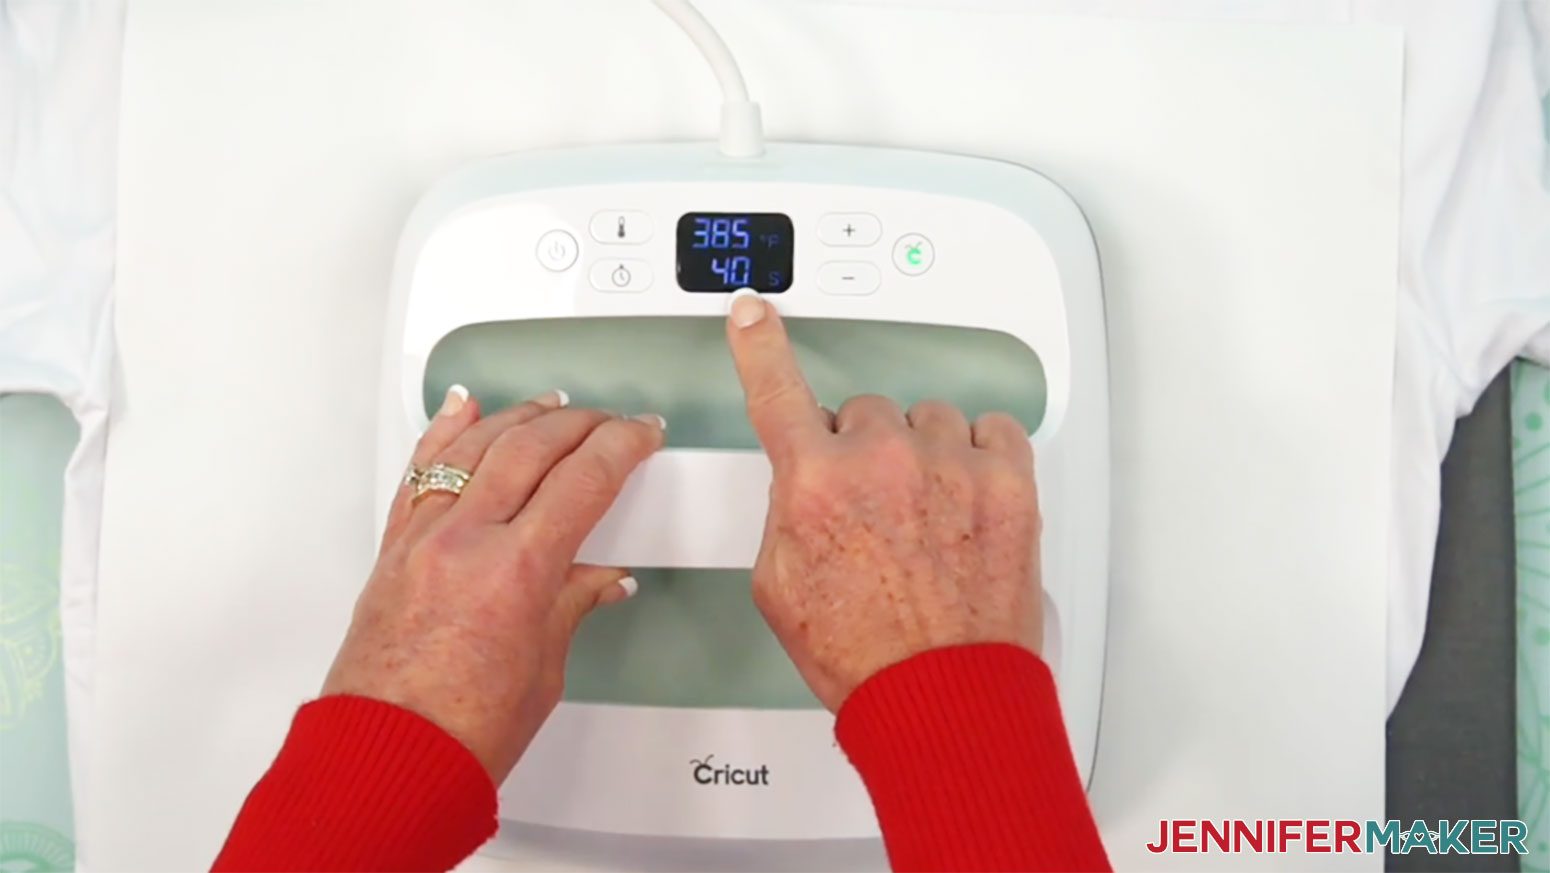
- Make sure the temperature of your EasyPress is at 385℉ (196℃), and the timer is set for 40 seconds.
- Cover the entire area of your design with the EasyPress and hold it in place. Press with even, light pressure for 40 seconds.TIP: Keep pressure even on both sides of the press for best results.
- When the time is up, lift the EasyPress straight up to avoid ghosting.
- Let the project cool for about 10 seconds to let the ink settle and prevent ghosting.
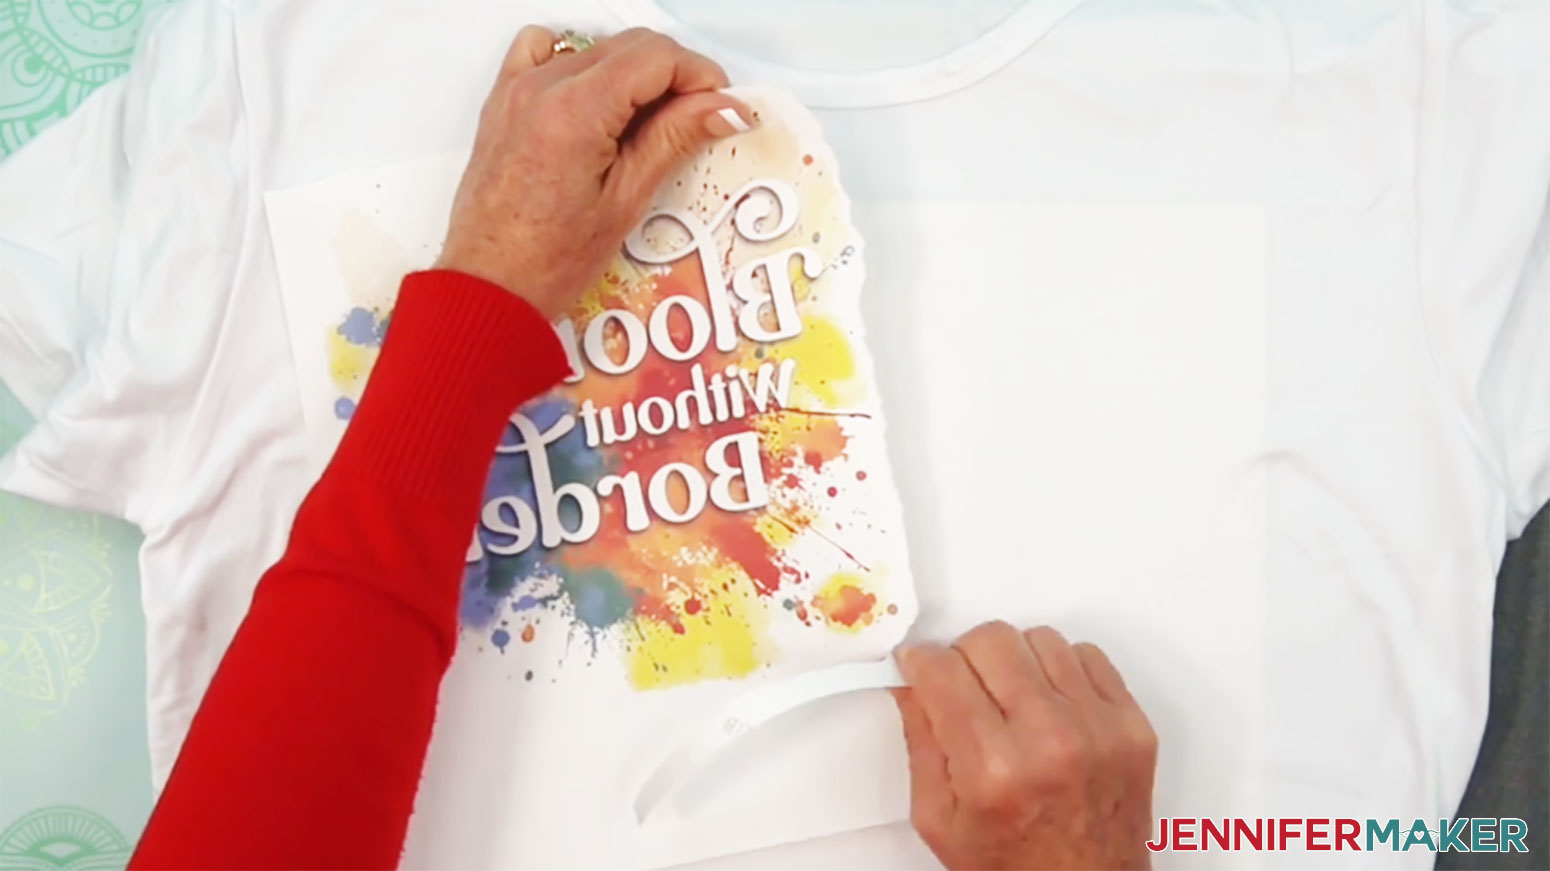
- Remove the butcher paper, tape, and transfer sheet to reveal the design.
- Remove the cardstock inside the shirt.
 TIP: I followed the time and temperature settings for 100% polyester T-shirts in my
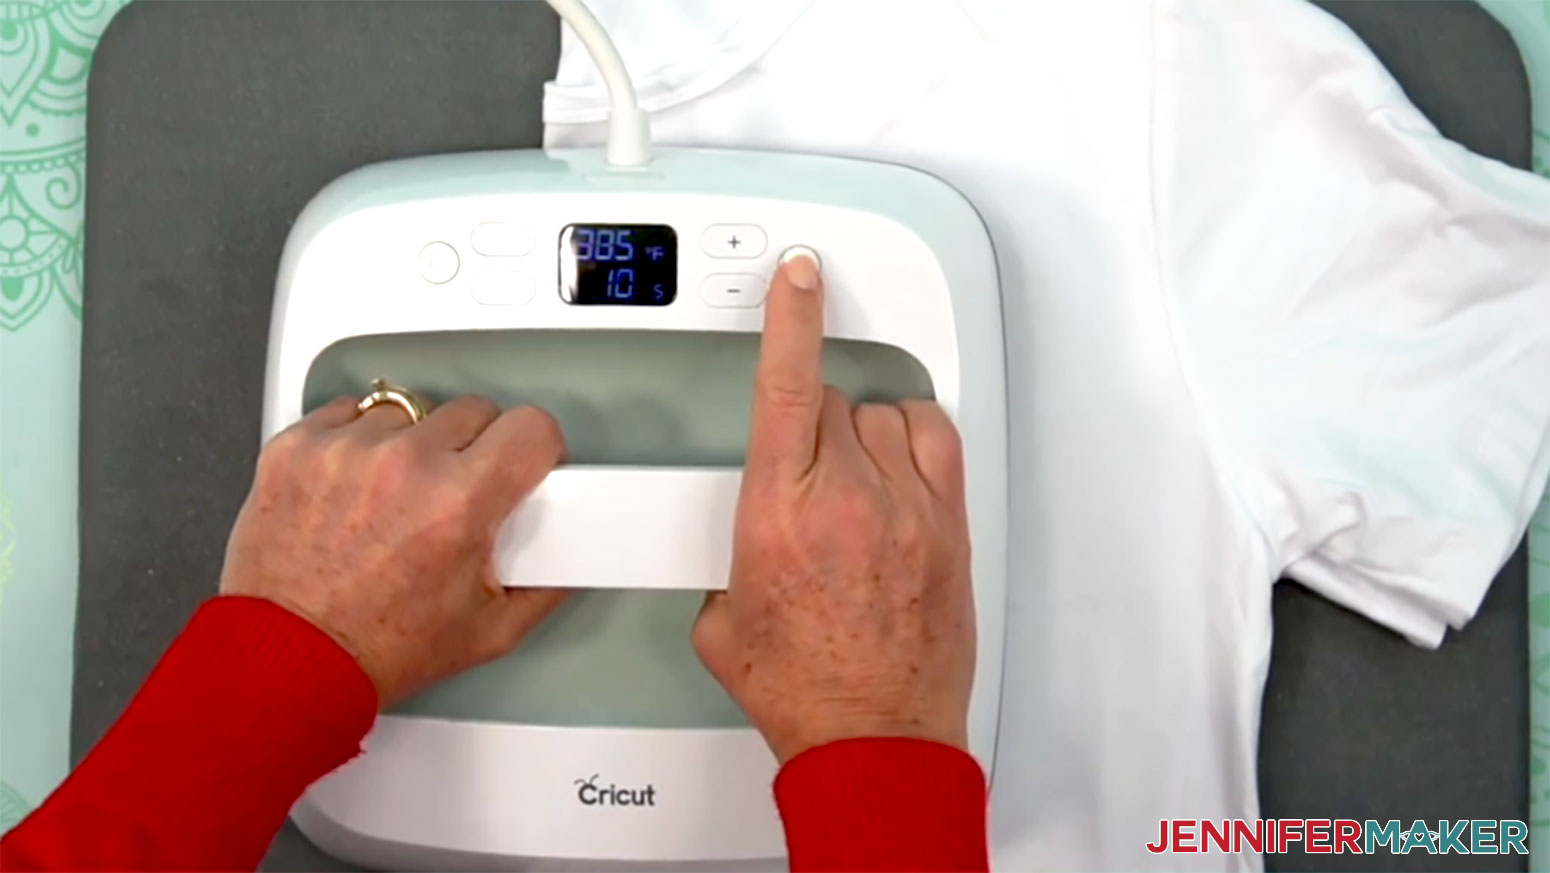
STEP 4: SHOW IT OFF
You now have a beautiful T-shirt bursting with vibrant colors!
Notes
Print Sizes: (Sized for Large Unisex Shirts, printed on 8.5" x 11" paper)Bloom Without Borders - 8" x 8"Change Is Fuel - 8" x 8"Stand Out, Stay Strong - 8" x 7.81"
Typefaces Used:Foghe / Free Alternative: LondonaWished Regular / Free Alternative: Marine SikonaWonderful Display Font / Free Alternative: BestoomQuacker / Free Alternative: Quacker (Free For Personal Use Only)VVDS SunshineBridge Sans / Free Alternative: Chunky FunksCare Instructions:Wait 24 hours before washing. Turn inside out, use cool water and gentle detergent. Line or tumble dry on low.
Answers to Your Questions About Sublimation Shirt Ideas
Q: I want to create cohesive custom designs for both sides of a T-shirt. How do I do that?
A: You can learn how to design your own custom sublimation shirts with Canva in my ADVANCE program. Learn more about ADVANCE here!
Q: What do I need to begin sublimation with T-shirts?
A: To get started with sublimation, you need some basics like a suitable printer with sublimation ink, sublimation transfer paper, a heat press, and a few other tools and materials you can find in my list above. And of course you’ll also need a blank T-shirt! White 100% polyester shirts work best for sublimation, but poly-blends work too, as long as the fabric is at least 65% polyester.
Q: Why doesn’t sublimation work on all fabrics?
A: Because sublimation ink turns into a gas when heated, it needs something to permanently bond to as it returns to a solid. Natural fibers, like cotton and silk, can’t hold the dye because it requires polymers to work. Polyester’s synthetic material, on the other hand, is able to trap the ink. The fibers and the ink permanently fuse together for vibrant, durable prints! The end result is a design that won’t fade, crack, or peel since it’s not sitting on top of the material.
Q: Can I sublimate on dark fabric?
A: No, you can’t directly sublimate on darker fabric because the ink we use in sublimation is translucent. That means any color behind the ink will show through, so your design won’t be visible! There are workarounds, however; but these involve extra steps, like adding a layer of material or special spray to your shirt before sublimating. I have a tutorial for Sublimation on Dark Shirts if you’d like to give it a try!
Q: Is a sublimation print the same as a Direct-to-Film (DTF) transfer?
A: While sublimation prints and DTF transfers can both be used to transfer a vivid, colorful design to a T-shirt using a heat press, the printing processes and final results are quite different. Each process has its own ink formula, and DTF printing requires a special adhesive powder, as well. A sublimation print is absorbed into the fabric, while a DTF print sits on top. However, DTF prints can be used on 100% cotton and dark fabrics.
Q: Is it cheaper to make shirts using sublimation or DTF printing?
A: There are so many factors involved, but overall I would say that sublimation is a little cheaper, especially for hobbyists who desire a home set up. DTF printers and equipment can be quite expensive, while you can get or convert a sublimation printer for a relatively low cost. You also need stronger ventilation equipment for DTF printing since the adhesive powder required can be incredibly harmful when inhaled. However, you can skip the printing process completely by ordering either type of a print through a service like Jiffy or Ninja Transfers. This lowers the cost quite a bit.
Q: Can you use Canva for sublimation?
A: Yes! Canva is one of my favorite tools to design PNG images for use in sublimation crafts! Check out my Canva Coach Playbook to learn all about how to use Canva to create designs, edit photos, and more. And if you want to know exactly how to use Canva to design your own shirts, check out my ADVANCE with JenniferMaker program!
Q: What is the best print setting for sublimation?
A: The ideal sublimation print setting is usually “high-quality” or “photo mode” with mirroring turned on. For detailed guidance, including how to adjust print settings for common printers, check out the walkthrough in the tutorial.
Q: What is the best sublimation ink?
A: I recommend using trusted sublimation ink brands that are compatible with your printer. I use Hiipoo sublimation ink, which works great in my converted Epson EcoTank. In the conversion tutorial, I share the exact ink I use, how to fill the printer correctly, and show how it performs on real projects.
Q: What is the best image type for sublimation printing?
A: High-resolution PNGs with transparent backgrounds or flattened JPEGs tend to work best for sublimation. If you’re not sure how to prep your image, I show how to size and format one perfectly using free tools in the tutorial.
Q: Can you use a Cricut for sublimation?
A: While a Cricut cutting machine can be useful in some sublimation projects, it does not sublimate or print sublimation ink. However, you can use a Cricut and Infusible Ink pens to draw designs onto paper which can be sublimated. You can also use a Cricut machine and Cricut Design Space to cut SVG designs out of Infusible Ink transfer sheets, which are a form of sublimation ink.
Q: What is the best sublimation printer for beginners?
A: Learn all about the top sublimation printers on the market in my post: Choosing the Best Sublimation Printer 2025.
Q: Can I make and sell my sublimated T-shirts?
A: If you want to use my designs and projects for commercial use, please familiarize yourself with my important licensing information before selling your crafts.
Get the free PNG images to sublimate your own shirts!
(If you do not see the signup form above, click here.)
I love seeing your sublimated projects, and how you use them! Once you’ve made your own sublimated T-shirts, inspire others and share some photos of your creations in our Facebook group or tag me on social media with #jennifermaker.
Love,

Want to remember this? Save this Sublimation Shirt Ideas Tutorial to your favorite Pinterest Board!