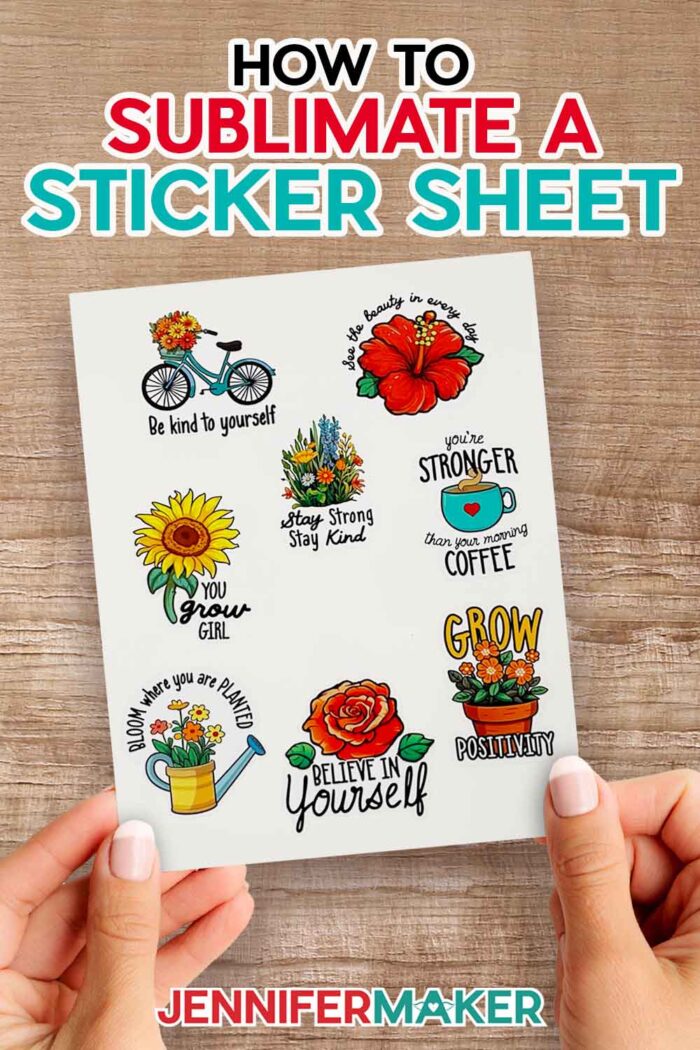
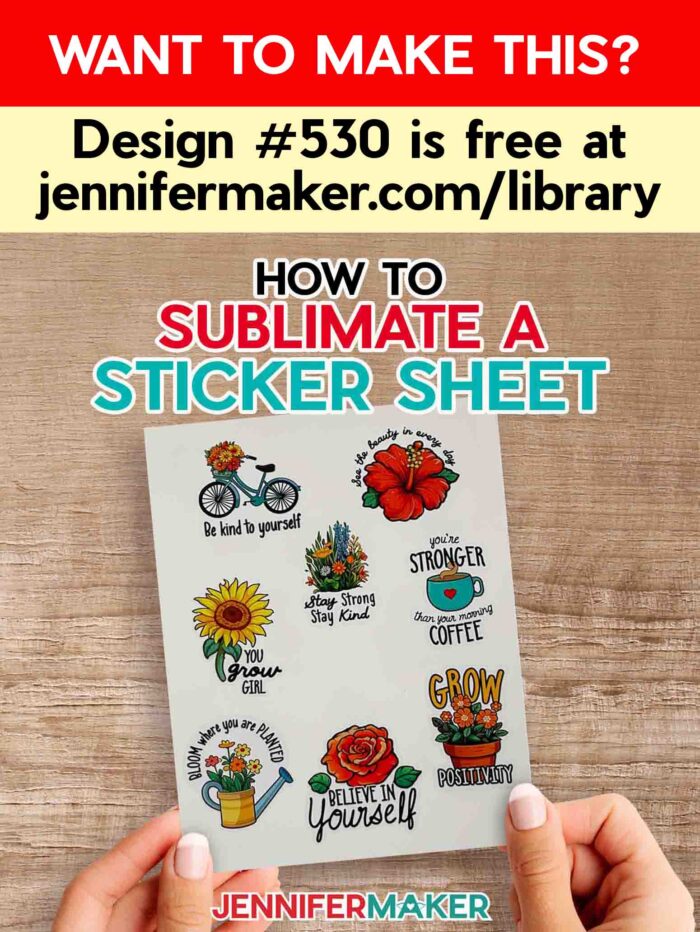
Learn how to make a DIY sublimation sticker sheet using Cricut’s print-then-cut feature on a Cricut Joy Xtra!
Making my own stickers has been one of the most fun (and easy) things I’ve ever done with my Cricut cutting machines. But, you might be like me … you love stickers, but do you sometimes wish that they held up better? Or maybe you want to stick them to your water bottle, or even your car, but you know they’re not going to hold up well to getting wet? I’ve shared a bunch of sticker-making tutorials over the years, and now I’ve found my favorite, most durable type yet: Sublimation sticker sheets! I can’t wait to show you how to make your own waterproof DIY sublimation sticker sheet!
Want to save this project? Enter your email below and we’ll send the project straight to your inbox.
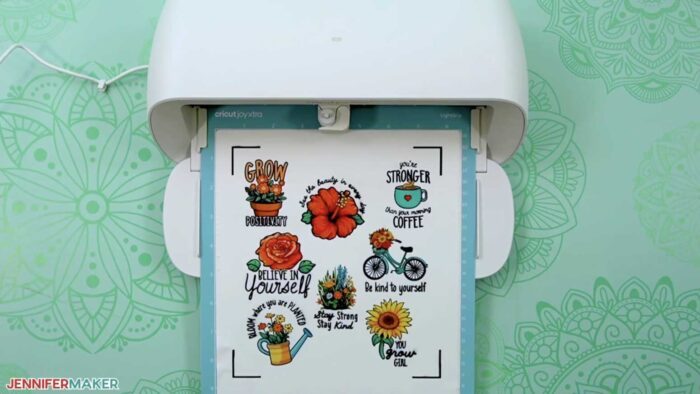
I made these waterproof sublimation stickers with my Cricut Joy Xtra cutting machine, which can cut both die cut and kiss cut stickers!
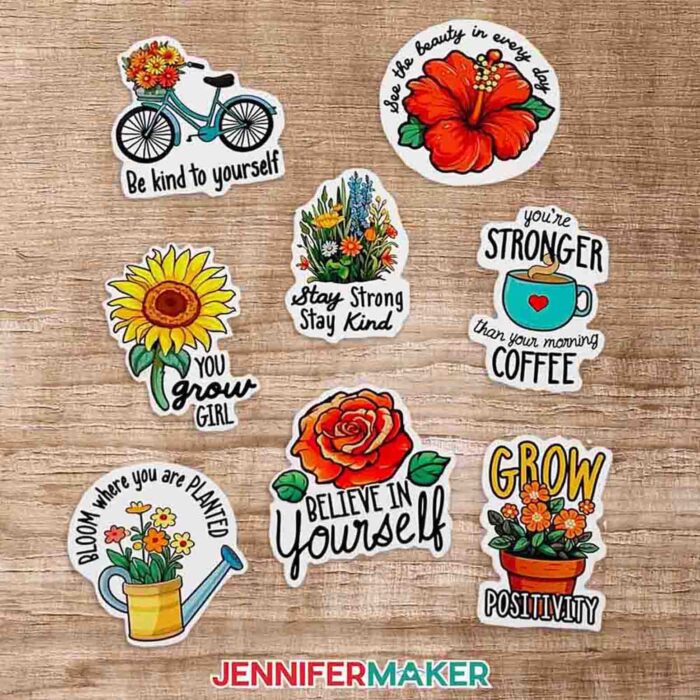
Sublimated stickers are SO cool! The color of the sublimation design really pop, much better than a lot of the paper stickers I’ve made in the past. And the best part? They’re super durable — not to mention waterproof! So you can stick them to your water bottles, tumblers, your car – and they’ll hold up beautifully when washed or rained on.

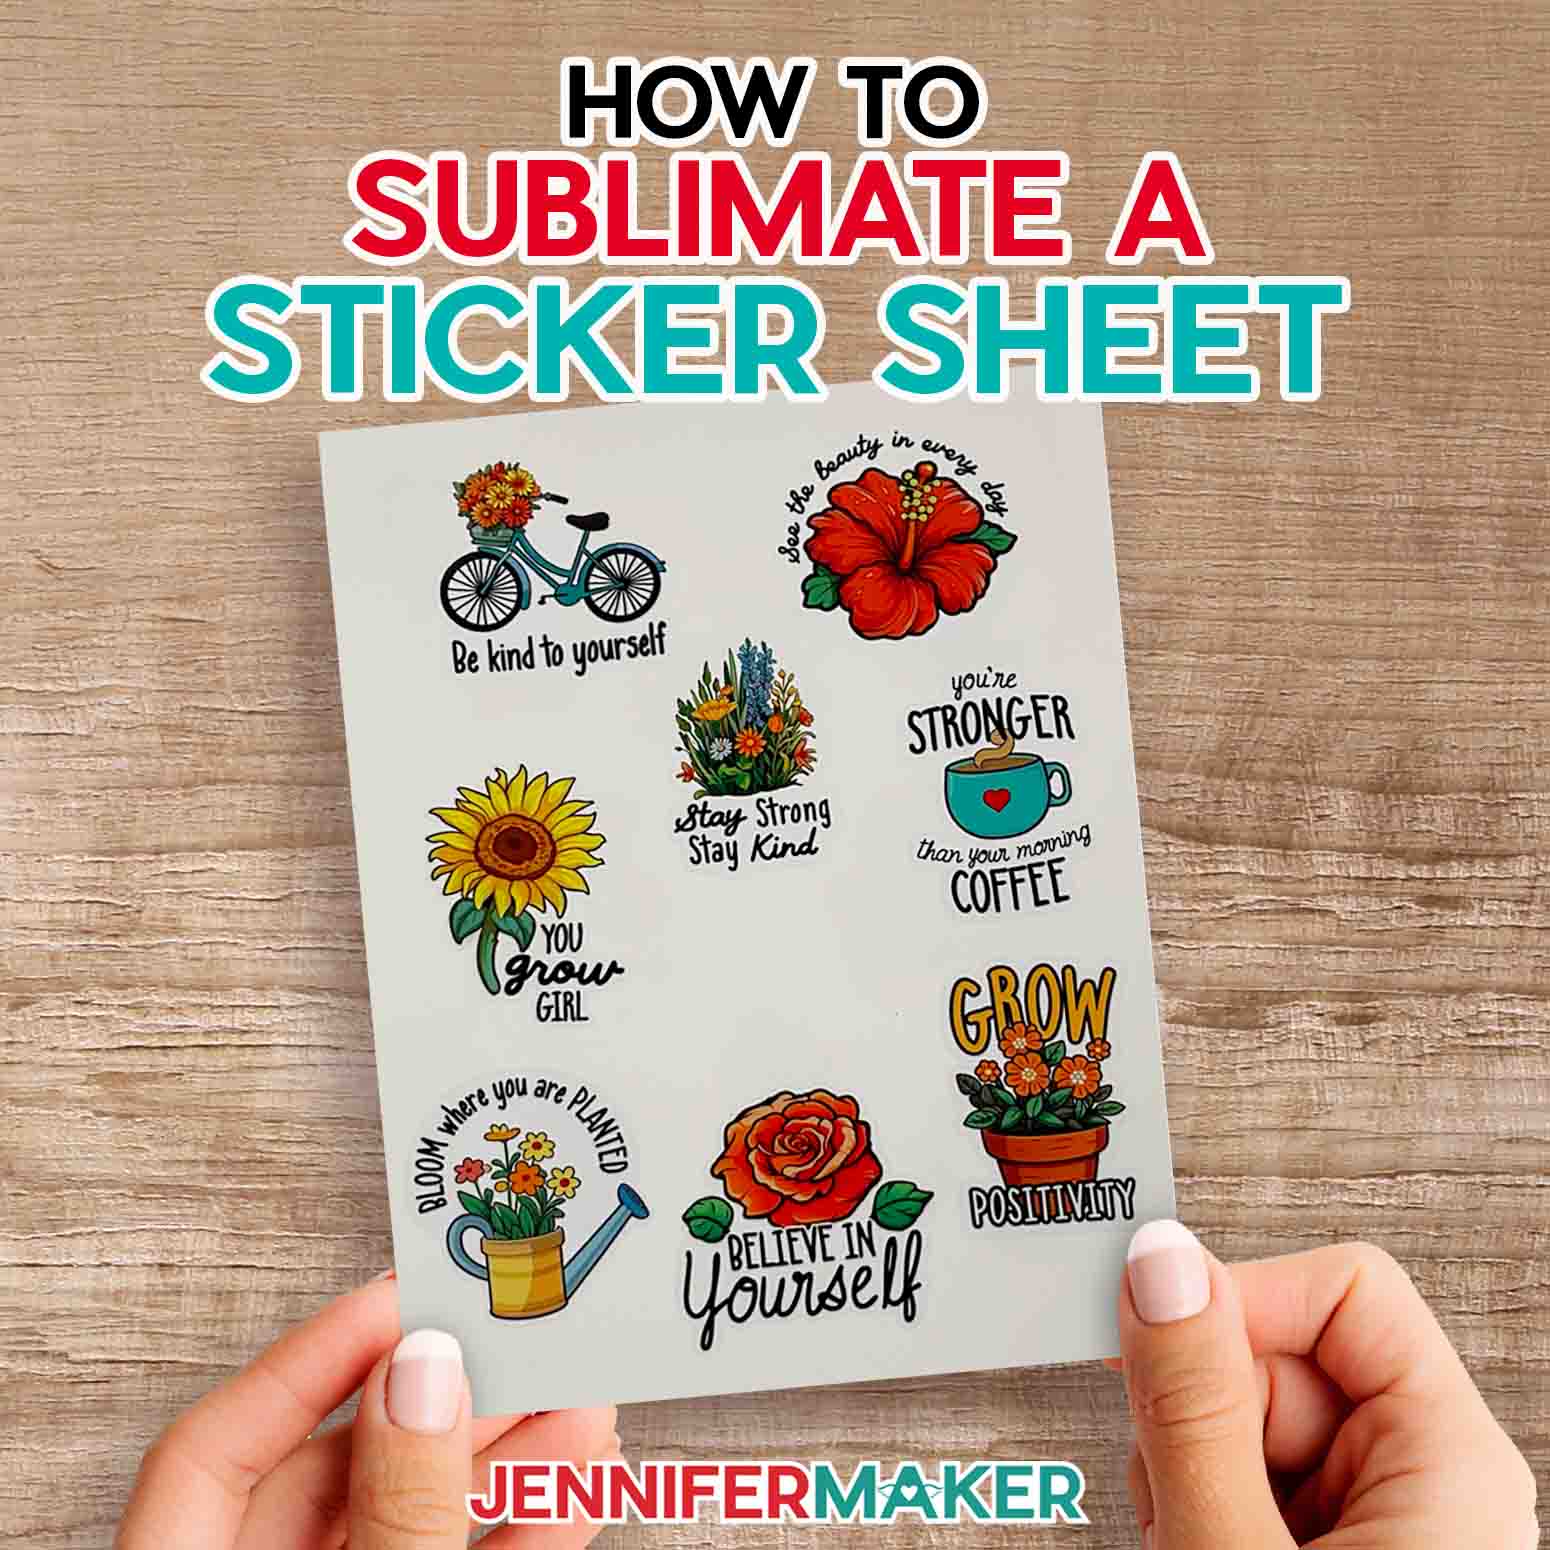
Aren’t they cute? I love these fun, motivating messages. After you’ve sublimated them onto a vinyl sticker sheet, you can cut them by hand, but I’ll show you how to cut your own stickers MUCH more easily with the new Joy Xtra! And I’ll also demonstrate with a Cricut Maker 3. You can also use an original Cricut Maker, any Explore series machine, or the Venture.
For best results, it’s best to sublimate the entire sheet at once, and not in sections. Otherwise, spots can be over-heated and it can produce a less than awesome outcome. Instead, I’ll show you how to create a guide in Cricut Design Space. This will help to optimize the arrangement of the stickers to make sure they all fit underneath the press at once.
If you’ve never used the Print-Then-Cut feature with your sublimation printer — or if it’s been a while — I highly recommend you calibrate your machine before cutting your waterproof stickers.
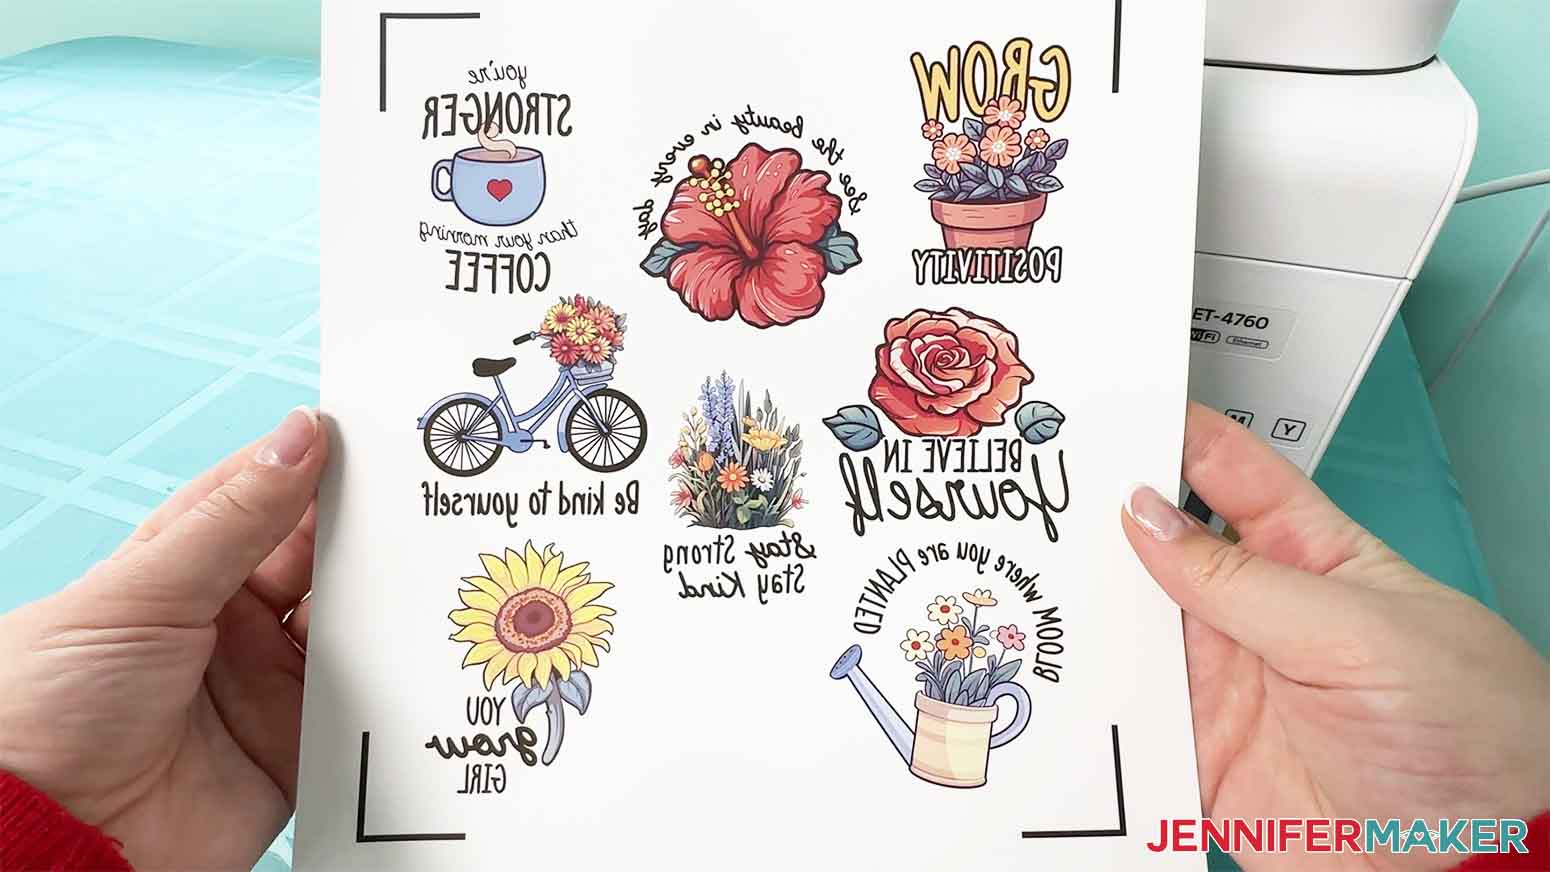
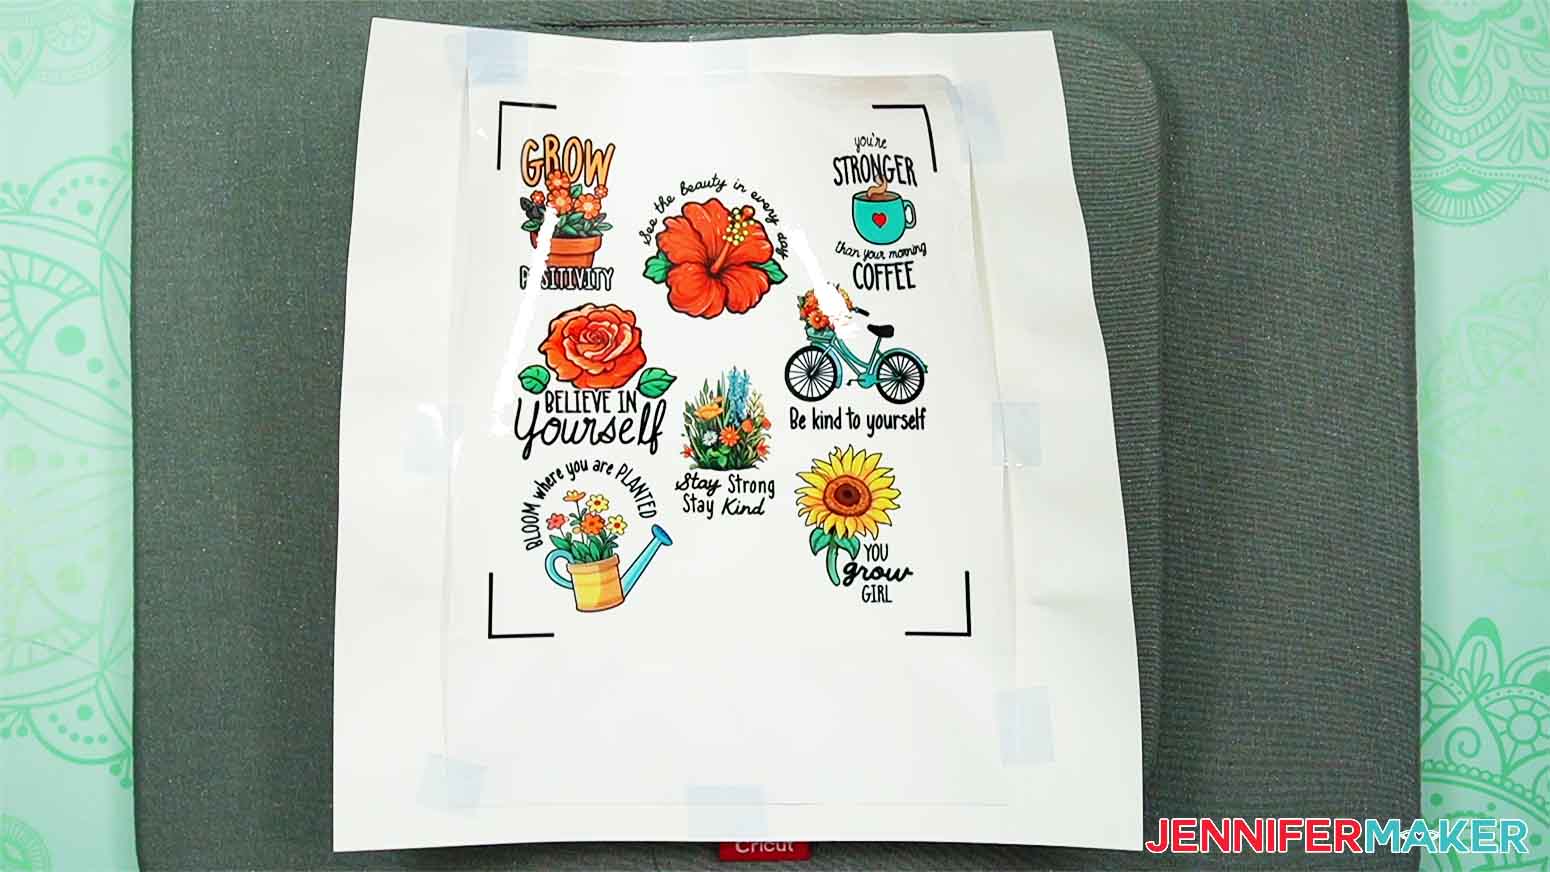
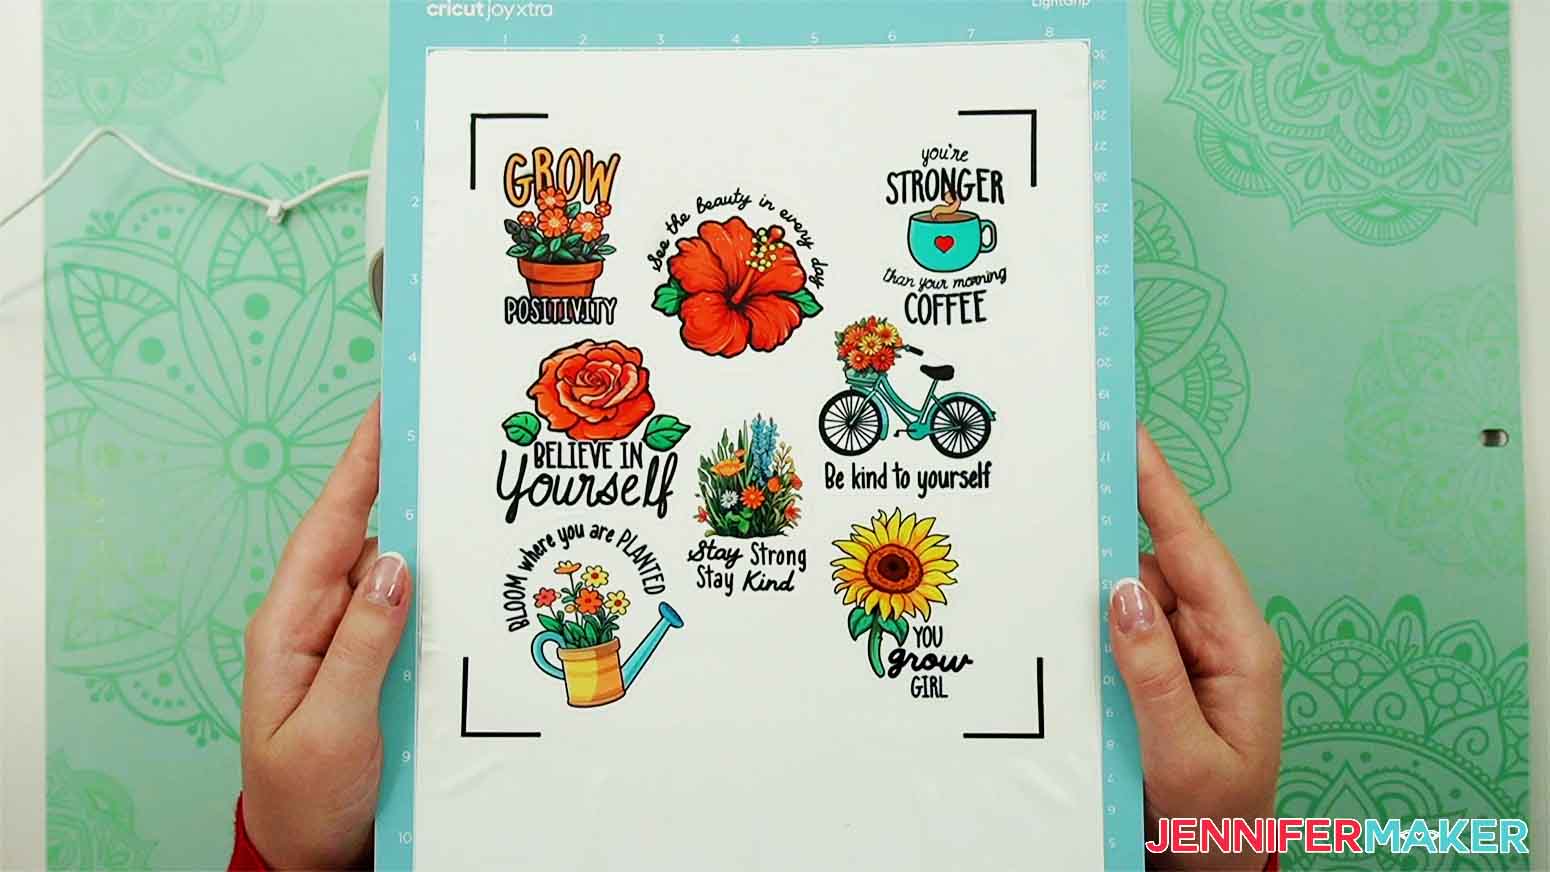
Once your sticker designs have been printed onto a sheet of sublimation paper, you’ll notice some black lines around the stickers. These are called registration marks (or a registration box) and it helps your Cricut to know exactly where to cut so your stickers come out perfectly. Then it’s time to prepare your heat press and sublimate the sticker designs onto the sublimation sticker material using firm pressure.
When it’s time to cut the sublimated sticker sheet into individual stickers, I’ll demonstrate on my trusty Cricut Maker 3 as well as my brand new Cricut Joy Xtra! Then, since we mirrored our sublimation in Cricut Design Space, I’ll show you a very important step that will ensure that your cuts match the shape of your sticker designs! You don’t want to miss it, so be sure to watch the video.
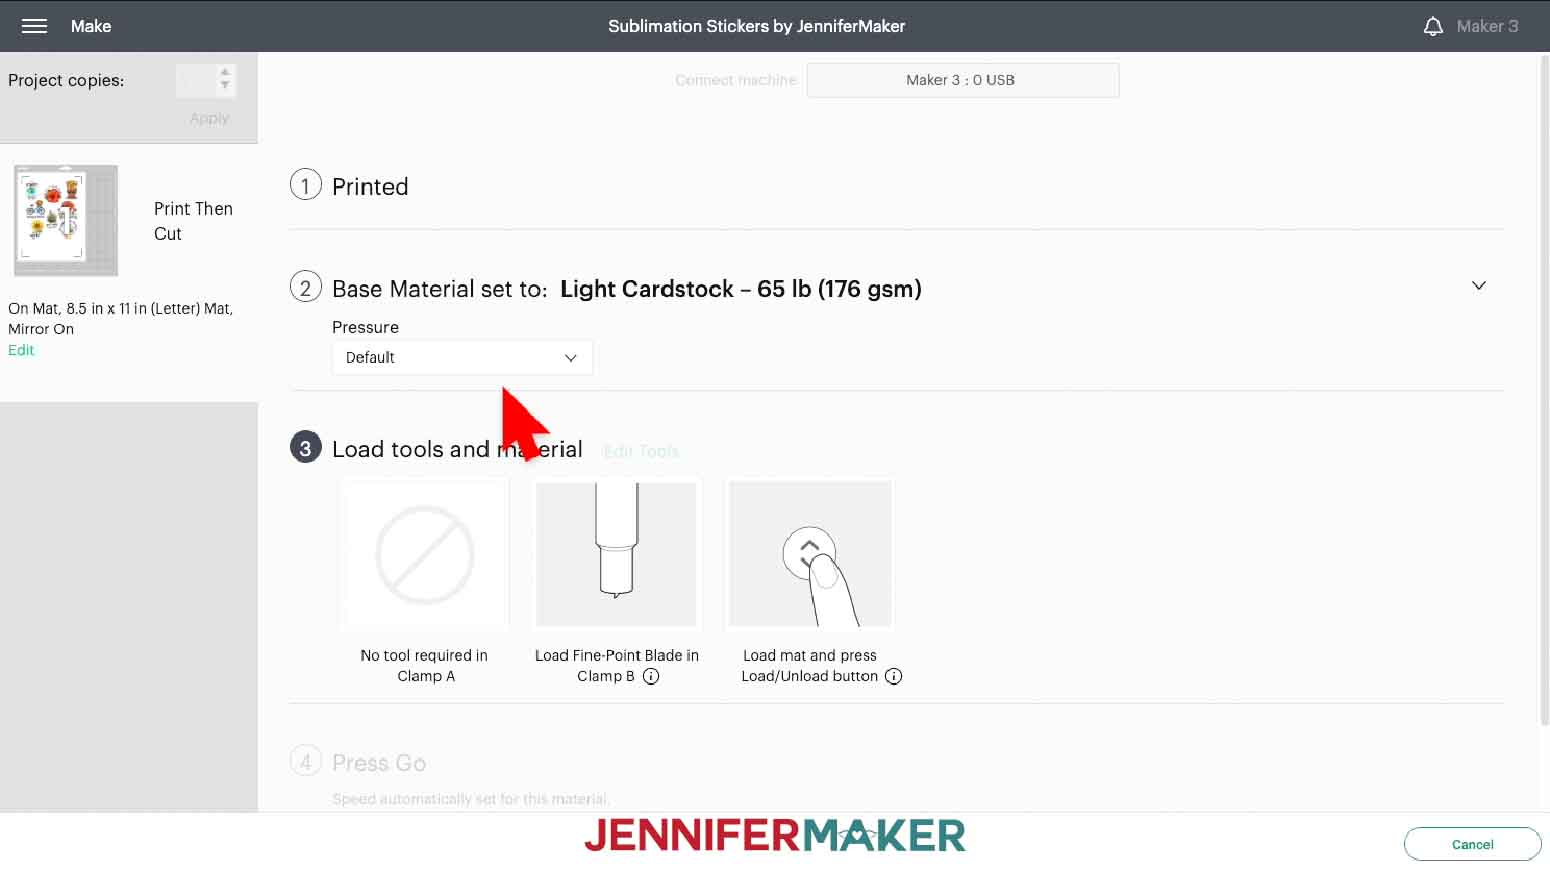
I’ll also help you set your cut settings to create a kiss cut stickers, which means the stickers will be cut through but the backing sheet will not. If you’d rather share or sell your stickers (or just like the look of a die-cut sticker), I’ll share which setting to use for that, too.
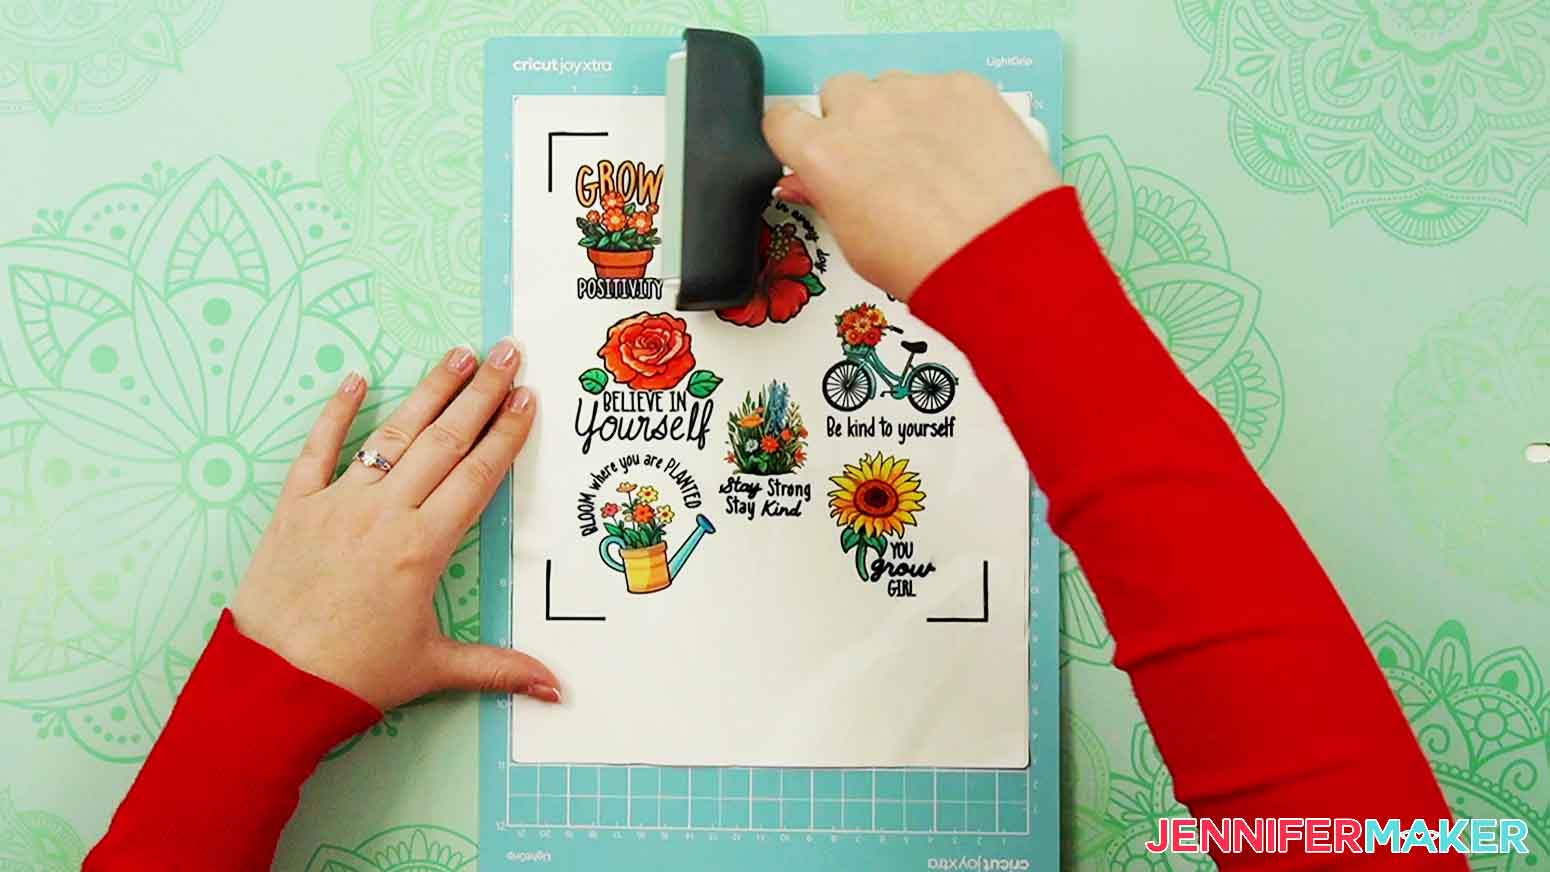
When I was doing my tests, the sticker paper curled a bit after being sublimated, likely because of the heat. To combat the curl during the cutting process, I recommend you use a green StandardGrip machine mat that has been used a few times and has lost a little bit of its stickiness. Alternatively, you can use a brand new and super sticky LightGrip mat.
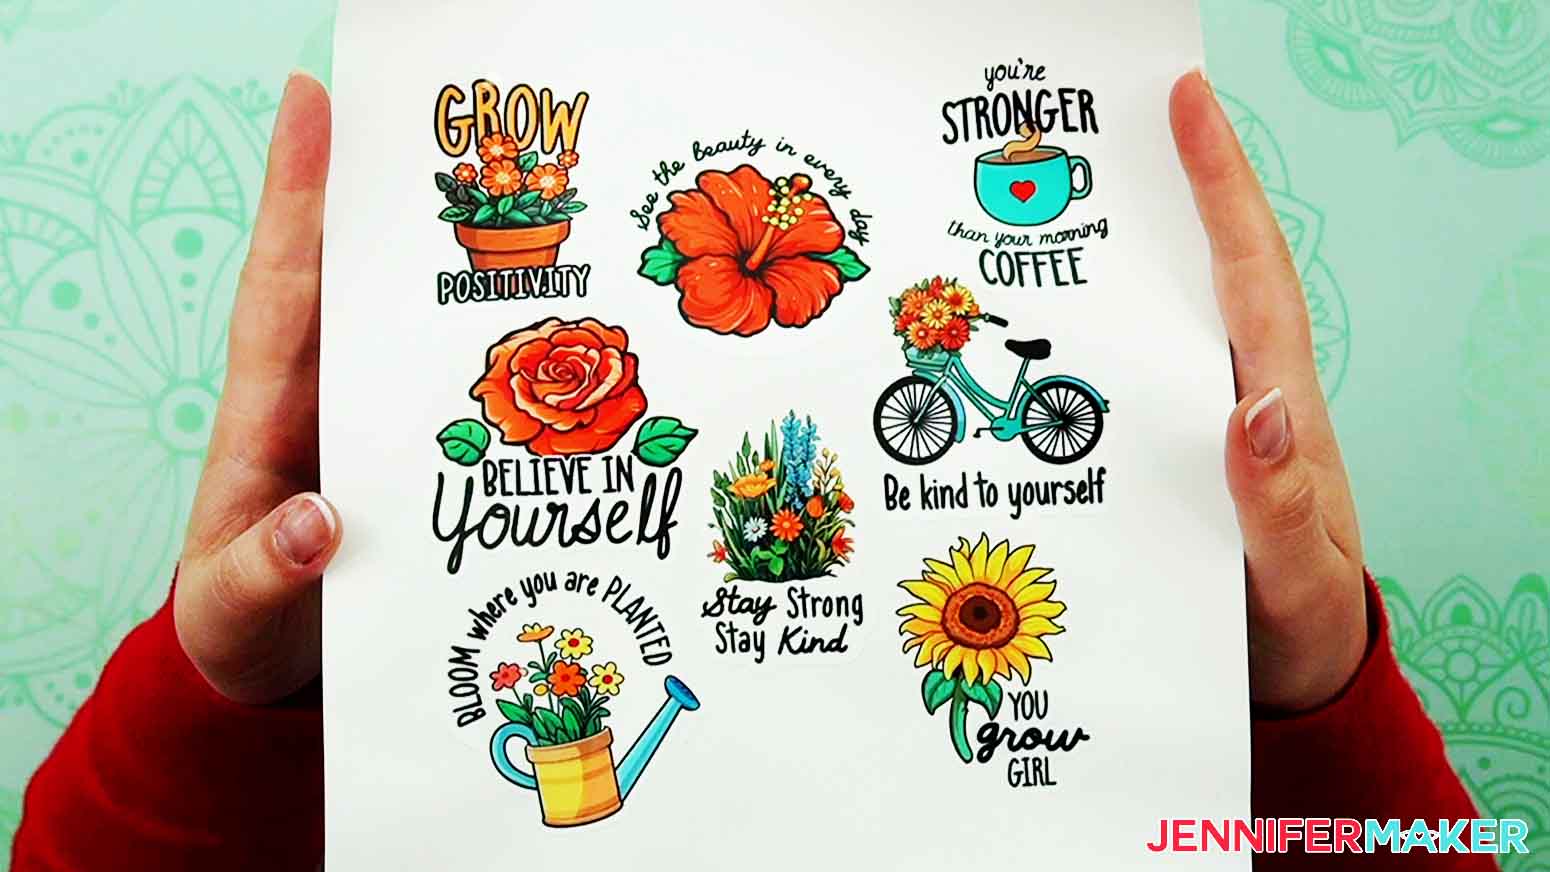
Once your DIY sublimation sticker sheet is cut, remove the sheet from your machine mat and your brand new stickers are ready for action!
I love having different options for creating stickers based on my needs! And I love that I can stick these anywhere, for a little reminder of something positive or motivating. Because they’re waterproof, they’ll hold up to wiping, hand-washing, raining — the works! Where will you stick yours? Leave a comment and let me know!
Here’s a supply list of what you need to make a DIY sublimation sticker sheet! This post contains some affiliate links for your convenience (which means if you make a purchase after clicking a link I will earn a small commission but it won’t cost you a penny more)! Read my full disclosure policy.
Materials and Tools to Make a DIY Sublimation Sticker Sheet
View my Amazon shopping list with the exact items we used to make this project
- Sublimation Adhesive Vinyl Sticker Sheets 8.5” x 11”
- Sublimation Paper (I used A-SUB 125g Sublimation Paper)
- Sublimation Ink
- White Cardstock 12″ x 12″
- Plain Printer Paper (for calibration)
- Sublimation Printer (I used a converted Epson EcoTank ET-4700 Inkjet Printer)
- A method to cut your sublimated sticker sheet – I’m using the Cricut Maker 3, but you can also use the Cricut Maker, a Cricut Explore Series machine, the Cricut Venture, or the Cricut Joy Xtra
- Heat Press (I used my EasyPress) but you can also use an AutoPress or a traditional heat press)
- Pressing Mat (I used my Cricut EasyPress Mat 12” x 12”)
- Cricut Green StandardGrip Machine Mat 12″ x 12″
- Proper Ventilation (I used this fan)
- Heat Resistant Tape
- Heat Resistant Gloves
- White Butcher Paper
- Painter’s Tape (for cleaning your sticker sheet before sublimating)
- Brayer
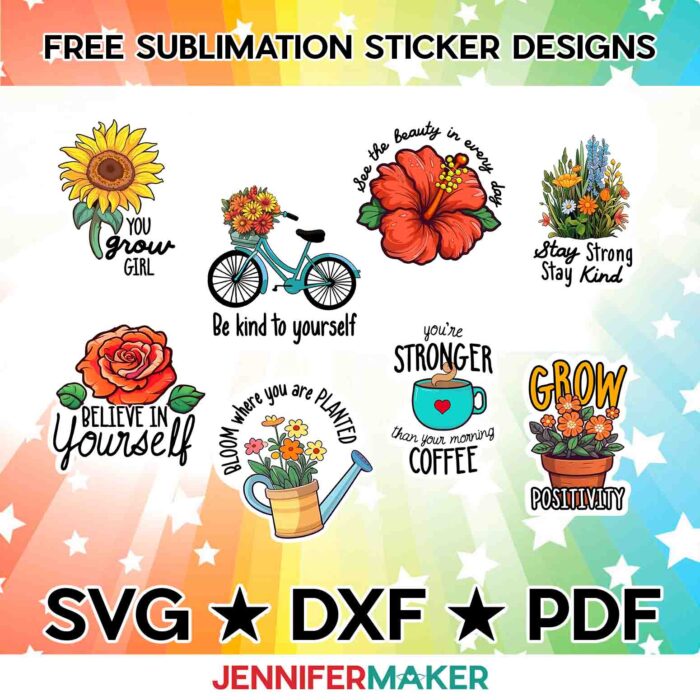
- Design #530 – (My free SVG/PDF/DXF design files are available in my free resource library (get the password by filling out the form at the bottom of this page)
How to Make Your Own Sublimated Stickers
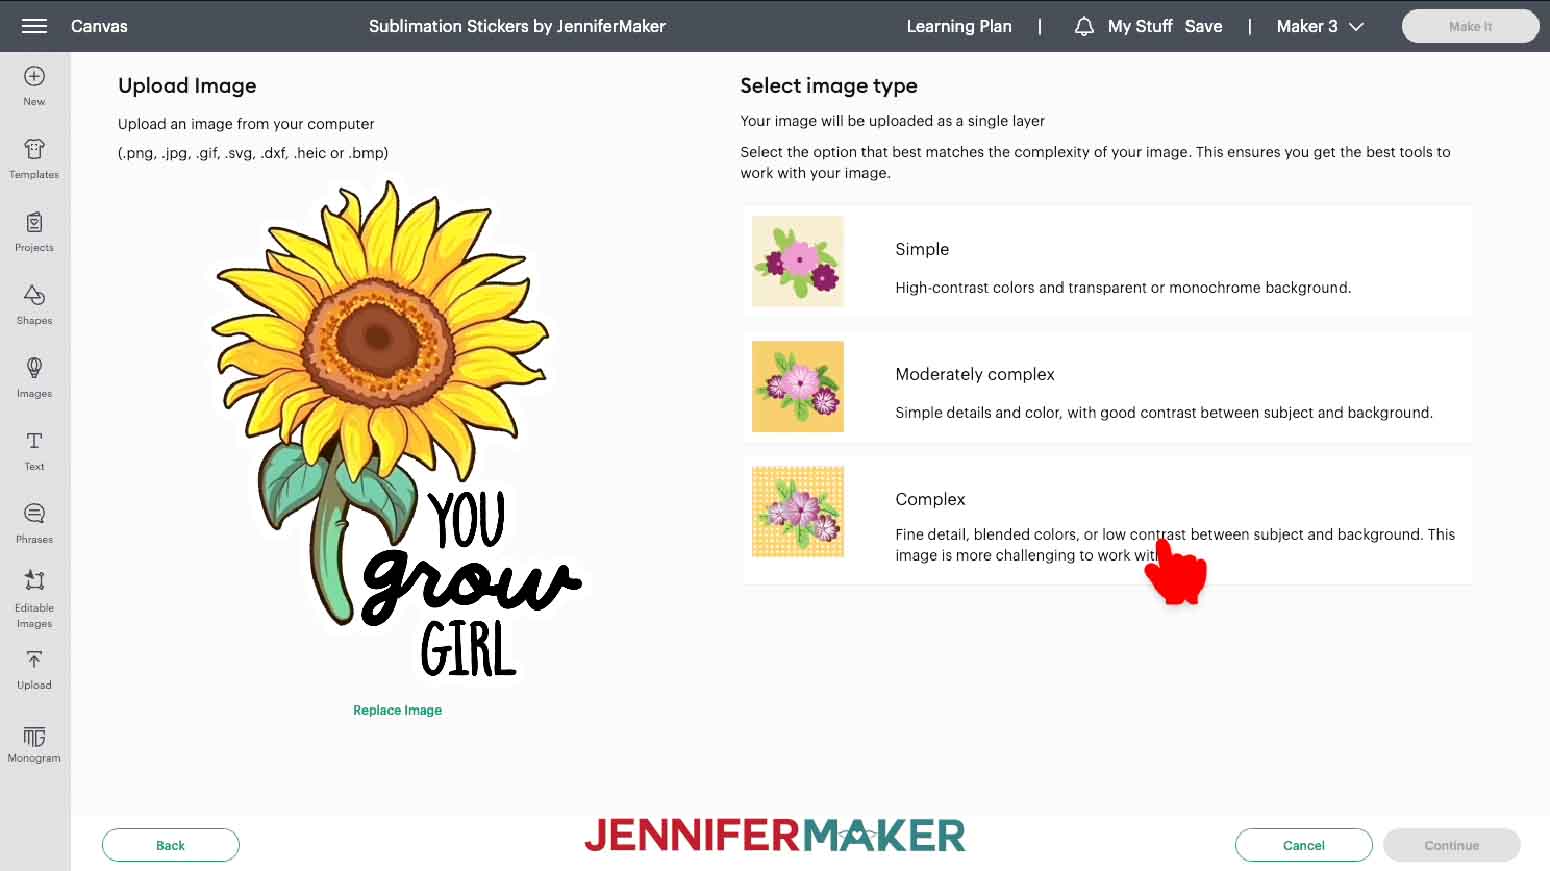
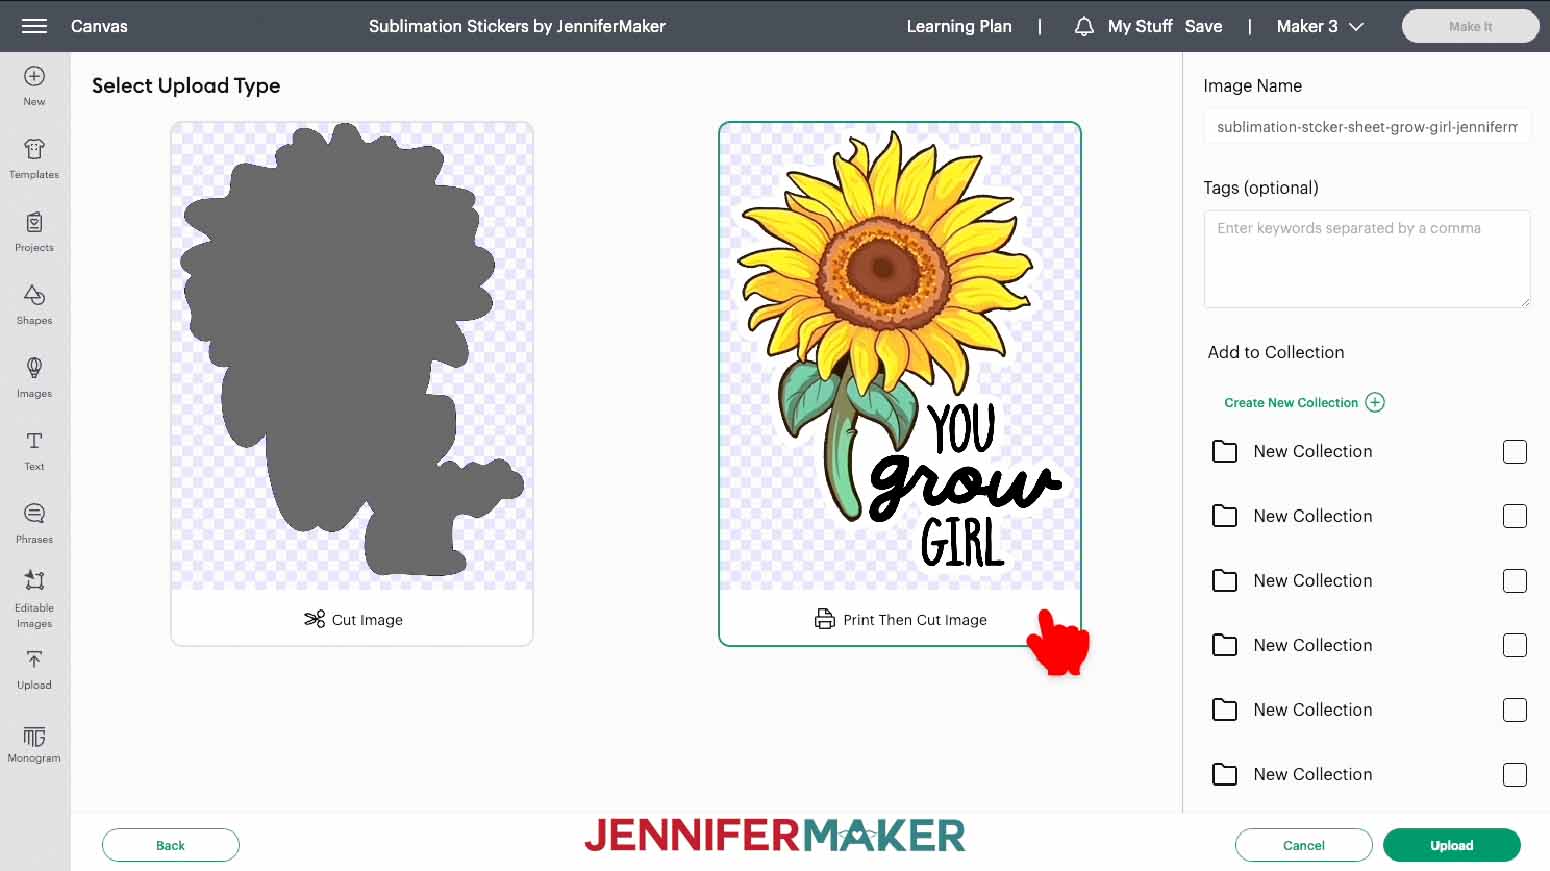
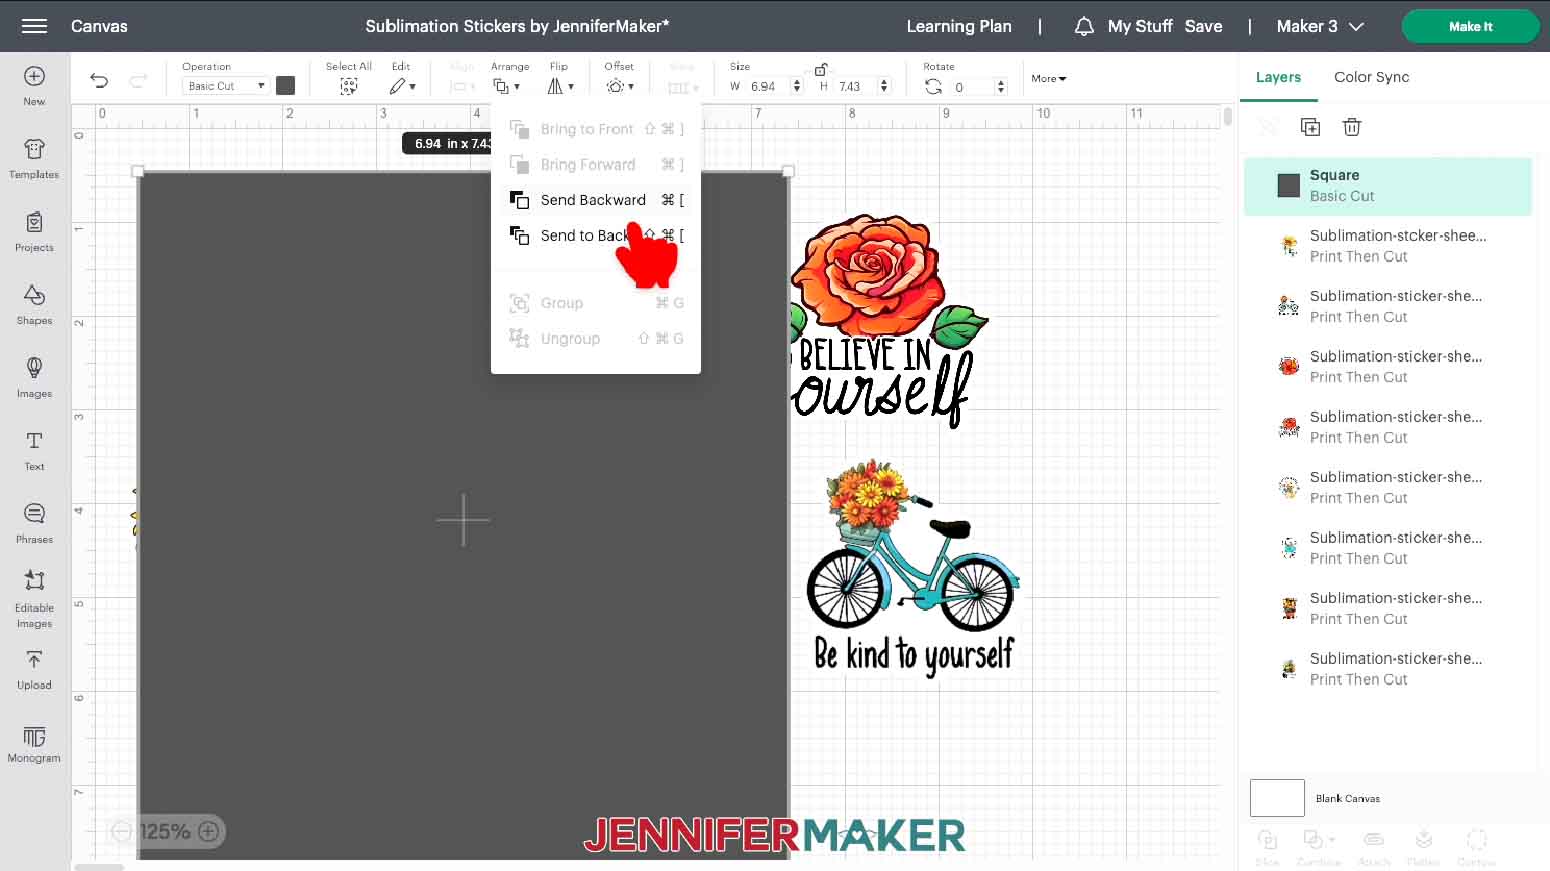
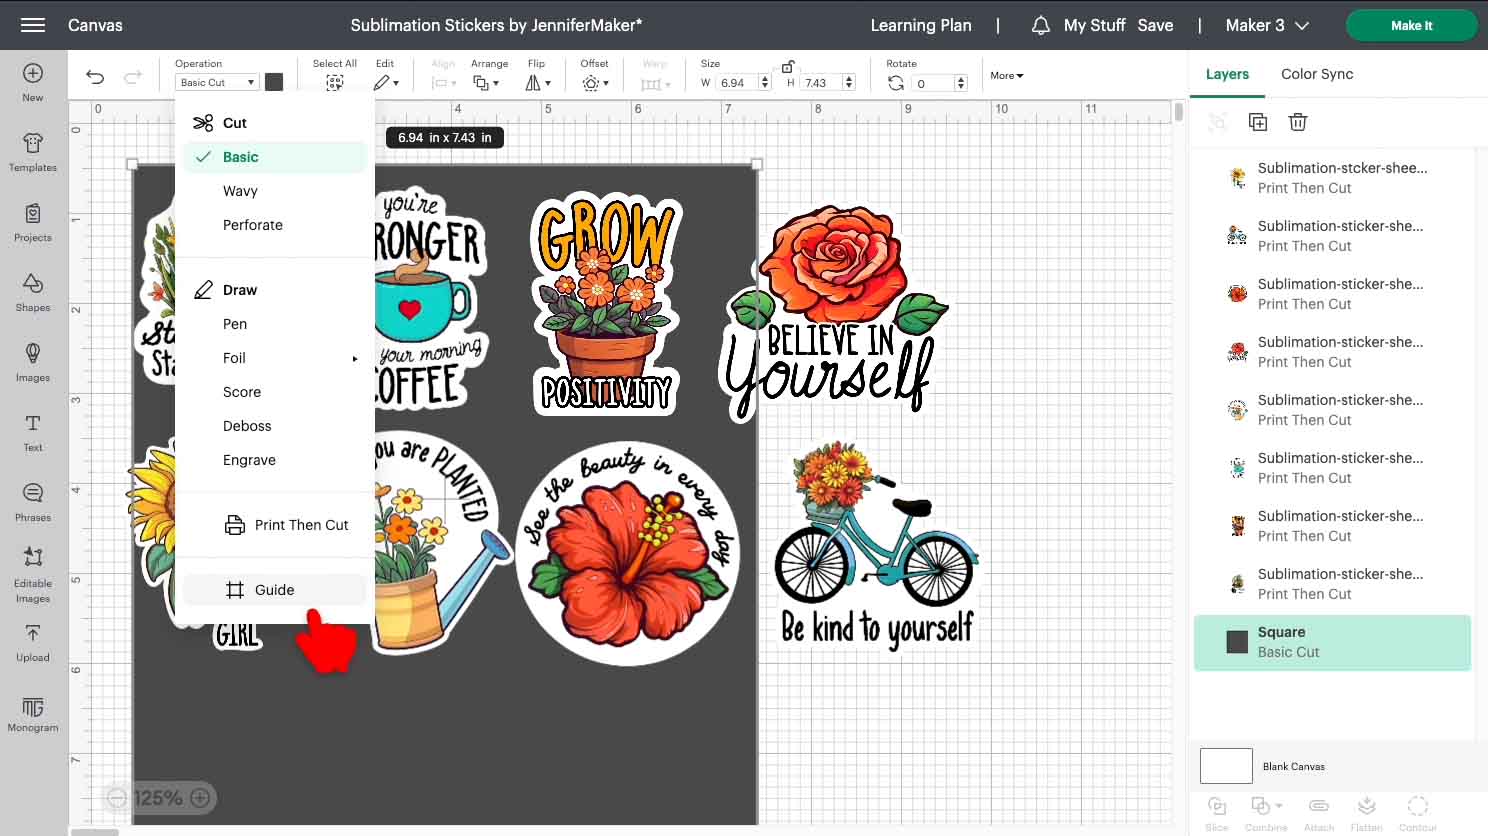
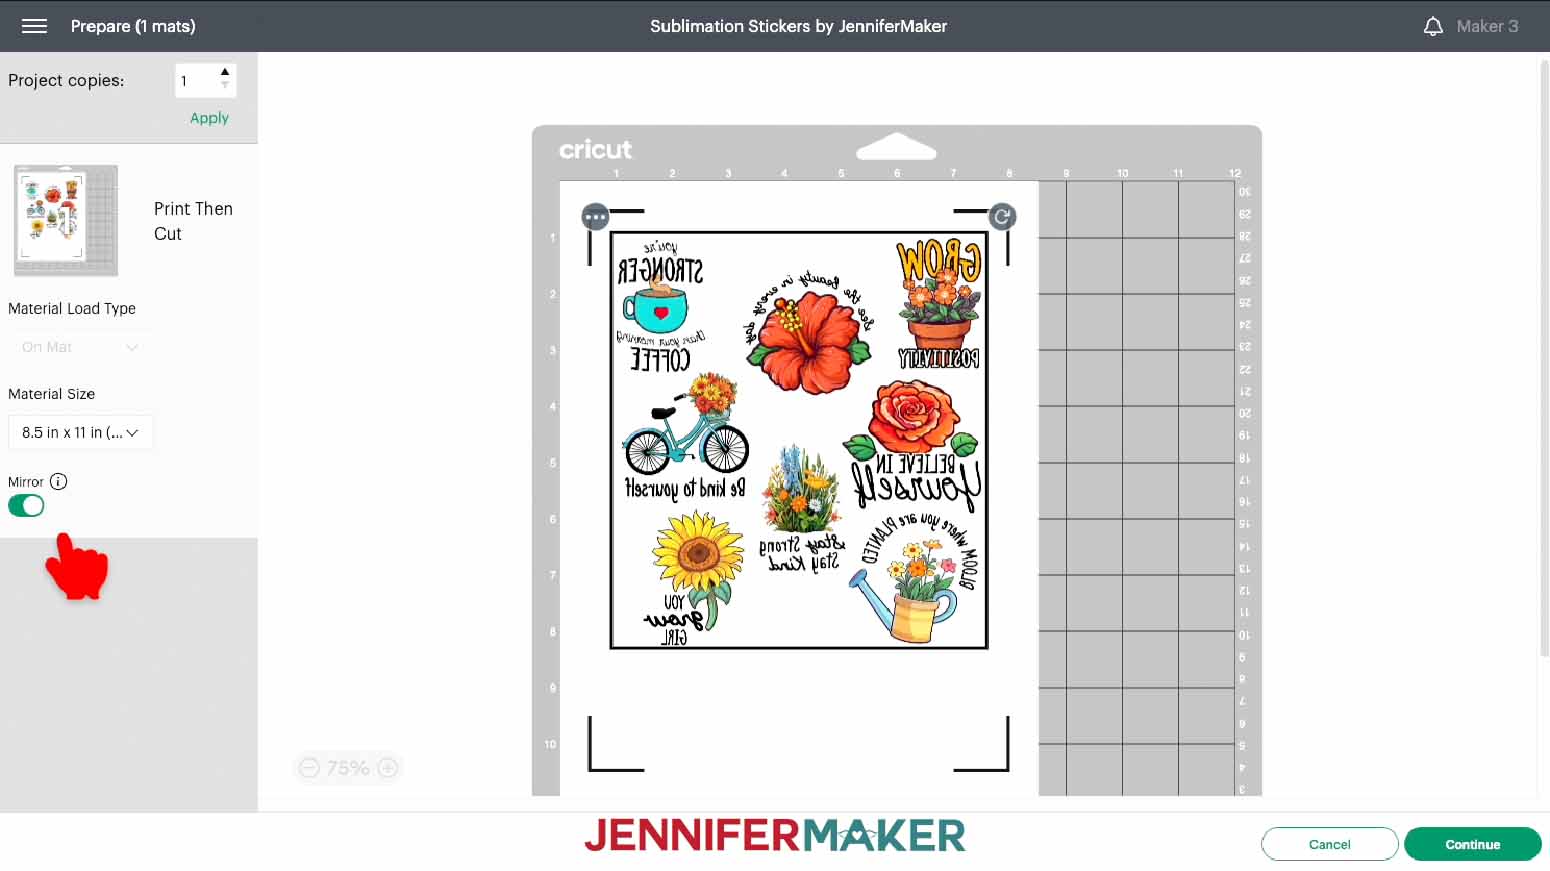
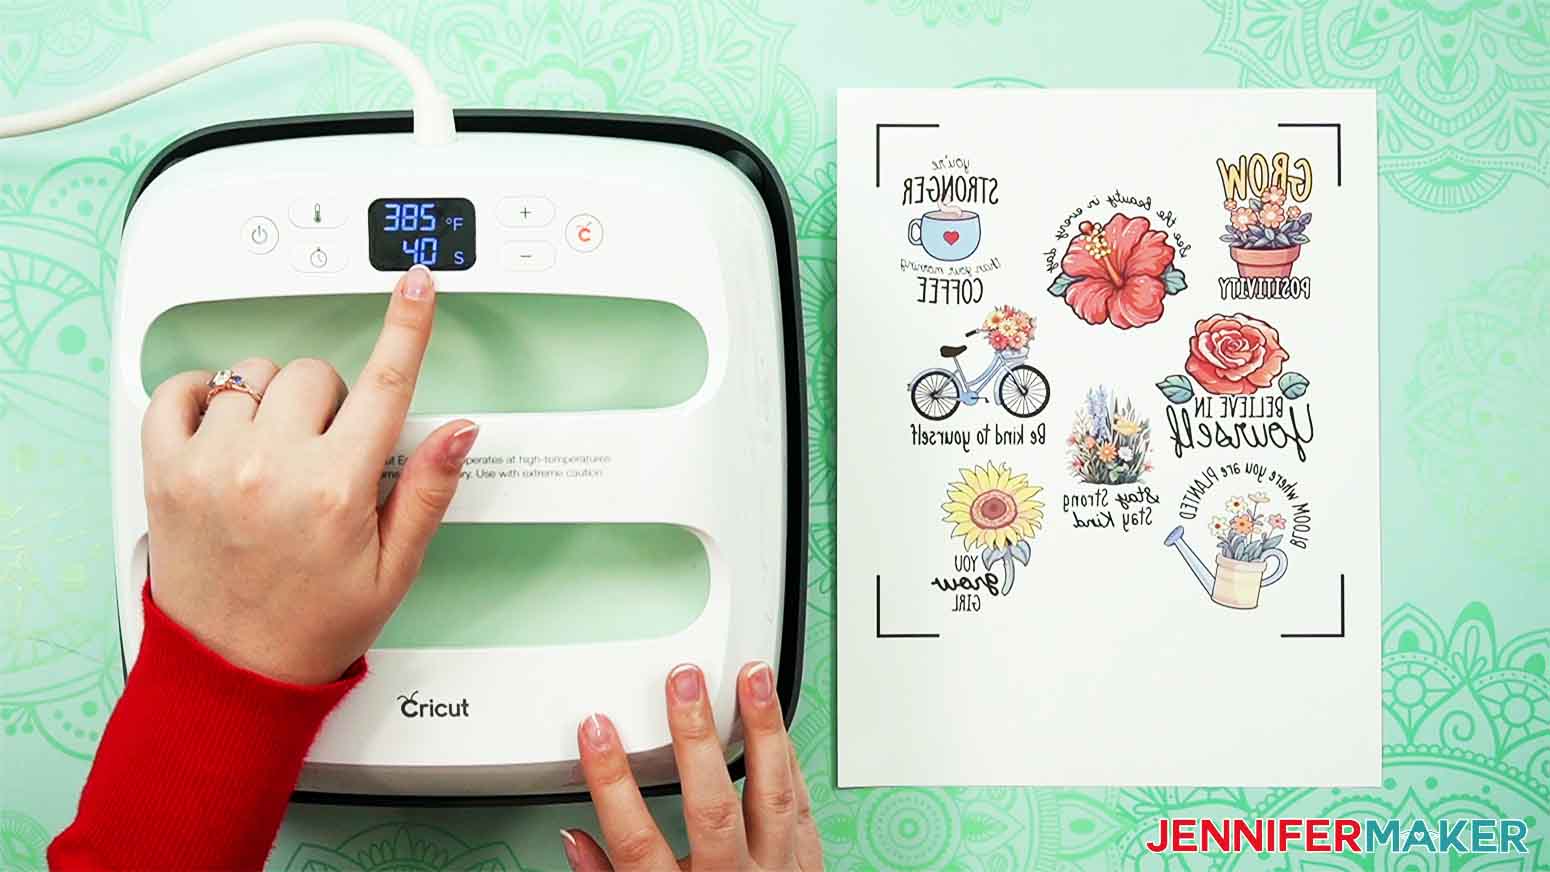
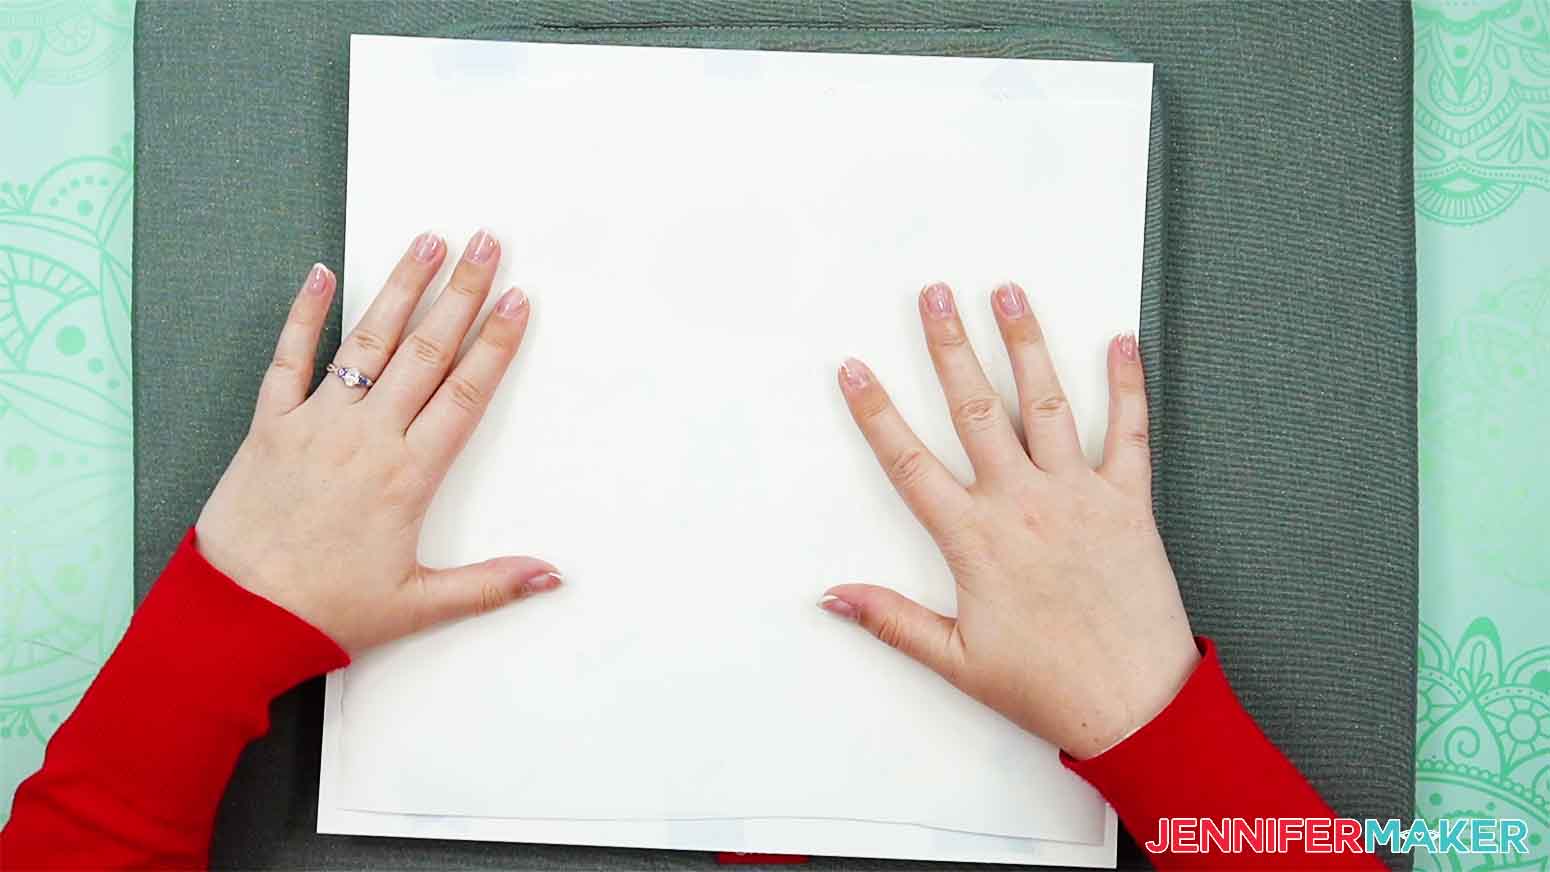
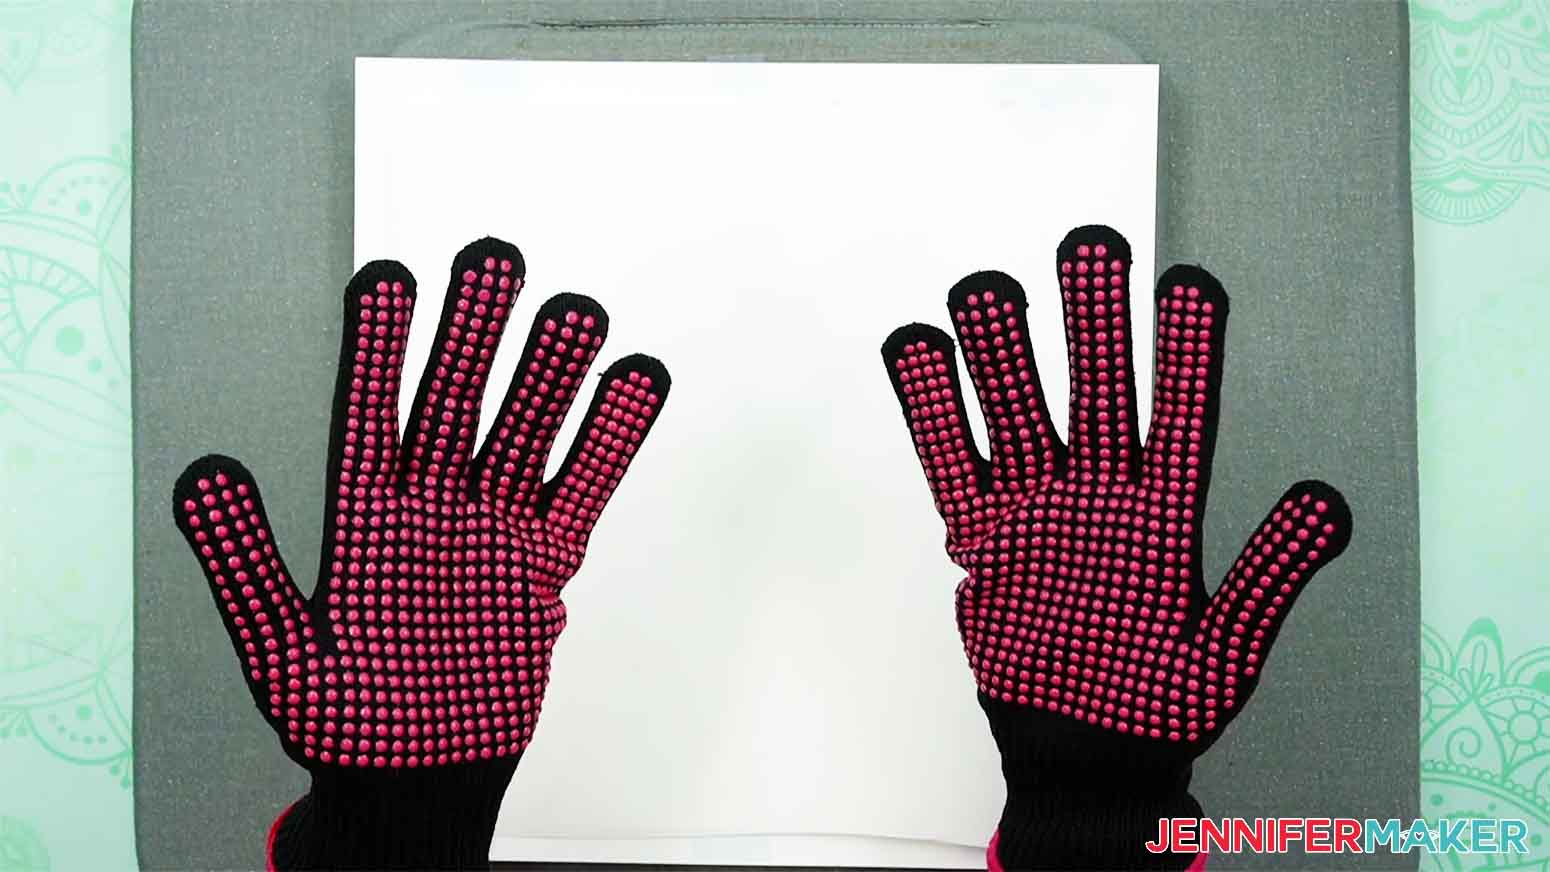
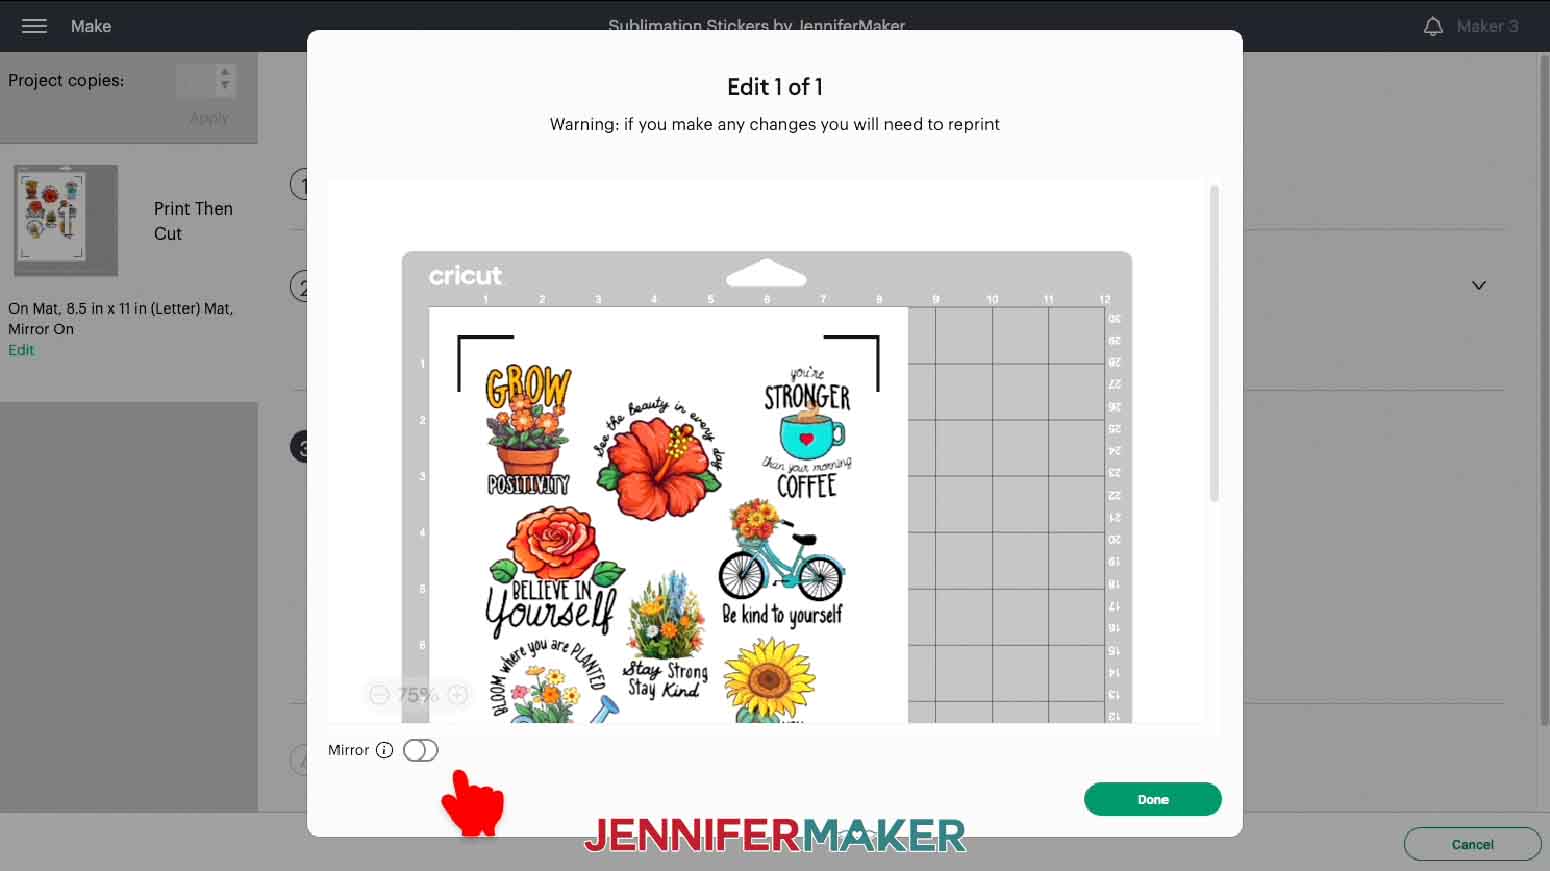
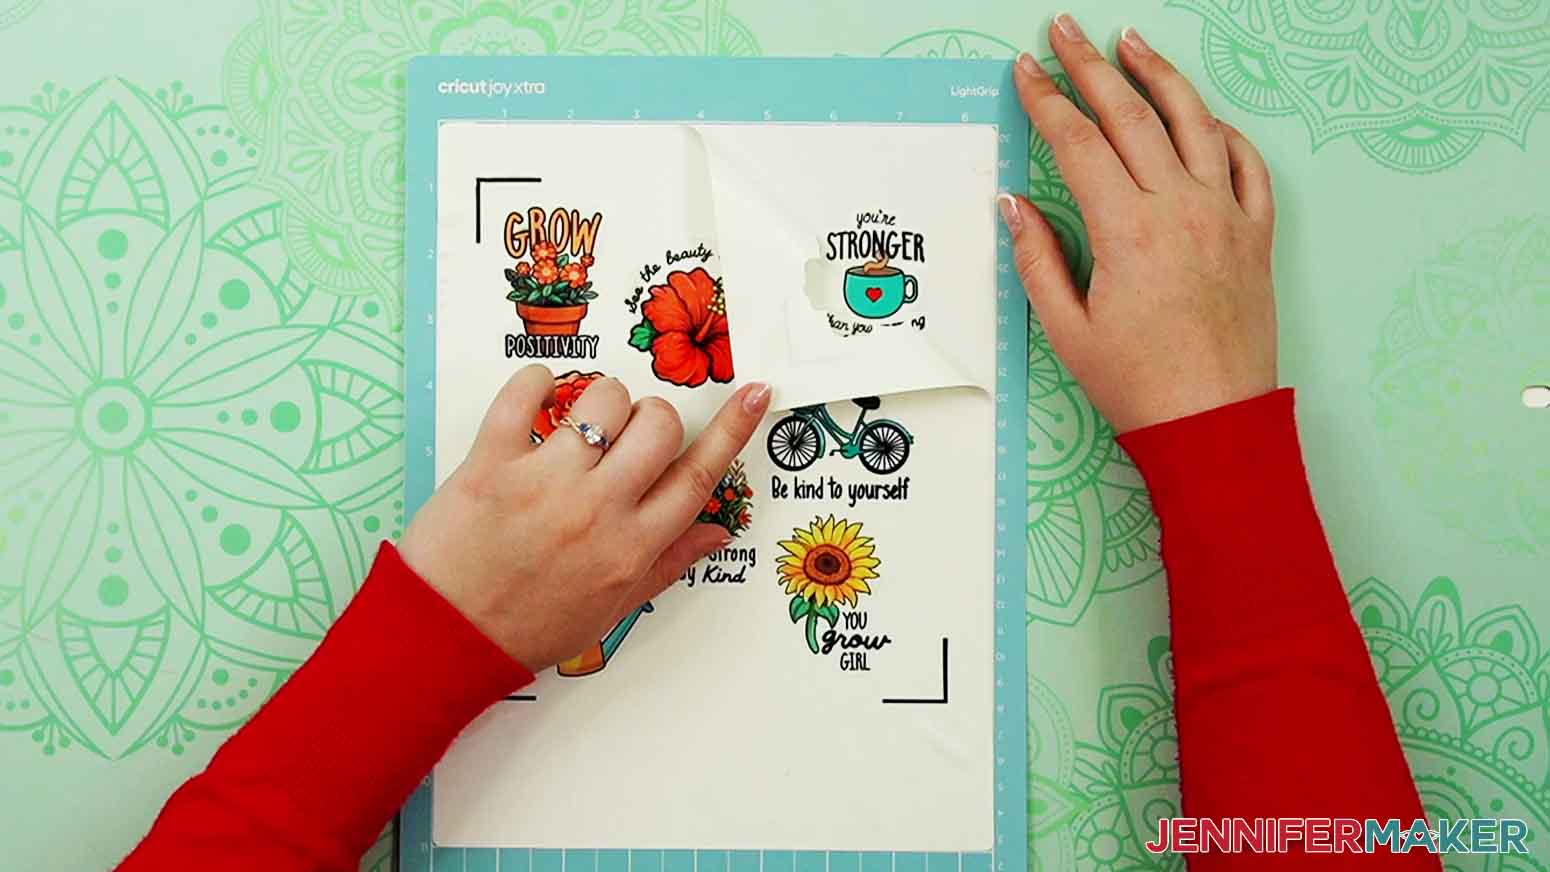
Learn how to make a DIY sublimation sticker sheet using sublimation adhesive vinyl sticker sheets and Cricut's Print Then Cut feature! First, download my Sublimation Sticker Sheet SVG/PDF/DXF files from this page. I have created a set of eight adorable stickers for you to make! I’ve also included a PDF file for printing and cutting the stickers by hand. NOTE: If you've never used the Print Then Cut feature with your specific printer - or if it's been a while - calibrate your machine's settings before starting. Check out this helpful video I made. So let’s begin! I’m going to make a full sheet of kiss-cut stickers using all eight designs. You’ll need to upload each sticker individually to Cricut Design Space. First, click “Upload Image” and then “Browse.” TIP: If you're not sure how to upload, go to jennifermaker.com/svgs to learn how to unzip and upload SVG files. If you're on an iPhone or iPad, here's how to download and upload files to the Cricut Design Space app. To upload a sticker design, click on the PNG file and click “Open.” Now choose “Complex” and “Continue.” You don’t need to do anything on the next screen, so click “Apply & Continue.” And then click on “Print Then Cut Image” and “Upload.” Follow the above steps to add each of the other designs to Design Space. Then add them all to your Canvas. Here are what all the sublimation sticker designs look like on my Canvas. The PNG designs load rather large on the page, but that’s okay because it’s easy to fix! The individual images work well as stickers at 2.5” tall, but you can, of course, use different sizes based on your needs. To change the size of the images, click on the one you want to change and make sure the lock icon is closed in the top menu. Enter “2.5” into the Height (H) field to resize the image. Next, we’ll create a guide at the size of the maximum “Print then Cut” area to help us arrange our stickers on the page. From the “Shapes” menu on the left, find the Square and add it to your Canvas. With the lock icon open, resize the square to 6.94” wide x 7.43” tall. This will allow all the stickers to fit on one Print Then Cut page. Send the square to the bottom layer on your Canvas to make it easier to work with. In the top menu, choose “Arrange” and “Send to Back.” Then change the Operation to “Guide.” Arrange all the stickers within the guide so they’re not overlapping each other or the guide’s edges. After all the stickers are resized and arranged how I’d like, I’ll select everything and click “Attach.” TIP: You can also leave everything unattached and allow Design Space to arrange the stickers for you. If any of them are too close, you can move them apart on the Prepare screen. Since I’ve included a white outline around my designs, my stickers are all set! Select the correct machine and press the “Make It” button in the upper right. If prompted, click "On Mat," choose your mat size, and click “Confirm.” On the Prepare screen, check that your mat says “Print Then Cut” with a Material Size of 8.5" x 11". Toggle “Mirror” ON for printing your sublimation transfer sheet. If everything looks correct, click "Continue" to move to the Make screen. Click the green “Send to Printer” button. When the print setup screen appears, ensure the correct printer is selected. Turn OFF “Add Bleed.” Then turn ON “Use System Dialog” and click “Print.” NOTE: Your printer’s controls will appear but might be hidden behind Cricut Design Space. Minimize your Cricut window to find it. It may look different depending on your printer, computer, and software. Use my settings as a guideline, but adjust as needed to fit your tools. Make sure your sublimation printer is selected under "Printer." I’ll use the drop-down menu to adjust the media type to "Photo Matte Paper" and the quality to "Best." Pick the closest similar settings for your printer. Since we have already mirrored the design, make sure NOT to flip the image if it's an option in your printer settings. Before I print, I will make sure my paper is loaded correctly in my printer. Check your printer manual and paper packaging for help identifying the right side to print on and how to load it. Then press "Print." After your sticker designs have been printed, set the sheet aside while you prepare your materials for sublimating. I'm using my EasyPress, but you can also use another type of heat press. If you're using different materials or tools, check the manufacturer’s settings or my Sublimation Cookbook. I’ll set the temperature of my EasyPress to 385°F (196°C) and the time to 40 seconds. Use a few pieces of painter's tape to remove any dust or debris from the vinyl sticker sheet. Place the printed transfer sheet face down against the shiny side of the sublimation adhesive vinyl sticker sheet, and line the two pages up. Use four small pieces of heat-resistant tape to secure the pages together on each side. NOTE: You don’t need to use a lot of tape, just enough to keep the paper in place. Place one sheet of plain white cardstock on the pressing pad to protect it. Then place the taped sheets on the cardstock with the printed transfer sheet on top. Add one sheet of butcher paper on top of that to protect your press. I’ll put on my gloves, as it’s a good idea to use heat-resistant gloves for the next step. Press your sticker sheet using medium to firm pressure to achieve the best results. When the time is up, lift your EasyPress straight up off the paper and return it to its base. Quickly remove the transfer sheet from the sticker page while it is still hot to prevent ghosting. The sticker sheet will curl, and that is okay. Allow it to cool for a few minutes. See the black corner marks around the design? These are called registration marks and are used by your Cricut machine to tell it exactly where to cut your project. After my sublimated sticker sheet is cool to the touch, I’ll use my brayer to smooth down the sheet on a blue LightGrip mat. TIP: If you have an older green mat that isn’t very sticky, that will work too. Next, I’ll return to Design Space and set the base material. I found that using the “Light Cardstock - 65 lb (176 gsm)” setting with Default Pressure gave me a perfect “kiss-cut.” NOTE: If you’d like your stickers to be die cut, or individually cut, use the “Medium Cardstock - 80lb (216 gsm)” setting with the Pressure set to “More.” Now that our stickers are facing the correct direction, we’ll need to turn “Mirror” back OFF in Design Space. To do this, click “Edit” on the left and switch the “Mirror” toggle at the bottom of the window back to white. Click “Done” and then load the prepared blue mat into your machine. Check that the Fine-Point Blade is clean and in the clamp, then push the flashing “Go” button to begin cutting. After the cut is finished, press the flashing “Unload” button to remove your mat. I like to remove the extra sticker material from around the stickers, so I’ll do this now while it’s on the mat. Remove the stickers from the cutting mat by turning the cutting mat over and rolling it away from the vinyl sheet. You're done! Here are all my adorable empowering stickers! Now you can stick them on your laptop, notebook, or wherever your heart desires! And they’re even waterproof! Care instructions: Stickers can be submerged in water and washed with soap and water. Typefaces used: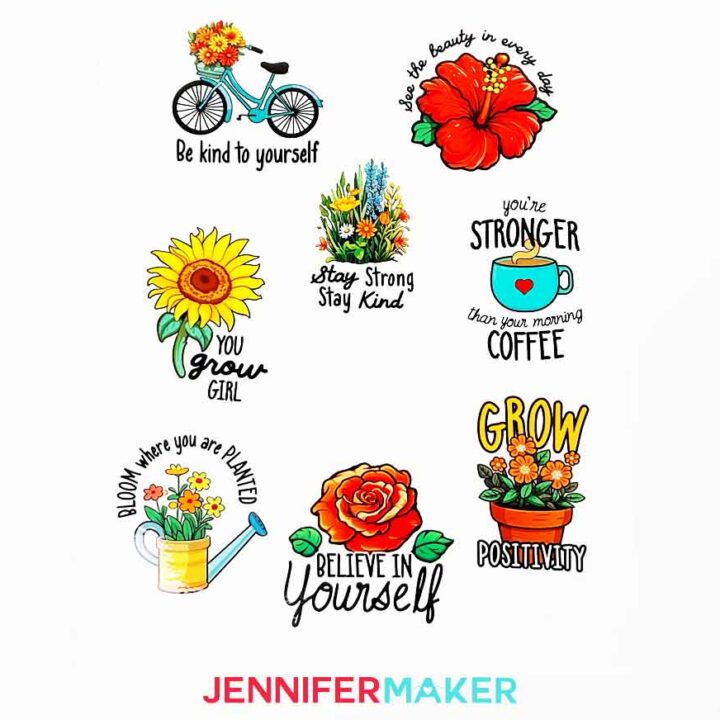
DIY Sublimation Sticker Sheet
Materials
Tools
Instructions
STEP 1: GET MY FREE SUBLIMATION STICKER DESIGNS
STEP 2: PREPARE AND PRINT YOUR SUBLIMATION STICKERS


STEP 3: SUBLIMATE YOUR STICKER SHEET


![]()
STEP 4: CUT YOUR SUBLIMATED STICKERS
STEP 5: SHOW IT OFF
Notes
The detailed step-by-step assembly video on how to make a DIY sublimation sticker sheet debuted during Maker Academy Weekend 2023, held online November 1-5, 2023. Get an on-demand pass to watch all 30+ workshops, each with a printable handbook, transcript, audio file, design files, and support with a VIP pass below:

Answers to Your Questions About How to Make a DIY Sublimation Sticker Sheet
Q: What do I need to make sublimation stickers?
A: To make a DIY sublimation sticker sheet, you’ll need many of the same supplies as you would with any sublimation project, like a sublimation printer filled with sublimation ink, a heat press with a pressing mat, sublimation vinyl sticker paper, sublimation paper, white cardstock, white butcher paper, heat resistant tape, heat resistant gloves, a fan for ventilation,
You’ll also need a cutting machine (I used my new Cricut Joy Xtra for one sheet, and my Cricut Maker 3 for the other), a used (and slightly less sticky than new) green StandardGrip mat, painters tape or a lint roller to clean your sticker sheet before sublimating, and a brayer. Lastly, you’ll need some sticker designs to sublimate.
Q: Can you sublimate on regular sticker paper?
A: No, you cannot sublimate on regular paper stickers, or even regular vinyl stickers. To make sublimated stickers, you must use sublimation vinyl sticker sheets. They’re designed to be sublimated and can withstand the heat involved in the sublimation process.
Q. What’s the difference between vinyl sticker paper and sublimation vinyl sticker paper?
A: We already know that vinyl stickers are a bit more durable than paper ones, but what’s the difference between vinyl sticker paper and sublimation vinyl sticker paper? Easy: Vinyl sticker paper is designed to be printed on a regular inkjet printer, while sublimation vinyl sticker sheets are meant to be sublimated. These two types of vinyl sticker material are not interchangeable, so make sure you have the correct one for your project before you begin.
Q: How do you make sublimation transfer sheets?
A: In order to make a sublimation transfer, you need to have sublimation paper and a sublimation paper filled with sublimation ink. When you print your design with your sublimation printer onto the sublimation paper, it becomes a sublimation transfer sheet you can then heat press onto a variety of items, as long as they are polyester or coated in a polymer able to accept sublimation ink. Look for “sublimation blanks” to find a plethora of items you can sublimate!
Q: What is the best paper for printable stickers?
A: If you’re new to making stickers and want to make some simple stickers with an inkjet printer instead of going the sublimation route, I really like to use the new Cricut printable vinyl sticker paper. It’s a nice weight and compatible with lots of printers. You can see my latest print-then-cut sticker tutorial on my blog to learn how to make easy paper stickers (and how to seal them for better durability and water-resistance).
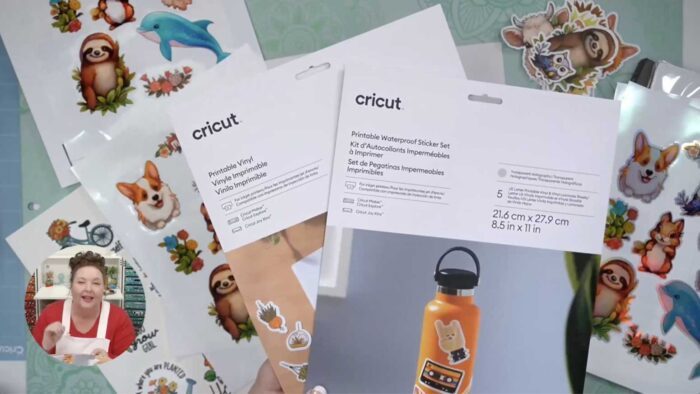
If you’re looking to try something a bit different, Cricut has a bunch of new sticker making options that are so much fun! I tried them all in my Ultimate Guide to the Cricut Joy Xtra.
Q: Can a normal printer print on sticker paper?
A: Absolutely, just make sure you get the right kind of sticker paper. If you try to use your inkjet printer with sublimation vinyl stickers, they’re not going to turn out as expected. If you’d just like to create easy paper stickers, check out my tutorial on how to make stickers with a Cricut. There are also printable vinyl stickers which are a little more durable than paper, but less durable than sublimation vinyl stickers.
Get my free SVG files to create a sheet of sublimated stickers!
(If you do not see the signup form above, click here.)
I SO hope you’ll make a DIY sublimation sticker sheet from my tutorial! Please share a photo of your stickers in our Facebook group or tag me on social media with #jennifermaker.
Love,

Want to remember this? Save this DIY Sublimation Sticker Sheet tutorial to your favorite Pinterest Board!