Learn how to sublimate garden flags and add personality to your yard!
One of the big reasons I love crafting is the ability to make your surroundings fit your personality! I love my garden, so adding a new custom sublimation garden flag just makes sense. Sublimation ink dyes the item’s fibers, so it holds up to sun and weather better than vinyl. So I used a converted Epson EcoTank printer to make a new set for the season and love them. And since sublimation designs can be flexible, you can use them on so many sublimation blanks!
Watch the original step-by-step tutorial on how to sublimate garden flags and use designs from my new collection or the original set!
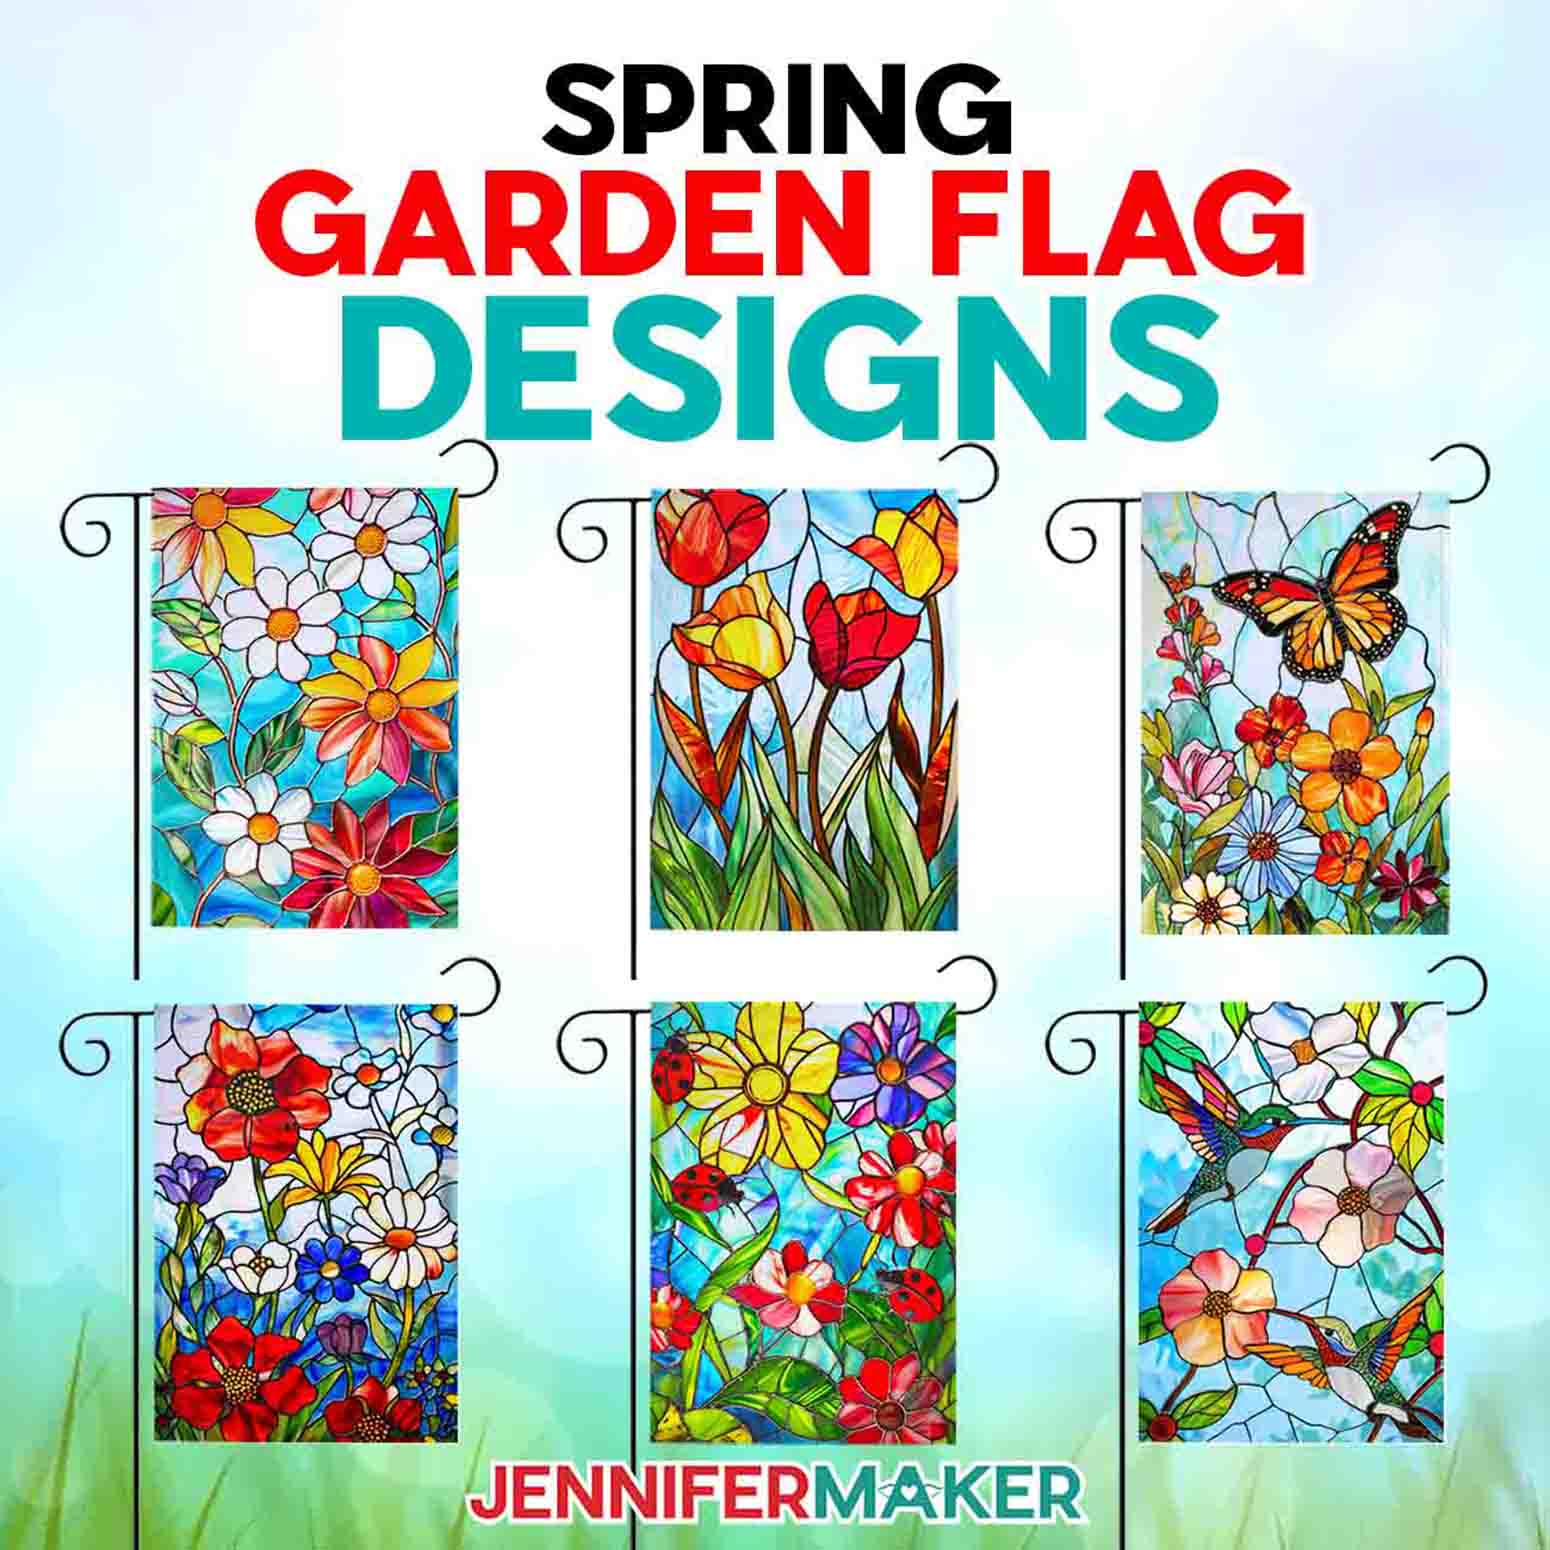

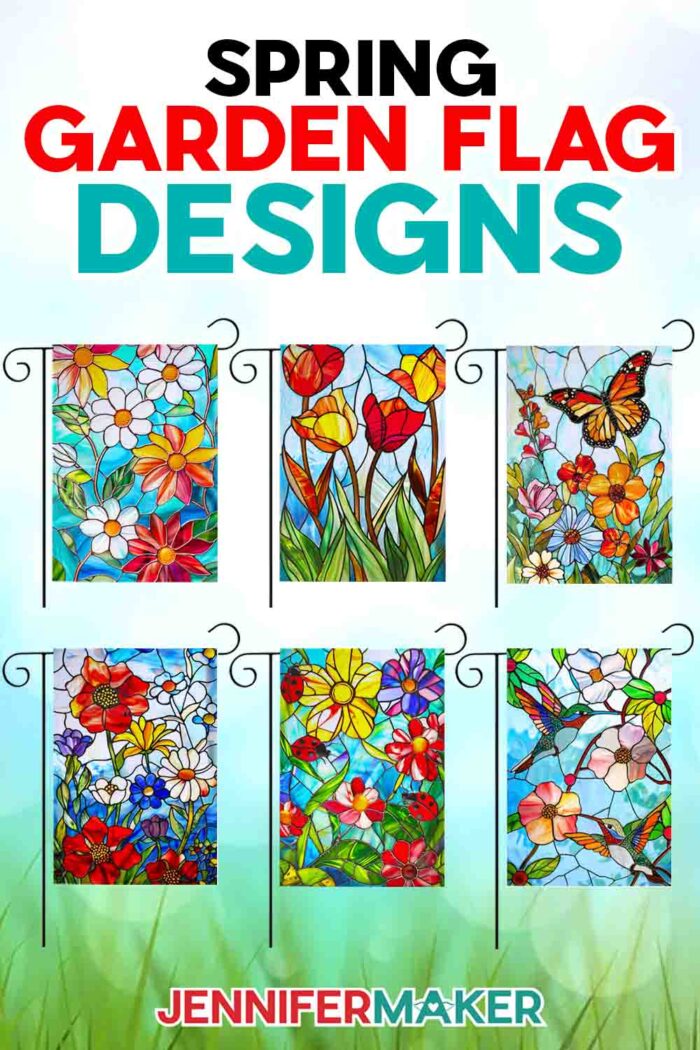
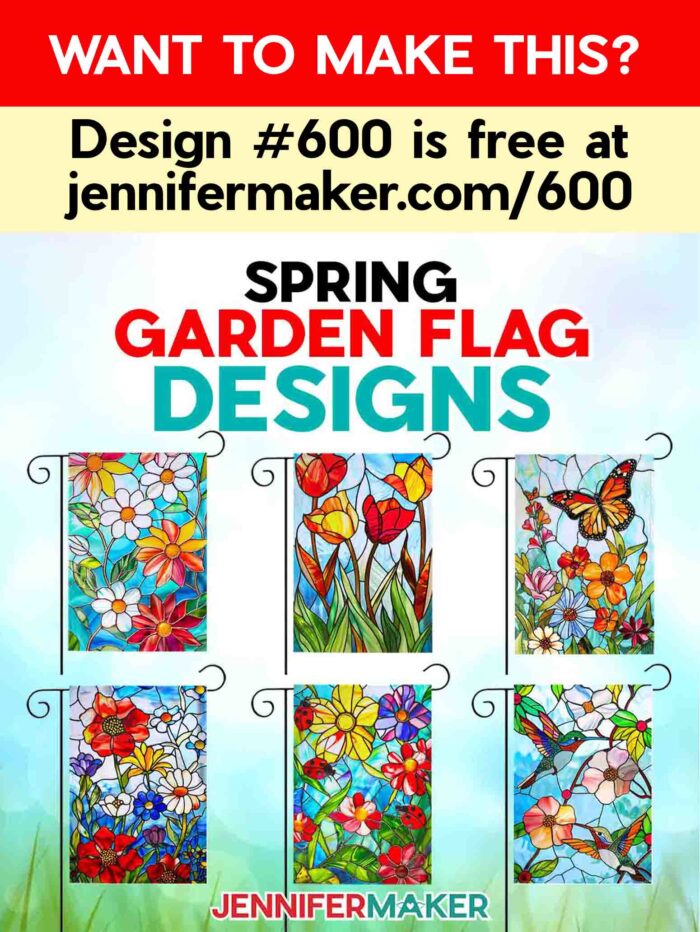
Aren’t these an instant jolt of Spring?

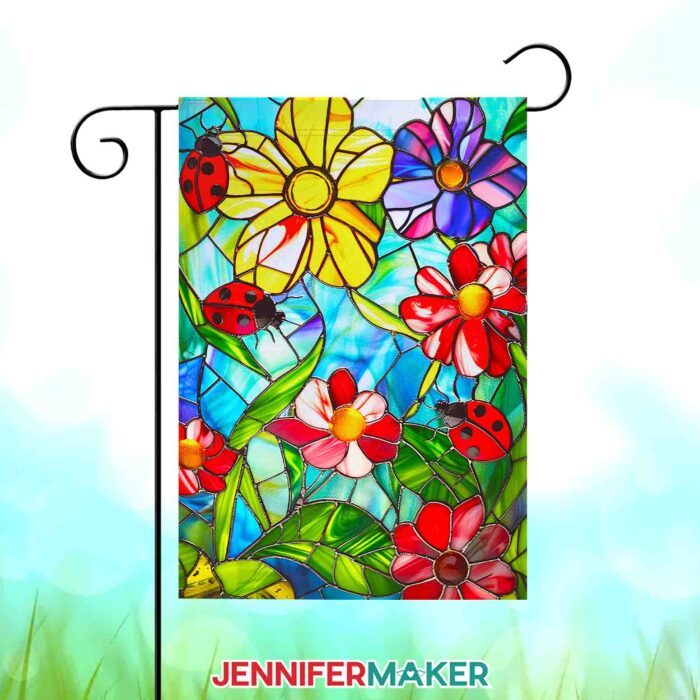
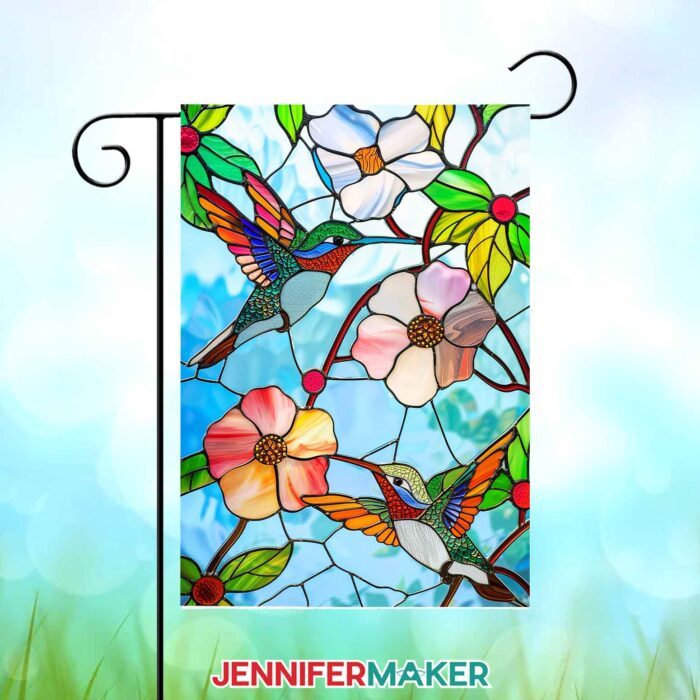
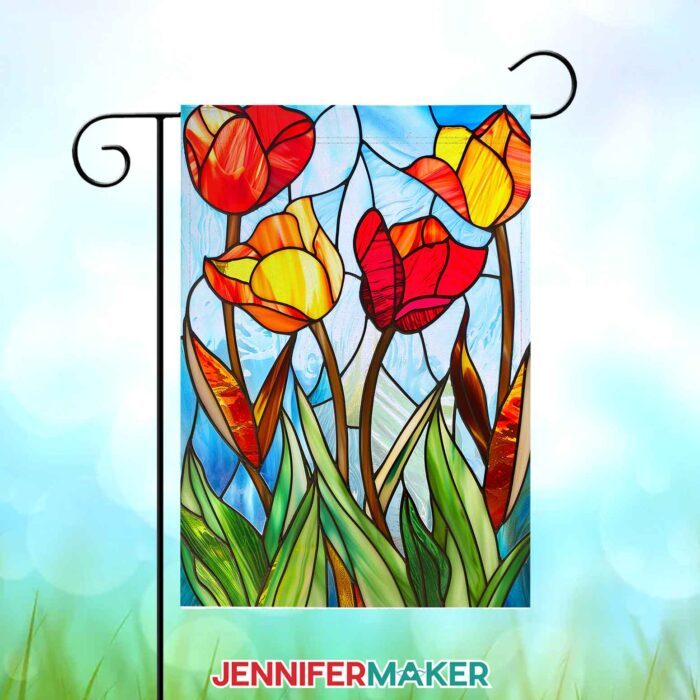
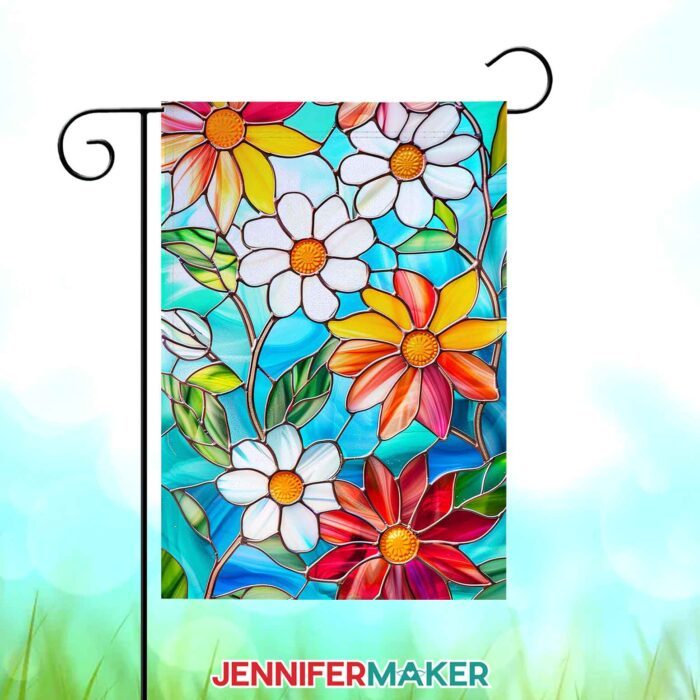
To make sublimation garden flags, first you’ll need a sublimation printer with compatible ink and paper. You can add any design you like, including my new set of stained glass-inspired flag designs! I used an AI image generator and image editing software to make a cohesive collection.
Next, you’ll need blank garden flags made of 100% polyester, which you’ll find linked in my list of materials below. My new designs are best for a single-sided flag, but the tutorial includes tips on how to make a double-sided garden flag, too.
Since the flags are larger than the paper I used, you can follow the tutorial to print the image spread over several sheets. Then you’ll put them back together with heat-resistant tape and use the tiled result to transfer the design. I have information for different heat press brands and types in my Sublimation Cookbook.
And be sure to check my tools and materials list for all the items you’ll need to get started with single-sided garden flags!

And don’t forget, my original tutorial has links to even more garden flag designs you can use!
Let me show you how to sublimate garden flag designs! This post contains some affiliate links for your convenience (which means if you make a purchase after clicking a link I will earn a small commission but it won’t cost you a penny more, there is no additional cost)! Read my full disclosure policy.
Materials to Sublimate Garden Flag Designs
View my Amazon shopping list for the exact items I used!
- Single-sided sublimation garden flag OR double-sided sublimation garden flag
- Garden flag pole to display your flag in your back or front yard
- 12 x 18″ heavy weight cardstock
- Paper Trimmer
- Ventilation – I used this fan
- Pressing Mat
- Lint Roller to prepare your flag for sublimating
- Adobe Acrobat Reader (get the free trial!)
- Google Account (we’ll use Google Drawings — also free)
- Sublimation Printer – I used a converted Epson EcoTank ET-2800
- Sublimation Ink
- Sublimation Paper – I used 8.5″ x 11″ A-SUB Sublimation Paper
- White uncoated Butcher Paper
- White 65 lb Cardstock 12″ x 12″
- Heat Press – I used the Cricut EasyPress but you can use another heat press brand
- Heat Resistant Pad
- Heat-resistant Tape
- Scissors
- Design #600 (My free PNG/PDF design files are available in my free resource library – get the password by filling out the form at the bottom of this page
How to Sublimate Garden Flag Designs
How to Sublimate Garden Flags
Learn how to sublimate a single OR double-sided garden flag AND how to personalize them with words or names!
Materials
- Sublimation Garden Flag
- Double-sided Garden Flags
- Sublimation Printer Paper
- Heat resistant tape
- White Butcher paper
- Heavy weight cardstock 12 x 18 inch
- Garden Flag Holder
- Design #483] (My free PDF/PNG design files are available in my free resource library - get the password by filling out the form at the bottom of this page)
Tools
- I used my Epson ET-2800
- Hippo Sublimation Ink
- Heat Press - I'm using the EasyPress but it can be made with any model as long as it’s 9x9 inch or larger
- Paper Trimmer
- Ventilation I used this fan
- Pressing Mat
- Lint Roller
- Adobe Acrobat Reader
- Google Account
Instructions
STEP 1: GET OR PREPARE A SUBLIMATION DESIGN
You can use either of my Sublimation Garden Flag design files from my resource library, Design #483. You can also make your own design.
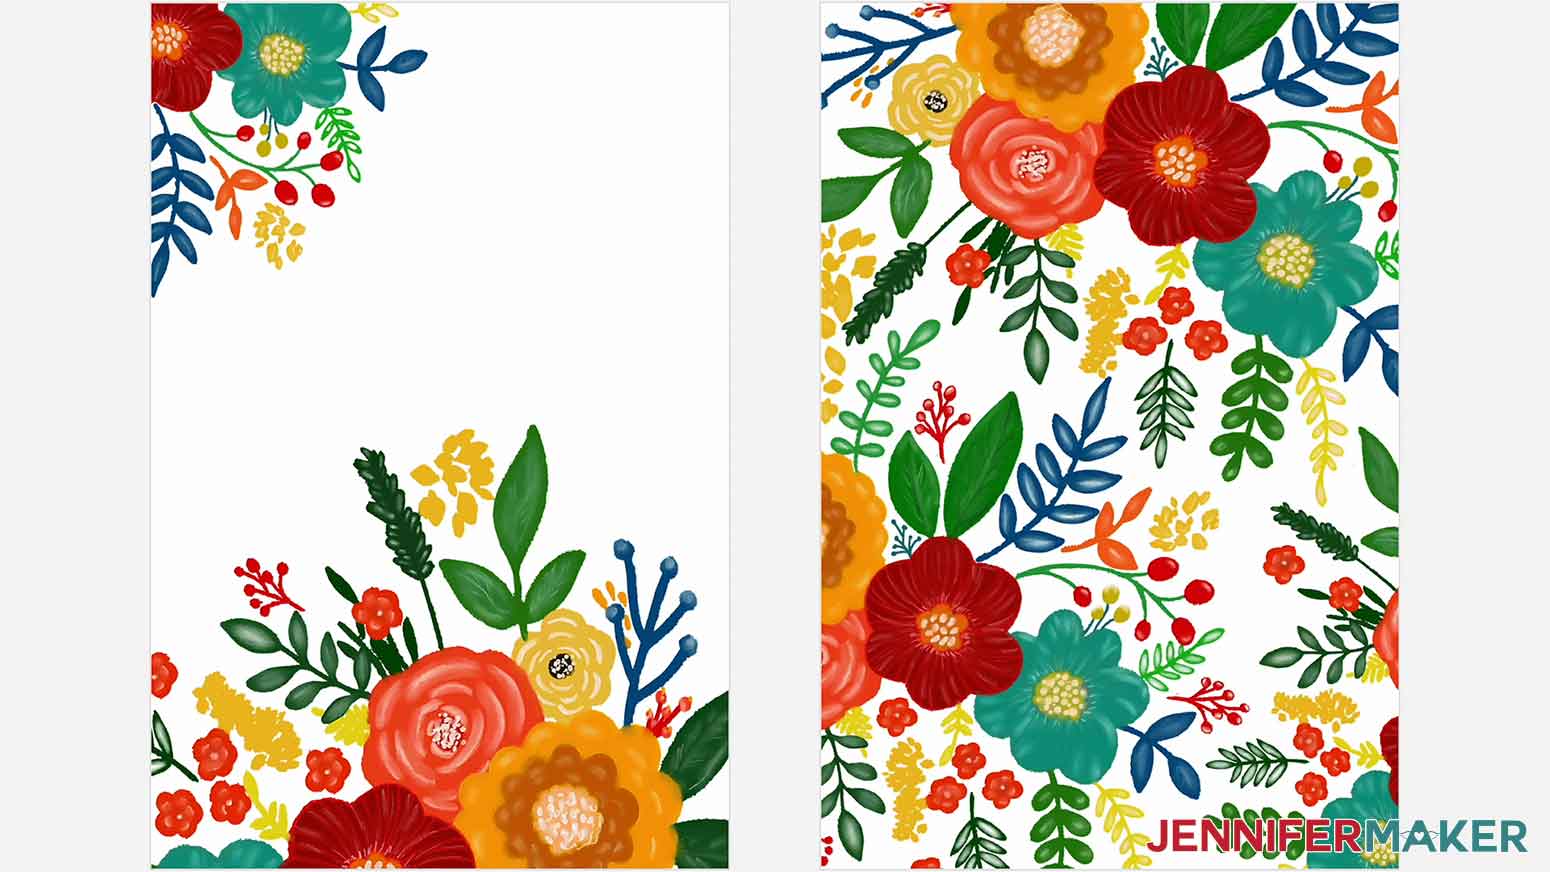
Download the files and pick your design. There are four designs - two including text and two left blank so you can personalize the saying.
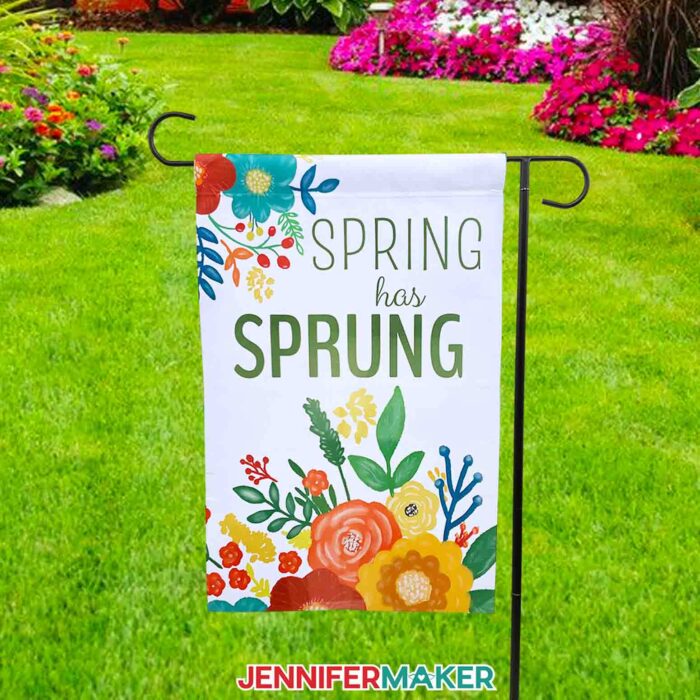
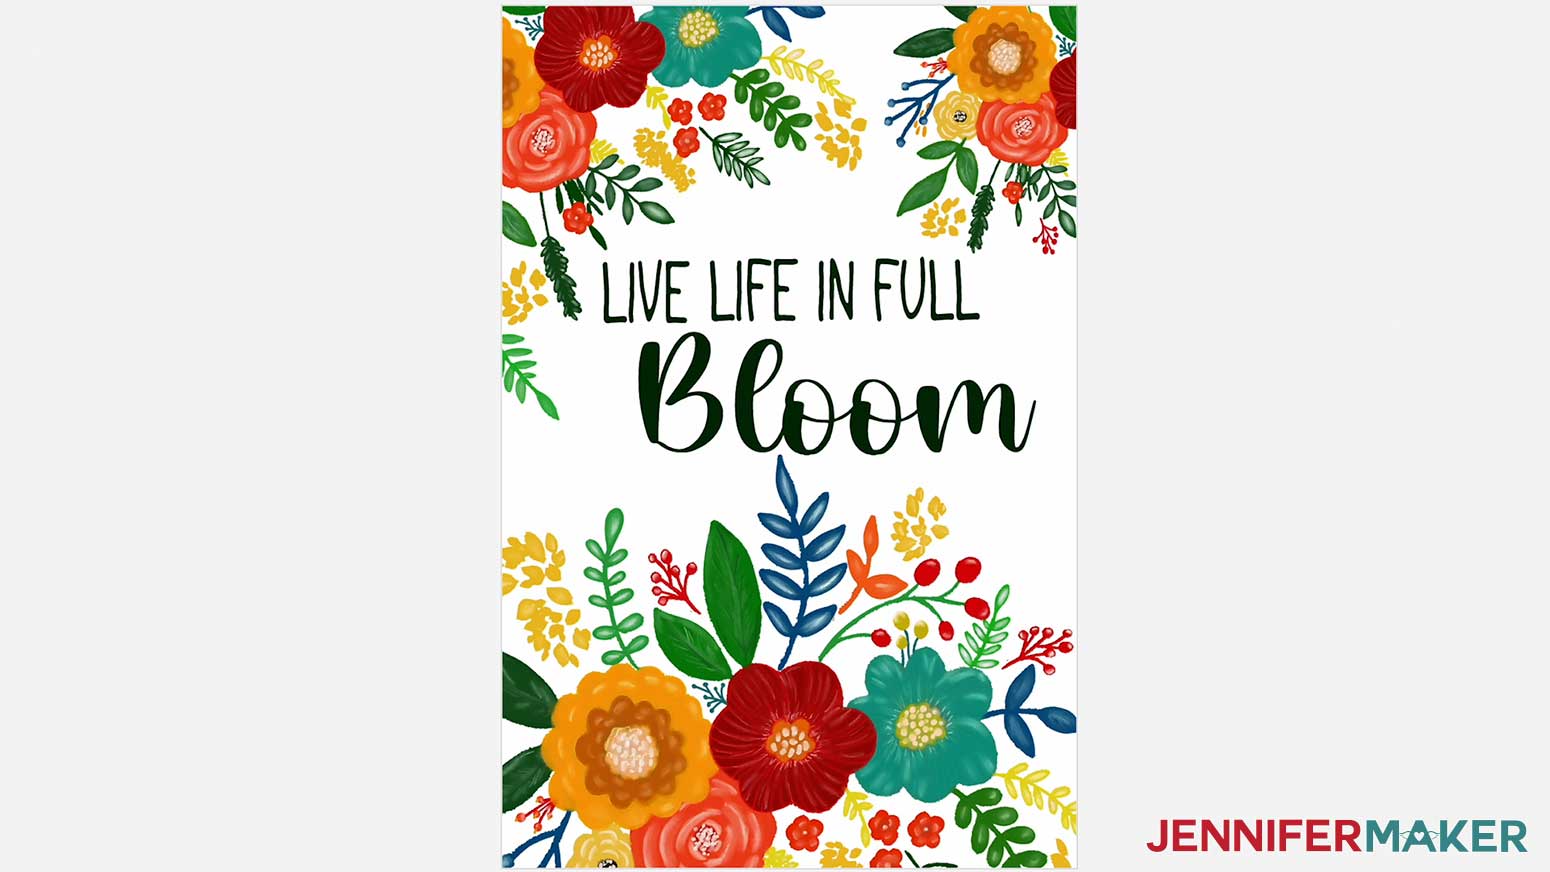
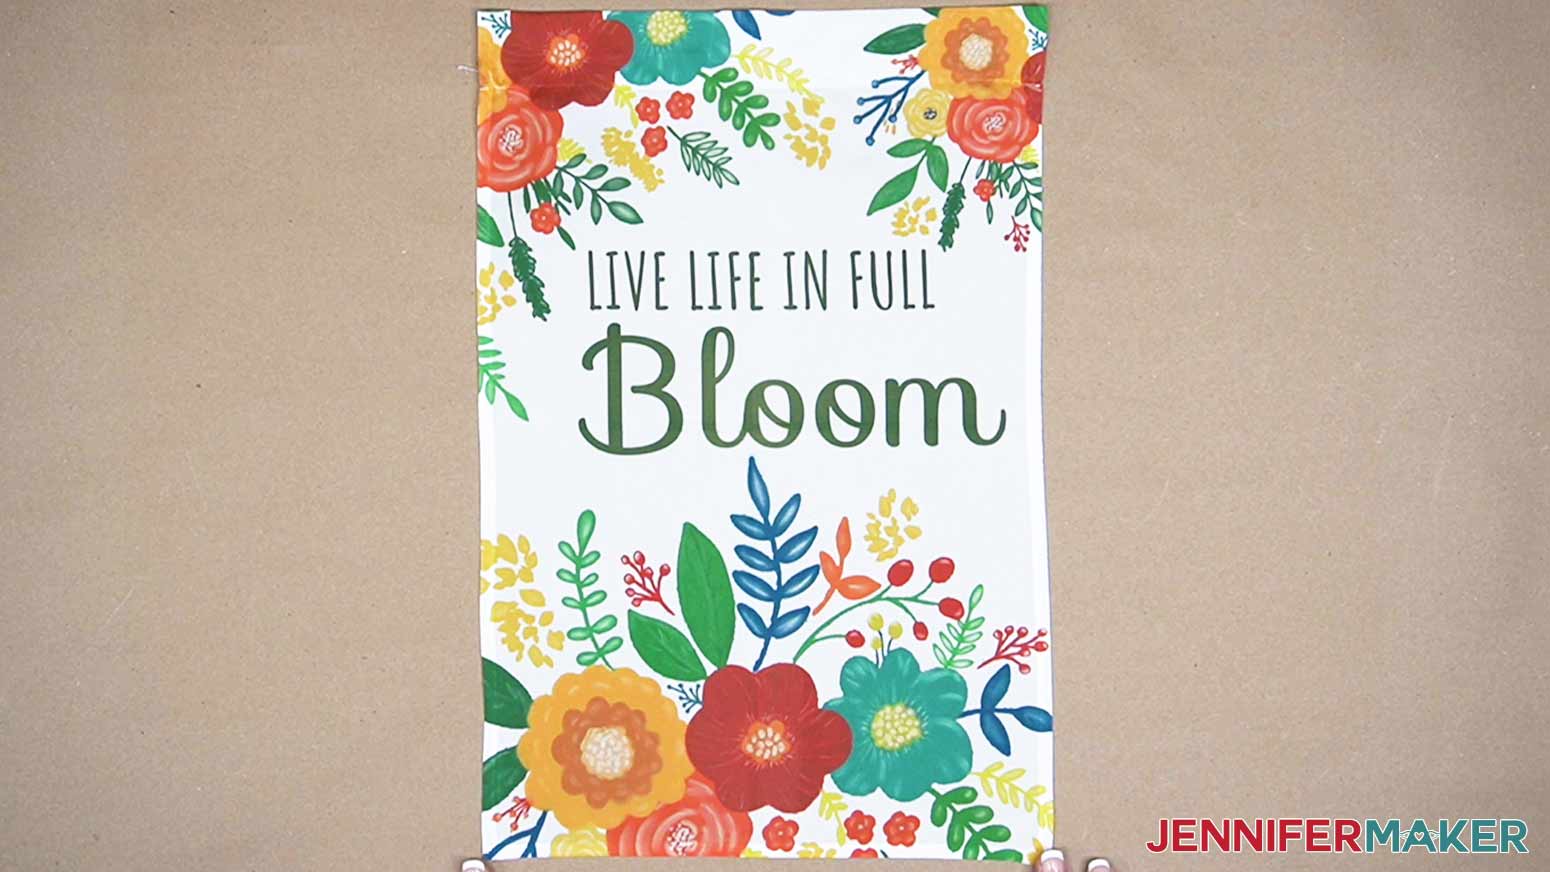
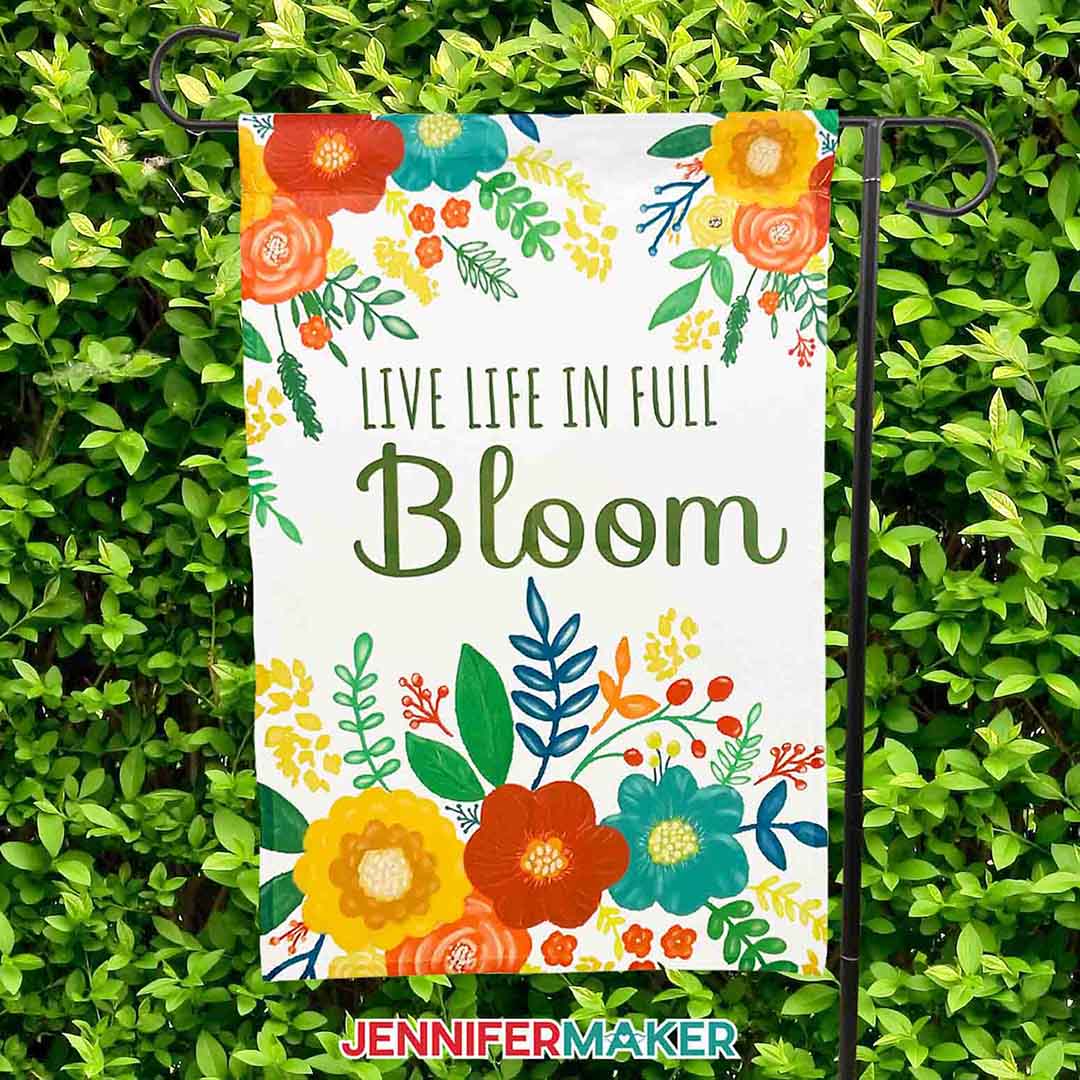
The Full Bloom one-sided design
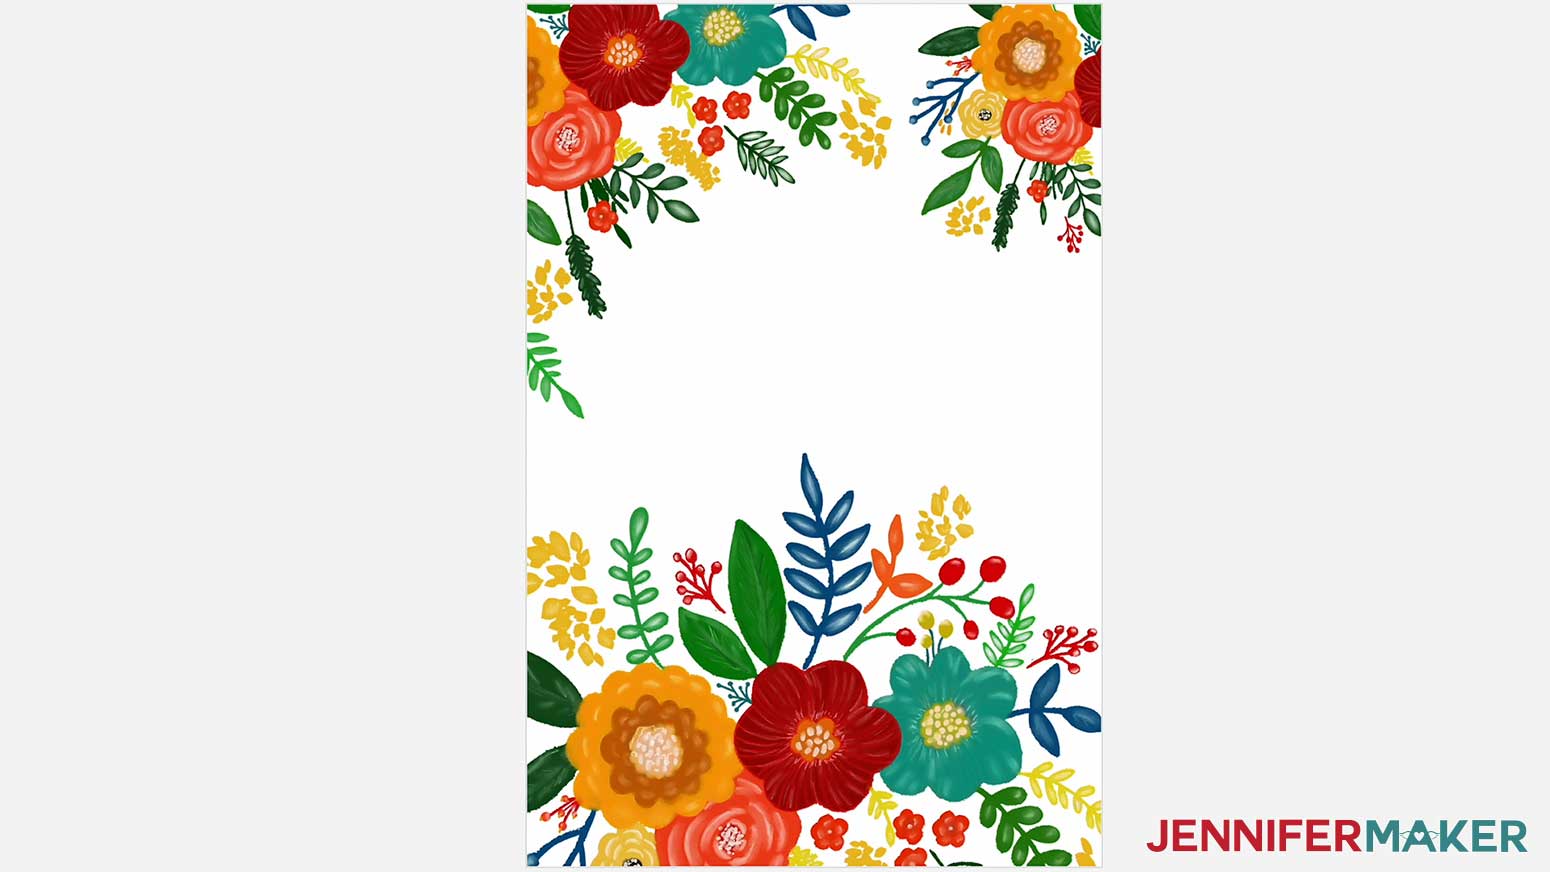
The Full Bloom one-sided design for personalization
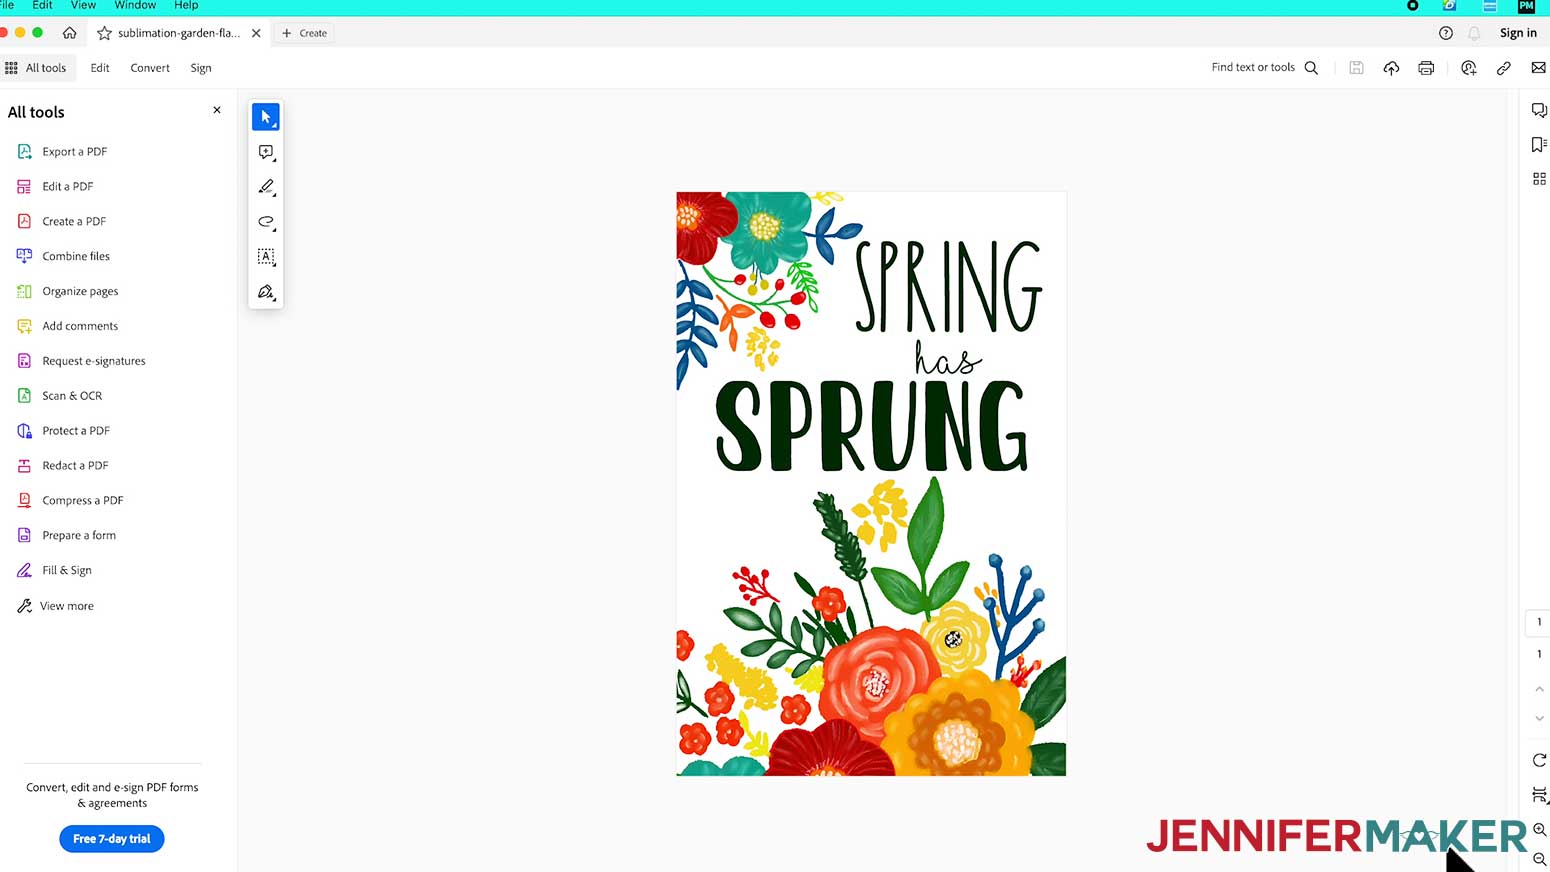
The Spring Has Sprung double-sided design
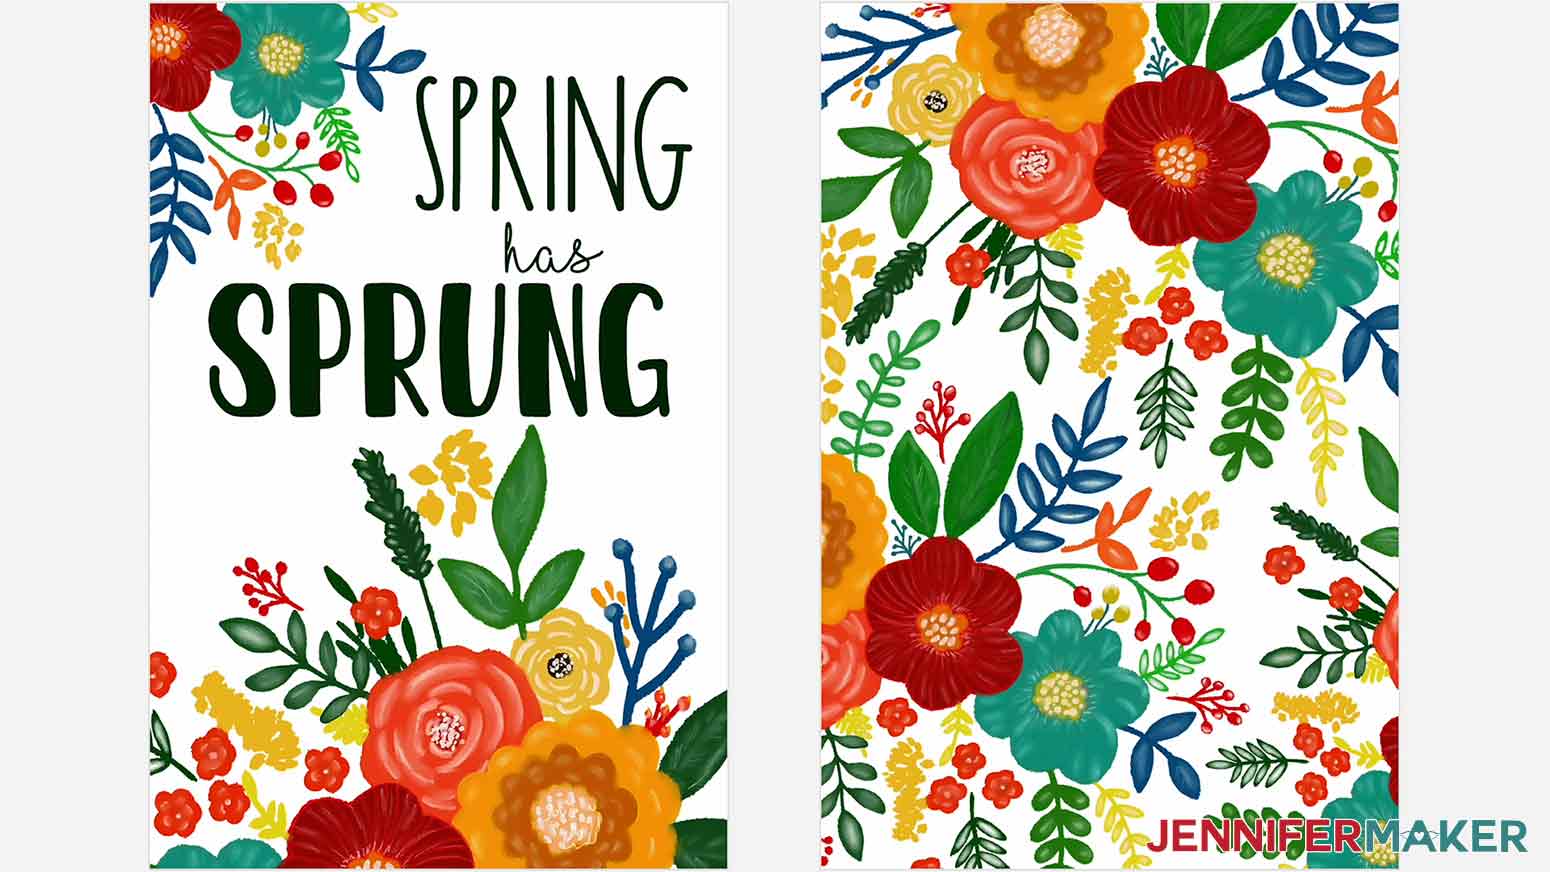
The Spring Has Sprung double-sided design for personalization
Today, I’m going to show you how to make the Full Bloom design with personalized text, and how to make the Spring has Sprung double-sided design. You'll be able to use these steps for any of the options in the design collection.
PERSONALIZATION
If you would like to personalize one of the blank garden flag designs, follow these steps.
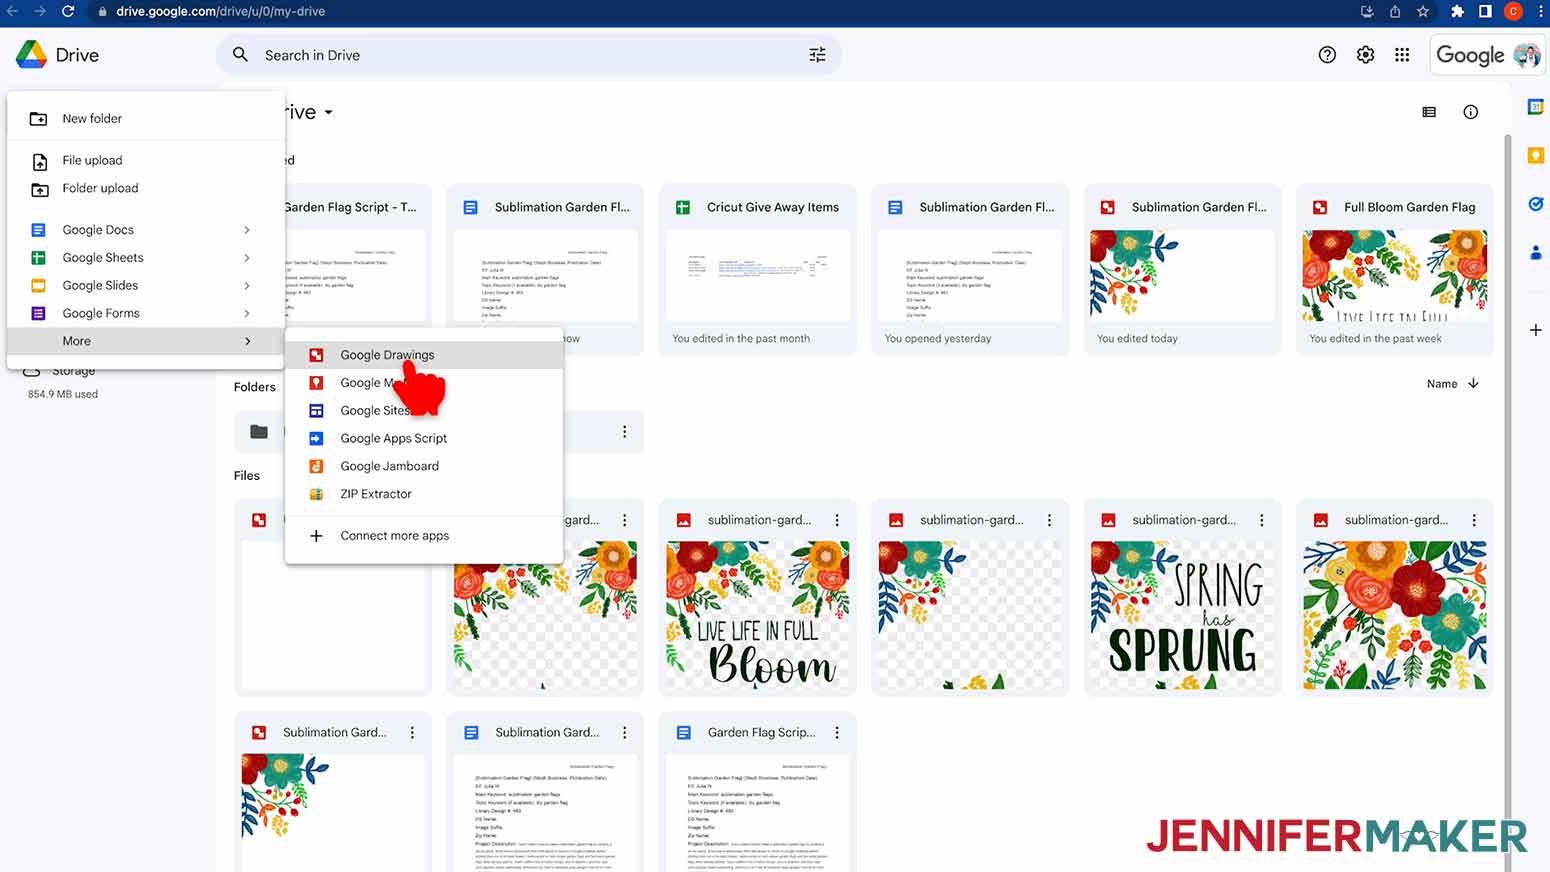
Open Google Drive and in the upper left corner click on New, go to More, and select Google drawings.
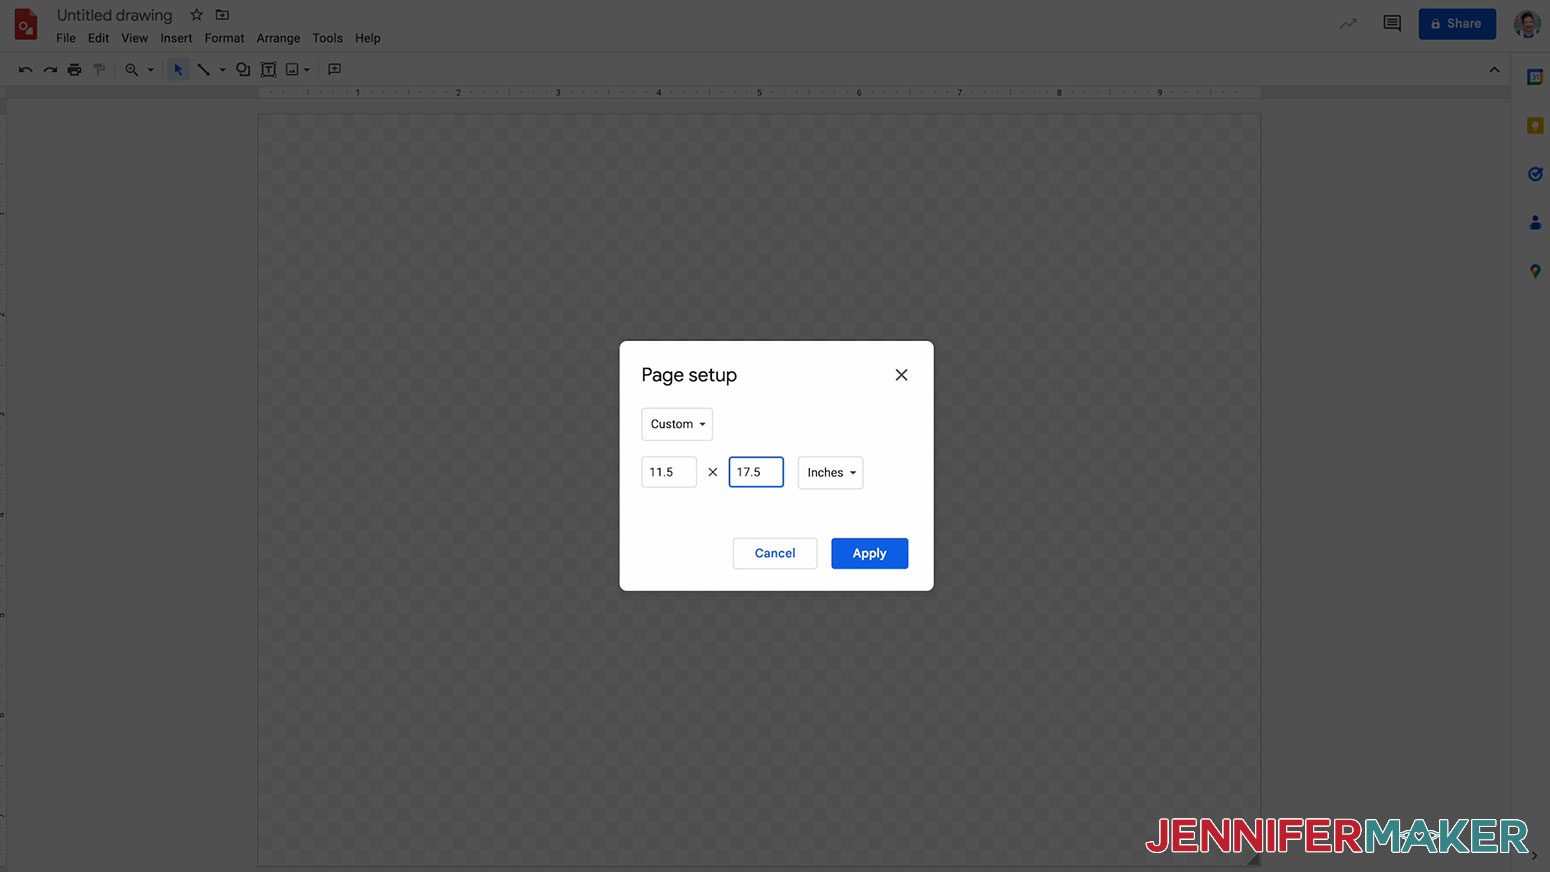
Once Google Drawings is open, select Page Setup under the File menu. In the Page Setup dialog box, select custom and input your flag dimensions. My flag is just smaller than 12" x 18", so I'll use 11.5" x 17.5". Click apply.
Next, under the Insert menu, select Image and Upload From Computer. Find your file and click Open.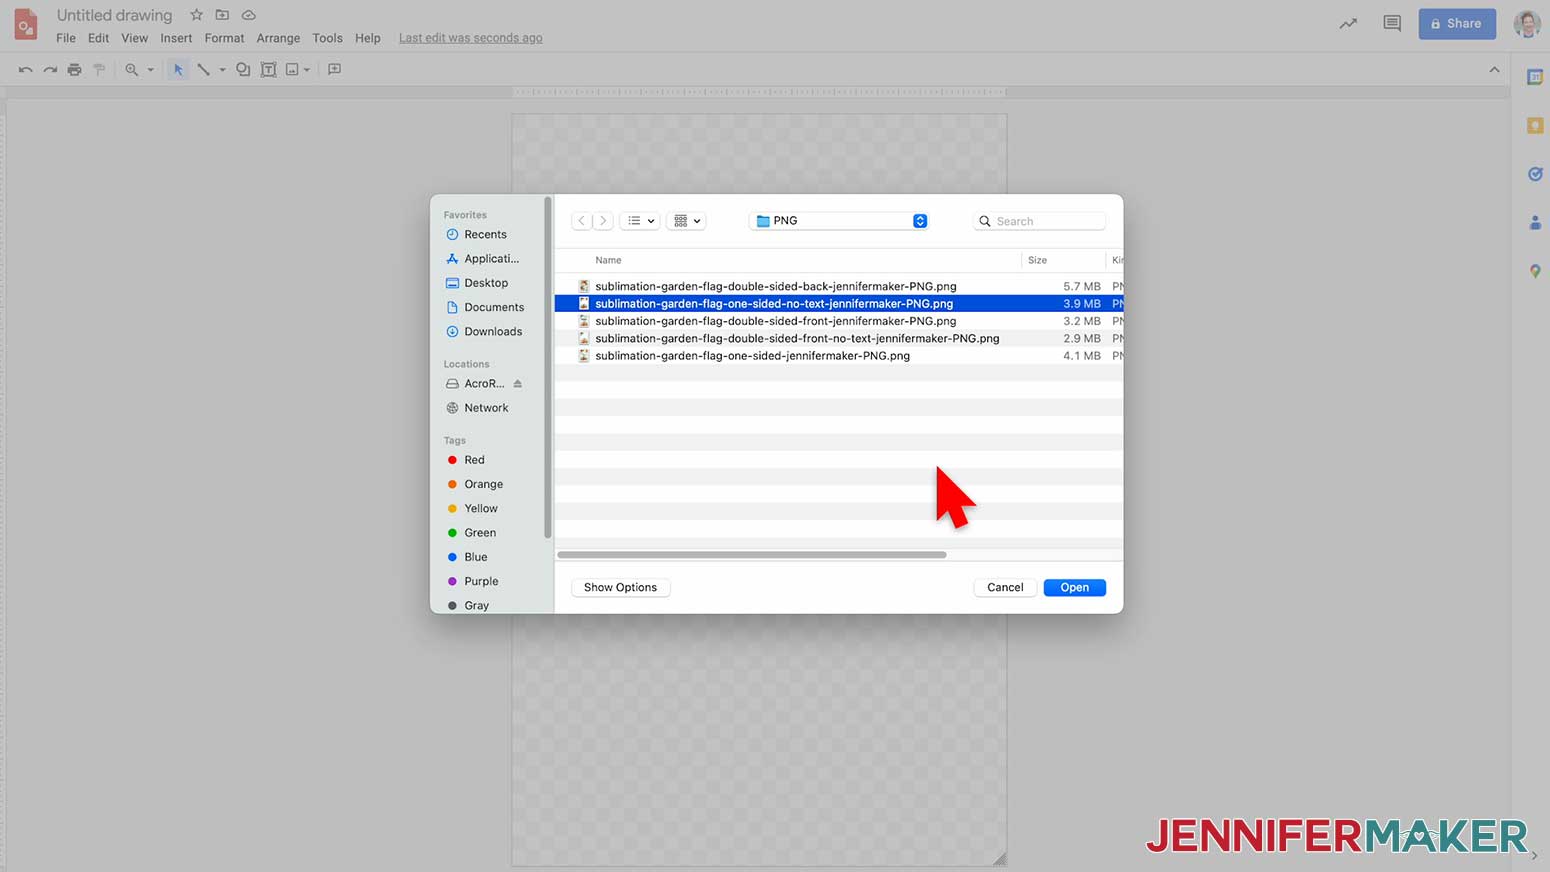
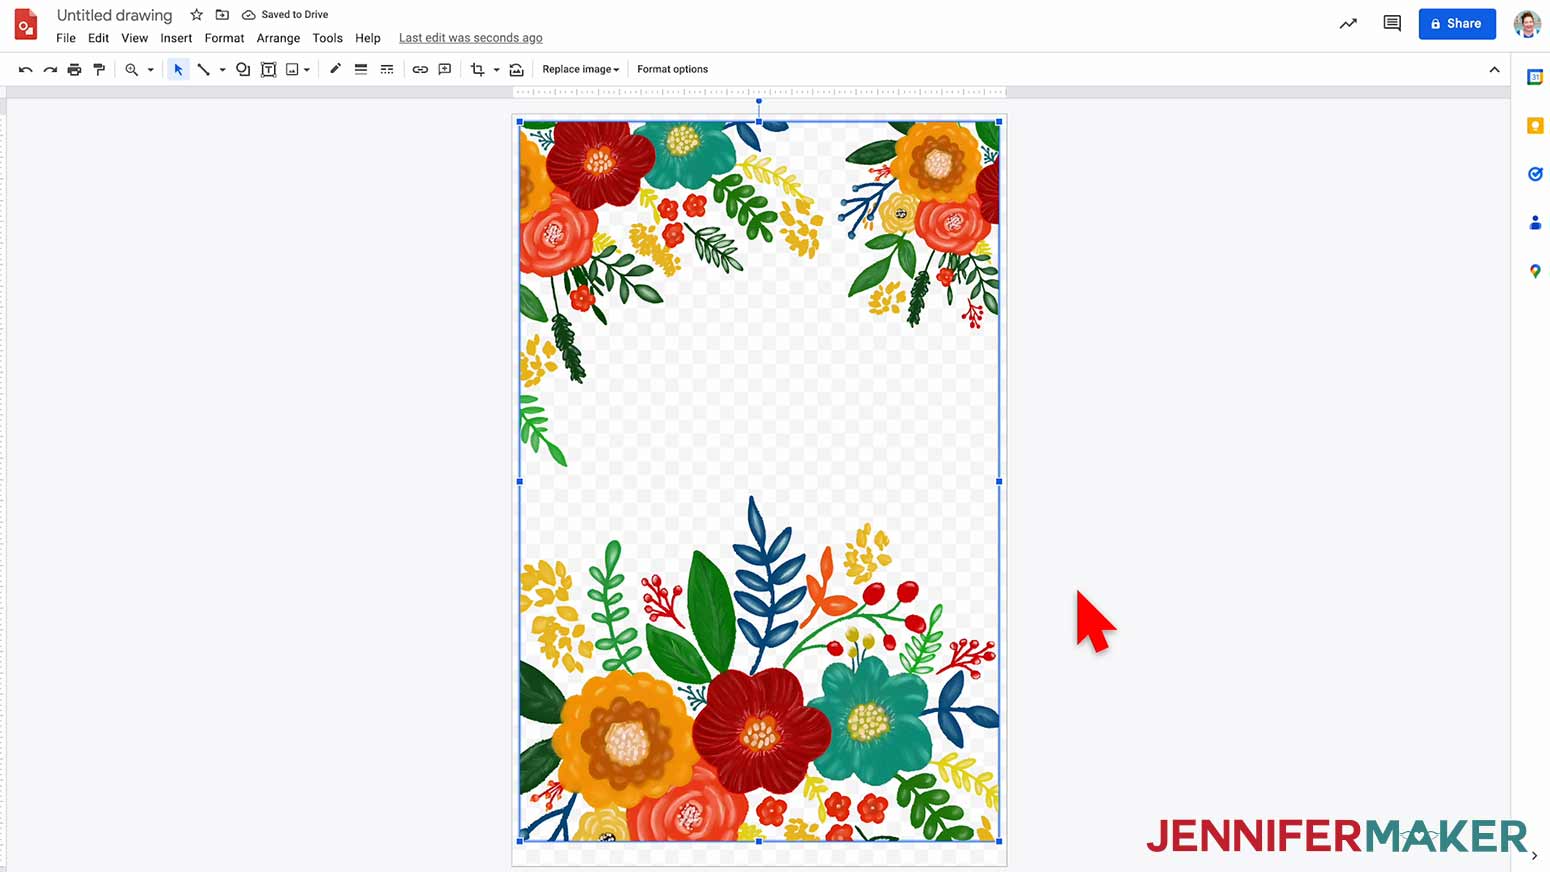
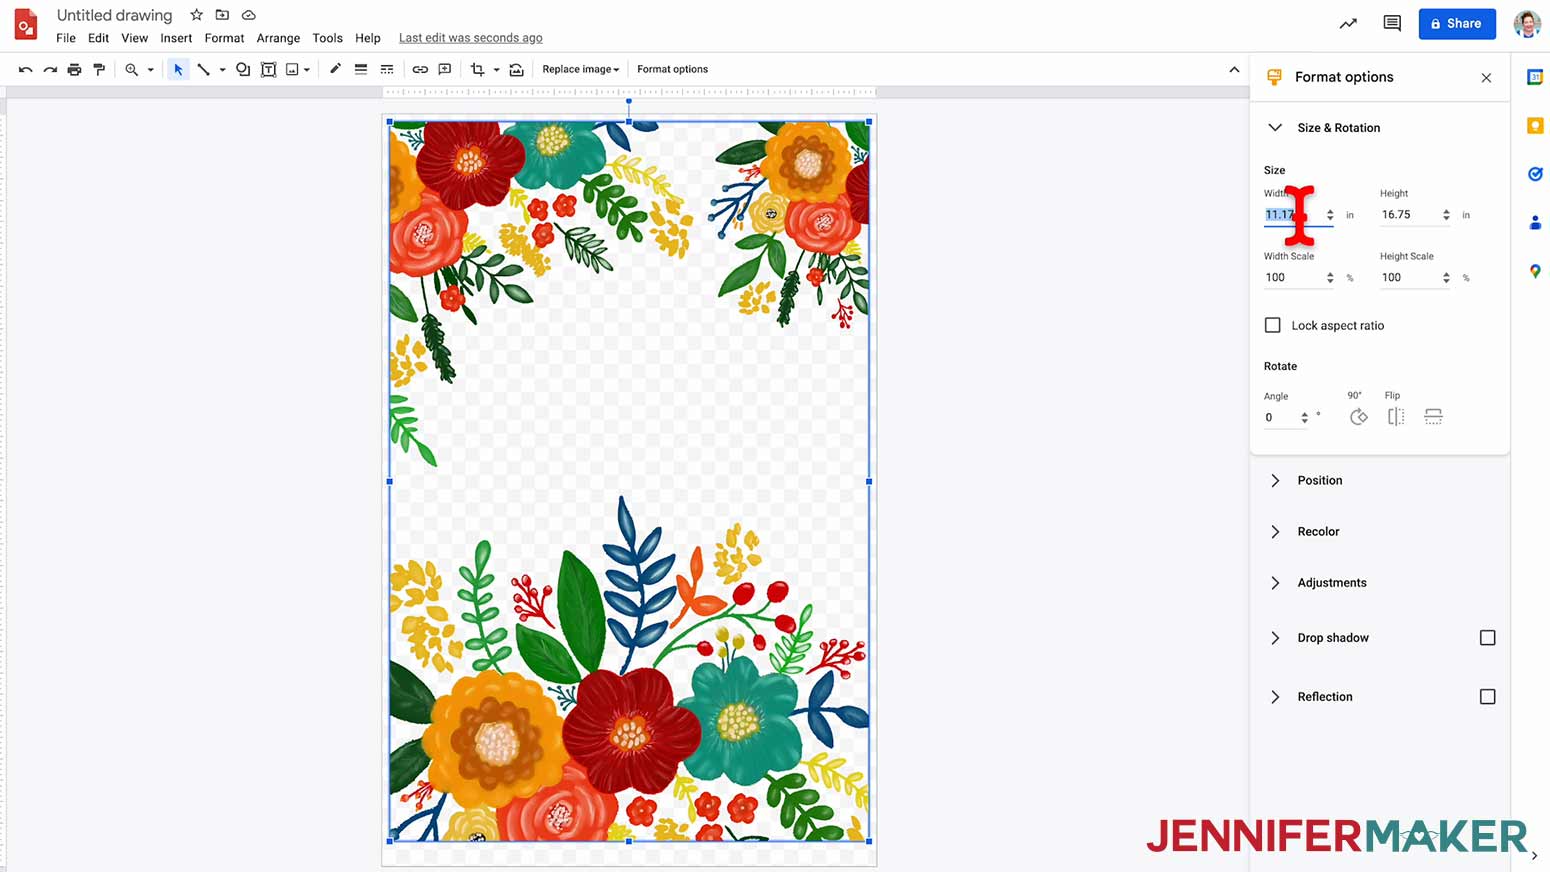
Here's what my PNG image looks like in Google Drawings. You can move the image anywhere on the page. You will also notice that the image is slightly smaller than the page, so we need to adjust the image size so that it fits.
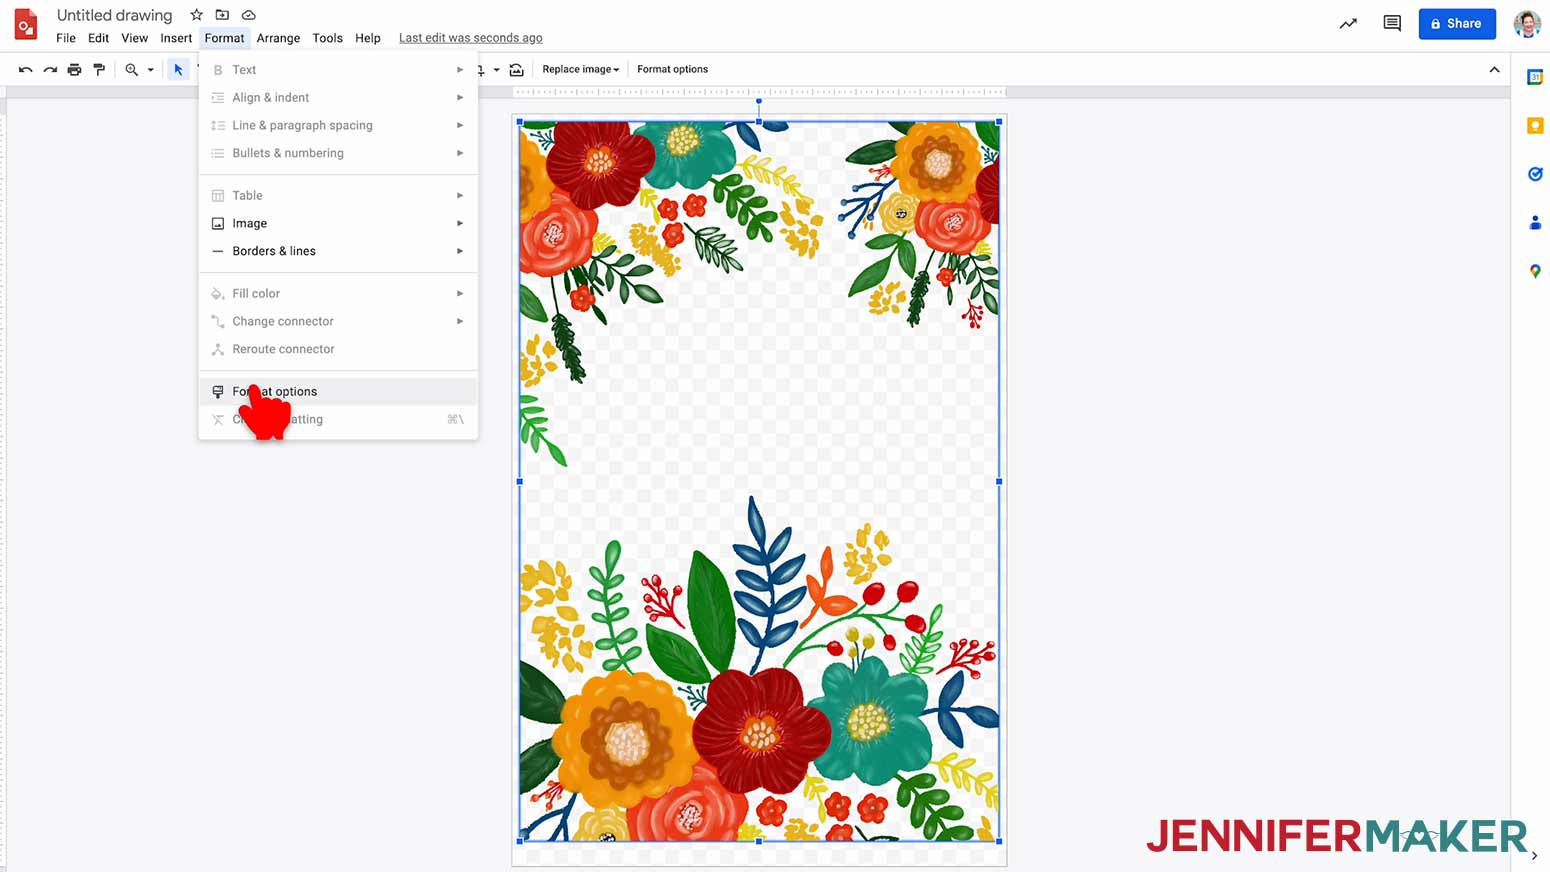
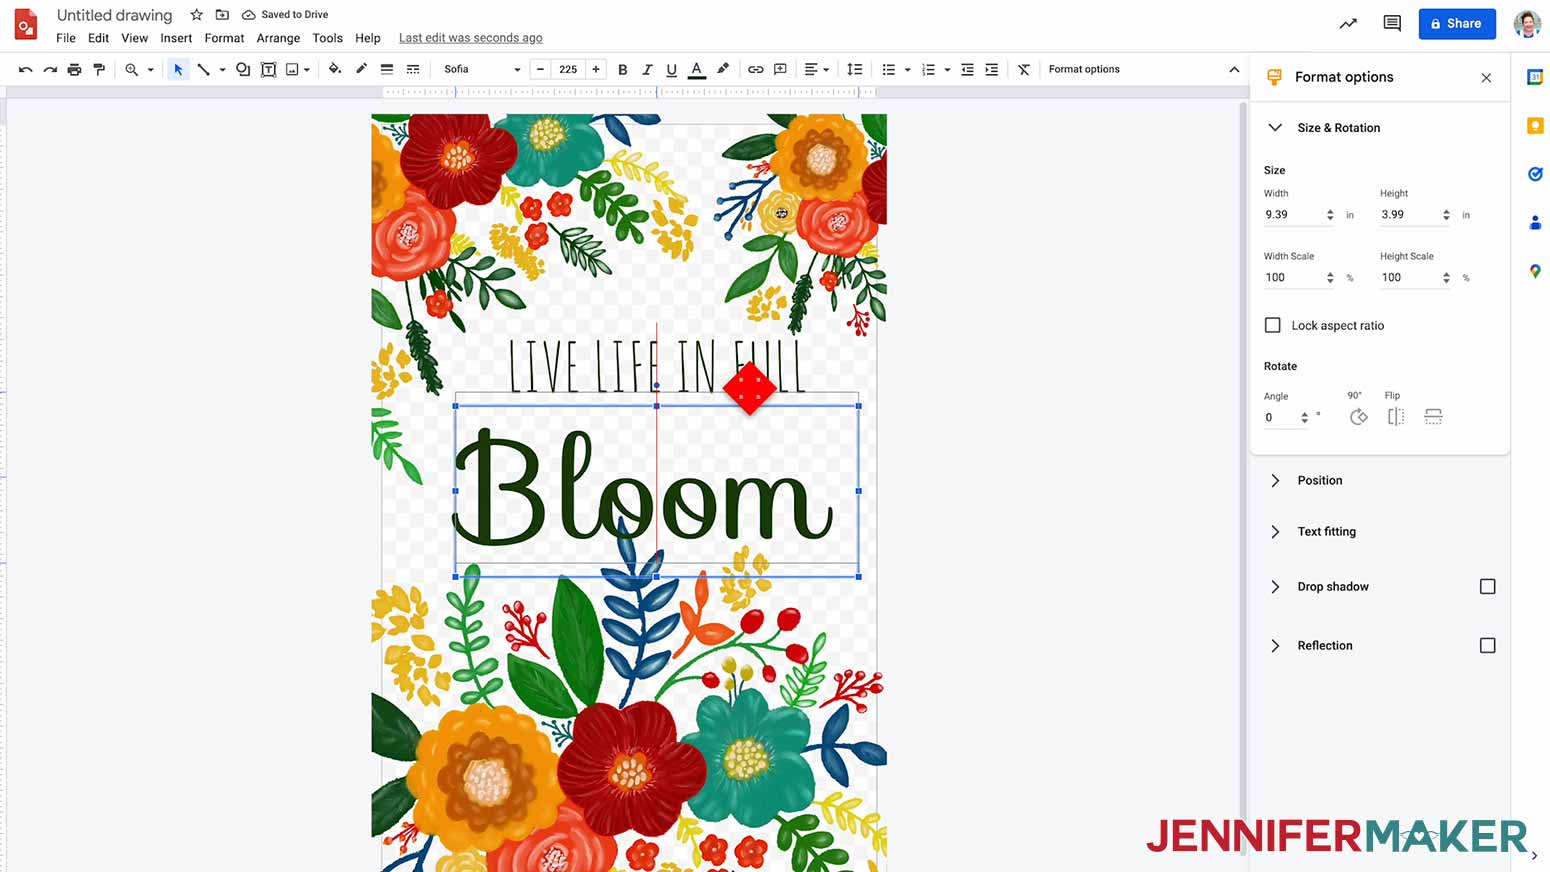
Click Format Options from the Toolbar.
This will open a panel on the right side of the screen. Expand Size & Rotation, and you will see the image properties.
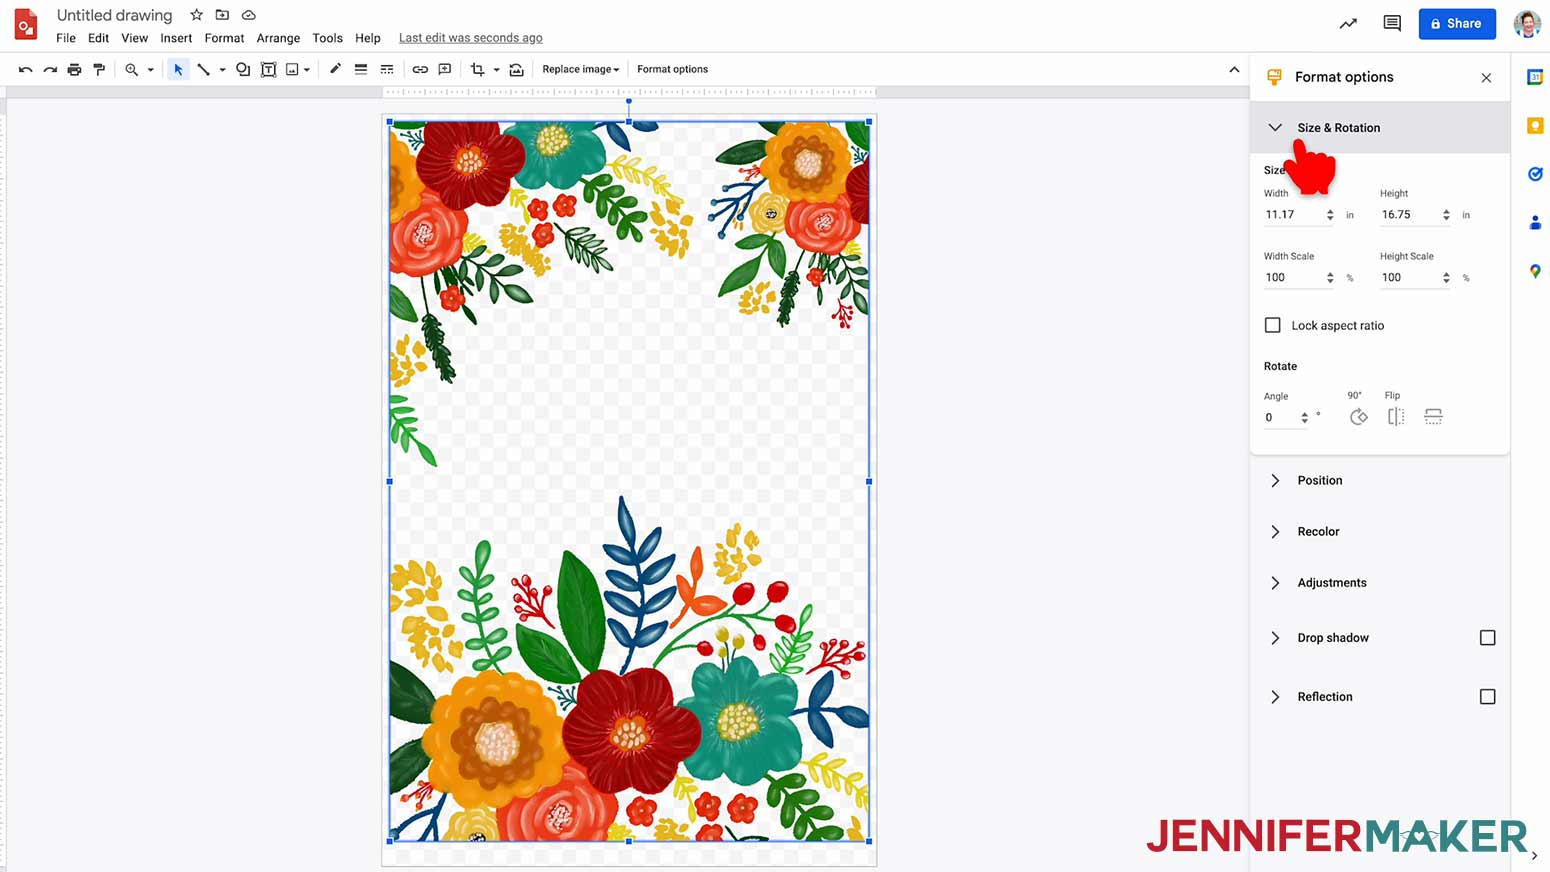
Make sure the Lock Aspect Ratio box is unchecked and then change the width to 12". The Height will auto-adjust to 18".
I will center my image. A thin red line appears when your image is centered.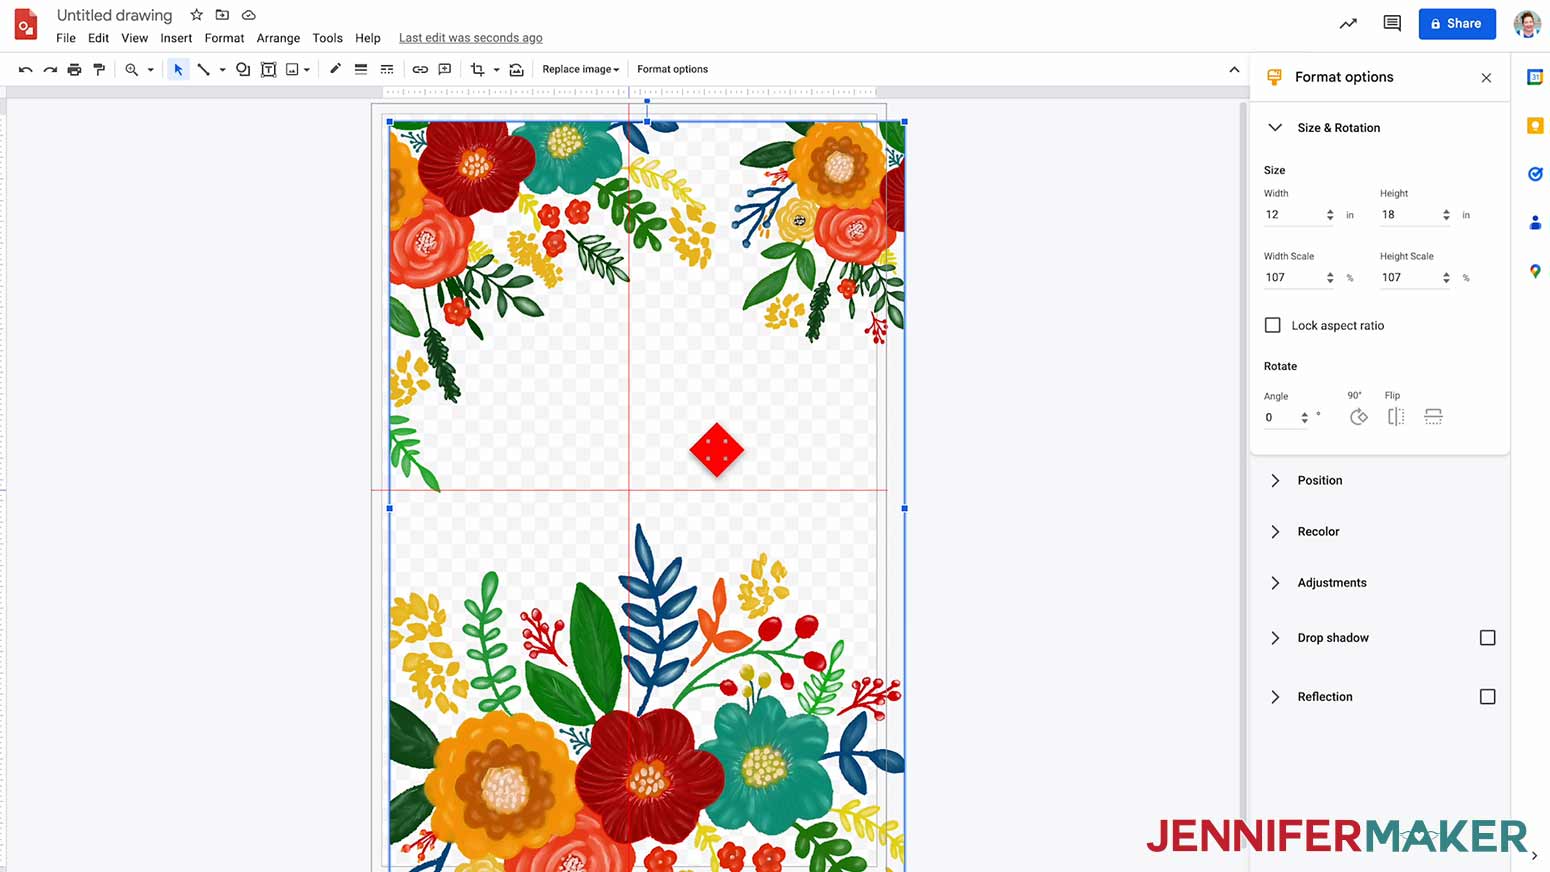
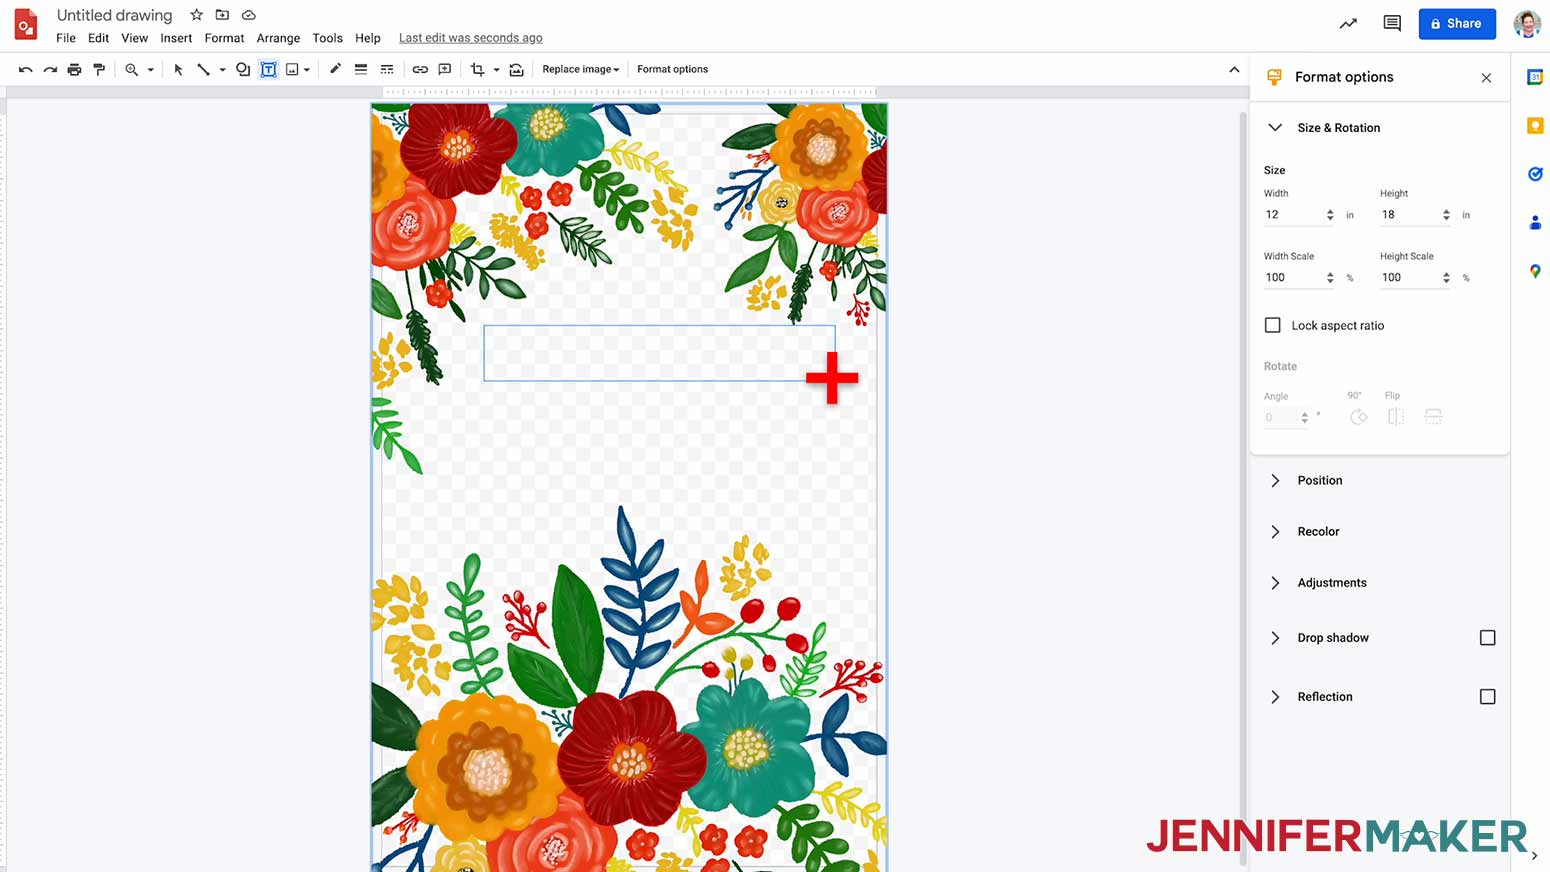
Now we need to add text. Go to the Insert menu and select Text Box. Use your curser to draw a rectangle in the upper section of the blank area of the design.
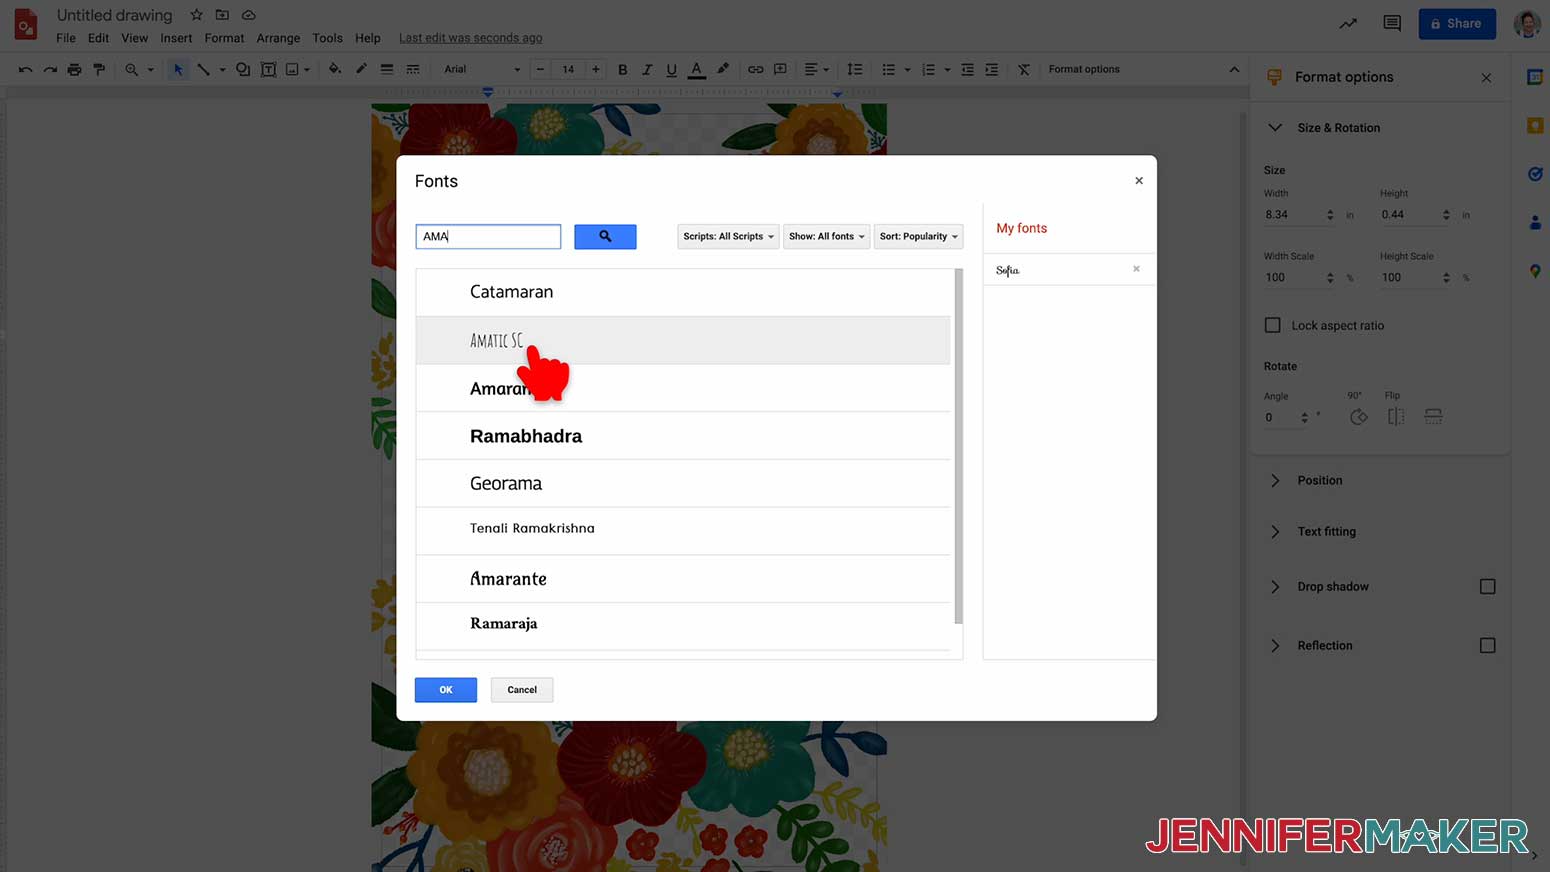
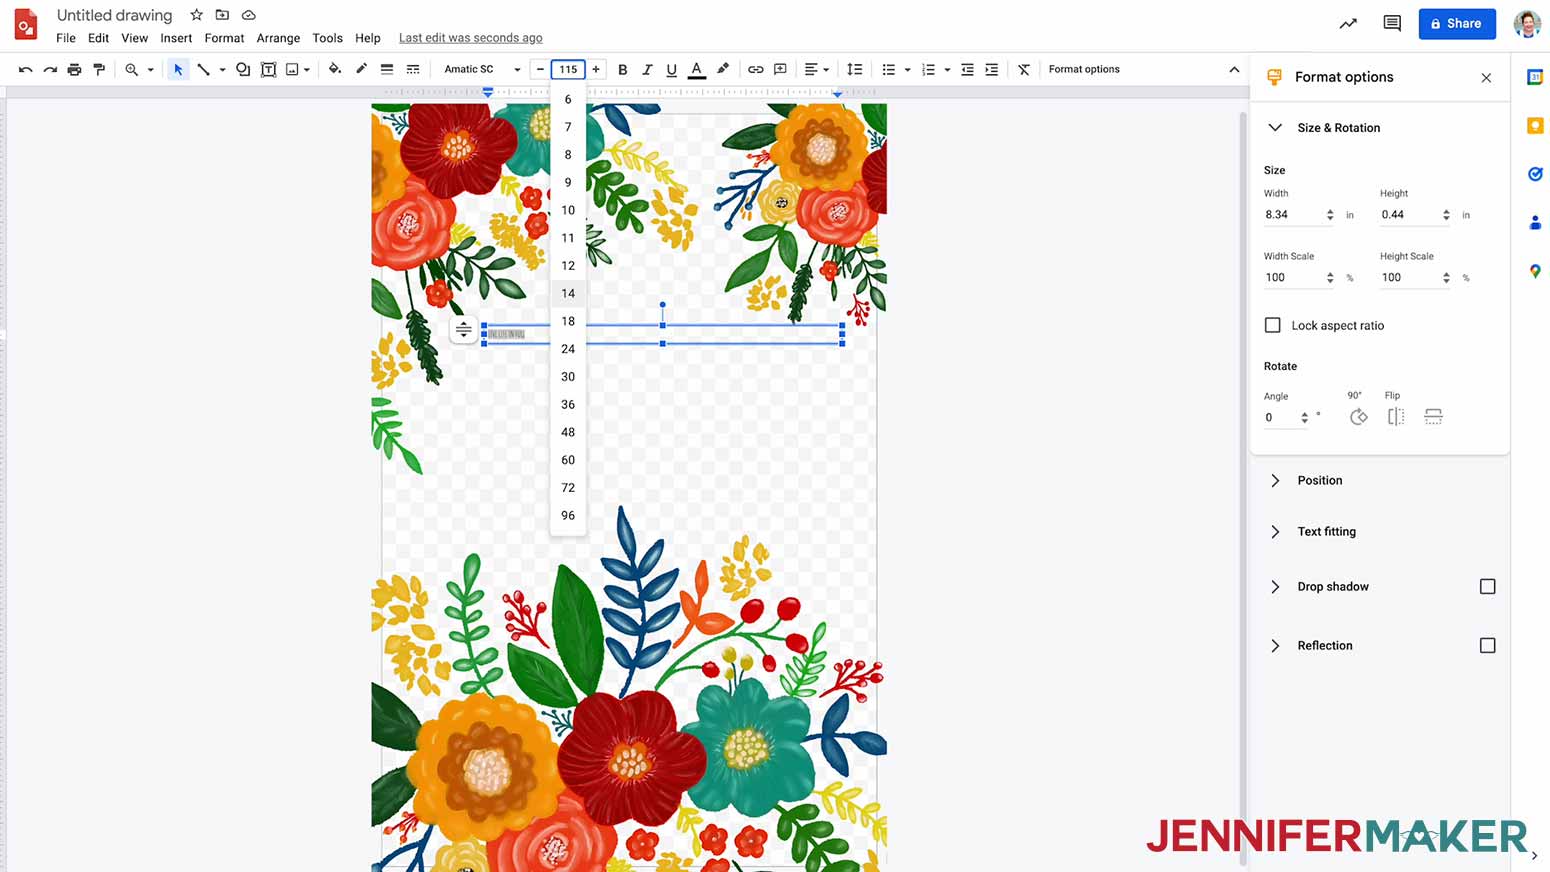
For my flag, I want it to say "Live Life In Full Bloom". Type "LIVE LIFE IN FULL" and select/highlight the text. You can now change the size and font. In the toolbar, look for the Font box. It should say Arial. You can use any of the typefaces listed or select More Fonts and browse Google's collection - these are all free to use. I will select Amatic S.C.
The box just to the right is the Font Size. I found that 115 was a good size for my text; you may find you like yours bigger or smaller.
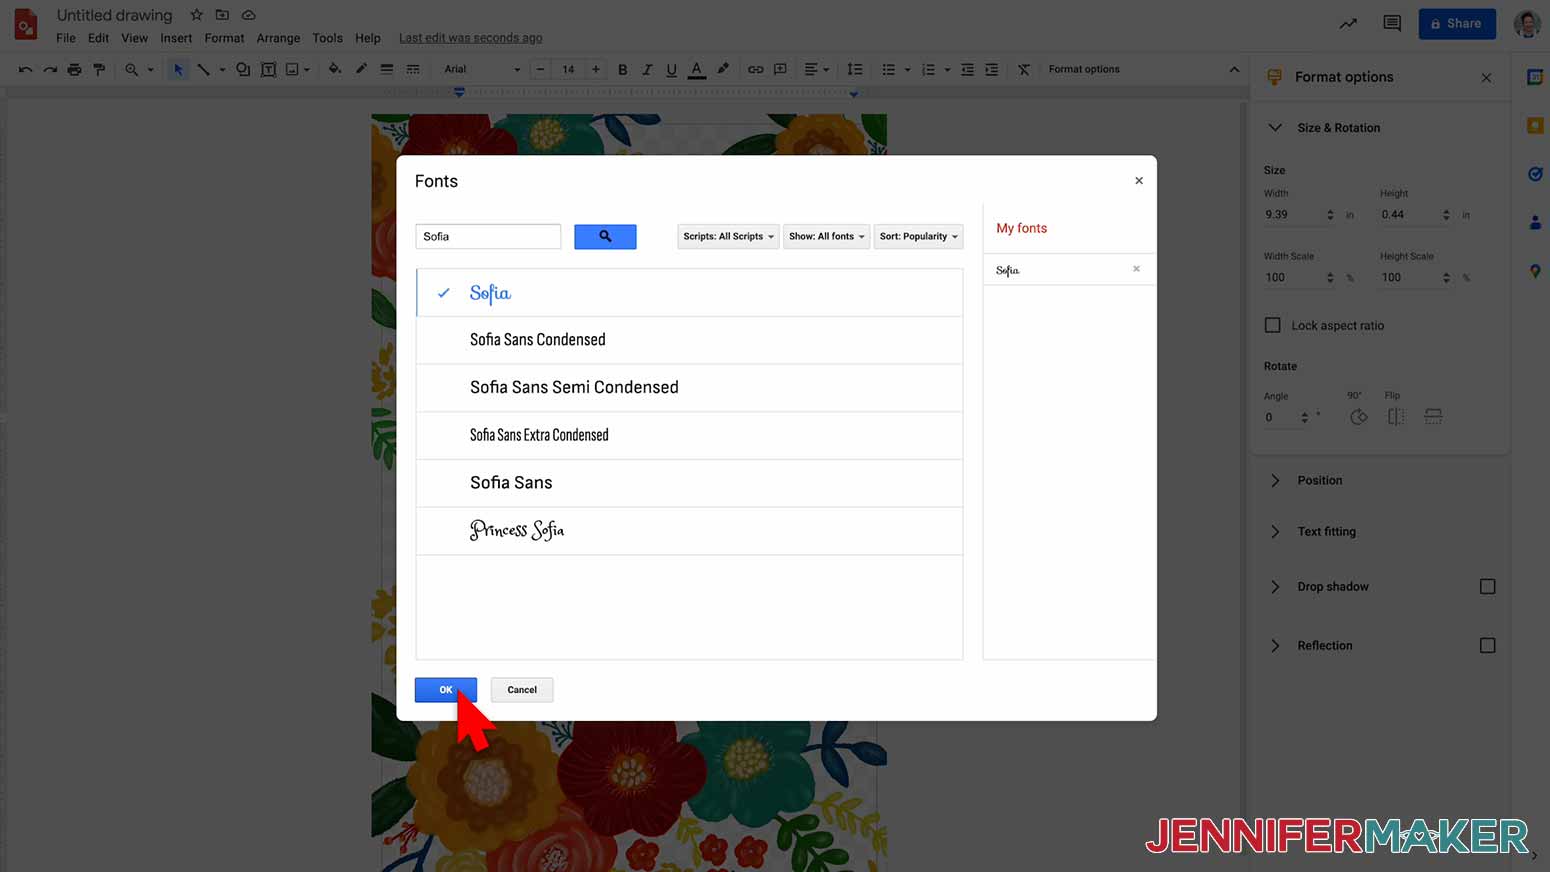
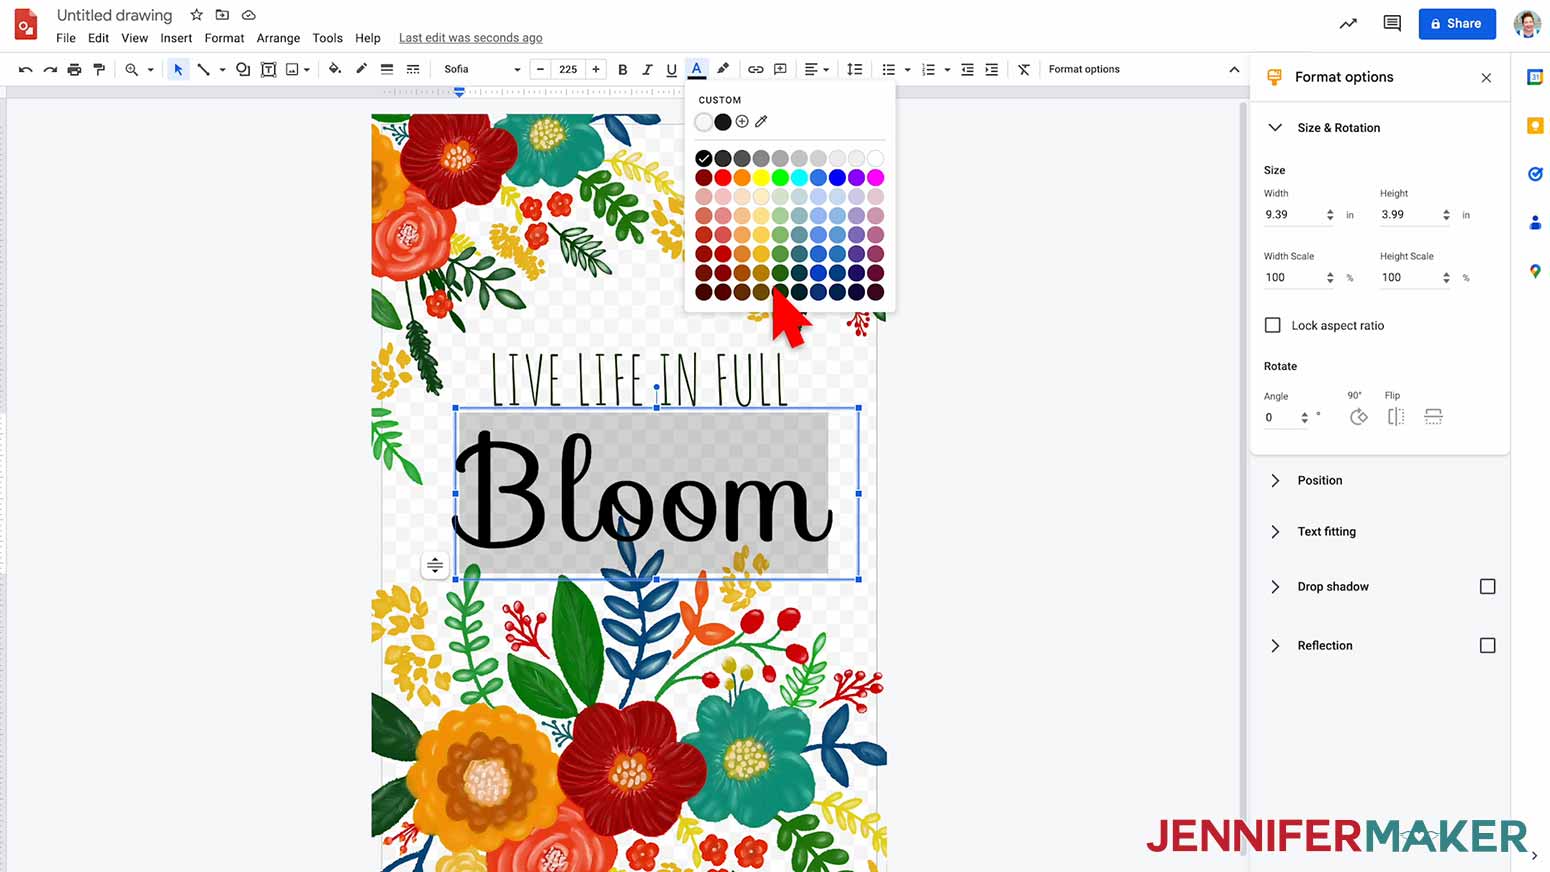
Repeat the steps above to create a second text box below the first. I will type in "Bloom", select the font Sofia, and change the size to 225.
I'll also change the color of my text. With the text selected, click the Text Color icon from the menu bar and select the color of choice. I will select the darkest green.
You can also center the text by using Align found in the toolbar.
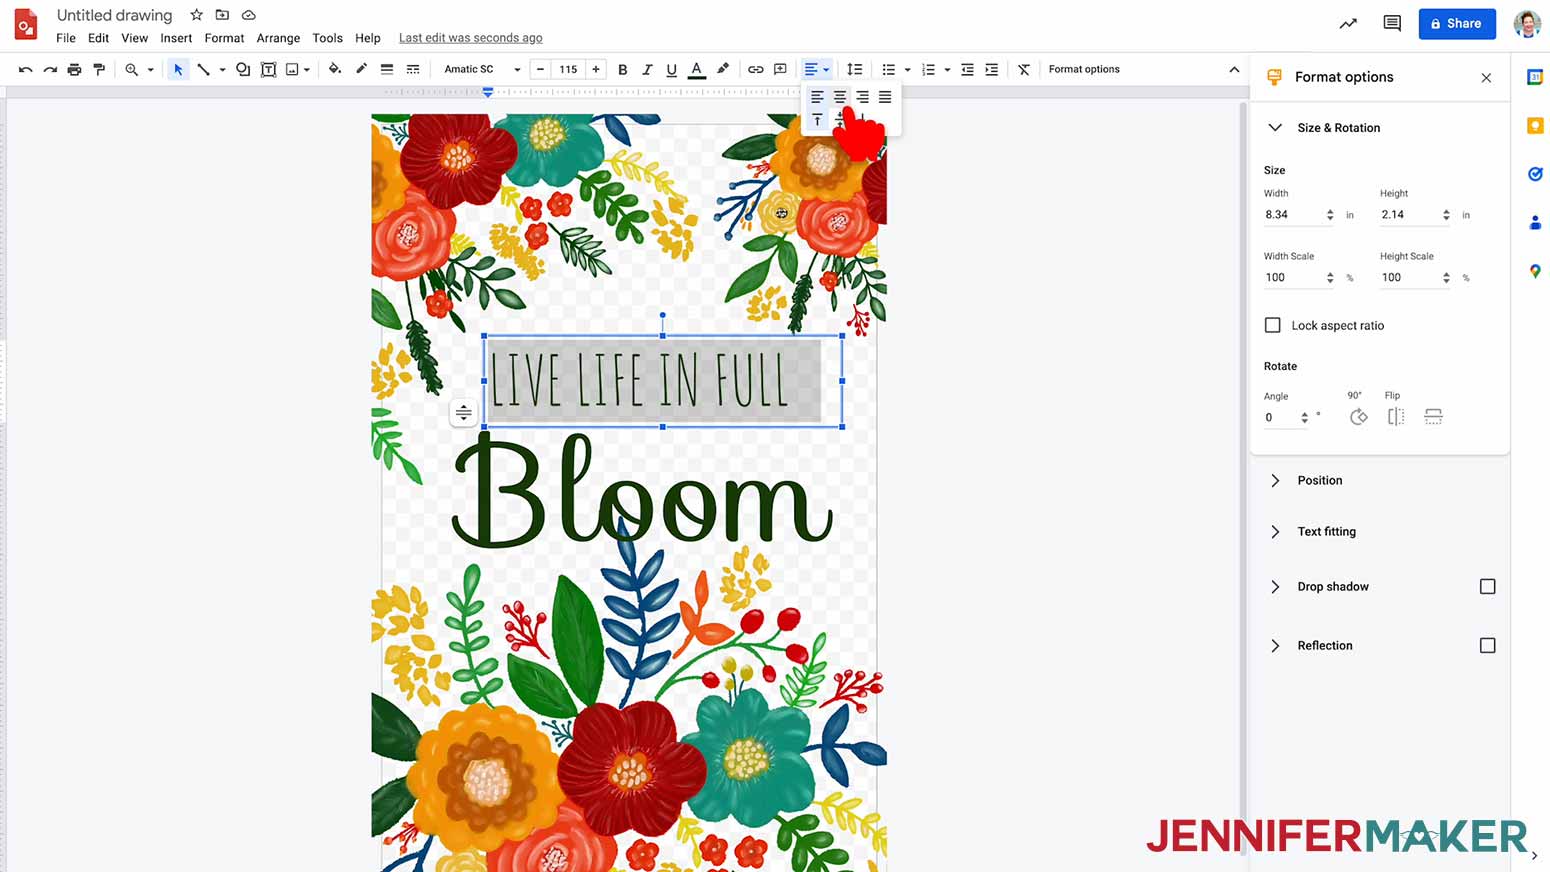
Now I'll rearrange my text boxes until I am happy with the placement.
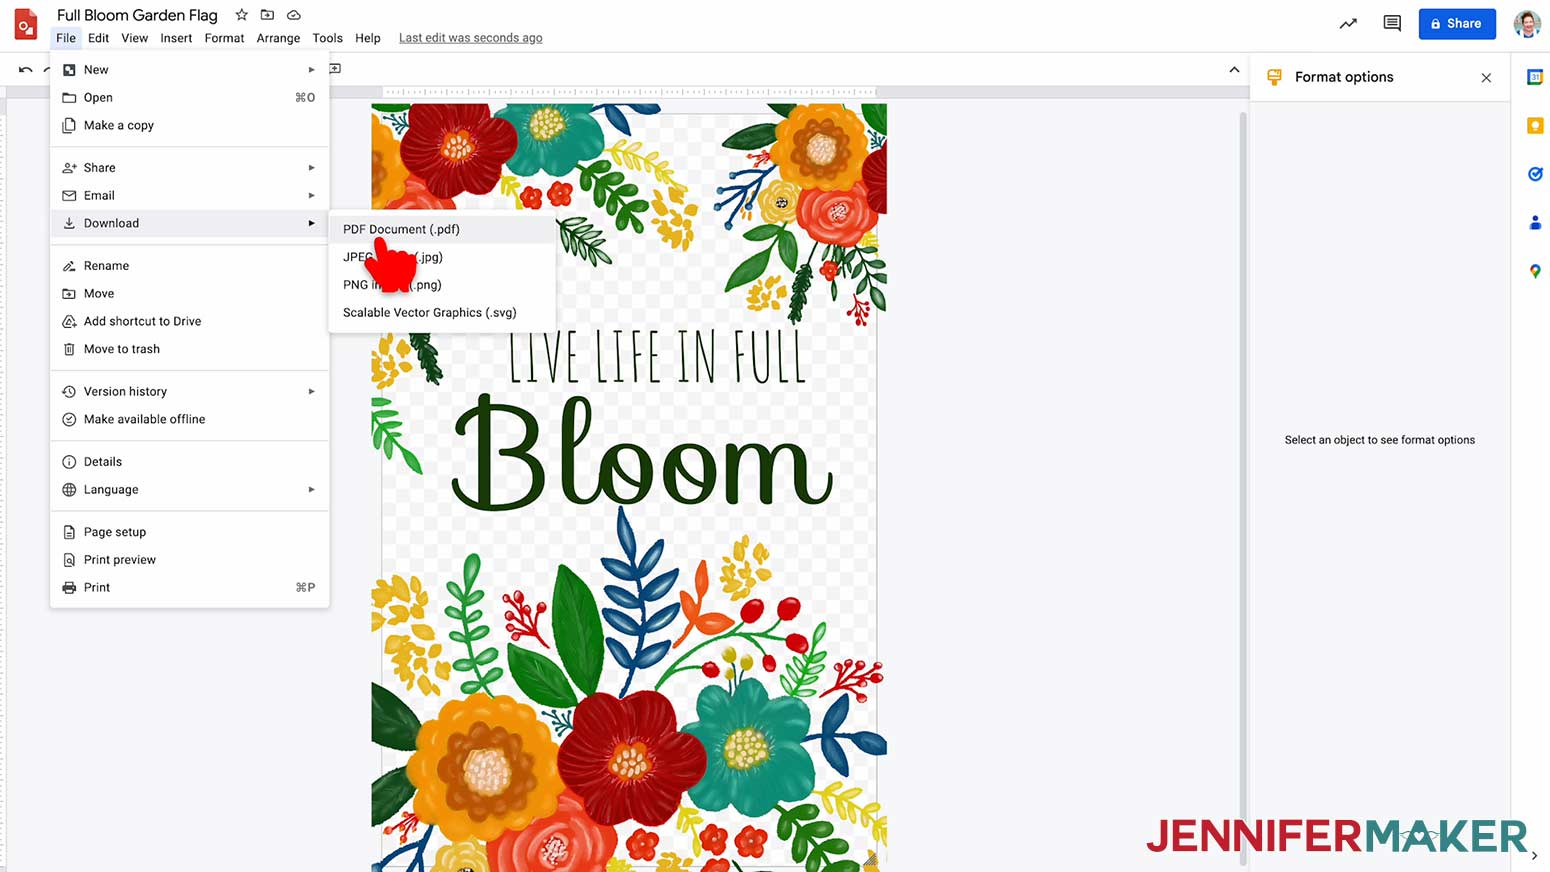
To save the file to your computer, click “Untitled Drawing” and change the name to something you’ll remember, like “Full Bloom Garden Flag”. Then be sure to download the file as a PDF.
STEP 2: PRINT YOUR SUBLIMATION DESIGN
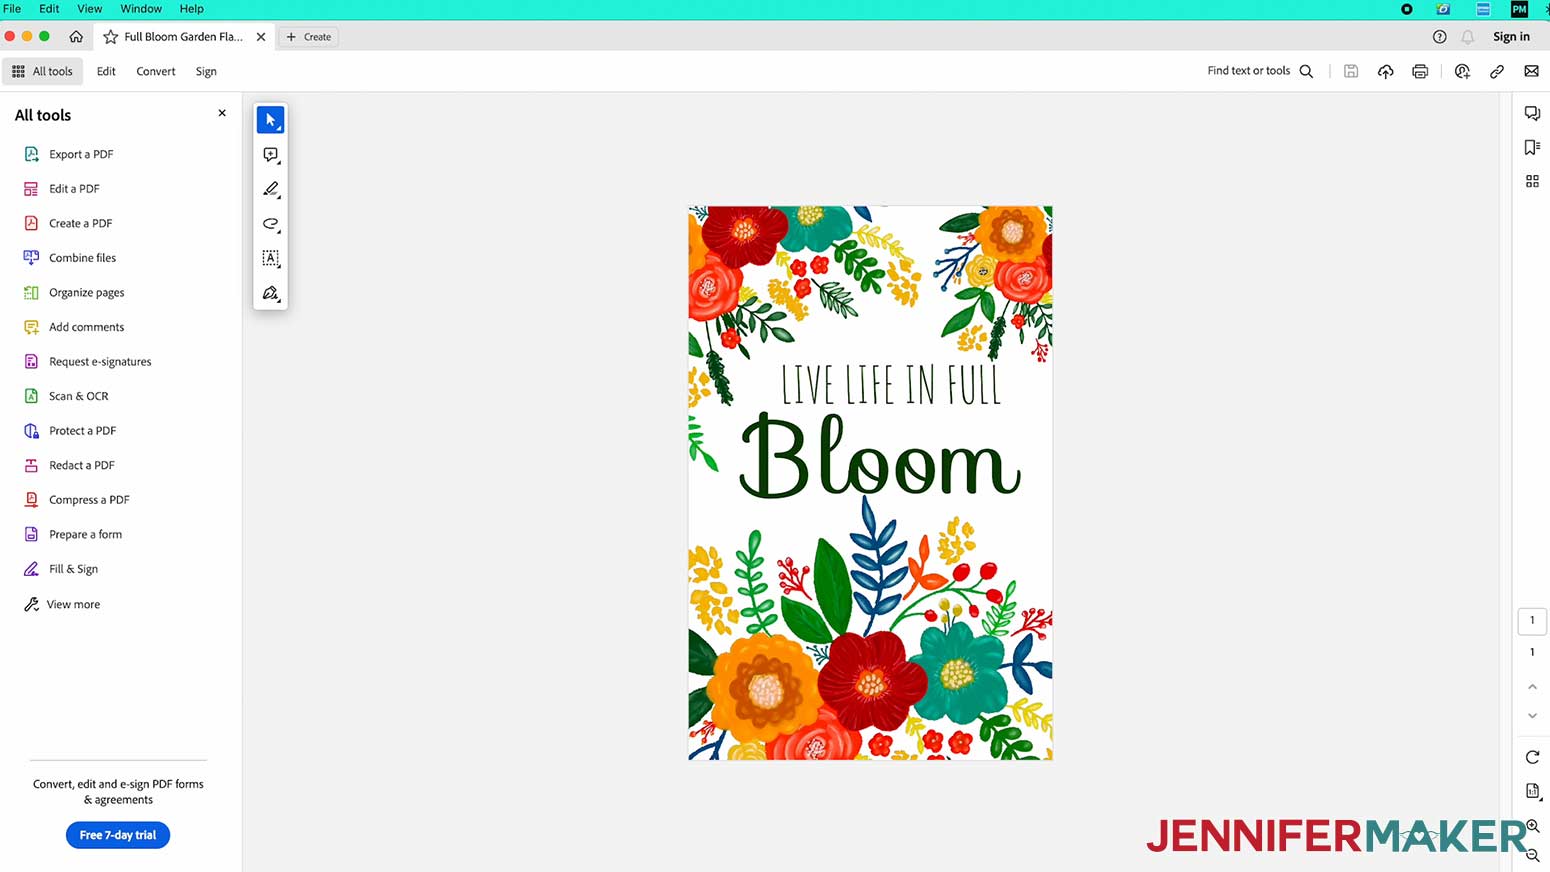
Download the free version of Adobe Acrobat Reader.
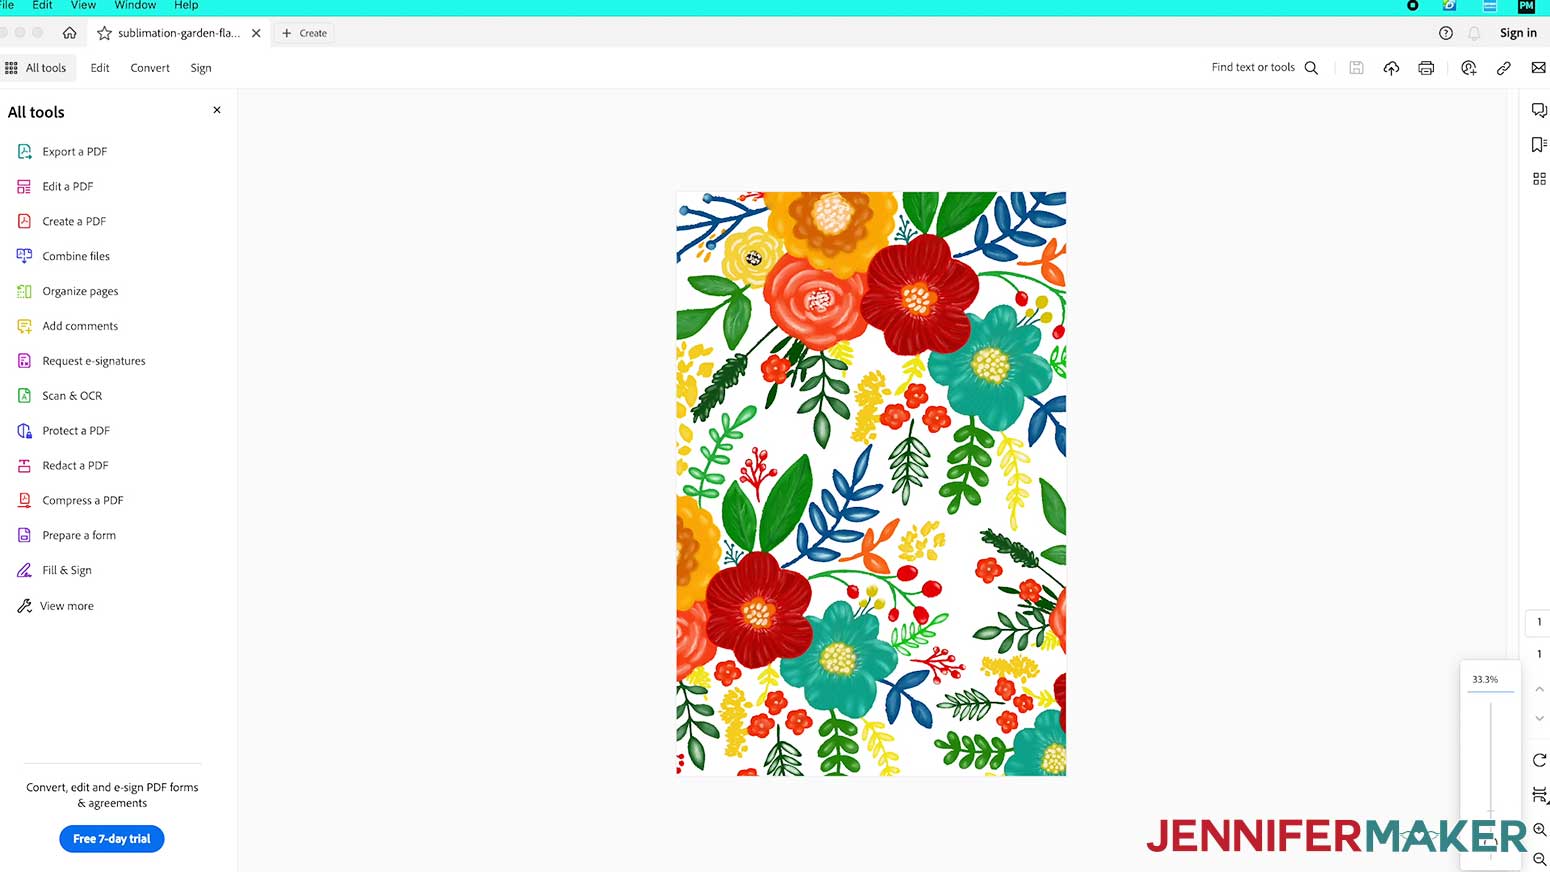
Open the garden-flag-one-sided-no-text-jennifermaker-PDF.pdf.
Select print from the file menu. In the print dialog box select Poster, set the Overlap to 0.2, and check the Cut Marks box. Using the Poster setting will print multiple 8 1/2 x 11" sheets of paper, for this design it will print out four sheets of paper.
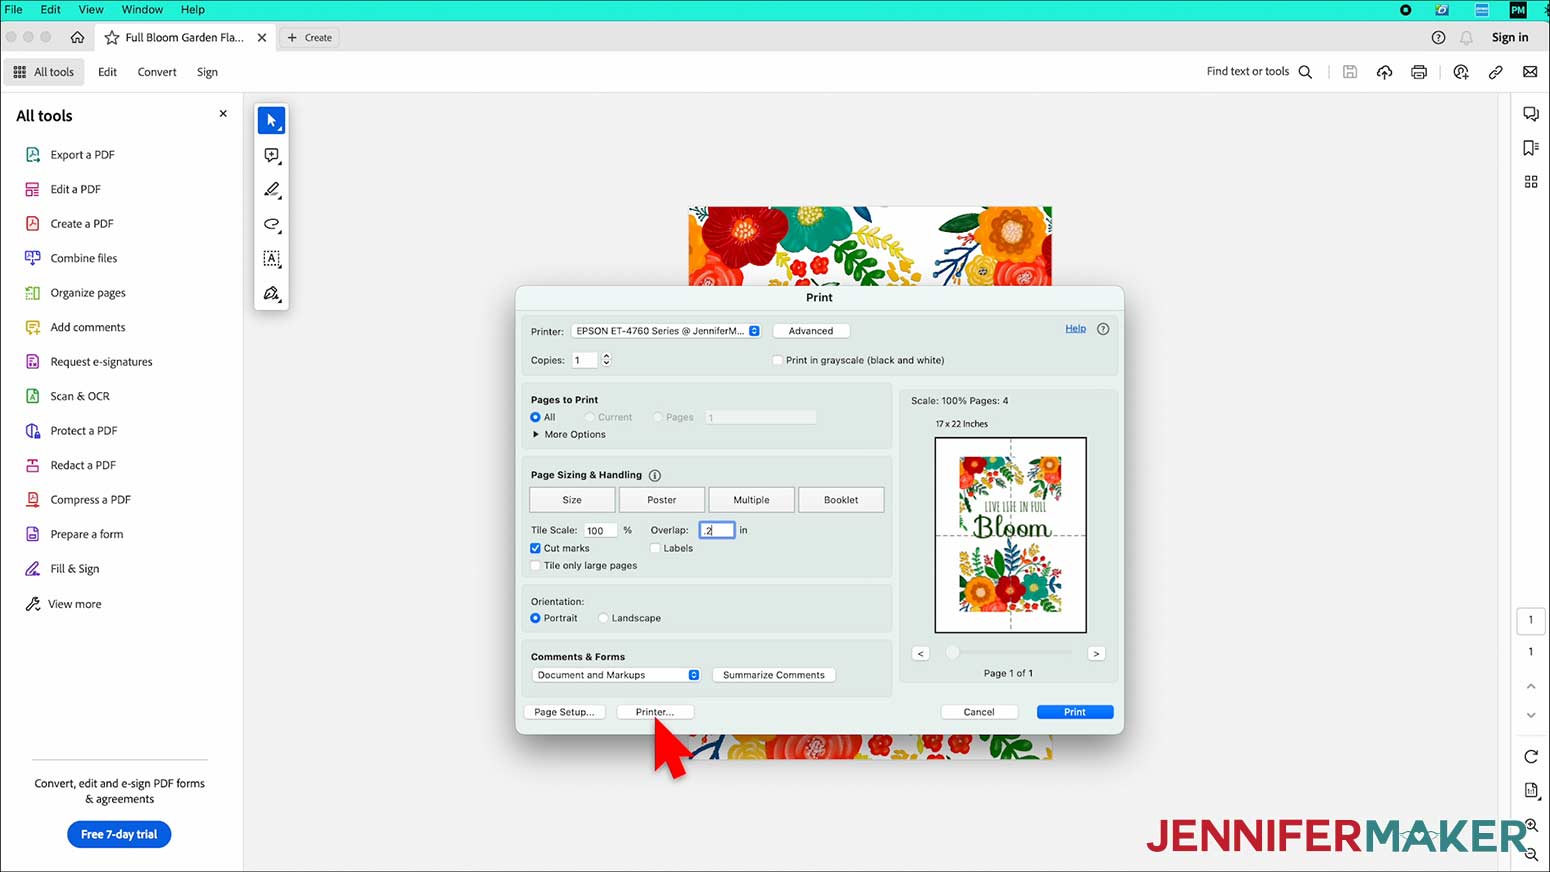
Next, click the Printer button in the lower left corner. This lets you set up for sublimation printing. Under Layout make sure Flip Horizontally is checked. If you have an ICC profile installed, select Color Matching, click ColorSync and select your ICC profile. And lastly, for Print Settings select Premium Presentation Paper Matte and High Quality.
NOTE: Due to variances between printers, computers, and operating systems, your settings might not look exactly like mine. The most important things to keep in mind are mirroring your design and selecting the highest print quality.
Make sure you have sublimation paper loaded correctly into your printer and click Print.
STEP 3: PREPARE YOUR PRINT FOR SUBLIMATION
Tiling your pages
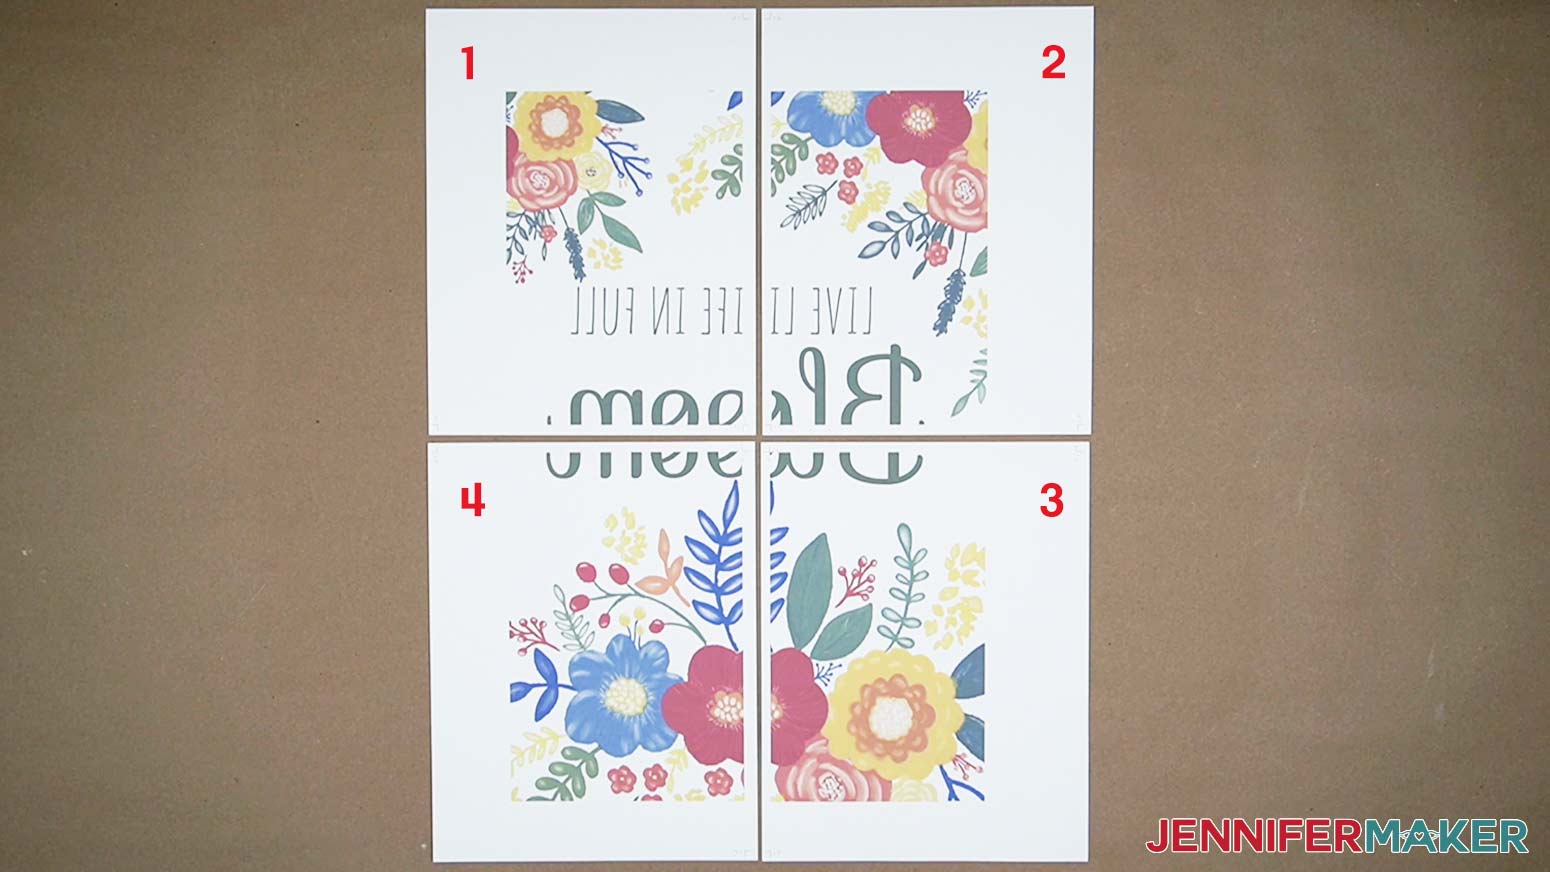
Let's first lay out the pages on a flat surface, face up, and take a look at them. You should notice the Cut Marks, they look like two corners with a straight line in the middle. We are going to trim the middle straight lines. If we start with the upper left page tile we're going to number our pages 1 - 4 going clockwise.
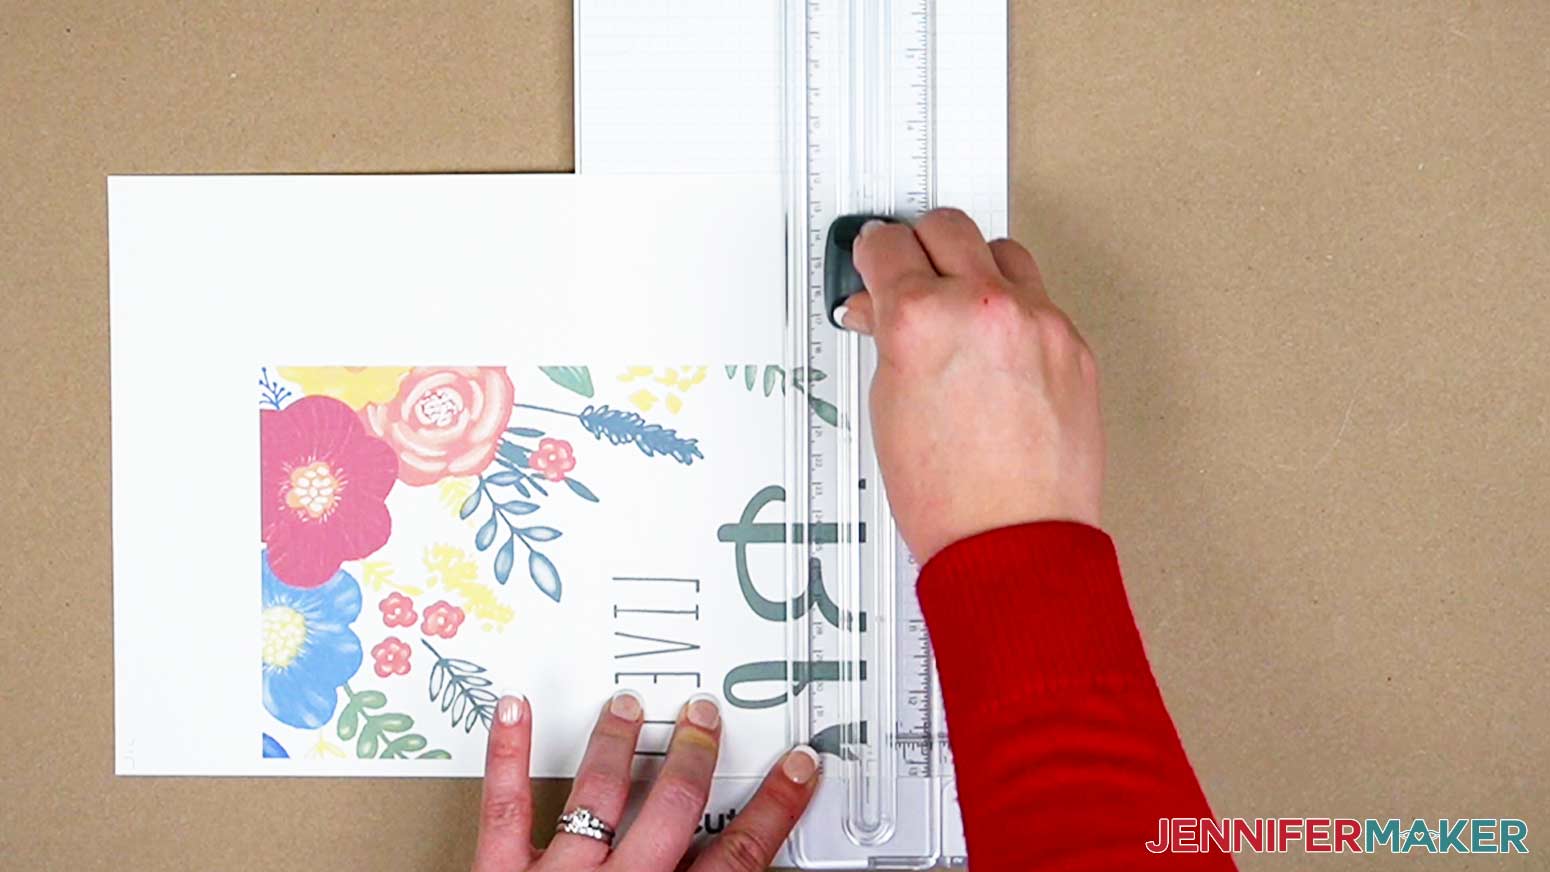
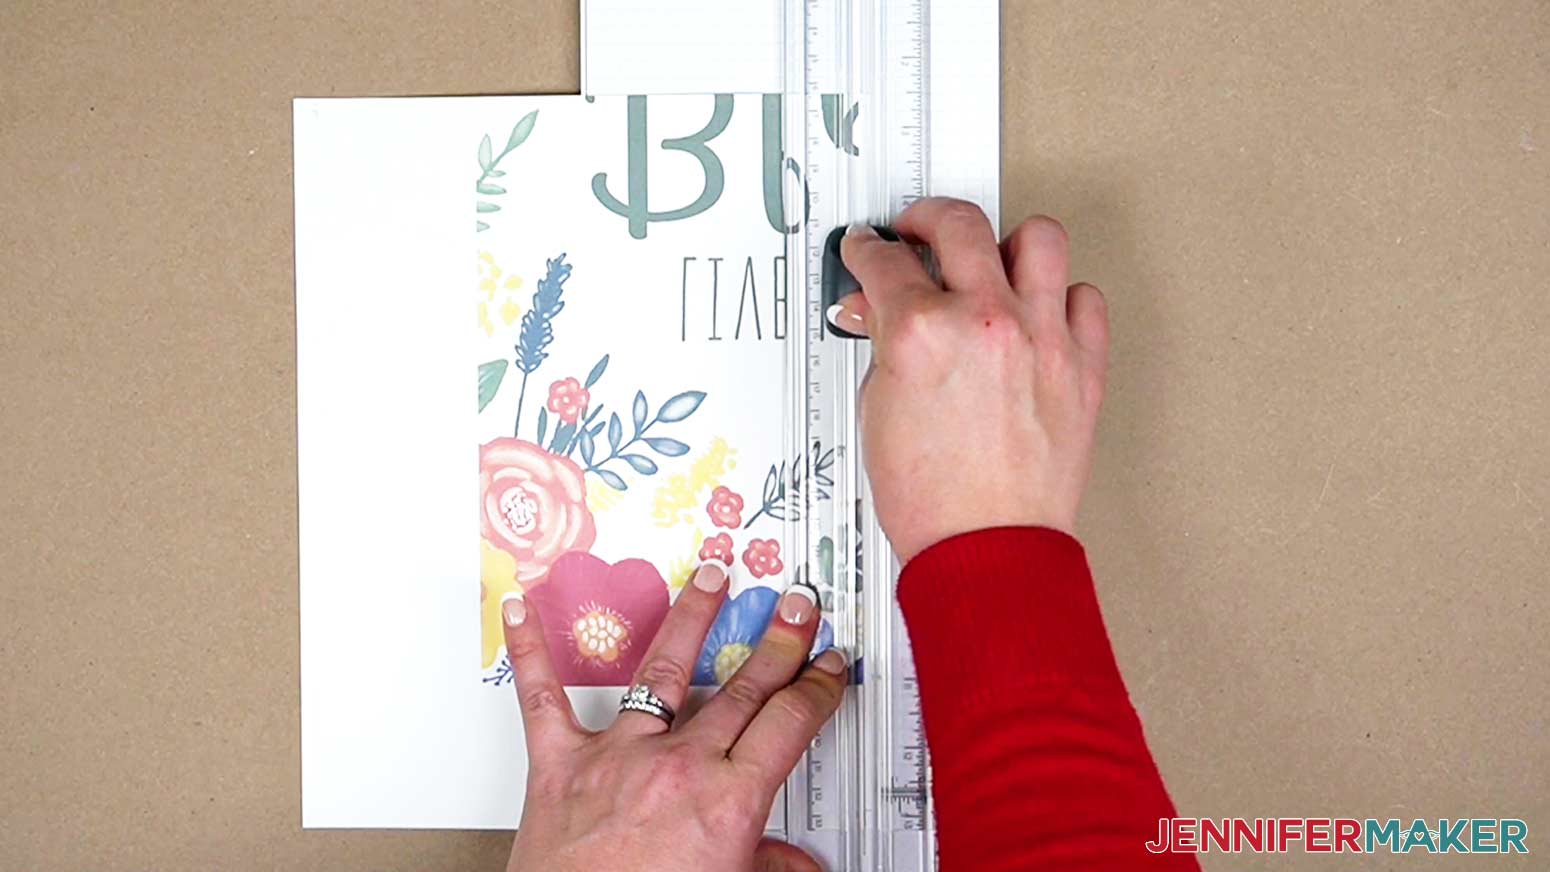
Take panel 1 and trim both the long and short edges of the paper. Repeat this on all four panels. By trimming the edges, you are trimming the printed crop marks so that they don’t transfer when sublimated. The design will still have about a .2” overlap so that it’s easy to align and tape together.
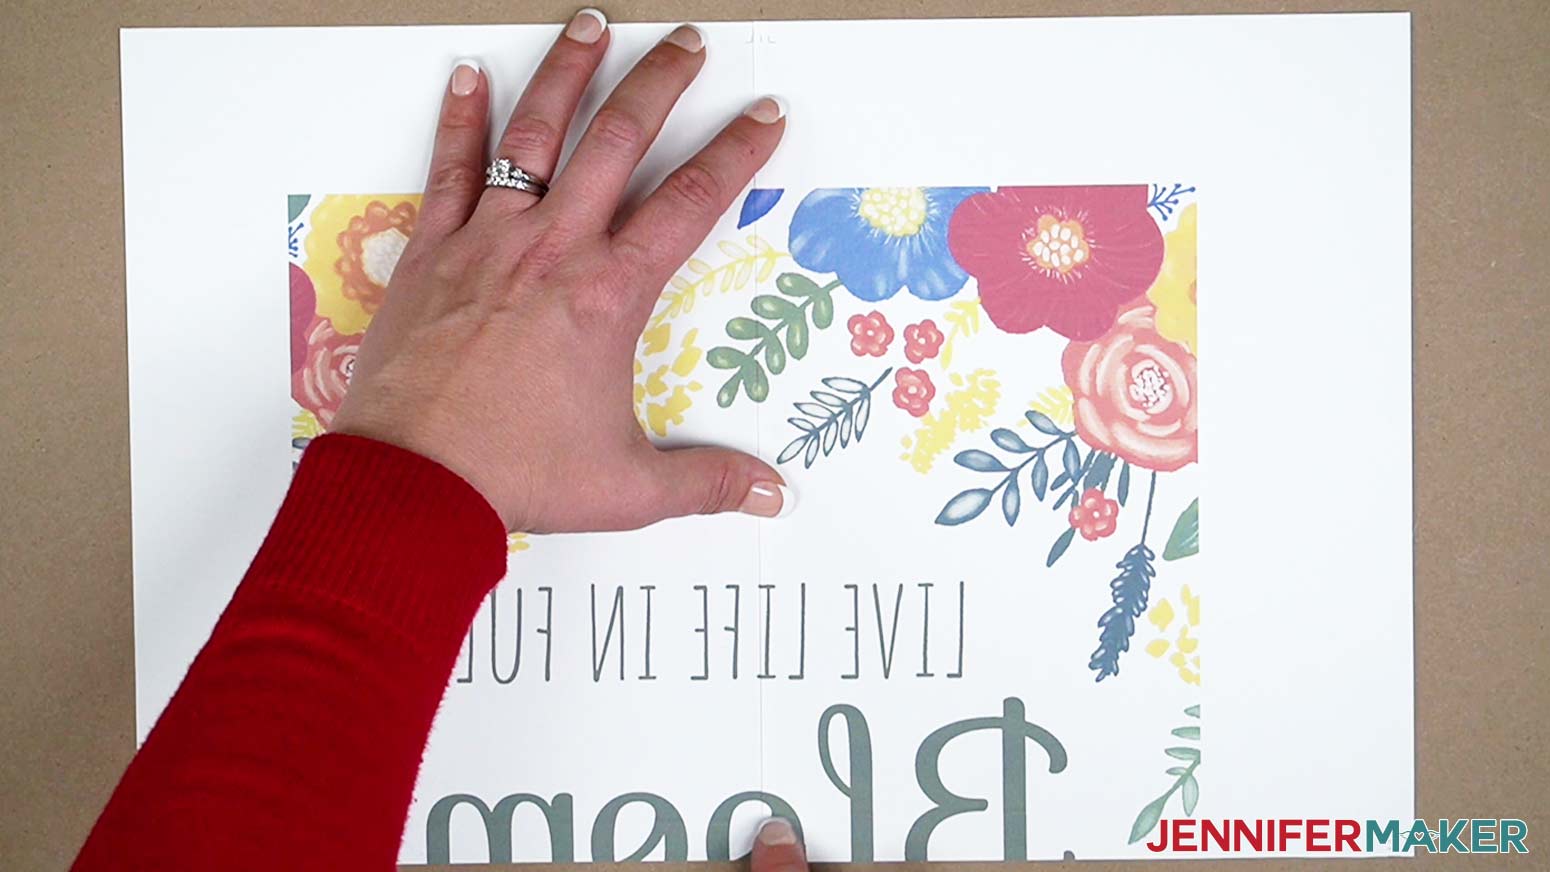
Place a piece of heat-resistant tape under the center corner of the first panel, so the sticky side is face up. This will help tack your panels in place and keep them from shifting as you're aligning them.
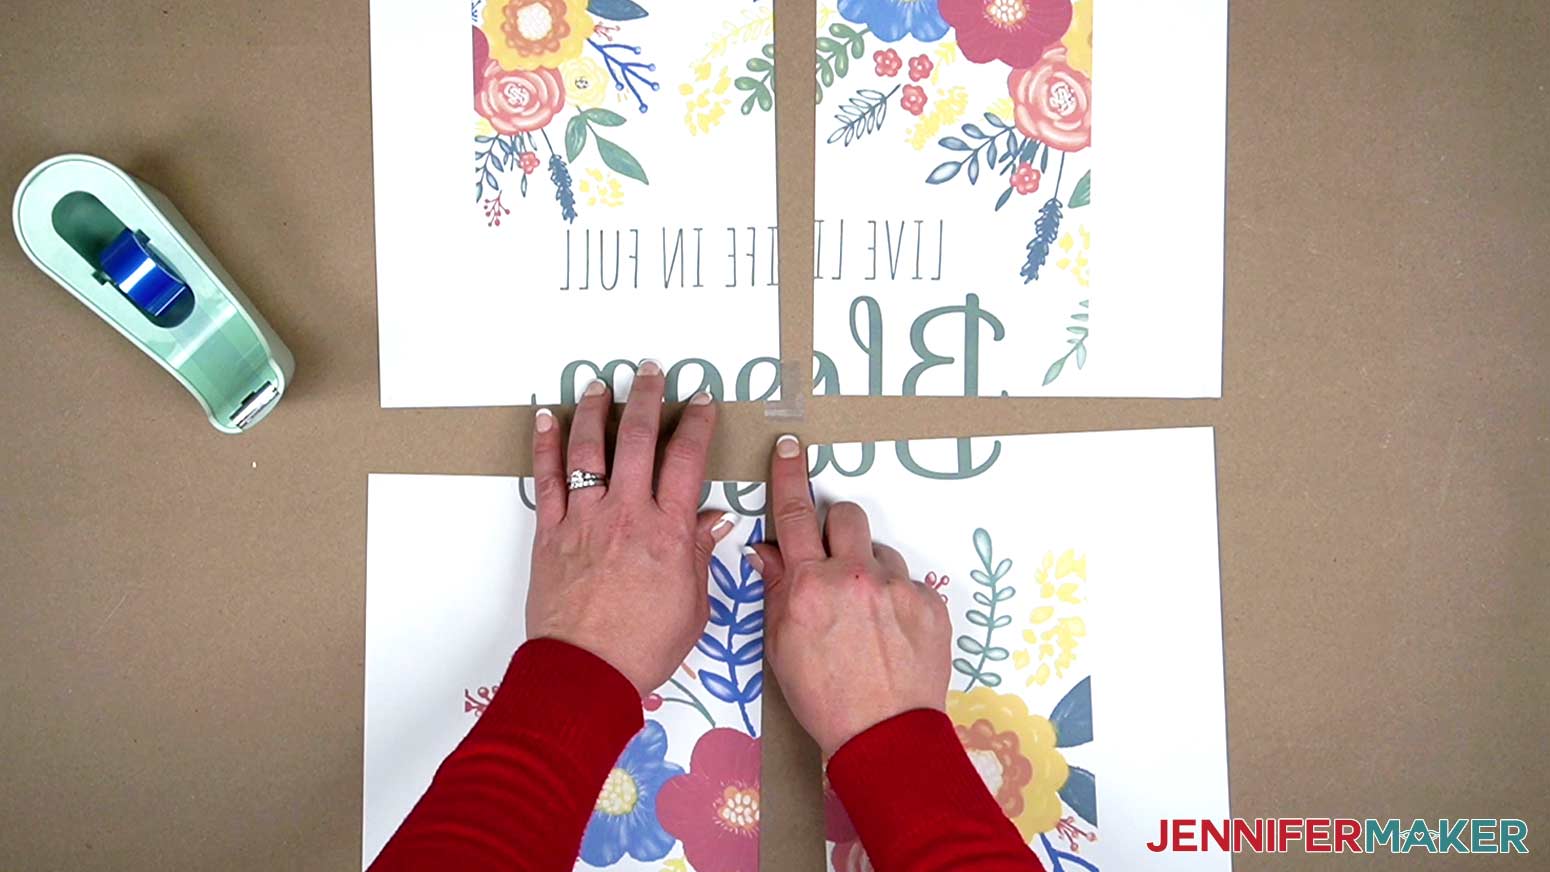
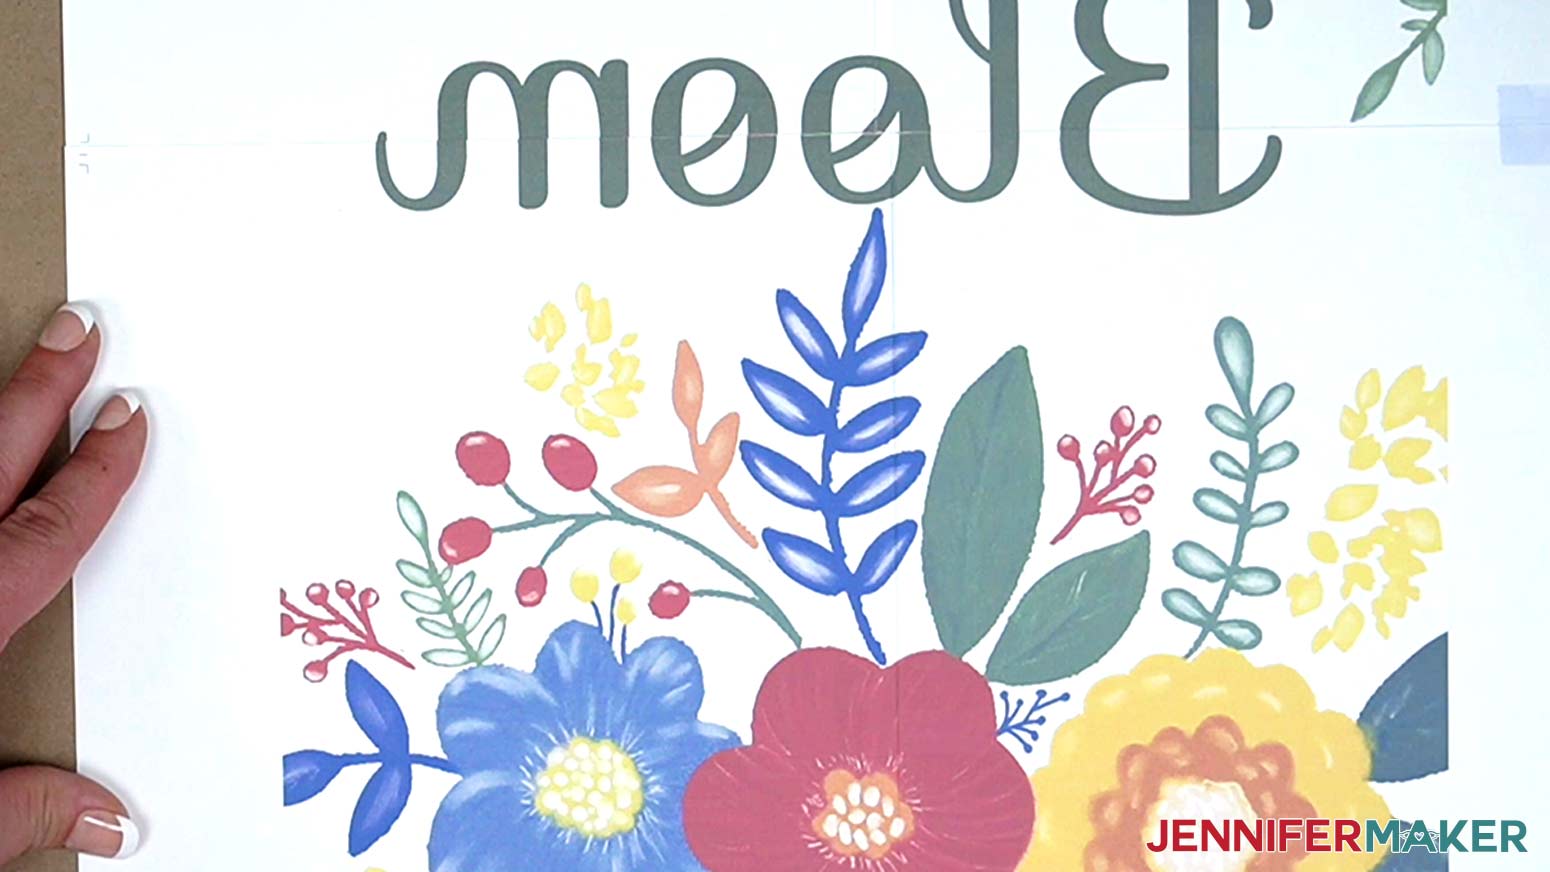
Using heat-resistant tape as you go, place panel 2 on top of panel 1, lining up the design. This takes some patience so take your time! Be careful not to tape over any sublimation ink.
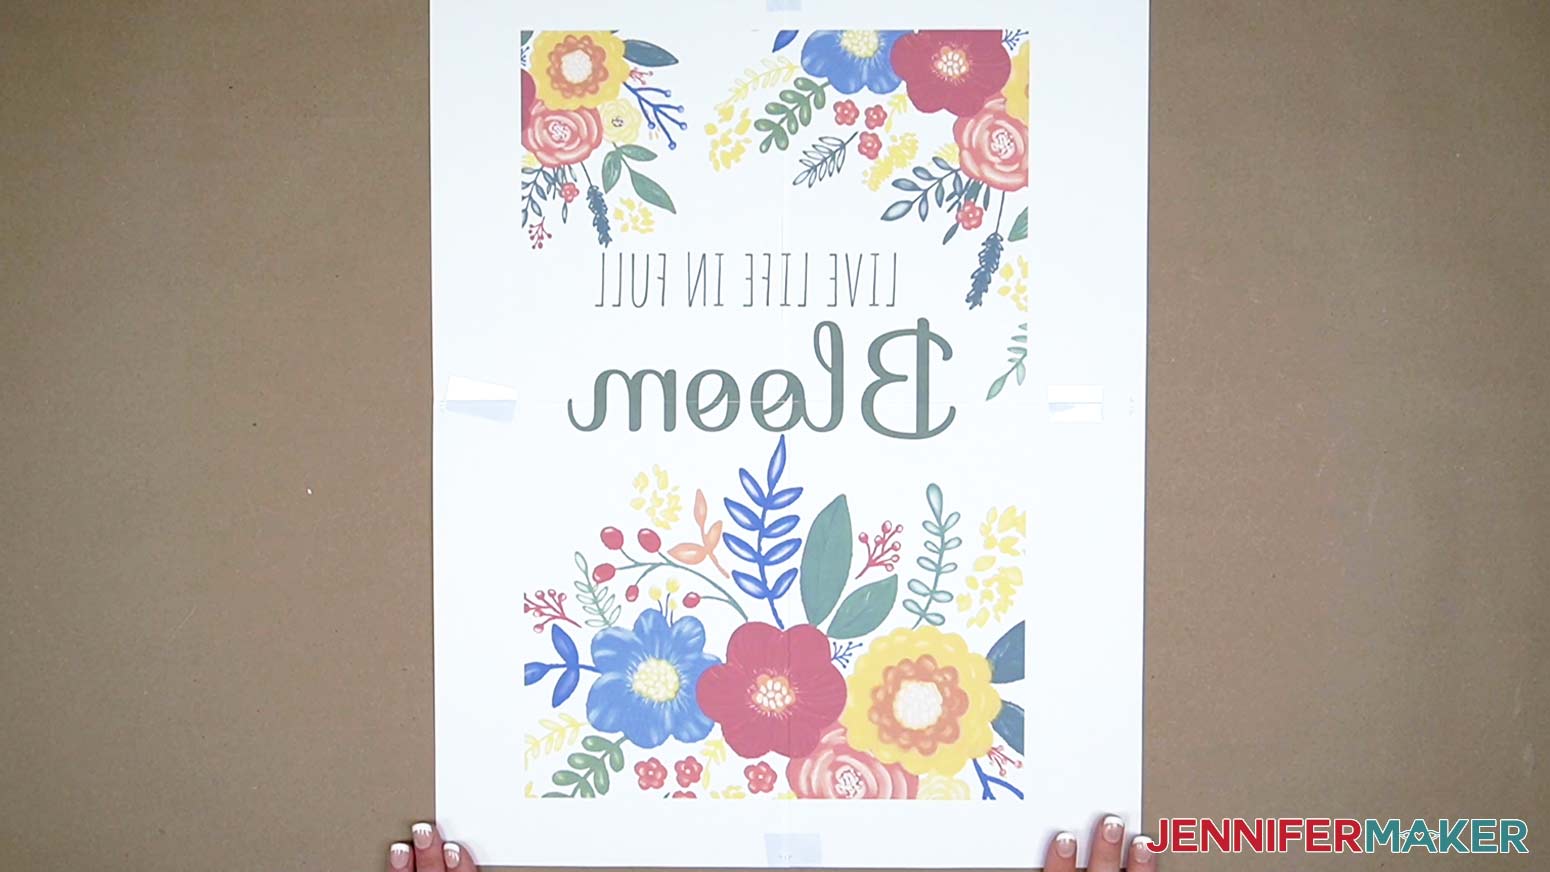
Continue this for the remaining panels - placing panel 3 on top of panel 2, then panel 4 on top of panel 3. Again, remember to use patience when lining everything up.
NOTE: Be careful not to tape over any sublimation ink. If you have a full coverage design, you can add small amounts of tape to the back to keep it together without shifting, but be aware that it adds another layer and sometimes leaves an impression mark, so avoid it if possible or only use a little bit. Try to tape in non-ink areas if possible.
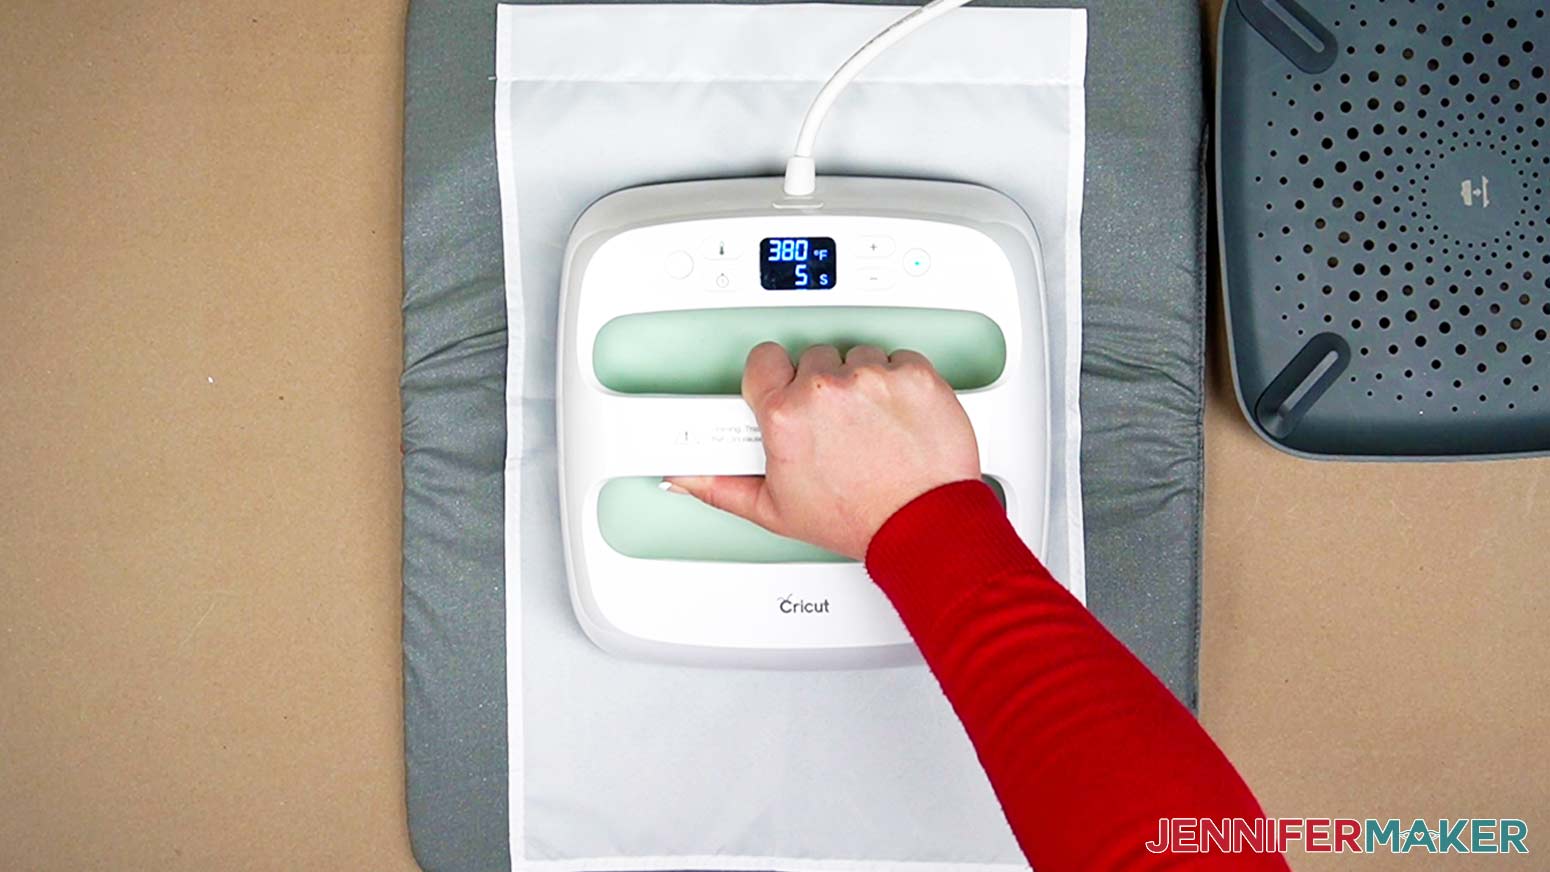
For this tutorial, I'll be showing you how to use the EasyPress 2 to sublimate your garden flag.
Place a heat-resistant mat on a flat surface. I used a Cricut Heat resistant mat.
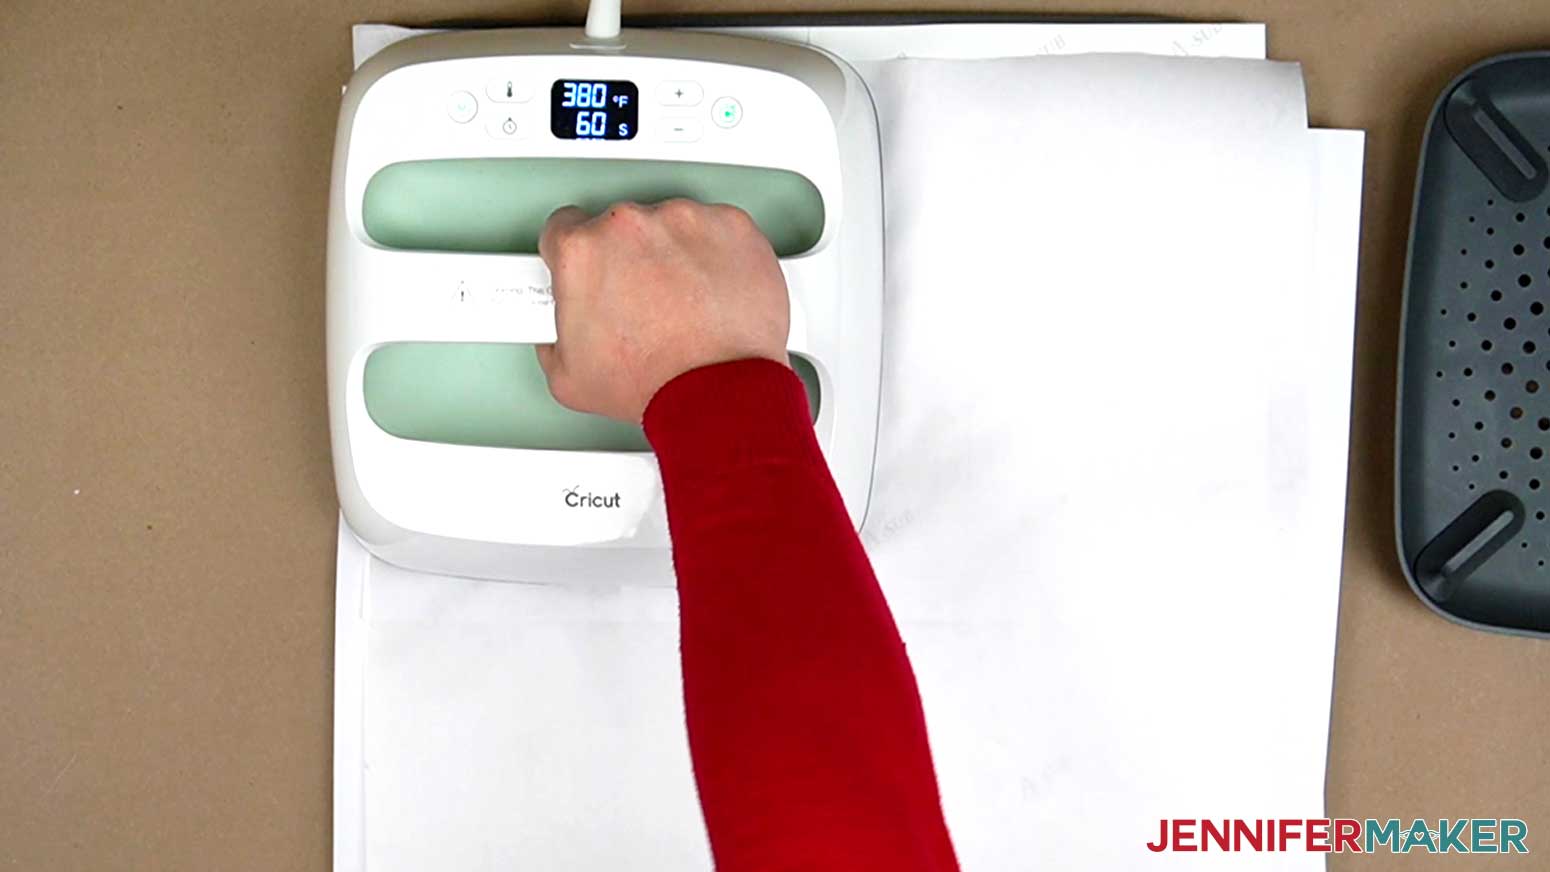
Preheat your EasyPress 2 to 380 degrees Fahrenheit/193 degrees Celsius and preheat the entire flag for 10 seconds to remove moisture.
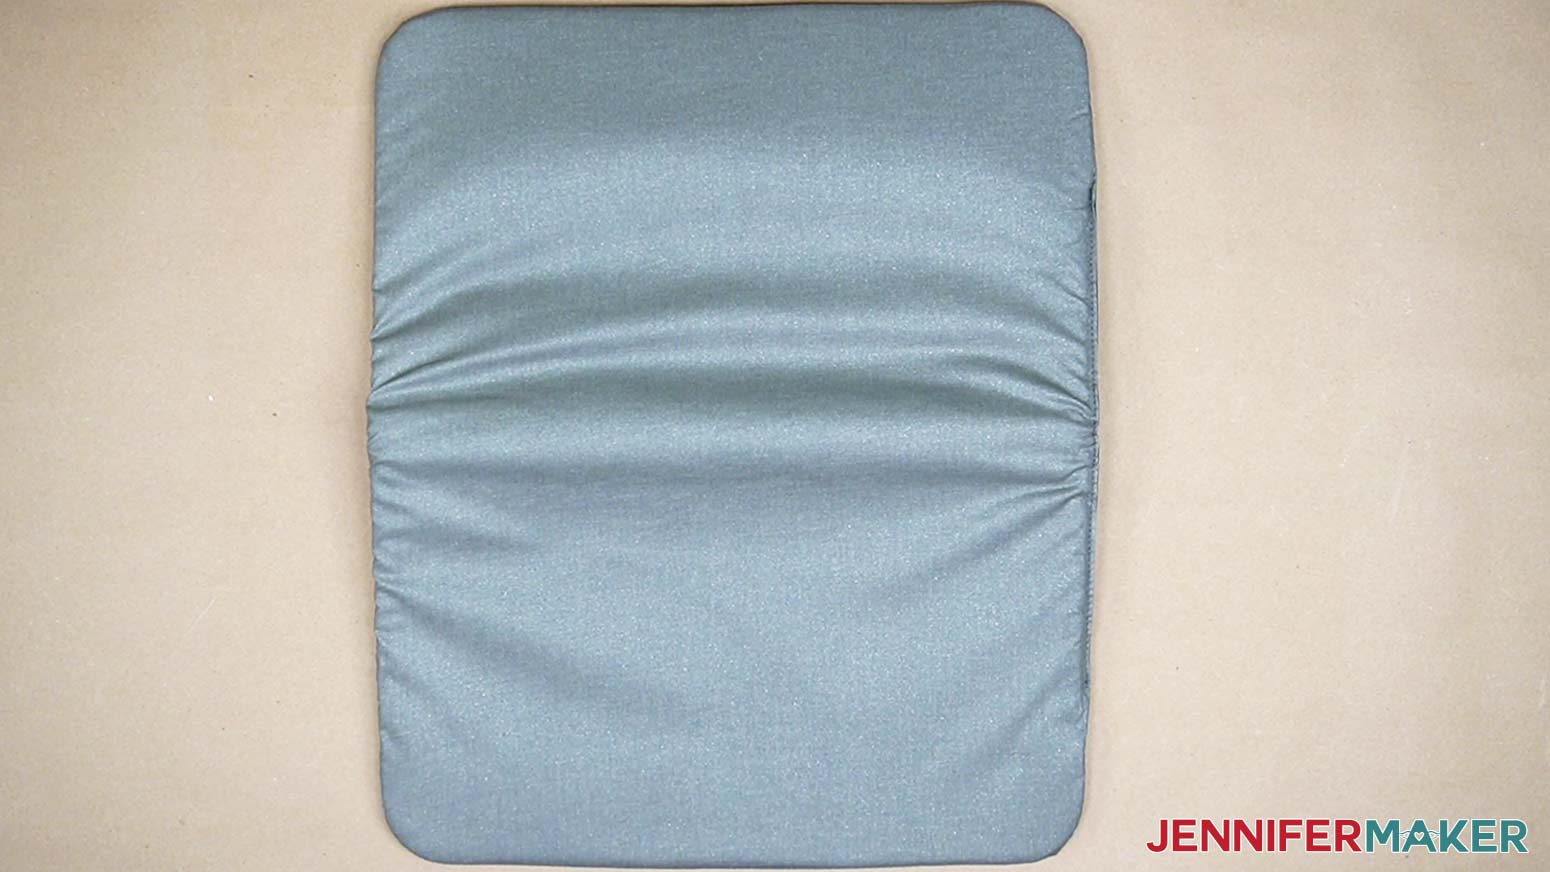
Take your garden flag blank and go over it with a lint roller to remove any lint or debris.
![]()
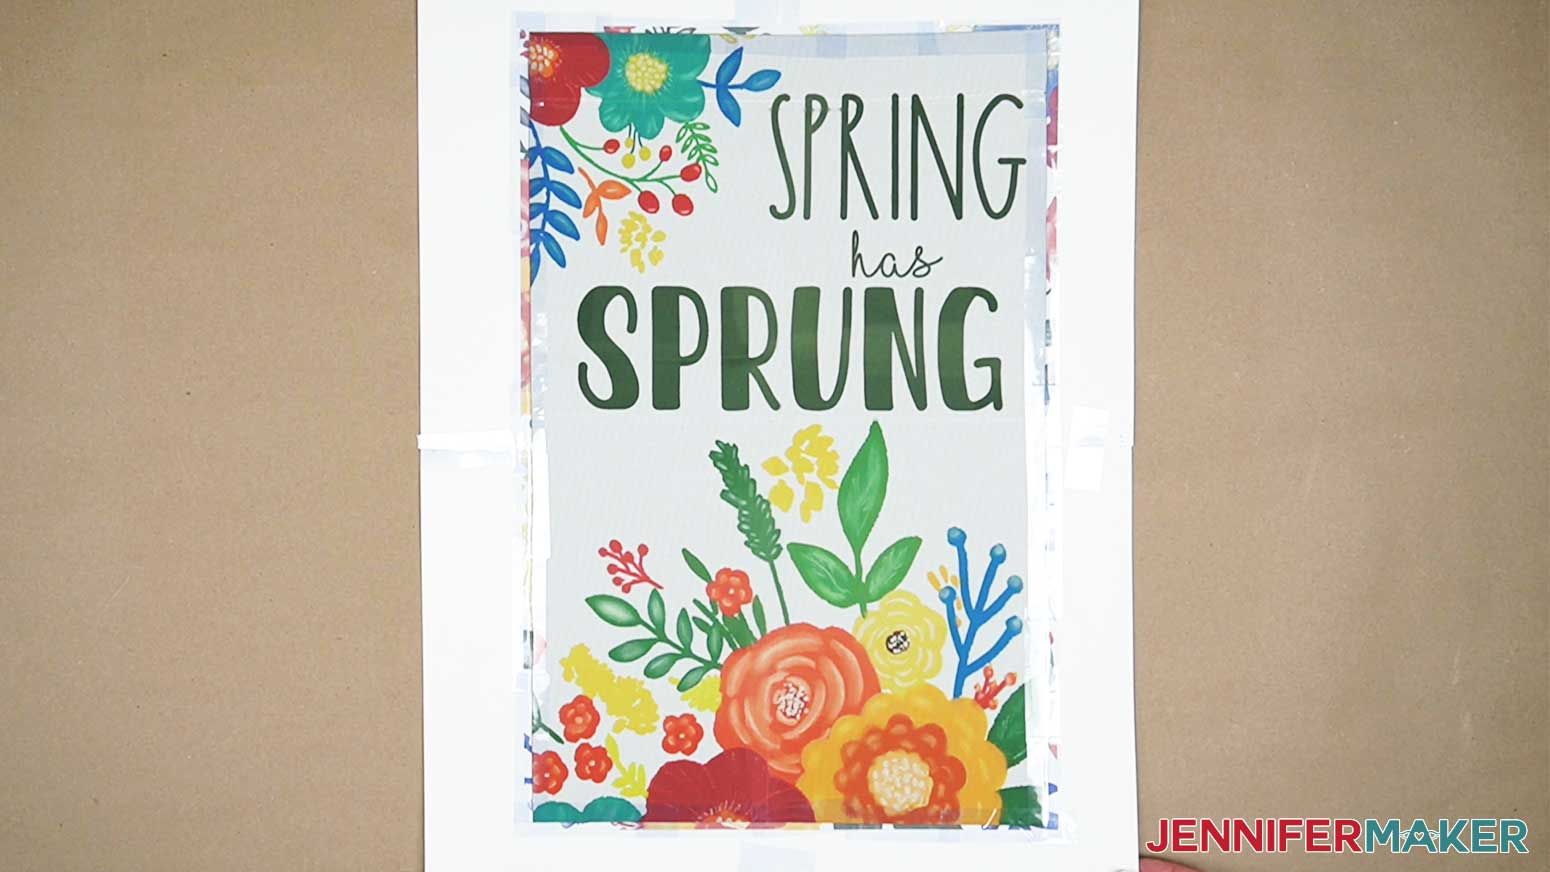
Place it face down on your tiled design. The design will be just a bit larger than your flag. This is to ensure the design covers the entire surface of the flag. Align the flag blank with the design until you are happy with the placement and secure it with heat-resistant tape. Be generous with the heat-resistant tape to prevent any shifting when transferring it to the pressing mat.
![]()
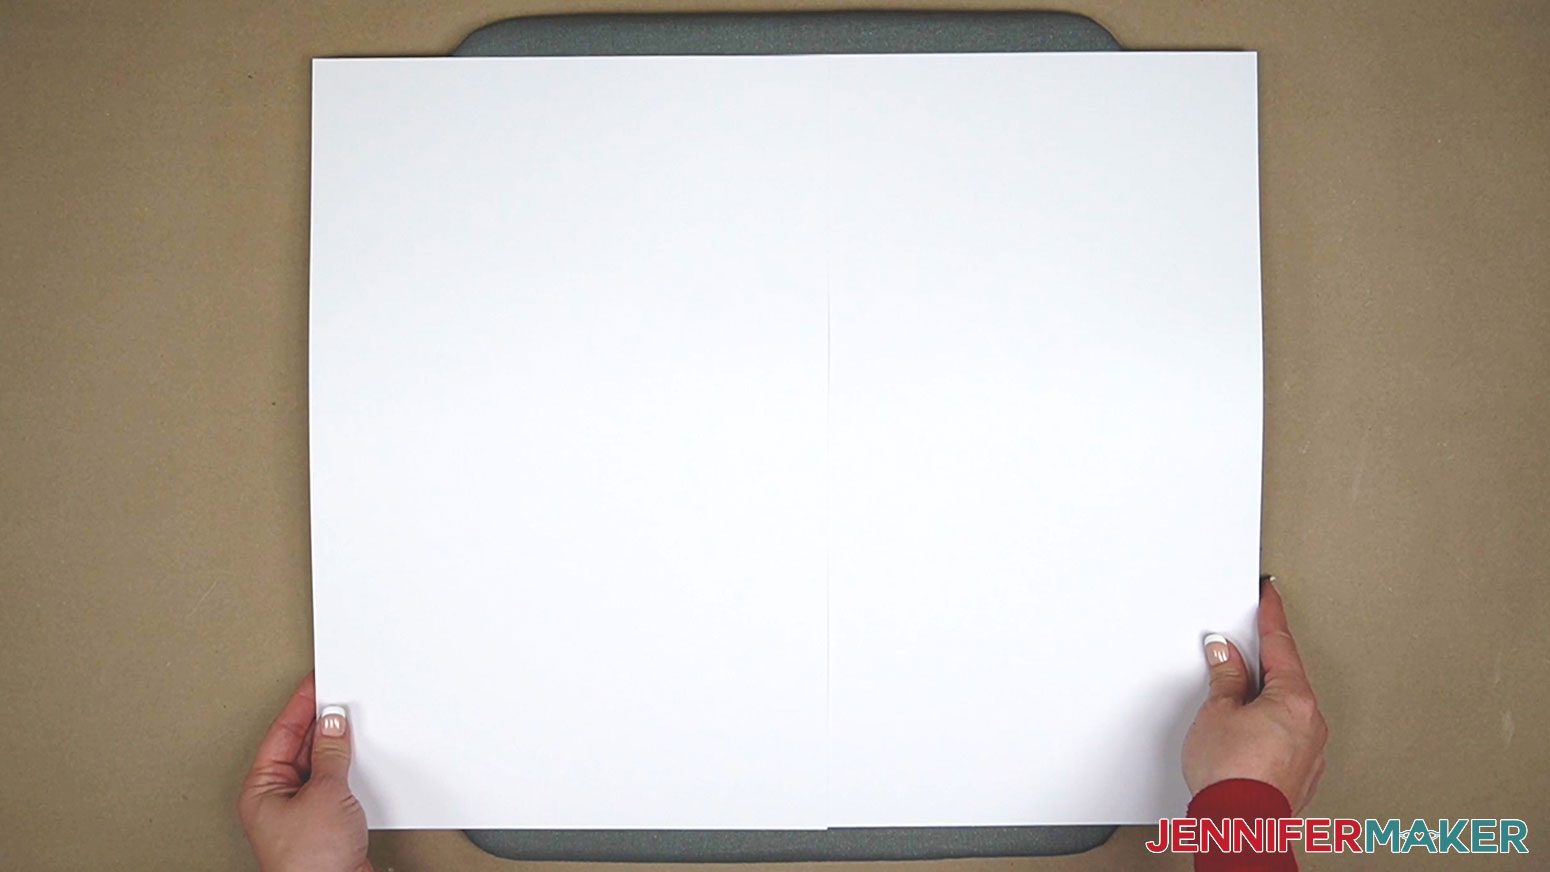
Take a large piece of white heavy-weight cardstock and lay it on the pressing mat. Be sure it's completely covering the mat to protect it from potential blowout.
Carefully turn over your prepared flag blank and design and place it on top of the cardstock on the pressing mat. The print is now face down.
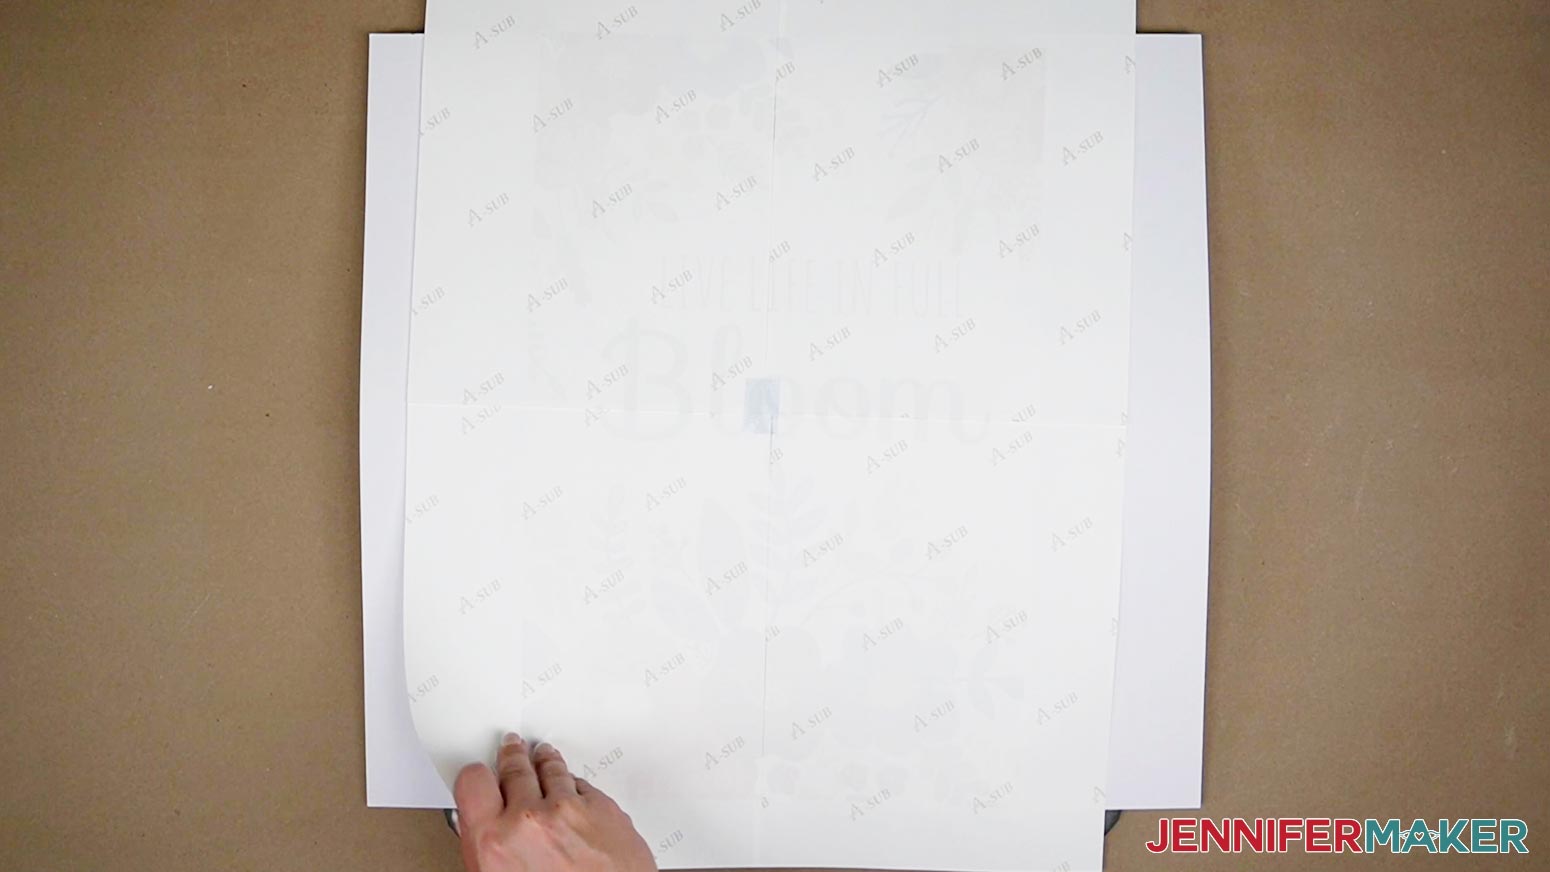
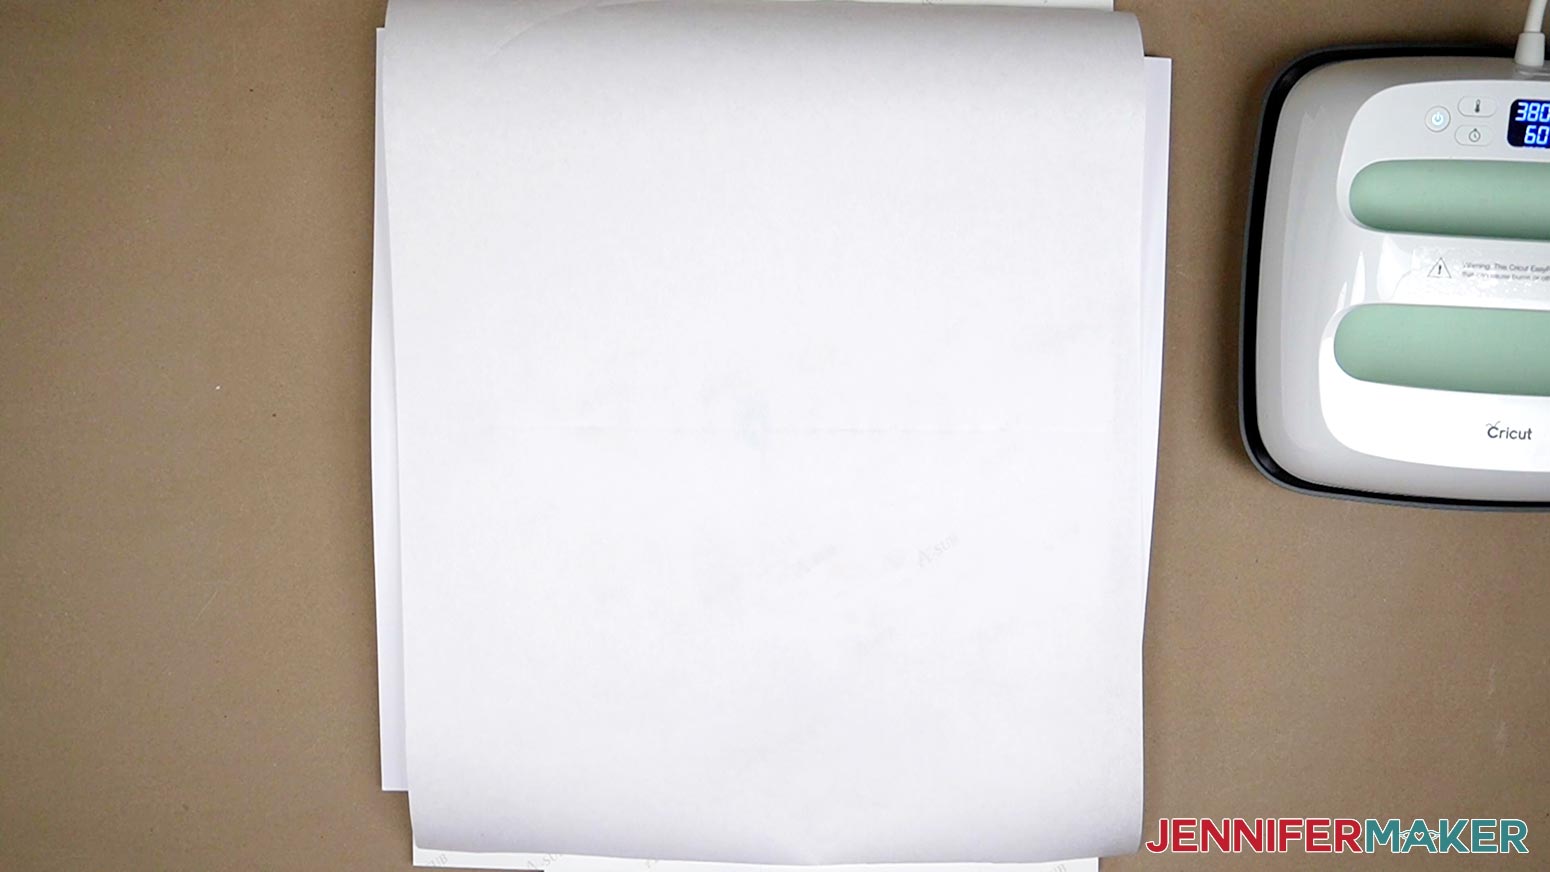
Place a piece of large, clean butcher paper on top of the print. Ensure the butcher paper covers the entire design to protect your heat press from any blowout.
Now it's time to press.
STEP 4: PRESS YOUR SUBLIMATION PRINT
Before you start, open a window or set up a fan to improve your ventilation. Since we’re heating up sublimation dye, you don’t want to breathe in any of the fumes!
Make sure your press is heated to 380 degrees Fahrenheit/193 degrees Celsius.
Referring to how we tiled the design, we are going to press in a similar fashion. Starting with the top left corner, place your Cricut Easy Press on top of the design for 60 seconds.
When the timer goes off, lift the heat press straight up and place it down on the top right corner, and press for another 60 seconds. Repeat this process with the lower right corner, then the lower left corner. After the four corners have been pressed, place the Easy Press in the center of the flag and press for 60 seconds.
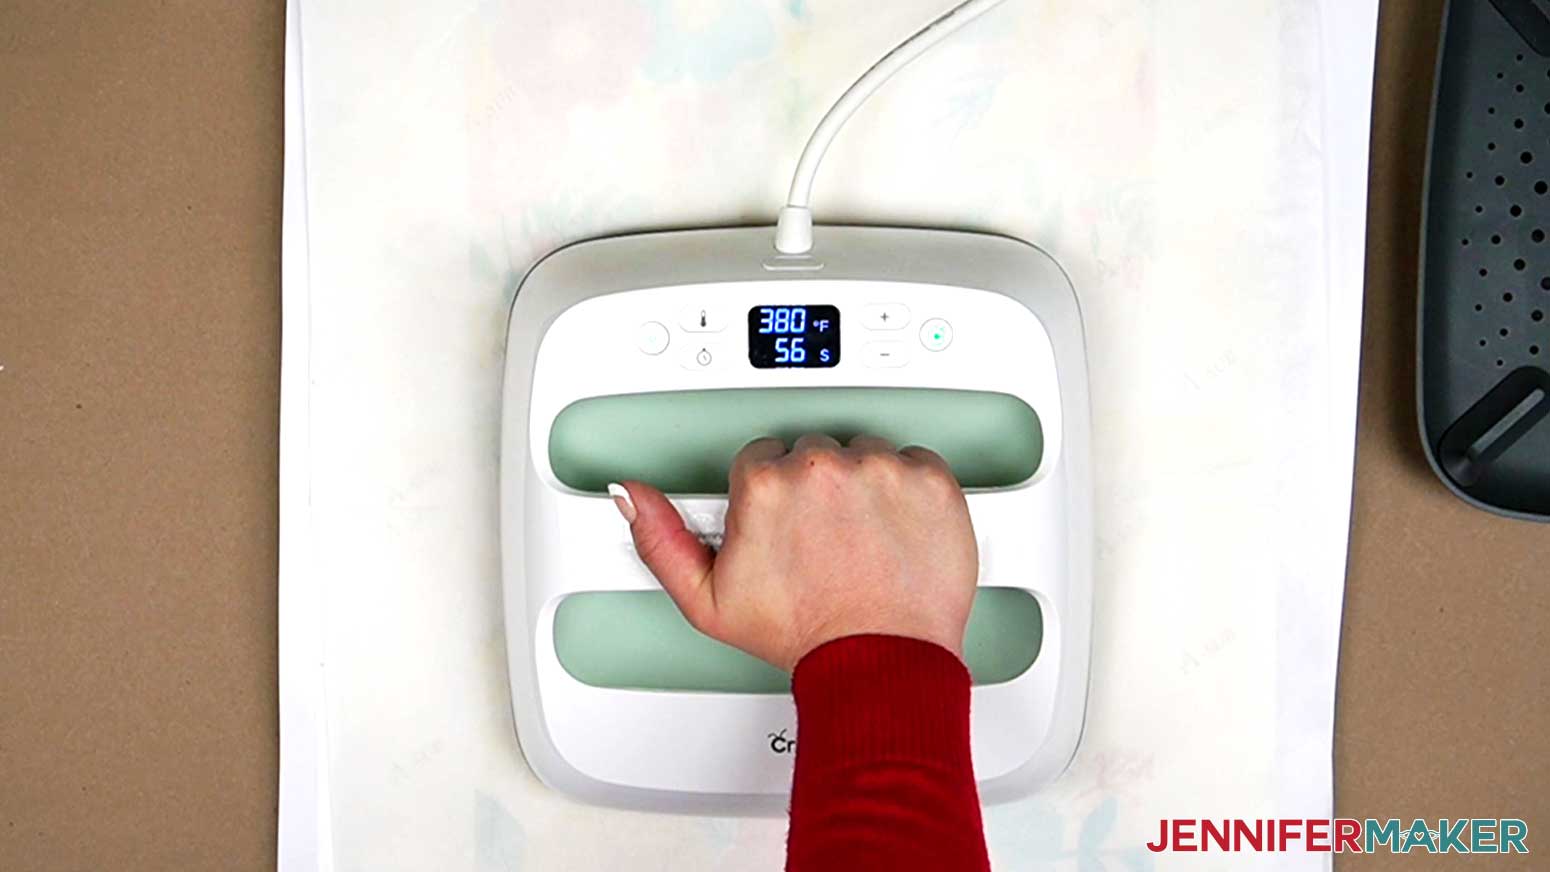
You will have pressed the mat five times in total.
Once the last section has been pressed, let it cool before removing the paper. You want to make sure the sublimation process has been completed.
VARIATION:
DOUBLE-SIDED GARDEN FLAG DESIGN
Now I'll show you how to sublimate on a double-sided garden flag! For this example, I will be using the Spring Has Sprung double-sided design.
TIP: If you'd like to personalize the front side of the design, use the garden-flag-double-sided-front-no-text-jennifermaker-PNG and follow the one-sided flag steps above.
The steps are very similar to the single-sided design we just made, except we will do everything twice.
Download the free version of Adobe Acrobat Reader. Make sure to use Adobe Acrobat to open the garden-flag-double-sided-front-jennifermaker-PDF and the garden-flag-double-sided-back-jennifermaker-PDF files.
Follow the steps above to print and piece together both the front and back designs, and the steps above to sublimate the design onto the front of your flag.
Once pressed, let it cool completely before removing the paper. You want to make sure the sublimation process has been completed.
Now, repeat the steps above, starting with removing any lint from the back of the flag blank and aligning it face down onto the back side of the flag design.
Continue by following the steps above to press the back side of your flag.
TIP: Make sure to use FRESH butcher paper and cardstock for each side to ensure there is no residual ink transfer.
Let the second side cool before removing the butcher paper.
STEP 5: SHOW IT OFF!
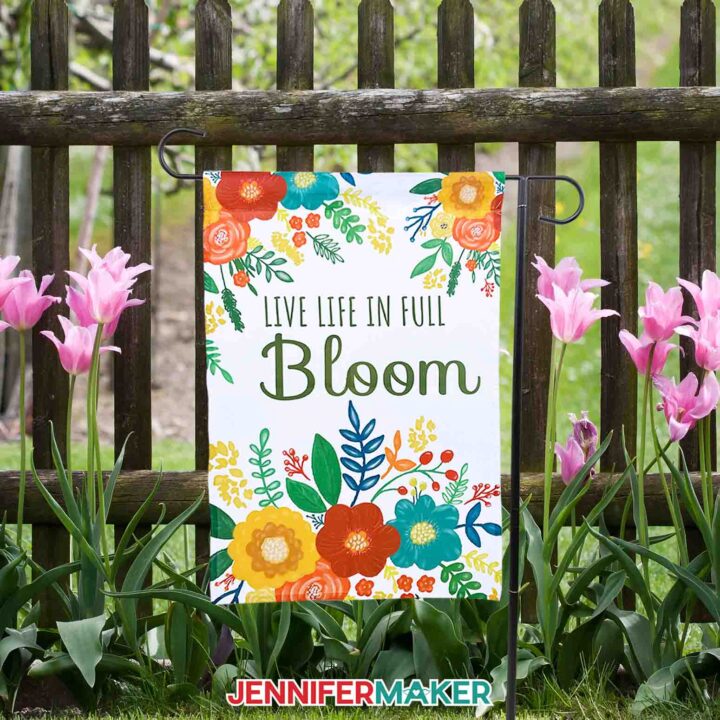
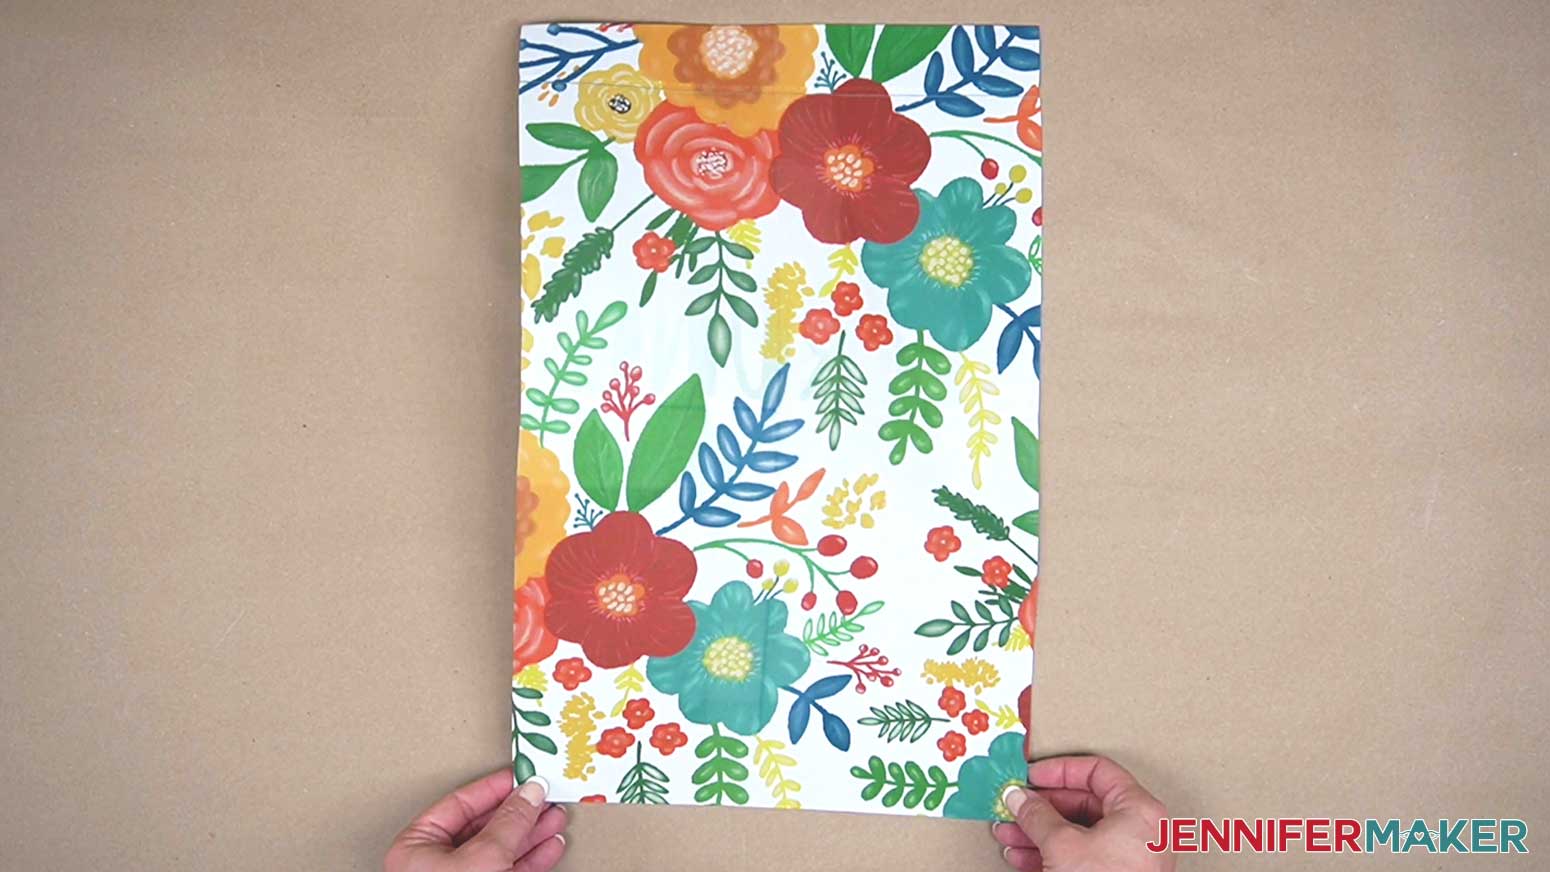
Add a garden flag holder and slide your flag onto the top pole. Secure with the side and top clips and/or stoppers to keep it in place. Here are what my one-sided and two-sided flags look like!
Care instructions: Hand Wash in cold water and hang dry or tumble dry low.
Notes
Typefaces Used: Simply Done Write Free Typefaces Used: Magical Feather, The Wanderer, Sunday Best, I Love Glitter
Free Alternatives: Paper Flowers, Amila Cuties
Google Fonts: Amatic SC, Sofia, Truculenta, Clicker Script, BenchNine
Answers to Your Questions About How to Sublimate Spring Garden Flag Designs
Q: Can you sublimate on any garden flag?
A: Your flag should have at least 65% polyester content and be white so the translucent sublimation ink will show correctly.
Q: Why is my sublimation print color so dull?
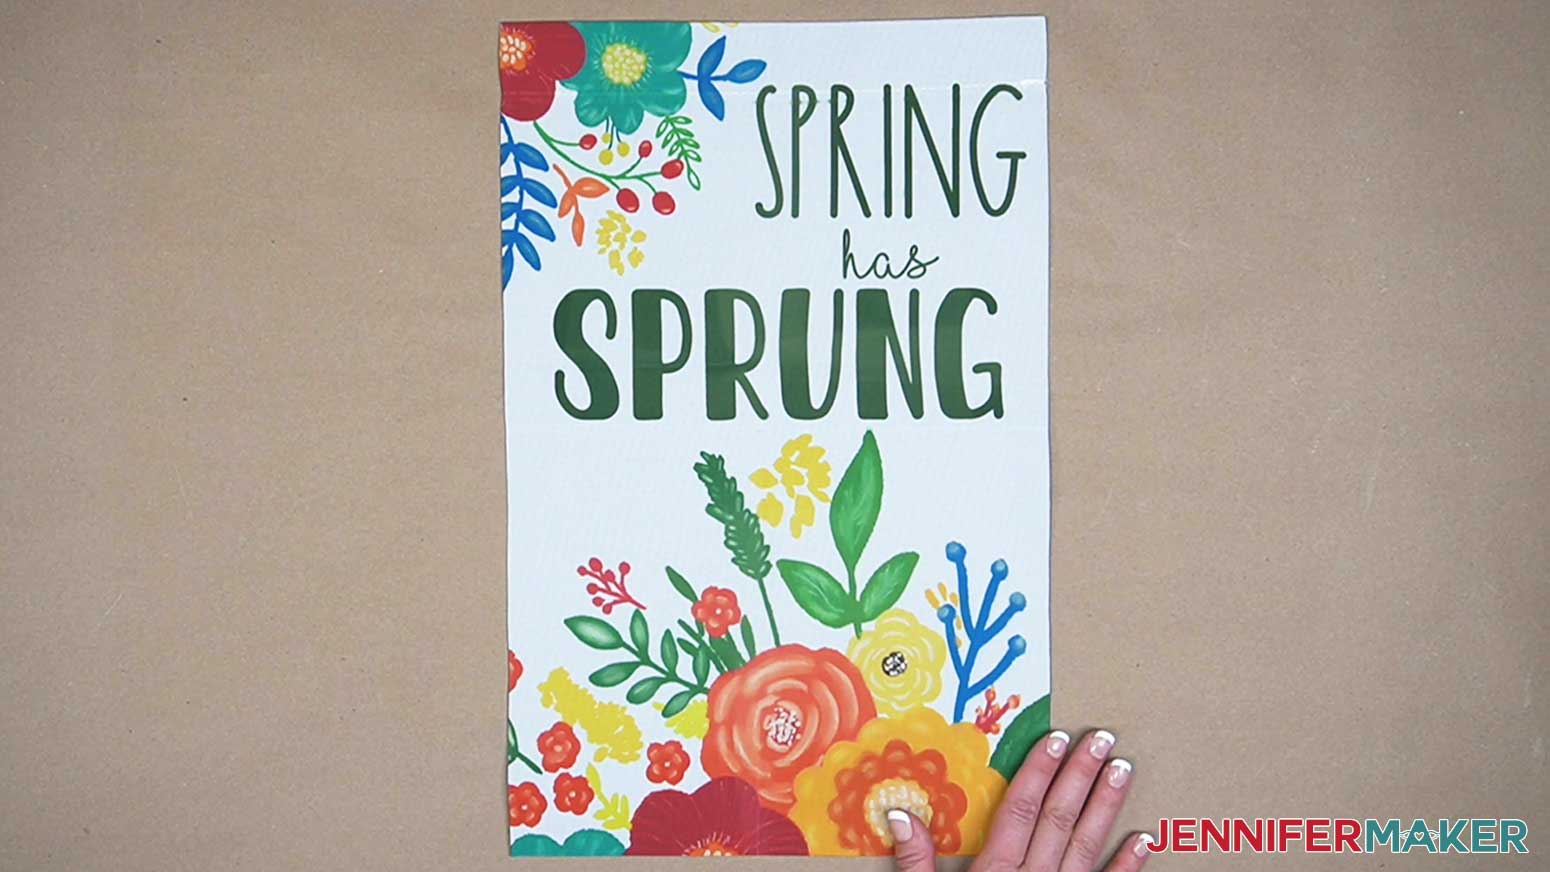
A: Sublimation prints look much duller on the paper than they do after they’re sublimated, so don’t worry if your printed image looks faded or different colors than you expect. The vibrant colors will show when transferred to the sublimation blanks!
Q: Why is my sublimation not transferring evenly?
A: You may need to tweak your settings if you’re using materials other than the ones in my materials list. The sublimation printing process and transferring has a lot of variables, so follow my notes first on a test cloth, then try adjusting your temperature, time, or pressure if you need to.
Q: What does ghosting mean in sublimation?
A: Ghosting can occur when a freshly sublimated object is moved around too much while it’s still hot. If the object and the sublimation transfer is still hot, the image is still sublimating. To avoid this, simply wait until your sublimated item has cooled off before handling or removing the paper, and don’t move it around more than you need to while it’s sublimating. It’s a natural effect of the sublimation process because the ink is in a gaseous state until it’s cooled.
Q: What if I don’t have a sublimation printer?
A: Good news, you can have someone else print the different images for you! There are a whole host of creative entrepreneurs and small businesses ready to help, especially on the Etsy app. Many people on Etsy offer (and others in the global marketplace) to print your designs and send them to you. Just check their average rating, see if they have a minimum order quantity, and make sure their typical production time fits your goals, especially for made-to-order items. It’s a bonus if they have many 5-star reviews and offer free shipping for handmade pieces!

Q: How do you sublimate a garden flag?
A: Get the best results by following this tutorial! But seriously, it’s easy and so much fun to make a yard flag. I break it down step by step, and it’s a simple project you can do in about an hour. And blank sublimation garden flags are pretty inexpensive, so you can get a few to practice on!
Q: How long to press a sublimation garden flag?
A: That depends on your goals and the size of your top heat platen, but larger flags will likely need multiple presses to cover the entire design. The process will be faster if the flag is smaller than your heat press and a single layer of fabric.
Q: What temperature do you heat press garden flags?
A: Sublimation requires pretty hot temperatures! We’ll be pressing our sublimatable garden flag at 380° Fahrenheit (or 193° Celsius). Check out the Sublimation Cookbook with handy one-page “recipes” of recommended settings for over 150+ different sublimation projects with details on the sublimatable substrate options.
Q: Can you heat press a polyester flag?
A: Sure can! In fact, 100% polyester flags are the only type I recommend for bright, bold results that stand up to those Springtime rainstorms without fading. Other fabric blends tend to fade much more quickly.
Q: Can you overheat sublimation?
A: It’s possible to overheat your sublimation garden flags and cause ghosting or browning of your design, but highly unlikely if you follow my steps and use reliable heat presses because they’re powerful tools.
Q: Do you peel sublimation hot or cold?
A: Always let your sublimation paper cool completely before removing it from your material. This will ensure a nice, crisp, fully sublimated design without any ghosting.
Get my free PNG files to make your garden flags!
(If you do not see the signup form above, click here.)
I love seeing what you make with my designs and how you use them! Please share a photo of your garden flags in our Facebook group or tag me on social media with #jennifermaker.
Love,

Want to remember this? Save this Tutorial on How to Sublimate Spring Garden Flag Designs to your favorite Pinterest Board!