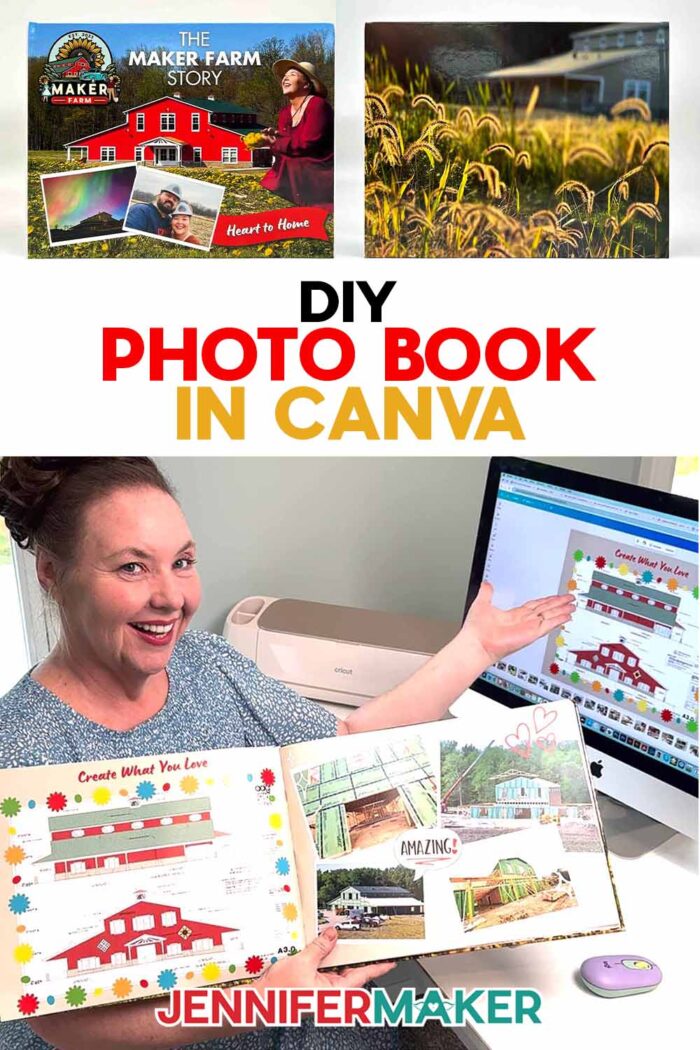
Learn how to make an amazing DIY photo book using free Canva tools!
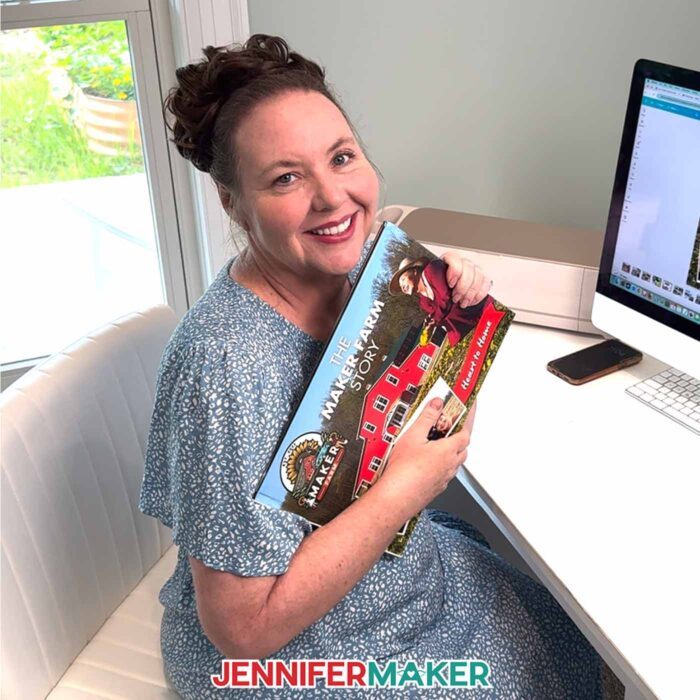
When we first started building Maker Farm, I had a feeling it was going to be something special. I wanted to capture everything, like the laughter, our hard work, and the magical moments I don’t ever want to forget. I took photos of the progress every chance I got, but the images mostly lived on my phone, scattered and unorganized. It wasn’t until recently that I found the best way to bring them all together, and that’s to create a DIY photo book with Canva! It turned out to be the perfect solution to preserve and showcase our story in a way that’s beautiful, meaningful, and tangible.
See the full step-by-step video tutorial on how to design a DIY photo book in Canva:

Using Canva’s printing service, called Print With Canva, I created a custom photo book filled with our favorite moments. There’s no design experience or expensive software required, and it’s super easy! All I needed was my computer, an internet connection, and those treasured images I’d collected over time.
There are lots of choices when it comes to photo book formats, but Canva makes it simple with pre-made templates and full customization options. You can create a softcover photo book, a hardcover book, or even a big 12″ by 12″ coffee table style book. Rather than an album stuffed with lots of separate photos, a book format feels polished and personal all at once. My first photo book turned out so well, it immediately became a centerpiece on our coffee table, something our guests love to flip through and enjoy.
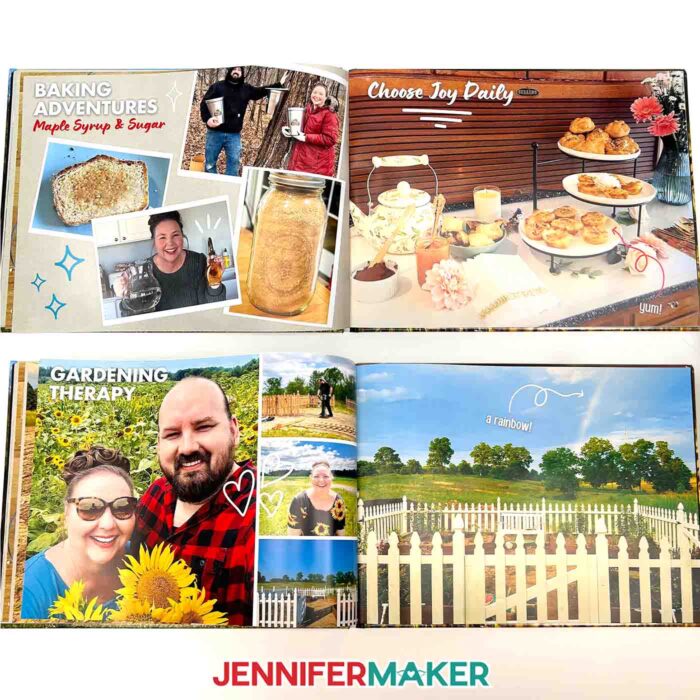
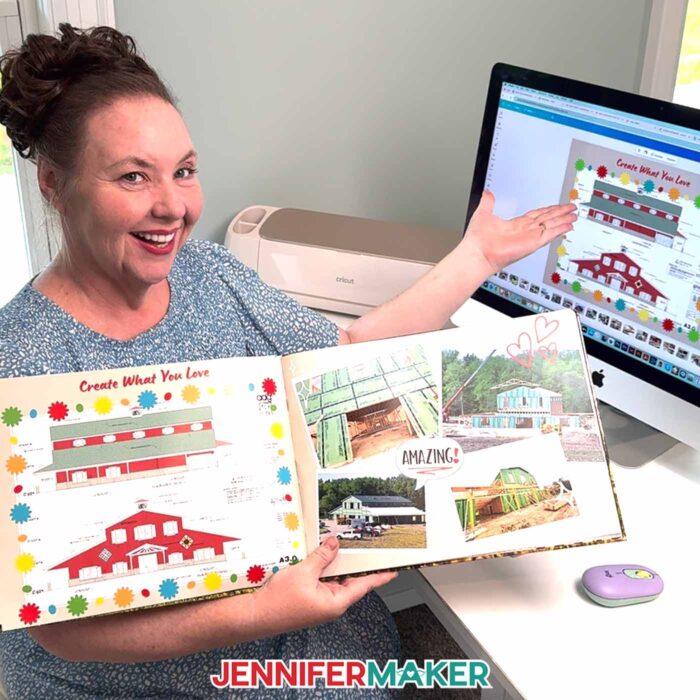
The main thing I loved about this project was the total freedom I had to make the book truly mine. I could design my cover image, add up to 98 pages, rearrange layouts, and mix Canva’s design elements with my own uploaded photos and graphics. There’s something magical about watching a bunch of photographs transform into a cohesive, beautiful treasure you can hold in your hands.
Canva’s tools let you play with typefaces, colors, and spacing, making it easy to coordinate the text in your custom photo album with your unique style. And if you’re aiming for vibrant colors and beautiful layouts, you’ll love how your photos look printed in vivid color. These aren’t just snapshots anymore! I found that designing a photo book in Canva was s0 rewarding, and it was quicker and easier to put together than using traditional photo albums that sit empty or half-finished on a shelf.
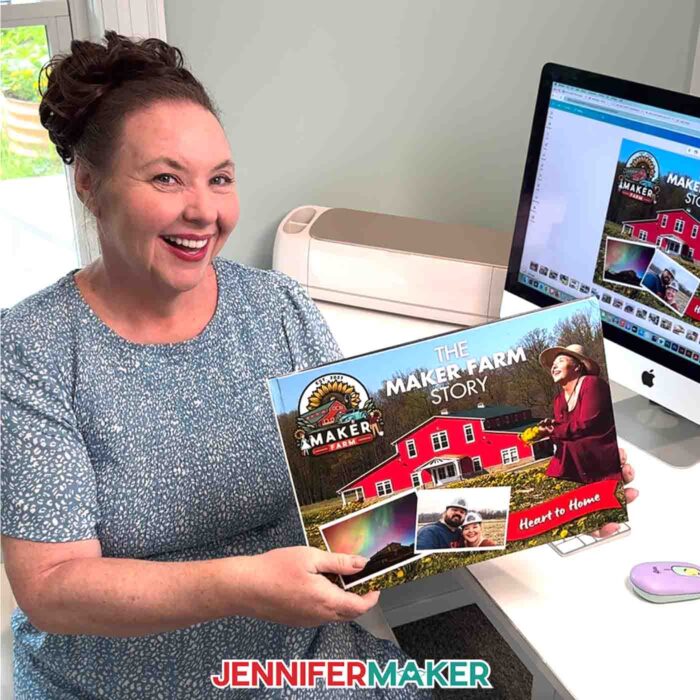
Canva’s photo books come in different sizes and different formats. Once you’ve arranged your pages and reviewed your layout, Canva’s print-on-demand photo books are ready to go with just a few clicks. I chose a hard, glossy book cover and was amazed at how high quality the finished album looked when it arrived. The bright colors, sturdy binding, and smooth pages felt like something straight from an expensive printer.
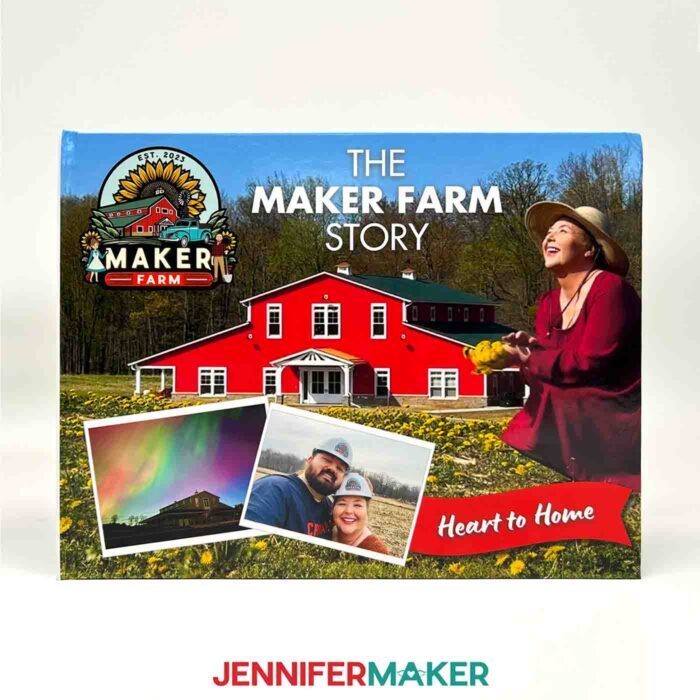
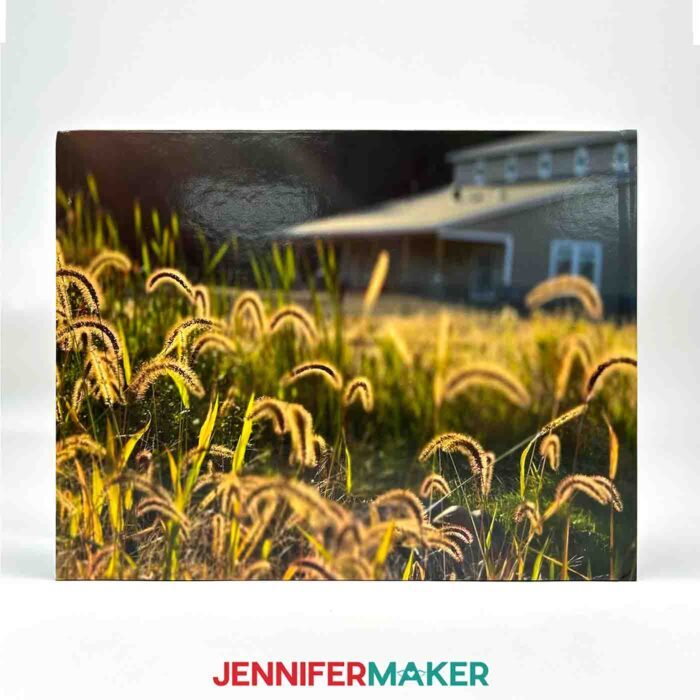
You can even add photos to the back cover of the book! How gorgeous is this shot?
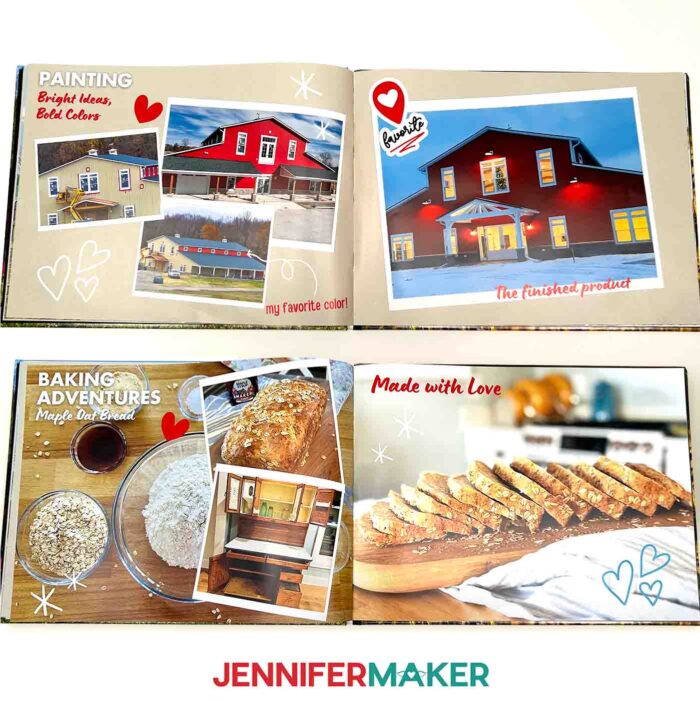
The number of photos you choose is up to you, but I recommend picking a variety to tell your story. Maybe it’s your child’s first year, a special vacation, or your journey building something new. Try mixing full-page images with smaller framed shots, and don’t forget to leave space for captions or quotes that add meaning and context. And remember to turn on print bleed so your backgrounds and full-page images reach the edge of each page for a polished finish.
Whether you’re working on a baby book, a memory book for a special event, or just trying to organize your family memories into something more than a digital album, this project is incredibly rewarding. You can even use it to create wedding albums, or make duplicates as gifts! It only takes a little time, and the results are stunning.
If you’re curious how to get started, I walk through all the easy steps in my full video tutorial, from picking your template to customizing each page, then placing your print order. I even have free elements you can download and use to decorate your book and make it stand out. You’ll learn how to navigate Canva’s free tools, upload your images, organize them, and apply fun effects that give your DIY photo book personality. I promise, no design experience is necessary!
And if you’re part of my Advance program, you’ll also get access to a special workshop on creating your own styled page templates for a fully personalized photo book. Whether you want to master layout techniques, explore another amazing Canva design tool, or pick up new skills for future projects, it’s all in there waiting for you. Learn more about ADVANCE with JenniferMaker here!
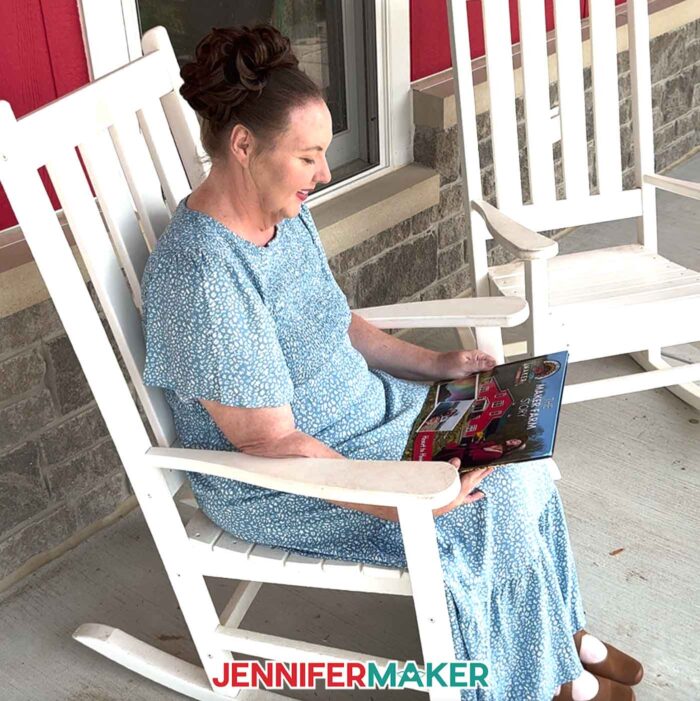
There’s just something so special about a bound book of prints. It feels more permanent, more real than a digital gallery. It tells people: this mattered. These were the moments worth remembering. And with Canva, you don’t have to wait for a holiday or a big milestone to create one. A beautiful photo book is the perfect gift, the perfect legacy, and the perfect way to fall in love with your own story (big or small) all over again.
So if you’re ready to turn your photos into something tangible that can be passed down through generations, give a DIY Canva photo book project a try. Want to see exactly how it’s done? Check out my full step-by-step video tutorial and let’s turn your photos into something you’ll treasure forever!
So, want to learn how to design a DIY photo book with Canva? Let me show you how fun and easy it is! This post contains some affiliate links for your convenience (which means if you make a purchase after clicking a link I will earn a small commission but it won’t cost you a penny more)! Read my full disclosure policy.
Materials to Make & Use a DIY Photo Book
See some fun accessories to go with your DIY Photo Book!
- Free Canva Account
- Canva Printing Photo Book (I used the Large 14″ x 10.5″ size)
- Black Metal Display Stand (optional to display your printed photo book) -OR-
- Acrylic Large Open Book Display Stand (optional to display your printed photo book)
- 14.5″ x 19″ Padded Shipping Envelope (optional for shipping your printed photo book to a friend or family member)
- Leather Magnetic Bookmarks (optional for marking your favorite pages in your printed photo book)
- Design #755 (My free PNG design files are available in my free library – get the password by filling out the form at the bottom of this page)
How to Make a DIY Photo Book in Canva

DIY Photo Book
Learn how to design and order a DIY Photo Book in Canva!
Materials
- Canva Printing Photo Book (I used the Large 14" x 10.5" size)
- Black Metal Display Stand (optional to display your printed photo book) -OR-
- Acrylic Large Open Book Display Stand (optional to display your printed photo book)
- 14.5" x 19" Padded Shipping Envelope (optional for shipping your printed photo book to a friend or family member)
- Leather Magnetic Bookmarks (optional for marking favorite pages in your printed photo book)
- Design #755 (My free PNG design files are available in my free resource library - get the password by filling out the form at the bottom of this page)
Tools
Instructions
STEP 1: GET MY FREE DIY PHOTO BOOK DESIGN ELEMENTS
First, download my free DIY photo book PNG elements from my free library – look for Design #755. Alternatively, you can use the Save This Project form near the top of this post and the design link will be emailed to you.
In the PNG folder, you’ll find a collection of elements you can upload to Canva and use to decorate your photo book.
TIP: If you’re not sure how to unzip the download file, go to jennifermaker.com/svgs to learn how. The process is similar for PNG files.
STEP 2: START DESIGNING YOUR DIY PHOTO BOOK IN CANVA
- To get started, open your computer’s browser and go to jennifermaker.com/canva.
NOTE: If you’re new to Canva, check out my Canva for Beginners tutorial. - Either sign in to your account or follow the prompts on the screen to sign up for a free account.
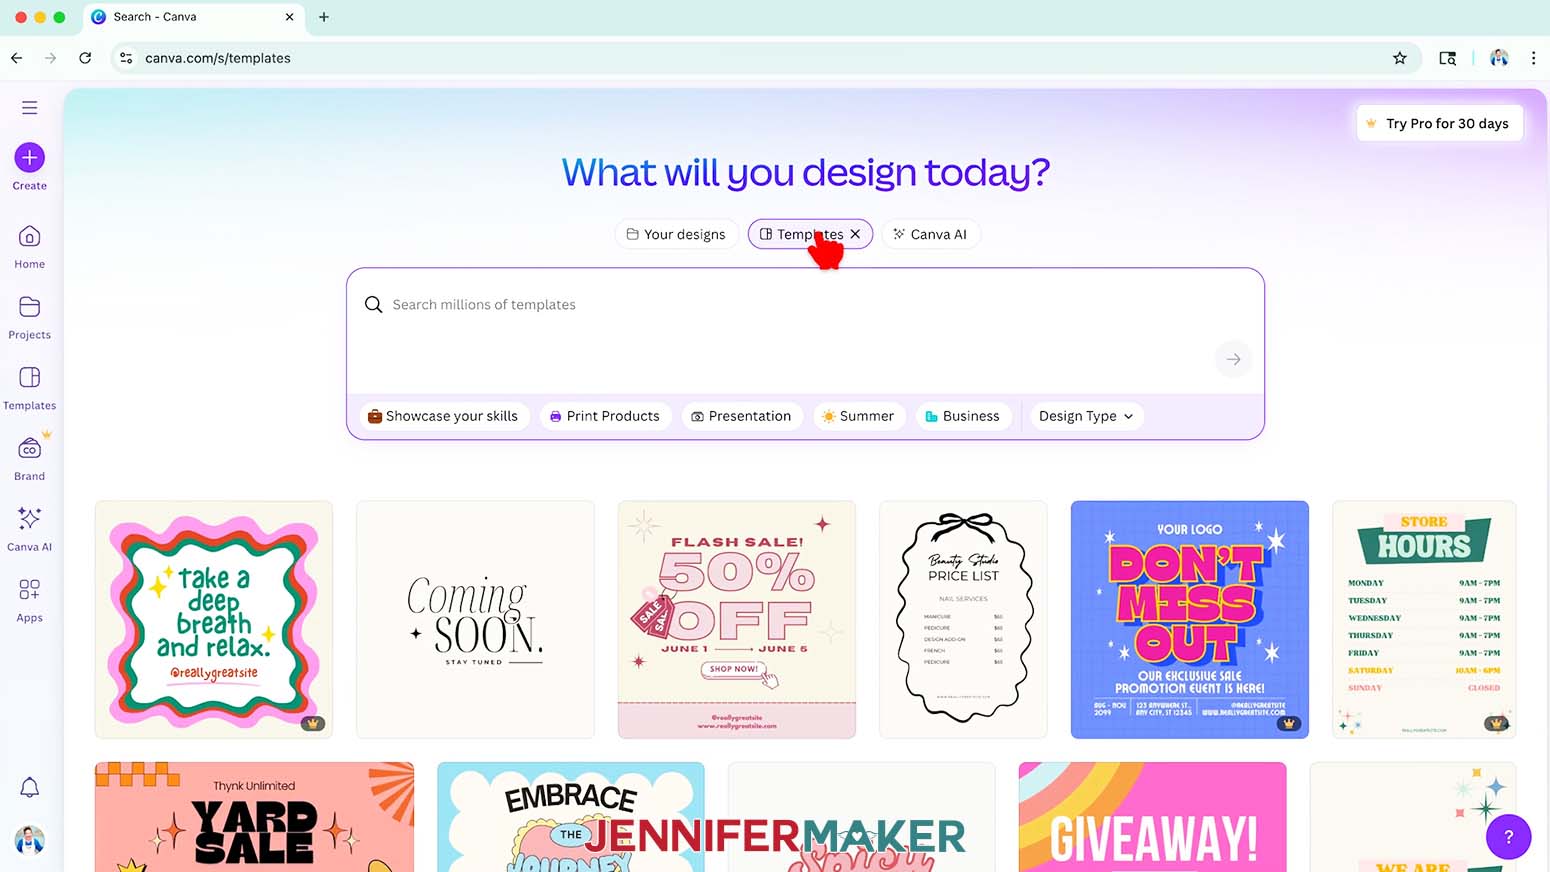
NOTE: Canva does offer paid subscriptions with more tools and elements, but I’ll show you how to do everything with the free account. - On the Canva Home screen, click the “Templates” button.

- In the search box, type in “Photo Book” to find pre-designed templates for a photo book.
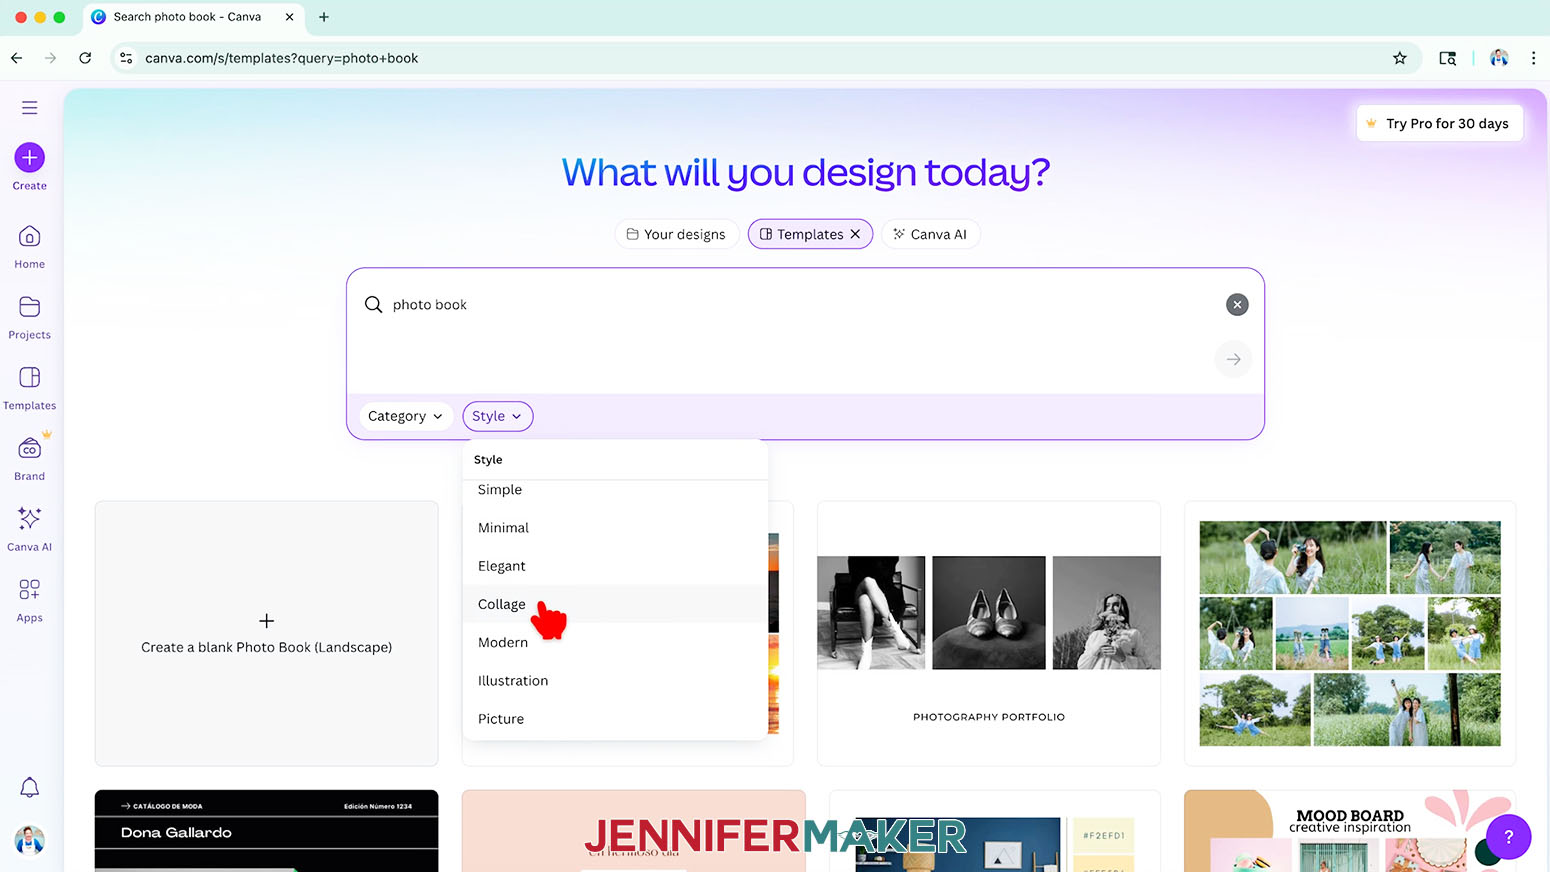
TIP: You might also see a quick link below the search box that says “Photo Book.” If so, you can click that instead. - At the bottom of the search box, click the “Style” drop-down menu and select a style.
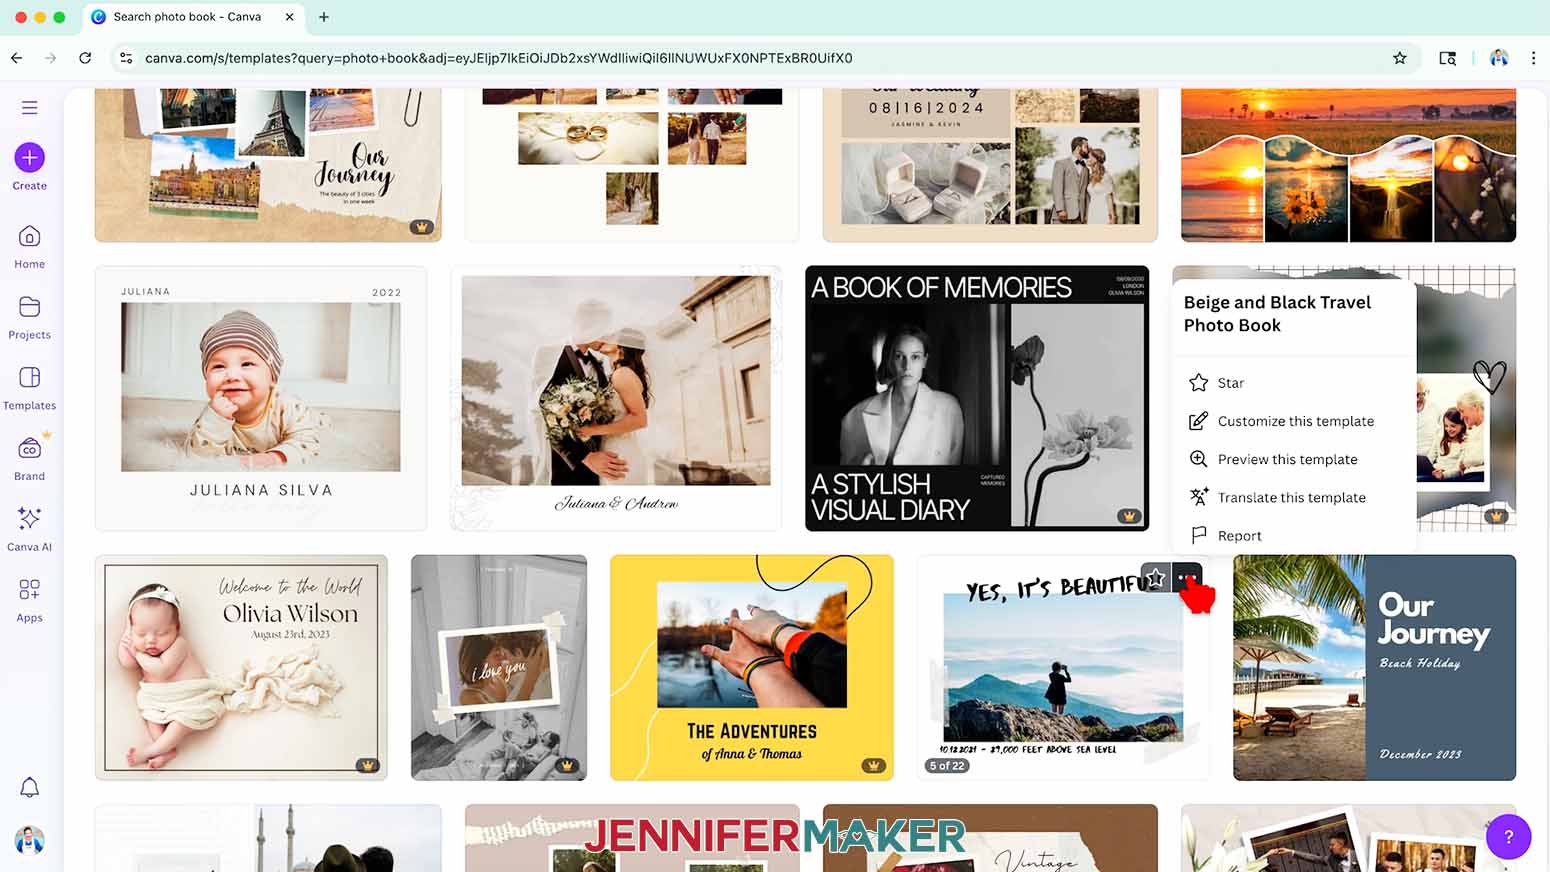
NOTE: I selected “Collage.” - Scroll through the filtered results that match your style and click on one you like.
NOTE: I chose the “Beige and Black Travel Photo Book.”
TIP: If a template has multiple page designs, hover your cursor over the template’s thumbnail to scroll through and see them all.
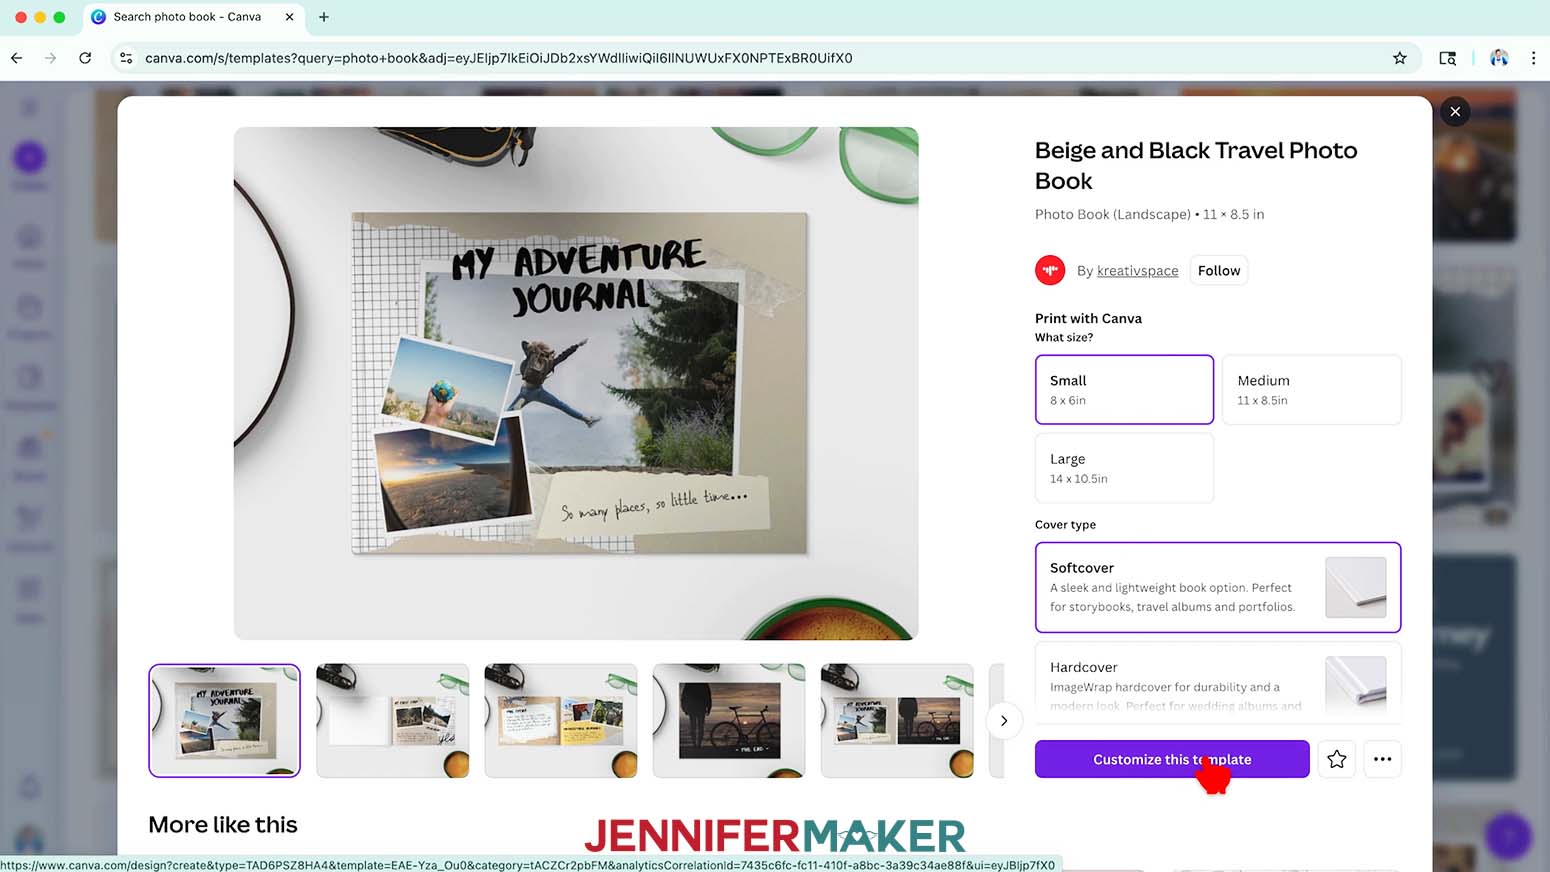
NOTE: Templates with a crown are Canva Pro templates. You’ll need to purchase them individually or sign up for a paid membership to download projects using these templates. - In the pop-up window that appears, you’ll see more information about the template.
TIP: You can select your Print With Canva settings now, or do it later. I’ll show you how to do it later. - Click the “Customize this template” button.
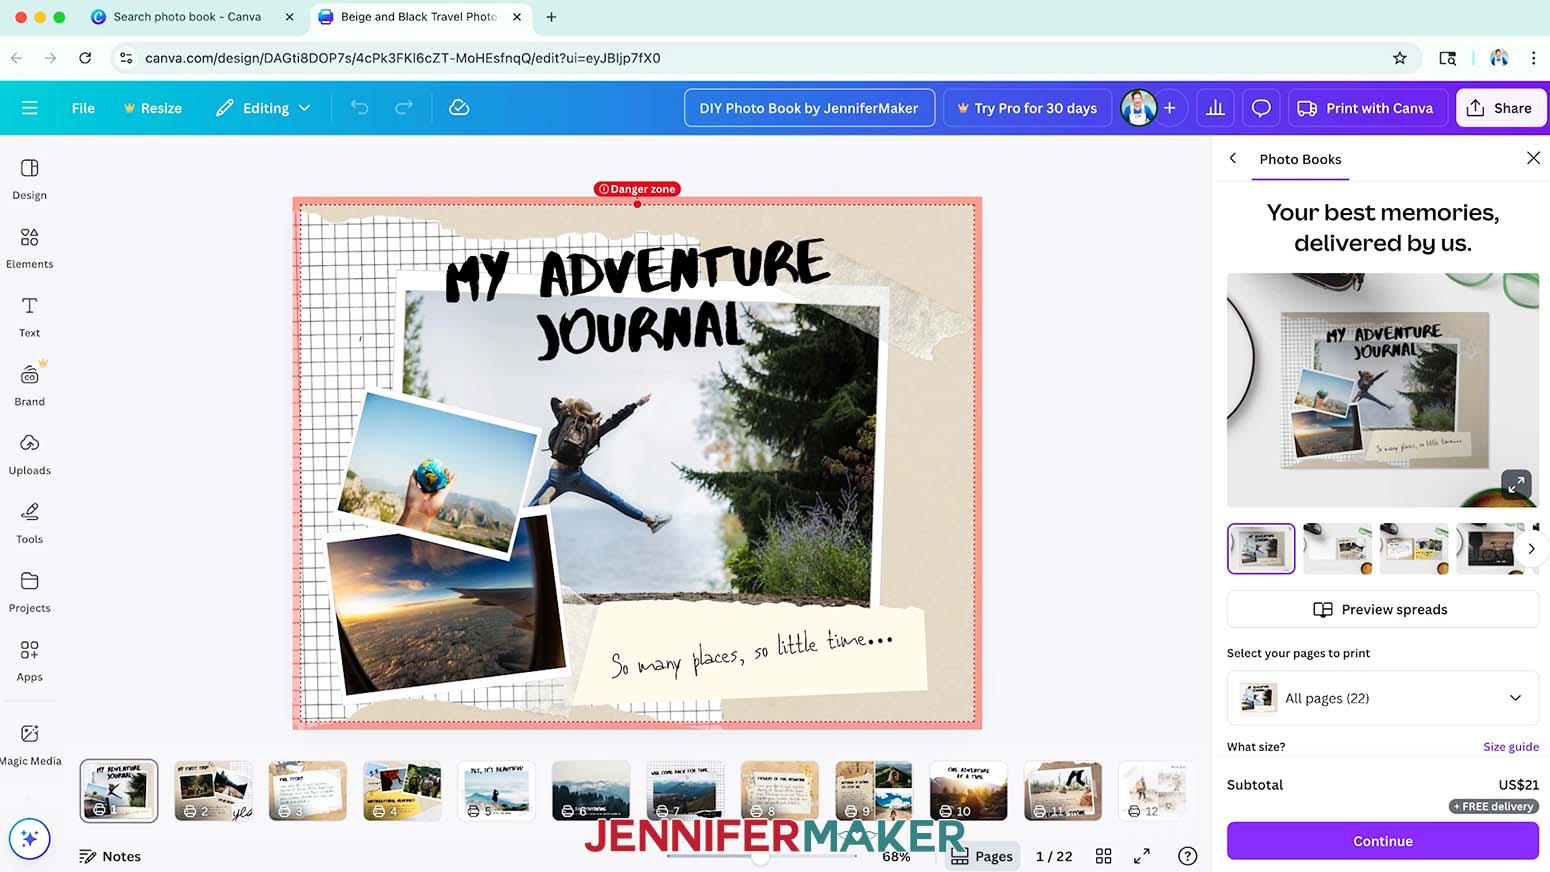
- The template will open on your canvas.
NOTE: To see your pages all at once in a grid, click the “Grid View” icon at the bottom that looks like four squares. To see your pages one after the other on the canvas, click the “Pages” icon at the bottom. To see your pages full screen, click the “Full Screen” icon at the bottom that looks like two arrows. This view allows you to click through your pages one by one. - To save your photo book design, click the filename field at the top and replace the current name with your own.
NOTE: I’ll change mine to “DIY Photo Book by JenniferMaker.” - To adjust the order of the pages, just click a page’s thumbnail and drag it right or left to a new spot.
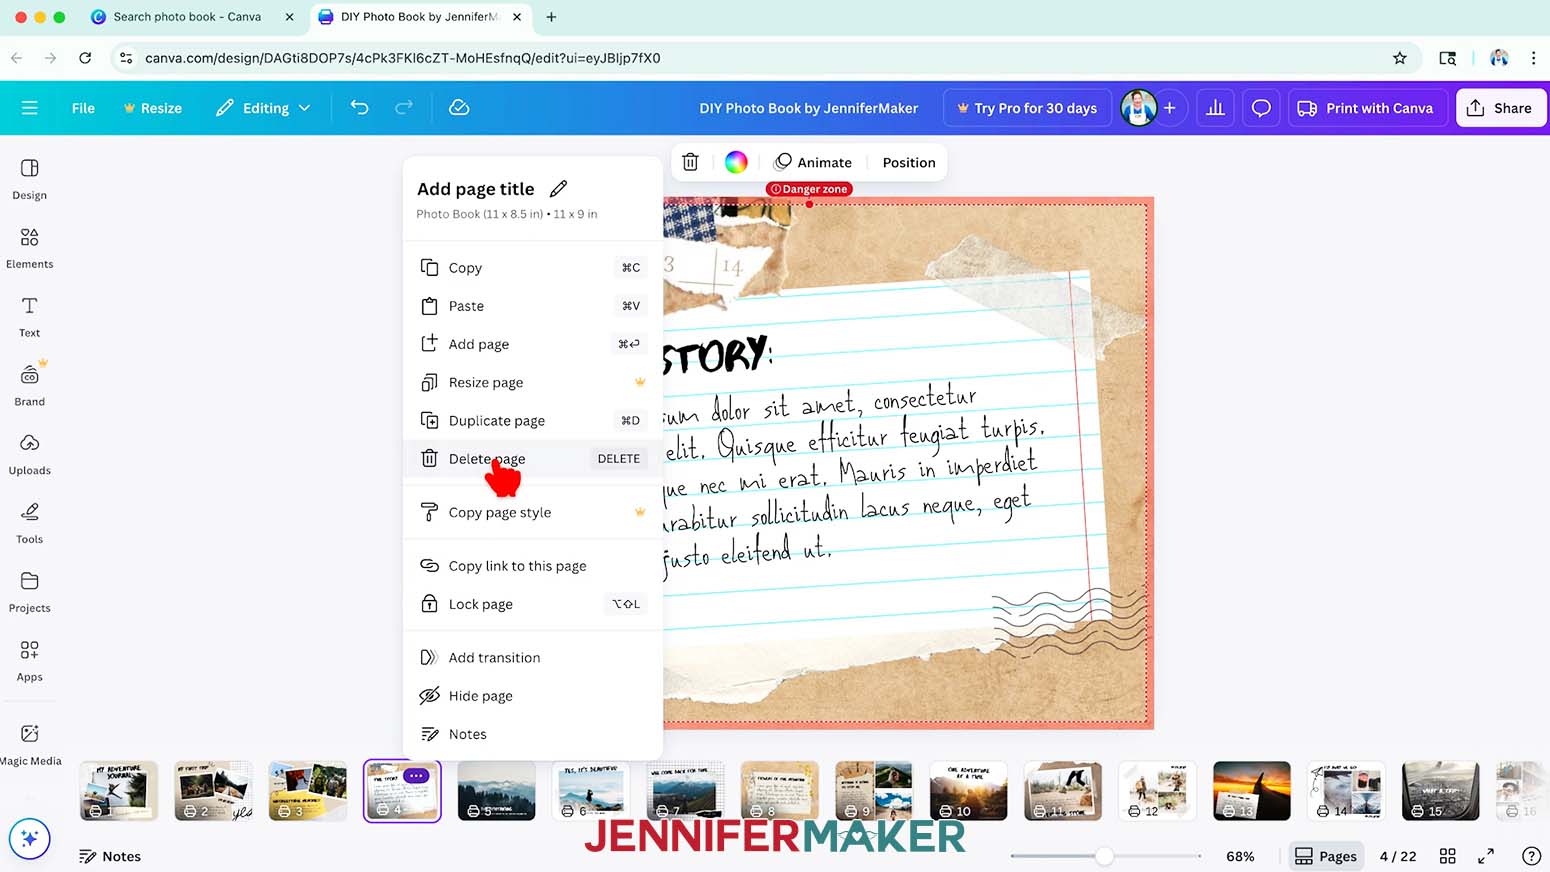
- If there are any pages in the template you don’t like, select that page, then hover over the page thumbnail, click the three dots that appear, and then click “Delete page.”
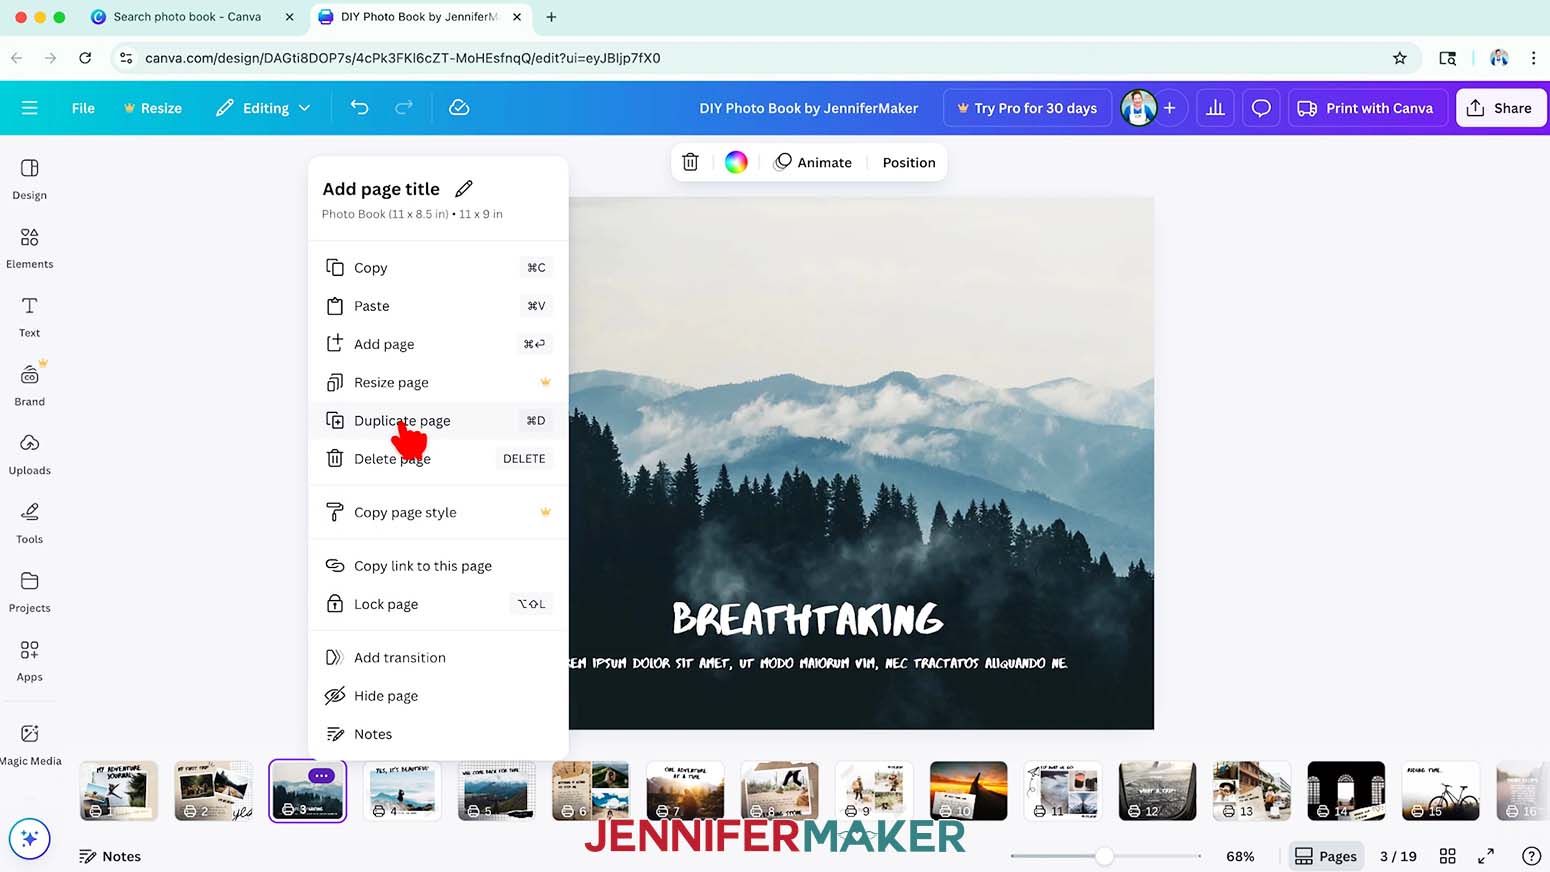
- If there are any pages in the template you’d like to duplicate, select that page, then hover over the page thumbnail, click the three dots that appear, and then click “Duplicate page.”
- If you’d like to add a blank page to design from scratch, hover your cursor between the two pages where you’ll insert it. Click the button with a plus sign that appears to add a new blank page.
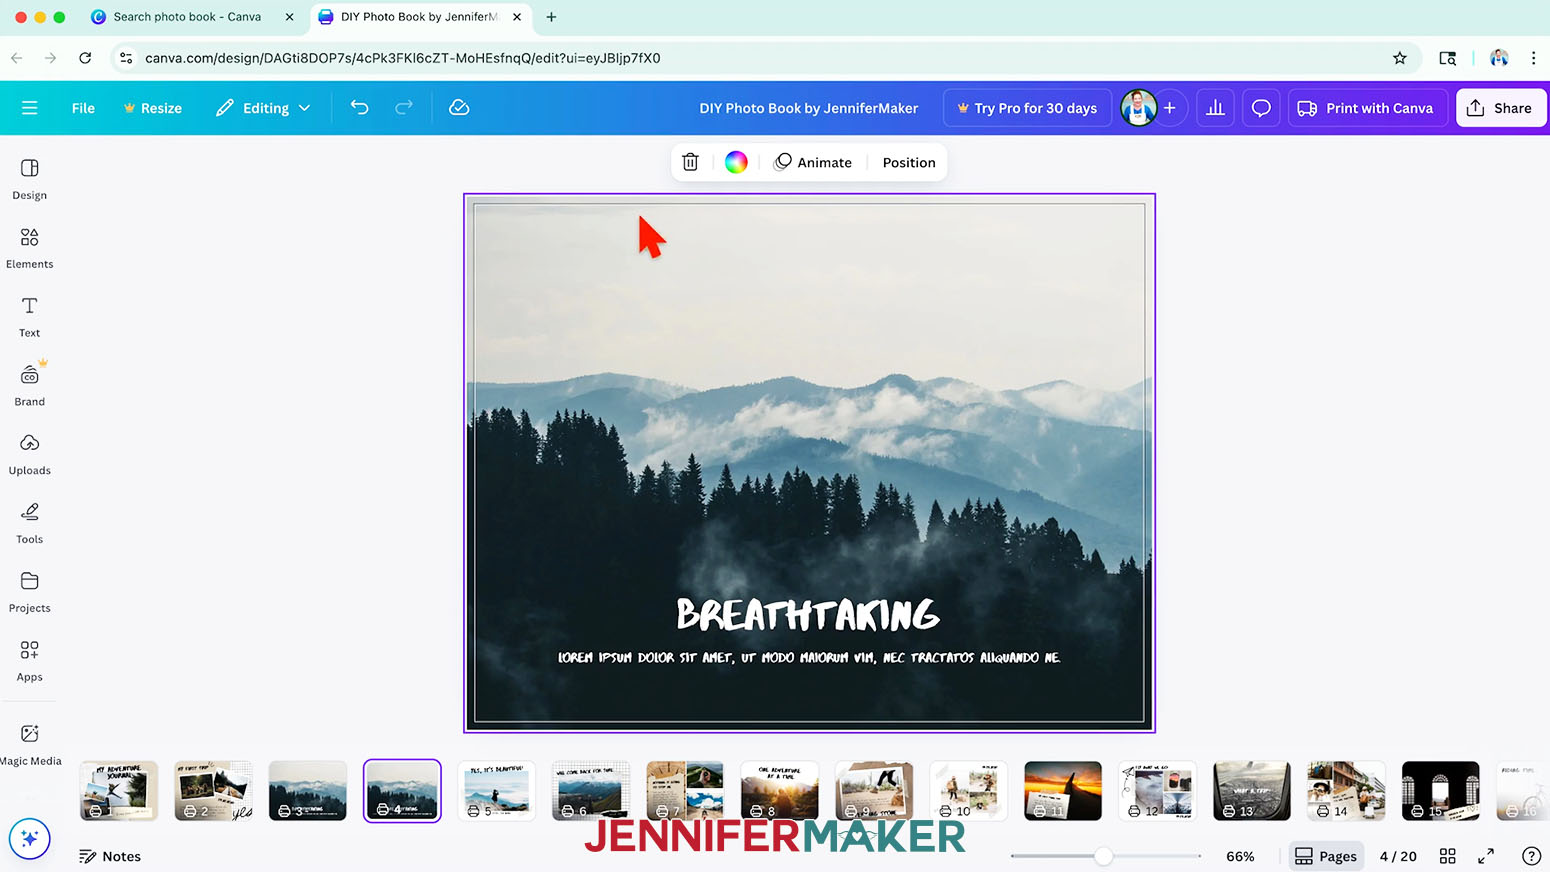
NOTE: To print with Canva, your book must be at least 22 pages long and have an even number of pages. If your template drops below 22 pages, you will see a pink error message that says “At least 22 pages are required to print. Please select more pages to continue.” This error will go away once you have the minimum number of pages in your template. - To make sure your pages will print edge-to-edge, click the “File” menu at the top, then select “Settings” and “Show print bleed.”
NOTE: Your background images on each page should extend past the gray guideline around the page.
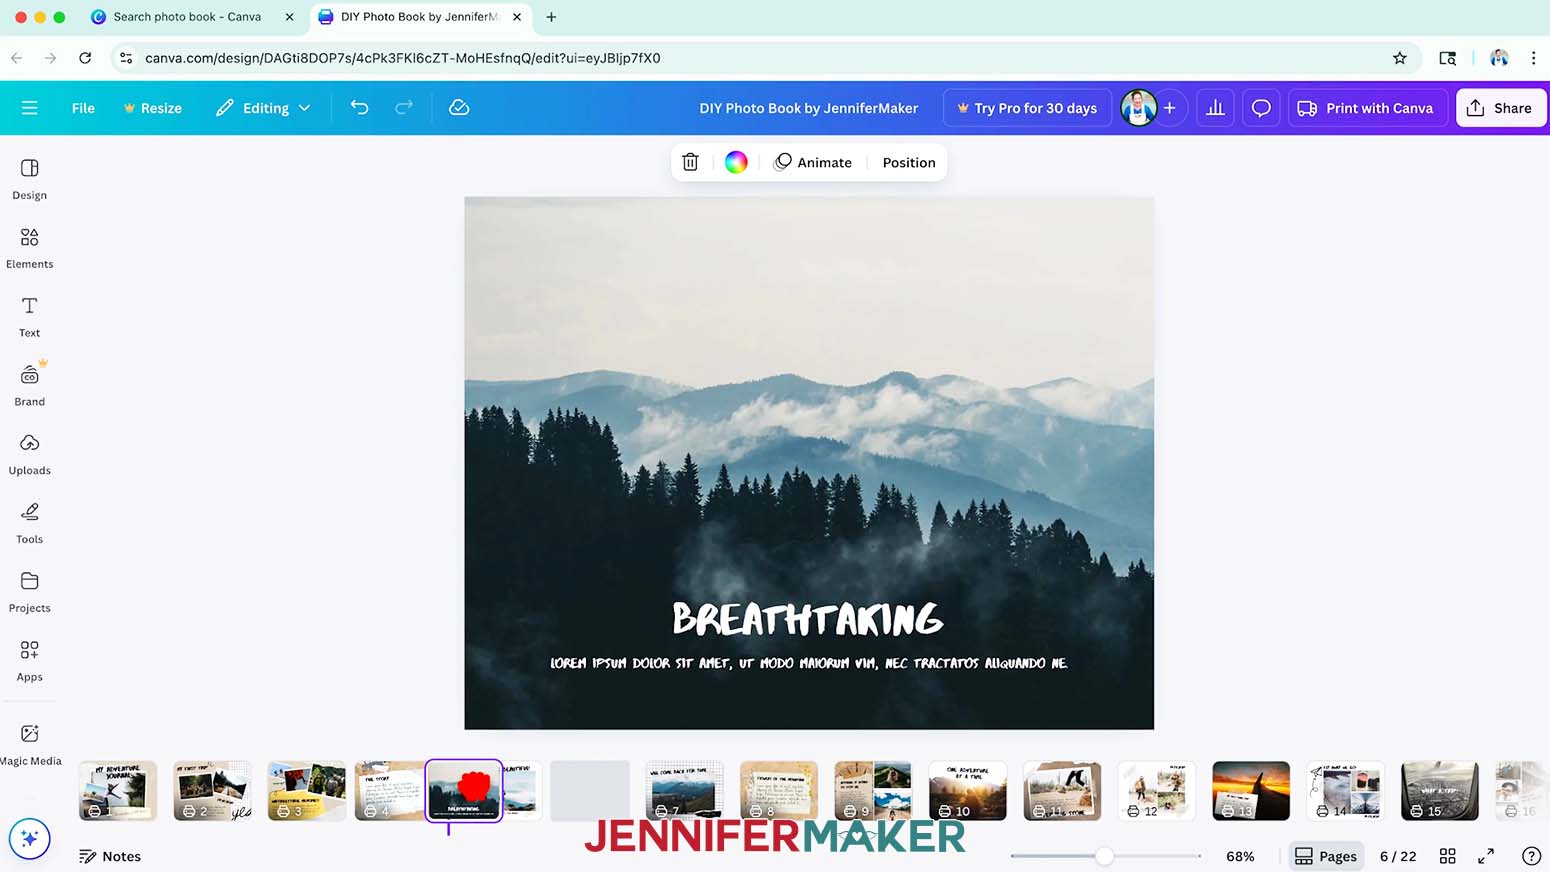
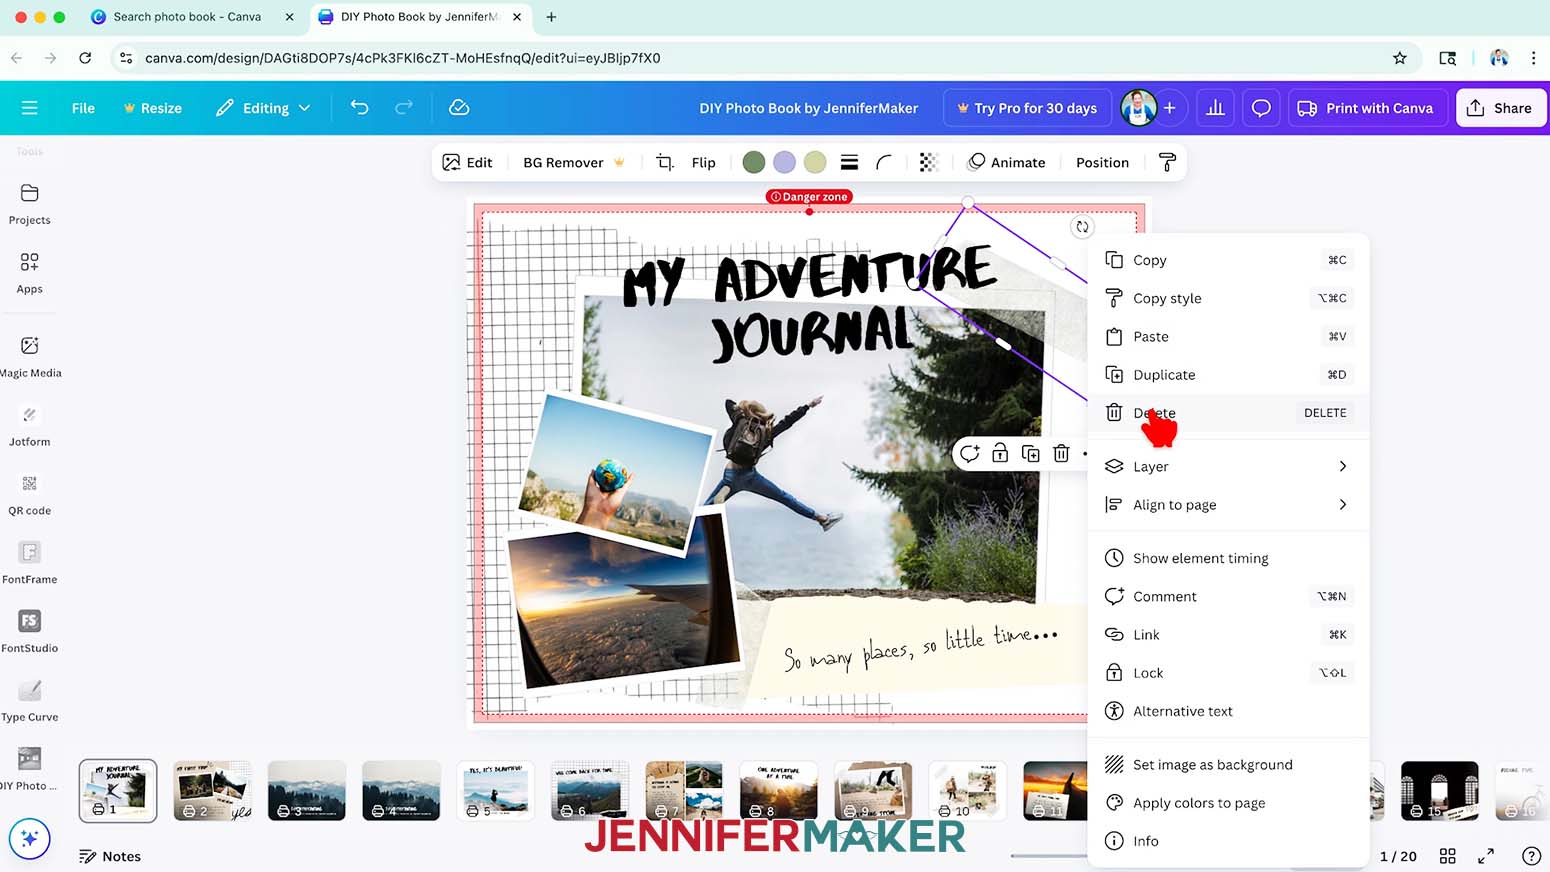
TIP: If you have the "Show danger zone detection" setting turned on, you may see a pink box around the outline of your page, warning you to watch for elements that may get cut off when printed. - If there are any elements in the template that you don’t like, select them and then click the “Delete” icon that looks like a trash can to remove them.
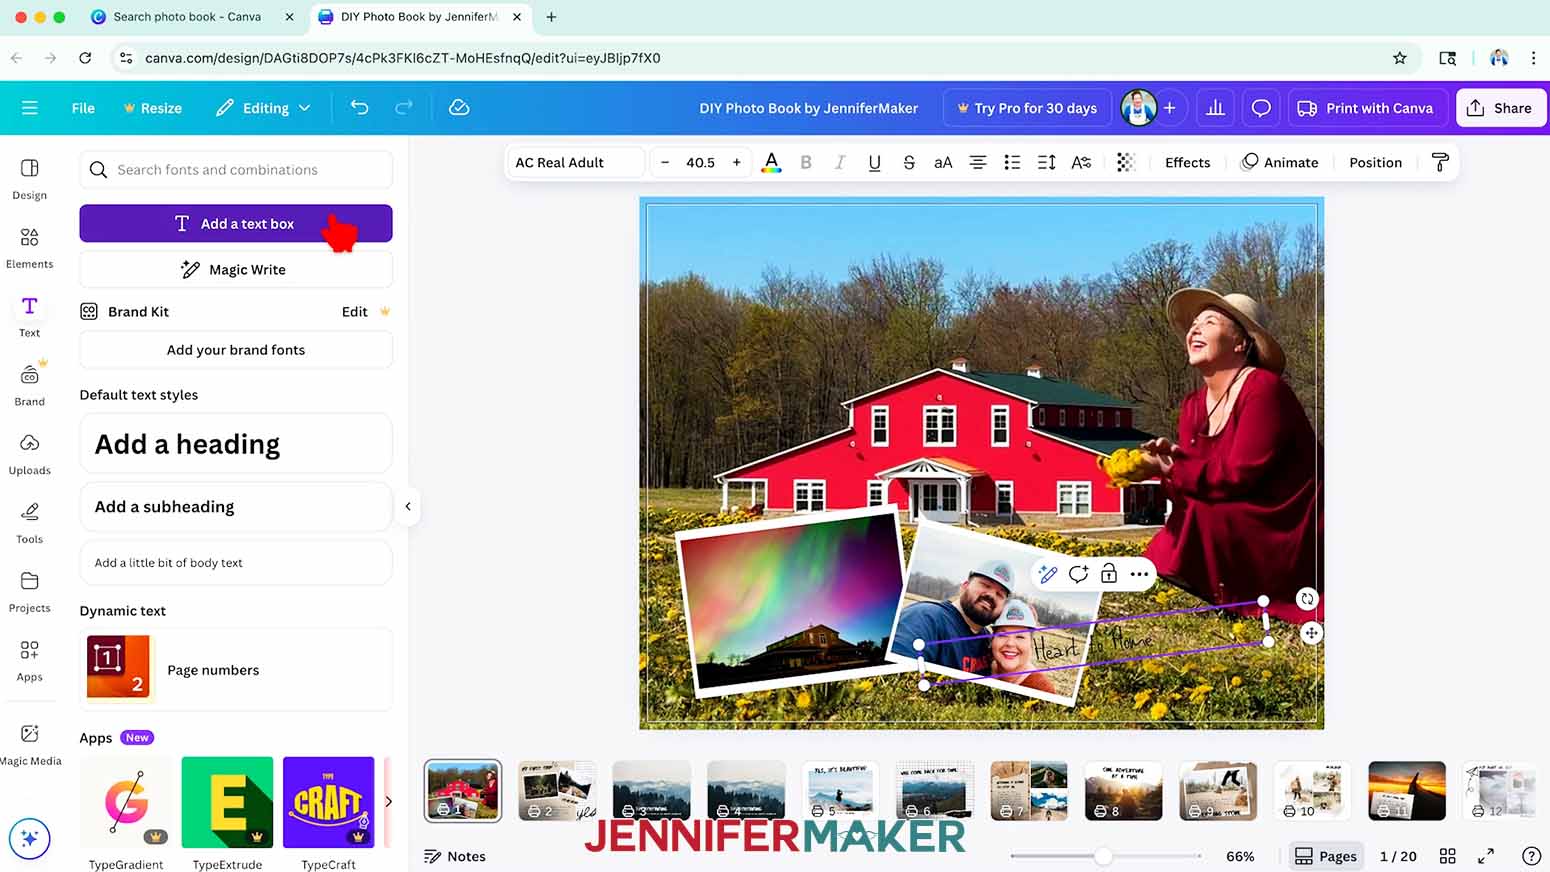
- To add text, click the “Text” icon in the side panel, then click “Add a text box.”
- Type your desired text in the box.
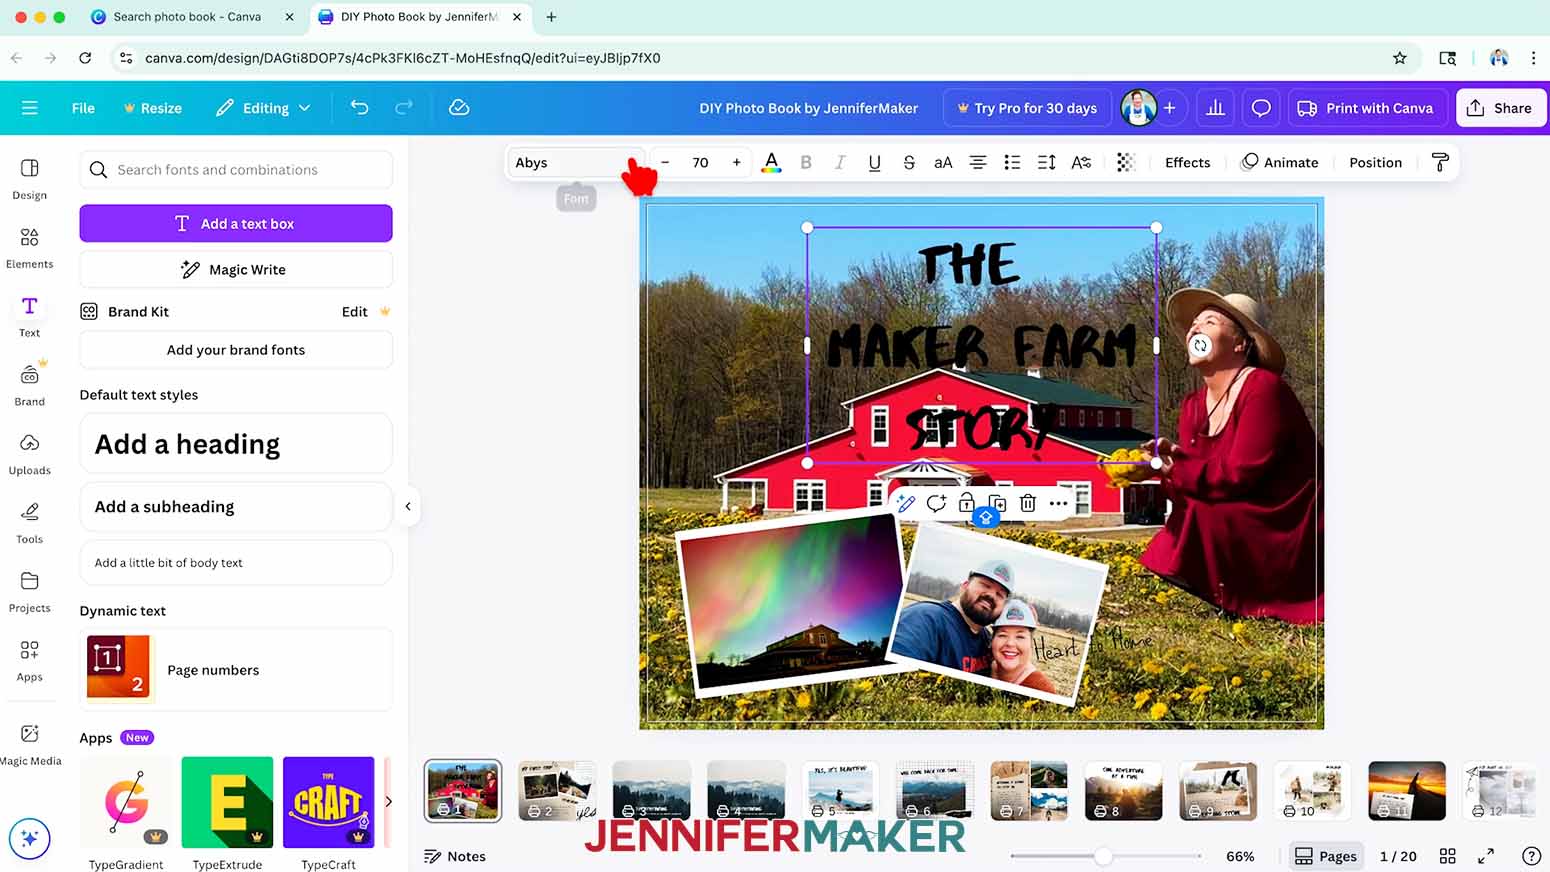
NOTE: I’ll type “The Maker Farm Story.”
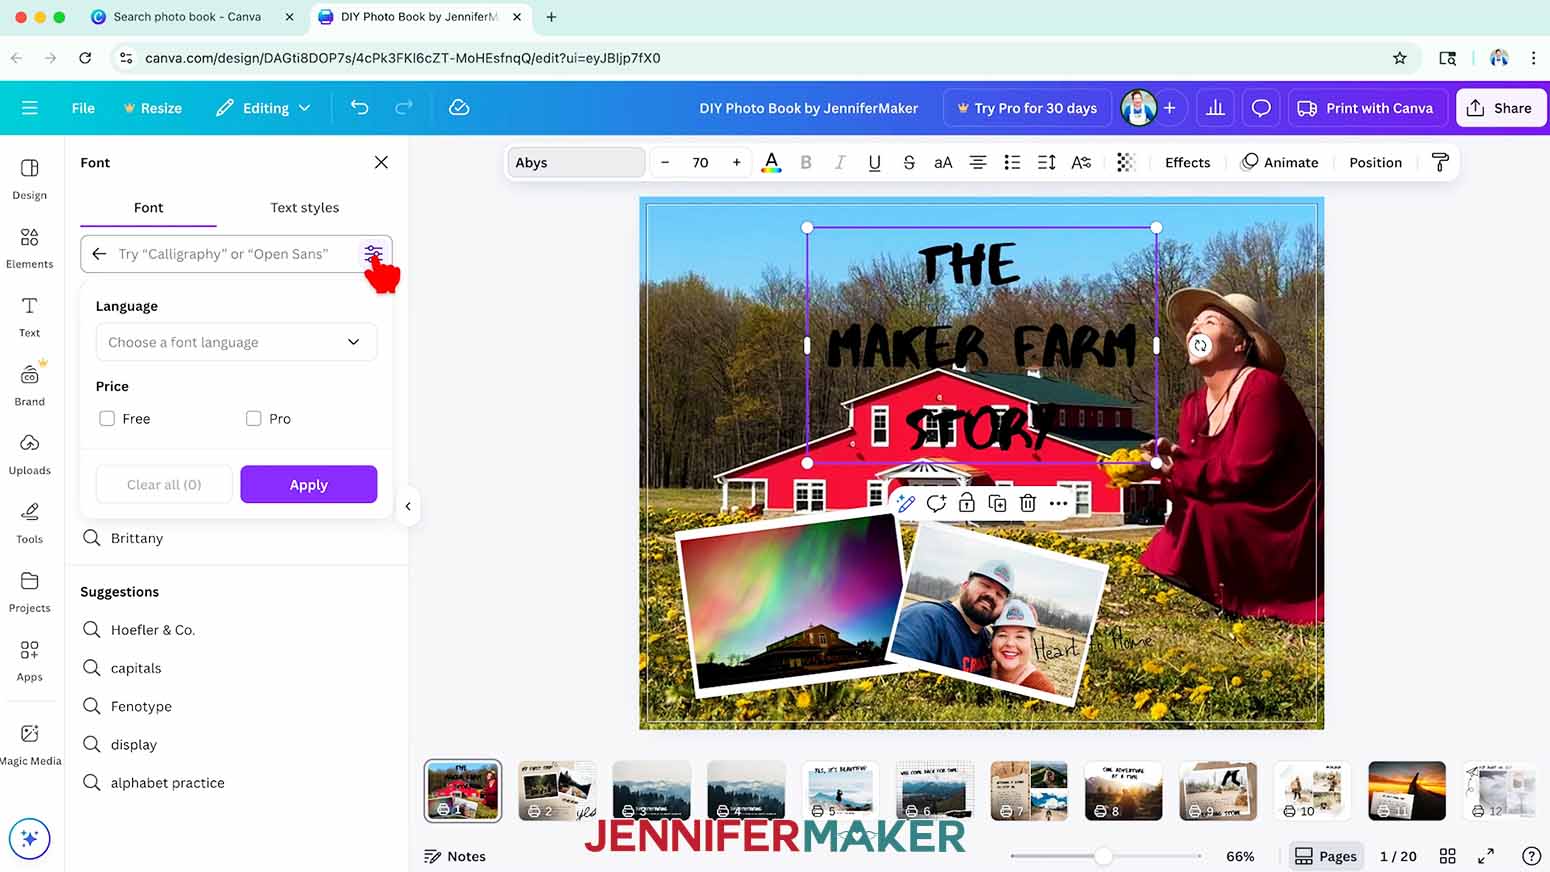
TIP: To change text on the canvas, double-click the text box and press your delete or backspace button on your keyboard. Then, type your new desired text in the box. - To change your text’s typeface, select your text and click the font drop-down menu.
- Click on the icon with three horizontal lines and small circles to open the “Filter” menu. Then check the box next to “Free,” and click “Apply” to show only fonts you can use without a paid account.
- Click a typeface you like from the list to apply it to your text.
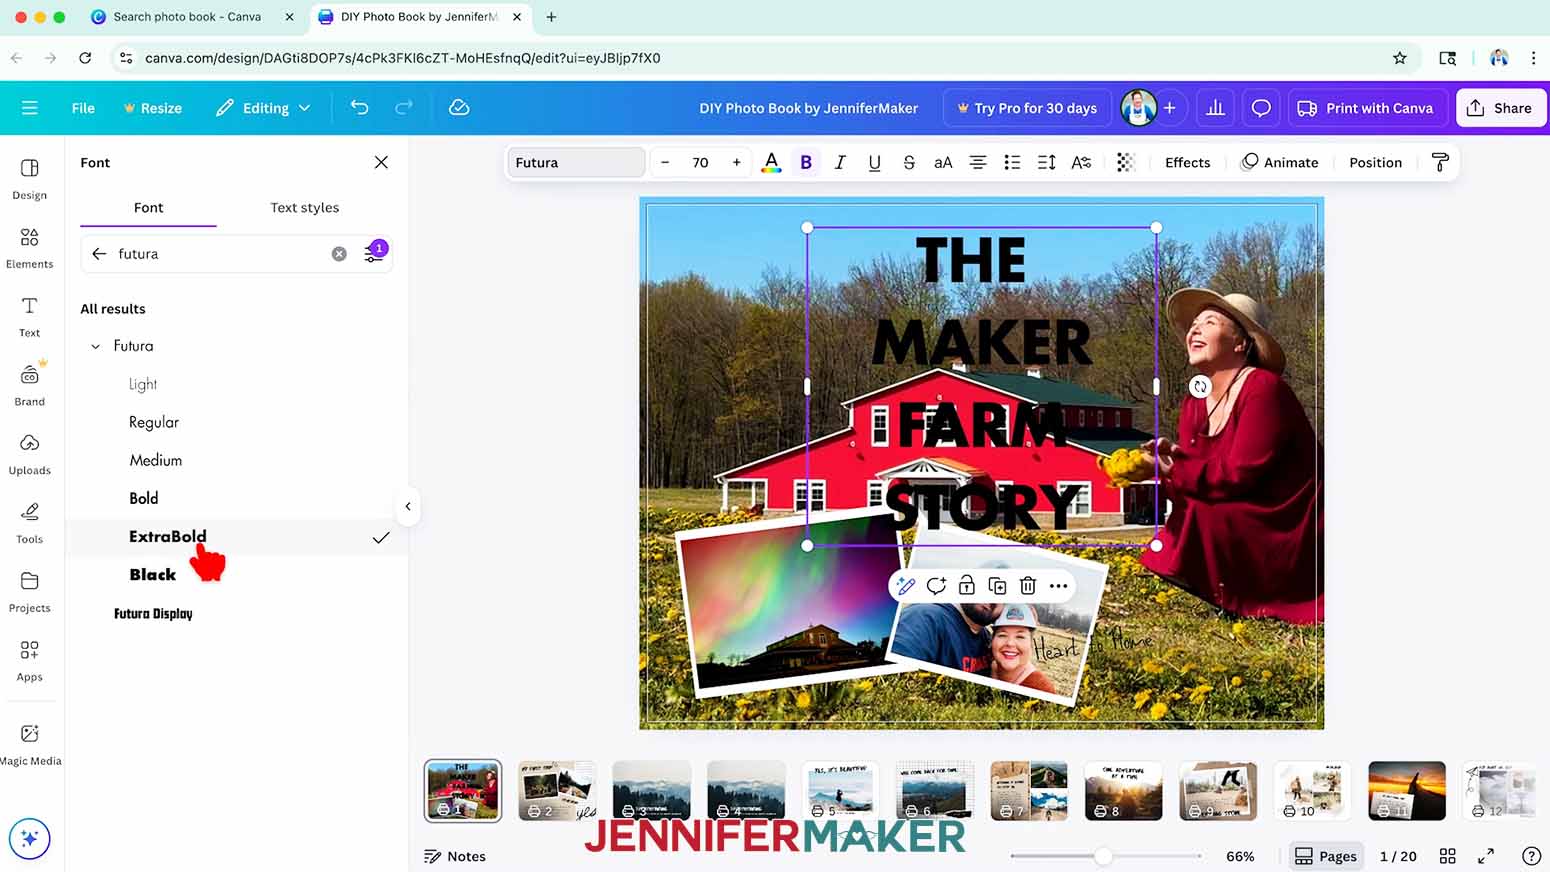
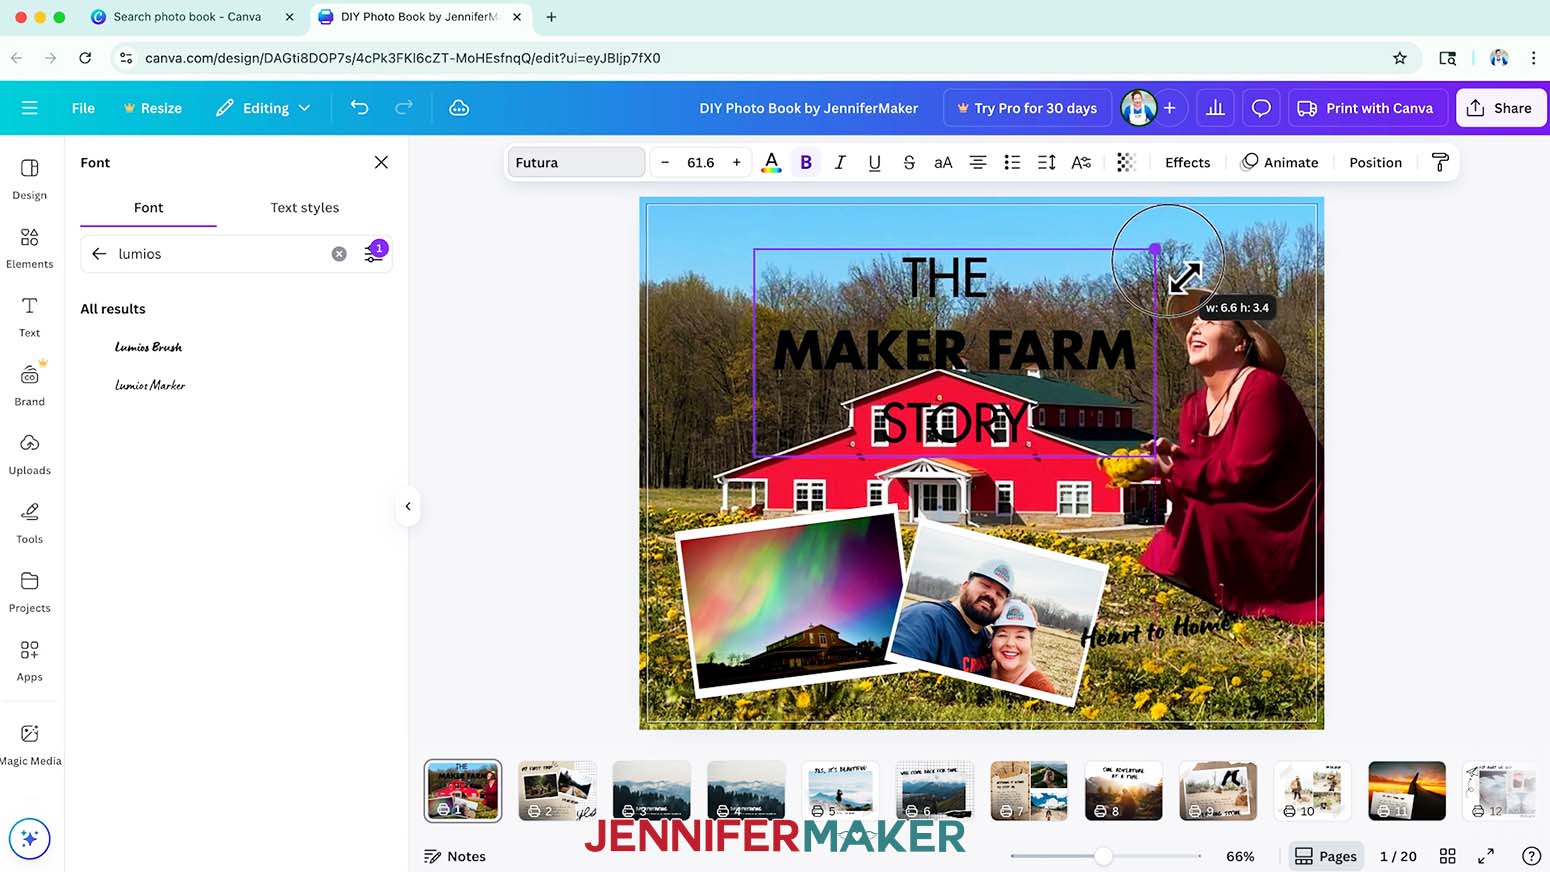
NOTE: I used Futura for the header and Lumios for the subtext.
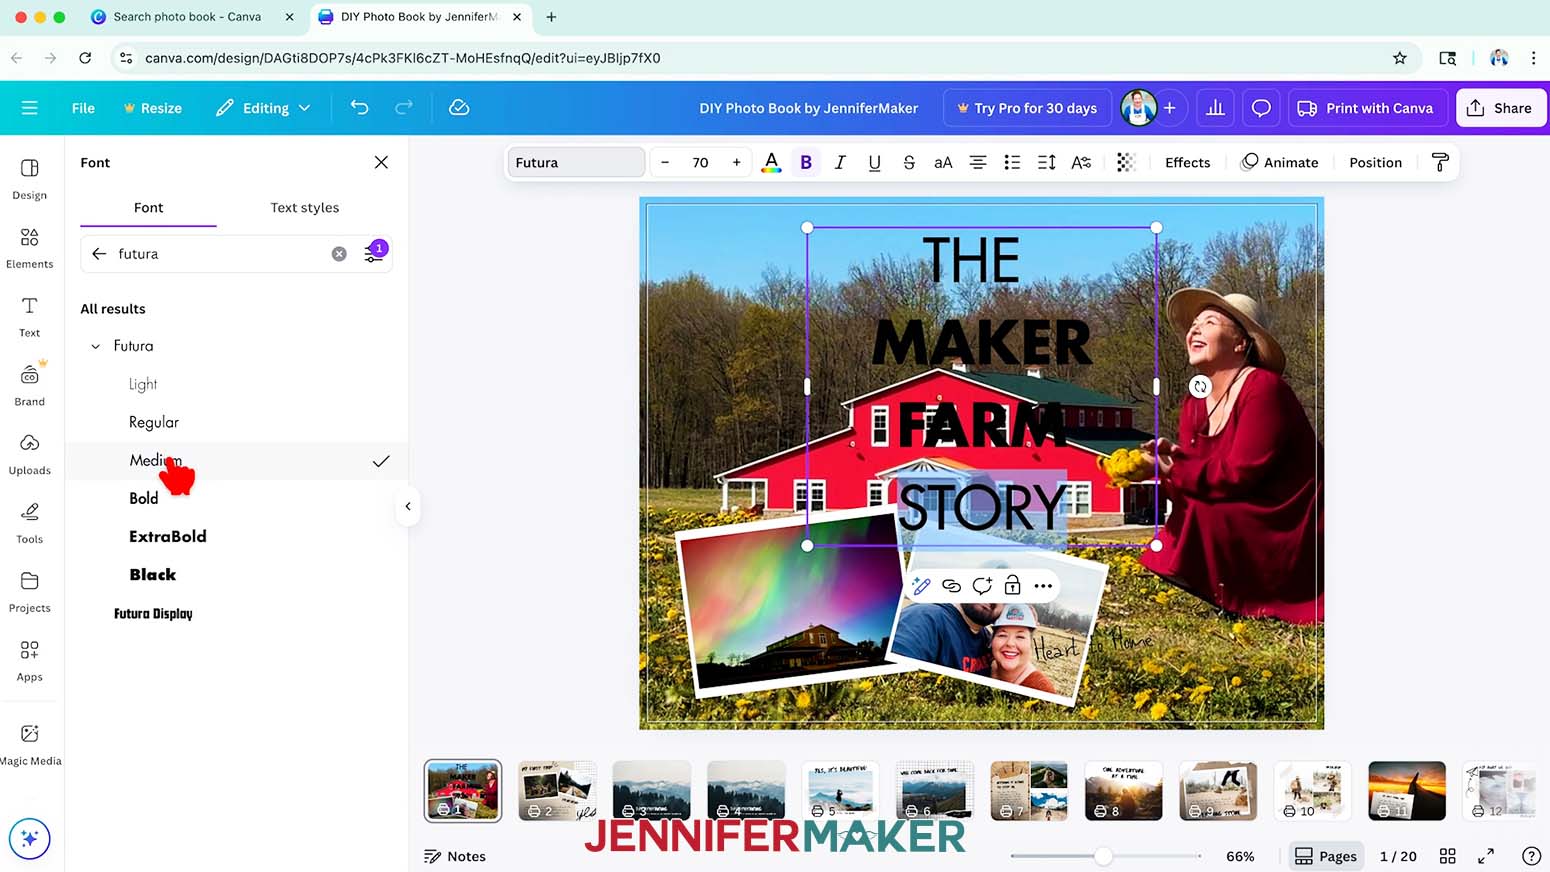
TIP: To use multiple typefaces or weights within one text box, make sure you use your "Enter/Return" key between each line of text. Then highlight and change the text in sections. I changed “THE” and “STORY” to Futura Medium, and kept “MAKER FARM” Futura ExtraBold. I recommend using no more than three to four typefaces throughout your entire book for a cohesive look. - To resize your text, use the corner Resize handles to make your text larger or smaller, and the side handles to change the text’s position inside the box.
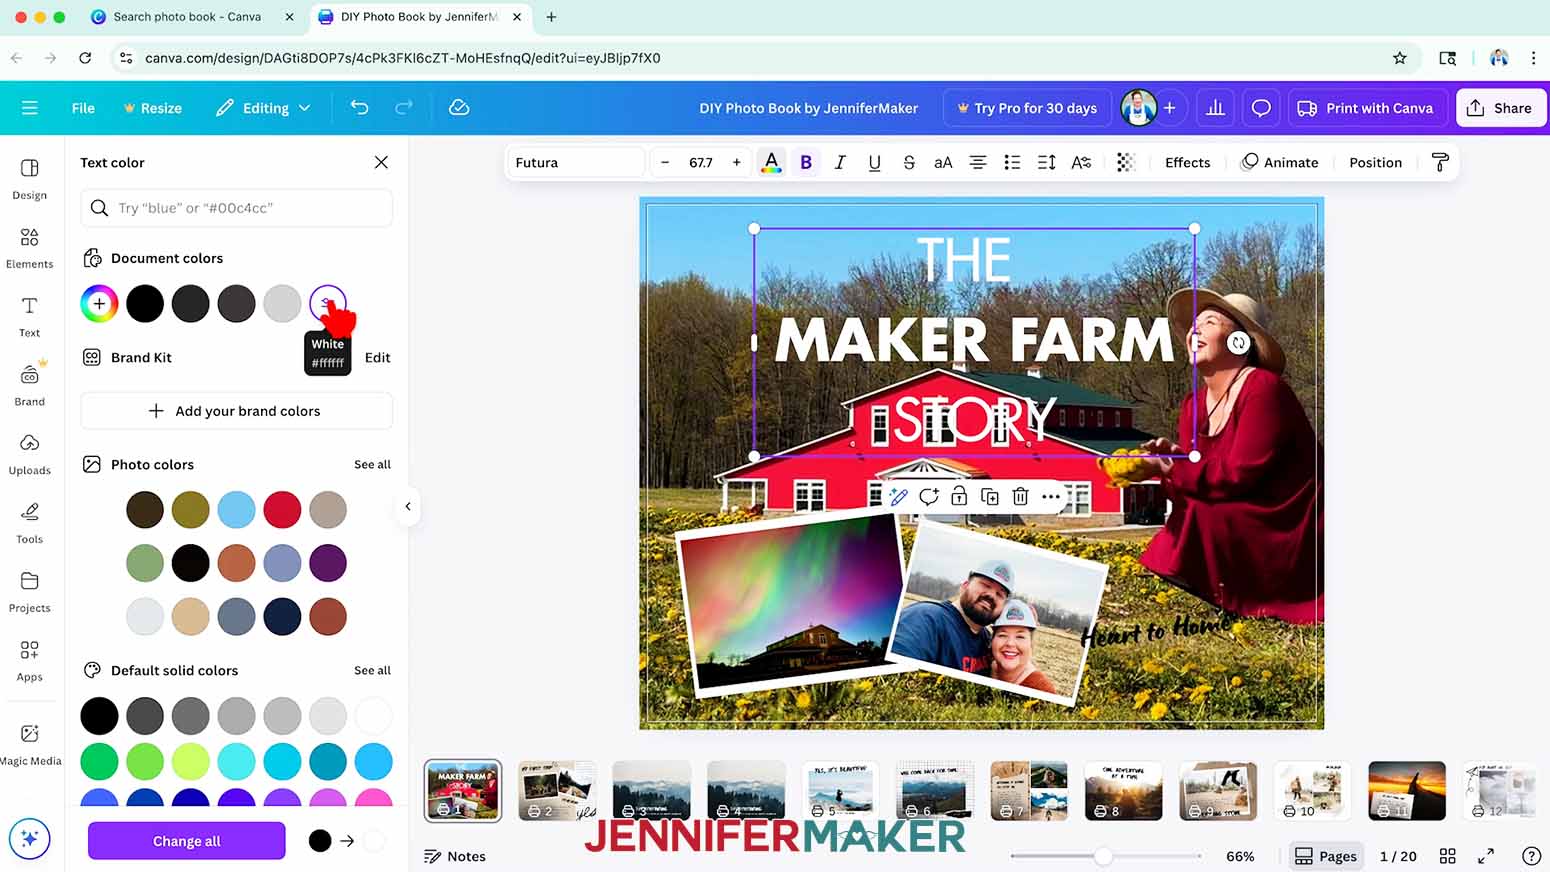
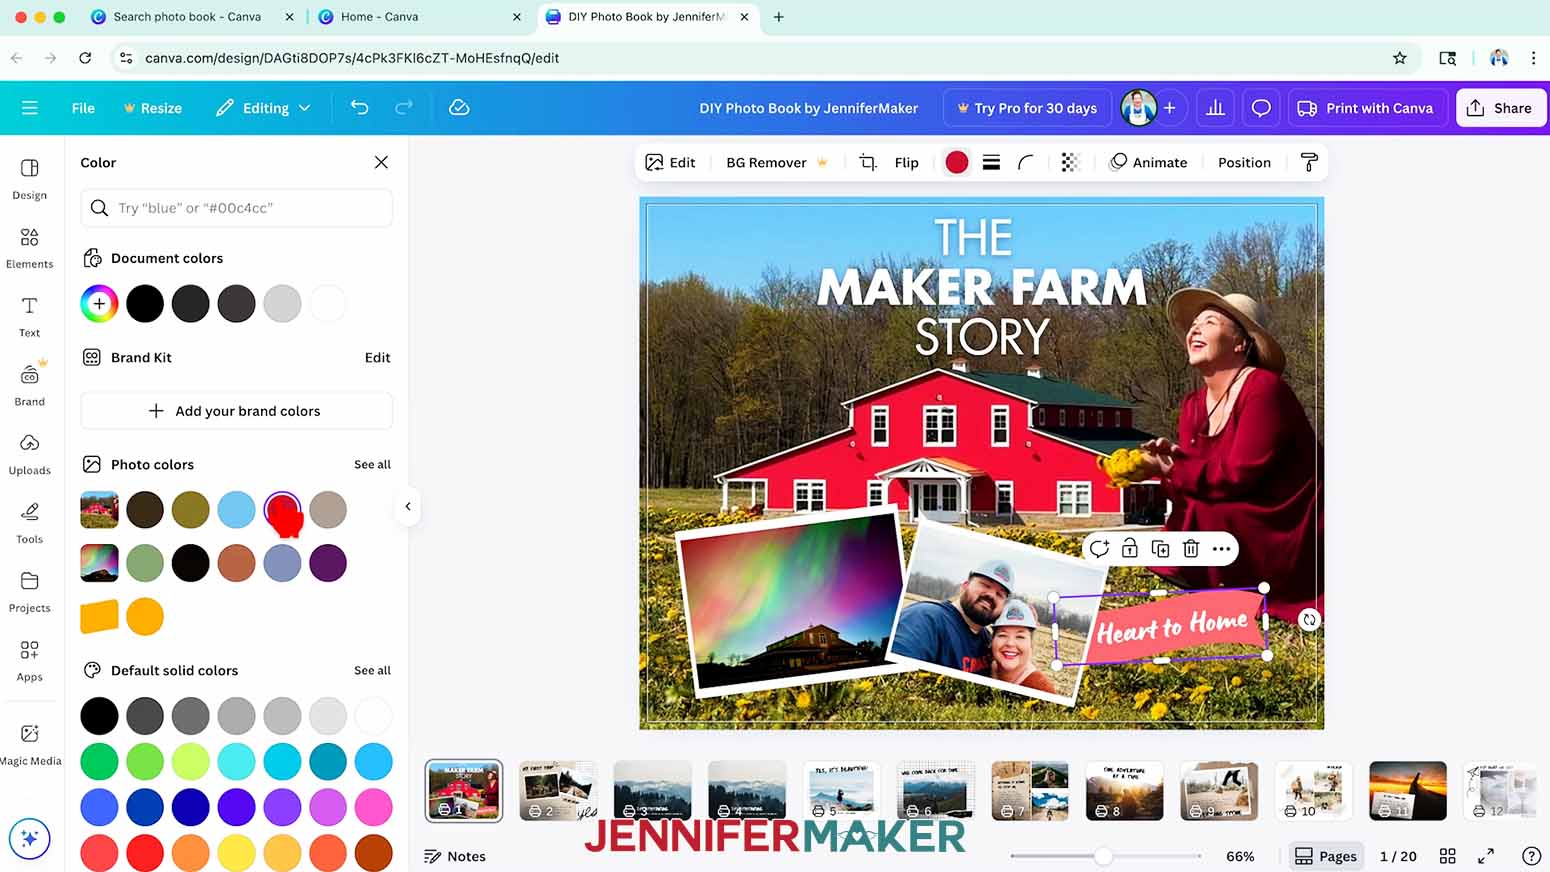
- To change the color of your text, click the toolbar button with the letter “A” above a color box and choose a new option from the menu that opens on the left.
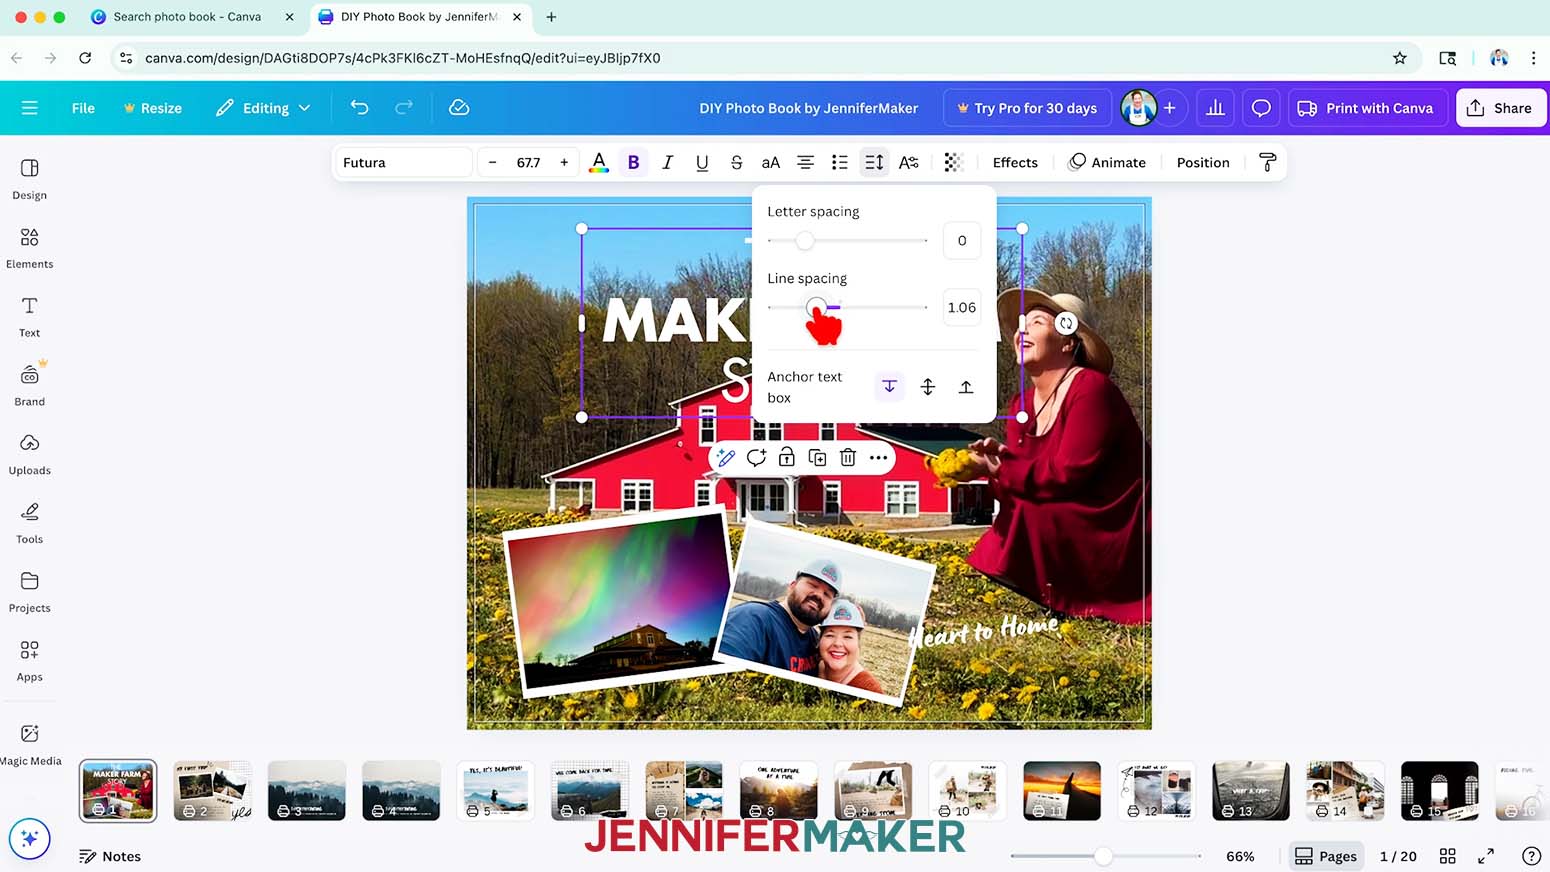
- To adjust the spacing between your letters or lines of text, click the “Spacing” icon at the top that looks like three lines and a double-ended arrow.
- Drag the sliders to adjust the letter spacing or line spacing.
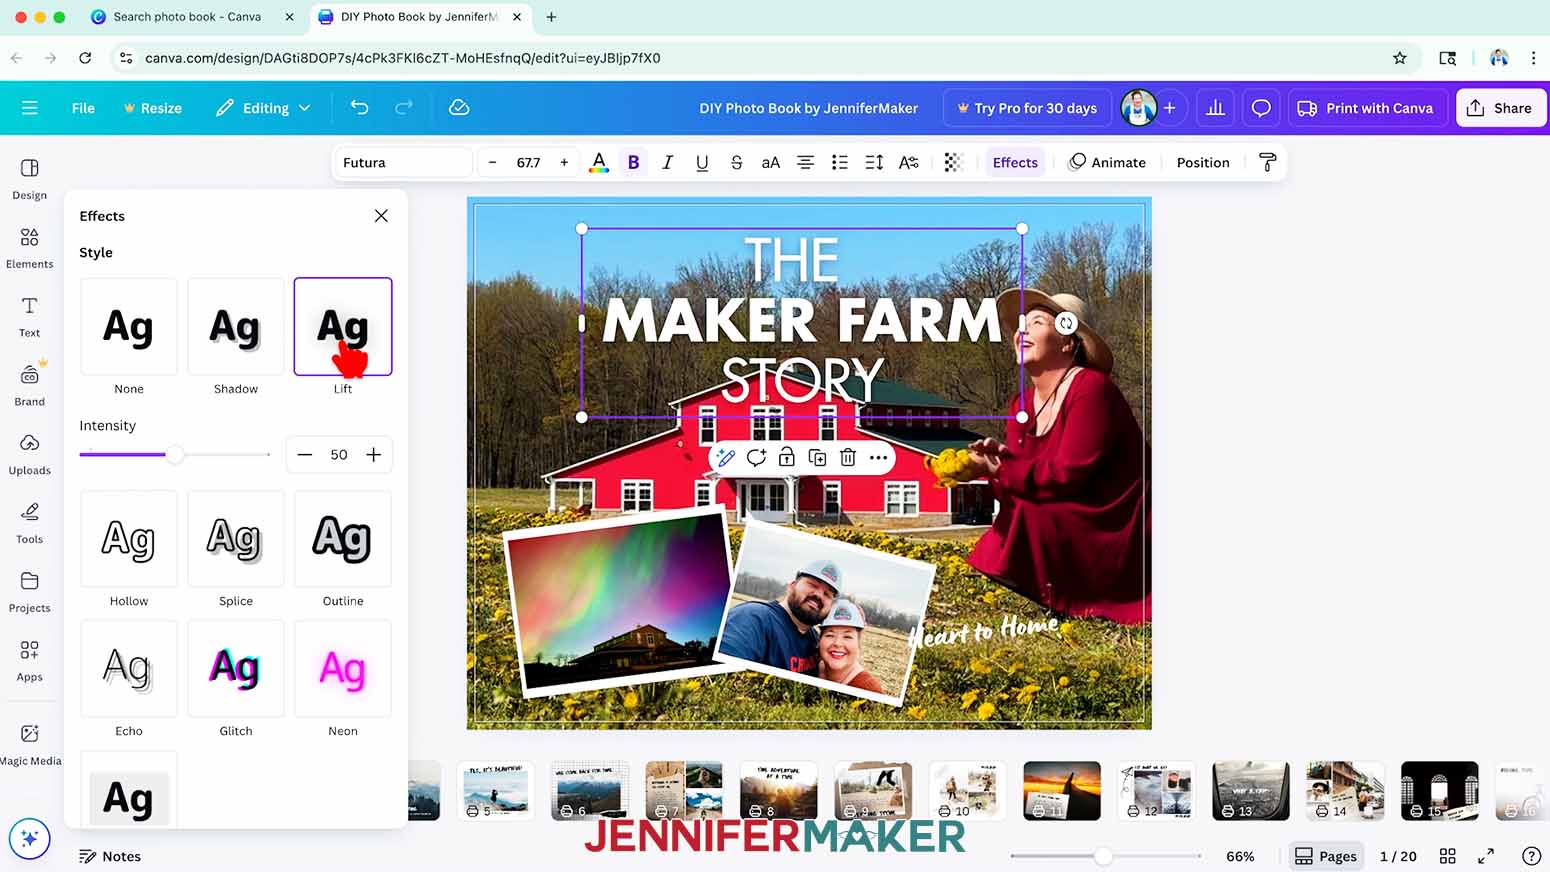
NOTE: I adjusted my line spacing to 1.06. - To add effects to your text, select a text box, then click “Effects” at the top and select a text effect from the menu.
NOTE: I selected “Lift” to add a soft shadow behind my text. - To rotate your text, drag the curved arrow icon outside of the text box to rotate the text clockwise or counterclockwise.
- Click and drag the text box to move it into your desired position.
- To use the same style heading or text on other pages, select the text and click the three dots that appear. Then click “Copy.”
- Go to the page where you want the copied text, and right-click your mouse. Then click “Paste.”
- To adjust the background, double-click on it and a “Crop” window will appear. Resize, move, or replace the background as desired.
- You can also just drag and drop a new photo into the background's frame.
STEP 3: ADD YOUR PHOTOS & ELEMENTS TO YOUR PHOTO BOOK
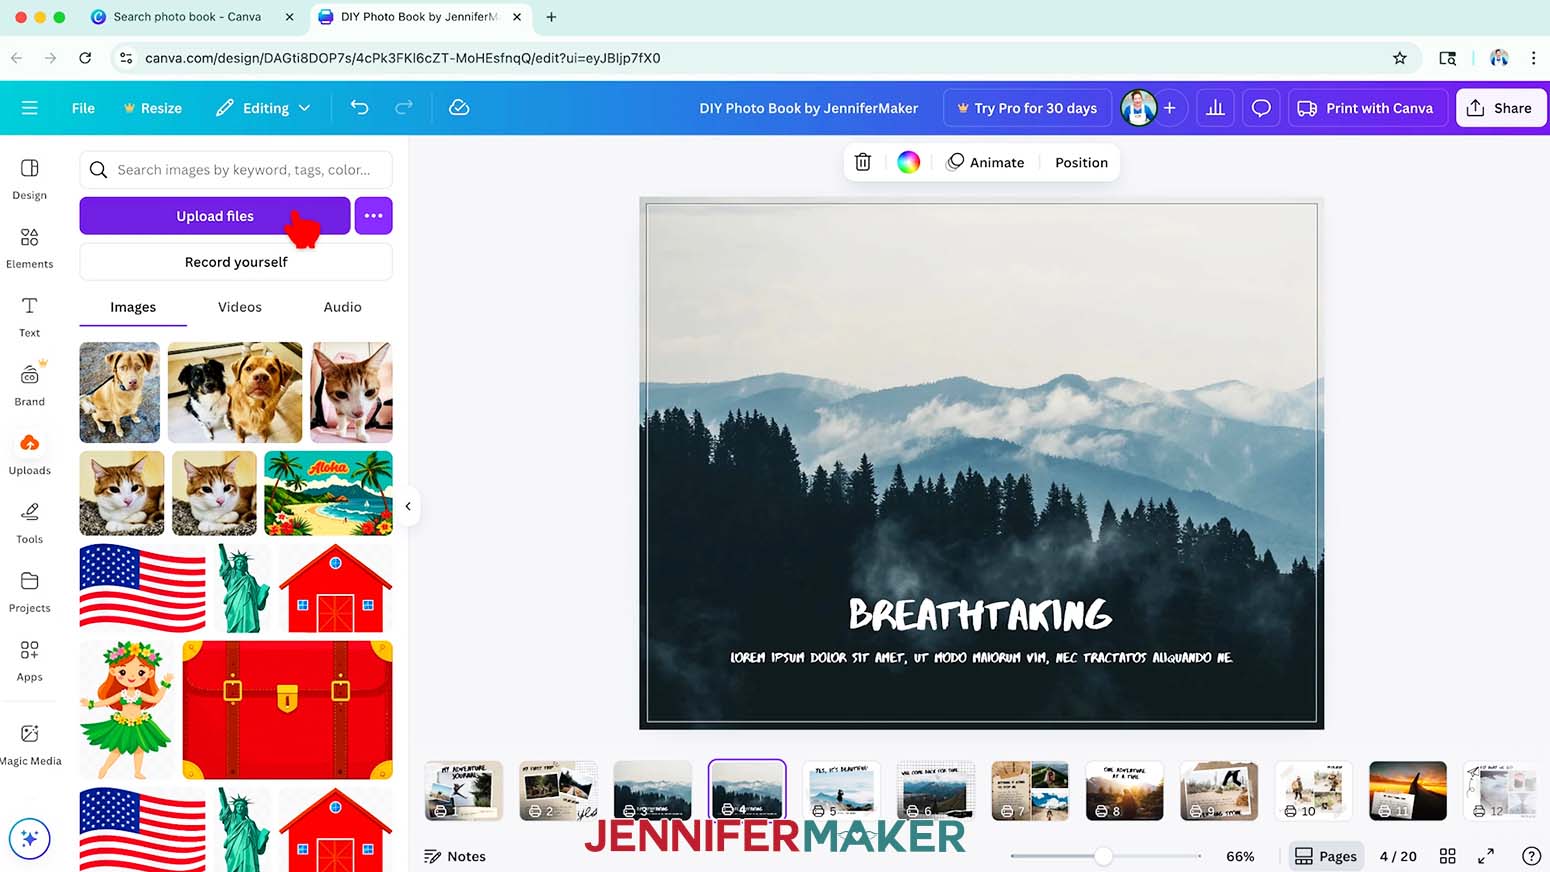
- Click “Uploads” in the side panel.
- Click “Upload files.”
- You can select each photo one at a time or hold the Command or Control key on your keyboard and click multiple photos to select them all.
- Click “Open.”
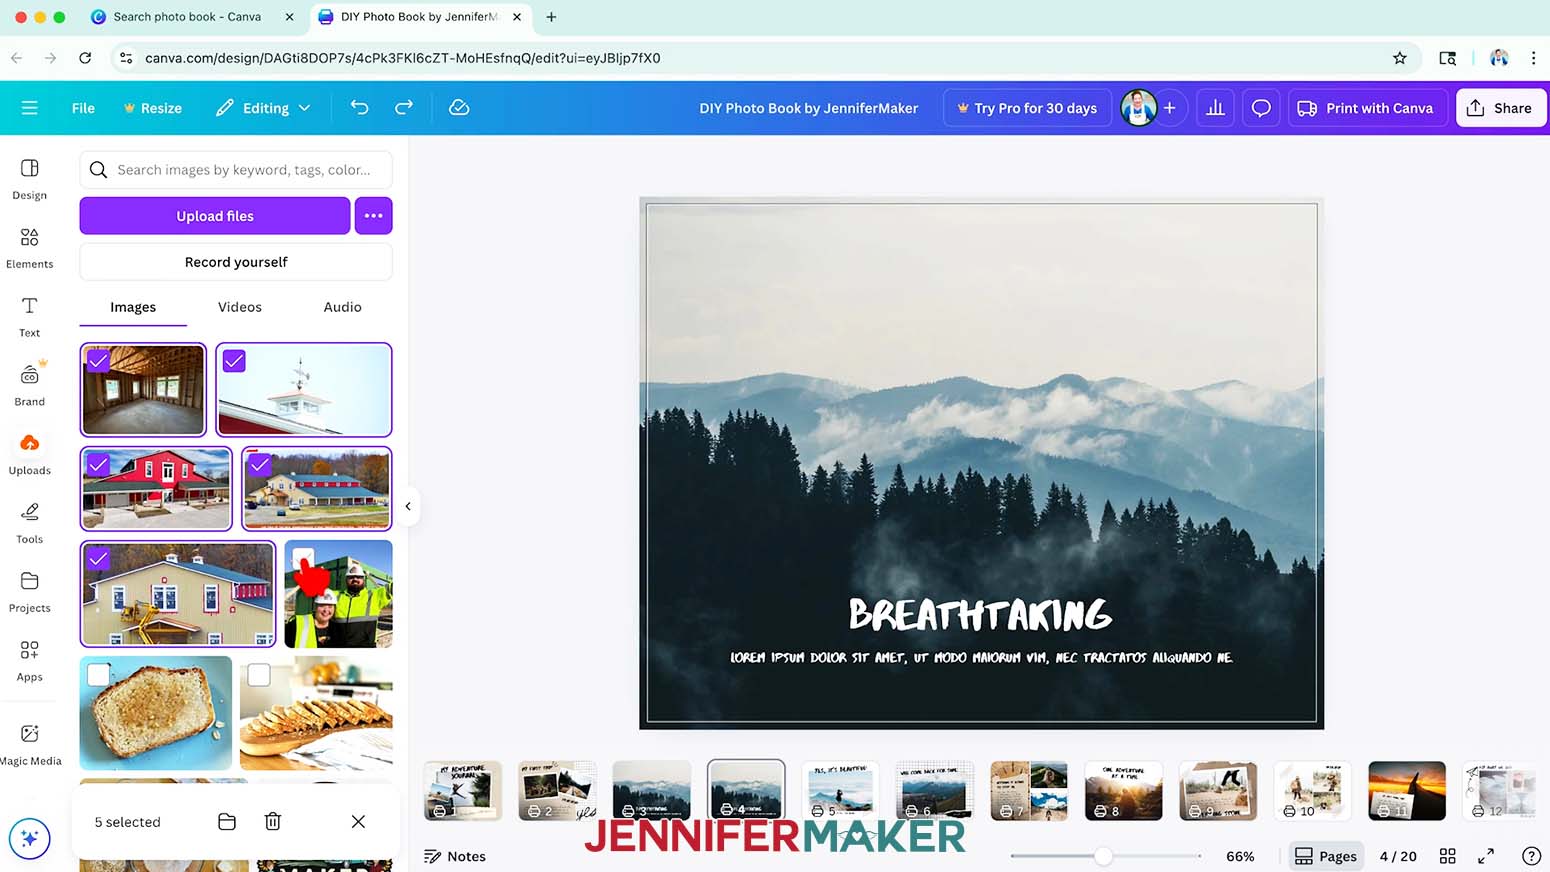
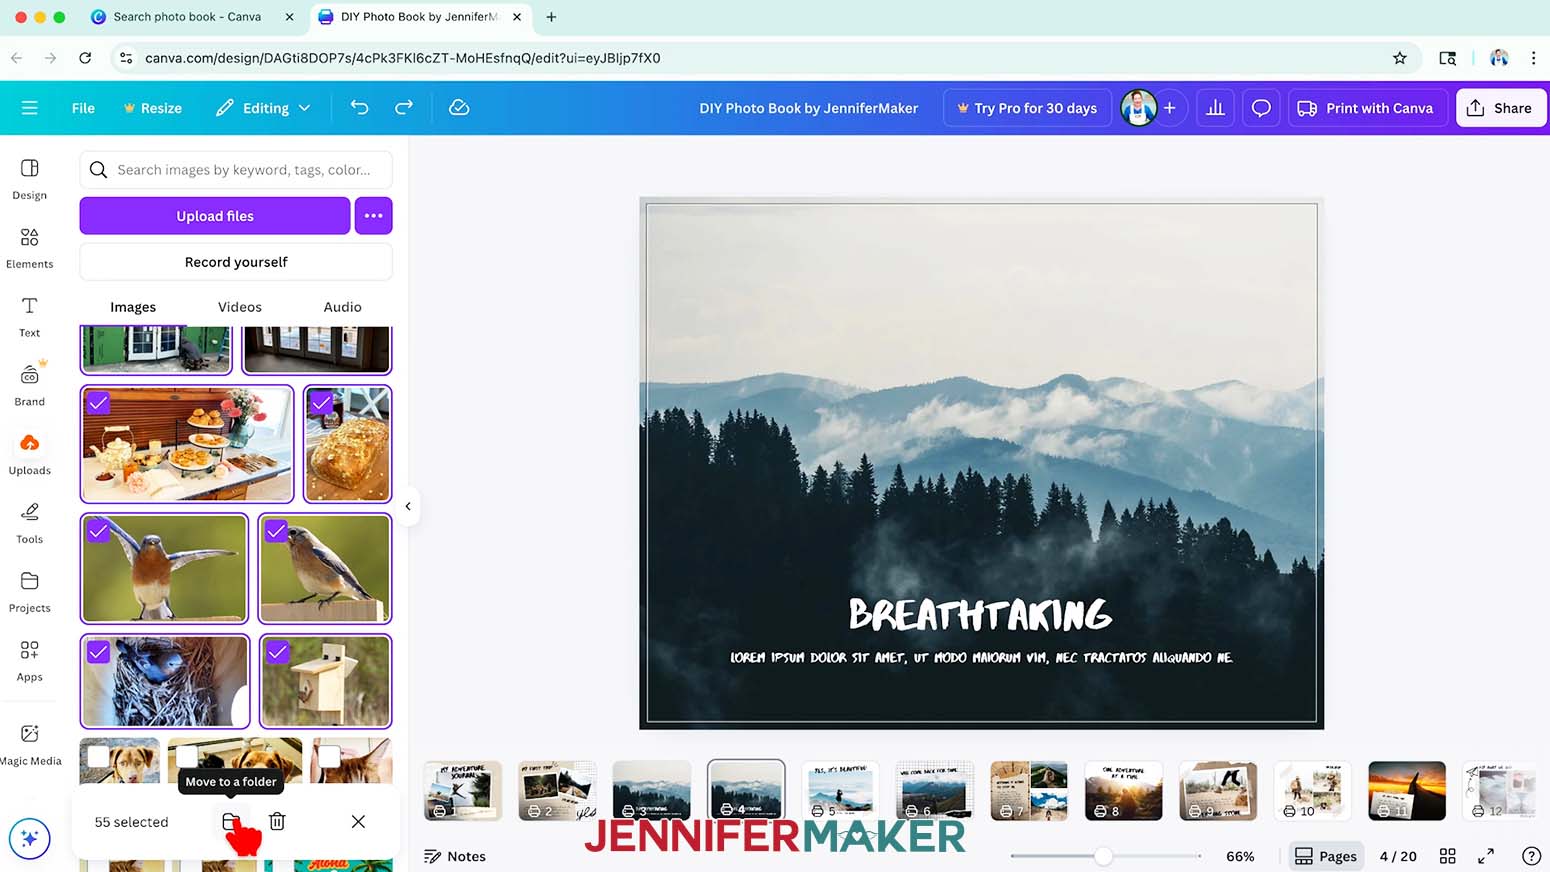
- To add the photos you uploaded for your photo book to their own folder to stay organized, click the check boxes at the top left of each photo to select them.
- Click the “Move to a folder” icon that looks like a folder.
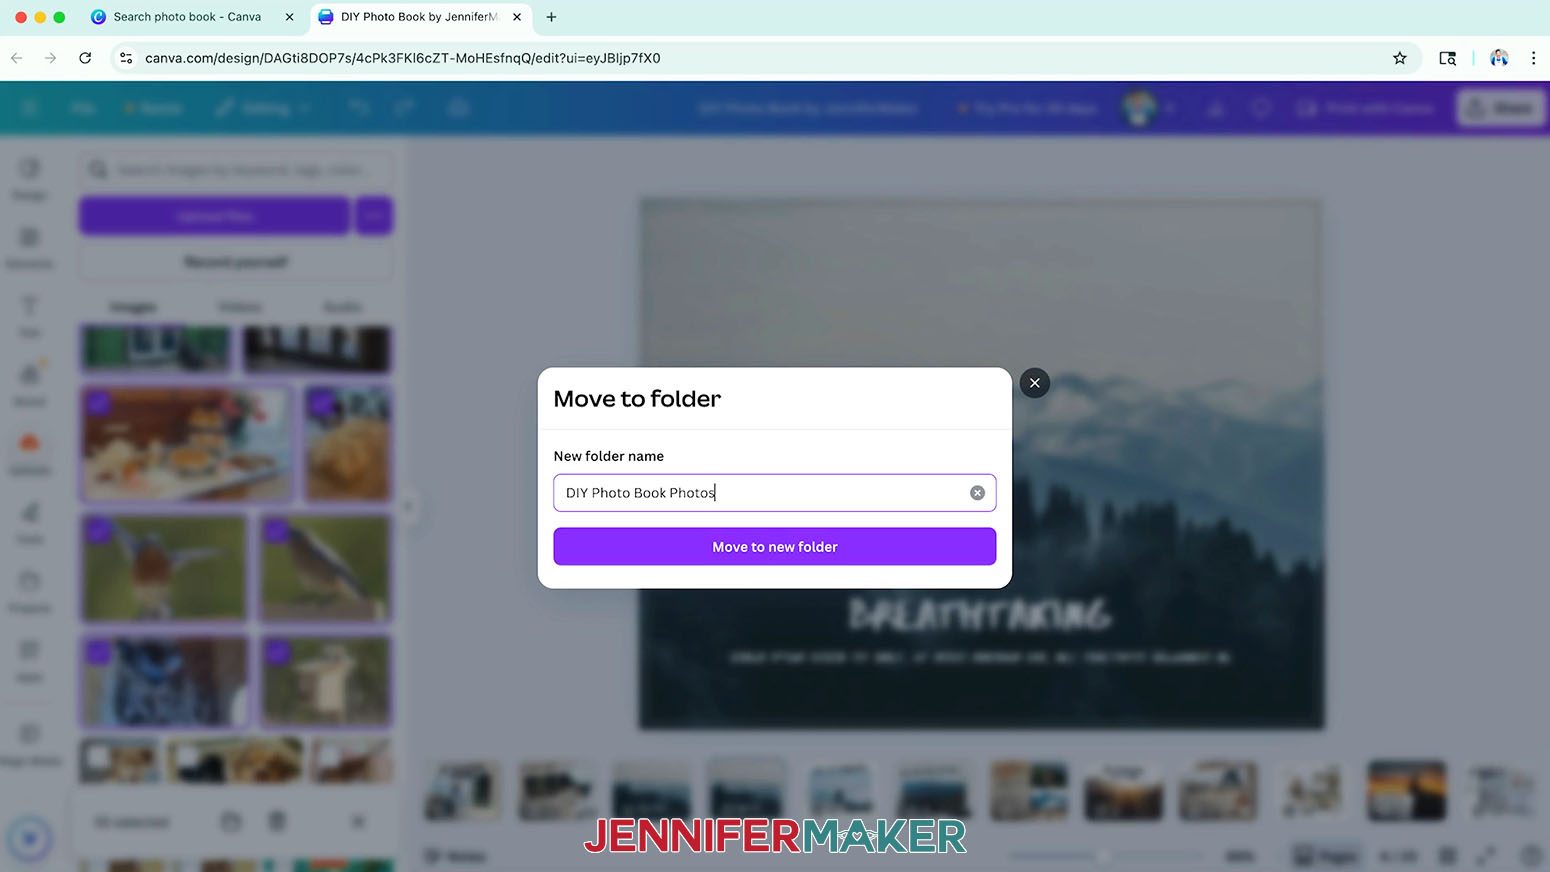
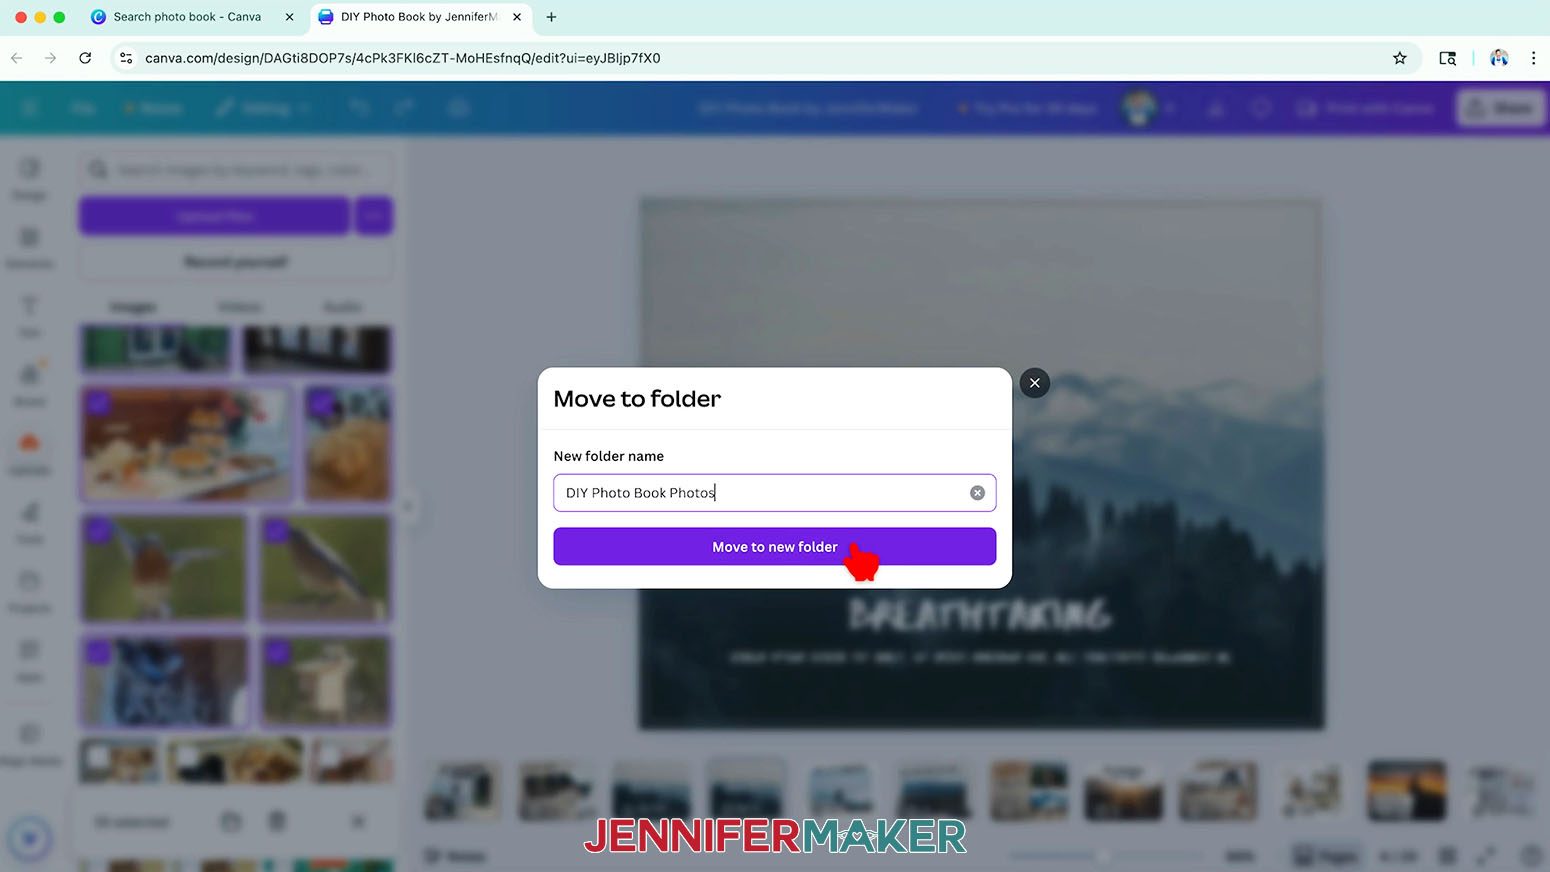
- Click “Create new” and type a name for your folder. I typed “DIY Photo Book Photos.”
- Click “Move to new folder.”
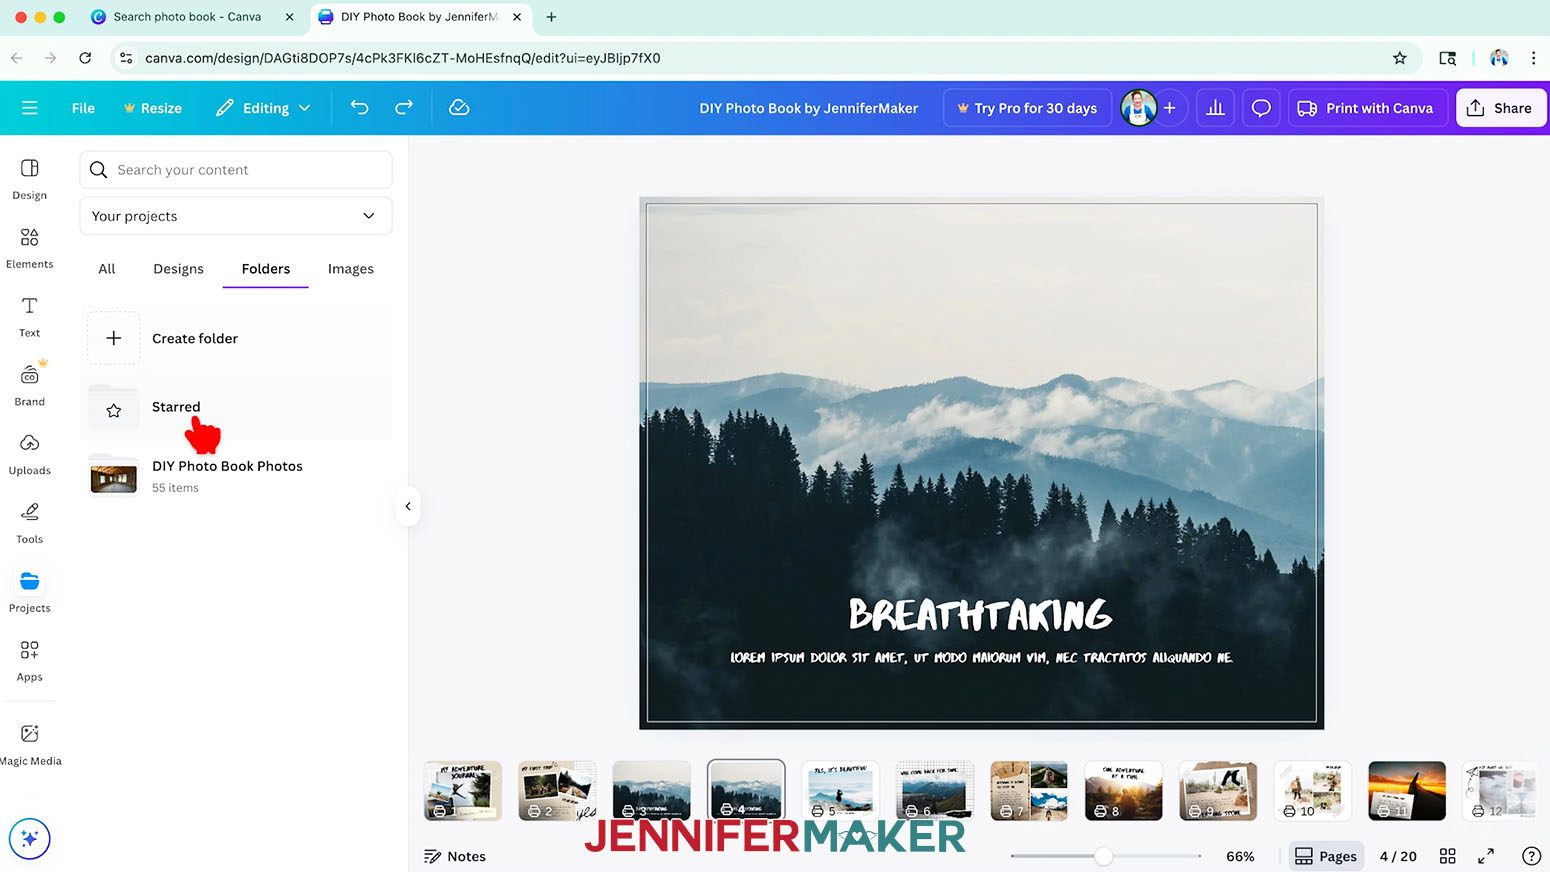
- To find the new folder, click “Projects” on the left side and then click “Folders.”
- Select your folder to access your collection of photos for your photo book.
TIP: To add more photos to the folder after you’ve created it, open the folder on your computer that contains the photos and then drag them into the folder on your Canva screen. You can select each photo one at a time or hold the Command or Control key on your keyboard and click multiple photos to select them all. - To change your background to another image, simply click and drag a photo from your uploads onto the background frame and watch it fill the space.
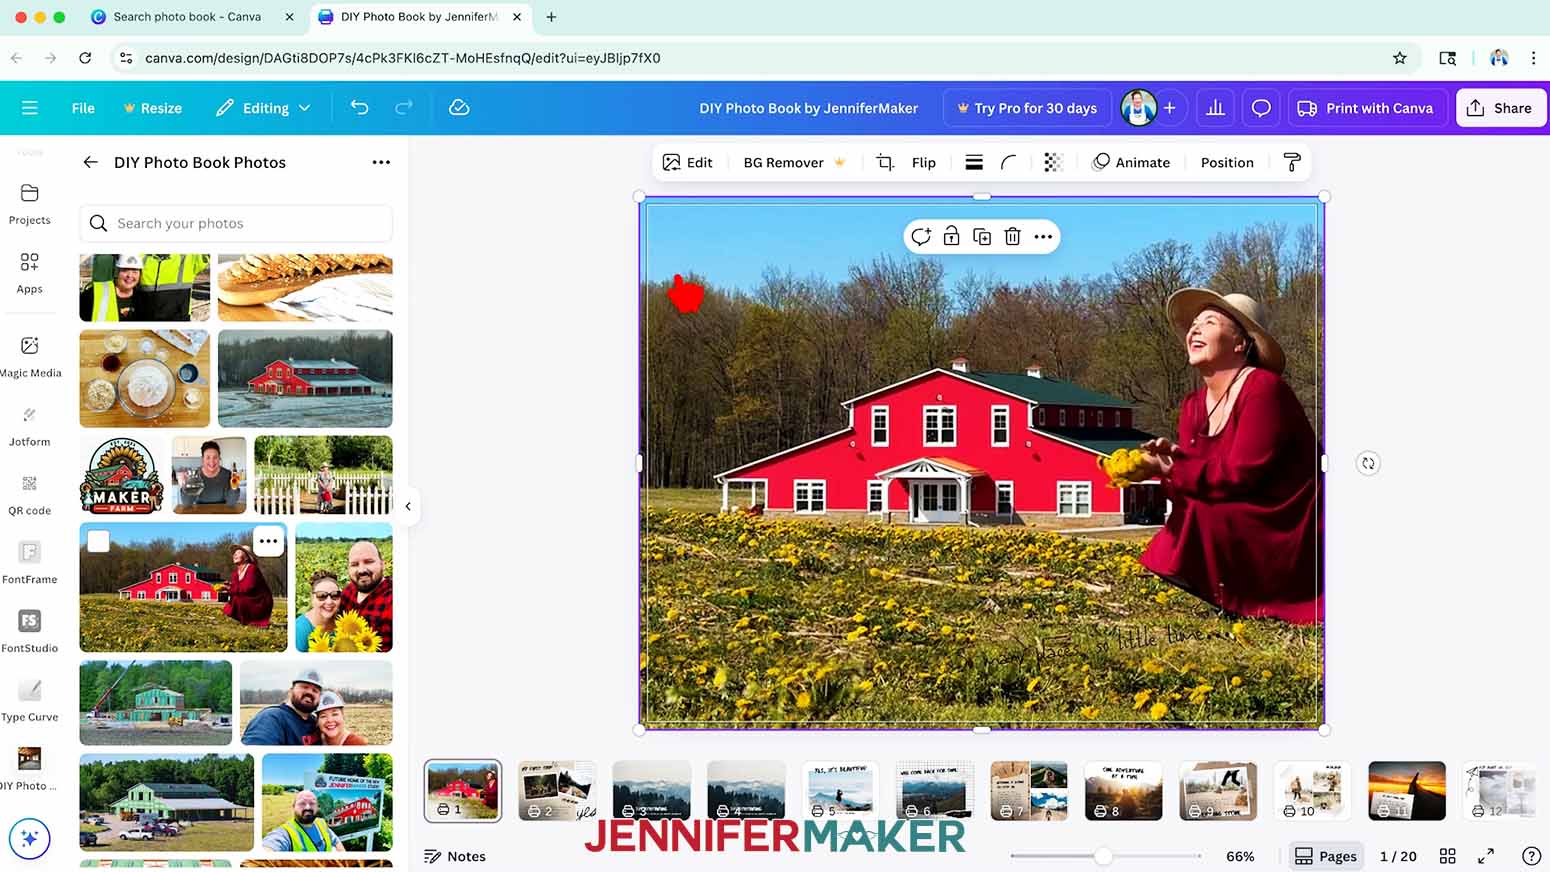
- On one of your pages, find a frame you’d like to fill with your own photo.
- While unfilled frames are identifiable by the illustrated landscape Canva uses in them, filled frames in templates might be harder to identify. To check if an element is placed on its own or using a frame, click the image and click “Delete” in the small menu.
- Different options will appear, like “Delete image,” “Delete frame,” or “Delete grid” so you can tell which tool is in use. Delete the template image to reveal the blank frame landscape.
- Click and drag the photo from your Uploads folder onto the frame and hover in the top left corner until the image automatically fills the frame.
- If you want to add elements outside of frames, like shaped Graphics, click to add them to your canvas and then drag them into place. Keep elements at least ¼” away from the edges of each page to ensure nothing gets cut off when Canva prints it.
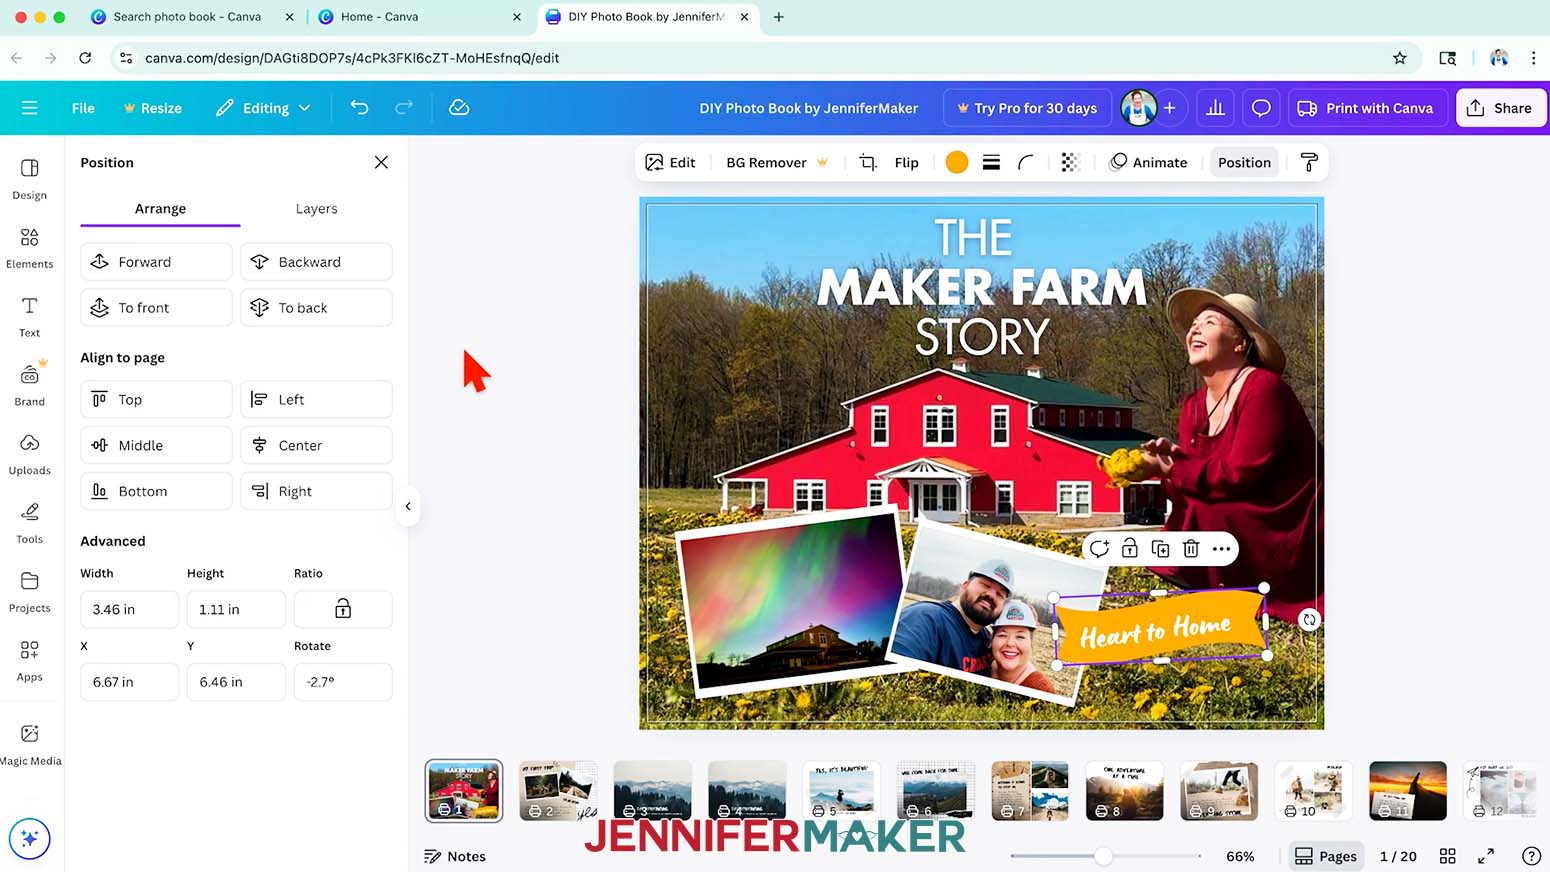
TIP: Use elements to fill in empty background spaces. Layer elements over or under photos for a fun, scrapbook-style look. - To adjust the order of your layers, select an element, click “Position” at the top, then use the "Arrange" options to move the element into your desired position on the canvas. When you're done, click the “X” to exit the menu.
- To upload the elements from my free download, click on “Uploads” in the side panel, then “Upload files.”
- Select the PNG image(s) you want to add and click “Open.”
- In the Uploads Panel, click the image to add it to your canvas.
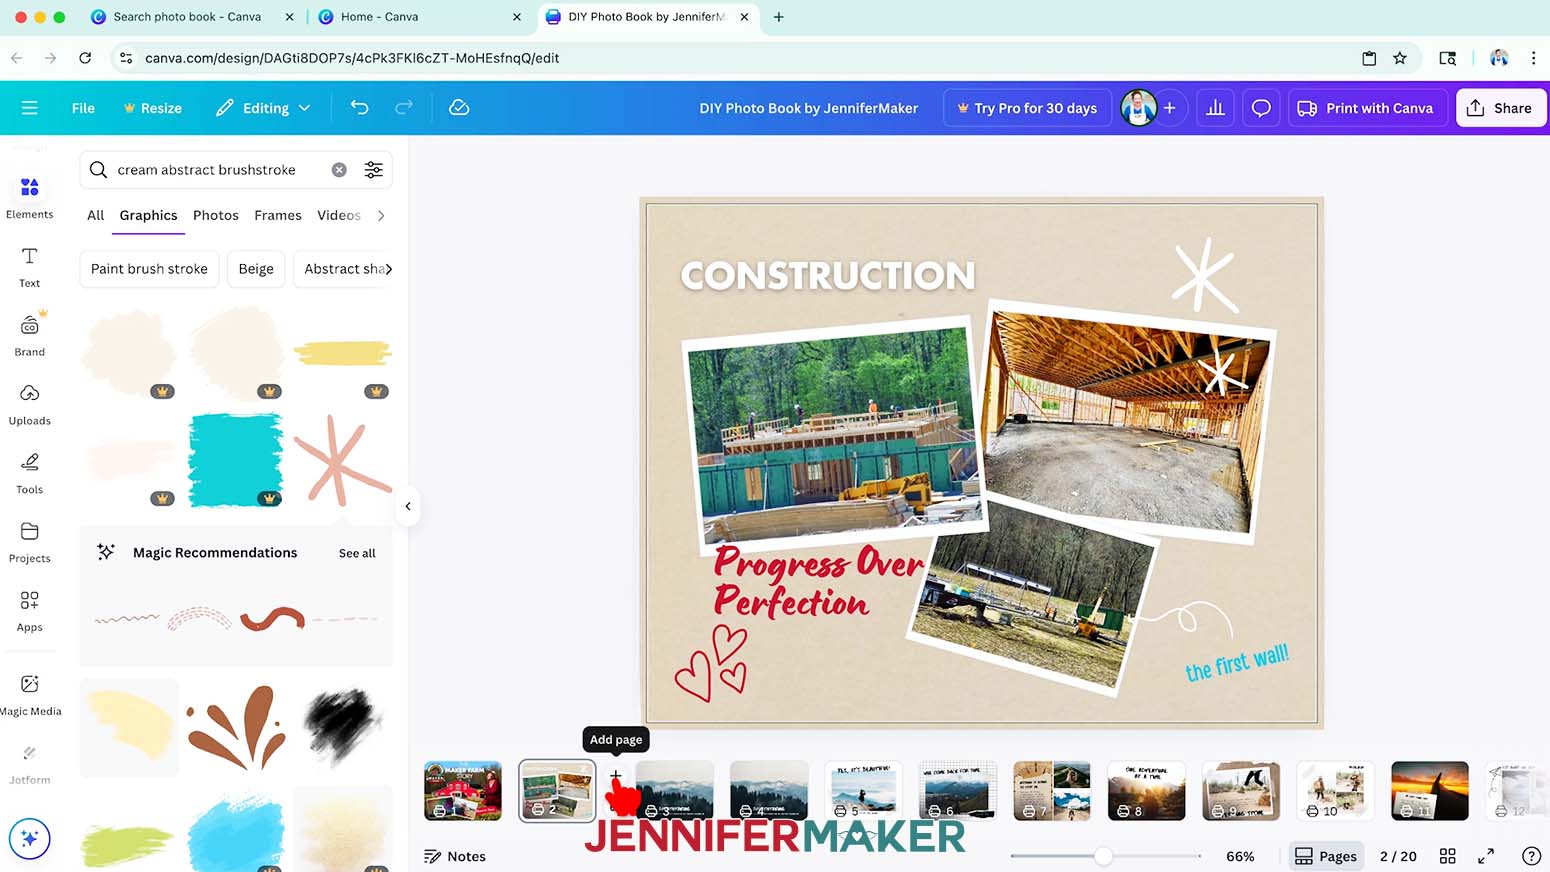
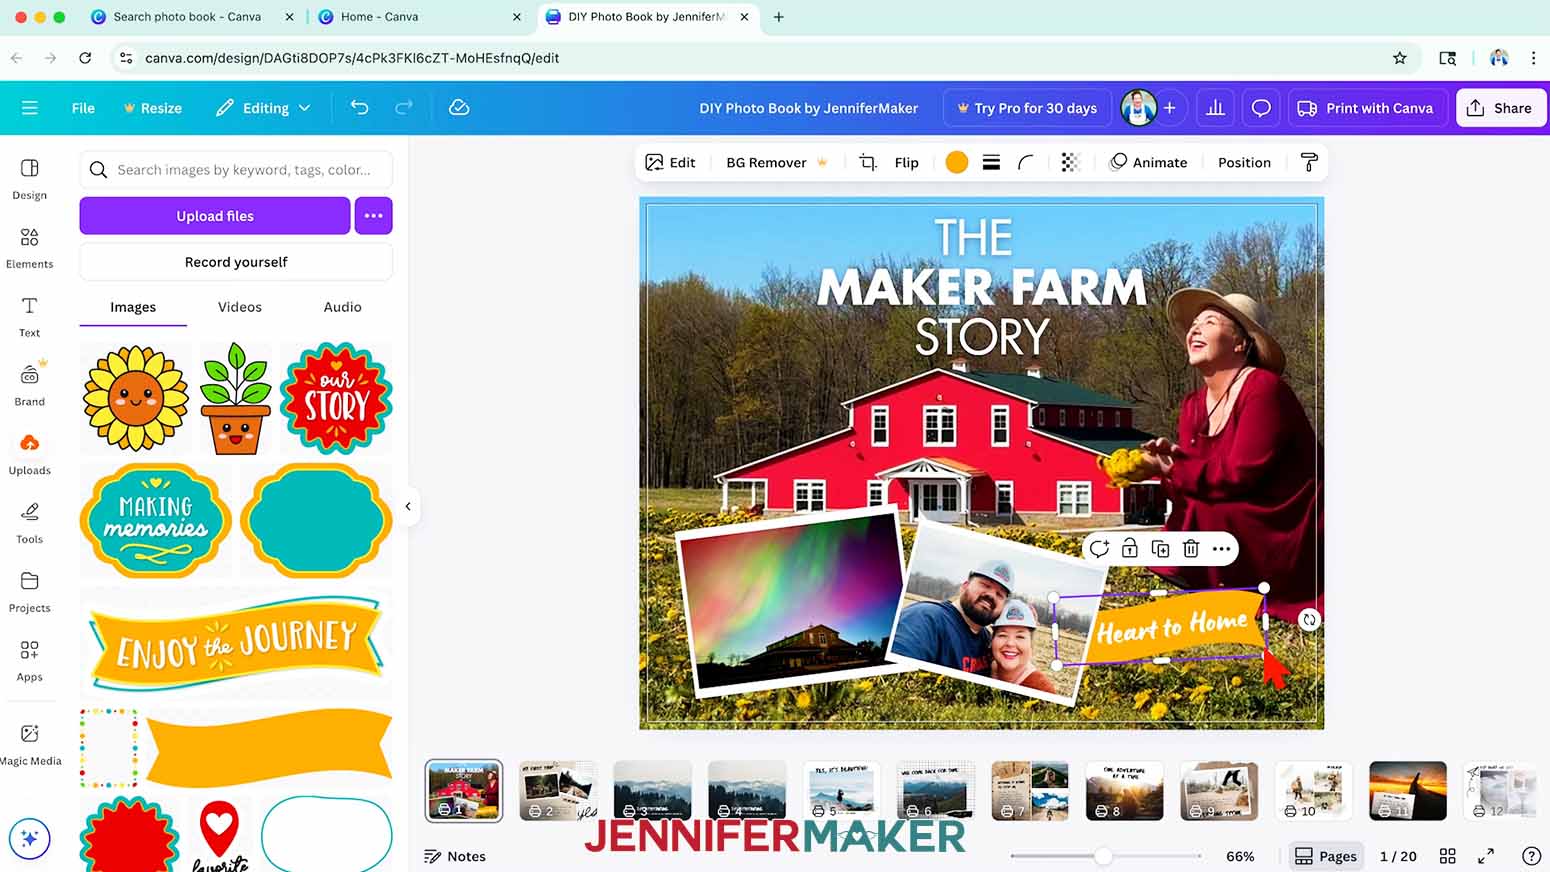
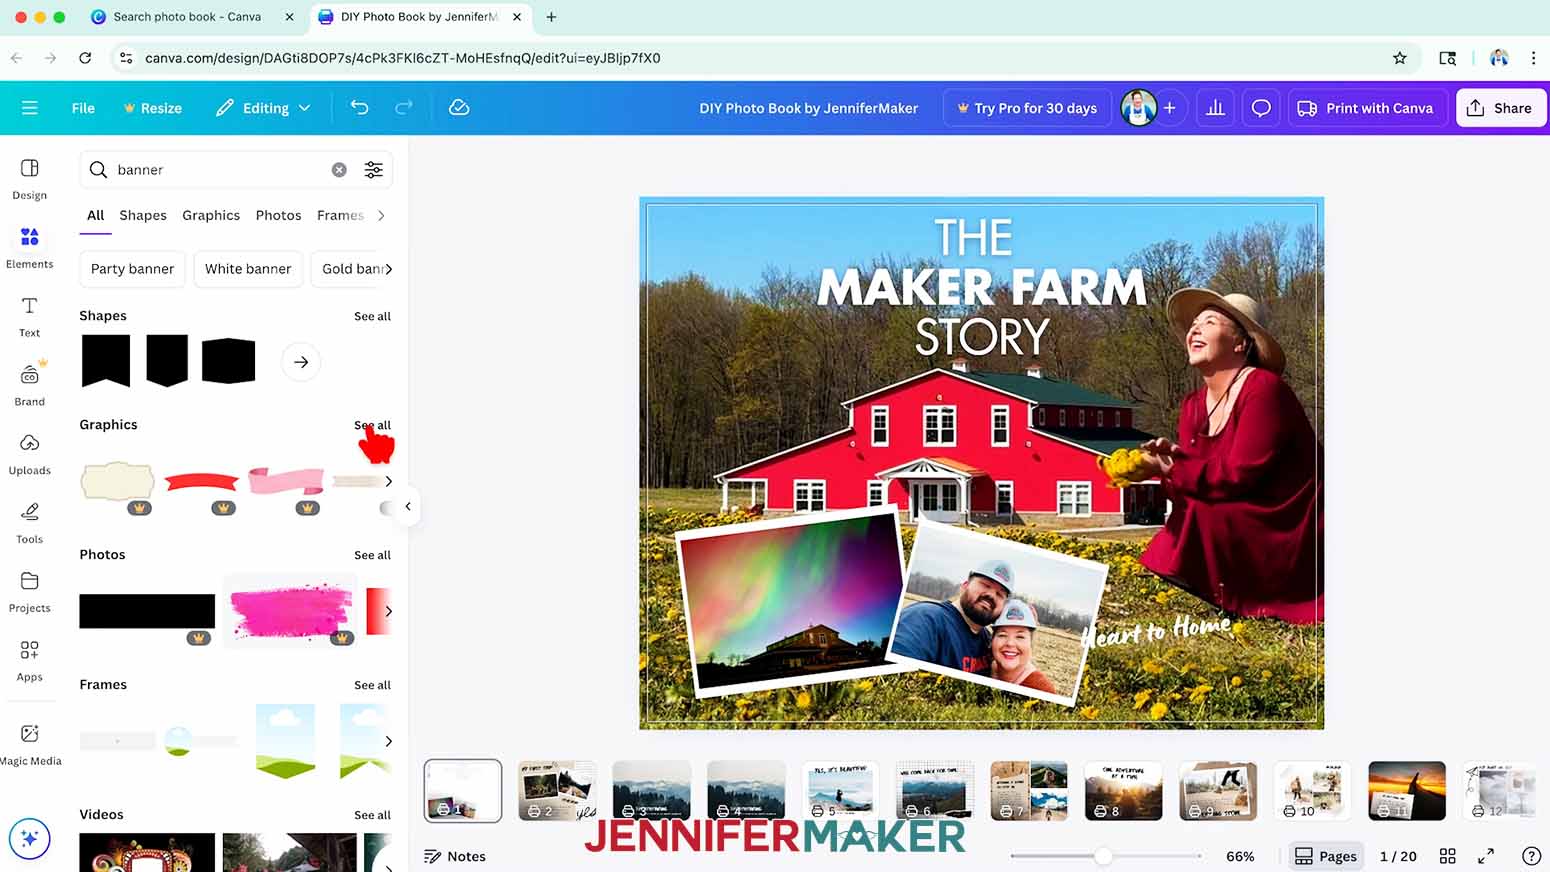
TIP: You can also create a folder for your uploaded elements, or add them to the folder you created for your photos. - To search for an image in Canva, click “Elements” in the side panel and type a phrase in the “Search” bar. Then click “See all” to expand a section to see more available options in that category.
NOTE: I’ll use the elements I uploaded, along with these Canva elements: “Colourful Heart Pattern Graphic,” “Cream Abstract Brushstroke,” “Cream Arrow Lines Doodle,” “Cream Heart Doodle,” “Cream Star Doodle,” “Doodle Heart Drawing,” “Doodle Wedding Icon Sparkle,” “Halloween Doodle Frame Border,” “Handdrawn Doodle Line,” "Loopy Arrow Doodle," “Red Swirl Vibrant Doodle,” “Star Doodle Illustration,” and “Three Line Scribble Quote Decoration.” - Click and drag your element(s) into place.
- To add effects to your selected element, click “Edit” at the top and select an effect or filter from the side menu.
NOTE: I selected “Shadows,” then “Drop” to add a bold shadow behind my banner element.
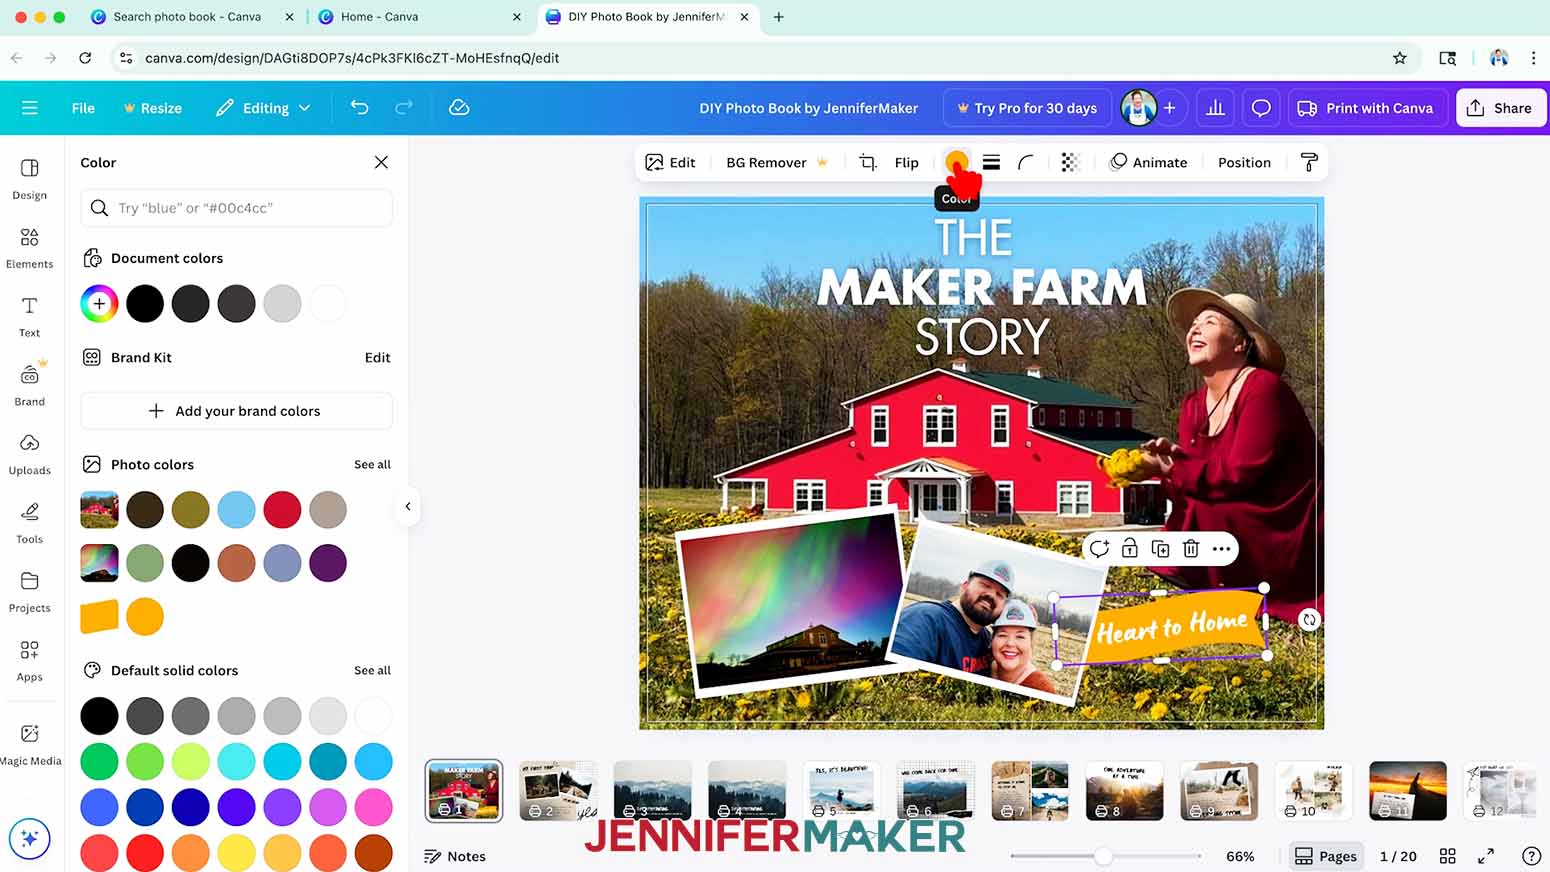
TIP: Change the “Blur amount,” “Angle,” “Distance,” “Color,” and “Intensity” sliders to adjust the look of the shadow. - If you have an element selected and see color swatches in the top menu, you can change some of the colors. Click the color swatch to select a new one.
- Some images or graphics in Canva cannot be directly color edited. This means that if you change the color, the result does not match the color you selected. As a workaround, click “Edit” and “Adjust,” then adjust the sliders until the color looks closer to what you want.
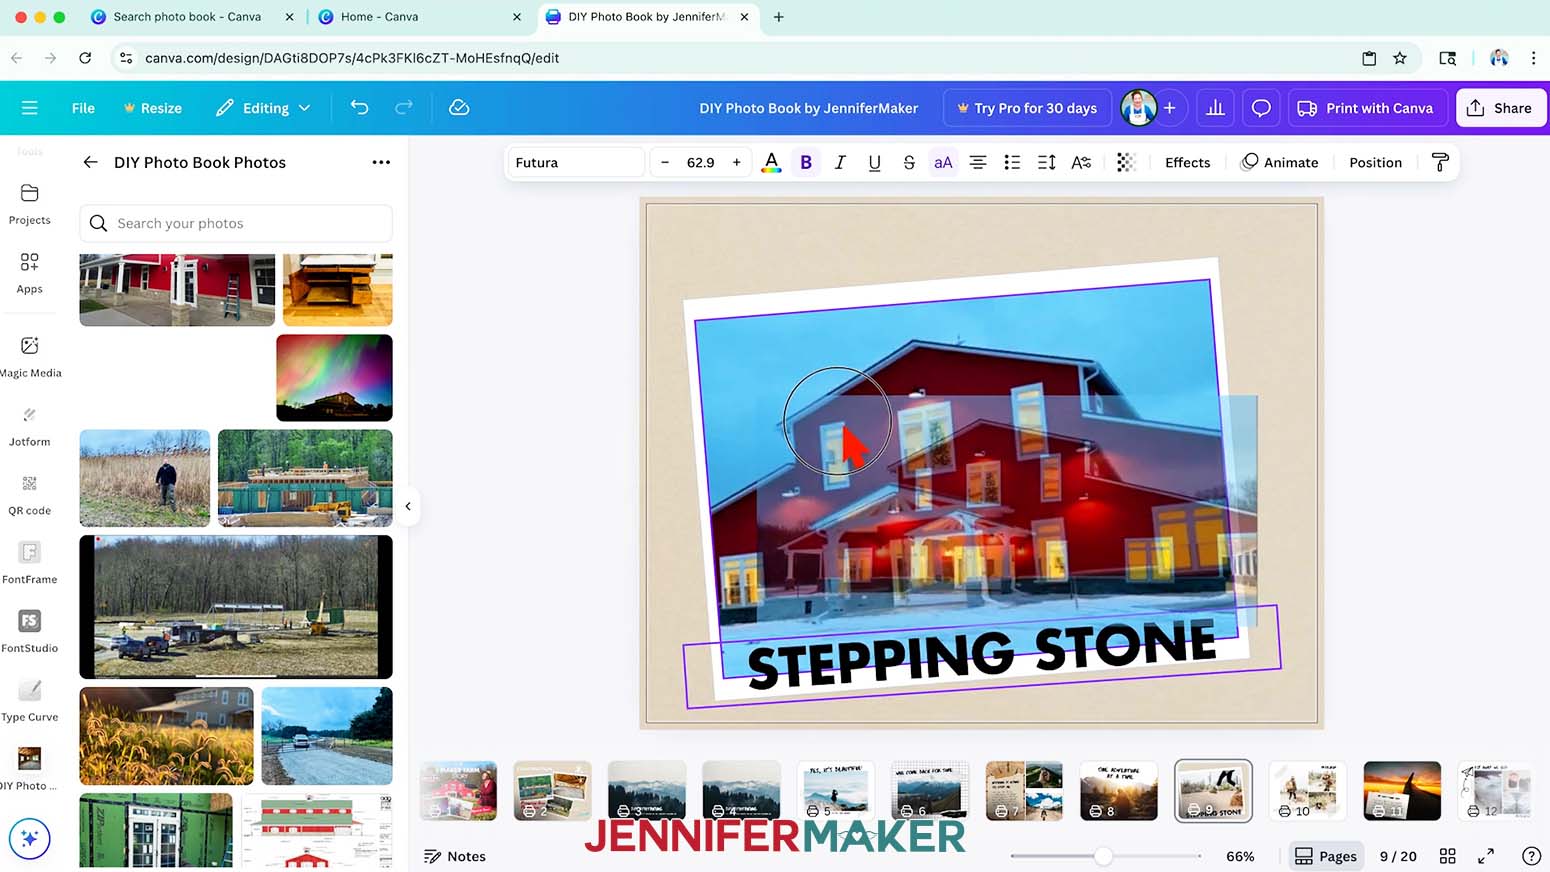
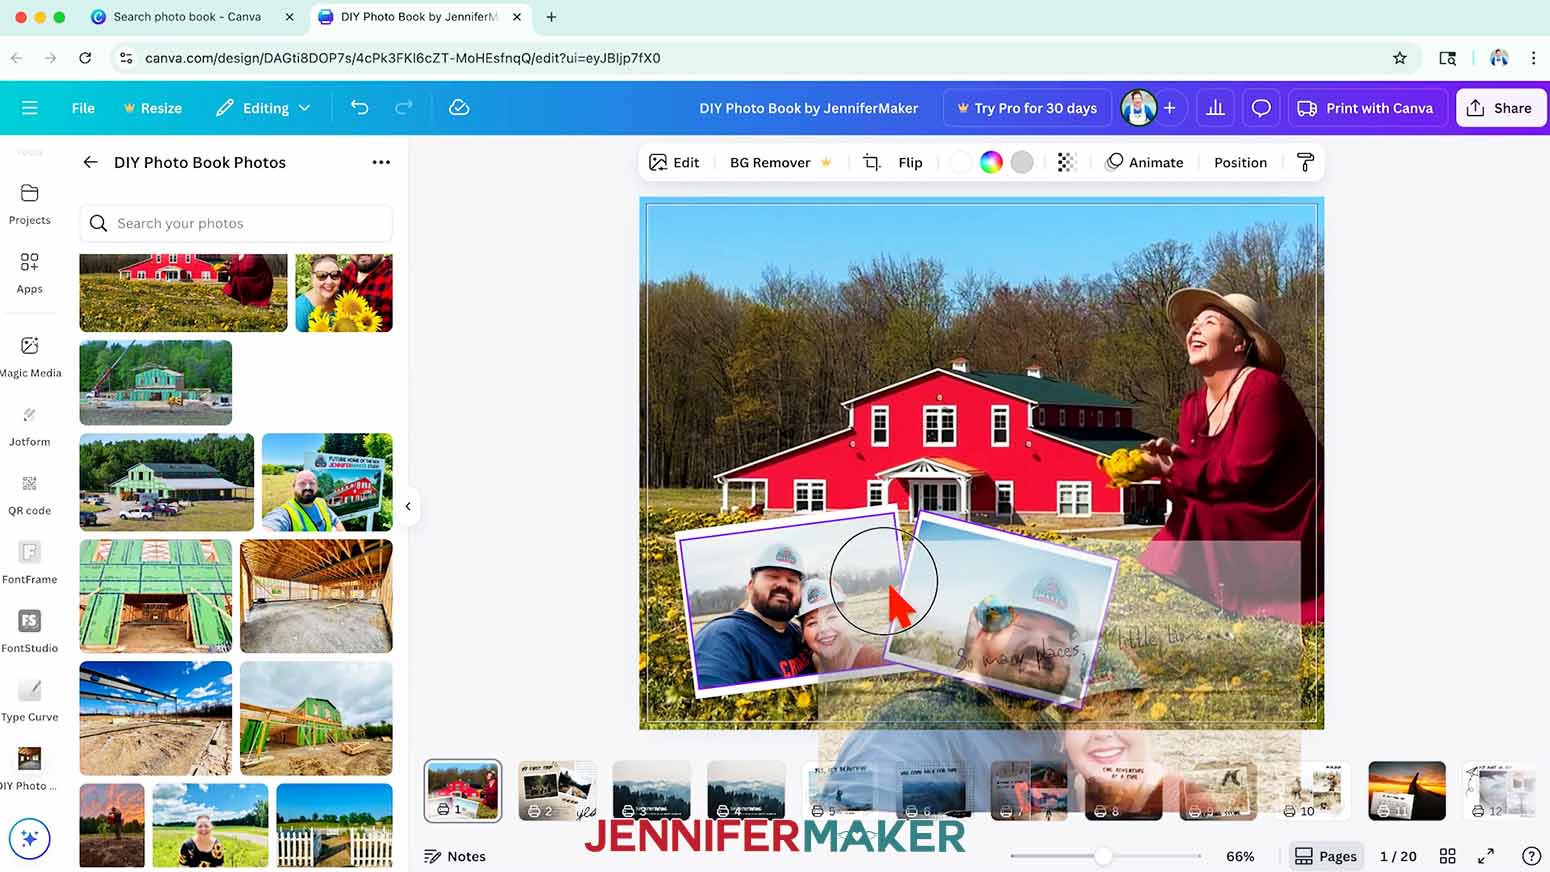
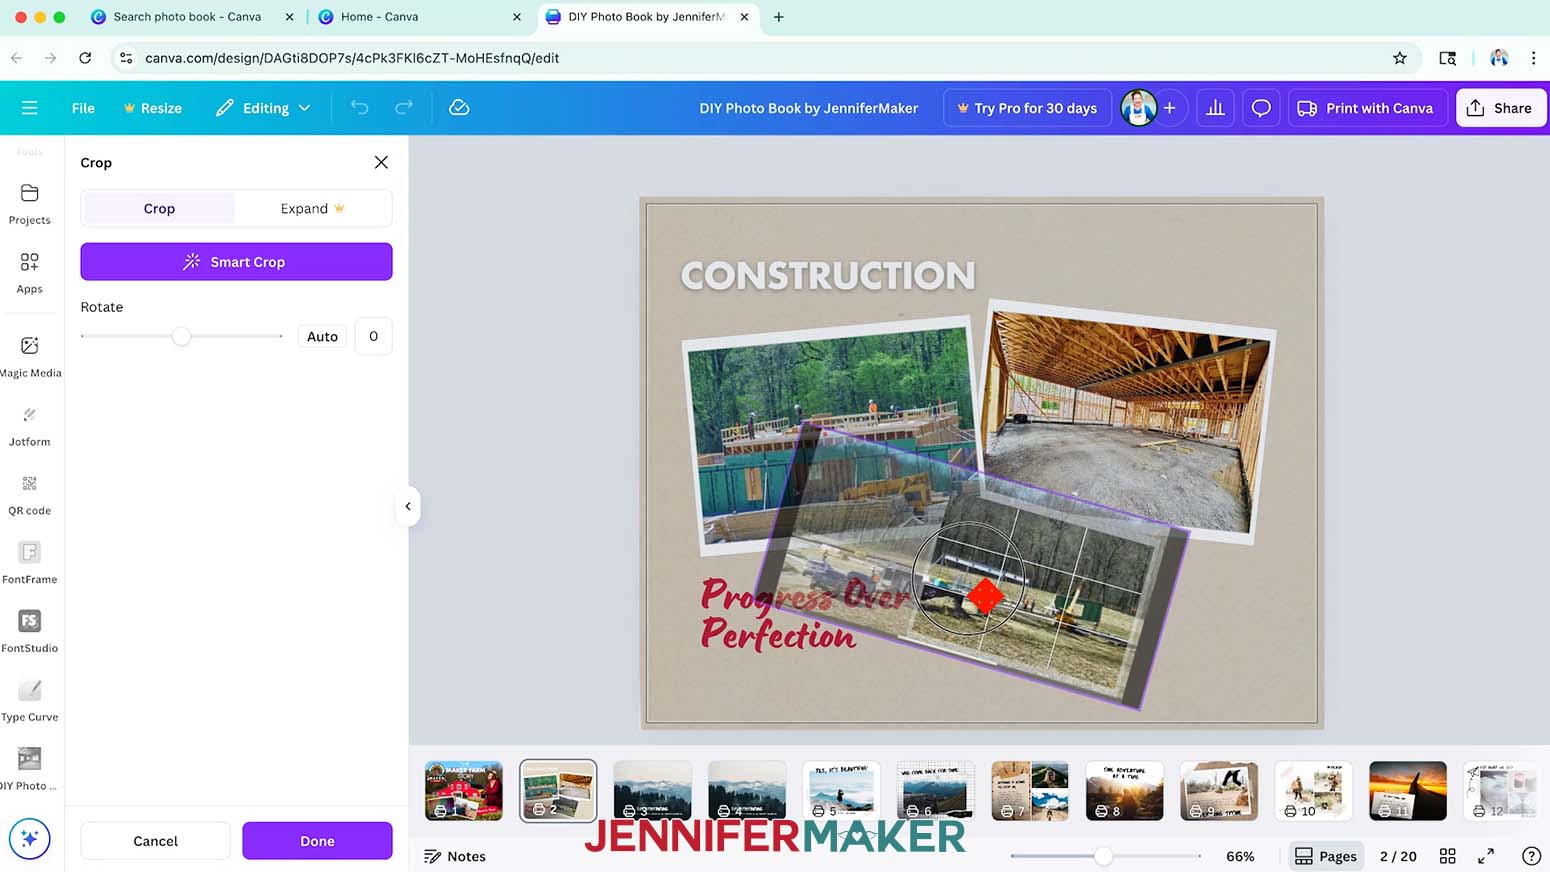
NOTE: When I tried to change my banner from orange to red by selecting the red swatch, it turned pink because it cannot be directly color edited. To change the color of the banner from pink to red, I changed the White balance to -85, the Vibrance to 100, and the Saturation to 100. - To zoom in or out on the photo, or reposition the focal point within the frame, double-click the photo to see the parts that extend past the frame.
- Click and drag the corner handles of the photo to resize it, or click and drag the photo inside the frame to move the focal point.
NOTE: I adjusted the focal point on the bottom right image to better show the first wall that was built on my farm. - To copy elements to use on other pages, select the element you want to copy and click the three dots that appear. Then click “Copy.”
- Go to the page where you want the copy, and right-click your mouse. Then click “Paste.”
- If you like a Canva element and want to add more designs in the same style, select the element and click the three dots that appear.
- Then click “Info” and “See more like this.” A window will appear with “Magic Recommendations” of more coordinating elements.
STEP 4: ORDER YOUR DIY PHOTO BOOK FROM CANVA
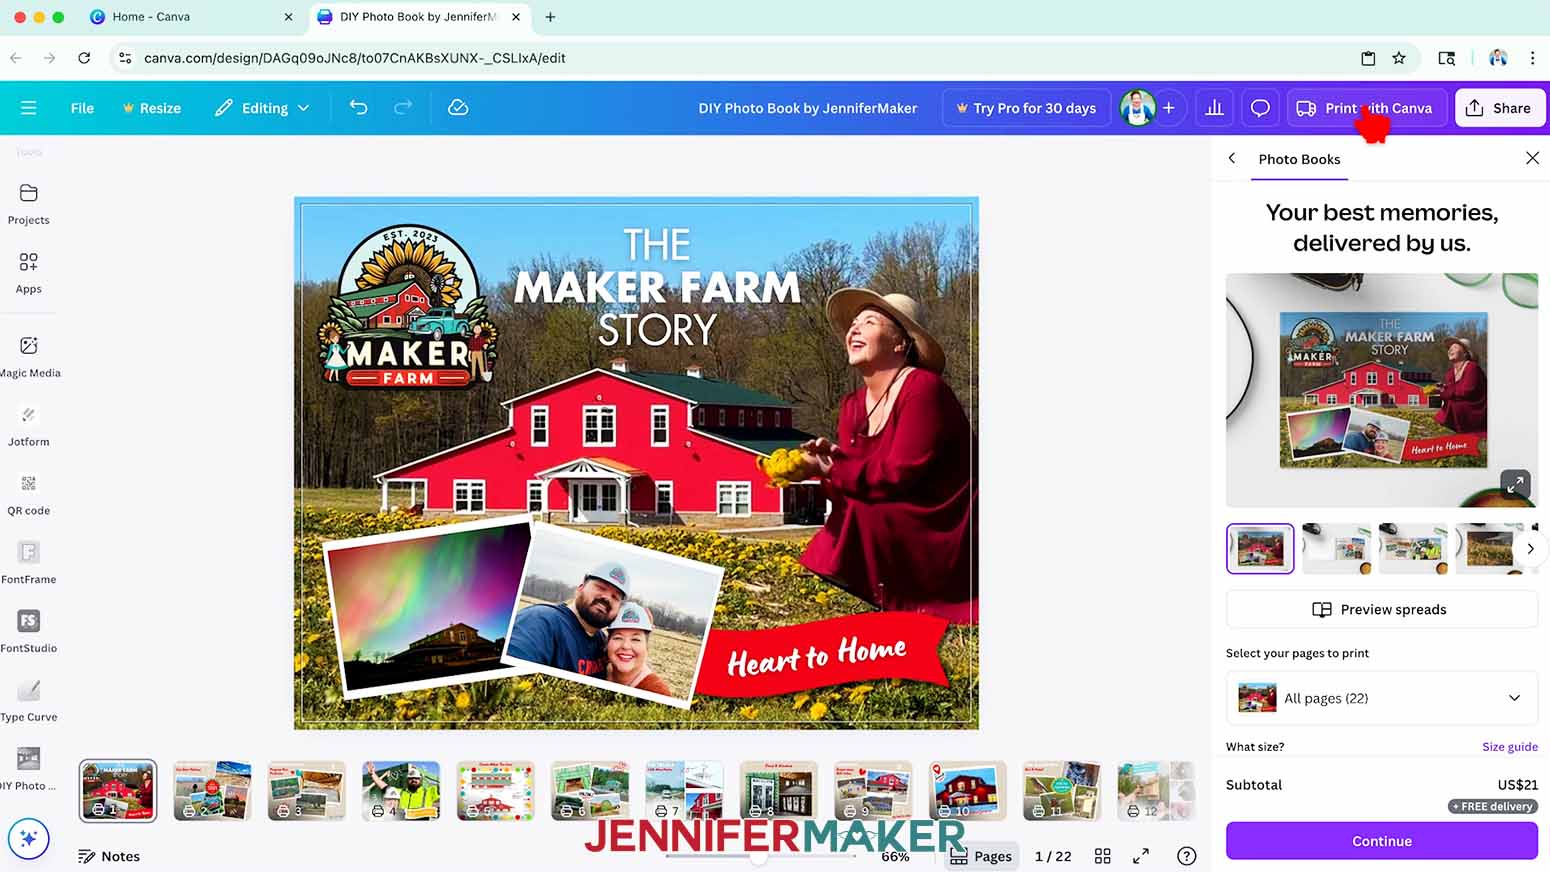
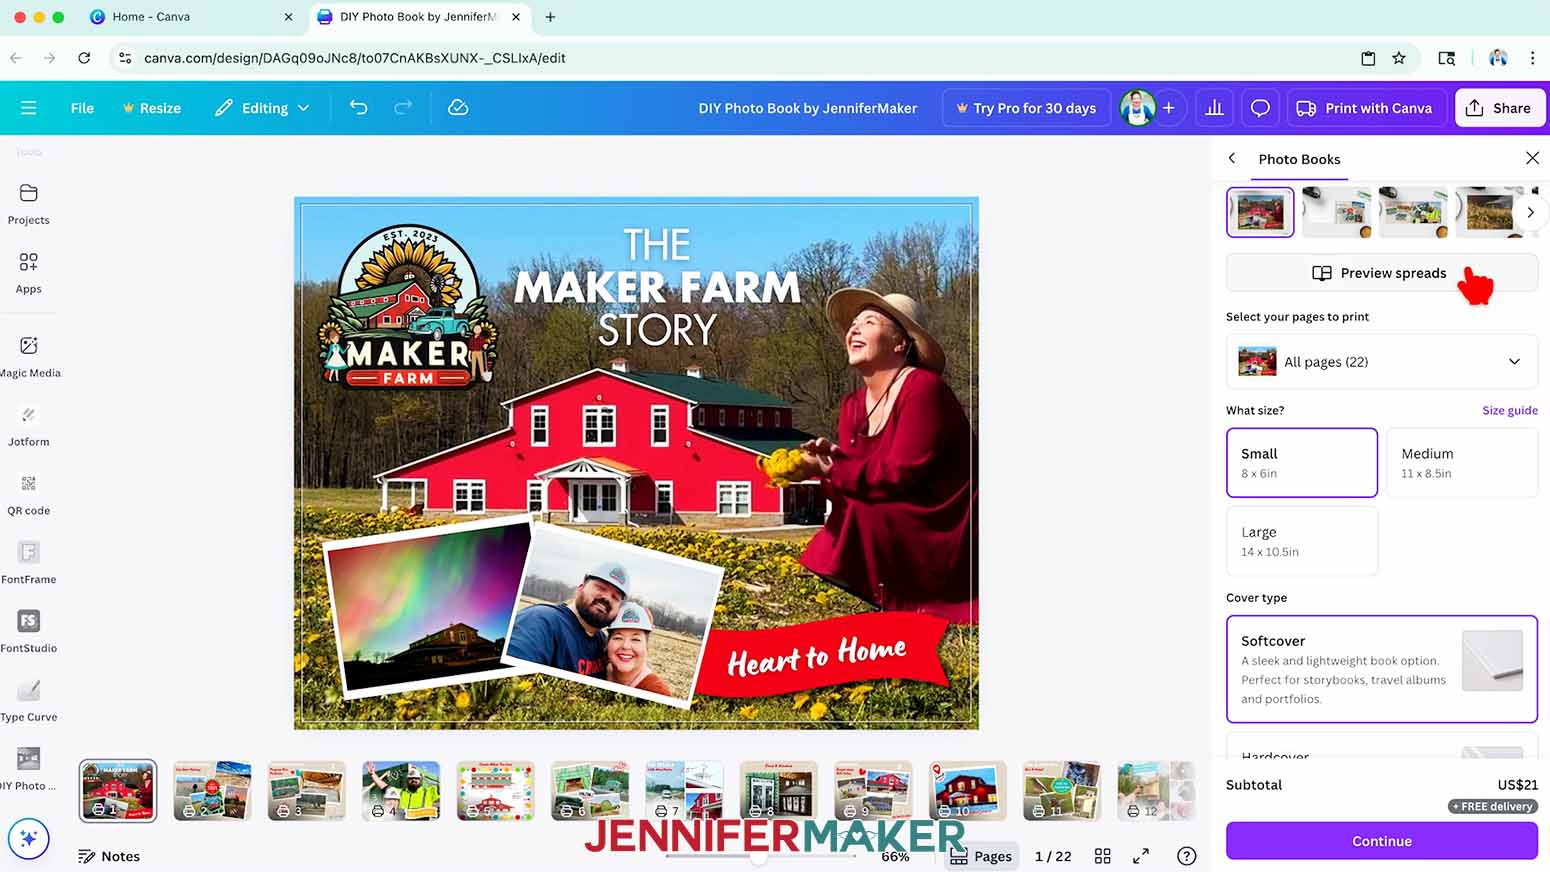
- When your Canva photo book is designed and you’re ready to order, click the button at the top right that says “Print with Canva.”
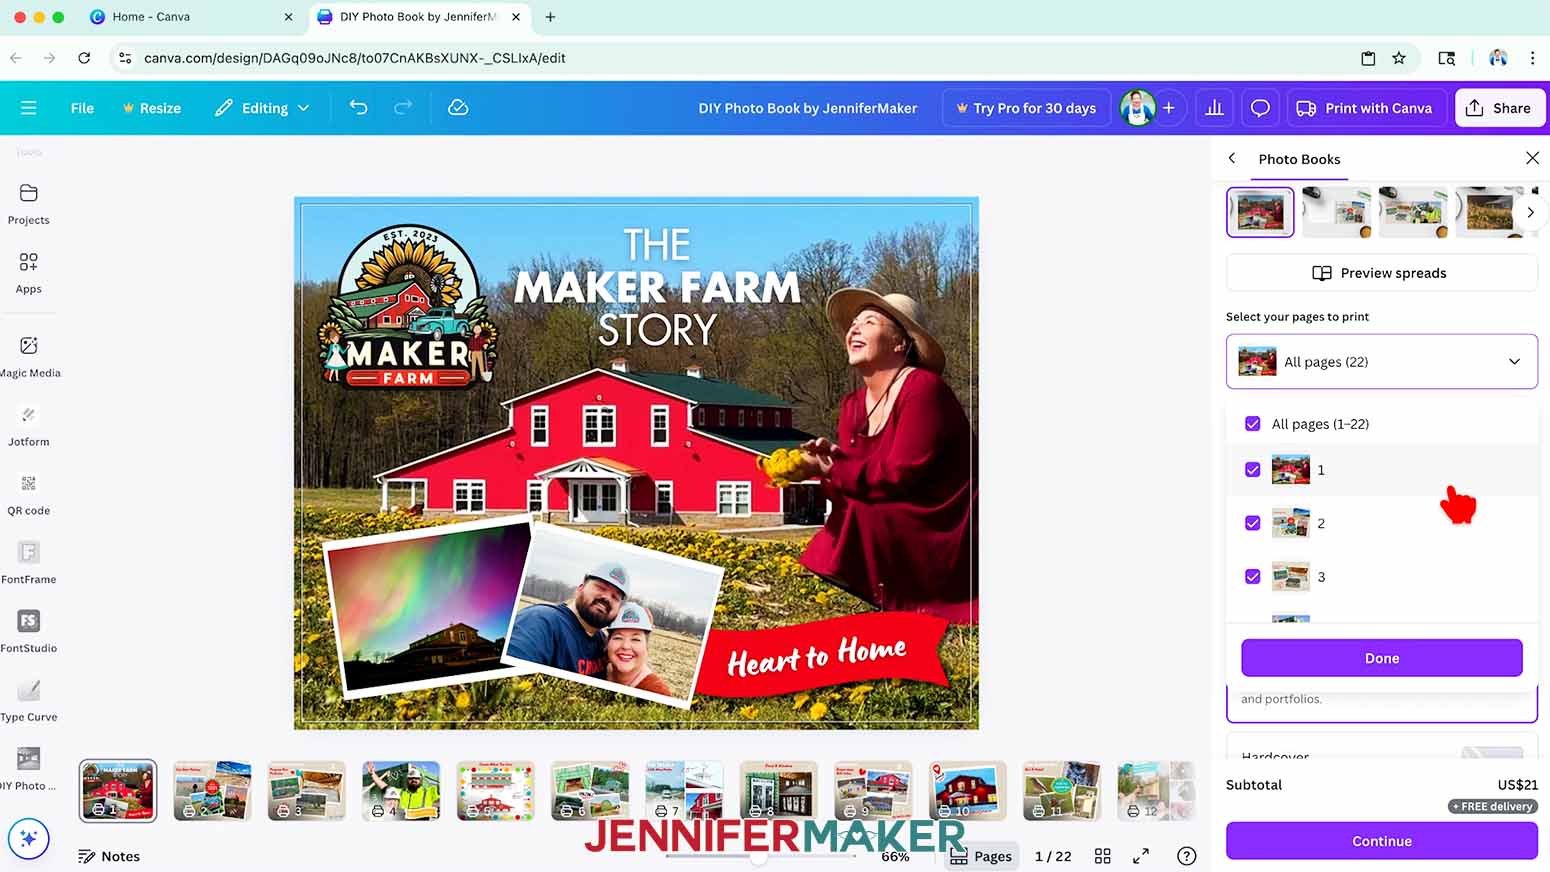
- In the window that appears, click the dropdown under “Select your pages to print.” Review the pages that are selected, and deselect any that you do not want in the book.
NOTE: Remember, your book must have an even number of pages, with a 22 page minimum. - Click “Done.”
- Click “Preview spreads.”
- Canva will show you your cover first, then you can click the right arrow to see each spread of pages and check that everything looks the way you want it to.
- When you’re finished reviewing the pages, click “Close” at the top left.
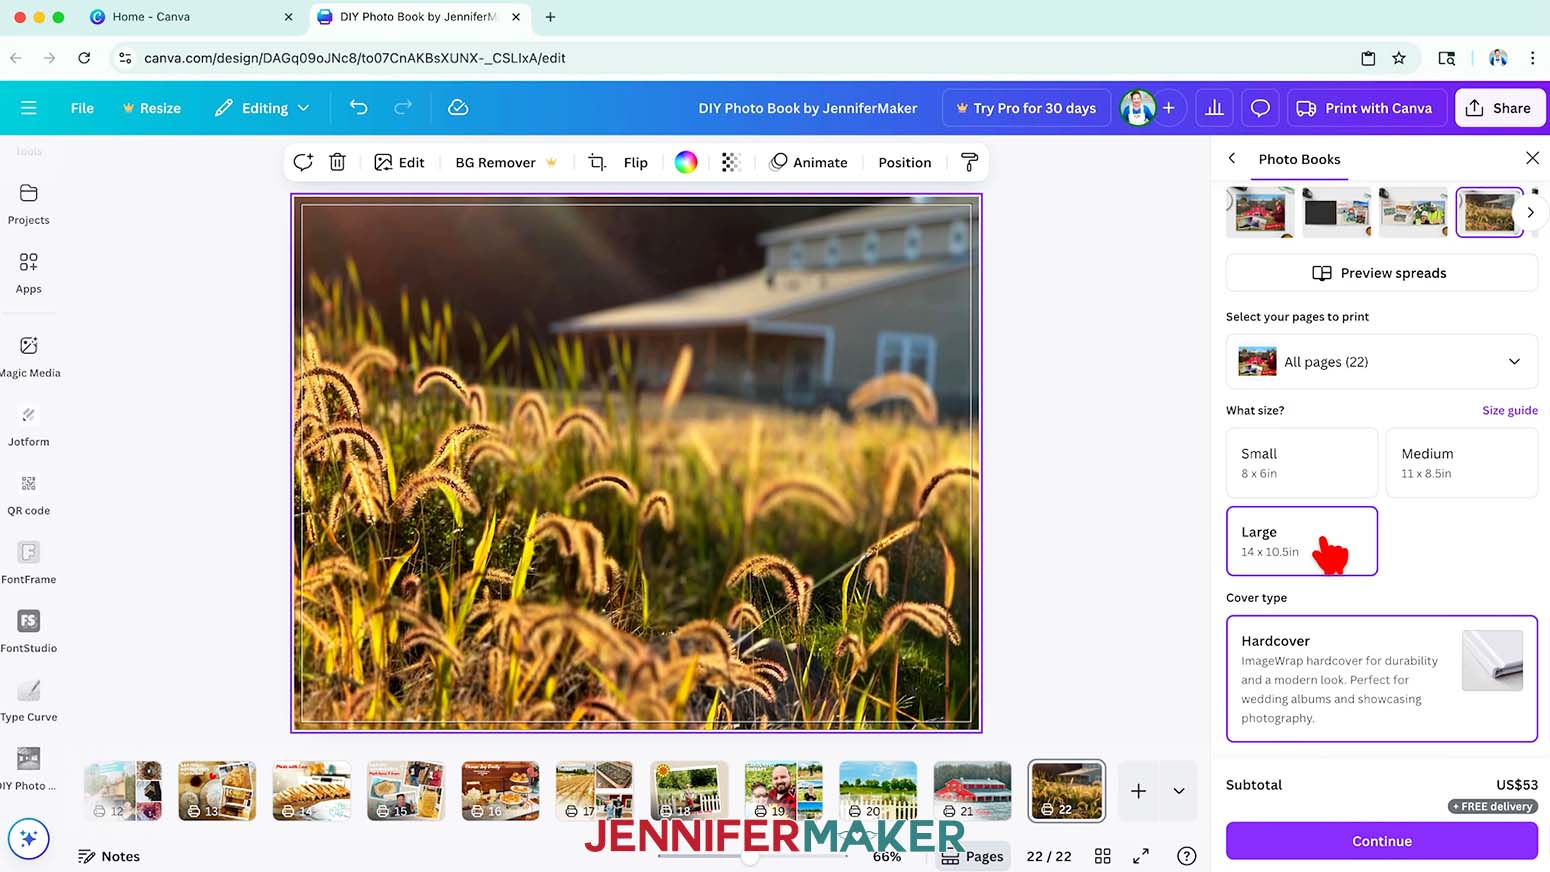
- Under “What size?,” select the size book you want.
NOTE: I chose “Large (14 x 10.5 in).” - Under “Cover type,” select either “Softcover” or “Hardcover.”
NOTE: The Large book is only available in hardcover. If you want a softcover book, select the “Medium” or “Small” size. - Under “Cover finish,” select the finish you’d like for your cover. I chose “Gloss finish.”
- Under “How many?” select the number of books you want.
- Once you’ve picked your options, click “Continue.”
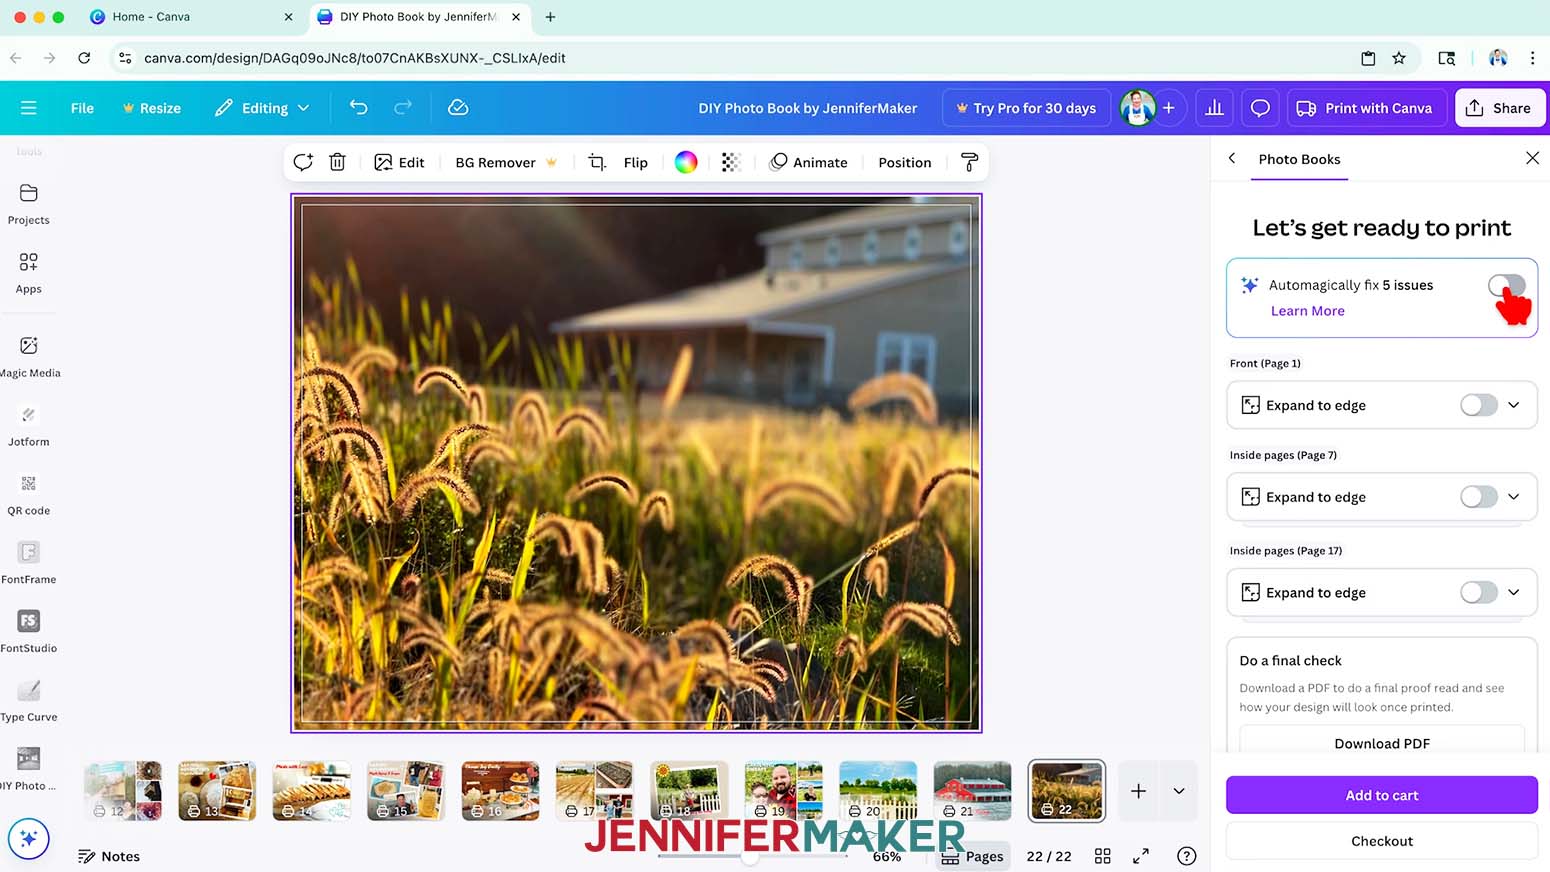
- In the next window, Canva may tell you that there’s some issues with your book design. You can click the toggle at the top of the window to automatically fix the issues, or you can go through each issue one by one. I chose to leave most of mine as is.
NOTE: Most of the issues reported will likely be “low resolution images,” which are usually still fine to print.
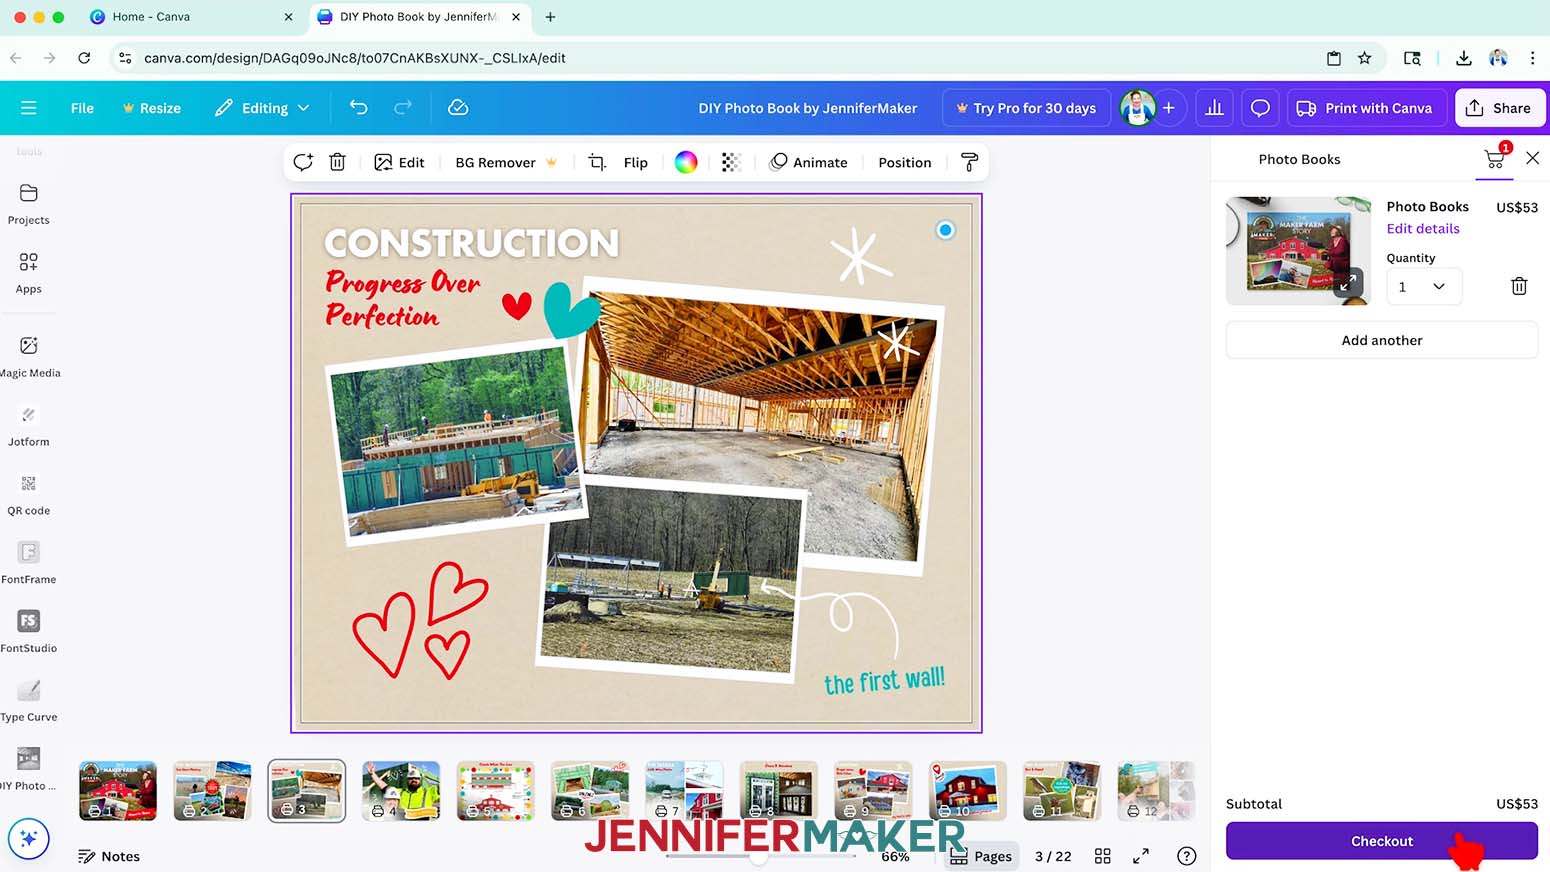
TIP: If you’d like to do a final check and review the book in PDF form, click the “Download PDF” button, open it with the program you use to view PDF files, and then make any necessary changes to your book if needed. - When you’re ready to purchase your book, click “Add to cart.”
- Click “Checkout.”
- Type in your information, select your shipping option, and place your order.
STEP 5: SHOW IT OFF
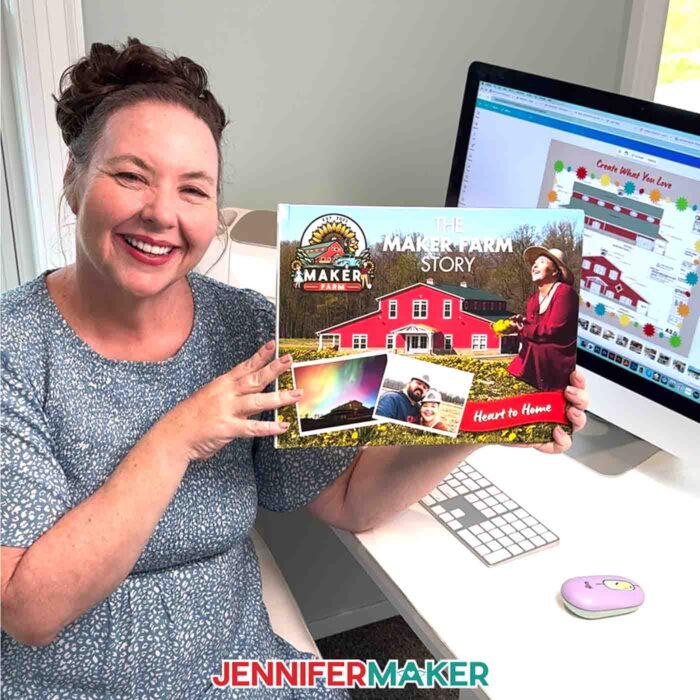
Here’s how my Print with Canva DIY photo book turned out!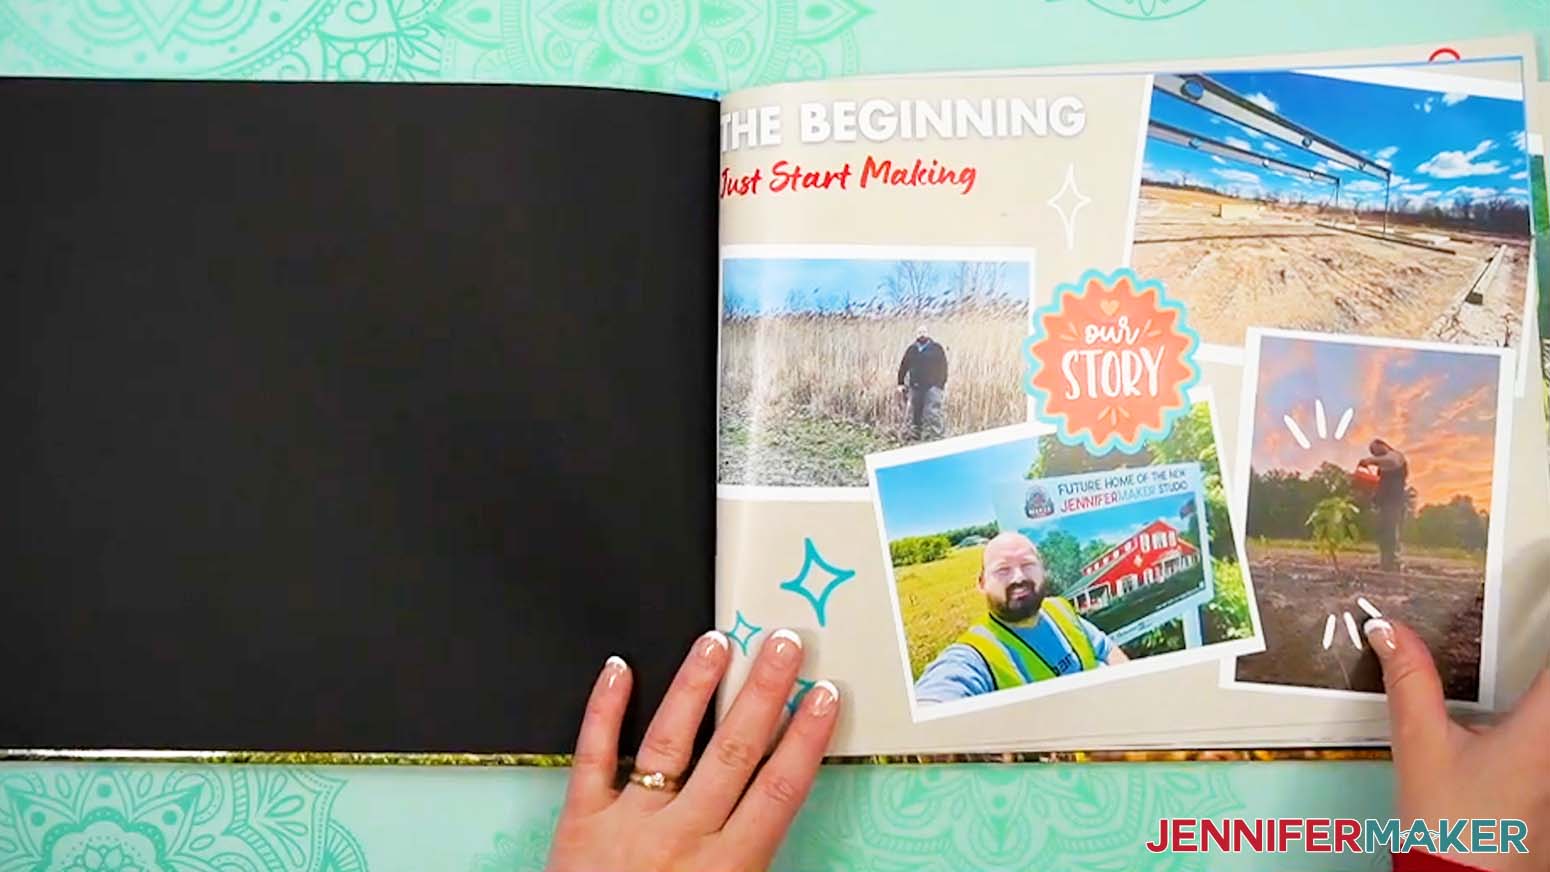
Notes
Free Canva Typefaces Used:
- Futura Medium and Futura ExtraBold (for headings)
- Lumios Brush (for subheadings and some headings)
- Handy Casual (for notes)
Answers to Your Questions About How to Design & Order a DIY Photo Book with Canva
Q: Can I design my own photo book pages in Canva?
A: You can learn how to design your own custom photo book pages using Canva in my ADVANCE program. Learn more about ADVANCE here!
Q: Which fonts and typefaces did you use?
A: I used these free Canva typefaces:
- Futura Medium and Futura ExtraBold (for headings)
- Lumios Brush (for subheadings and some headings)
- Handy Casual (for notes)
Q: How can I make a photo book at home?
A: I can show you how to design your own DIY photo albums with Canva in my tutorial video! Just scroll up and press “play” to learn how I did it. Then order the printed version with my walkthrough!
Q: How do I find Canva photo book templates?
A: On the Canva Home page, select “Templates” at the top near the search bar and then select “Photo Book.” You can search by “Style” after that (I selected “Collage”).
Q: How do I find elements and designs for my DIY photo book?
A: You can use any of the images included in the project files, or find more in my library! You can also use your own photos and designs, images created through AI generators as long as you follow the tool’s guidelines, graphics from Canva or other online sources depending on usage requirements, or stock photos for your book. If you want to take your designs further, I share best practices so you can get better results when designing in my Advance program!
Q: How many photos are good for a photo book?
A: A good rule of thumb is to include 1 to 4 photos per page, depending on the layout and how much storytelling you want to include. This keeps each page visually appealing without feeling cluttered. Remember, less is often more. Allow your best images room to shine, and don’t forget to leave space for captions and decorative elements!
Q: How do I upload my own photos to Canva?
A: On the Canva design canvas, click “Uploads” on the left, then click “Upload files.” Choose the photos you want to upload. You can also drag and drop photos from your computer into the “Uploads” panel.
Q: What is the most popular size for a photo book?
A: The most popular size depends on how you plan to use your photo book. For on-the-go sharing or casual gifts, smaller books like Canva’s 6″ x 6″ size are ideal. But for special occasions like weddings, anniversaries, or coffee table keepsakes, larger sizes such as 9″ by 9″ or 12″ by 12″ make a bigger impact and showcase your photos beautifully.
Q: Which format should my photos be in?
A: You can upload and use these file types in Canva: HEIC, HEIF, GIF, JPG, PNG, SVG, AVIF, WEBP, TIFF, WDP, or JXR.
Q: What is the best company to create a photo book?
A: Canva is one of the best options for creating a photo book, especially if you’re looking for a beginner-friendly, affordable solution. With Canva’s free templates, drag-and-drop design tools, and built-in printing service, it’s easy to customize every page to fit your vision. Whether you’re making a memory book, a travel album, or a gift, Canva makes the process fun and stress-free.
Q: Can I make and sell photo books I made in Canva?
A: If you want to use my designs and projects for commercial use, please familiarize yourself with my important licensing information as well as important licensing information from Canva before selling your projects.
Get my free PNG files to customize your own DIY photo book in Canva!
(If you do not see the signup form above, click here.)
I love seeing your Canva projects, and how you use the skills I cover! Once you’ve learned how to make your own DIY photo book in Canva, inspire others and share a photo of your project in our Canva Creators Facebook group or tag me on social media with #jennifermaker.
Love,

Want to remember this? Save this DIY Photo Book in Canva Tutorial to your favorite Pinterest Board!
![DIY Cake Toppers with Custom Names and Sentiments Cut on a Cricut ] Free SVG Cut File #cricut #cakedecorating #birthday](https://jennifermaker.com/wp-content/uploads/diy-cake-toppers-custom-f.jpg)