
Learn how to make your own DIY cake topper for birthday, weddings, and holidays that are both easy and elegant! Use one of my free topper designs, or make your own with a custom name or phrase to decorate your cake.
My family loves cake. I used to love to bake and decorate cakes, but those days are long behind me at this point. So when I’m responsible for the cake, that means I’m buying one. Sadly, storebought ones are kinda boring, especially when you get the generic ones from the deli case the hour before the party. LOL Sure, you can buy some decorations, but those are generic, too. But what DOES make any cake look magnificent is a CUSTOM CAKE TOPPER! So for Day 9 of The Great Maker 25-Day Gift-Away Challenge, I am showing you how to make DIY cake toppers with custom names and phrases!
See exactly how to make DIY cake toppers in my tutorial video (or keep scrolling if you prefer a step-by-step photo tutorial):
![DIY Cake Toppers with Custom Names and Sentiments Cut on a Cricut ] Free SVG Cut File #cricut #cakedecorating #birthday](https://jennifermaker.com/wp-content/uploads/diy-cake-toppers-custom-f.jpg)
Now you probably have everything you need already to make a cake topper — just a few sheets of cardstock, some bamboo skewers, and some glue. That’s it. So easy.
You’ll want a way to cut your cake topper — you can use scissors or a craft knife, but I’m using my Cricut cutting machine because it’s way faster and I love using technology to make my life easier.
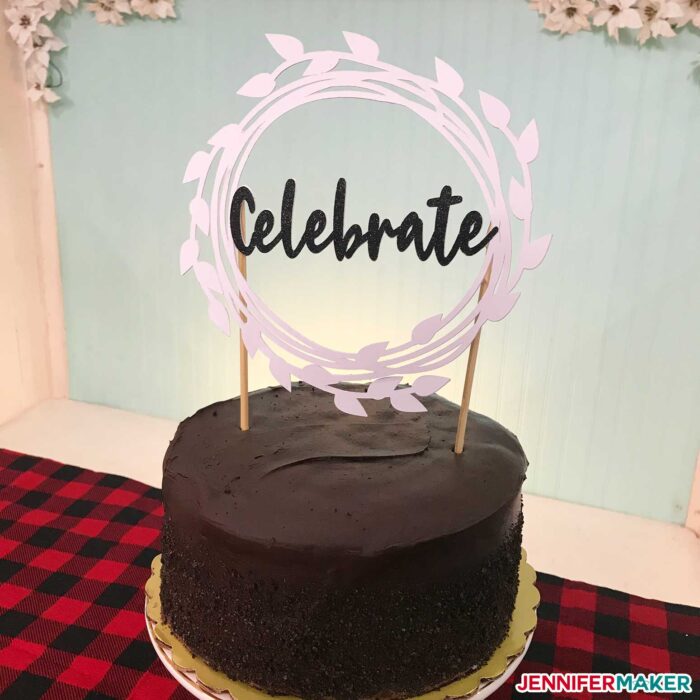
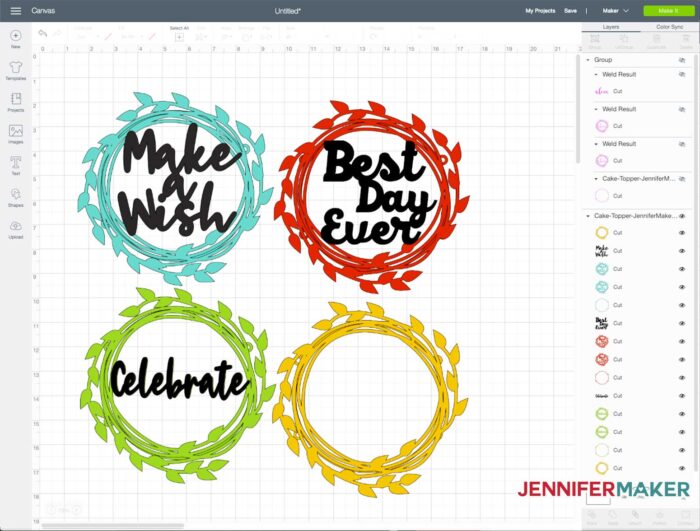
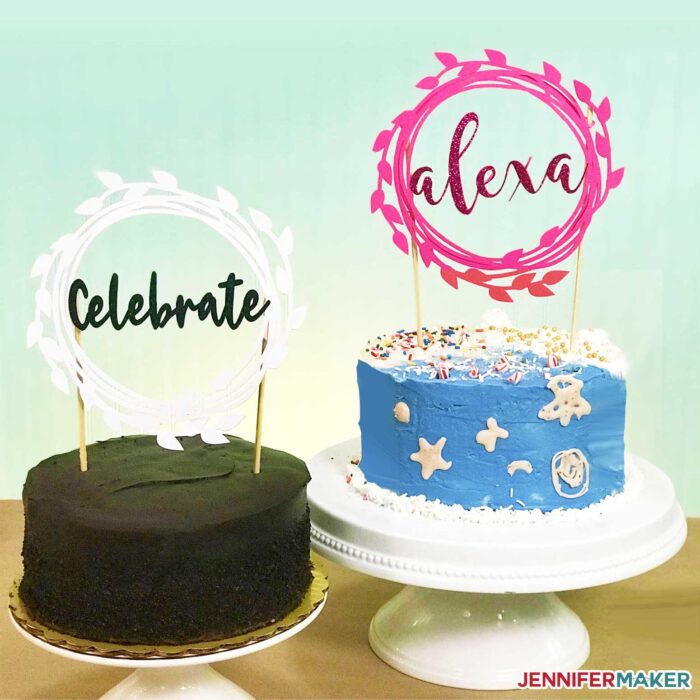
I’ve even made some cake topper designs for you to use (“Make a Wish,” “Celebrate,” and “Best Day Ever”), along with a template so you can make a cake topper with whatever name or saying you want.
In this tutorial, I will show you how to use my template to create a custom cake topper (or just use a design I already made for you!) and then how to assemble your DIY cake topper so it stays on your cake! This post contains some affiliate links for your convenience (which means if you make a purchase after clicking a link I will earn a small commission but it won’t cost you a penny more)! Read my full disclosure policy.
Materials to Make DIY Cake Toppers
- 65 lb.-110 lb. 8.5″ x 11″ cardstock. The heavier weight, the sturdier it will be. Feel free to even use things like poster board, Kraft board, or even veneer.
- Decorative paper like glitter cardstock or holographic poster board, which are good choices for the name or phrase
- 12″ long Bamboo skewers (2 per cake topper)
- Tacky glue or adhesive spray
- A way to cut your cardstock (I used the amazing Cricut cutting machine!)
- StandardGrip cutting mat (the 12″ x 12″ size)
- Breaking Bread and Blackfat Script are the two fonts I used from Font Bundles.
- Design #175 – My free SVG cake topper files and template (available in my free resource library—get the password by filling out the form at the bottom of this page)
How to Make DIY Cake Toppers with a Pre-Made Design or a Custom Name or Phrase!
Step 1: Get my free DIY Cake Topper Template
Get the free cake topper designs and templates (Design #175) from my free resource library (get the password to the library in the form at the bottom of this post).
Step 2: Prepare Your Cake Topper for Cutting
While you can cut this cake topper by hand with a craft knife, you’ll find it much easier to cut this project on a cutting machine, like a Cricut. To do that, you’ll first upload the SVG design file you downloaded in step 1 to Cricut Design Space. Here’s what my SVG file looks like uploaded to Cricut Design Space:
Tip: If you’re not sure how to upload an SVG cut file to Cricut Design Space, watch this helpful video training series I made. If you’re on an iPhone or iPad, here’s how to download and upload SVG files to the Cricut Design Space app.
The cake topper design is sized to fit on an 8 inch cake or larger. If you need to resize the image to fit a different size cake, do so before you ungroup the designs.
If you’re curious what font I used for my pre-made cake topper designs, I used Breaking Bread and Blackfat Script, both of which are ideal for joining and welding!
Step 3: Cut Out Your Cardstock
Cut out your cardstock layers. Every layer can be the same color, or choose a different contrasting color for your phrase or name to help it stand out!
I recommend you cut two of the wreath layers and one of the sentiment layer in the desired cardstock or glitter paper. If cutting the sentiment only to use as a topper cut two layers of the sentiment. The double layers add stability to the cake topper.
Step 4: Attach Your Cake Topper Layers
Using spray adhesive or glue, attach the layers together. I recommend you attach the two wreath layers, then attach the name or sentiment to the front.
Step 5: Add Bamboo Skewers
You have two options for attaching the skewers, which are necessary for the cake topper to stand atop your cake. You can either glue the skewers to the back of the design, or you can glue the optional ring to the back and slide your skewers through the holes in the rings. Gluing the skewers is a little stronger, but using the ring with holes means you can remove the skewers when the party is over and keep it flat as a keepsake. Your choice!
Get my free DIY Cake Topper templates and cut files
I’d love to see your DIY cake toppers for every occasion! If you make one, please share a photo in our Facebook group, email it to me at [email protected], or tag me on social media with #jennifermaker.
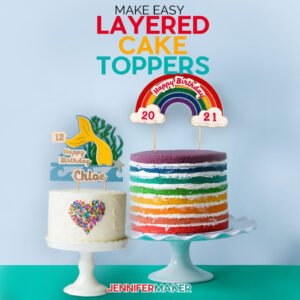
And if you’d like to learn how to make LAYERED cake toppers, check out my fun Rainbow and Mermaid layered cake topper tutorial!
Love,

Want to remember this? Save the DIY Cake Topper Tutorial to your favorite Pinterest board!
![DIY Cake Toppers with Custom Names and Sentiments Cut on a Cricut ] Free SVG Cut File #cricut #cakedecorating #birthday](https://jennifermaker.com/wp-content/uploads/diy-cake-toppers-custom-p-700x1050.jpg)

Thanks I really wanted to learn how to connect the letters!
This tutorial should help, Paulette!