
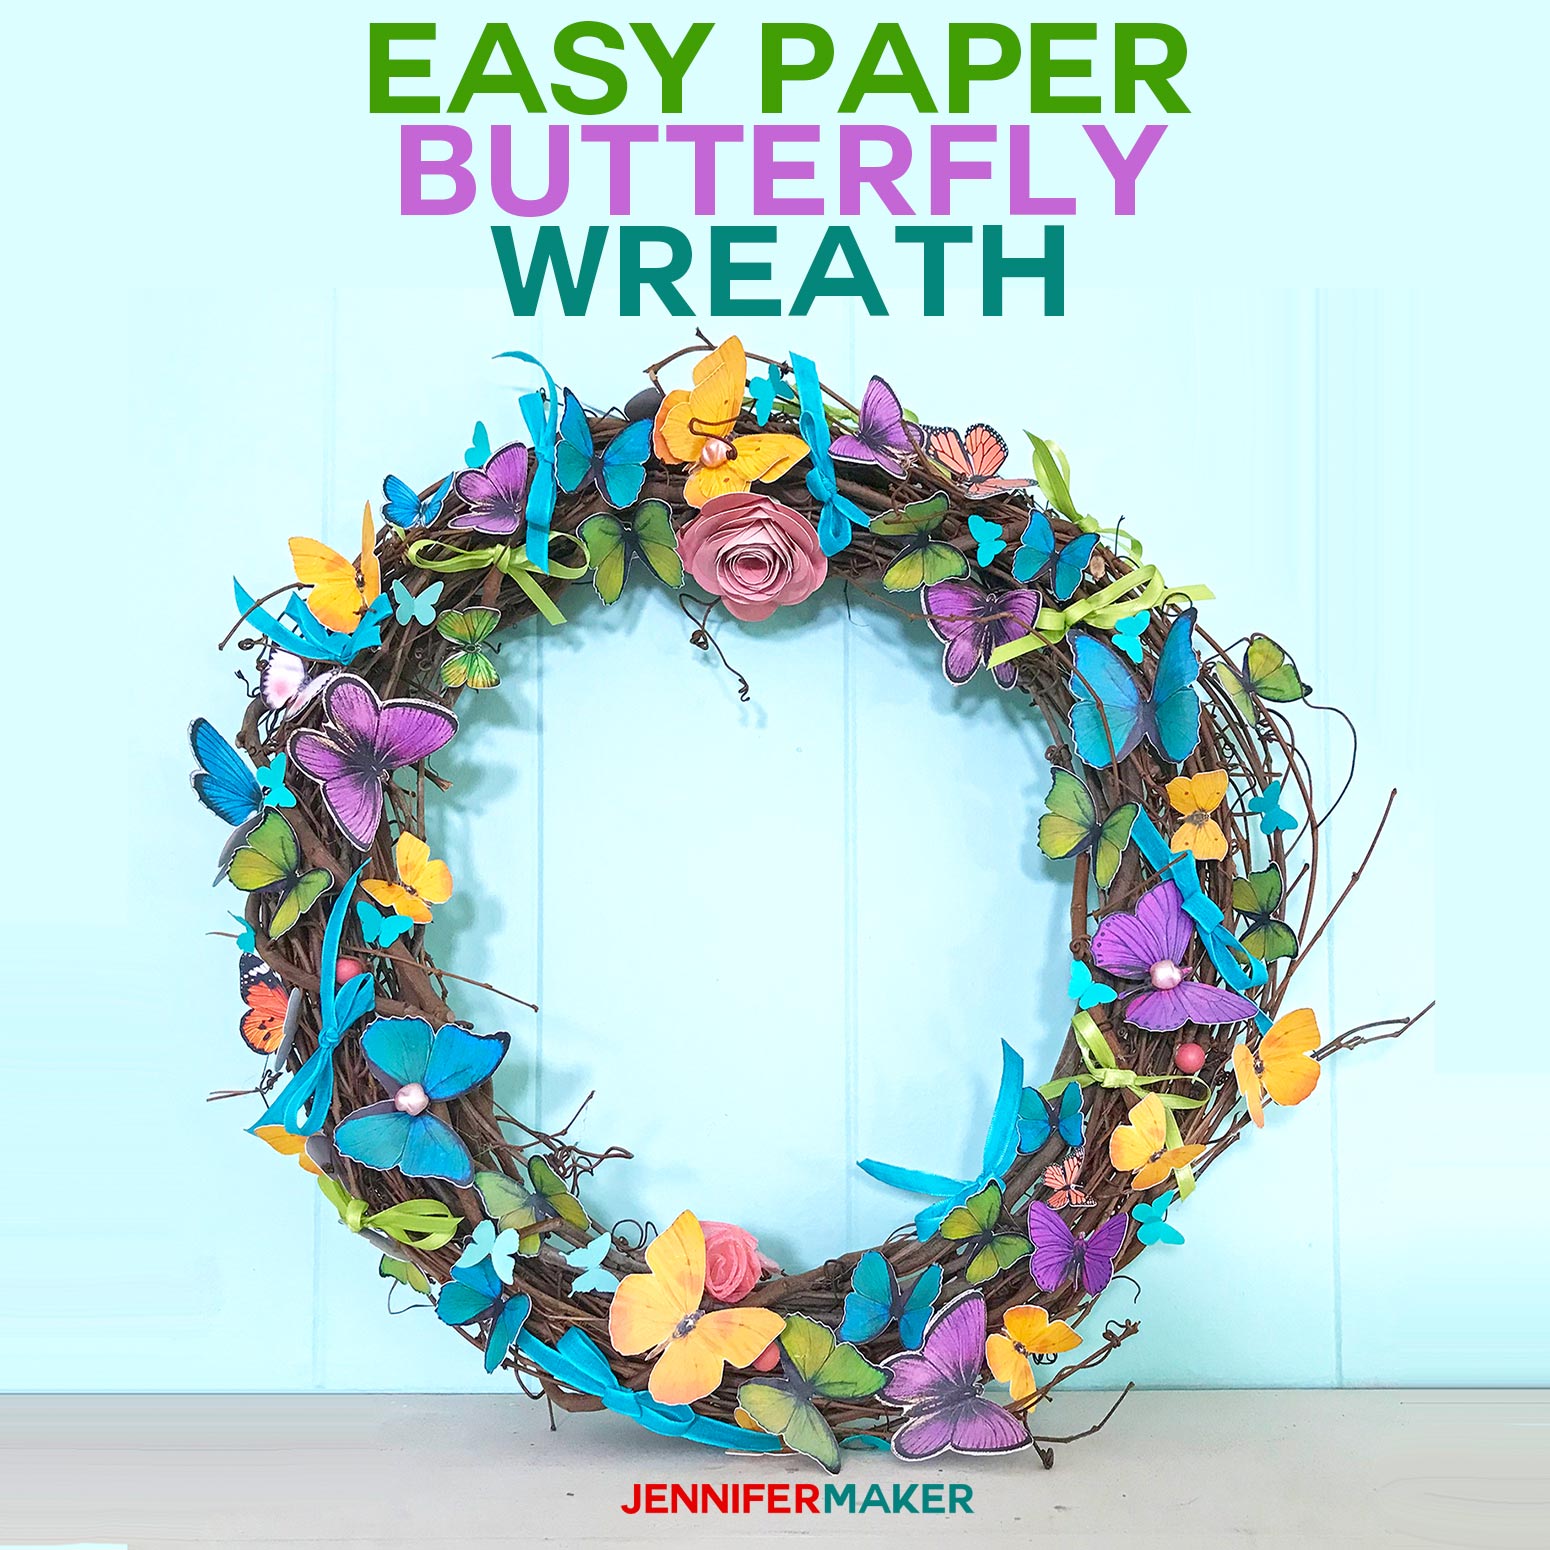
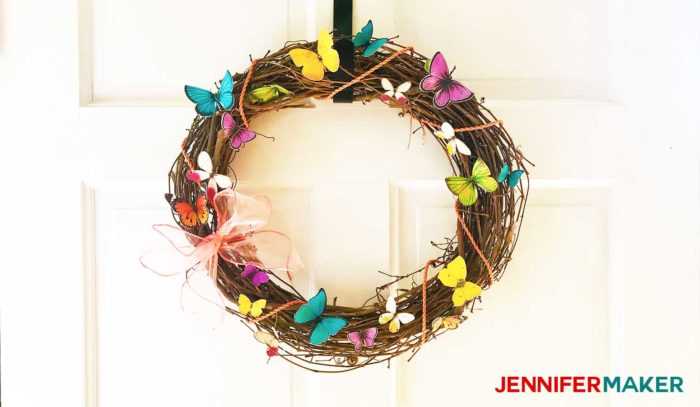
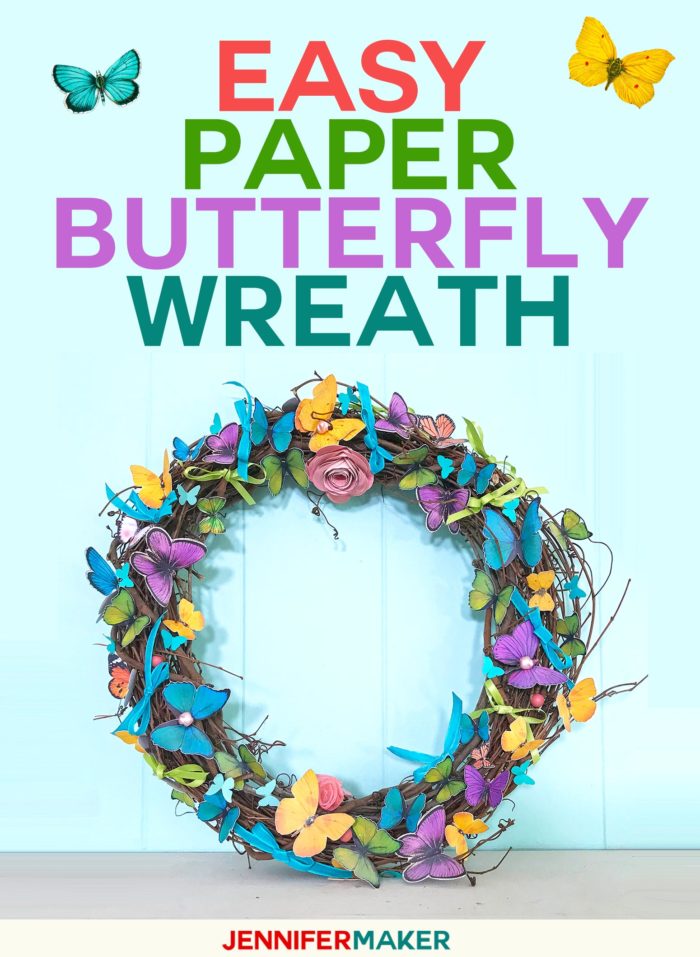
Make a gorgeous paper butterfly wreath for your spring home decor or for that special woman in your life. This easy project can be finished in just an hour or two. A great beginner project!
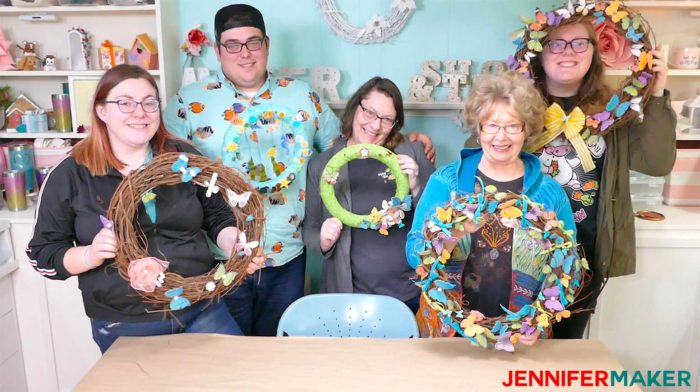
When my family gets together for birthdays, we also do crafts together. Yesterday we all made paper butterfly wreaths in my craft room and had the BEST TIME TOGETHER. This easy project let us craft and chat, our favorite thing to do. And I’m going to show you how easy it is to make one yourself!
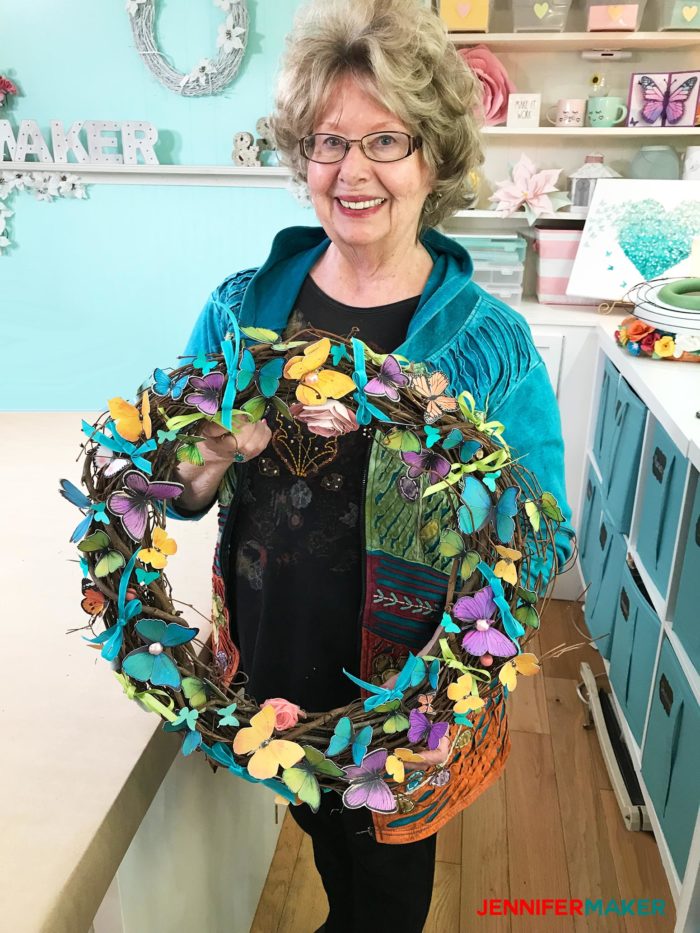
Here’s my pretty mom holding her pretty paper butterfly wreath!
To make a paper butterfly wreath, you just need some butterflies, a wreath form of some sort, and hot glue. I have several different paper butterflies on my blog, including these vintage style butterflies which is primarily what we used for this project. To make these paper butterflies, you’ll need some basic white cardstock, a printer, and a way to cut them out. You can just print from the PDF I’ve prepared, or you can use the Print Then Cut feature on your Cricut cutting machine. I’ll show you how to do both in this tutorial!
As for wreaths, we used both grapevine wreaths and Styrofoam wreaths. If you go with a Styrofoam wreath, I recommend you wrap it with strips of material, as I’ve done here. I’ll show you how to do that quickly and easily in this tutorial, too!
After that, it’s really just a matter of folding and gluing the butterflies onto your wreath in various directions. You can cover your whole wreath as my mom did in the wreath above, or just place your butterflies in specific areas. It’s really up to you! There are so many different ways to do this. You can even add extra things like paper flowers and bows — feel free to get creative!
And when you’re all done, I recommend you spray your wreath with a UV Resistant clear matte sealer so your pretty paper butterflies don’t fade.
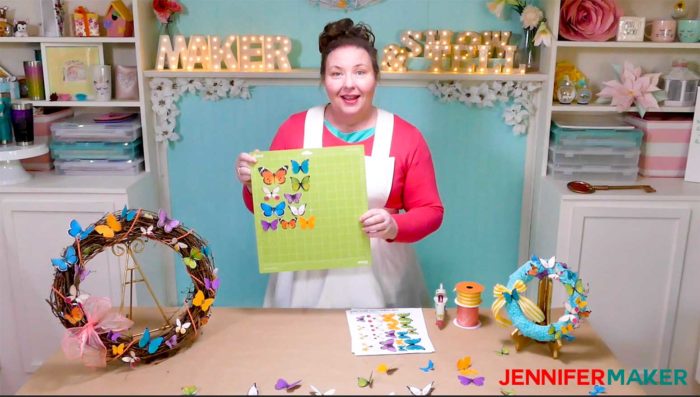
This step-by-step video tutorial shows you how to make the paper butterfly wreath using my free PNG or PDF template:
I’m excited to show you how to make this easy paper butterfly wreath. This post contains some affiliate links for your convenience (which means if you make a purchase after clicking a link I will earn a small commission but it won’t cost you a penny more)! Read my full disclosure policy.
Materials for Paper Butterfly Wreath
- 80 lb. or 105 lb. 8.5″ x 11″ white cardstock like this
- Hot glue gun and glue sticks
- Wreath form (either a grapevine wreath or a styrofoam wreath wrapped in fabric strips)
- UV-Resistant clear matte spray sealer to keep your butterflies from fading in the sun (I used this brand)
- (Optional) Pretty ribbon to decorate your wreath
- A color inkjet printer (I use and recommend the Epson EcoTank ET-4800)
- A way to cut your paper butterflies (I used the amazing Cricut, but you can use another cutting machine or even scissors or a craft knife like an X-acto knife)
- Design #146 – My free vintage butterfly files (available in my free resource library—get the password at the bottom of this post)

How to Make a Paper Butterfly Wreath
Step 1: Get My Vintage Butterfly Files
If you’d like to use my free vintage butterfly files (Design #146), you can get them in my resource library (get the password for it at the bottom of this page). Don’t forget to unzip it.
You can either print the PDF and cut with scissors, or you can use the PNG files with Cricut cutting machine’s Print Then Cut feature. I opted to use my Cricut because it is SO easy and quick!
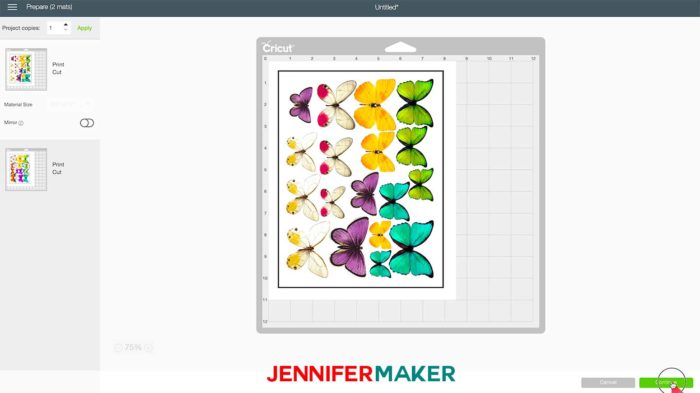
Here are vintage butterfly PNG files uploaded to Cricut Design Space. There’s no need to resize them — they are all ready to go!
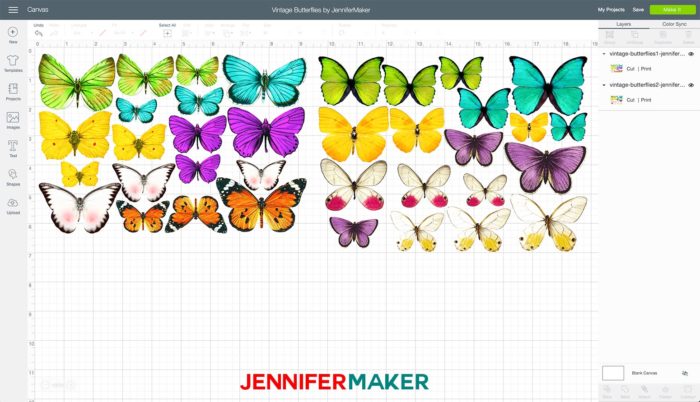
Click the green “Make It” button when you’re ready to make your paper butterflies.
Note: The Preview screen that appears next will show your butterflies with a black box around them. This is the sensor line for the Print Then Cut calibration on your Cricut — it needs to be there just as shown on the screen.
Press the green Continue button to go to the print and cut screen. Click the green “Send to Printer” button to get the Print Setup box. I recommend you turn on Add Bleed as well as Use System Dialog for the highest quality print.
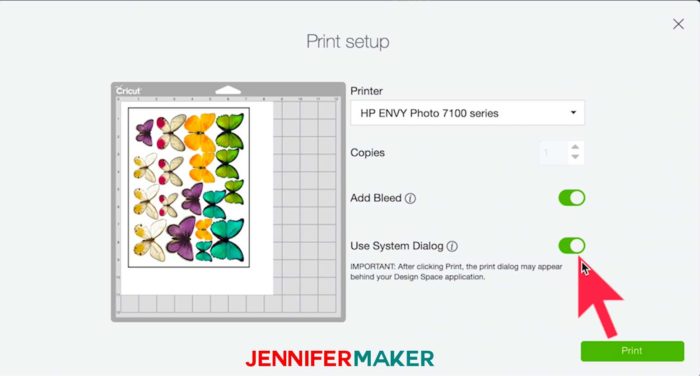
NOTE: If you do use the System Dialog for your printer, it will probably appear BEHIND your browser window. So move it to the side and you’ll see it. Be sure you select the right paper and the BEST quality in your dialog box.
Get my Vintage Paper Butterflies FREE!
Download my free vintage paper butterfly templates by subscribing (free) below to get the password to my resource library.
Love,


Ohhhhh I love this. Super cute and springy!!