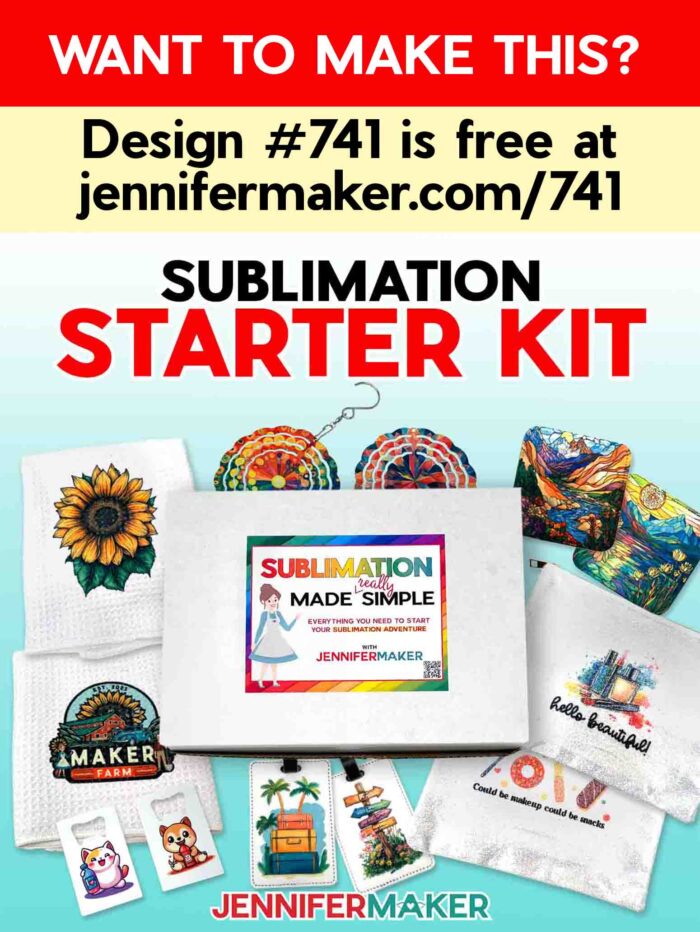
Learn all about my new sublimation beginners starter kit, and try out one of my favorite crafting methods!
Sublimation is seriously so much fun with its vibrant colors and jaw-dropping results – but let’s be real, it can get pricey fast. Between buying a sublimation printer, a heat press machine, sublimation ink, special paper, and all the blanks and tools … whew! That’s a lot to buy just to figure out if you even like sublimation crafting. I’ve shown you how to sublimate without a printer, but what if you’re more curious about the possibilities of print sublimation? Wouldn’t it be dreamy if you could test it all out before diving in? Well, guess what – you totally can! I’ve put together the easiest, most beginner-friendly Sublimation Starter Kit, and it’s the perfect match for crafty hearts who want to explore this colorful world without the big commitment. It’s like a little box of crafty joy designed to set you up for success!
Watch the full step-by-step tutorial on how to use the beginner sublimation kit:

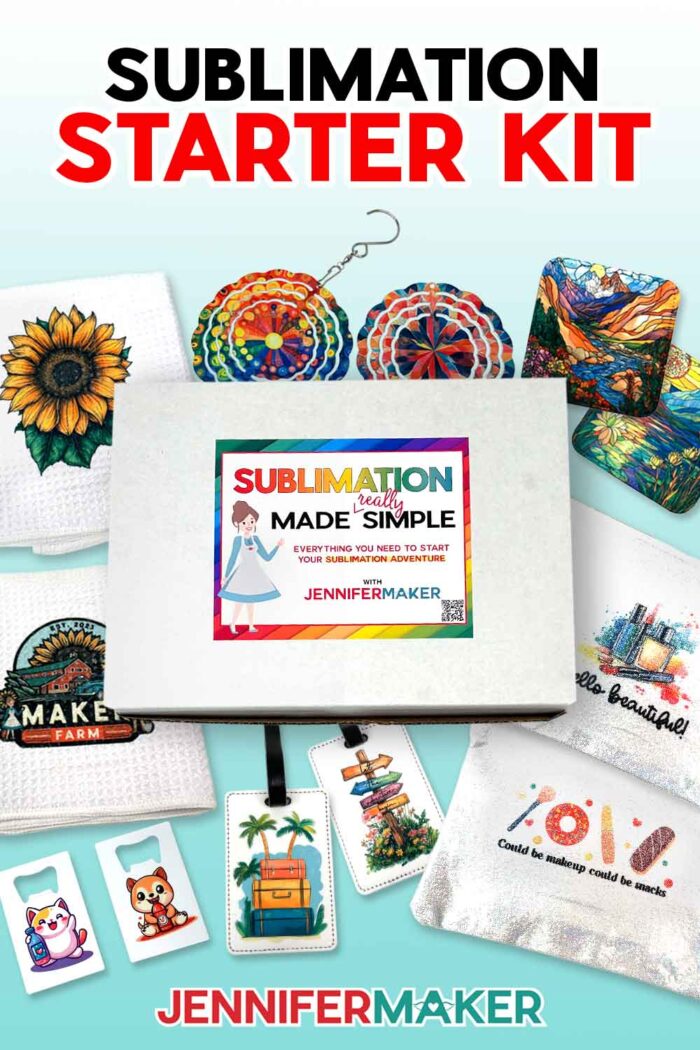
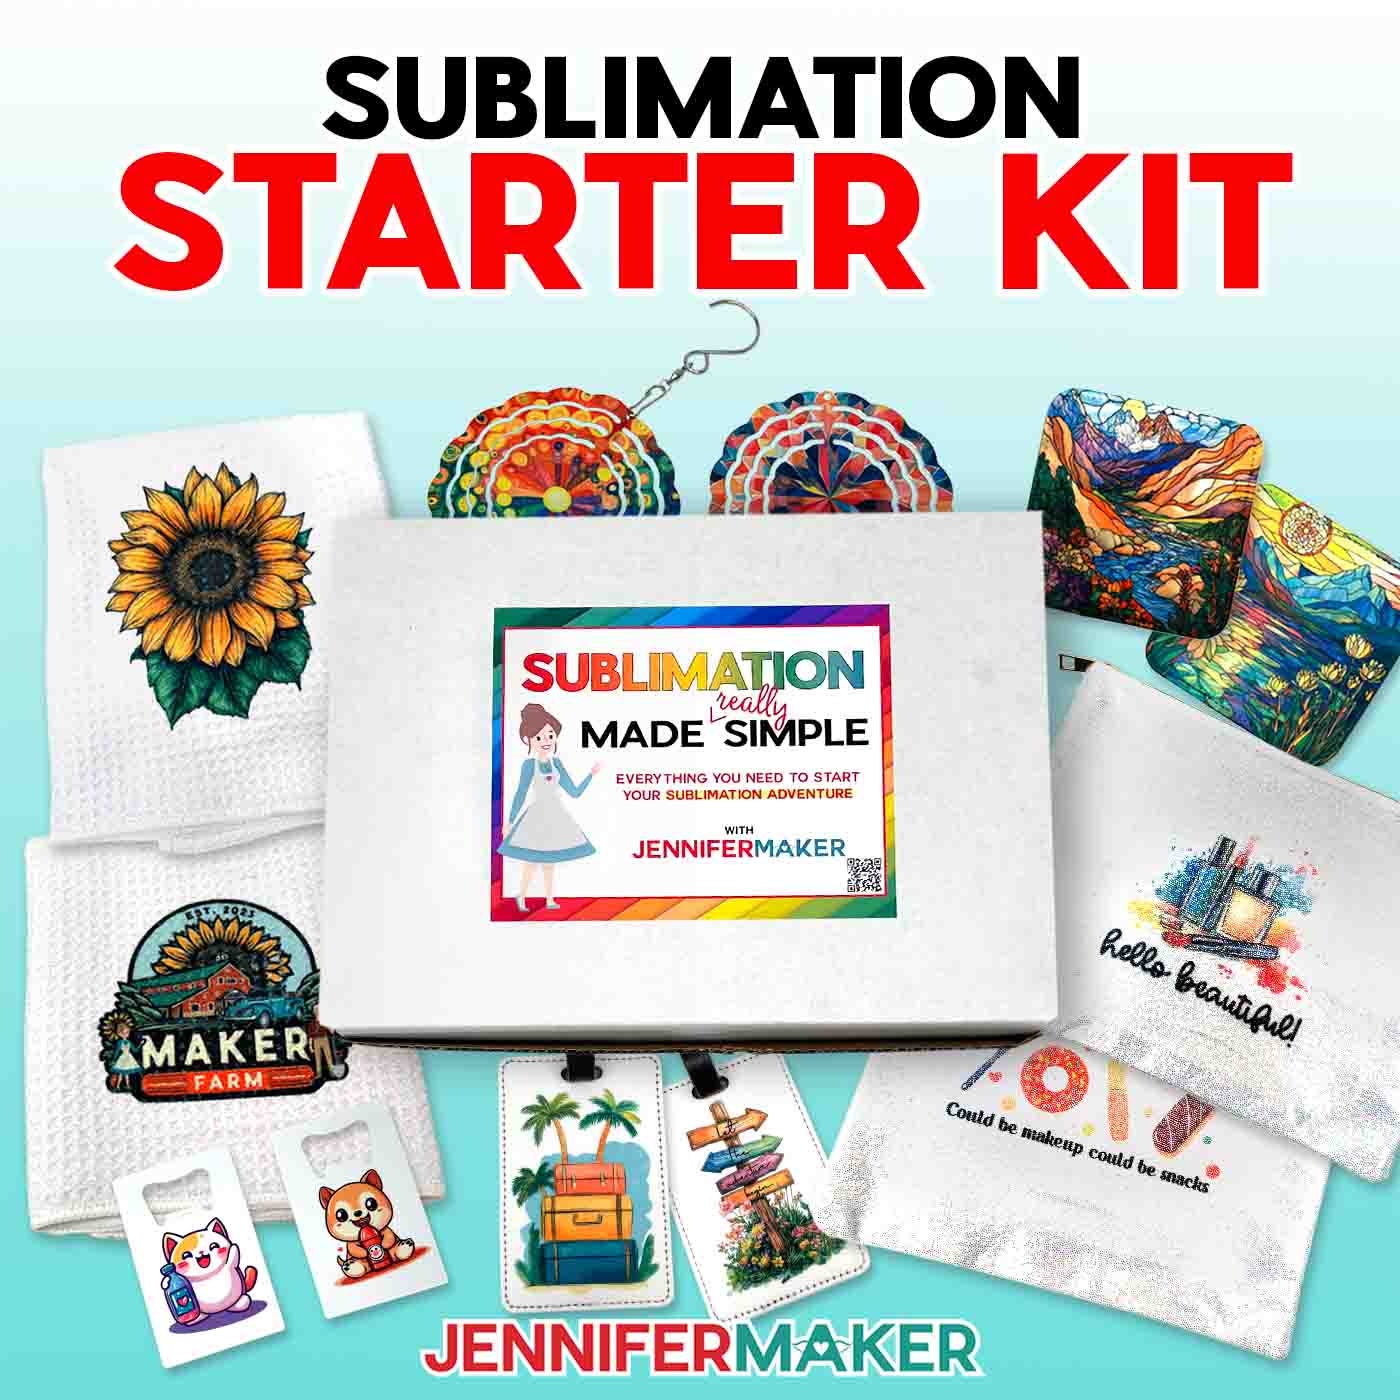
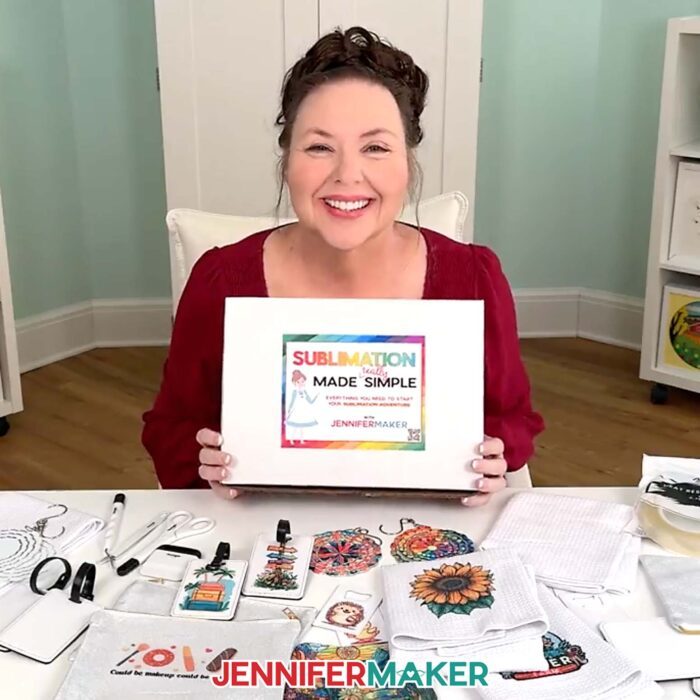
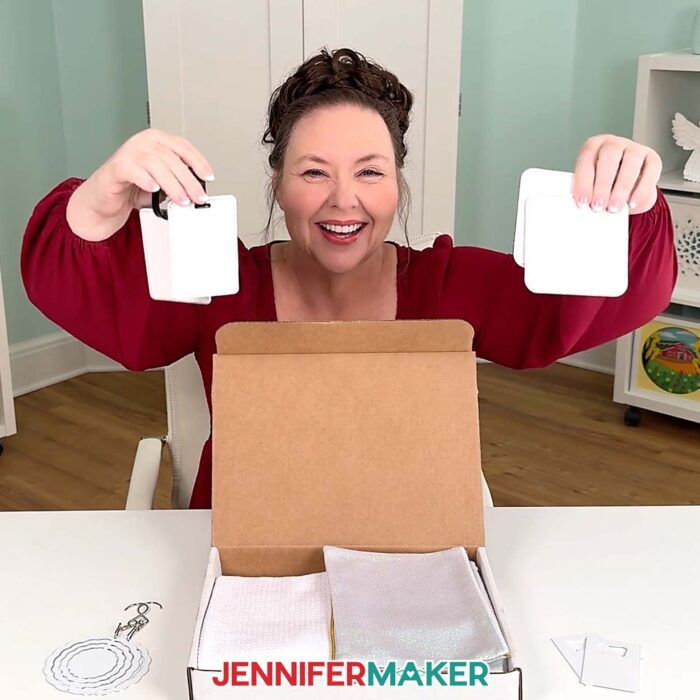
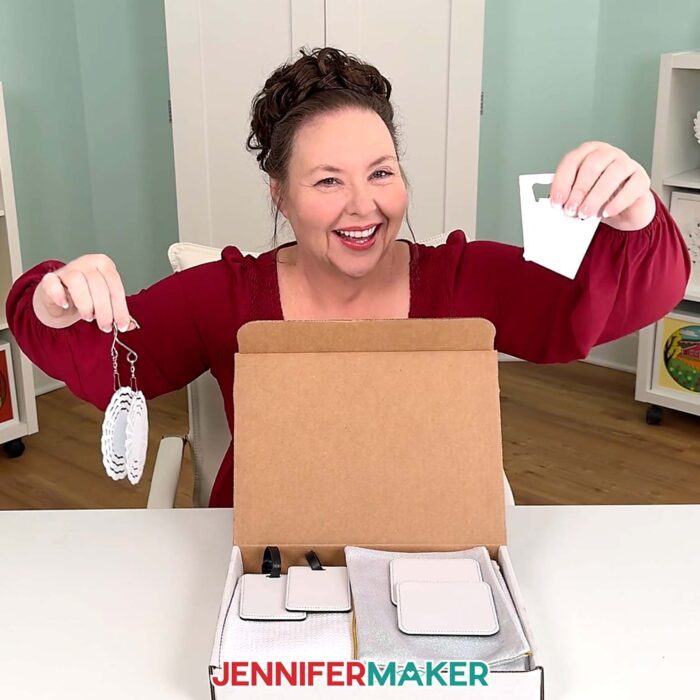
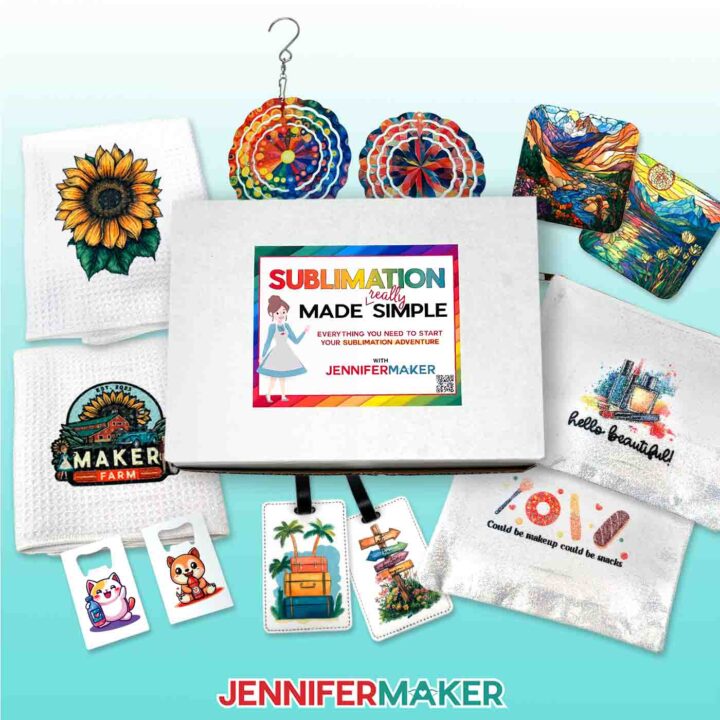
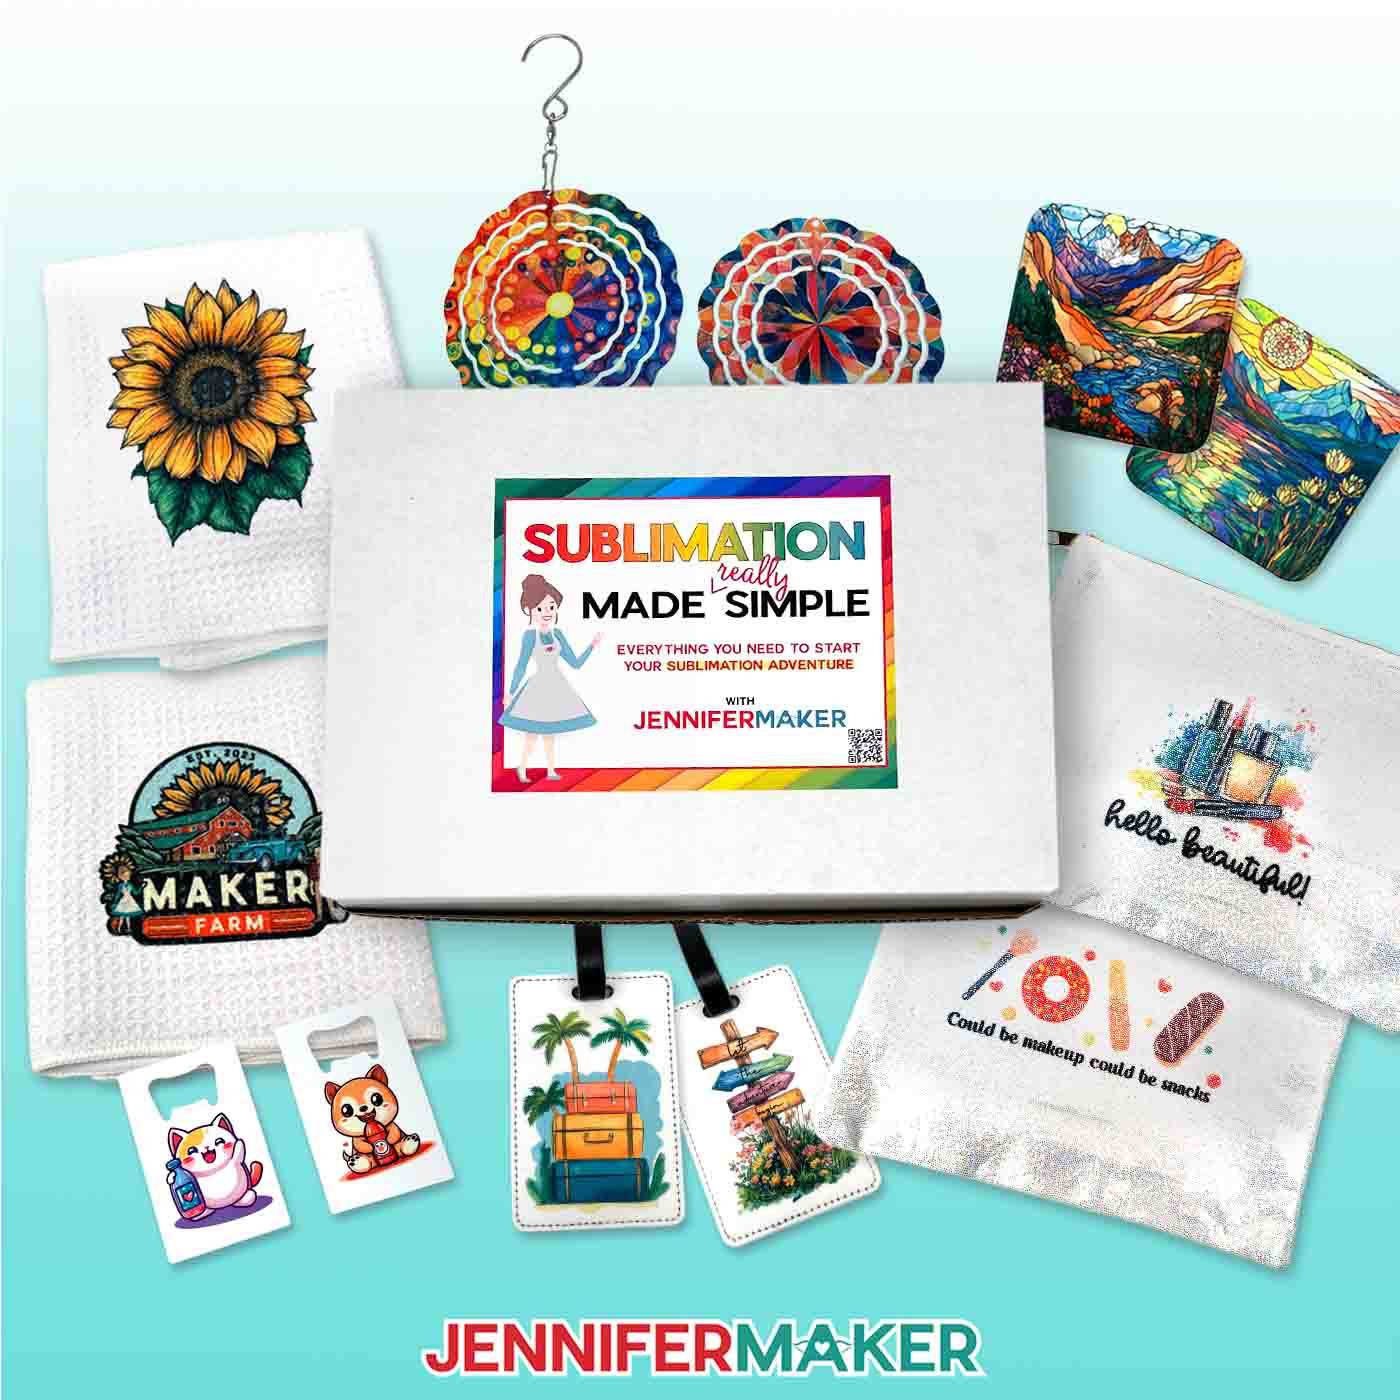
This kit (there are actually two versions!) is packed with everything you need to kick off your sublimation journey with confidence and the best results possible. You’ll get professionally printed transfers with the cutest designs– no printer or sublimation ink needed! Plus I’ve included some of my favorite hand-picked blanks that actually work. Yep, I tested them all! Here are the blanks you’ll get:
- 2 Zipper Pouches
- 2 Square Coasters
- 2 Luggage Tags
- 2 Bottle Openers
- 2 Kitchen Tea Towels
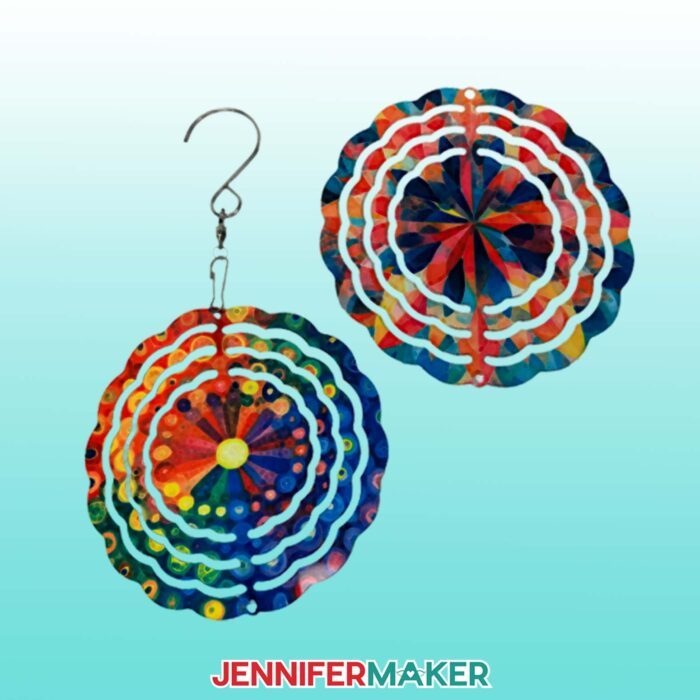
- 2 Wind Spinners (4″)
The kit even comes with all the essential tools to make everything inside: craft tweezers, weeding tool, scissors, squeegee, a heat-resistant glove, a roll of a skinny heat tape, and uncoated white butcher paper.

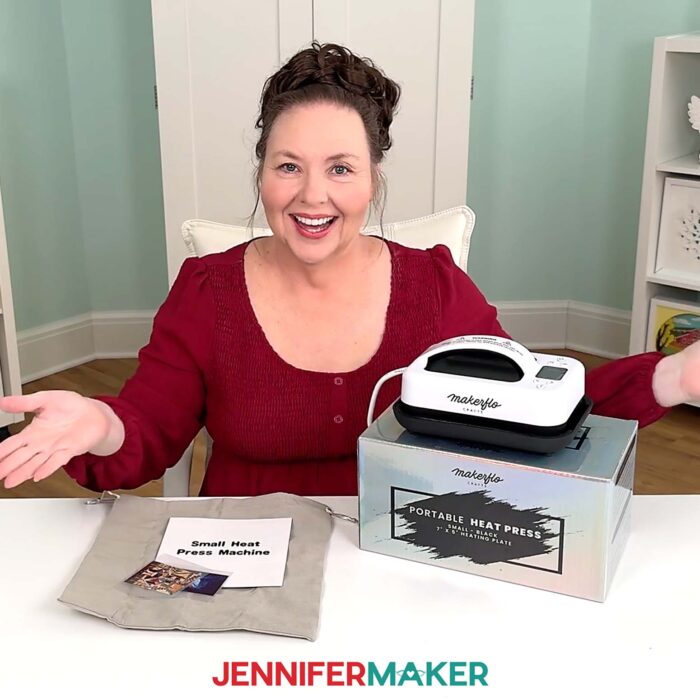
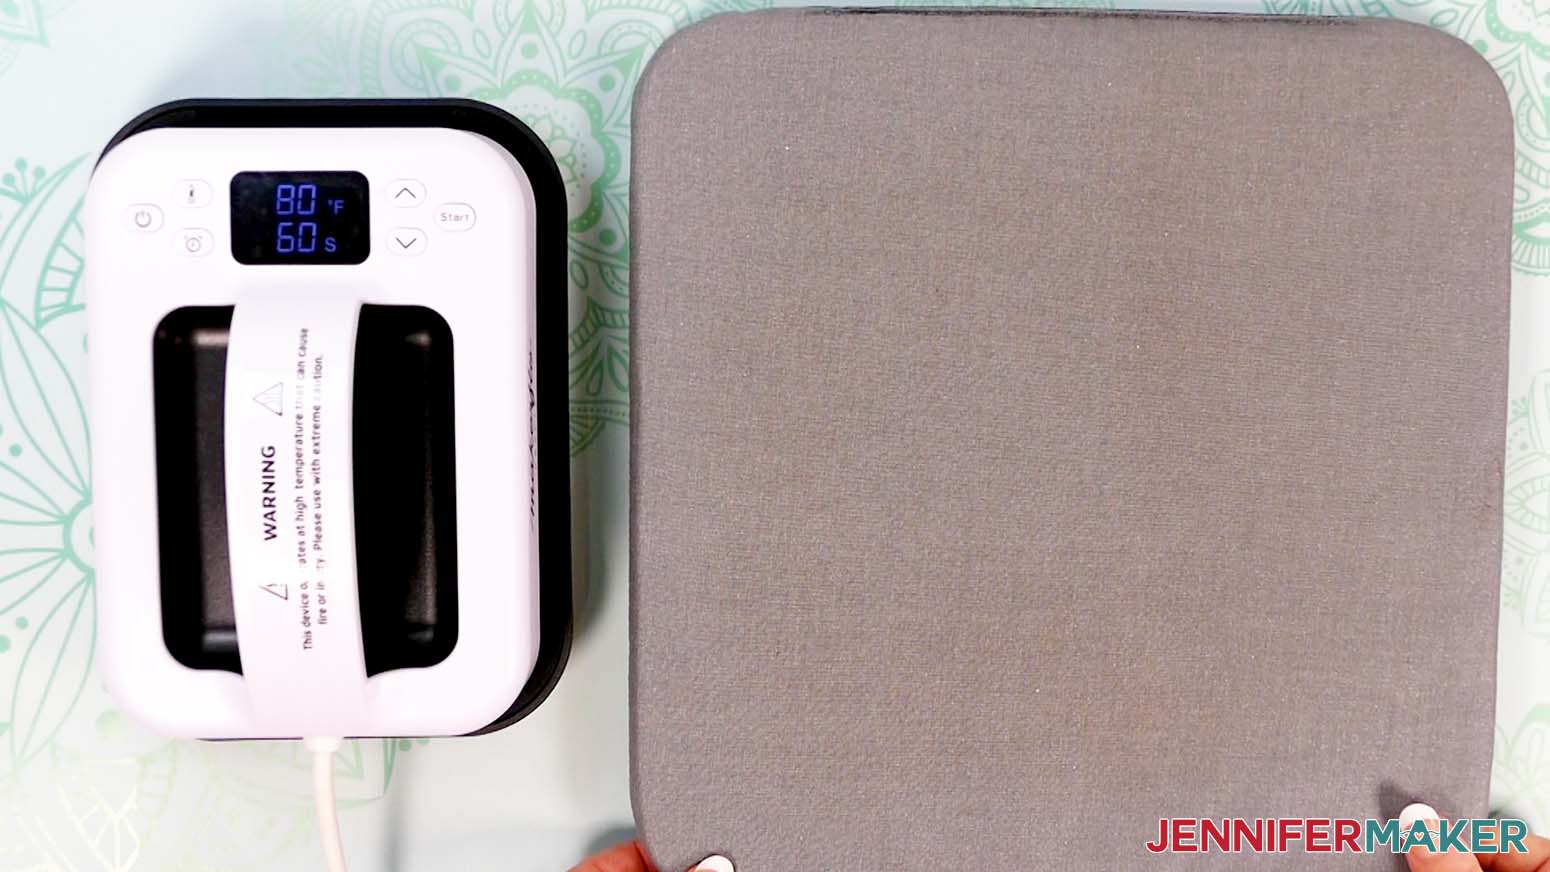
Don’t have a heat press machine? No worries! You can choose the option that includes the cutest compact flat press that heats up to 400°F, which is hot enough for sublimation. You’ll need one if you don’t already have a heat press – a home iron just doesn’t get hot enough for this kind of magic.
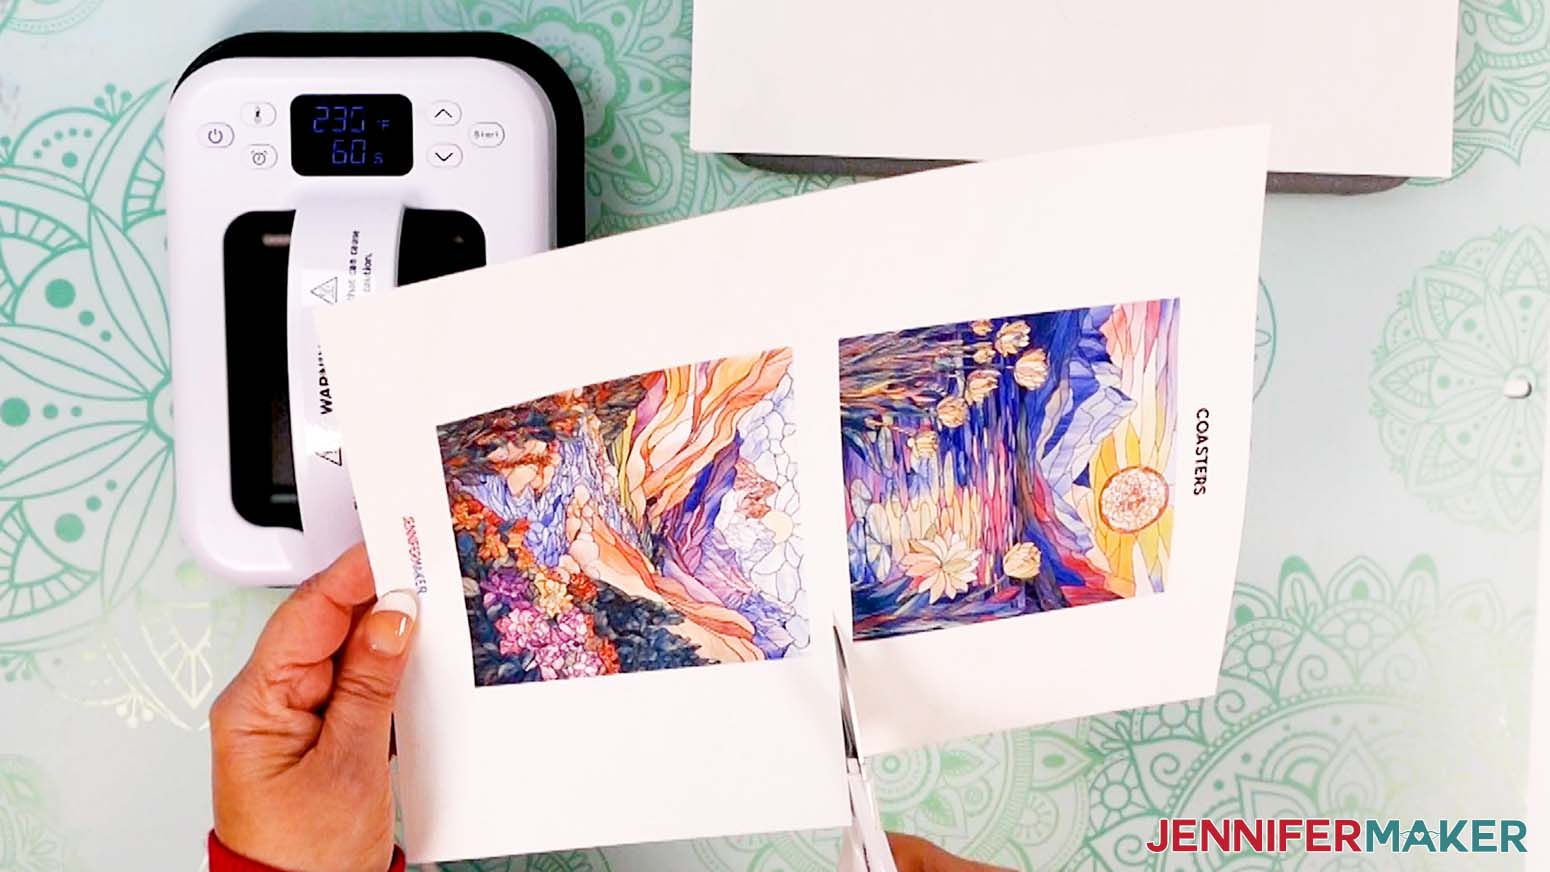
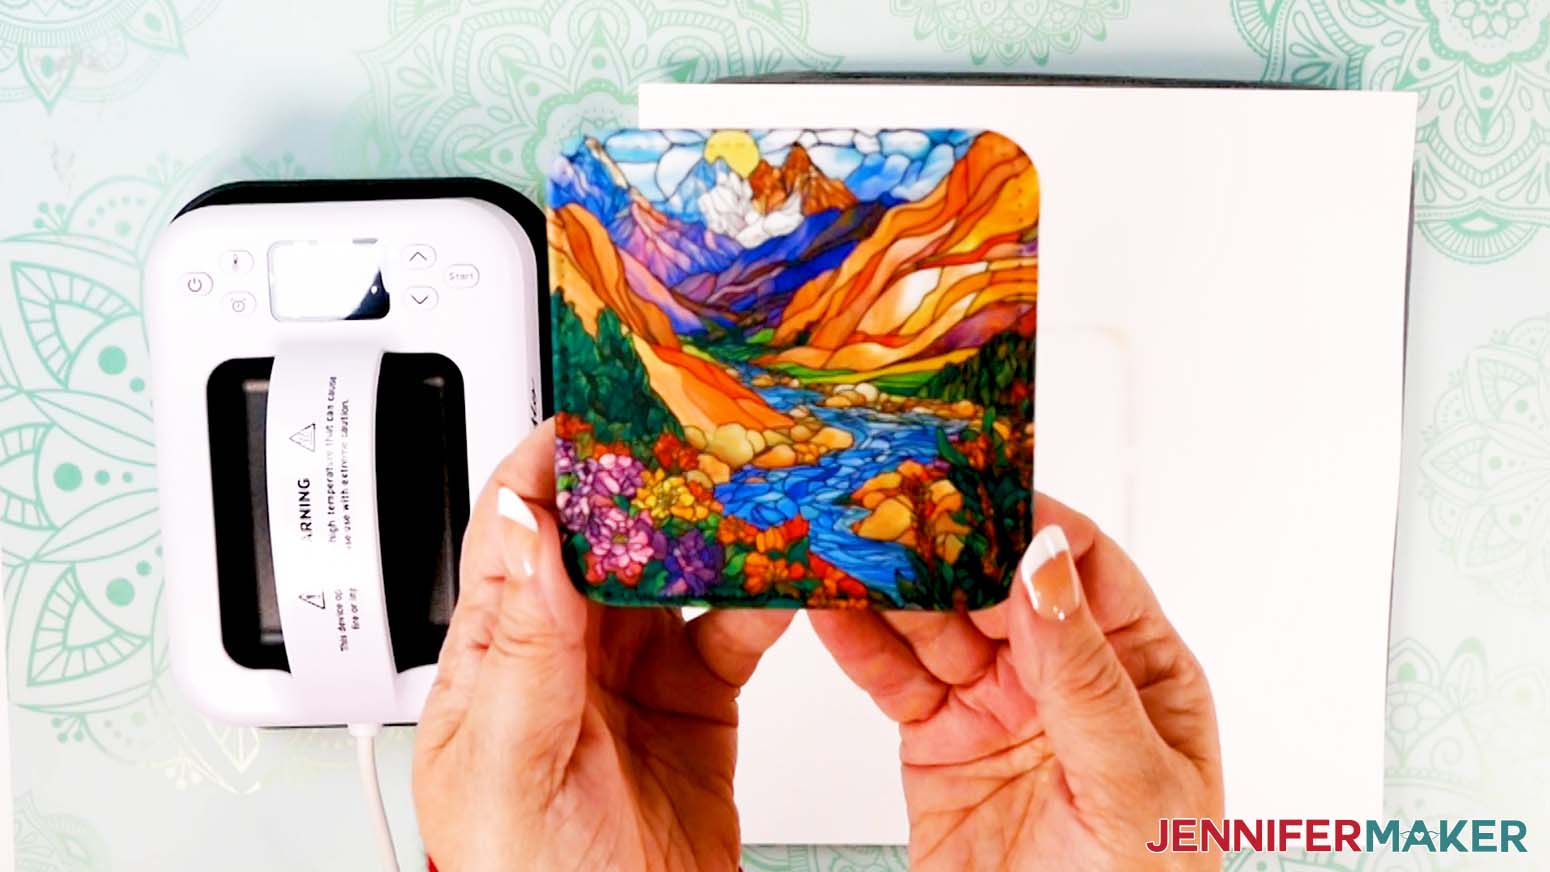
In the tutorial, we dive into all the fun together. First up, I show you how to press a couple of gorgeous designs – think peaceful ponds and majestic mountains – onto coasters using the pre-sized transfers from the kit.
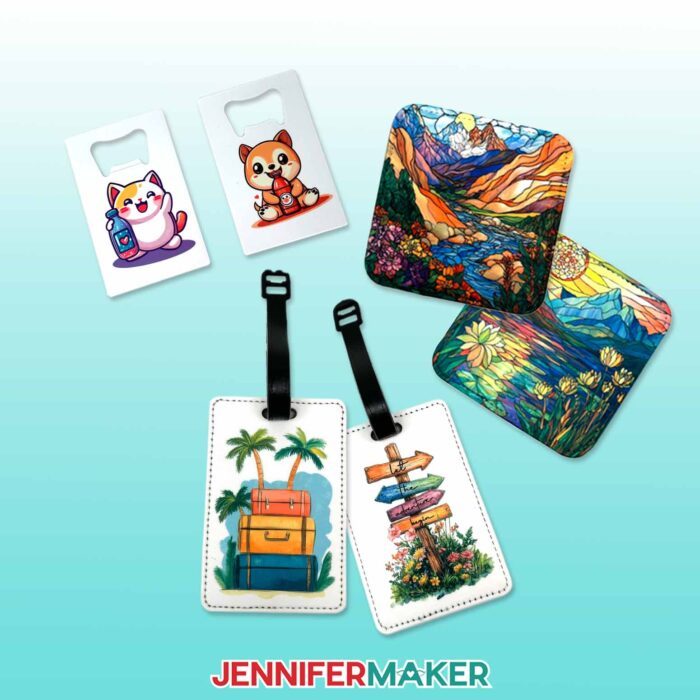
I used AI-generated art and made them sublimation-ready in Photoshop, so they’re colorful, crisp, and ready to go. Don’t worry if they look a little dull on the paper though – they’ll really come alive when they’re pressed!
After that, we’ll move on to some super cute projects like luggage tags, bottle openers, a glittery zipper pouch (so sparkly!), a dish towel, and even mini wind spinners. I want you to experiment with several project types to see if sublimation is right for you.

All of the transfers are sized just right for their corresponding blanks, and there’s no resizing, finicky trimming, or guesswork – just tape it down, press it, and get ready to be floored when you see the results!
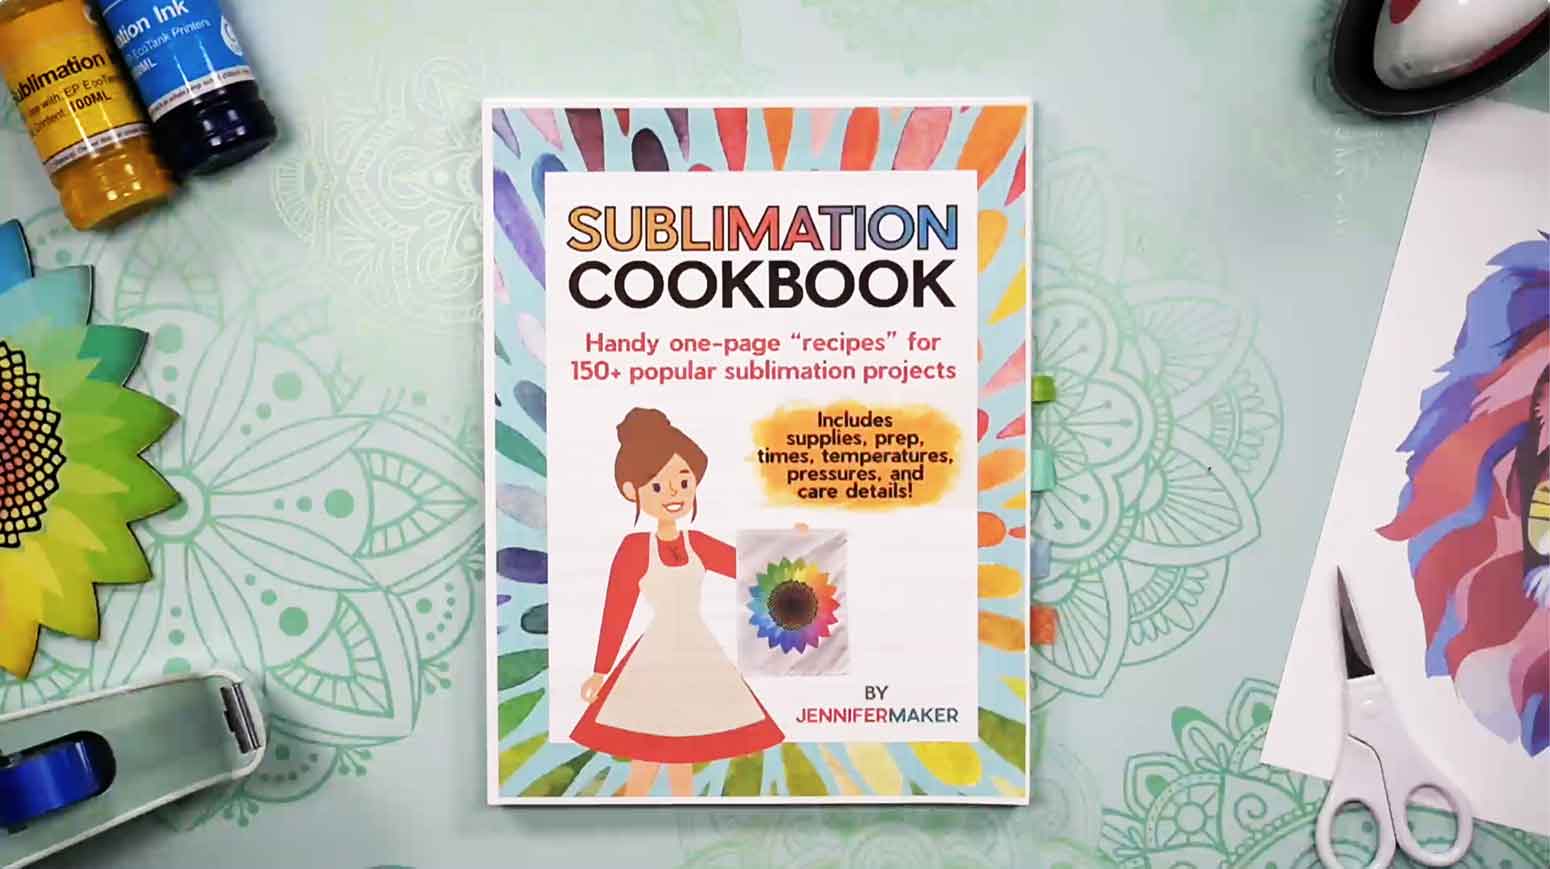
Need guidance on times and temperatures for different materials? My Sublimation Cookbook is packed with helpful details to ensure great results, whether you’re just starting out or a seasoned sublimation pro! As a bonus, I’ve put together a mini version of the cookbook that you can download after purchasing a kit!
This Sublimation Starter Kit is seriously the easiest way to try print sublimation crafting without the stress – or the expense – of getting a printer right away. Whether you’re just curious or already in love with crafting, this is your no-risk, all-reward way to dip your toes into the sublimation world!
So, want to learn how to use my beginner sublimation kit? Let me show you how fun and easy it is! This post contains some affiliate links for your convenience (which means if you make a purchase after clicking a link I will earn a small commission but it won’t cost you a penny more)! Read my full disclosure policy.
Materials Inside My Beginner Sublimation Kit
Here are the materials in the kit if you want to try them separately, or order extras:
- Heat Press – the MakerFlo 5″ x 7″
- Square Coasters
- Luggage Tag
- Bottle Opener
- Glitter Pouch
- Dish Towel
- 4″ Wind Spinner
- Heat Resistant Glove
- White Uncoated Butcher Paper
I also used:
- Fan (for ventilation)
- Cricut EasyPress Mat
- Lint Roller
- Rubbing Alcohol
- Lint-Free Cloth
- White Uncoated Butcher Paper (the kit comes with some, but extra helps!)
- 12″ x 12″ Pieces of White Cardstock (to protect surfaces from extra ink)
- Design #741 (My free PNG design files are in the kit, and also available in my free library – get the password by filling out the form at the bottom of this page)
How to Use My Beginner Sublimation Kit
Beginner Sublimation Kit Projects
Learn sublimation crafting the easy way by using a pre-made Sublimation Starter Kit — no printer needed! This project teaches you how to make SIX gorgeous sublimation projects using our designs!
Materials
- JenniferMaker Sublimation Starter Kit -OR-
- JenniferMaker Sublimation Starter with Press -OR-
- Square Coasters
- Luggage Tag
- Bottle Opener
- Glitter Pouch
- Dish Towel
- 4" Wind Spinner
- White Uncoated Butcher Paper
- 12" x 12" Pieces of White Cardstock (to protect surfaces from extra ink)
- Design #741 (My free PNG/PDF design files are available in my free resource library - get the password by filling out the form at the bottom of this page)
Tools
Instructions
STEP 1: GET MY BEGINNER SUBLIMATION DESIGNS
If you bought a JenniferMaker Sublimation Starter Kit, you’re ready!JenniferMaker
If you want to print the designs for sublimation separately, download them from my free library – look for Design #741. Alternatively, you can use the Save This Project form near the top of this post and the design link will be emailed to you. Measure the blank you’re using and print the related design following the steps in my Printing Sublimation Designs With Google Docs tutorial.
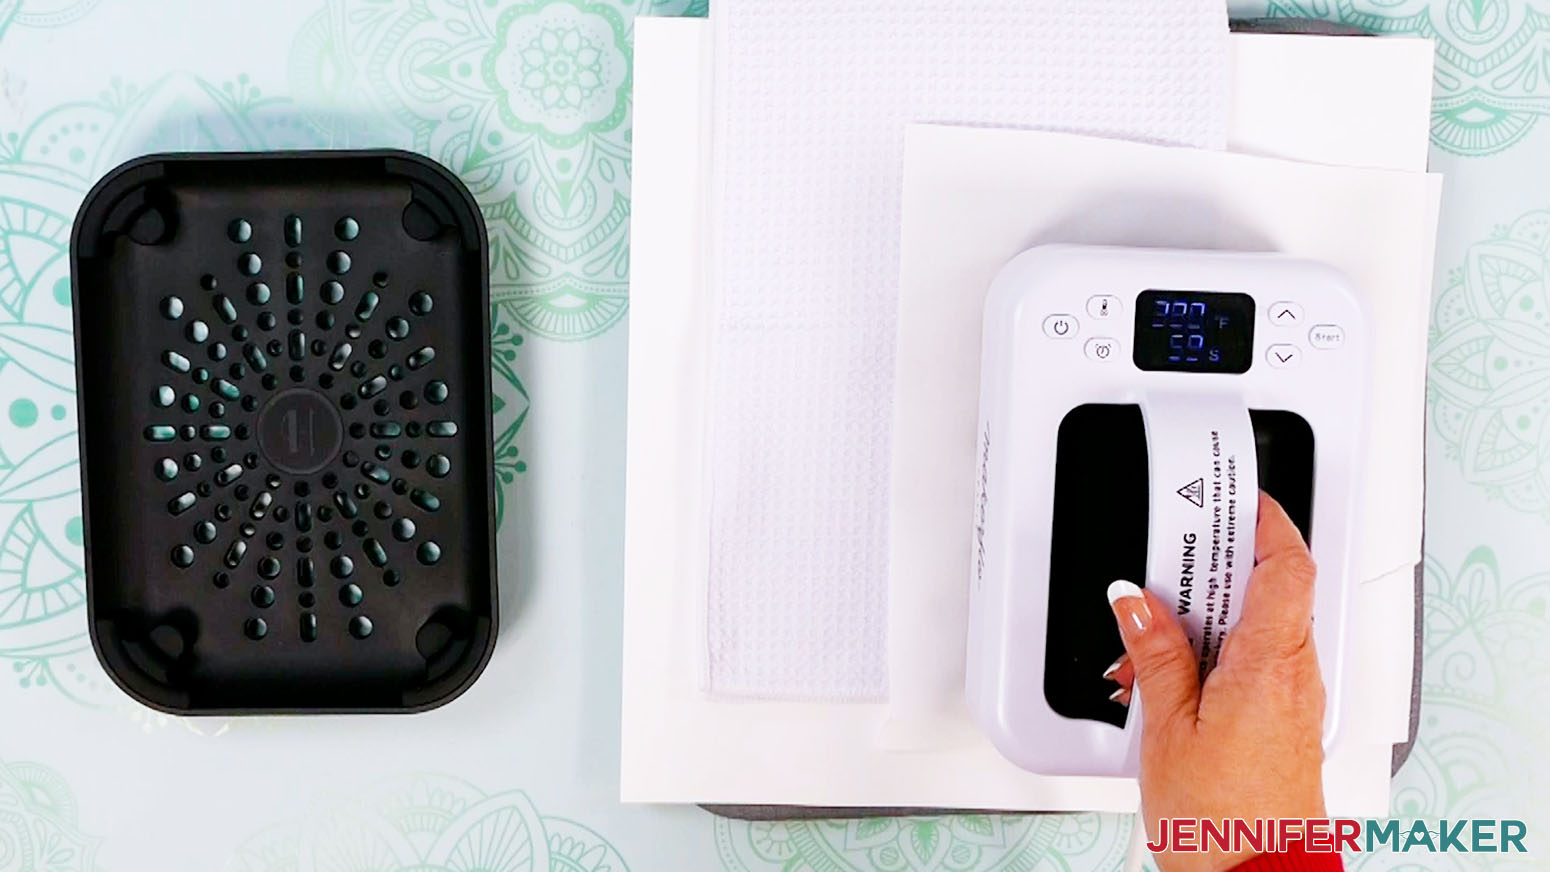
IMPORTANT: As with all sublimation projects, turn on a fan and open a window to improve your ventilation before beginning.
FOR ALL SUBLIMATION BLANKS
- Put your heat-safe glove on your dominant hand and keep it on while working with the hot press and blanks.
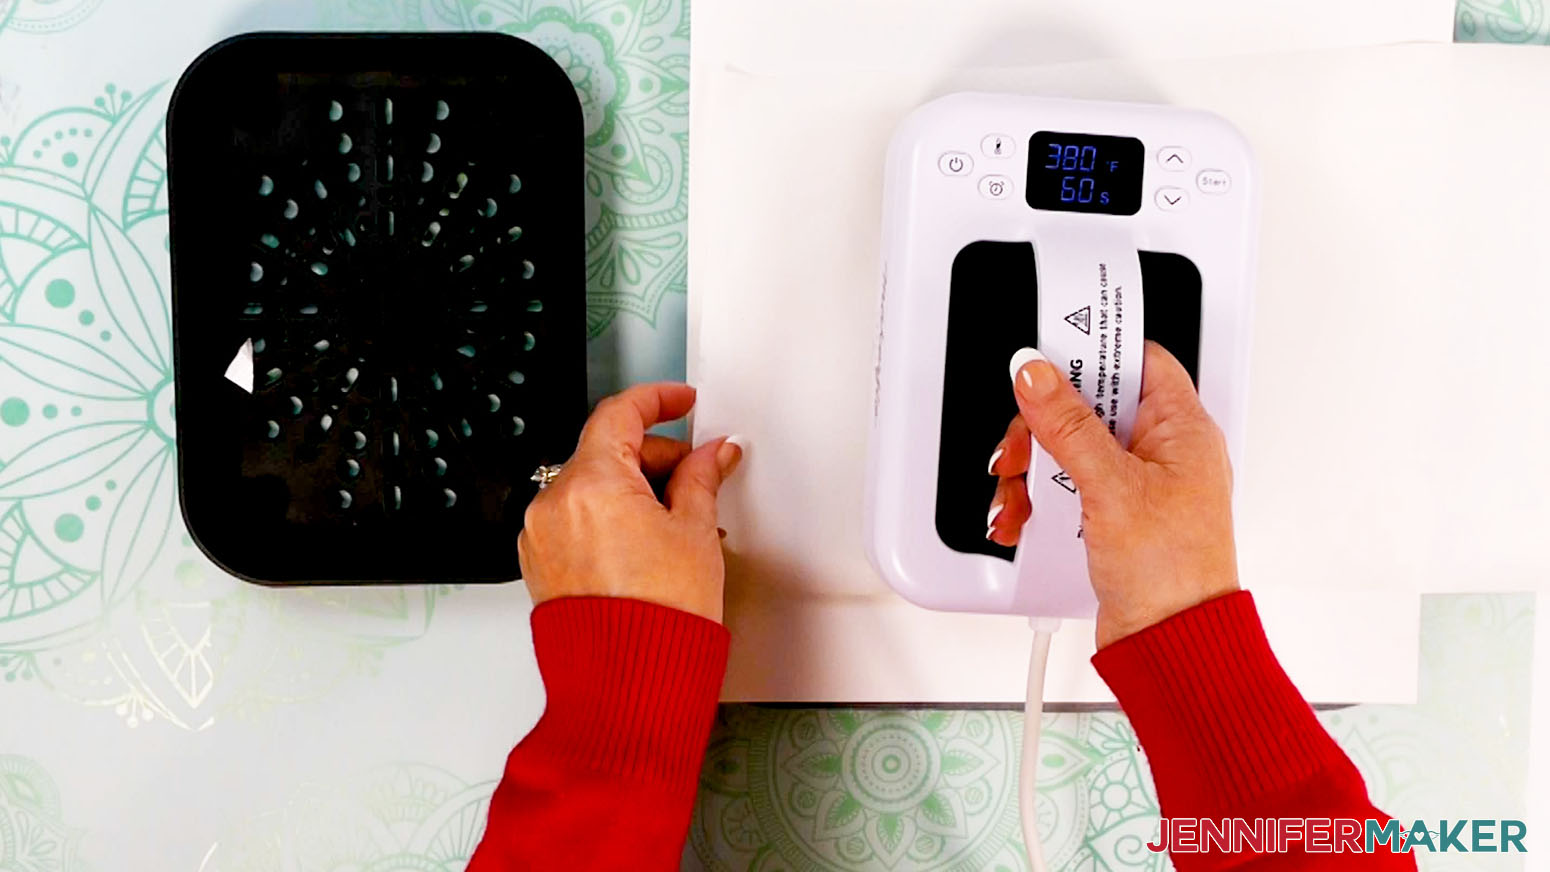
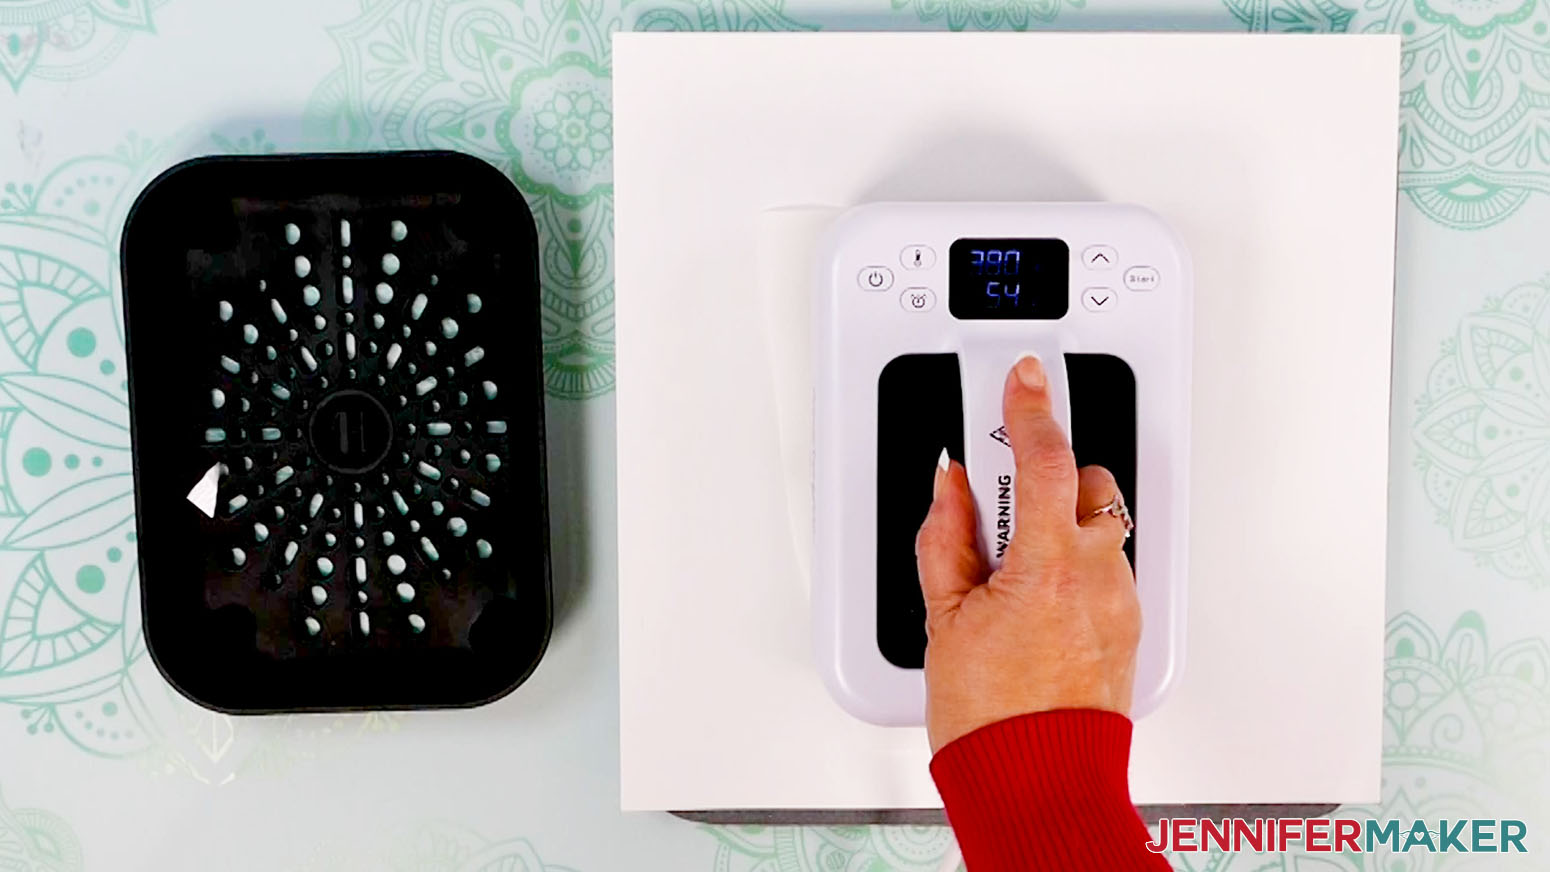
- Set your heat press to 380° F (193° C) for a 5-second preheat.

- Place your pressing mat on your work surface with a piece of white cardstock on top of the pressing mat to protect it.
NOTE: If you don't have white cardstock, you can use printer paper or uncoated white butcher paper.
COASTER
- Use scissors to trim the coaster designs (pond, mountain) apart, leaving an even amount of white space to help with taping.
- Lint roll the coaster to remove debris, which can interfere with the design.
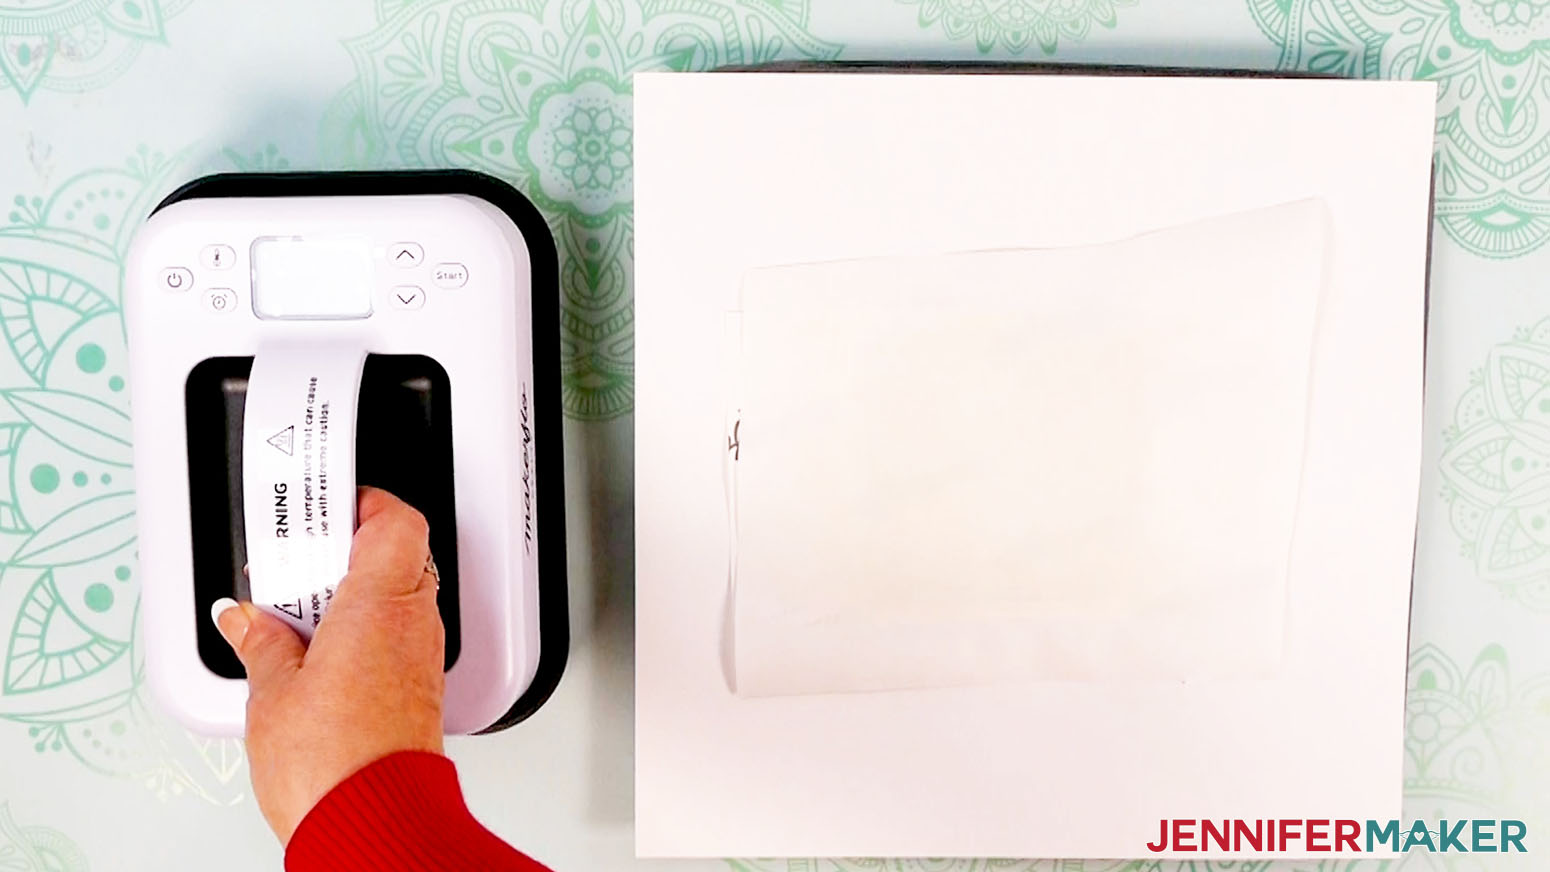
- Place the coaster on the pressing mat with white uncoated butcher paper on top to protect it from the direct heat.
Press the coaster for 5 seconds to remove any moisture, which can also interfere with the design's transfer. - Set it aside to cool in a clean area.
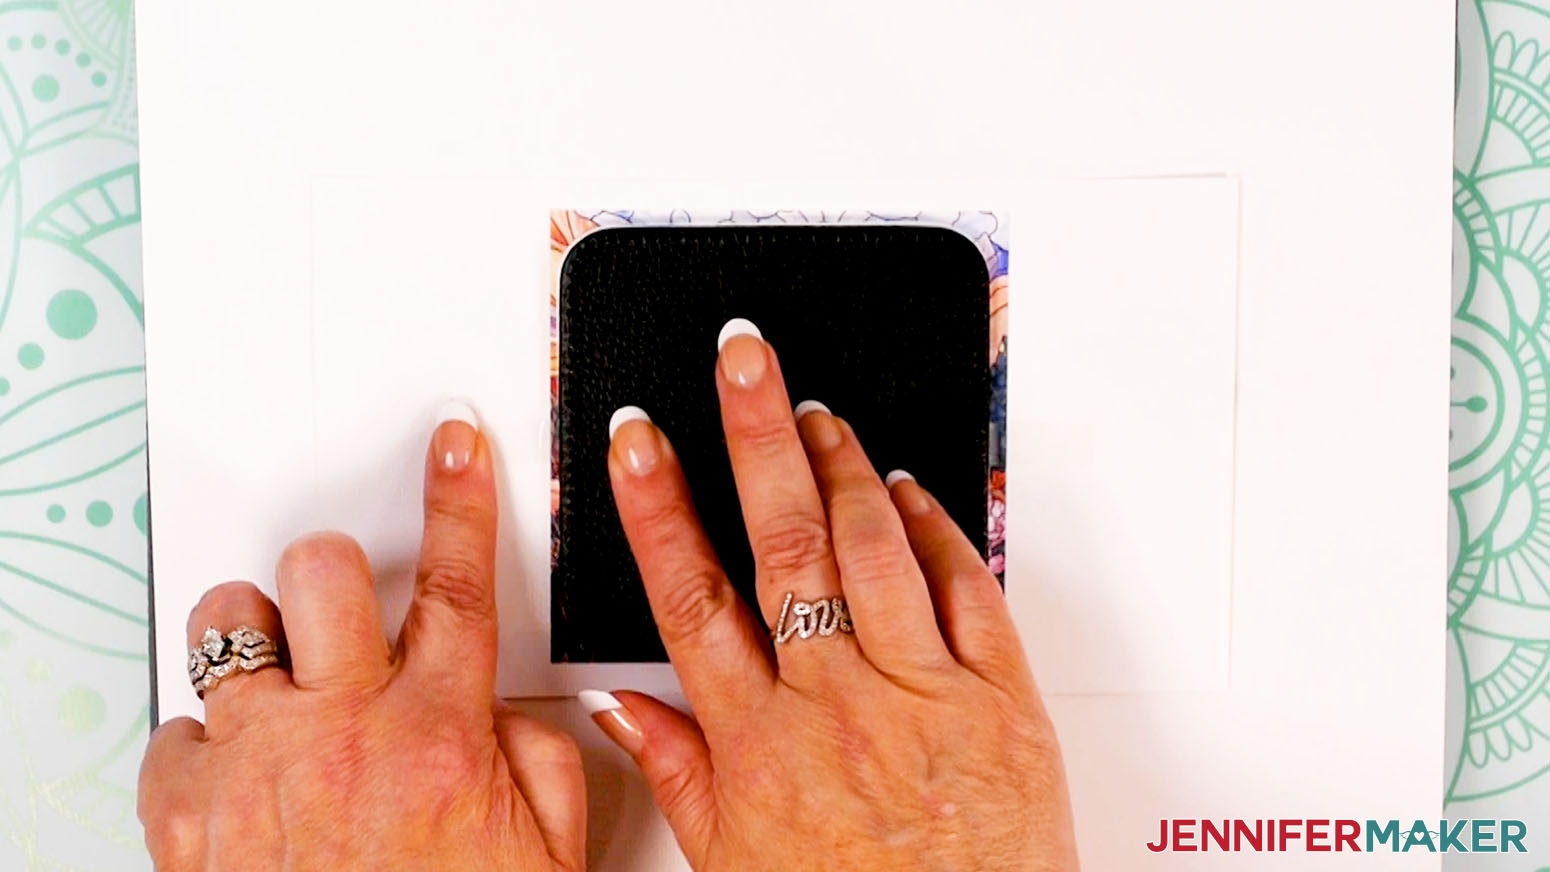
- Put the printed design face up on the cardstock.
- Place the coaster face down on the print and center it so there is an even border of color around the edges.
- Use heat-resistant tape to secure its edges to the paper so it won't shift.
- Turn the taped print and coaster over and place them on cardstock.
- Add white uncoated butcher paper on top of the design to protect your press.
- Keep the press at 380° F (193° C) and set it for 60 seconds.
- Lower the press straight down on the design and heat it for 60 seconds with medium pressure.
- When the time is up, lift the press straight up to avoid blurring the design by shifting the materials while the ink is still sublimating and return the press to the cradle.
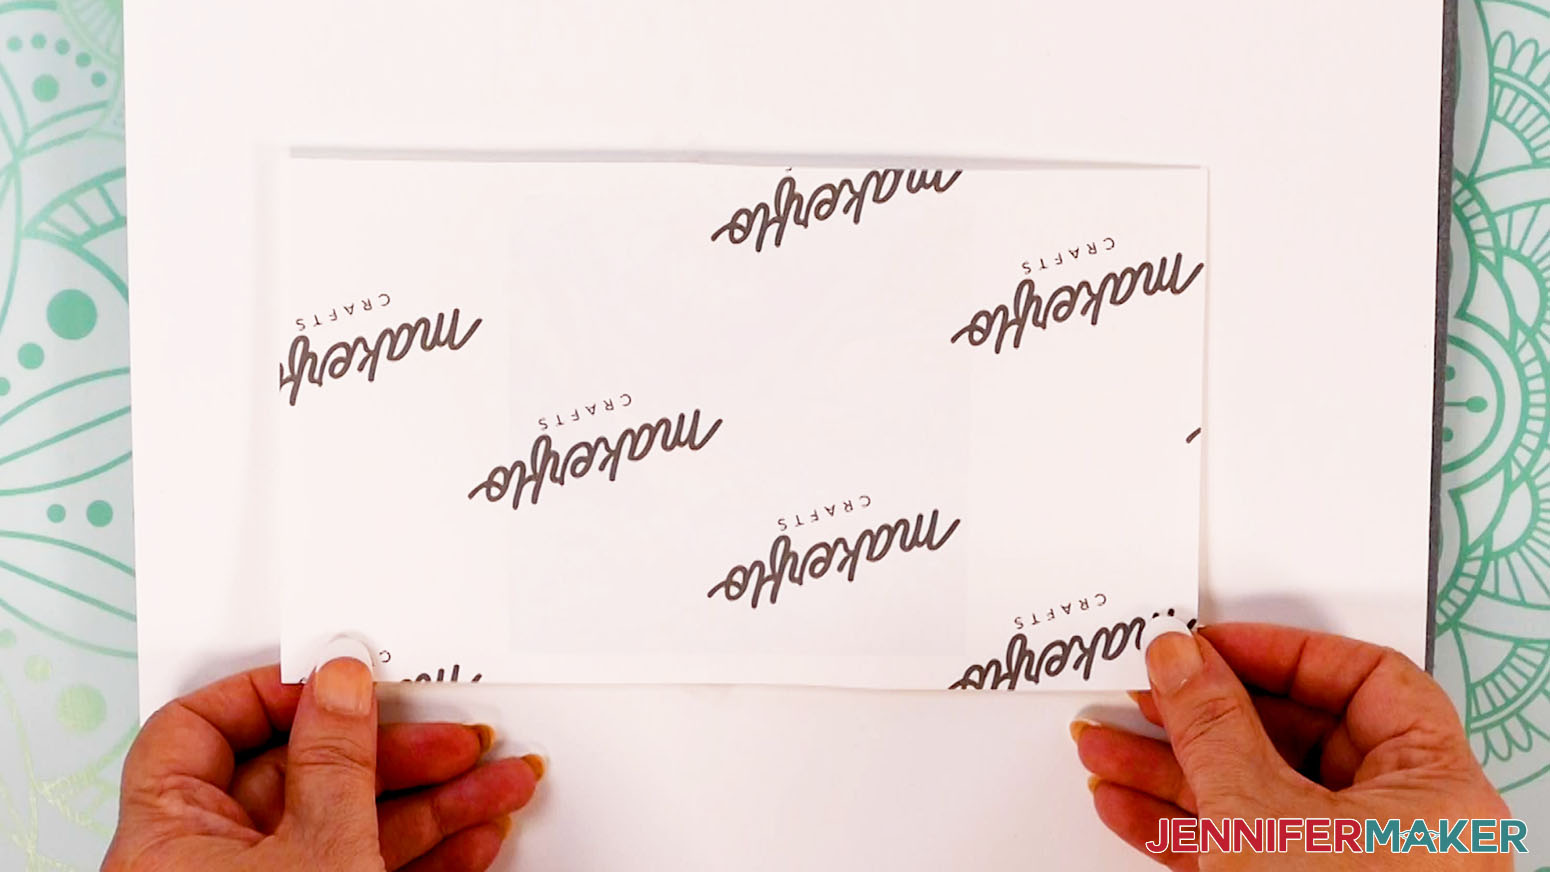
- Remove the butcher paper and let the project cool for about 10 seconds.
- Then flip over the project and remove the design to see your results!
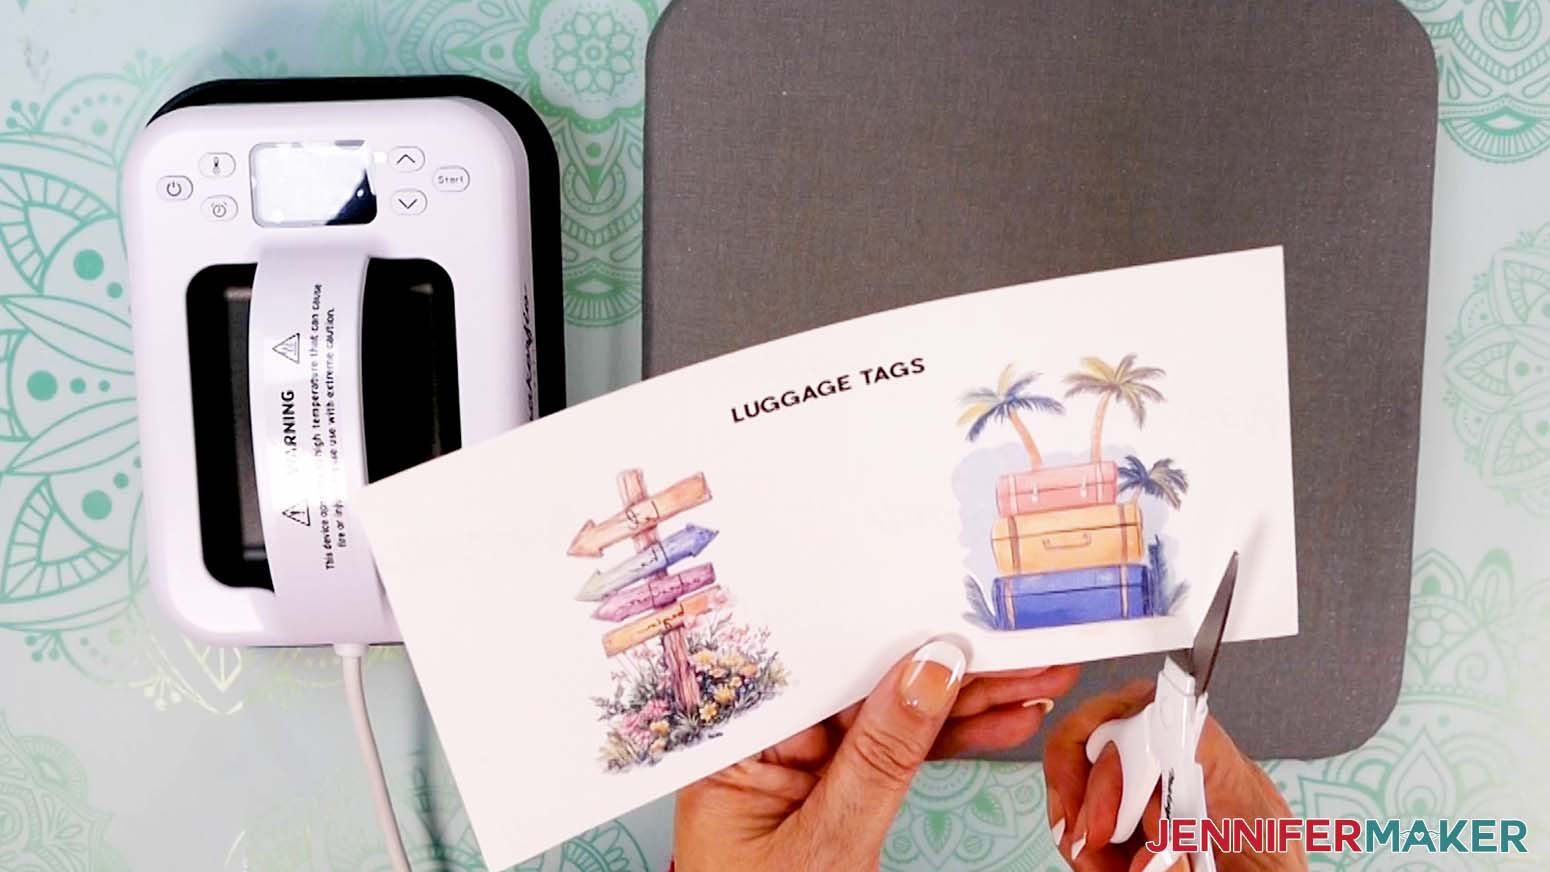
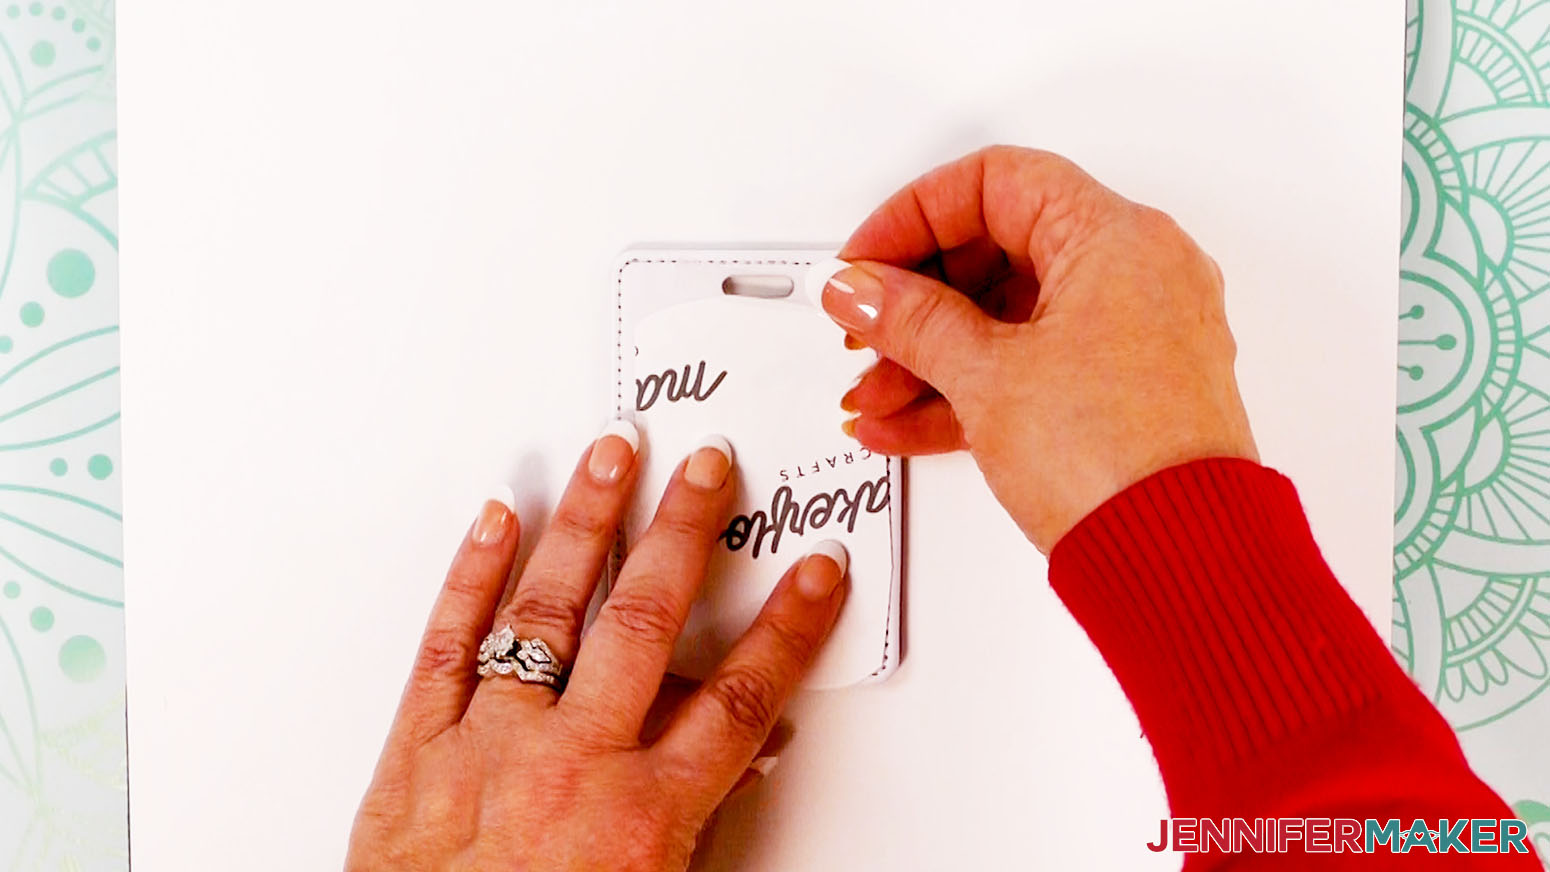
LUGGAGE TAG
- Use scissors to trim the luggage tag designs (sign post, luggage) apart, close to the ink.
- Lint roll the tag to remove debris, which can interfere with the design.
- Place the tag face up on the pressing mat with white uncoated butcher paper on top to protect it from the direct heat.
- Press the tag for 5 seconds to remove any moisture, which can also interfere with the design's transfer.
- Remove the protective paper and let the blank cool.
- Use four pieces of heat-resistant tape to secure the print face down on the tag.
TIP: Avoid taping over ink as it can interfere with the transfer. - Add white uncoated butcher paper on top of the design to protect your press and the blank.
- Keep the press at 380° F (193° C) and set it for 60 seconds.
- Lower the press straight down on the design and heat it for 60 seconds with medium pressure.
- When the time is up, lift the press straight up to avoid blurring the design by shifting the materials while the ink is still sublimating and return the press to the cradle.
- Remove the butcher paper and let the project cool for about 10 seconds.
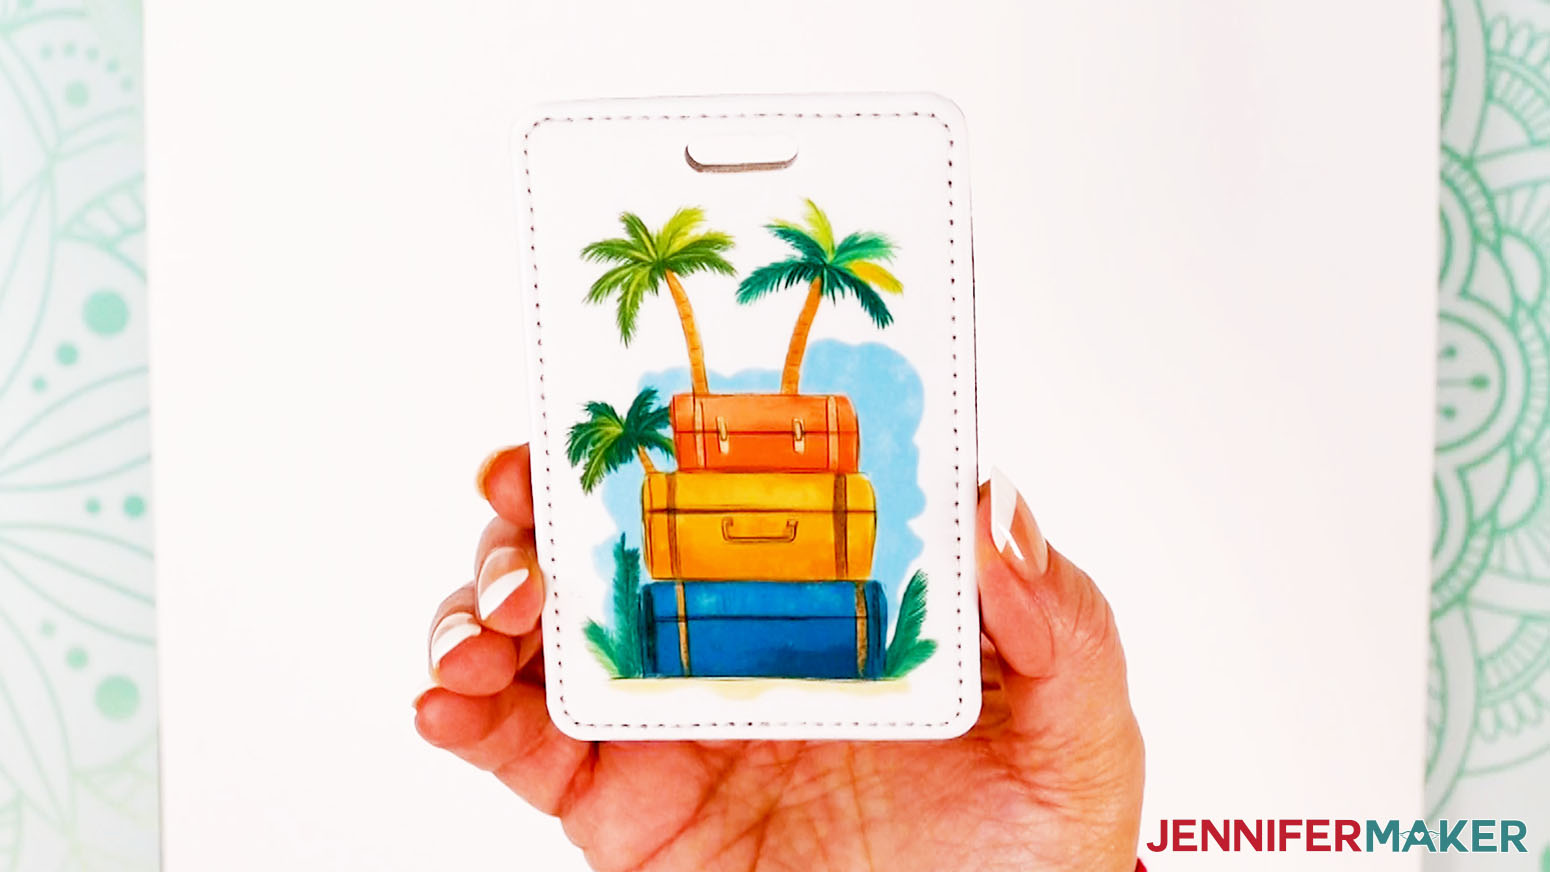
- Then remove the design to see your results!
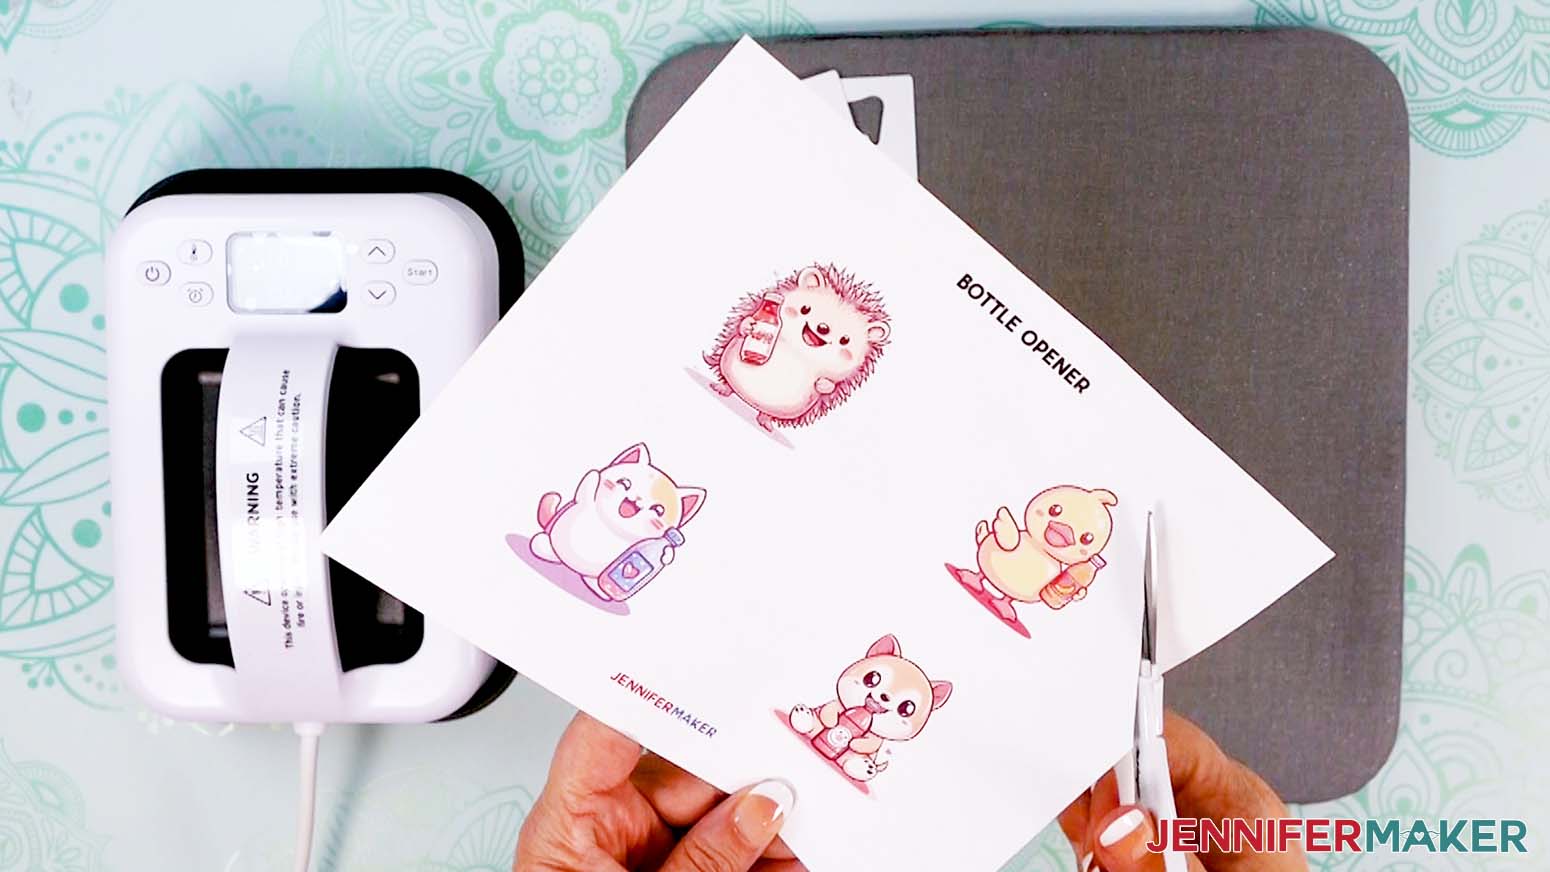
BOTTLE OPENER
- Use scissors to trim the opener designs (hedgehog, duck, cat, dog) apart, leaving an even amount of white space to help with taping.
- Lint roll the opener to remove debris, which can interfere with the design.
TIP: You can also use rubbing alcohol and a lint-free cloth to clean the surface if it gets sticky from the lint roller. - Place the opener face up on the pressing mat with white uncoated butcher paper on top to protect it from the direct heat.
- Remove the protective paper and let the project cool.
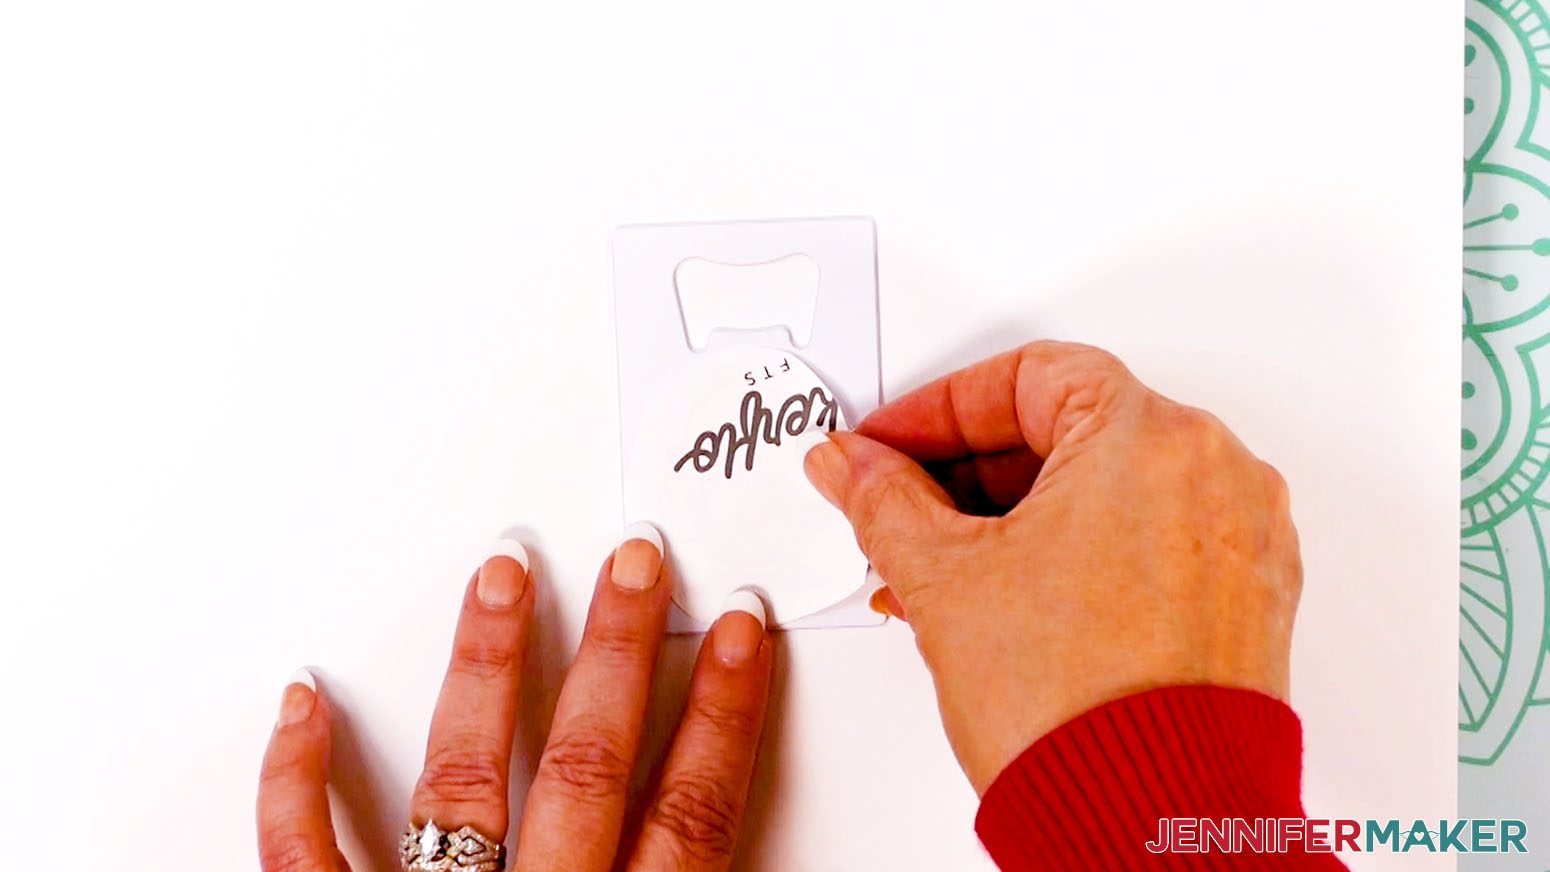
- Use four pieces of heat-resistant tape to secure the print face down on the opener.
TIP: Avoid taping over ink as it can interfere with the transfer. - Add white uncoated butcher paper on top of the design to protect your press.
- Keep the press at 380° F (193° C) and set it for 100 seconds.
- Lower the press straight down on the design and heat it for 100 seconds with medium pressure.
- When the time is up, lift the press straight up to avoid blurring the design by shifting the materials while the ink is still sublimating and return the press to its cradle.
- Remove the butcher paper and let the project cool for about 20 seconds. The metal opener will stay hot longer than the other blanks, but you can safely move it with the heat glove on after 10-15 seconds.
- Then remove the design to see your results!

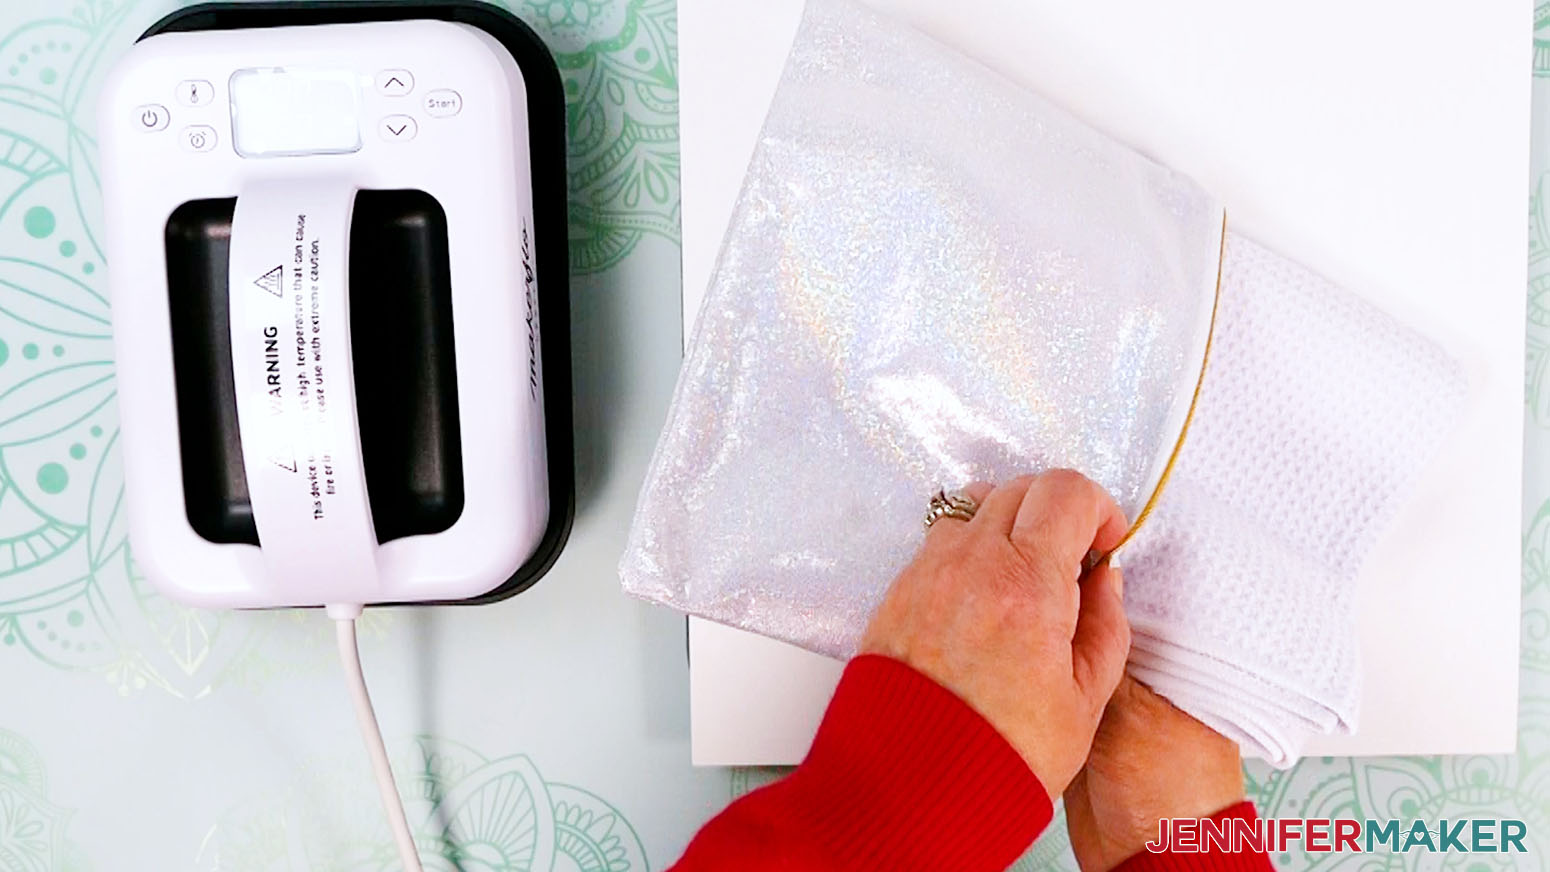
POUCH
- Fold the dish cloth (or another you have on hand) so it’s slightly larger than the design but will fit inside the bag without bunching.
NOTE: You can also use a pressing pillow if you have one of the right size. The goal is to raise the bag’s design area away from the zipper and seams, providing a flatter pressing surface. - Use a lint roller to remove debris from the bag, which can interfere with the design.
- Place the prepared bag face up on the protected pressing mat and make sure there are no wrinkles.
- Add a sheet of white uncoated butcher paper on top of the design to protect the fabric from direct heat.
- Press the bag for 5 seconds without pressure to remove any wrinkles or moisture, which can also interfere with the design's transfer.
- Remove the protective paper and let the project cool.
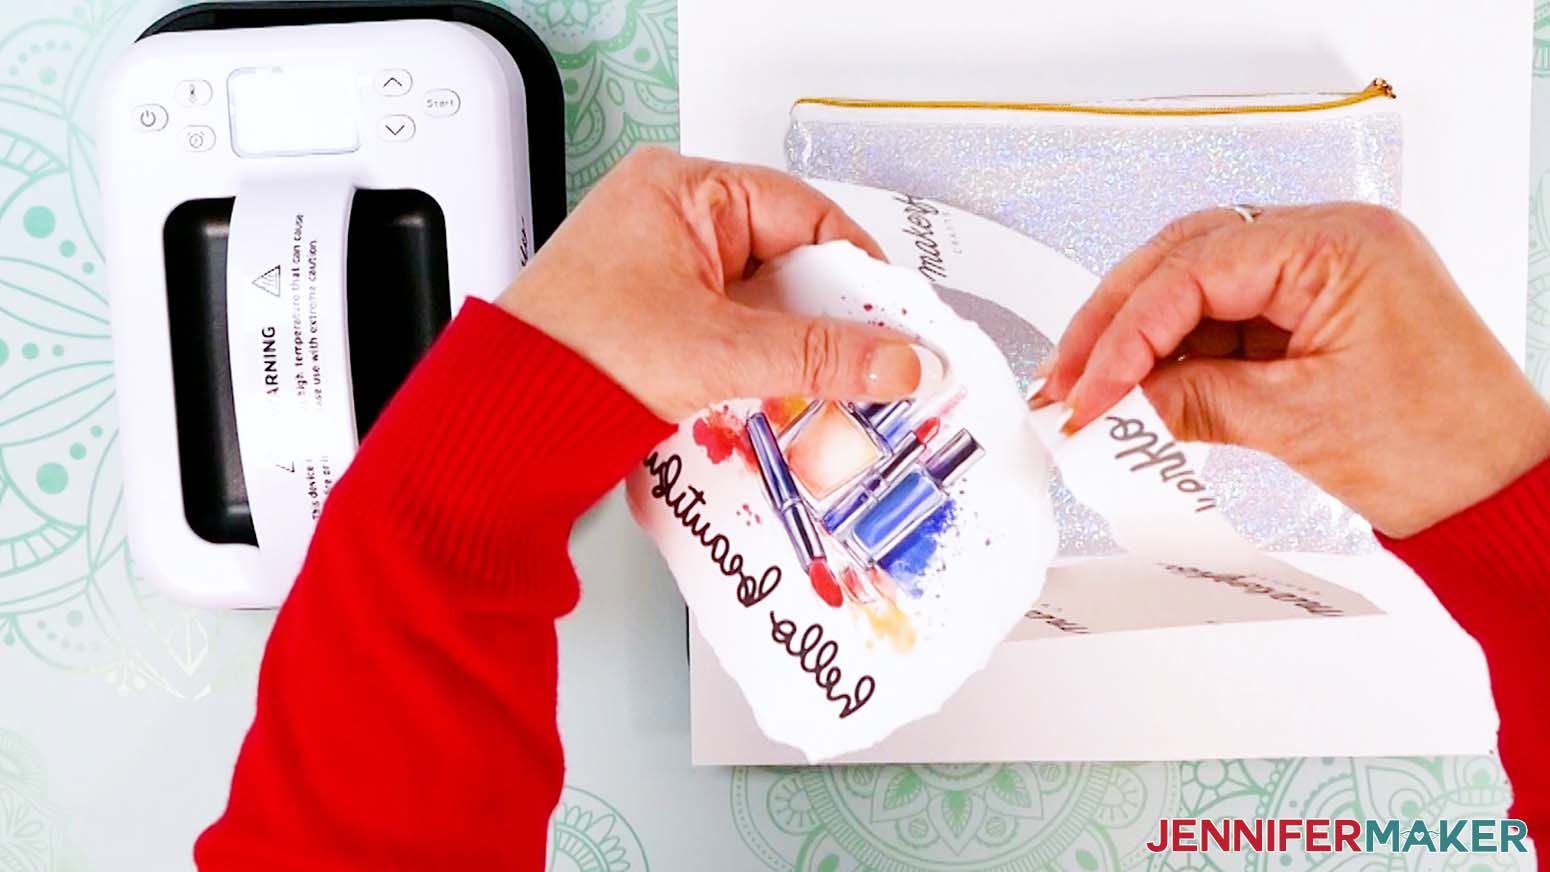
- To minimize the paper’s indent on the fabric, gently tear the pouch designs (snacks, makeup) away from the others, leaving some white space.
TIP: This is called feathering. - Center the design face down on the bag and use heat-resistant tape to secure its edges to the fabric so it won't shift.
TIP: The tape can leave marks on the bag, so use the minimum amount to keep the design in place. - Add a sheet of white uncoated butcher paper on top of the design to protect your press.
- Keep the press at 380° F (193° C) and set it for 60 seconds.
- Lower the press straight down on the design and heat it for 60 seconds with light to no pressure.
- When the time is up, lift the press straight up to avoid blurring the design by shifting the materials while the ink is still sublimating and put the press back in its cradle.
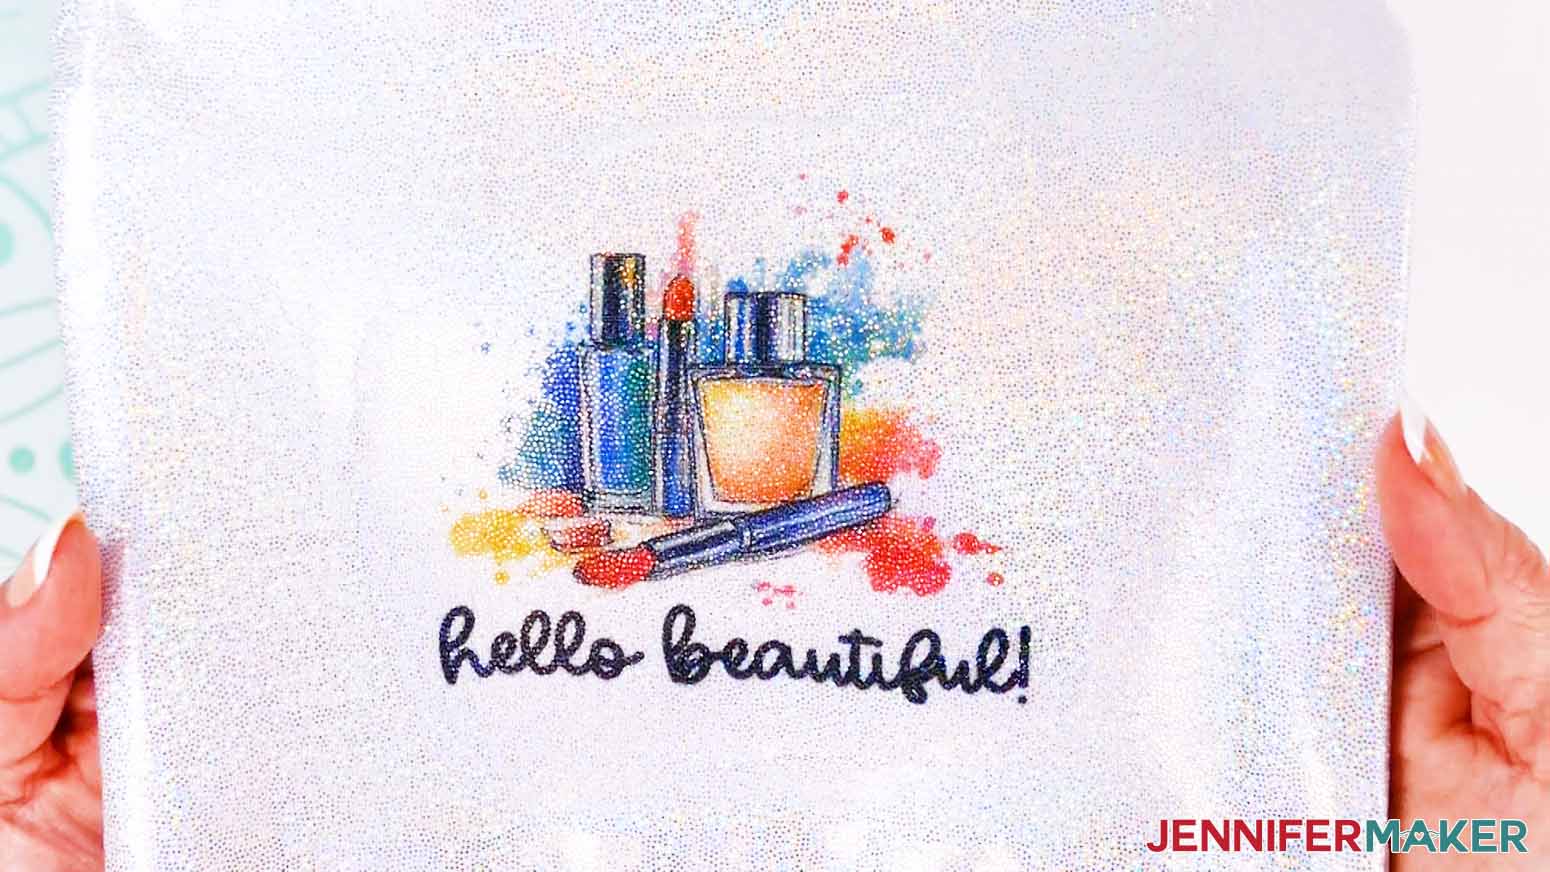
- Let the project cool completely before removing the tape and design to reveal your project.
TIP: If you remove the tape while it’s still warm, it is more likely to leave a mark on the fabric.

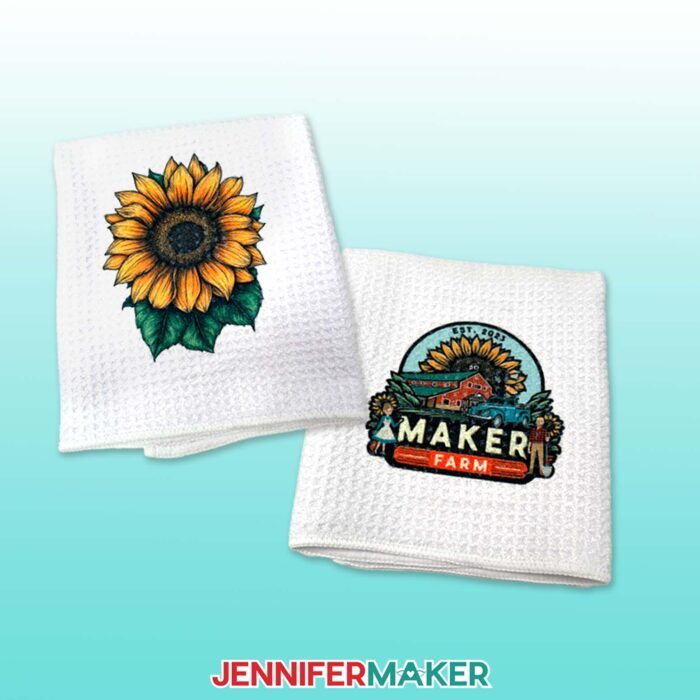
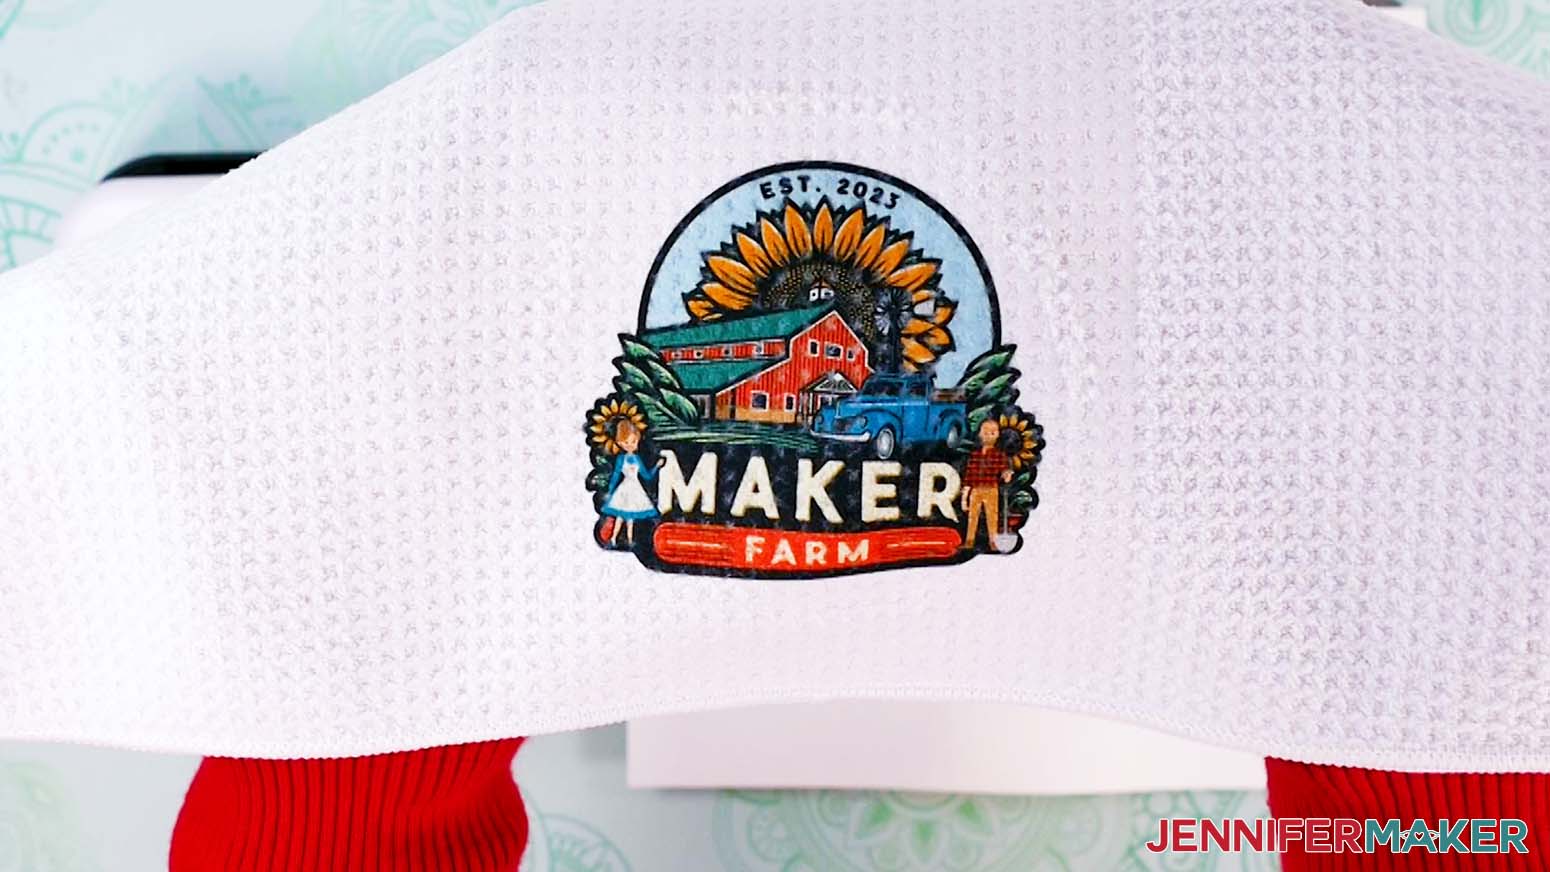
DISH TOWEL
NOTE: I used the included dish towel while sublimating the pouch, so you might want to work on it first before completing the cloth!
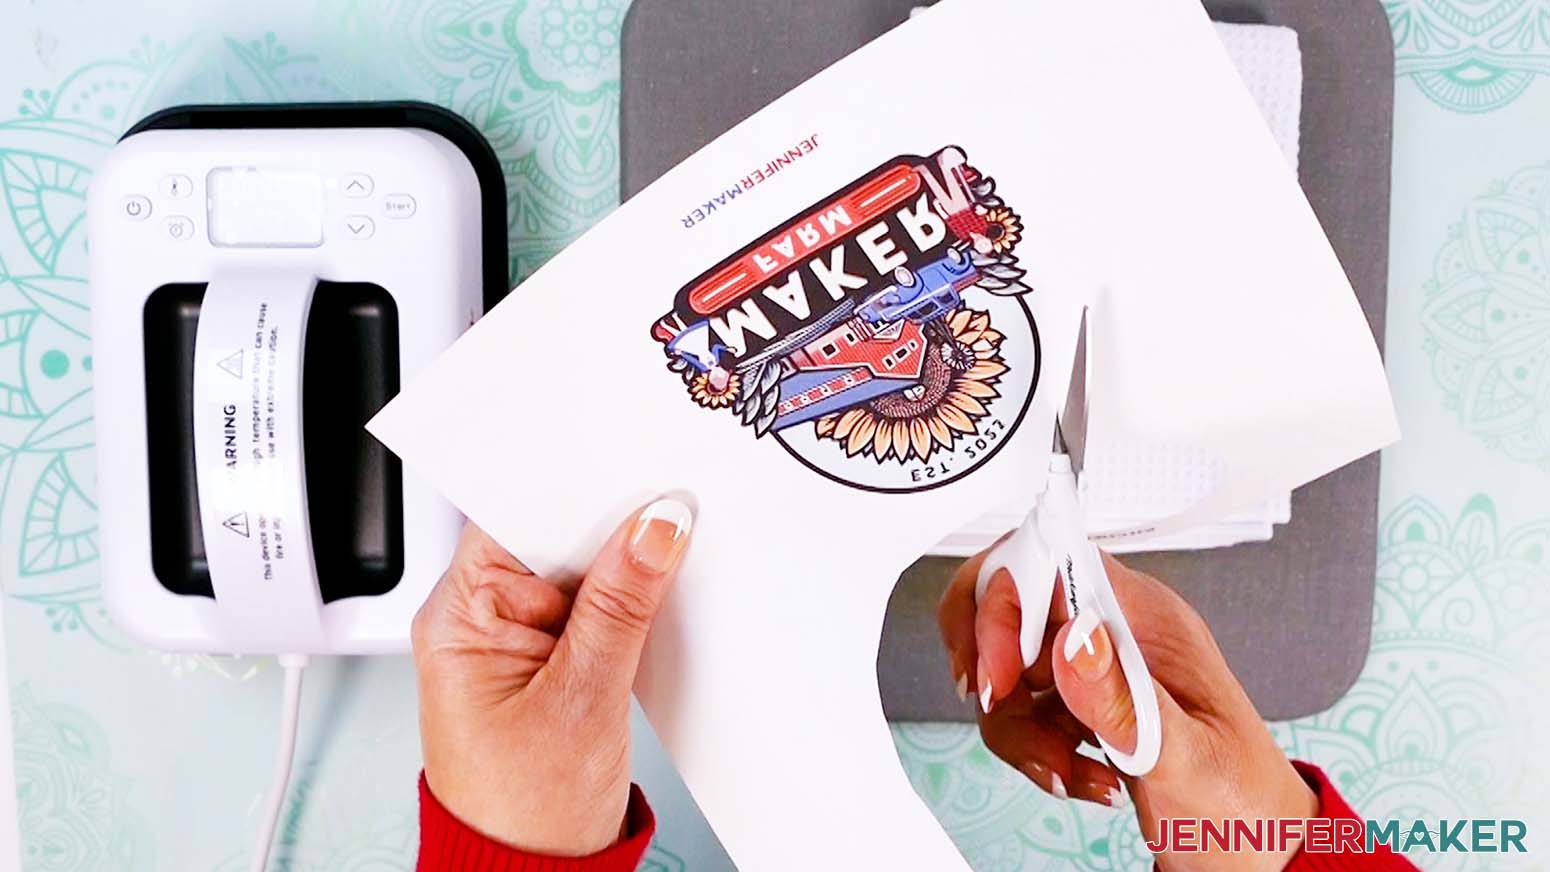
- Trim the cloth designs (sunflower, Maker Farm logo) away from the others, leaving some white space.
- Use a lint roller to remove debris from the cloth, which can interfere with the design.
- Fold the cloth in half the long way to find the center and place it face up on the protected pressing mat and make sure there are no wrinkles.
- Add a sheet of white uncoated butcher paper on top of the project to protect the fabric from direct heat.
- Press the design area for 5 seconds with medium pressure to remove any wrinkles or moisture, which can also interfere with the design's transfer. This will also add a slight middle crease to help with design placement.
- Remove the protective paper, unfold the cloth face up, and let the blank cool.
- Gently bring the design’s sides together to make small center creases at the top and bottom on the white paper.
- Place the design face down on the cloth, aligning the creases to center the image.
- Use heat-resistant tape to secure its edges to the fabric so it won't shift.
- Add a sheet of white uncoated butcher paper on top of the design to protect your press.
- Keep the press at 380° F (193° C) and set it for 30 seconds.
- Lower the press straight down on the design and heat it for 30 seconds with medium pressure.
- When the time is up, lift the press straight up to avoid blurring the design by shifting the materials while the ink is still sublimating and put the press back in its cradle.
- Let the project cool completely before removing the tape and design to reveal your project.

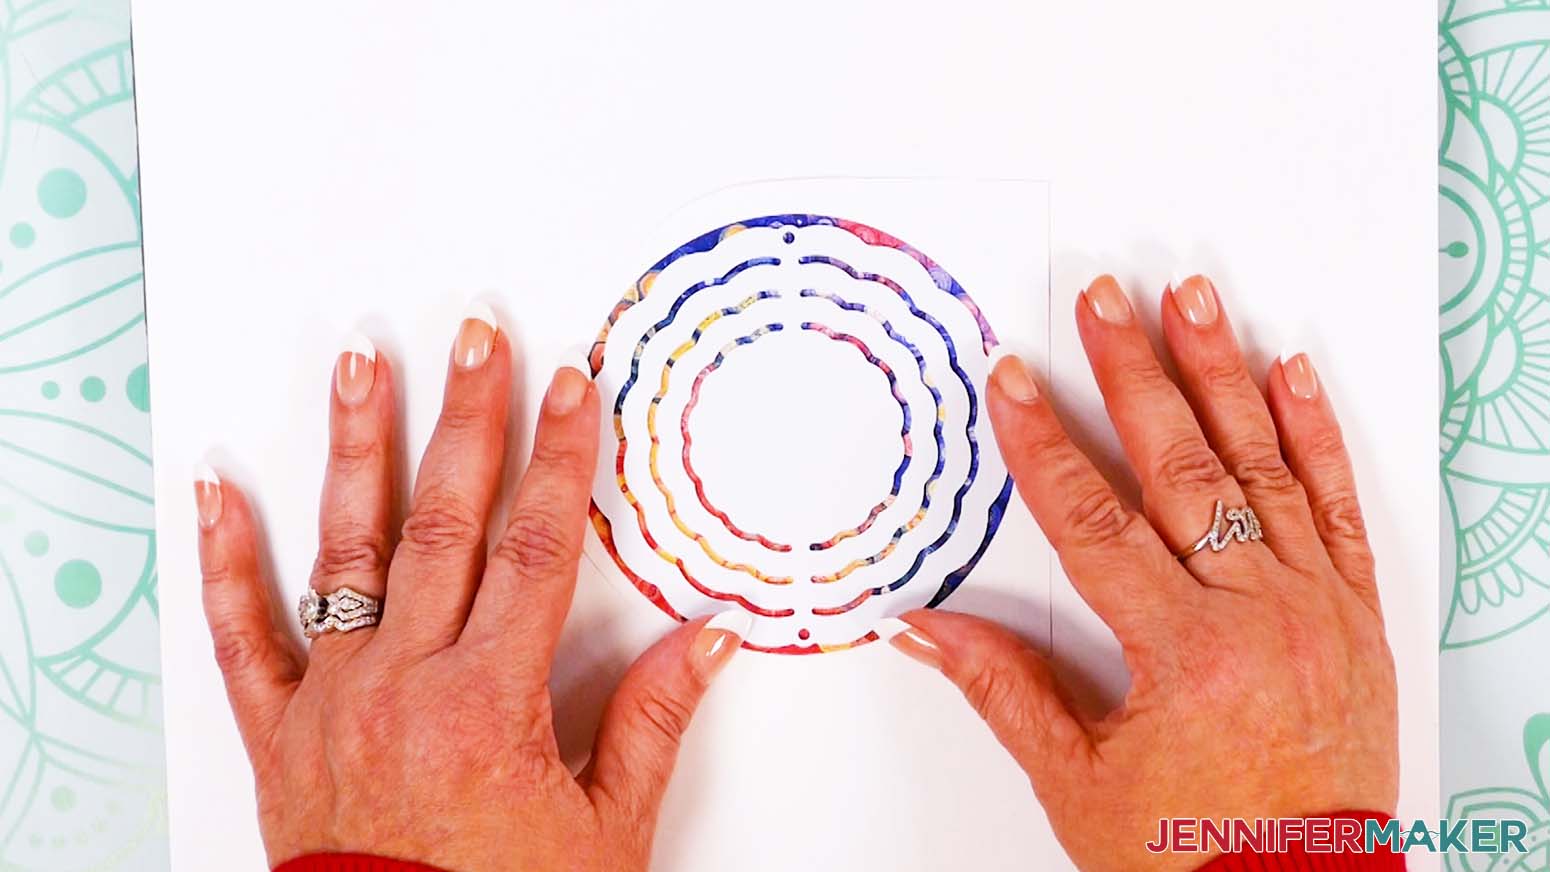
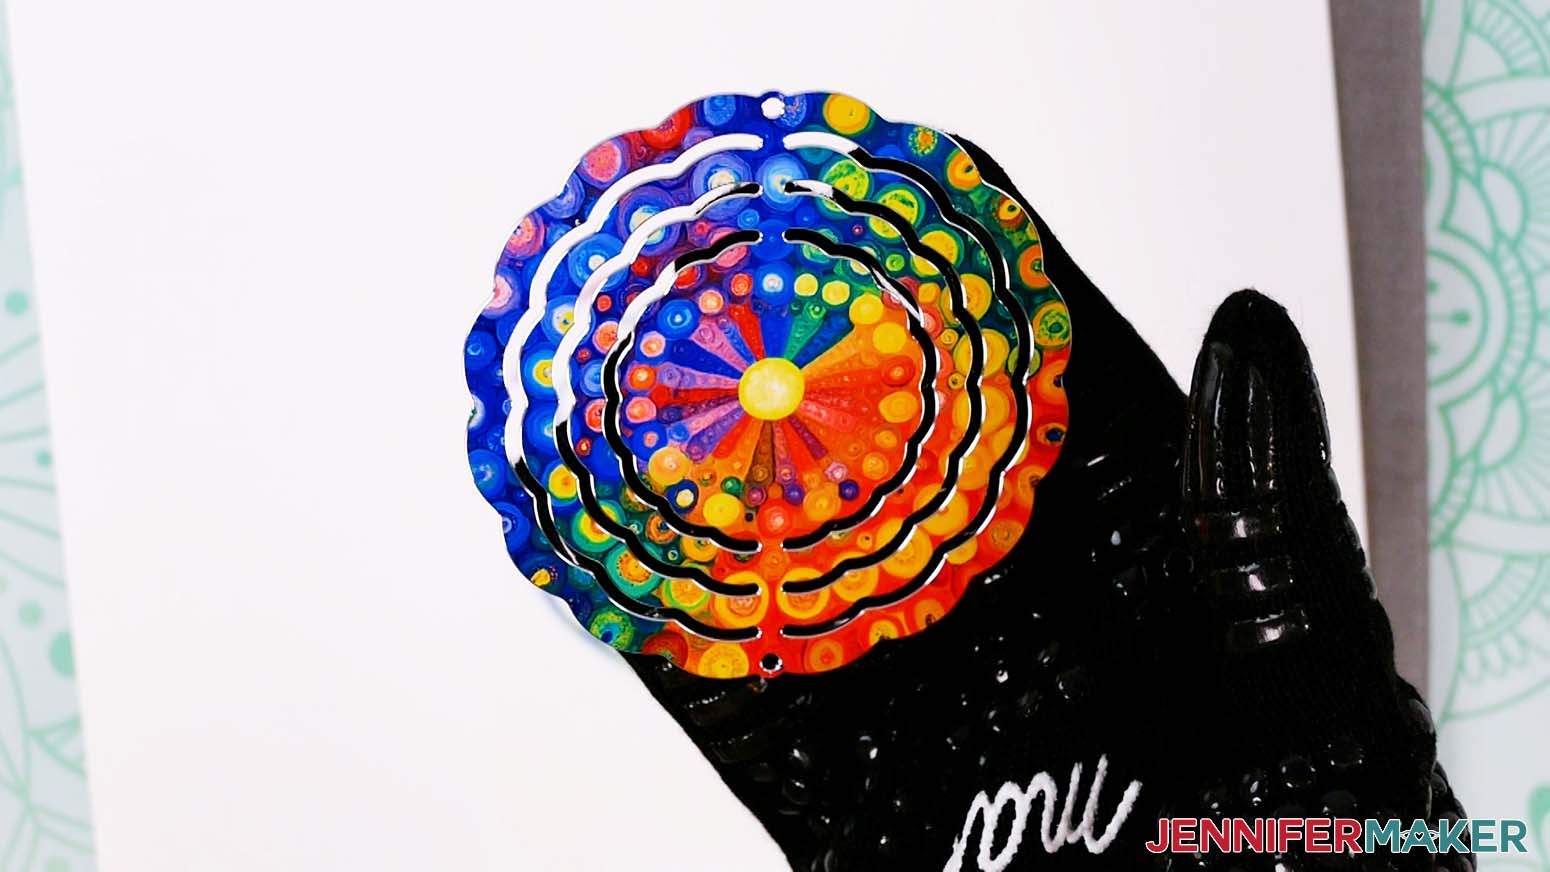
4” WIND SPINNERS
- Use scissors to trim the wind spinner designs (rainbow circles, kaleidoscope) apart, leaving an even amount of white space to help with taping.
- Lint roll the spinner to remove debris, which can interfere with the design.
- You can also use rubbing alcohol and a lint-free cloth to clean the surface.
- Place the first copy of the design face up and oriented correctly on the protected mat.
- Center the wind spinner on the design so the hanger is at the top and there is an even border of ink visible around the blank.
- Use four pieces of heat-resistant tape to secure the spinner to the print.
- Flip the project so the spinner is on top.
- Add white uncoated butcher paper on top of the project to protect your press.
- Keep the press at 380° F (193° C) and set it for 60 seconds.
- Lower the press straight down on the design and heat it for 60 seconds with medium pressure.
- When the time is up, lift the press straight up to avoid blurring the design by shifting the materials while the ink is still sublimating and return the press to its cradle.
- Remove the butcher paper and let the project cool. The metal spinner will stay hot longer than the other blanks, but you can safely move it with the heat glove on after 10-15 seconds.
- Then remove the design to see your results!
- Follow Steps 4-13 to complete the second side, ensuring that the designs are oriented the same way.
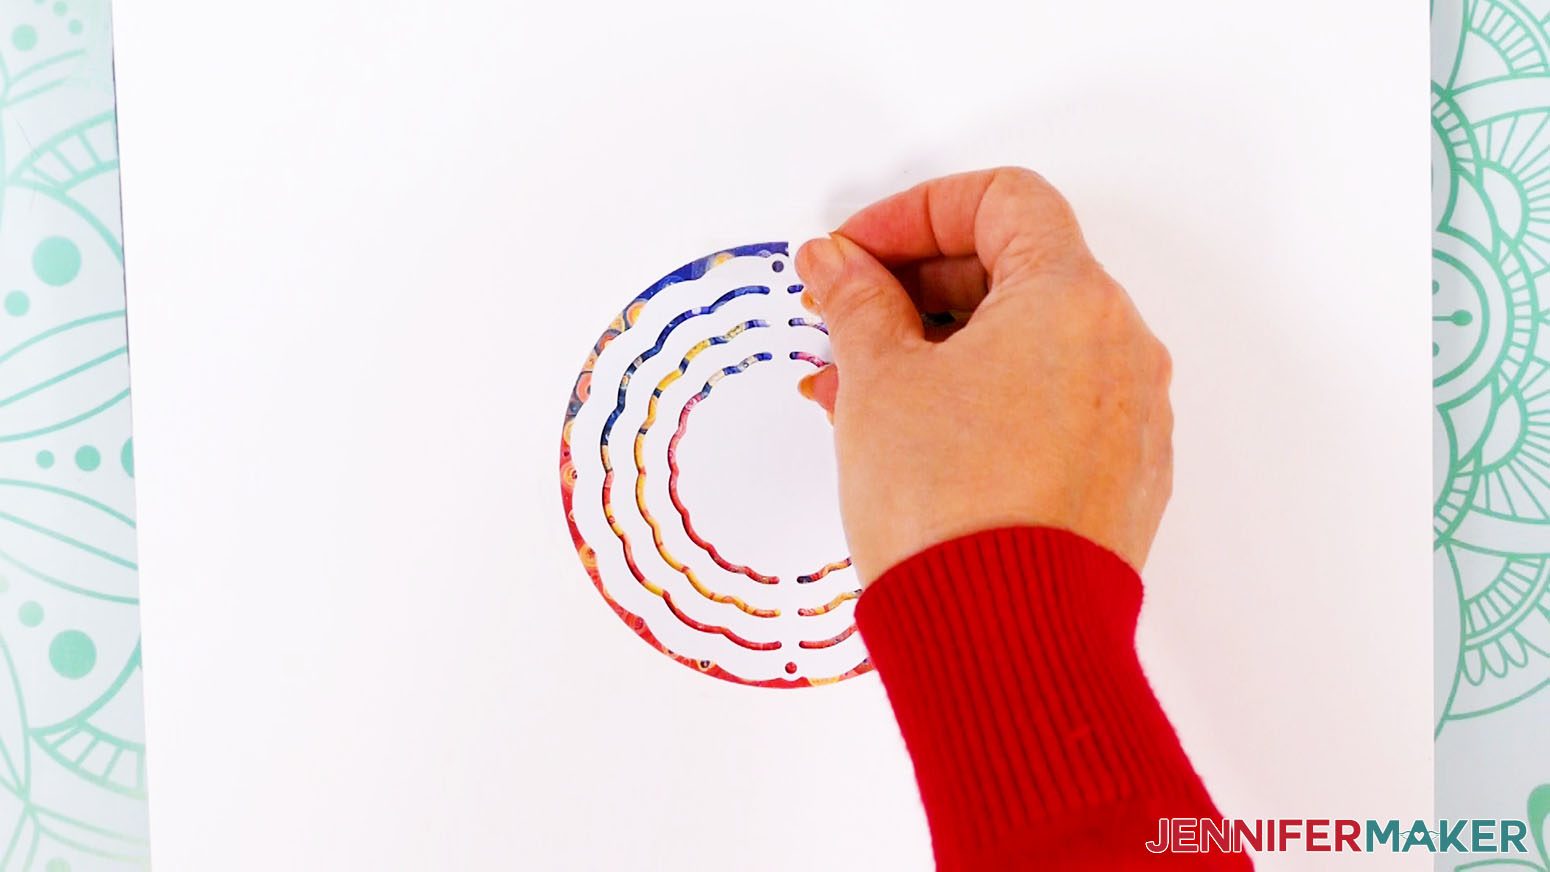
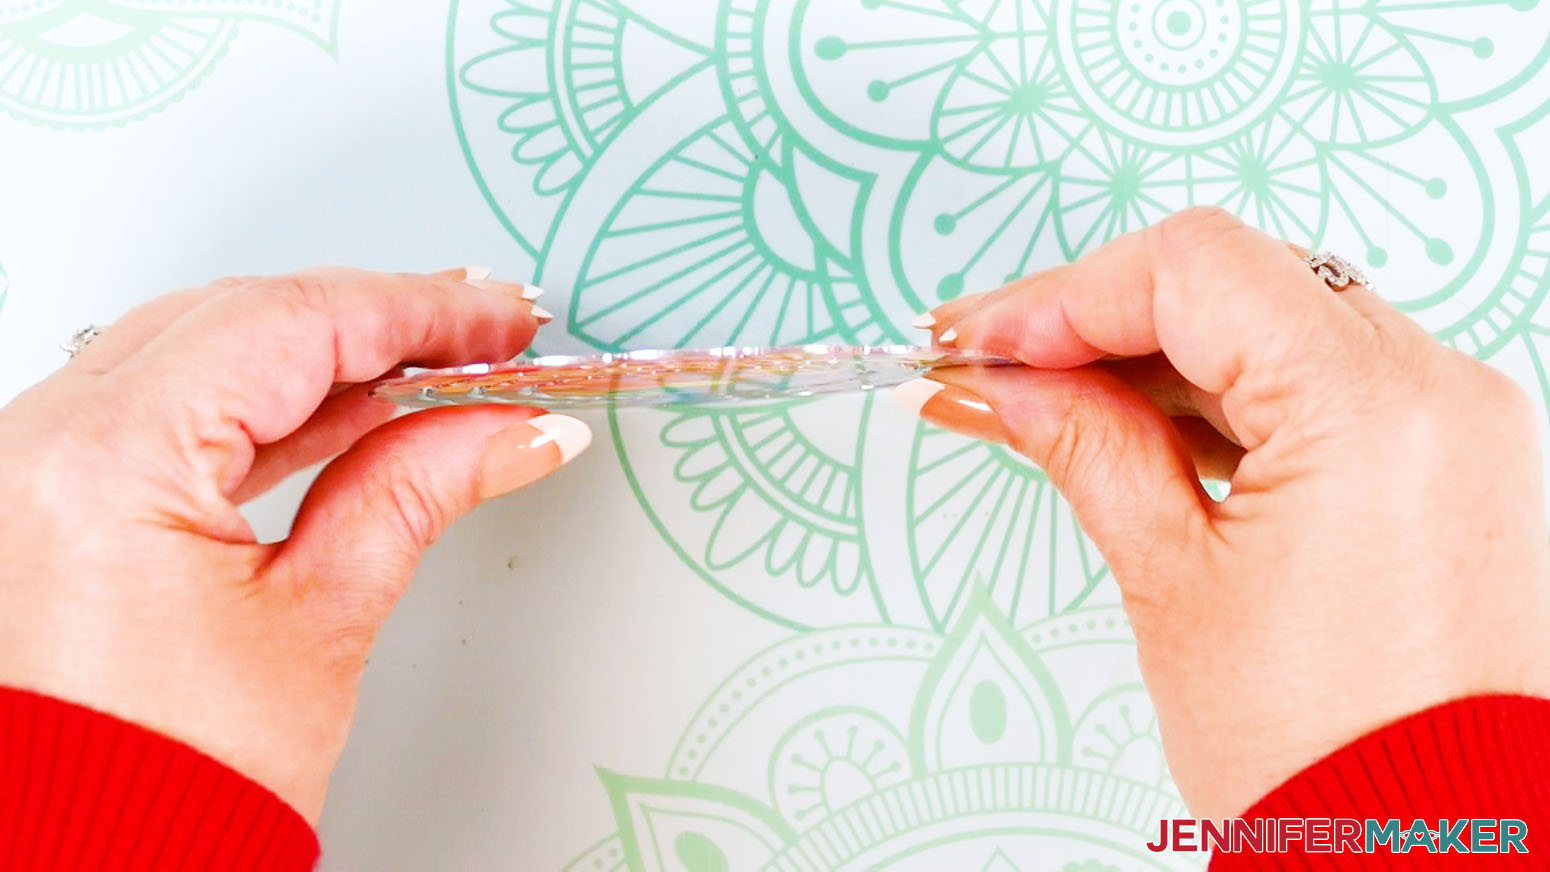
NOTE: If you want your wind spinner’s colors to hold up to outdoor weather and sun, you can add a layer of protective spray. - Once the project is ready, hold the spinner up so its bottom point is on the protected work surface for stability.
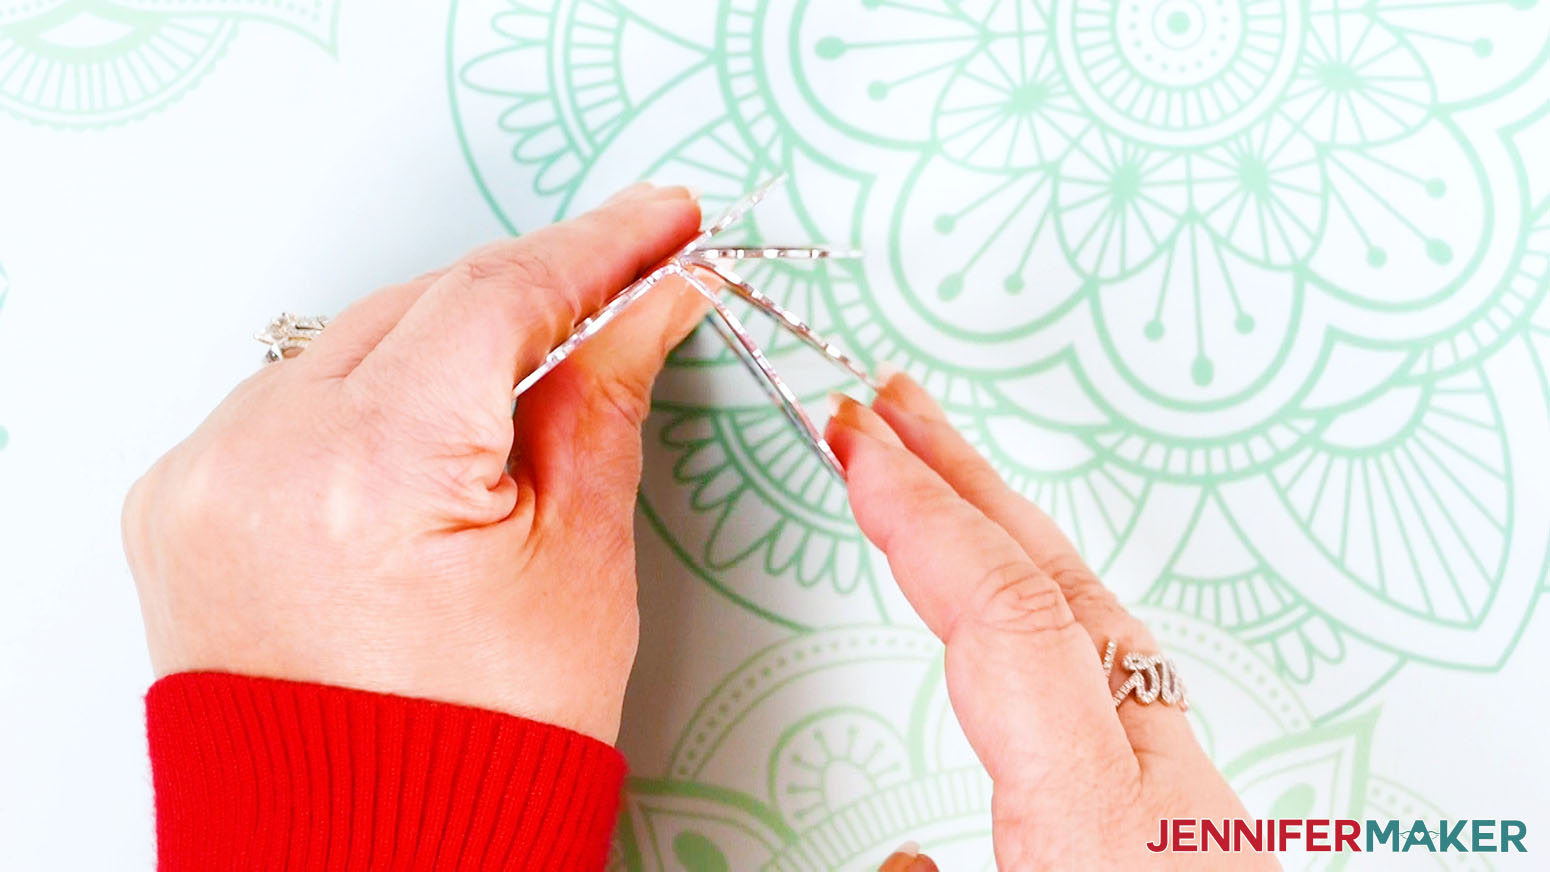
- Start with the outermost ring and bend it perpendicular to the middle of the spinner.
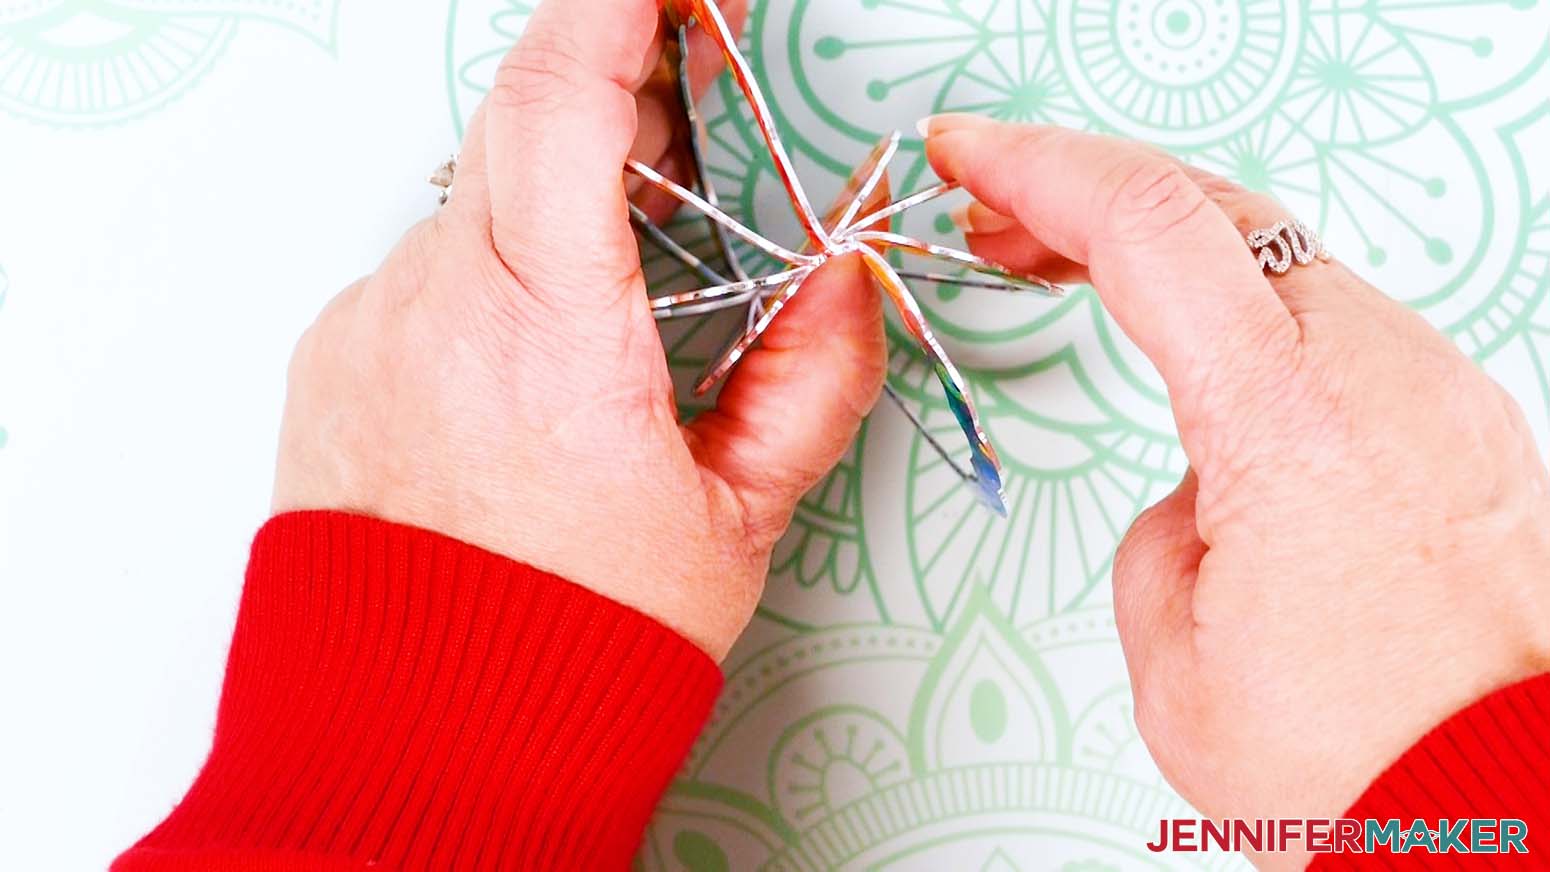
- Go a little less on the next smaller ring bend, and so on until you’ve bent all of the rings an equal distance on one side.
- Then repeat on the other side, with the bends going in the opposite direction.
SHOW IT OFF
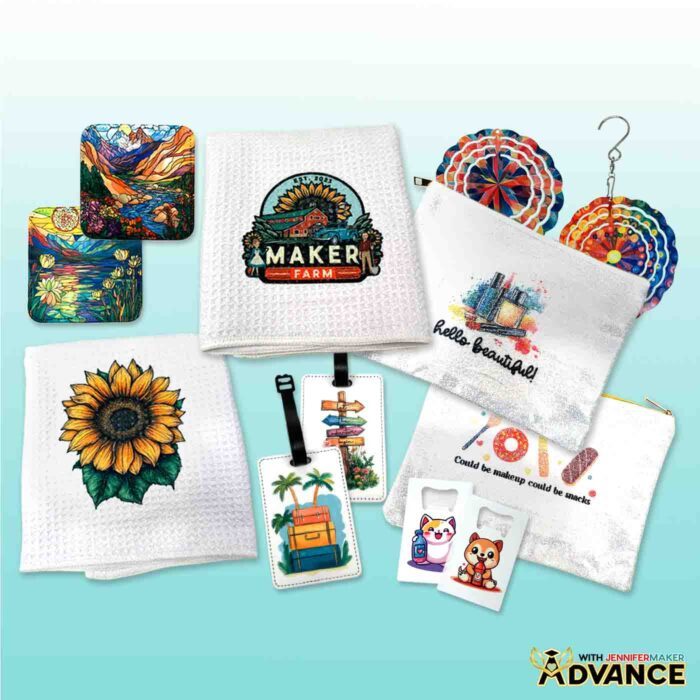
Here are the finished beginner sublimation projects!
Recommended Products
As an Amazon Associate and member of other affiliate programs, I earn from qualifying purchases.
Answers to Your Questions About My Beginner Sublimation Kit
Q: I want to design my own PNGs to sublimate the blanks in the kit. How do I do that?
A: You can learn how to design your own custom-fit designs for the sublimation blanks in my beginner sublimation kit in my ADVANCE program. Learn more about ADVANCE here!
Q: What do I need to begin sublimation?
A: All you need to get started sublimating are the items in my beginner sublimation kit! Scroll up to the materials list for the link.
Q: How much does it cost to get started with sublimation?
A: Getting fully set up to print your own sublimation prints and sublimate a variety of blanks can set you back several hundred dollars. The investment is worth it if you plan to do a lot of sublimation crafting. That’s why my Sublimation Starter Kit is such a great deal, because it doesn’t require you purchase a sublimation printer, ink, or transfer paper to find out if you enjoy the process!
Q: Is sublimation hard to learn?
A: Sublimation can take a few practice runs to get it right, but my starter kit comes with twelve blanks (two of each type) — meaning, by the time you’ve made the last one, you’ll be a pro!
Q: Is it cheaper to do vinyl or sublimation?
A: There are so many factors involved, but overall I would say that vinyl is a little cheaper, though the results aren’t as long-lasting. You don’t need a Cricut or cutting machine with sublimation, but you do need a sublimation printer with sublimation ink to print your own designs (unless you have them printed by a service like Jiffy). However, if you’re just getting started, my beginner sublimation kit is a super cost-effective way to try it out and make twelve items to use or gift!
Q: Can you use Canva for sublimation?
A: Canva is one of my favorite tools to design PNG images for use in sublimation crafts! Check out my Canva Coach Playbook to learn all about how to use Canva to create designs, edit photos, and more.
Q: What’s the difference between sublimation and Infusible Ink?
A: While sublimation and Infusible Ink follow the same process to sublimate the image into the blank, typically “sublimation” refers to pressing a printed image — whereas Infusible Ink sheets are cut (similarly to vinyl) into a design using a Cricut and applied to a blank. Cricut also makes Infusible Ink pens and markers to draw your down designs.
Q: Can you sublimate on cotton?
A: Sublimation ink binds to polymers, so you’ll get the brightest, longest-lasting results with blanks that include them. You technically can sublimate cotton, but only if you’re not going to wash it, because the inks won’t dye the fibers as effectively. I’ve even sublimated toilet paper to put on display! However, if you’re decorating a T-shirt or hoodie, you’ll want to use a material that is at least 60% polyester, or the image will partially rinse out when it’s washed.
Q: How long does sublimation last?
A: When prepared and pressed correctly, sublimation ink lasts as long as the item it’s transferred to. So, depending on the item, sublimation can last a few years (a T-shirt that’s washed often) to indefinitely (a sign hung indoors, out of sunlight).
Q: What cannot be sublimated?
A: Items like mugs, tumblers, luggage tags, and more that aren’t labeled for sublimation are likely not able to be dyed with sublimation ink. For fabric items, look for 60% polyester or above, and white or very light colors.
Q: Can you do sublimation with Cricut?
A: While a Cricut cutting machine can be useful in some sublimation projects, it does not sublimate or print sublimation ink. However, you can use a Cricut and Infusible Ink pens to draw designs onto paper which can be sublimated, or use a Cricut machine and Cricut Design Space to cut SVG designs out of Infusible Ink transfer sheets.
Q: What is the best sublimation printer for beginners?
A: Learn all about the top sublimation printers on the market with my post: Choosing the Best Sublimation Printer 2025.
Q: Can I make and sell the items in the beginner sublimation kit?
A: If you want to use my designs and projects for commercial use, please familiarize yourself with my important licensing information before selling your crafts.
Get the free PNG images featured in my beginner sublimation kit!
(If you do not see the signup form above, click here.)
I love seeing your sublimated projects, and how you display them! Sublimate the items in the kit, then inspire others and share some photos of your creations in our Facebook group or tag me on social media with #jennifermaker.
Love,

Want to remember this? Save this Beginner Sublimation Kit Tutorial to your favorite Pinterest Board!