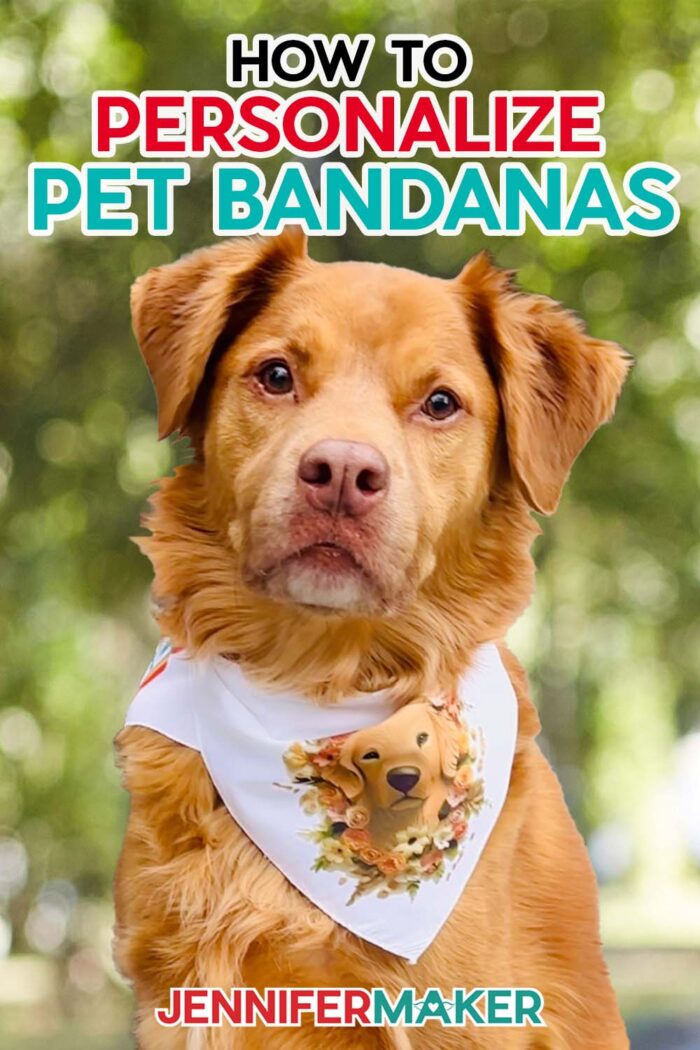
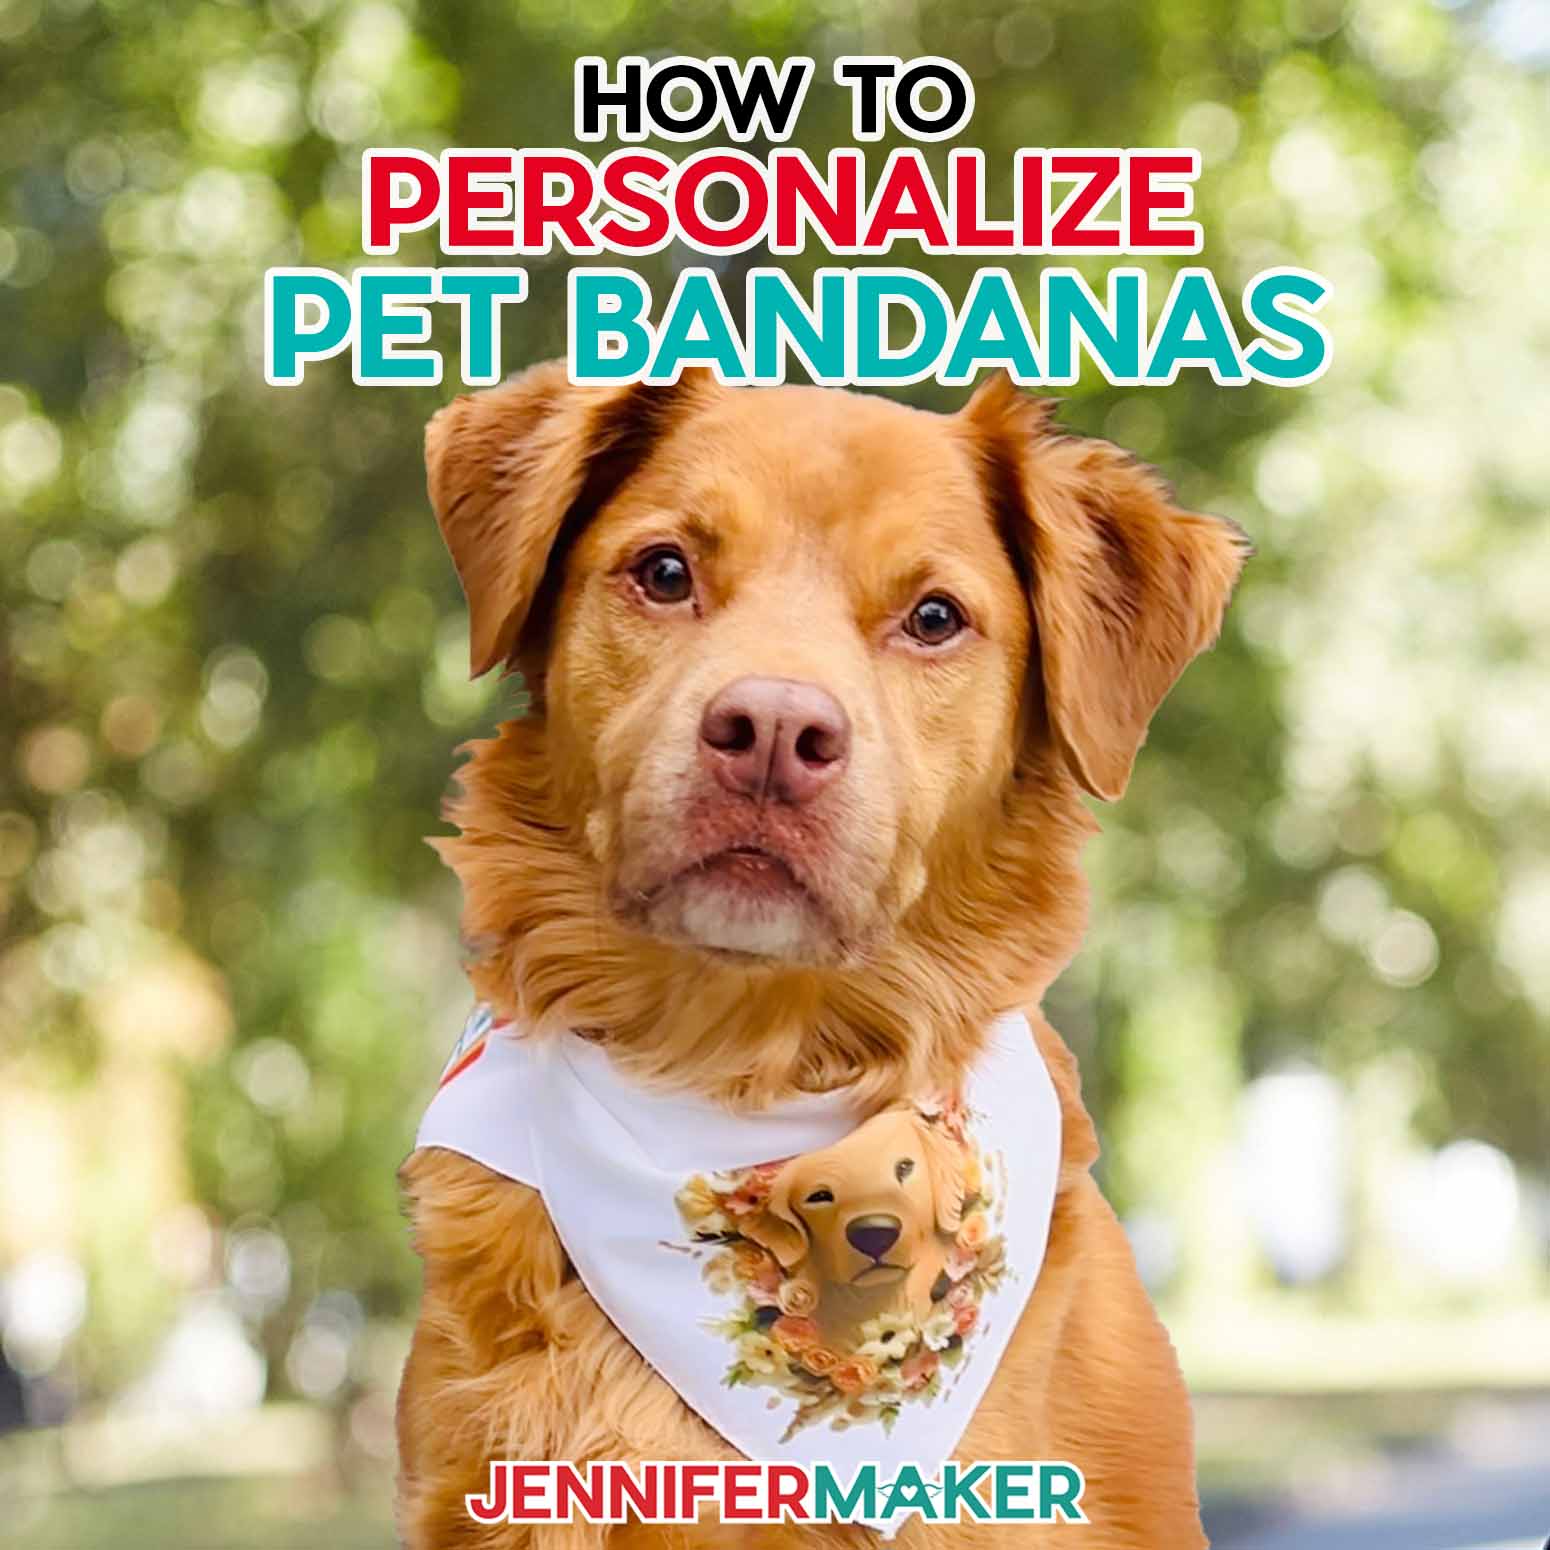
Learn how to make adorable DIY personalized pet bandanas for your dogs and your cats using iron-on vinyl or sublimation!
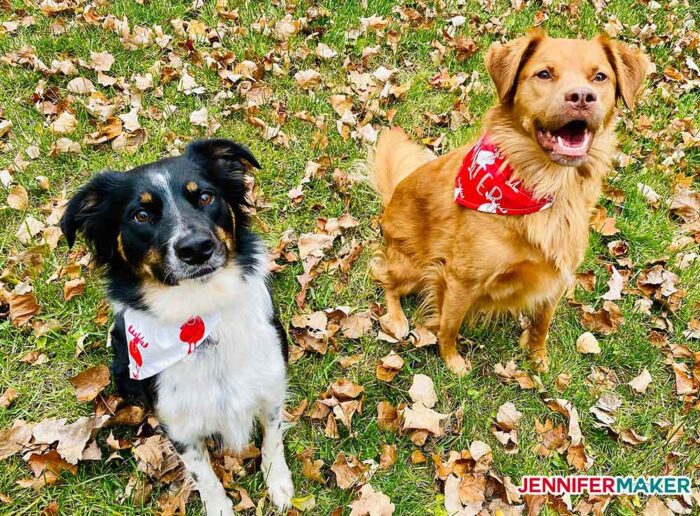
Have you seen anything cuter than these DIY Personalized Pet Bandanas? I am a dog lover and have such a soft spot for dogs! Some of my past dog-related projects are things like these paper dog and puppy boxes and engraved dog tags. So these bandanas are the perfect accessory to bring out your dog’s personality! Of course I don’t want to leave out any other pets that might be able to sport these adorable bandanas, so I have created multiple sizes for cats and other pets out there, too!
Watch the personalized pet bandanas with vinyl assembly video here:

I have received so many requests for simple sewing projects, projects perfect for a beginner. These personalized pet bandanas are one of those projects. They are easy and don’t require a lot of supplies! You can just use fabric scraps that you have laying around to make these super cute bandanas.
To sew the Personalized Pet Bandanas, you will first need to determine what size bandana you are going to make. If you aren’t sure, the easiest way to determine what size you need is to measure your pet’s collar.
You will need a way to sew your bandana. You can, of course, sew the Personalized Pet Bandana by hand with needle and thread. Or you can use a sewing machine. I will show you how to sew it with this beginner sewing machine I love.
Other useful tools for sewing the bandanas include a washable fabric pen, thread snips, and an iron if you don’t have a heat press.
Last but not least, you need the sewing pattern in the correct size — I’ve prepared three sizes (small, medium, and large) for you to choose from.
June 2023 Update: Sublimation Designs!
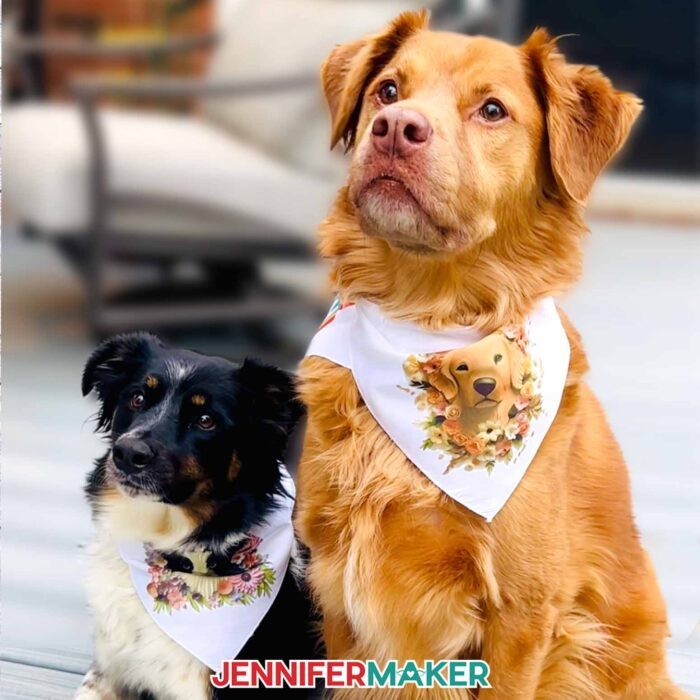
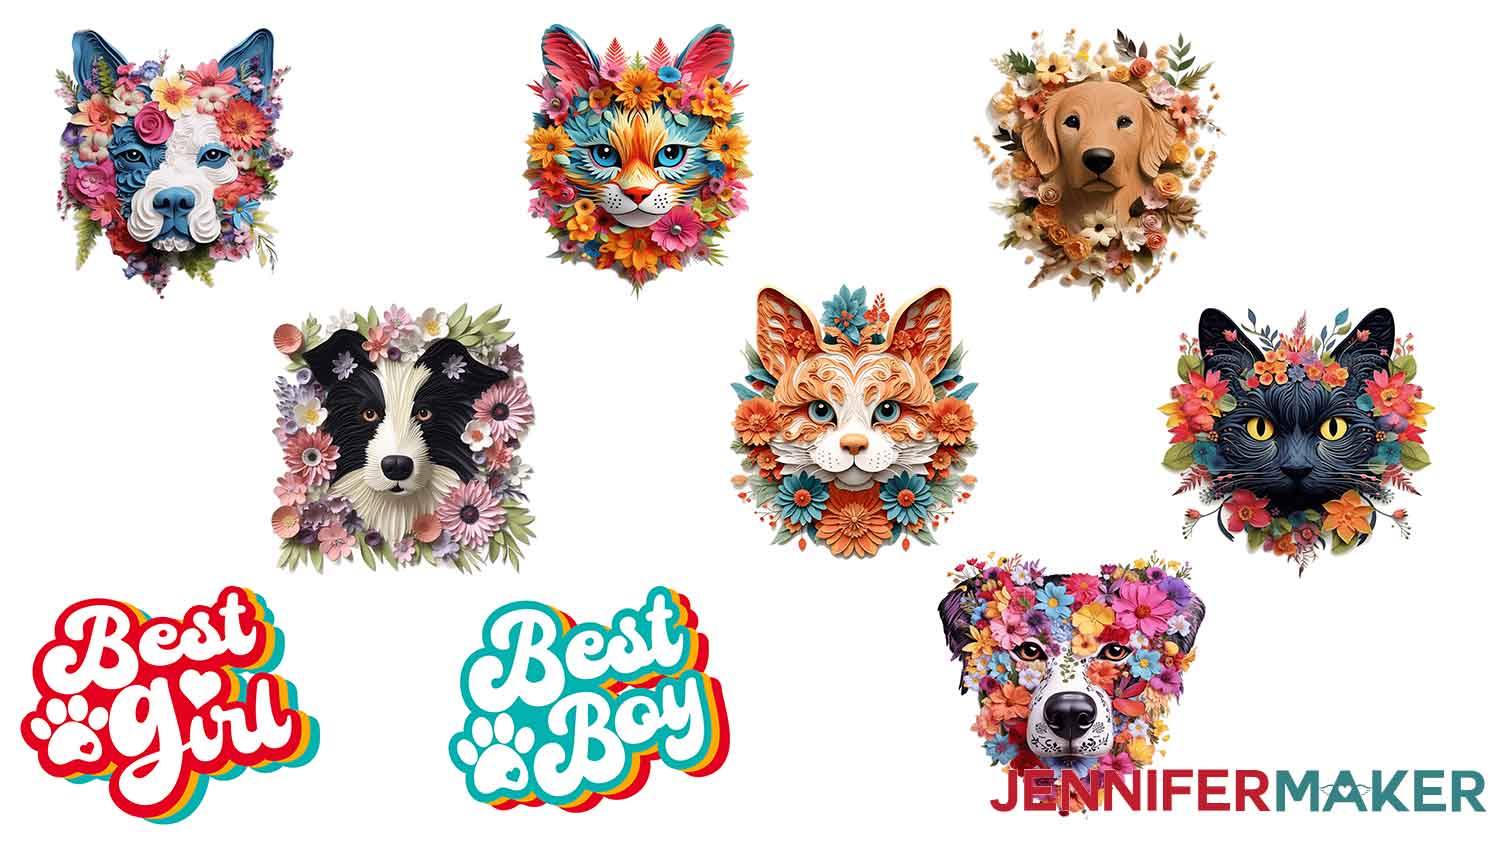
I’ve added some 3D sublimation designs for your furry friends, too!

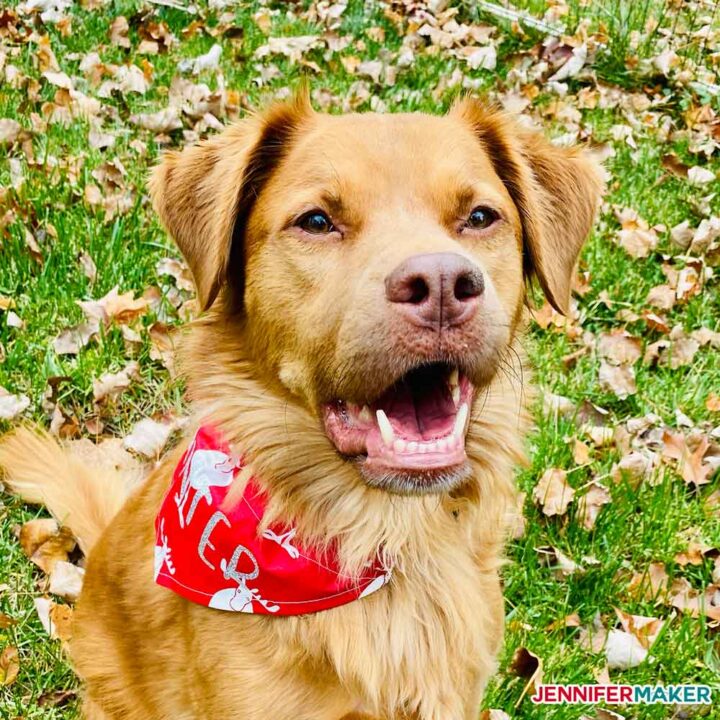
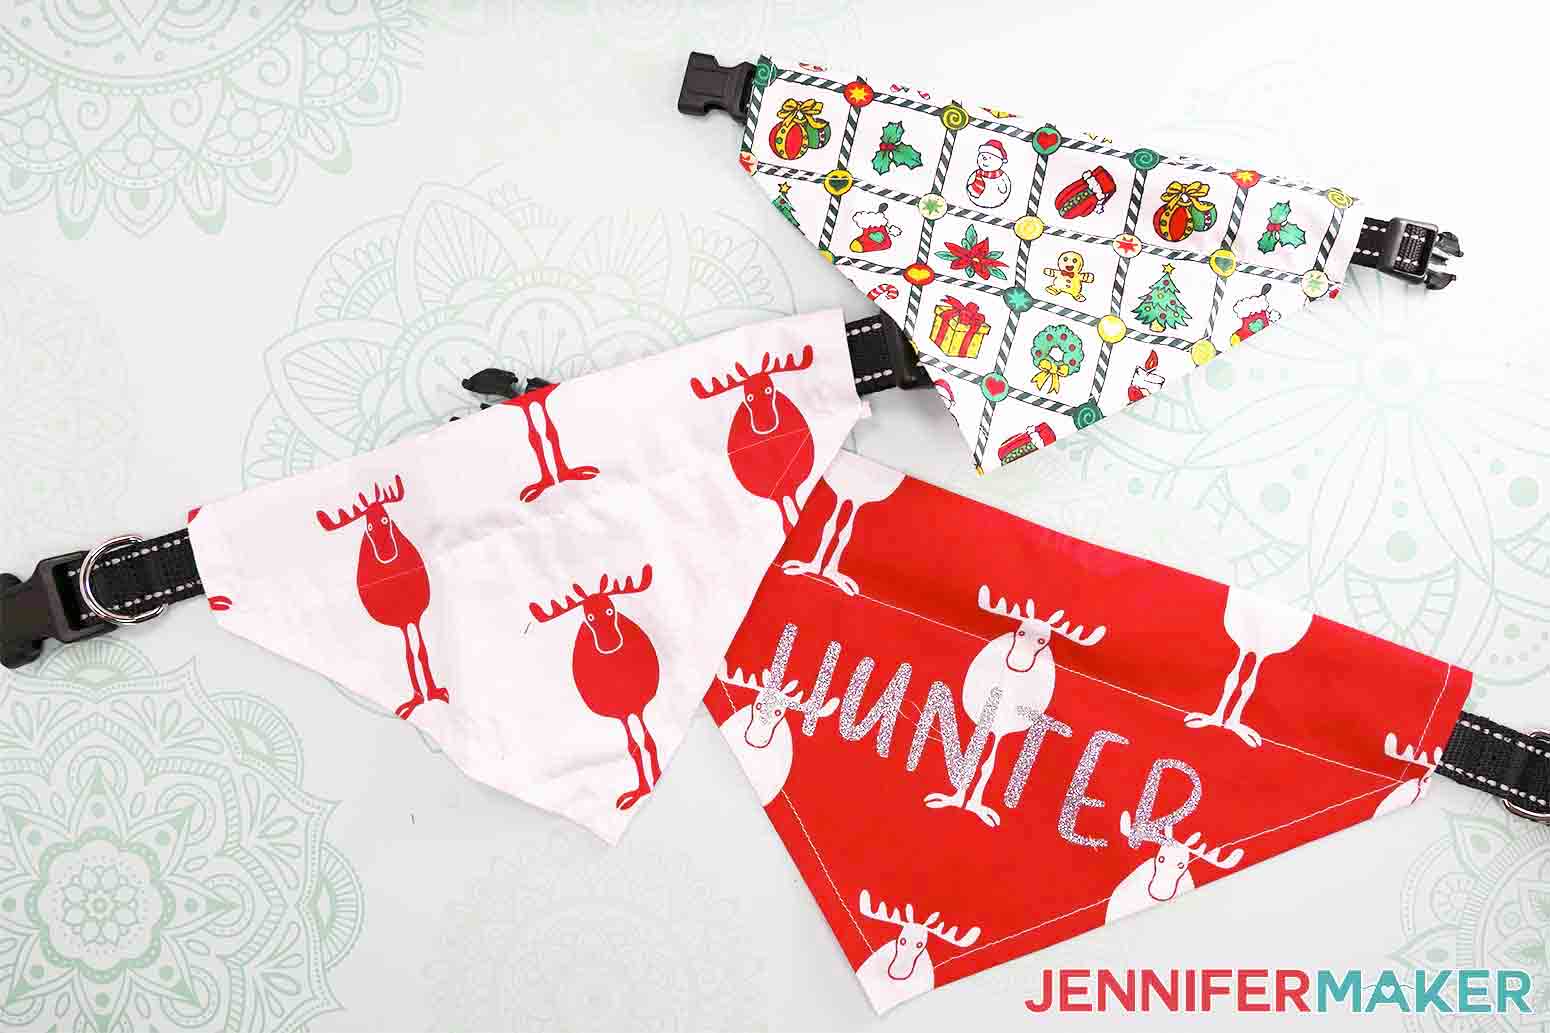
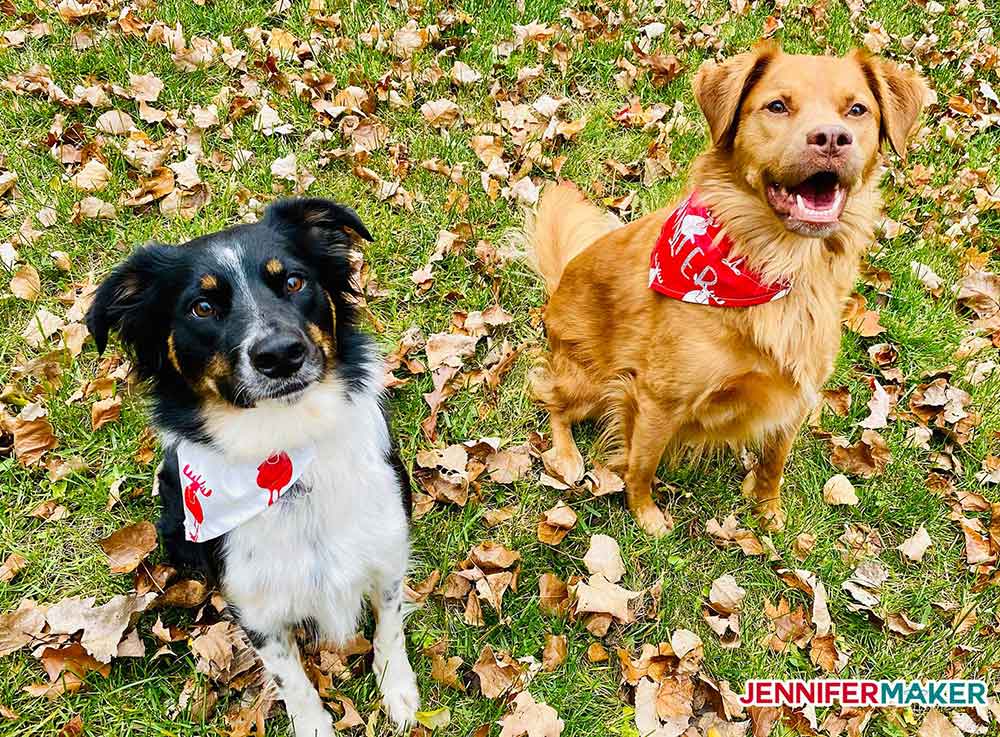
Here are Chloe (left) and Hunter (right) modeling their new sublimation custom dog bandanas!
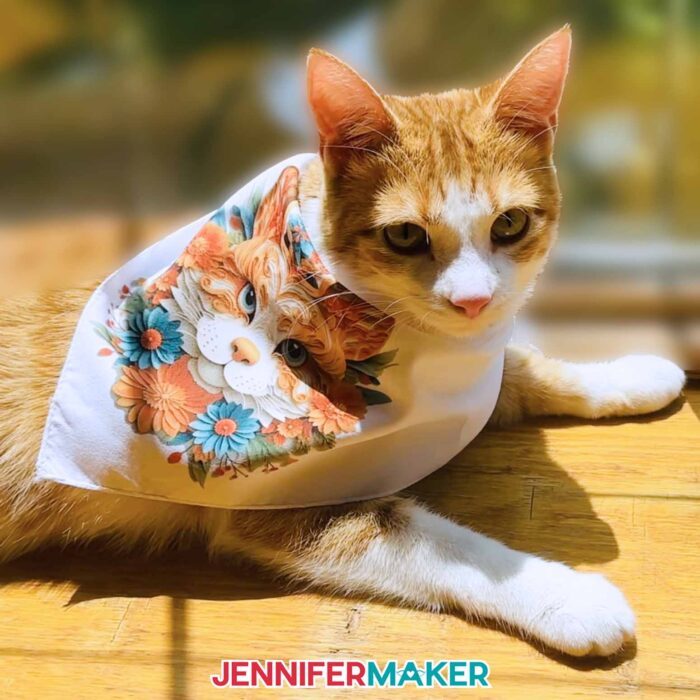
Also since I published this post, we’ve welcomed Butterscotch to our family. For this special occasion, he was willing to model a bandana, too! Don’t worry, it came right off and I let him go back to sleep.
I’ve added several 3D floral pet designs to the free download and a few bonuses! I made the 3D designs using AI art generators and it’s so much fun! I have a workshop coming up on making your own sublimation designs using AI — including how to get 3D results like my flower designs— so stay tuned for more information! Until then, check out the updated materials and directions below for a great way to make durable custom bandanas.
Let me show you how easy it is to make these DIY Personalized Pet Bandanas! This post contains some affiliate links for your convenience (which means if you make a purchase after clicking a link I will earn a small commission but it won’t cost you a penny more)! Read my full disclosure policy.
Materials to Make Personalized Pet Bandanas
- 1 piece of 100% cotton fabric at least 11″ x 14″ – the original holiday season fabric I used now comes in pre-cut bundles and here’s another fabric bundle with a cat & dog theme!
- Dog collars to fit your dog (you choose small, medium, or large)
- A way to cut your fabric – I used the Cricut Maker, but you can also use a Cricut Explore to cut fabric or just a pair of scissors or a rotary cutter and self-healing mat.
- A way to sew your fabric – I used the Janome Beginner Sewing Machine (Aqua)
- A way to cut your vinyl – I used the Cricut Maker, but you can also use a Cricut Explore or Cricut Joy
- Iron-On Vinyl – I used Silver Smart Iron-On with my Cricut Joy for some!
- A way to attach your vinyl to your fabric such as the Cricut EasyPress Mini Heat Press or the Cricut Easy Press 2
- Cricut Brayer
- Cricut Pink Fabric Mat 12″ x 24″
- Washable Fabric Pen
- Weeding Tool
- Cricut Sewing Kit
- Font Used: Falling Leaves from Font Bundles
- Design #297 – My free SVG/PDF/DXF design files are available in my free resource library (get the password by filling out the form at the bottom of this page)
To make the sublimation bandanas, I used
- 100% Polyester White Sublimation Blank Pet Bandana
- A way to print the sublimation designs
- 8.5″ x 11″ A Sub Sublimation Paper
- Compatible sublimation ink – I used Hiipoo Sublimation Ink
- Heat Press – I used a Cricut Easy Press 2
- Cricut EasyPress Mat
- Fan for ventilation
- Heat resistant tape
- White uncoated butcher paper
- 12″ x 12″ White Cardstock
- Lint Roller
- White Velcro – cut into a square
- A way to sew the Velcro securely to the bandana
- Design #297 – My free PNG design files are available in my free resource library (get the password by filling out the form at the bottom of this page)
How to Make Personalized Pet Bandanas
Personalized Pet Bandanas
How much do you love your pet or should I say your FUR BABY? Pets are THE BEST and they deserve to be pampered! So I've come up with the perfect accessory for your pet. These DIY Personalized Pet Bandanas! This pattern is perfect to customize for pets of any size and you can cut it by hand or on your Cricut cutting machine.
Materials
- 1 piece of 11" x 14" 100% cotton fabric
- Dog collar (you choose small, medium or large)
- Cricut Iron-On Vinyl (Silver) - I used Smart Iron-On with my Cricut Joy, but this is optional
- Sublimation Blank Pet Bandana (optional for the sublimated bandana)
- 8.5" x 11" A-SUB Sublimation Paper (optional for the sublimated bandana)
- 12" x 12" White Cardstock (optional for the sublimated bandana)
- White Velcro - cut into a square (optional for the sublimated bandana)
- Design #297 - Pet Bandanas SVG/DXF/PDF/PNG (available free in my resource library)
Tools
- A way to cut your fabric (I used the Cricut Maker, but you can also use a Cricut Explore to cut fabric or just a pair of scissors or a rotary cutter).
- A way to sew your fabric -- I used the Janome Beginner Sewing Machine
- A way to cut your vinyl (I used the Cricut Maker, but you can also use a Cricut Explore or Cricut Joy)
- A way to attach your vinyl to your fabric (such as the Cricut Easy Press Mini Heat Press or the Cricut Easy Press 2). For my sublimated bandana, I used the Cricut Easy Press 2.
- A way to print out personalized sublimation designs (optional for the sublimated bandana) -AND-
- Hiipoo Sublimation Ink (optional for the sublimated bandana)
- Cricut EasyPress Mat
- Cricut Fabric Mat 12" x 24" (Pink)
- Weeding Tool
- Washable Fabric Pen
- Cricut Brayer
- Cricut Easy Press Mini Heat Press (used to press fabric)
- Cricut Sewing Kit
- Fan for ventilation (optional for the sublimated bandana)
- Heat resistant tape (optional for the sublimated bandana)
- Butcher paper (optional for the sublimated bandana)
- Lint Roller (optional for the sublimated bandana)
- Font Used: Falling Leaves Print from FontBundles
Instructions
STEP 1: GET MY FREE DIY PERSONALIZED PET BANDANA PATTERN FILE
First, download Design #297 DIY PERSONALIZED PET BANDANA PATTERN SVG/DXF/PDF/PNG from my free resource library (get the password to the library in the form at the bottom of this page). I’ve included SVG and DXF files for cutting fabric on a cutting machine, PDF files for cutting by hand, and PNG files for sublimating designs onto pre-cut sublimation blanks.
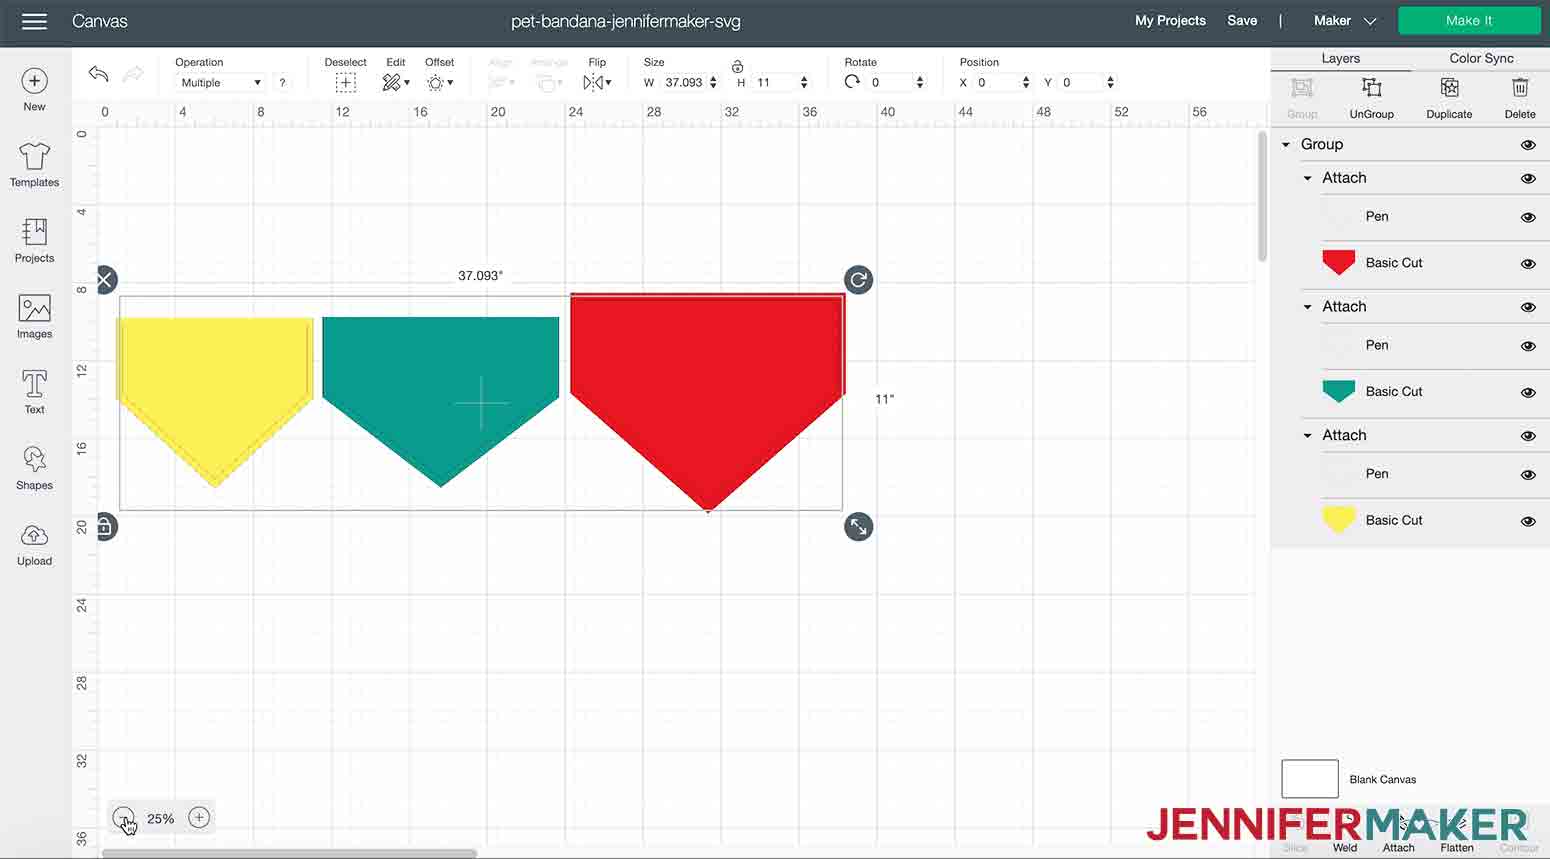
Here is what the SVG file will look like when you upload it to Cricut Design Space:
TIP: If you are not sure how to upload an SVG cut file to Cricut Design Space, watch this helpful video training series I made. If you are on an iPad or iPhone, here is how to download and upload SVG files to the Cricut Design Space app.
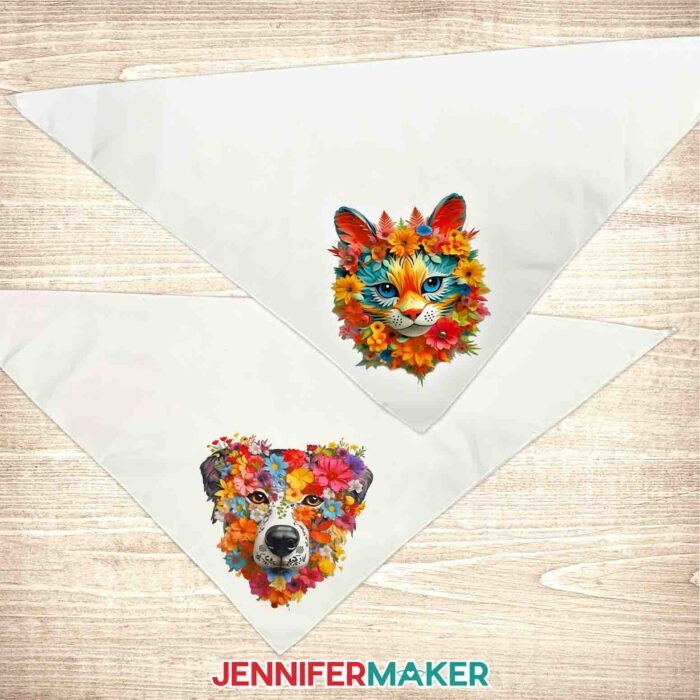
The PNG folder includes these nine cute designs, just perfect for sublimation.
STEP 2: PICK YOUR BANDANA PATTERN & SIZE
The next thing you will need to do is decide on a size.
My pet bandana pattern has three sizes to choose from: small, medium, and large. If you're not sure what bandana size you need, choose a size close to the size of your dog's collar.
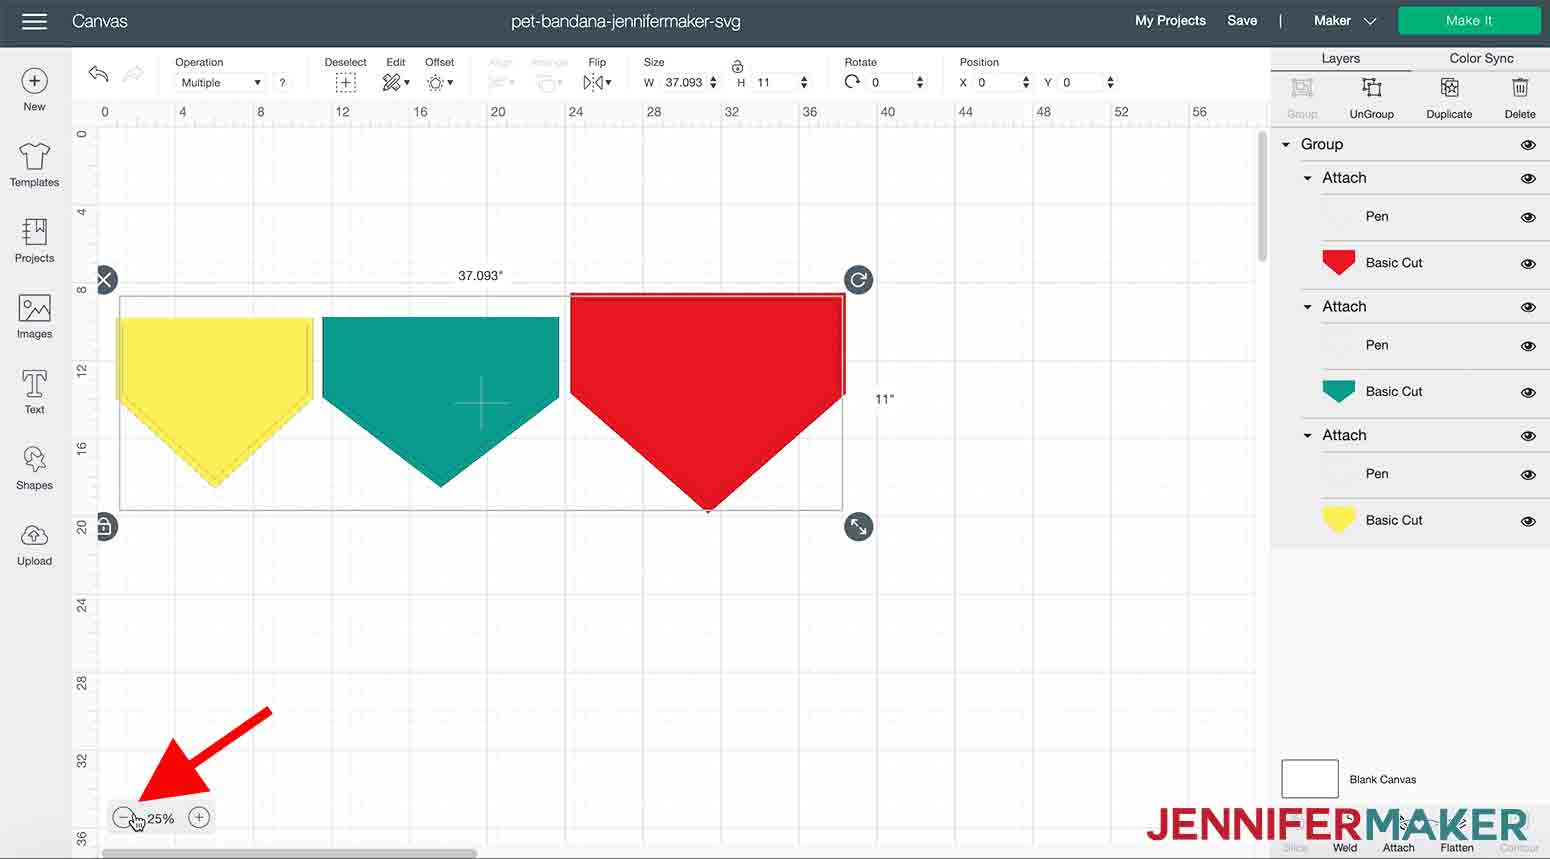
Here's a look at the different size patterns:
- Small: Fits necks 12 - 14 inches (yellow)
- Medium: Fits necks 15 - 17 inches (teal)
- Large: Fits necks 18 - 20 inches (red
For this tutorial I'm going to show you how to make the large bandana (red). I'm going to use the Cricut Maker to cut the fabric, but you can use the Cricut Explore Air 2 as well or even cut by hand!
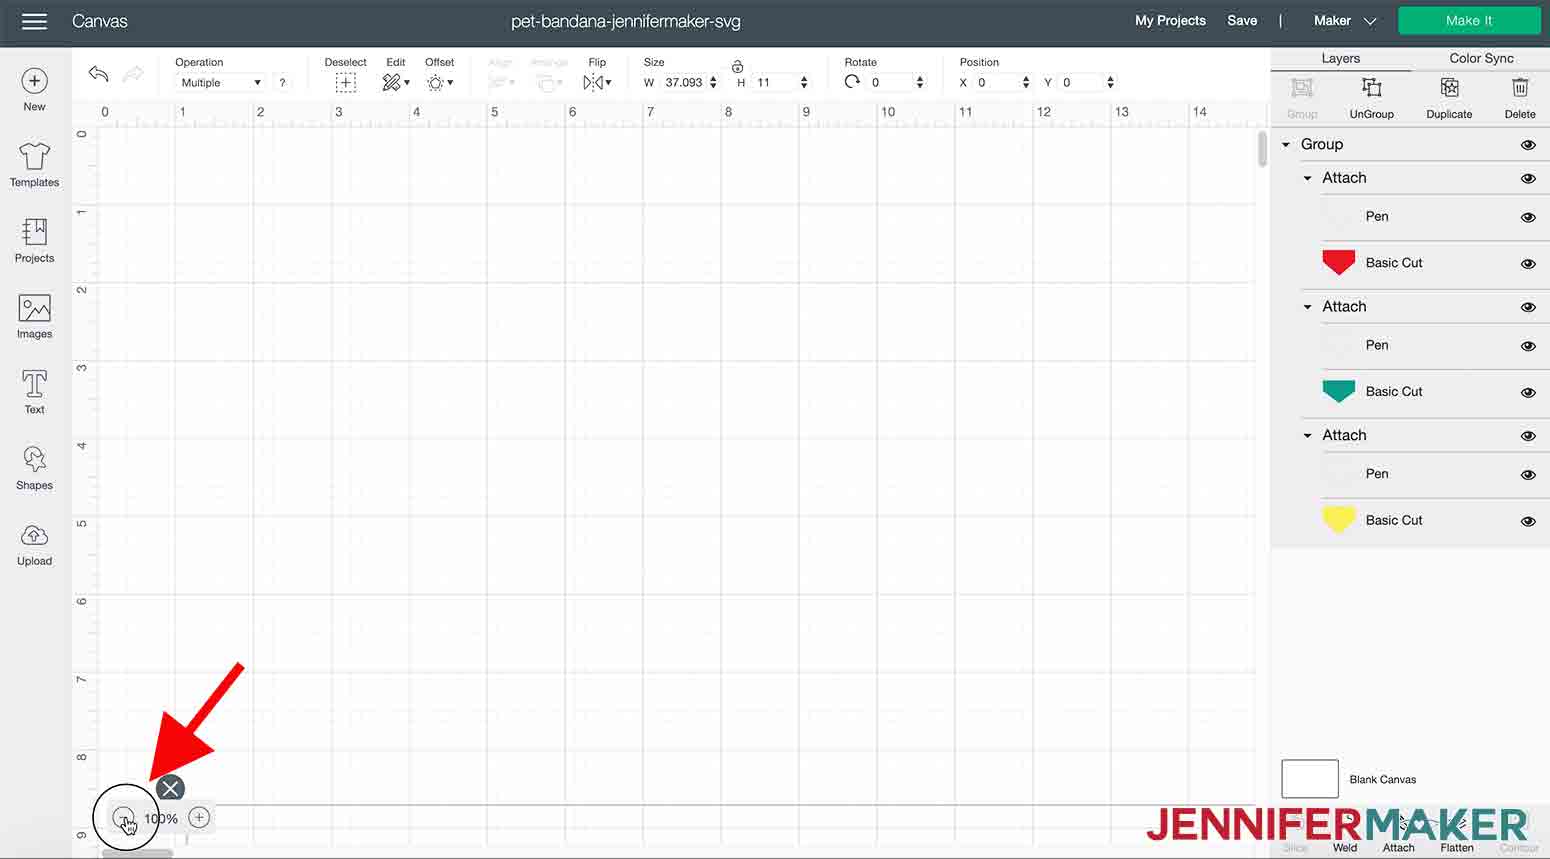
So first I'm going to select the pet bandana pattern I want in Cricut Design Space.
First, zoom out so you can see all the choices.
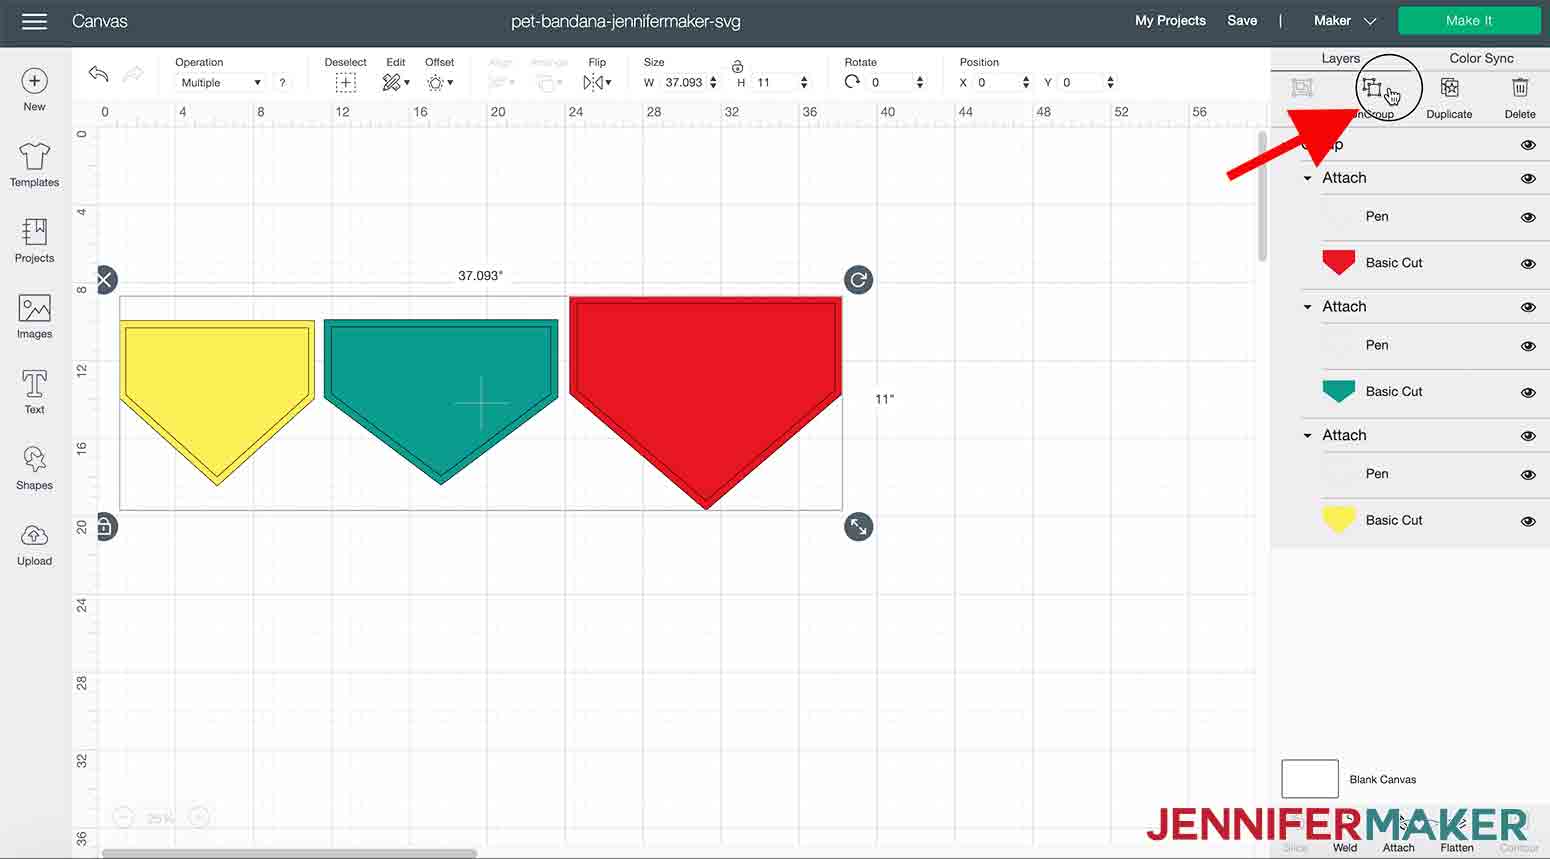
Now with the design selected click "Ungroup" in the Layers panel on the right side of the screen.
You will want to hide the pet bandana size(s) you DON'T want. To do this, simply click on the "eye" icon next to the word "Attach" above the size(s) you won't be using.
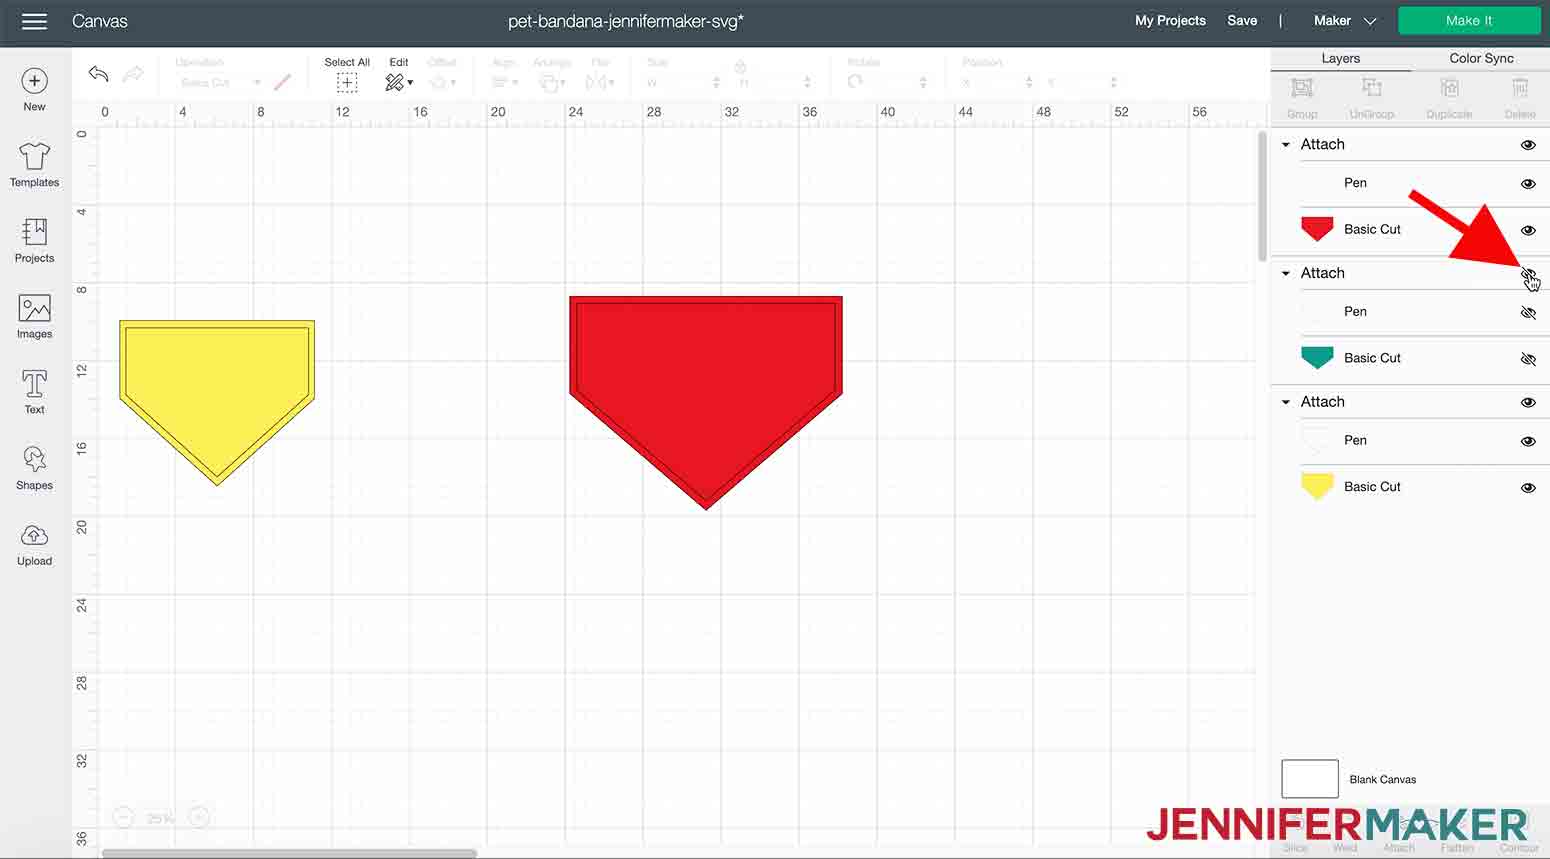
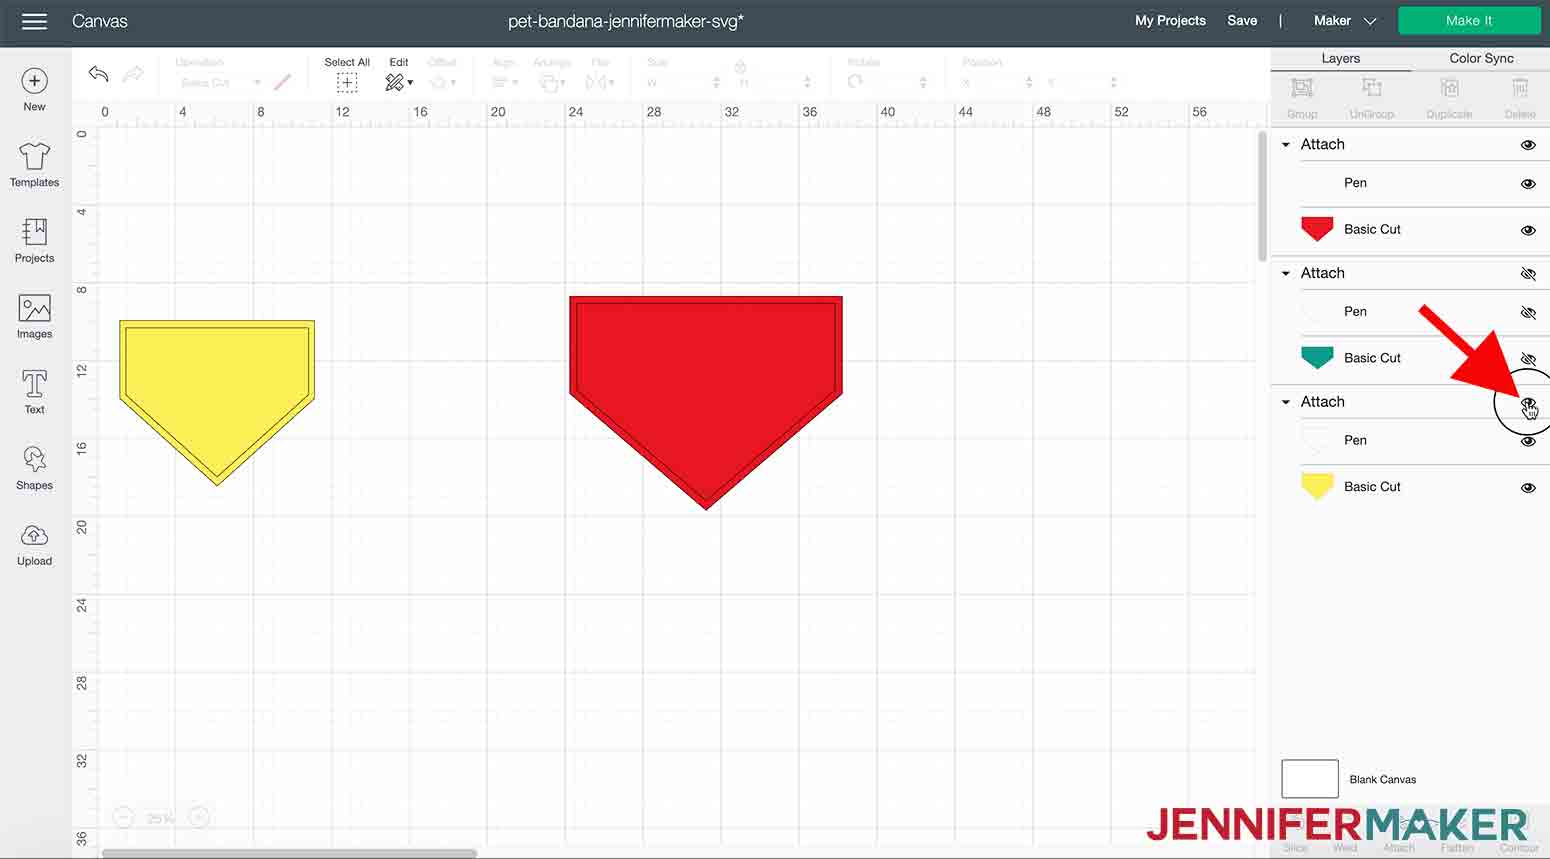
If you did it right, this is what you should see... just the red pattern.
Now, you will see the word "Pen" just above the red bandana in the Layers column on the right, click on that.

Next, move your cursor over where you see "Operation" on the top left side of the screen. Click on the black outline box.
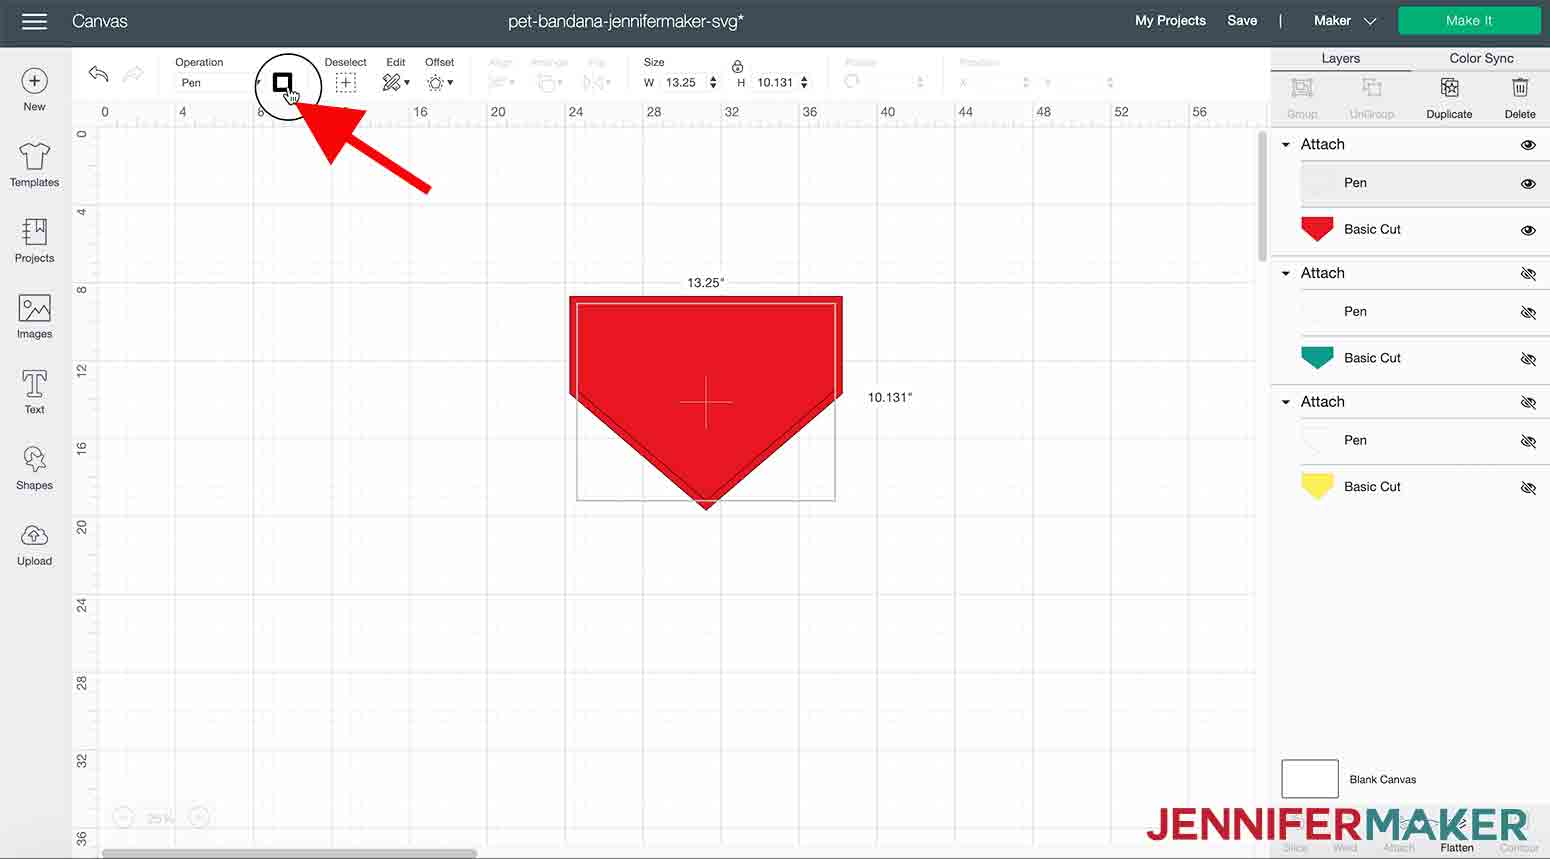
Then, click on the arrow that's pointing down...

...and select "Marker"...
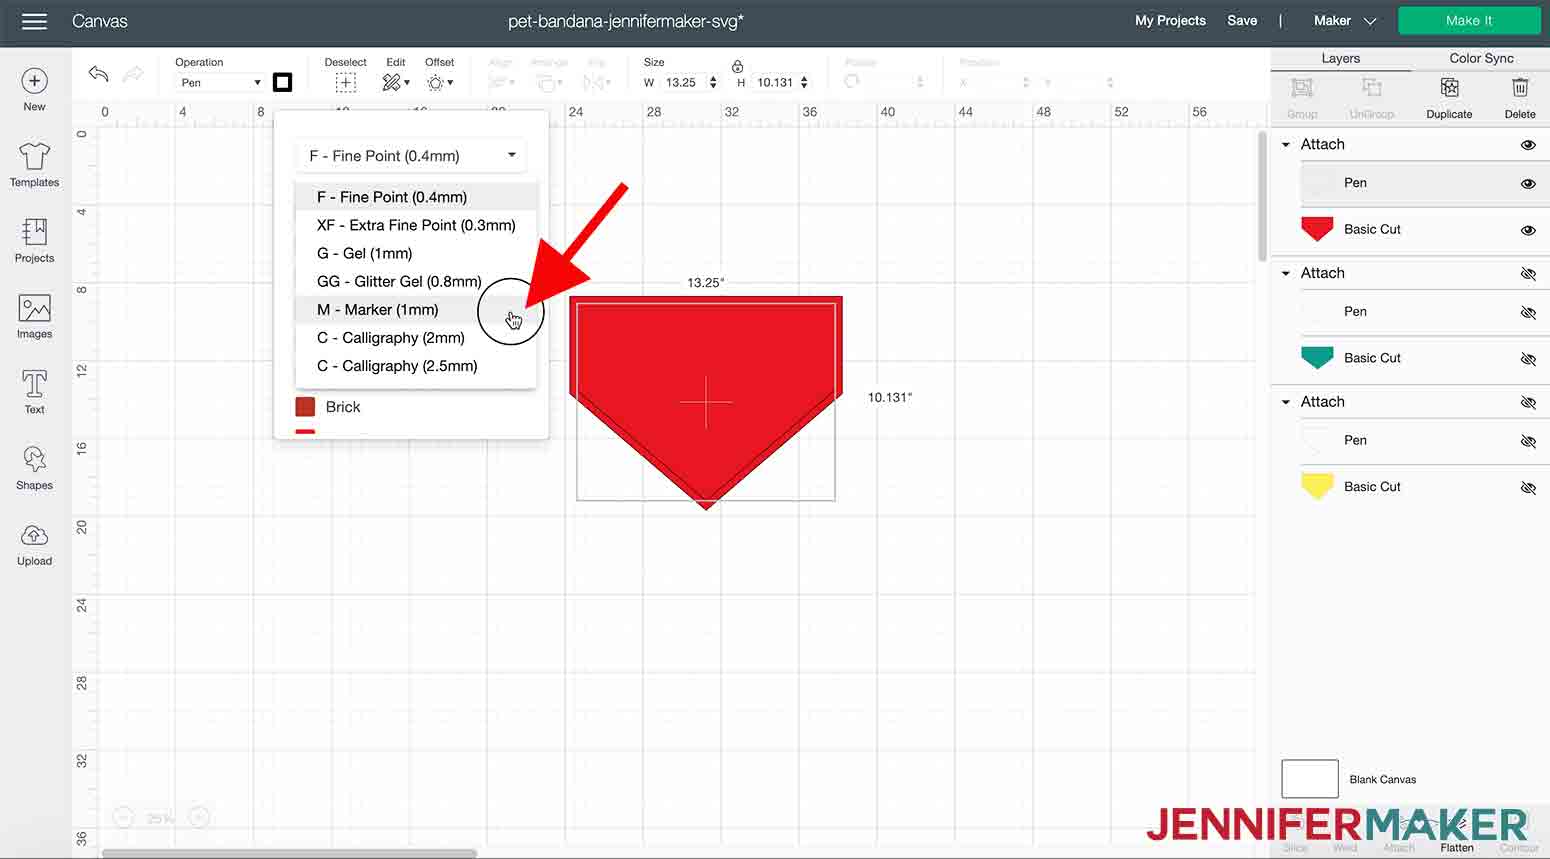
...then choose "Blue (washable fabric)".
The fabric marker will mark your pet bandana seam allowance to help with sewing. This is completely optional, so if you'd rather skip this step you can simply "hide" the "Pen" line by clicking on the "eye" icon next to the word "Pen."
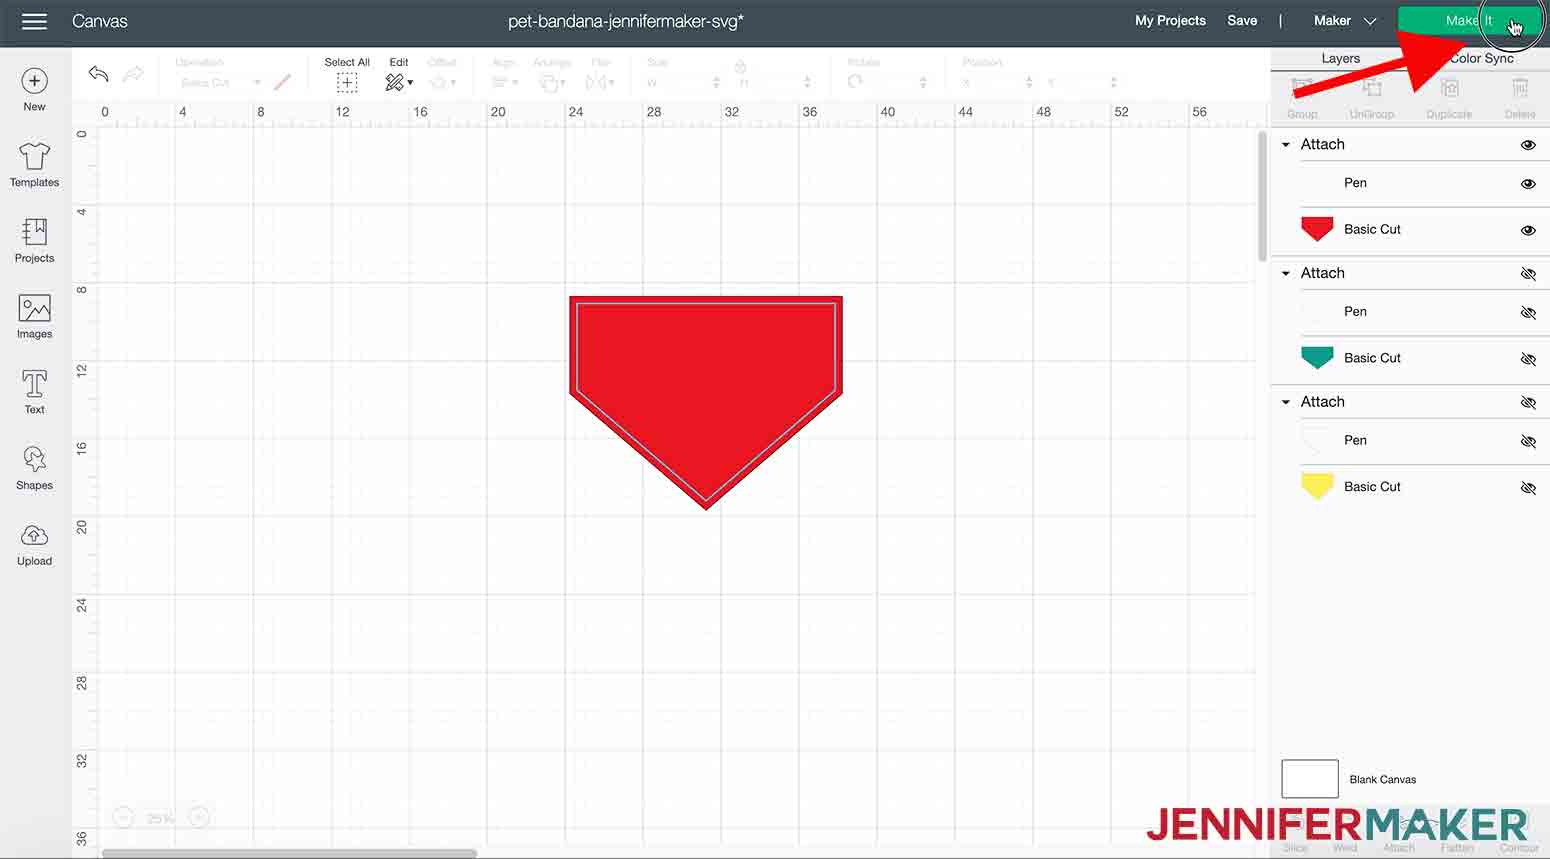
STEP 3: CUT YOUR BANDANA PATTERN
Now click "Make It".
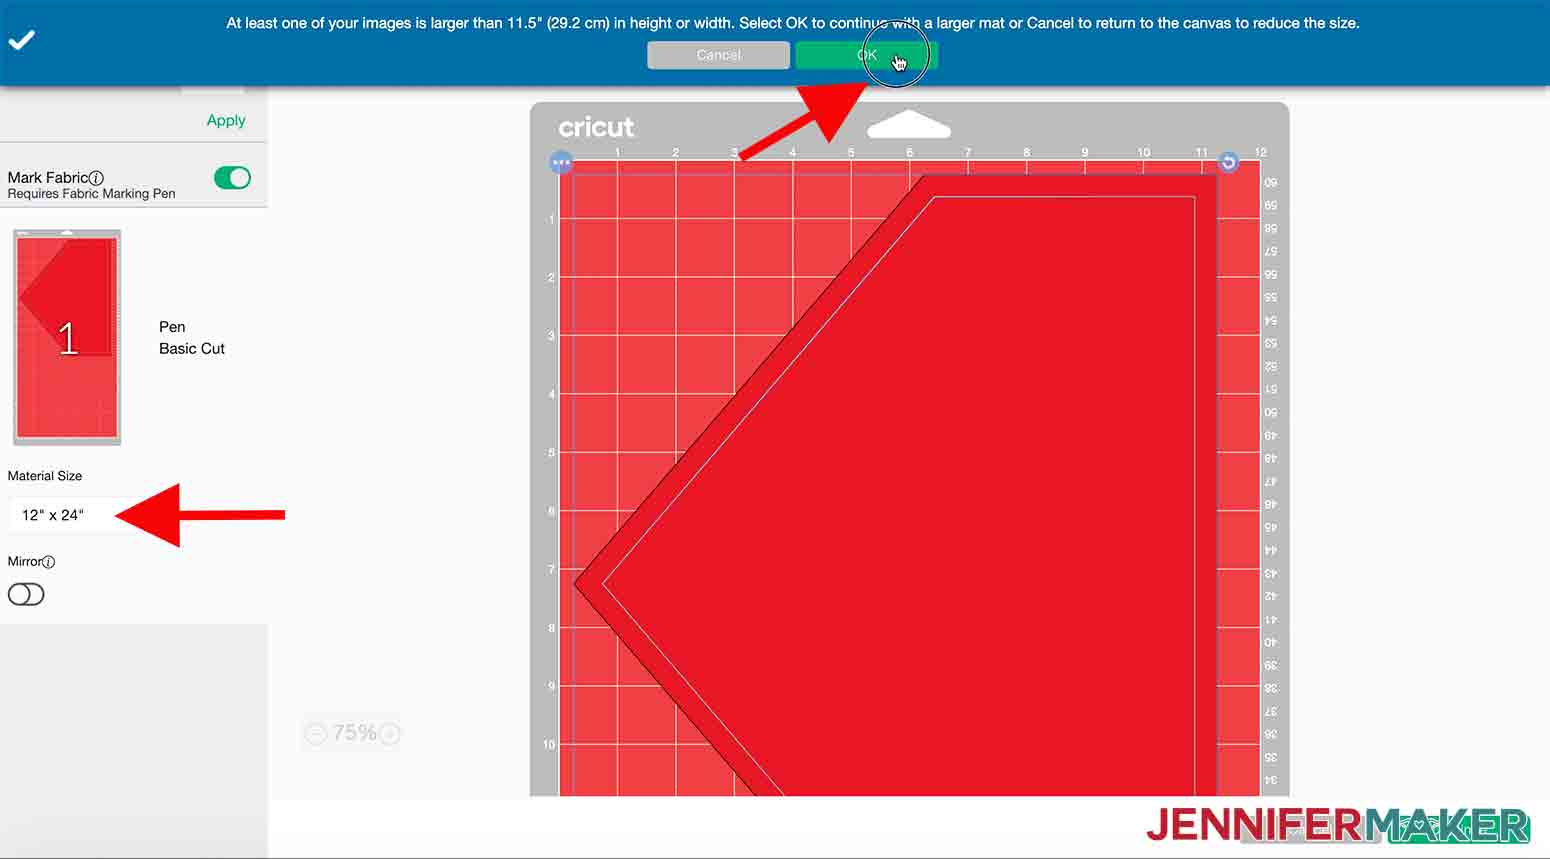
On the next screen click "OK" at the top. That's just a reminder that you will need to use a 12"x24" mat for this cut. Click "Continue."
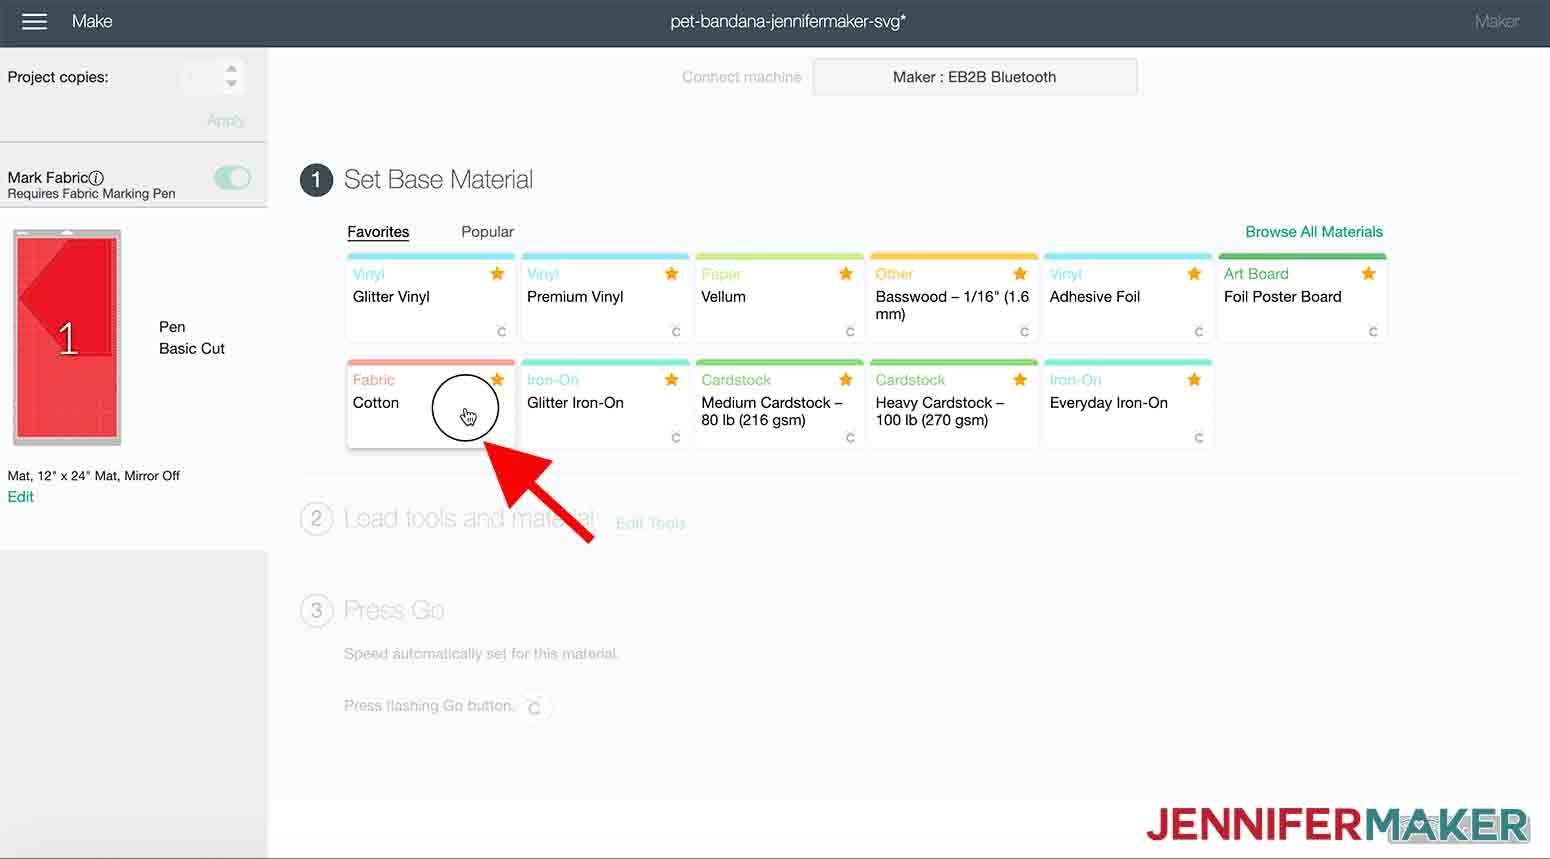
Choose your pet bandana fabric on the next screen. I'm using 100% cotton for my bandana.
I always select "MORE" under pressure and you'll see a reminder to change your tool to a "Rotary Blade" in Clamp B.
If you choose to use the fabric marker you will also need to insert this into Clamp A. 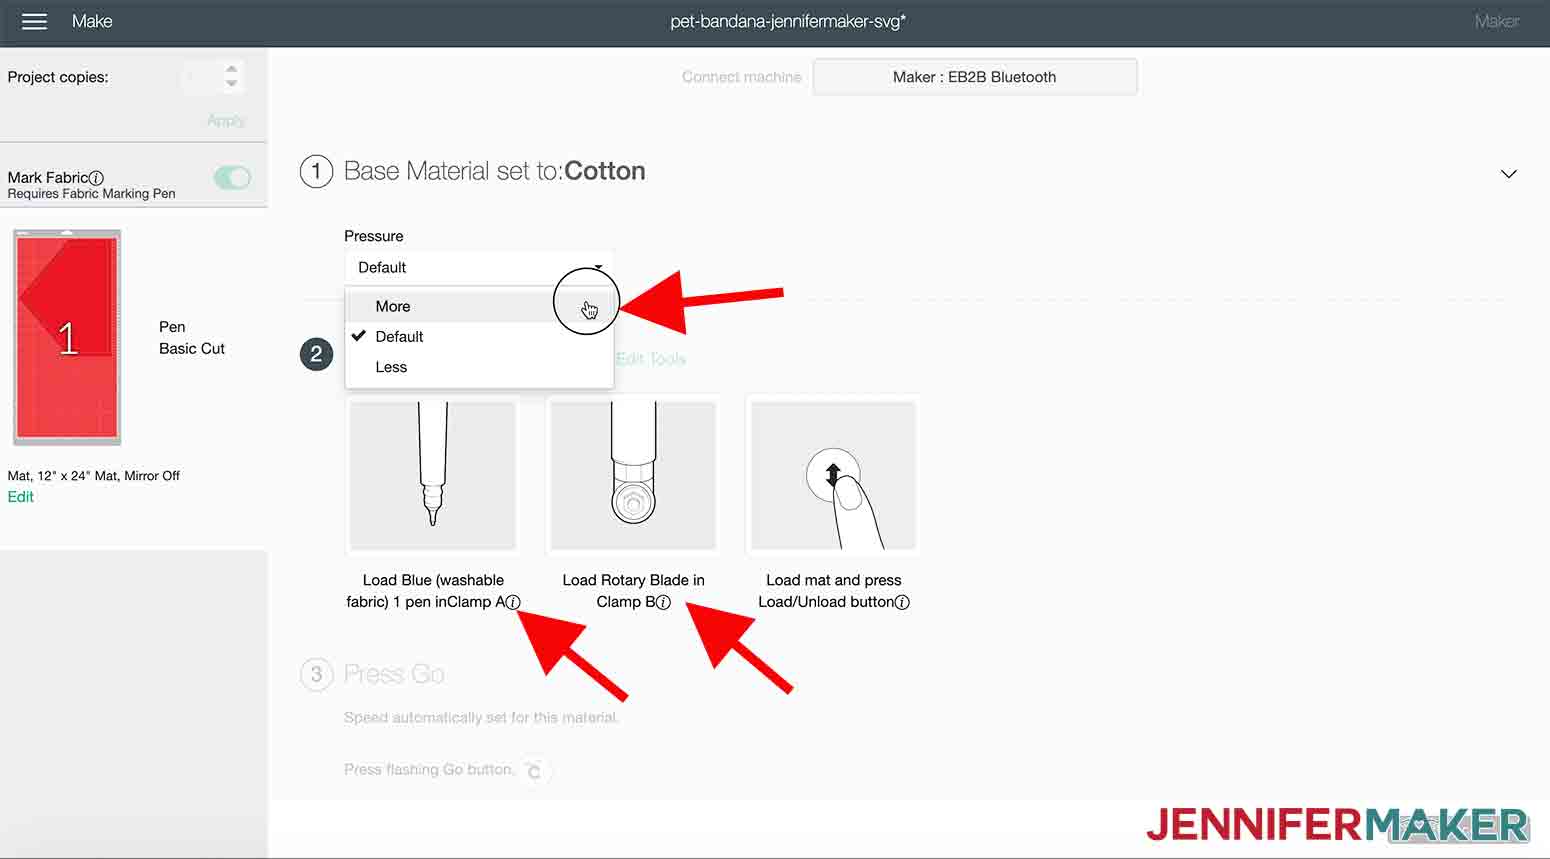
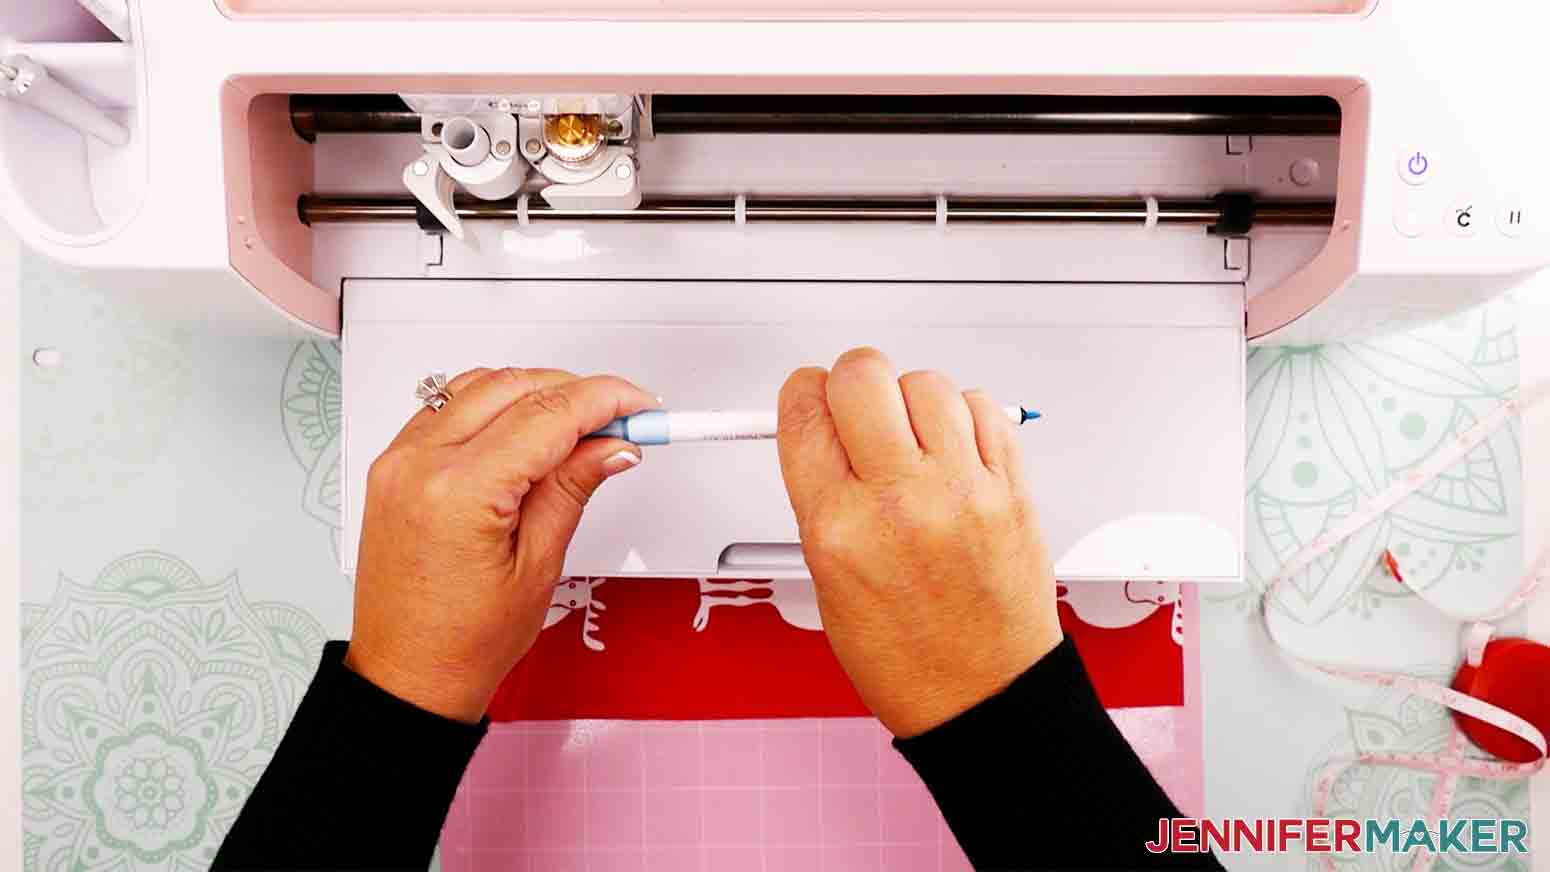
TIP: I always make sure to the put my cap on the other end of my pen when I'm using it so I don't lose it. Also, once I'm done, I always store my pens cap-side down.
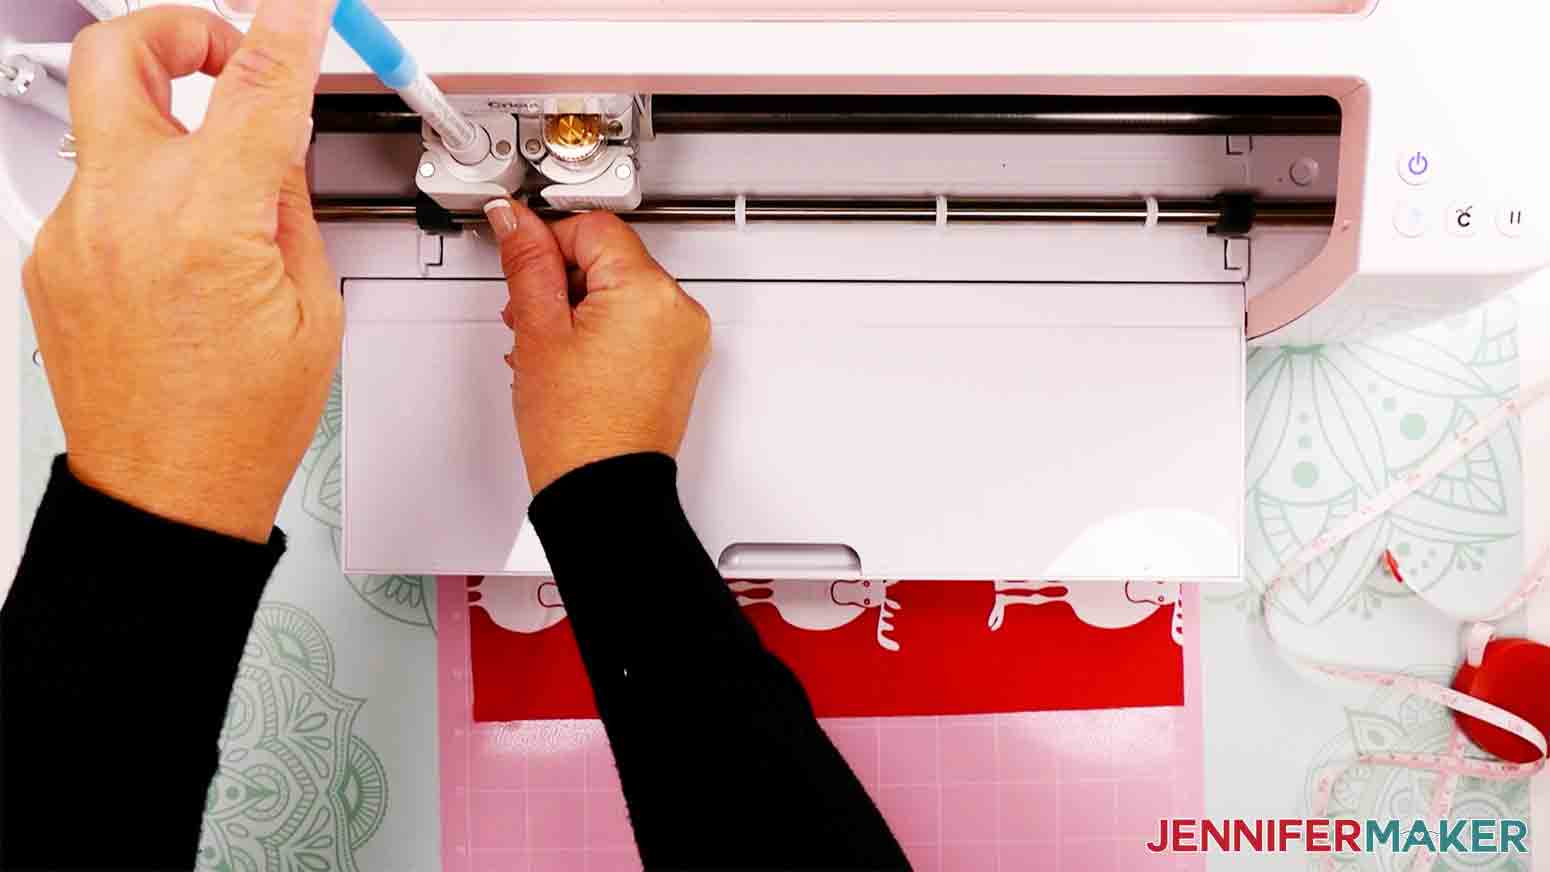
Now load your cutting mat (pink fabric mat) into your machine and hit the Cricut symbol to start the cut.
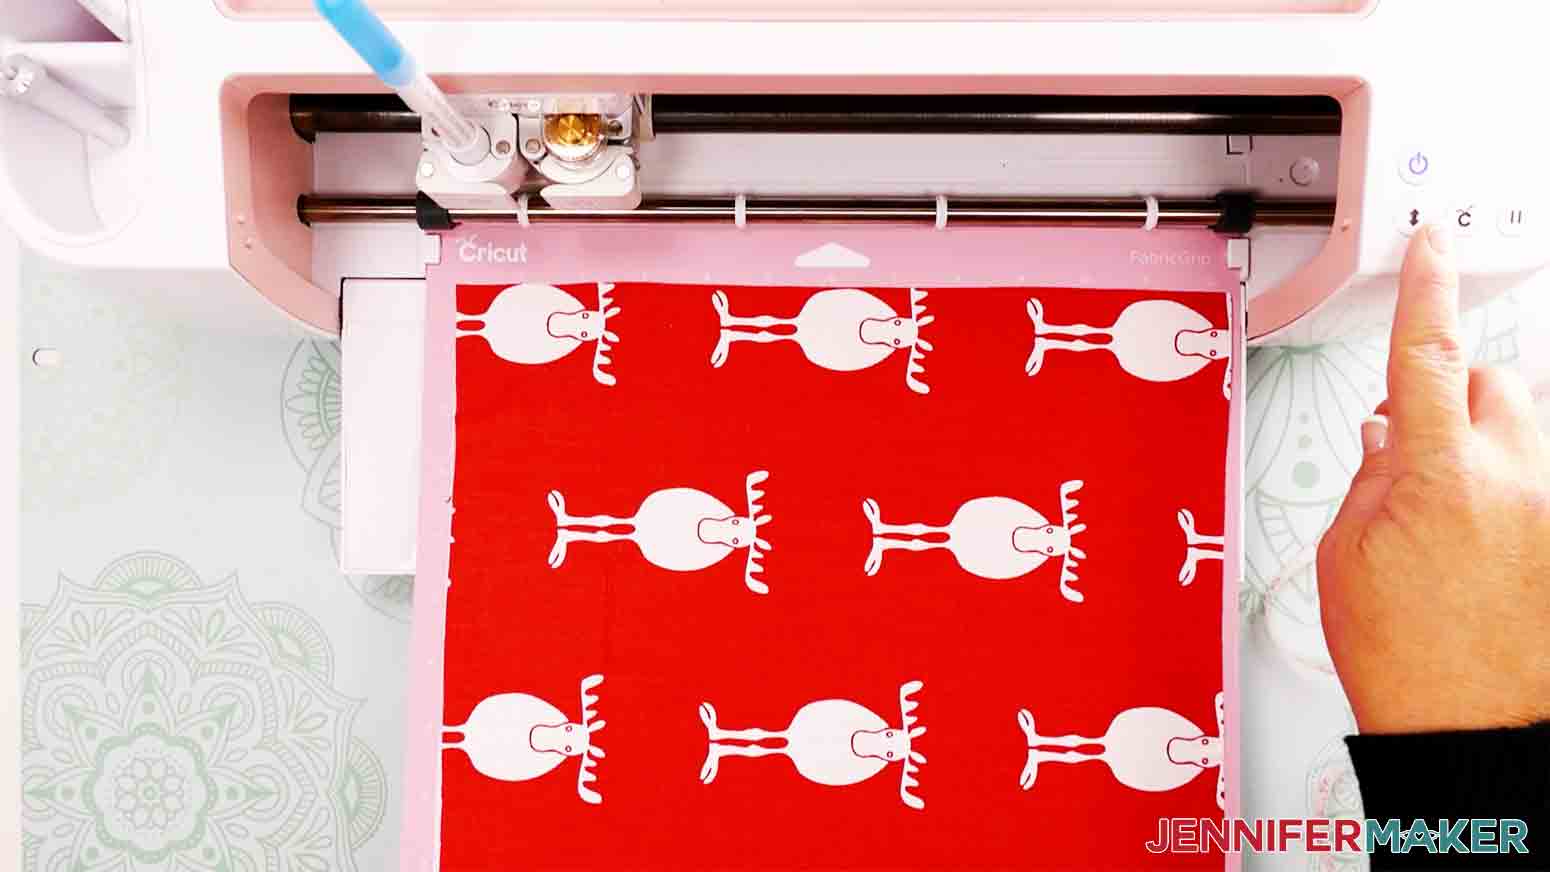
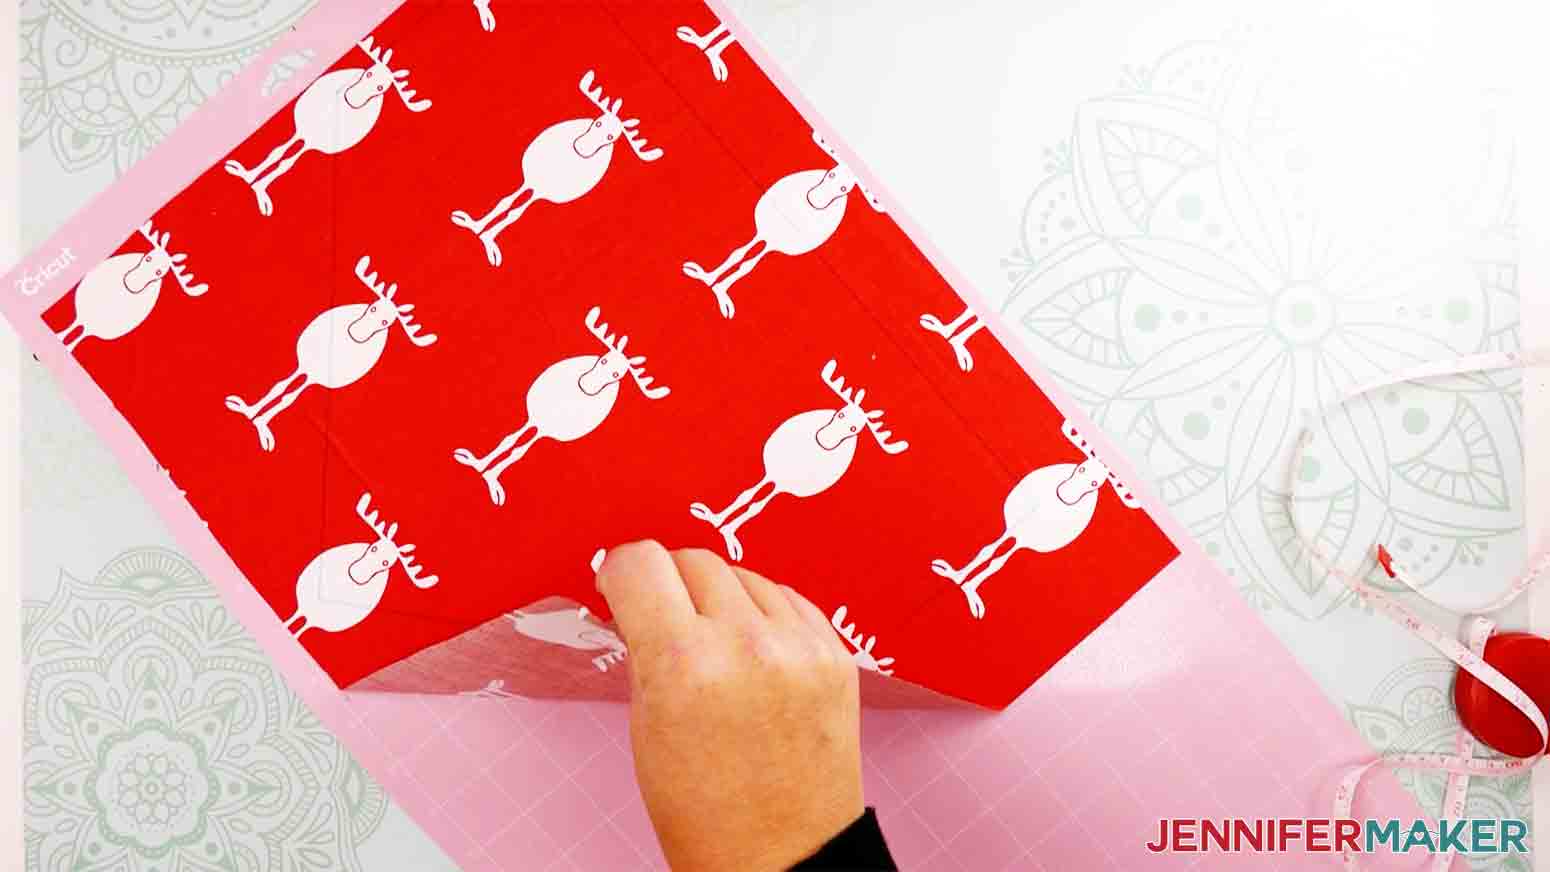
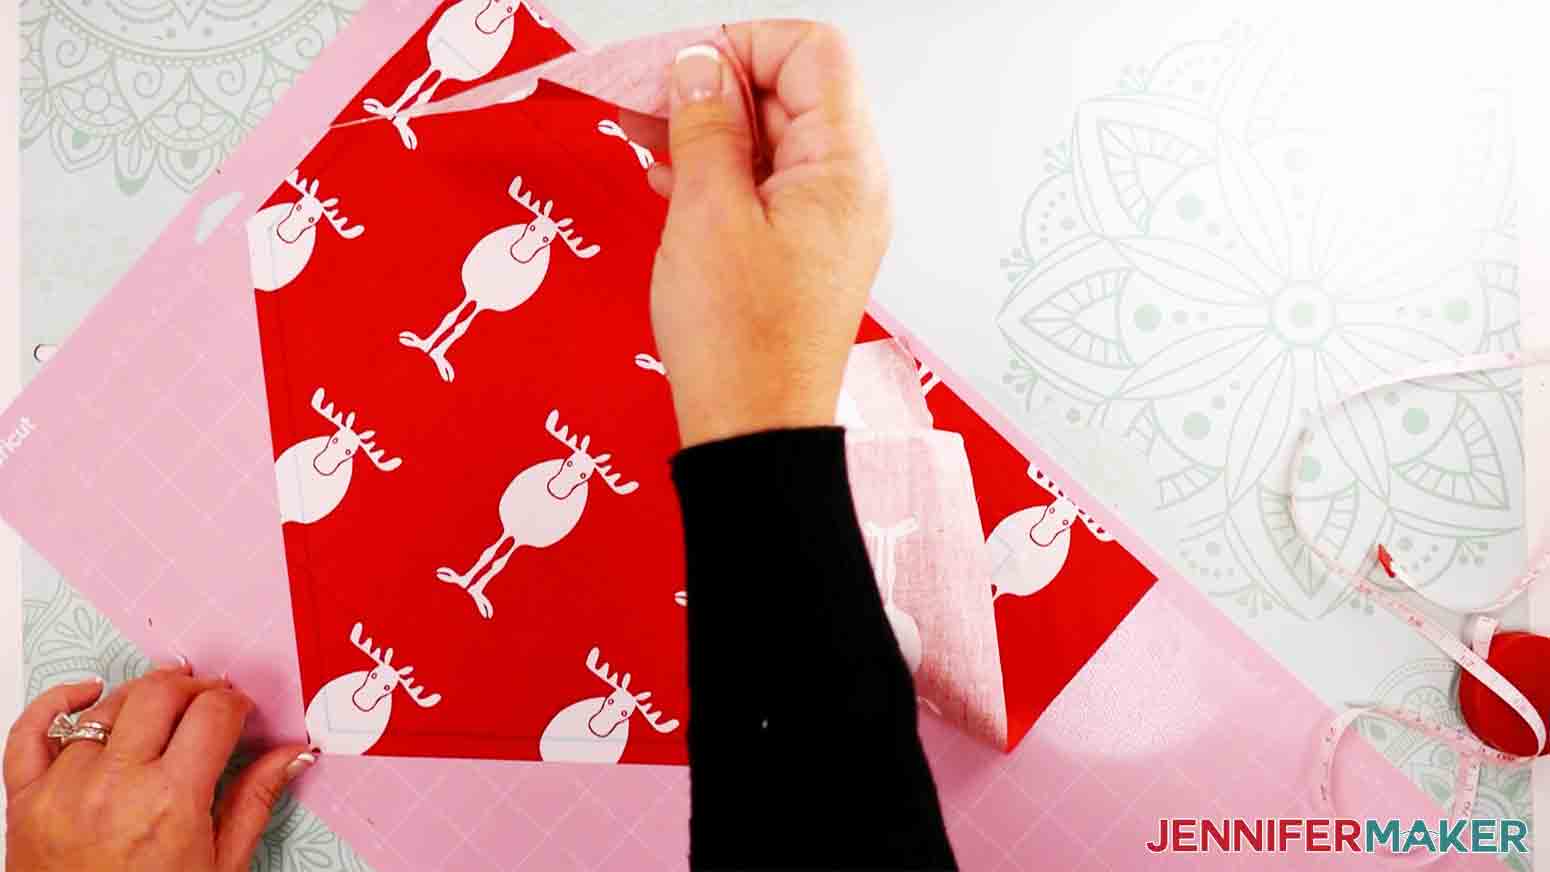
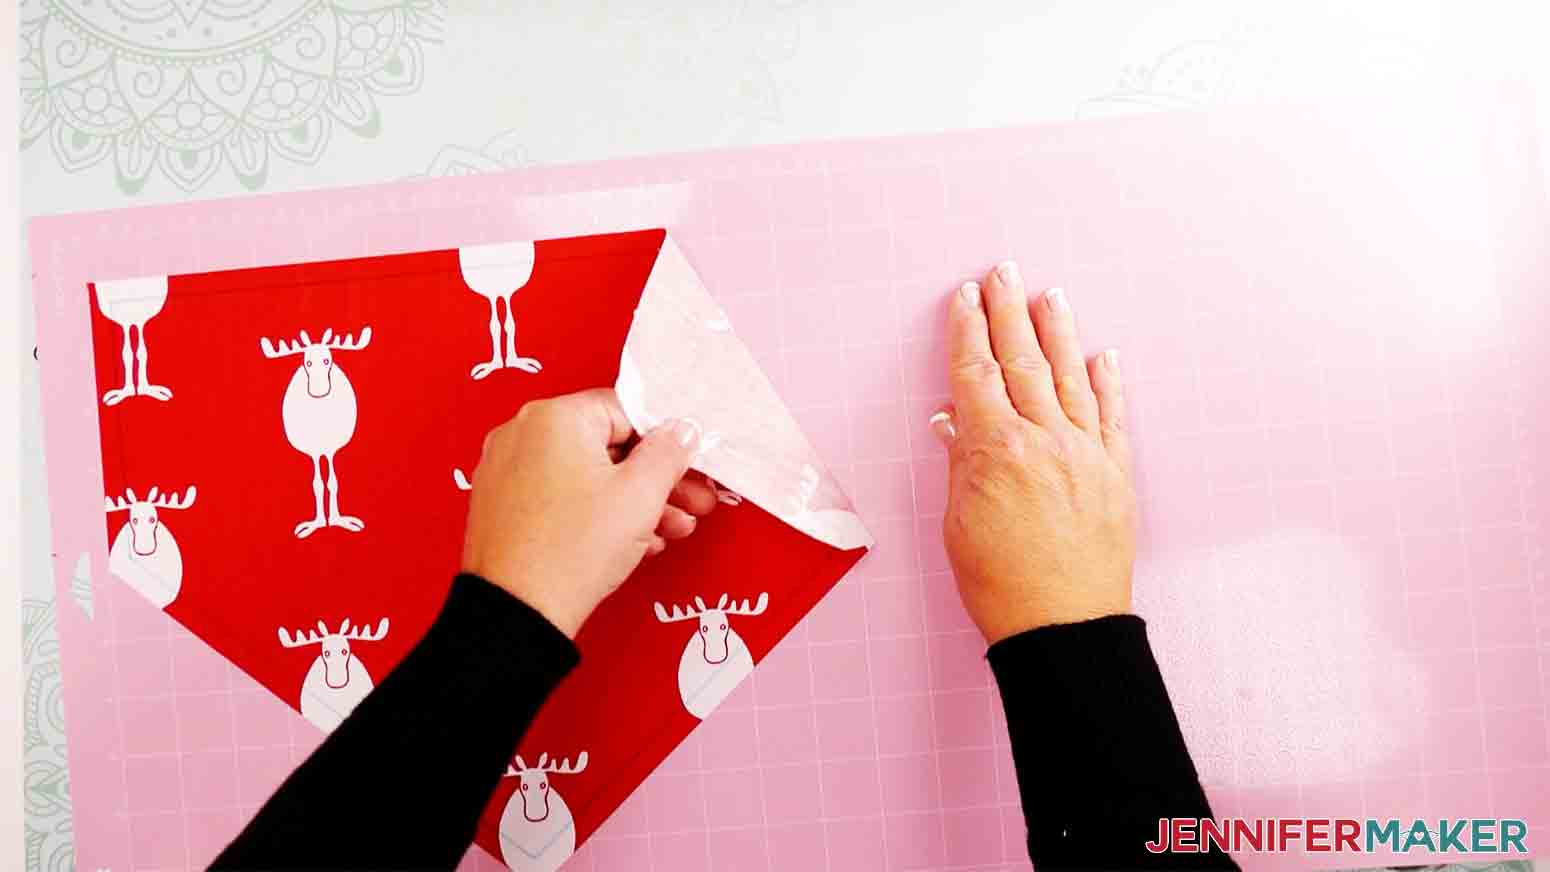
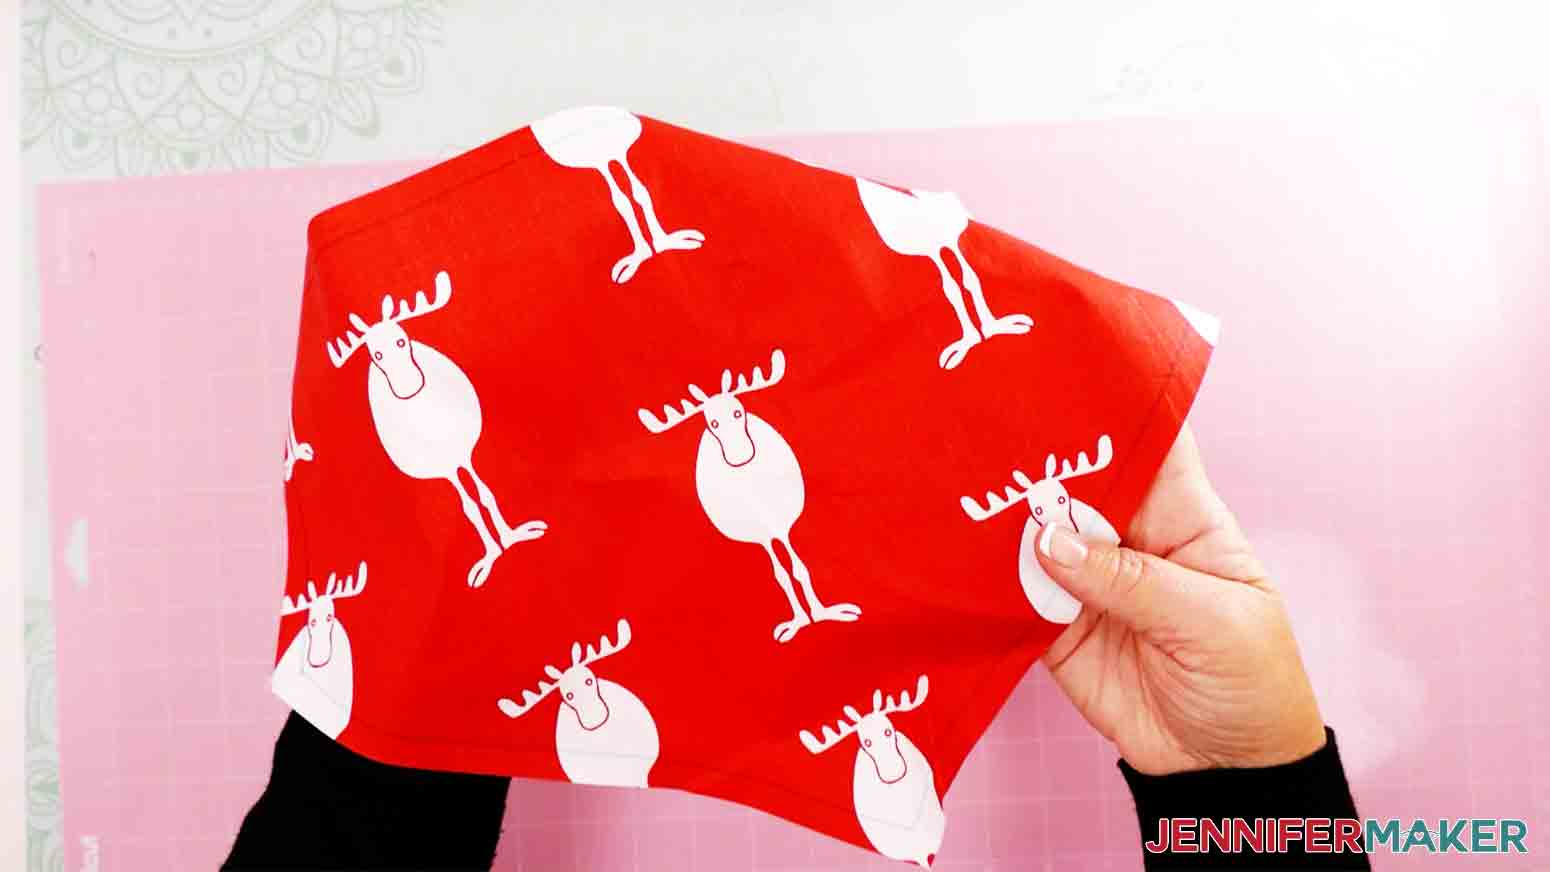
Once the cut is complete just peel your fabric off the mat, it's super simple!
STEP 4: IRON YOUR FABRIC
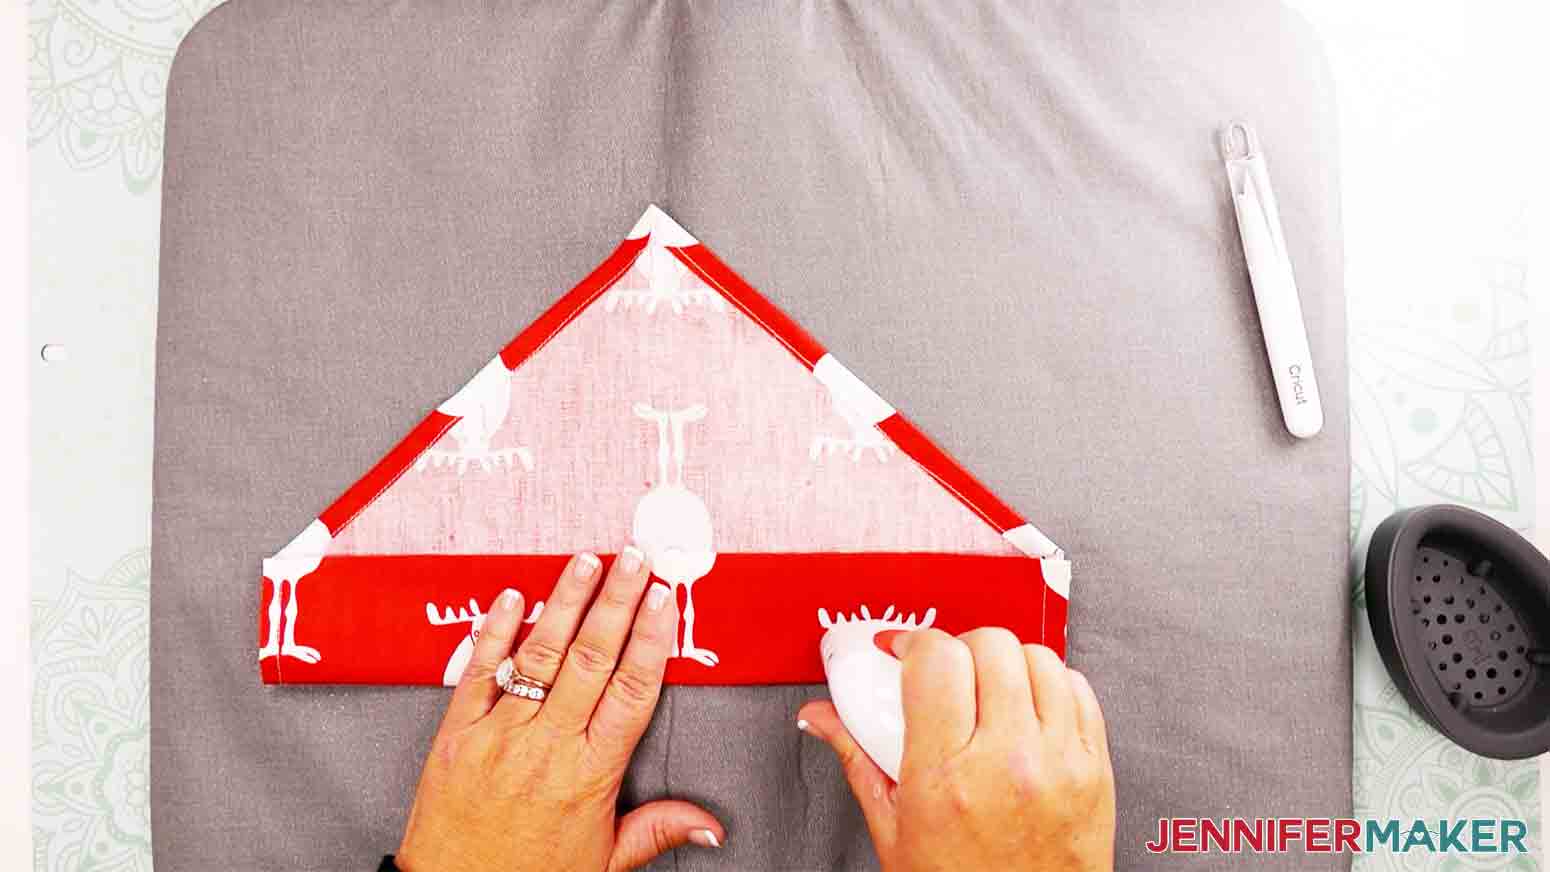
I always like to iron my fabric before I sew. For this project I used my Cricut Easy Press Mini Heat Press on the lowest setting to press the fabric along the seam allowance marked on the fabric to make sewing a breeze!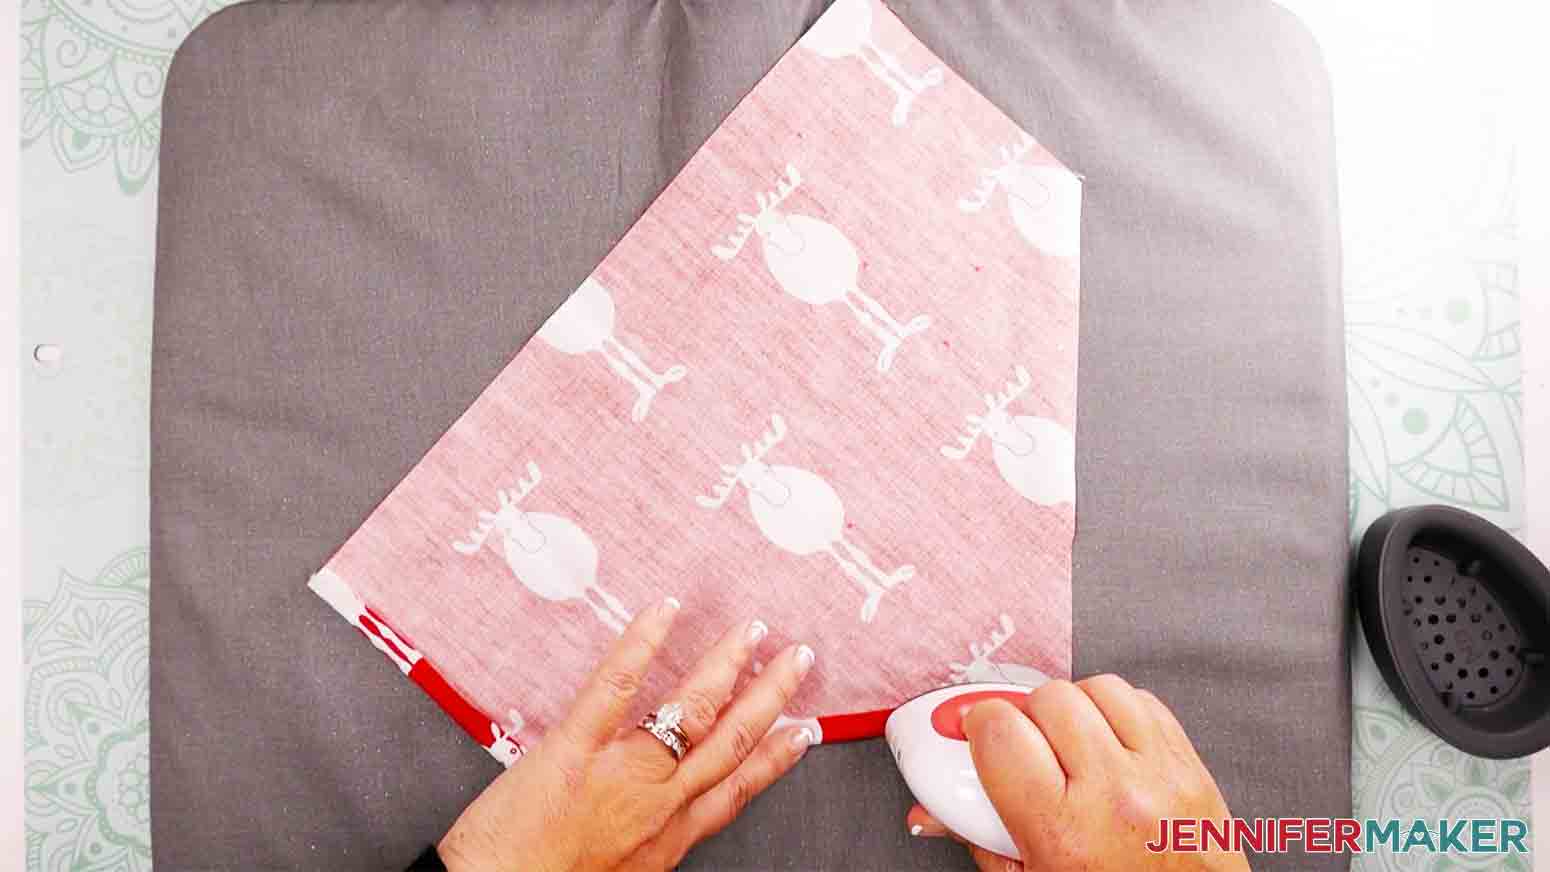
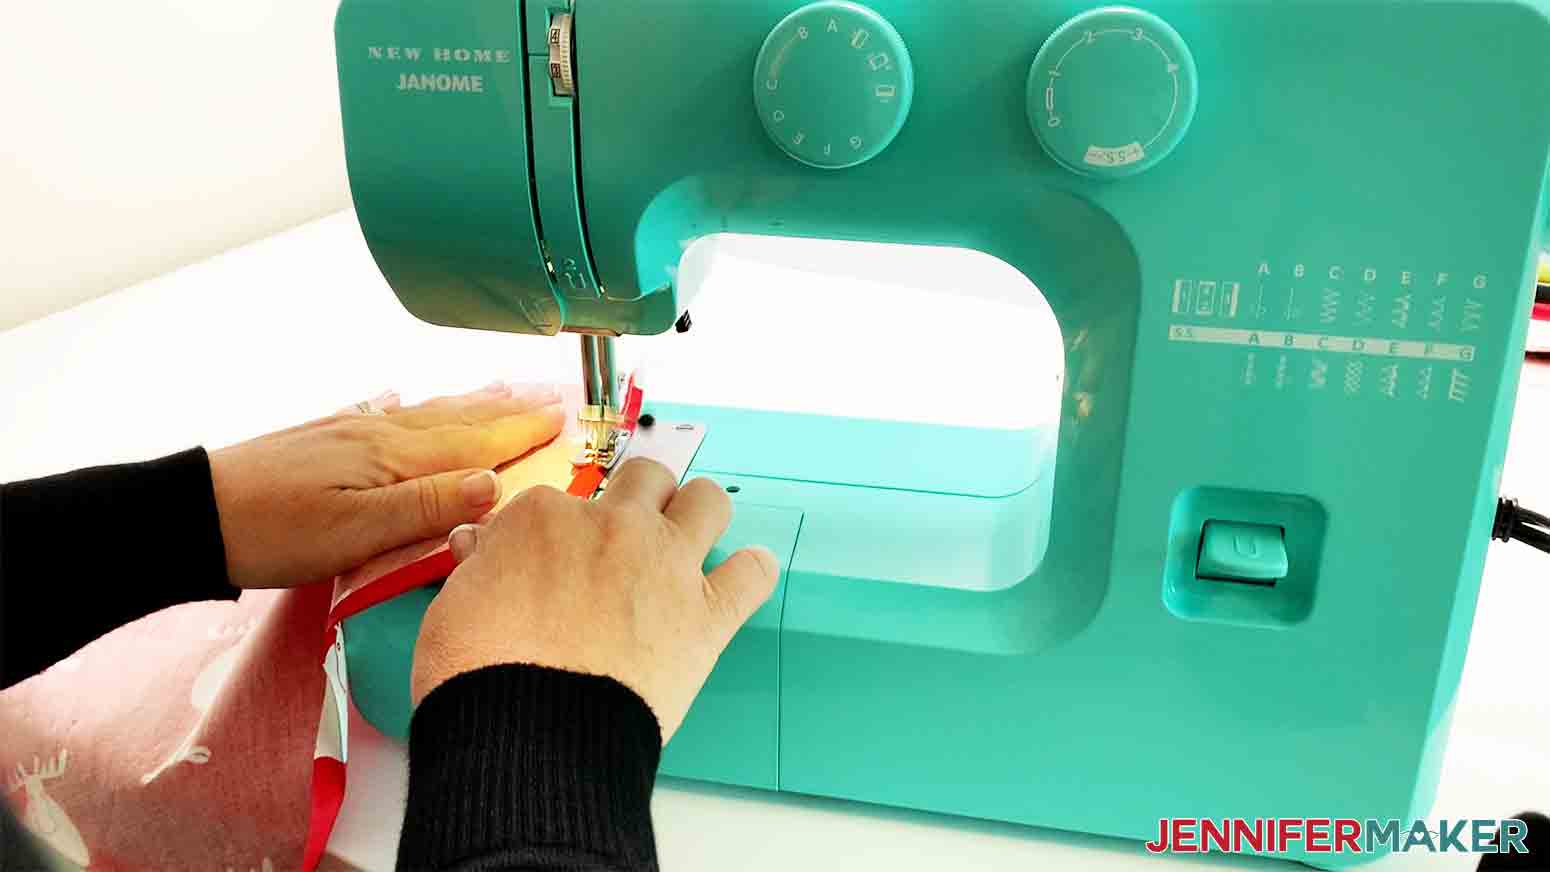
STEP 5: SEW THE PET BANDANA
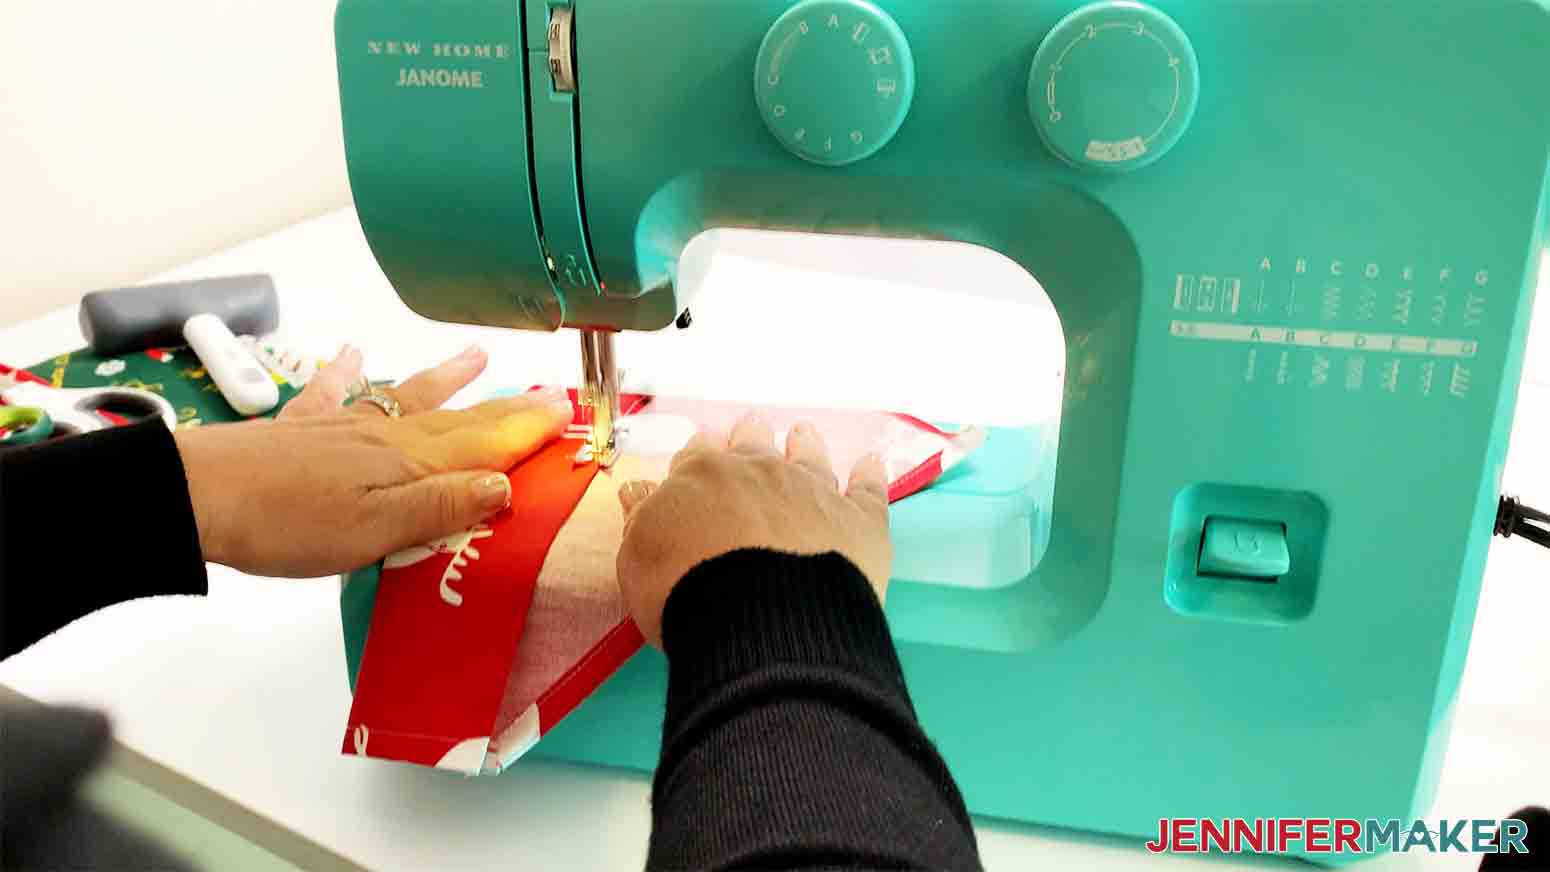
Now it's time to sew. Start by sewing all the edges of the pet bandana, making sure to start and end with a back stitch. This prevents the stitching from coming undone.
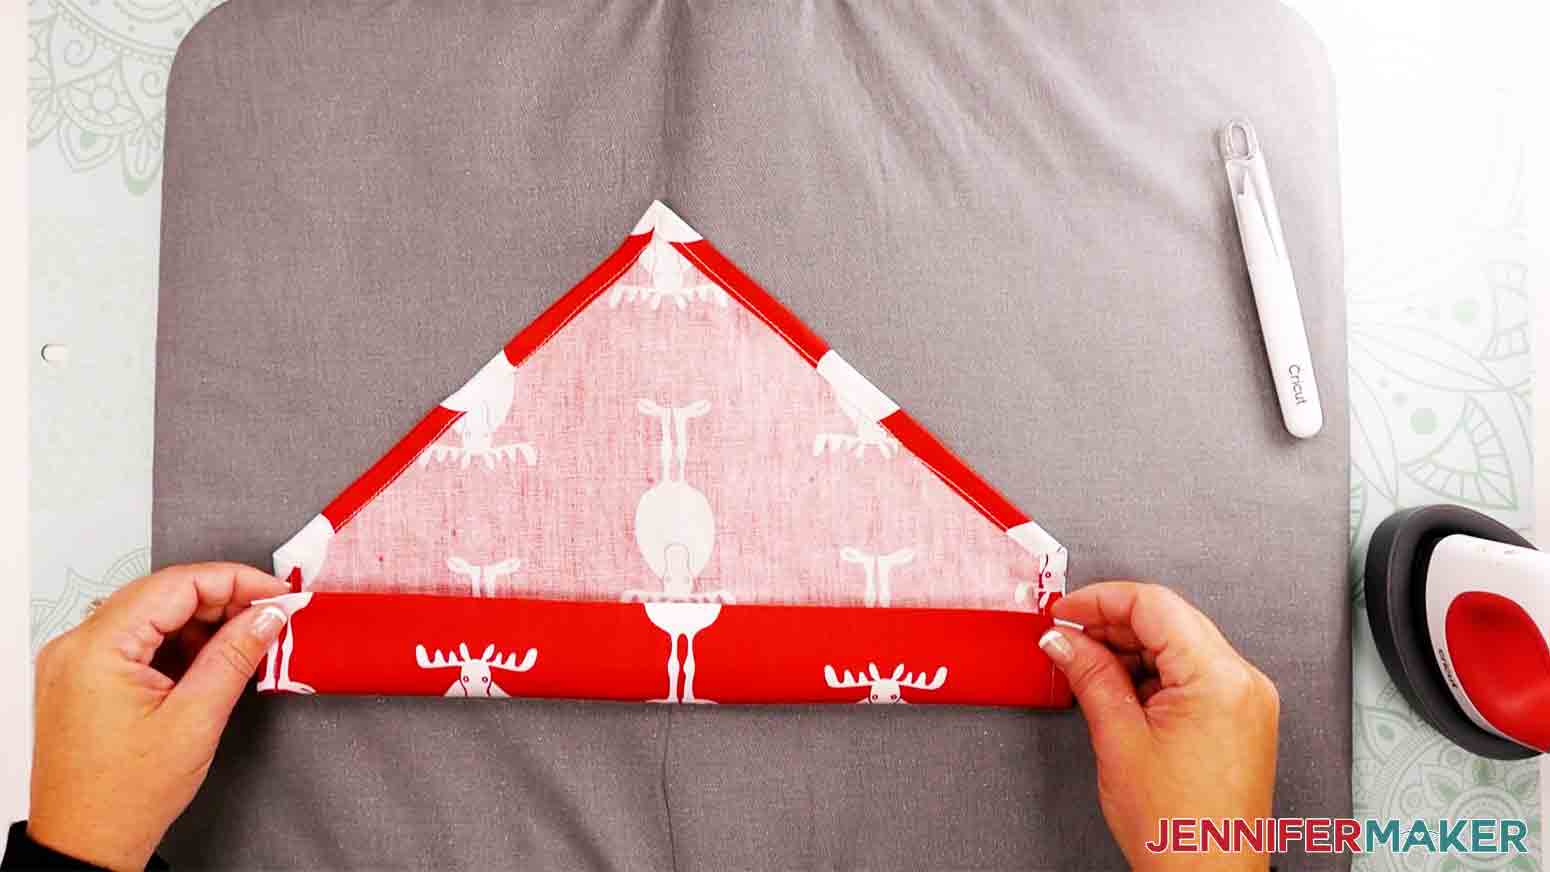
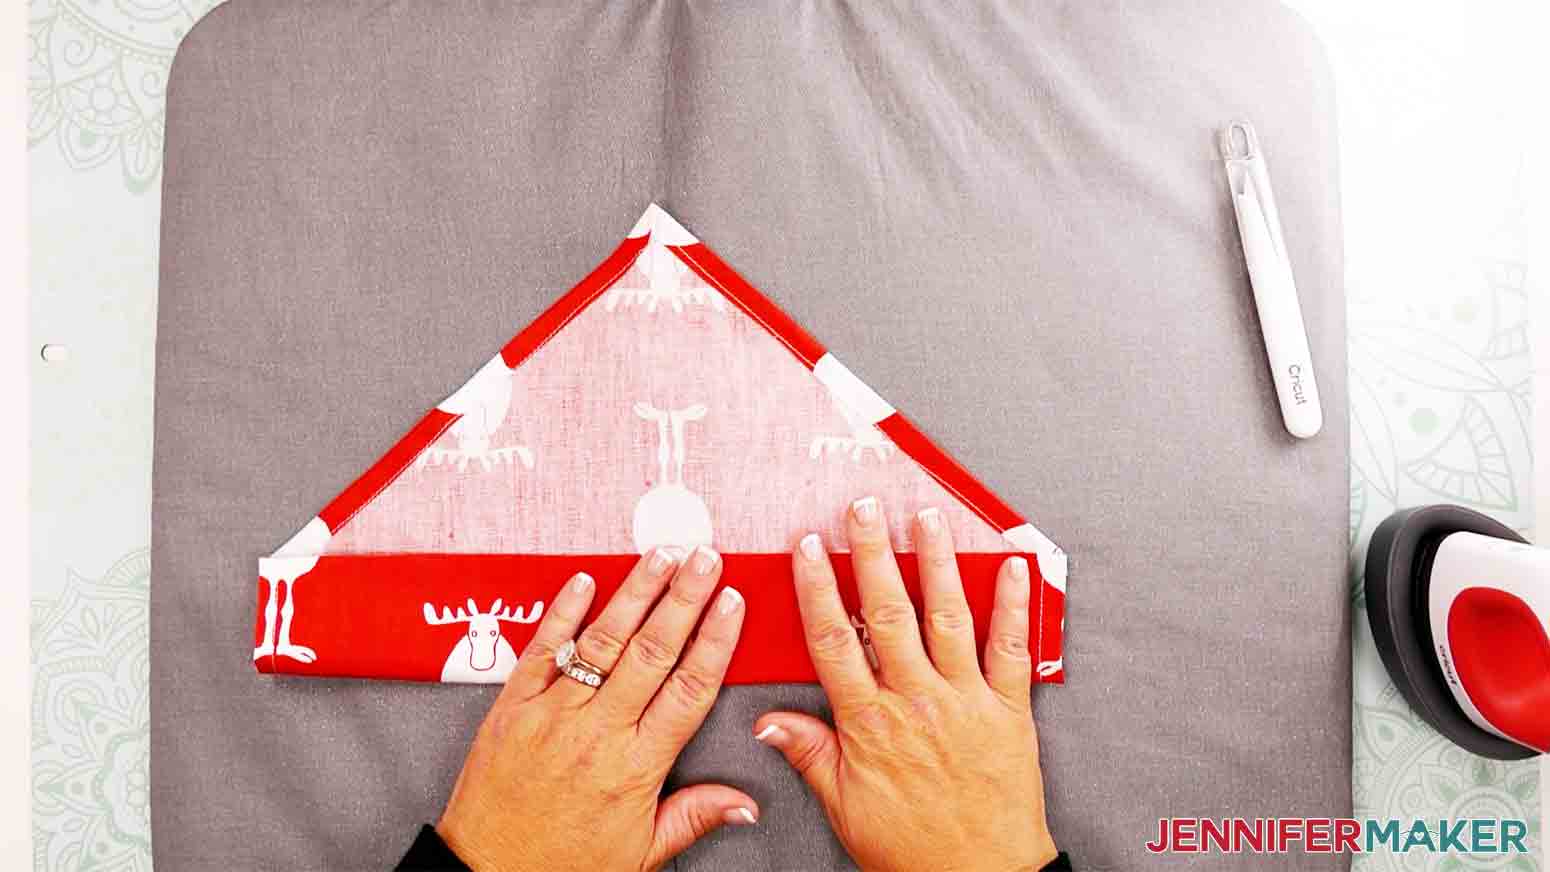
Next, fold down the top of the fabric (opposite the point-side) until it meets the top of the triangular part of the pattern. This will be the opening for the collar. I pressed this part as well with my Cricut Easy Press Mini Heat Press before sewing,
Then back to the sewing machine for the final stitches of the pet bandana. Again, I started and ended with a backstitch. It's that simple.
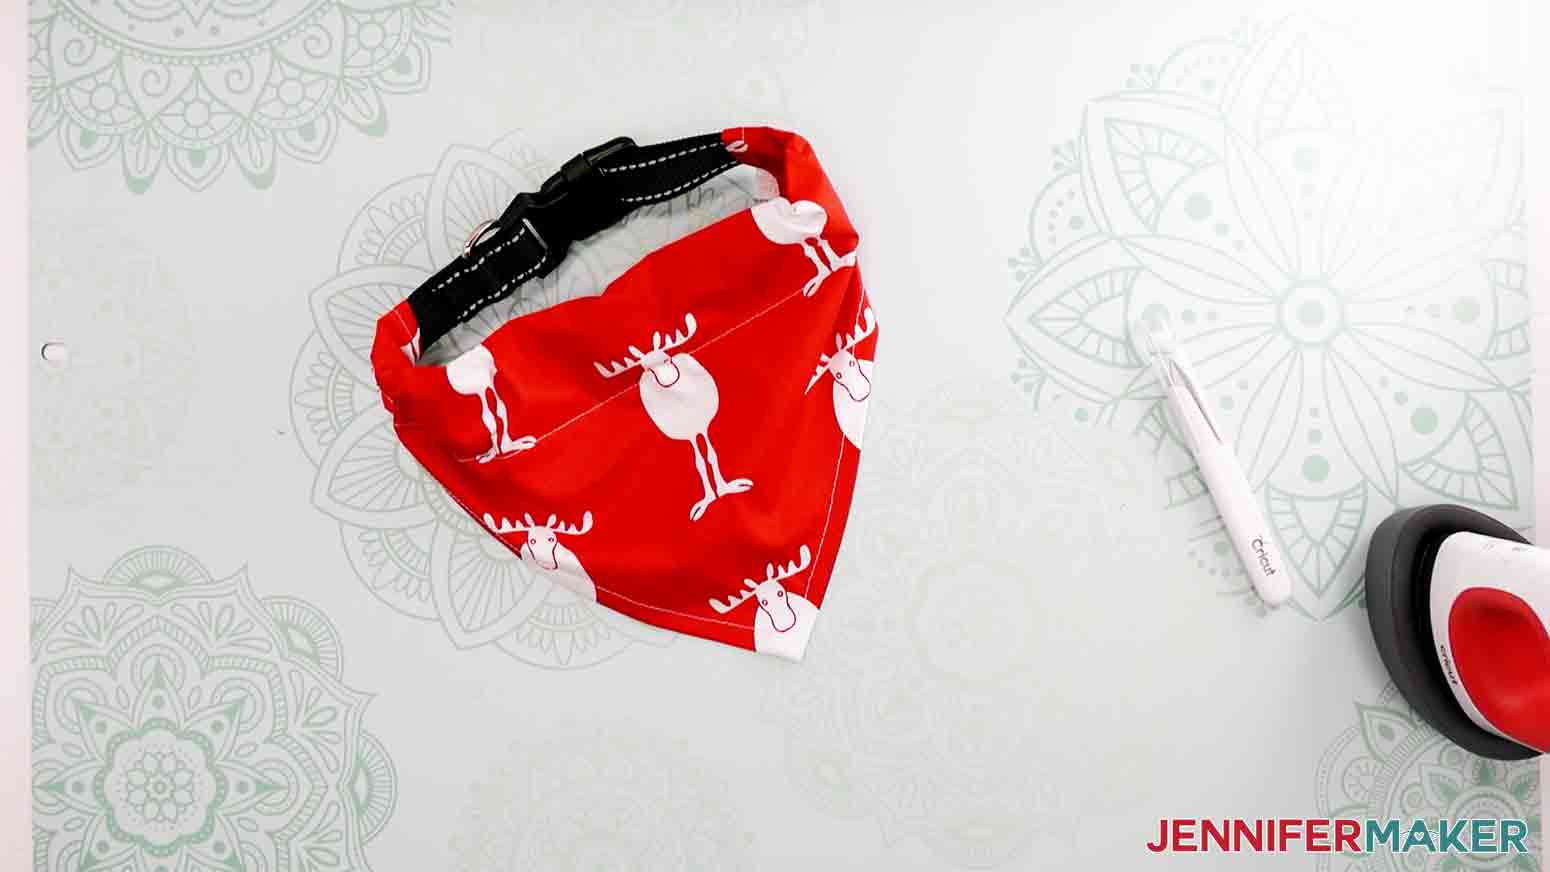
STEP 6: ATTACH THE BANDANA TO THE COLLAR
Now take your dog collar and insert one end into the channel or tunnel at the top of the pet bandana and feed it through the other side and there you go! You have made your very own Personalized Pet Bandana!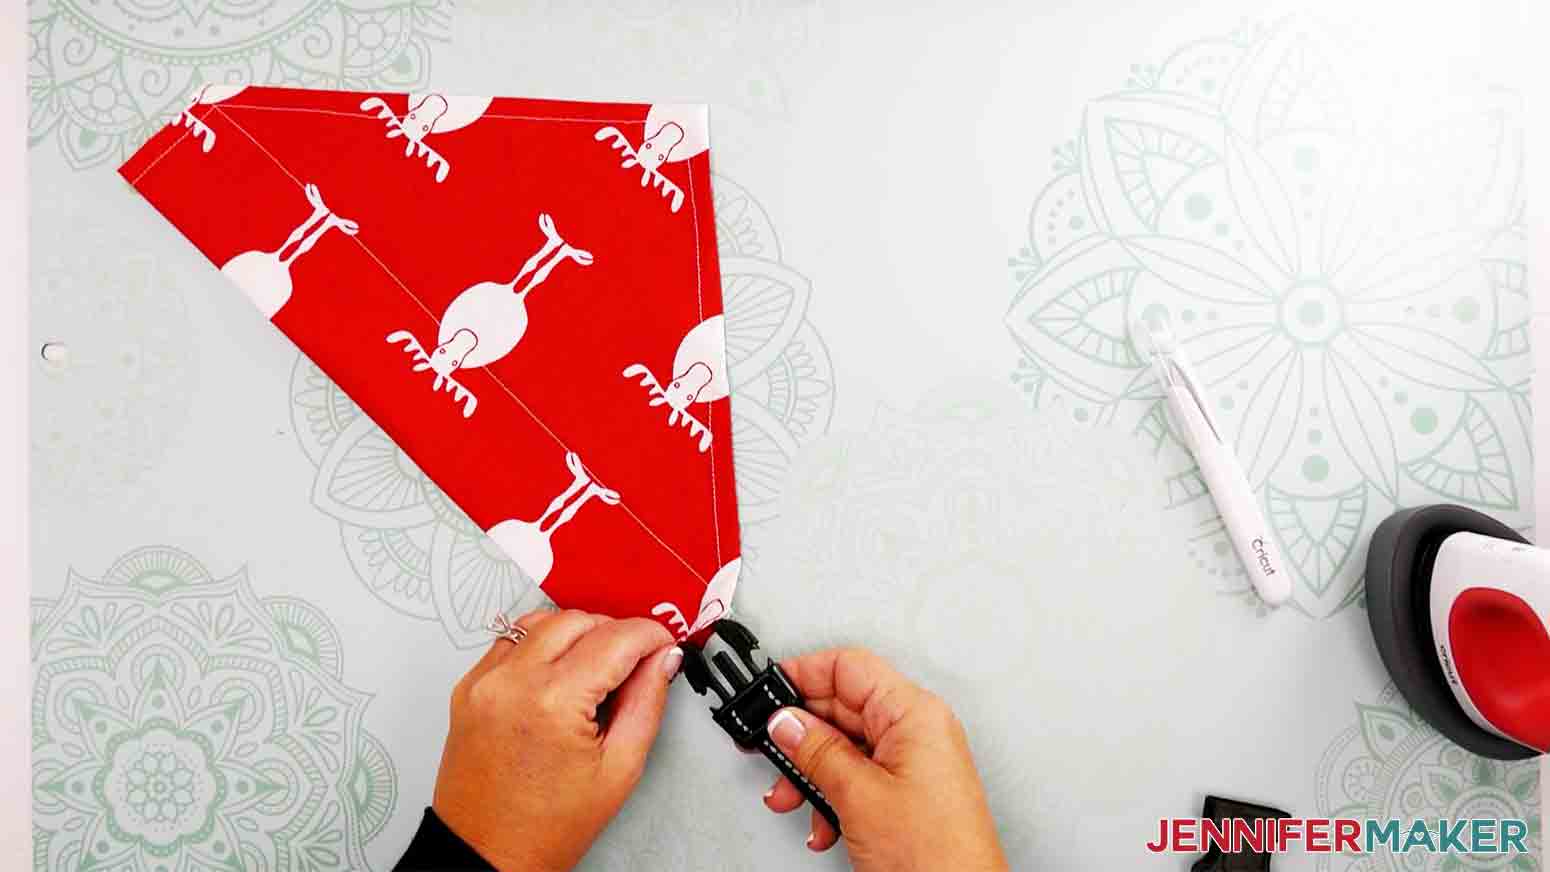
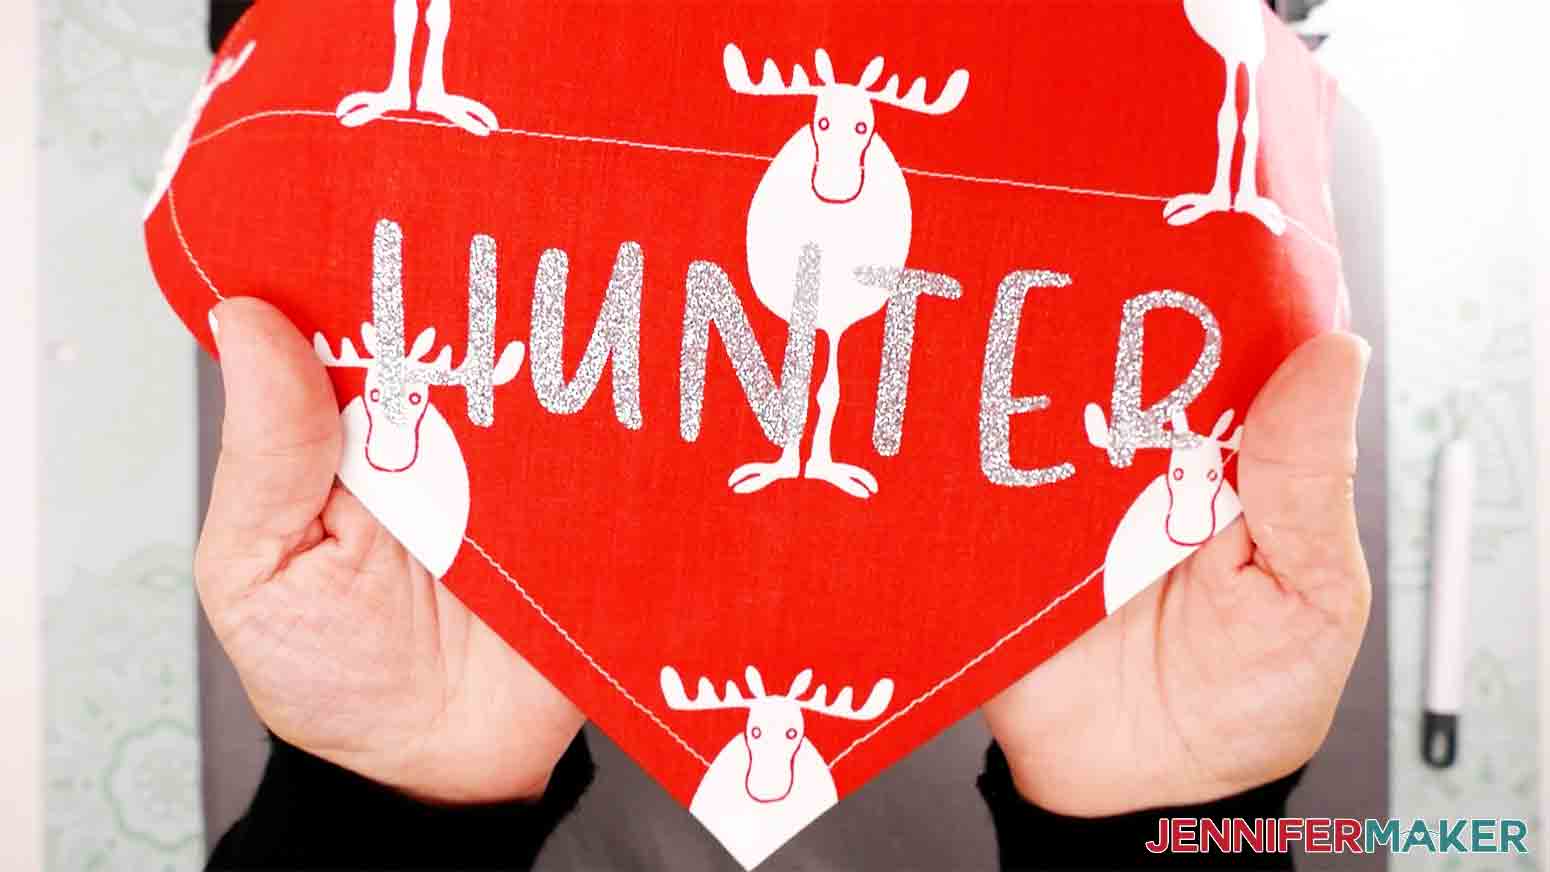
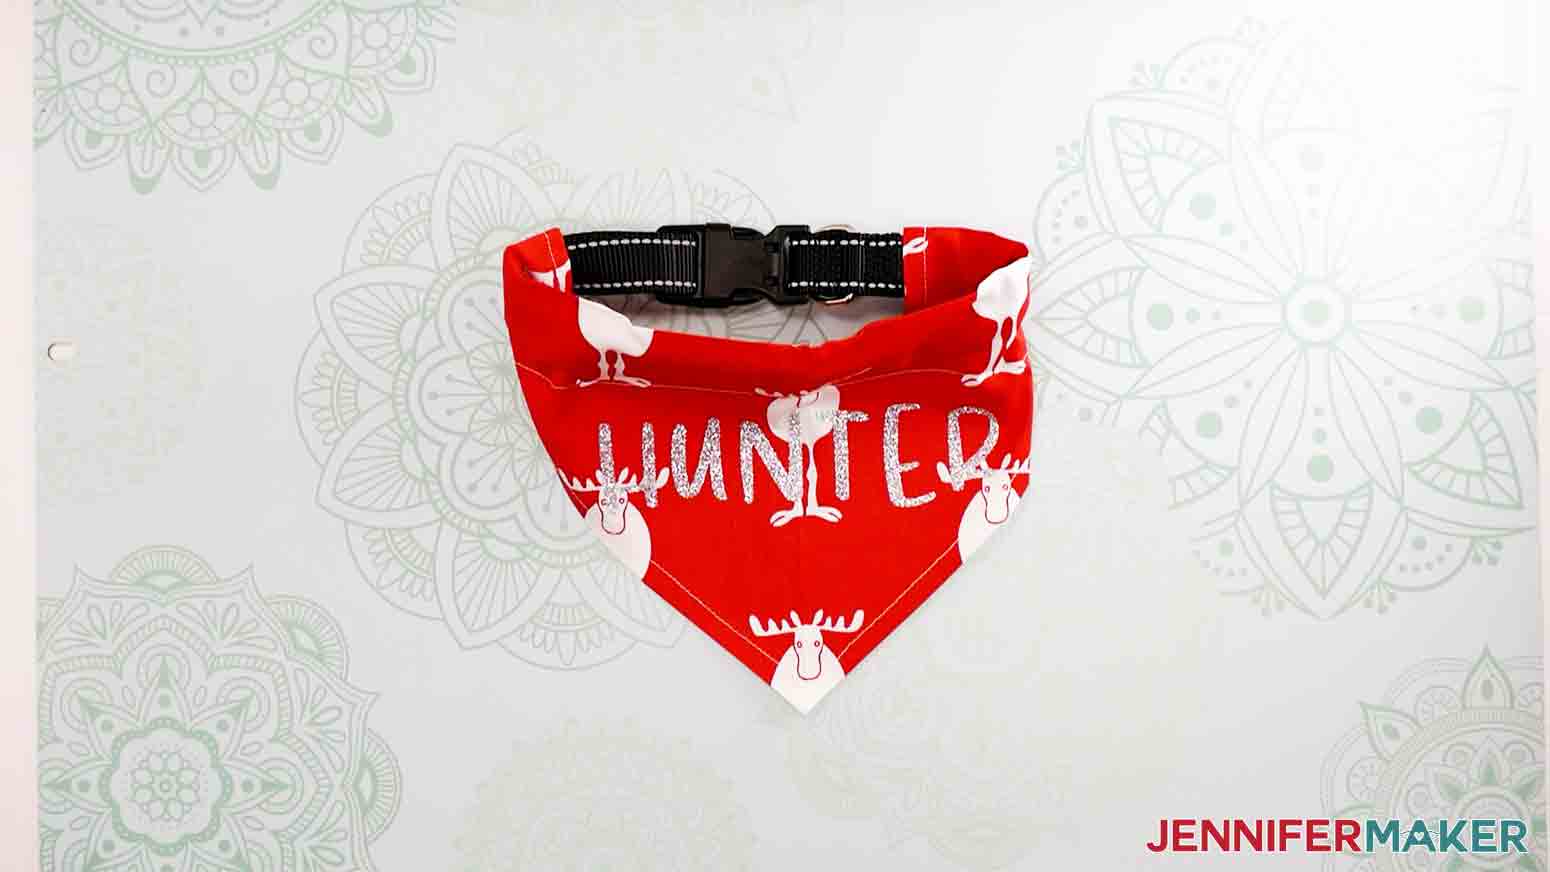
STEP 7: PERSONALIZE YOUR PET BANDANA
If you'd like to personalize this pet bandana, you can also add your pet's name. I used my Cricut Joy and Smart Iron-On Glitter Vinyl to do this. If you are new to Iron-On Vinyl you can watch this helpful tutorial I made that explains how it's done.
VARIATION: SUBLIMATE A PET BANDANA
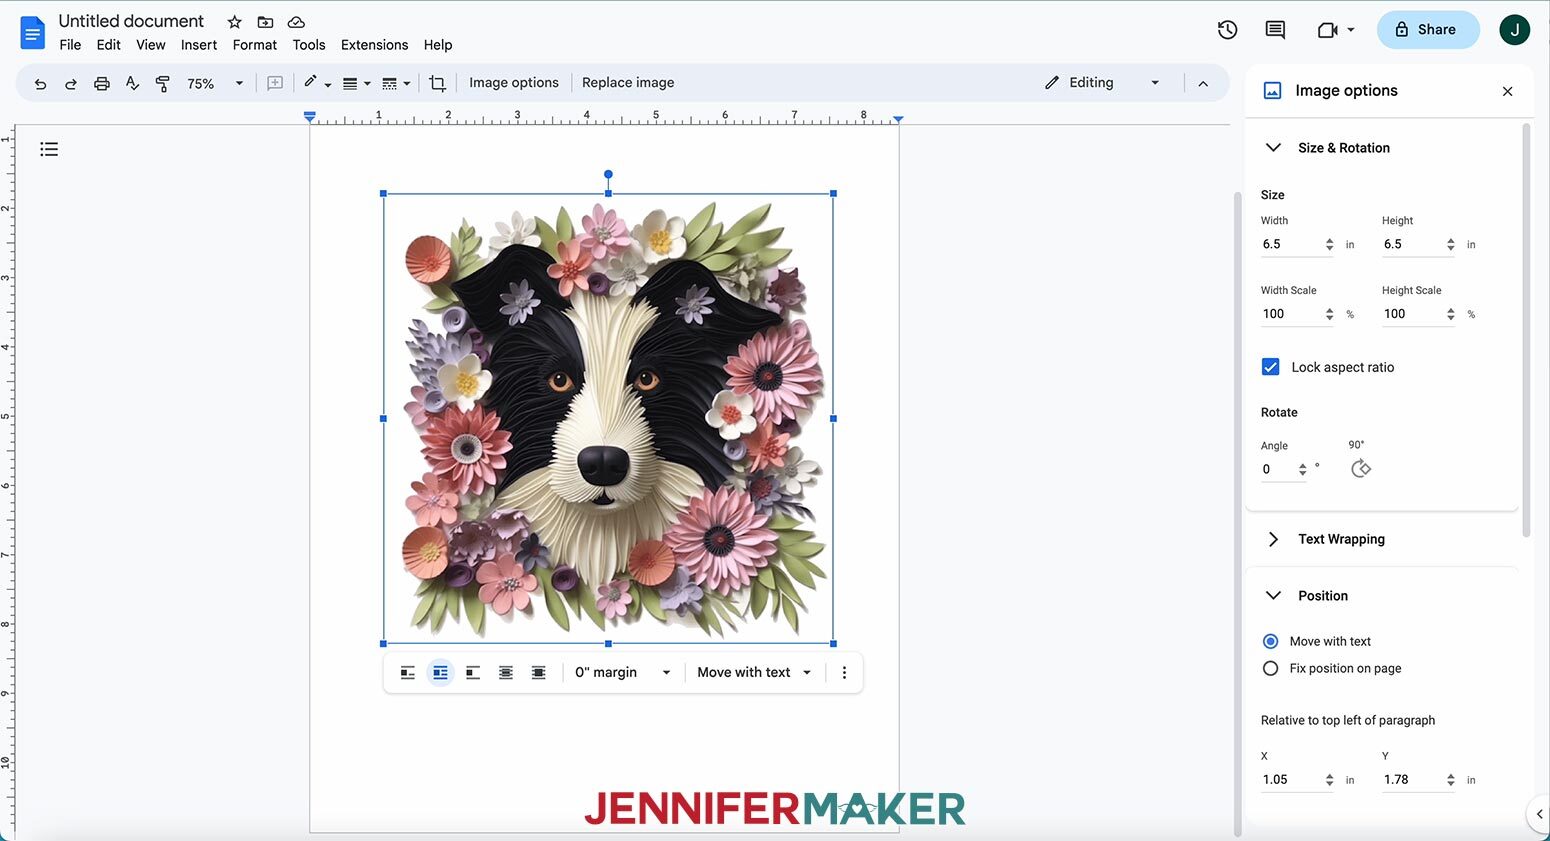
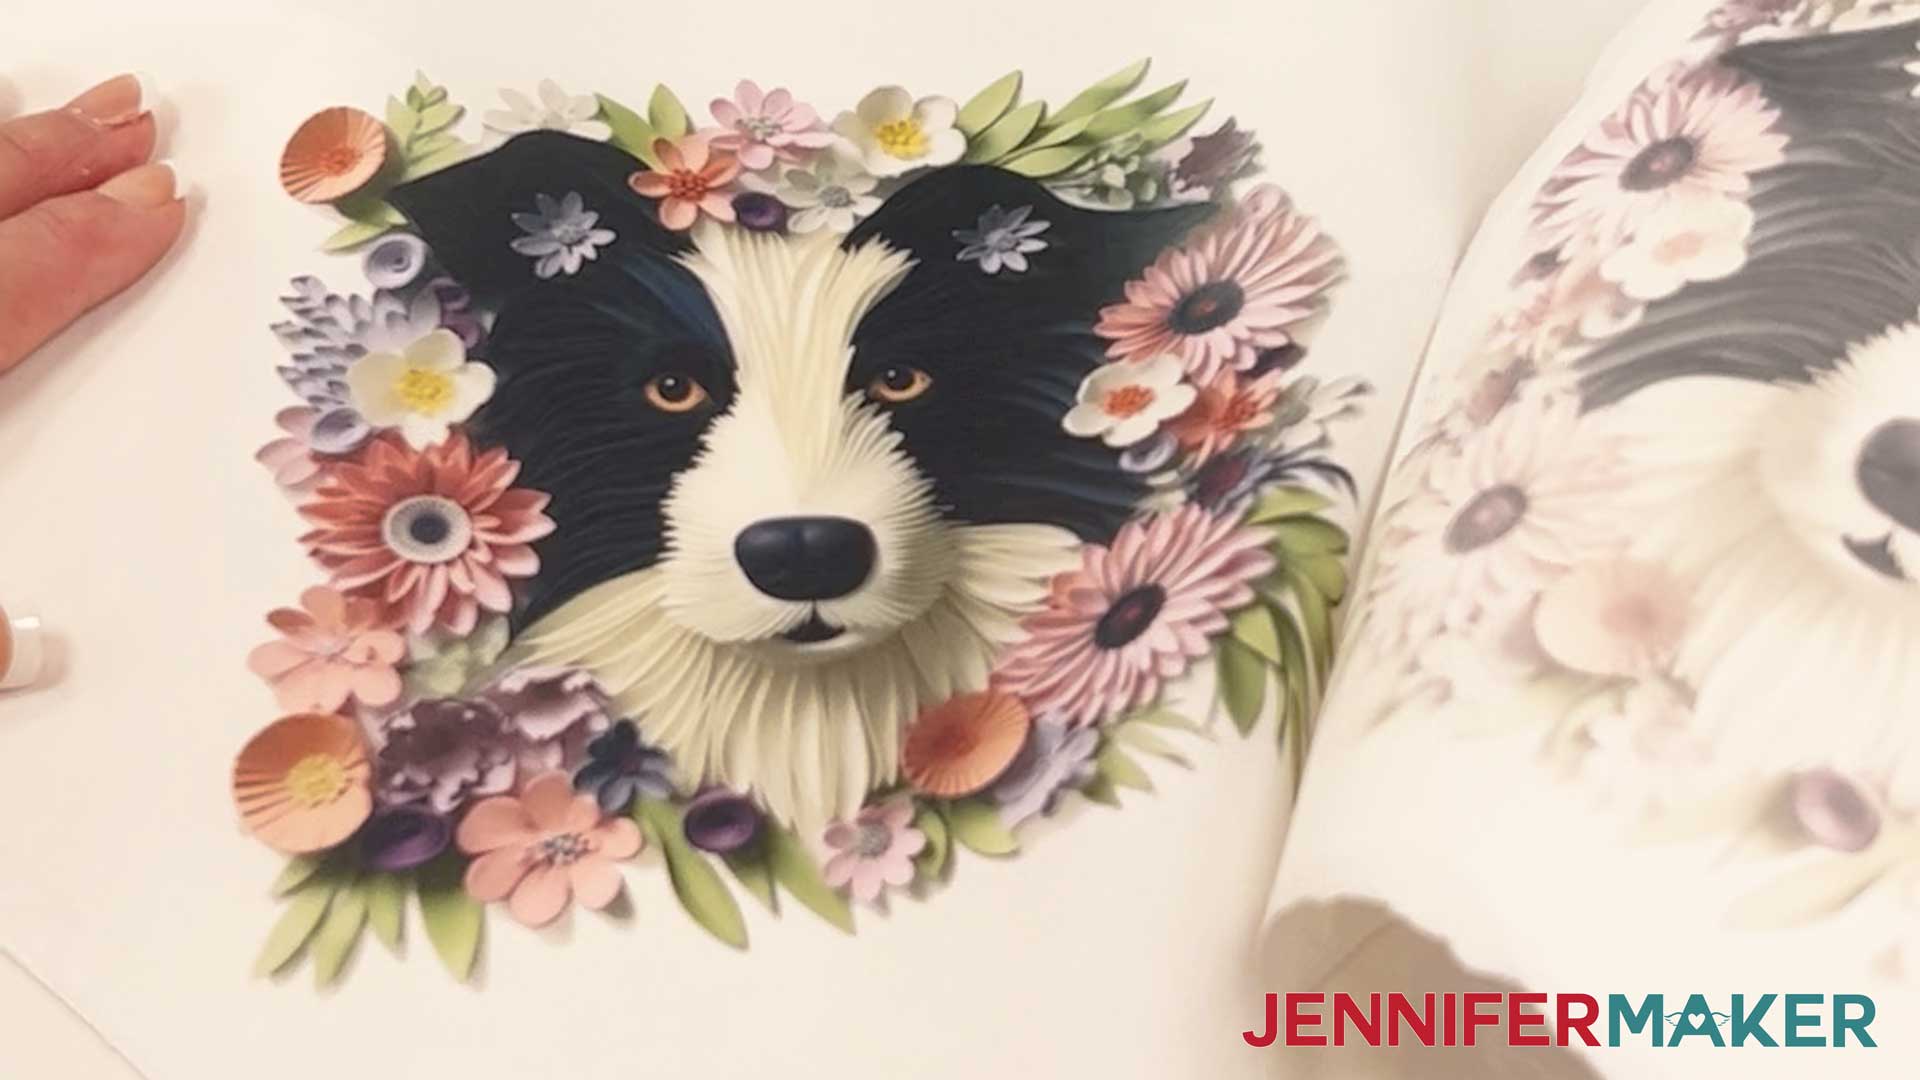
I am going to download and use the Border Collie design to decorate one of these ready-made sublimation pet bandanas.
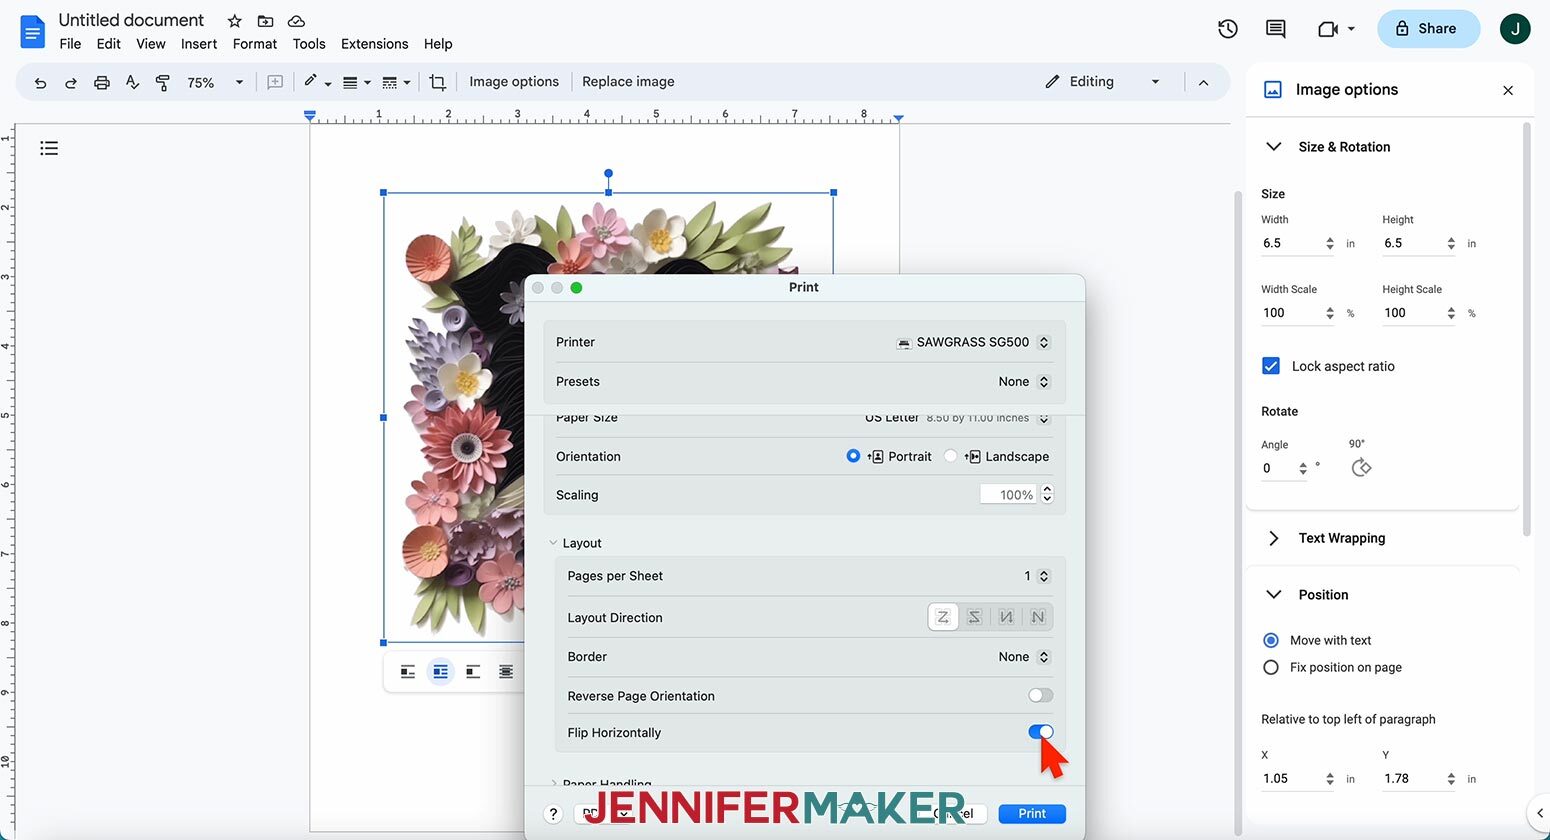
After locating your chosen PNG file, print it using Google Docs.
TIP: Learn step-by-step how to print your design from Google Docs in my Sublimation T-Shirts tutorial.
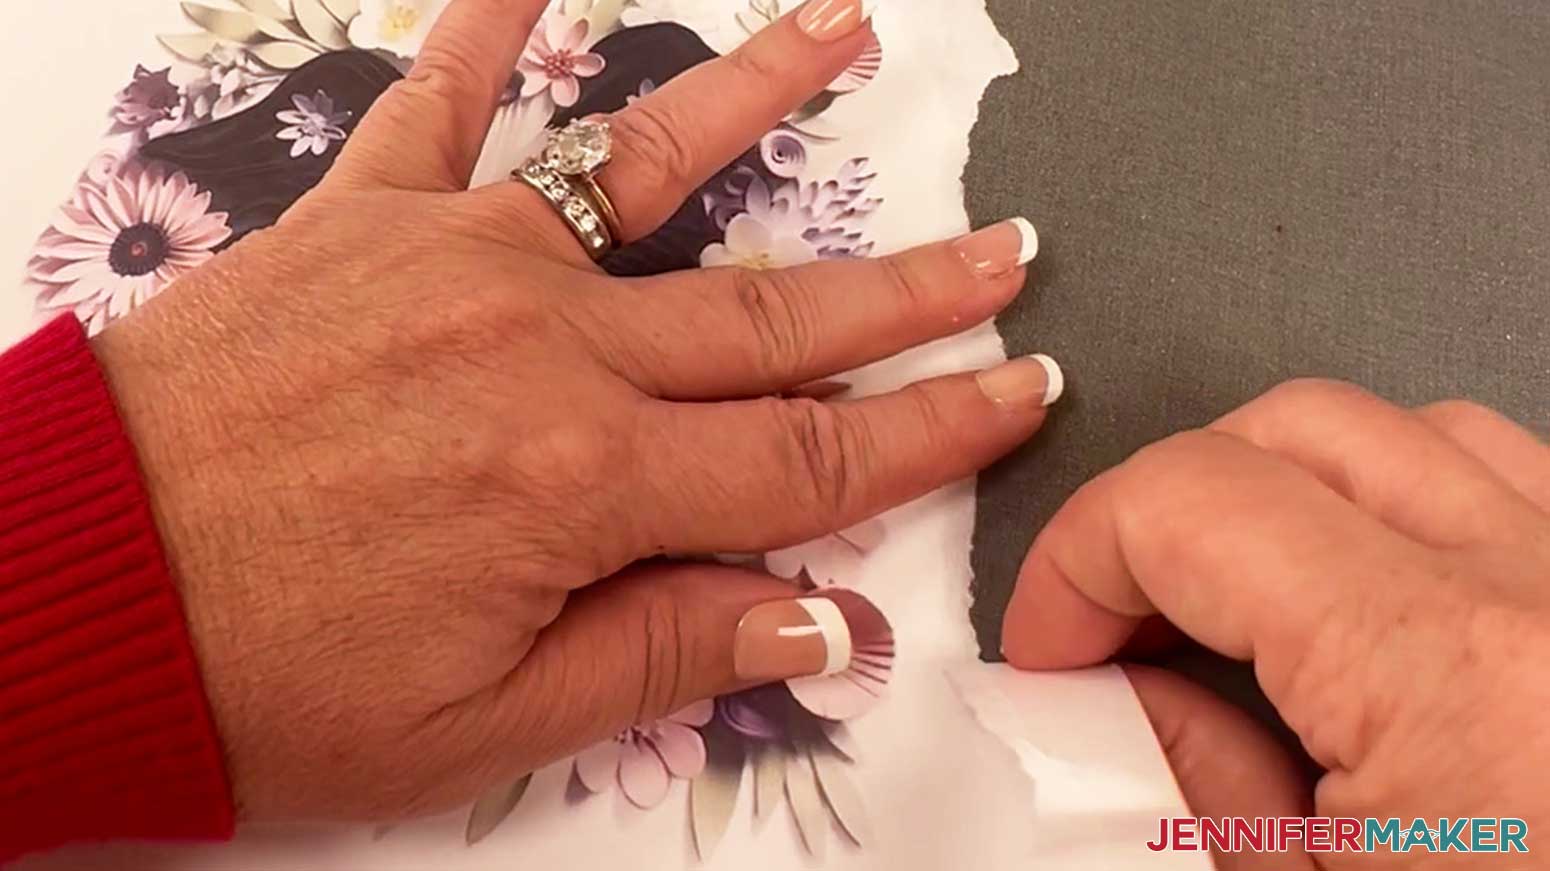
After I’ve printed my image, I am going to carefully feather the edges around the design.
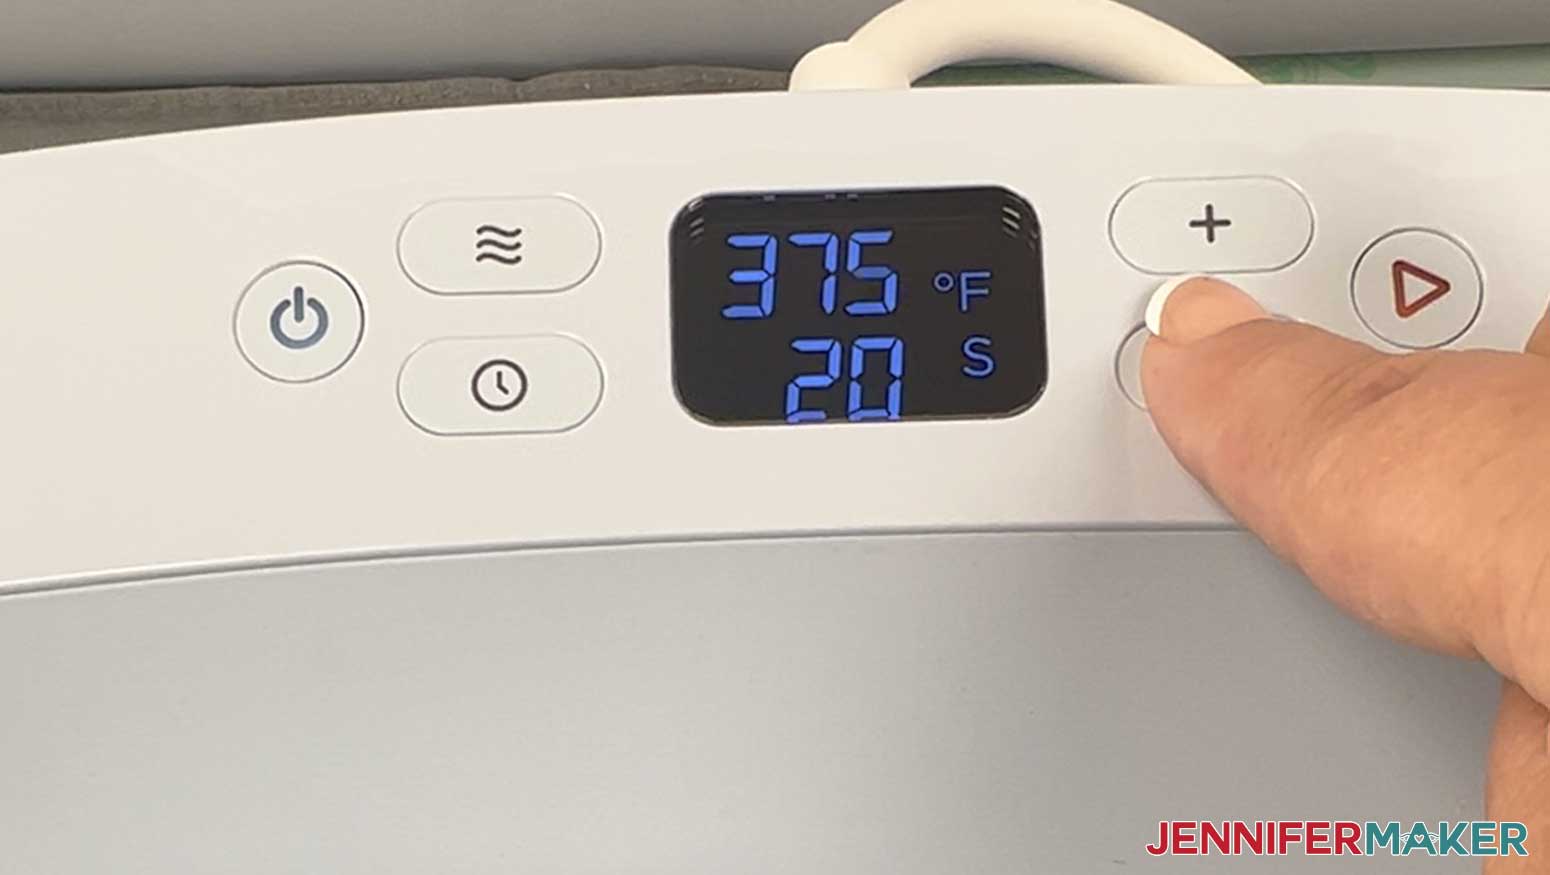
Next, I’m going to place the bandana on my EasyPress Mat, which I’ve covered with a sheet of cardstock, and preheat my EasyPress to 375°F (190° C).
Remember, only sublimate when you have good ventilation. I will use my fan and open the window to avoid inhaling fumes.
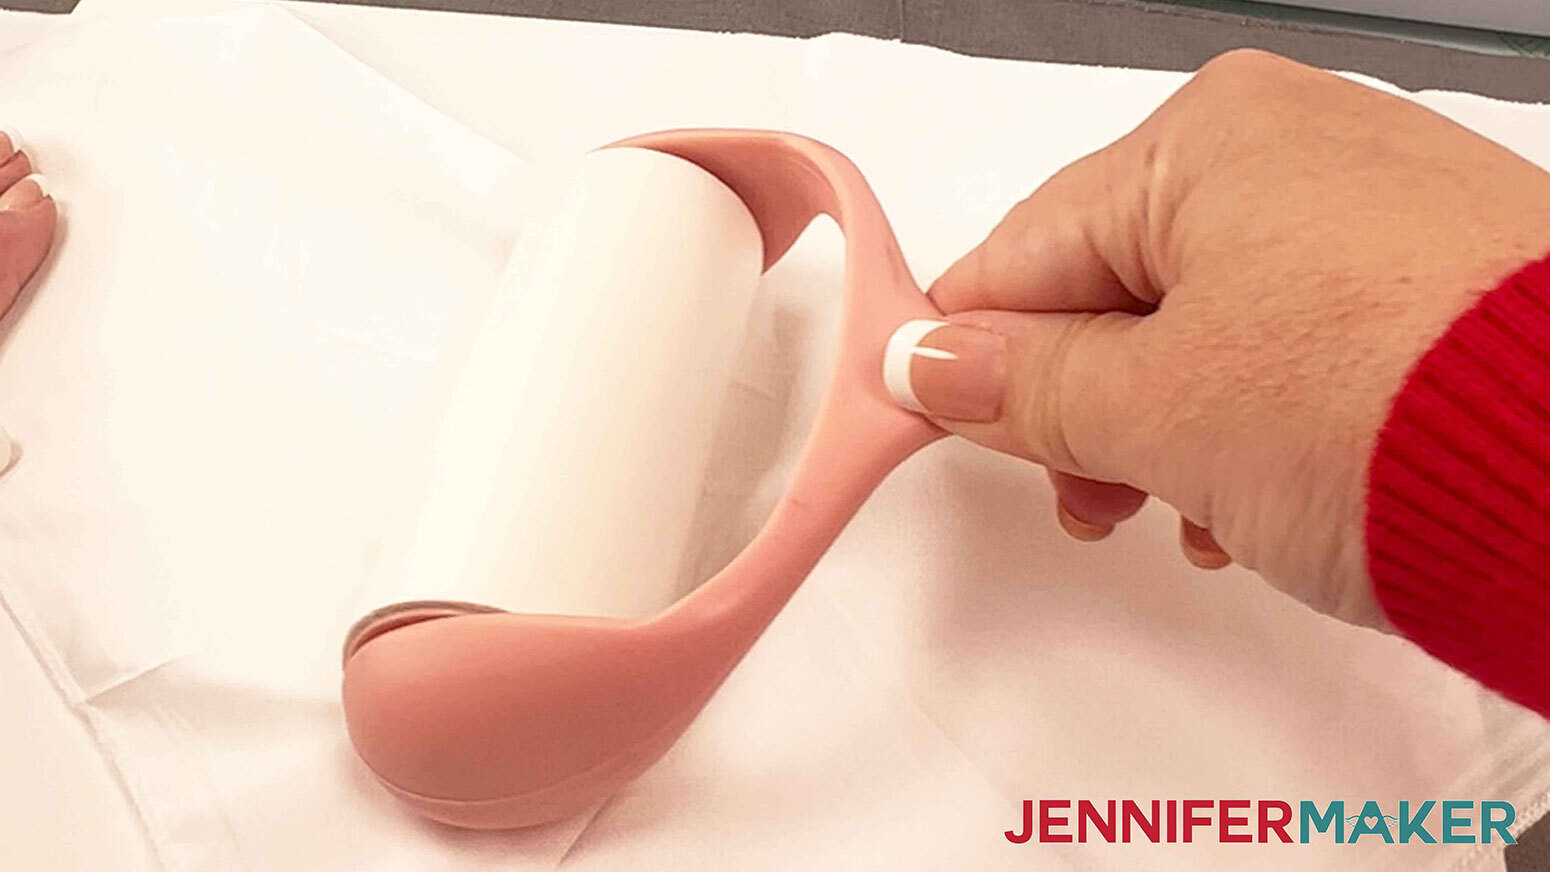
While my EasyPress heats up, I’ll use my lint roller to remove any dust or debris from the bandana. This will ensure a great transfer.
After the EasyPress is preheated, press the bandana for 10 seconds to press out any wrinkles and moisture.
Next, lay the image print side down on the bandana and use a few small pieces of heat-resistant tape to keep the image in place

TIP: Using too much tape can result in press marks around the edge of the design, so be sparing with it.
Place a sheet of butcher paper on top of the sublimation print and press for 30 seconds.
After the EasyPress timer goes off, lift the press straight up and place it back in the cradle. Allow the bandana and paper to cool before removing them from the pressing mat.
Remove the butcher paper and the transfer sheet to reveal your beautiful pet bandana!
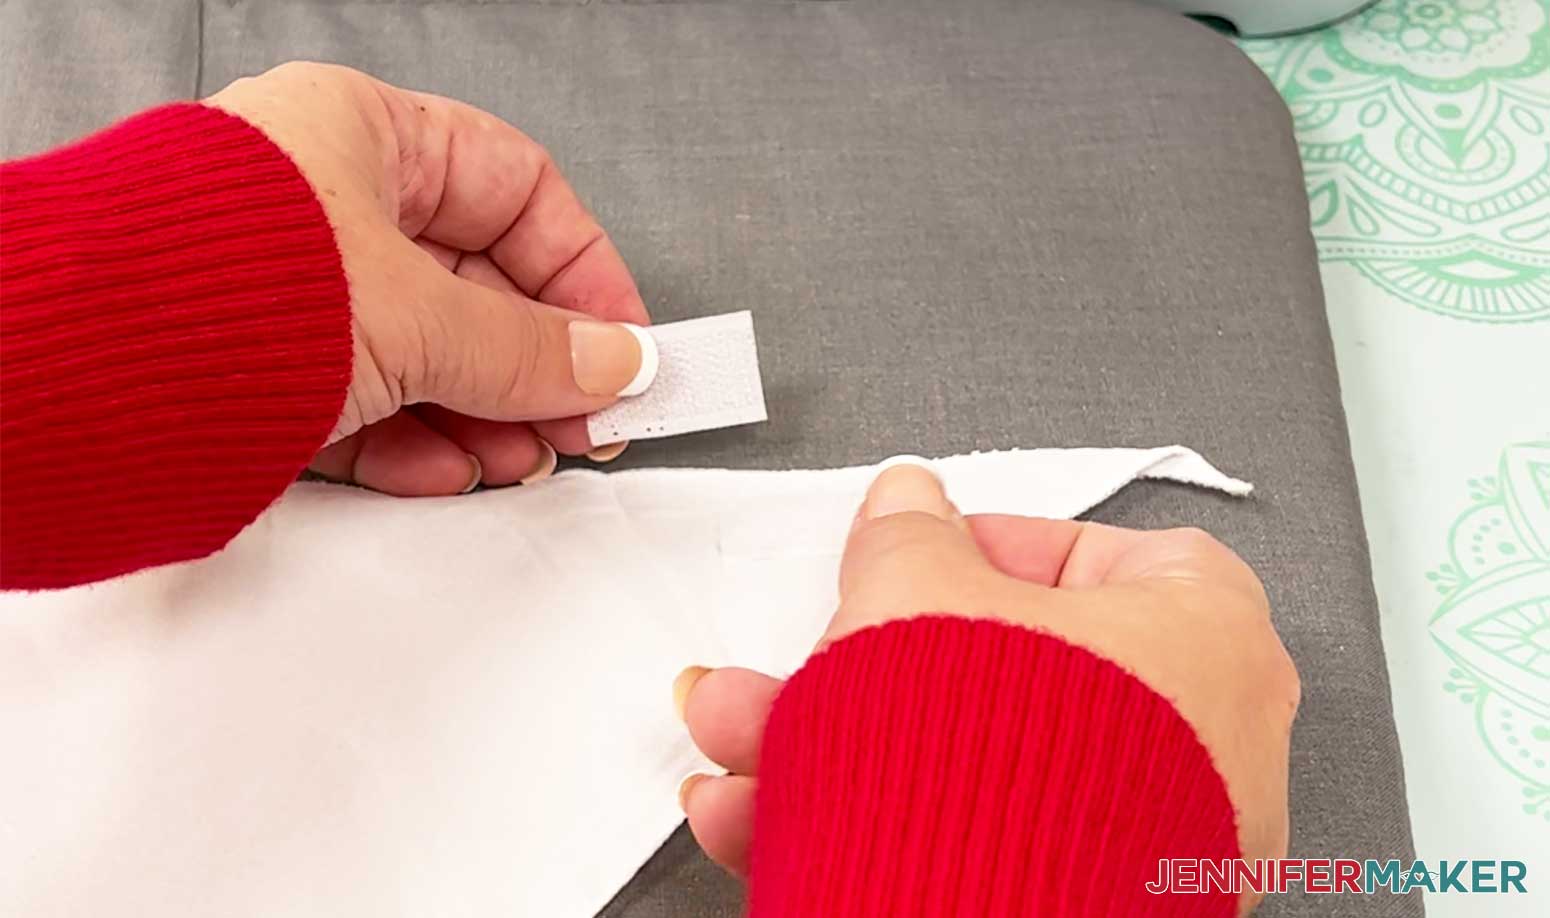
Before giving these beautiful bandanas to Chloe and Hunter, I think it’s a good idea to sew on a velcro closure. This way the bandana will break loose in case of an emergency.
To check the placement of the velcro, I’ll simply place the bandana around my pet’s neck and hold the ends in place. I’ll be sure I can fit two of my fingers between the bandana and my dog so I know it’s comfortable and not too tight. I’ll use a Cricut Washable pen to make a small dot where the closure should be placed.
Next, cut the Velcro to make a square, separate the loop side from the hook side, and sew the squares securely in place. Sew the velcro pieces on very well so they won’t come off. Sewing a square around the edges will help! This way, the bandana will come undone easily in case of emergencies!
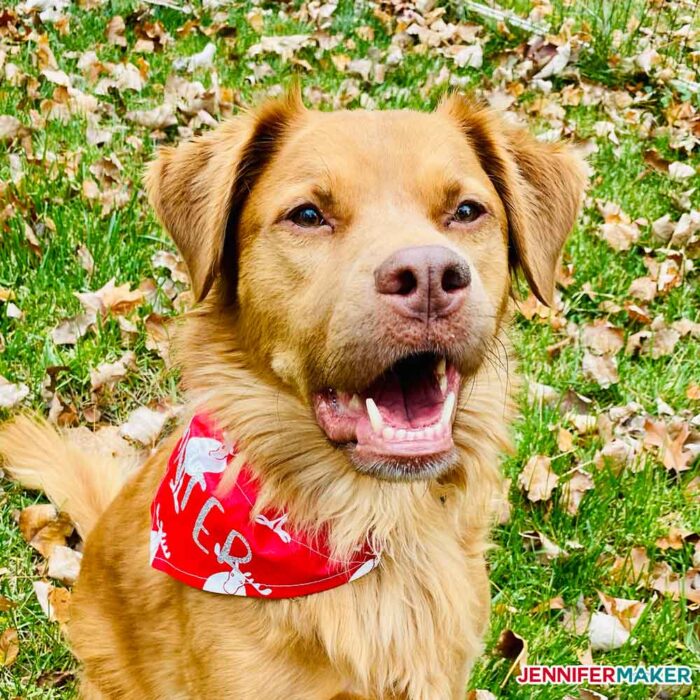
These personalized pet bandanas make great gifts! And I just love making different designs for different seasons and occasions. My rescue dogs Hunter and Chloe are big fans, too!
Notes
My sewn pet bandana pattern has three sizes to choose from: small, medium, and large. If you're not sure what bandana size you need, choose a size close to the size of your dog's collar.
Here's a look at the different size patterns:
Small: Fits necks 12" - 14" (yellow)
Medium: Fits necks 15" - 17" (teal)
Large: Fits necks 18" - 20" (red
Fonts Used:
Falling Leaves Print from FontBundles.net
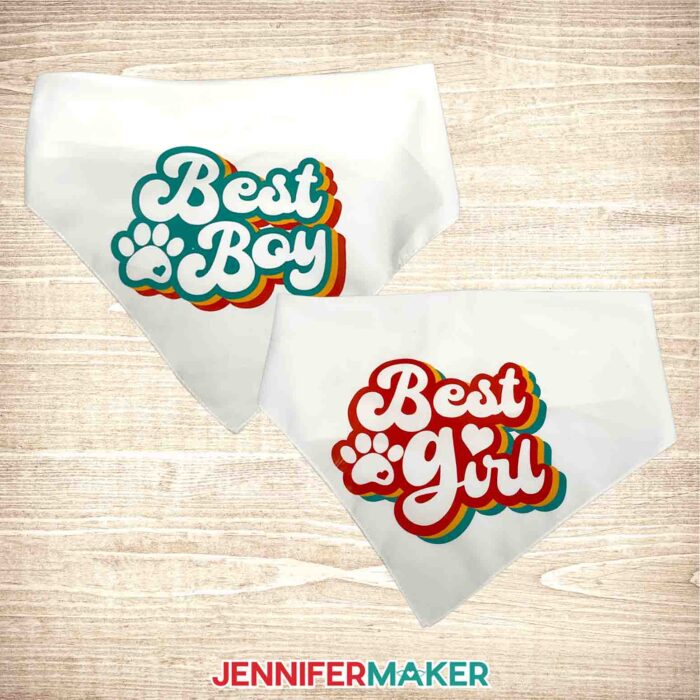
Brenson Charlotte (Best Boy, Best Girl designs)
Care Instructions for sublimated bandanas:
Wash cool, dry low, low temp iron as needed
Recommended Products
As an Amazon Associate and member of other affiliate programs, I earn from qualifying purchases.

Answers to Your Questions About Personalized Pet Bandanas
Q: I don’t have a washable pen. Do I have to use this?
A: No, you do not have to mark your sew lines so long as you have a ruler you can use instead to measure in for the 3/8″ seam allowance on all sides.
Q: Can you use fabric glue instead?
A: Yes, fabric glue can be used to secure the edges of these pet bandanas!
Q: Are these pet bandanas washable after you make them?
A: Yes! Just allow at least 24 hours after you apply the iron-on vinyl before you wash them, and do not use harsh detergents or bleach. If you need to iron them after you wash them, be sure to iron them from the back side to avoid burning the vinyl.
Q: Is it OK for dogs to wear bandana?
A: As long as the bandana is the perfect fit around your dog’s neck (a few fingers should fit between it and their fur) and it can come off easily in case of emergency (that’s why I used secured Velcro instead of a knot), personalized dog bandanas are safe. Dog lovers should keep an eye on their pet when wearing them, though, and remove the bandana if the dog gets stressed.
Q: What can I use instead of a dog bandana?
A: You could also add these designs to a dog’s harness, dog accessories, or your pet’s carrier. Just make sure the fiber content is compatible with the material and process you want to use. Or, add the designs to your own garments or accessories to strike up conversations with other pet lovers!
Q: Can you sublimate 3D prints?
A: Making sublimation prints and projects that look 3D is super fun and easy once you get the hang of it! I’ve made my 3D sublimation designs combining AI art generators and Adobe Photoshop. I’m still researching the absolute best prompts, strategies, and methods to create 3D sublimation designs but hope you’ll join my upcoming workshop on using AI in sublimation designs!
Get my free SVG and PNG files to make your Personalized Pet Bandanas
(If you do not see the signup form above, click here.)
I’d love to see your personalized pet bandanas and ESPECIALLY your photos of your pets wearing them!! Please share a photo in our Facebook group or tag me on social media with #jennifermaker.
Love,

Want to remember this? Save this DIY Personalized Pet Bandanas tutorial to your favorite Pinterest Board!