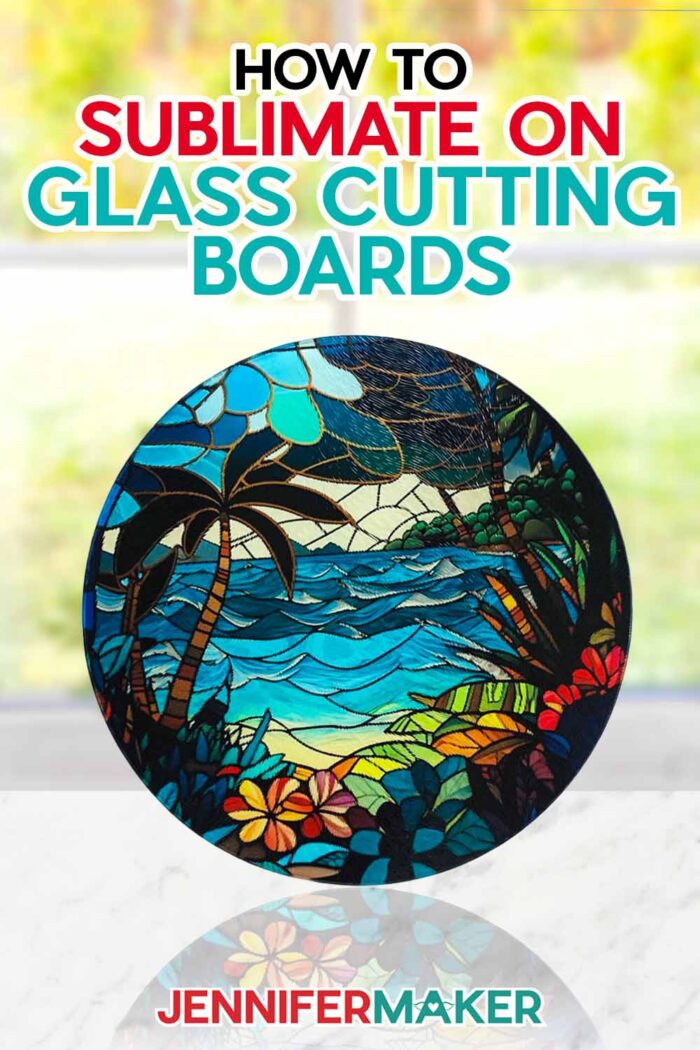
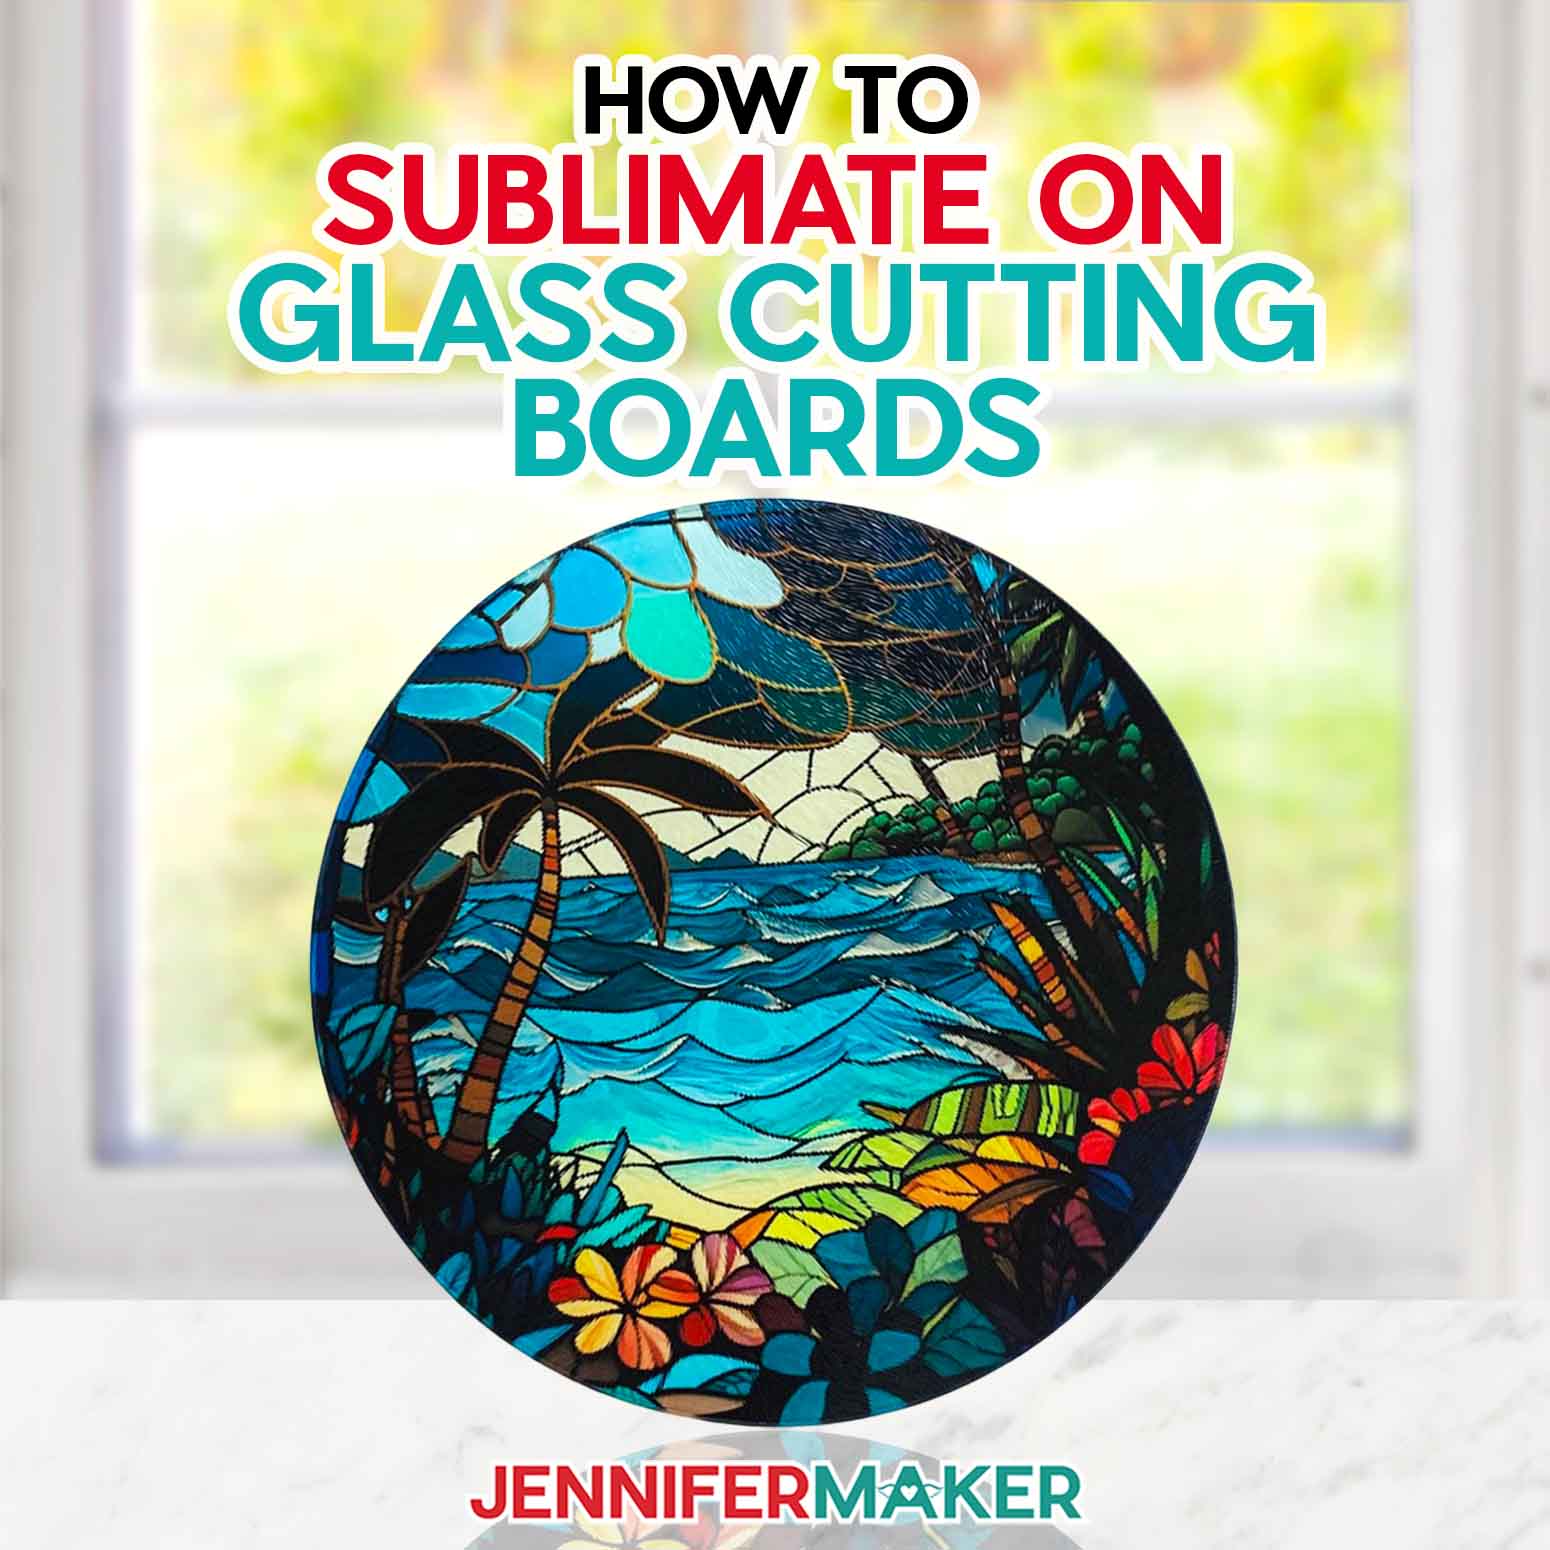
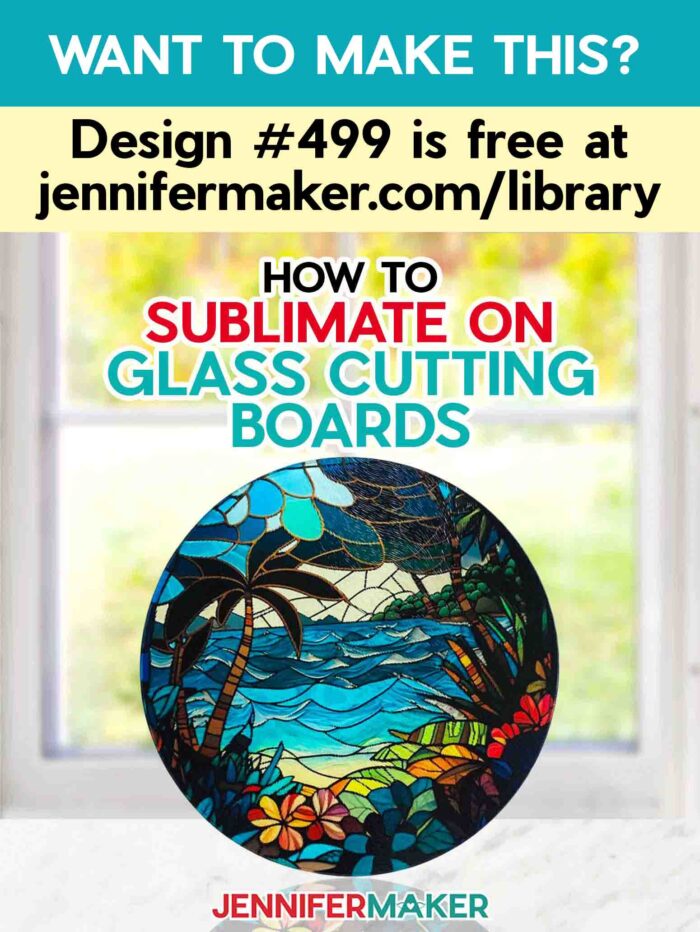
Learn to the tricks to sublimating on glass to look like stained glass!
You might be thinking, “Jennifer, you can’t sublimate on glass!” And that’s absolutely correct! But where there’s a will, there’s a way, and I’ll never pass up the opportunity to test the bounds of materials and tools for the sake of creating. Basically…if they tell me I can’t, I find a way! I made some amazing, next level images with AI art generators that were just begging to become stained glass windows! But how? I set out to learn how to sublimate a heat-resistant glass cutting board and pick the best techniques for sublimating on glass!

Again, sublimation to the rescue! The sublimation process uses special ink and high heat, which transforms the dye into a gaseous state that becomes infused into a surface. That surface is usually made out of – or coated with – a polymer. Definitely not something you’d find on a typical clear glass surface! However, sublimating on glass and lots of other surfaces is possible if you have a polyester or vinyl sublimation coating and heat-resistant glass.

Today, I’ll share step-by-step instructions for how to sublimate a glass cutting board of two different types. One type are actual sublimation blanks designed for this type of craft, which already have the right coating and can withstand the high heat needed to sublimate! Easy peasy! The other kind are plain glass cutting boards from my local dollar store. Make sure they’re heat-resistant, too! The ones in my materials list worked well for me.
I’ll show you not one, but three different methods I tried and my favorite, Plus … one I didn’t quite perfect.
These methods are kind of…different. One involves adhering a surprising material to one of our glass cutting boards. I’ll give you a hint: It’s often found in office-supply stores, and is used for protecting paper (of all things). The other method uses super neat (at least for some projects) clear dye sublimation HTV.
Important Note: As we learn more about sublimation together, I will update you when new and improved materials and methods come up. An earlier version of this project included sublimating on plain white HTV or adhesive vinyl. As of October 2023, I no longer recommend using white HTV or adhesive vinyl for sublimation and have edited this post and video. There are new, better options available, and my plain white vinyl projects have sadly faded and blurred. I’m doing more long-term testing to improve our tutorials to get you the best results and will share what I learn. Thank you to crafters who shared their findings to help out our community!

Which method ended up being my favorite? I was actually really surprised by the results! In my tutorial, I compare them — watch to see how they all turned out!
I will mention that I just could not get the clear dye sublimation HTV to work reliably enough to recommend using it. Check out my FAQ below (did you know I have answers to the most frequently asked questions about most projects at the bottom of each post?) for more info if you’d like to try.
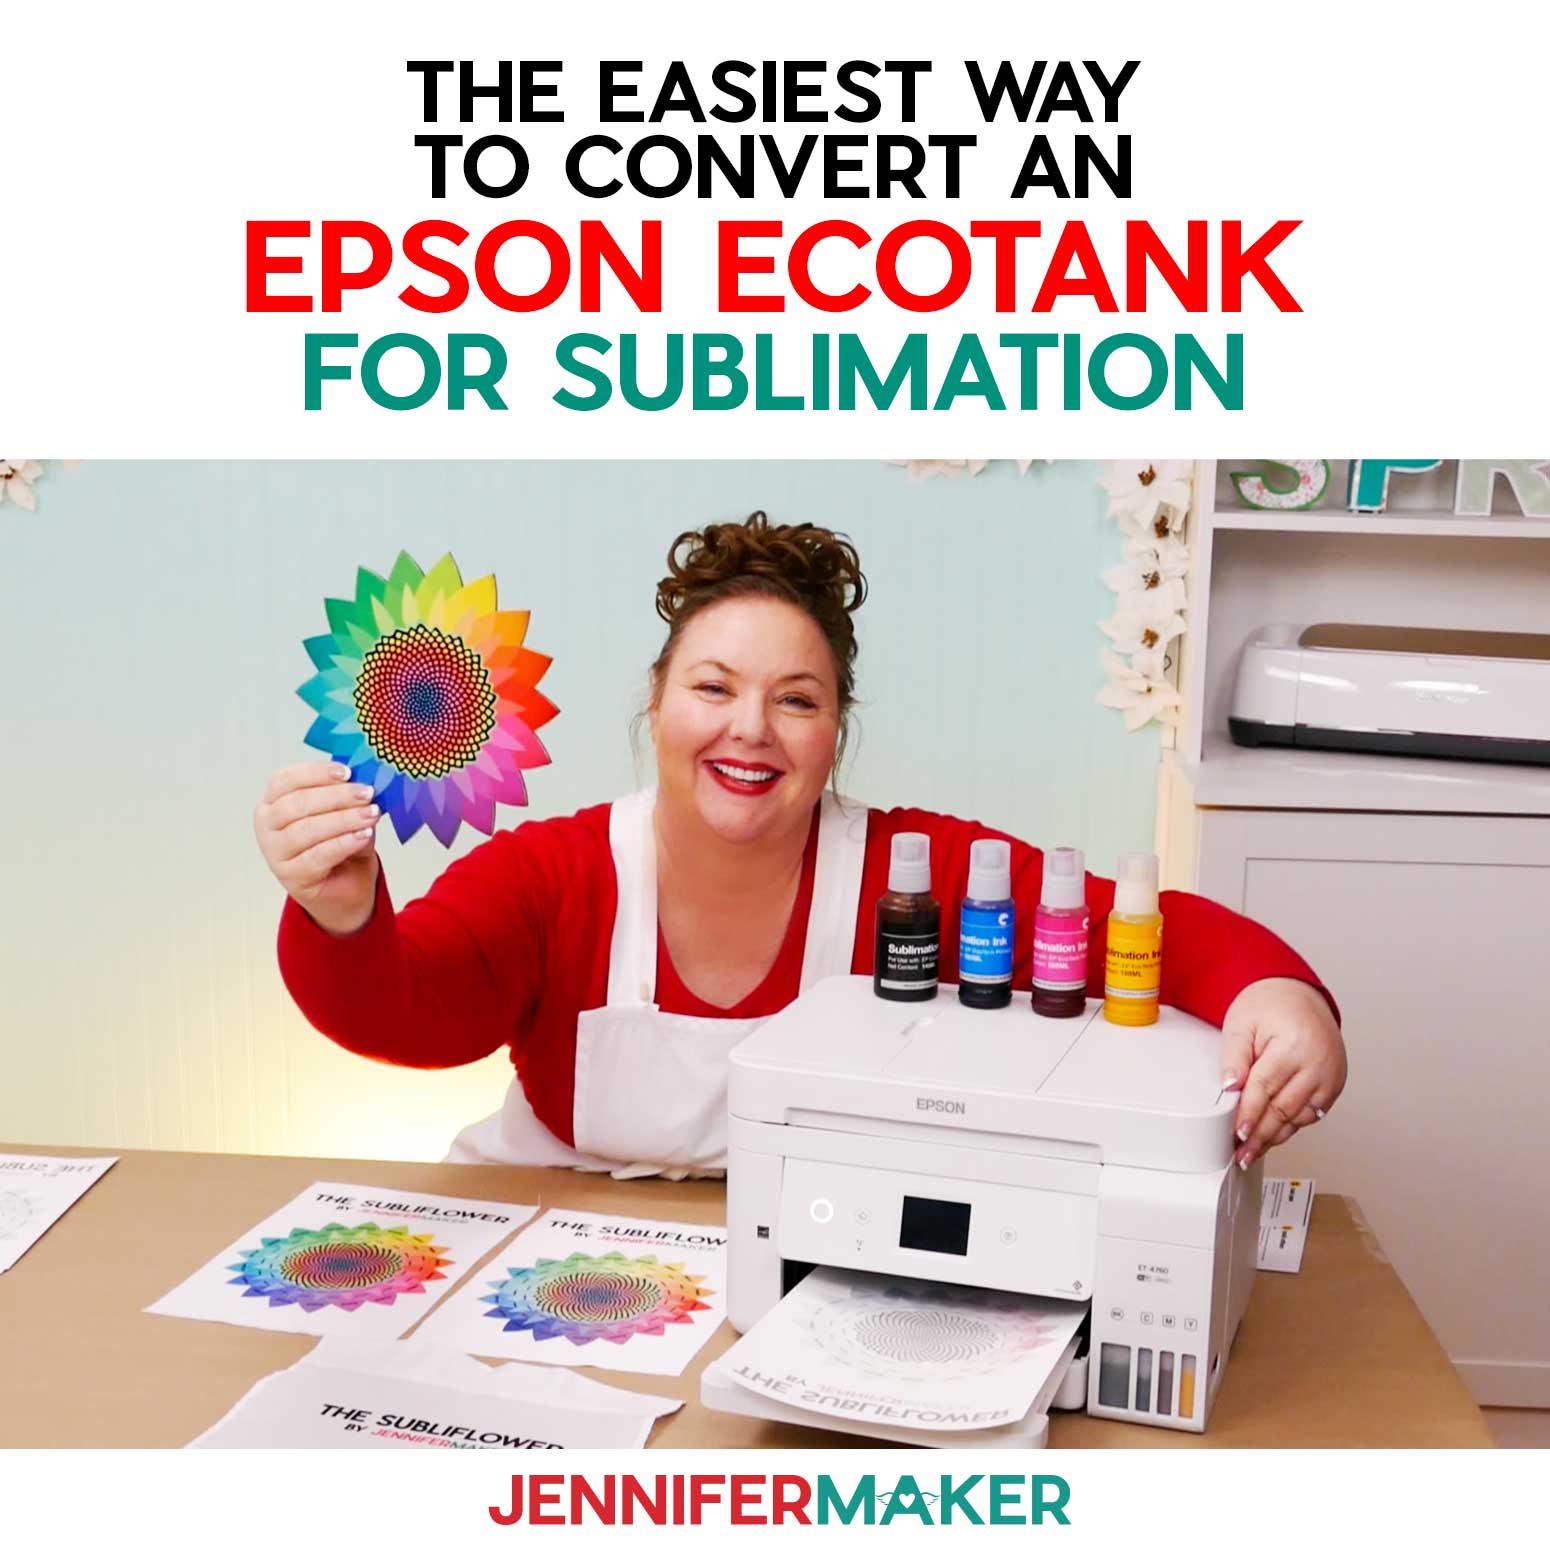
Back to those sublimation designs — aren’t they stunning? I used my Epson Eco Tank sublimation printer (which is a regular inkjet printer I converted into a sublimation printer) along with the best sublimation inks and paper (in my opinion) to create the high-quality prints of my stained glass designs.
A note on sublimation printing: If you’re new to this craft, you might be surprised the first time you look at your printed sublimation transfer sheet and find it looks a bit duller than you expected. This is normal! The colors will become much more vibrant and rich once they are heat-applied to their intended surface.
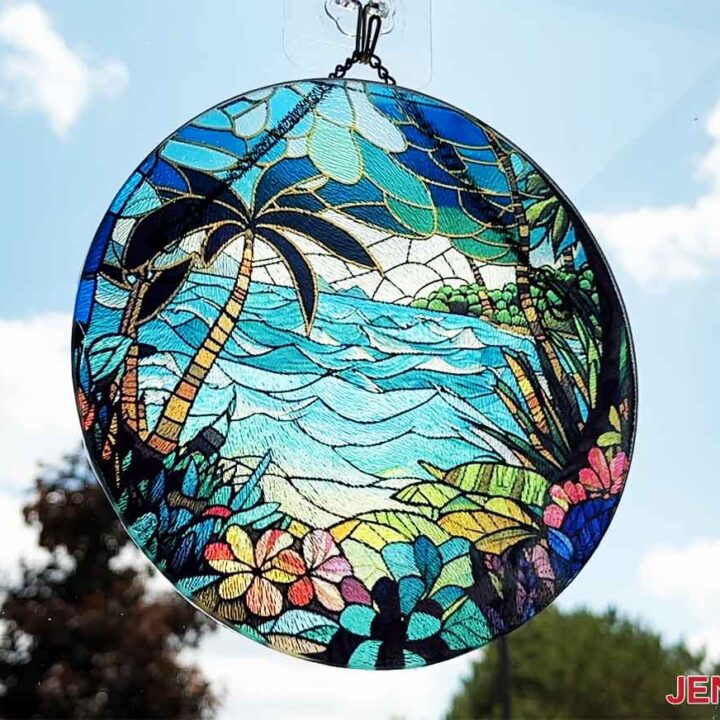
These glass tiles and cutting boards will look gorgeous on your counter or propped up in a holder on display, but where they really shine is when they’re hanging in a window with the sun beaming through! These designs’ vibrant colors are simply magical when the light filters through the glass. But just remember, although they (except the sublimation tile) are technically “cutting boards”, they’re not meant to be eaten off of or used for cutting anything on. Rather, they’re just for display. You also shouldn’t wash them in the dishwasher. An occasional wipe down with a damp rag will do just fine.
Sublimate a glass cutting board and create a unique gift for hostesses, housewarmings, or even weddings! You could sublimate one of my AI-created digital designs, or use a special photo to create a jaw-dropping, one-of-a-kind gift.
So, can you sublimate a glass cutting board? Let’s learn how! This post contains some affiliate links for your convenience (which means if you make a purchase after clicking a link I will earn a small commission but it won’t cost you a penny more)! Read my full disclosure policy.
Materials & Tools to Sublimate a Glass Cutting Board
- Transparent Permanent Vinyl and
- StandardGrip Transfer Tape
- A spray bottle mostly filled with lukewarm tap water and a drop of Dawn Dish Soap (or any general-purpose liquid dish soap) – if you want to try the wet vinyl transfer method
- Shallow Baking Pan – for soaking the sublimation paper off of the vinyl version
- Clear Laminating Pouches – if you don’t want to use vinyl
- Cricut Spatula to remove the rubber feet under the cutting board
- Scissors
- Pen or pencil
Or, you can use sublimation-ready blanks, like:
- Sublimation Cutting Board Blank – 7.5″ round or
- Sublimation Tile Blank – 8″ x 8″ square
For all versions:
- Sublimation Printer – I used a converted Epson EcoTank Inkjet Printer
- Sublimation Paper – I used this awesome sublimation paper
- Sublimation Ink – I used this excellent sublimation Ink
- Heat Press – I used the Cricut EasyPress 2 9″ x 9″
- Heat Press Mat – I used my 12″ x 12″ EasyPress Mat
- Heat Resistant Tape
- Heat Resistant Gloves
- White Cardstock 12″ x 12″
- White Butcher Paper
- Rubbing Alcohol
- Lint-Free cloth
- Ruler
- Glass Window Hanging Kit – optional
- Design #499 – My free Stained Glass Cutting Board PNG collection available in my free resource library (get the password at the bottom of this post)
Can You Sublimate on Glass? Sublimate a Glass Cutting Board!
Sublimate a Glass Cutting Board
Learn a quick and easy way to make beautiful "stained glass" cutting boards with sublimation!
Materials
- Sublimation cutting board blank - 7.5" round -OR-
- Sublimation Blank 8" x 8" Square Tile -OR-
- Dollar Tree Glass Cutting Board, 7.75" round
- Transparent adhesive Vinyl -OR-
- Clear Laminating Pouches
- StandardGrip Transfer Tape
- Sublimation Paper I used 8.5" x 11" A-SUB 125 g
- Rubbing Alcohol
- Lint-Free cloth
- Glass Window Hanging Kit (optional)
- Design #499 – My free Stained Glass Cutting Board PNG collection (available in my free resource library—get the password at the bottom of this post)
Tools
- Sublimation Printer I used a converted Epson EcoTank ET-4700 Inkjet Printer
- Sublimation Ink I used HIPPOO Ink
- Cricut EasyPress 2, 9" x 9"
- Heat Press Mat I used my 12" x 12" EasyPress Mat
- Heat Resistant Tape
- Heat Resistant Gloves
- White Cardstock 12" x 12"
- White Uncoated Butcher Paper
- Cricut Spatula to remove the rubber feet under the cutting board
- Pen or pencil
- Ruler
- Scissors
- Spray Bottle
- Dawn Dish Soap (or any general-purpose liquid dish soap)
- Water (tap water is fine)
- A Shallow Baking Pan - for soaking (vinyl version only)
Instructions
STEP 1: GET OR PREPARE A SUBLIMATION DESIGN
You can use any of my Sublimation Stained Glass design files from my resource library, Design #499.
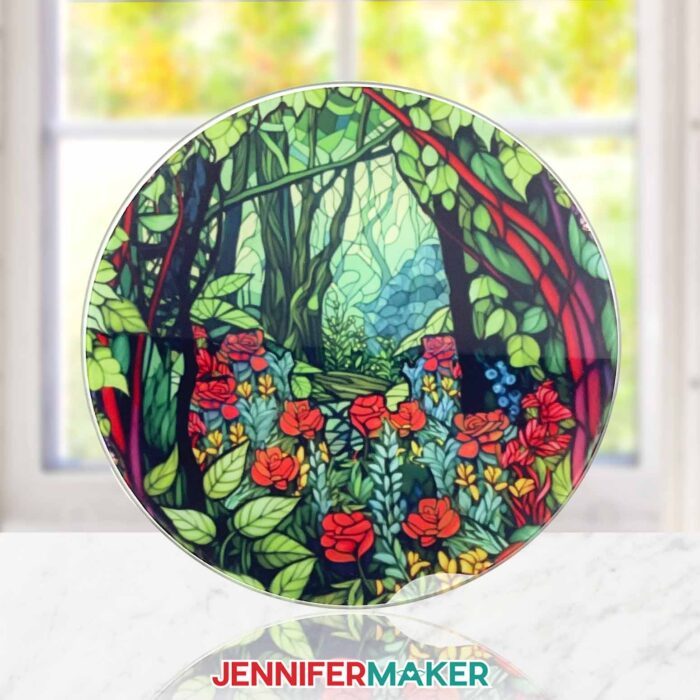
I've made a set of four stained glass-style designs in circular and square shapes for you to enjoy:
A tropical beach, a forest with roses, a mountain stream, and a sunset.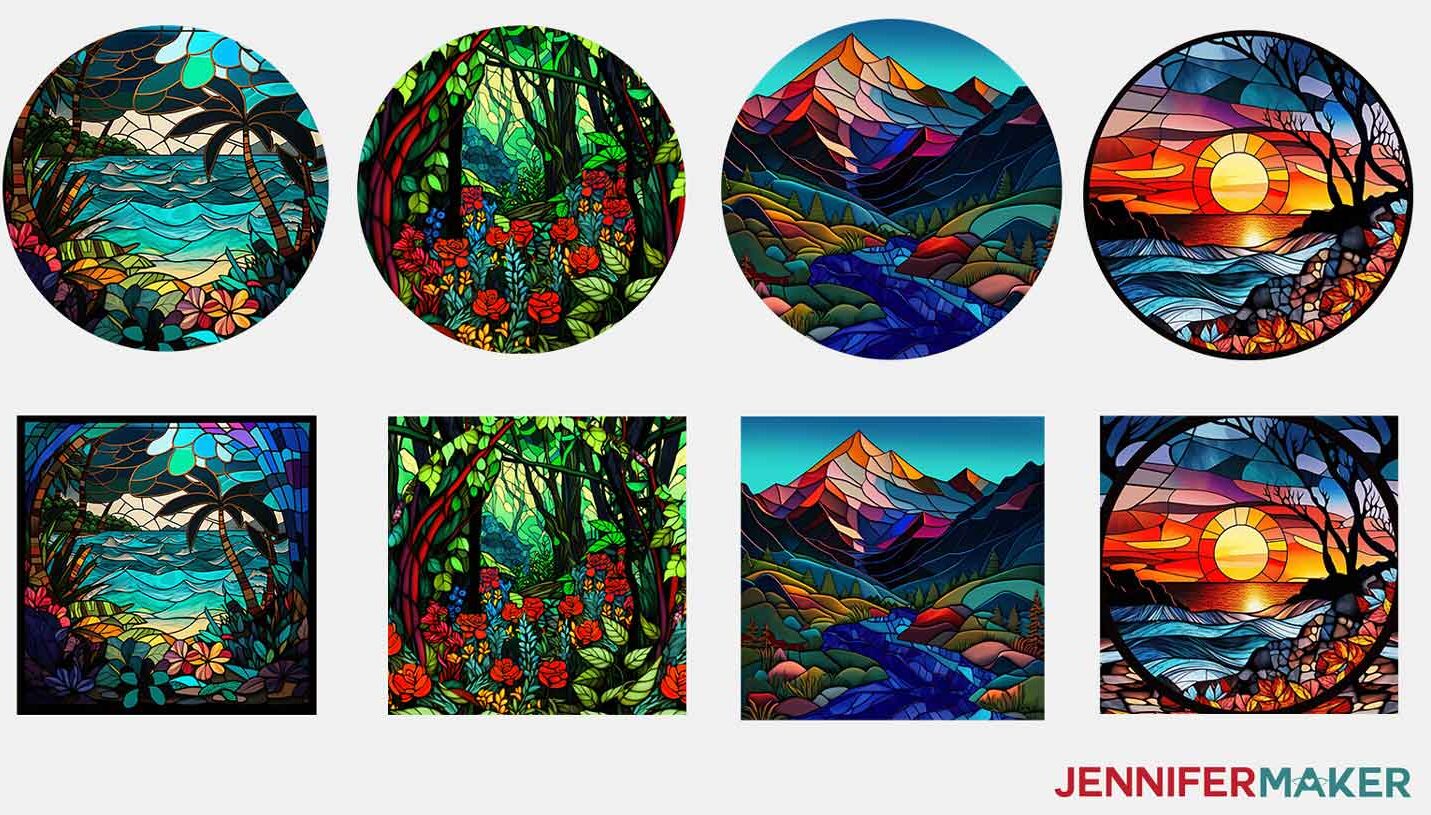
Download the files and pick your design.
Sublimation, especially on objects like glass cutting boards, is more of an art than a guaranteed scientific success. There are many variables at work - ink, print quality, pressure, time, heat variability, and more! So please don't expect a perfect, gift-quality result on your first try. Learning any new skill involves experimenting and making a few mistakes. You may also use up materials faster while you learn, so start with extra paper, prints, and laminating sheets, if possible. Remember, a handmade "imperfect" decorated gift will still make someone smile!
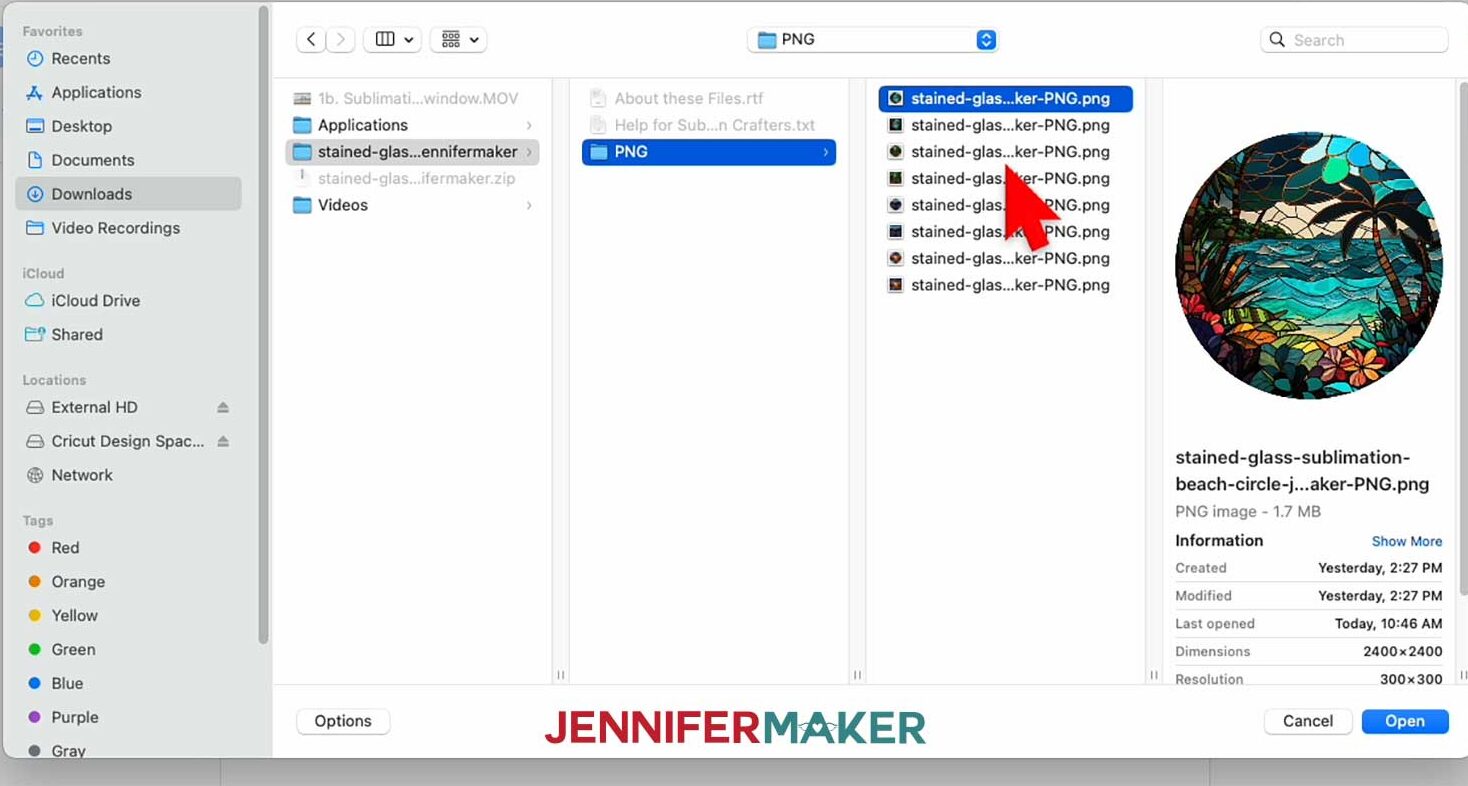
STEP 2: PRINT YOUR SUBLIMATION DESIGN
Before printing my design, I am going to measure my sublimation cutting board or blank.
I will resize the image to about 1/4" larger than my blank to make sure the design sublimates all the way to the edge.
This step ensures there will be no thin white or clear line at the edges of my project. 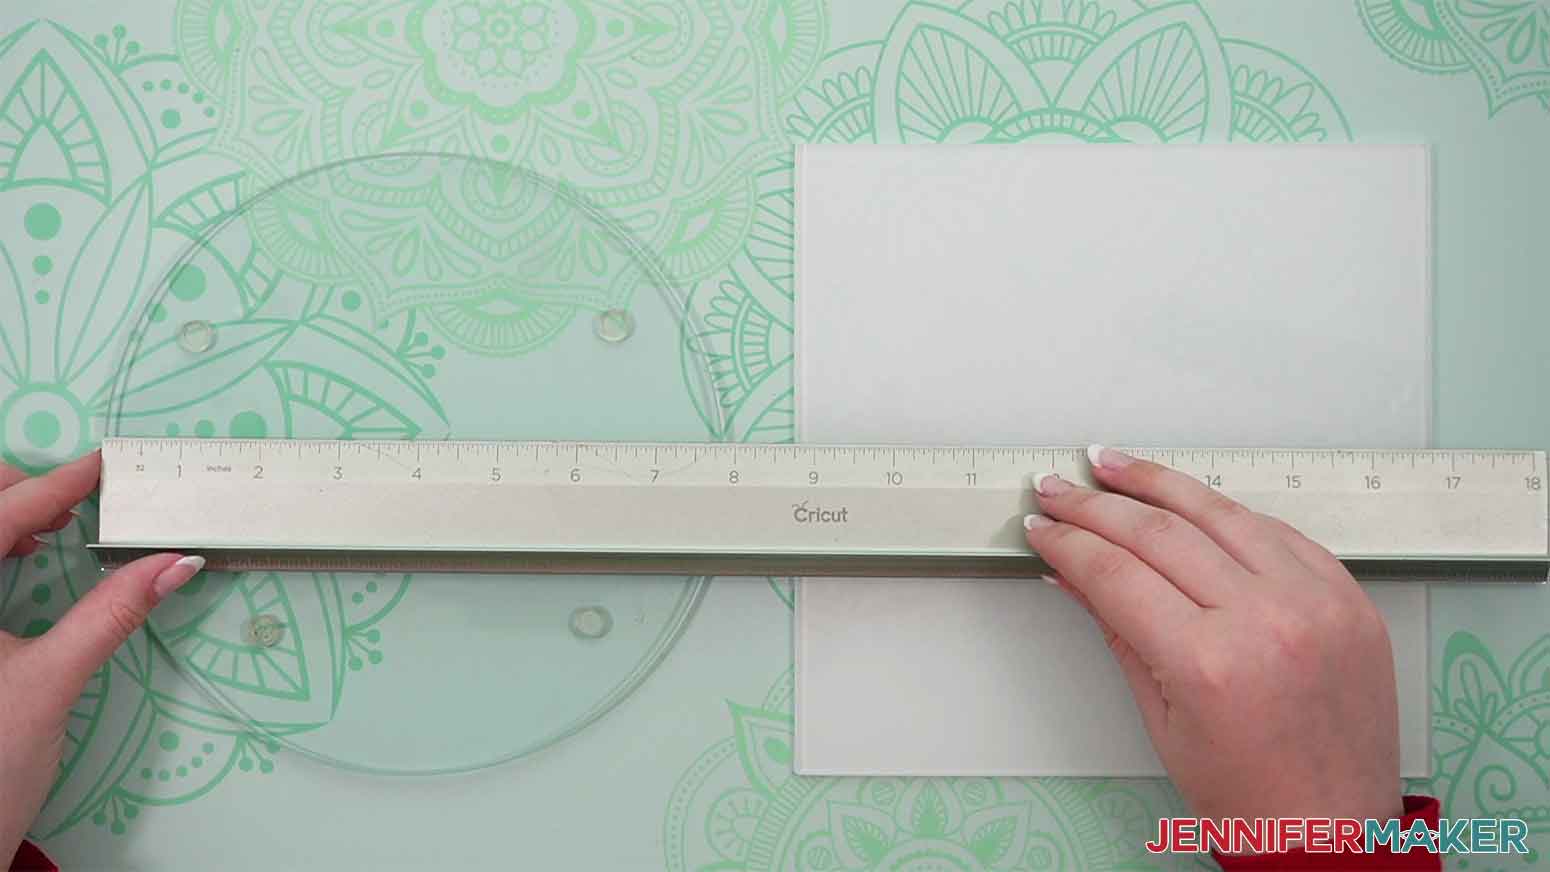
I'll use Google Docs to print out my sublimation design. I'll use the round forest scene.
Note: You will need a free Google account to use the free Google Docs software.
I'll print the design on good-quality sublimation paper for the best results. I use 8.5" x 11" A-SUB paper in my converted Epson EcoTank with Hiipoo ink. You can use another combination, of course.
For the full printing steps, view my tutorial How to Print Sublimation Designs from Free Software.
STEP 3: PREPARE YOUR PRINT AND GLASS BLANK AND SUBLIMATE
Be sure to have good ventilation. We’re heating plastic and later working with sublimation dye, so open a window and set up a fan to improve your ventilation. You don’t want to breathe in the fumes from either process!
NOTE: If you are using a glass blank different from our supply list, make sure it is heat resistant glass.
OPTION 1: DOLLAR TREE GLASS CUTTING BOARD WITH LAMINATE SHEET
I’ll use my EasyPress to adhere the laminate to the smooth side of the glass cutting board.
Heat the press to 400° F (204°C) and set the timer for 60 seconds.
I'm going to add the laminate to the back of the glass on the smooth side to give my cutting board a surface to sublimate onto. Remove the rubber feet from the bottom if you haven't already.
Then, clean both sides with rubbing alcohol and a lint-free cloth. Separate the laminate pouch into two pieces and
trim one side of the laminate sheet to size by tracing around the cutting board with a pen on top of the laminate, and using scissors to trim off the extra.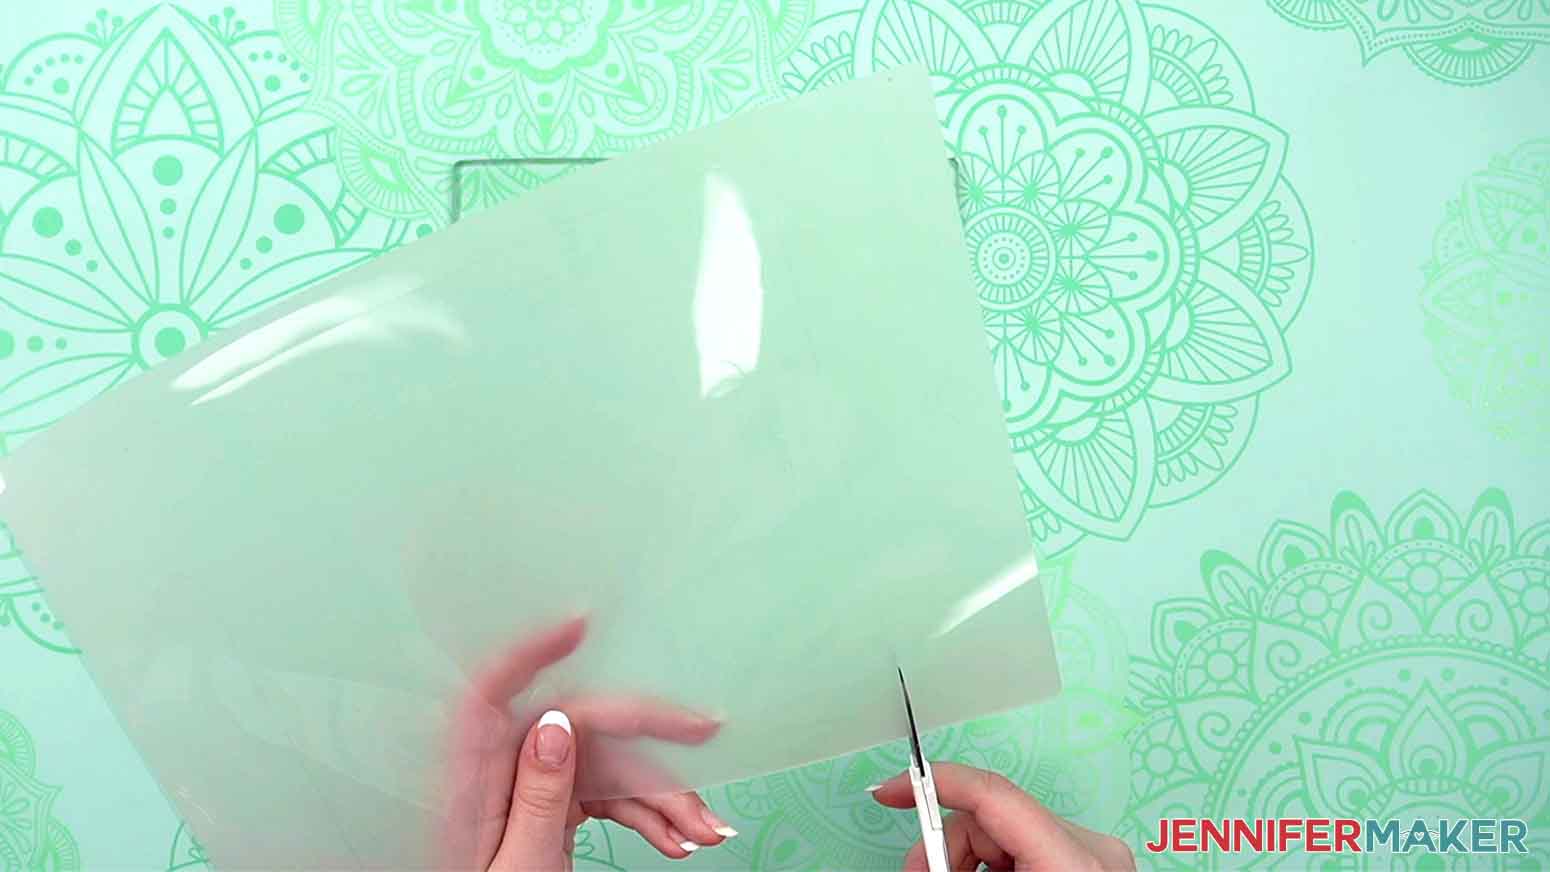
Next, I'll place a sheet of white cardstock on my EasyPress mat, followed by the glass cutting board, textured side down, and I'll place the laminate shiny side up on the smooth side of the glass cutting board.
Don't forget a sheet of white butcher paper to protect the press from the laminate. 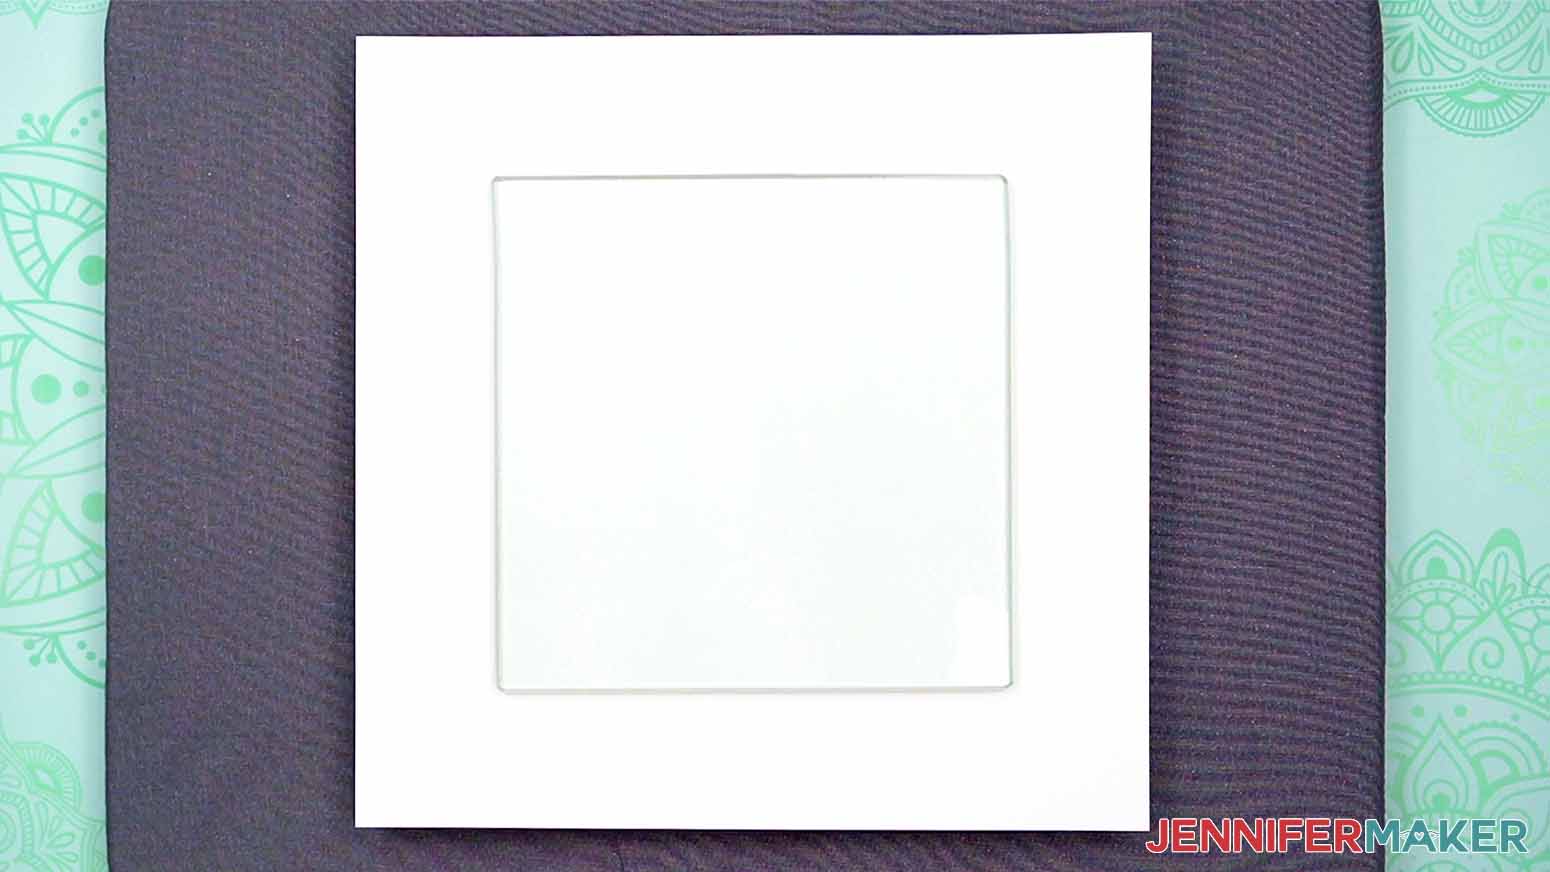
Once the press reaches the correct temperature, press with medium pressure until the timer goes off. The glass cutting board will be very hot! Only handle it while wearing heat-resistant gloves. Remove the top butcher paper.
When the laminated cutting board is cool to the touch, it's time to press my design.
I have printed out the square Beach file to sublimate.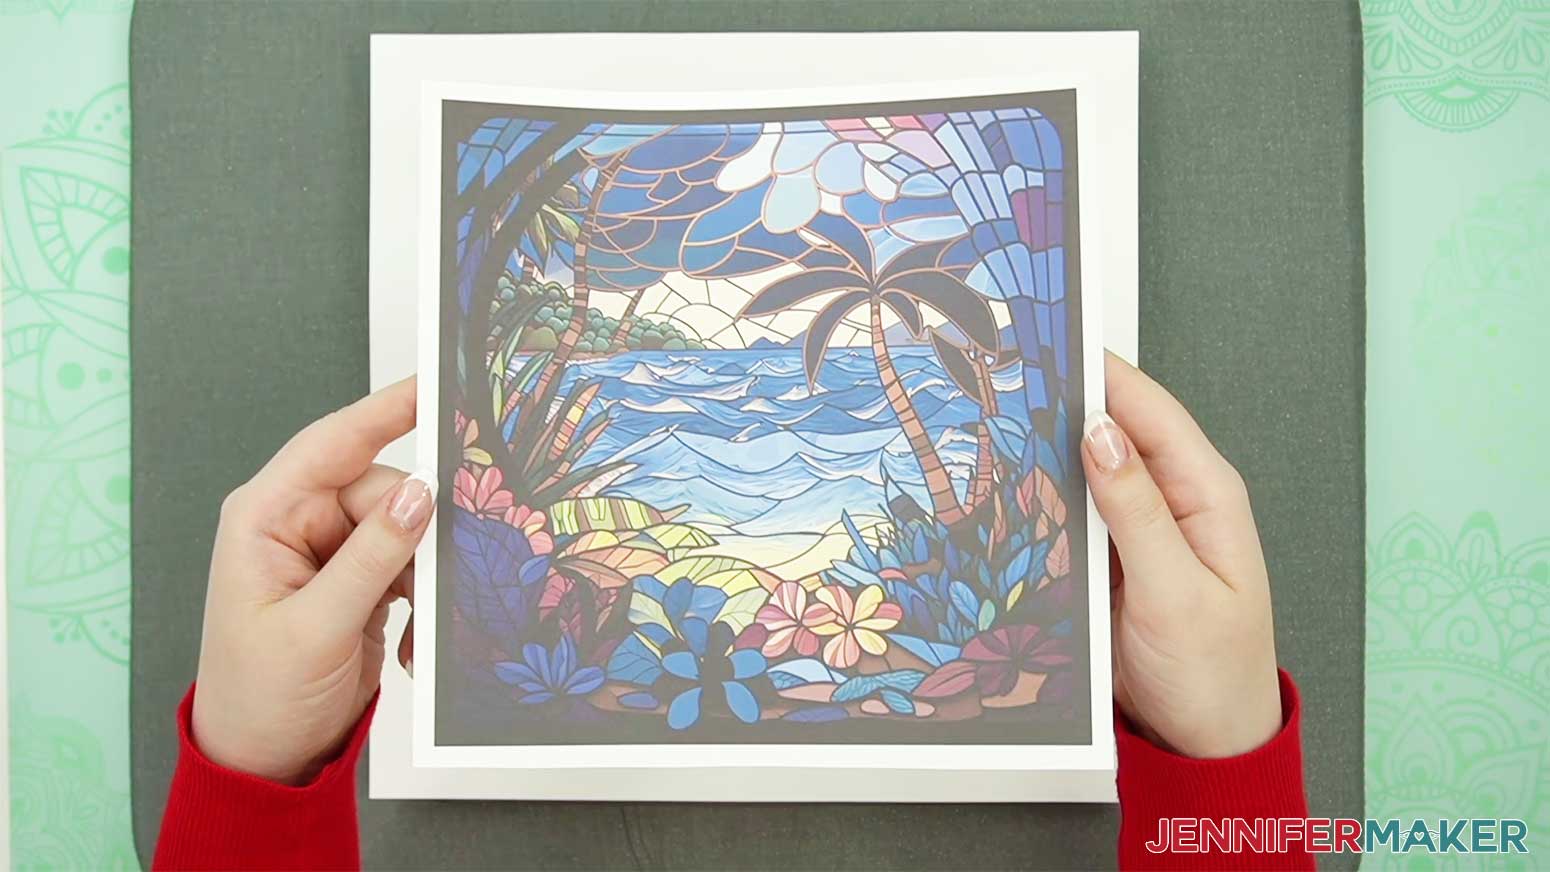
Place the image face up and lay the cutting board laminated side down on top of the image. Make sure everything is centered and secure it with heat-resistant tape.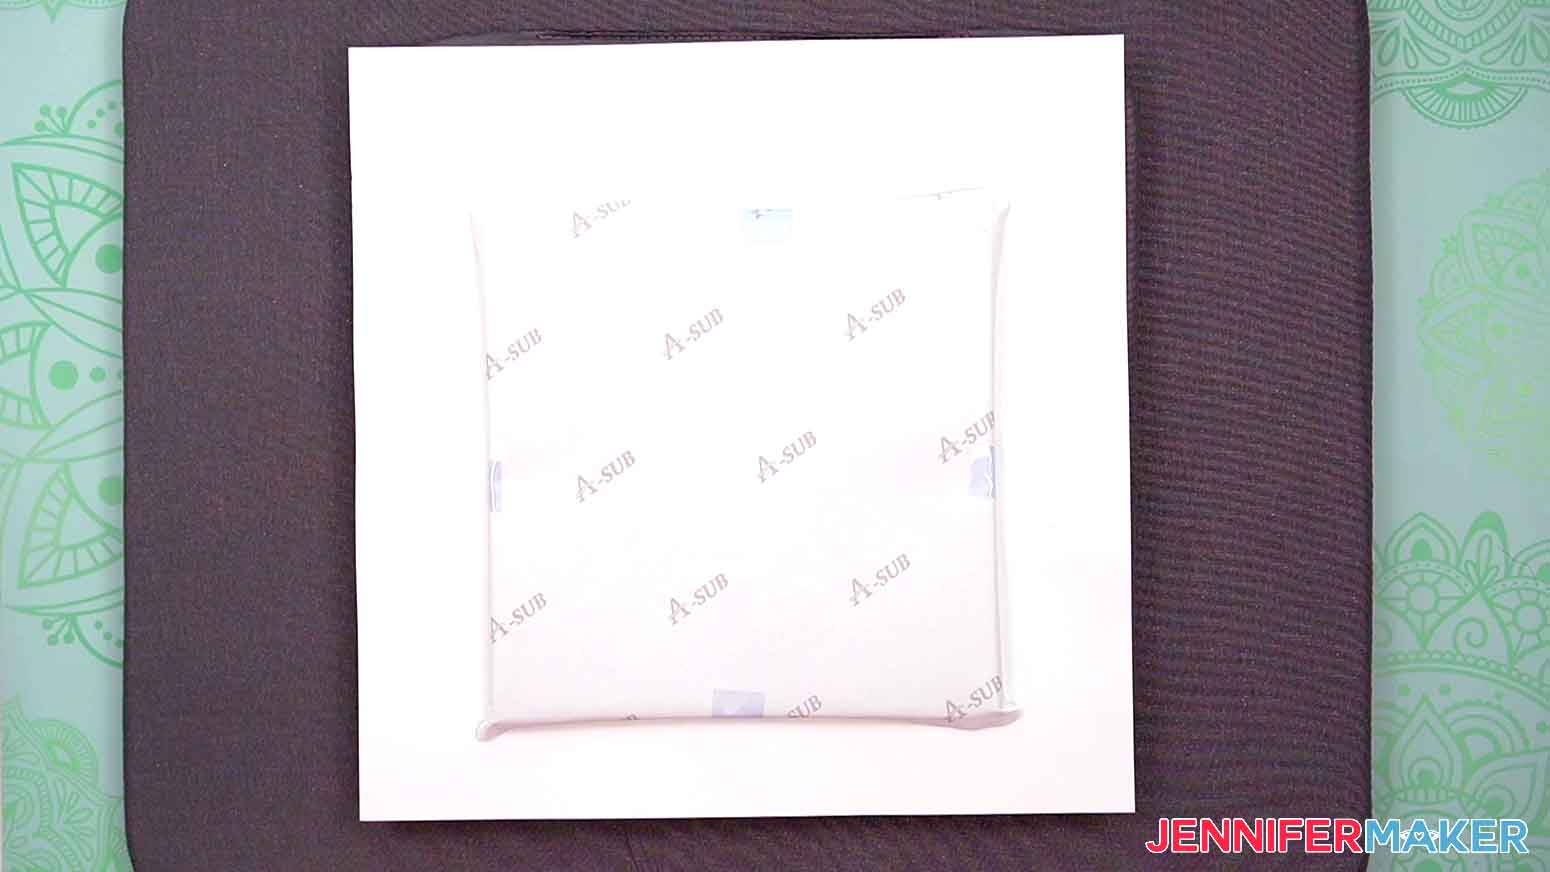
With my EasyPress heated to 400° F (204° C) and set the timer for 60 seconds. Place the cutting board back on the pressing mat on top of a sheet of white cardstock and place the cutting board textured side down on the pressing area.
Next, I'll use another sheet of butcher paper on top, to protect my EasyPress.
I will press my cutting board for 120 seconds total with my EasyPress. Set the timer to 60 seconds and press with medium pressure.
When the timer goes off, carefully lift and rotate the EasyPress 90°, and press for another 60 seconds. I found that rotating my EasyPress gave me a better overall result, especially along the edges.
After the timer goes off the second time, place the EasyPress back in its cradle and allow the cutting board to cool completely before removing the sublimation paper. 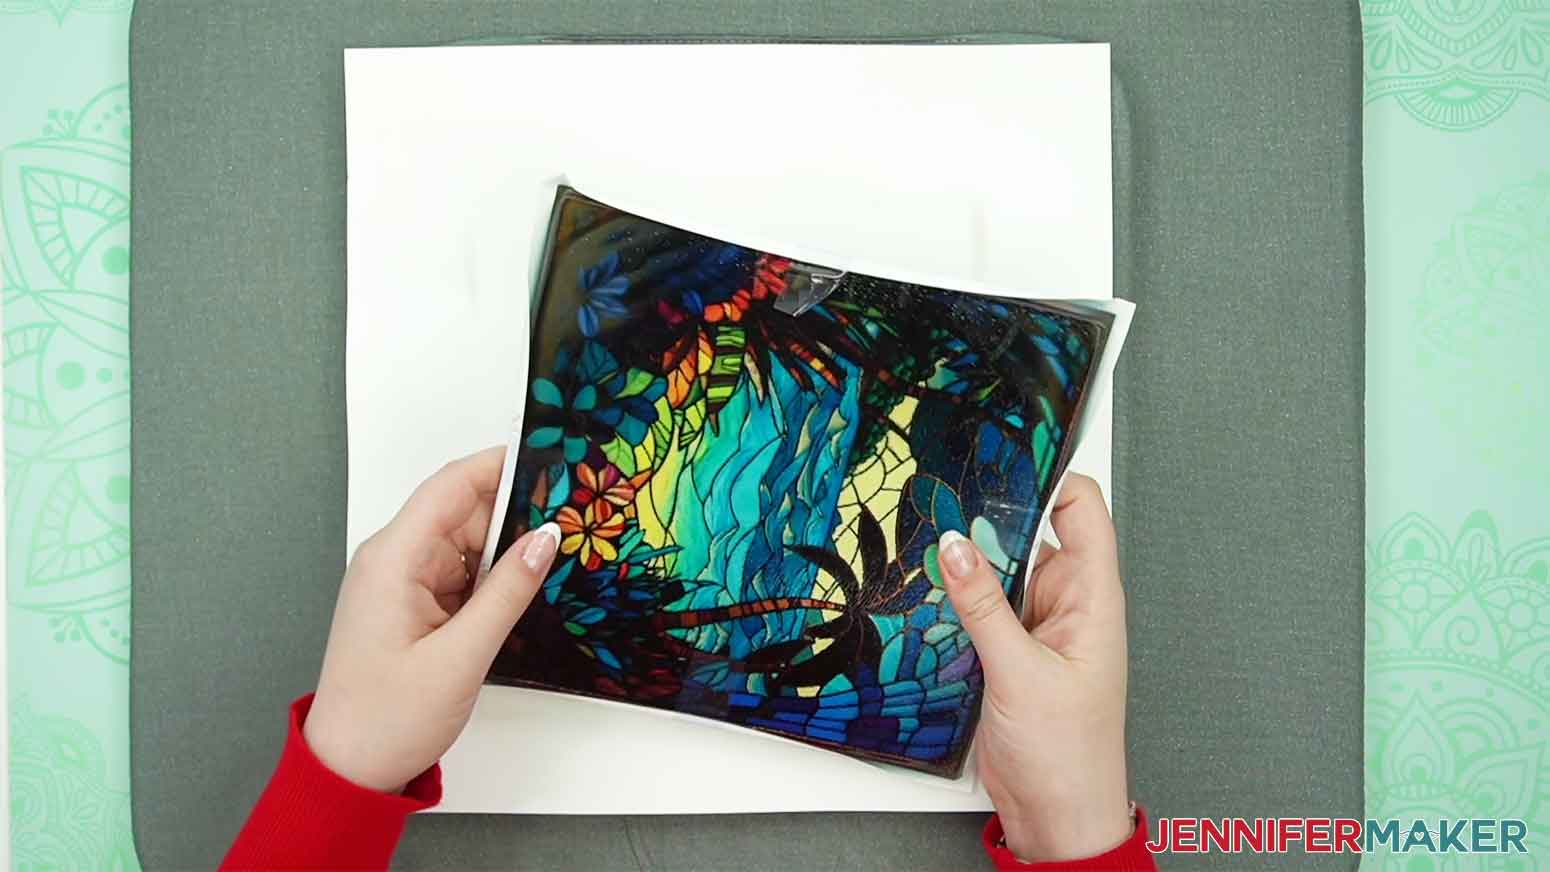
OPTIONAL: Reattach rubber feet if desired.
OPTION 2: SQUARE SUBLIMATION GLASS CUTTING BOARD
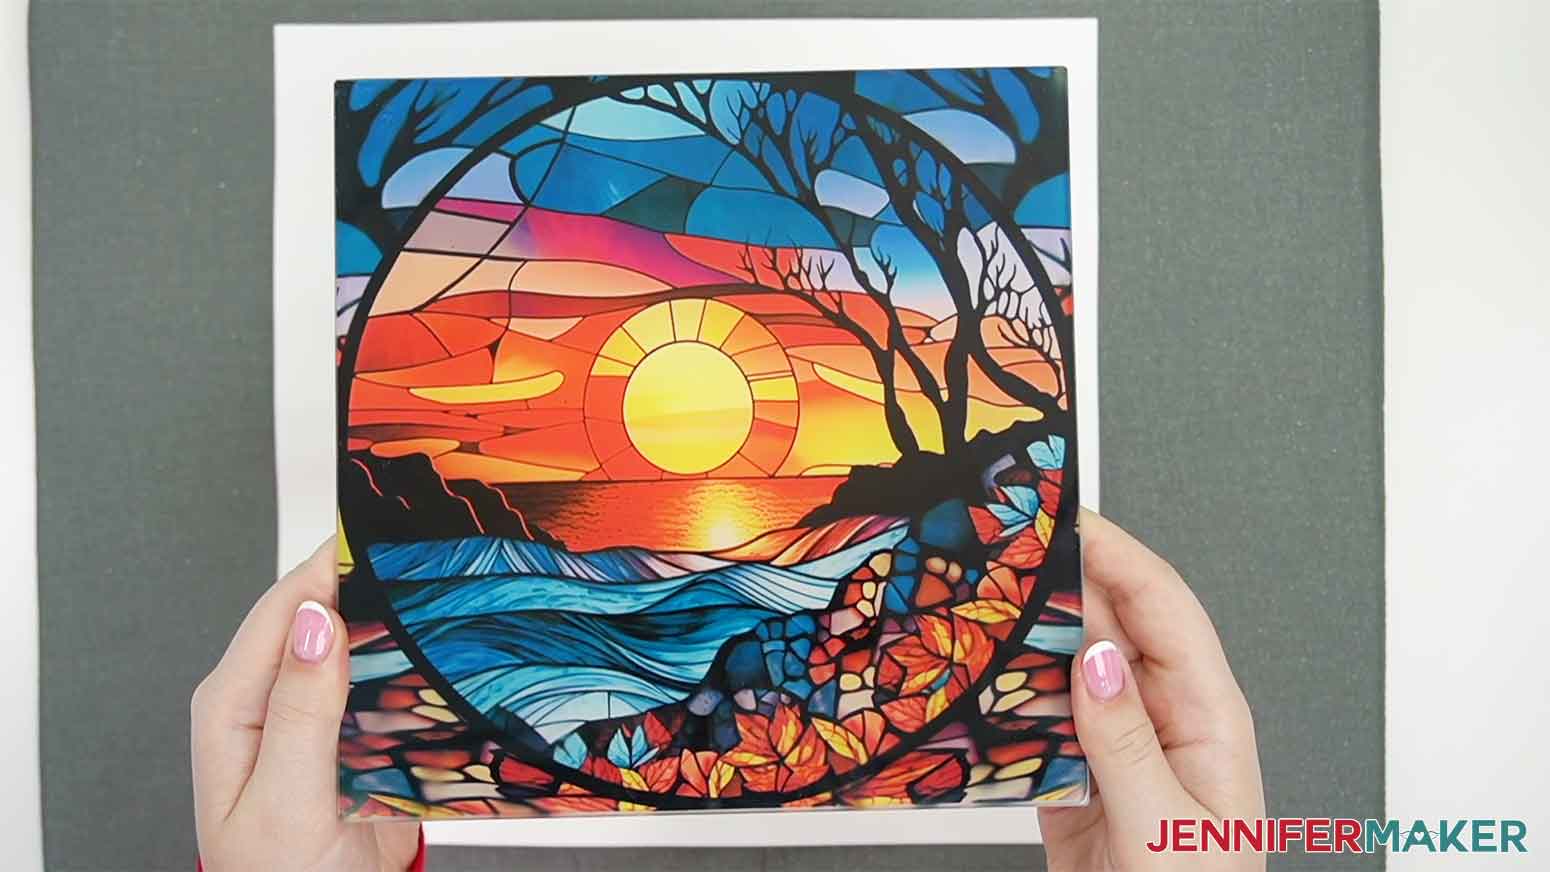
I'm going to sublimate the square Sunset design on this glass tile blank.![]()
Before sublimating these pre-coated blanks, I will clean both sides with rubbing alcohol and a lint-free cloth, to remove any dust or oils from the surface.
I am going to consult The Sublimation Cookbook for the recipe.
Preheat the EasyPress to 385° F (196° C) and set the timer to 190 seconds.
I've printed out my square Sunset design to sublimate on this 8x8" glass sublimation tile. 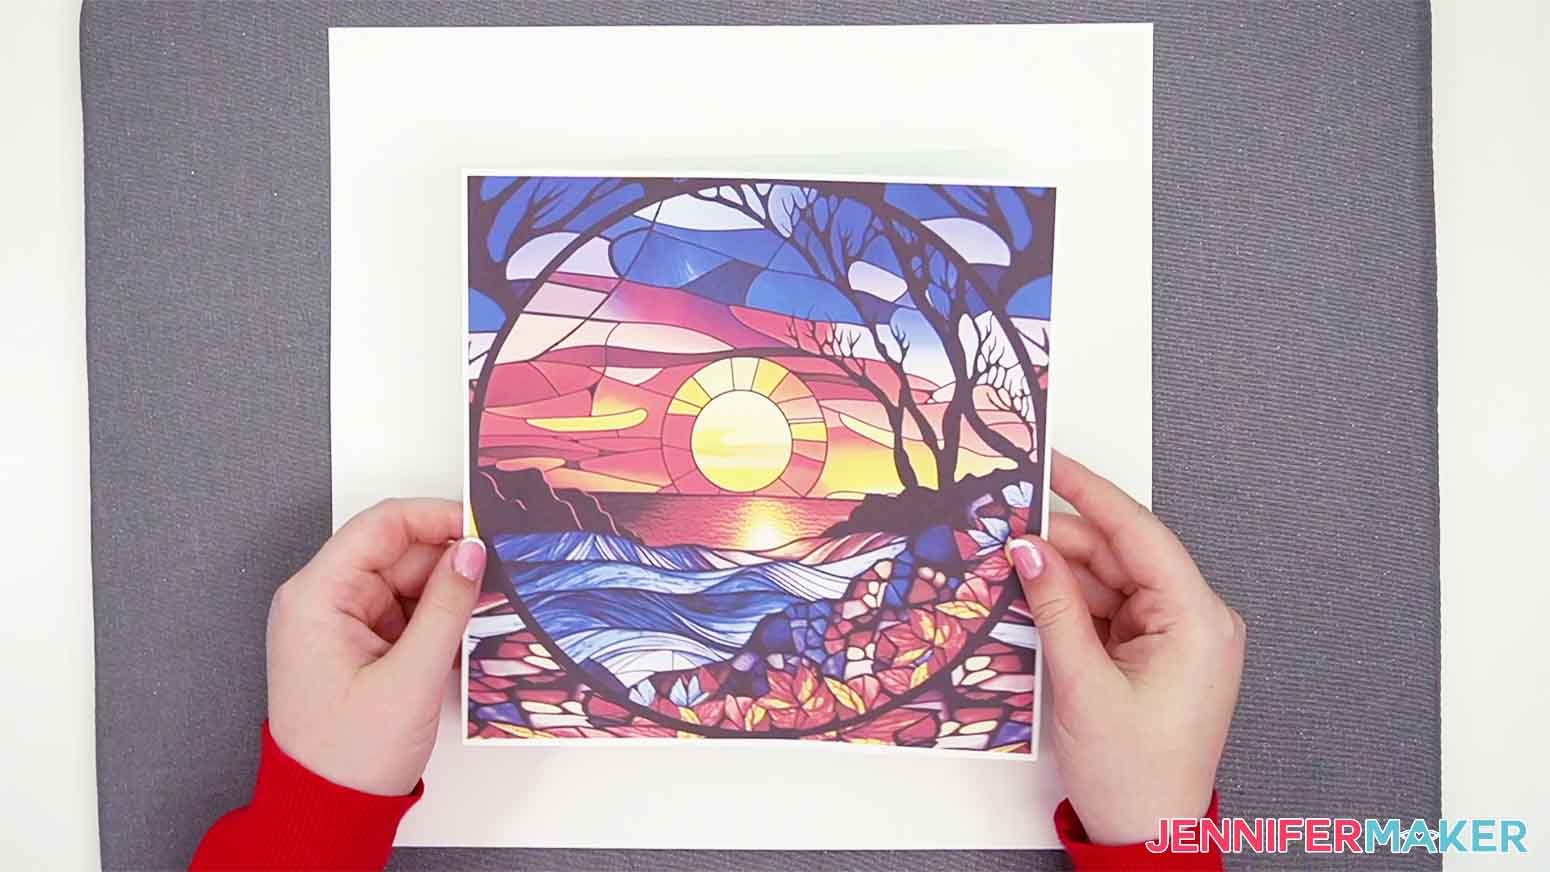
After the ink is dry, trim the sublimation print with scissors or a paper trimmer and center the sublimation print face down on the white sublimation coating.
Use heat-resistant tape to keep the design in place and cover the blank with a sheet of white butcher paper.
I will use heat-resistant tape to keep the design in place, eight pieces around the outer edge will work well.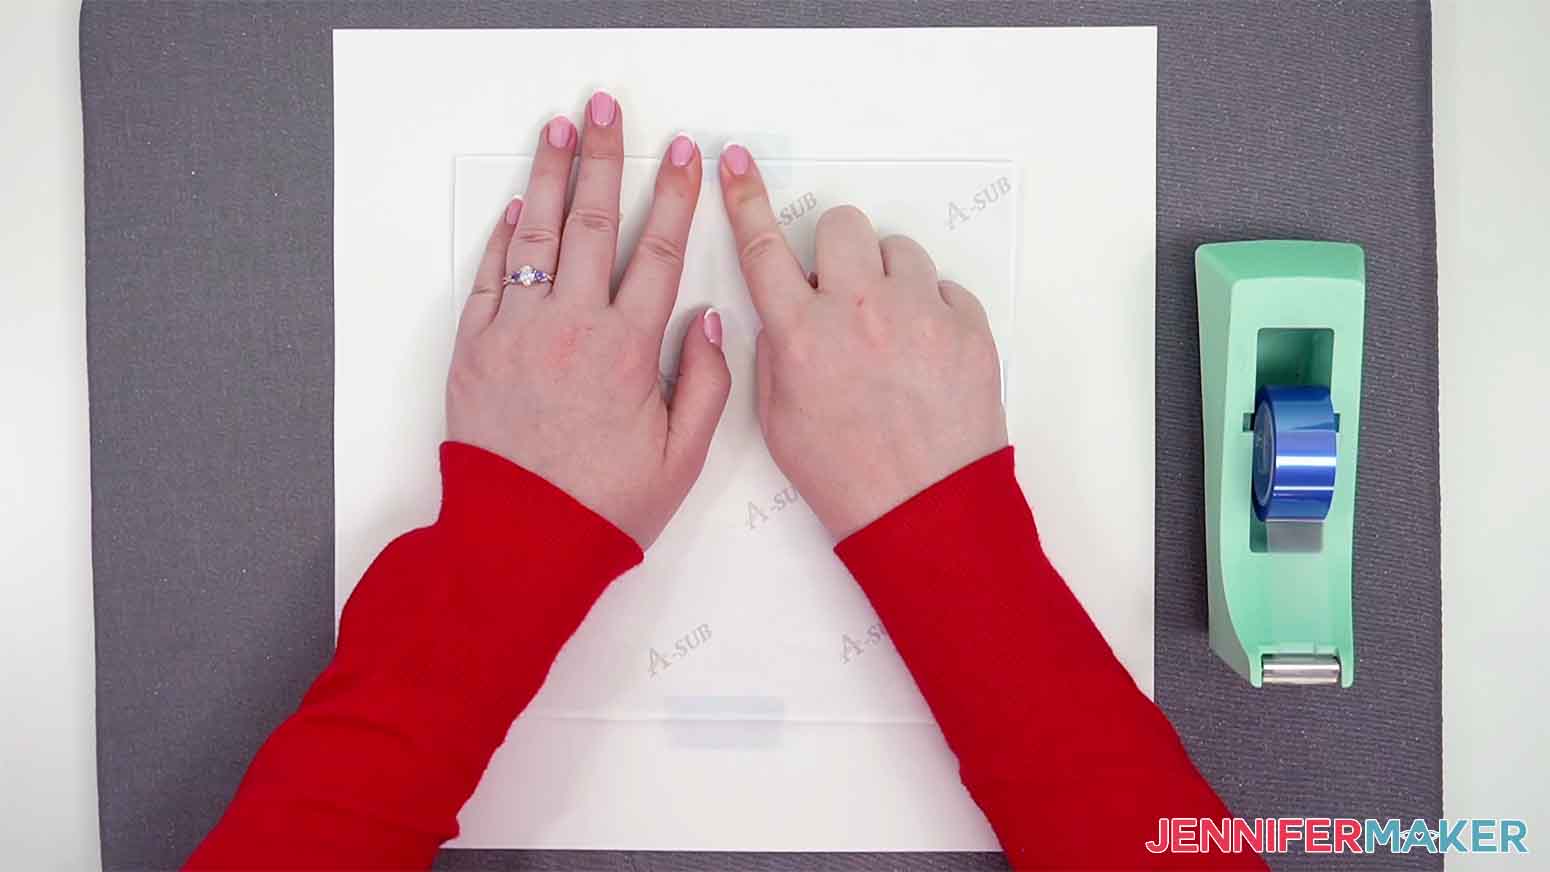
When my EasyPress is at the correct temperature, I'll lay a sheet of white cardstock on my pressing mat to protect the surface and place the tile blank with the print on top.Don't forget to add another sheet of butcher paper on top as well.
Next, I will press the sublimation tile with medium pressure.
After the timer is up I will put on my heat-resistant gloves and flip the tile over, looking for any spots that look undercooked or faint.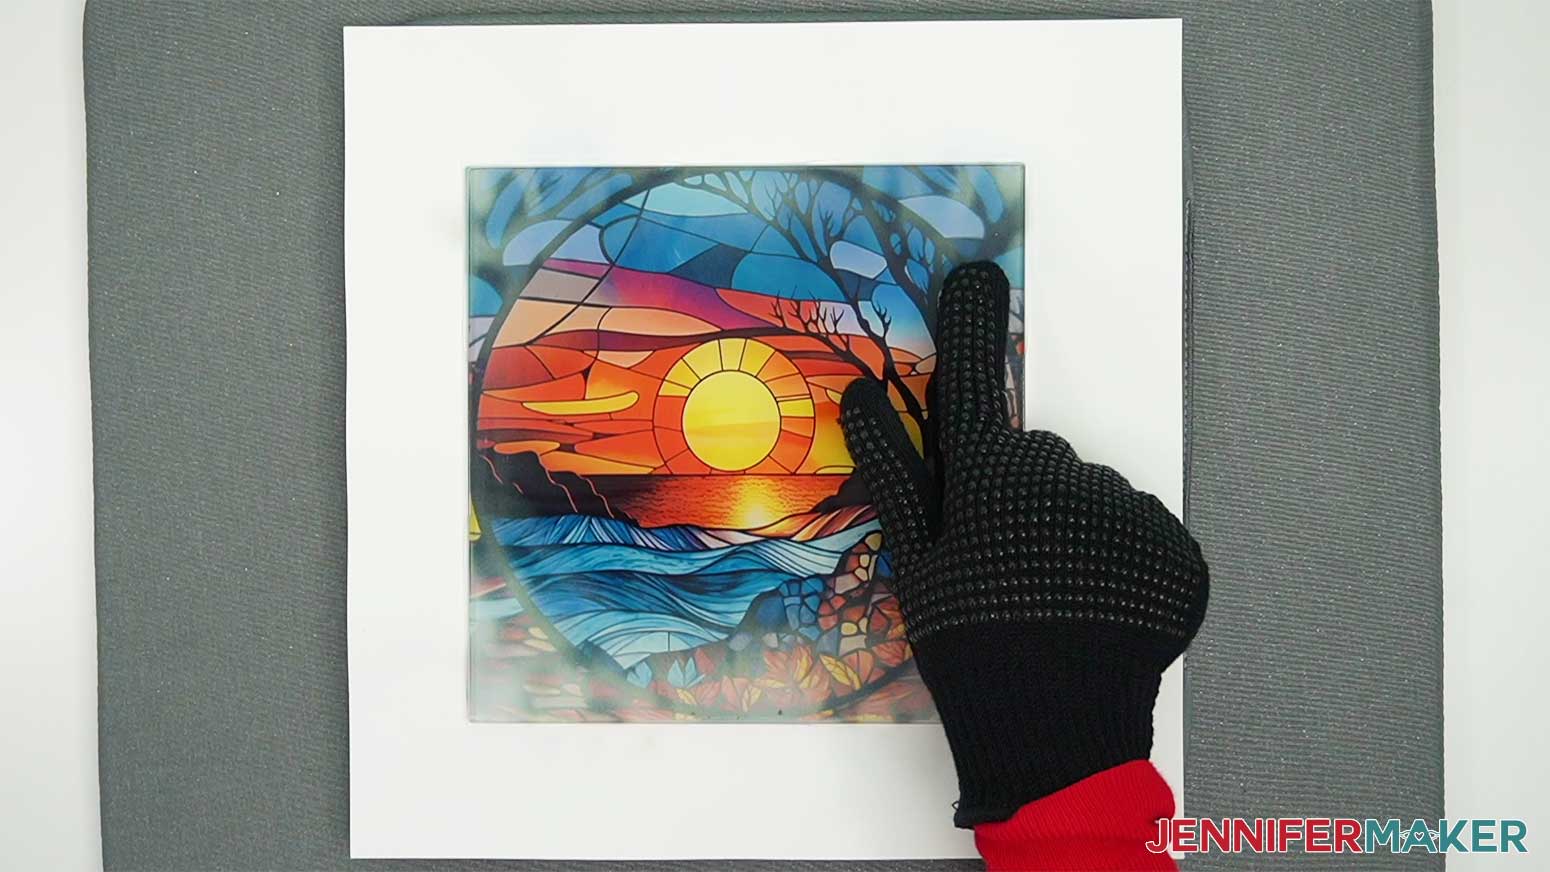
NOTE: If needed place the butcher paper back on top of the tile and press for an additional 30 seconds.
Once the tile looks good, I'll set it aside to cool completely before removing the sublimation paper.
OPTION 3: ROUND GLASS TILE SUBLIMATION CUTTING BOARD
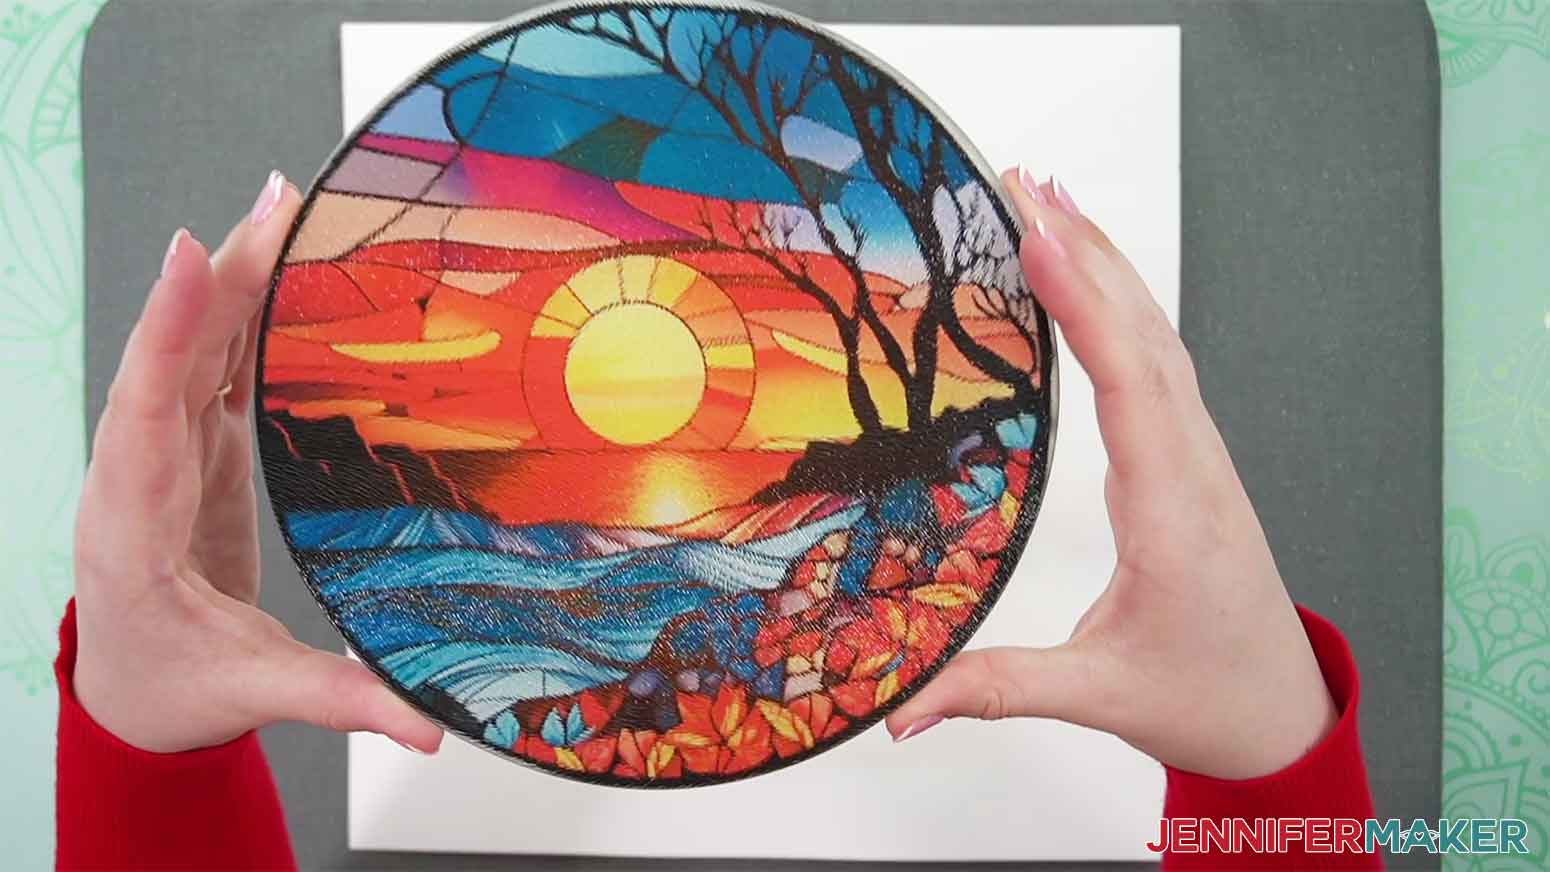
I will press my round Sunset design on a round sublimation-coated glass cutting board.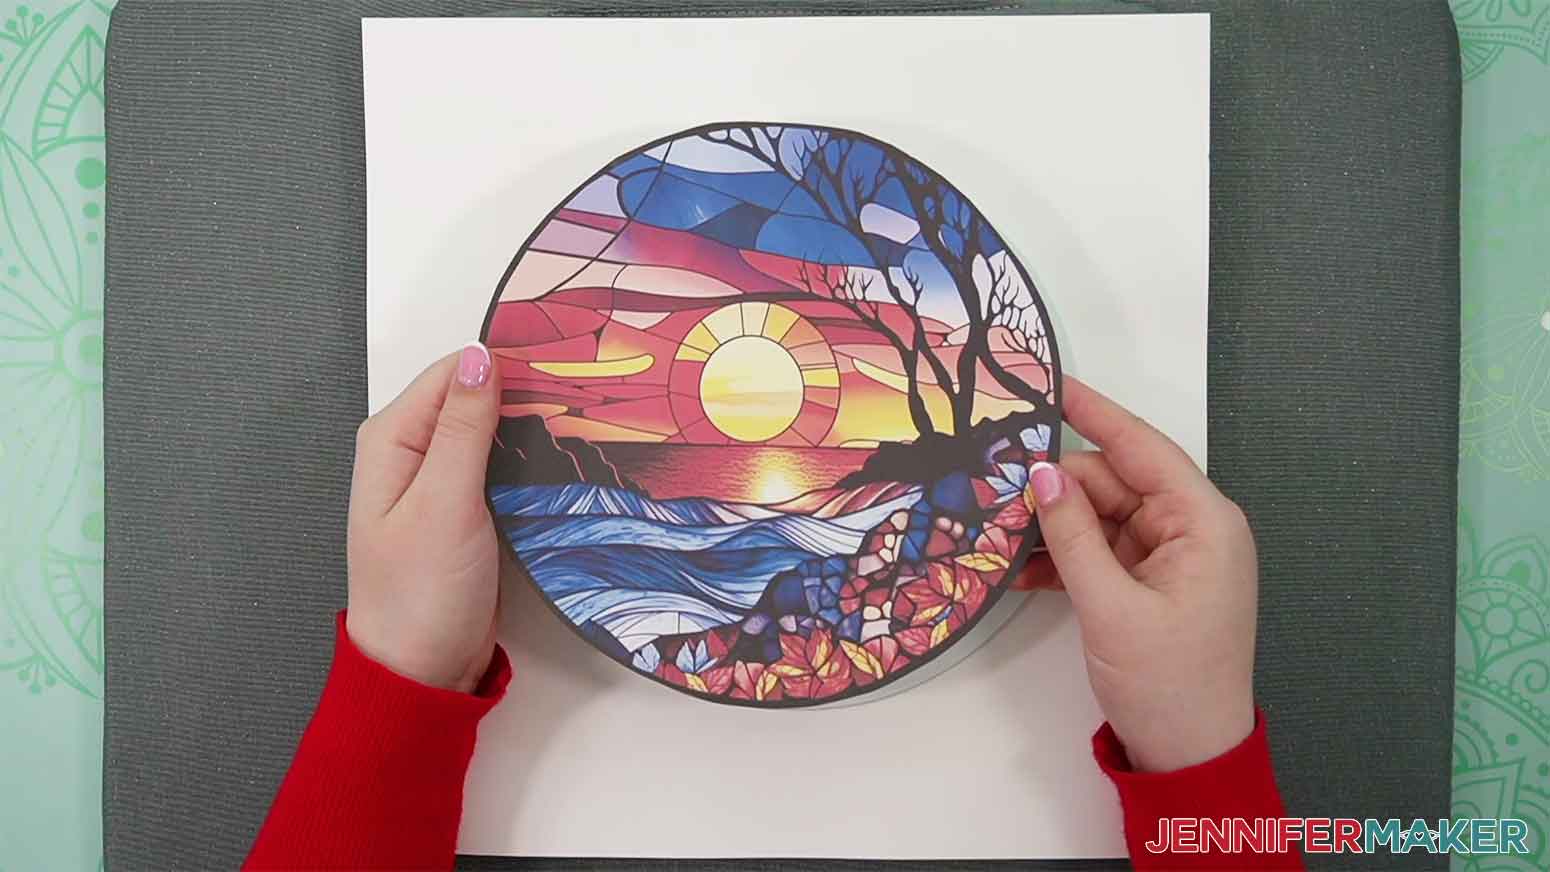
Ensuring I am crafting in a space with proper ventilation.
After printing my design and letting the ink dry, I will trim around the edge with a pair of scissors
Next, I will wipe down both sides of the blank with alcohol and a lint-free cloth to remove any dust or oils from the surface. 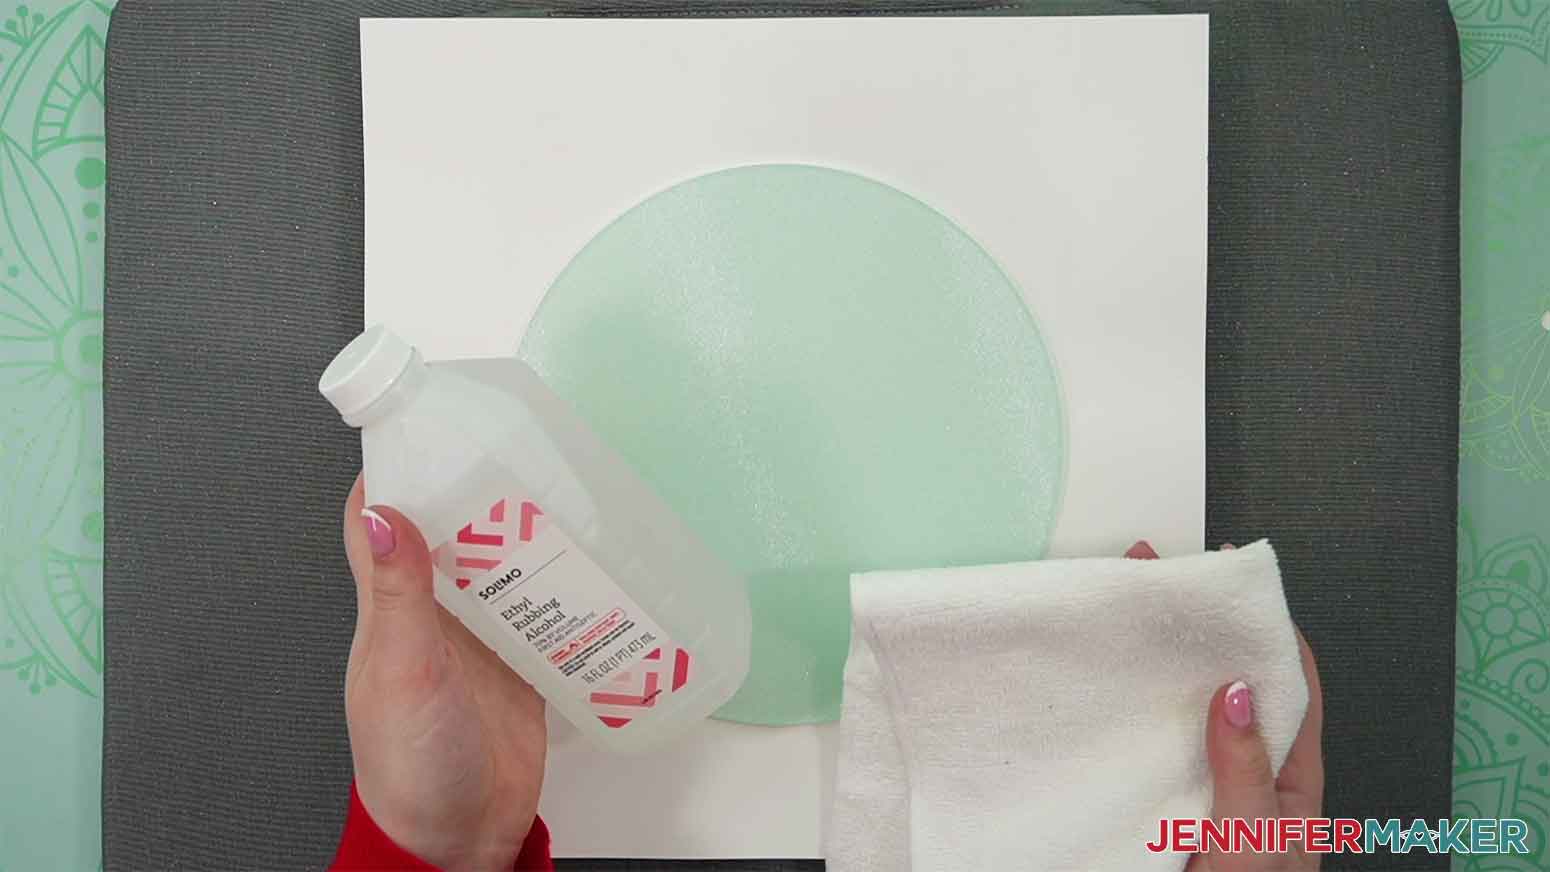
Following the manufacturer's instructions, I am going to preheat my EasyPress to 385° F (196° C) and set the timer to 360 seconds. Lay a clean sheet of white cardstock on the pressing mat.
Use heat-resistant tape to keep the design in place, I used eight pieces of tape around the edge and covered the blank with a sheet of white butcher paper.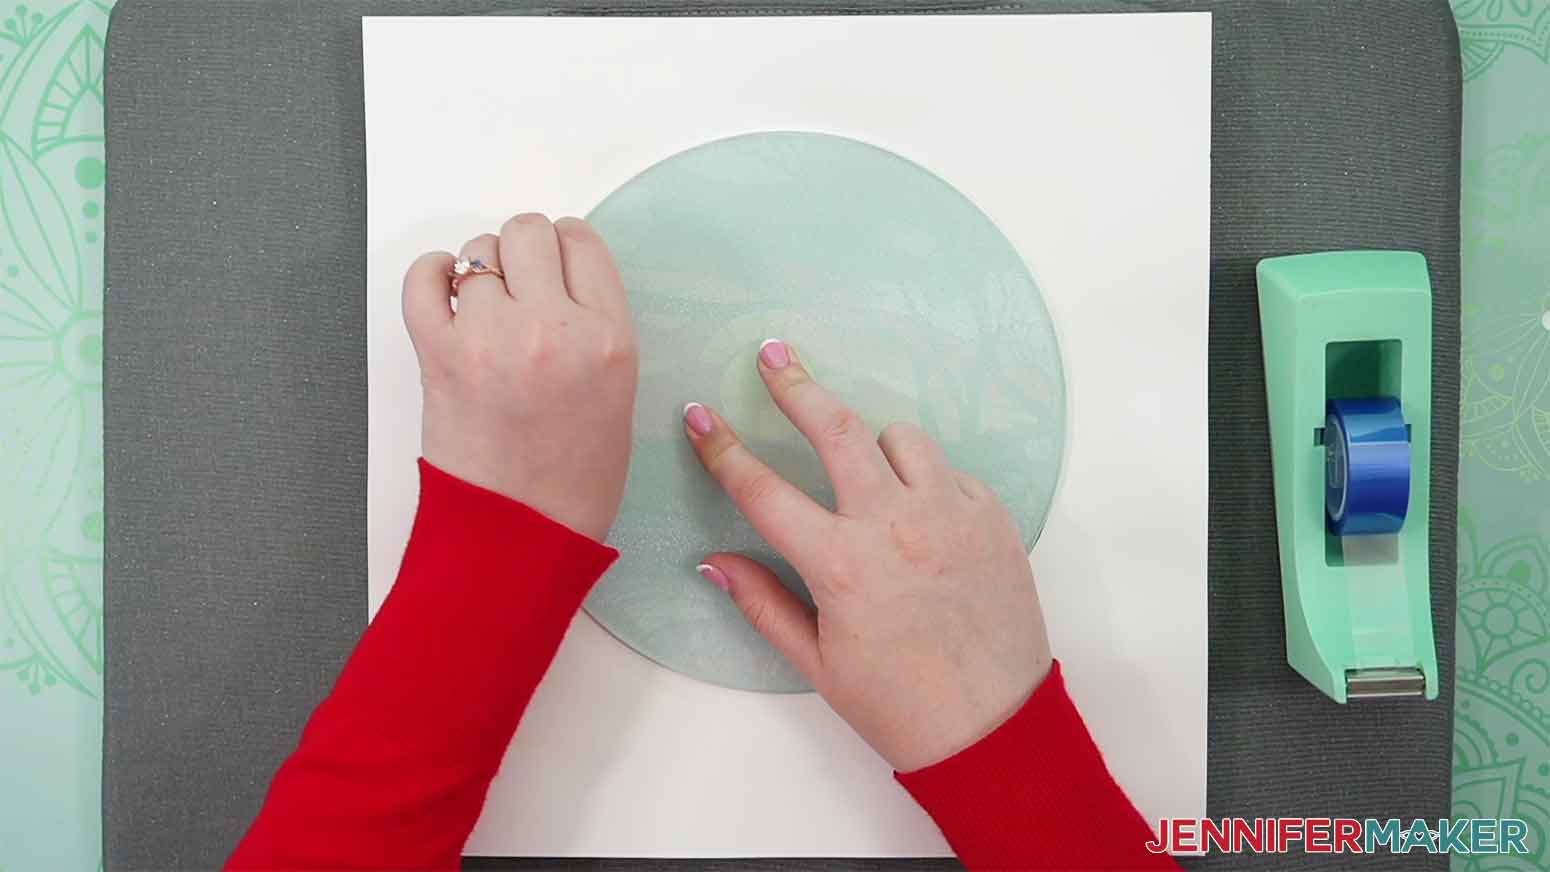
Press using medium pressure until the timer goes off. 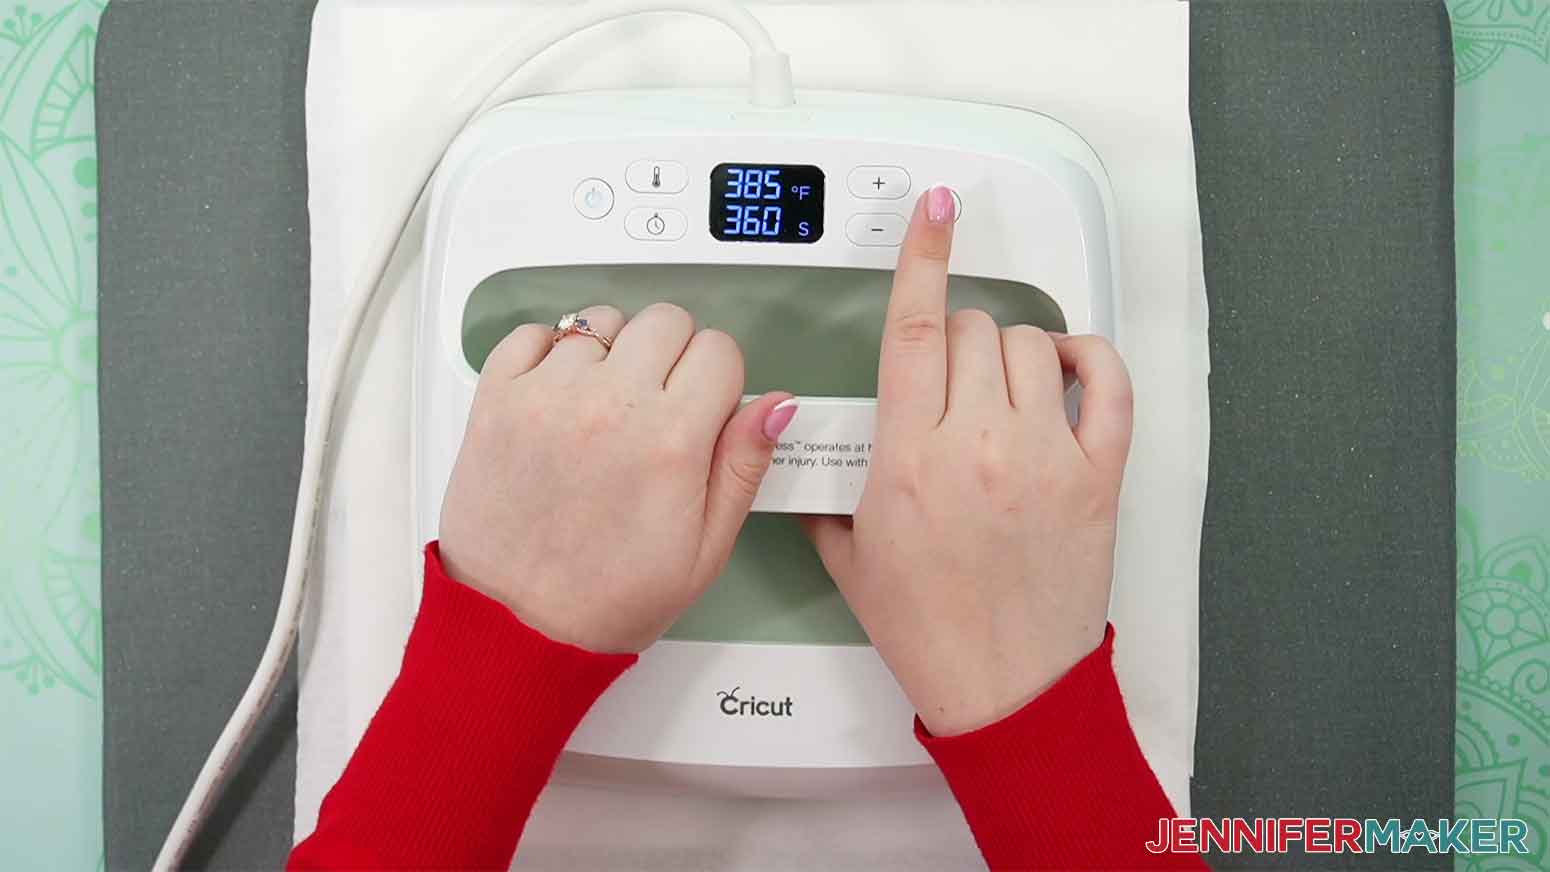
Remember the glass will be very hot! Don't handle it without heat-resistant gloves.
Wait until the glass cutting board is cool before removing the sublimation paper.
STEP 4: SHOW IT OFF!
Here are some of my stained glass cutting board designs!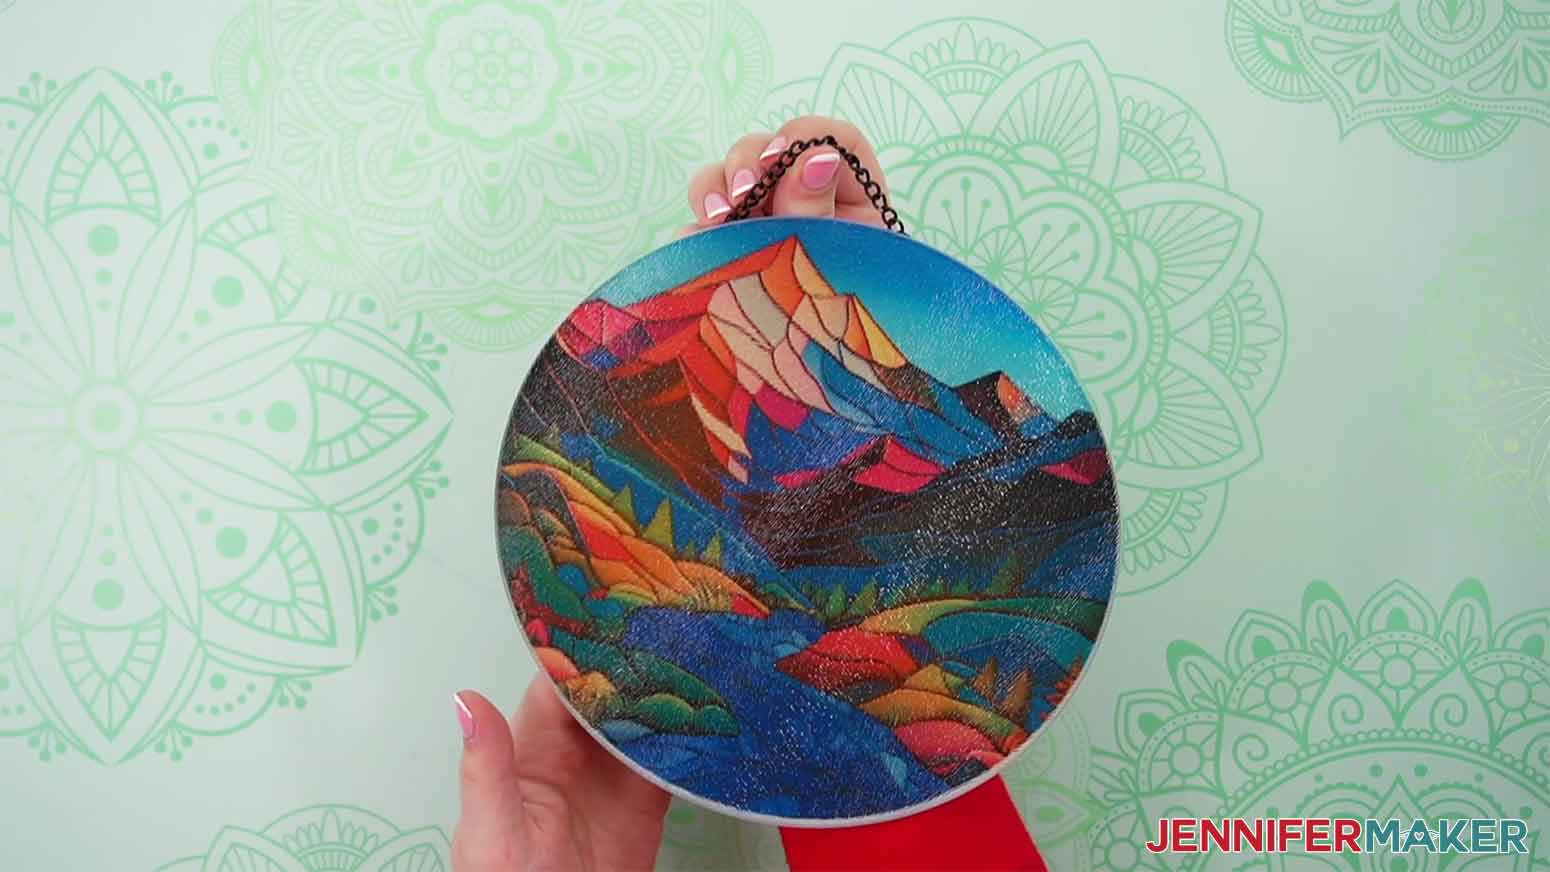
There are a few different ways to show off your stained glass cutting boards
They can be displayed on an easel or even hung up on a window or door to let the light through. 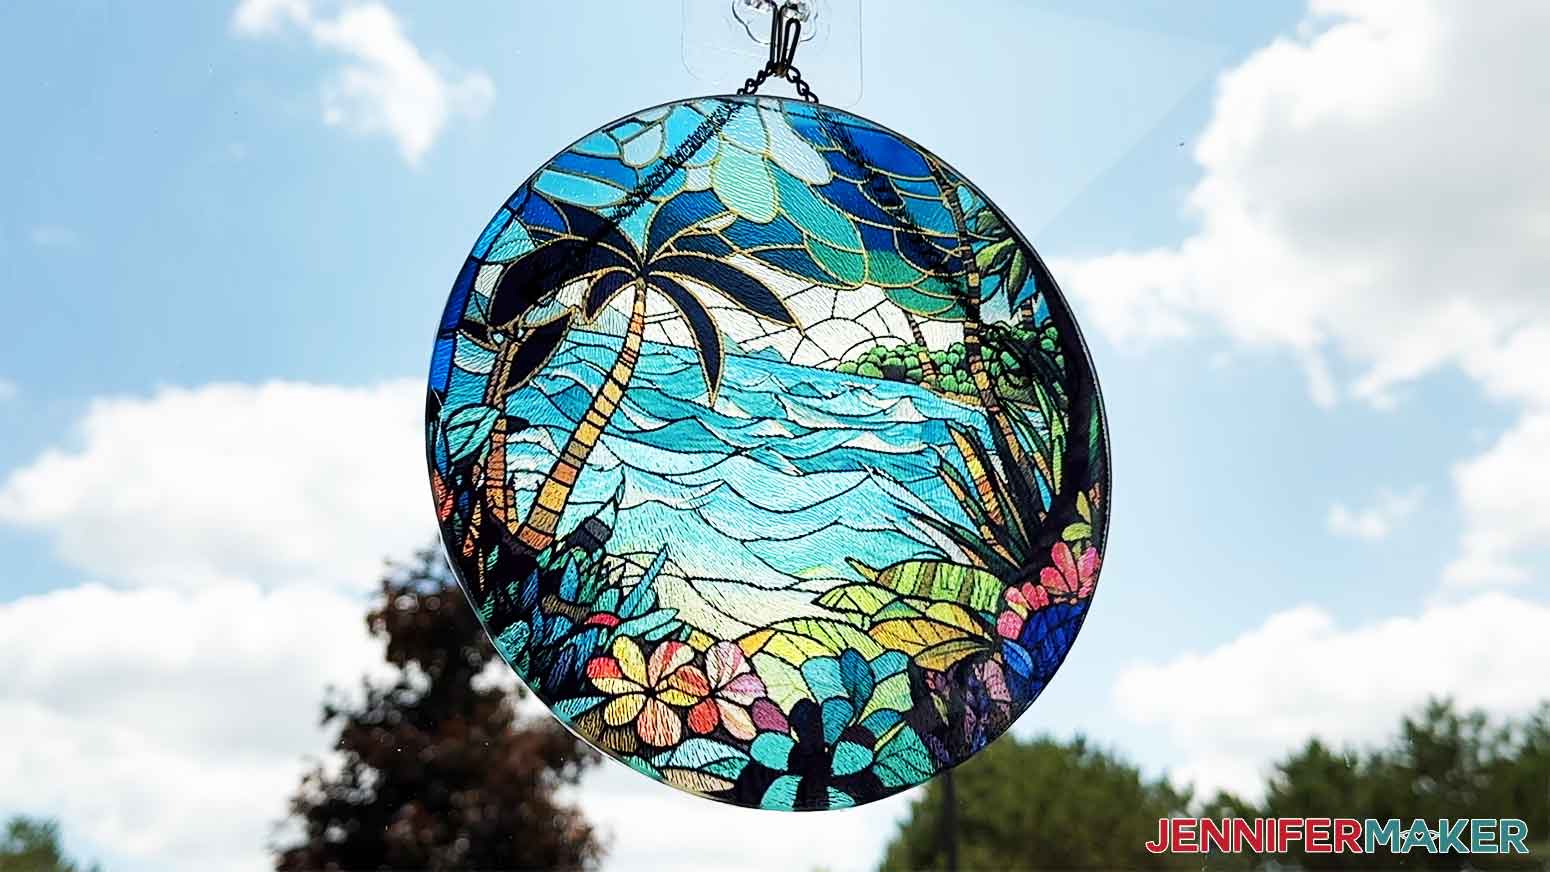
Notes
Care: To make your stained glass cutting board last, only handwash the surface with soapy water and dry it quickly. Don't allow the cutting board to soak in detergent.
Can You Sublimate on Glass? Answers to That Question and More!
Q: Can you do sublimation on regular glass?
A: While you cannot sublimate directly onto regular glass, you CAN sublimate onto smooth surfaces that have had a polymer coating adhered to the glass! These include materials like lamination sheets as well as clear permanent adhesive vinyl. Your glass also needs to be heat-resistant, or else it can break under the high heat required for sublimation.
Q: Can you heat press on glass?
A: You can! To attach the polymer surface to your heat-resistant glass cutting board, you’ll need to apply heat from a heat press. Glass is an excellent conductor of heat, so when it gets hot it gets REALLY hot! It also stays hot for quite a while after heating. Always use heat-resistant gloves when handling hot glass from heat pressing.
Q: How do you press sublimation on glass?
A: After attaching a surface you can sublimate onto to the surface of the glass, you’ll use a heat press to apply your printed image from sublimation transfer paper onto the material, just like any other sublimation project! With a few key materials like a heat press machine, sublimation printer, heat-resistant tape, and some good quality sublimation paper, and even some more “interesting” materials you’ll find in my materials list, you’ll be sublimating on glass in no time. Follow the directions in my tutorial for more.
Q: How do you sublimate on a Dollar Tree glass cutting board?
A: Lucky you — you just found a step-by-step guide to this exact project! I walk you through the unconventional yet surprisingly simple steps on how to sublimate on a glass cutting board from Dollar Tree in this tutorial! They’re a great option when you can’t find sublimation blanks.
Q: What materials can you not sublimate on?
A: If the surface isn’t made of or coated with a polymer like polyester, it likely will not hold sublimation dye. There are a few exceptions (like wood – though I did get the best results when it was coated with paint), but for the most part you want to make sure the material is made of or coated with a polymer. When in doubt, look for blanks meant for sublimation, and follow the manufacturer’s instructions for recommended temperature and other details for a successful sublimation. Popular choices for sublimation blanks include garden flags, T-shirts, tumblers, mugs, even socks!
Q. Will my sublimation design fade in sunlight?
A. Prolonged exposure to UV rays (like those from the sun) will eventually cause your sublimation design to fade, whether it’s on vinyl, fabric, or any other surface. Crafters report that white vinyl does seem to fade more quickly than clear vinyl, so I no longer recommend using it.
Q: Is sublimation on glass dishwasher safe?
A: The blanks designed for sublimation are dishwasher safe. However, if you’re adding a special coating to plain glass products like we did in this tutorial, those coatings probably aren’t going to hold up to the high temperatures from your dishwasher, at least not long term.
Q: What other glass items can I sublimate on?
A: With the right materials, you can sublimate on glass tumblers, glass cups with a bamboo lid, glass frames, glass plates, glass cans, glass mugs, ceramic mugs, and so much more! Check out my tutorials for the materials and tools, but most of these require things like a mug press, heat tape, shrink wrap, a lint roller, crafting convection oven, heat-resistant pad, high-quality prints, and protective paper.
Q: Are sublimated cutting boards food safe?
A: Yes, so long as you’re keeping the food on the side that is glass only. Just be aware that if you make a sublimation cutting board with one of the hacks (vinyl or laminate) it may not be dishwasher safe.
Q: Can you use clear dye sublimation iron-on vinyl to sublimate a glass cutting board?
A: I tried several approaches to sublimate a glass cutting board using clear dye sublimation HTV without the easy, perfect results I wanted for you. But I have seen some beautiful projects by others! First I tried the standard manufacturer’s instructions from two brands, but both times the vinyl (and design) peeled off once it cooled. I got the best results following tips by Elaine L.M. in my Facebook group. Elaine prepared the glass board the same way, then applied the clear dye sublimation HTV using rounds of pressing at 385℉ (196℃) until the vinyl stuck after cooling. Then, she pressed the design at the same temperature until almost all the ink was gone from the paper (at least 190 seconds) and checking if the corners peel until they don’t. Her cutting board looked gorgeous! But since I couldn’t find a length of time that worked without lots of checking the edges, I’m not comfortable recommending this approach for beginner sublimation makers at this time.
Get my free PNG files to Sublimate a Glass Cutting Board
(If you do not see the signup form above, click here.)
I’d love to see YOUR beautiful sublimation stained glass cutting boards! Please share a photo in our Facebook group or tag me on social media with #jennifermaker.
Love,

Want to remember this? Save this tutorial on How to Sublimate a Glass Cutting Board to your favorite Pinterest Board!