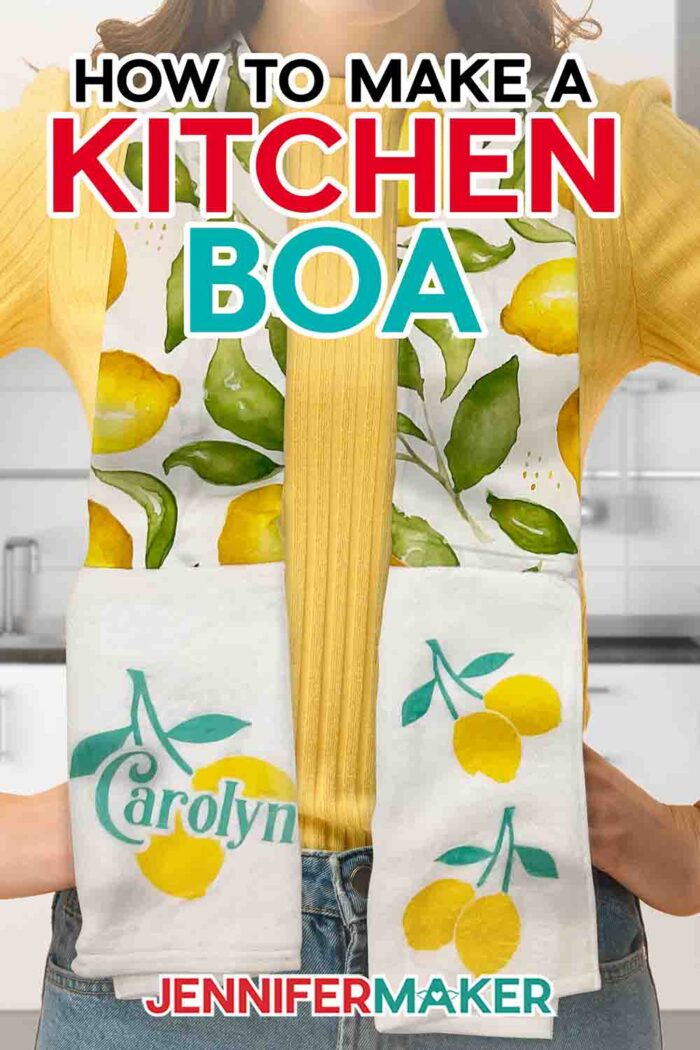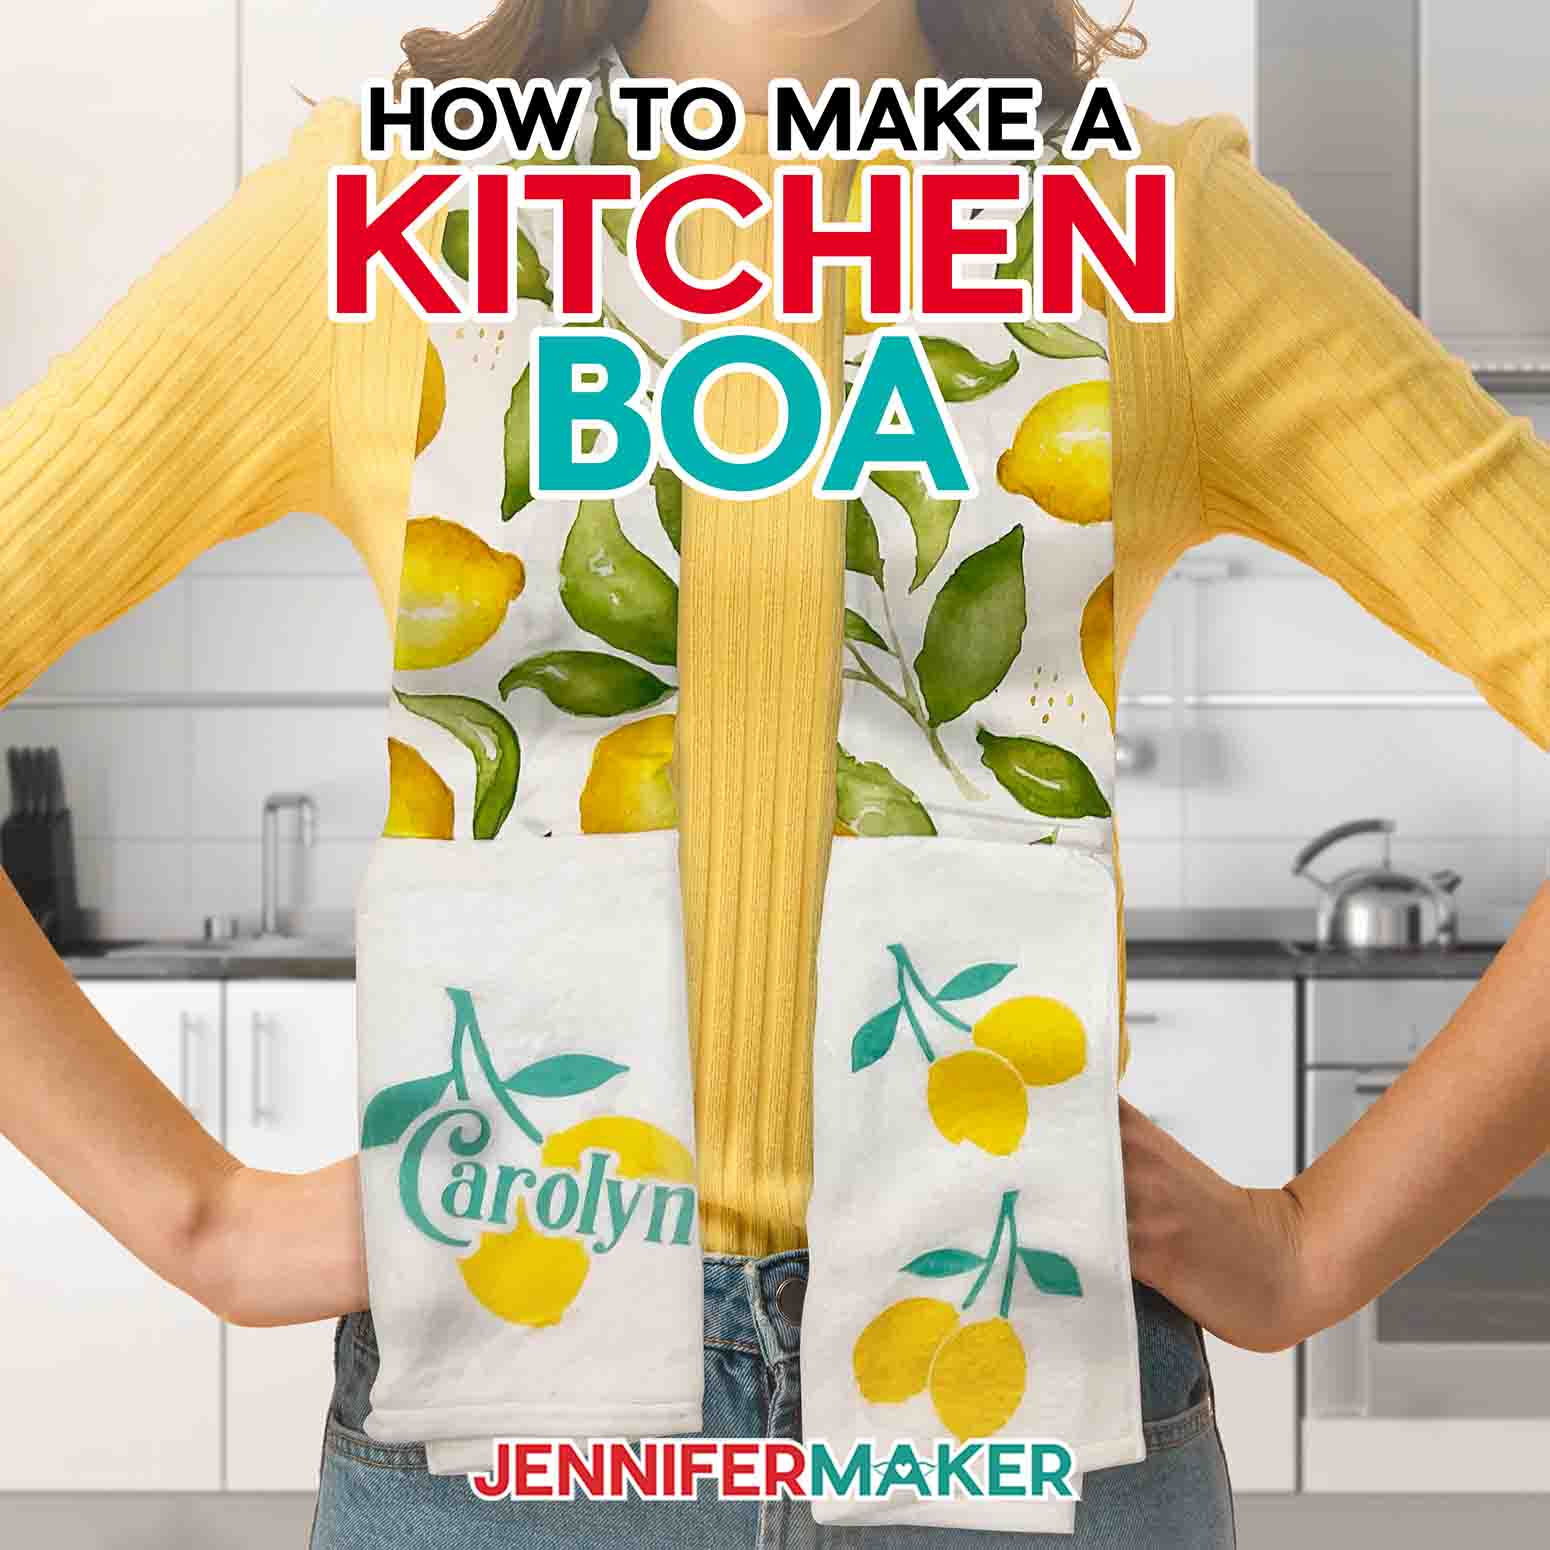
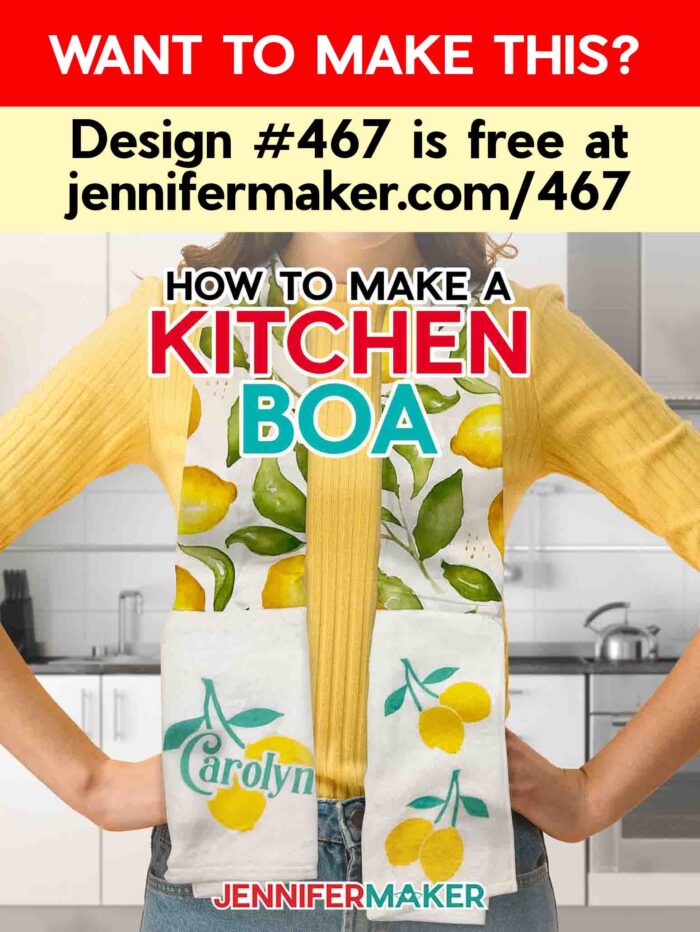
Sew and customize an easy kitchen boa pattern with sublimation or Infusible Ink!
Crafts can be more than cute, they can be functional! This kitchen boa pattern is the perfect example. The scarf keeps handy towels at easy access and looks nicer than a rag over the shoulder. With some simple sewing and sublimation steps, you can make the perfect gift for your favorite chef — especially if that’s YOU! We’ll cover both Infusible Ink and printed sublimation designs, so you can pick the technique you prefer. I’ll share free files for both! Sublimation is a great way to customize your kitchen boa so you can wash the scarf without worrying any design bits will get damaged.
Want to save this project? Enter your email below and we’ll send the project straight to your inbox.
Watch the full step-by-step kitchen boa sewing and decorating tutorials:

I really love how easy it is to make a kitchen boa pattern and all the ways to use one! In an evening, the scarf can go from fashion statement, to wearable kitchen towel or oven mitts, be folded into a hot pad, and end up a dish towel. That’s multitasking!
Even if you’re a beginner sewist, you can absolutely make your own kitchen boa using my tutorial. I’ll show you how to measure, cut, and sew your fabric pieces in just a few minutes with a straight stitch! We’ll cover helpful tips like identifying the right sides of the materials, working with directional printed fabric, adding seam allowances, hiding every raw edge, and much more. I used the same tools as most of my sewing tutorials, which you can find listed below.
Cotton fabric is best for the boa middle and a cut white polyester kitchen towel goes on each end of the scarf. You can use other kinds, like tea towel pieces, but use a cloth like mine if you want to incorporate sublimation with me.
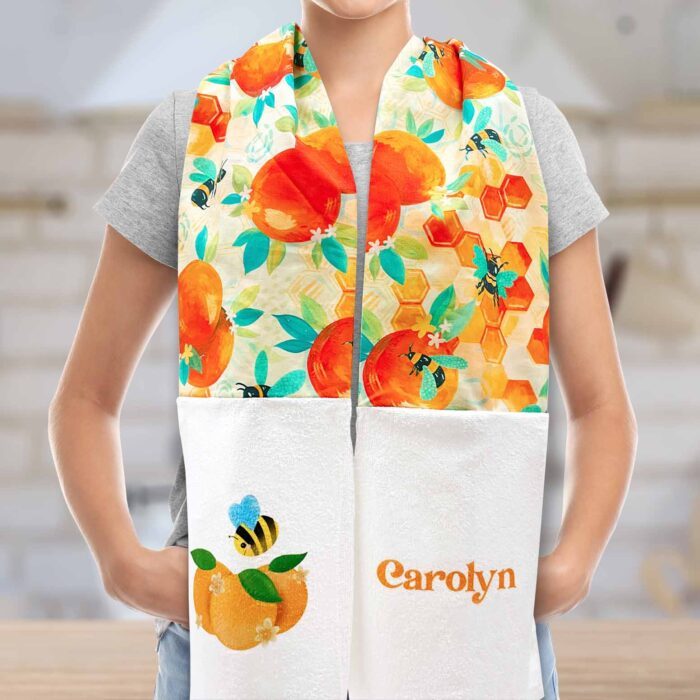
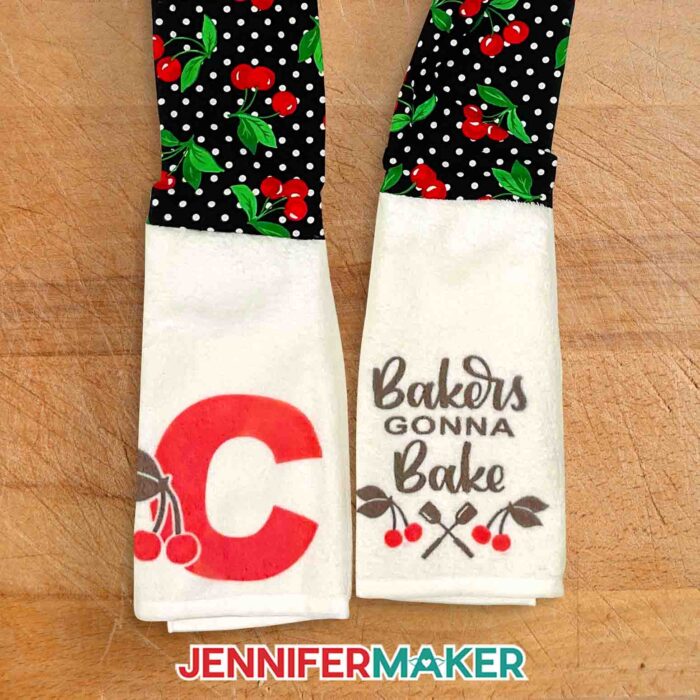
A simple kitchen boa is is a great gift, but adding custom sublimation designs bumps them up to wonderful gifts! I’ll show you how to use my free files with both Infusible Ink transfer sheets and printed sublimation images. You can use the fruit designs and sweet messages in the download, or follow along to make your own in Cricut Design Space.
I used a Cricut Maker 3 to cut my Infusible Ink Transfer Sheets on a green StandardGrip Mat. You can use any cutting machine large enough for your design, or even use my printable PDF to cut them by hand. Weeding and combining the sheets takes some patience, but the result is great! Your brayer, weeding tool, and scissors will be very helpful.
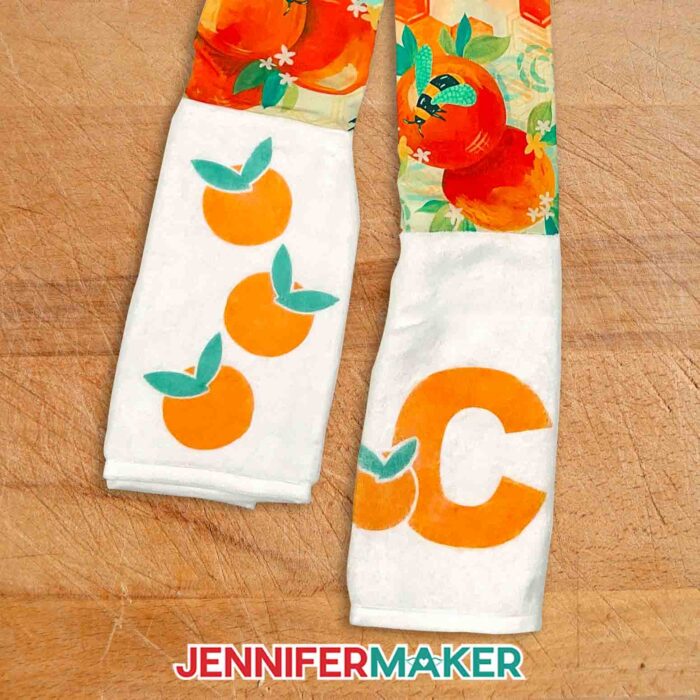
For the PNG files, I printed my designs on a Sawgrass sublimation printer with compatible ink and paper. When you compare my two orange-themed kitchen boas, you can see that the cut transfer sheets and printed designs create very different looks. If you’re getting started with print sublimation, my Sublimation for Beginners Ultimate Guide will help you pick the best tools and supplies.
I used a Cricut Autopress to transfer both kinds of sublimation materials, but you can also use an EasyPress with pressing mats. White cardstock and butcher paper and heat resistant tape are important, but see my full list of materials and tools below. Remember, a home iron will work for making the scarf, but even a very warm iron won’t get hot enough for a sublimation project.
Good ventilation is necessary any time you use a sublimation process. Have your windows open and a fan going to help the fumes from sublimation dyes dissipate quickly. And don’t breathe in very close to the project while it’s still warm.
My kitchen boa pattern is such a fun project, I can’t wait to see what you make for yourself or your friends and family members!
Let me show you how easy it is to make a kitchen scarf boa! This post contains some affiliate links for your convenience (which means if you make a purchase after clicking a link I will earn a small commission but it won’t cost you a penny more)! Read my full disclosure policy.
Materials to Make a Kitchen Boa
View my Amazon shopping list with the exact items we used to make this project
- A white kitchen towel that will work with sublimation – I tried both 22″ x 15″ White Sublimation Blank Towels and 16″ x 24″ White Microfiber Kitchen Towels with good results
- Sewing Machine – I used my Janome Arctic Crystal Sewing Machine
- About one yard of cotton fabric – I used Lemon Blossoms, Black Cherry with Dots (unavailable, alternative), and Oranges with Bees
- Sewing Ruler and Washable Fabric Marker
- Household iron and a safe ironing work surface – for the fabric
- Rotary cutter and Self-healing cutting mat or fabric scissors
- Sewing Clips
- All Purpose Thread – use matching thread to blend with the main fabric
- Heat Press like an EasyPress and Pressing Mat or an Autopress
- Heat Resistant Tape
- Scissors
- Lint Roller
- Fan – to help disperse sublimation fumes
- Design #467 — My free kitchen scarf decal design files (available from my free resource library — get the password at the bottom of this post)
If you’d like to use Infusible Ink transfer sheets, you’ll need:
- A method to cut your material – I used the Cricut Maker 3, but you can use any Cricut depending on the design size
- Cricut Green StandardGrip mat, 12″ x 12″
- Cricut Infusible Ink Transfer Sheets – I used True Yellow, Teal, True Red, Black, Tangerine, and Suntan as well as the included butcher paper
- Brayer
To use a printed sublimation design, you will need:
- Sublimation printer and compatible ink, such as a Sawgrass SG500, or a converted Epson EcoTank Inkjet Printer with Hiipoo ink
- Sublimation Paper
- White Cardstock 12″ x 12″
- White Butcher Paper
How to Make a Kitchen Scarf Boa
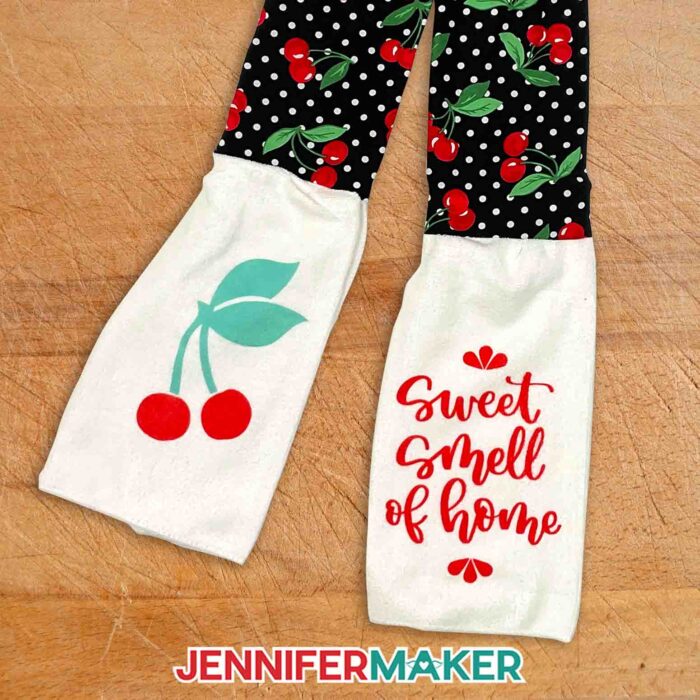
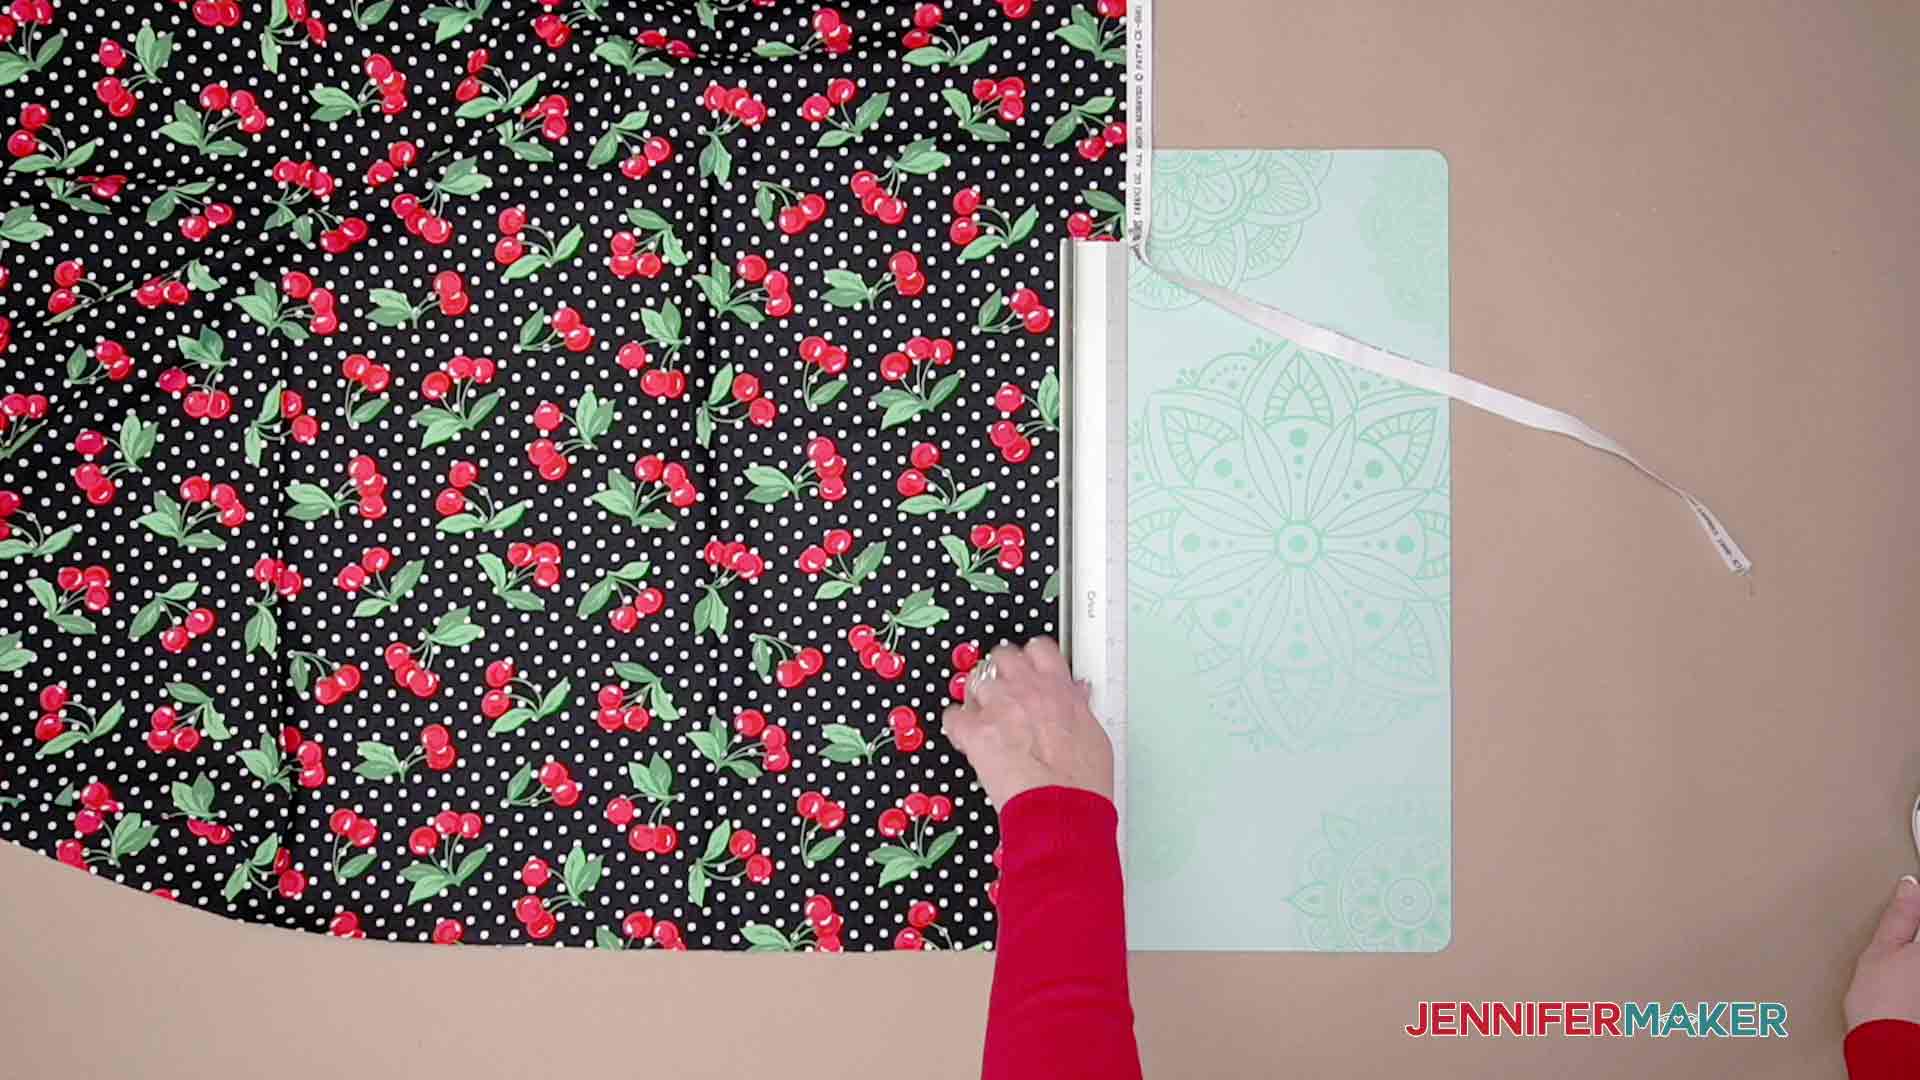
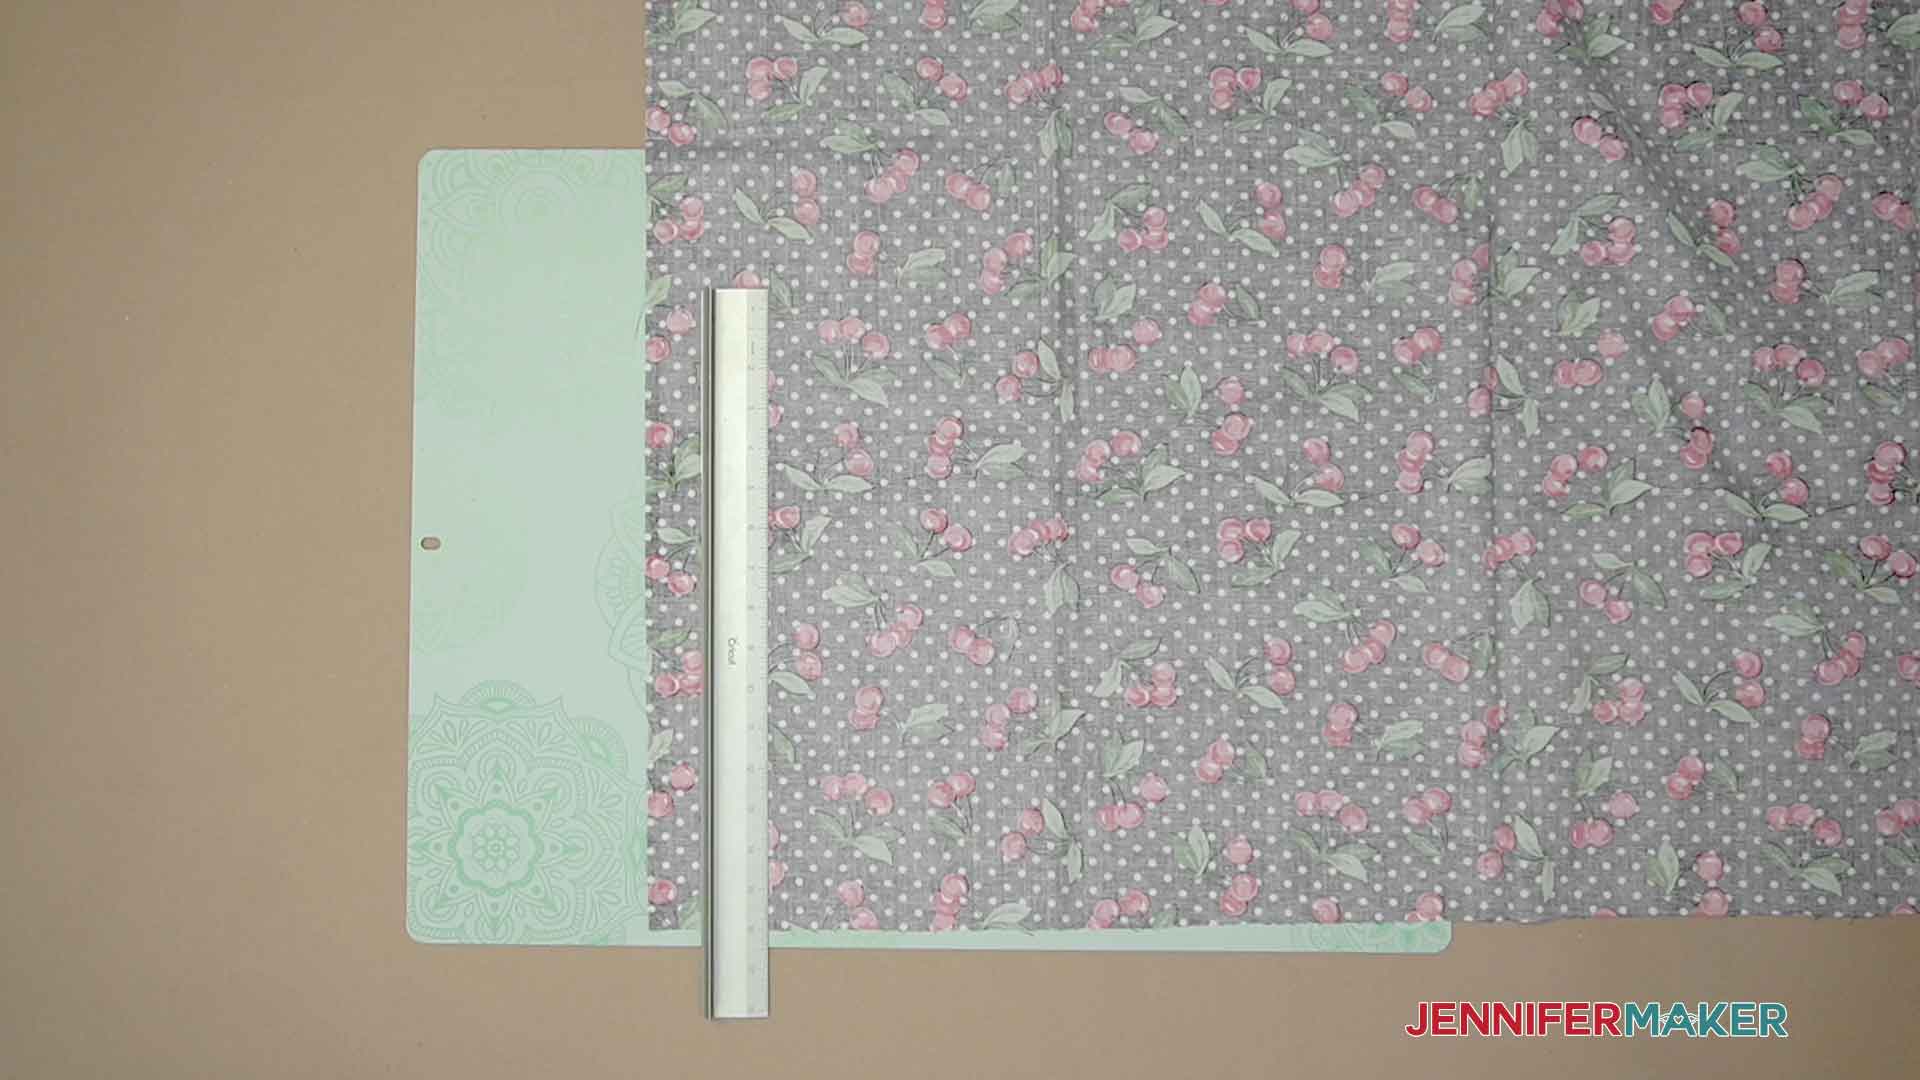
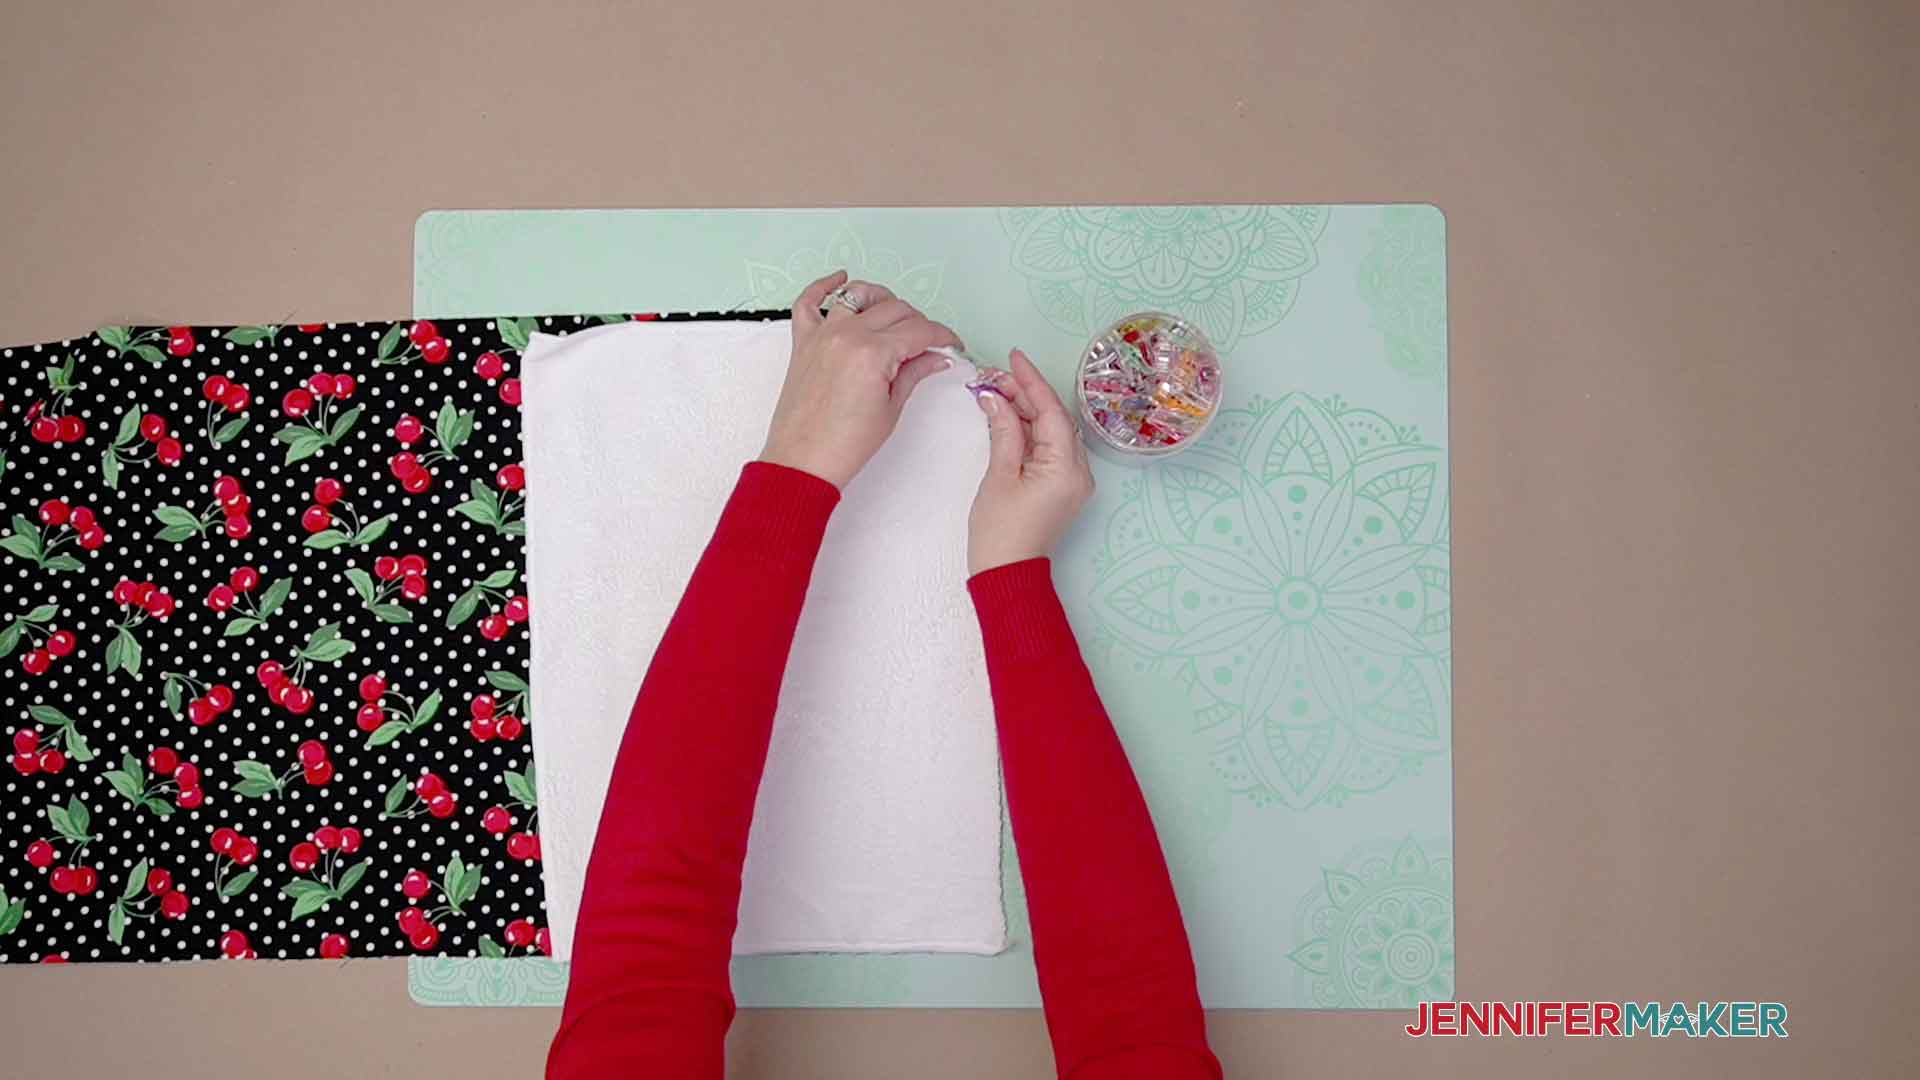
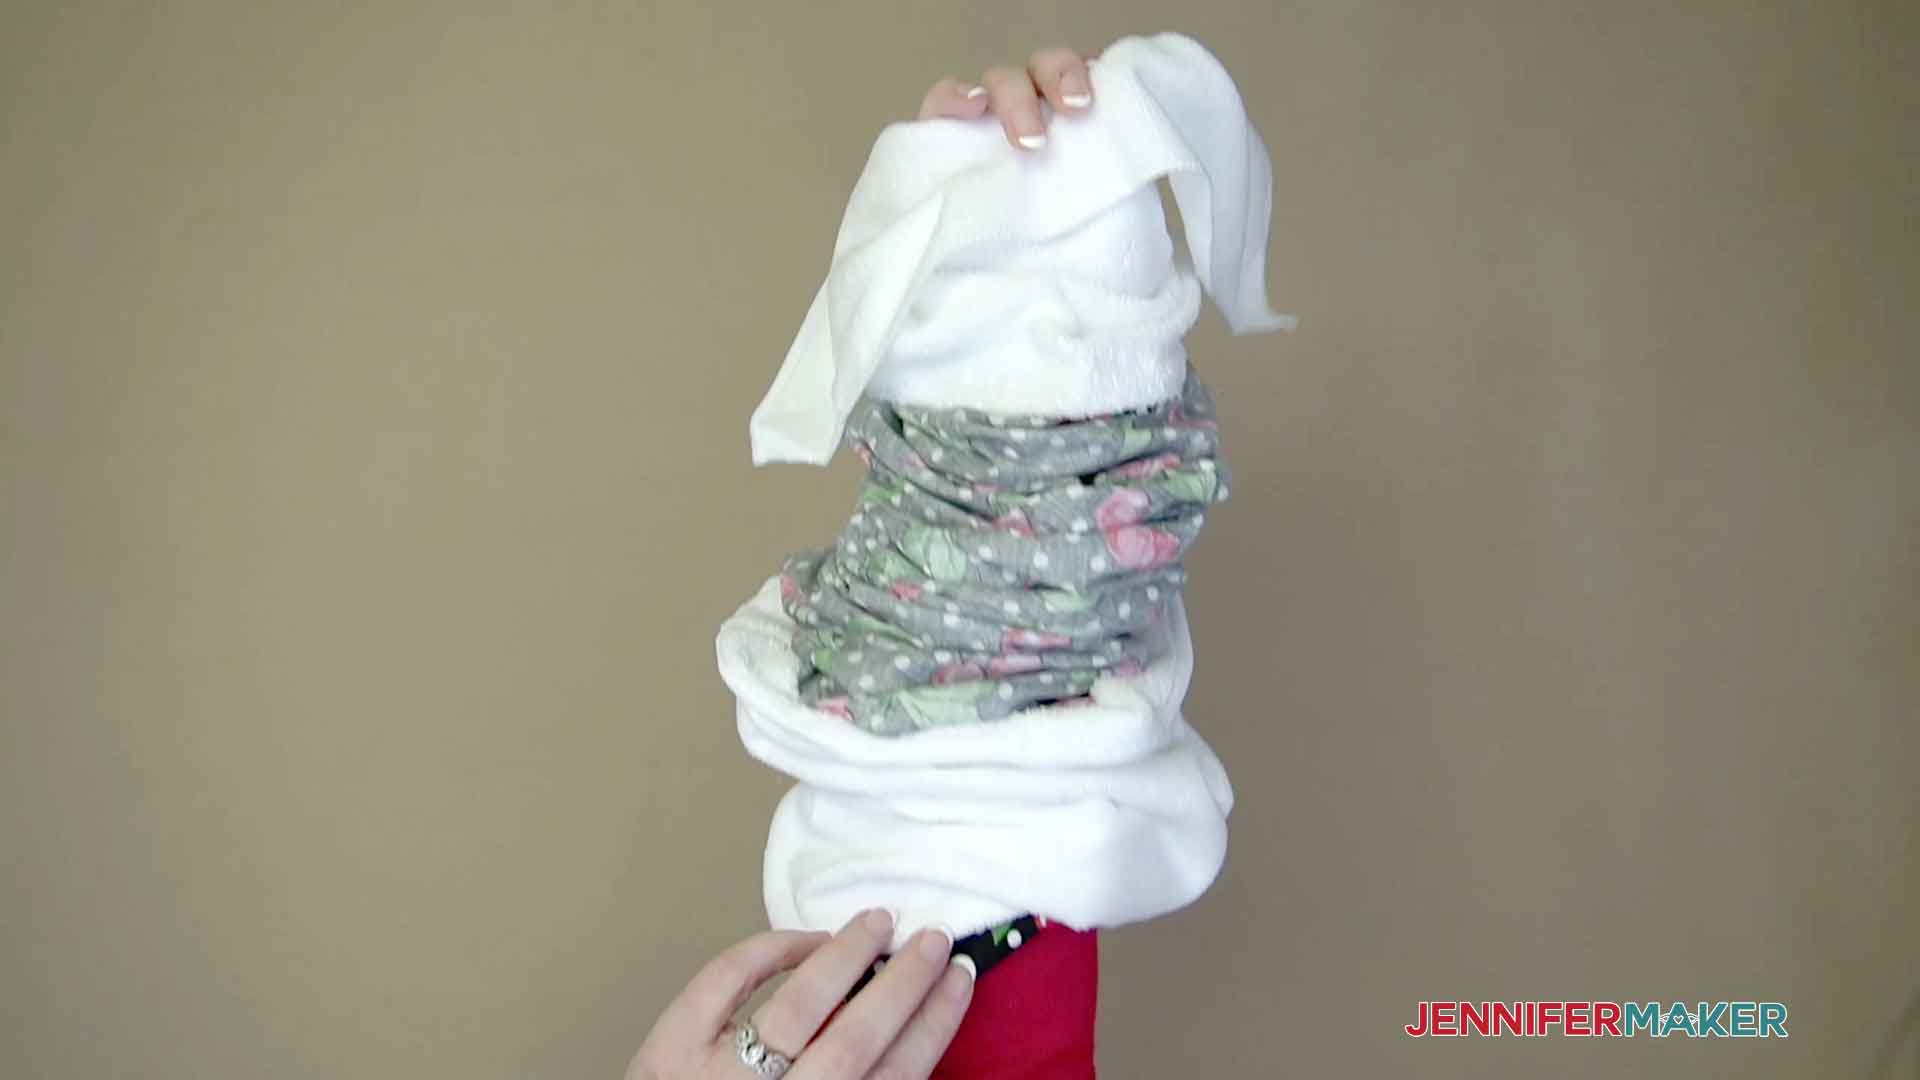
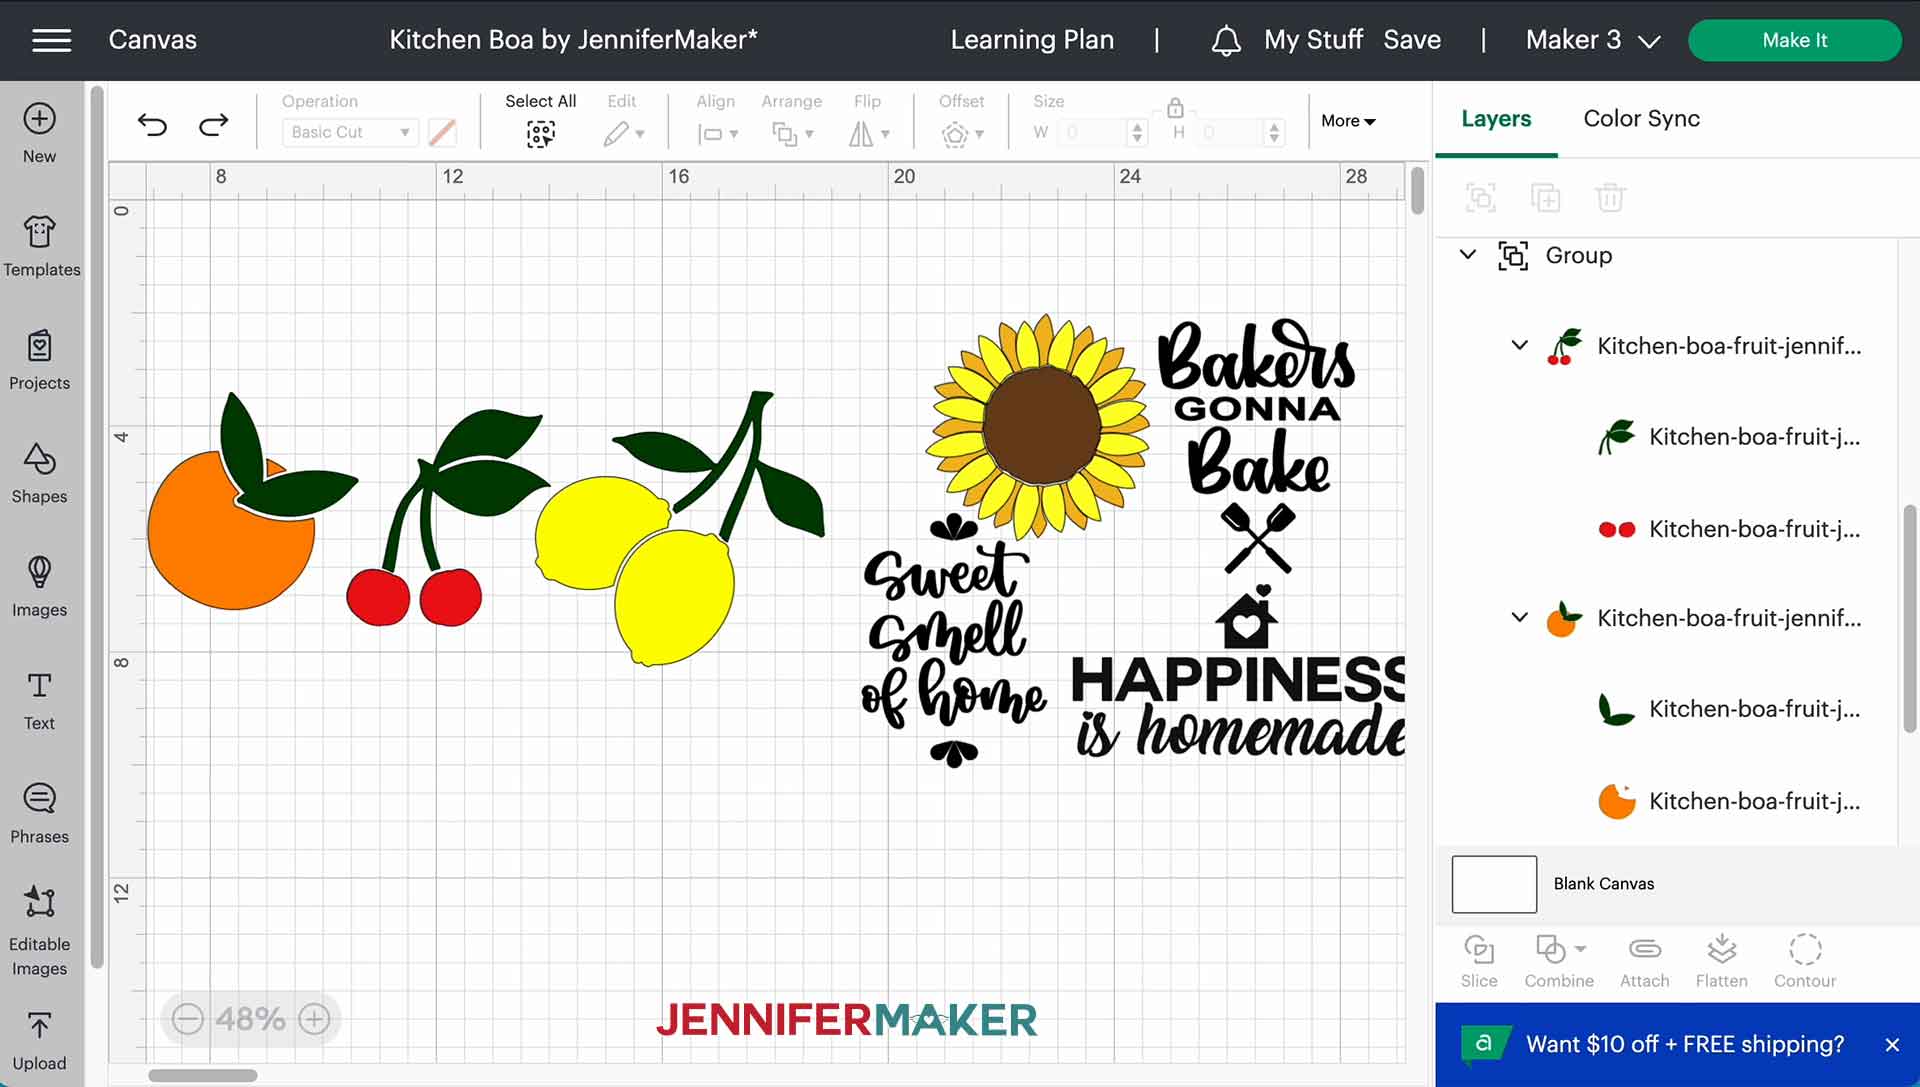
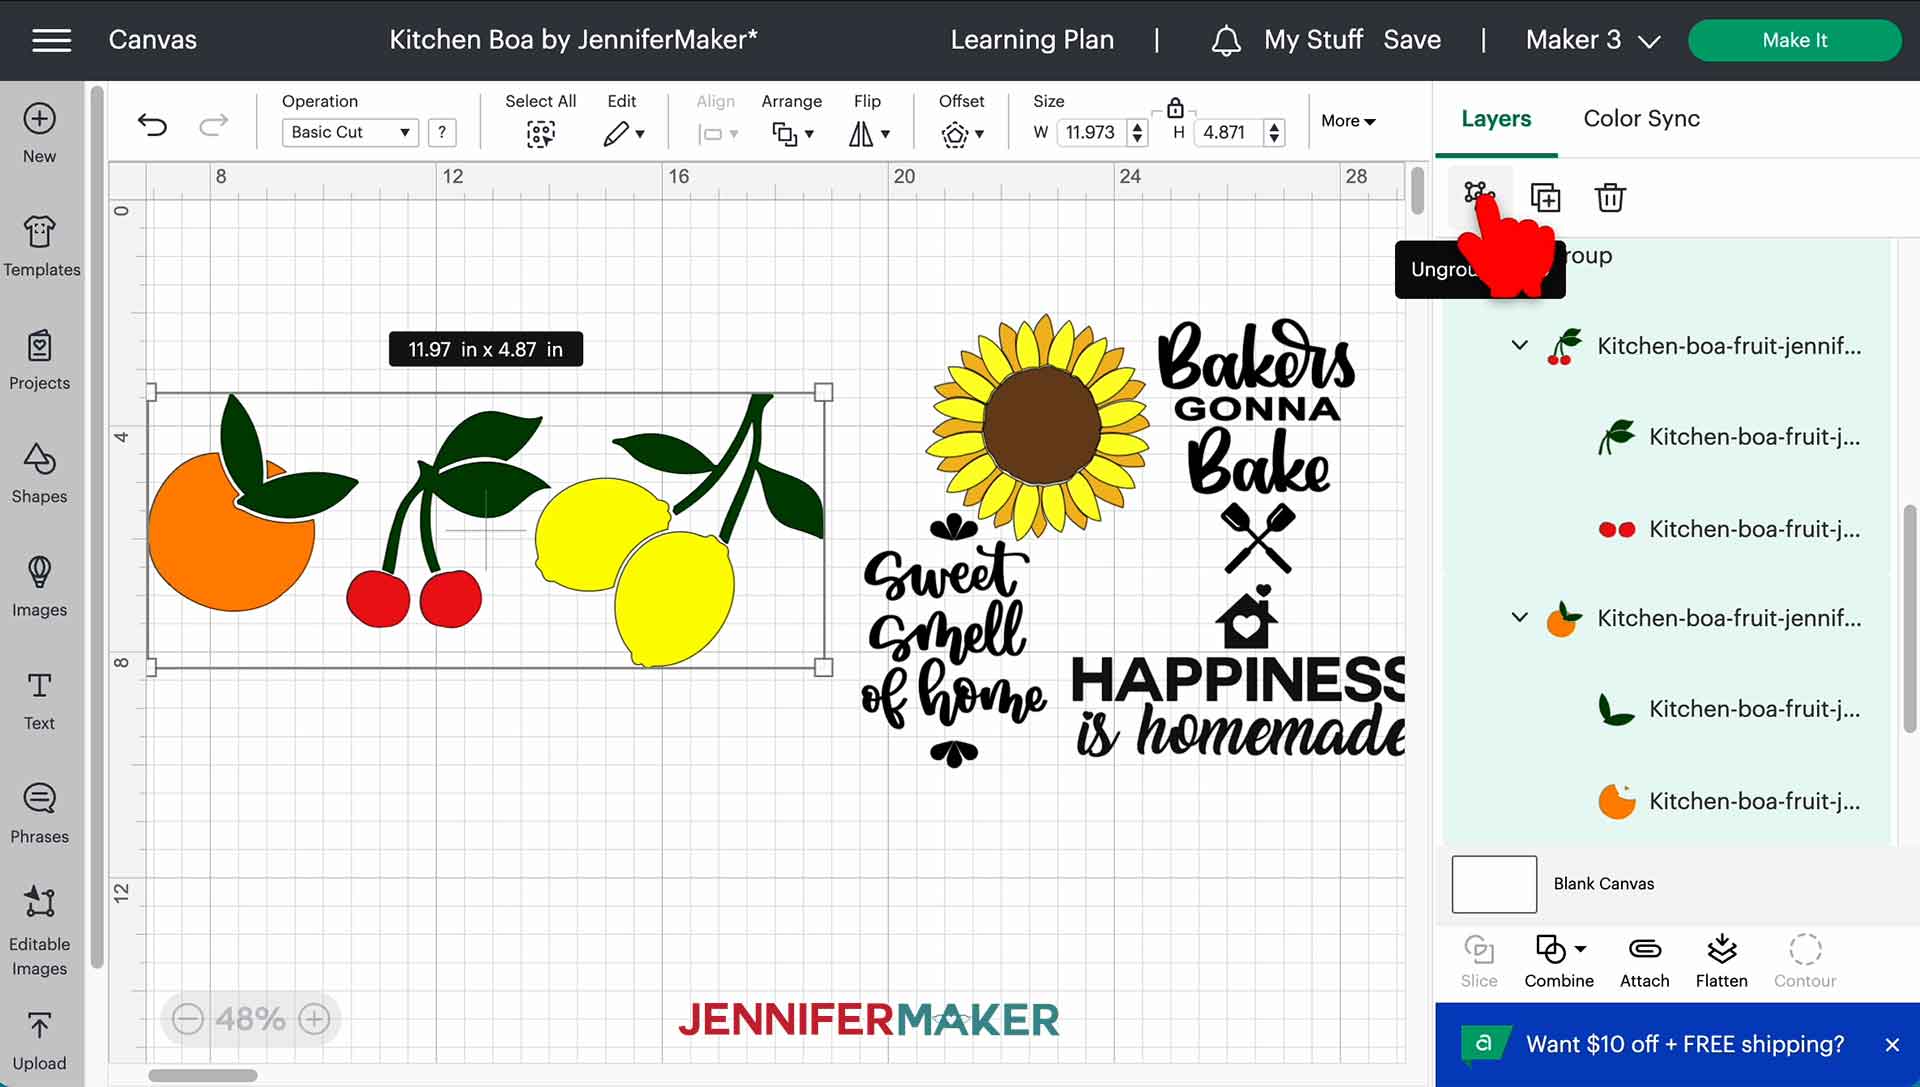
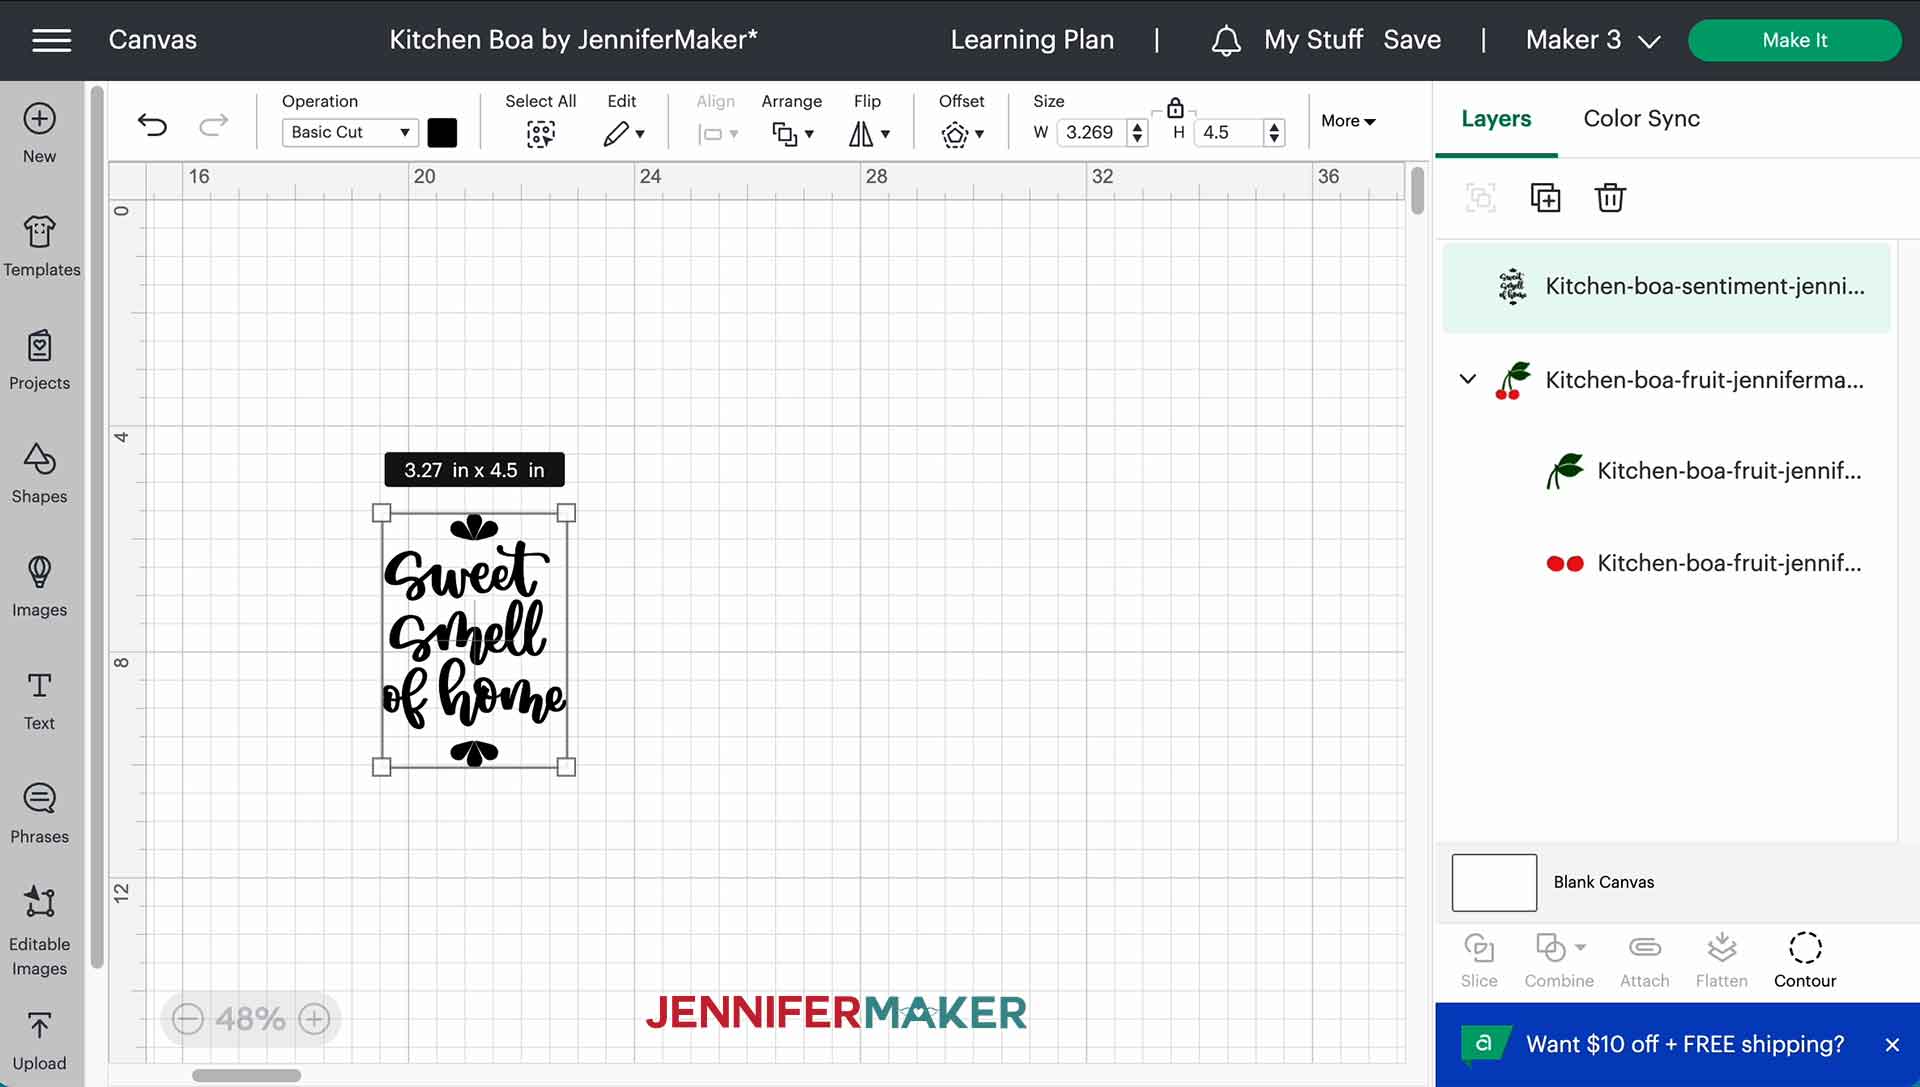
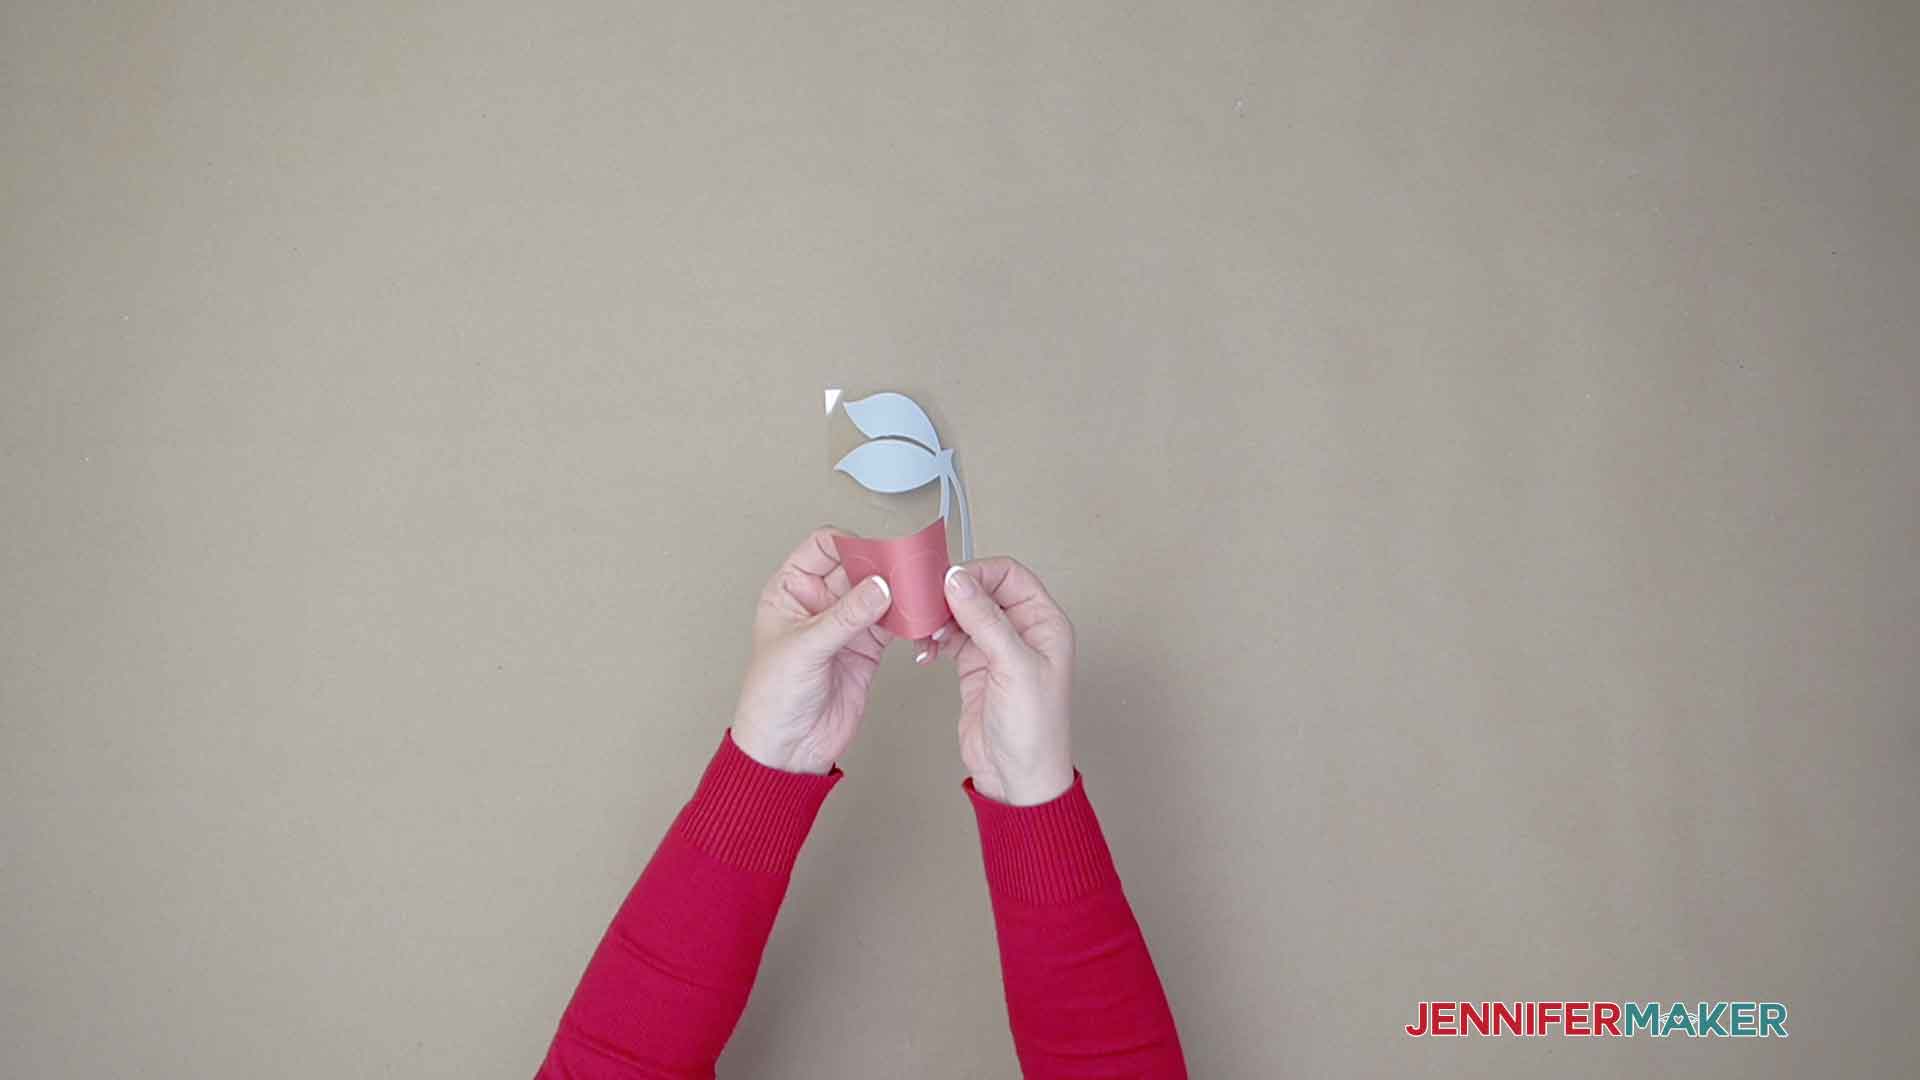
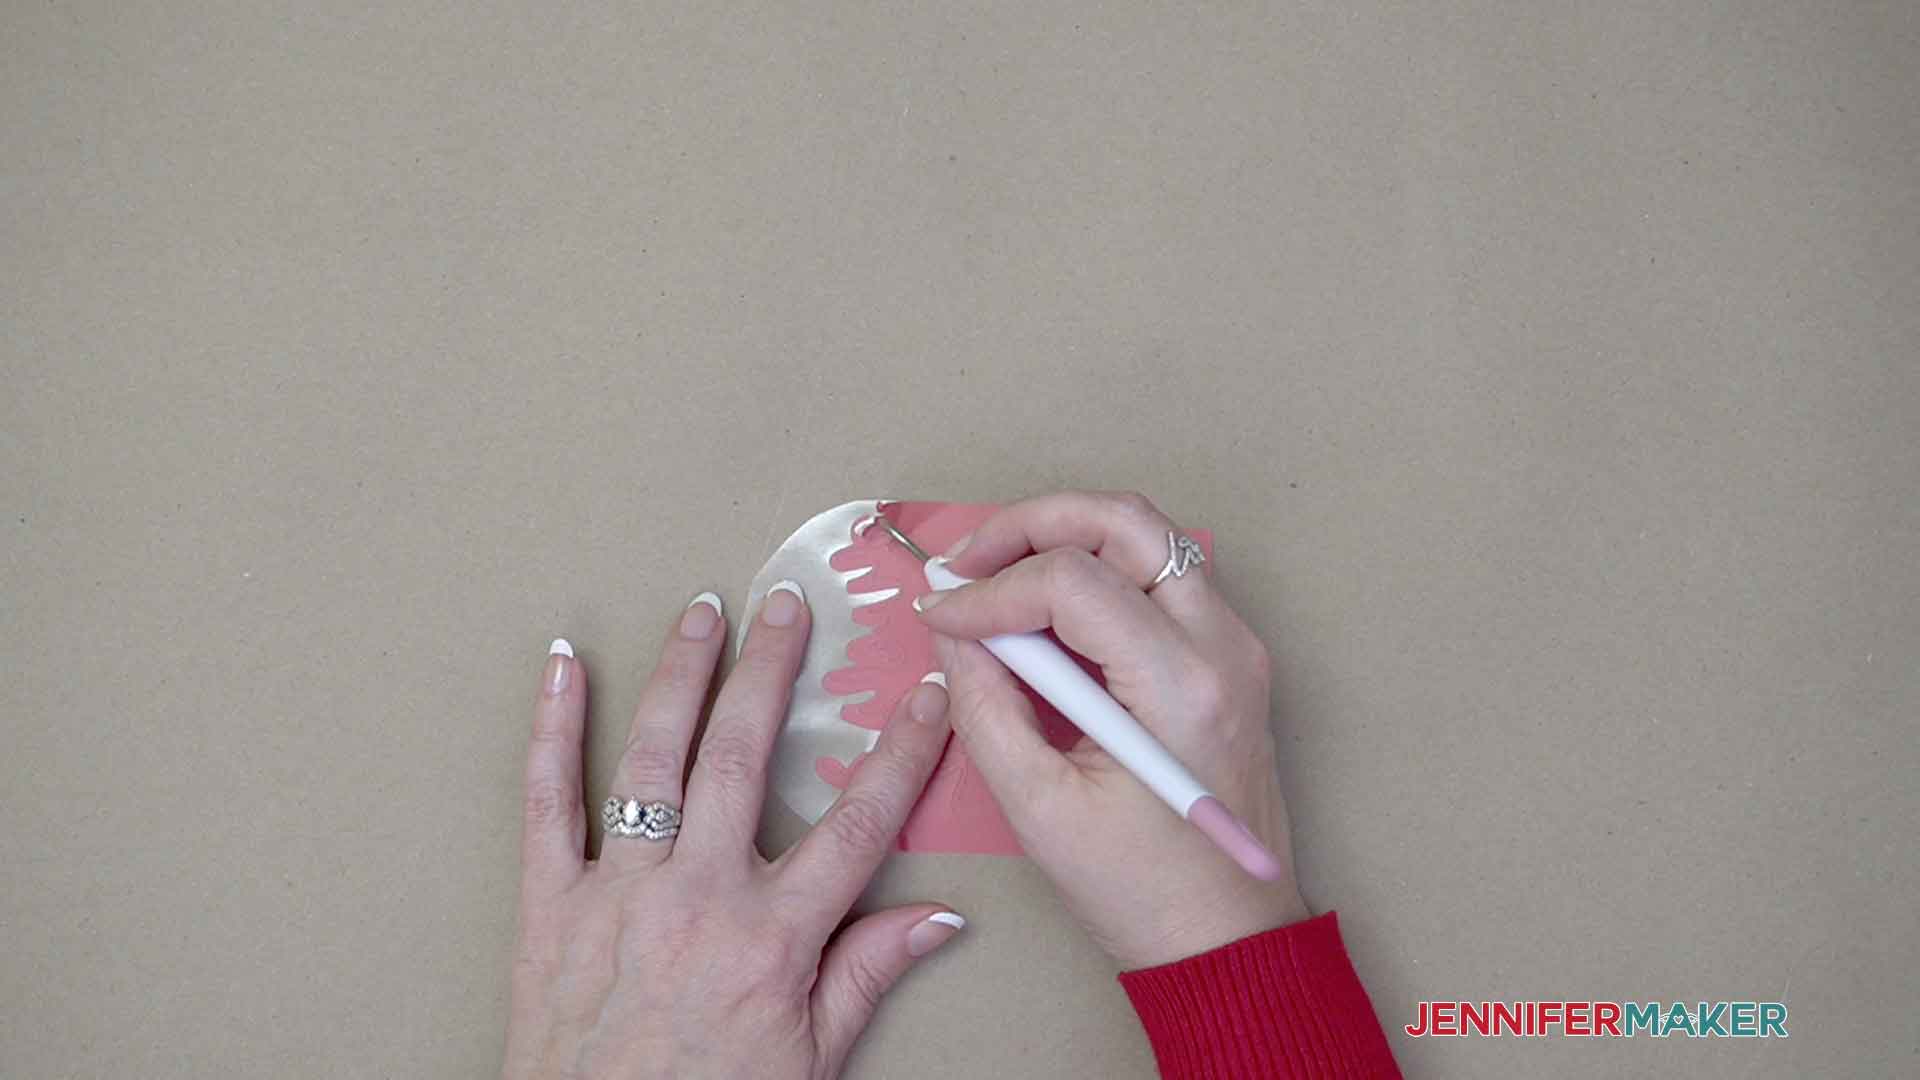
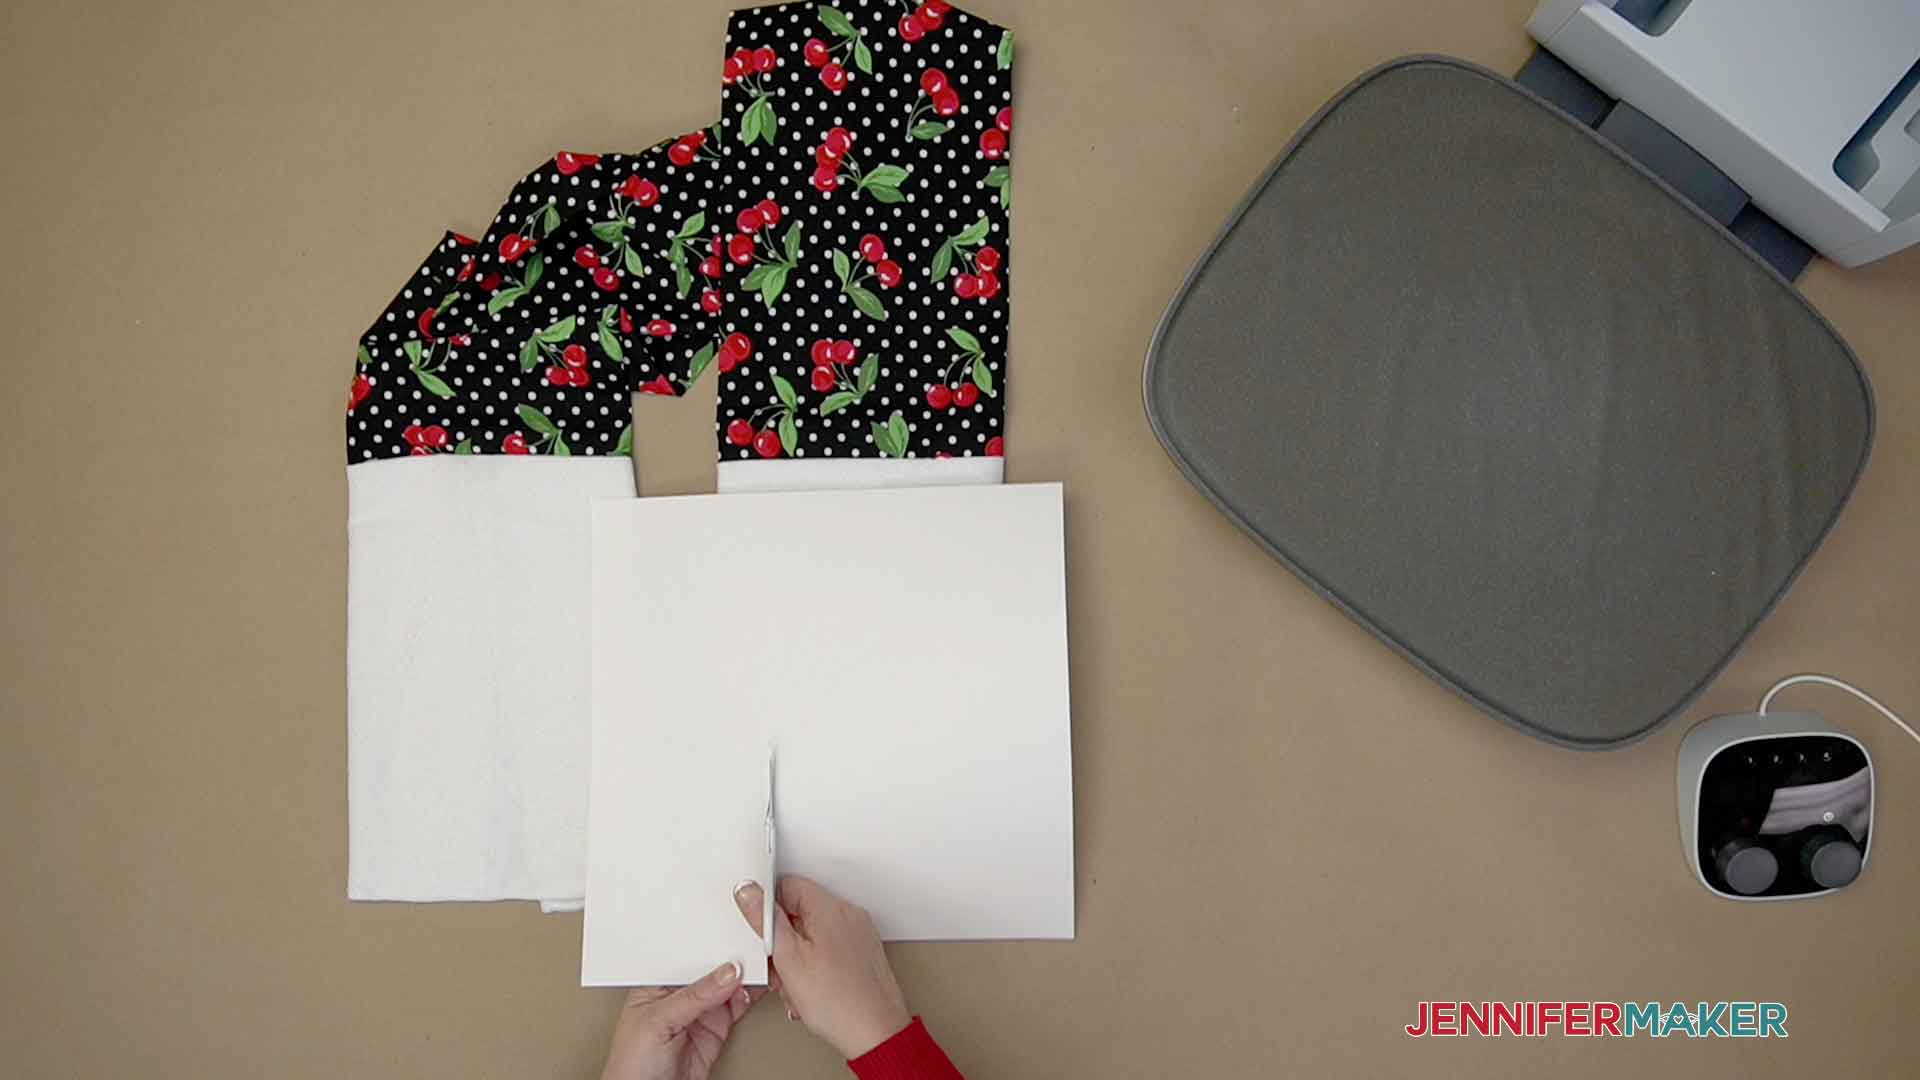
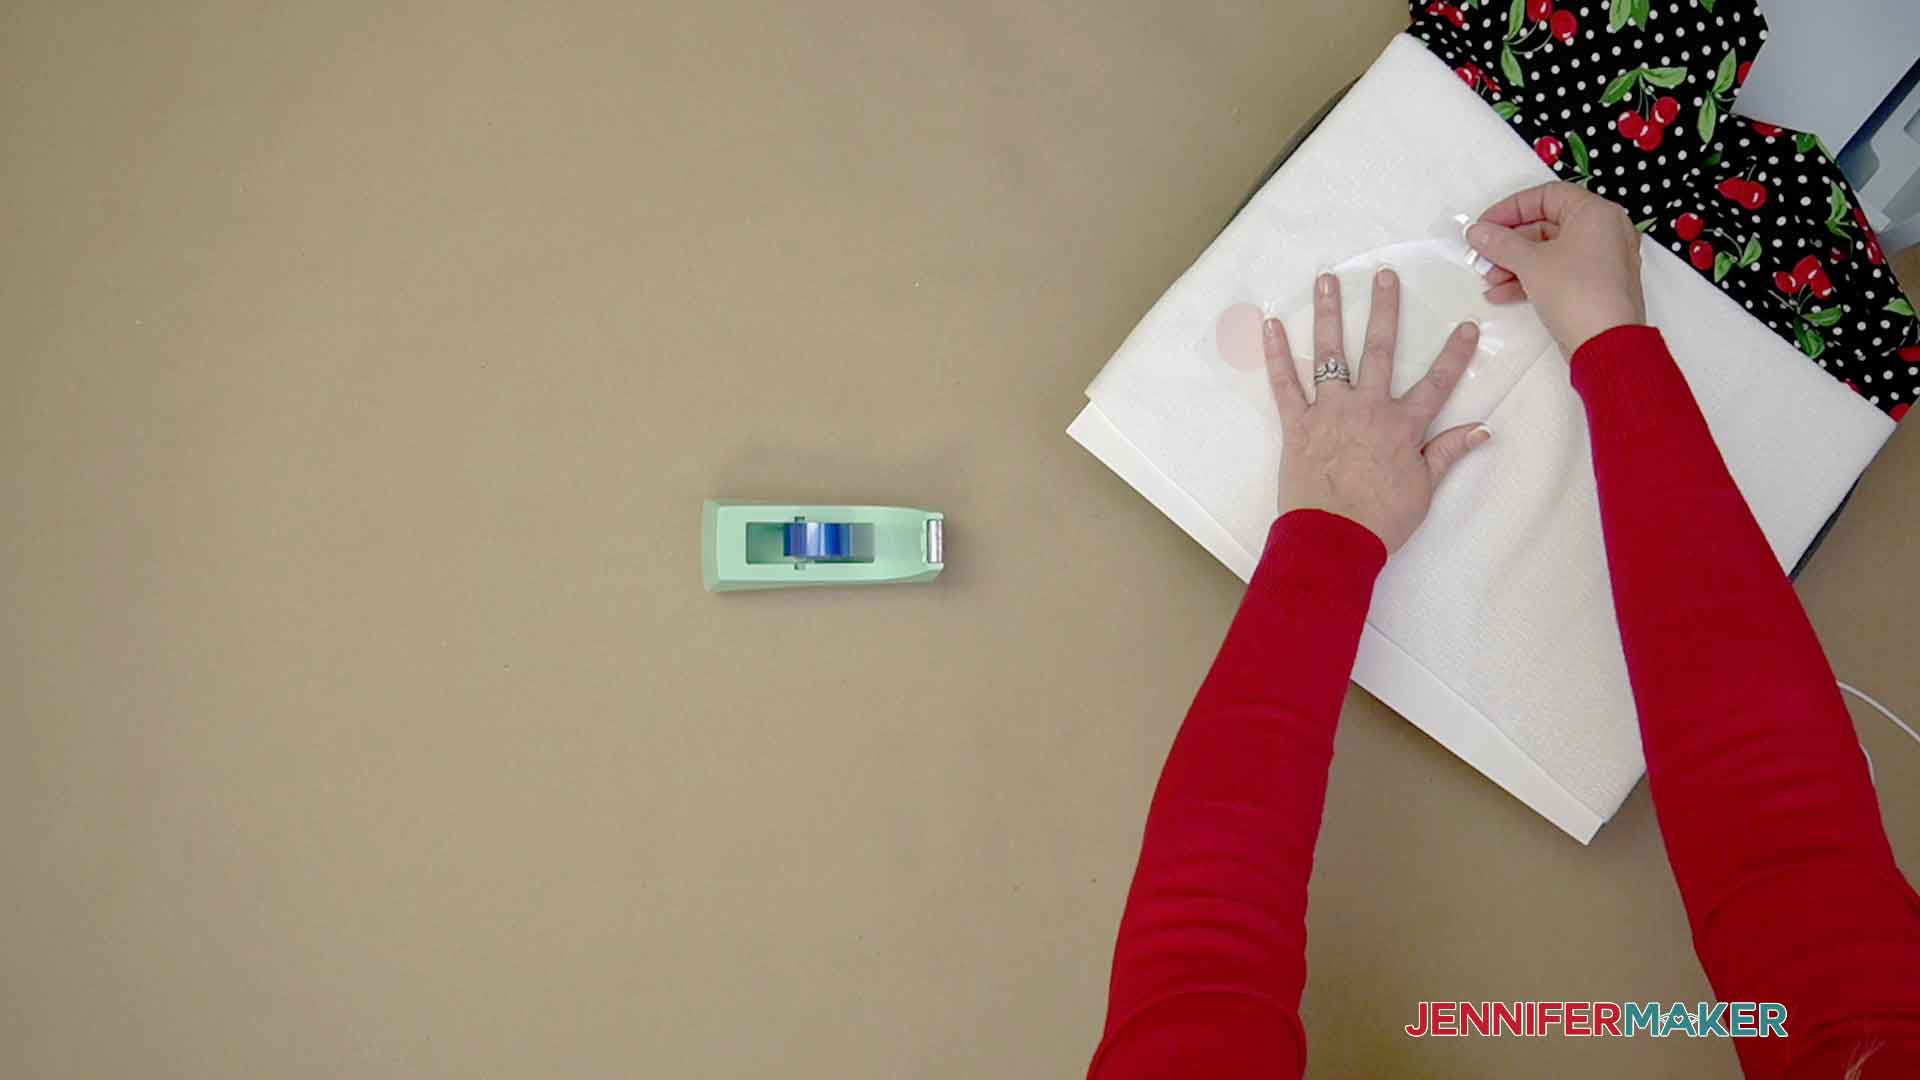
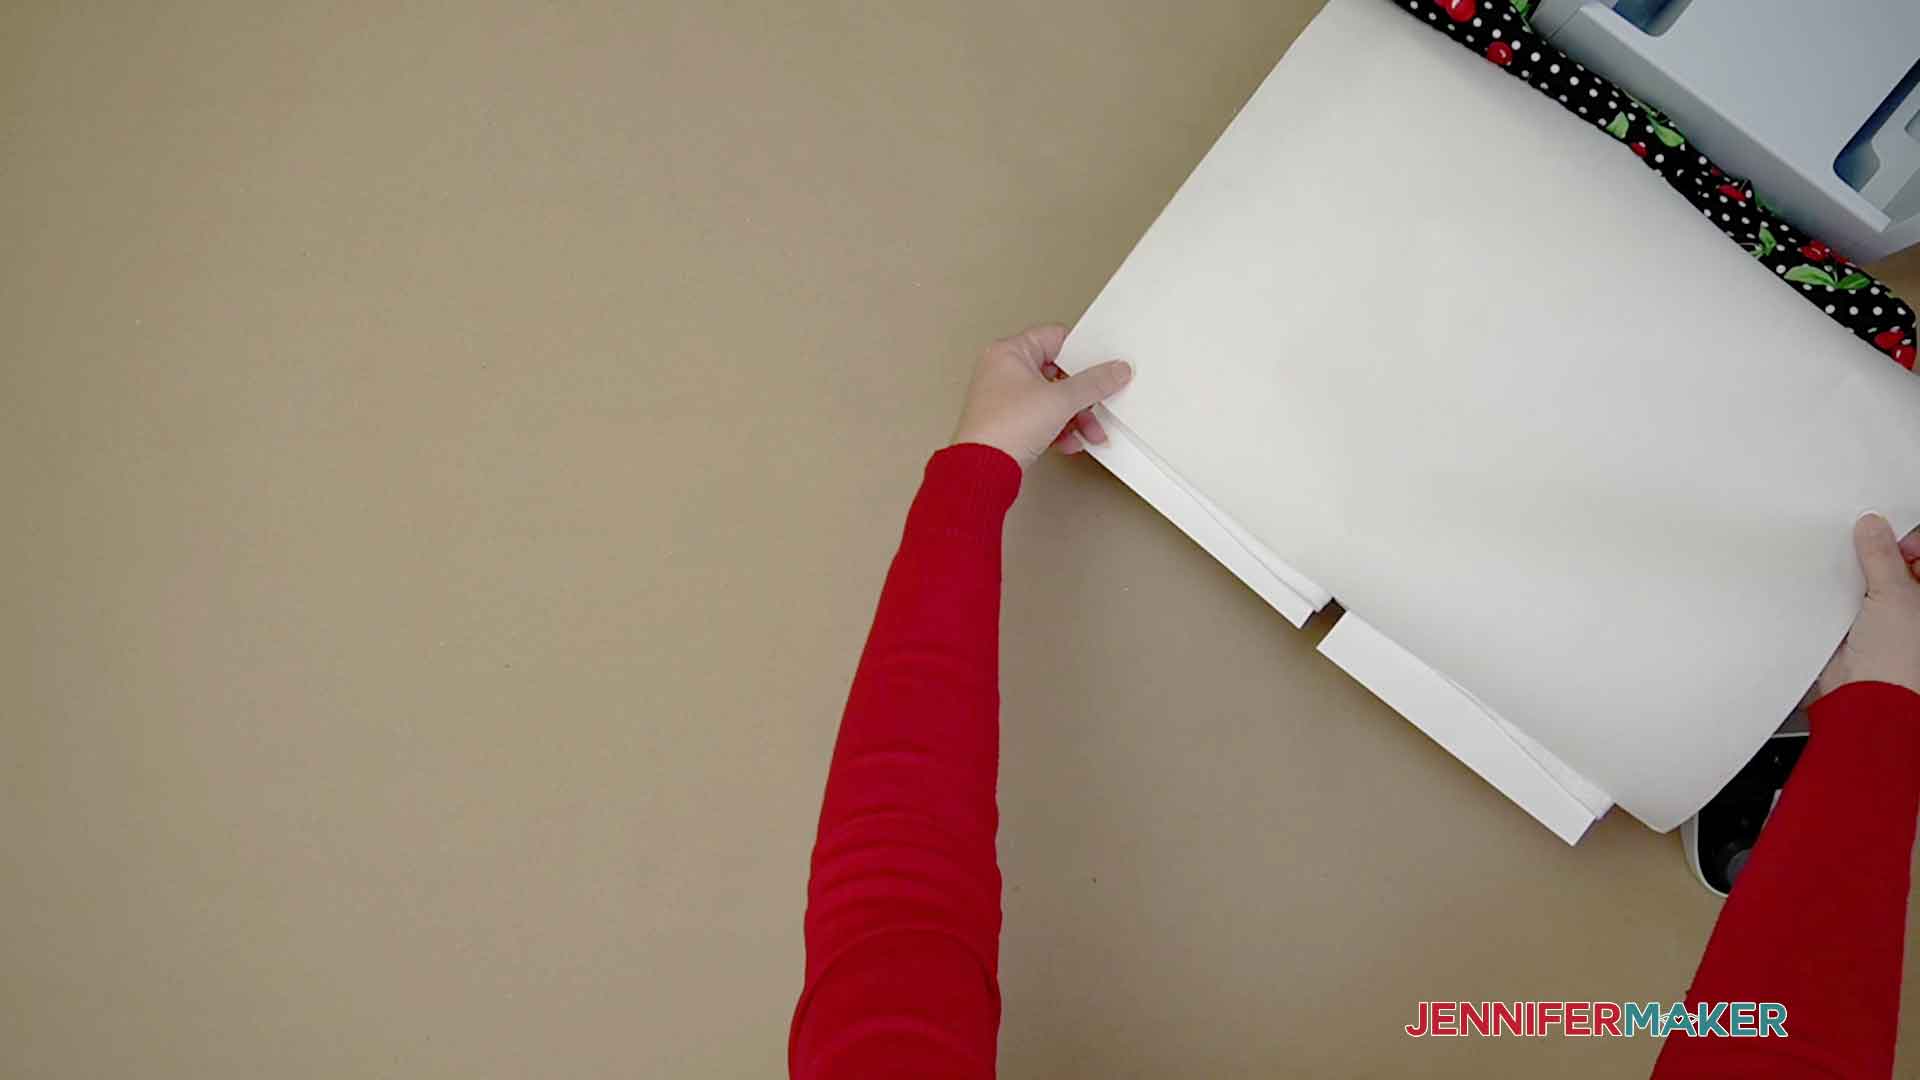
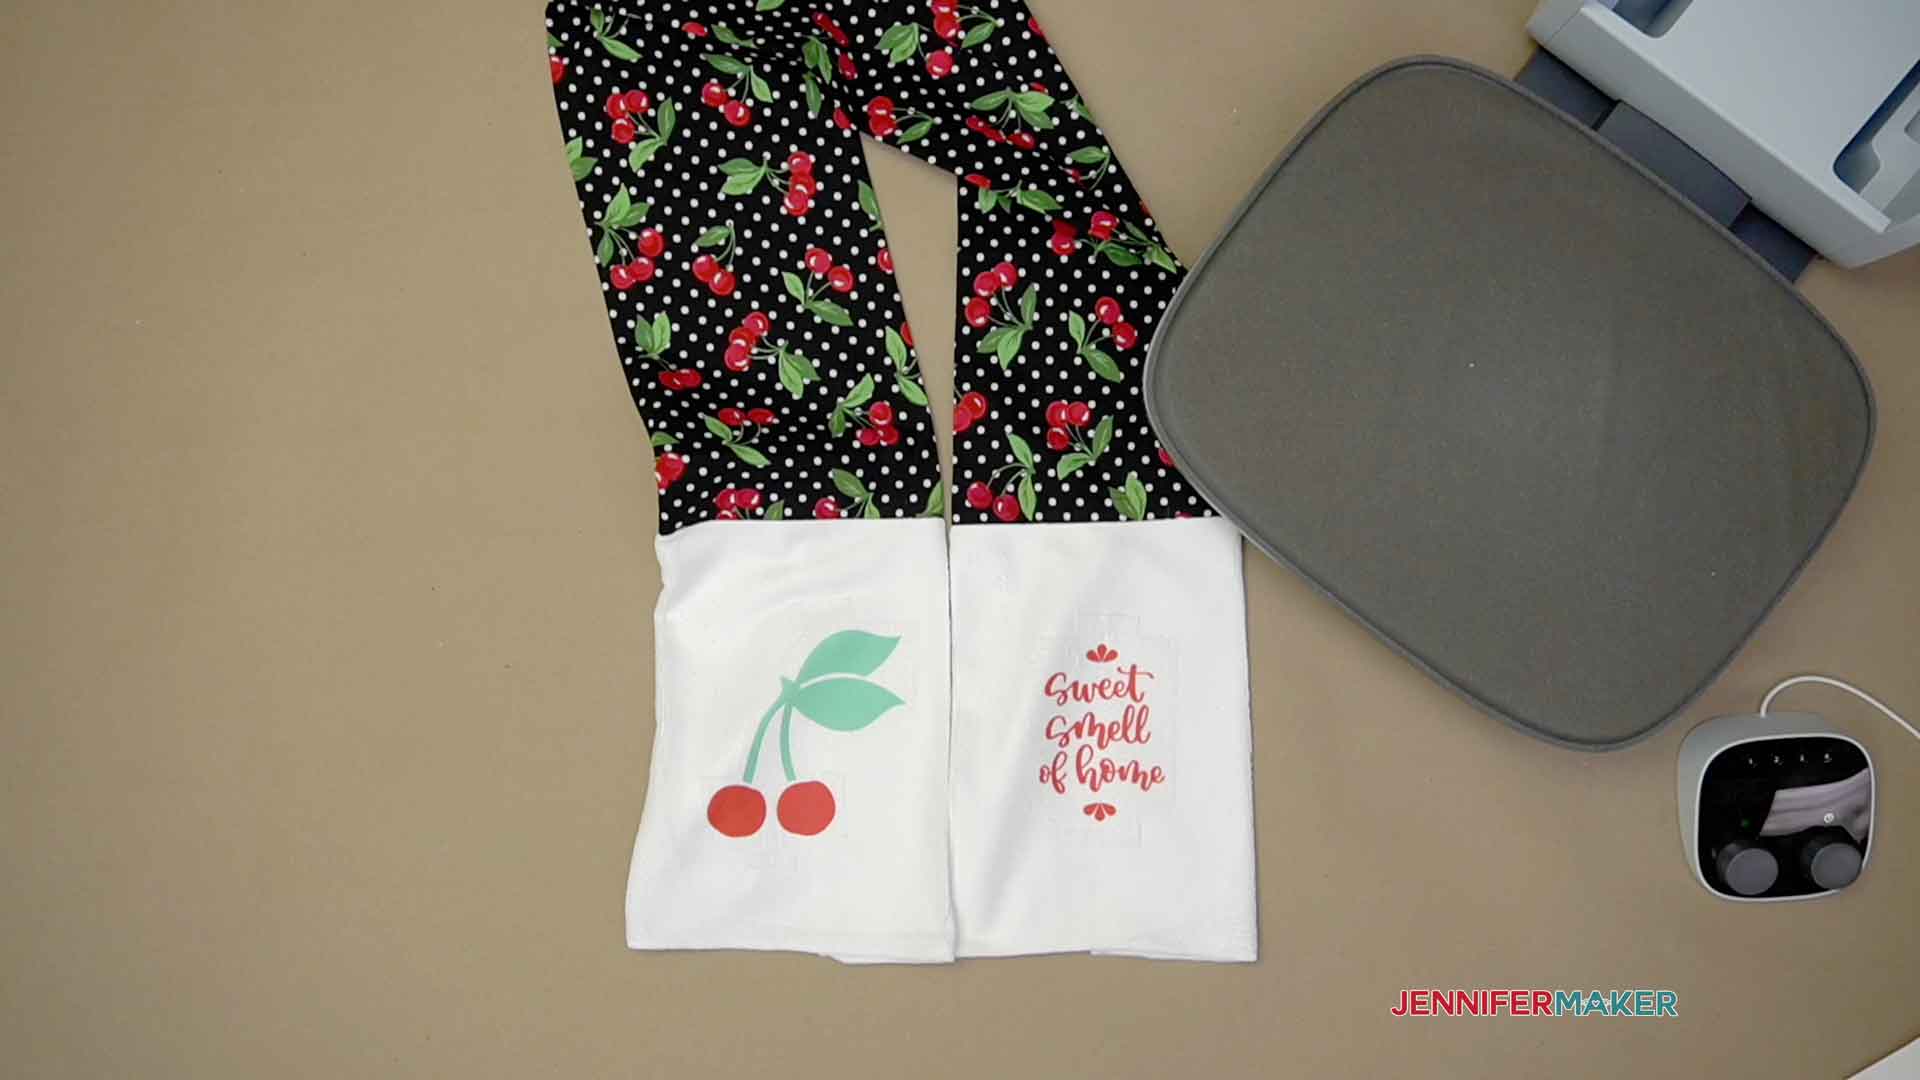
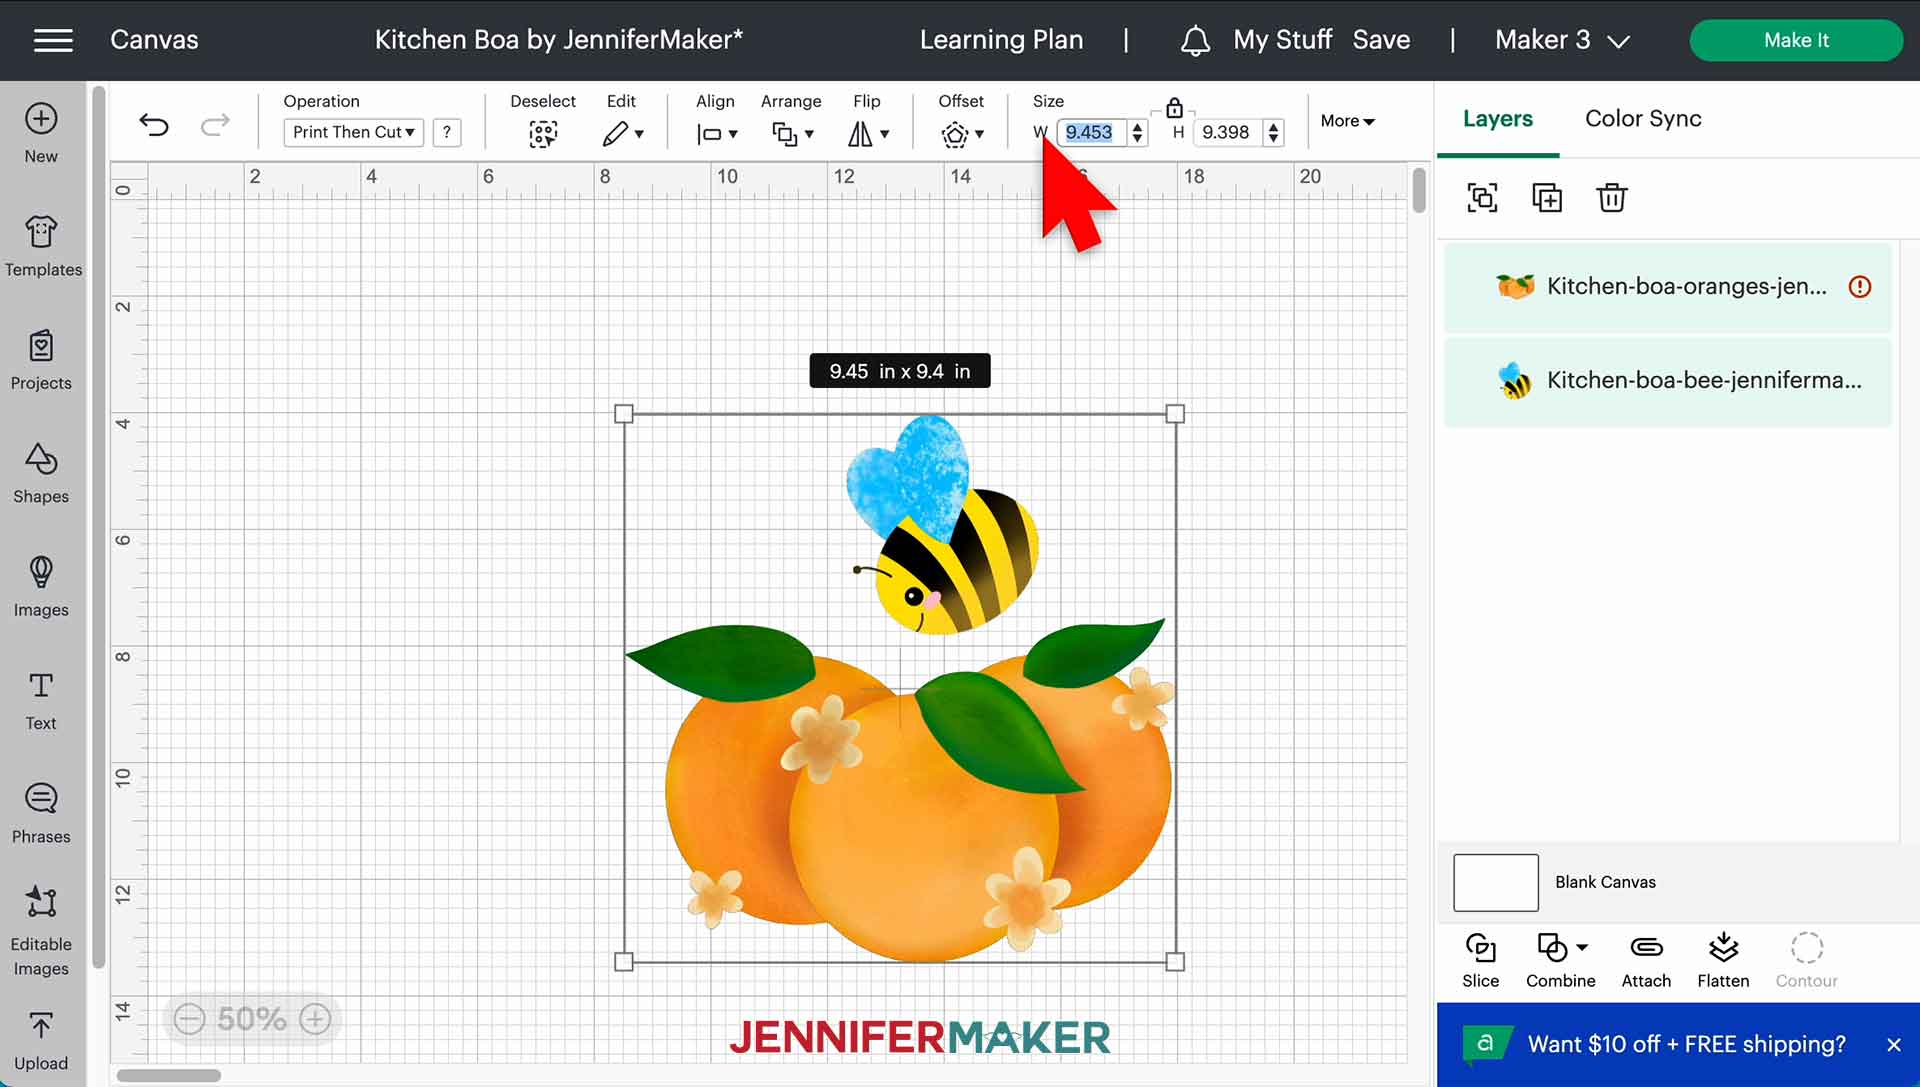
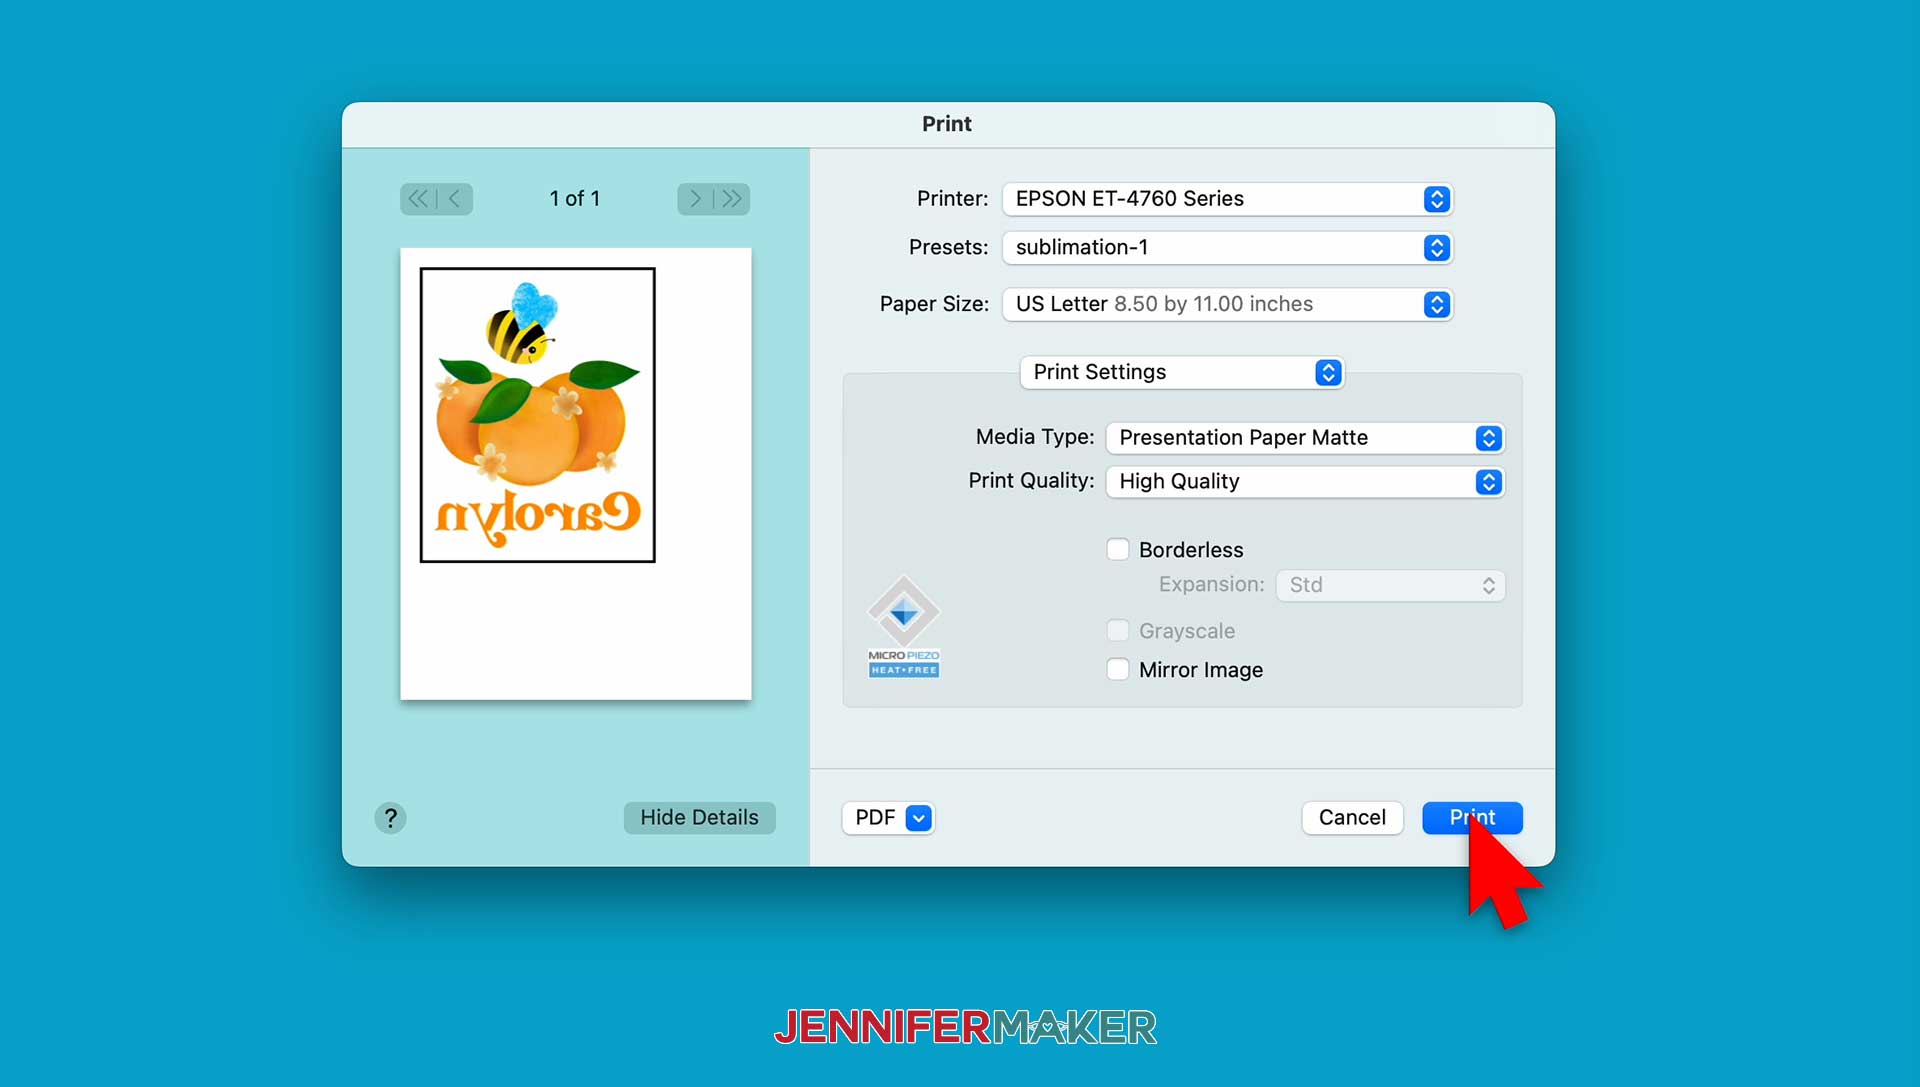
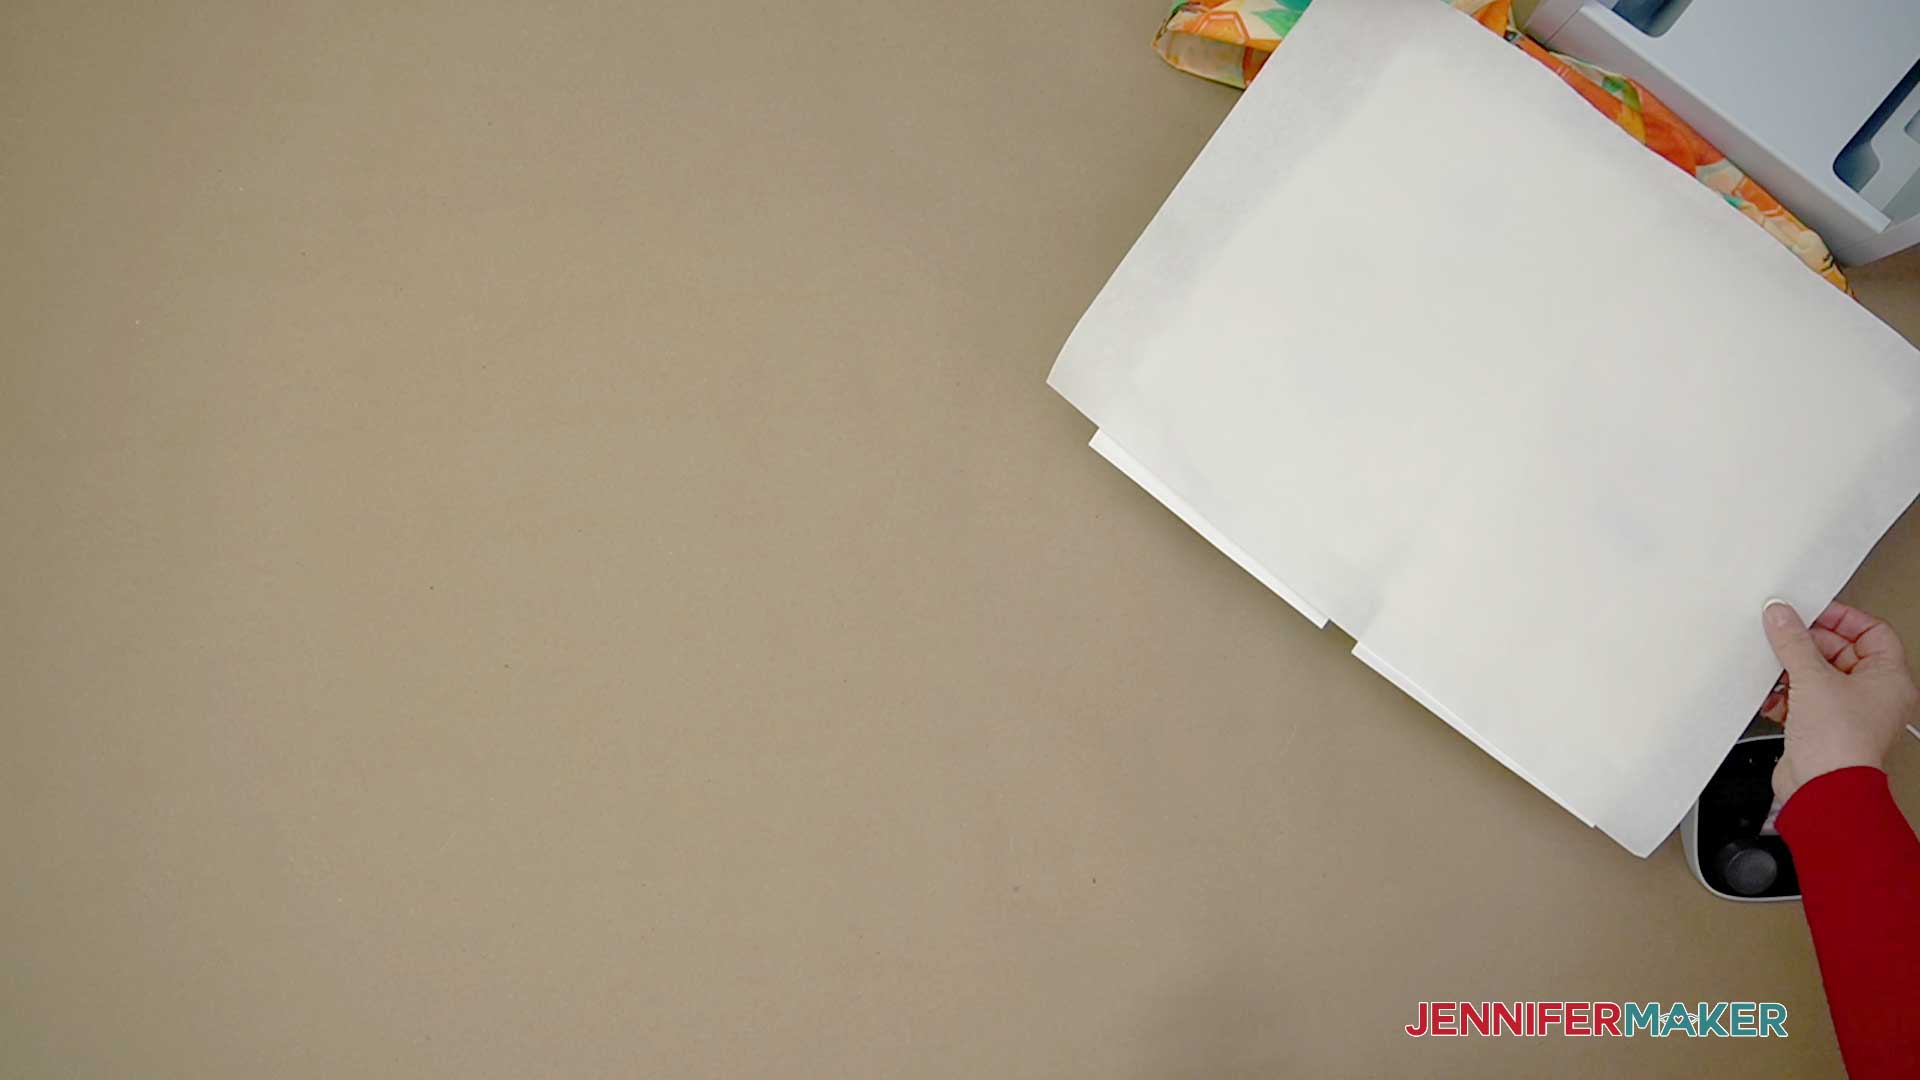
Make easy kitchen boas with sublimation or Infusible Ink designs! NOTE: While the steps for adding printed sublimation designs or Infusible Ink pieces are different, you’ll make the boa the same way for either option. NOTE: I prefer not to wash my fabric before sewing if I’m gifting a project, that way the recipient can decide how they want to care for the item. However, you can certainly wash and dry the fabrics if you’d prefer or if you’re nervous about them shrinking. Just make sure they’re ironed smooth after! Turn on your iron and set it for cotton setting, no steam (optional). If your kitchen towel has a side that is more suitable for adding a design (smoother, whiter) than the other, have that face up. We'll consider that the "nice" side. TIP: Using fabric with an all-over design is easier since the pattern will look the same on either side of the person’s neck. But if you want to use directional fabric, cut two pieces with the pattern running the long way. Then, clip or pin them right sides together at a short edge so that the pattern goes a different way at either side of where you’ve pinned. Then sew along the seam! Be sure to remove any selvage edge (the rough section at the edges with company information) from the cotton fabric and measure a rectangle that is 42" x the width of the towel. For my Kitchen Boa I am using 42'' x 16'' of fabric. Pin the cut edge (mine is 16") of the towel to the edge of the fabric so that the nice sides are facing each other. Pin the other towel piece to the other end in the same way. Place the fabric pretty side up and fold it lengthwise so that the pattern side of the fabric is inside. Pin along the seam long. Reach through the tube to grab the other towel and pull it through to turn the fabric right side out. If you don't have a sublimation printer, you can make designs with Infusible Ink using my files in the download folder. You can download the free SVG cut files from my free resource library, it's Design #467. Then, upload the SVGs you want to Design Space. I’ll use the cherries from the fruit file, and I’ll put a sentiment SVG on the other side of the boa. If you are not sure how to upload an SVG cut file to Cricut Design Space, watch this helpful video training series I made. Here is what the designs look like on my Canvas. Let’s start with the fruit, so drag the sentiments to the side. With the fruit designs selected, click "UnGroup" so you can work with each independently. If there are designs you don't want to make, select them and click "Delete" above the Layers Panel. I’ll leave the cherries I’ve sized the designs to fit on the cut sections of towels in the material list. The usable design area is about 5” wide and 6” tall, but measure yours and adjust the sizing if needed. Pull it to the side for now. Back at the sentiments, use the same steps to ungroup the collection and delete anything you don’t want to make. I’ll leave the “Sweet smell of home” design. It’s also a good size for the towel. Use the color box at the top to change the sentiment’s color if you’d like. I’ll make it red to match the fabric and cherries. Make sure the right machine is selected and then click "Make It." If prompted, select "On Mat" and "12 in x 12 in" then click Continue. On the Prepare screen, click the "Mirror" toggle below all your mats. You always need to for Infusible Ink transfer sheets! Then click Continue. Select "Infusible Ink Transfer Sheets" for your material and set the pressure to "More". Make sure your clean Fine-Point Blade is in Clamp B. Then click Continue. NOTE: I recommend you wash and dry your hands immediately before handling Infusible Ink to avoid transferring any oils to the surface. Place your first Infusible Ink sheet shiny side down on a green StandardGrip mat. TIP: Using a brayer will help adhere the Infusible Ink sheet to the mat, ensuring a clean cut. Load your mat and press your machine's Go button. Once the mat is finished, unload it, flip it over on your workspace, and gently roll a corner back to release the Infusible Ink. Complete the process for the rest of the mats. If you're using more than one color, the one with more pieces will be called the primary and the other will be the secondary. Here, the red will be the primary and the green the secondary. I want to combine the designs on one piece of liner to transfer them at the same time, so I’ll trim the excess material with that in mind. Trim the secondary design – the stems – close to the cut lines. But for the primary color, leave a little extra liner where the stems will be closest to the cherry shapes. To weed Infusible Ink Transfer Sheets, use the “cracking” method. Slightly bend and roll the cut paper until you hear a little cracking sound (which happens as the cuts separate). Then, weed out the parts you don't want to press using a weeding tool and tweezers. Place the primary design face down in front of you. Using the Design Space Canvas as a reference, place the secondary color piece’s liner down in the right spot. NOTE: Make sure your secondary color pieces are facing the same direction that your main design is on the liner. Since we mirrored our design when cutting, everything will be backwards when applying the design on the correct side. Since the back of the transfer sheet is sticky, it will hold our attached pieces in place and allow us to move the entire design onto our towel all at once. Make sure none of the clear plastic overlaps the material, trimming any areas as needed. If you don’t have enough plastic from the main transfer sheet to attach your stems, you can apply them separately to the towel. Here's what my combined cherry Infusible Ink design looks like on my transfer sheet. Weed the other design, too. Make sure to remove any bits inside the letters! Next, prepare your heat press. Use the Cricut Heat Guide to find the right settings for your blank and transfer material. Since I'm using my Autopress and polyester towels, I'll press for 45 seconds at 385℉. Make sure you have proper ventilation by opening a window or turning on a fan. The towel areas have already been preheated, but use a lint roller to remove any debris that can get in the way of a good transfer. Cut a piece of clean white cardstock so it will fit between the layers of towel under the design area and slide it into place to protect the lower layer from extra ink. Position each design over an end and secure it with heat resistant tape. Make sure you place the design matte side down. This is why we mirrored our designs! Cover them with a piece of white butcher paper Heat according to your instructions. When they're done heating, let the boa cool down before moving it. Moving the towel right away could cause ghosting of the image since the sublimation process does not end immediately. After they have cooled, you are free to remove the tape and reveal the designs. TIP: To ensure successful sublimation - create a small test shape, a heart for example, and print it along with your other designs. Test press the shape on an inconspicuous area of the towel. Perform this quick test to double check temperature and pressure settings, make any adjustments needed before moving on to the design. On a blank Canvas, upload the PNG you want to use. I’ll use the oranges and bees. During the upload, select “Complex” for the image type, click “Apply & Continue” to skip the background removal, and then pick “Print Then Cut Image” as the upload type. Then Add it to your Canvas. PNGs load very large, so we will resize it down to fit the space on the towel. Make sure the lock icon is closed, then change the width to 5”. Click the “Text” icon and then type your initials or name. I’ll type Carolyn to make a kitchen boa for my mom. Click the Font menu to find an option you like. I’m using Transcity OTF font, which you can purchase from Font Bundles Resize the name until it’s about 5” wide or 6” tall so it fits on the towel. Use the color box at the top to change the name’s color. I’ll make it orange to match the fabric and orange design. Make sure the correct machine is selected, then click "Make It" in the upper right corner. If prompted, click "On Mat" and "12 in. by 12 in." on the pop up and click "Confirm". On the Prepare screen, make sure your mat says Print Then Cut and that the Material Size fits your sublimation paper. Mine is 8.5" x 11". Also, click “Mirror” underneath. Click Continue. On the Make screen, click “send to printer” to print your design. Then toggle off “add bleed” and toggle on “use system dialog” if your printer gives you that option. The print screen for your printer will appear, but it might be hidden behind Cricut Design Space. Minimize your Cricut window to see the print settings window. Your window will look different depending on your computer and printer. Make sure your printer is listed in the window. Set the paper and print quality to the best matte options available. Mine are Presentation Paper Matte and High Quality. Also, make sure that under Layout, "Flip Horizontally" is unchecked since we already mirrored the designs. Under Color Matching, click ColorSync and select your ICC profile. Make sure the sublimation paper is in your printer correctly and print! After your design has printed, set it aside until the ink is completely dry to avoid any smears during the cutting process. I'm using an Autopress, but you can also use an EasyPress with a pressing mat. Next, prepare your heat press. Use the Cricut Heat Guide to find the right settings for your blank and transfer material. Since I'm using my Autopress and polyester towels, I'll press for 45 seconds at 385℉. Make sure you have proper ventilation by opening a window or turning on a fan. The towel areas have already been preheated, but use a lint roller to remove any debris that can get in the way of a good transfer. Place a clean piece of white cardstock on the pressing area. Then, put the boa ends on top facing up. Don’t let it twist so you don’t put the designs on the back! Cover them with a piece of white butcher paper Heat according to your instructions. When they're done heating, let the boa cool down before moving it. Moving the towel right away could cause ghosting of the image since the sublimation process does not end immediately. After they have cooled, you are free to remove the tape and reveal the designs. Here is what my finished Kitchen Boas look like. Font: Transcity OTF which you can purchase from FontBundles. 
Kitchen Boas
Materials
Tools
Instructions
STEP 1: SEW THE BASIC KITCHEN BOA
TIP: If you're more comfortable sublimating your towel before you sew, simply cut your towel in half and sublimate, then return to Step 1.
For more sewing tips, check out my Sewing ShortCuts ebook!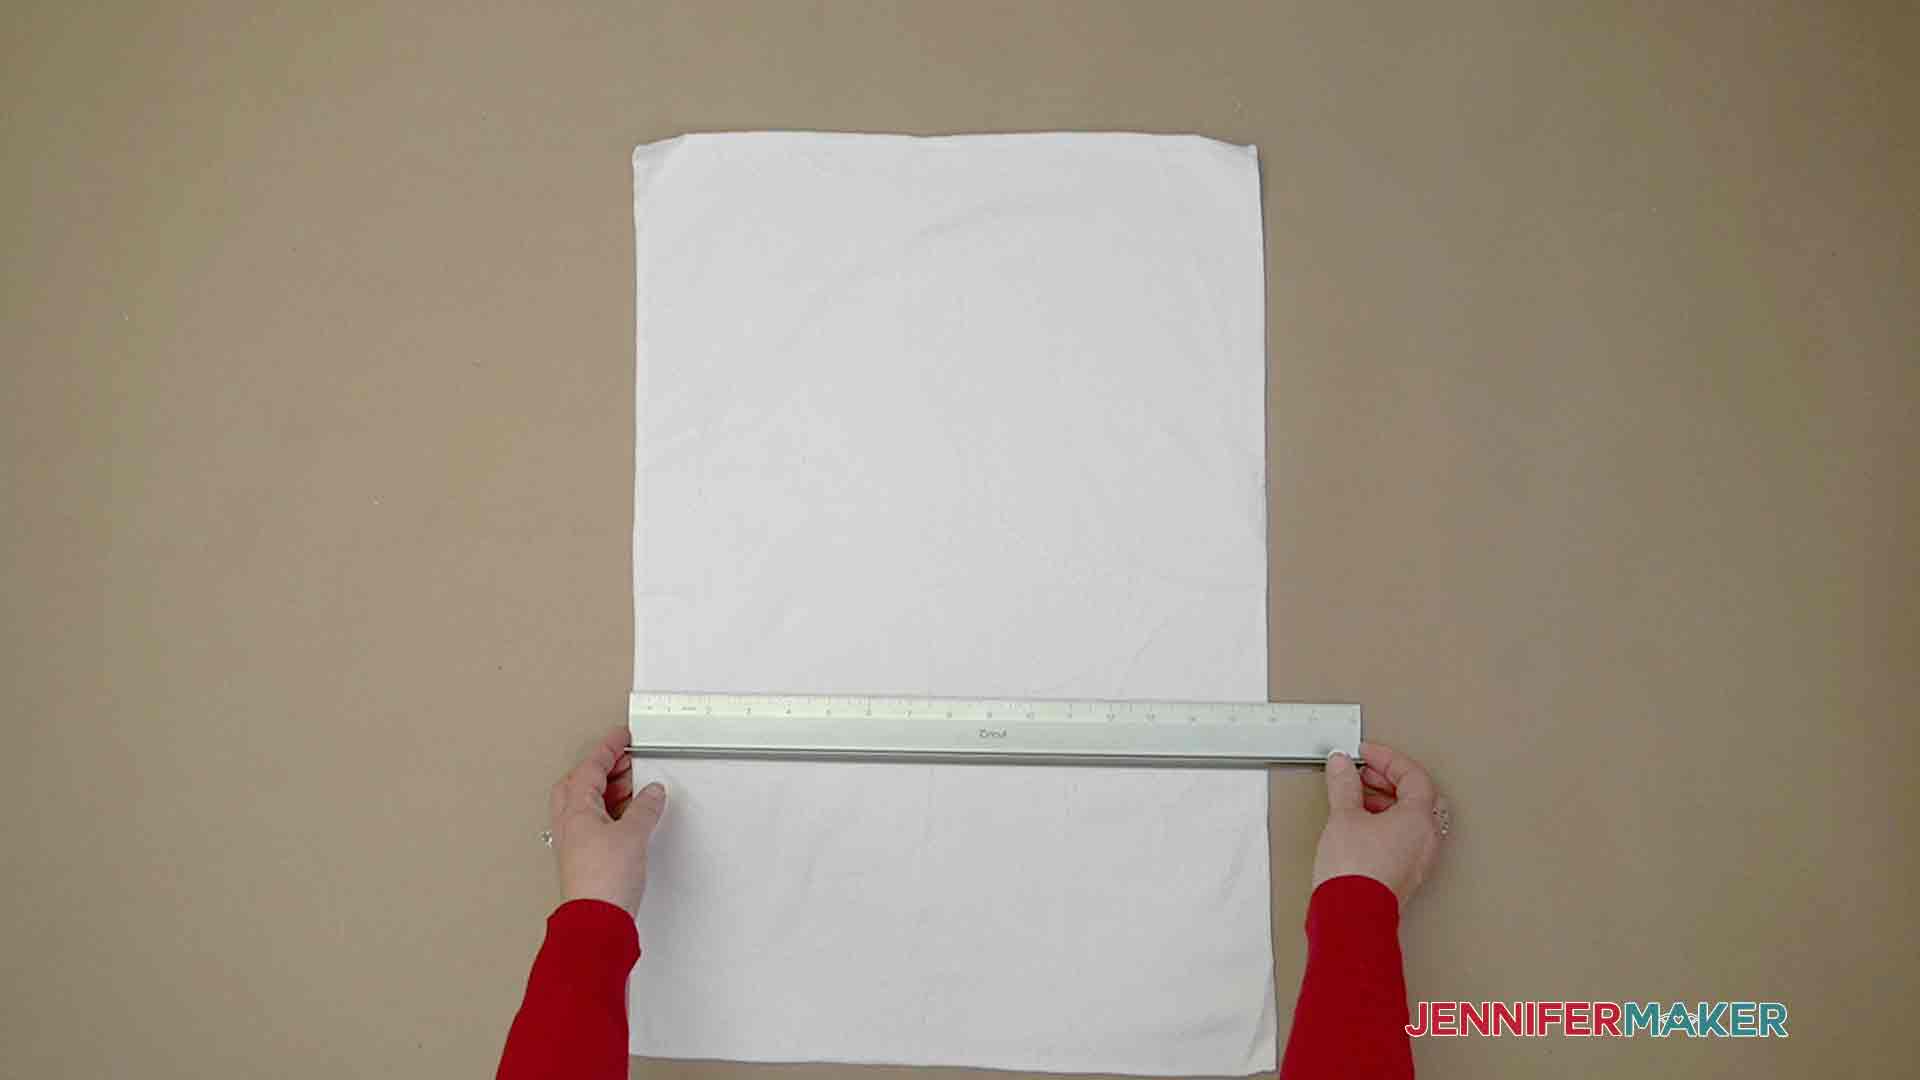
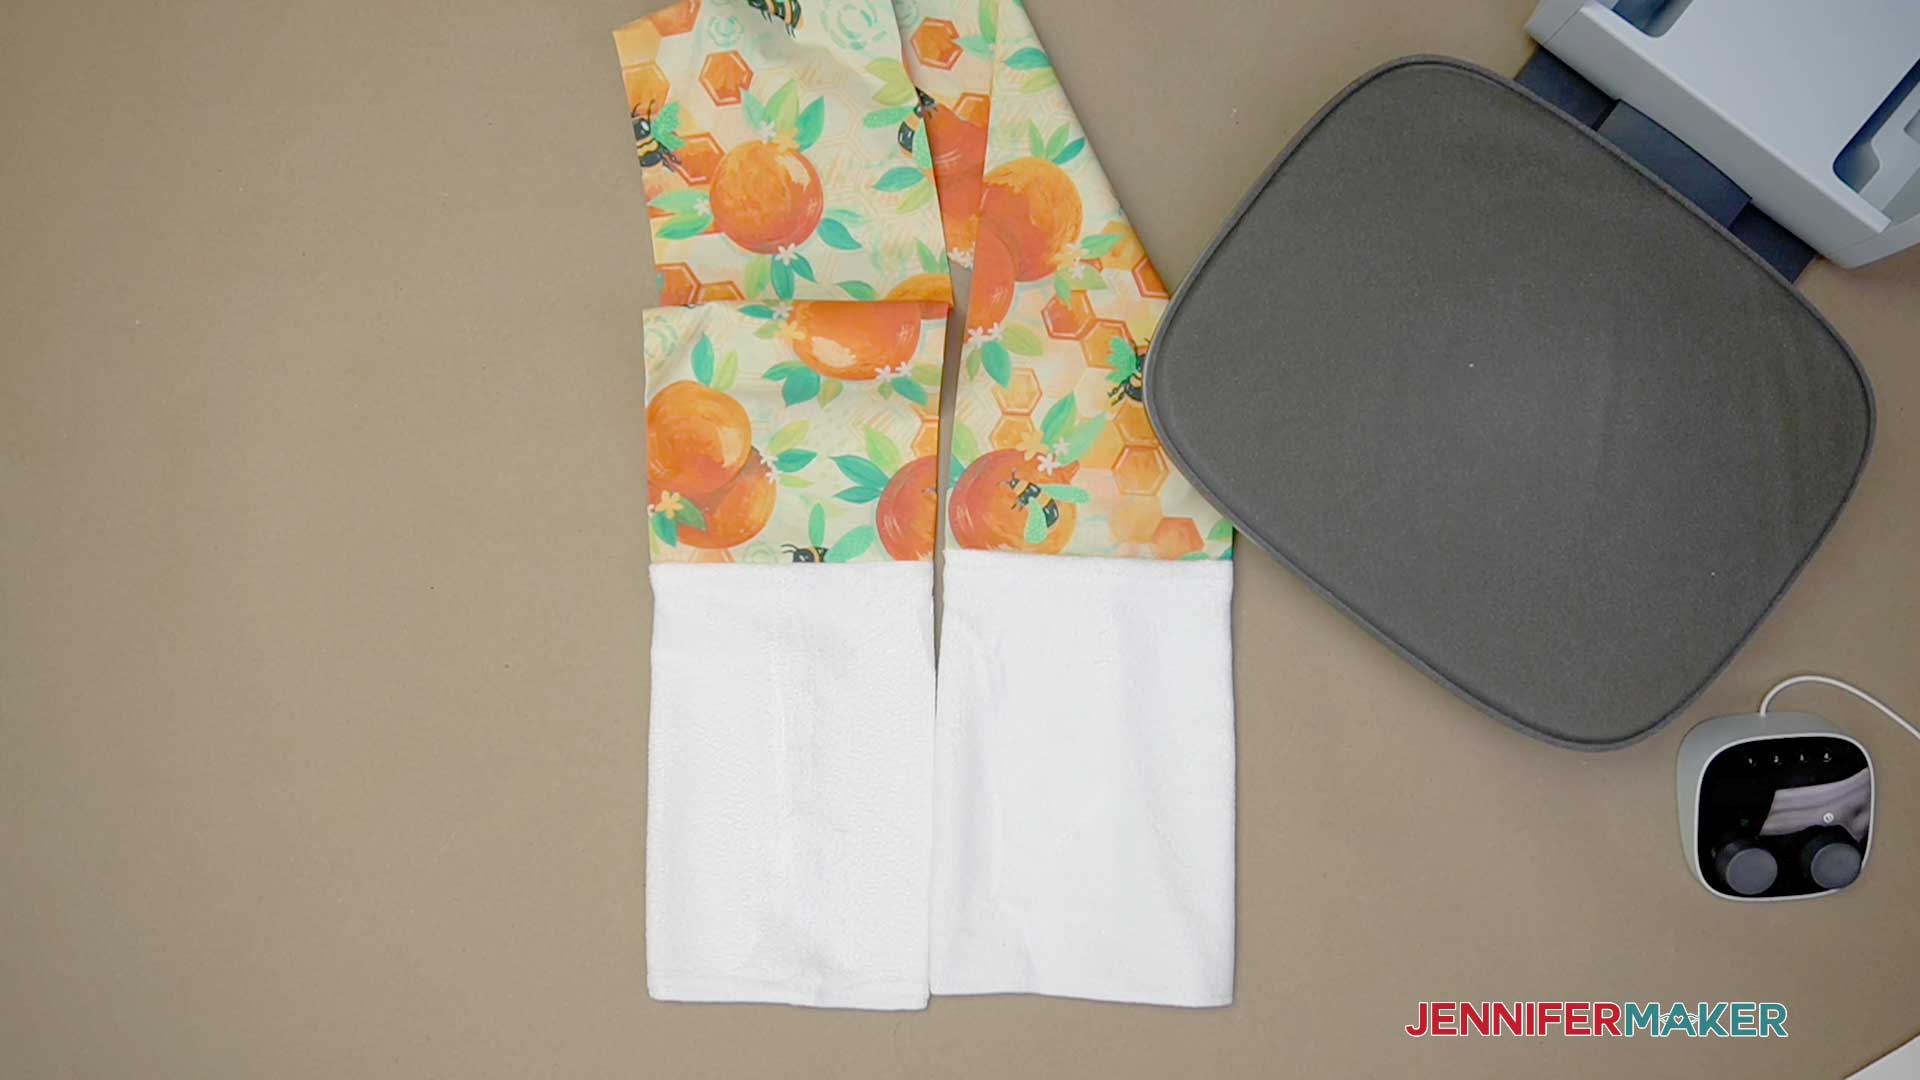
Measure the sublimation towel blank. Mine is 24" x 16", but you can use any size you have available.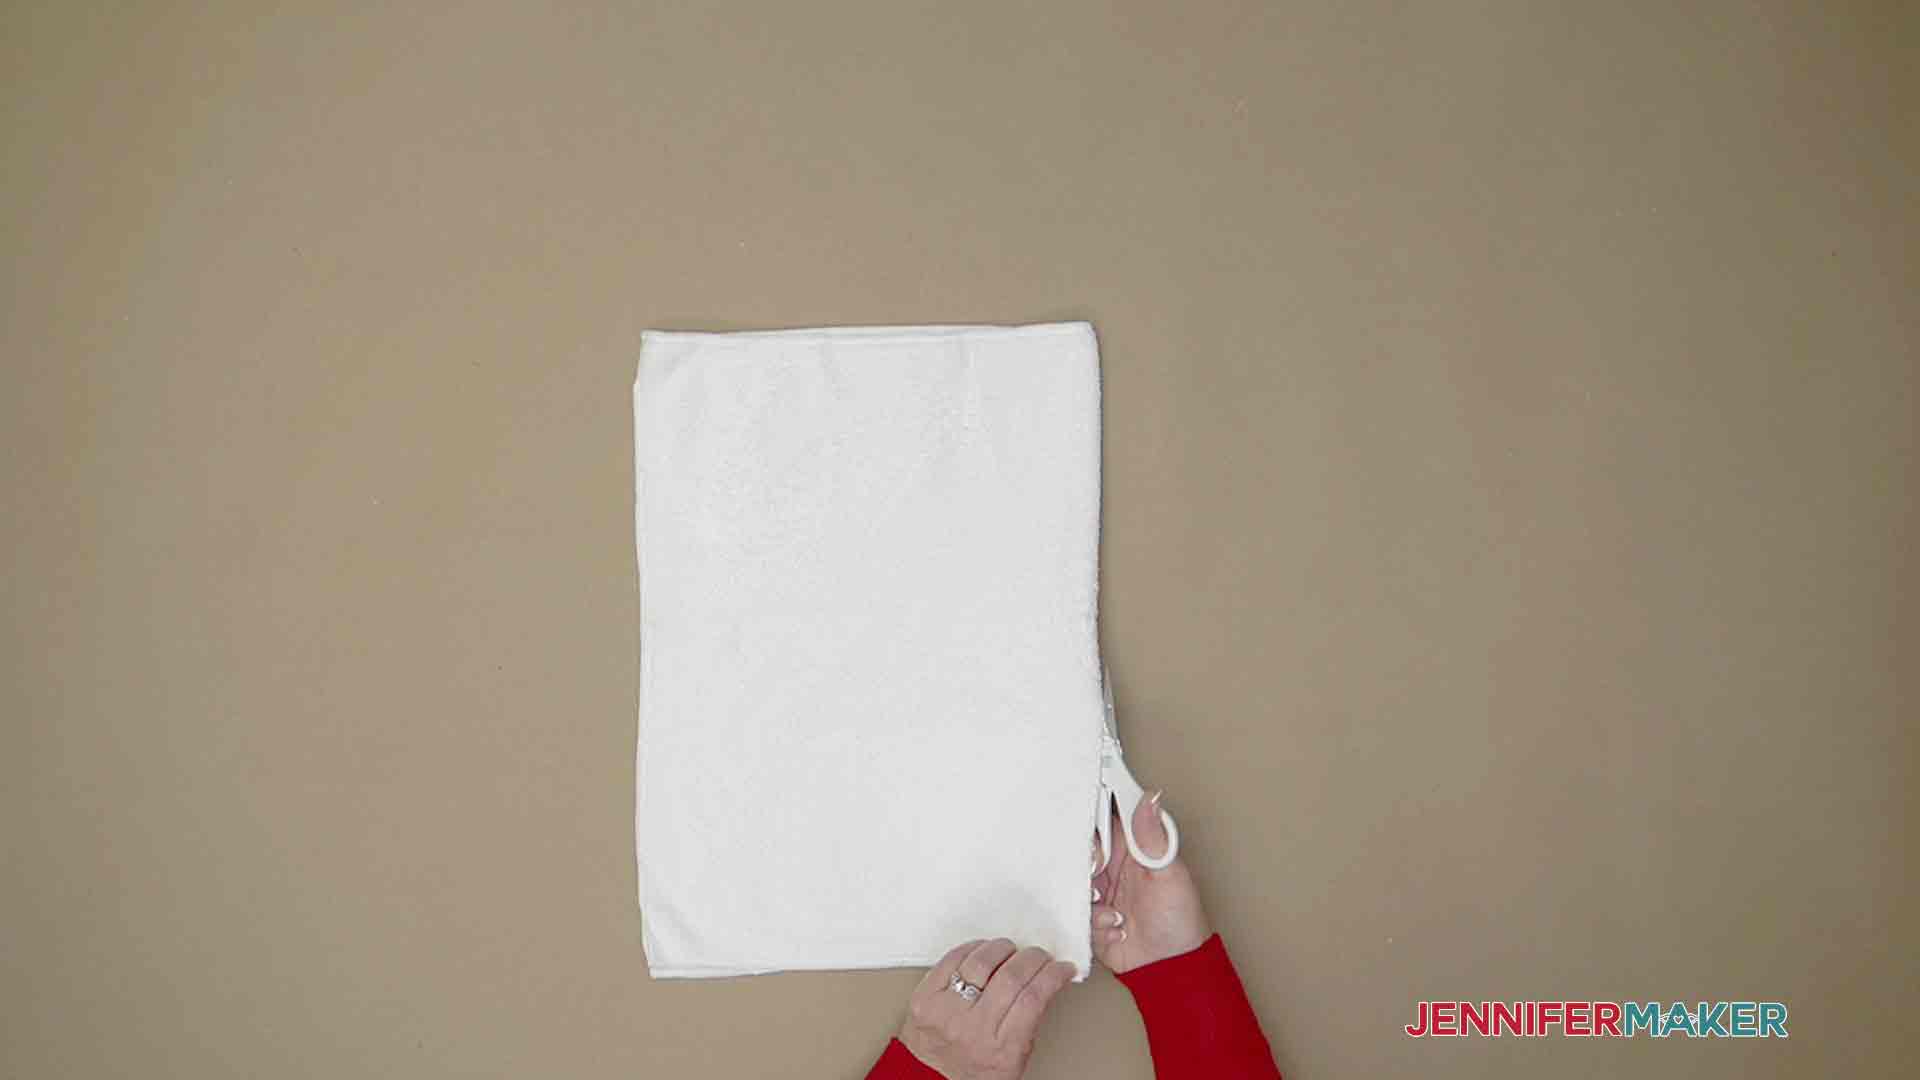
Fold it and cut it in half so the towel at each end measures 12'' x 16''. I'll consider 16" the width.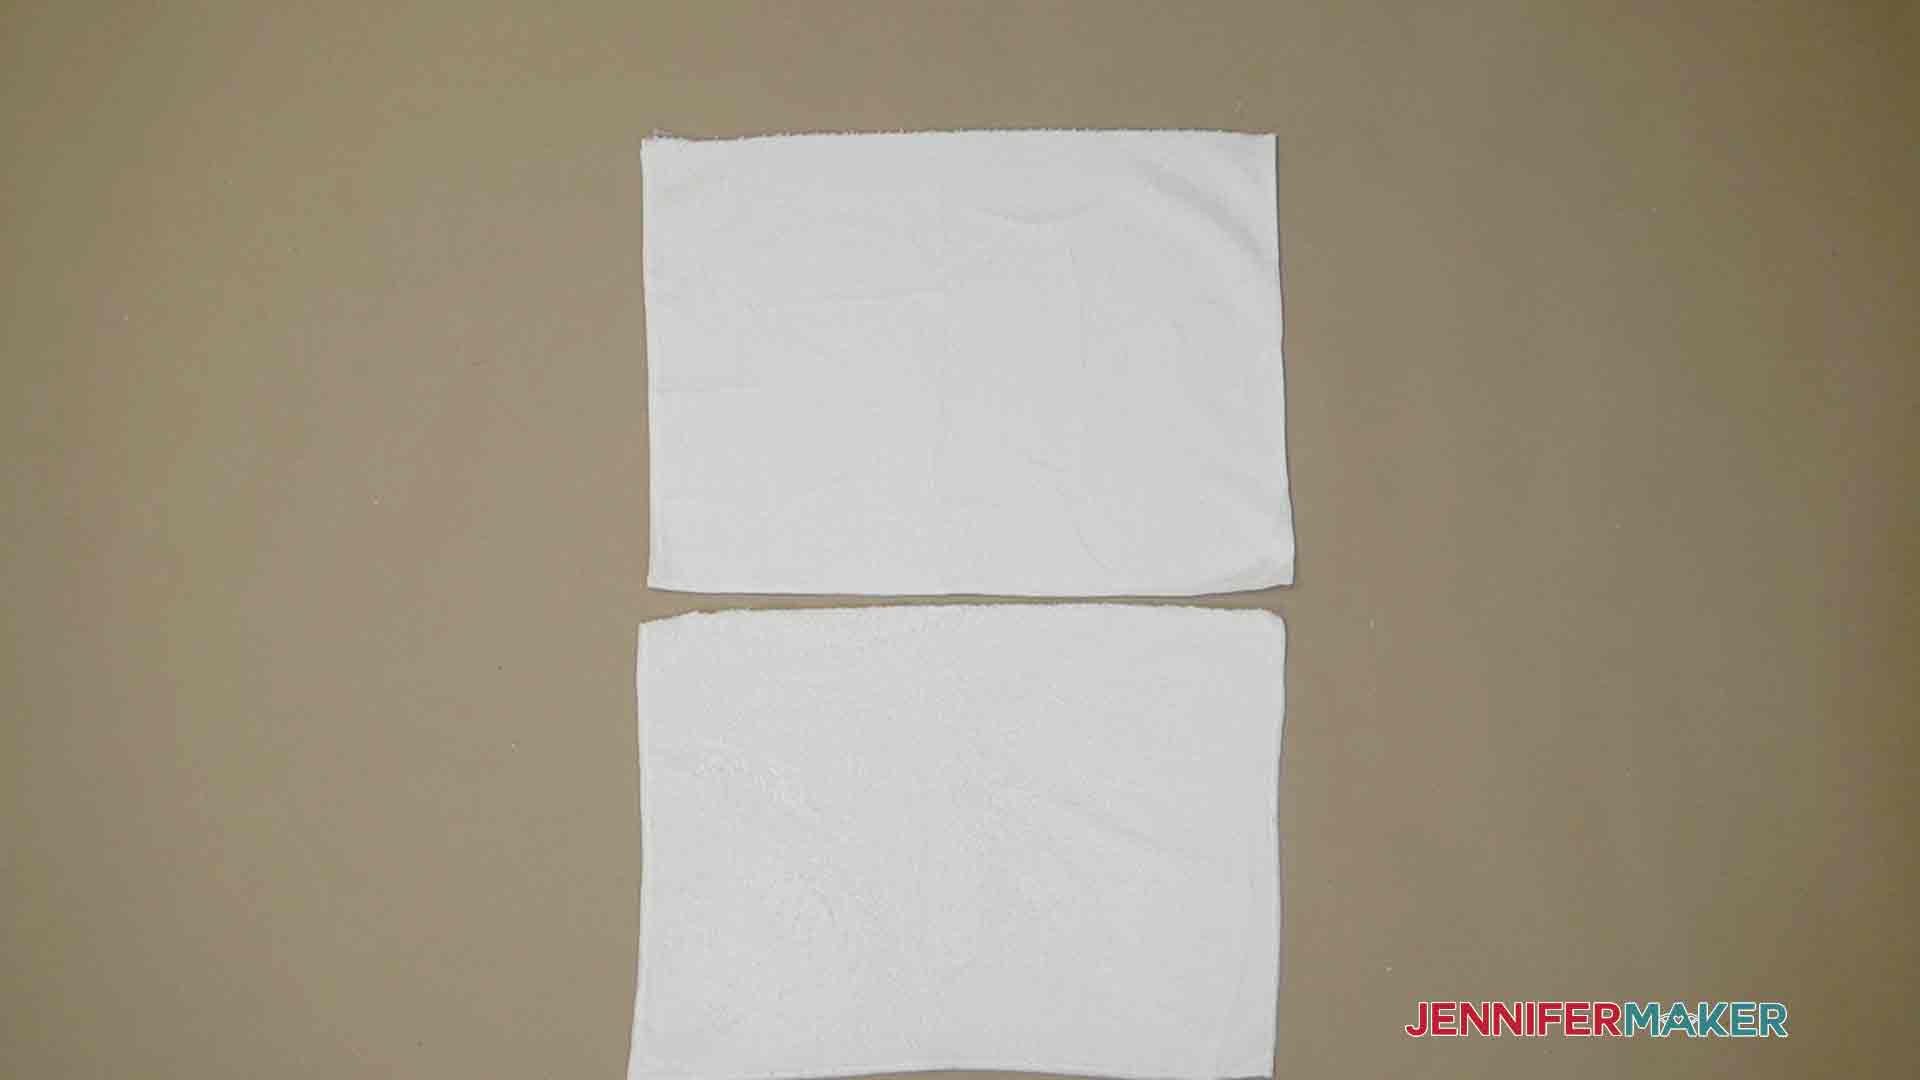
Grab one towel piece.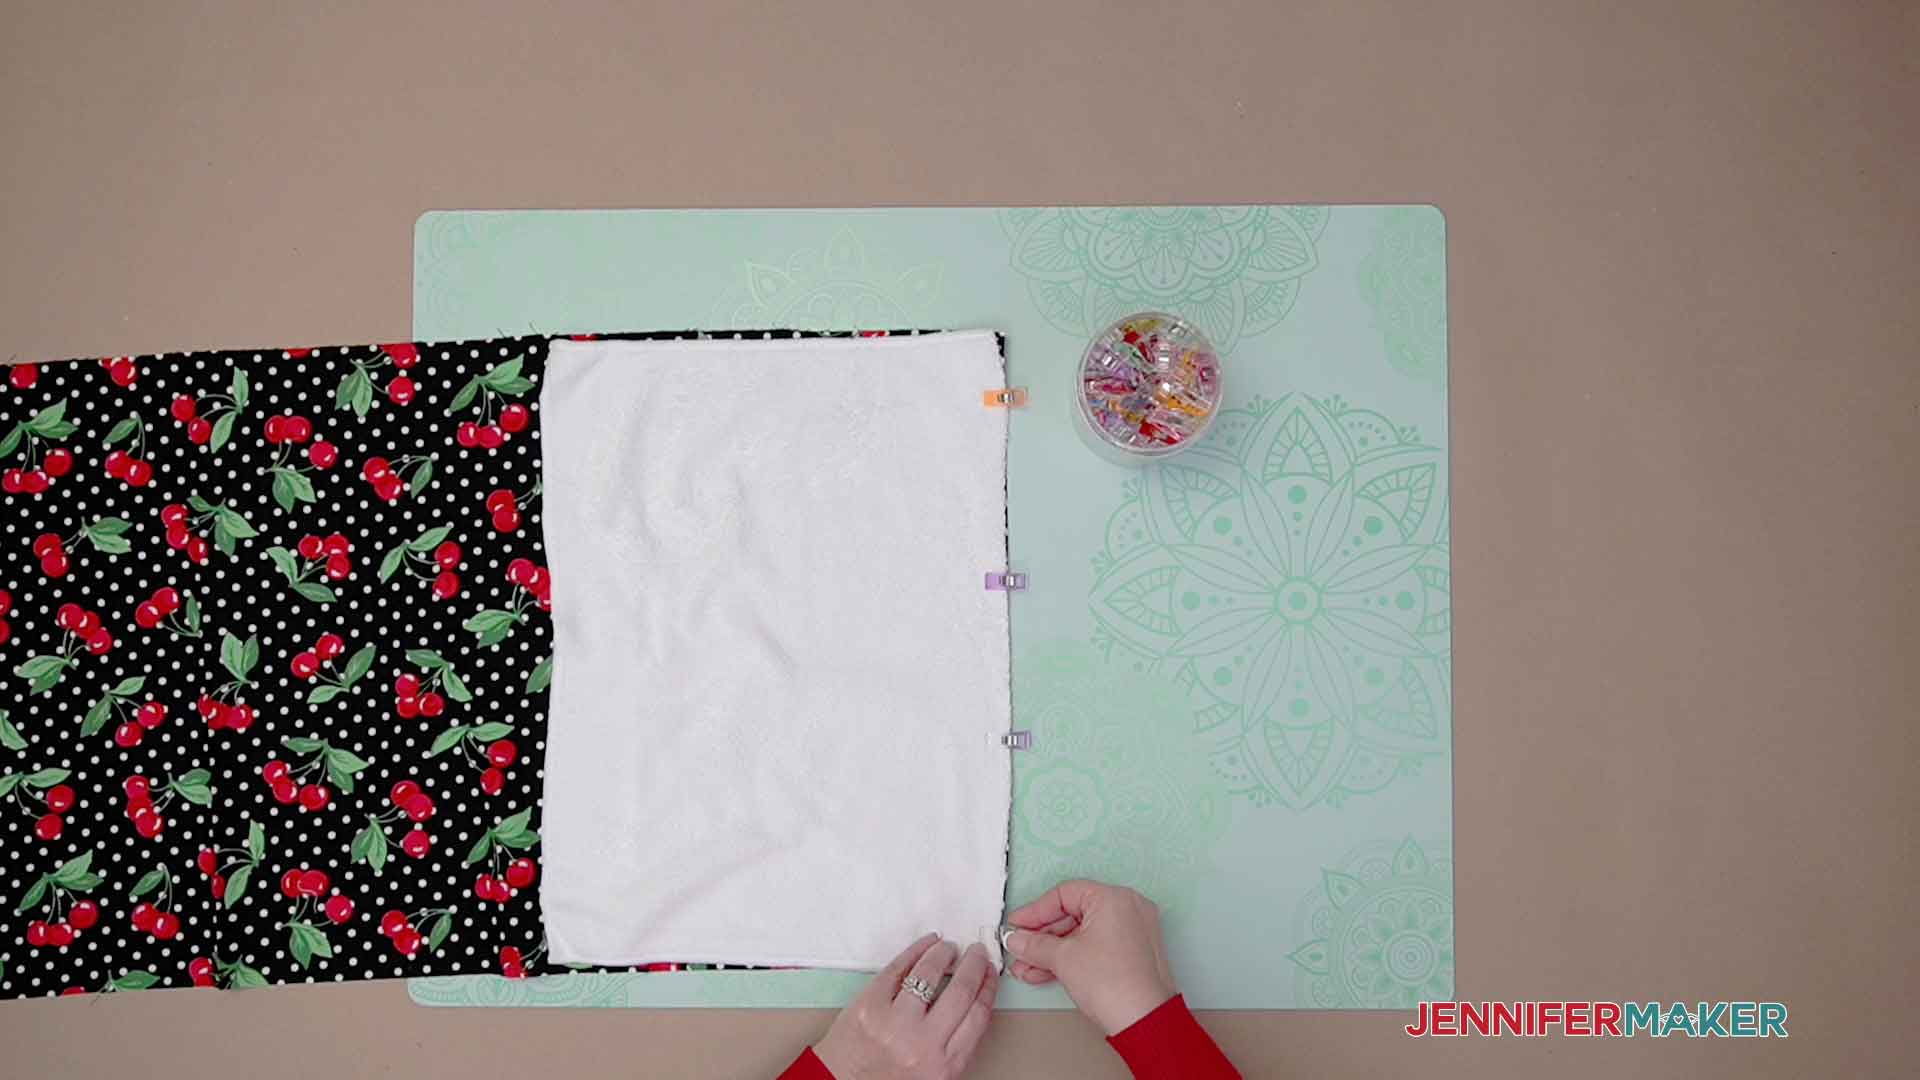
Sew along the pinned line on both sides on the boa. Any seam allowance width is ok, but I used 5/8" for consistency with a medium-length straight stitch. Remember to remove any pins before you get close to them!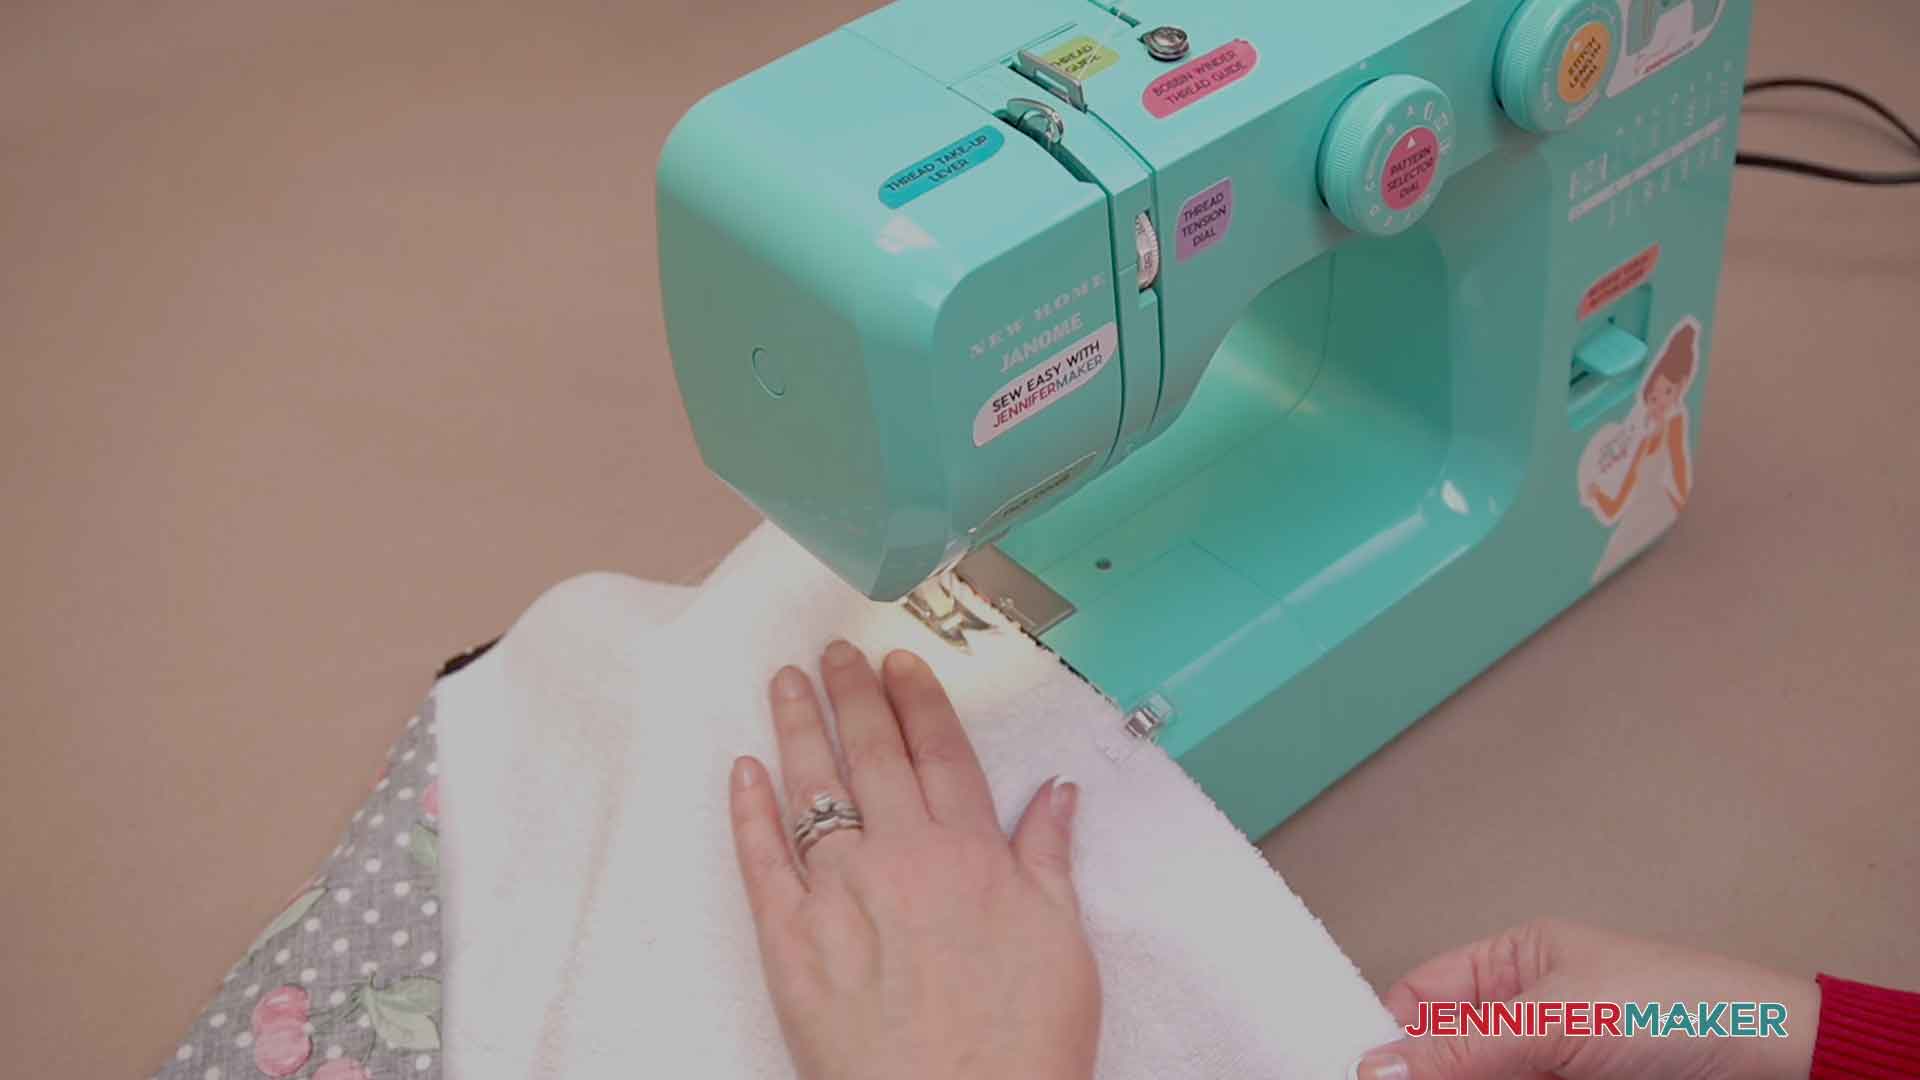
Using a medium-length straight stitch, sew along the pinned edge from one end of the cotton fabric to the other with a 5/8” seam allowance, taking care to avoid sewing on the towel. Lock your stitches at the beginning and end with a few back and for stitches.
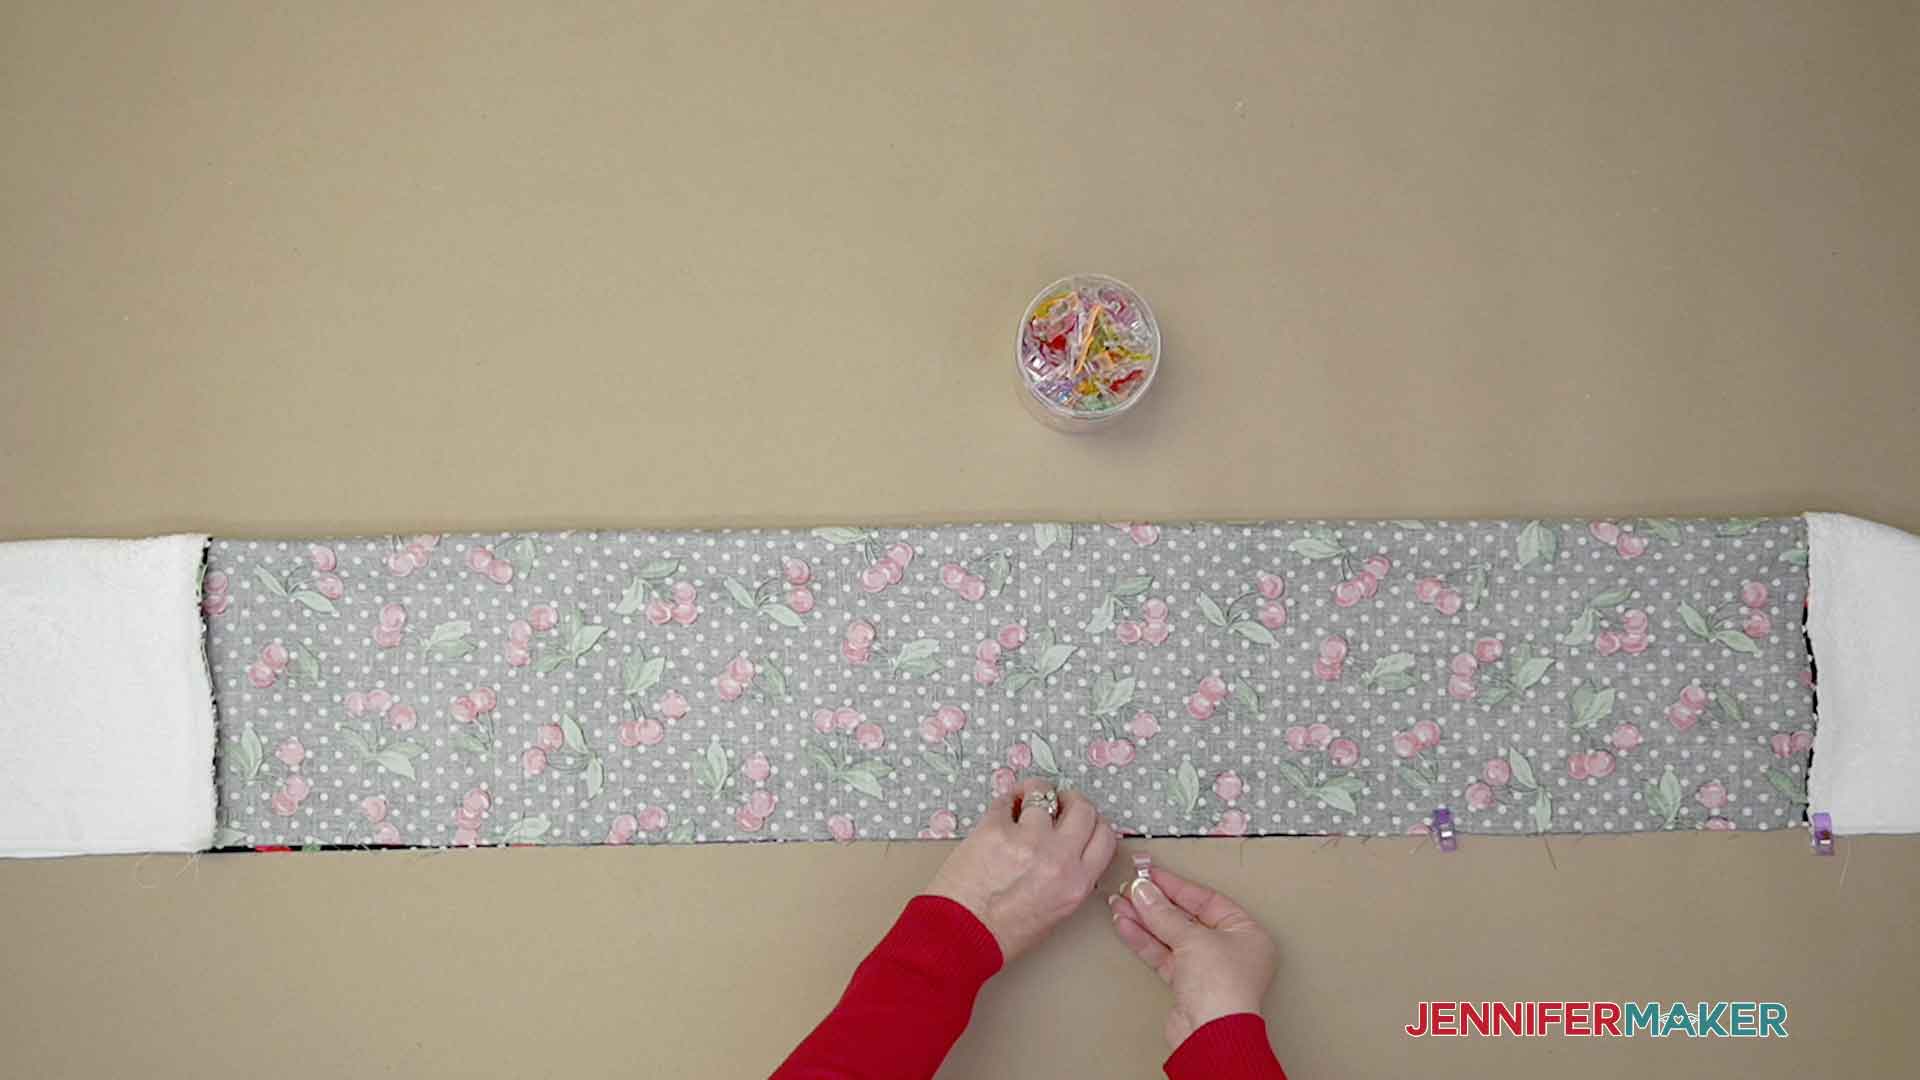
You can adjust the scarf so the seam is in the center back and press the sides to keep it in place, if you'd like.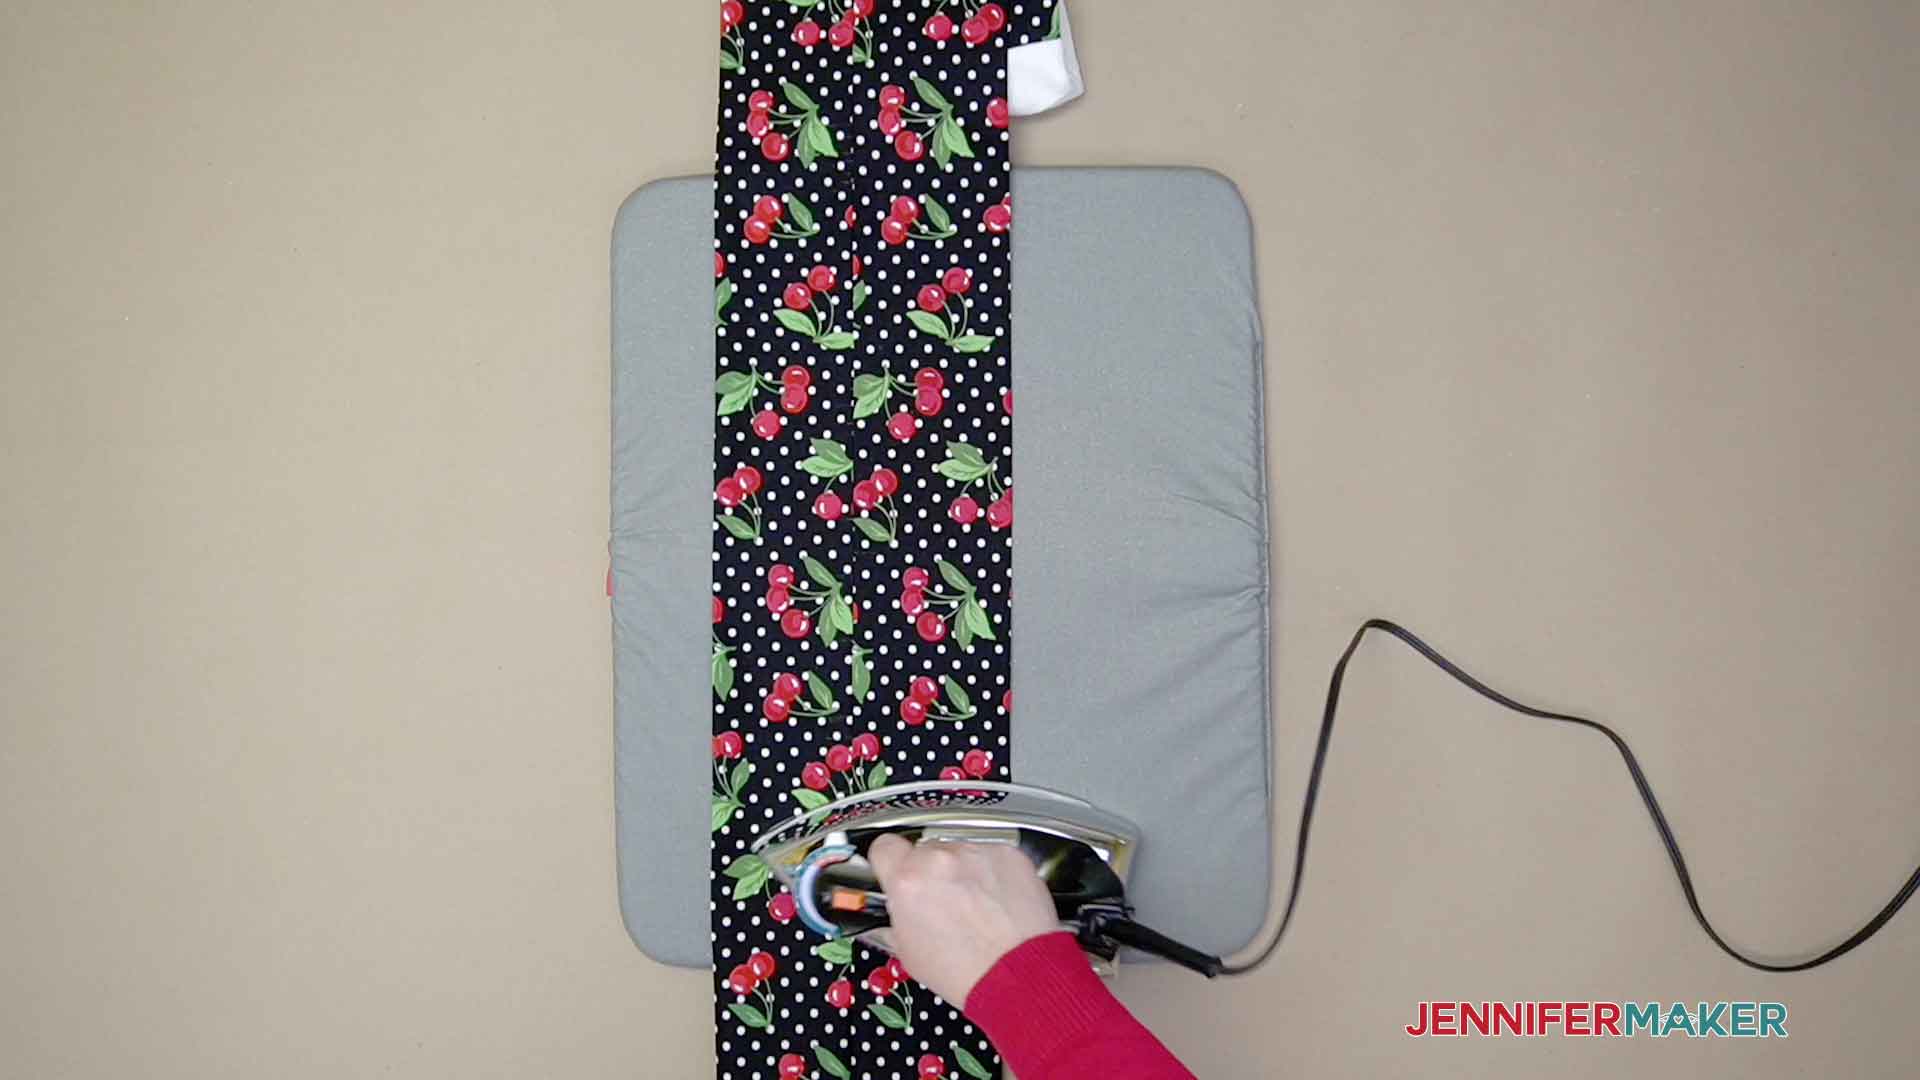
Now you've made a simple Kitchen Boa, let's decorate it!
INFUSIBLE INK OPTIONSTEP 2. GET AND PREPARE AN INFUSIBLE INK DESIGN
You're ready to cut!
STEP 3: CUT YOUR DESIGN ON INFUSIBLE INK TRANSFER SHEETS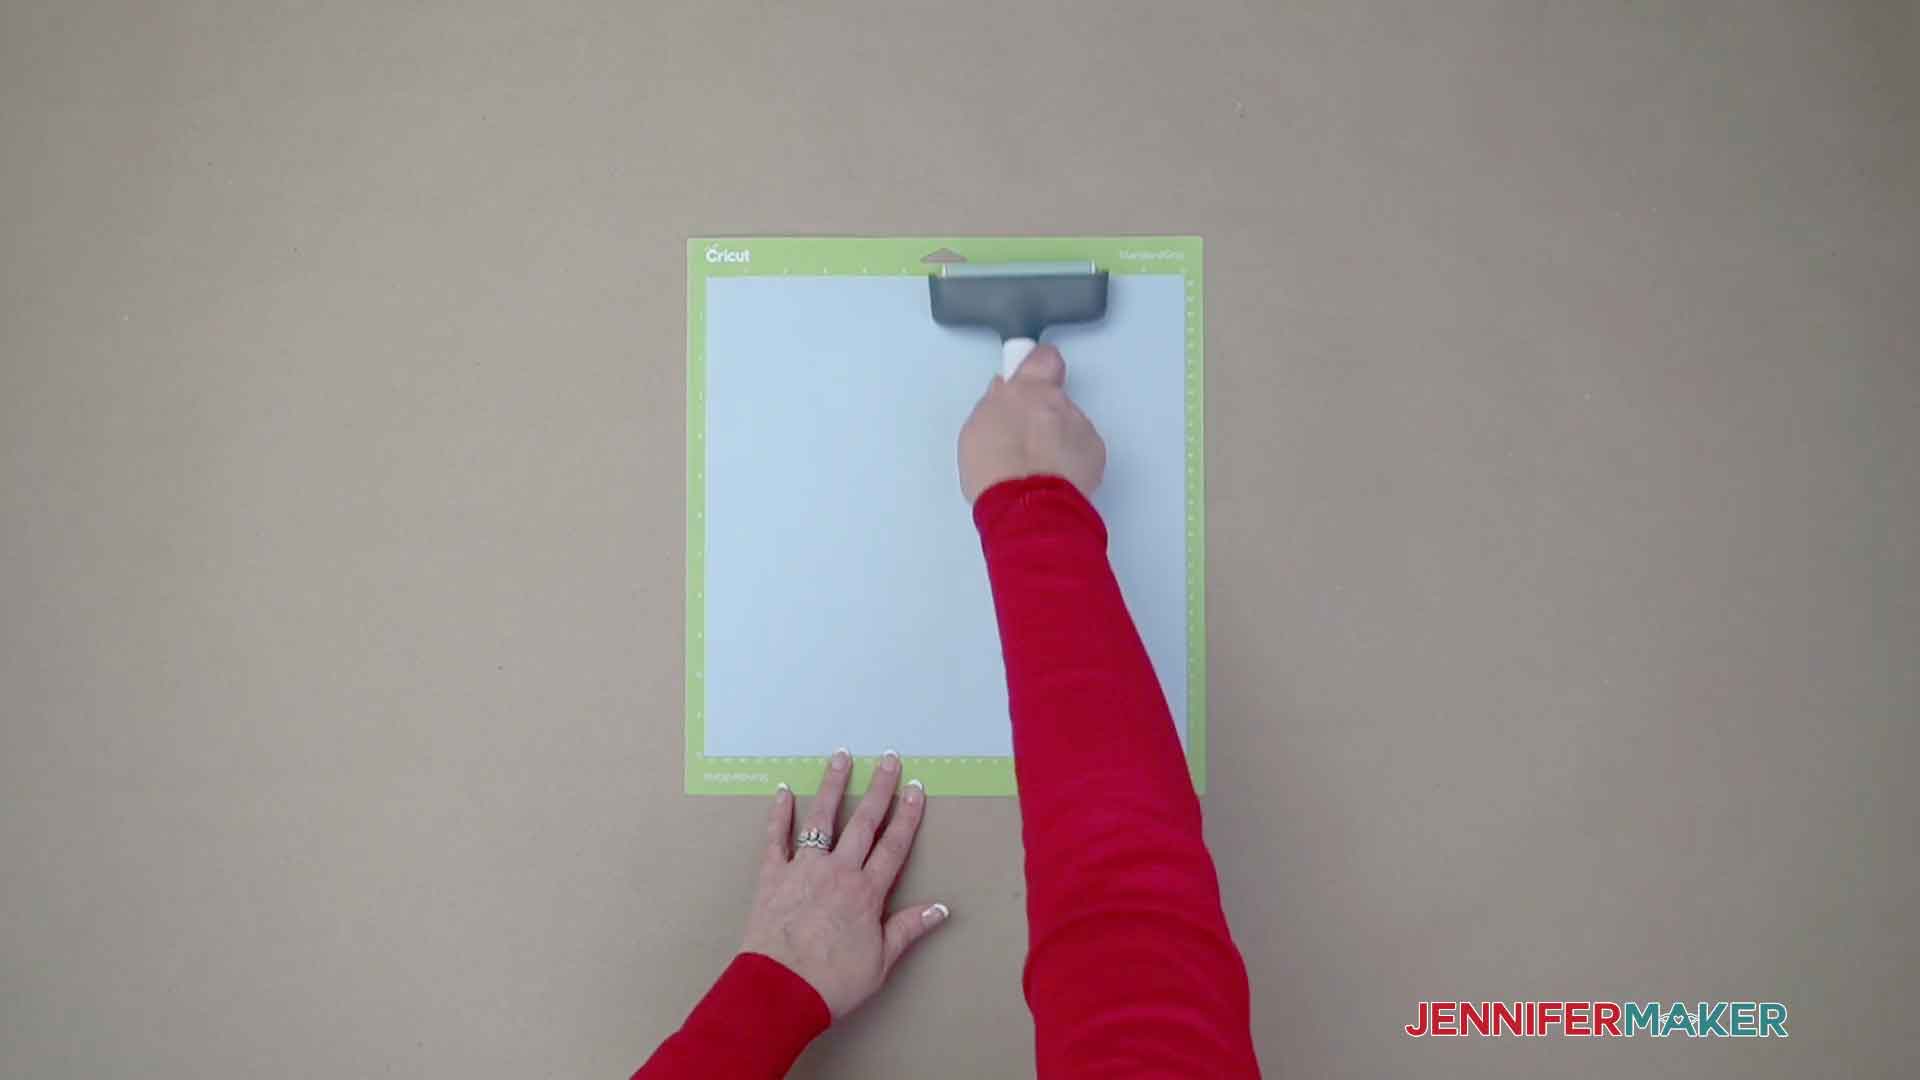
STEP 4: PREPARE AND TRANSFER YOUR INFUSIBLE INK DESIGNS
For more help on layering Infusible Ink visit my t-shirt tutorial!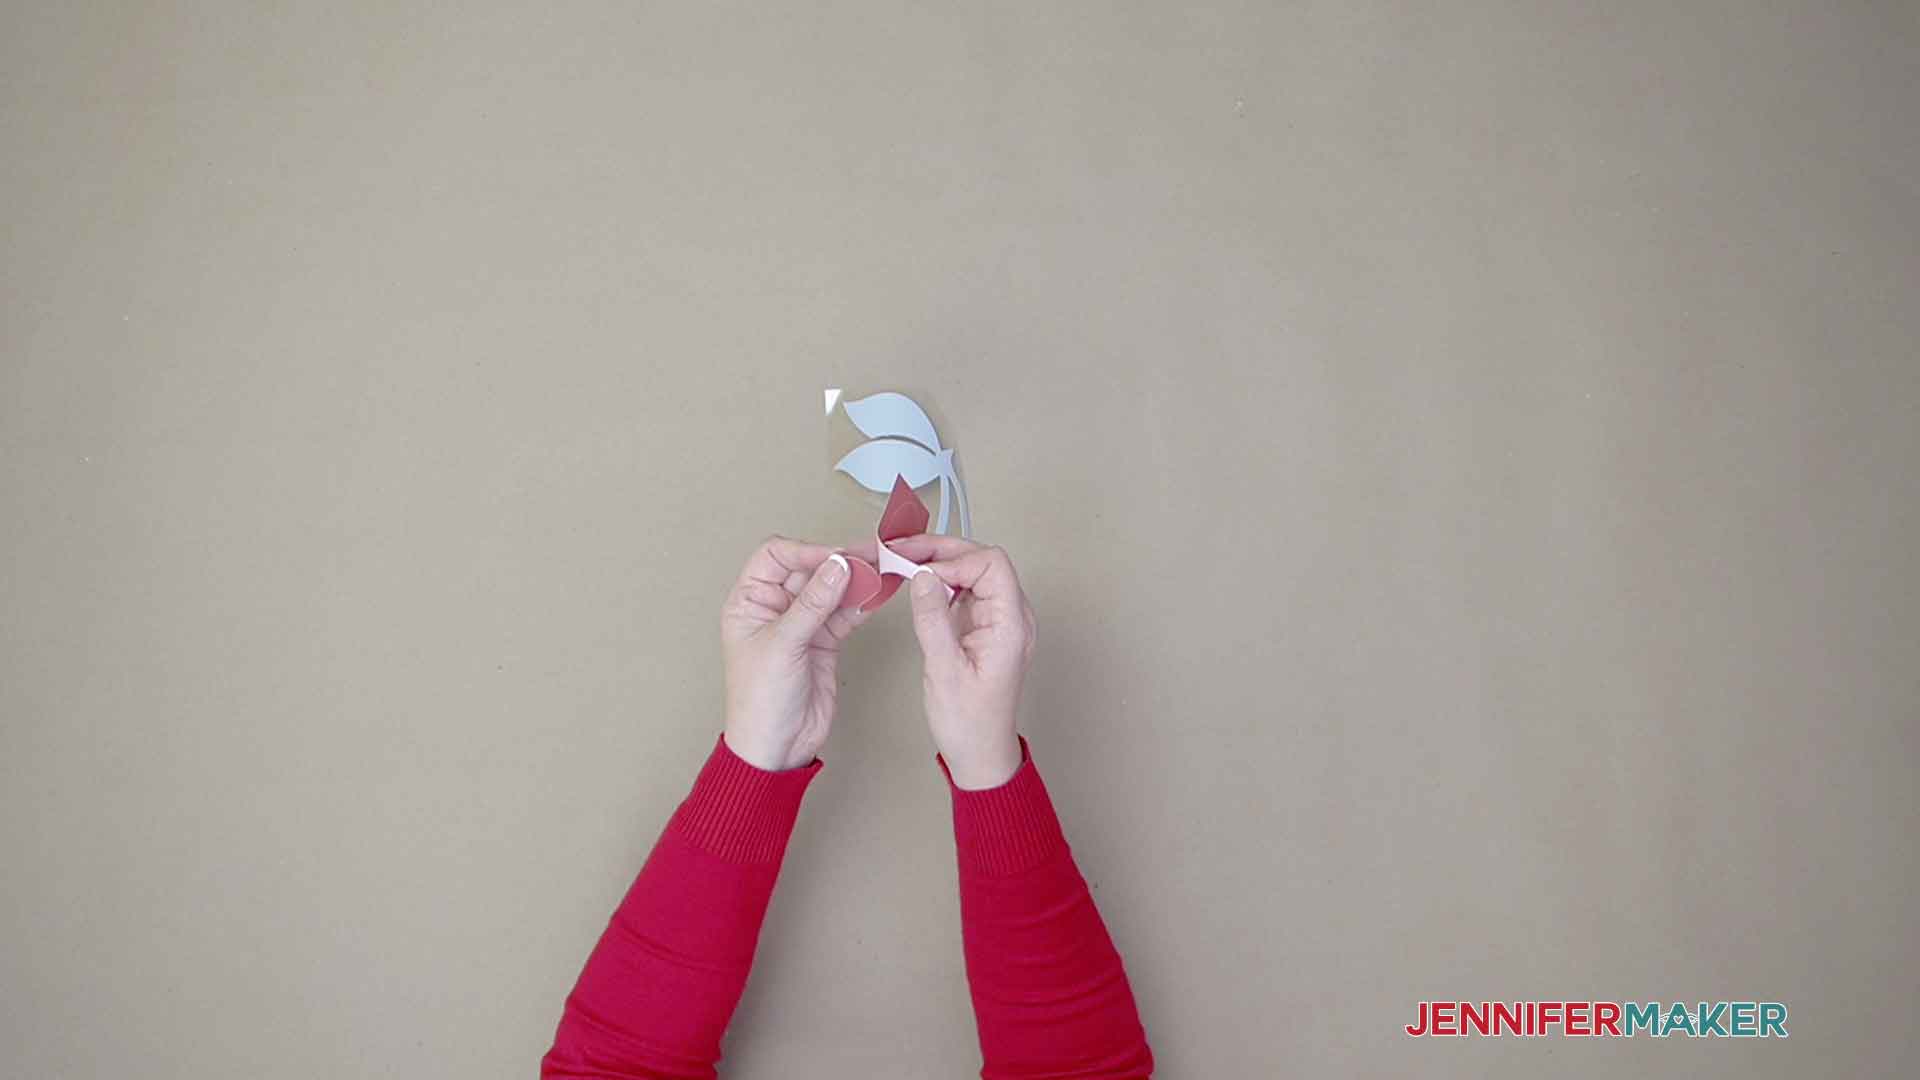
Don’t worry if your design lifts off the liner a bit. After you “crack” your cut design, just take away the excess paper and you’ll be left with just your design on the liner.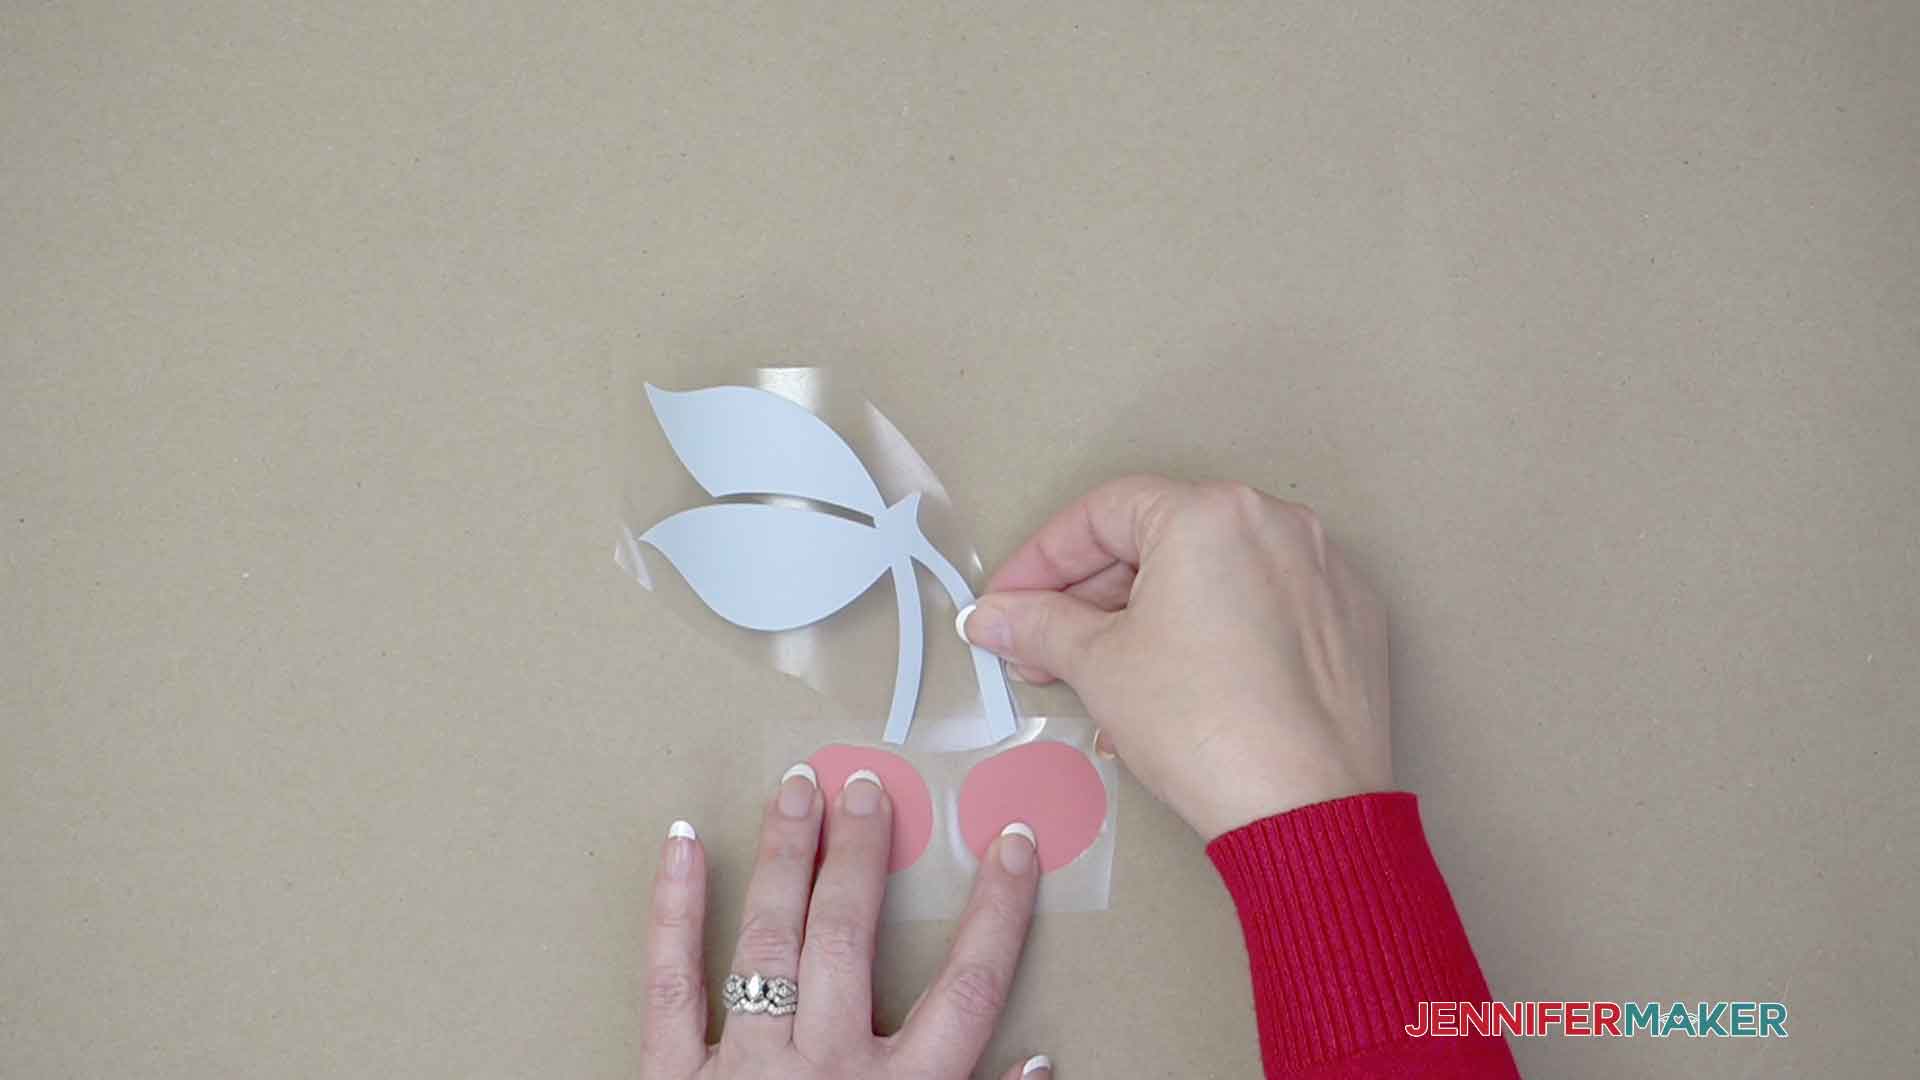

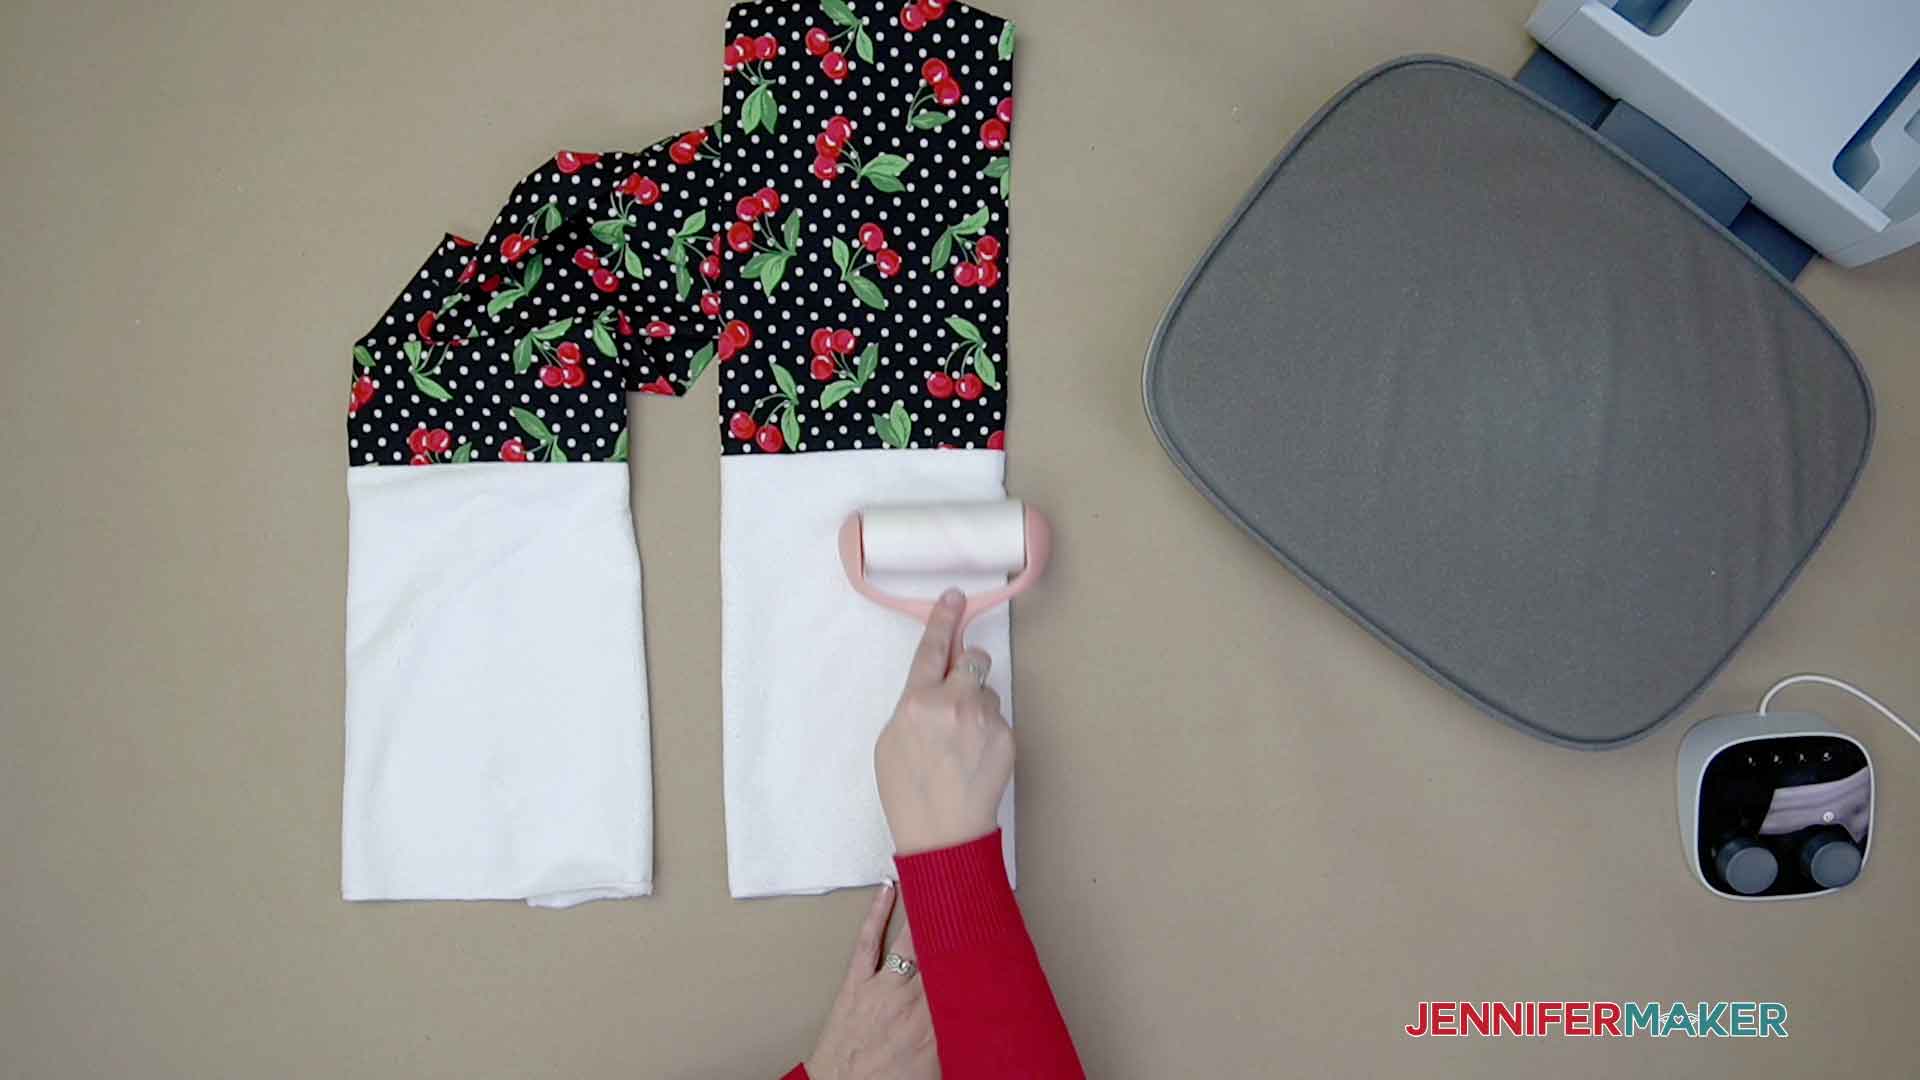
Place a clean piece of white cardstock on the pressing area. Then, put the boa ends on top facing up. Don’t let it twist so you don’t put the designs on the back!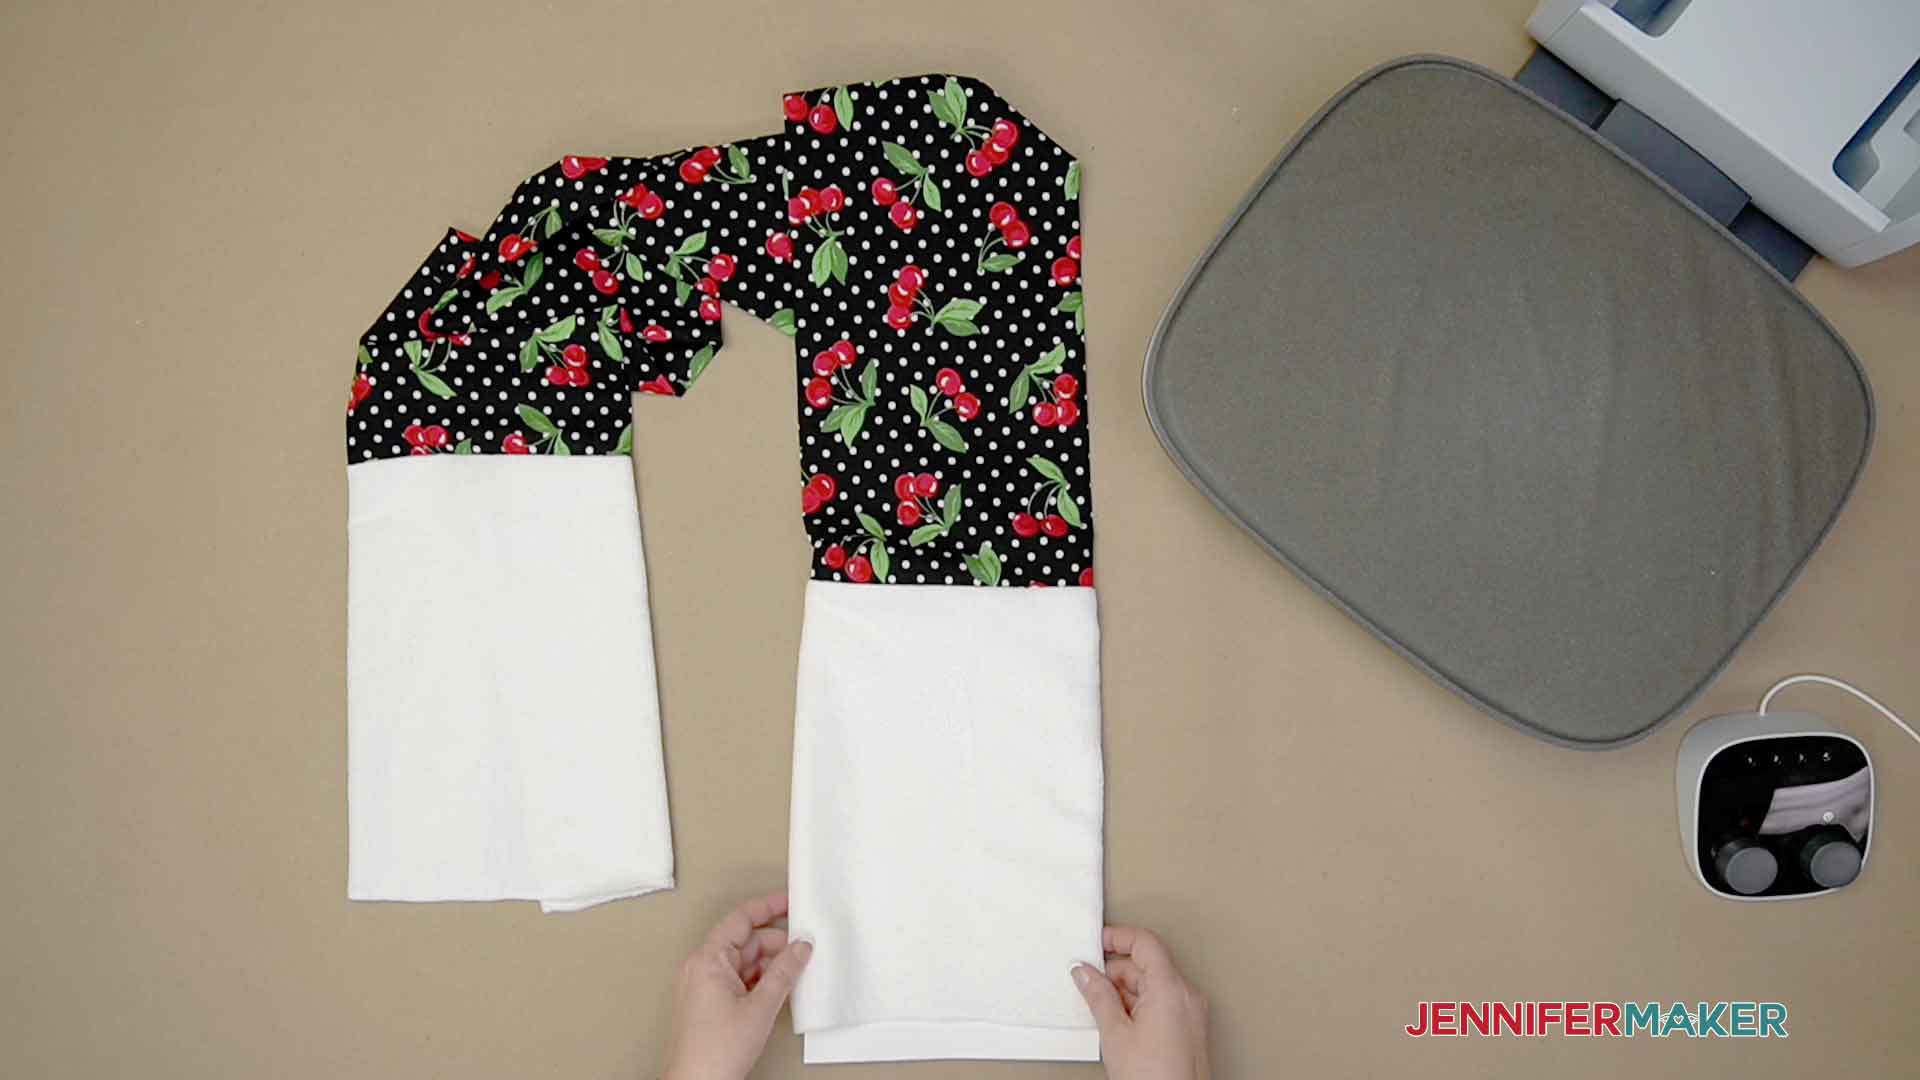
SUBLIMATION OPTION
STEP 2: GET OR PREPARE A DESIGN
If you're using a sublimation printer, you can combine some of my PNG designs with initials or a name you make in Cricut Design Space!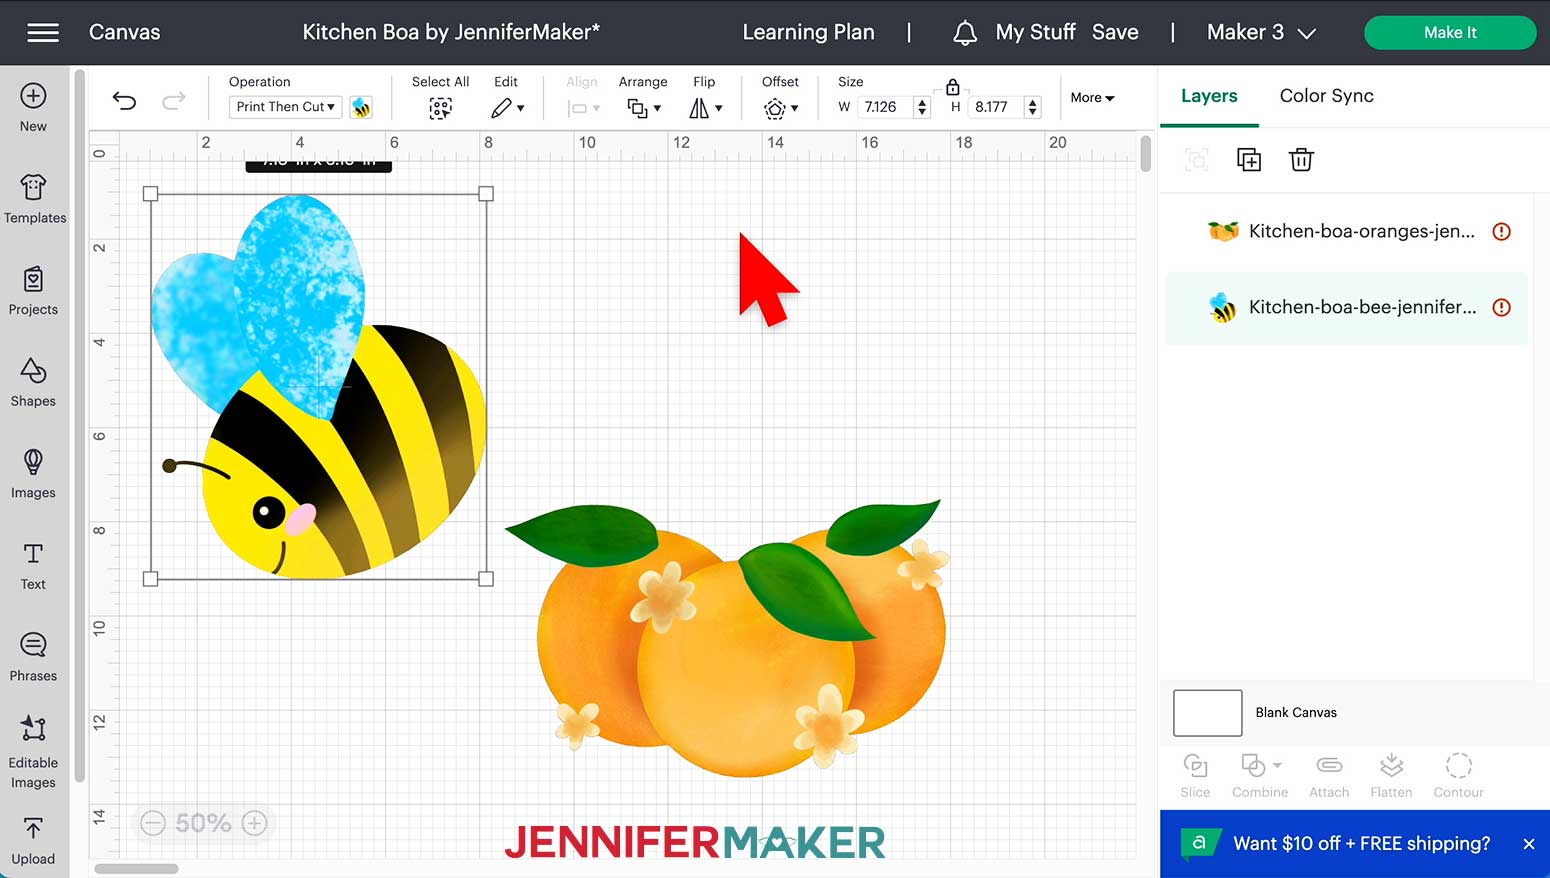
Next I will add a name for the other side of the kitchen boa.
When you're ready and happy with your design, create a bounding box around it and click Flatten.
This will turn it into a Print then Cut image automatically.
*Note we will not be using the "cut" feature of our Print then Cut design, only the "print" portion.
You’re ready to go! STEP 3: PRINT YOUR DESIGN
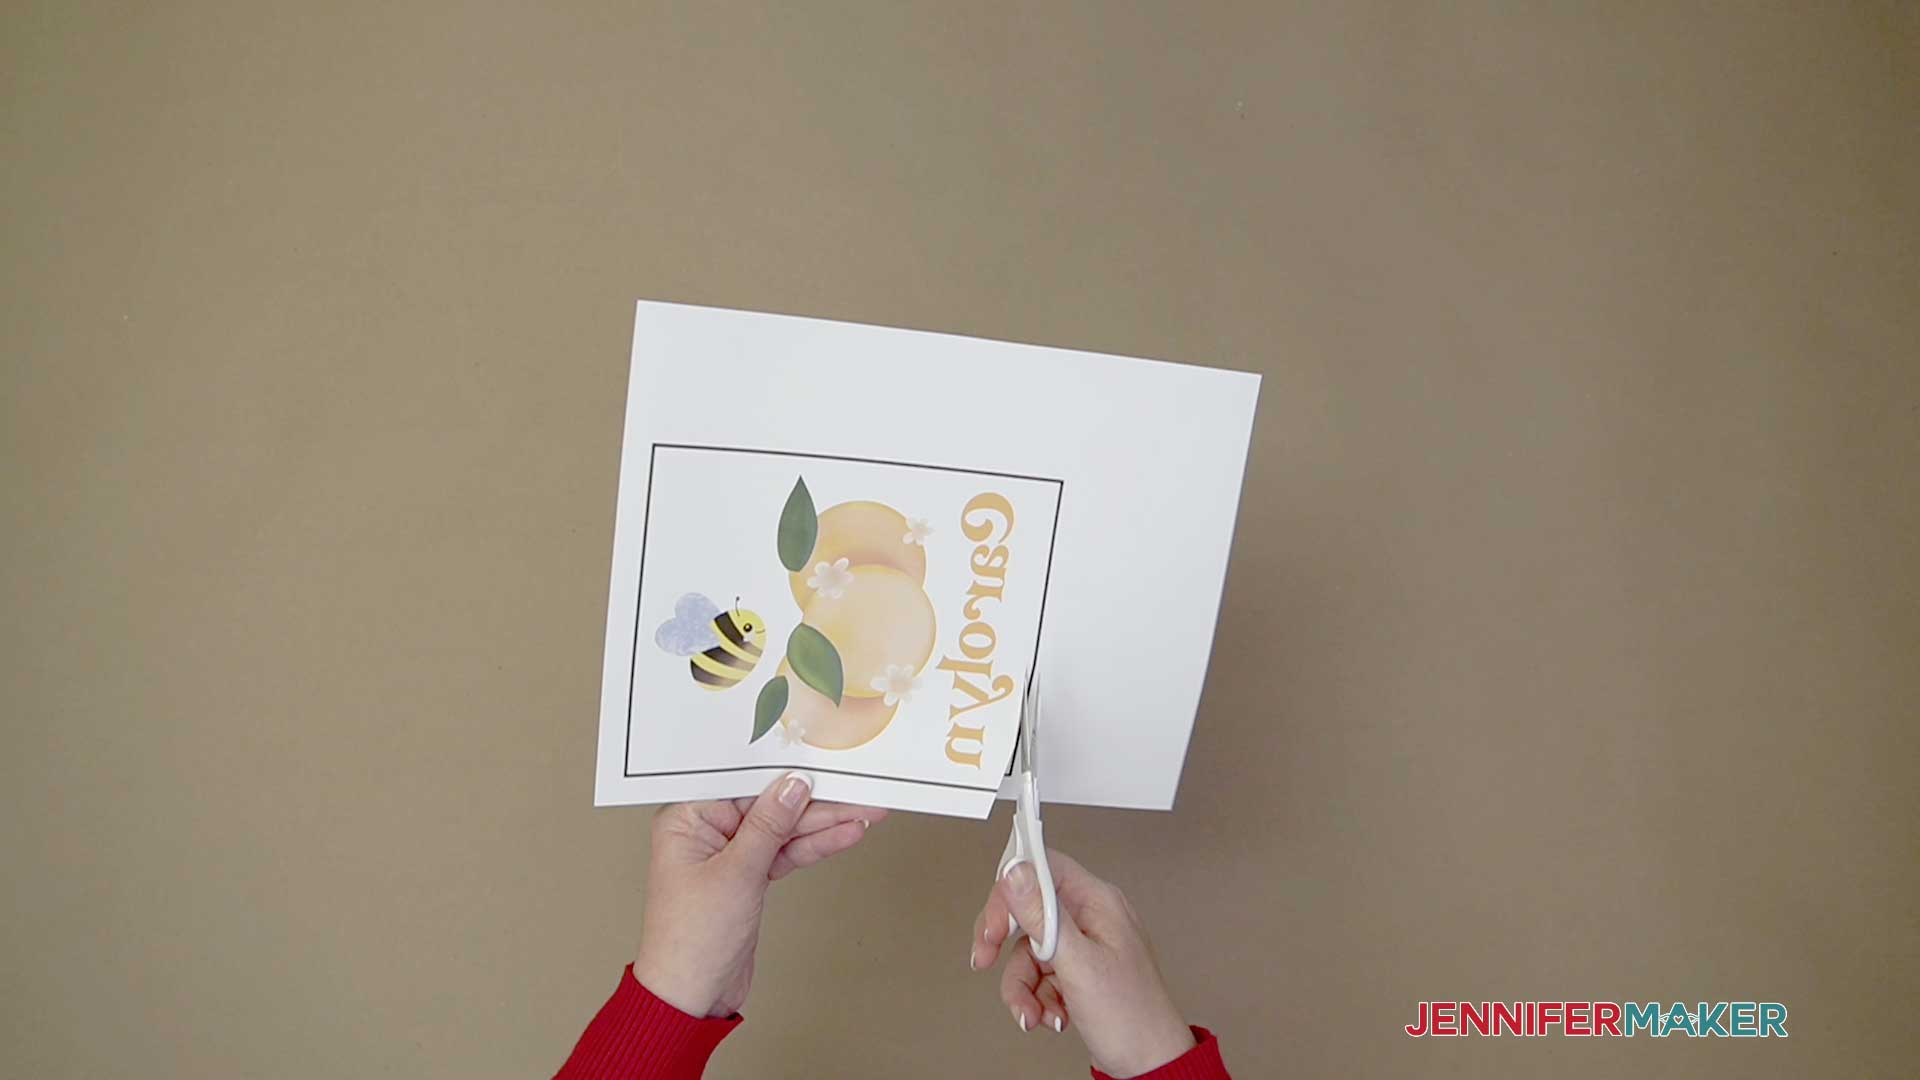
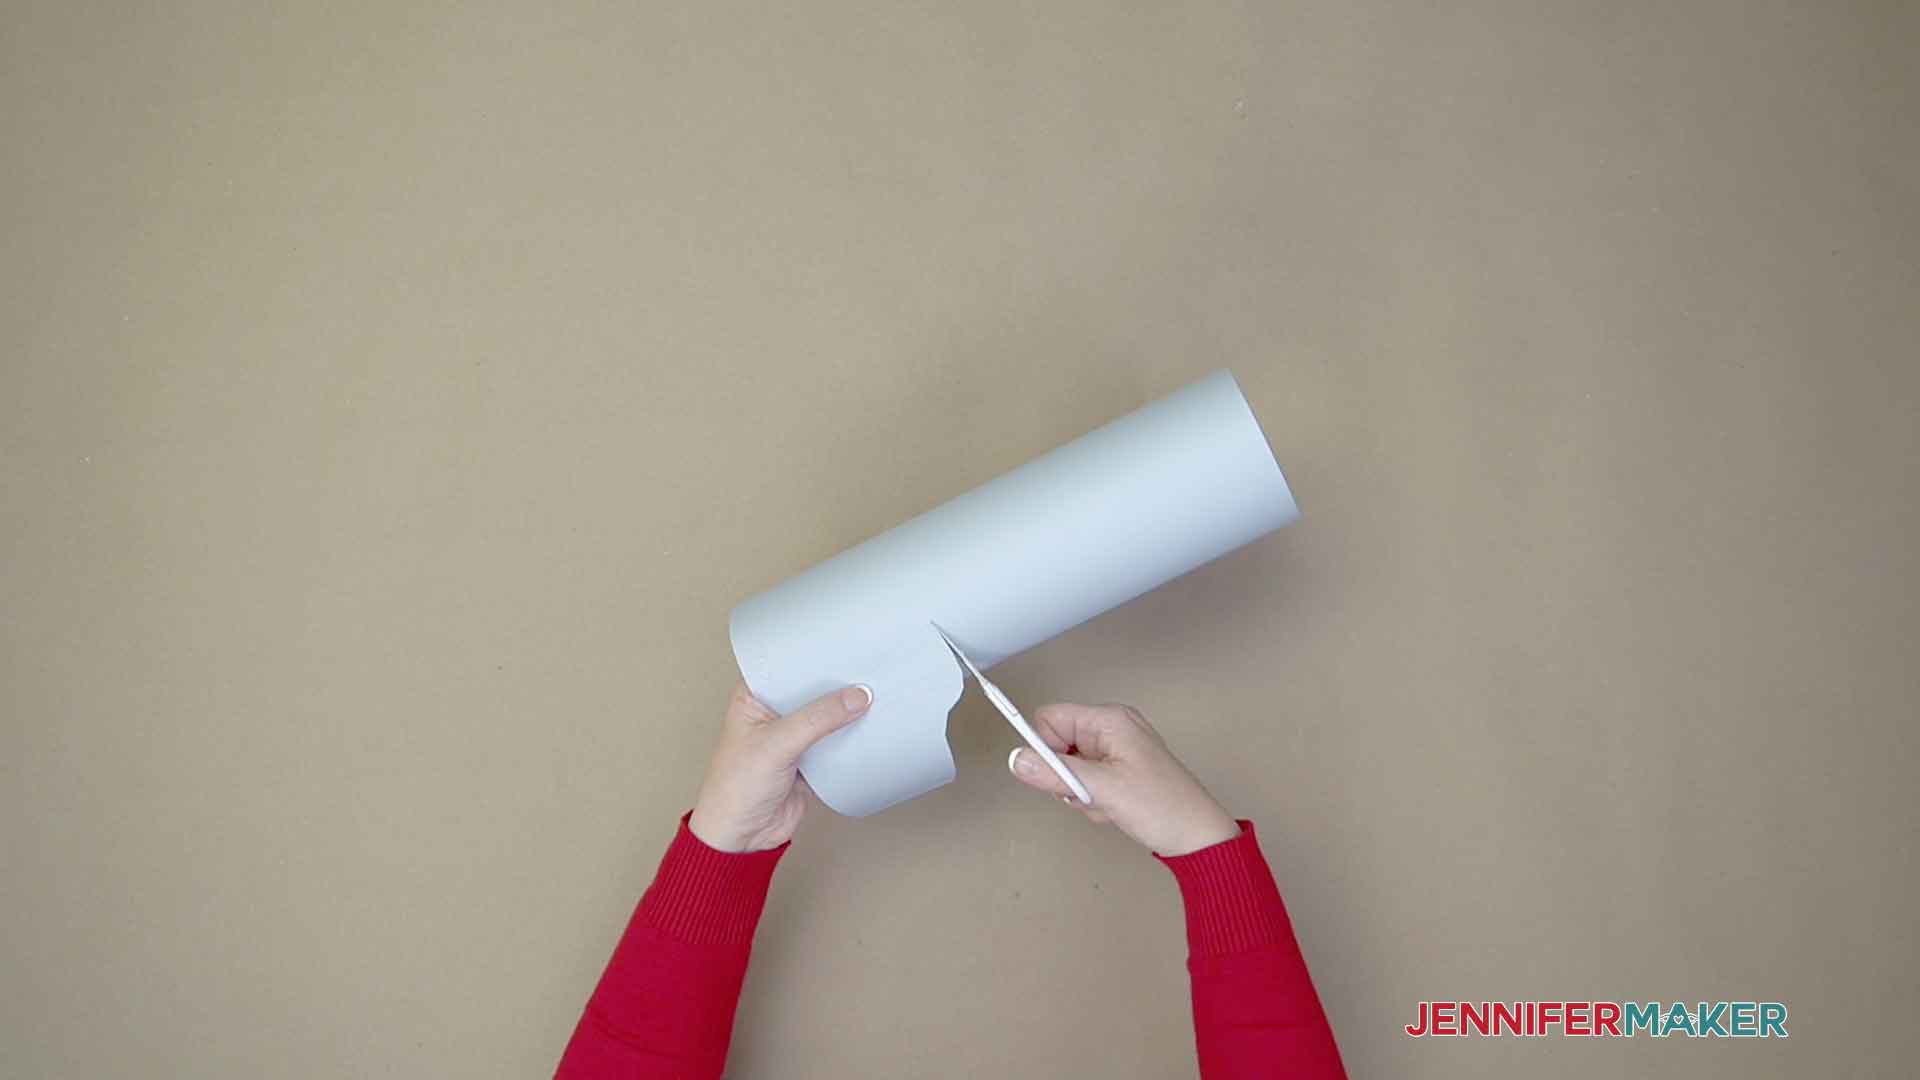
Instead of using the Cricut to cut the design, just use scissors to cut away the black registration marks and separate the designs.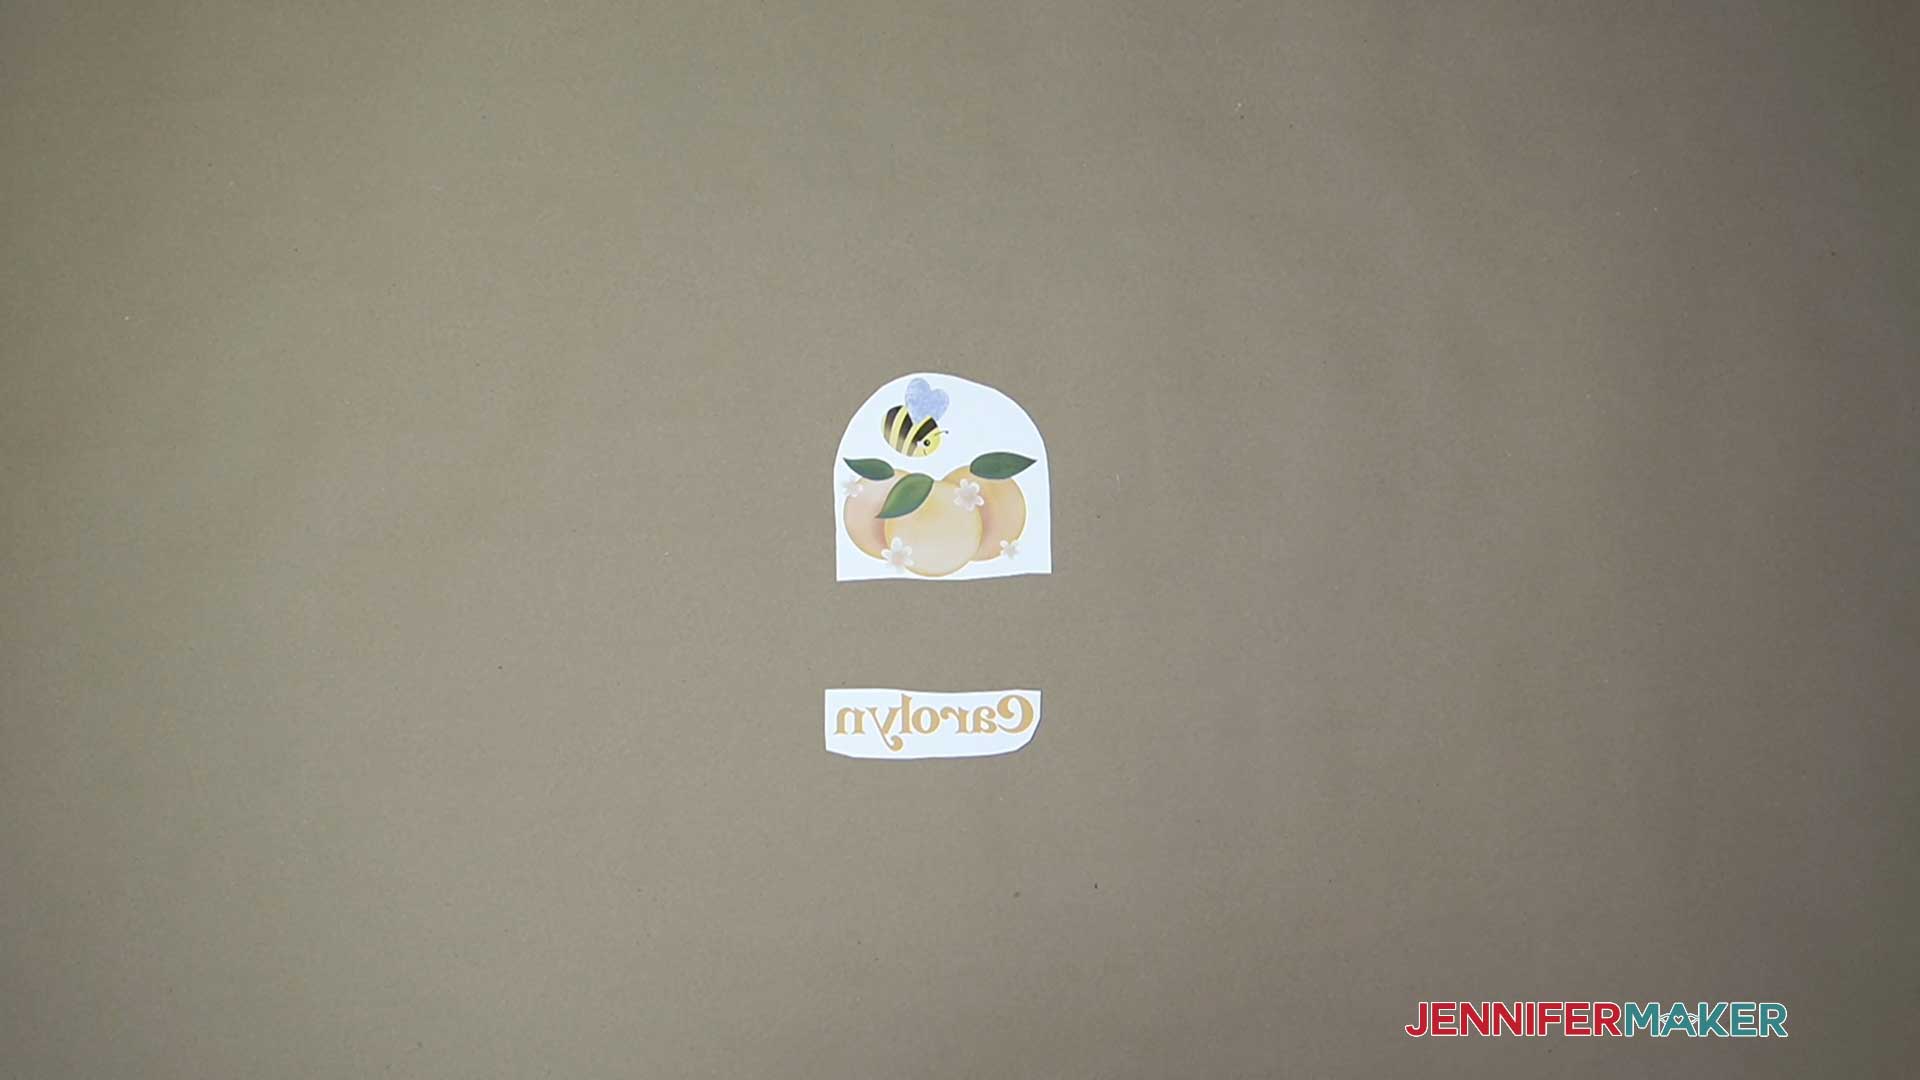
STEP 4: SUBLIMATE YOUR BOA
[
Cut a piece of clean white cardstock so it will fit between the layers of towel under the design area and slide it into place to protect the lower layer from extra ink.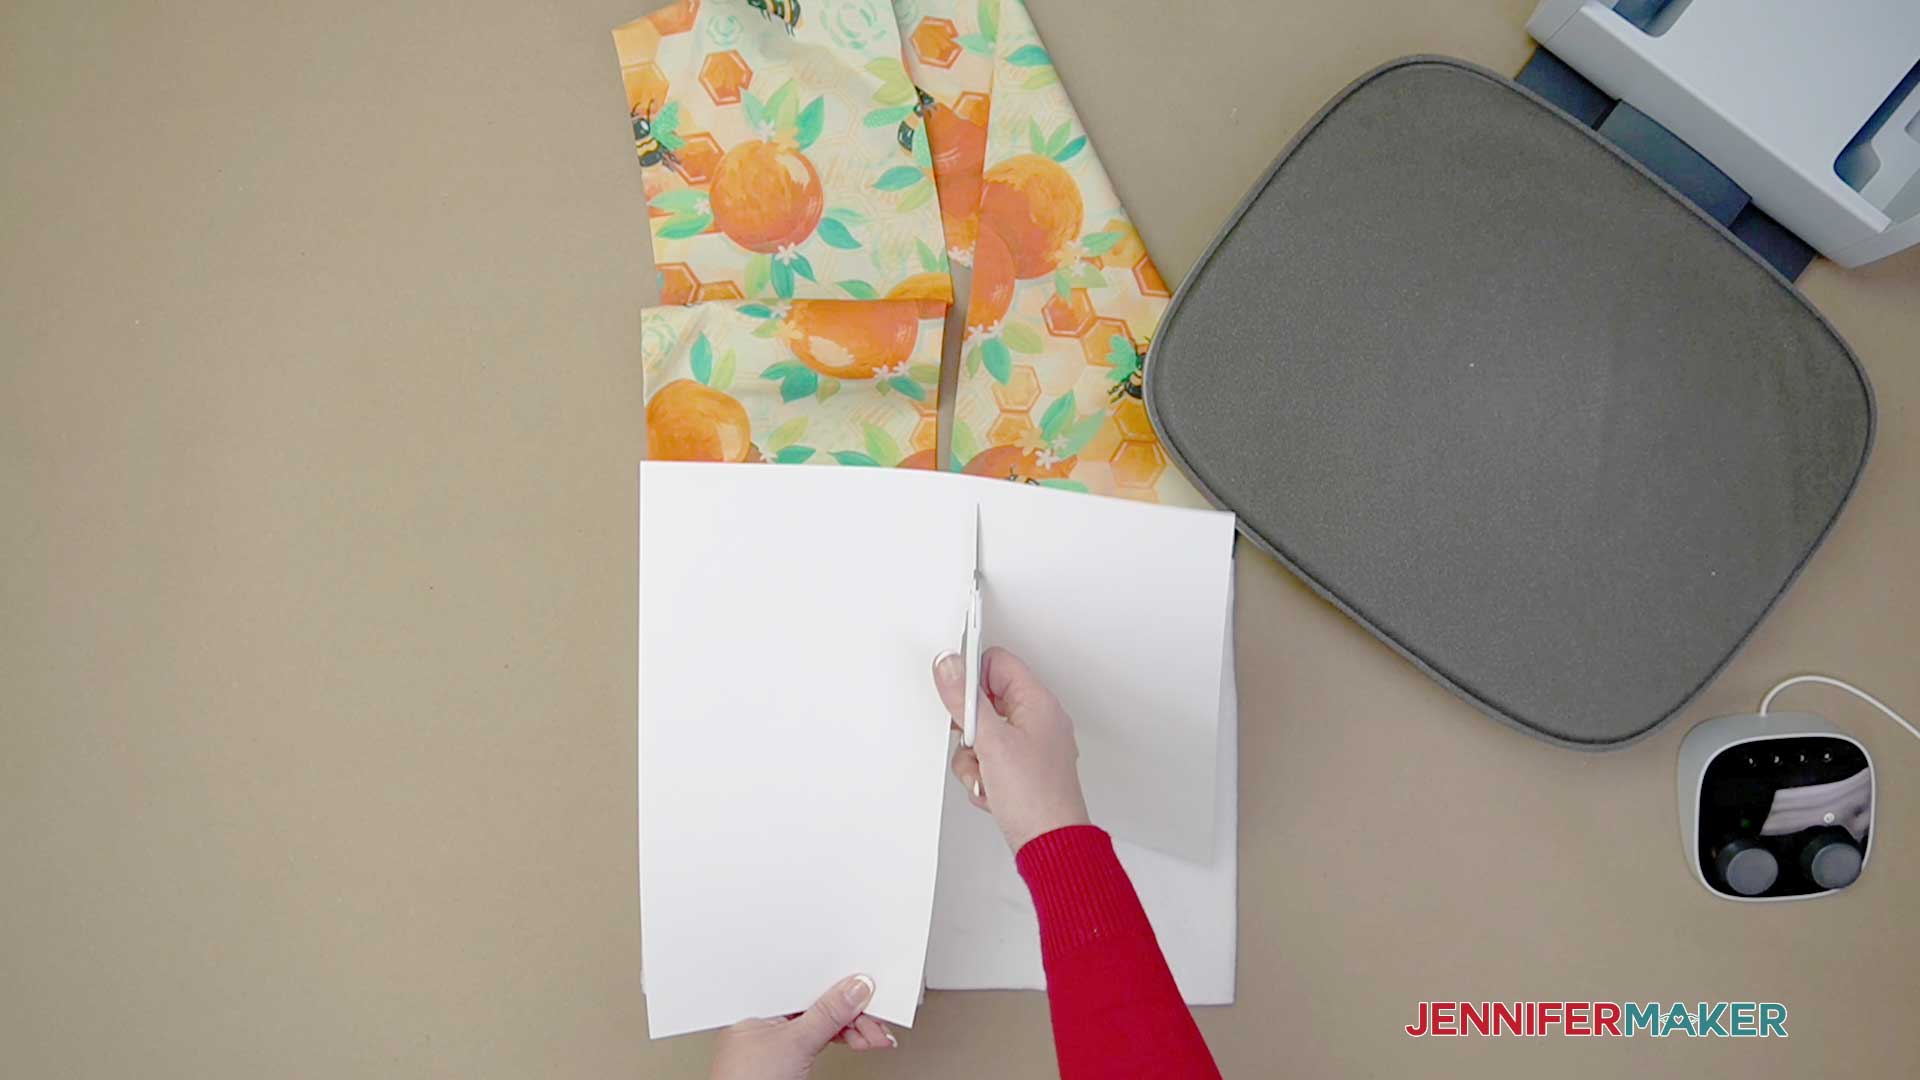
Position each design centered over an end and secure it with heat resistant tape. Make sure you place the designs matte side down. This is why we mirrored our designs!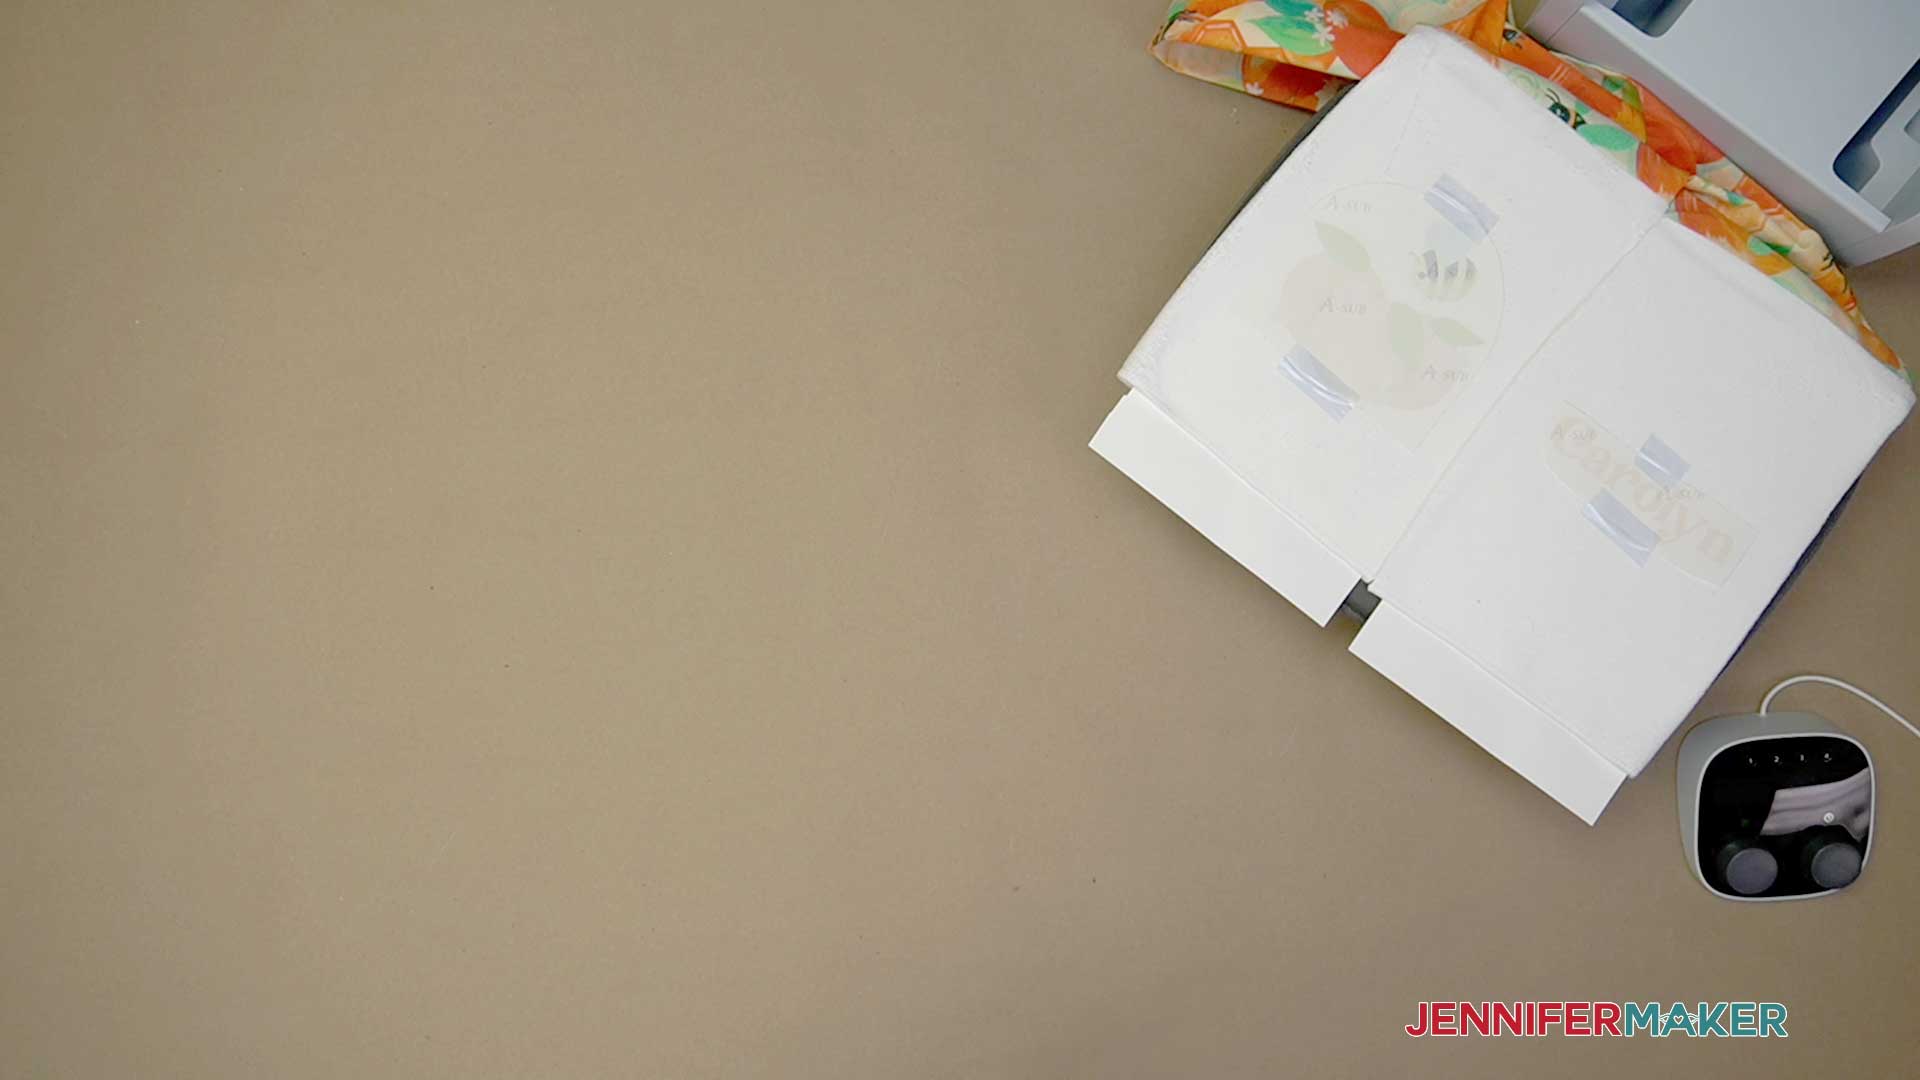
STEP 5: SHOW IT OFF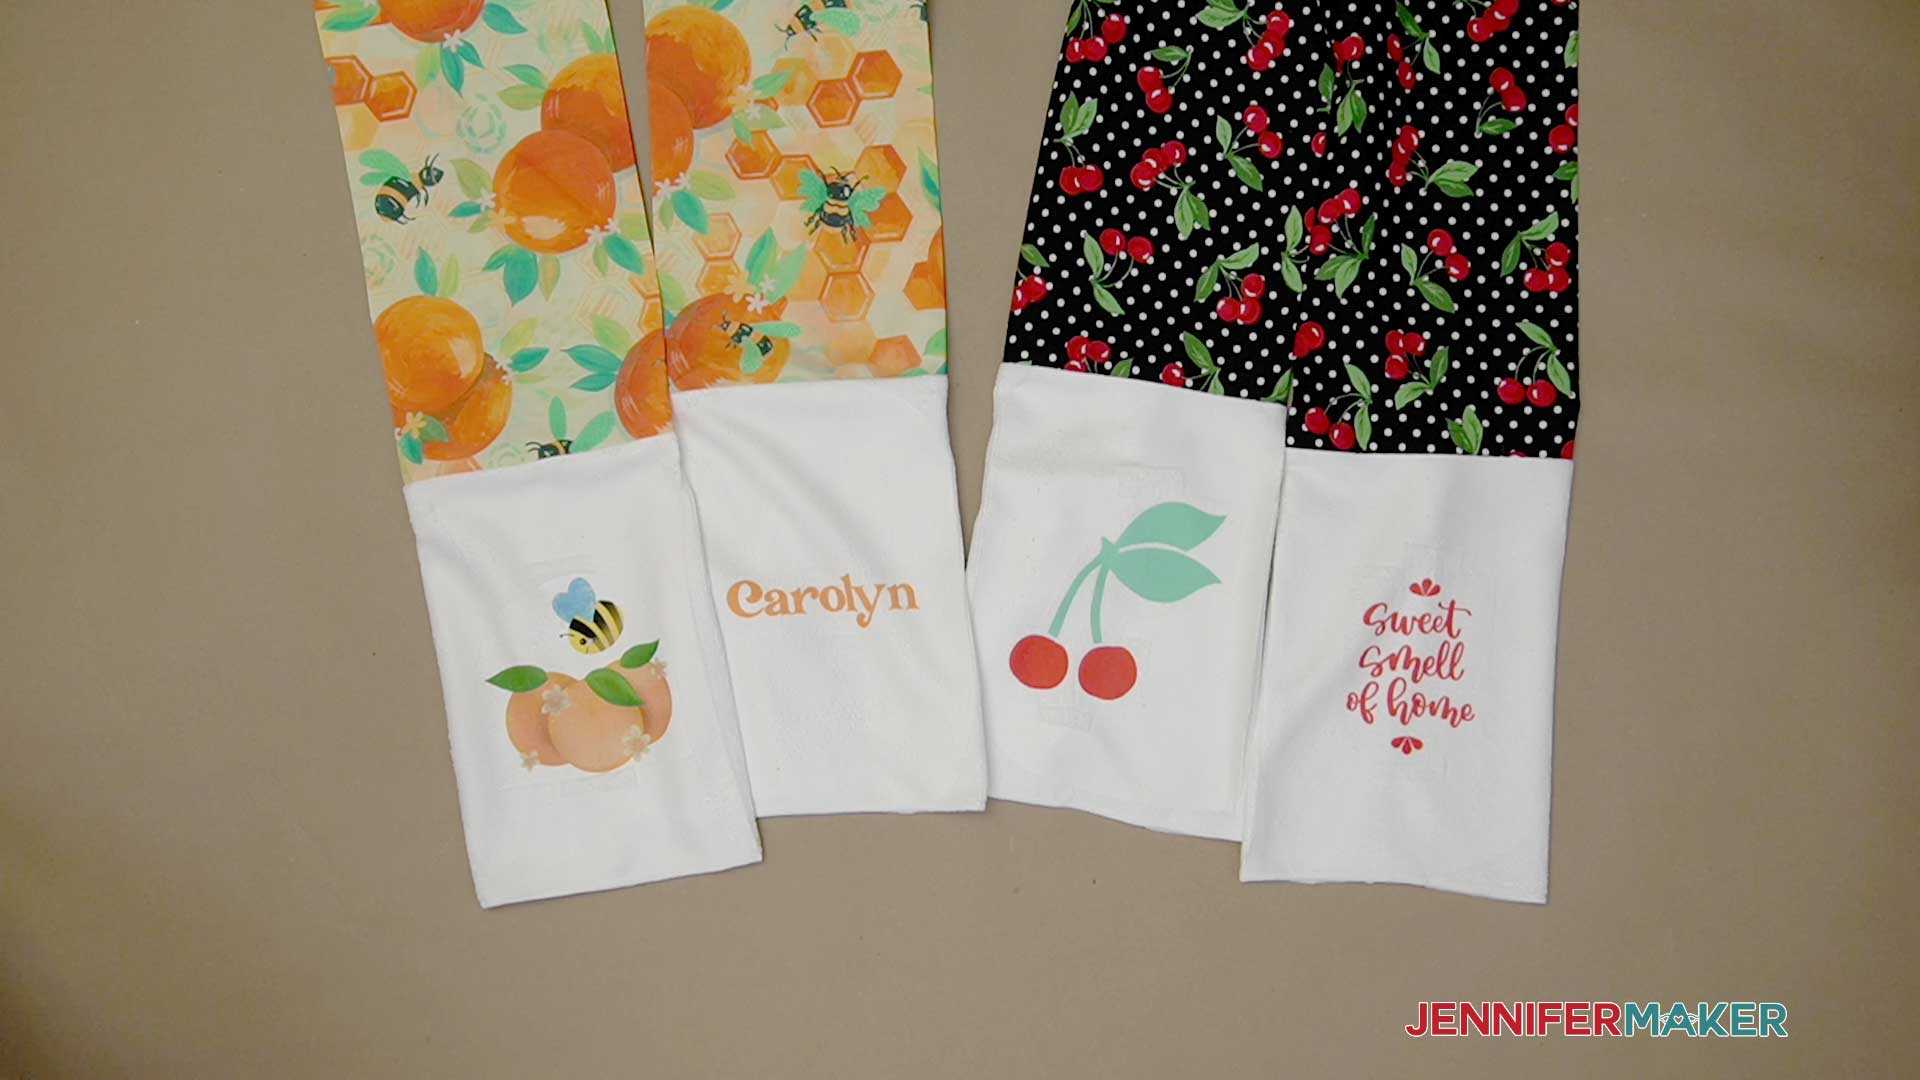
Notes
Answers to Your Questions About My Kitchen Boa Pattern
Q: What is a kitchen boa?
A: Most often, a kitchen scarf boa is a simple scarf with two halves of a kitchen towel at the ends, worn over the neck. It’s a unique kitchen accessory!
Q: How much fabric do I need for a kitchen boa?
A: A DIY kitchen boa pattern uses less than a yard of cotton fabric and a simple dish towel.
Q: What are the dimensions of a kitchen boa?
A: You can use my kitchen boa pattern as a starting point for dimensions and make the cotton section longer or shorter to fit yourself or your recipient.
Q: How long is the fabric for a kitchen boa?
A: While you can adjust the length of your kitchen boa pattern, make sure it’s long enough to easily grab the towel parts.
Q: Which fabric is good for kitchen work?
A: I recommend cotton for the boa center and polyester towels for the ends.
Q: Where can I find images to create my own full color printed designs?
A: In addition to my free resource library, check out Cricut Design Space, Adobe Photoshop, Design Bundles, Silhouette Studio software, Creative Fabrica, Creative Market, Font Bundles, and other online marketplaces for ready-made designs and assets to make your own files for your sublimation projects.
Q: How long will my sublimation project last?
A: There are many variables, but if you follow my tips, your sublimation project should last a long time!
Q: Is print sublimation better than vinyl?
A: It all depends on your preferences and goals! Dye sublimation is fast, flexible, and permanent, but it requires some extra equipment that heat transfer vinyl doesn’t. It’s comparable to Infusible Ink, but more customizable. Both materials work well for a kitchen accessory that will need to be washed frequently.
Q: Can I use a sublimation printer for regular prints, too?
A: No, a high-quality sublimation printer (whether purpose-built or converted) only prints in sublimation ink. And you cannot really switch a converted printer back to being an inkjet printer without a LOT of effort and wasted ink. An Epson Ecotank printer is an inexpensive option to convert.
Q: What kind of paper do I use?
A: I really recommend you use special sublimation paper for the best and most vibrant results and ink transfer. I used A-SUB paper during my tests.
Q: What kind of ink do I use for print sublimation?
A: You must use special sublimation ink to create printed sublimation projects.
Q: How do I test my sublimation prints for vibrancy and color?
A: Use my free subliflower design to see how your colors look on the special paper! It’s Design #385 in my resource library!
Q: How do I learn sublimation for beginners?
A: Join Sublimation Startup for a logical, step-by-step guide to getting setup for success with sublimation! You can ask questions and feel confident that you’ll get help! The Sublimation Startup mini-course is also great for those who enjoy learning from Jennifer Maker’s easy-to-understand, calm, and clear method of teaching. This is a no-fluff, no-mess, no-distraction workshop … it’s like sitting down with Jennifer in her craft room to learn directly from her! We work in logical steps to build your understanding and confidence with sublimation, and then provide support to keep helping you as you continue on your journey! Register now!
Get my free SVG and PNG files to create a Kitchen Scarf Boa with sublimation designs!
(If you do not see the signup form above, click here.)
I love seeing what you make with my kitchen boa designs and how you use them! Please share a photo of your kitchen boa scarf in our Facebook group or tag me on social media with #jennifermaker.
I also have a group just for sublimation crafting where you can get help and tips from other crafters who love to sublimate, too! Come join us at jennifermaker.com/sublimationgroup to ask questions, share ideas, and get inspired!!
Love,

Want to remember this? Save this Kitchen Boa Pattern Tutorial to your favorite Pinterest Board!