Learn how to use your home iron to press iron-on vinyl the right way!
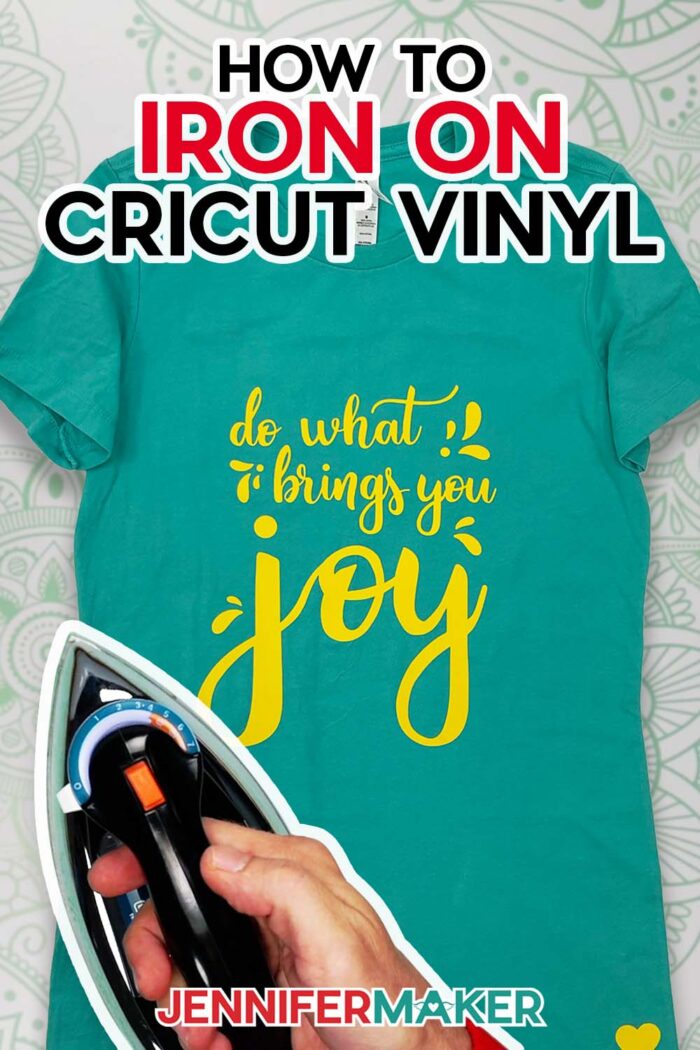
Did you know, getting the best results for an iron-on vinyl project doesn’t require a fancy heat press? That’s right, you can use a regular iron with heat transfer vinyl! I’ll share tips and tricks for success while we learn how to iron on Cricut vinyl and create custom t-shirts. I have a fun, free cut file to get you started, but you can use these steps on your own design, too!
Want to save this project? Enter your email below and we’ll send the project straight to your inbox.
Watch the full step-by-step tutorial video on How to Iron On Cricut Vinyl coming soon to my Youtube channel!

Iron-on vinyls are some of my favorite materials to use with my Cricut! There are so many colors, styles, and ways to use iron-on vinyl (also known as heat transfer vinyl or HTV) I always have it in my craft room. I’ve made A LOT of projects with this vinyl over the years, and have LOTS of tips in my tutorial video. But here are my top two to get you started!

How to Iron On Cricut Vinyl: Top Tips!
1. Mirror, Mirror!
Unlike adhesive vinyl and its paper backing, iron-on vinyl comes attached to a shiny plastic carrier sheet and the exposed side will stick to the project. So, remember to mirror your cut files before cutting so they will look right when you iron it down. Also, since you want the clear carrier sheet under the vinyl to stay intact during cutting, you’ll put the vinyl shiny side down and make a kiss cut just in the top layer.

Careful preparation and correct cut settings are important for any iron-on design!
2. Testing Saves Time and Money
Any time you use a new material or technique, conduct a test cut and application to check your results. It only takes a few minutes and can save you a lot of time and materials, especially when you’re learning how to iron on Cricut vinyl.
The right temperature, time, pressure, and cooling times are very important for iron-on vinyl projects. I’ve included some test shapes so you can test out your vinyl and surface combinations with your home iron or heat press. If it doesn’t work perfectly, make some notes and try again!
Unlike a heat press, you usually can’t set the exact temperature on a home iron. Instead, you’ll pick a fabric setting depending on your vinyl and base material combination.
I used my Cricut Maker 3 to cut my design, but you can also use an original Maker or Explore machine, including a Cricut Explore Air. I’ve also included a version that you can cut on a Cricut Joy. A Green StandardGrip Machine Mat, fine-point blade, and brayer are all you need for perfect cuts!
Scissors are helpful to cut away the excess vinyl before you weed the designs with a weeding tool. A few more standard tools are in the list below!
And whichever heat source you use, have a heat safe surface like a pressing mat, towel, or wooden cutting board ready when it’s time to complete the project!

Ready to learn more about how to iron on Cricut vinyl? I’m super excited to show you how! This post contains some affiliate links for your convenience (which means if you make a purchase after clicking a link I will earn a small commission but it won’t cost you a penny more)! Read my full disclosure policy.
Materials for How to Iron On Cricut Vinyl
- Cricut Everyday Iron-On Vinyl -I used cornflower blue, bright teal, and yellow -OR-
- Cricut Glitter Iron-On Vinyl – I used red -OR-
- Cricut Foil Iron-On Vinyl – I used red
- A t-shirt – I used Medium Bella Canvas Women’s Long Length Favorite Jersey T-Shirts in cardinal, teal, gold, and white
- Parchment Paper
- Lint Roller
- A method to cut your vinyl – I used the amazing Cricut Maker 3, with the Fine-Point Blade but you can use any Maker or Explore, or even a Joy with the correct SVG file
- Cricut Green StandardGrip Mat, 12″ x 12″ -OR-
- Cricut Blue LightGrip Mat, 12″ x 12″
- DIY T-shirt Ruler Guide – optional, but helps with alignment
- Classic Home Iron
- Cricut Brayer
- Scissors
- Spatula
- Weeding Tool
- Cricut EasyPress Mat, towel, or a wooden cutting board
- Digital Kitchen Timer or Cell Phone with Timer app
- Design #475 – My free SVG/PDF/DXF design files are available in my free resource library (get the password by filling out the form at the bottom of this page)
How to Iron On Cricut Vinyl

How to Iron On Cricut Vinyl
Learn How to Iron On Cricut Vinyl with a home iron.
Materials
- Cricut Everyday Iron-On Vinyl-I used cornflower blue, bright teal, and yellow
- Cricut Glitter Iron On Vinyl Sheets- I used red glitter
- Cricut Foil Iron-On Vinyl-I used red foil
- Bella Canvas Women's Long Length Favorite Jersey T-Shirt-I used cardinal, teal, gold, and white shirts in size Medium.
- Parchment Paper
- Design #475 (My free SVG/PDF/DXF design files are available in my free resource library - get the password by filling out the form at the bottom of this page)
Tools
- A method to cut your vinyl — I used the amazing Cricut Maker 3, with the Fine-Point Blade but you can use any Maker or Explore
- Cricut Green StandardGrip Mat, 12" x 12" -OR-
- Cricut Blue LightGrip Mat, 12" x 12"
- Classic Iron
- Cricut Brayer
- Cricut Scissors
- Cricut Spatula
- Cricut Weeding Tool
- Cricut Pressing Mat or towel or wooden cutting board
- Lint Roller
- DIY T-shirt Ruler Guide - optional, but helps with alignment
- Digital Kitchen Timer -OR-
- Cell Phone with Timer
Instructions
STEP 1: GET MY FREE VINYL DESIGN FILES
First, download my free How to Iron On Cricut Vinyl SVG/PDF/DXF files from my resource library -- it's Design #475.
The download folder includes a PDF to cut by hand, and DXF or SVG files for use with a cutting machine. I'll show you how to use the SVGs with a Cricut.
Upload the SVG file to Cricut Design Space and add it to your Canvas.
I'll add this cute "Do What Brings You Joy" design. But there is also an included small heart design for testing. Make sure to move or hide the test heart and not Attach it to the design.
TIP: If you are not sure how to upload an SVG cut file to Cricut Design Space, watch this helpful video training series I made. If you are on an iPad or iPhone, here is how to download and upload SVG files to the Cricut Design Space app.
STEP 2: PREPARE THE DESIGN FILE
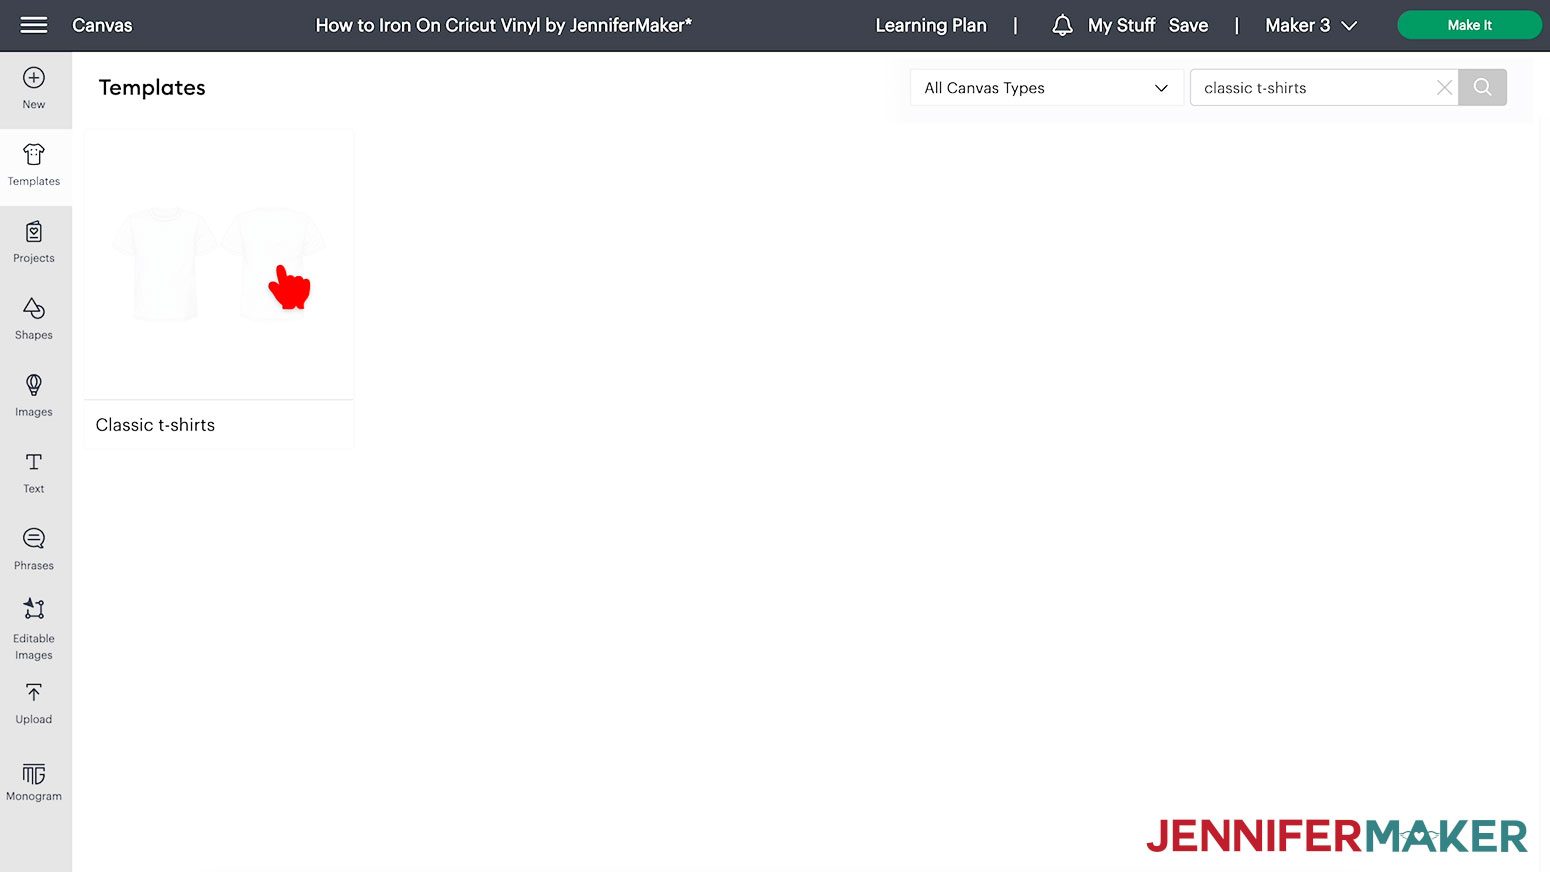
Click on New Project, then click on Templates in the upper left corner. Choose “Classic T-Shirt” and pick a style, size and color. The template will help you size your design so it looks good on your T-shirt.
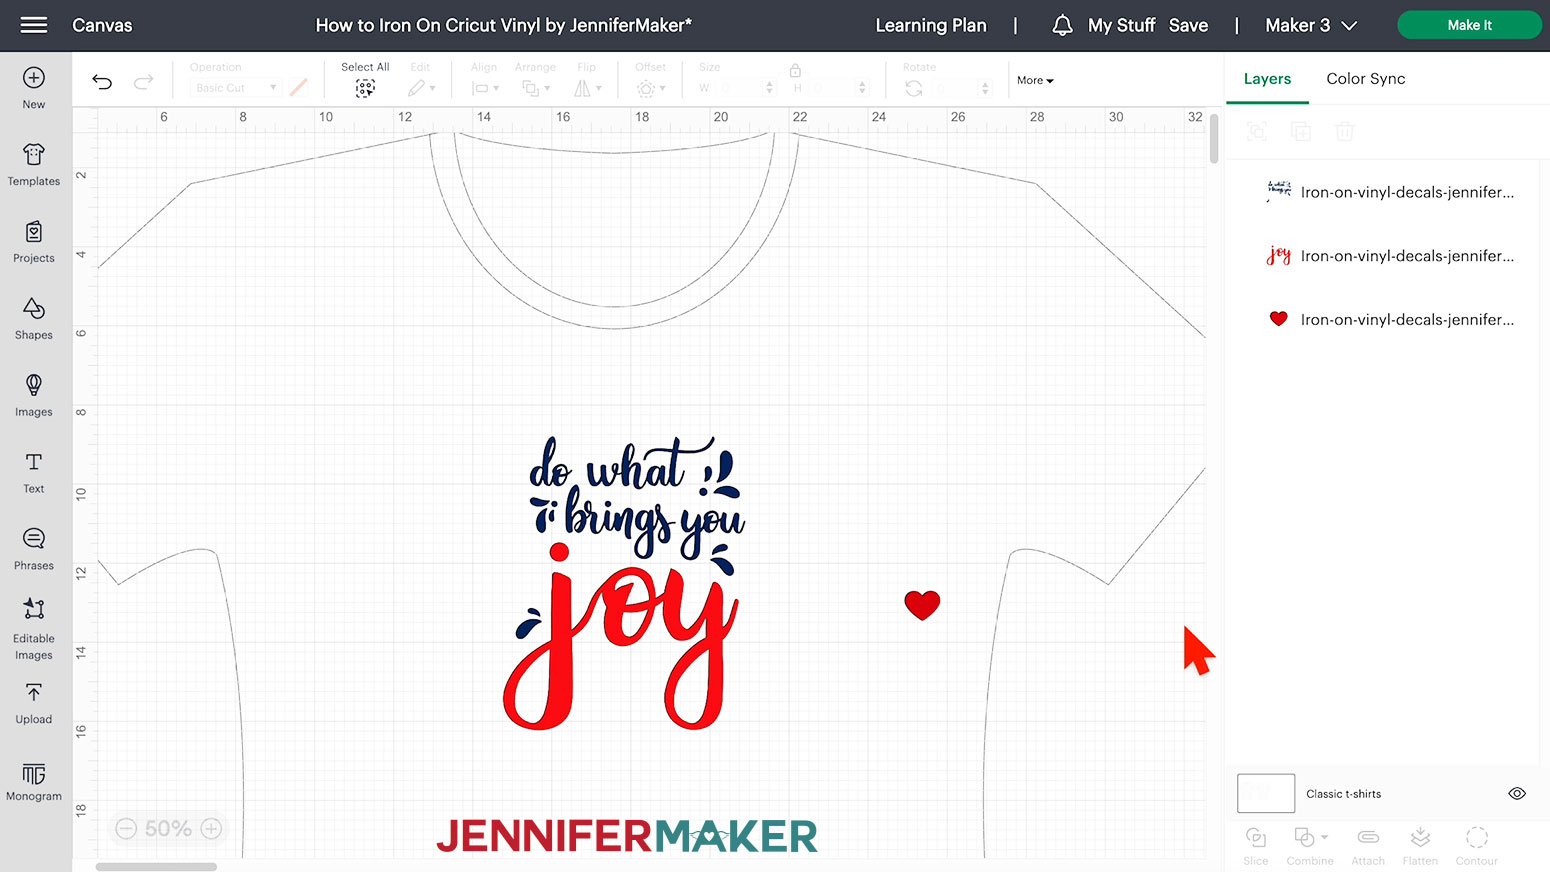
This is what my 'Do What Brings You Joy' SVG file and test heart look like on my Canvas. You can zoom out to see all of the design by clicking on the minus (-) sign on the lower left.
Two-Color Design
The design is split into two layers, so you can change the color of the word 'Joy' if you wish.
First, click 'Ungroup' to separate the two text layers on the Canvas.
Today I am making a white shirt with everyday iron on vinyl (HTV) in Cornflower Blue, and Red Foil.
Make sure to drag the heart off to the side so you don't accidentally attach it and cut it as part of the design.
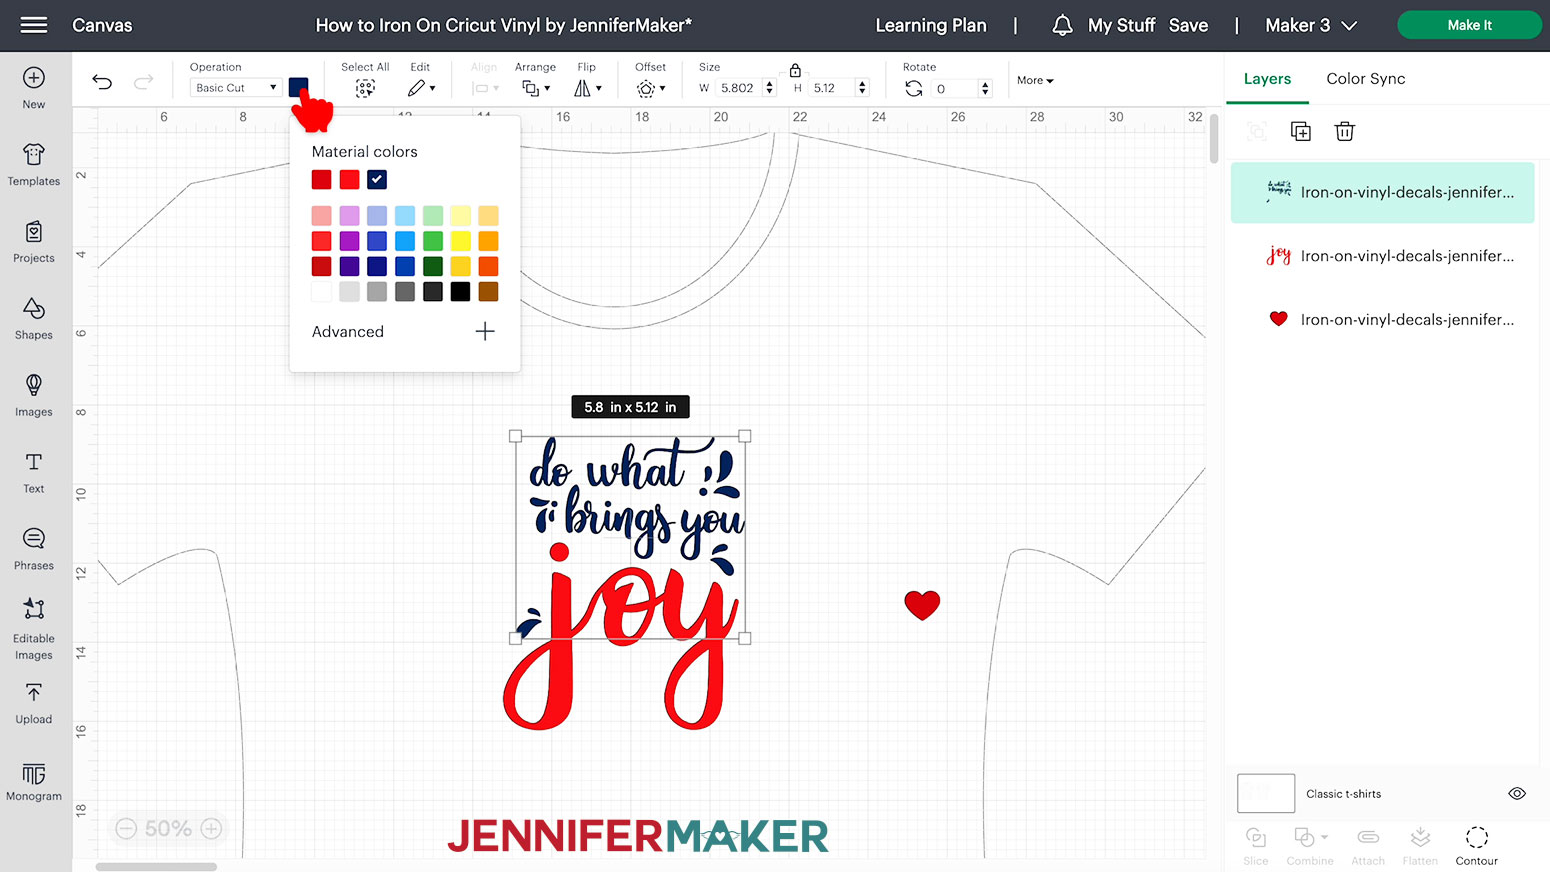
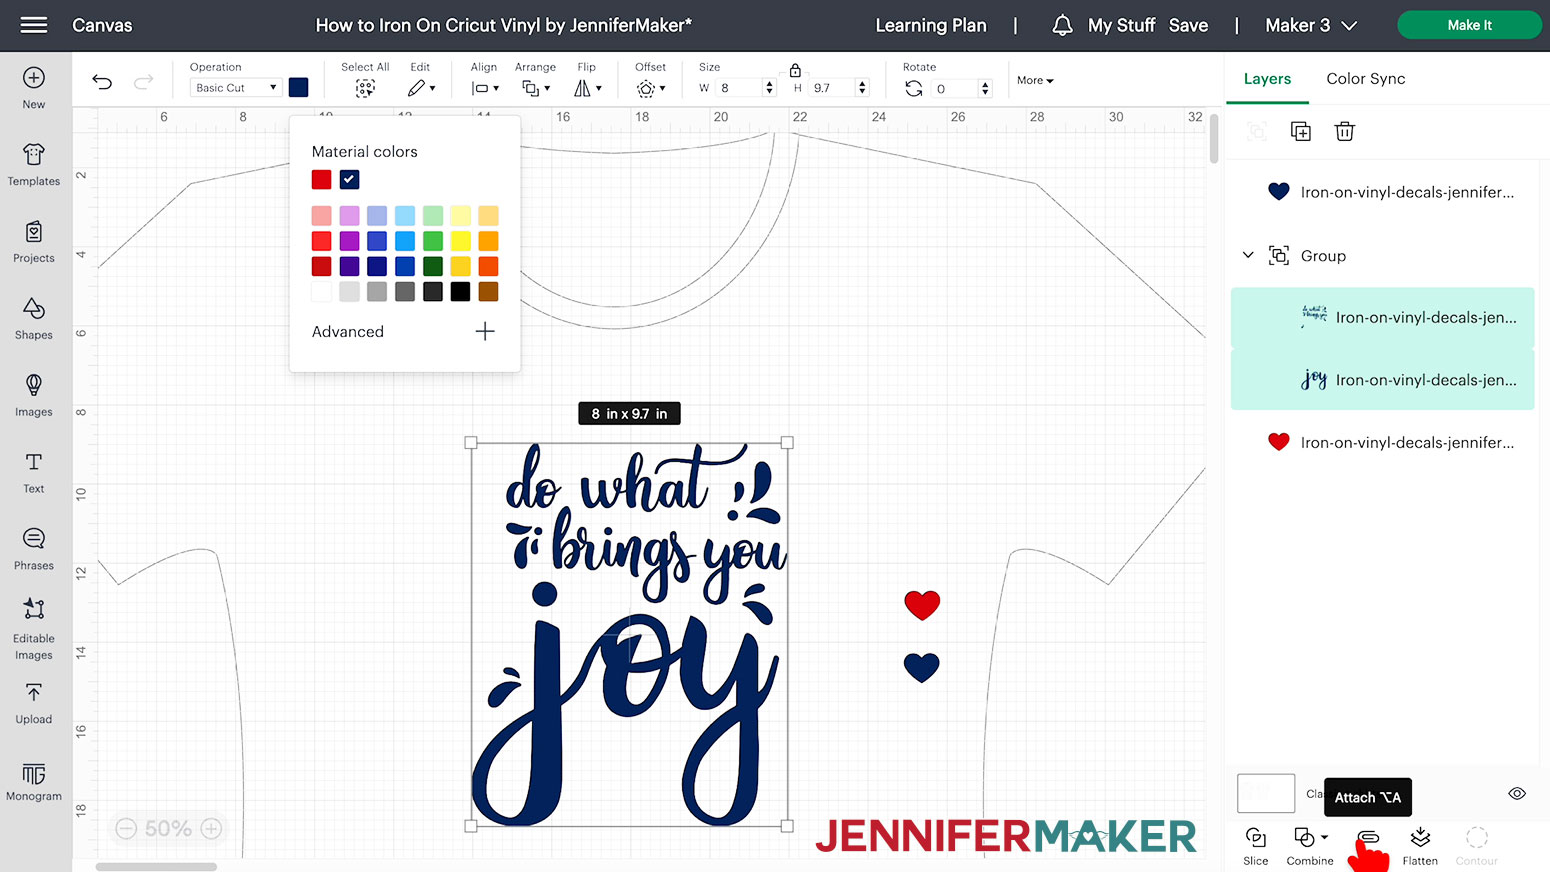
I'm going change the 'do what brings you' words and swoosh elements to cornflower blue and the word 'joy' to red foil in Design Space. I'm also going to change the small test heart to red foil.
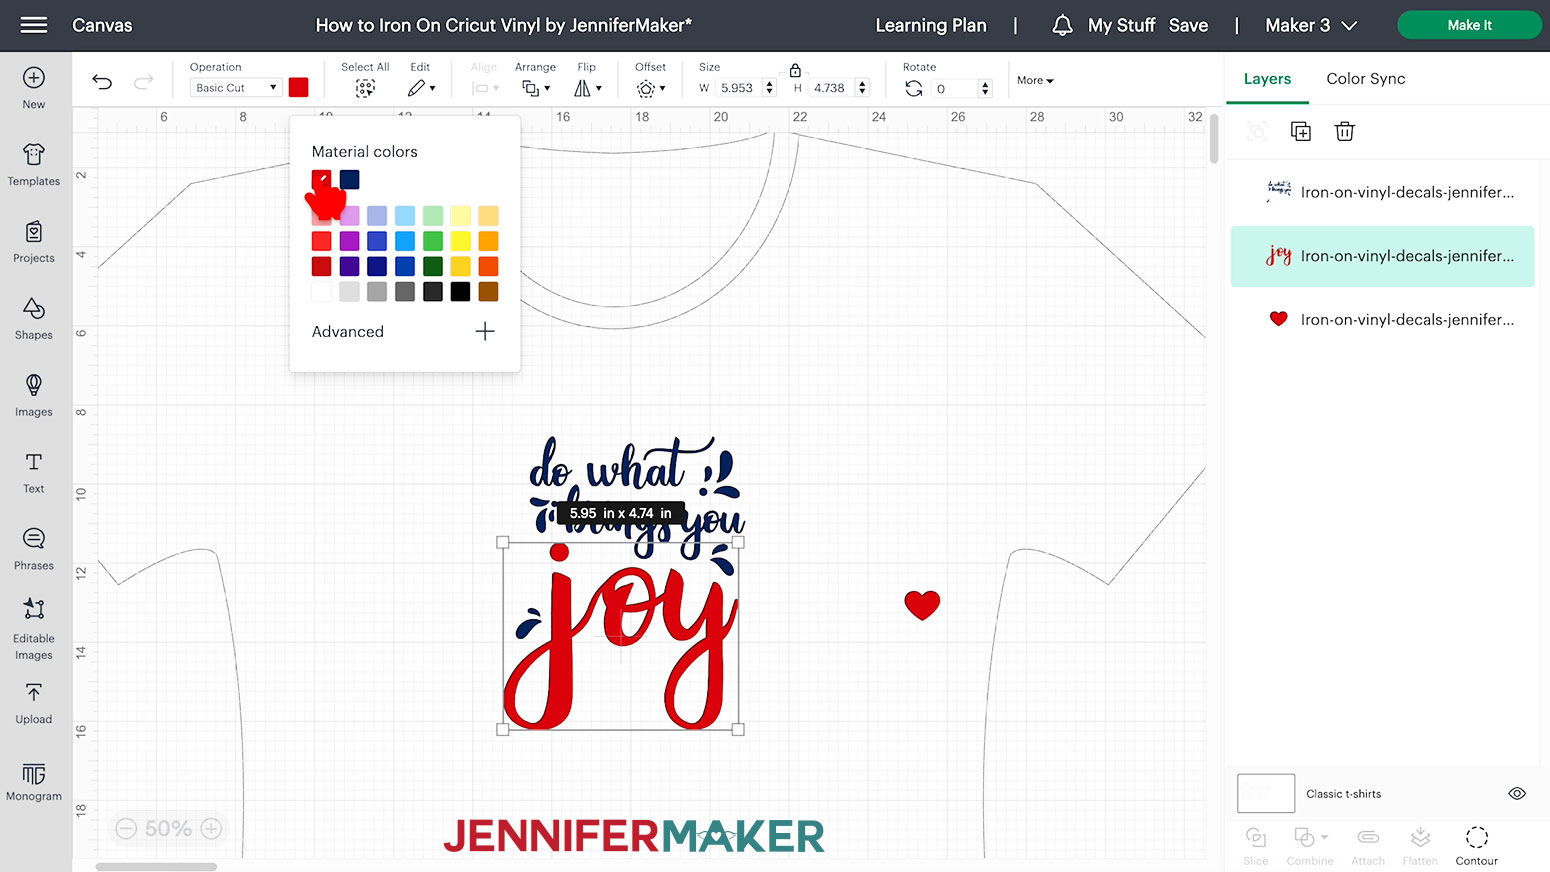
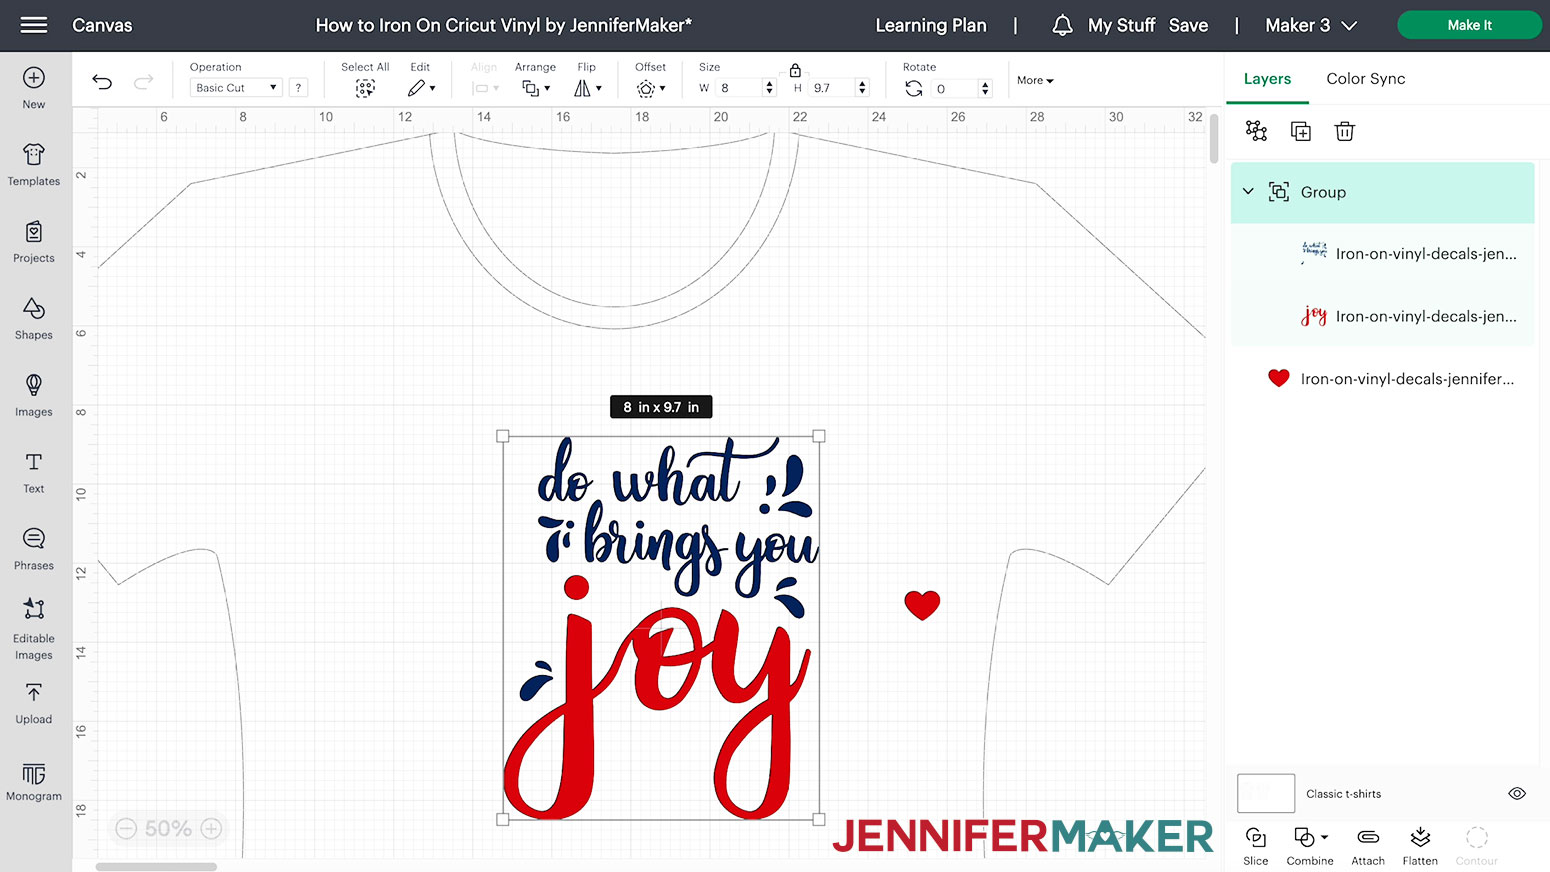
If you'd like, select the layer, and change the color by clicking the color box next to Operation and choose the color you want. If you wish to cut out different colors remember to select the layer with the word 'Joy' and change to the appropriate color, and do the same for the decoration and text layer above. Now select all the layers and click Group.
One-Color Design
If you'd like to make the shirt design in a single vinyl color, simply select both layers and change to your color choice. Then, select both layers and click 'Attach', since now the entire design will be cut out of one vinyl color. You could try the one-color design in everyday iron-on, or even glitter iron-on HTV. Make sure to move or hide the test heart and not Attach it to the design.
I'm going change the 'do what brings you' words and swoosh elements, and the word 'joy', to cornflower blue in Design Space. I'm also going to change the small test heart to cornflower blue as well. Now select all the layers and click Group.
The design is sized for a Medium sized Bella Canvas Women's T-Shirt.
Since I'm making a women's medium, I will resize the design to a maximum of 8" wide. Keep the lock icon at the top closed to maintain the design proportions and enter the correct width dimension into the 'W' field under Size. I'll enter '8'. Then select and move the design on top of the T-Shirt template for placement reference only.
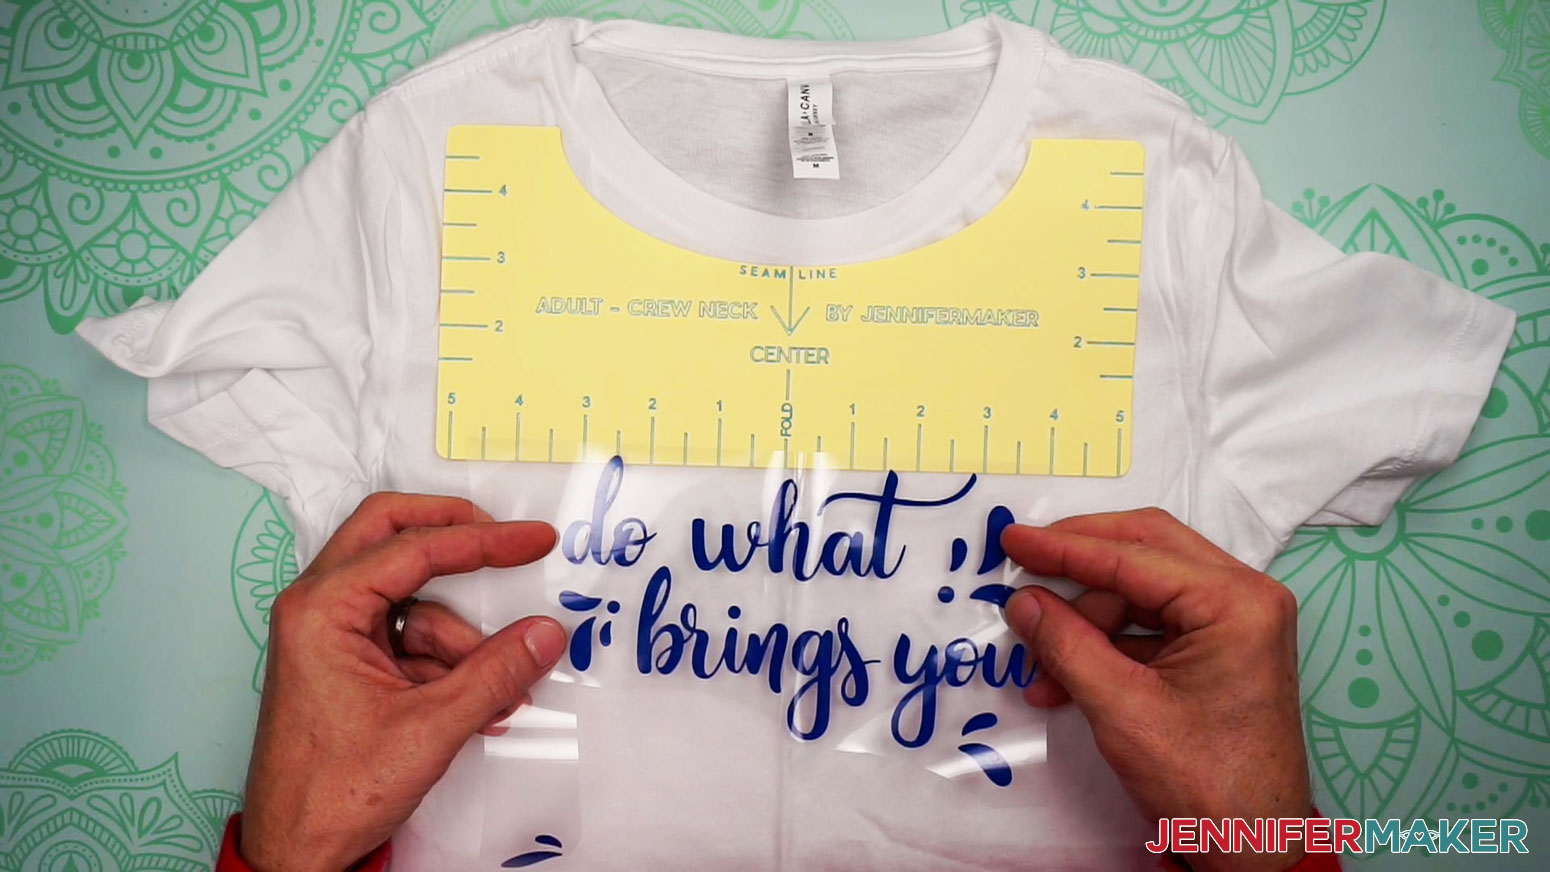
You can also use the T-Shirt ruler for perfect placement on the shirt.
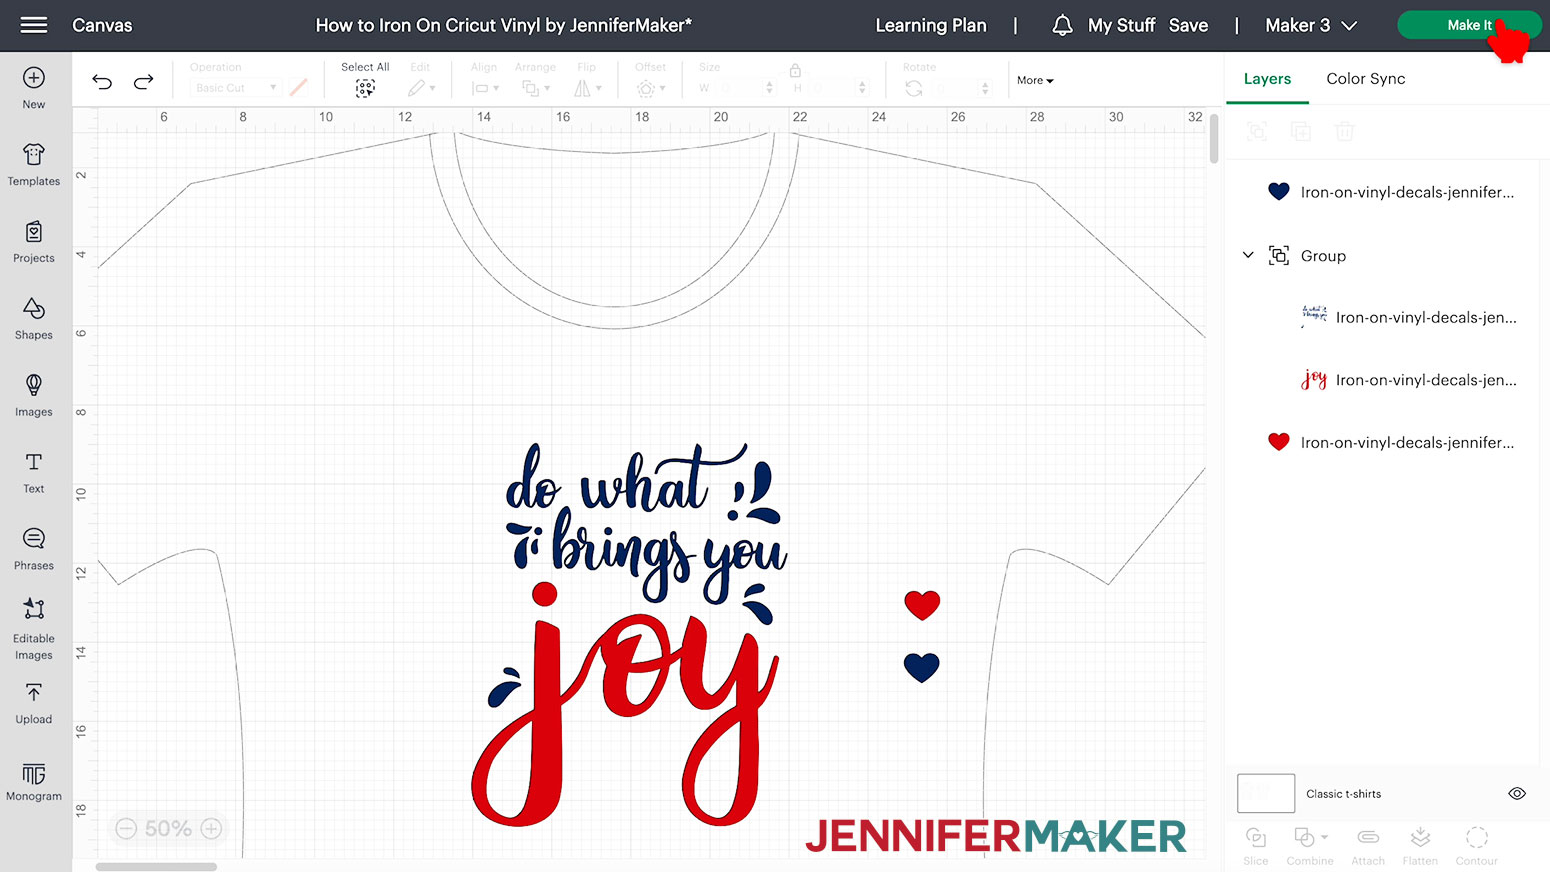
The design is ready to cut!
STEP 3: CUT AND WEED THE DESIGN
When you are ready, select your Cricut machine — I selected Maker 3 — and then click the green “Make It” button in the upper right corner.
If you are asked if you are cutting your designs without a mat, on a mat, or multiple ways, select "On Mat" and "12 x 12." Click "Confirm."
On the Prepare screen, keep the "Material Size" at 12" x 12".
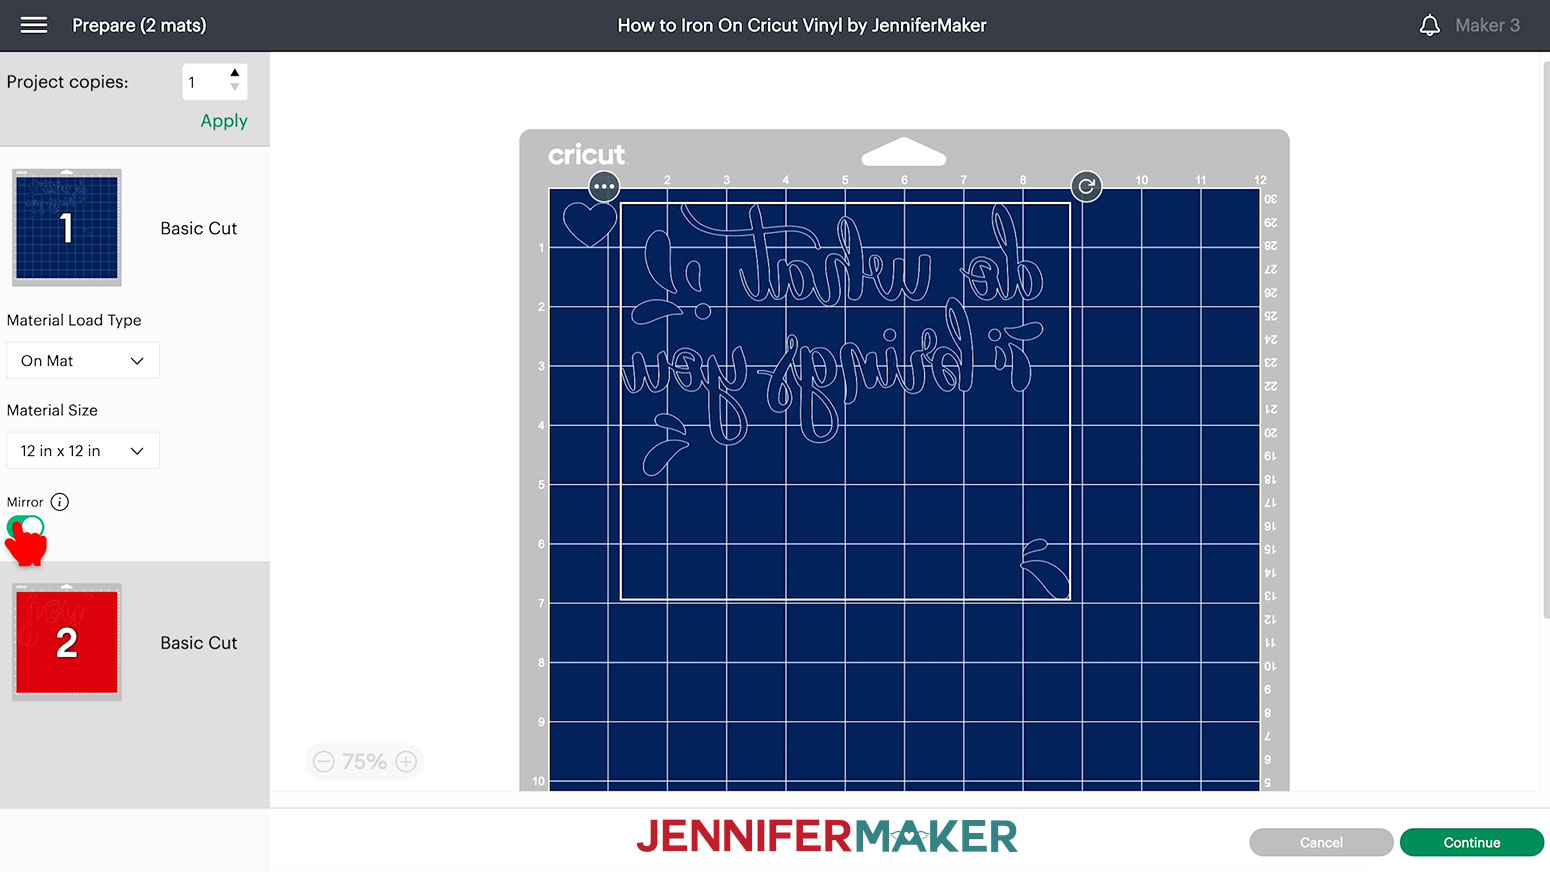
On the Prepare screen, make sure the correct design pieces are on the right mats if you're cutting them out of the same material. If you see a mistake, click Cancel to go back and fix it.
Then, toggle "Mirror" ON for every mat. That way, the decals will face the right direction when we flip them over and iron them on to the t-shirt.
Click Continue.
On the Make screen, set your Base Material to "Everyday Iron-On" and set the Pressure at "More".

Note: If you use Foil HTV, usethe 'Foil Iron-On' materials settings, or 'Glitter Iron-On' for glitter HTV. If you are using Smart Iron On Vinyl, use the materials setting for 'Smart Iron On'. Set the Pressure at "More" for using standard everyday HTV, Foil, or Glitter.
It is important to place your iron-on vinyl SHINY SIDE DOWN on each machine mat. That way, we can adhere the correct side to the shirt and your design will be readable. Add your vinyl shiny side down to a clean, green StandardGrip Machine Mat and adhere it well with a brayer.
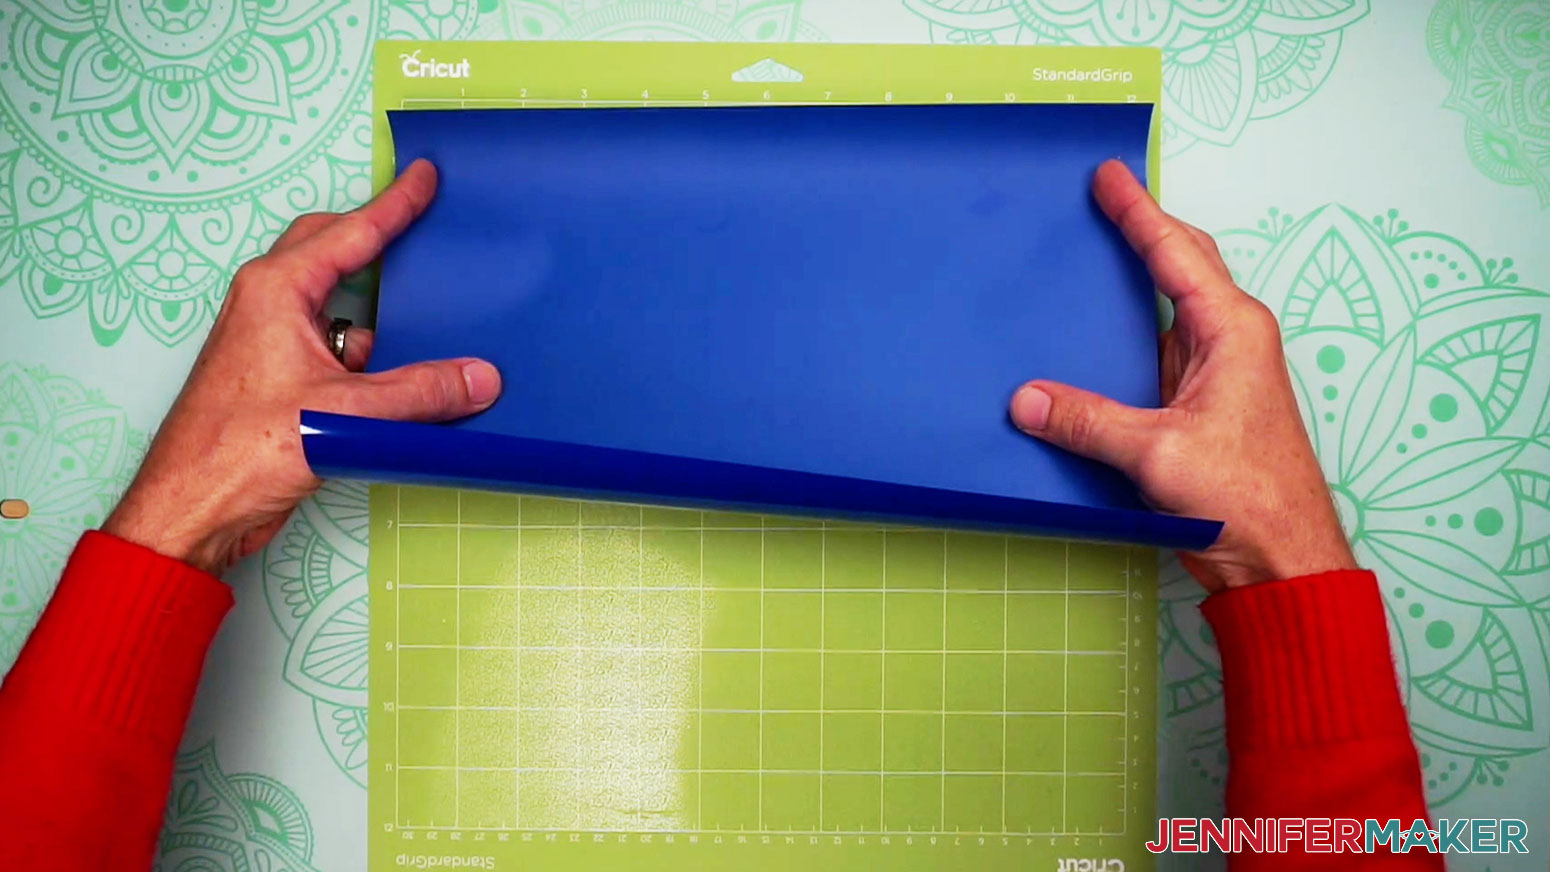
Make sure your Fine-Point Blade is clean and in clamp B. Load the mat into your Cricut and press the flashing button to load the material. Press the "Go" button to cut the vinyl.
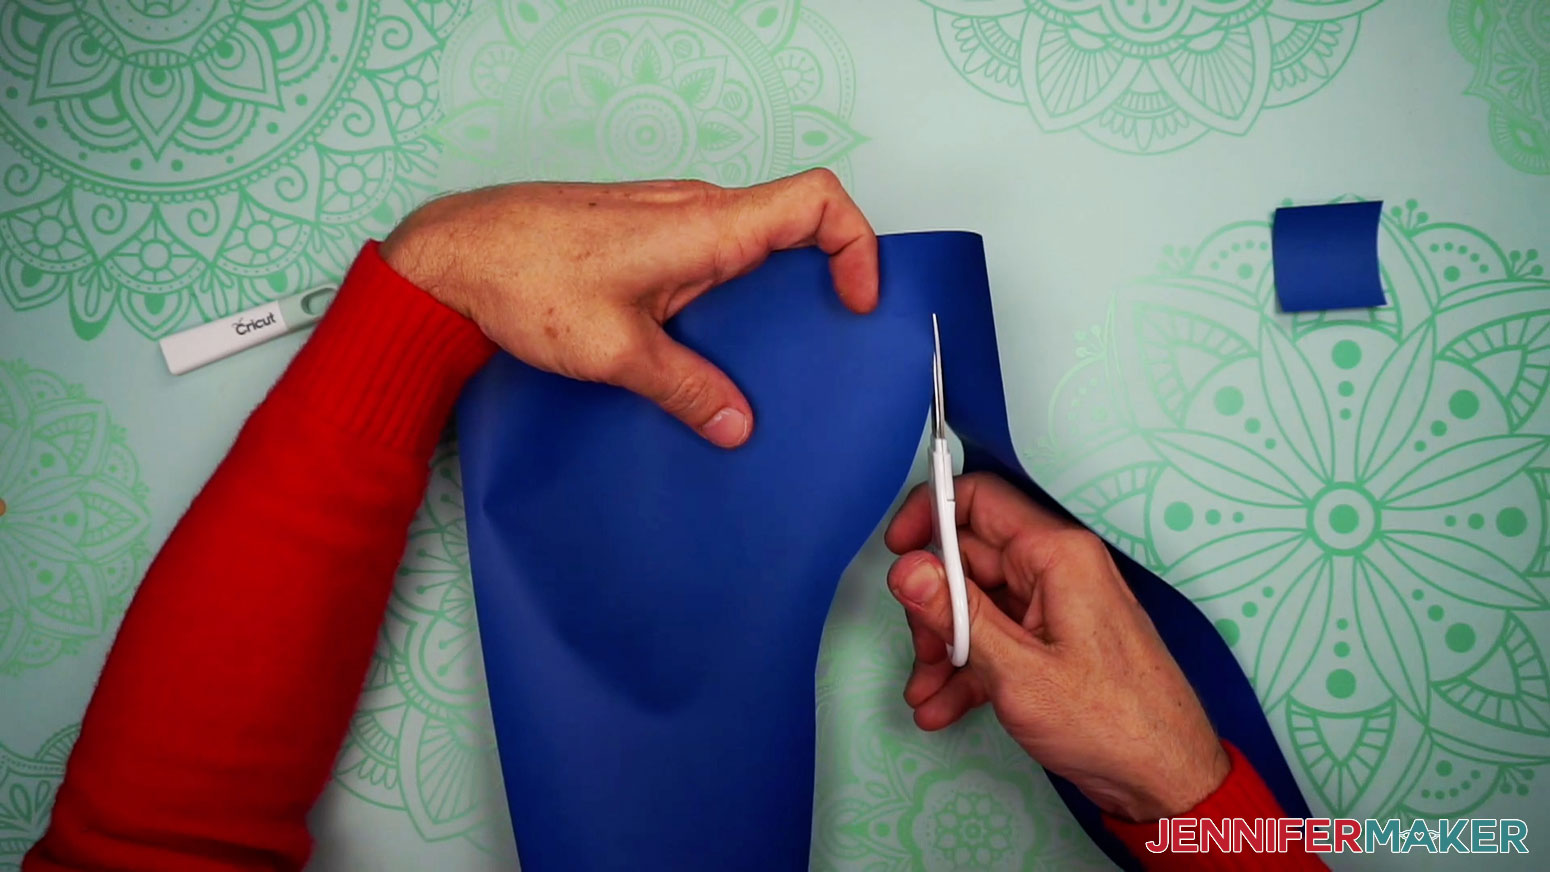
When the cut is complete, unload the mat. Flip it over on your work surface and gently roll a corner back to release the vinyl. Use your scissors to trim away excess material around the designs.
TIP: If you have any trouble cutting the vinyl, check out my Cricut Tips & Tricks for Cleaner Cuts.
Now, it is time to weed!
Weeding means removing the extra vinyl away from around and within the design.
First, use your scissors to cut around the design. Cut out the small test heart individually, since it will be placed in a different location on the shirt. If you are making the two-tone design, you will be cutting these out separately with two different colors of HTV.
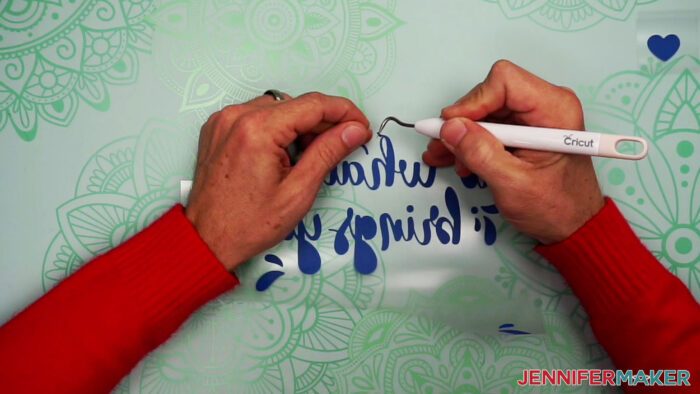
Using a weeding tool, pull up a corner of the iron-on vinyl.
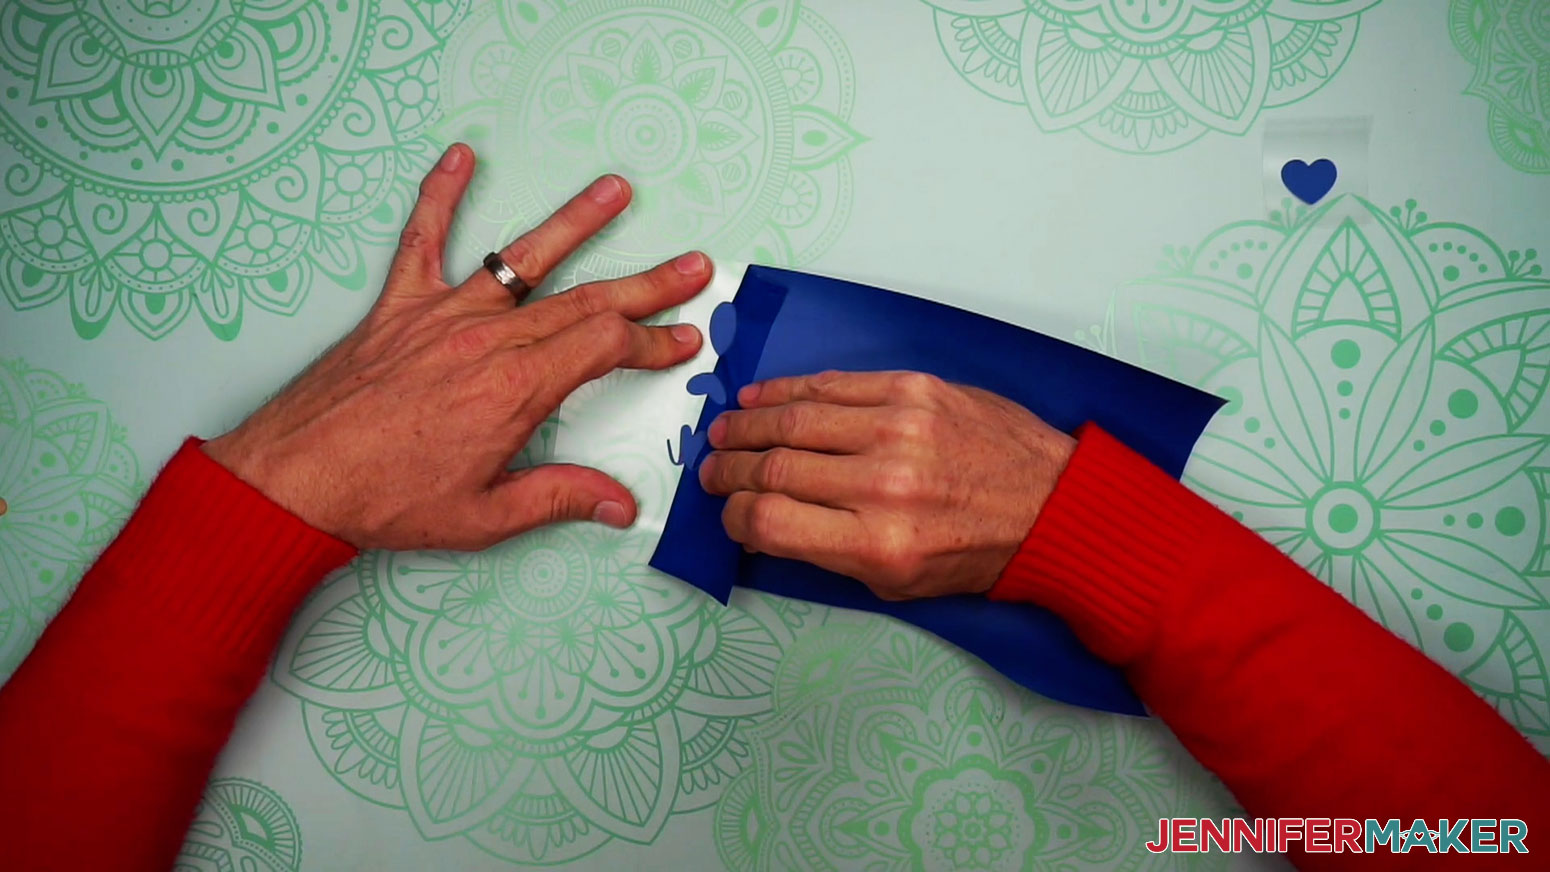
I like to work from larger to smaller sections during weeding. Using a weeding tool, very carefully peel away the extra background vinyl - also referred to as the negative space or the part of the vinyl we don’t want to include in our finished design.
Poke your weeding tool into each section you want to remove. Gently lift it away from the design. Make sure you do not pull up any pieces you want to keep. If they come up, gently pat them back in place and try again. Don't forget the middle parts of the letters! It’s also a good idea, especially with large designs, to cut off the excess vinyl as you go. That way it doesn’t end up sticking to the parts of the vinyl you want to keep.

Make sure to remove any stray bits of vinyl from the carrier sheet after weeding, as they can get accidentally transferred to your shirt...and we don't want that!
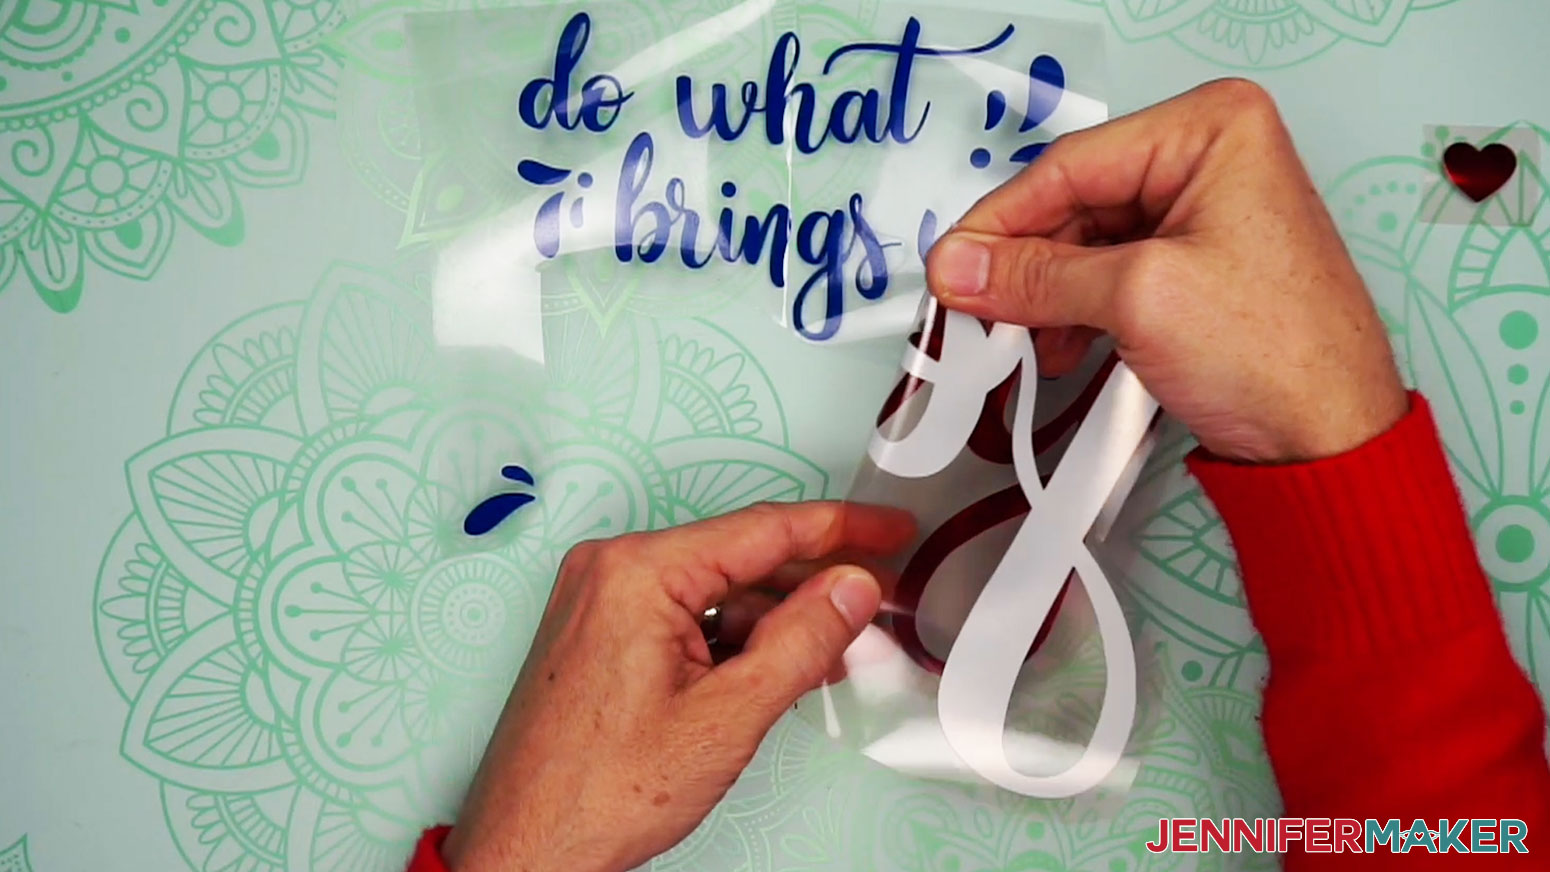
Once the weeding is complete, the design will look backwards since it was cut with MIRROR on.
The design will show the correct direction through the plastic backer, when you flip it over to the shiny side.
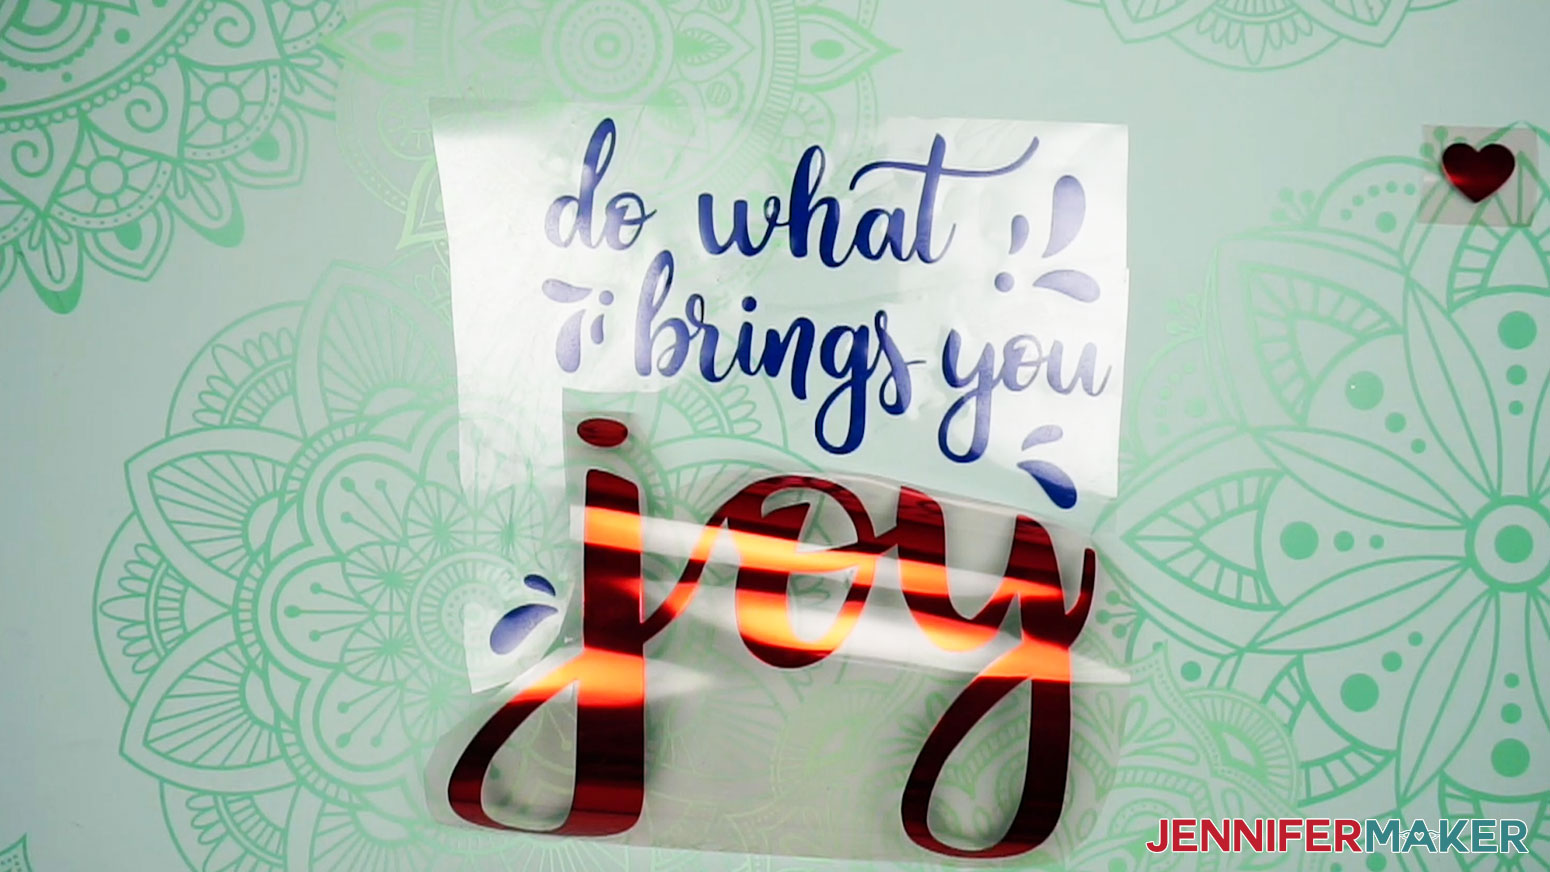
Here's how the design and test heart look fully weeded.
Now, vertically crease your design, as we will use this line later for perfect positioning on the shirt with the T-Shirt ruler.
STEP 4: IRON YOUR DESIGN
I really like to do a test before making a mistake on a shirt. So, let's start by using the small heart test design to perform a test to confirm we have the right time and heat settings. Make sure to pre-wash your shirt before ironing on the design. I tried with a brand new and pre-washed shirt, and the pre-washed shirt applied more evenly and will last longer.
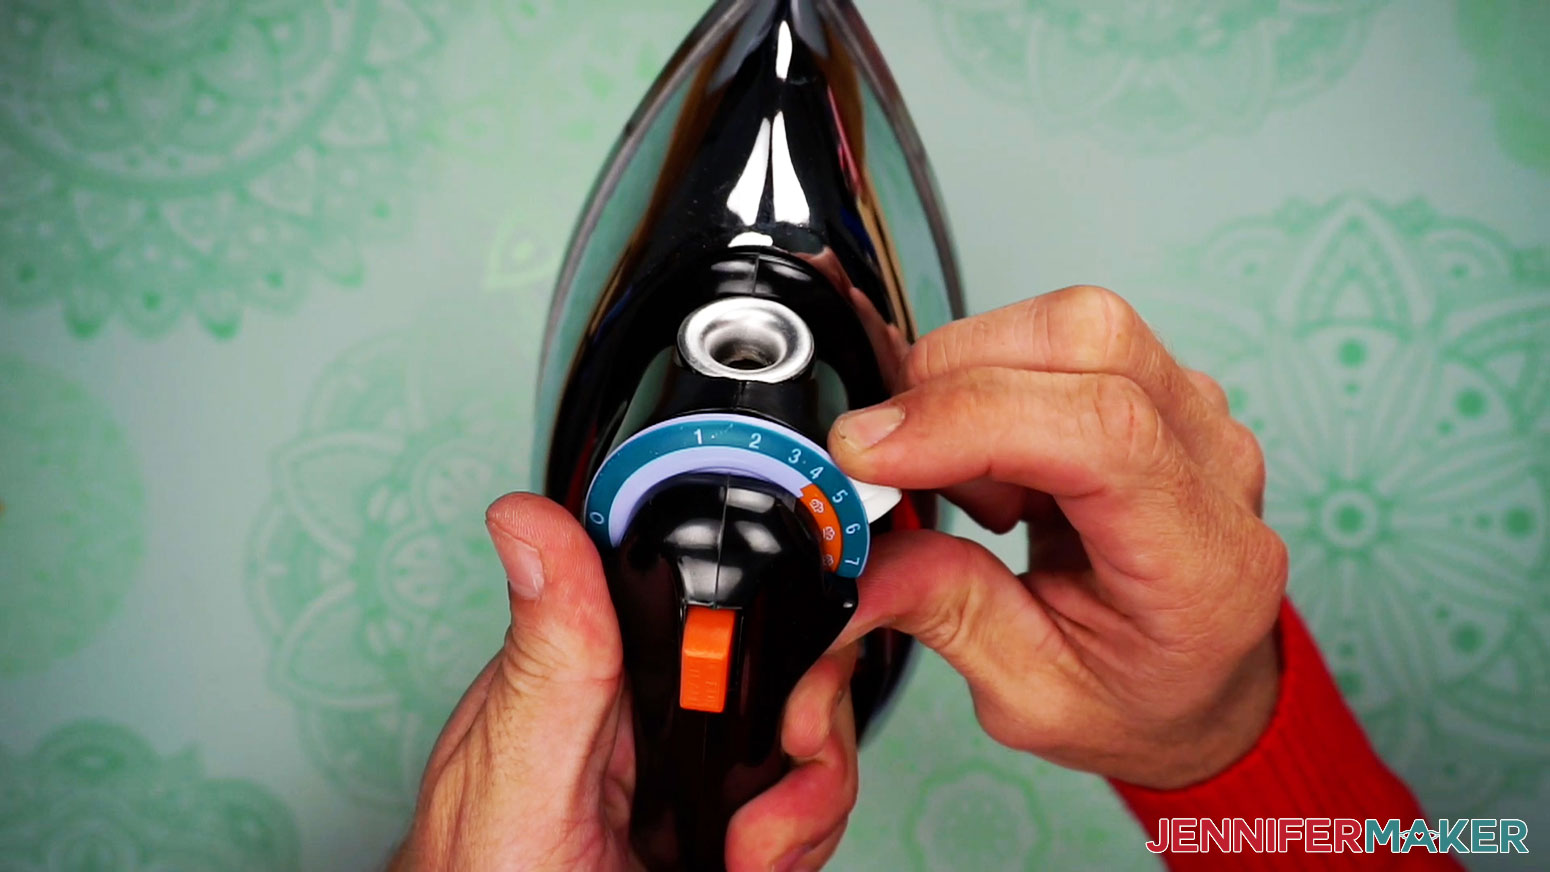
You’ll want to preheat your iron to the Wool setting or the appropriate setting for your material. Foil requires the Wool setting. You also need to remember if using a standard iron, to turn the steam off.
You'll also want to get your pressing mat ready, as it will protect your work surface from heat.
Lint roll the front of the shirt to remove any debris. Open the shirt and lay it face up, flat on the mat. Iron the bottom, (for the test heart) for 10 seconds to remove any moisture.
To find the center of your shirt, fold it in half by matching up your sleeves. Using your iron, put a little crease on the fold. Now, when you open your shirt you can see exactly where the center is, and you can use the T-Shirt ruler as a guide for perfect design placement. I've created this design so the top is aligned and works well with the T-Shirt ruler, and the vertical center fold will go through letters, and inside the 'o' in 'Joy'.
Note: Click here for the Cricut Heat Guide in case you are using a different pressing method.
Test Heart
Position your pressing mat on a sturdy surface free from surrounding debris. Plug in your iron and let it come to the settings temperature. I like to wait 10 minutes to make sure the iron is ready.
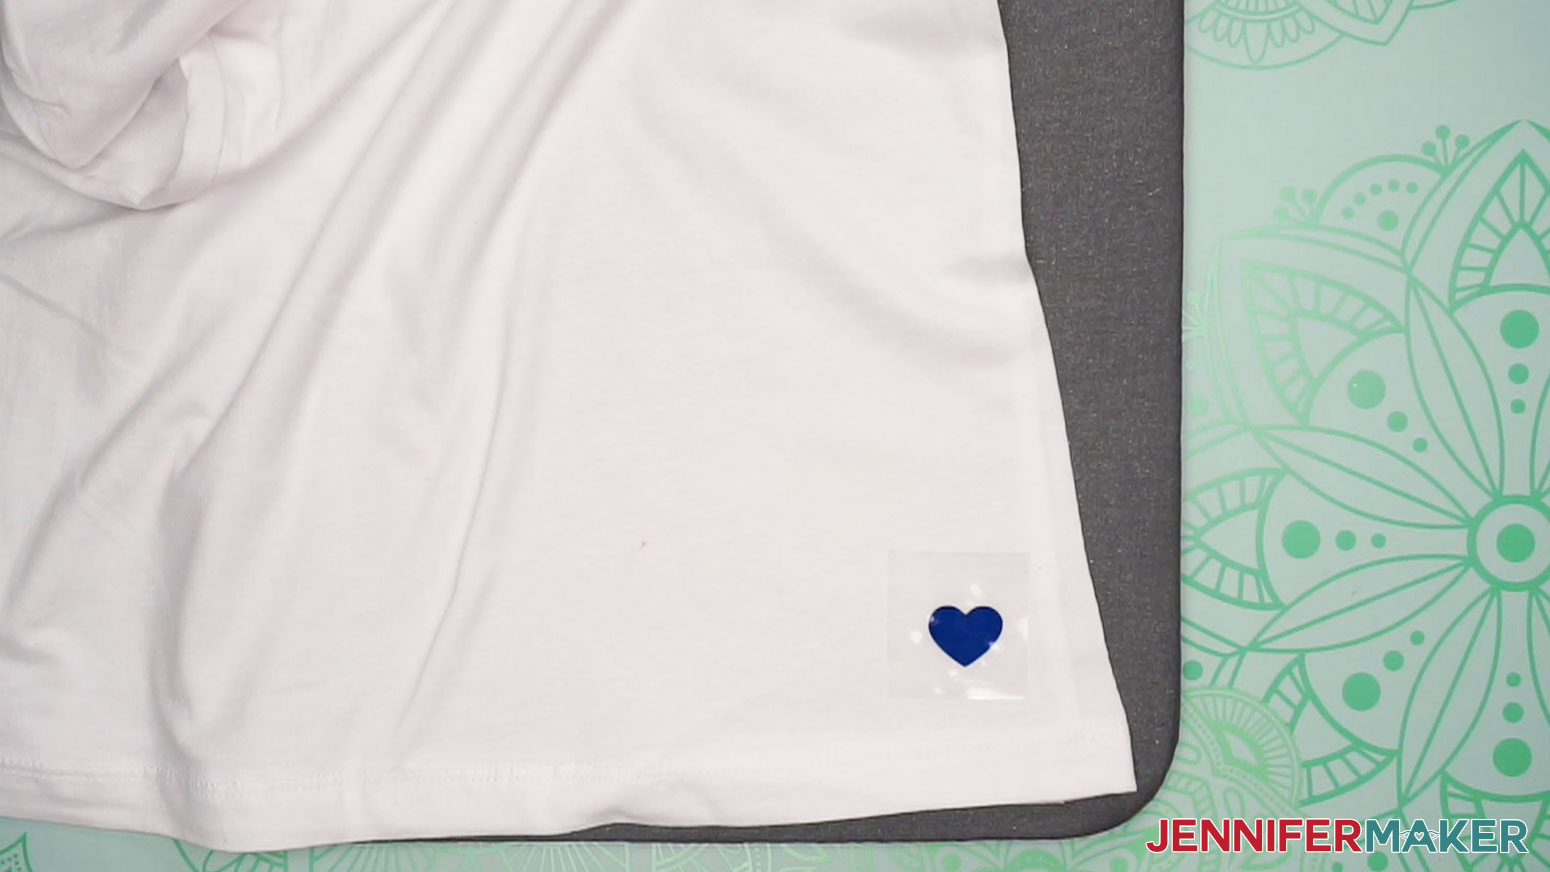
Place the test heart shiny side up on the shirt. The bottom of the test heart should be about 1" above the bottom of an adult shirt. Now place some parchment paper over your heart test to protect your iron.
Note: First the heat resistant mat, then the shirt, then the test heart design, then the parchment paper, then the iron.
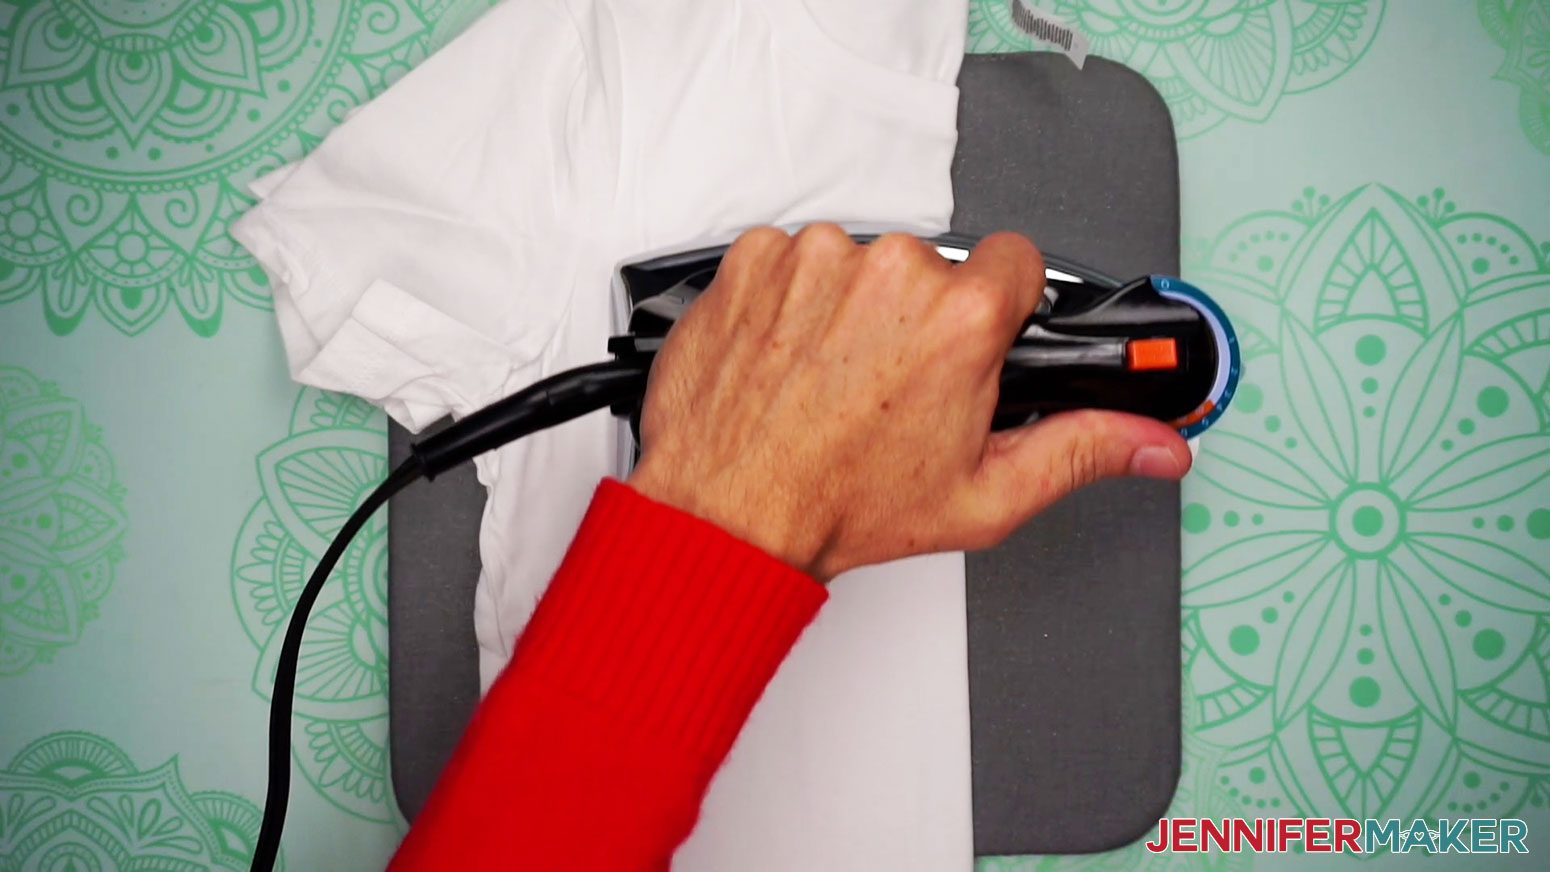
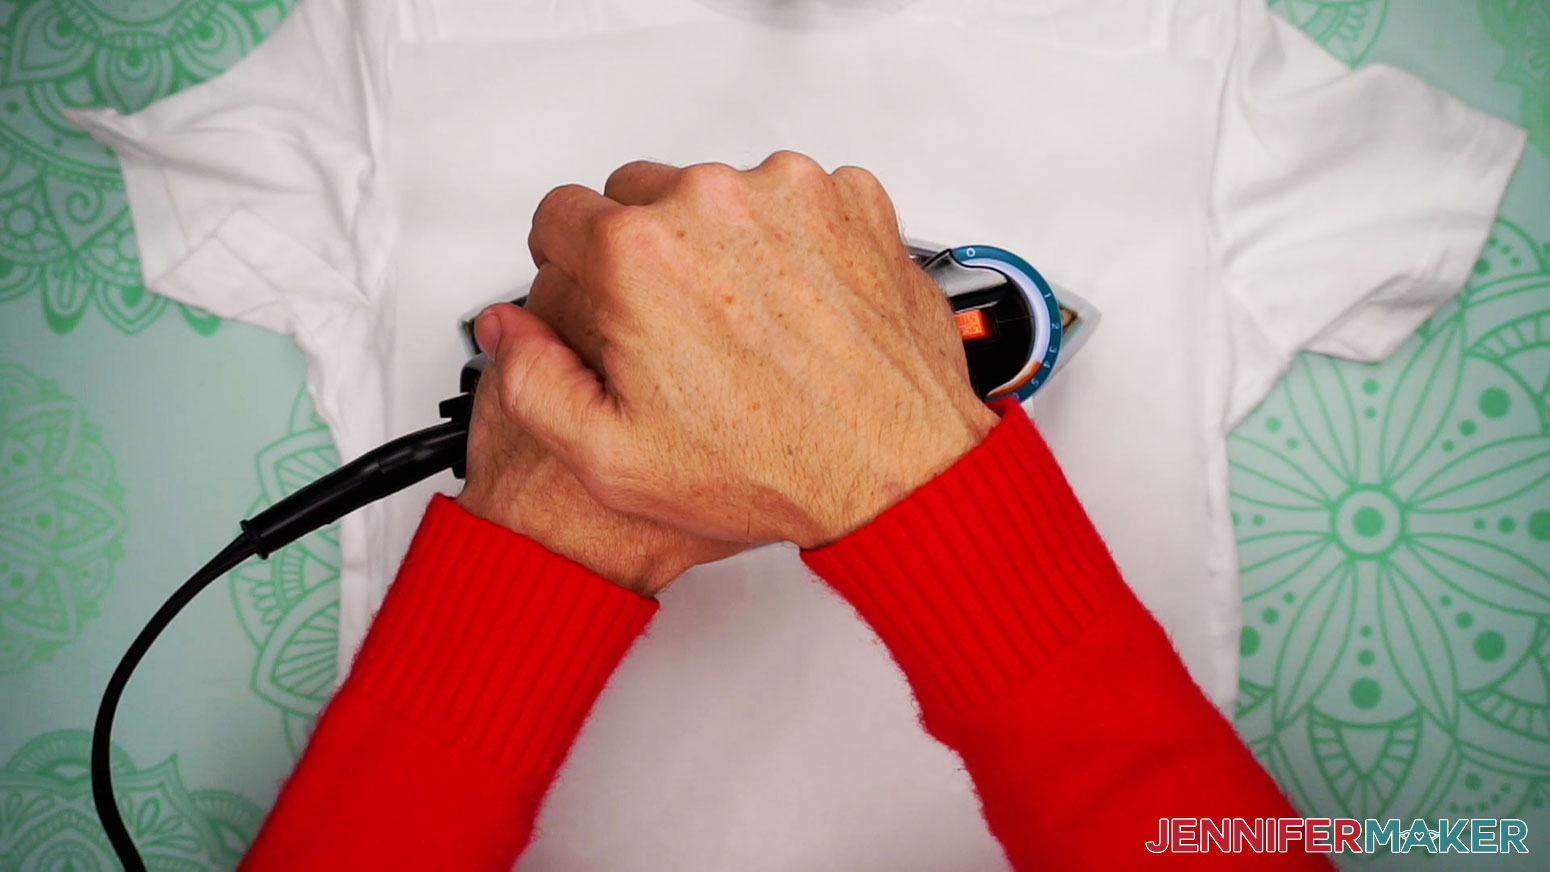
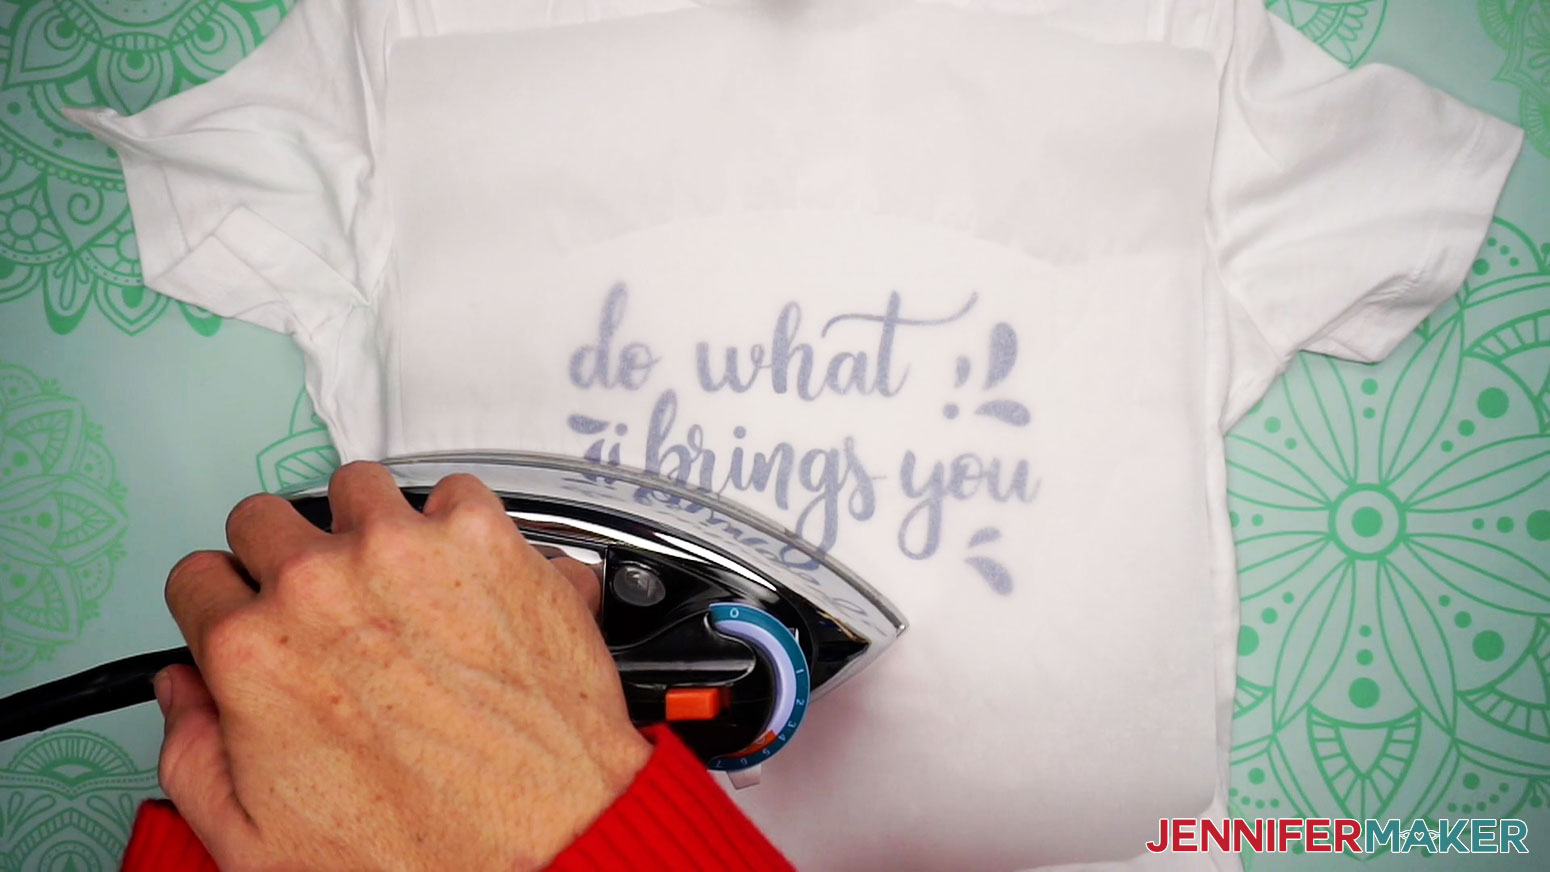
Once the iron is set to Wool, apply medium pressure with the pointed end of the iron and hold and press down over the heart for 25 seconds. Now, turn the shirt over, and apply medium pressure for another 25 seconds.
Note: Make sure to apply medium pressure on the iron. I determine medium pressure so that the pressing mat is pressed down firmly, but not too hard.
Slowly remove the carrier sheet when cool to touch. Slowly pull the carrier sheet up and sideways. Sometimes the carrier sheet needs a little more time to cool, or needs some more heat applied. The carrier sheet should come off easily when the right amount of time is used and heat is applied.
If any areas begin to lift, simply apply the iron again for a few seconds. The pointed end of the iron works great. Make sure to put the carrier sheet back down first before re-ironing if you partially pulled it up to check. If the heart stuck well, we are ready for the main design. It worked!
Now we are ready to iron on the design.
Position your pressing mat on a sturdy surface free from surrounding debris. Plug in your iron and let it come to the settings temperature. I like to wait 10 minutes to make sure the iron is ready. But if you just did the small heart test, your iron should be ready.
You can place a towel over the pressing mat to keep the shirt center slightly higher, since the pressing mat will give with firm pressure. We want the shirt center to not sag.
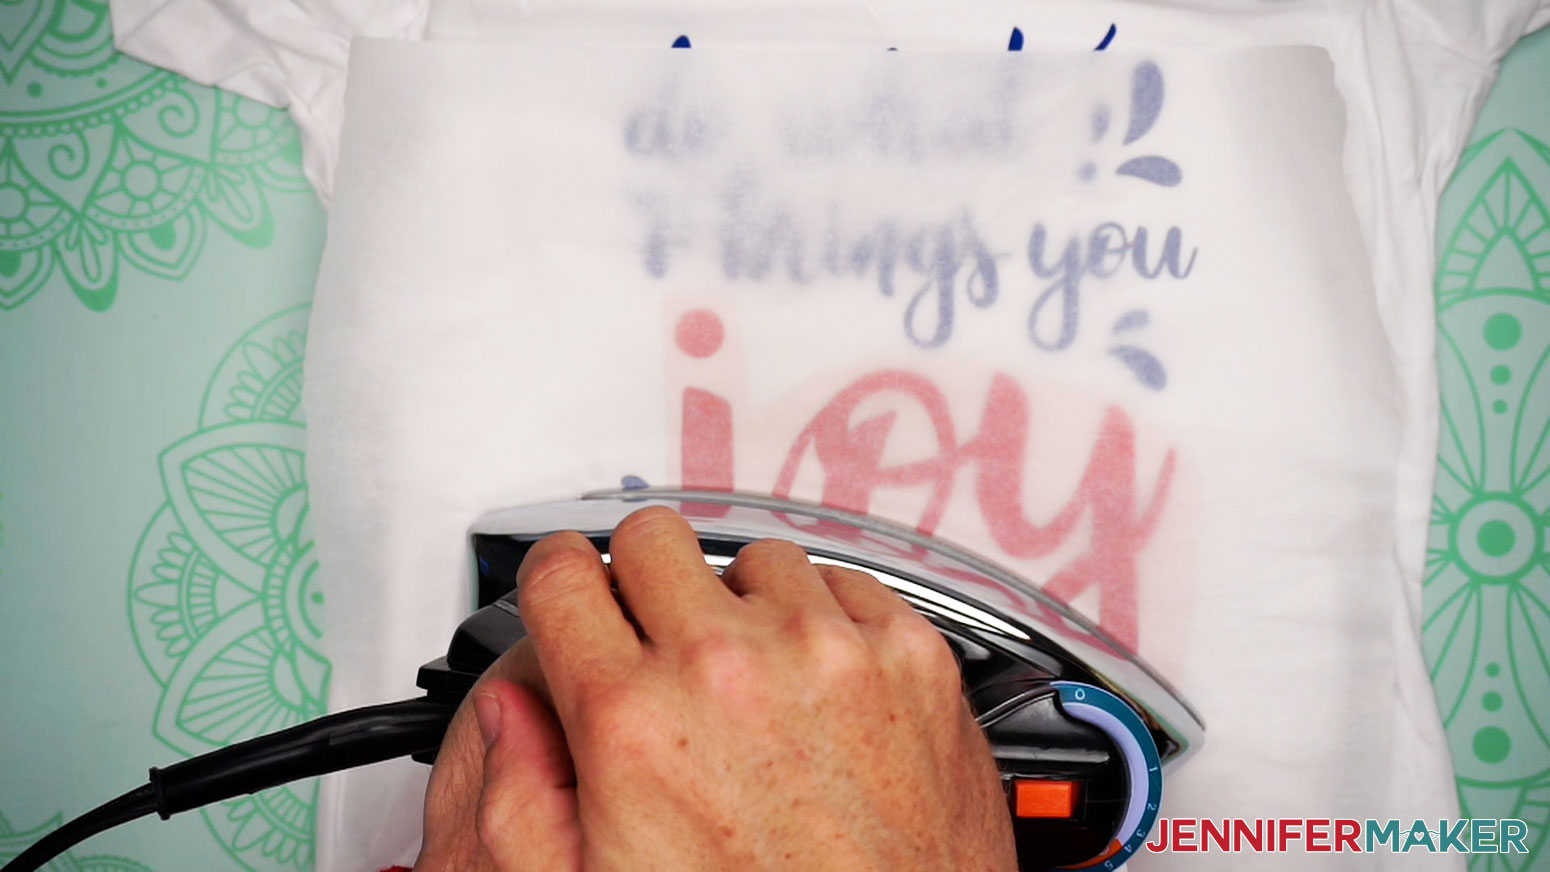
If you are making the two-tone design, we will press the top words and design first, for placement, and then the word 'Joy' in another press.
Place the design on the shirt shiny side up. Use our T-Shirt ruler guide tutorial for reference. I'm using a Medium sized shirt for this tutorial, and sized the design at 8".
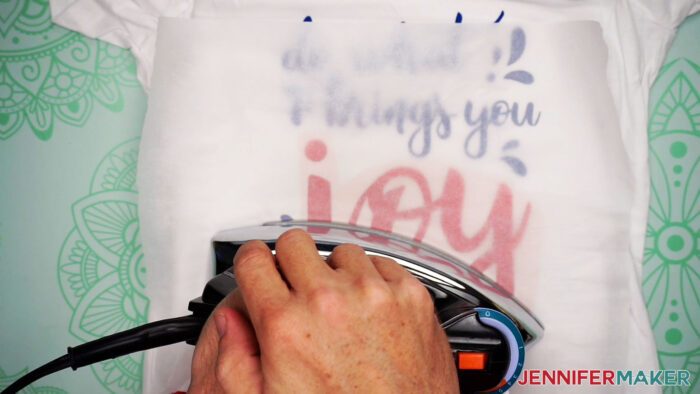
Now place some parchment paper over your design to protect your iron.
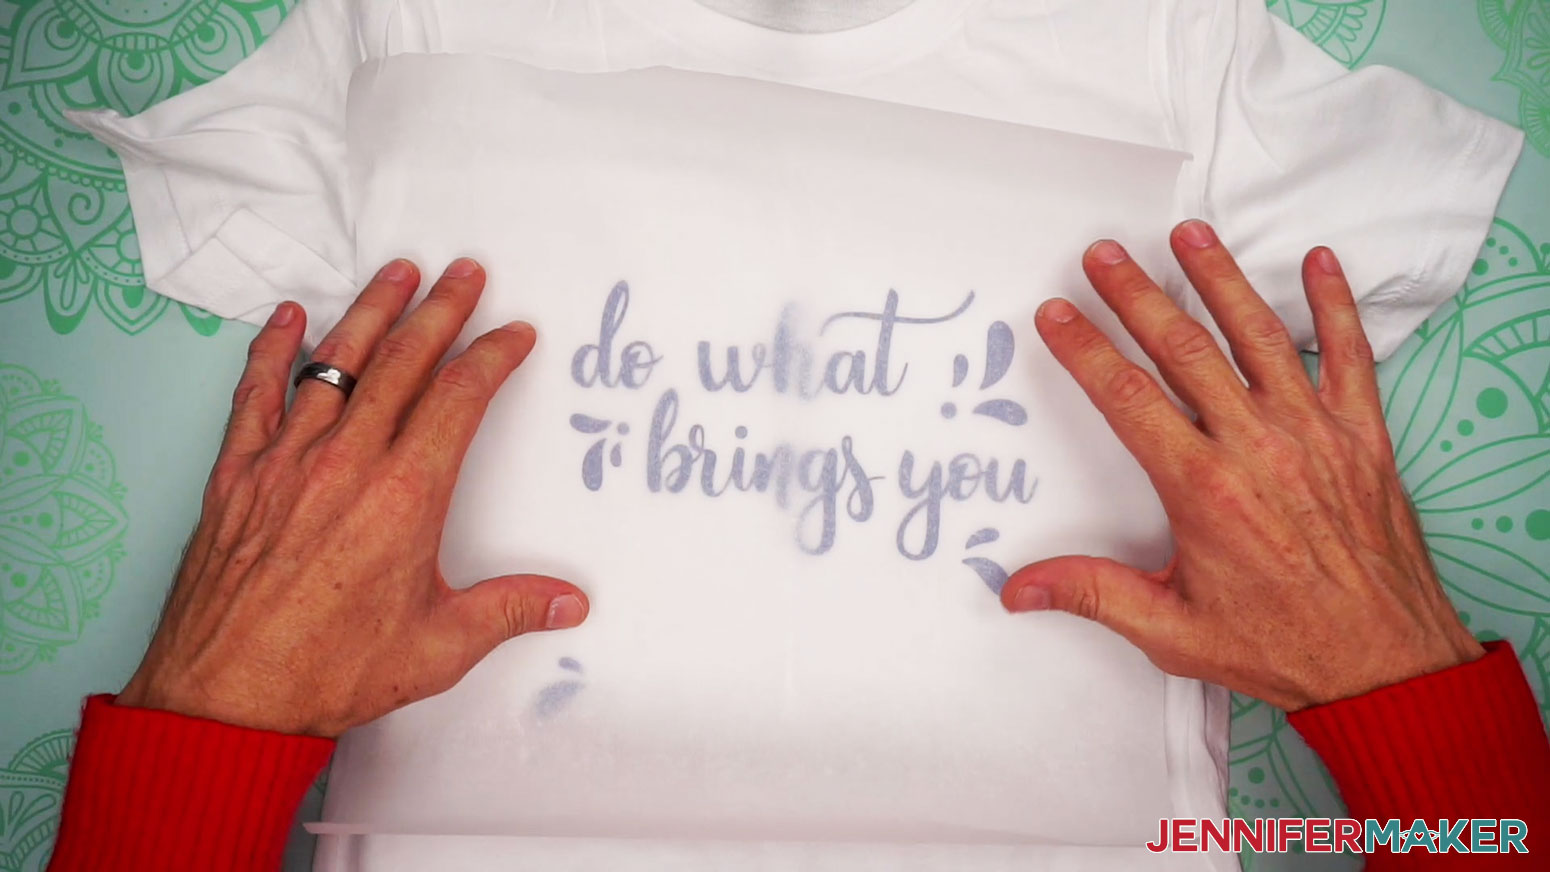
Note: First the heat resistant mat, then the shirt, then the vinyl design, then the parchment paper, then the iron.
If the design is larger than your iron, you can press in sections, but make sure to apply the full time to each section.
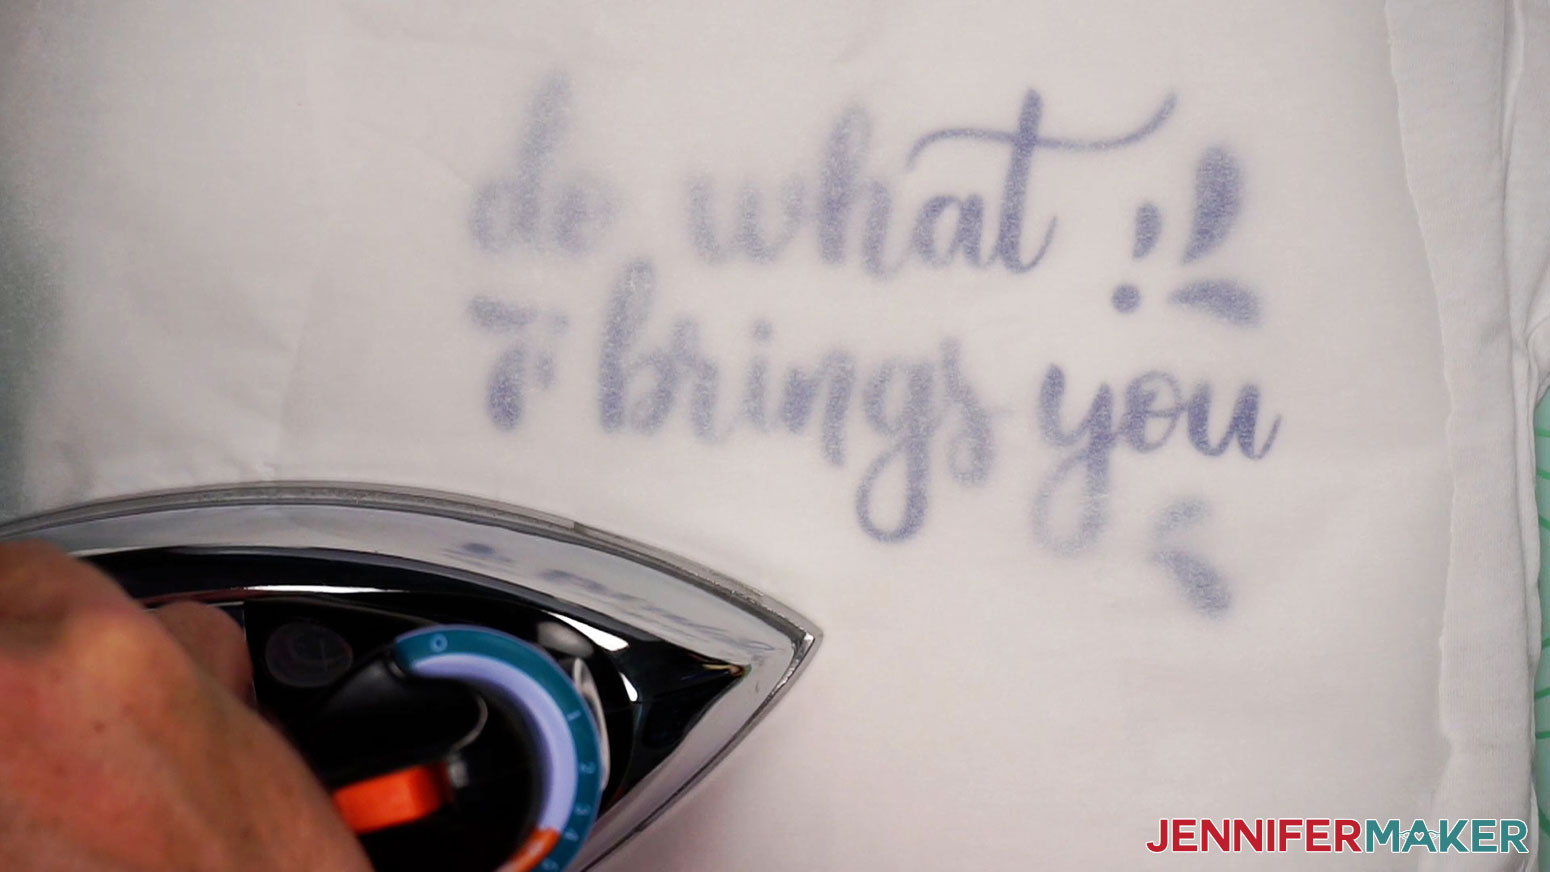
Once the iron is set to Cotton/Linen, apply medium pressure and hold and press down over the entire front of the design for 25 seconds. Flip the shirt over and apply pressure with the iron for an additional 25 seconds.
If the design has smaller, more intricate designs, an extra five seconds of heat on the edges can help them prevent peeling in the future.
Slowly remove the carrier sheet when cool to touch. Slowly pull the carrier sheet up and sideways. Sometimes the carrier sheet needs a little more time to cool, or needs some more heat applied. The carrier sheet should come off easily when the right amount of time is used and heat is applied.
If any areas begin to lift, simply apply the iron again for five seconds. Make sure to put the carrier sheet back down first before re-ironing.

You can use the pointed end of the iron for smaller sections of the design and the test heart.
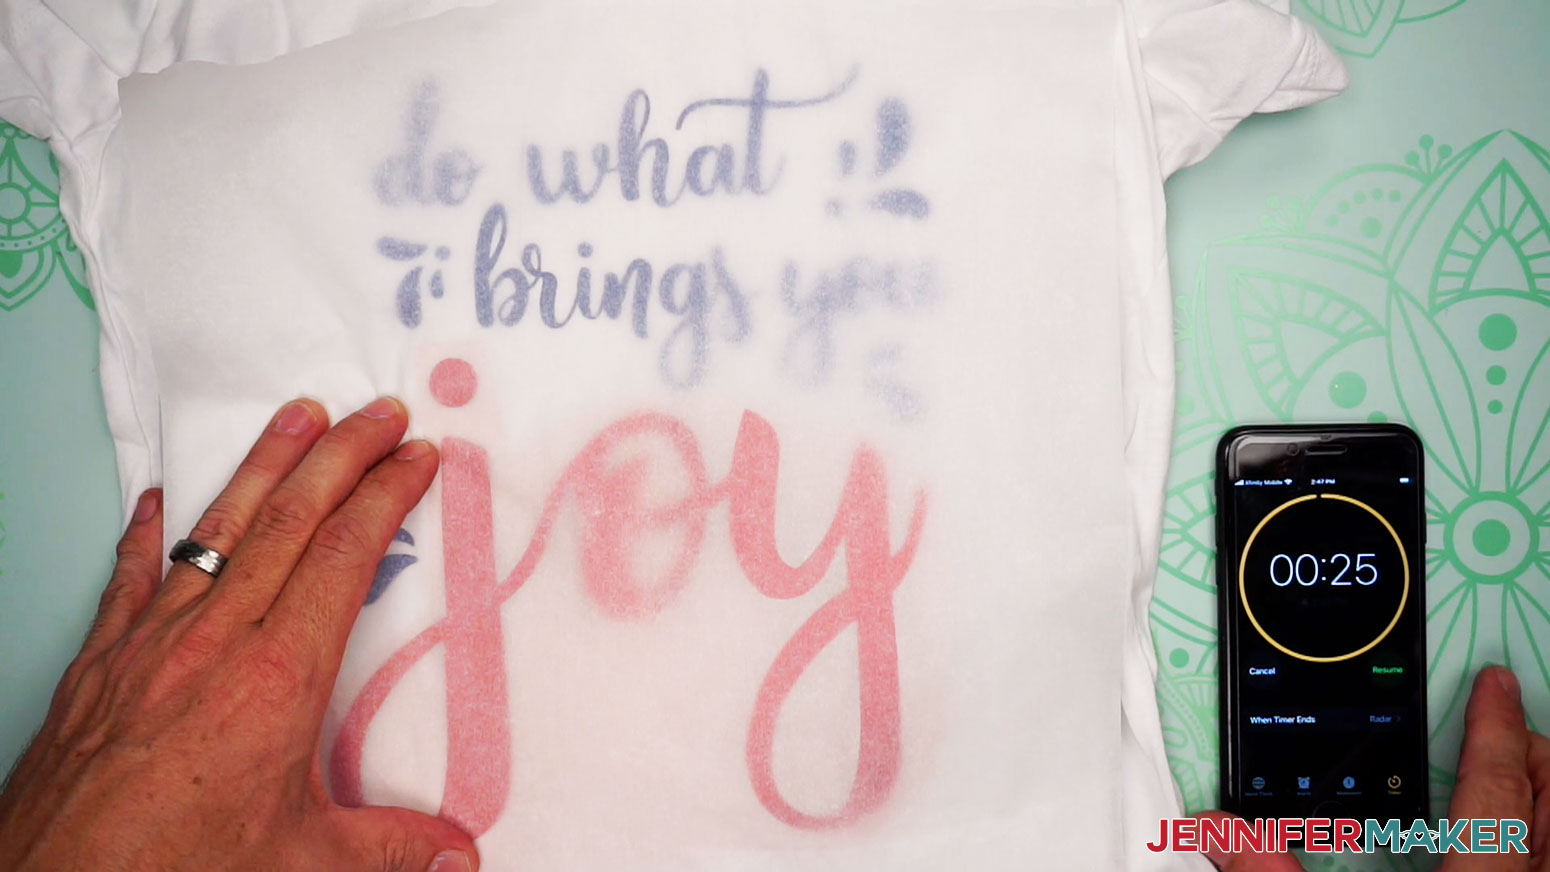
Repeat the steps again for the 'Joy' part of the design. But remember to turn your Iron to the 'Wool' setting, and wait 10 minutes to allow the iron to maintain the right temperature.
Make sure to position the 'Joy' not too close, or too far from the top design. You can use the SVG file in Cricut Design Space for reference.
The foil also requires a quick few seconds of the iron AFTER the carrier has been removed, but remember to put parchment paper down first. You could also use the removed carrier sheet for the second pressing.
STEP 5: TAKE CARE OF YOUR NEW T-SHIRT
Allow 24 hours after applying your vinyl before washing. Turn your shirt inside out before washing without bleach and air/line dry. This design should last at least 50 washes.
STEP 6: SHOW THEM OFF!
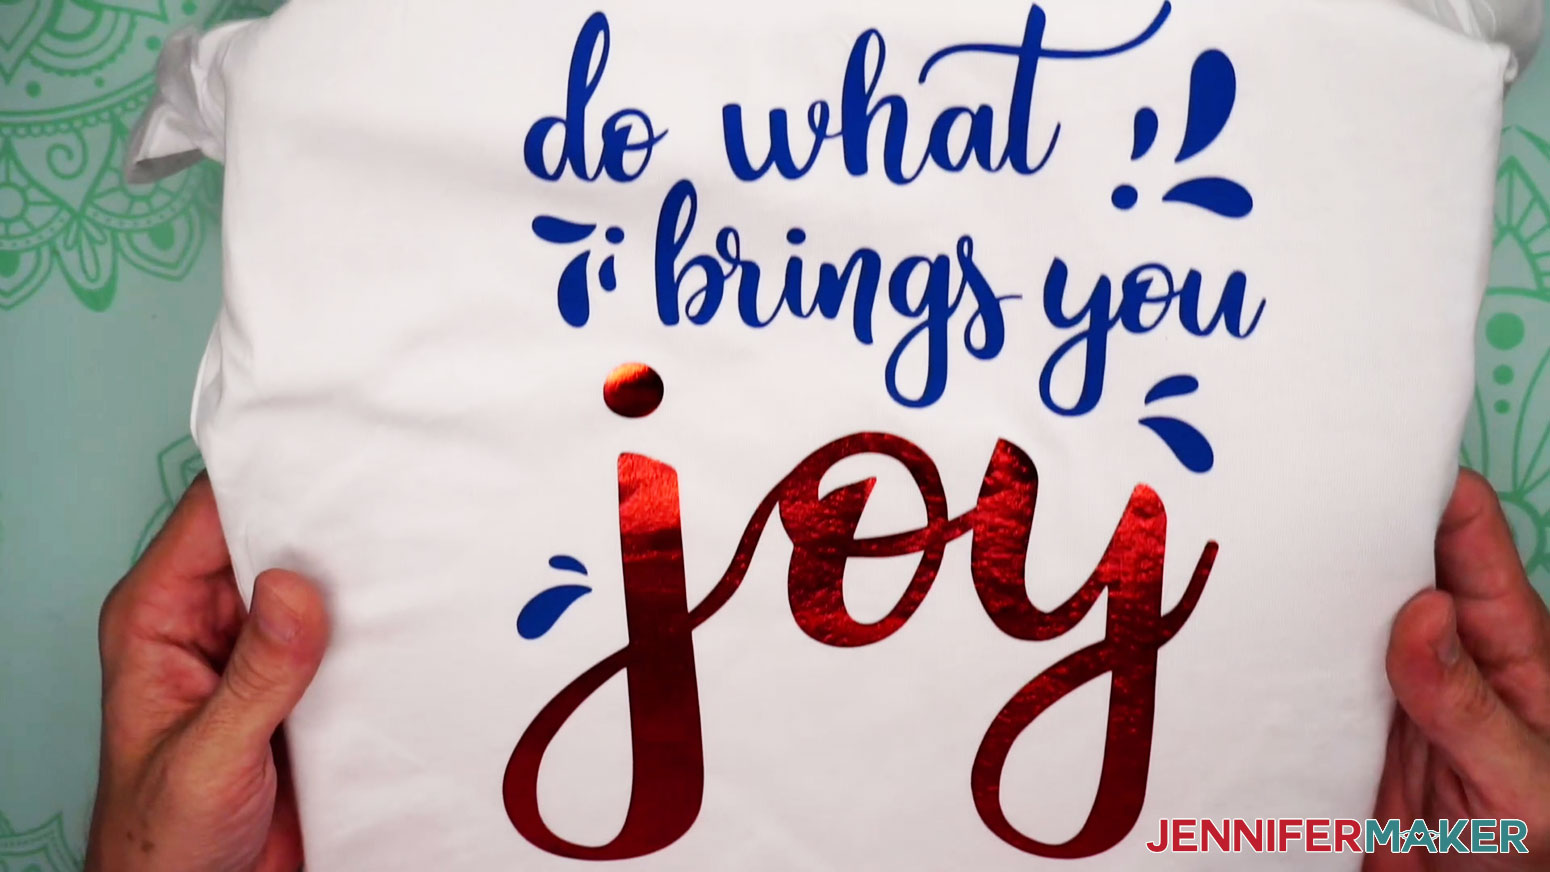
Don't these shirts look amazing? I love the color combination of the white, teal, gold, and red shirts with the Everyday, glitter, and foil options. Make sure to pre-wash your shirt for the best results.
Notes
Font: Amastery Script
Answers to Your Questions About How to Iron On Cricut Vinyl
Q: How do you iron on vinyl with a regular iron?
A: Some people use a Teflon sheet to protect their iron, but I find parchment paper works just as well.
Q: Which side of Cricut iron-on vinyl goes down?
A: You want the blade to cut the vinyl, not the carrier sheet. So, place the shiny side on the mat so the dull side without the carrier sheet is cut by the blade.
Q: What temperature should I iron my Cricut vinyl?
A: Use the Cricut Heat Guide to get the correct settings for your project’s materials and tools.
Q: How do you heat transfer vinyl on Cricut?
A: Place the weeded design on the item so the image looks correct through the clear plastic liner. Then, press the entire area with your household iron or heat press using settings from the Cricut Heat Guide. Remove the carrier when it has cooled to the correct heat level.
Q. What does shiny side down mean Cricut?
A: When you look at iron-on vinyl, there is a shiny side and a dull side. The shiny side is the side of the vinyl that will face up after you transfer it to your item, but it’s covered by the plastic carrier sheet, which is what makes it shiny. The dull side is the one that will adhere to the item’s surface. Since you’ll place the cut design dull side down on the item to apply the heat through the carrier sheet, always remember to cut iron-on designs mirrored with the dull side facing up and the shiny side (carrier sheet and the front of the vinyl) attached to the Cricut mat.
Q. Do you peel the back off vinyl before cutting?
A: No, leave the carrier sheet in place during cutting and make sure it’s not touching the blade. It keeps the pieces of vinyl together until you’re ready to weed them.
Q. What should I put vinyl on?
A: The options are almost endless! My favorite thing about vinyl is that it makes customizing your surrounding so easy!
Q. How do you make a vinyl project on Cricut?
A: The first step is to get an SVG or other cut file – I have lots to choose from in my free library! After adjusting the SVG in Cricut Design Space or another cutting machine’s software, use the machine to make it out of the vinyl, weed the excess, prepare your item, and transfer the design with heat! You can even make your own designs, especially with Cricut Access and the library of images, fonts, and tools!
Q. What do you need for Cricut vinyl projects?
A: You really just need a Cricut machine, fine point blade, a cutting mat, vinyl, a weeder, transfer tape for adhesive designs or a heat source if you’re using HTV, and a compatible item to decorate for an easy project! Some vinyls work better with different mats, so check for any notes before jumping in.
Want to learn even more about the different types of vinyl? Check out my Ultimate Guide to Vinyl!
Ready to learn more vinyl tips and tricks? Here are some of my favorite projects with more advanced techniques!
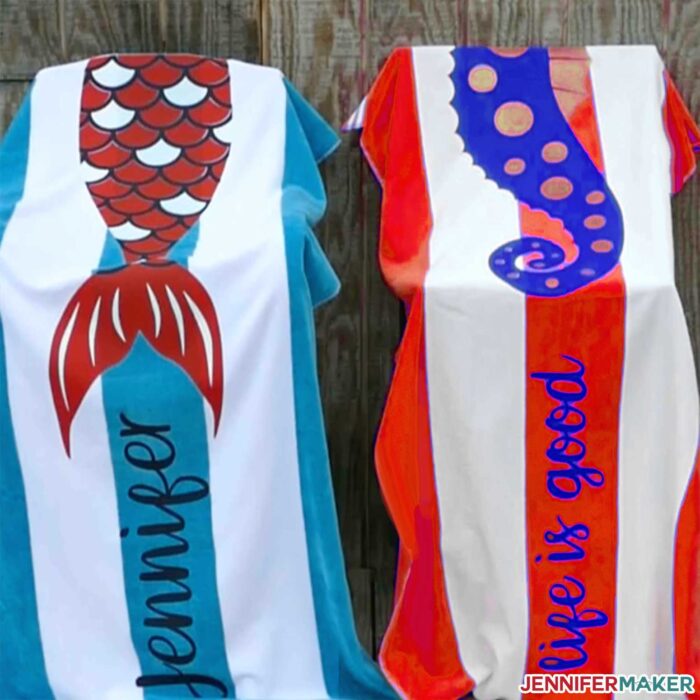
Nautical Vinyl Projects – learn how to layer different kinds of iron-on!
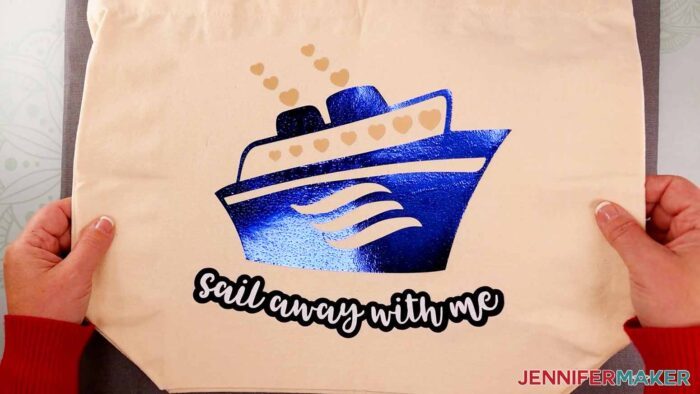
DIY Beach Towels with Smart Iron-on Vinyl – with Smart materials, you can work bigger, faster!
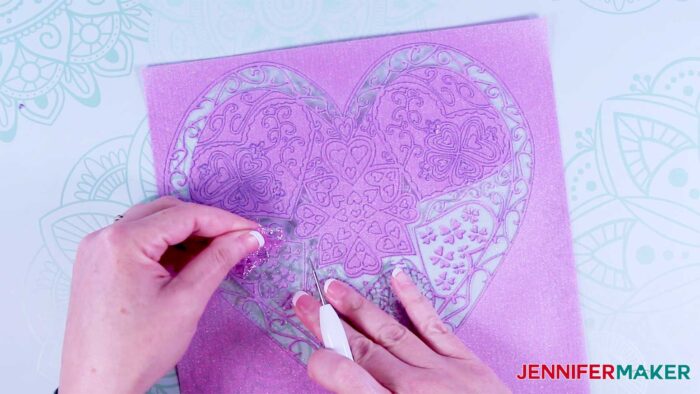
Glitter Iron-On Tips for Detailed Designs – weeding the tougher material takes patience, but the result is worth it!
Get my free SVG files to learn How to Iron On Cricut Vinyl!
Now, I’d love to see your projects while you learn how to iron on Cricut vinyl. If you make anything with these designs, please share a photo in our Facebook group, email it to me at [email protected], or tag me on social media with #jennifermaker.
Love,

Want to remember this? Save the How to Iron On Cricut Vinyl Tutorial to your favorite Pinterest Board!