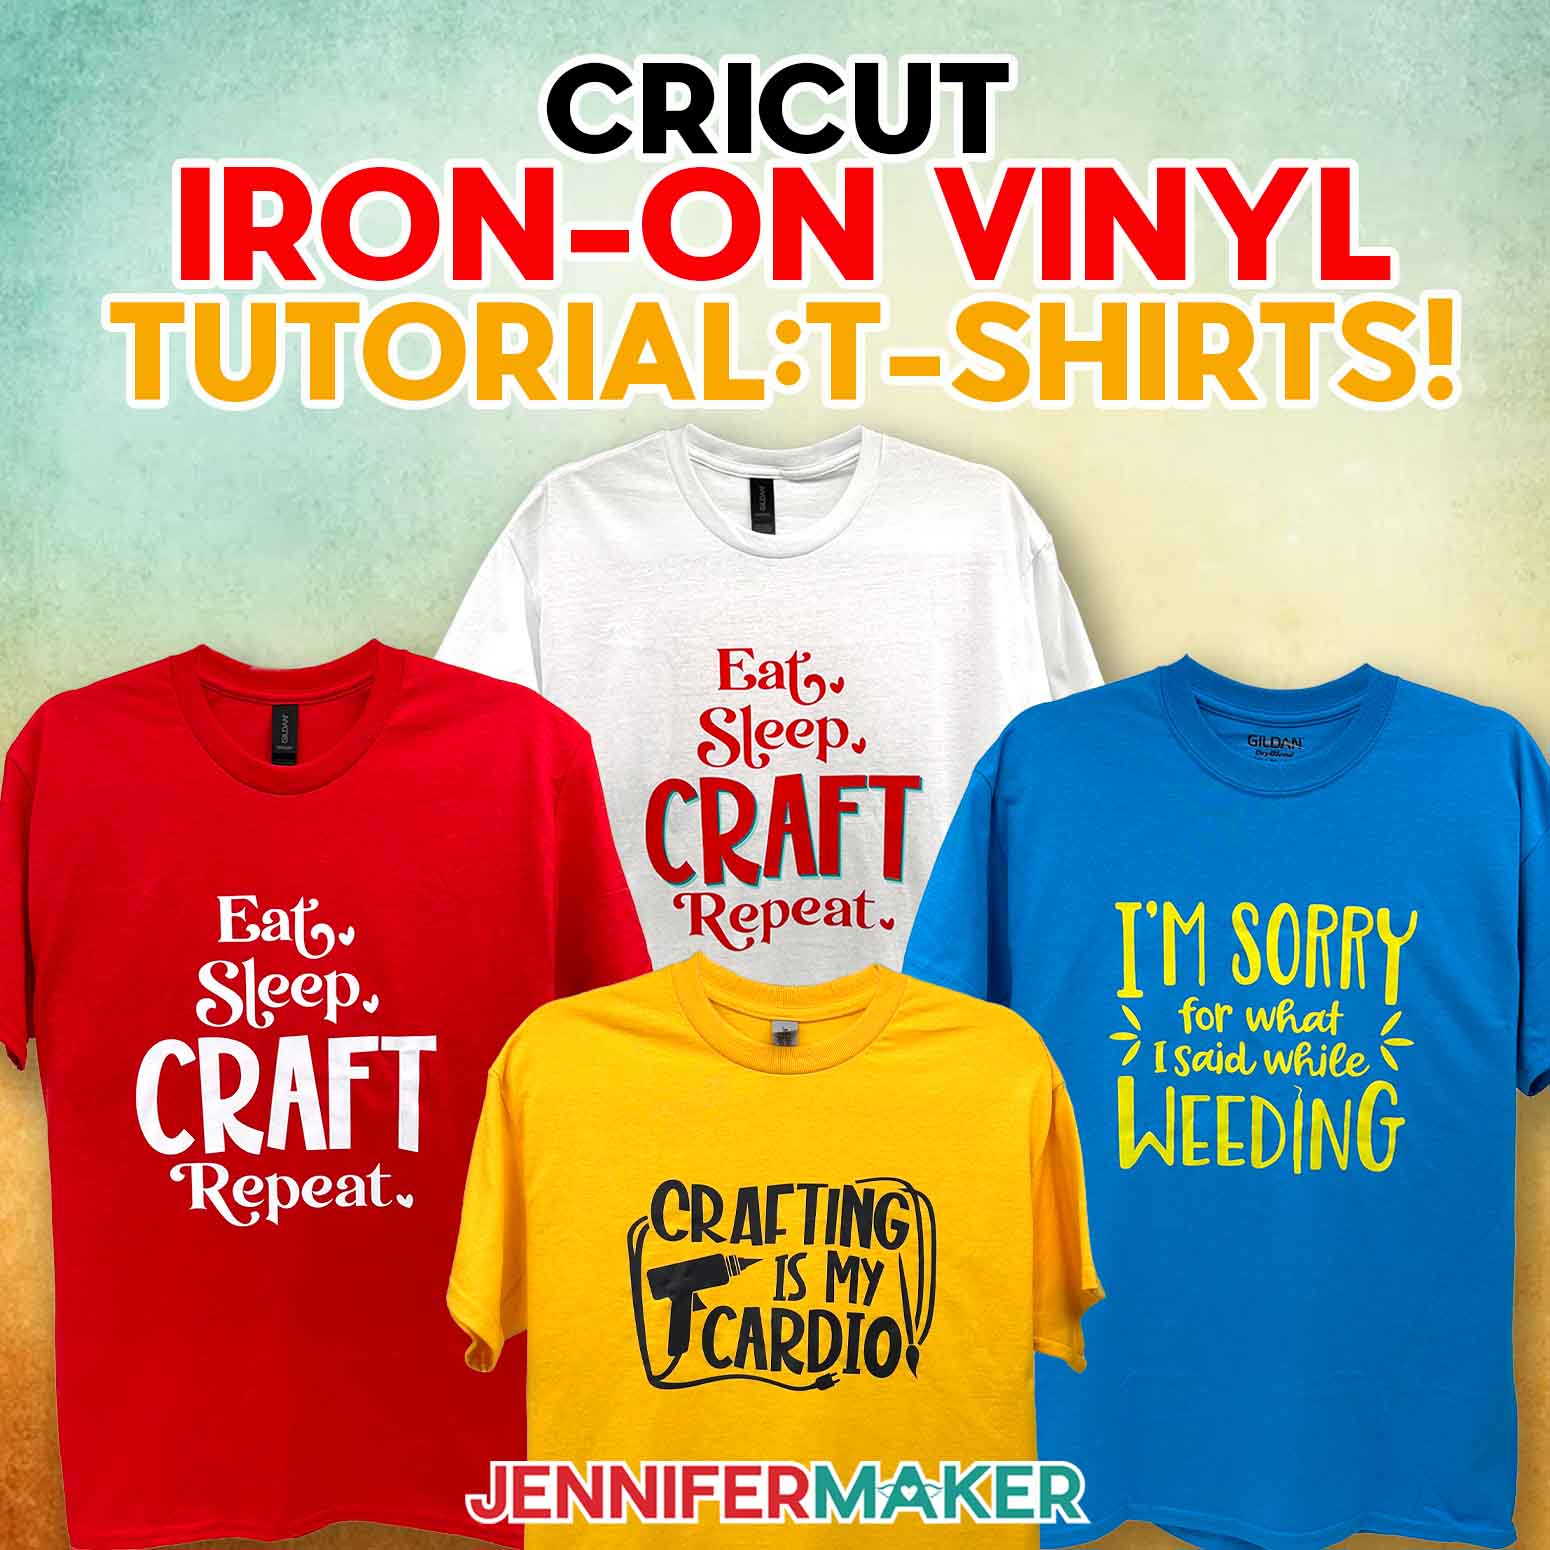
Learn how to decorate T-shirts with my simple Cricut iron on vinyl tutorial!
Have you ever wanted to try making custom T-shirts, but you’re nervous to start? Or, have you tried making a cute T-shirt with vinyl and your Cricut machine, only to end up with wrinkled vinyl, corners that won’t stick, or a melted mess from your household iron? Hey, me too!
The good news? I’ve done so much iron-on vinyl crafting since then, that I am sharing my best tips and tricks for perfect presses – every time. Welcome to my Cricut Iron-On Vinyl Tutorial for Beginners!
Watch the full step-by-step Cricut iron-on vinyl tutorial:

Iron-on vinyl projects can be a little intimidating at first, especially if you’re not sure which type of vinyl to use, or which side to cut (hint: it’s the shiny side!). But in this tutorial, we’re going to go step-by-step through the right way to make beautiful, professional-looking T-shirts using Cricut iron-on vinyl, and have a lot of fun doing it!

If this is your first step into the world of HTV (that’s heat-transfer vinyl, or iron-on vinyl), take a moment and get excited! Vinyl projects are so much fun, and you can thank me for your new wardrobe of custom T-shirts later. You don’t need a bunch of fancy tools to get started: just a little bit of guidance, a little patience, and a cutting machine.
Any Cricut machine, like the Cricut Maker series, will do. You can even use the tiny but mighty Cricut Joy for smaller designs!

You’ll need a design, too!. Whether you’re making a shirt for yourself, a gift, or a whole batch of T-shirts to sell, it’s a good idea to make sure your design will work as a vinyl decal. You can upload your own SVG file to Cricut Design Space, or grab one of my free cut files with cute and crafty sayings. These files are designed to work perfectly with Cricut vinyl so your final project looks its best!
When it’s time to cut your iron-on vinyl, you’ll need a green StandardGrip mat, and it’s important to use the correct cut settings in Cricut Design Space. For example: don’t forget to mirror your design before you cut HTV. This is super important, unless you want your design to be backwards on your shirt!
When your Cricut machine has finished cutting, you’ll need to remove the excess vinyl from the part of the design you want to keep: that’s called weeding. A weeding tool really comes in handy here, and a light box like a Cricut BrightPad can help if you’re having trouble seeing those tiny cut lines. It’s one of my go-to helpers for tricky weeding jobs.

Then I’ll show you how to apply the design to a T-shirt with both a Cricut EasyPress and a household iron. No matter which heat source you have, I’ll show you how to get the best results either way!

I’ll demonstrate with Cricut’s new Value Iron-On Vinyl, but the same pressing time and temperature work for Cricut’s Everyday Iron-On Vinyl, too. Just remember – it’s cool peel, which means you should wait until the vinyl has cooled completely to peel off the carrier sheet. Cricut vinyl is one of my favorite things for T-shirts because it works beautifully with cotton-poly blends (like the shirts in my materials list).
Want to learn how to level up and create a multi-colored iron-on vinyl design? Check out Advance for my custom layered design workshop, or click here to learn more about the Advance program!
I hope this Cricut iron-on vinyl tutorial gives you the confidence and clarity to try your next (or very first!) vinyl masterpiece. And don’t stop there: HTV isn’t just for shirts! You can apply it to tote bags, towels, aprons, canvases, and all kinds of other fun craft projects. Mix and match different colors of vinyl and surfaces to make something totally one-of-a-kind!

Want to learn more about HTV? My HTV Cookbook can help, with step-by-step project guides for over 100 different heat transfer vinyl projects. Each of these “recipes” show you exactly what to use, how long to press, how hot to press it, and how to take care of your HTV project for long lasting results.
Whether you’re using my cute and crafty sayings or your own design, the process of making vinyl shirts is so rewarding, and I hope you’ll try it! Making iron-on vinyl designs and projects are some of my favorite crafts, and I just know you’re going to love them, too!

So, want to learn how to use HTV with my Cricut iron-on vinyl tutorial? Let me show you how easy and fun it is! This post contains some affiliate links for your convenience (which means if you make a purchase after clicking a link I will earn a small commission but it won’t cost you a penny more)! Read my full disclosure policy.
Materials Needed for this Cricut Iron On Vinyl Tutorial Project
View my Amazon shopping list with the exact items I used.
- One (1) 12″ x 12″ Piece of Cricut Value Iron-On Vinyl (I used colors from the Rainbow Sampler)
- One (1) Cotton/Poly T-Shirt (I used a Gildan Adult DryBlend T-Shirts, Style G8000, in Gold, White, Red, and Sapphire)
- A method to cut your Vinyl: I’m using the Cricut Maker 3, but you can also use a Cricut Maker series, Cricut Venture, or Cricut Explore series for this project
- Cricut Green StandardGrip Machine Mat 12″ x 12″
- Heat Press, I used the Cricut EasyPress 2 -OR-
- Household Iron
- Pressing Pad
- Brayer
- Weeding Tool
- Lint Roller
- Scissors
- Ruler
- Parchment Paper
- Optional: Cricut Brightpad GO
- Design #748 (My free SVG/DXF/PDF design files are available in my free library – get the password by filling out the form at the bottom of this page)
Cricut Iron-On Vinyl Tutorial
Cricut Iron-On Vinyl Tutorial
Follow this Cricut Iron-On Vinyl Tutorial to learn how to cut and apply a design to a T-shirt using Cricut Value Iron-On Vinyl!
Materials
- One (1) 12” x 12” Sheet of Cricut Value Iron-On Vinyl (I used Black, White, Red, and Yellow on my T-shirts)
- One (1) T-Shirt - I used a Gildan Adult DryBlend T-Shirt in Style G8000 (in Red)
- Design #748 (My free SVG/PDF/DXF design files are available in my free resource library - get the password by filling out the form at the bottom of this page)
Tools
- A way to cut your vinyl - I’m using the Cricut Maker 4, but you can also use a Cricut Maker Series machine, a Cricut Explore Series machine, the Cricut Venture, or the Cricut Joy Xtra.
- Cricut Green StandardGrip Machine Mat 12" x 12"
- Scissors
- Brayer
- Weeding Tool
- Household Iron -OR-
- Heat Press - I used the Cricut EasyPress 2 -AND-
- Pressing Pad
- Parchment Paper
- Ruler -OR-
- Tape Measure
- OPTIONAL: Cricut BrightPad -OR-
- Cricut BrightPad Go (to help with weeding)
Instructions
STEP 1: GET MY FREE CRICUT IRON-ON VINYL DESIGNS
First, download my free Cricut iron-on vinyl designs from my free library – look for Design #748. Alternatively, you can use the Save This Project form near the top of this post and the design link will be emailed to you..
TIP: If you’re not sure how to upload, go to jennifermaker.com/svgs to learn how to unzip and upload SVG files.
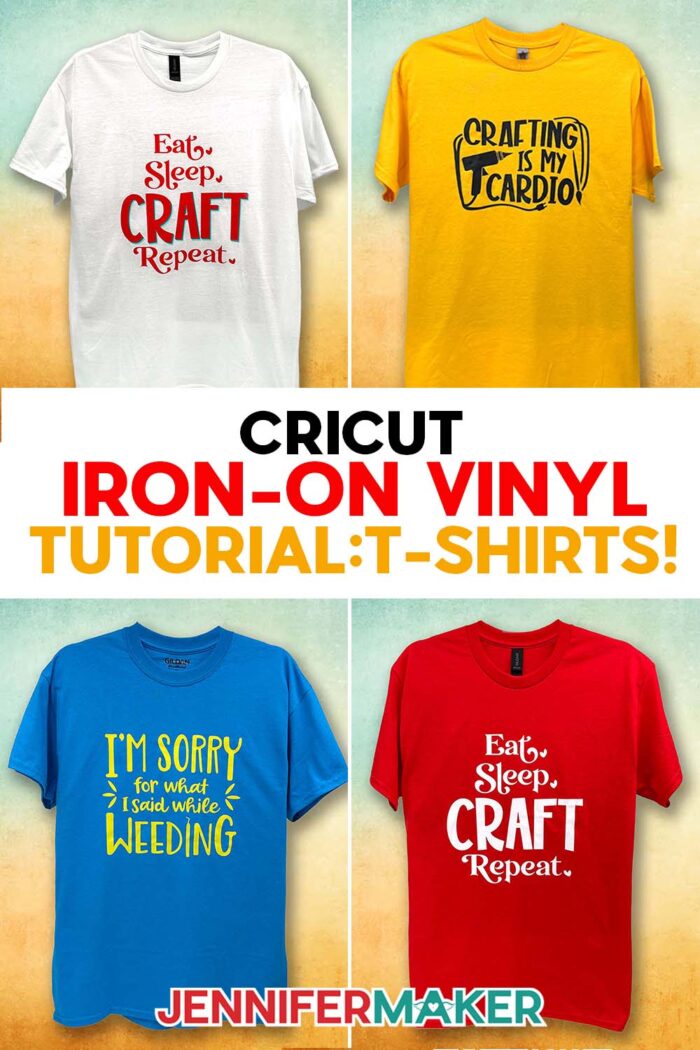
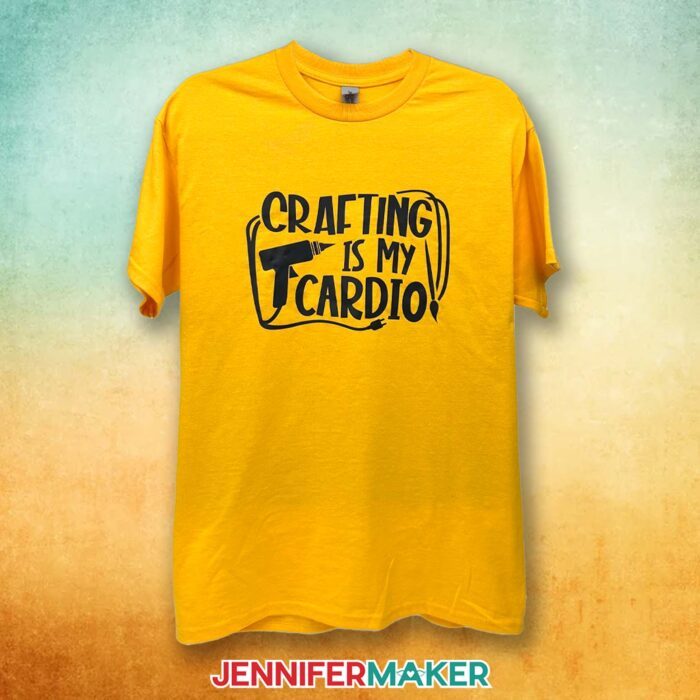
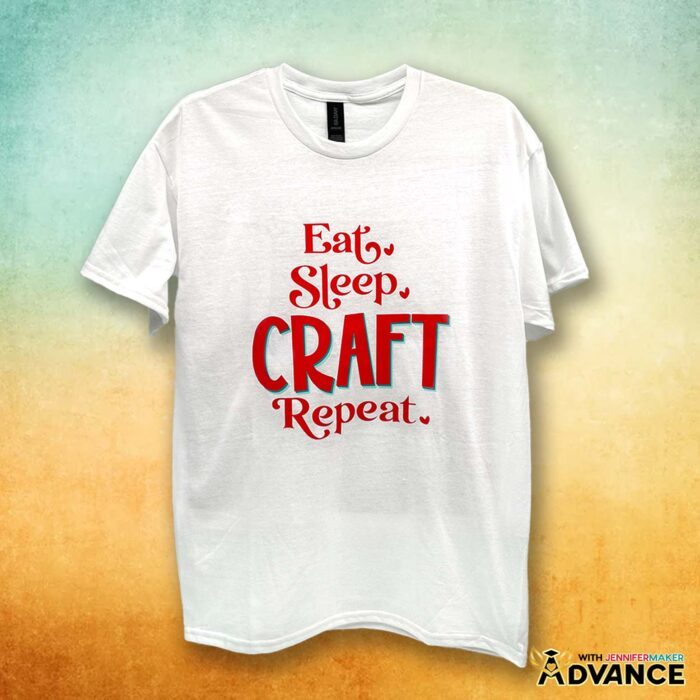
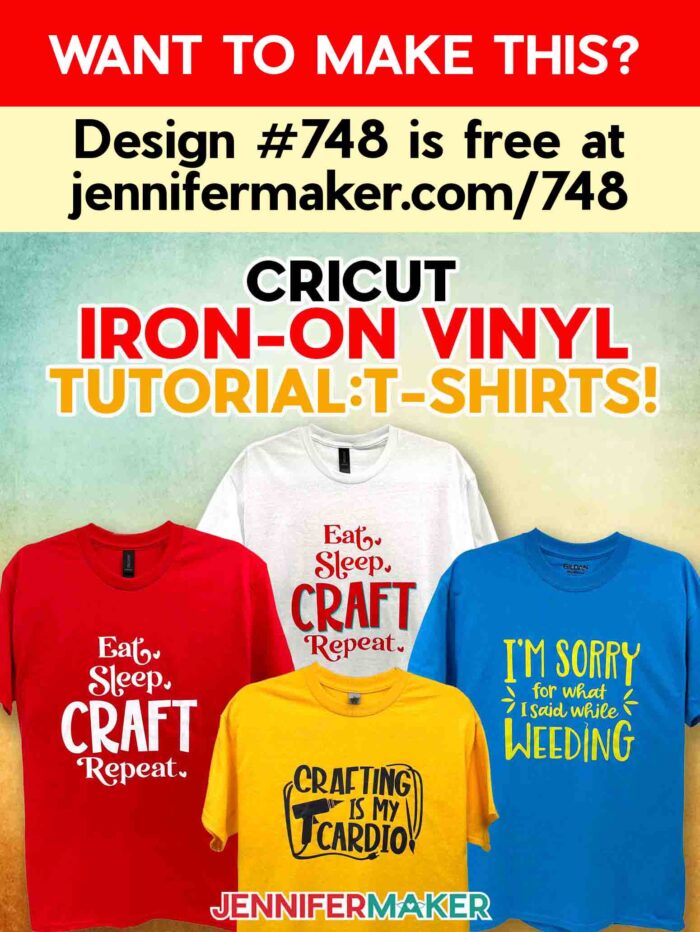
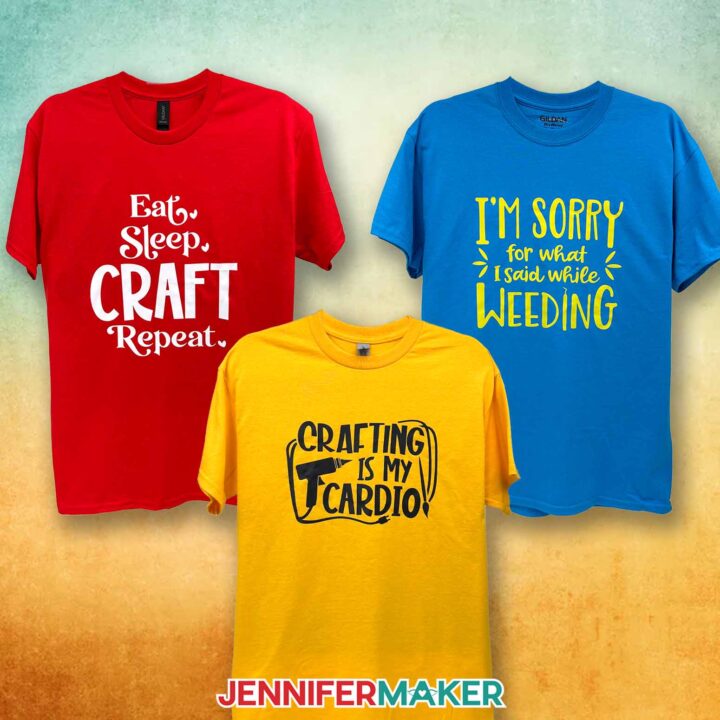
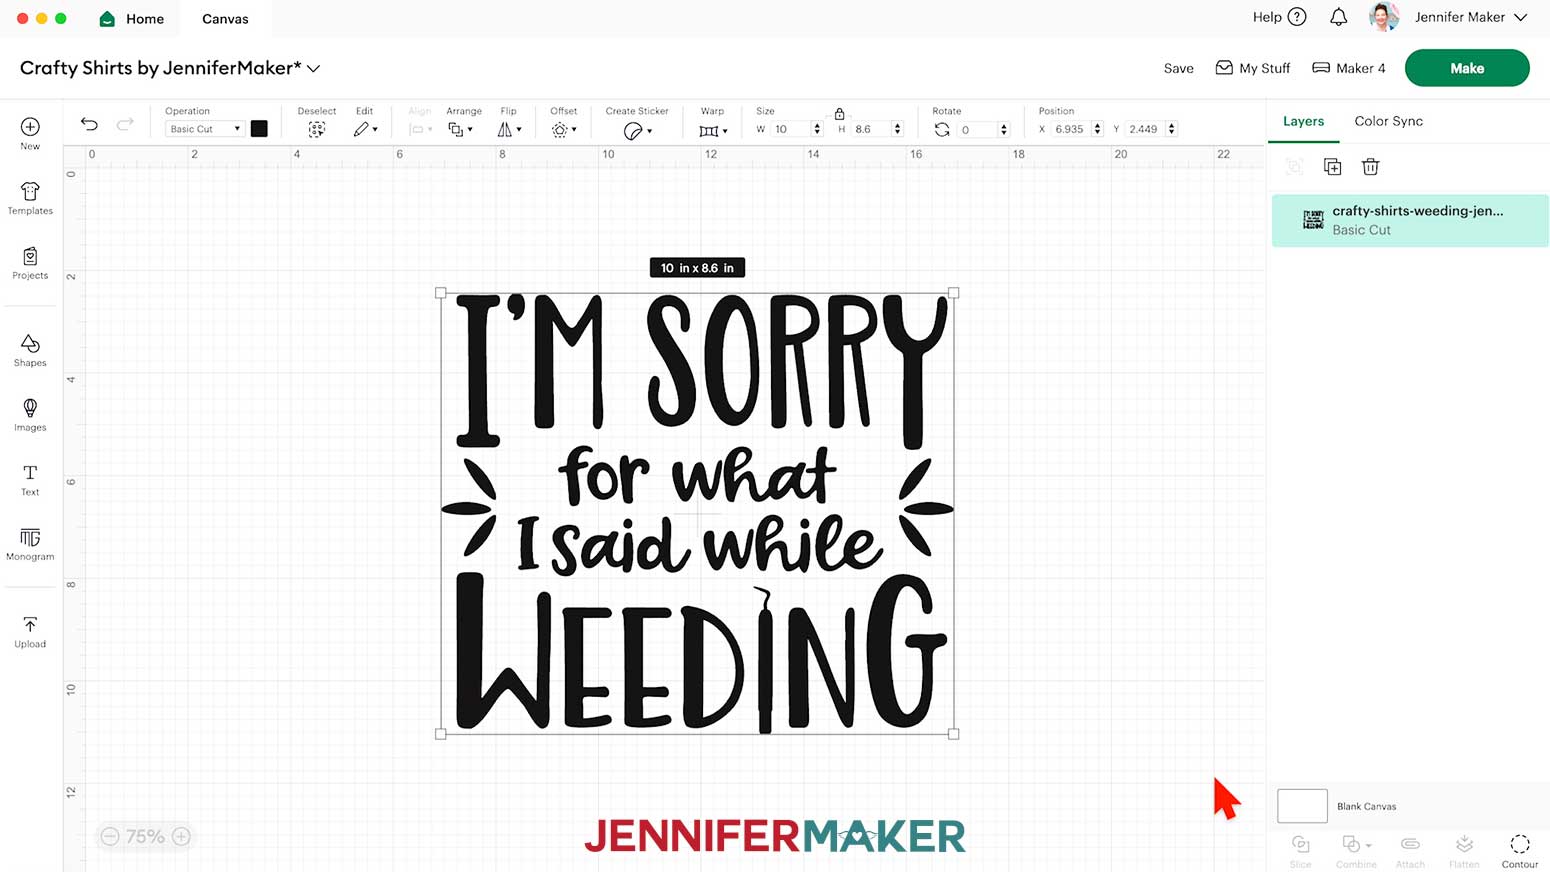
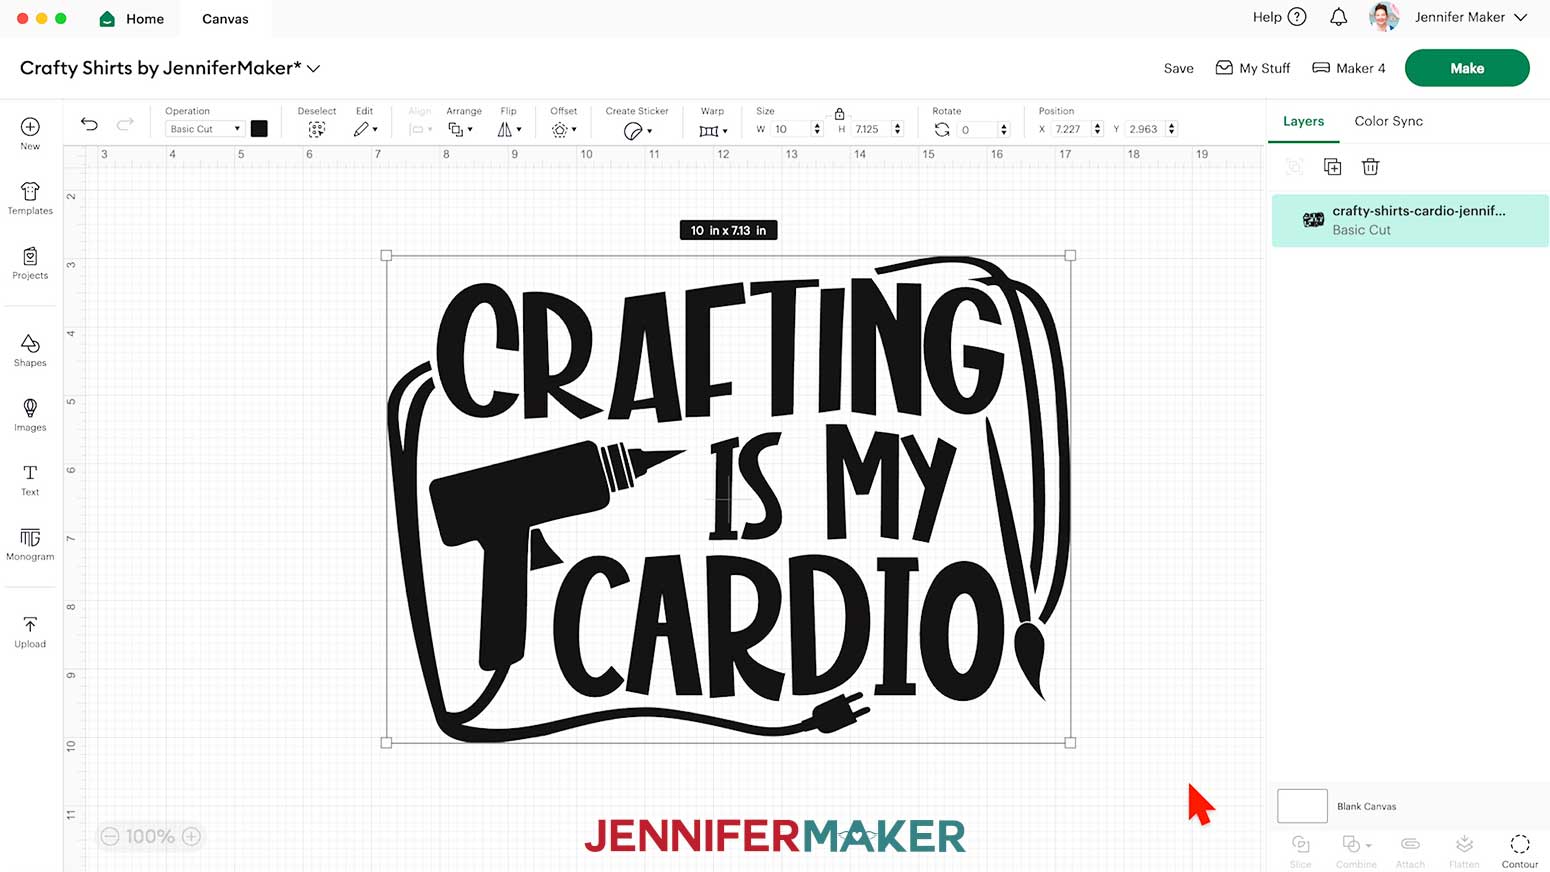
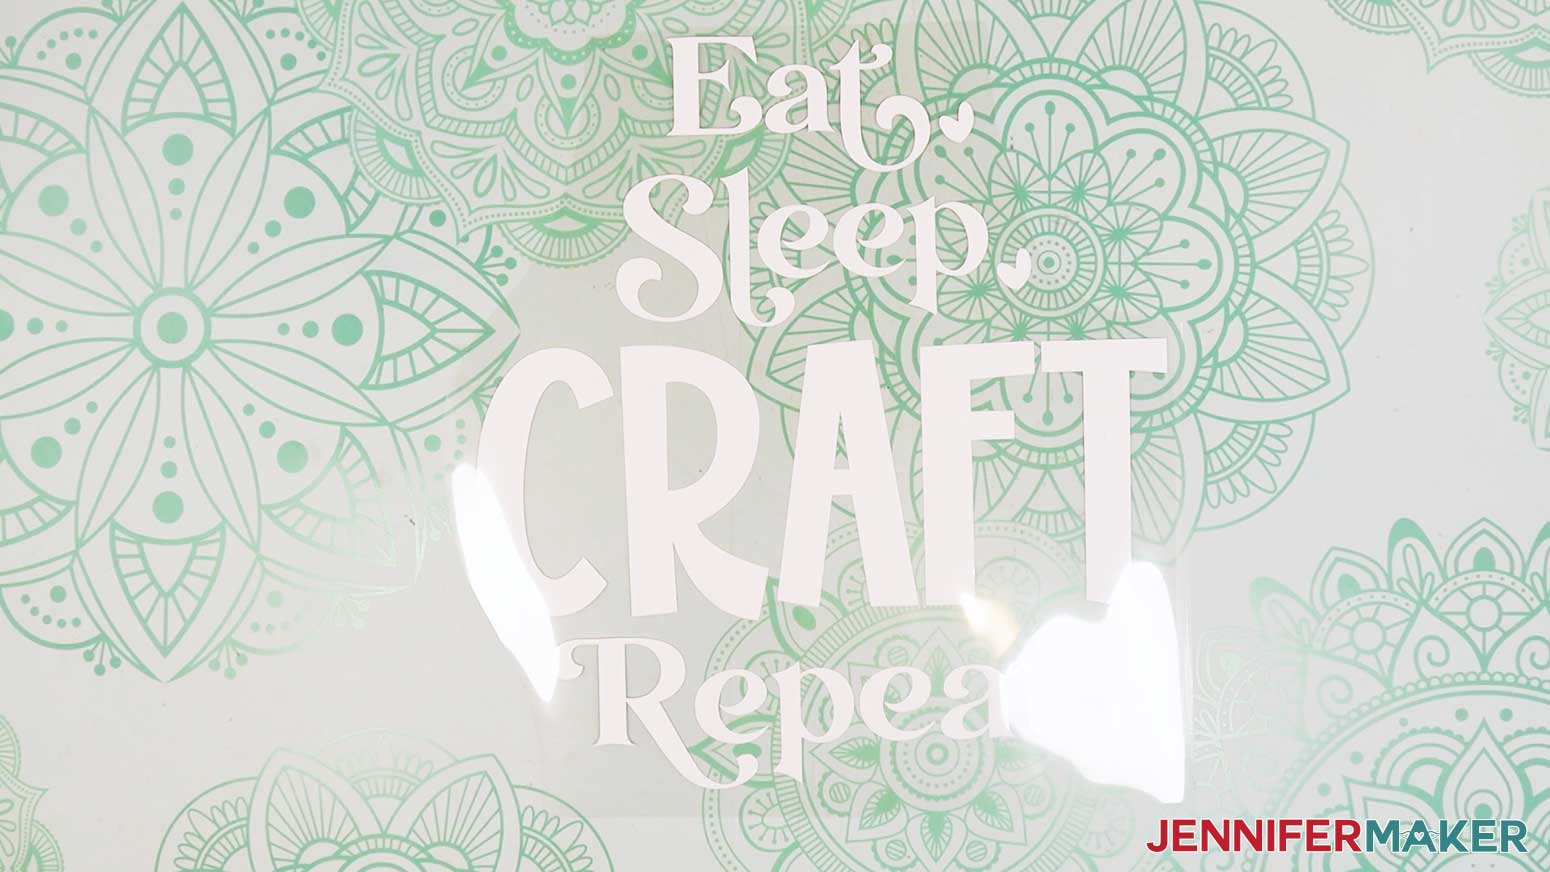
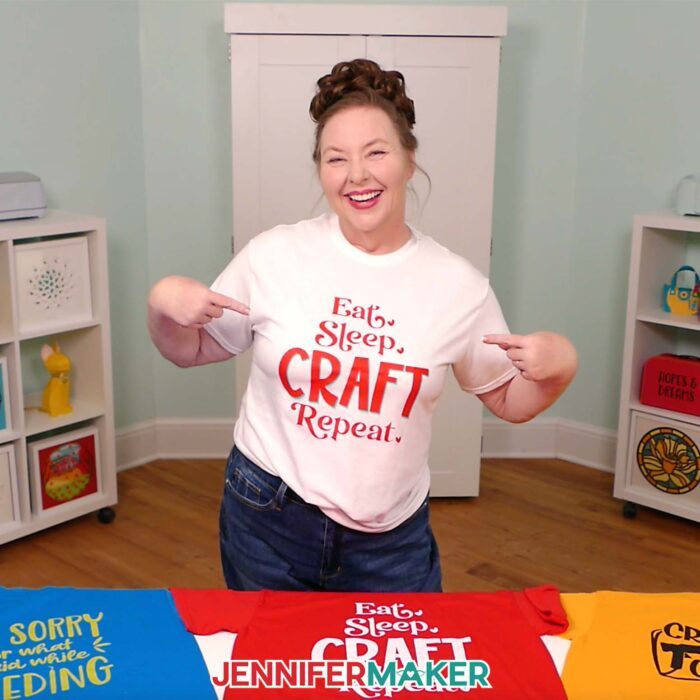
Inside the SVG folder, you’ll see three designs, an “I’m Sorry for What I Said While Weeding” design, a “Crafting Is My Cardio” design, and an “Eat, Sleep, Craft, Repeat” design.
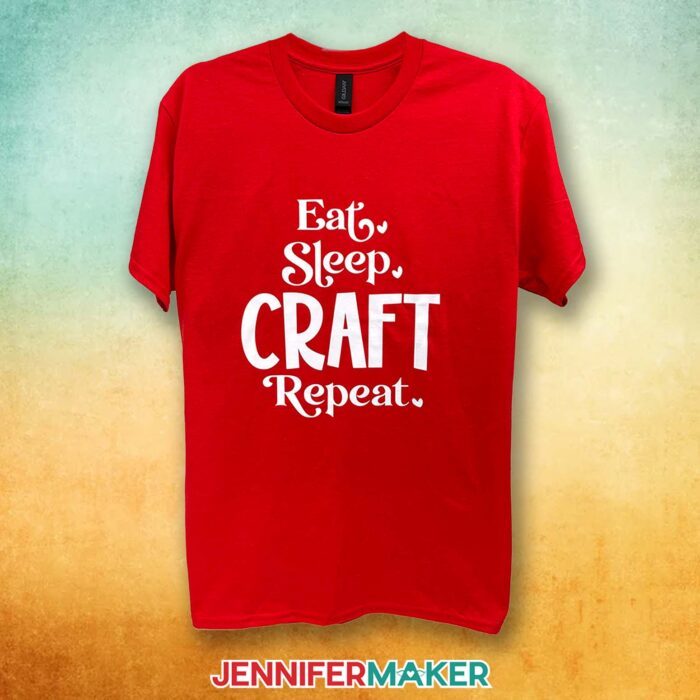
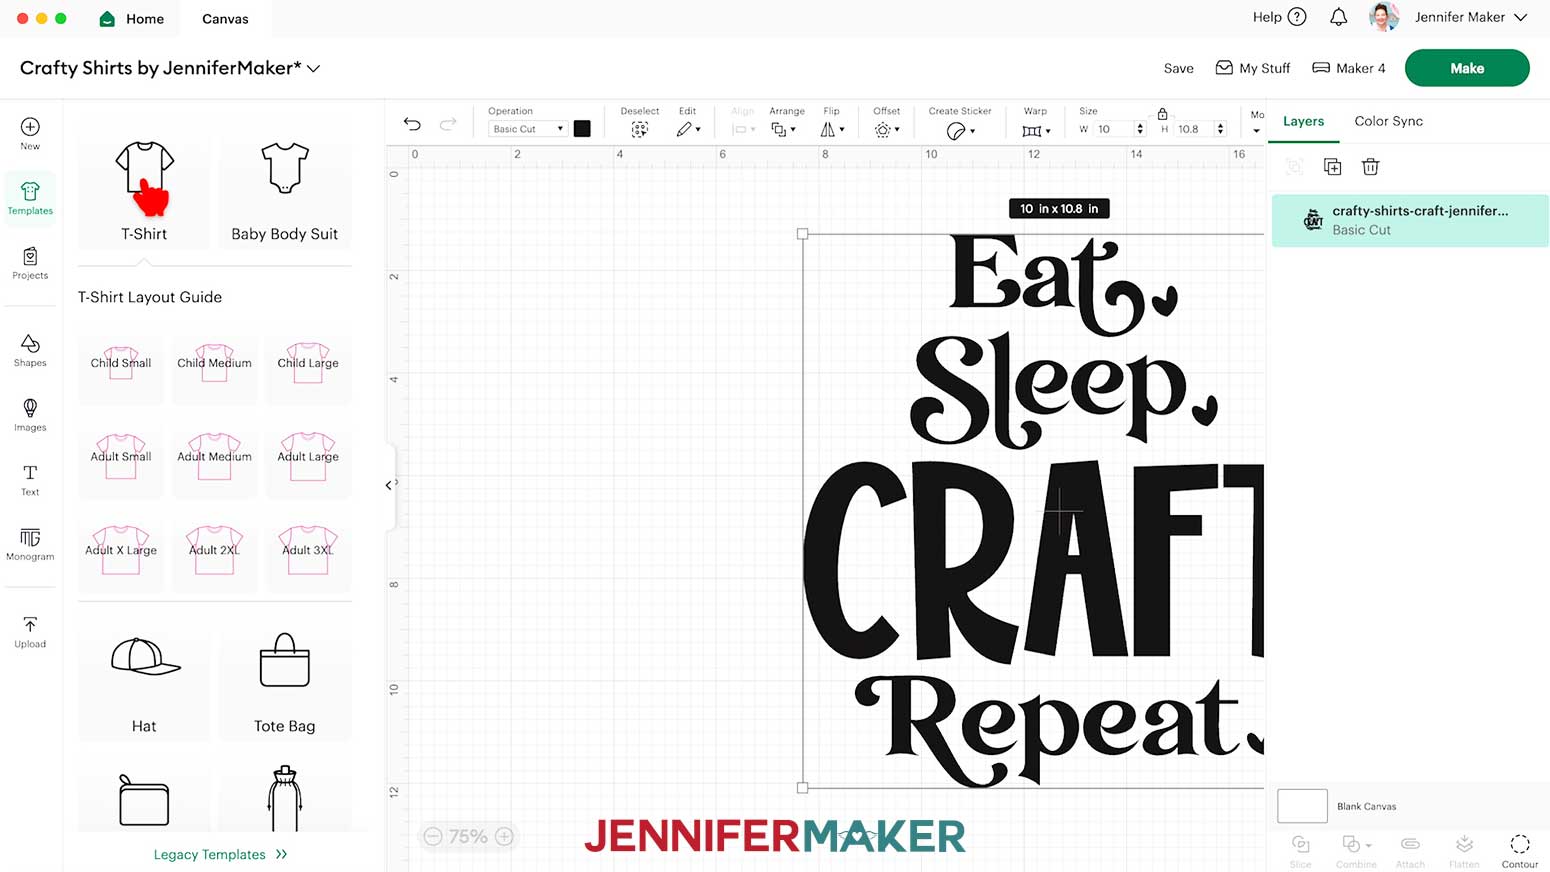
For this tutorial, I’ll show you how to make the “Eat, Sleep, Craft, Repeat” design out of Cricut Value Iron-On Vinyl using my Cricut Maker 4, then apply it to a T-shirt with a Cricut EasyPress, but you can use the same steps to prepare, cut, and apply the other two designs.
STEP 2: PREPARE YOUR CRICUT IRON-ON VINYL DESIGN
CRICUT DESIGN SPACE
- In Cricut Design Space on a blank Canvas, click “Upload.”
- Click “Upload Image.”
- Click “Browse.”
- Find and select the SVG of your choice from the SVG folder.
NOTE: I’ll demonstrate with the “Eat, Sleep, Craft, Repeat” file. - Click “Open” and then “Continue.”
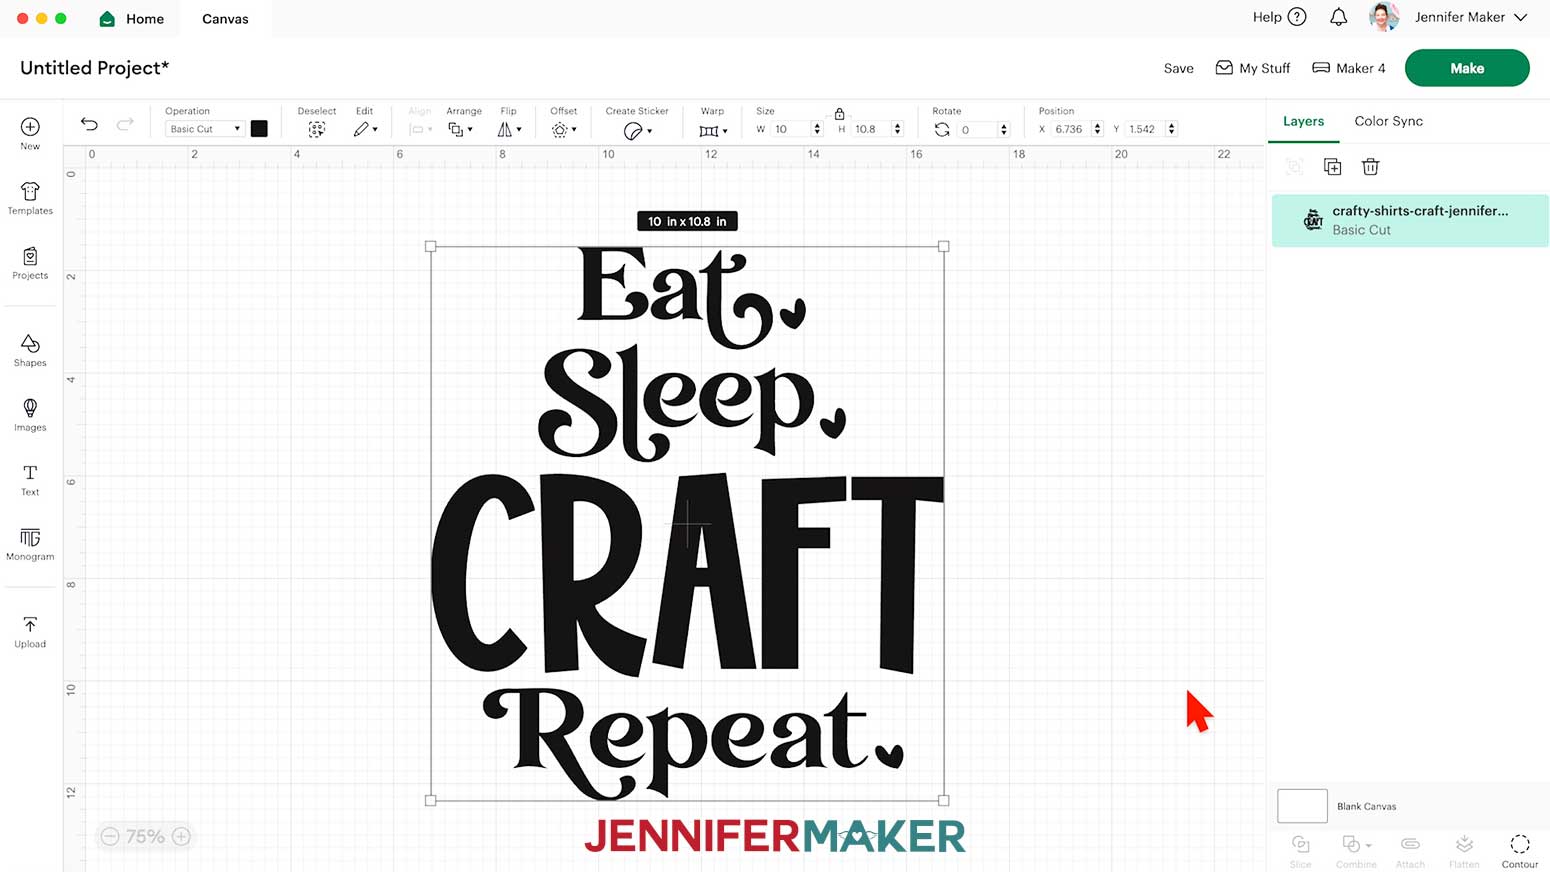
- Click “Upload” to add the design to your Canvas.

Here are what the “I’m Sorry for What I Said While Weeding” and “Crafting Is My Cardio” files look like on my Canvas. - Click “Save” and give your project a name.
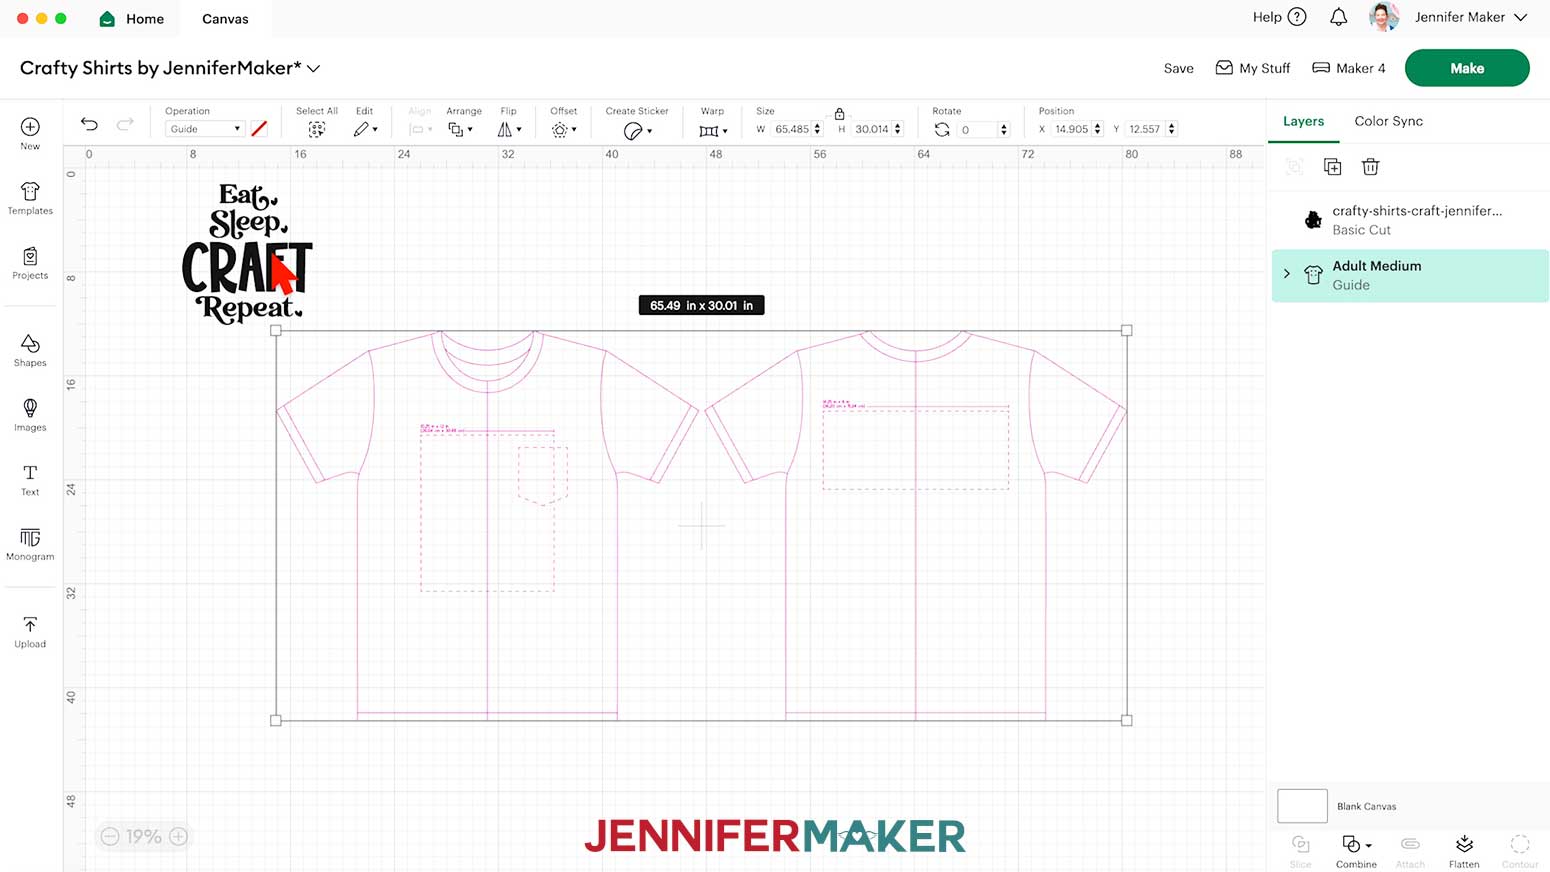
- Click the “Templates” icon and select “T-Shirt.”
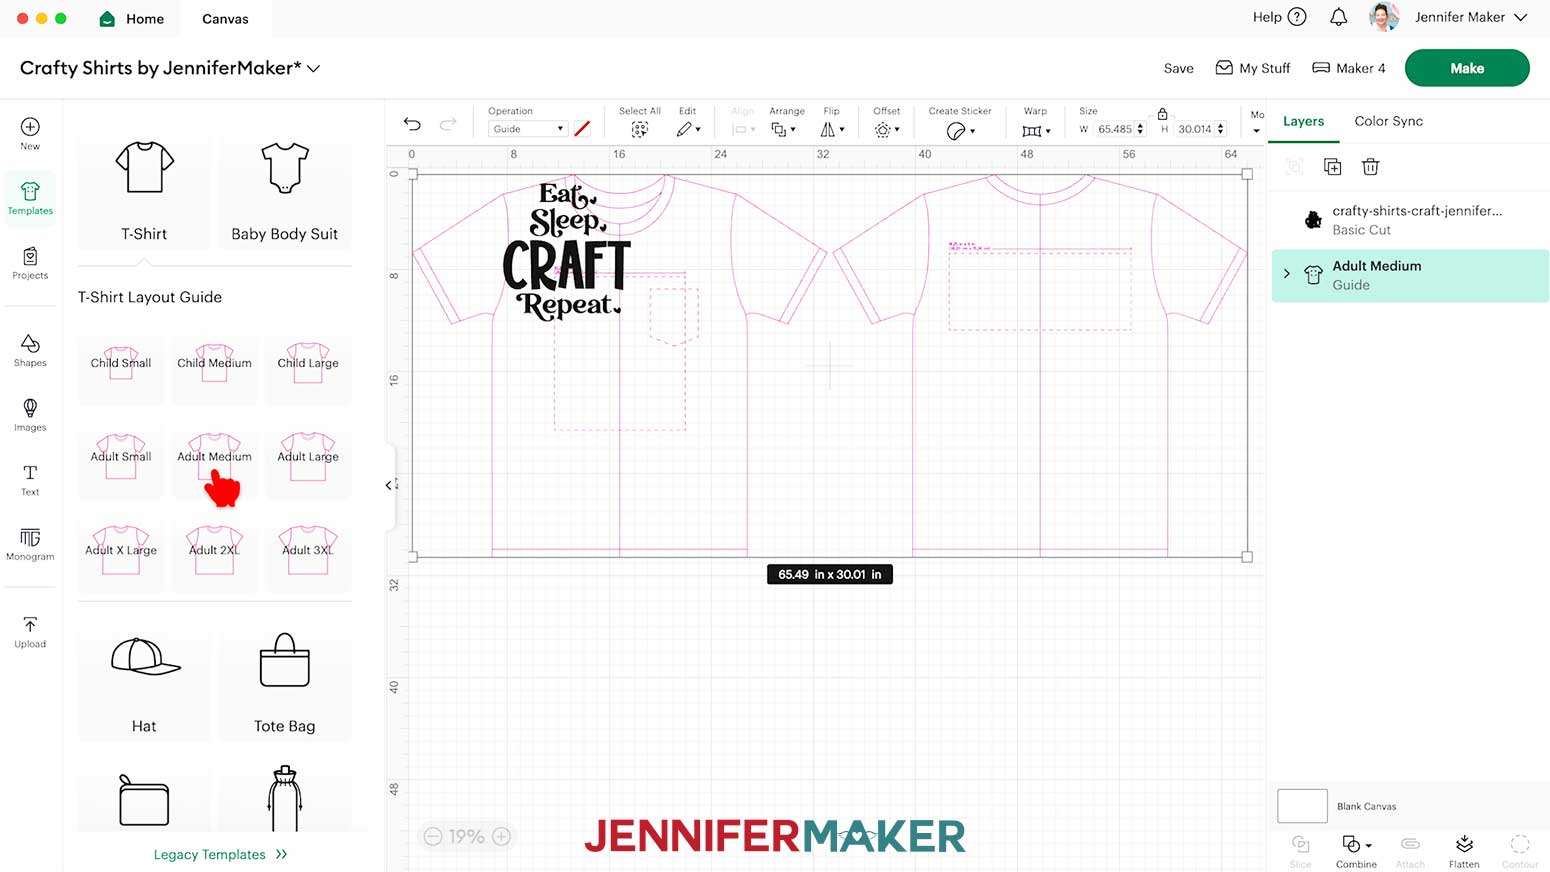
- Change the shirt type and size to match yours.
NOTE: I used the “Adult Medium” T-shirt template. - Here’s how the template looks on my Canvas. The T-shirt shape on the left is for the front of a shirt, and the one on the right is for the back.
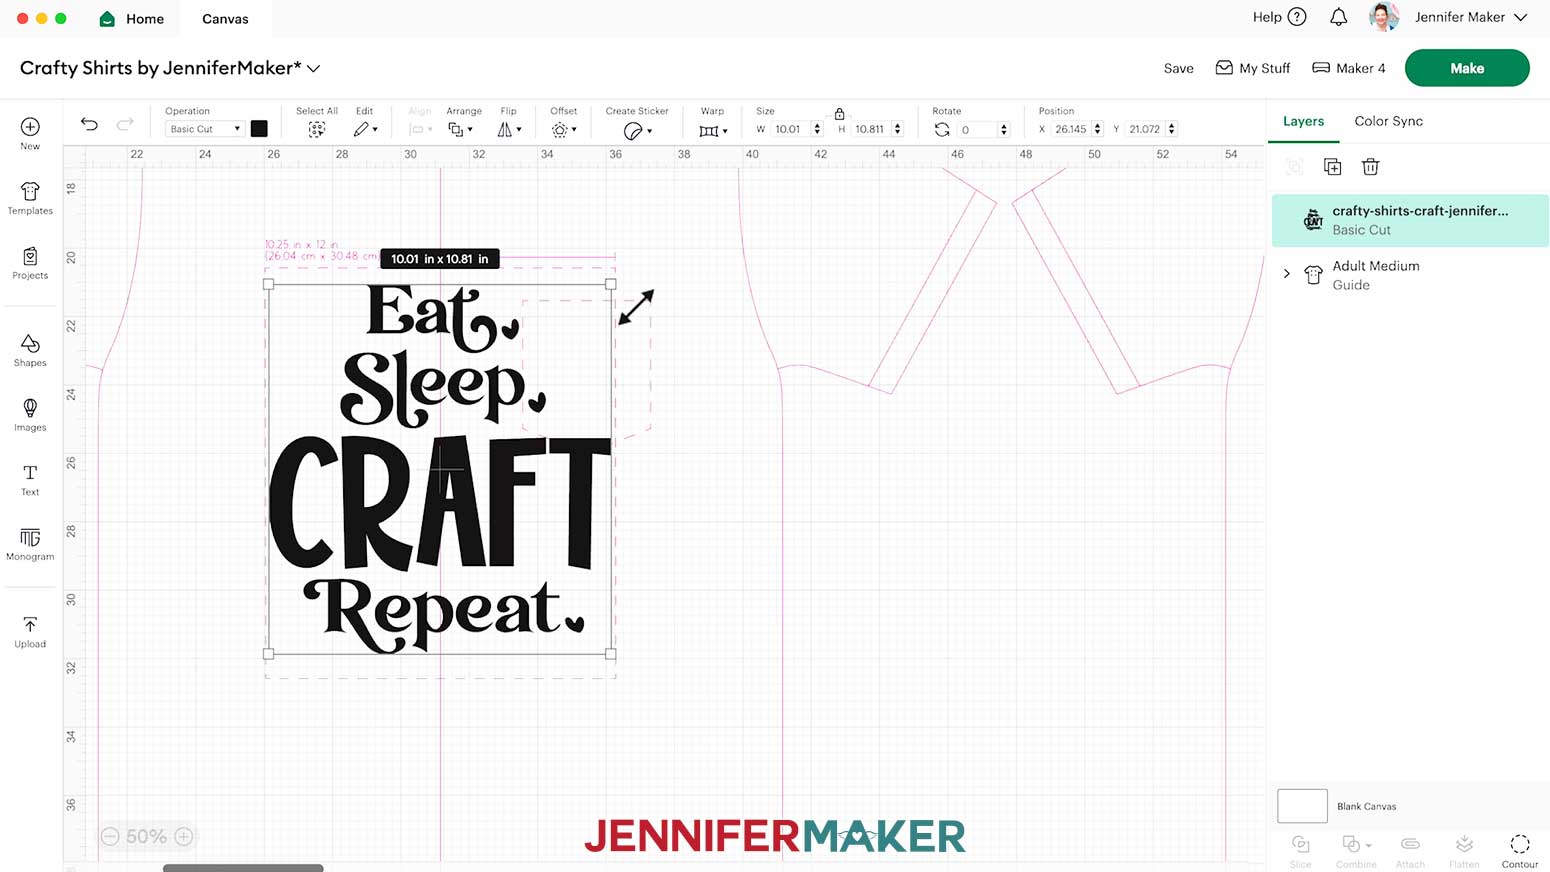
- Select your design and use the corner handles to resize it so it fits within the dashed lines on the front T-shirt template.
TIP: My T-shirt design SVGs will upload pre-sized to 10” wide, which may be close to the right size for your T-shirt. When sizing the decal for the front of your shirt, I recommend making and using a T-shirt ruler guide.
NOTE: Zoom in to the dashed lined areas to see the maximum recommended dimensions for designs placed in those spots.
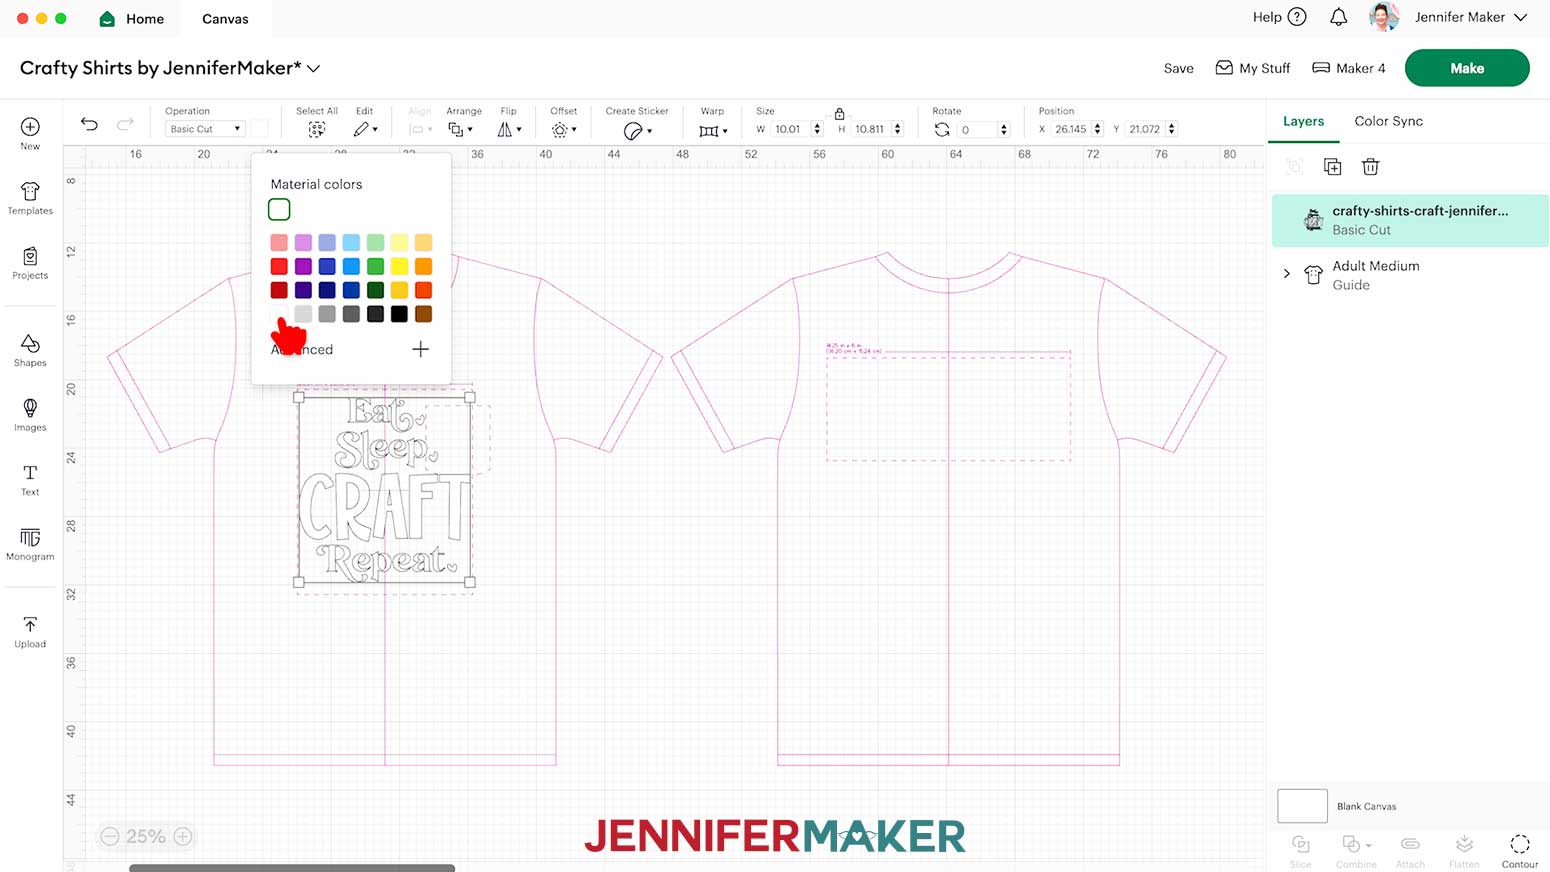
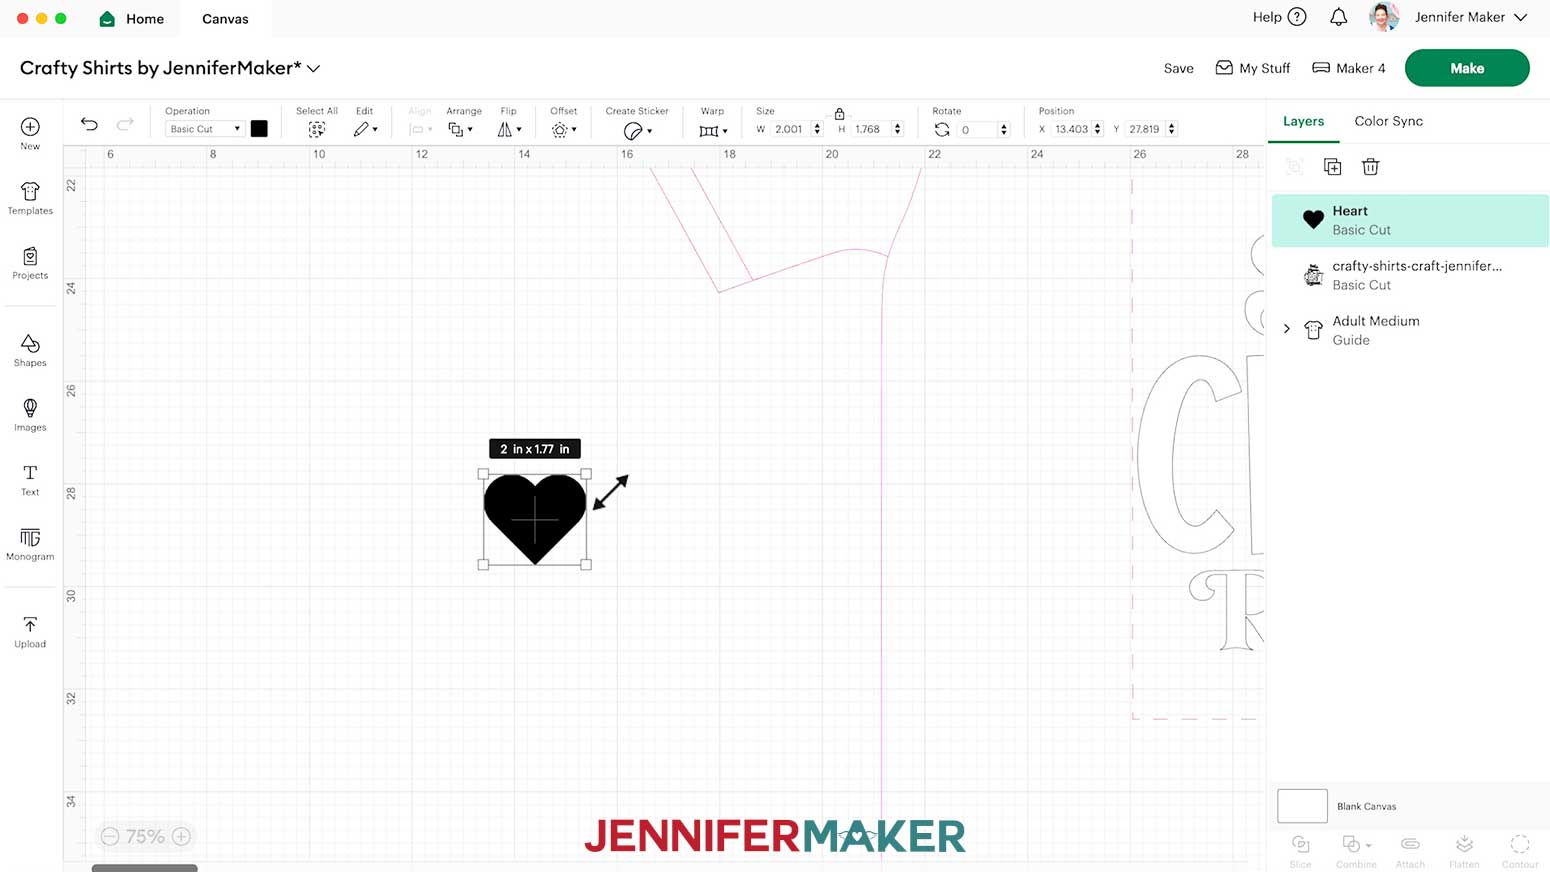
TIP: If you’d like to change the color of the design, use the color box at the top to select a new color. - To create a small decal to test your pressing settings on the hem or sleeve of your T-shirt, click the “Shapes” icon and click a free shape, like a heart, to add it to the Canvas.
- Resize the shape to about 1” wide, and make it the same color as your design so it cuts on the same mat from the same material.
- Your design is ready to cut! Select your machine at the top right, then click “Make.”
NOTE: You do not have to delete the T-shirt template from the Canvas – it will not be cut. - If prompted, click "On Mat," choose your mat size, and click “Confirm.”
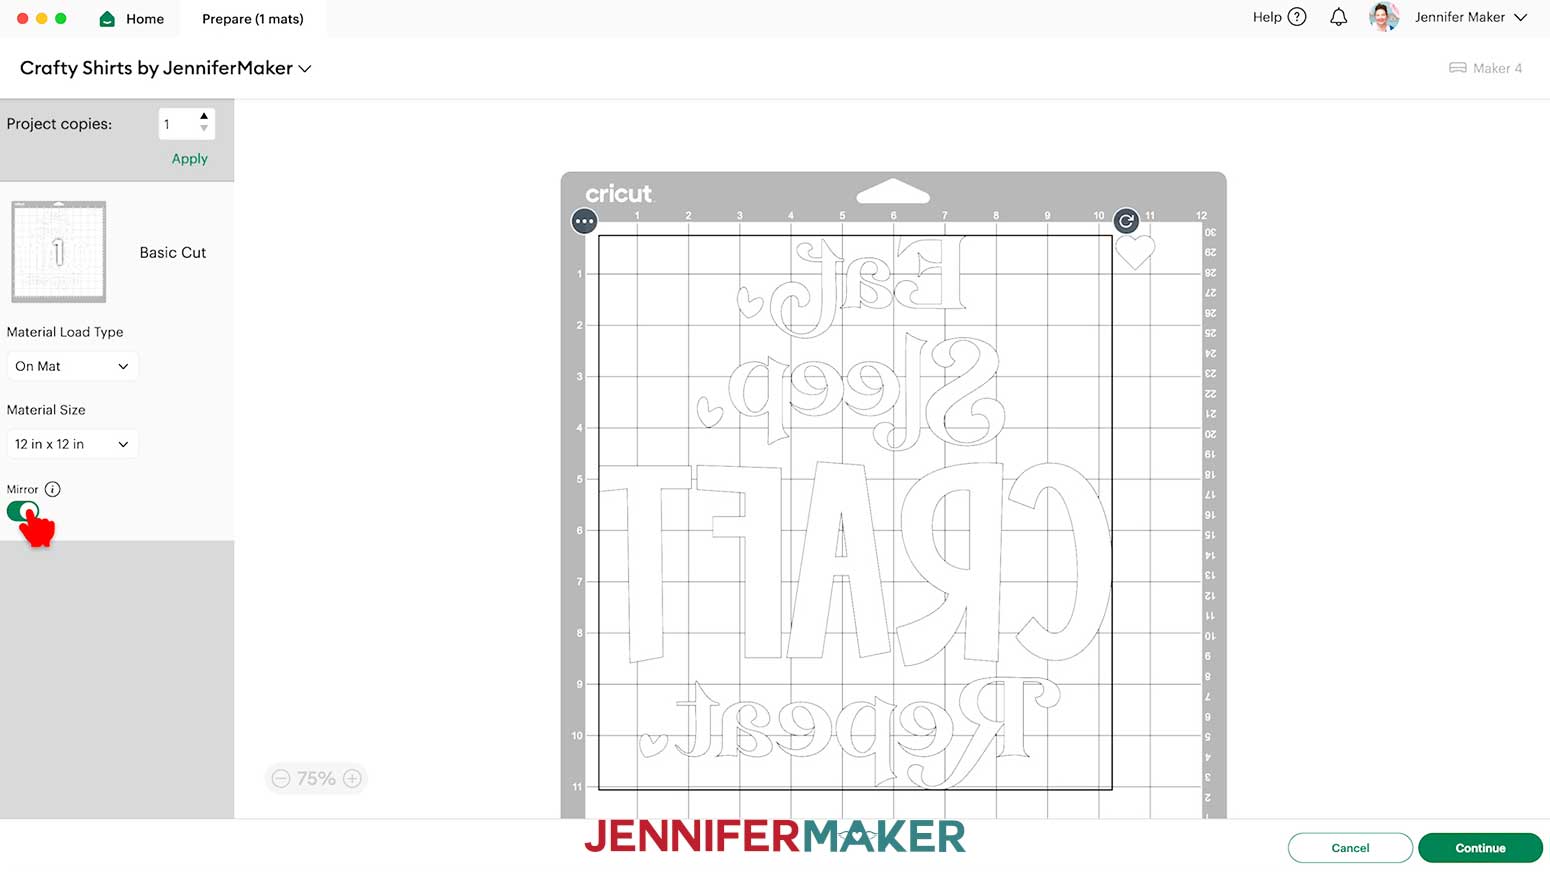
- On the Prepare screen, make sure the correct Material Size is selected and “Mirror” is toggled ON for each of your mats.
TIP: Always toggle “Mirror” on when cutting iron-on vinyl transfers. - Click “Continue.”
STEP 3: CUT AND WEED YOUR CRICUT IRON-ON VINYL DESIGN
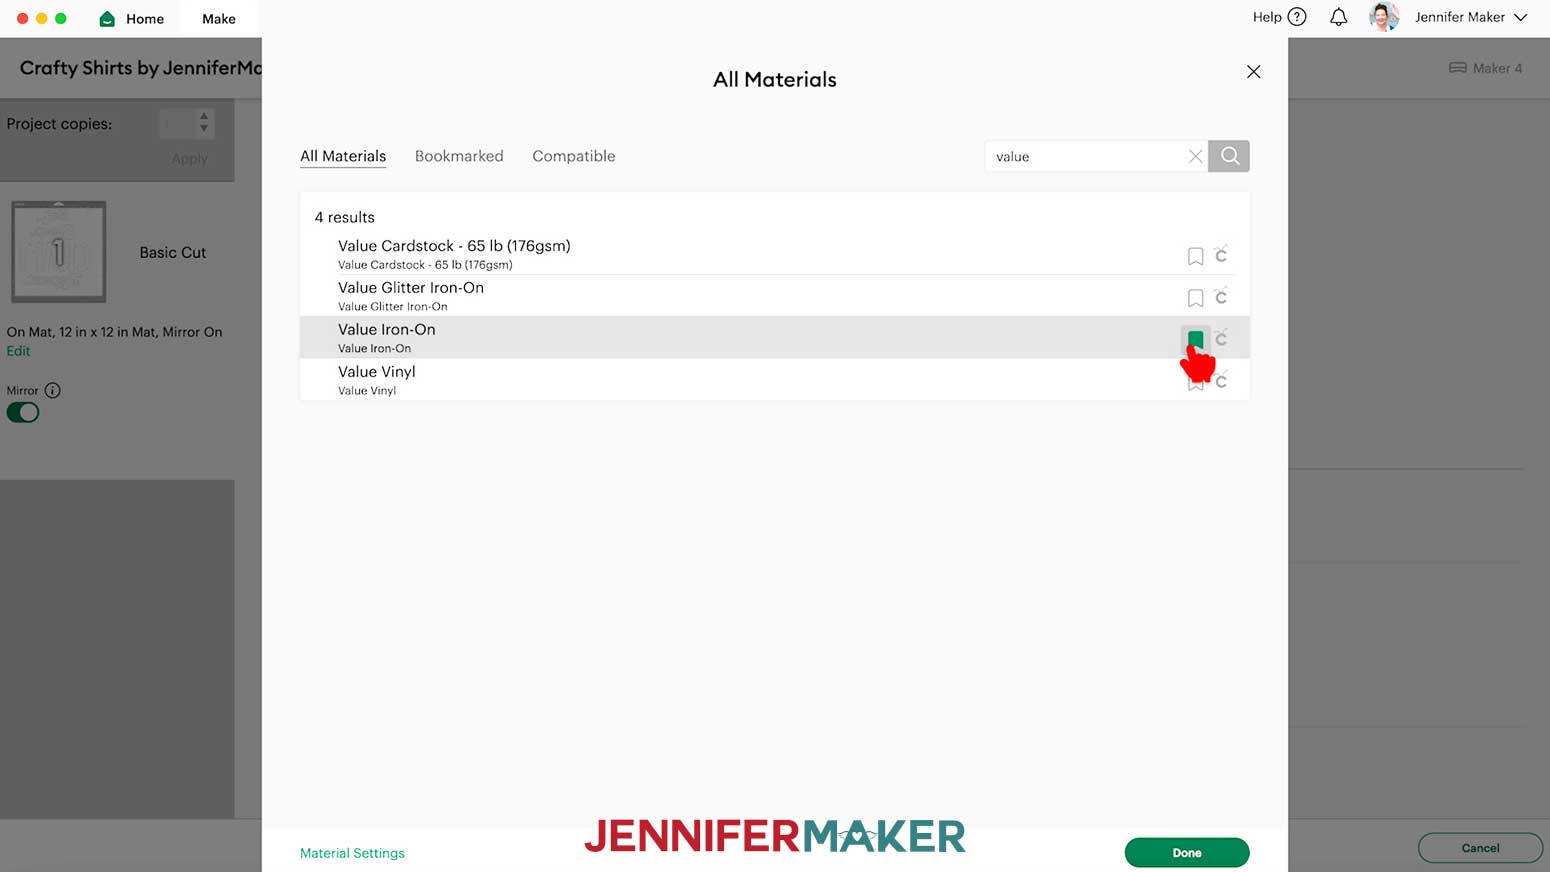
- On the Make screen, make sure your settings match the mat and vinyl type.
I used the “Value Iron-On” setting with “More” Pressure for my Cricut Value Iron-On Vinyl.
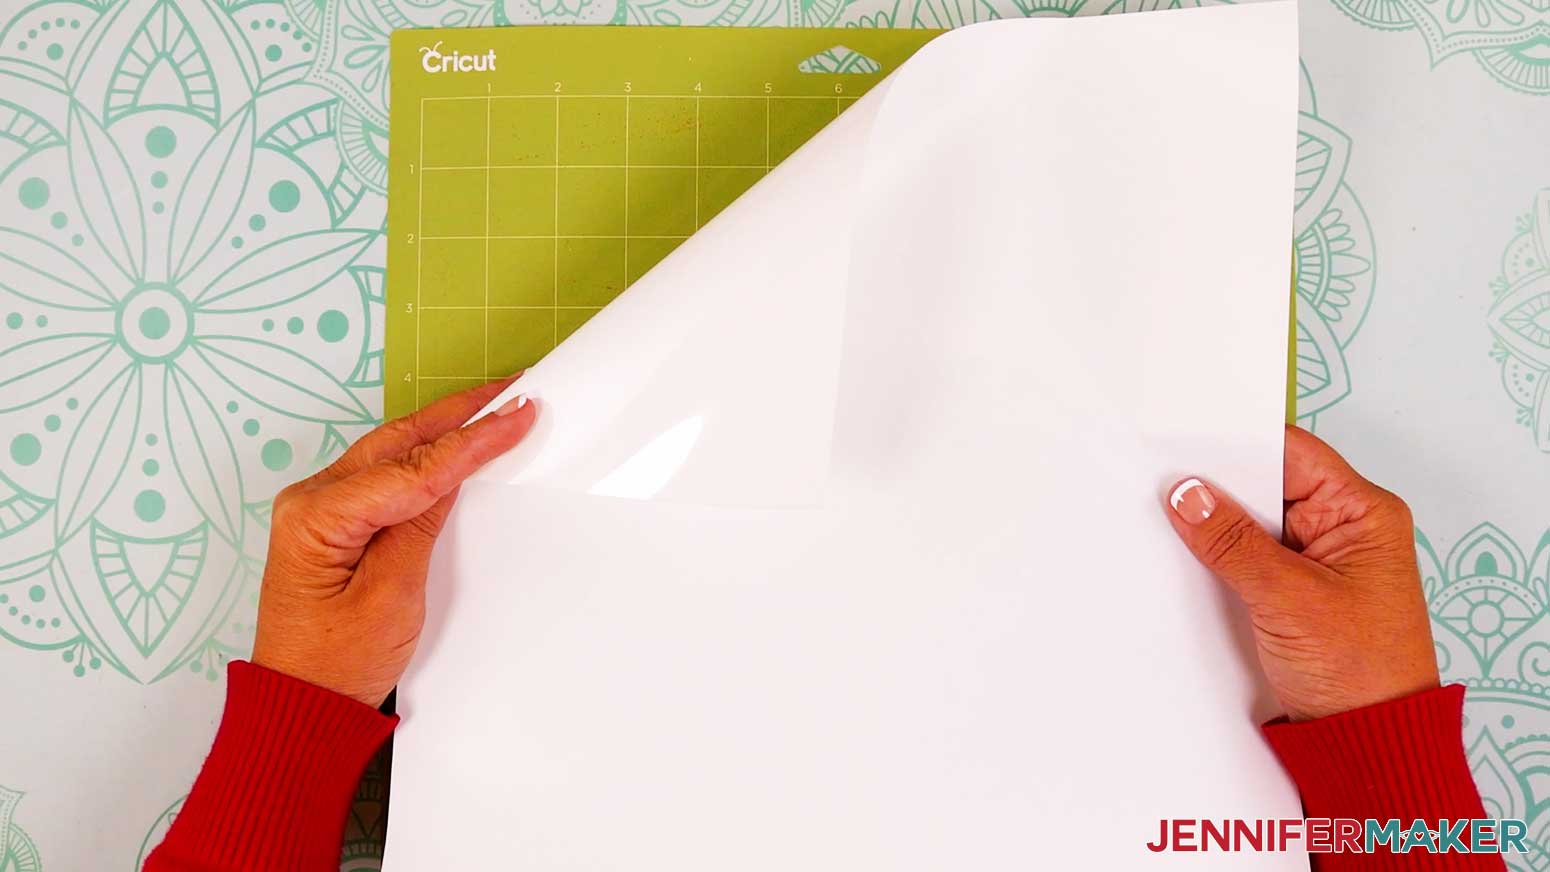
NOTE: The “Value Vinyl” setting is for adhesive vinyl, not the iron-on vinyl we’re using. Be sure to select “Value Iron-On.” If it’s your first time using Cricut Value Iron-On Vinyl, click the flag-shaped icon on the right to bookmark the setting for next time. - Place your vinyl shiny side-down onto a green StandardGrip machine mat.
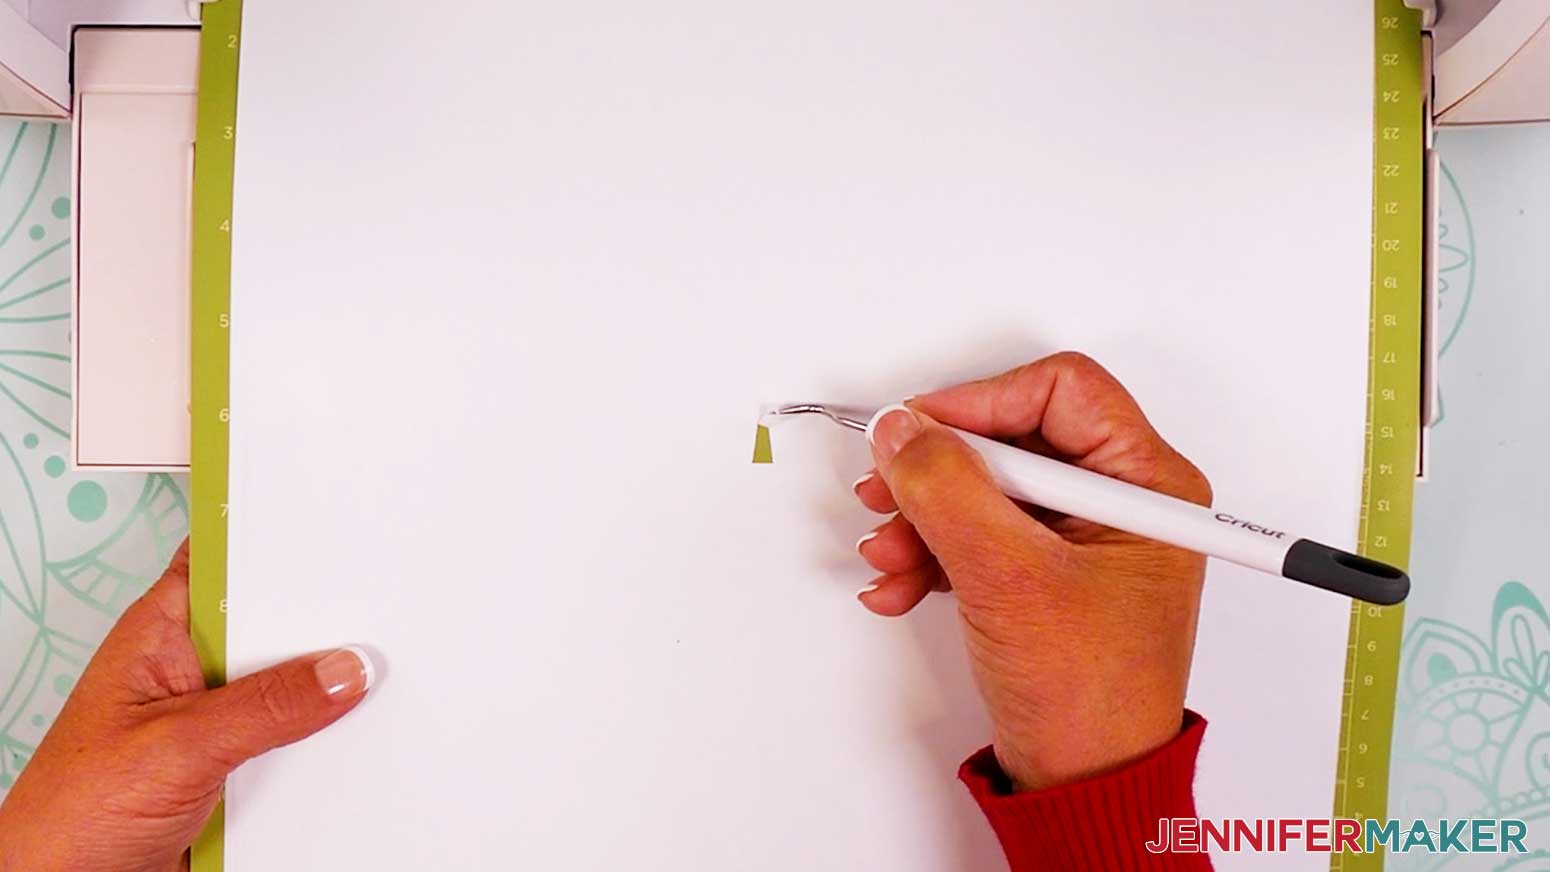
TIP: Iron-on vinyl must be cut with the carrier sheet (usually the shinier side) face-down on the mat. If you’re not sure which side is which, use a weeding tool to scratch a corner on each side. The one you can lift is the vinyl, which goes face-up. - Use a brayer to adhere it well.
- Check that your Fine-Point Blade is clean and in the clamp.
- Load your mat into your Cricut and press the flashing middle button to begin cutting.
- Before unloading the mat, use your weeding tool to lift the material inside one of the letters and see if the cut went through the vinyl, but not the carrier sheet. Incomplete cuts make weeding harder, and you can press the middle button to cut the design in the same spot again if needed.
- Once the material is cut all the way through, unload the mat, flip it over onto your work surface, and roll it back to release the vinyl.
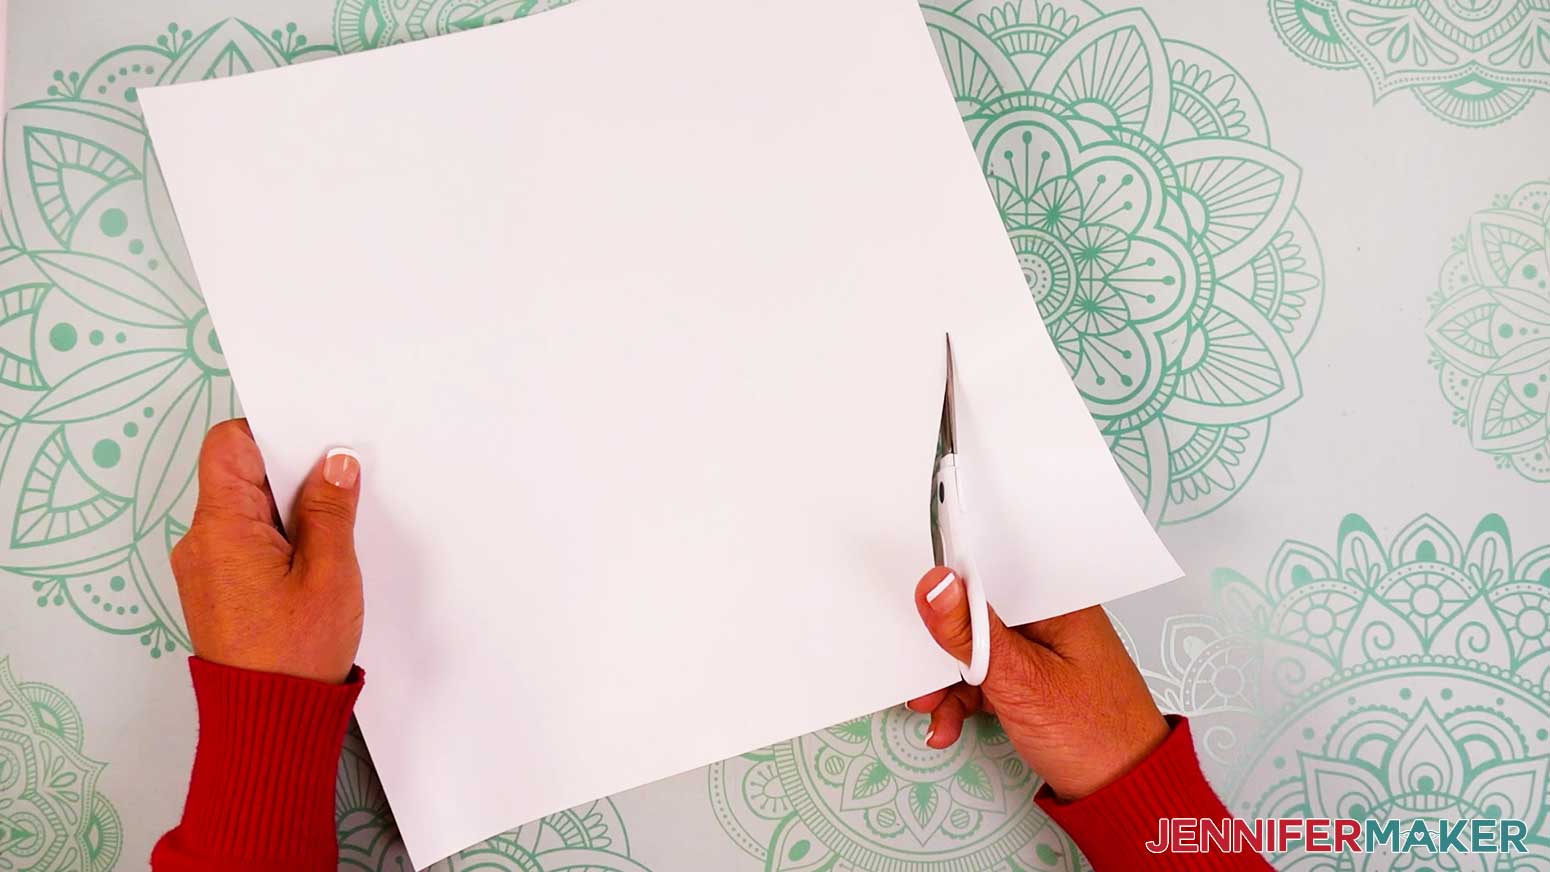
NOTE: If you have any issues with your cuts, check out my Intricate Cuts tutorial. - Use scissors to loosely trim around your design on the carrier sheet. Don’t cut completely between design elements so everything stays properly aligned for easy application.
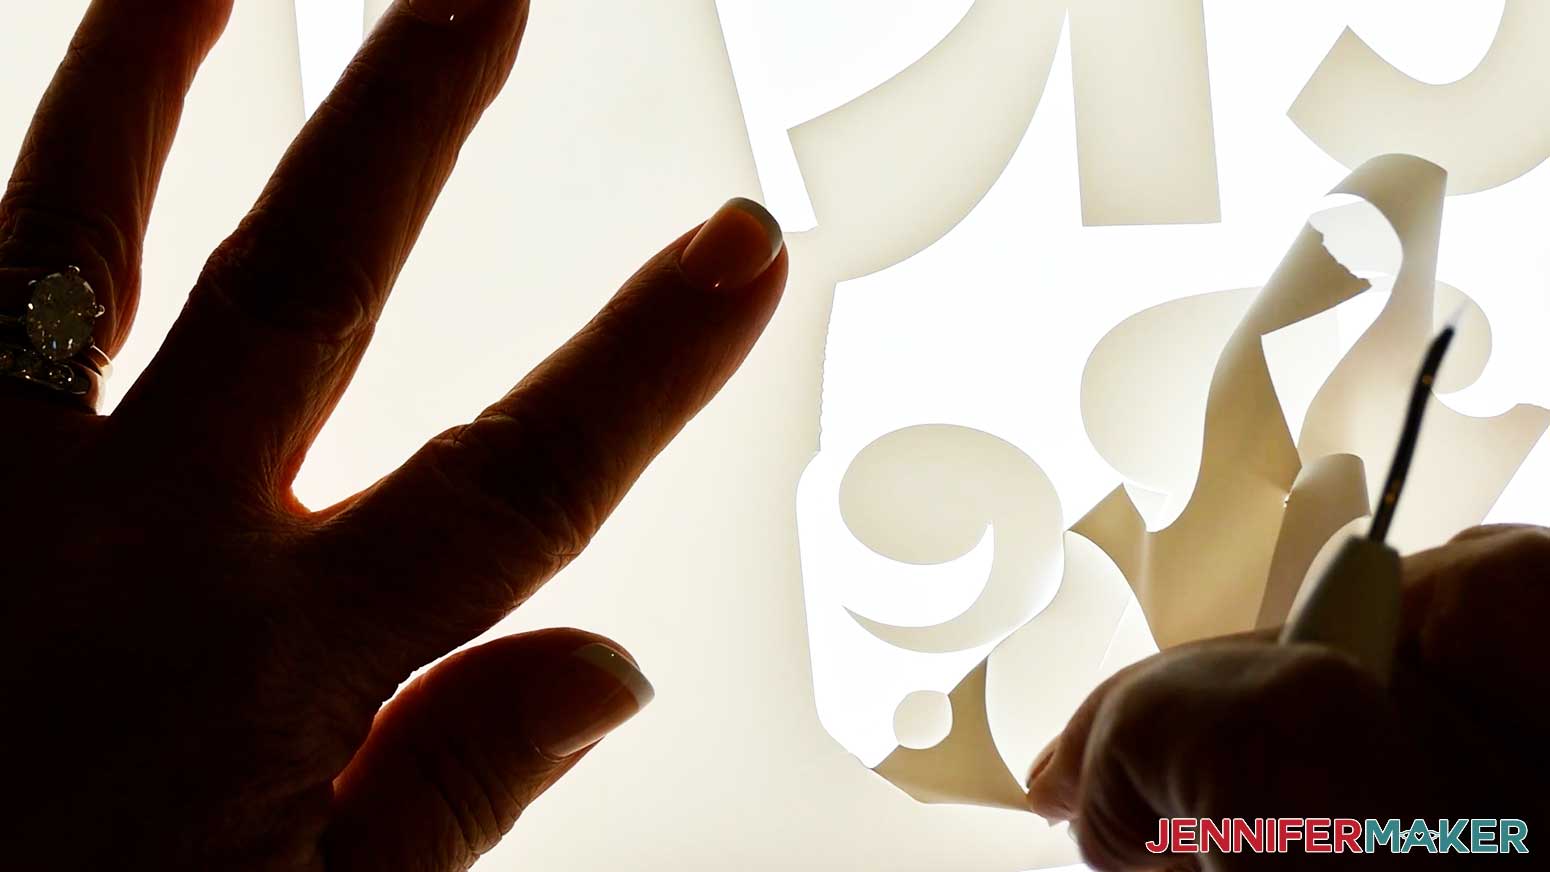
- Use a weeding tool to remove the excess vinyl, starting at the edges and moving inward.
TIP: Use a light pad like a Cricut BrightPad to make it easer to see the cut lines while weeding.
NOTE: I found that Cricut Value Iron-On Vinyl tears more easily than other heat-transfer vinyl. Be careful not to tear areas of the design while weeding. - Here’s what my weeded iron-on vinyl design looks like.
STEP 4: PRESS YOUR CRICUT IRON-ON VINYL DESIGN ONTO A T-SHIRT
NOTE: If making the T-shirt to gift or sell, I recommend not washing the shirt prior to applying the vinyl to keep the shirt looking new. If you’re making the shirt for yourself, you may wish to wash first to pre-shrink and remove chemicals that could interfere with the vinyl’s adhesion.
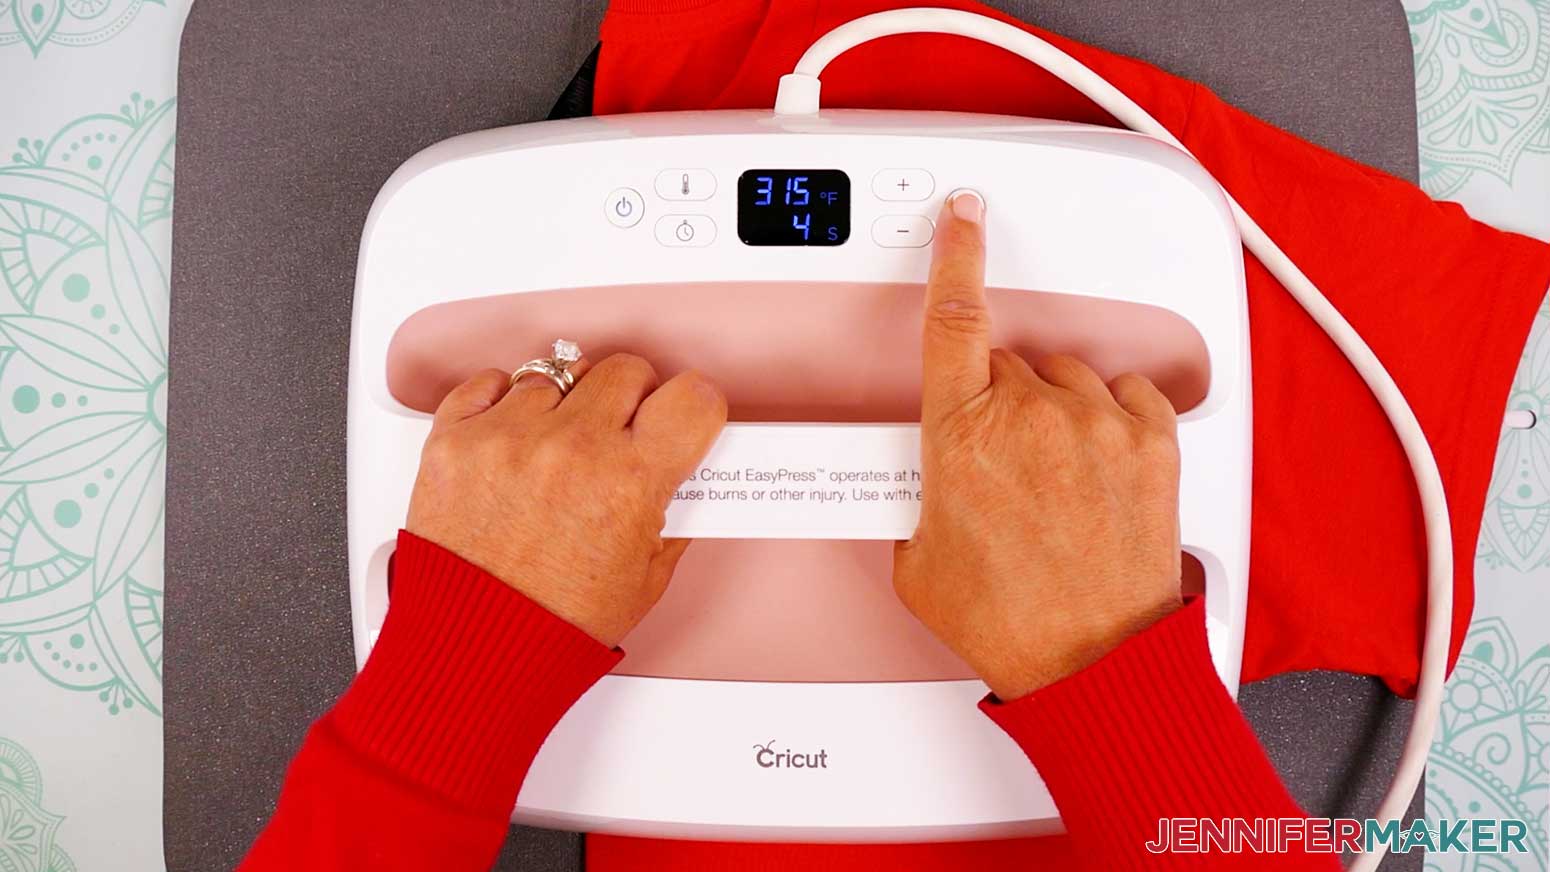
- Preheat your heat press to 315°F (157°C) for Cricut Value Iron-On Vinyl. Always check for manufacturer’s instructions for general times and temperatures, but my HTV Cookbook has lots of tips for this and other projects.
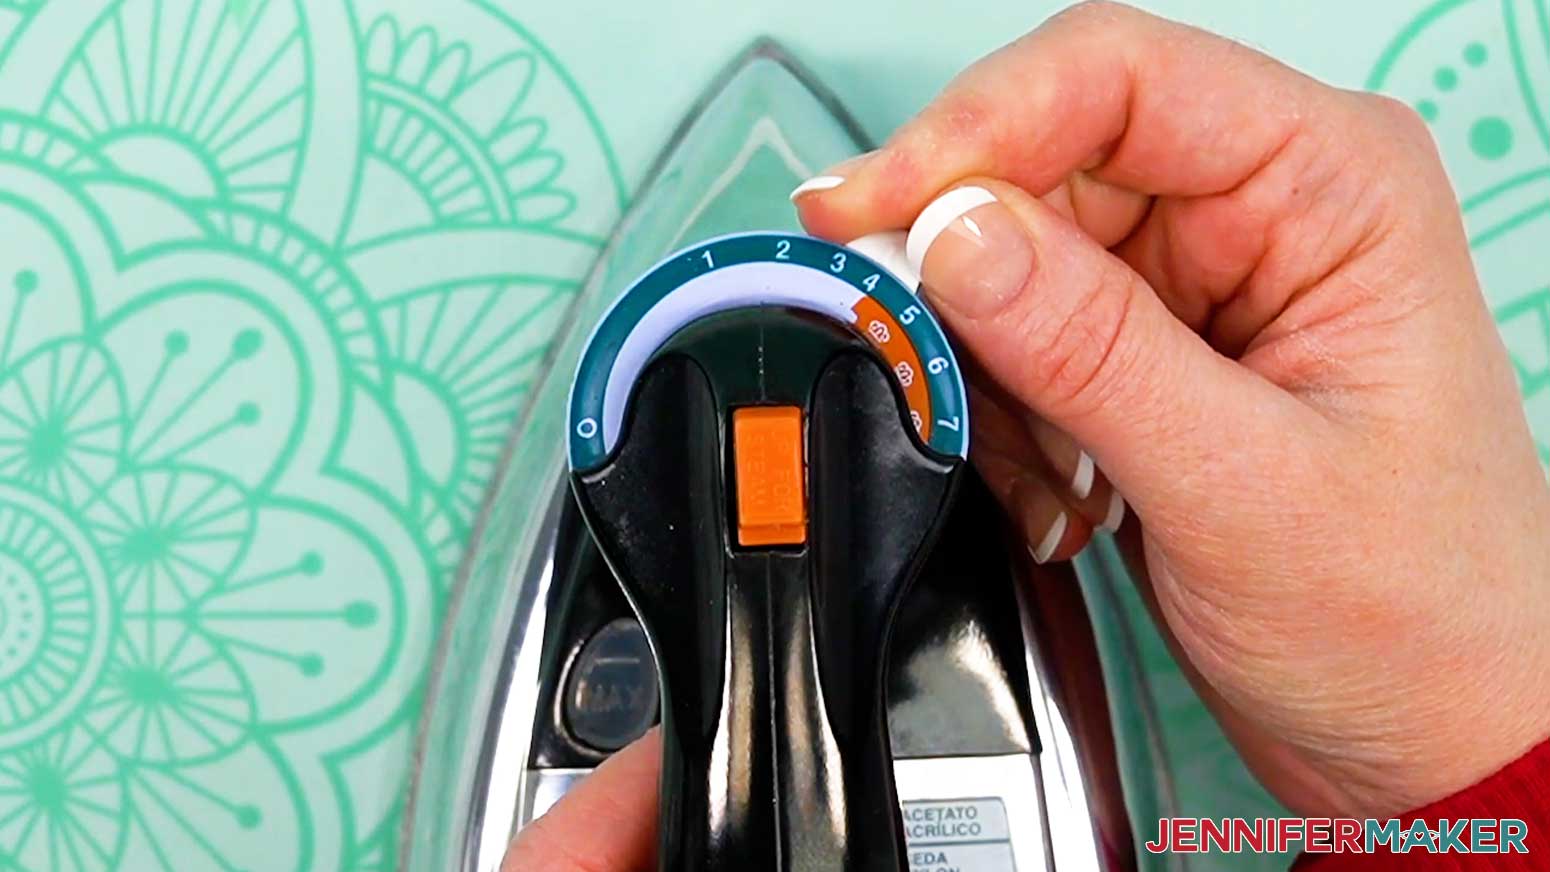
NOTE: If you are using a household iron, use the setting that matches your T-shirt material, but avoid steam. If your iron has High, Medium, and Low settings, I recommend doing a test using the High setting. Follow the steps below to apply the test heart on the arm or inside the lower hem to see if you need to adjust your settings before pressing your main design. - Use a lint roller to remove lint or fuzz from the front of the shirt.
- Fold the shirt on the vertical center by matching up the sleeves.
- Place your T-shirt on a Cricut EasyPress Mat or folded towel to protect your work surface.
- Use your heat press to lightly crease the fold for about 5 seconds.
- Open it up and there’s the center to line up the T-shirt guide! Plus, the fabric is now pre-heated to smooth wrinkles and remove excess moisture.
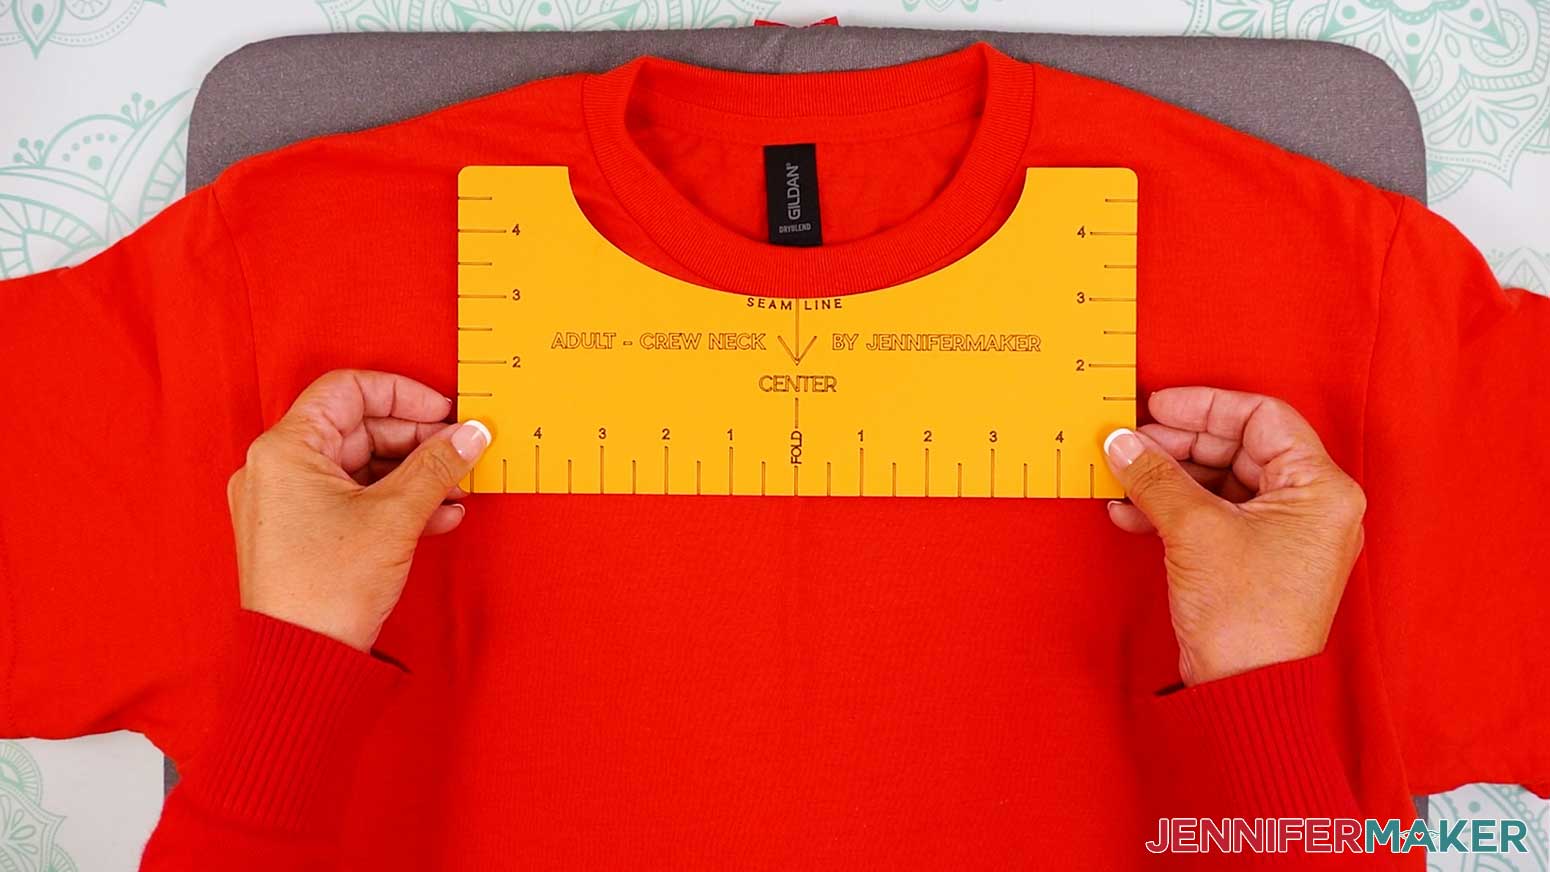
- Place your T-shirt ruler just below the collar seam so the center mark matches the crease.
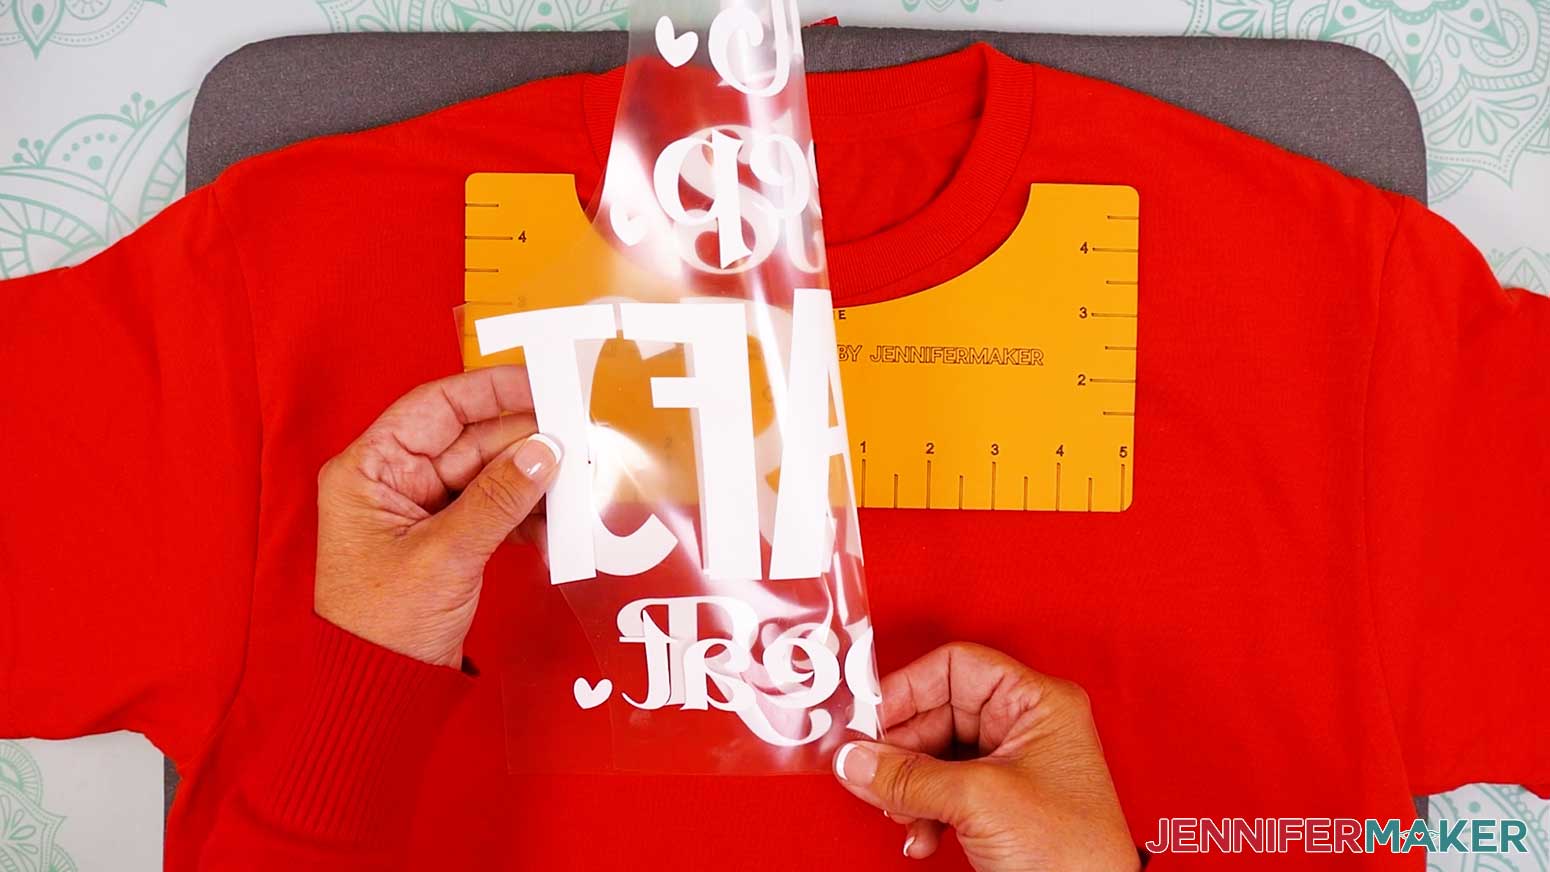
- Fold the non-sticky sides of your design together vertically to find the center and lightly crease the carrier sheet, but not the vinyl.
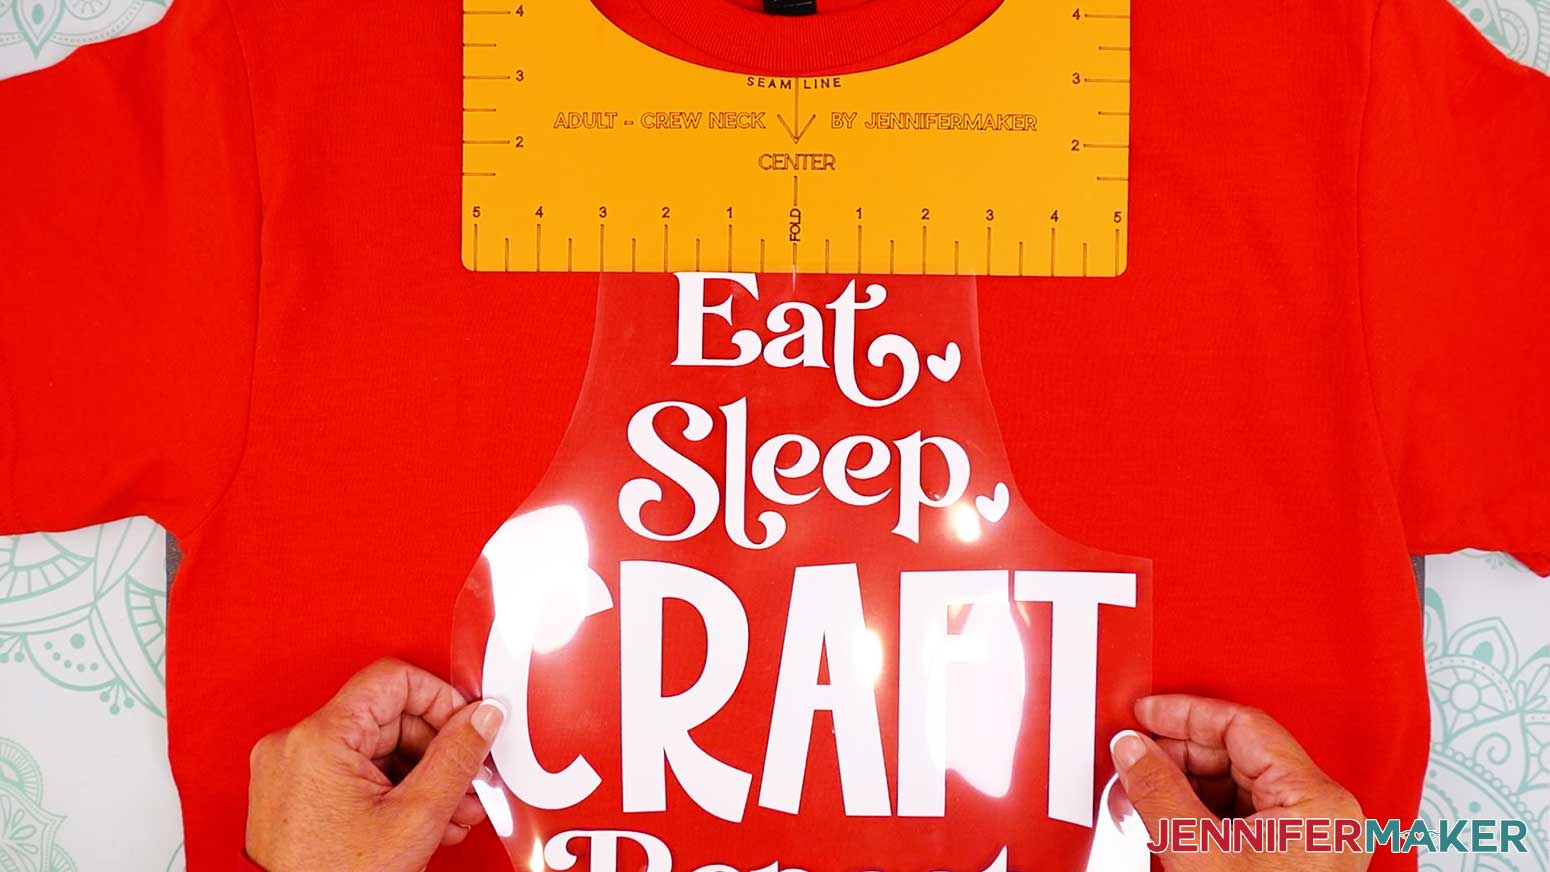
- Holding the design vinyl-side down, align the creases in the carrier sheet with the crease on the T-shirt and the ruler.
- Remove the T-shirt ruler.
- Place a piece of parchment paper over the design.
- Press your design at 315º (157°C) for 30 seconds.
NOTE: If the design is larger than your iron or press, press it in sections with a tiny overlap to make sure you press the design all evenly for the correct time. - Remove the parchment paper.
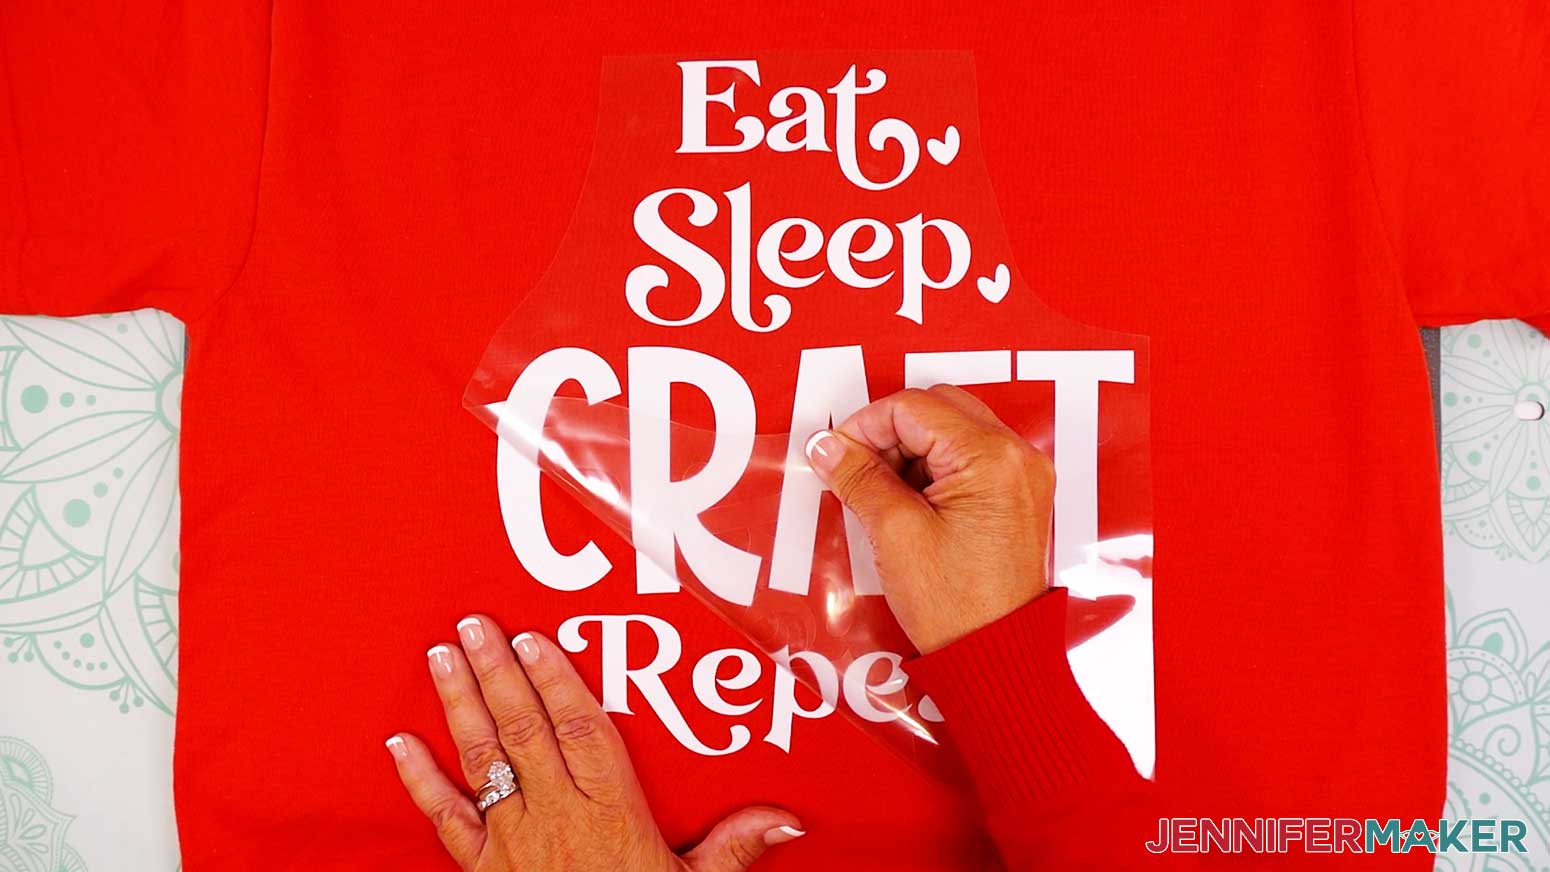
- Once it’s cooled completely, carefully peel the carrier sheet off the design.
TIP: I found that Cricut Value Iron-On Vinyl tears more easily than other heat-transfer vinyl. Be careful not to tear areas of the design while removing the carrier sheet. If the carrier sheet doesn’t peel off easily, let it cool a little longer and try again. If it still won’t peel off easily, lay the carrier sheet and parchment back down, then press for a few more seconds and try again.


STEP 5: SHOW IT OFF!
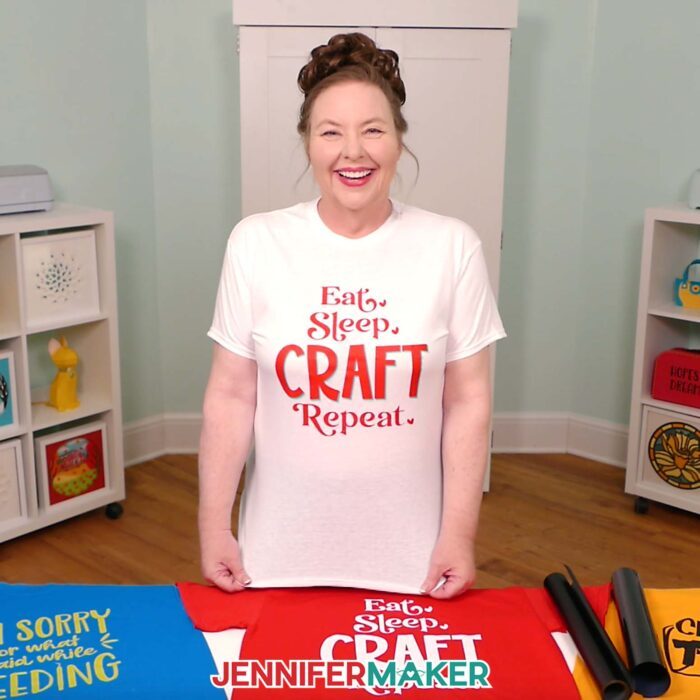
Here is what my Cricut Value Iron-On Vinyl T-shirt looks like!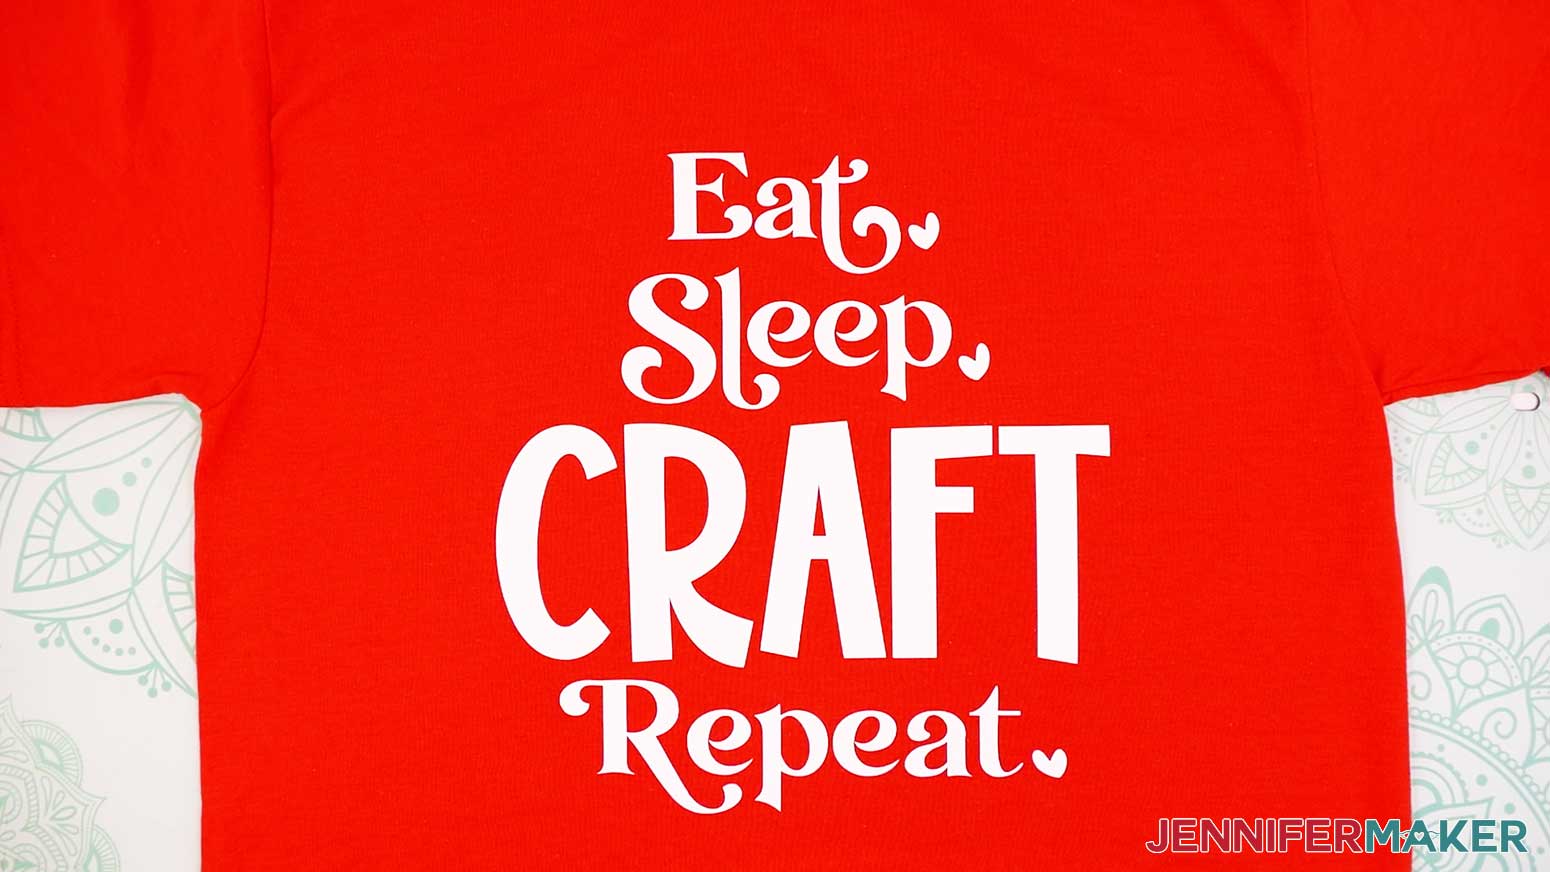
Notes
Fonts used:
“Eat, Sleep, Craft, Repeat”:
Transcity (free alternate: Transcity)
Farmland Acres Extra (free alternate: Heart Warming Extra)
Wonderful Display Font (free alternate: Bestoom)
“Crafting Is My Cardio”:
Wonderful Display Font (free alternate: Bestoom)
“I’m Sorry For What I Said While Weeding”:
Beachwood Sans (free alternate: Lobster)
Forever Grateful (free alternate: JM Sweet)
Design Sizes:
“Eat, Sleep, Craft, Repeat”: 10” x 10.8”
“Crafting Is My Cardio”: 10” x 7.125”
“I’m Sorry For What I Said While Weeding”: 10” x 8.6”
Care:
Let the vinyl sit for at least 24 hours. Then, wash your shirt inside out in cold water and do not use any bleach. Tumble on low or hang to dry.
Answers to Your Questions About Cricut Iron-On Vinyl
Q: Is there an easier way to create a custom iron-on vinyl design with more than one color?
A: You can learn how to create your own multicolor iron-on vinyl designs in my ADVANCE program. Learn more about ADVANCE here!
Q: What’s the difference between iron-on vinyl and heat transfer vinyl?
A: Actually, they’re the same thing! Iron-on vinyl is heat transfer vinyl (HTV). There are just two different names for the same awesome material that can be cut into shapes and sticks to fabric (and some other surfaces) with heat.
Q: How do I find designs for my Cricut iron-on vinyl T-shirt?
A: You can use any of the SVG designs included in the project files, or find more in our library! You can also use your own designs, use designs in Cricut Design Space, or create your own cut files in Canva.
Q: How do I use Cricut iron-on vinyl?
A: I’ll walk you through each step of cutting your design and pressing it onto a T-shirt with a household iron and a heat press.
Q: What side of the iron-on vinyl goes down?
A: Let’s answer this one, once and for all. Does the shiny side go down on Cricut iron-on? Or is it the dull side that goes down? The shiny, carrier sheet side should go down against the machine mat.
Q: How do you position an iron-on vinyl design? How far down do you place a decal on the front of a shirt?
A: My T-shirt ruler guide takes the guesswork out of positioning your design on a shirt! Make your own, quick and easy with my free T-shirt ruler guide file and tutorial.
Q: Do you mirror iron-on vinyl in Cricut?
A: Yes, always mirror your design before cutting iron-on vinyl.
Q: Why do you mirror iron on vinyl?
A: Iron-on vinyl needs to be mirrored because you cut it from the back side of the vinyl, then flip it over to press. If you don’t mirror your design, it will come out backwards on your shirt.
Q: What is the trick to iron-on vinyl?
A: There’s no one “trick,” but this tutorial has loads of tips and tried-and-true techniques for saving materials and getting a perfect press!
Q: What setting do I put my iron on for iron-on vinyl?
A: If you are using a household iron, use the setting that matches your T-shirt material, but avoid steam. If your iron has High, Medium, and Low settings, I recommend doing a test using the High setting. Follow the steps in the tutorial to apply the test heart on the arm or inside the lower hem to see if you need to adjust your settings before pressing your main design.
Q: Do you let Cricut iron-on cool before peeling?
A: It depends on the type of vinyl, so always check the packaging to be sure. Cricut Value Iron-On Vinyl and Cricut Everyday Iron-On Vinyl are both cool peel.
Q: Why does my iron-on vinyl peel off?
A: Peeling usually means the heat wasn’t high enough, the pressing time was too short, or you didn’t press hard enough. Try using more pressure or heat next time, and always follow the vinyl’s instructions! Gentle cleaning without heat can also help the vinyl stay in place.
Q: Can I make and sell Cricut iron-on vinyl T-shirts?
A: If you want to use my designs and projects for commercial use, please familiarize yourself with my important licensing information before selling your crafts.
Get my free SVG/DXF/PDF files to use with my Cricut iron-on vinyl tutorial!
(If you do not see the signup form above, click here.)
I love seeing your finished projects, and what you make with my tutorials! Once you’ve learned how to make your own Cricut iron-on vinyl T-shirts, inspire others and share a photo of your projects in our Facebook group or tag me on social media with #jennifermaker.
Love,

Want to remember this? Save this Cricut Iron-On Vinyl Tutorial to your favorite Pinterest Board!