
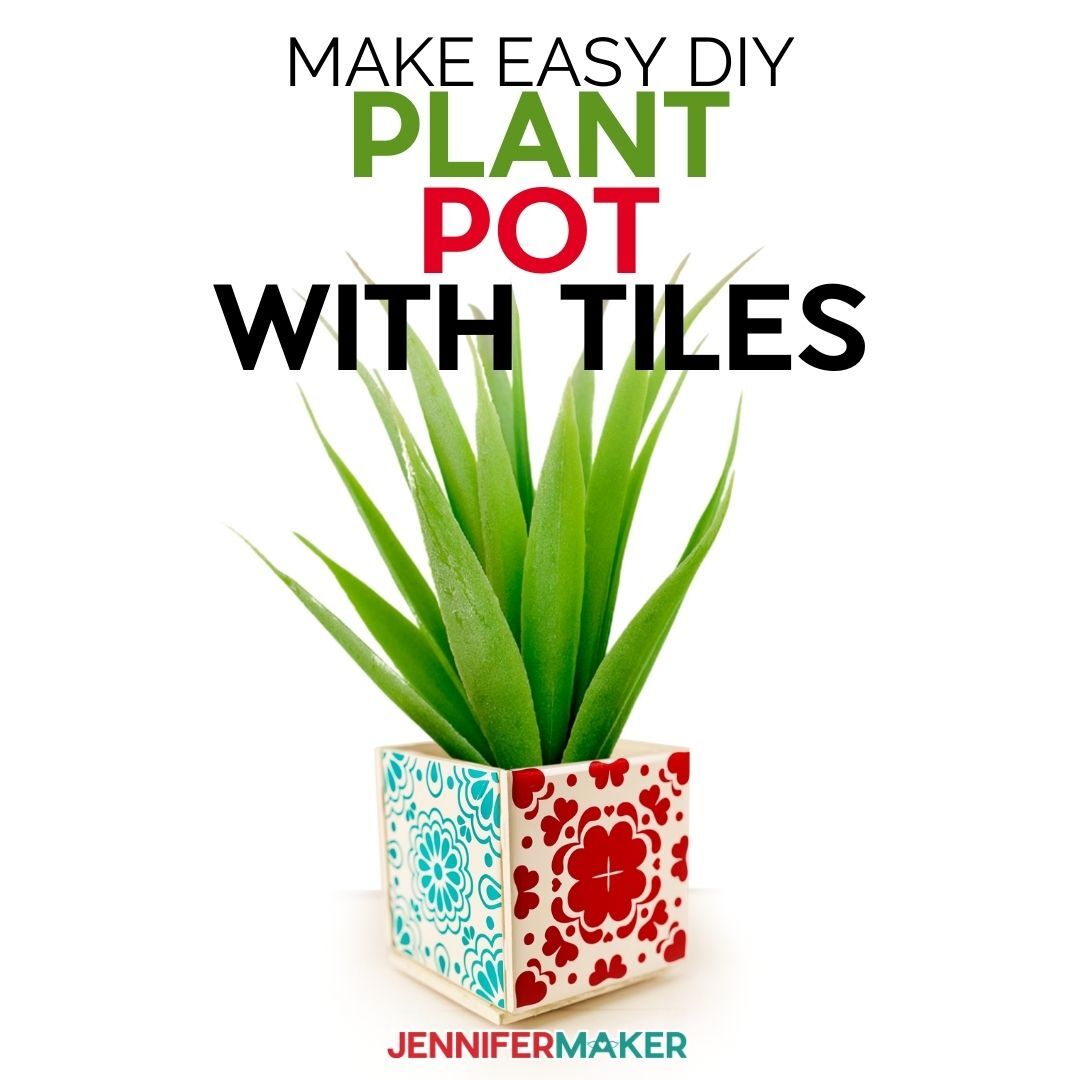
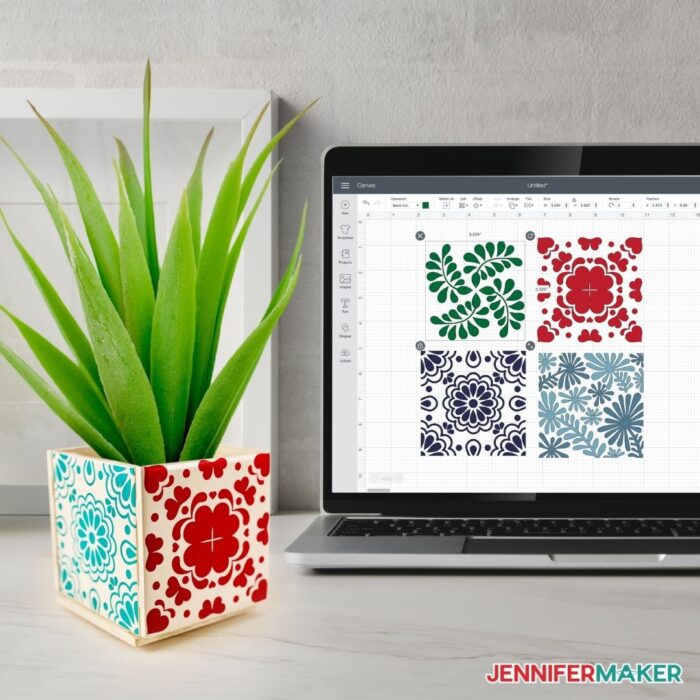
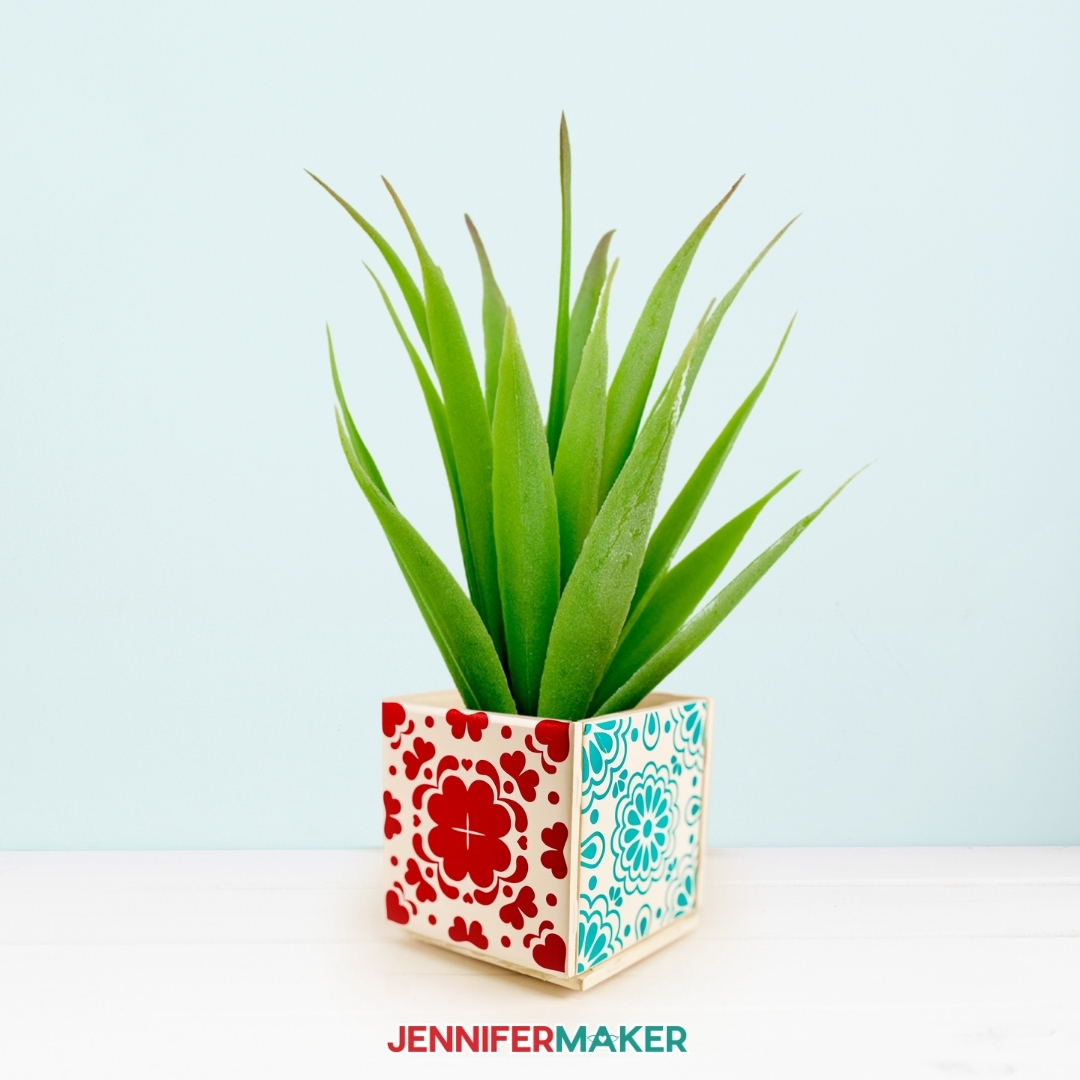
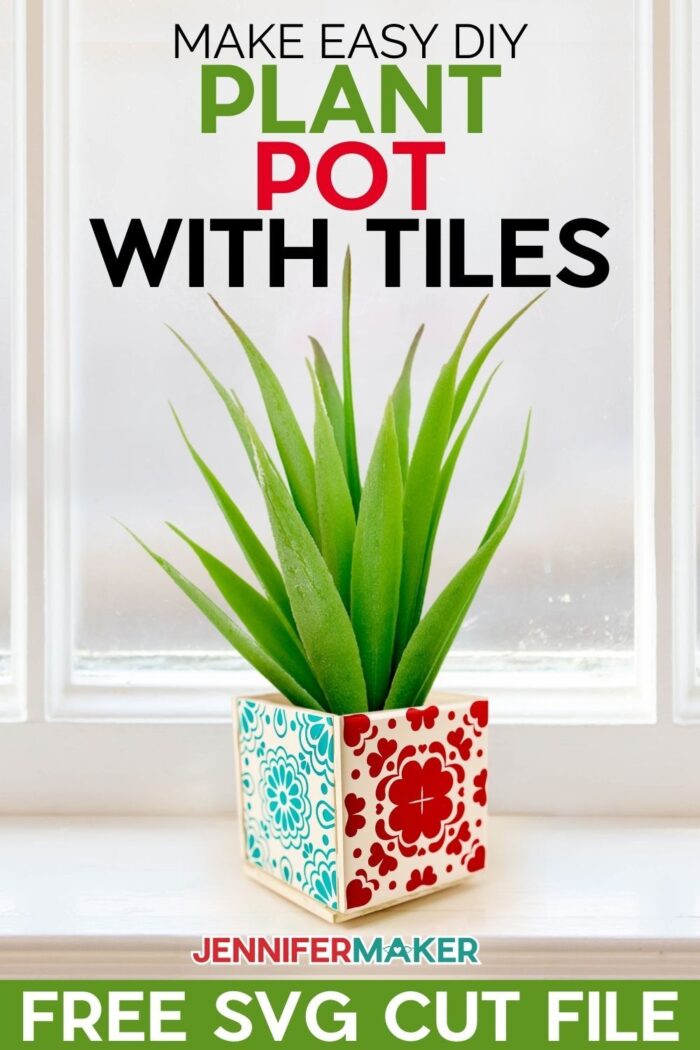
Add fun color to your home with this cute and easy DIY Plant Pot with Tiles. These adorable handmade pots also make a thoughtful gift or a sweet housewarming present!
Looking for a fun and thoughtful gift, or just some unique home decor? With just five ceramic tiles, a bit of vinyl, and some hot glue, you can make a pretty plant pot for anyone or any place! Fill up your DIY plant pots with paper plants, like my paper spider plant or some of my amazing paper flowers and never worry again about keeping a plant alive. Or pop some real plants or flowers to decorate a porch or deck. This DIY plant pot with tiles is a perfect way to add a bright pop of color with your own personality! Let me show you how to make this easy plant pot with ceramic tiles and then how to decorate them with craft vinyl — I’ve even made four beautiful and free vinyl designs to put on your pots!
Watch the Easy DIY Plant Pot with Tiles assembly video here:

I have also seen similar DIY plant pots made with tiles used as centerpieces for tables at weddings and baby showers! These little plant pots made with ceramic tiles offer so much flexibility and are so easy to make, you really can use them in a number of different ways! They really make a great blank canvas for your creativity!
One of the great things about these DIY Plant Pot with Tiles is that you only need a few supplies! You need five(5) glossy white ceramic tiles. I used tiles that were 4.25″ x 4.25″ but this tutorial is flexible, and you can use whatever size tiles you want! You will just need to adjust the size of the vinyl designs you are going to cut to fit onto the tiles.
In addition to the tiles, you need vinyl. If you are going to keep your DIY Plant Pot with Tiles outdoors, I suggest using permanent vinyl. For indoor use, you can use either permanent or removable vinyl. You need transfer tape to transfer your vinyl on to the ceramic tiles.
For adhesive, I recommend hot glue! One thing to note about using hot glue, is that you must work quickly adhering the two tiles together otherwise the glue starts to dry and you end up with space between your tiles due to the glue drying. I highly suggest you apply the glue on the inside of the ceramic tiles, making it easier to keep the edges flush with one another. Using a mini hot glue gun made it easy to get that 4th wall attached.
I used my Cricut cutting machine to cut the vinyl for my DIY plant pot, along with the fine point blade and a green StandardGrip cutting mat. I love how easy it is to cut the designs for my DIY Plant Pot on my Cricut!
Let me show you how easy it is to make these DIY Plant Pot with Tiles! This post contains some affiliate links for your convenience (which means if you make a purchase after clicking a link I will earn a small commission but it won’t cost you a penny more)! Read my full disclosure policy.
Materials to Make a DIY Ceramic Plant Pot with Tiles
- Glossy White Ceramic Tiles 4.25″ x 4.25″ (five total needed)
- Cricut Premium Vinyl (Removable or Permanent)
- Cricut Transfer Tape Standard Grip
- Painter’s Tape
- Hot Glue Gun
- Hot Glue Sticks
- Cricut StandardGrip Cutting Mat
- Small Scraper (or credit card)
- Rubbing Alcohol
- A way to cut your vinyl (I used the Cricut Maker cutting machine but they can also be cut on any other Cricut)
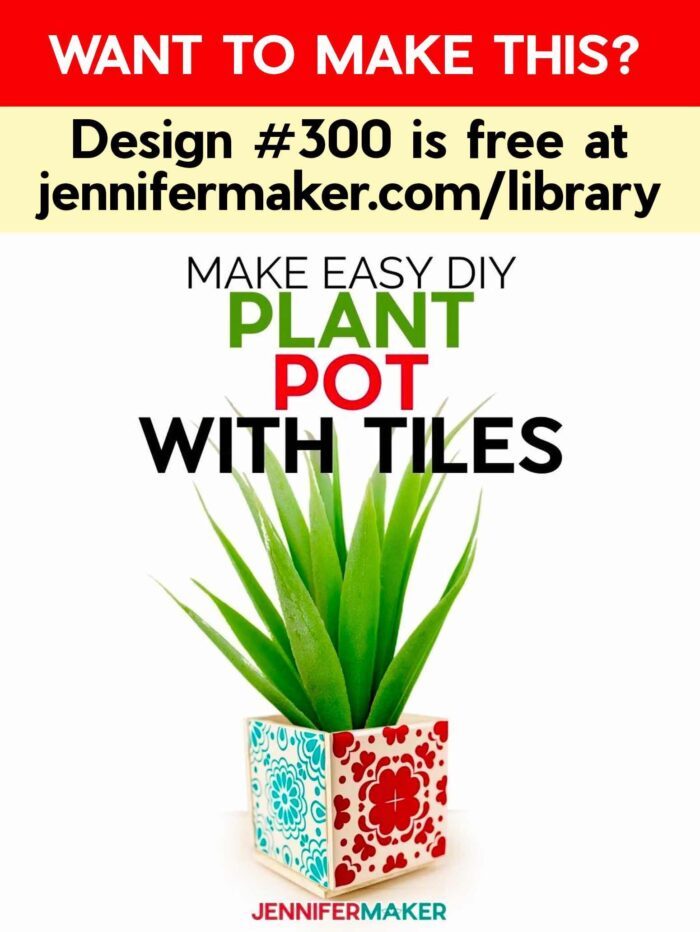
- Design(s) for your plant pot, such as Design #300 – (My free SVG/PDF/DXF design files are available in my free resource library – get the password by filling out the form at the bottom of this page)
How to Make a DIY Plant Pot Made with Tiles

DIY Plant Pot with Tiles
Learn how to make your own DIY plant pot with ceramic tiles and decorate it with vinyl with JenniferMaker!
Materials
- Five (5) White Ceramic Tiles 4.25" x 4.25"
- Cricut Premium Vinyl (Removable or Permanent)
- Cricut Transfer Tape Standard Grip
- Painter's Tape
- Rubbing Alcohol
- Design #300 (My free DIY Plant Pot with Tiles SVG/PDF/DXF design is available in my free resource library - get the password by filling out the form at the bottom of this page)
Tools
Instructions
STEP 1: GET MY FREE DIY PLANT POT WITH TILES FILE
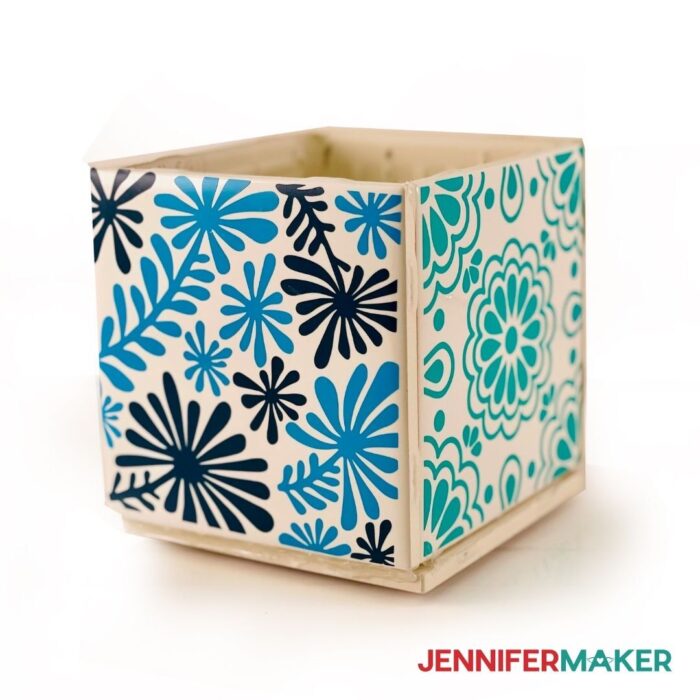
- First, download my free DIY Plant Pot with Tiles SVG/DXF/PDF, Design #300, from my free resource library. I have four different designs in my free DIY Plant Pot with Tiles file. For this demonstration, I will be using all four designs on one planter.
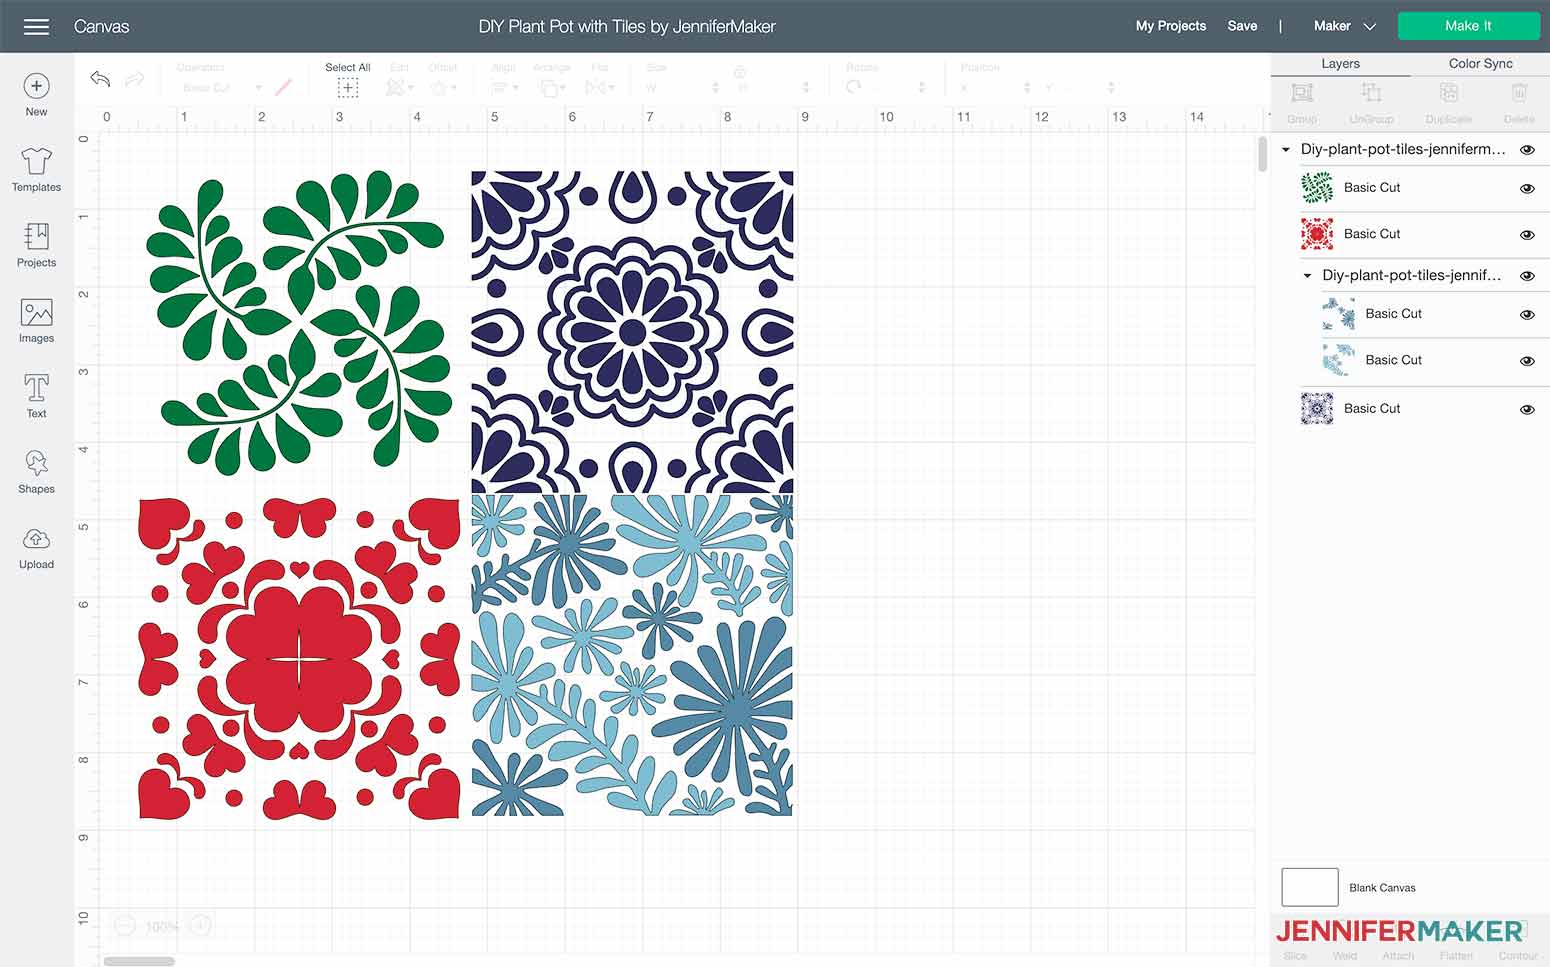
- Upload the SVG file into Design Space. This is what my DIY Plant Pot with Tiles design file looks like in Design Space.
 Tip: If you're not sure how to upload an SVG cut file to Cricut Design Space, watch this helpful video training series I made. If you're on an iPhone or iPad, here's how to download and upload SVG files to the Cricut Design Space app.
 Tip: If you're not sure how to upload an SVG cut file to Cricut Design Space,
 STEP 2: PREPARE THE DIY PLANT POT WITH TILES SVG FOR CUTTING
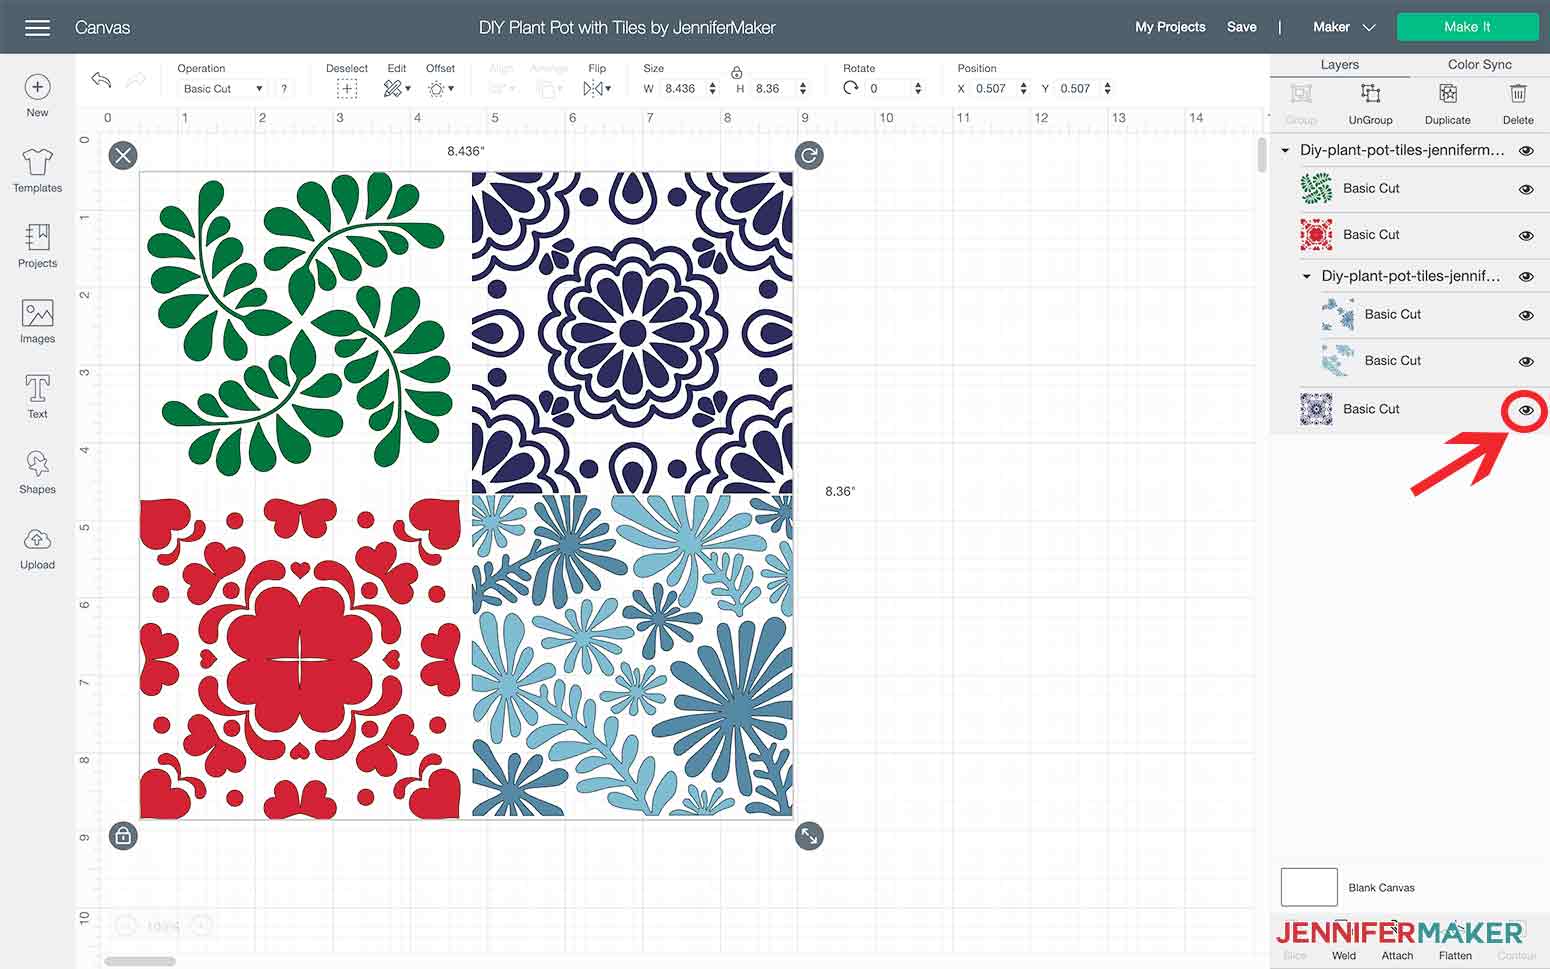
- Once the file is uploaded, you can decide which of the designs you want to use and hide or delete the other designs. To do this, select the design and click ungroup.

- Then click the eye icon (or delete) to hide the design layers you do not want to cut.

STEP 3: CUT OUT YOUR DIY PLANT POT MADE WITH TILES
- Using a Cricut StandardGrip mat (the green one), place your vinyl on the mat. Select the proper base material (I used vinyl), load your fine-point blade into your machine, load your mat and make it.
- After your vinyl has cut, you will need to weed the design to remove all of the pieces that are not part of the design. Here are some helpful tips to make the weeding process even easier.

- Apply Cricut Transfer Tape to the top of the weeded vinyl design.
STEP 4: ASSEMBLE YOUR DIY PLANT POT WITH CERAMIC TILES
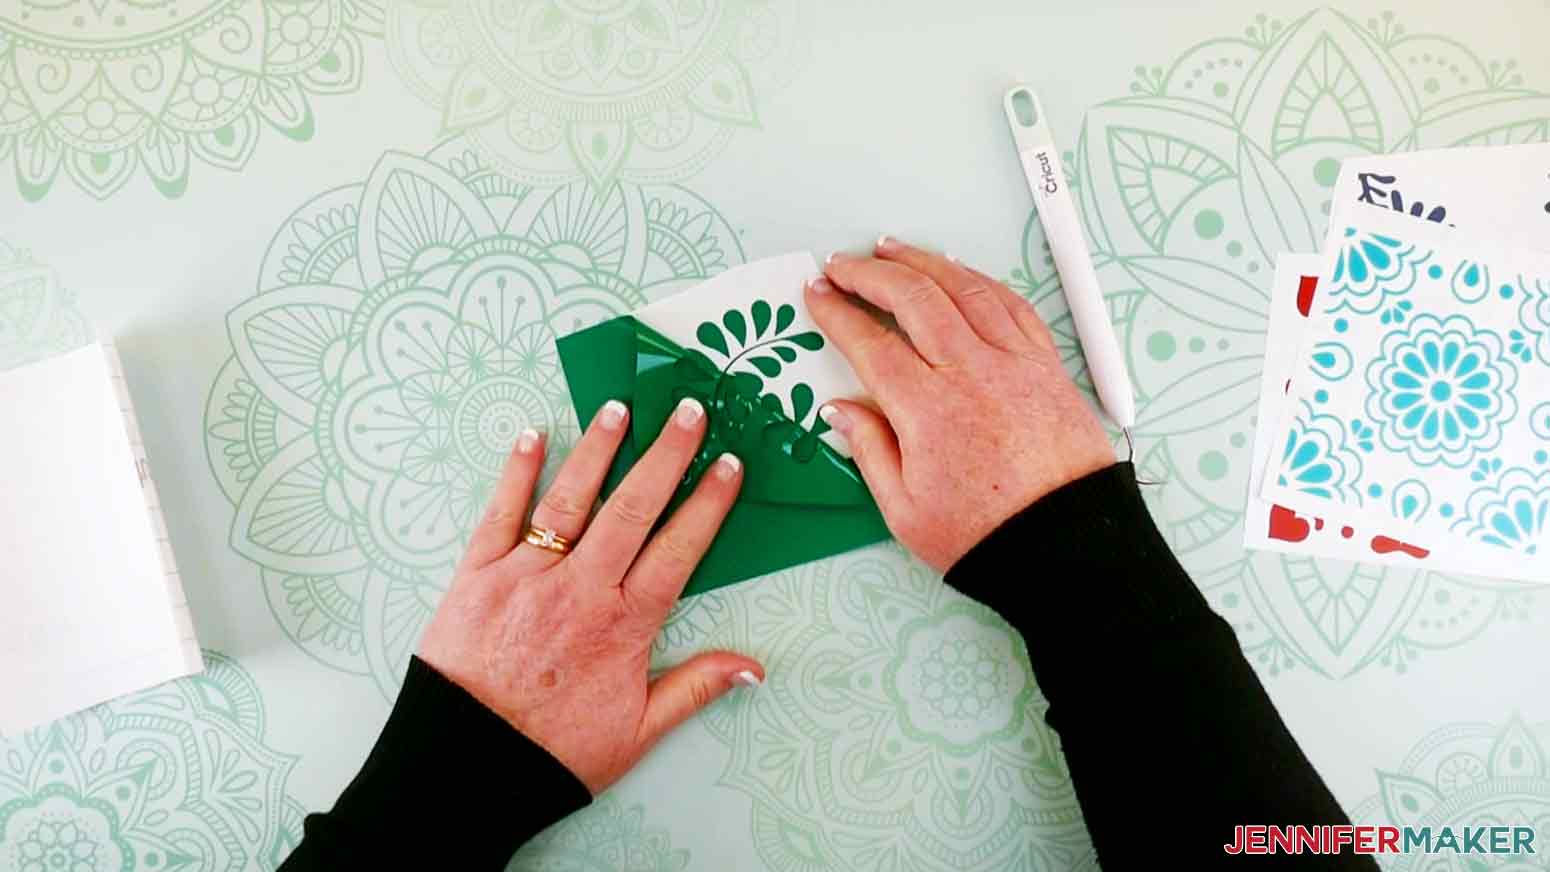
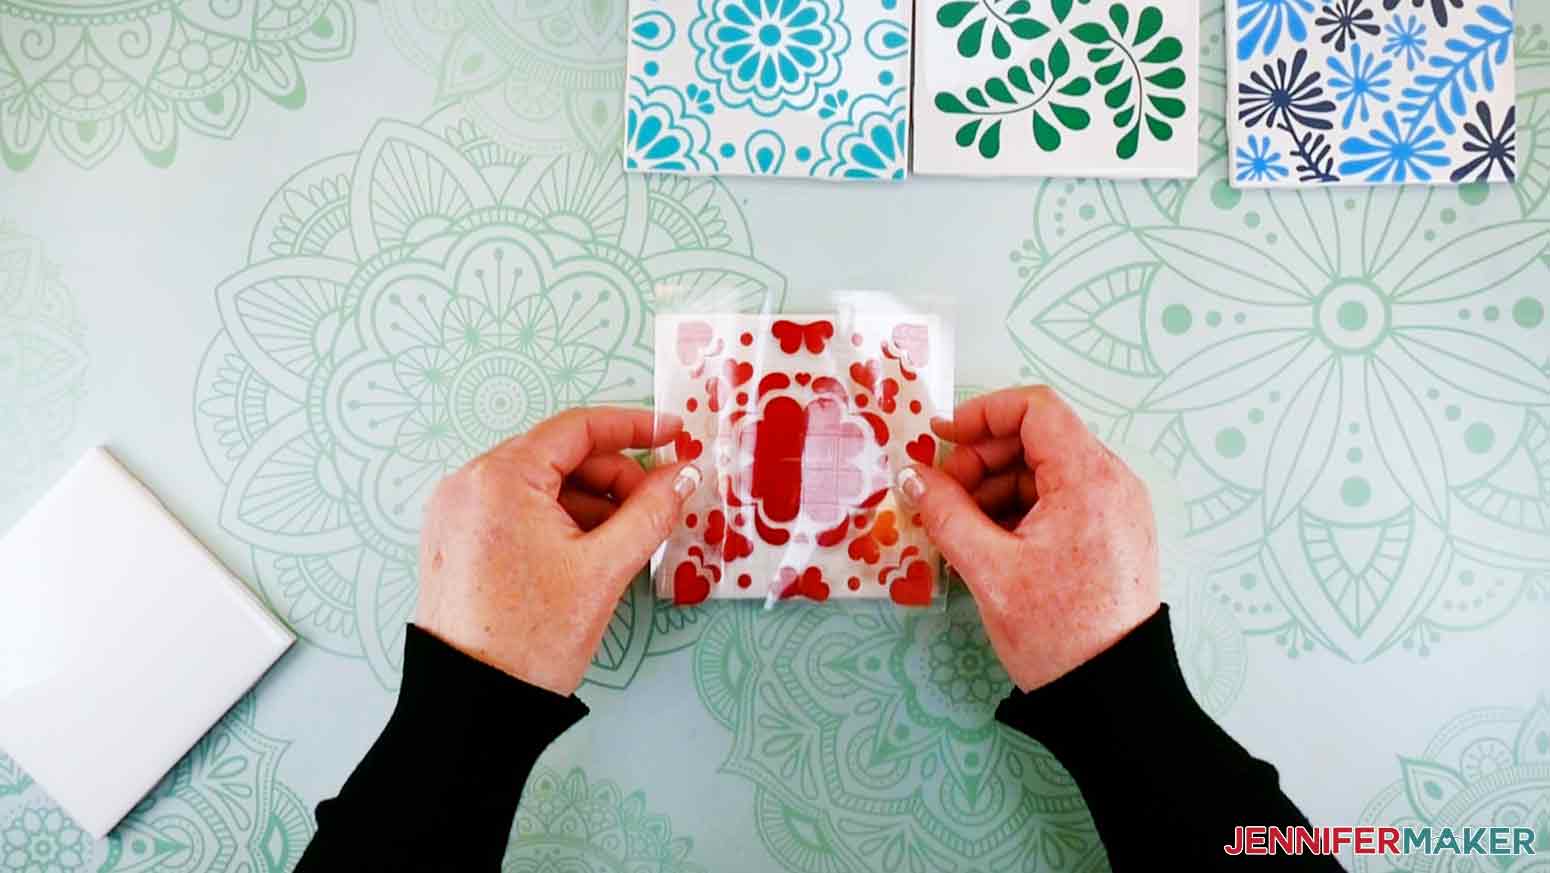
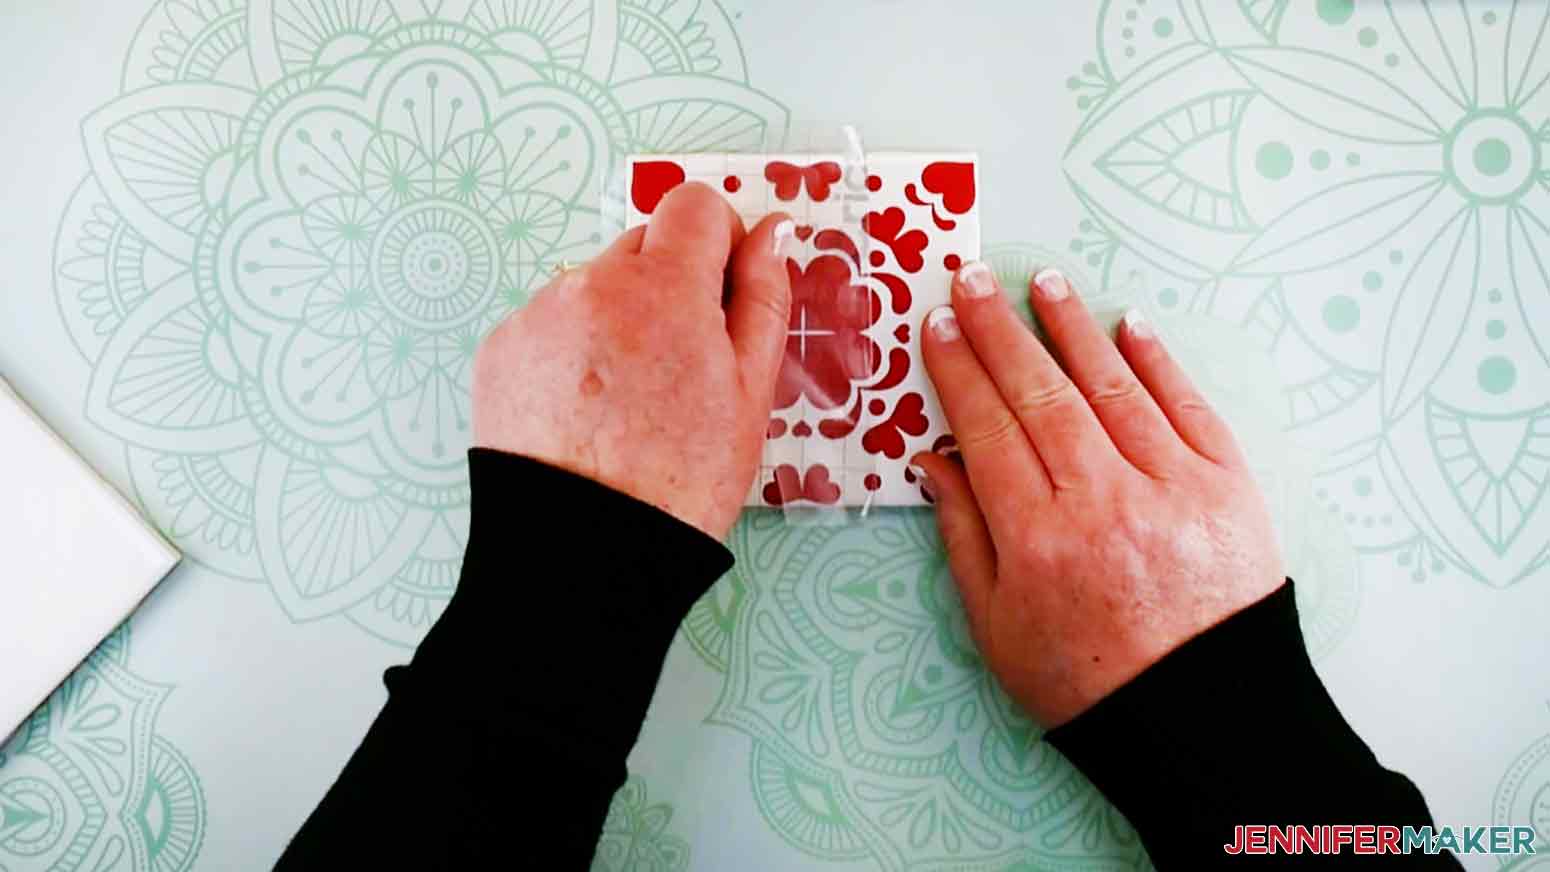
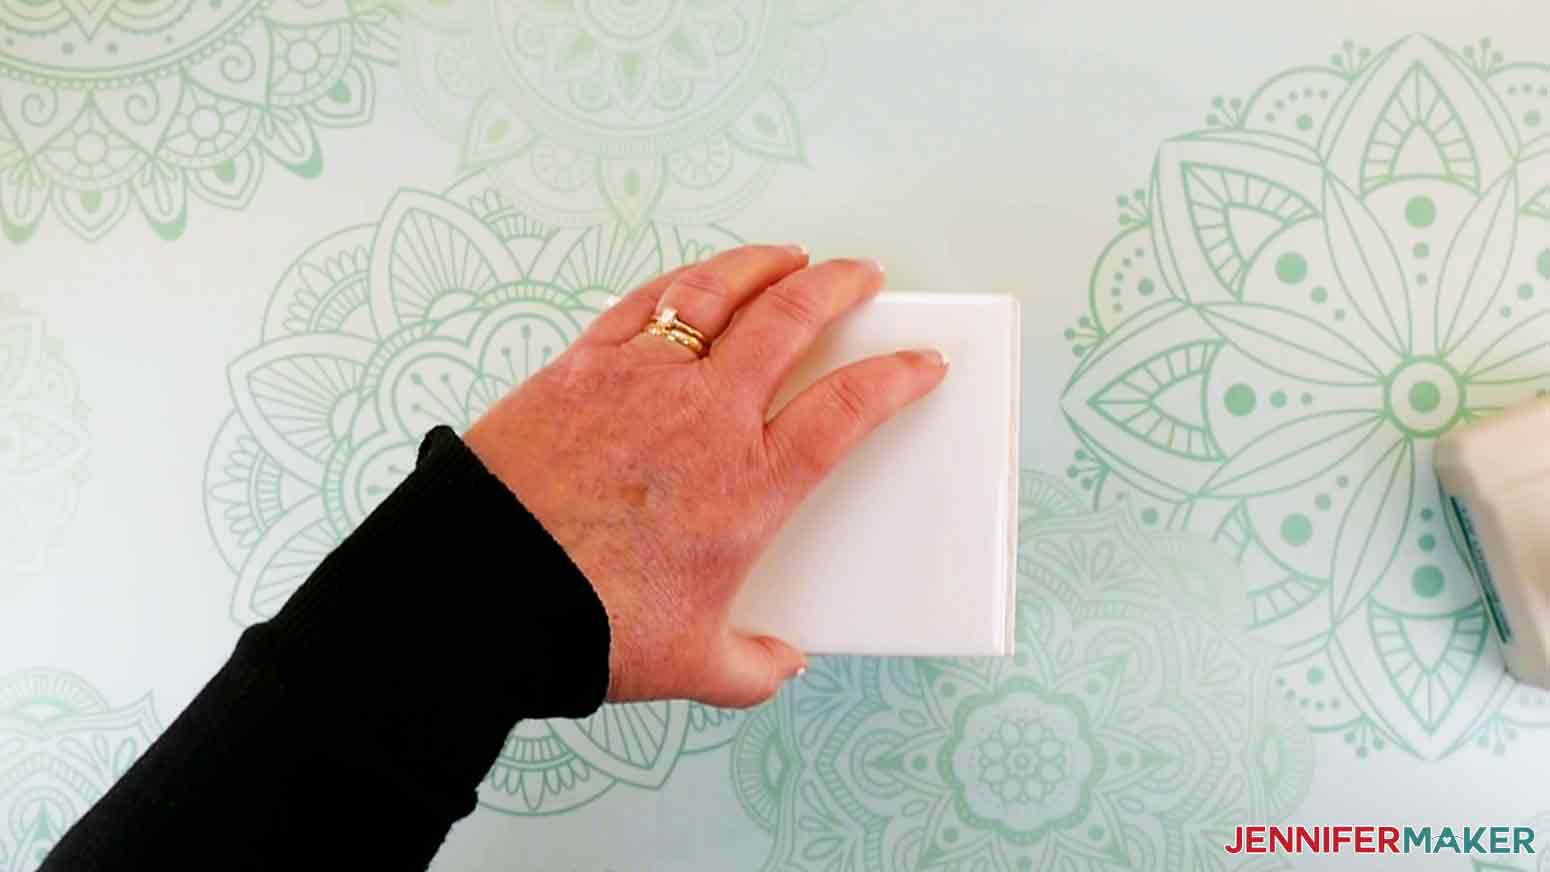
Clean each piece of tile using rubbing alcohol to remove any debris. Grab your vinyl design and center it over the tile then press down.
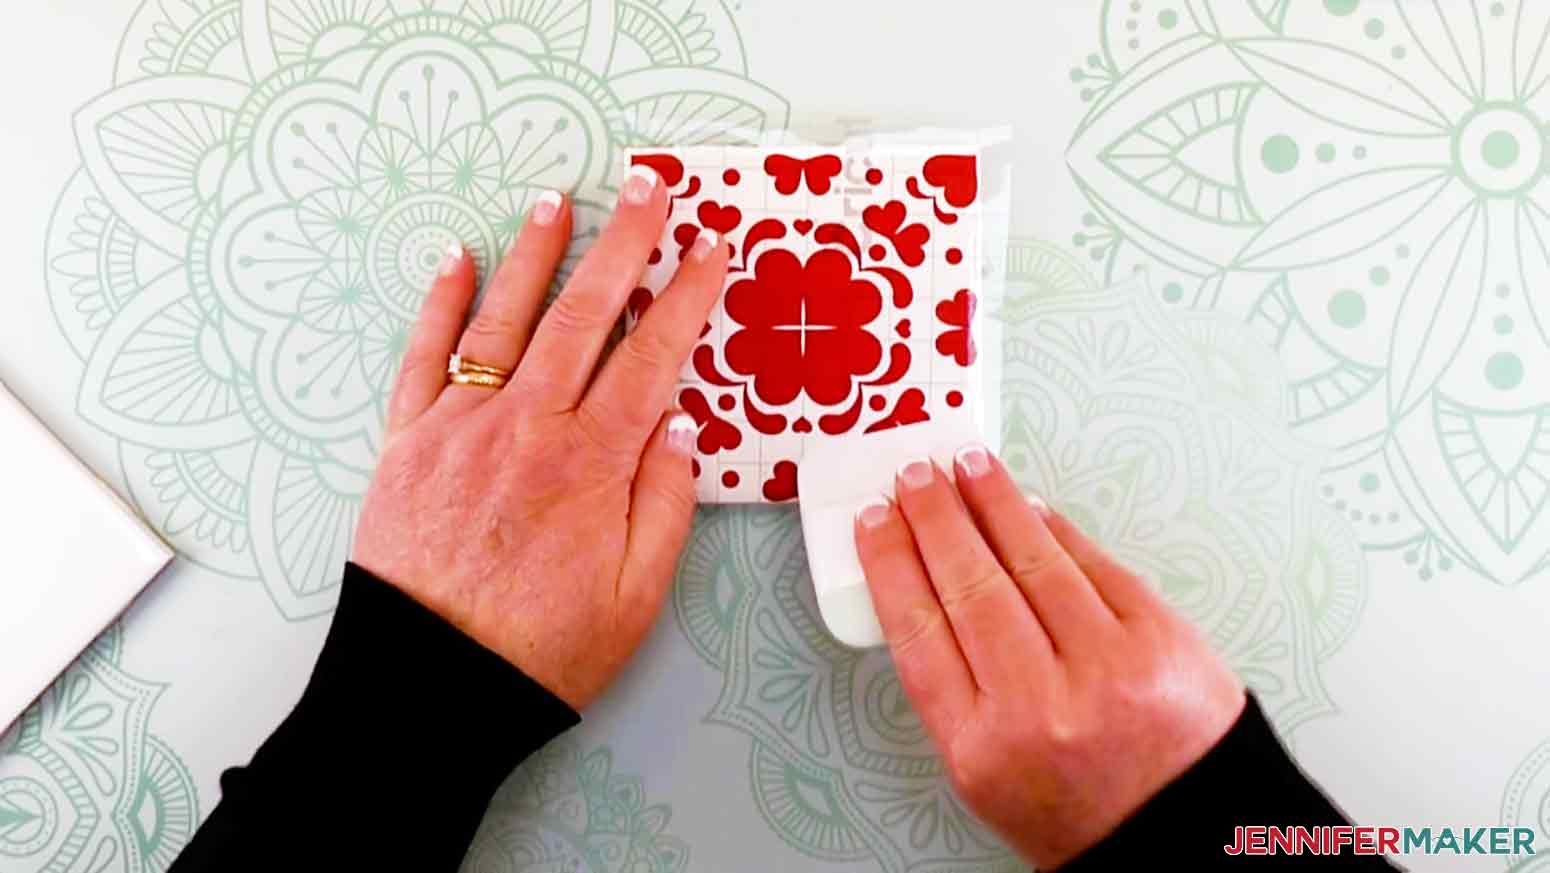
Using a scraper tool, apply the vinyl design to one of the five tile pieces.
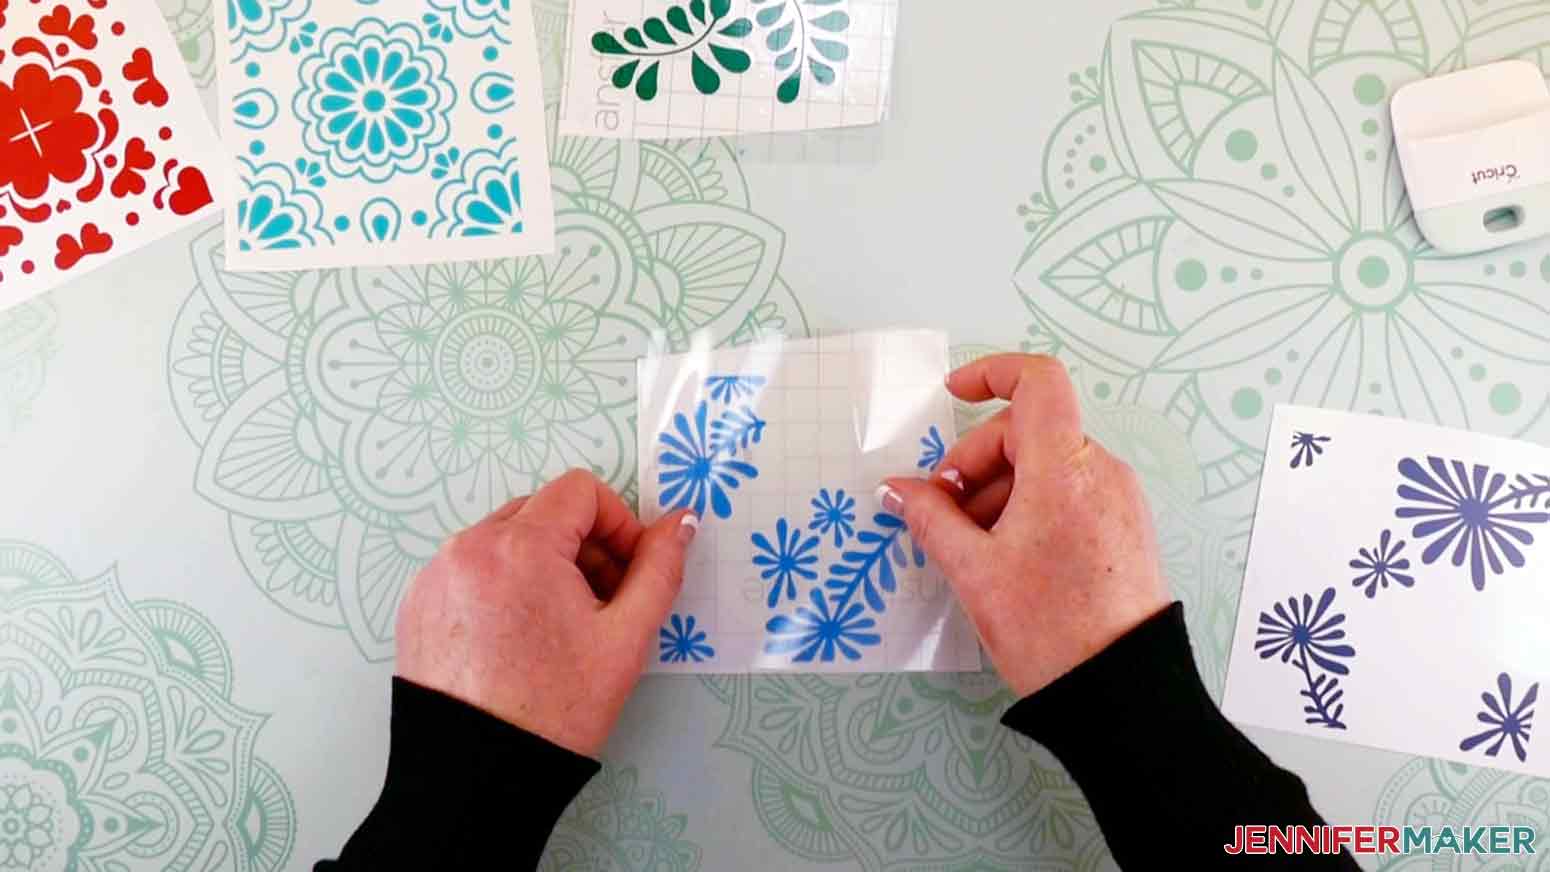
Once the design is adhered to the tile, carefully lift back the transfer tape and remove it from the vinyl. Continue adding your vinyl design to the remaining three tile pieces.
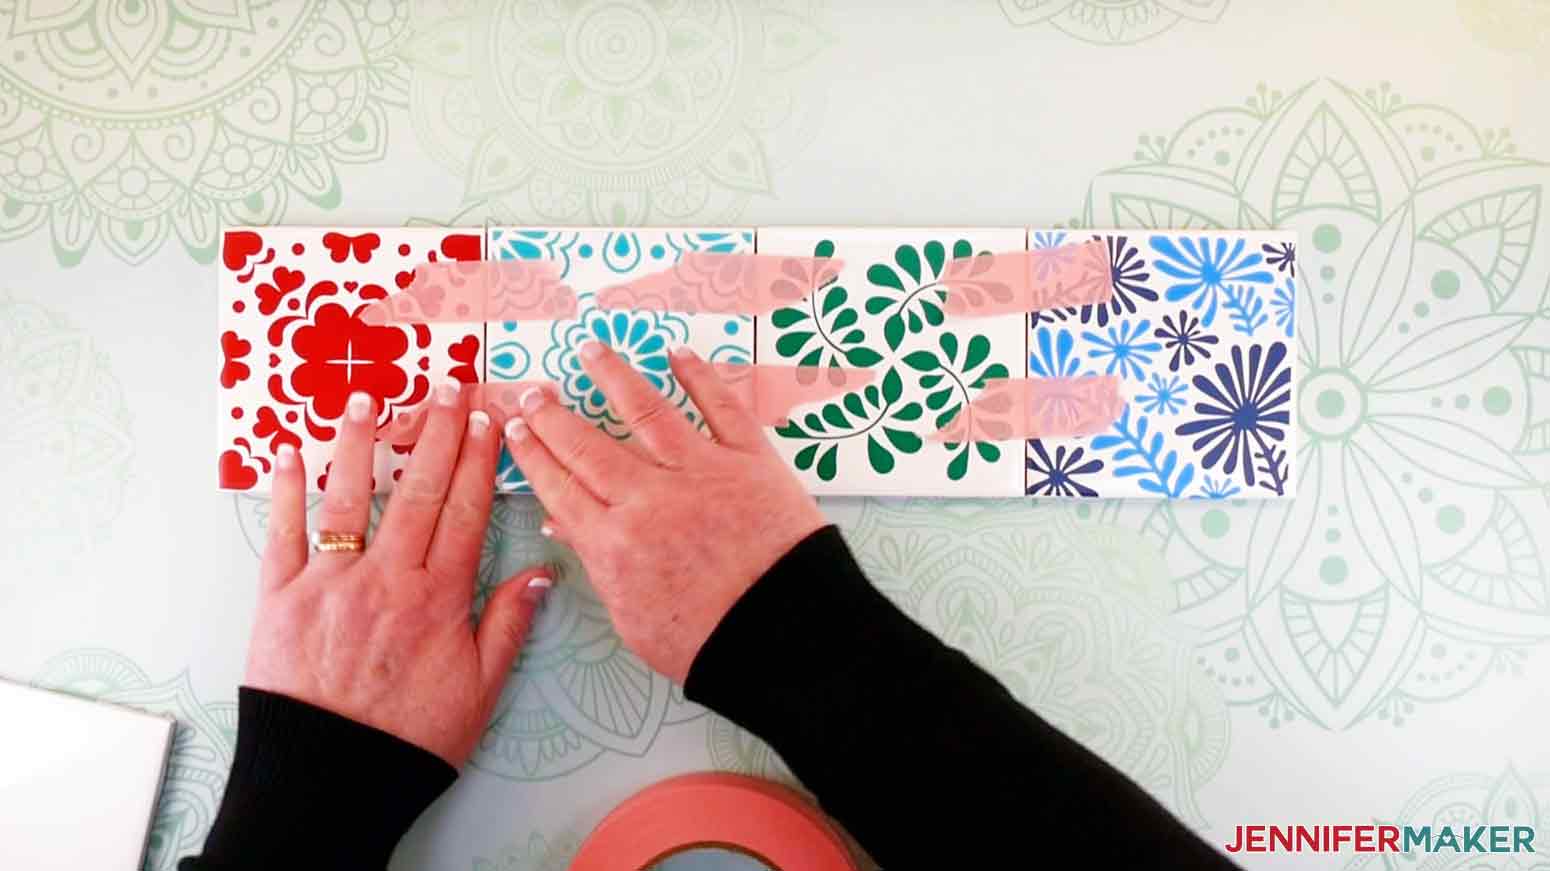
Now that you have a design on four of the tile pieces it's time to put the tile planter together. Lay out your four tiles with vinyl designs and use painter's tape to hold them together.
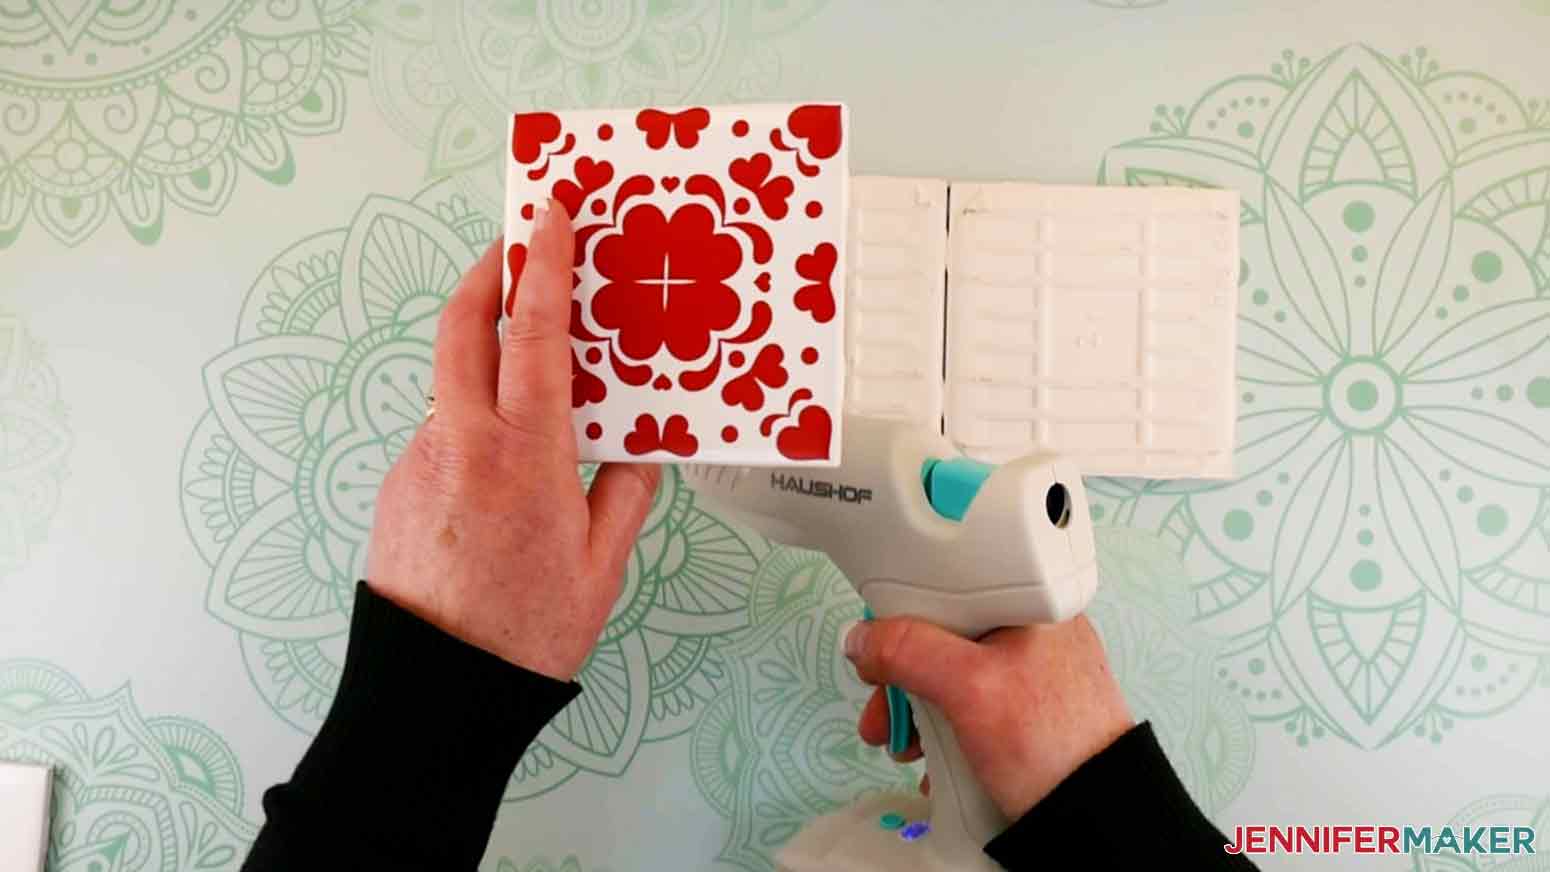
Turn over the tiles then bring the first two tiles to a 90 degree angle. Using your hot glue gun, apply hot glue to the inside edge. Note: I did try using E6000 glue but it took a long time to dry and when it did dry, the hold was not very strong.
Add glue to the inside of the next two tiles.
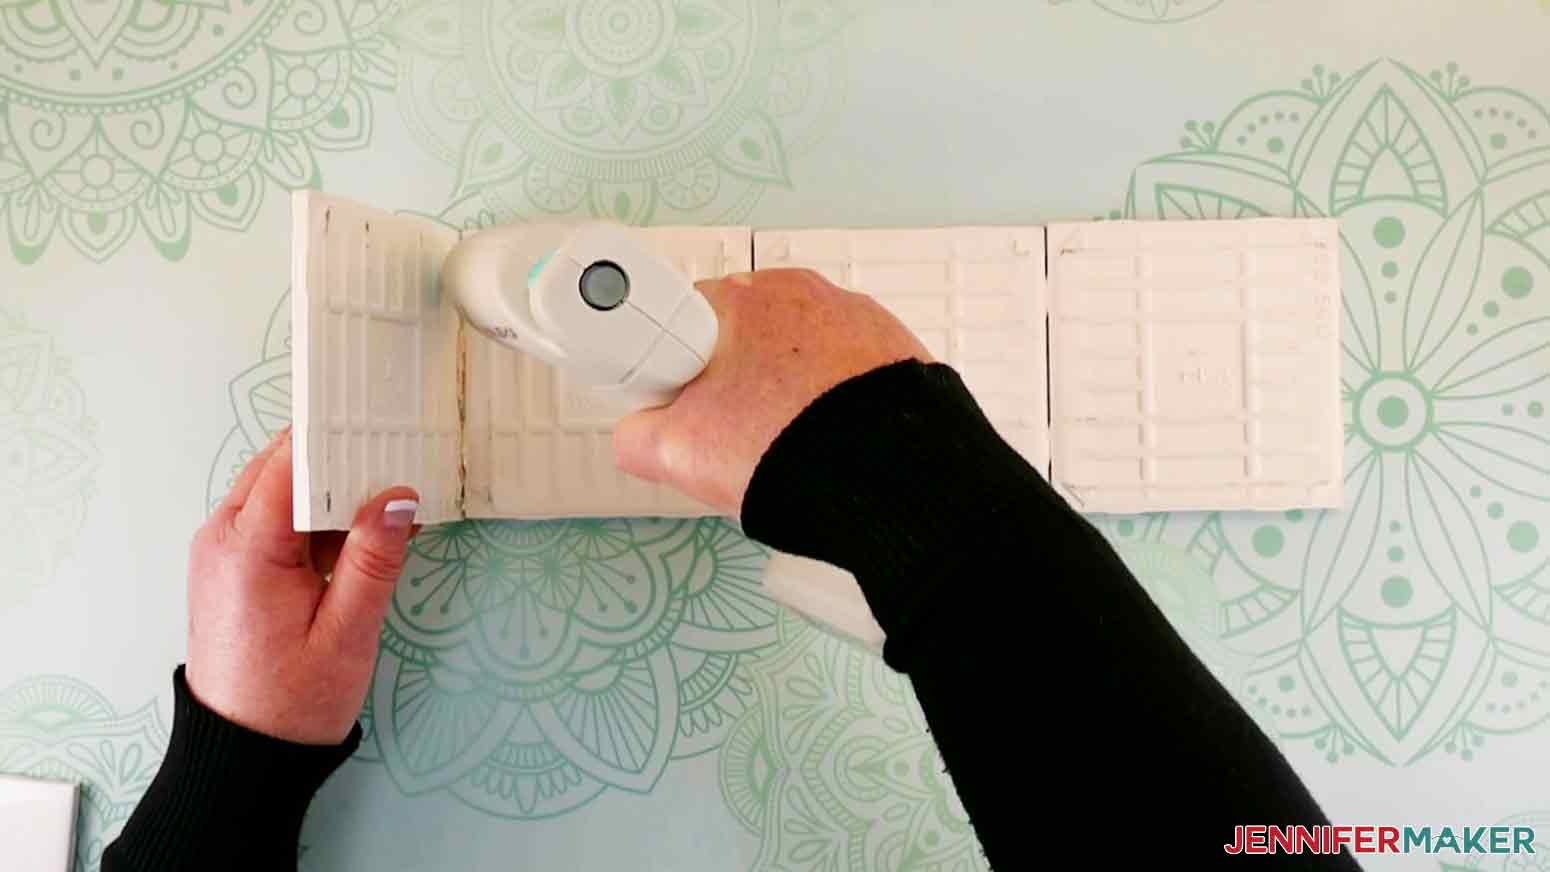
Continue gluing until all four tile pieces are glued together then add glue to the bottom edges of the tiles.
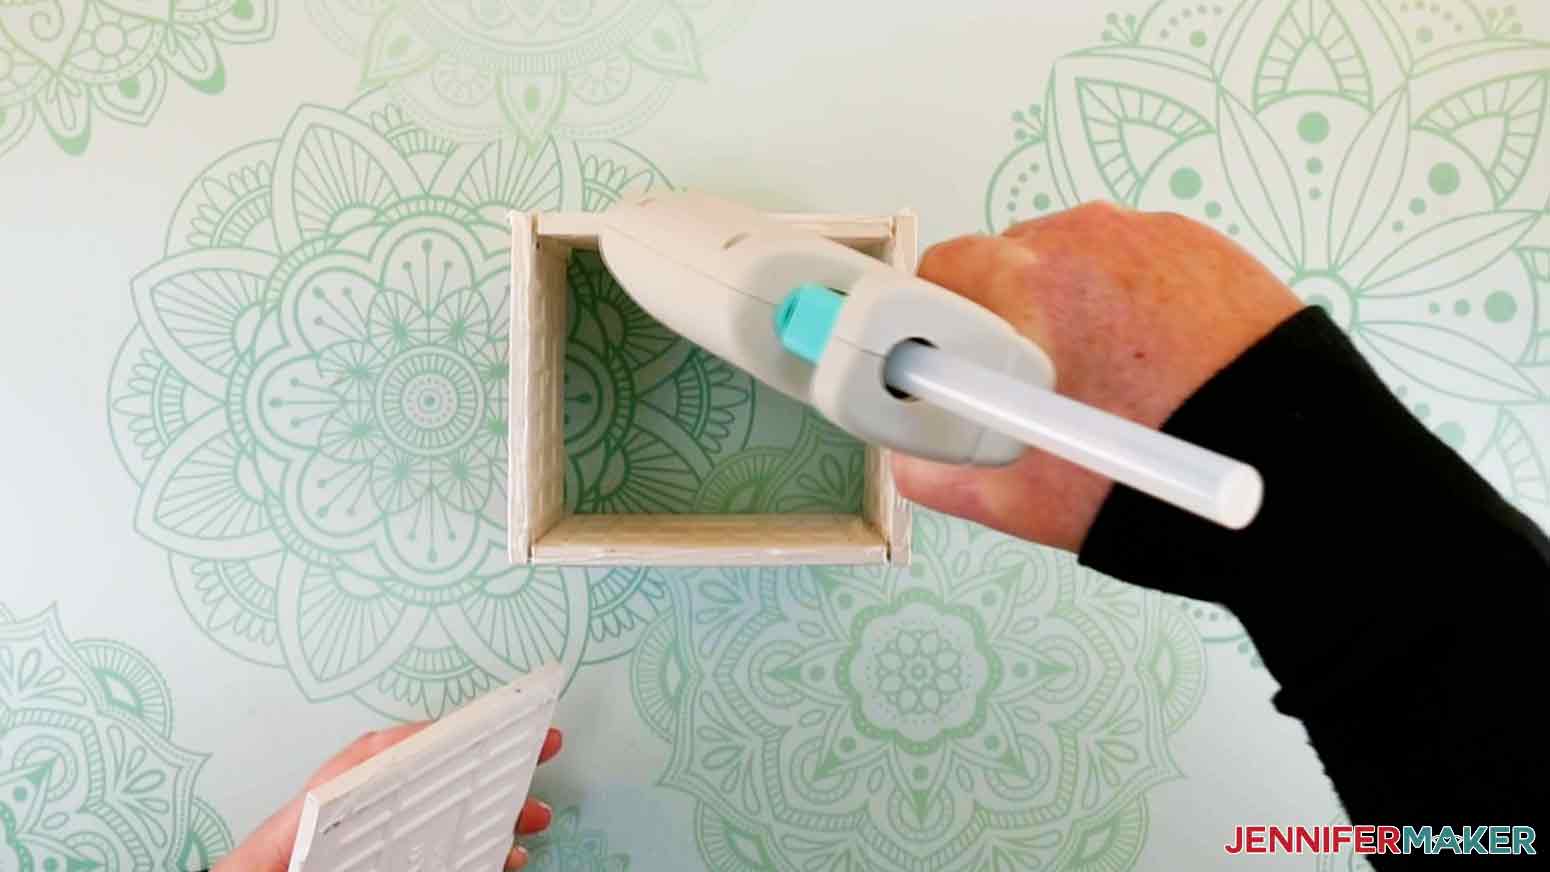
Place the fifth tile piece on the bottom of the planter. Note that when you add your bottom tile piece there will be slight gaps on each side of the tile.
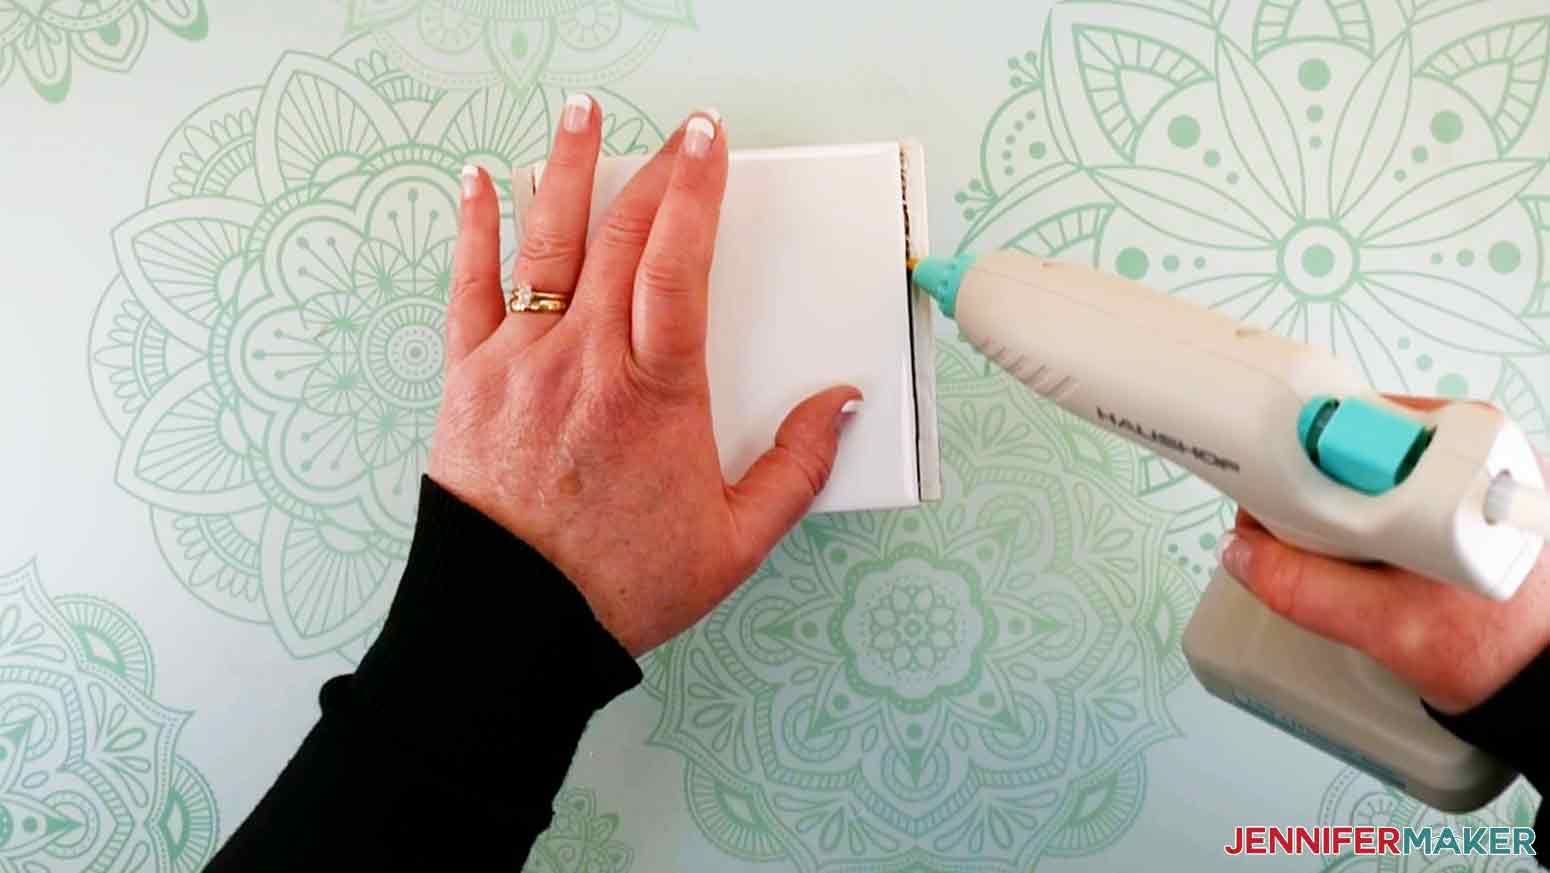
Add hot glue to the edges of the bottom piece to seal any openings of the planter.
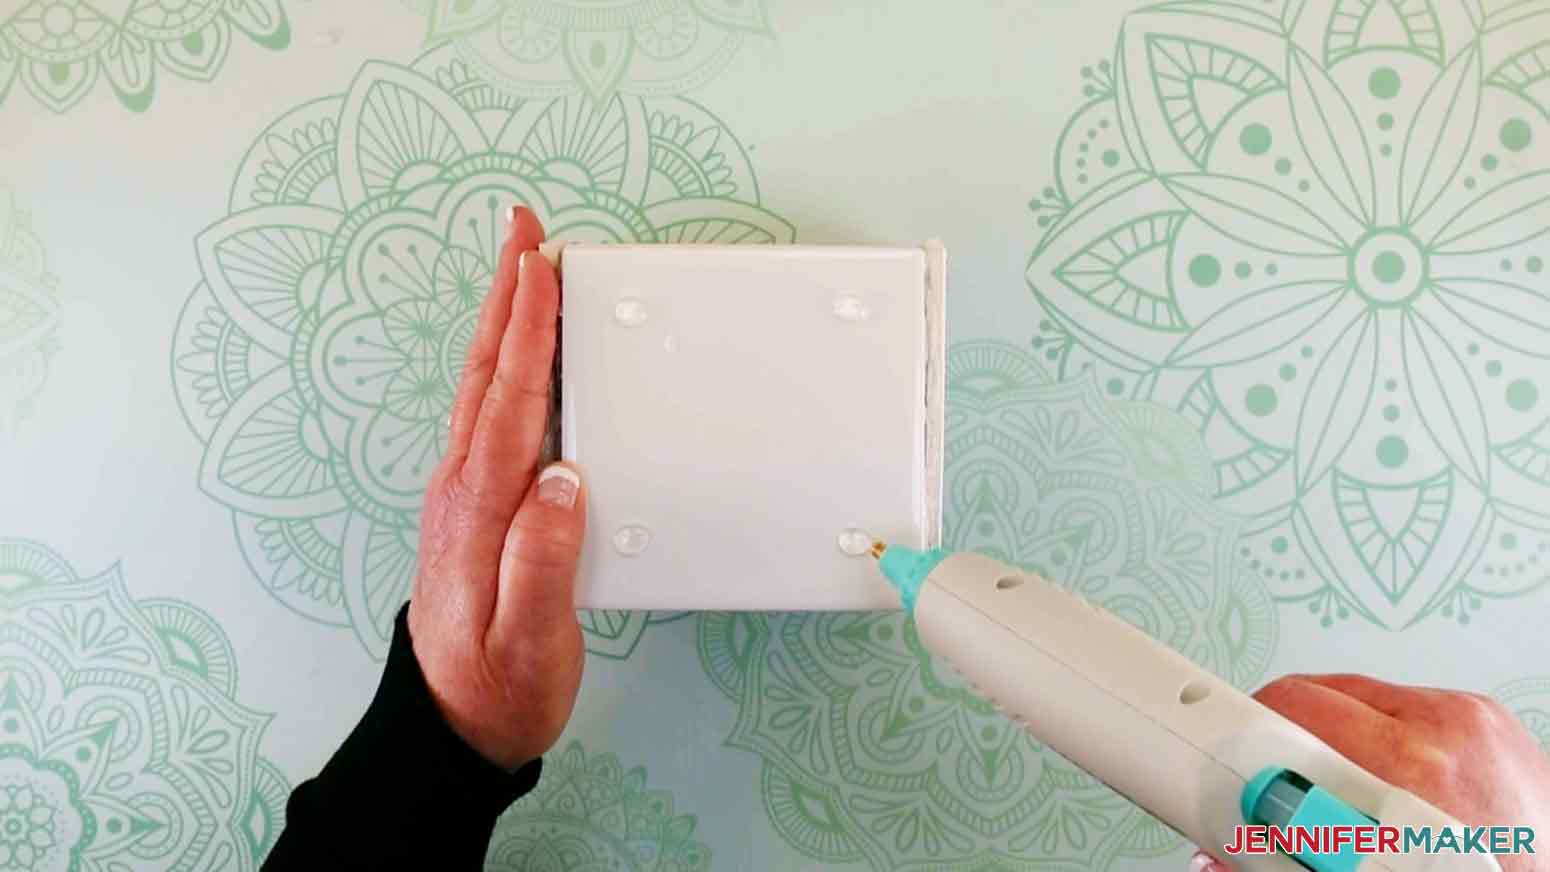
So my DIY Plant Pot with Tiles does not scratch any surface I place it upon, I added glue dots to the bottom tile then immediately turned the planter over on parchment paper to flatten the glue. You could also purchase surface protector felt dots at your local dollar store or online.
Since this planter isn't designed to be waterproof, I recommend that you plant any "real" plants into pre-potted containers before placing them into my DIY Plant Pot with Tiles. Paper flowers are good to go without this step!
STEP 5: SHOW IT OFF
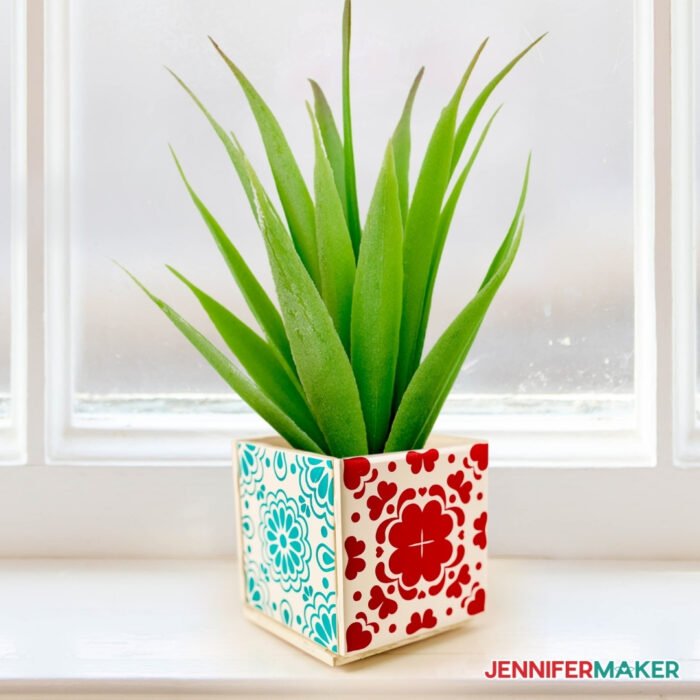
This is what my assembled DIY Plant Pot with Tiles looks like. Isn't it cute? And what a great gift it would make! The assembled size of my DIY Plant Pot with Tiles is 4.25" W x 4.25" H.
Answers to Your Questions About How to Make a DIY Plant Pot with Ceramic Tiles
Q: What kind of vinyl can I use for my DIY Plant Pot?
I used permanent vinyl for the plant pot with ceramic tiles, but if you plan to leave your planter box indoors, you can use removable vinyl as well.
Q: If I am going to leave my plant box with ceramic tiles outdoors, do I need to also use a sealer?
It’s totally up to you! When I use permanent vinyl for outdoor projects, I haven’t found the need for a sealer. The vinyl has stayed “stuck” just fine without added sealing, even outdoors!
Q: Help! I can’t find the correct size ceramic tiles!
Not to worry! You can use any size ceramic tiles that you can find! You will end up with a different sized pot that way! I think it would look nice to have a variety of different sizes grouped together. Just remember that you will need to change the size of your SVG to fit on the tile properly. If you aren’t sure how to make a file into a different size, you can find help in my resizing guide!
Q: Can I use the Cricut Joy to create a DIY Plant Pot with Tiles?
This is a great project to use with your the Cricut Joy! The design in this tutorial is 4.25″ x 4.25″, so will fit on the Joy perfectly. If you decide to use larger tiles, or other designs, keep in mind that your design should be 4.5″ wide or less in order for it to cut properly on the Joy, however!
Q: Won’t the glue dry and create a gap between the tiles?
Yes, this can definitely happen with your DIY plant pot with ceramic tiles! I suggest that you adhere the glue to the INSIDE of the tiles while you are making your box, which will help prevent a gap. You also need to work quickly while doing this, so you don’t give the glue a chance to dry!
Q: Could I decorate my DIY plant pot with Infusible Ink instead of vinyl?
A: Great question! But no, because Infusible Ink requires a sublimation surface which regular ceramic tiles do not have. Infusible Ink will not work with ceramic tiles from your home improvement store. The only way you could do this is if you used tiles with a sublimation coating.
Q: What are good paper plants or flowers to put inside?
I think my Paper Spider Plant is perfect for this pot! I also think that any of my smaller paper flowers would look lovely in this, especially ones like my paper marigold.
Q: Can I put a real plant in my DIY plant pot?
You sure can! This plant pot is not waterproof, so I suggest planting a real plant in a traditional pot with dirt, and then placing that pot inside the ceramic plant pot!
Q: What can I do with my extra ceramic tiles?
DIY plant pots are a great thing to make with extra ceramic tiles, but there are so many more great ideas! You can apply the same vinyl decoration as you did to your plant pot with tiles, to make matching drink coasters! You can apply a cute saying or sentiment using vinyl and the same technique we did in this tutorial! If you’re drawing a blank about what to say, I have some suggestions for cute sayings and sentiments to get you started! And, if you choose to use larger tiles, making a knock-out design, one that superimposes letters or an image on another word, would be an awesome way to use leftover tiles! You can find out more about how to make those in our tutorial about making knockout designs.
Get my free SVG files to decorate a DIY Plant Pot with Tiles
I’d love to see YOUR DIY Plant Pots and how you choose to decorate them! Please share a photo in our Facebook group or tag me on social media with #jennifermaker.
Love,

Want to remember this? Save this DIY Plant Pot with Tiles Tutorial to your favorite Pinterest Board!


Love this idea to use with real plants that come in a plastic “throwaway” pot. Repotting often stresses the plant so this is also a great solution to that! Plus, I’ve noticed many ceramic plants are very pricey most times of the year (if I can find them at all) and this gives me an excuse to do another fun, custom project. Thanks for sharing!
You are so welcome, Nadine! We are always happy to give our fellow crafters another excuse for a great project! LOL 🙂
Thanks for showing us this wonderful DIY. In fact, I really love living plants in my home. But I don’t really like those pots that local supermarkets and flower shops offer. Have you seen them? It’s just some kind of boredom and sometimes alwful pots. But I am a person who likes everything bright and visually, I want to observe similar views, and not a gray pot and a beautiful flower. Therefore, your article has become a godsend for me. Now I know what to do and I have detailed instructions! Also thank you for being able to explain why we need to use this or that glue, so that we are not disappointed with the result in the end.
We do like to explain why we are recommending certain materials, just so our crafters don’t substitute and wind up unhappy with a project! 😊