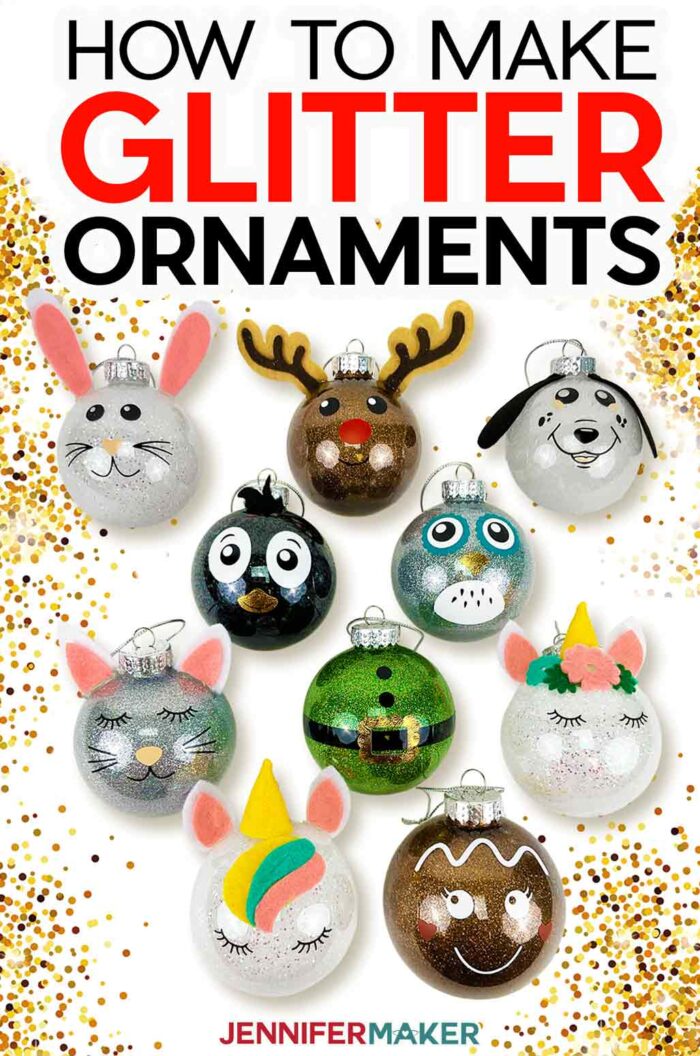
Learn how to make cute DIY glitter ornaments the easy way!
I love to turn something super simple into something super fun and adorable. And I know you do, too! When I shared my first glitter ornament tutorial a few years ago, you all went nuts for it and I’ve seen everyone make so many glitter ornaments since then. Over the years, I’ve refined the technique and have come up with the absolute easiest way to make turn these inexpensive clear ornaments into irresistible and super cute holiday decorations. I’m excited to revisit this and show you the simplest way to make DIY glitter ornaments … and this time, we’re adding cute animal faces and ears!
Watch the full step-by-step DIY glitter ornaments assembly video!

To make these DIY glitter ornaments, you need some plastic or glass clear round or disc ornaments. You can find these just about anywhere! I prefer the three-inch ornaments because we are going to add vinyl to them and it helps to have a bigger surface area to apply the vinyl, but you can make adjustments for different size ornaments.
We will also need glitter. Lots and lots of glitter! I think you’ll be happiest with extra fine glitter, because it gives the best coverage inside your ornament. I also just like how it looks with this project. But feel free to experiment with different kinds of glitter, or even mix it up!
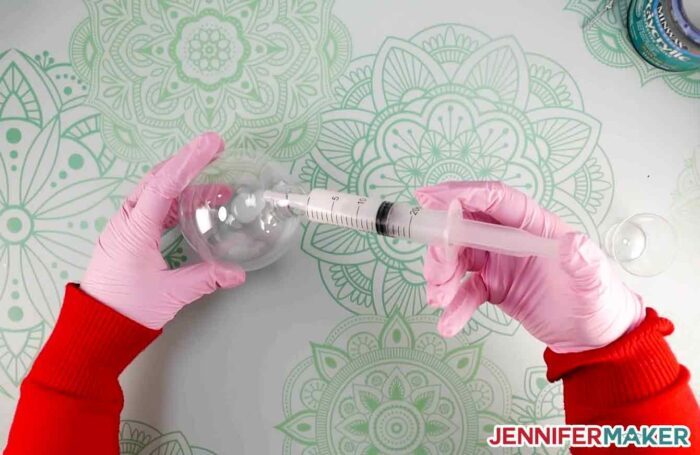
I’ve tried all kinds of different things to get the glitter to stick, and polycrylic is the best option. It’s thicker than other options like Mop ‘n’ Glo, Glitter-It!, or Mod Podge, so it helps you get better coverage. And one can will make a LOT of ornaments, so it’s cost effective, too. To get the polycrylic inside easily and quickly, use a plastic syringe!
I also recommend you use some small cups to hold your ornaments in place as they dry and get decorated.
Once your DIY glitter ornaments are glittered, you can add vinyl. I used permanent vinyl to create cute animal faced. The ears and flowers are made from felt in a variety of colors to add some fun finishing touches.
To cut the vinyl and felt for your DIY glitter ornaments, you can use a Cricut Cutting machine, and I’ll show you exactly how to do that in this tutorial!
Let me show you how easy it is to make this cute DIY glitter ornament set! This post contains some affiliate links for your convenience (which means if you make a purchase after clicking a link I will earn a small commission but it won’t cost you a penny more)! Read my full disclosure policy.
Materials to Make a Cute DIY Glitter Ornament Set
View my Amazon shopping list with the exact items we used to make this project
- Plastic or Glass Ornaments (large 3-inch size ones – are the easiest to decorate)
- Minwax Polycrylic (1 Half Pint) – any finish
- Extra Fine Glitter – Green, White, Silver, Brown, Black
- Felt – Assorted Colors (12″ x 12″ Sheets)
- Premium Permanent Vinyl – White, Black, Peach, Red, Aqua
- Textured Metallic Vinyl – Precious Metals Sampler
- Transfer Tape (Standard Grip)
- Small Plastic Cups (2 oz)
- Syringes (to add Polycrylic)
- Green StandardGrip Machine Mat (12″ x 12″) – for vinyl
- Purple StrongGrip Machine Mat (12″ x 12″) – for felt
- Hot Glue Gun and Glue Sticks
- Weeding Tool
- Brayer Tool
- Scraper Tool
- Disposable Gloves (to protect your hands)
- A method to cut your felt and vinyl – I used the Cricut Maker 3 but you can use the Cricut Maker or any of the Explore Series machines
- Design #343 – My free cute animal faces SVG/PDF/DXF design files are available in my free resource library – get the password by filling out the form at the bottom of this page
How to Make Your Glitter Ornaments the Easy Way!

Cute Glitter Ornaments
How to make glitter ornaments with the biggest sparkle and fun characters!
Materials
- Plastic or Glass Ornaments (Large size - 3-inch)
- Minwax Polycrylic (1 Half Pint)
- Extra Fine Glitter - Green
- Extra Fine Glitter - White
- Extra Fine Glitter - Silver
- Extra Fine Glitter - Brown
- Extra Fine Glitter - Black
- Felt - Assorted Colors (12" x 12" Sheets)
- Premium Permanent Vinyl - White
- Premium Permanent Vinyl - Black
- Premium Permanent Vinyl - Peach
- Textured Metallic Vinyl - Precious Metals Sampler
- Cricut Smart Vinyl Permanent - Red
- Cricut Smart Vinyl Permanent - Aqua
- Transfer Tape (Standard Grip)
- Small Plastic Cups (2 oz)
- Syringes (to add Polycrylic)
- Design # 343 (My free SVG/PDF/DXF design files are available in my free resource library - get the password by filling out the form at the bottom of this page)
Tools
- A method to cut your Vinyl and Felt -- I used the amazing Cricut Maker 3, but you can also use the Cricut Maker or Cricut Explore Series
- Weeding Tool
- Cricut Green StandardGrip Machine Mat (12" x 12")
- Cricut Purple StrongGrip Machine Mat (12" x 12")
- Hot Glue Gun
- Hot Glue Sticks
- Brayer Tool
- Scraper Tool
- Disposable Gloves
Instructions
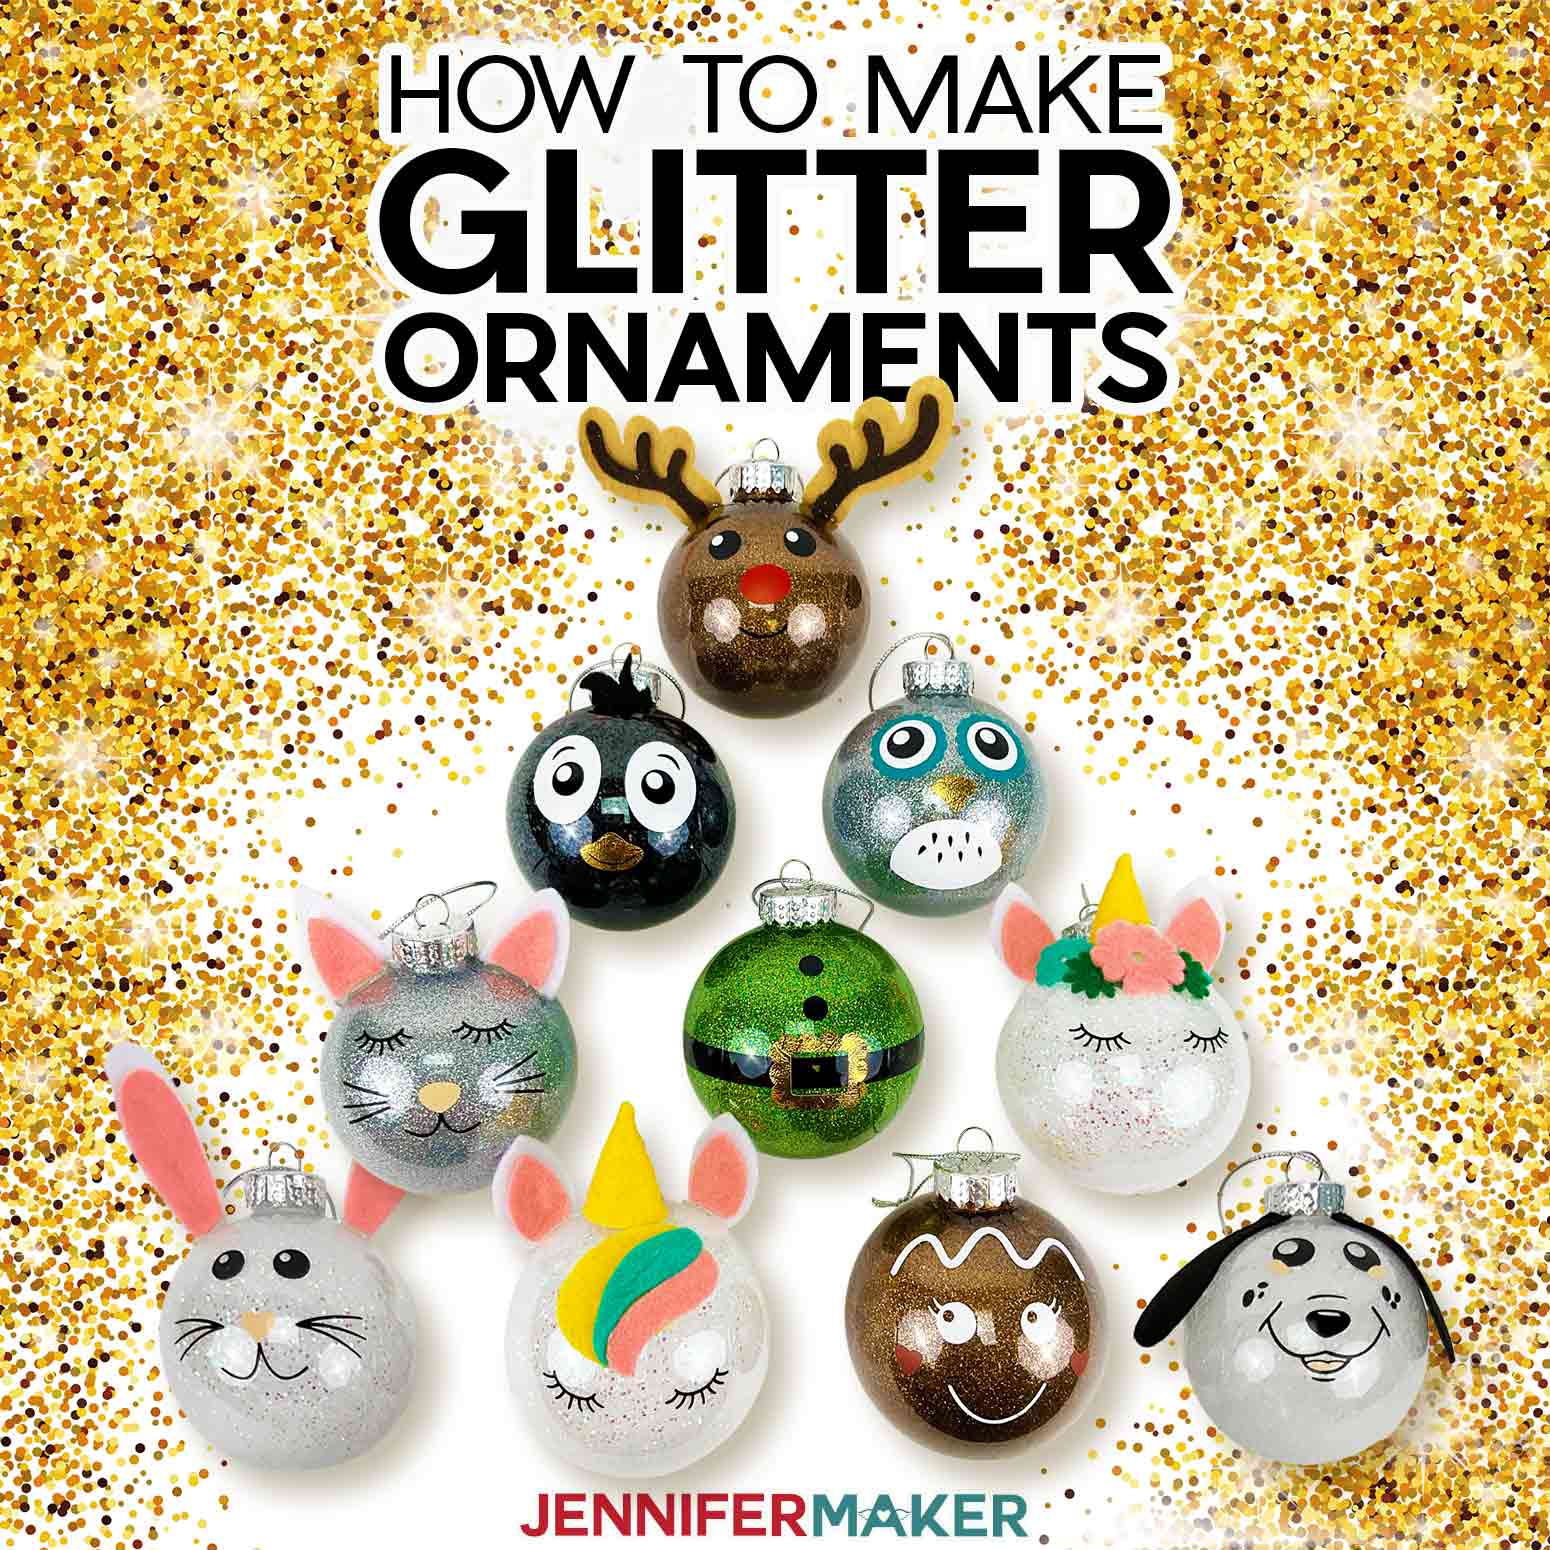
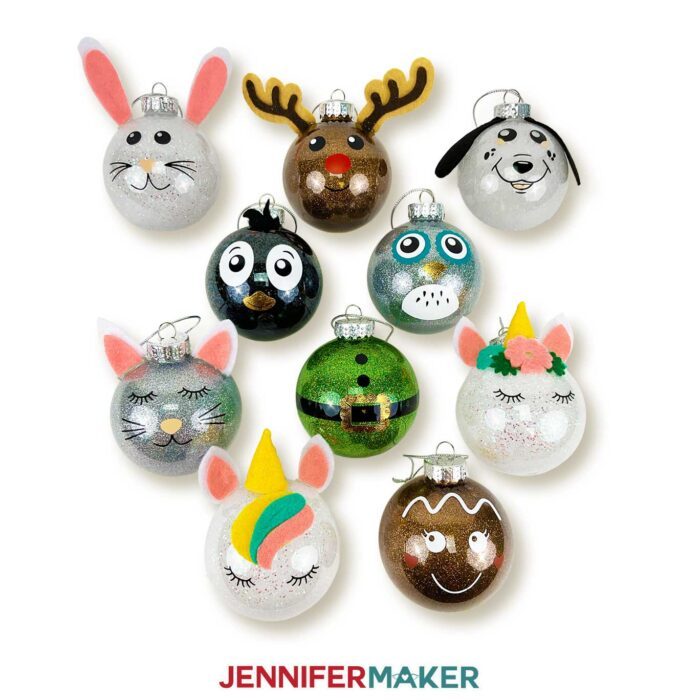
I've designed a fun collection of ten adorable glitter ornament designs for you. In this tutorial, I will show you how to make the cute dog design and the unicorn glitter ornament, but the same basic steps work for each of the designs.
STEP 1: ADDING GLITTER TO YOUR ORNAMENT
First, you need to add glitter to your ornaments! They need at least 24 hours to dry completely, so make sure you set aside time for drying.
I am using 3" plastic ornaments for this tutorial, I suggest using the bigger ornaments for this project as it is easier to apply the vinyl to a large surface. You could also use clear glass ornaments.
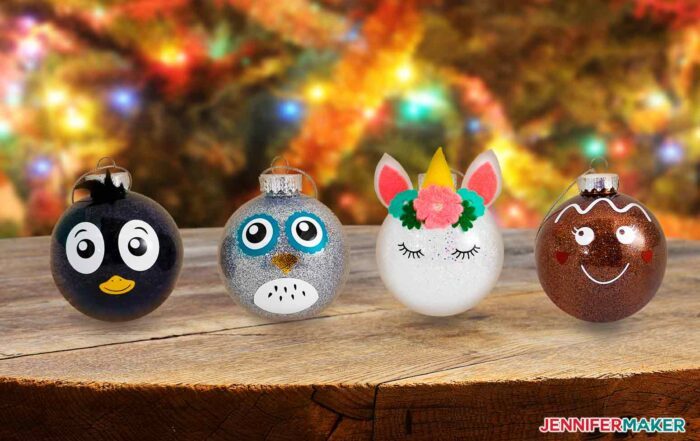
Begin by removing the cap from the top of the ornament.
I have made a lot of glitter ornaments over the years and after a lot of trial and error I found that Minwax Polycrylic really does the best job of coating the inside of the ornament.
I also tried Beacon Glitter-It and Mop n' Glo floor wax. All three work, but again the Polycrylic worked best!
Remember, as always, safety first! I recommend wearing protective gloves, a mask and eye protection whenever you are working with any type of household or industrial chemicals. Also, always make sure to follow all of the directions on the label to avoid any possible issues.
Use the syringe to add the polycrylic. I filled up my syringe to about 15 ml and squirted it inside the ornament. Then start gently swirling it around so it coats the entire interior surface.

NOTE: DO NOT shake it vigorously, as this just adds bubbles and uneven coating. I swirled it from the bottom to the top.
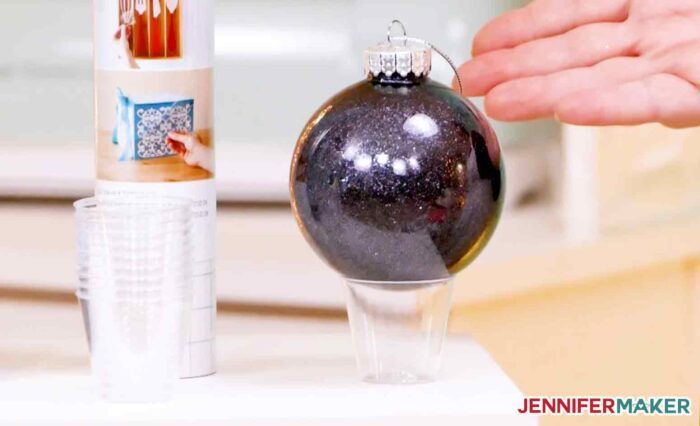
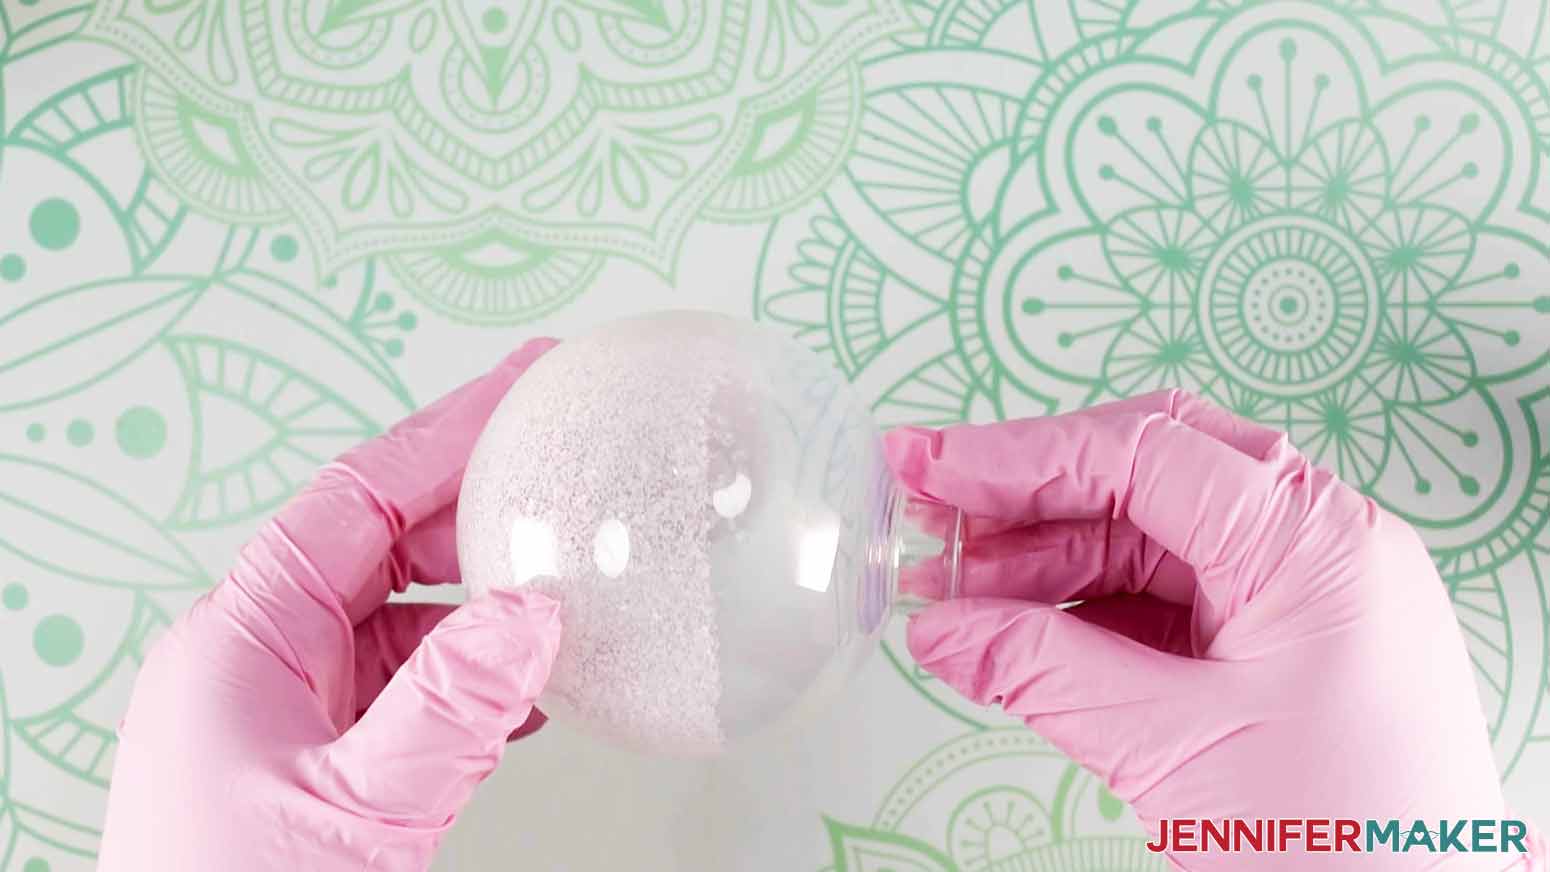
Once you have covered the entire inside of the ornament, set it upside down in a plastic cup to drain.
This won't take long and you want to add your glitter before it has a chance to dry.
Remove your ornament from the cup and add your glitter. You can use a small funnel or do what I did and make a small funnel with some card stock to add the glitter.
I recommend using extra-fine or fine glitter for this project as it coats the ornament better.
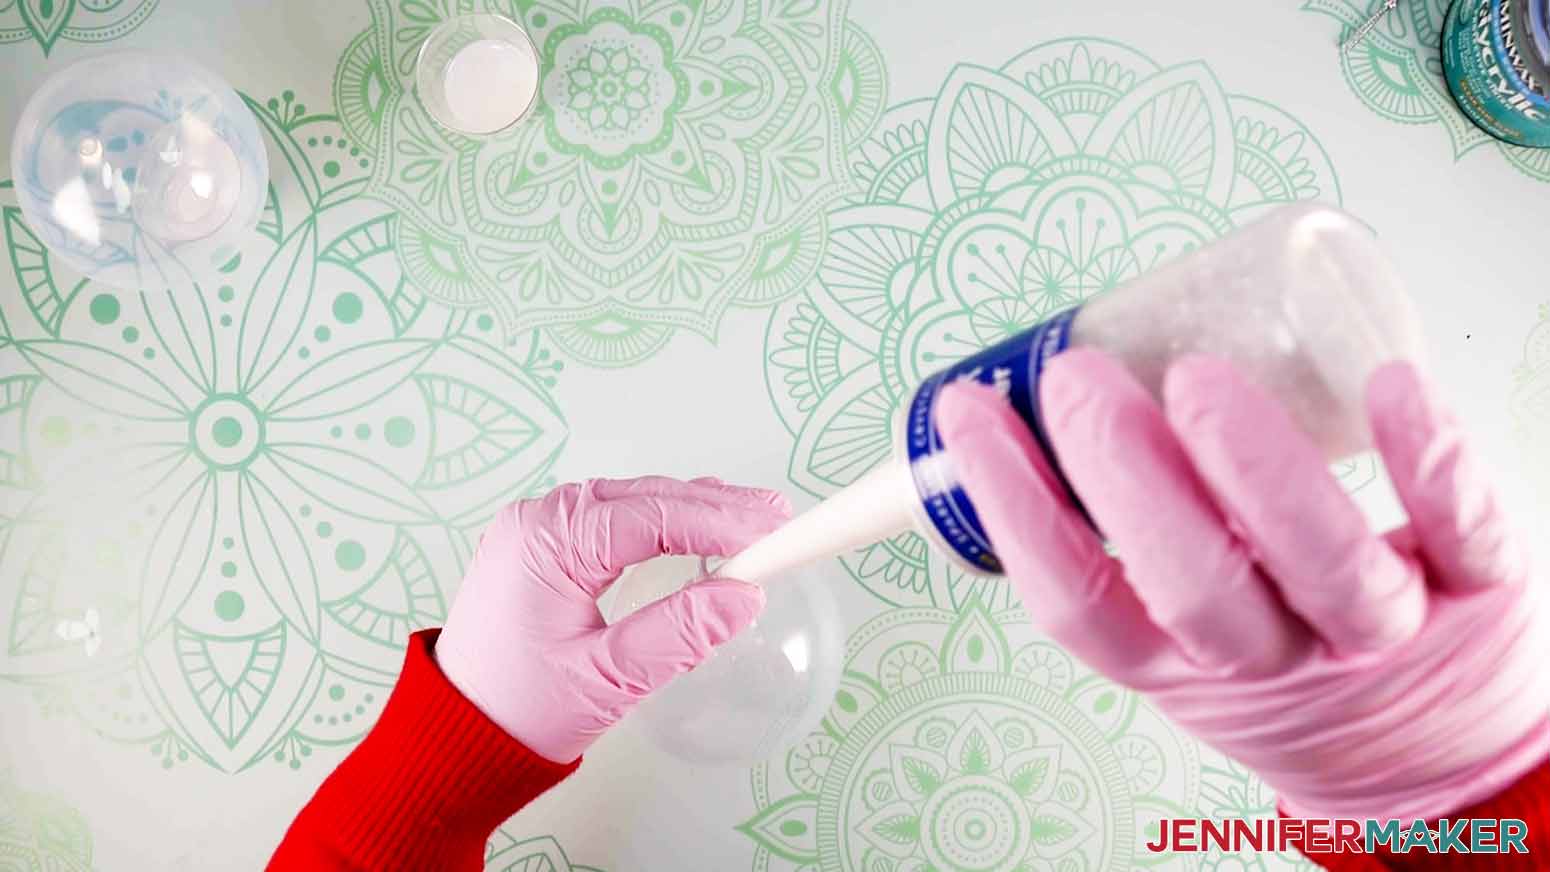
Gently swirl the glitter inside your ornament so it coats the entire thing. Then tip the ornament into a cup upside-down and pour out the extra glitter. You may have to tap it a little to get the extra glitter out of the ornament.
Now we are going to let our glitter ornaments dry for about 24 hours before putting the little caps back on but you can layer the vinyl on them before that.
STEP 2: GET MY FREE CUTE GLITTER ORNAMENT DESIGN FILE
You can get my free Cute Glitter Ornament from my free resource library, it's design #343.
The ZIP file contains SVG files for cutting on a Cricut or another cutting machine, DXF files, and printable PDFs for cutting by hand.
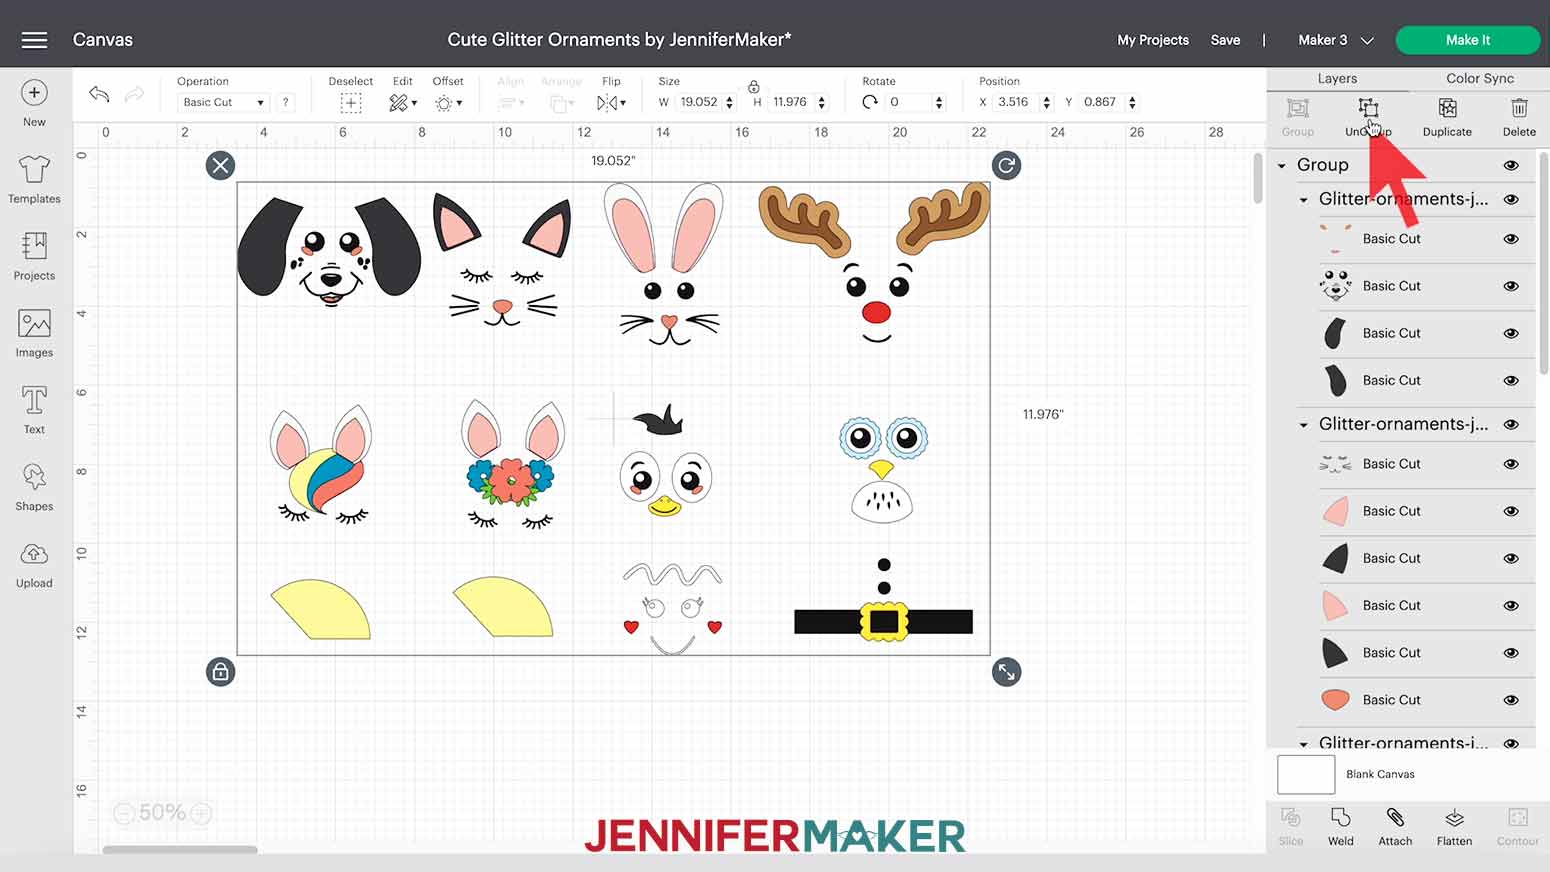
Next unzip and load my SVG to Cricut Design Space. Here's what it looks like in Cricut Design Space. You can zoom out to see the whole design by clicking on the minus sign next to the magnifying glass on the lower left.
I've included an assortment of cute animal faces, along with a few holiday designs: a reindeer, gingerbread man and Santa's belt. The two yellow pieces on the bottom left are for the unicorn horn. Those pieces along with the ears, antlers, feathers and flowers will be cut from felt. All the rest of the pieces will be cut from vinyl.
TIP: If you are not sure how to upload an SVG cut file to Cricut Design Space, watch this helpful video training series I made. If you are on an iPad or iPhone, here is how to download and upload SVG files to the Cricut Design Space app.
I will be using the Cricut Maker 3 for this tutorial, but you can also use the original Cricut Maker or Cricut Explore series
Next, you will want to ungroup the design by clicking "Ungroup" at the top of the layers panel.
Next, pull the design(s) that you would like to make to the side. I'm going to make the adorable dog glitter ornament and the unicorn with the flowers and the horn.
You can do this by clicking and dragging them across the canvas. Then left-click and drag the bounding box over the other designs and click on the "X" on the top left of that box to delete.

Once you have only the ornaments you want to make on your canvas, click “Make It” at the top right corner of the screen.
NOTE: I have these sized for 3” ornaments if you have a different size ornament you will need to adjust the size. Drag the resize handle on the lower right side of each design to make it bigger or smaller.

If applicable select “On Mat” for the next screen and hit "Continue."
On the next page click “Continue" again.
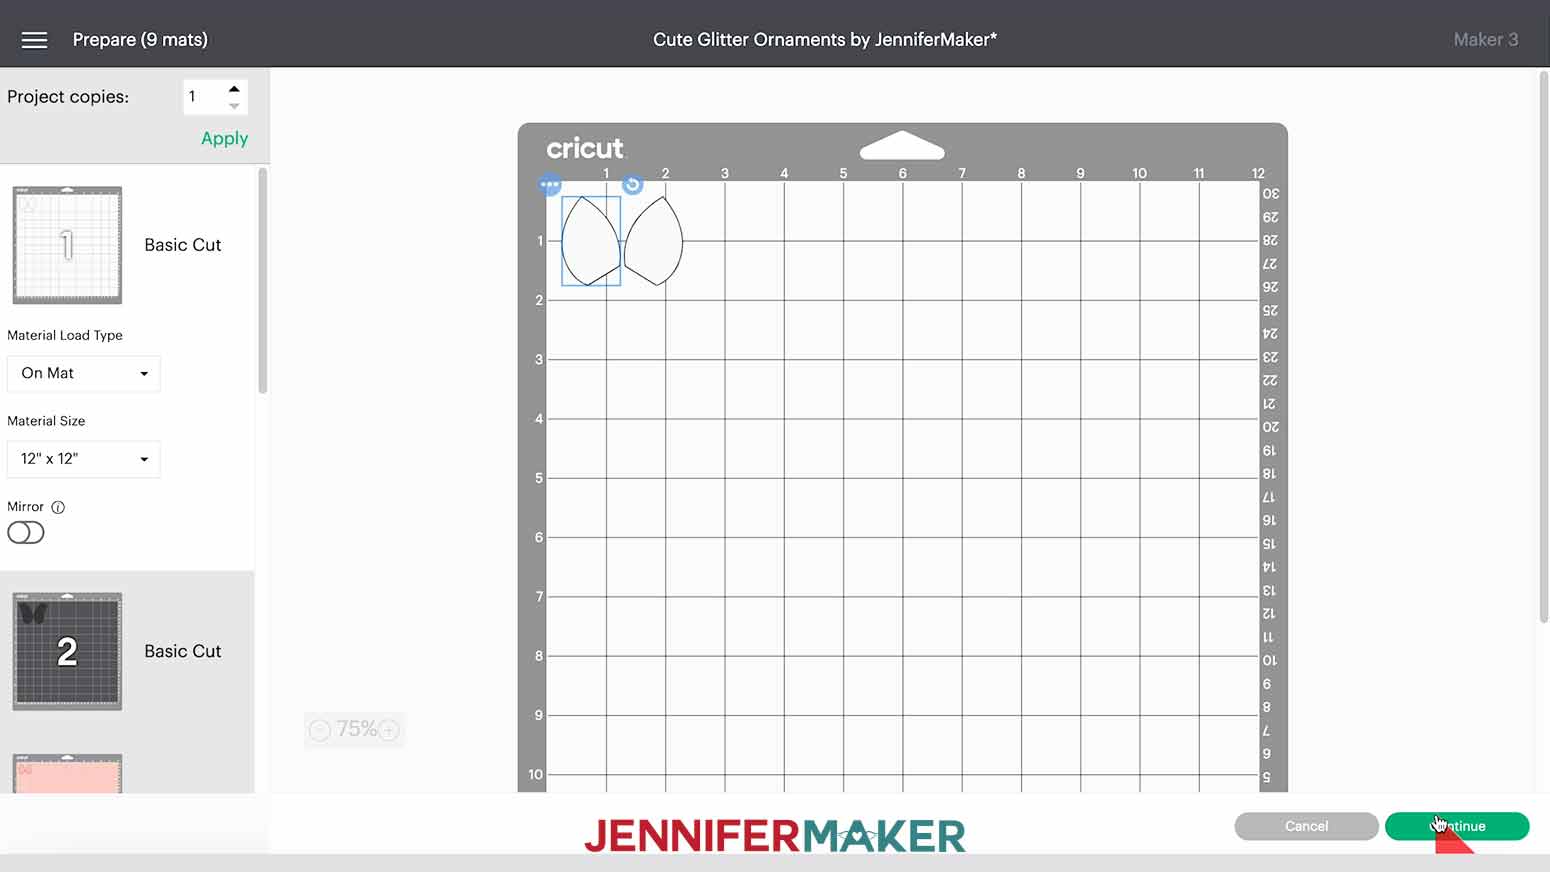
NOTE: Each design has a different mat order. We are going to cut the faces out of vinyl and the ears, flowers and horn out of felt.
If you are cutting the same designs as me, you should have 9 mats in all. Make sure to choose the right material for each mat depending on if it's vinyl or felt. Again, this all depends on which design you cut.
Our first mat is our ears so we are going to cut them out of felt.
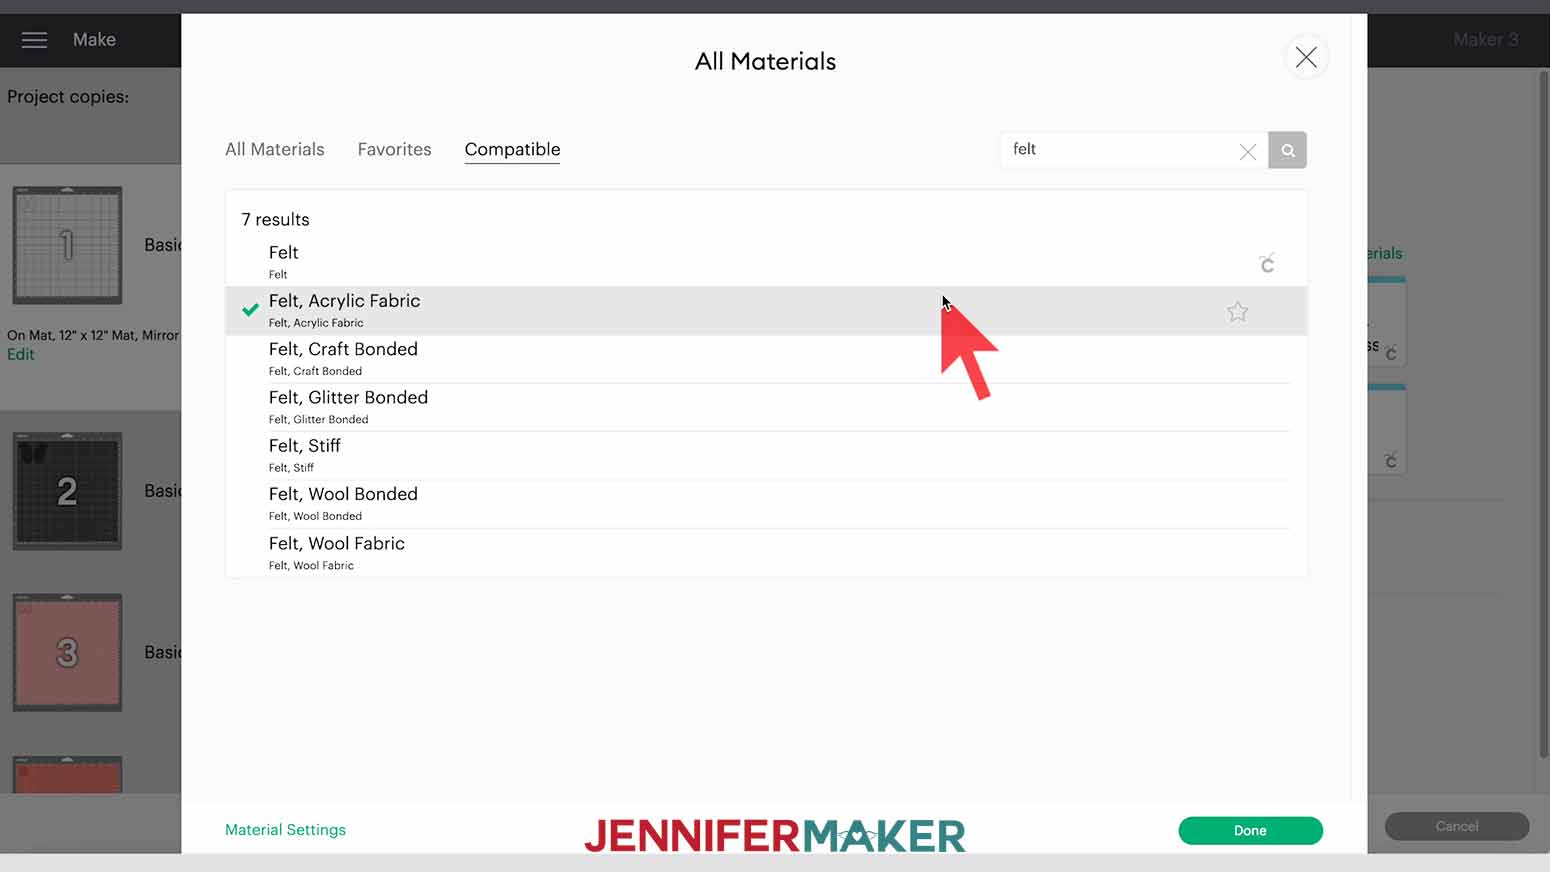
To do this we are first going to select our materials by clicking the "Browse All Materials" button on the right side of the screen.
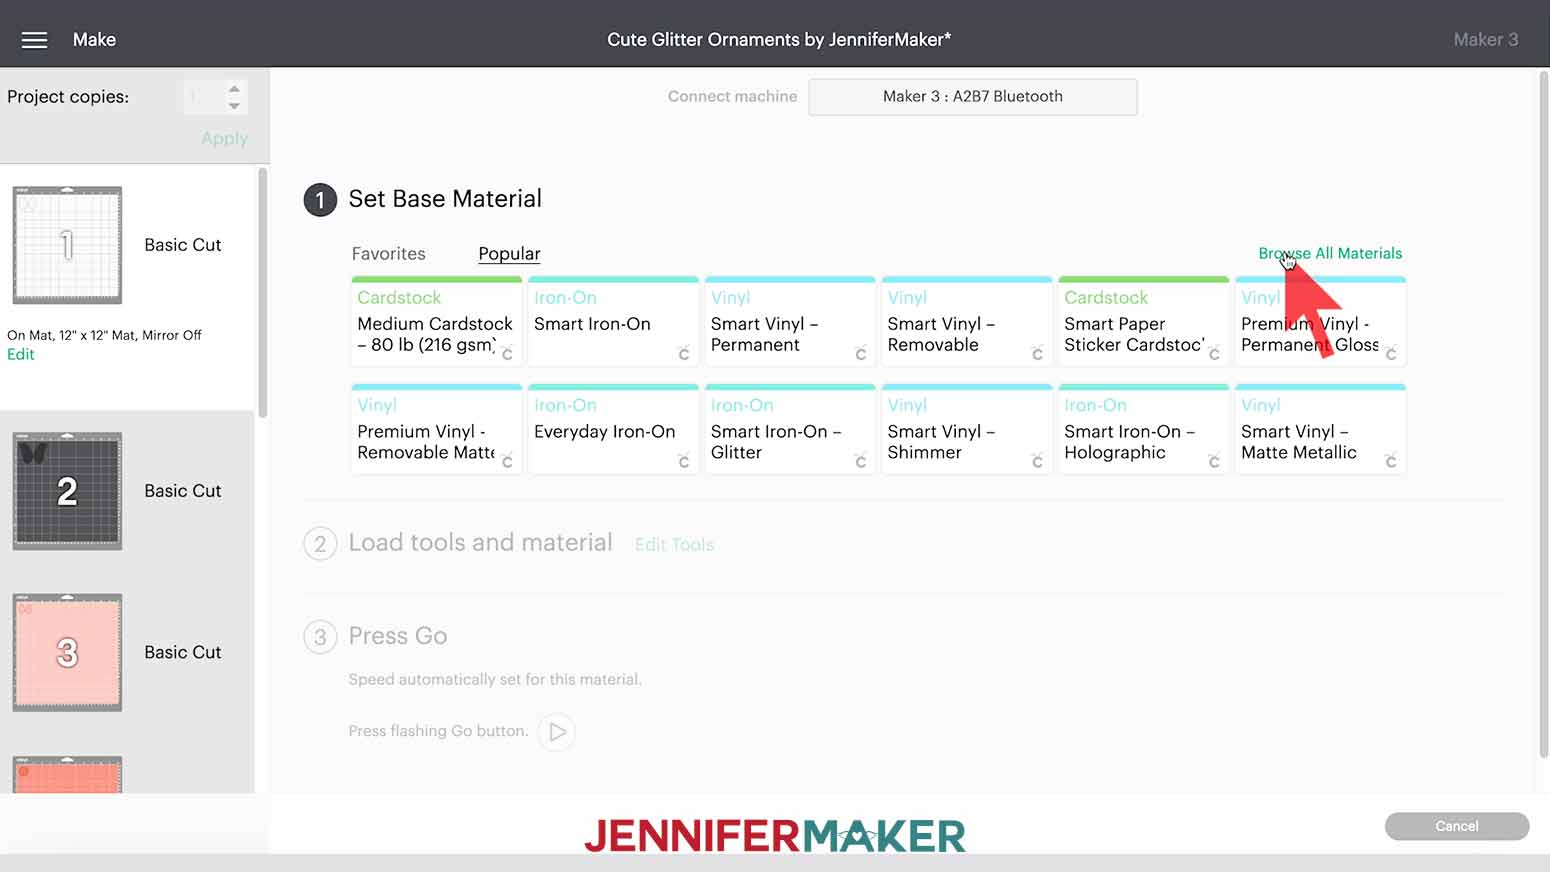
Next, we are going to search for “Felt” in the search bar at the top right of the pop-up menu. Select “Felt, Acrylic Fabric” and then click “Done” on the bottom right of the menu.
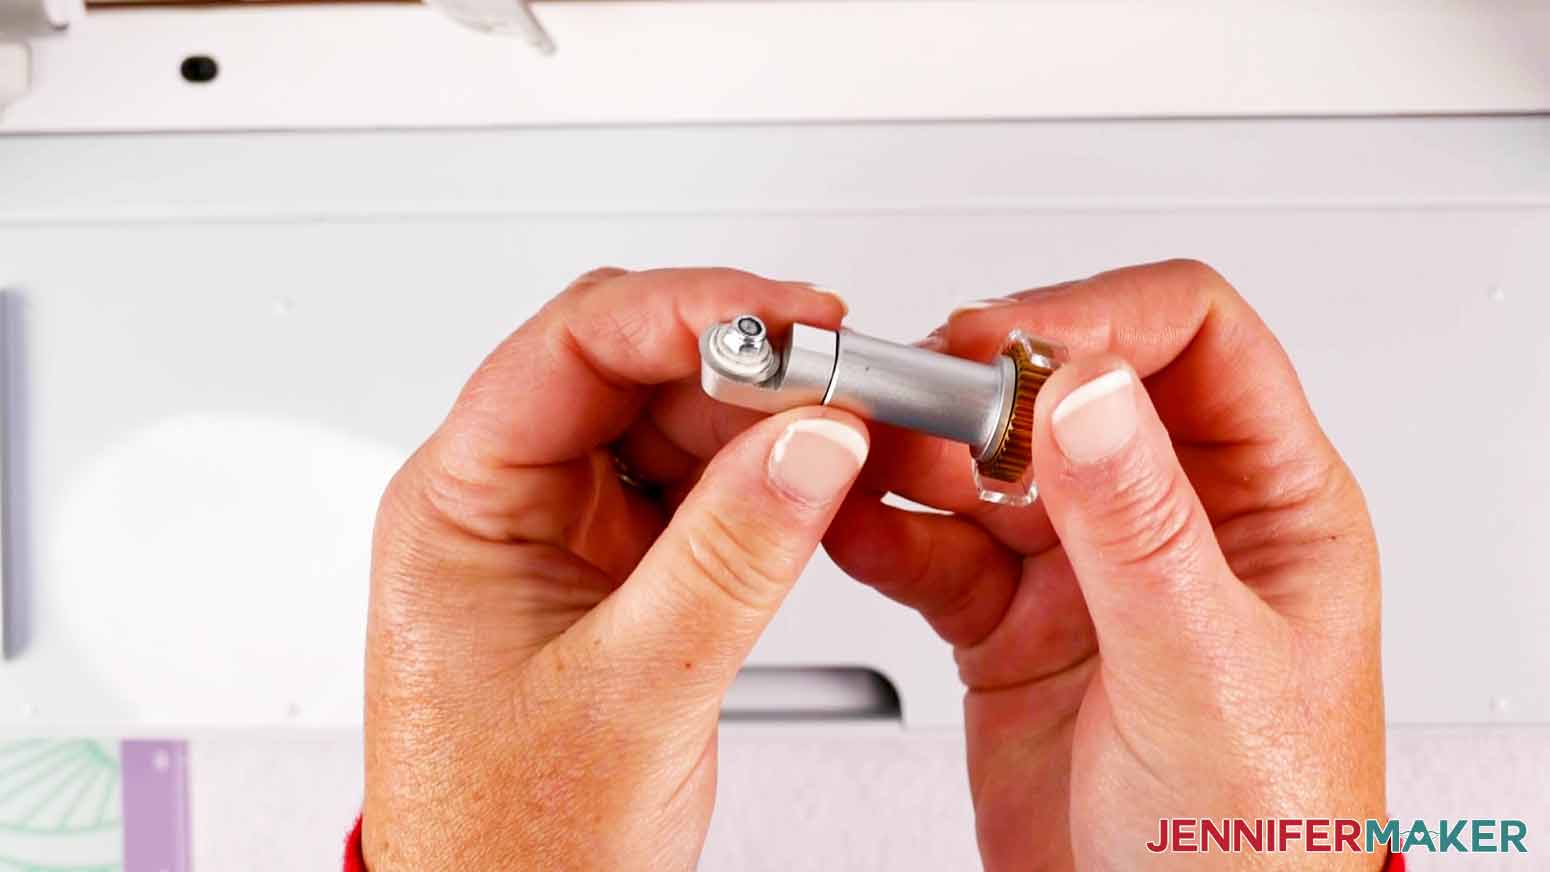
To cut felt it is best to use the Rotary Blade as it makes cleaner cuts. The Rotary Blade can only be used with the Cricut Maker Series.
You can cut felt with the Explore Series, but you will need to "bond" the felt first and use the fine-point blade. I explain exactly how to do this step by step in my tutorial: How to Cut Fabric with Cricut Explore or Maker tutorial.
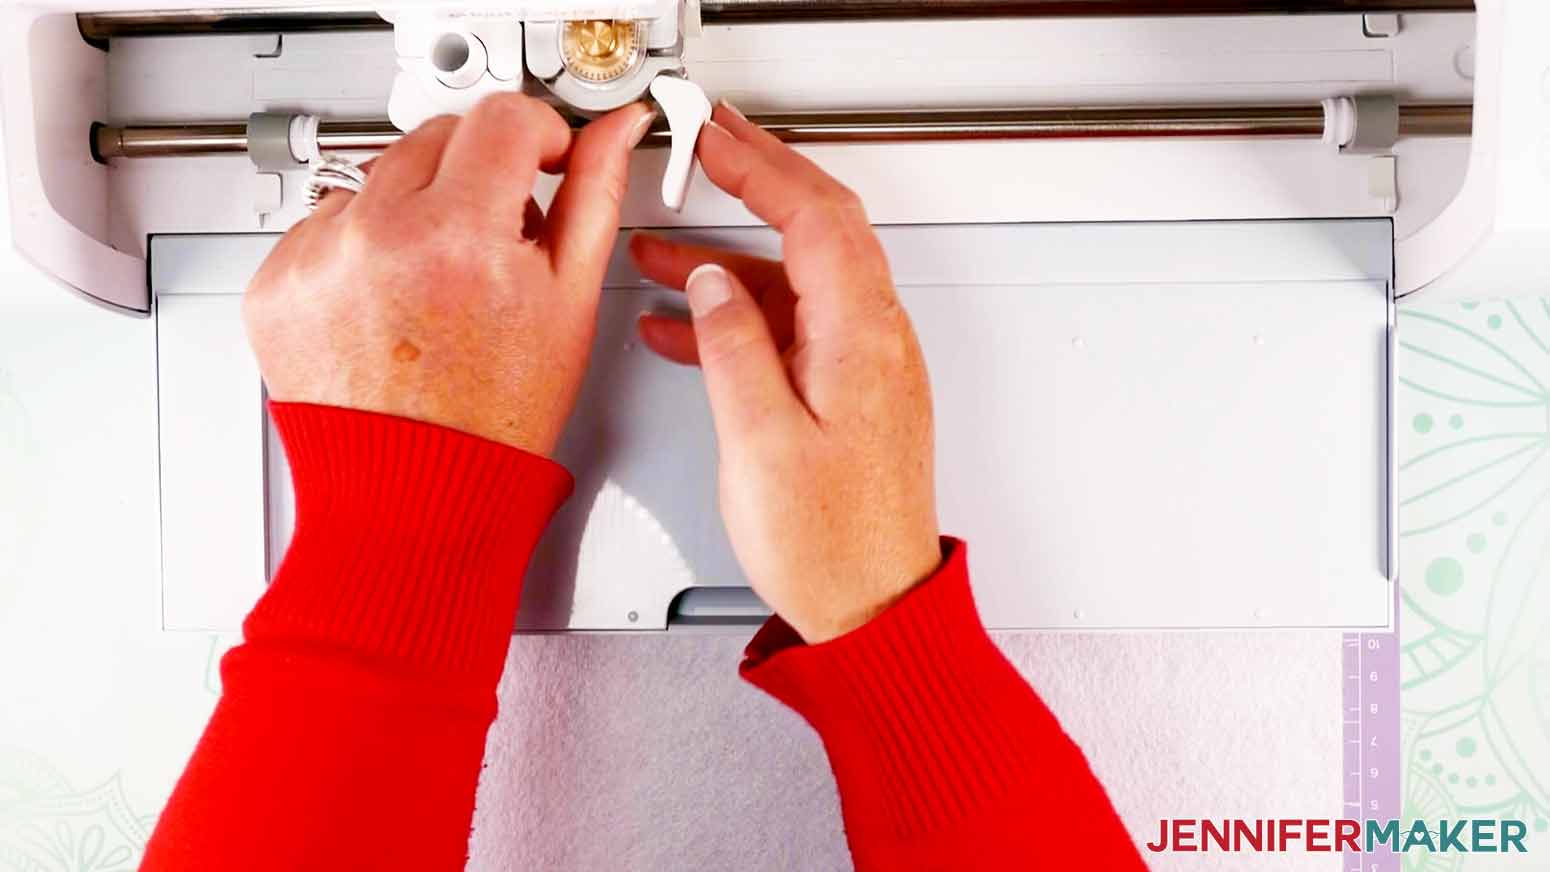
Remove your Fine-Point Blade and replace it with the Rotary Blade.
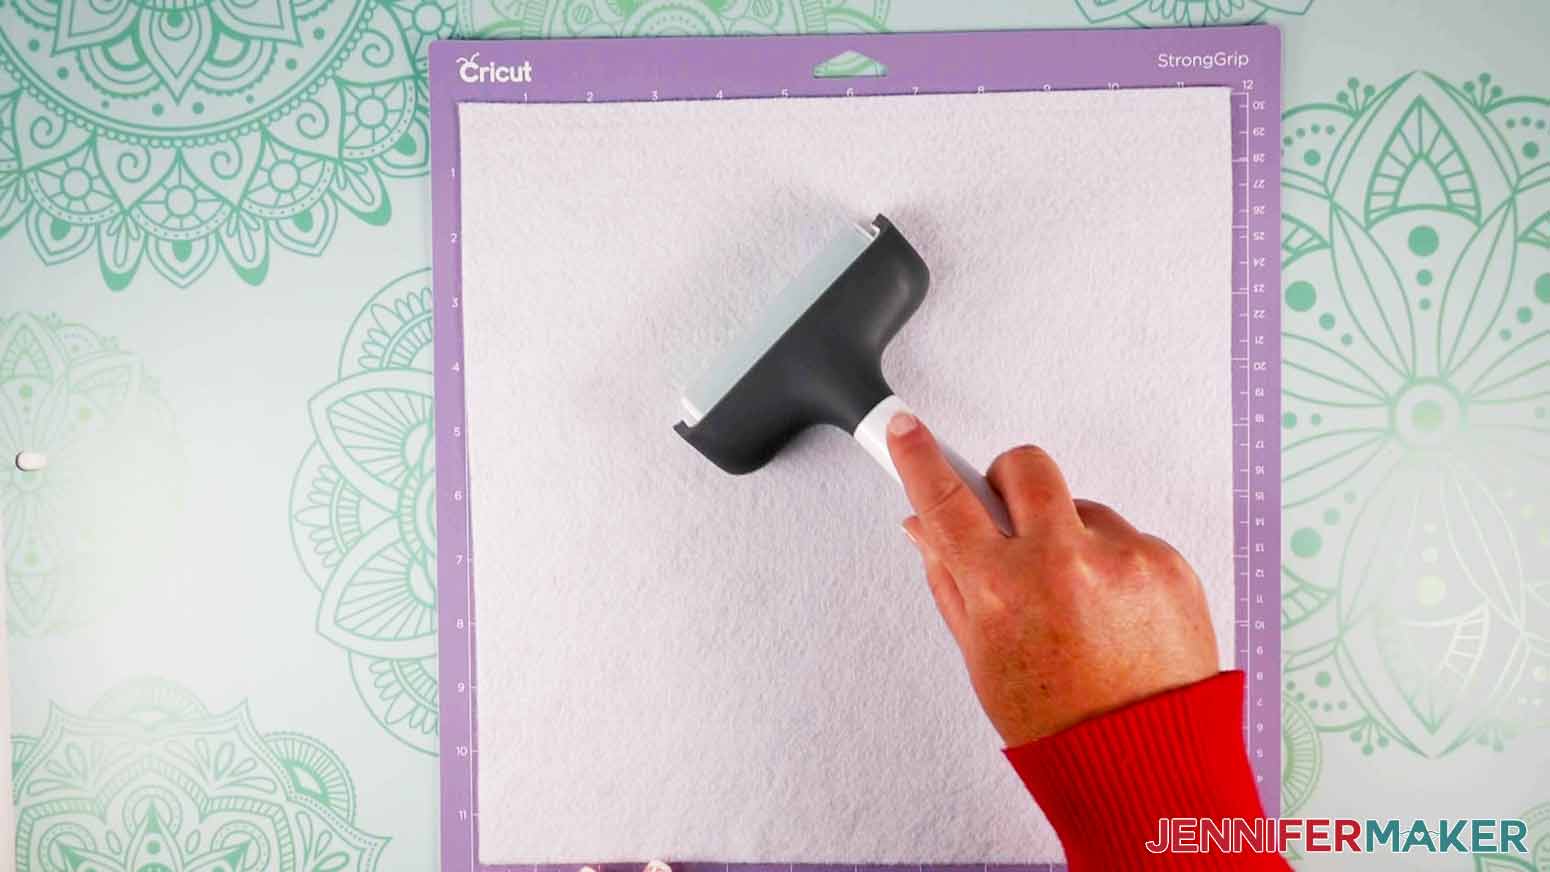
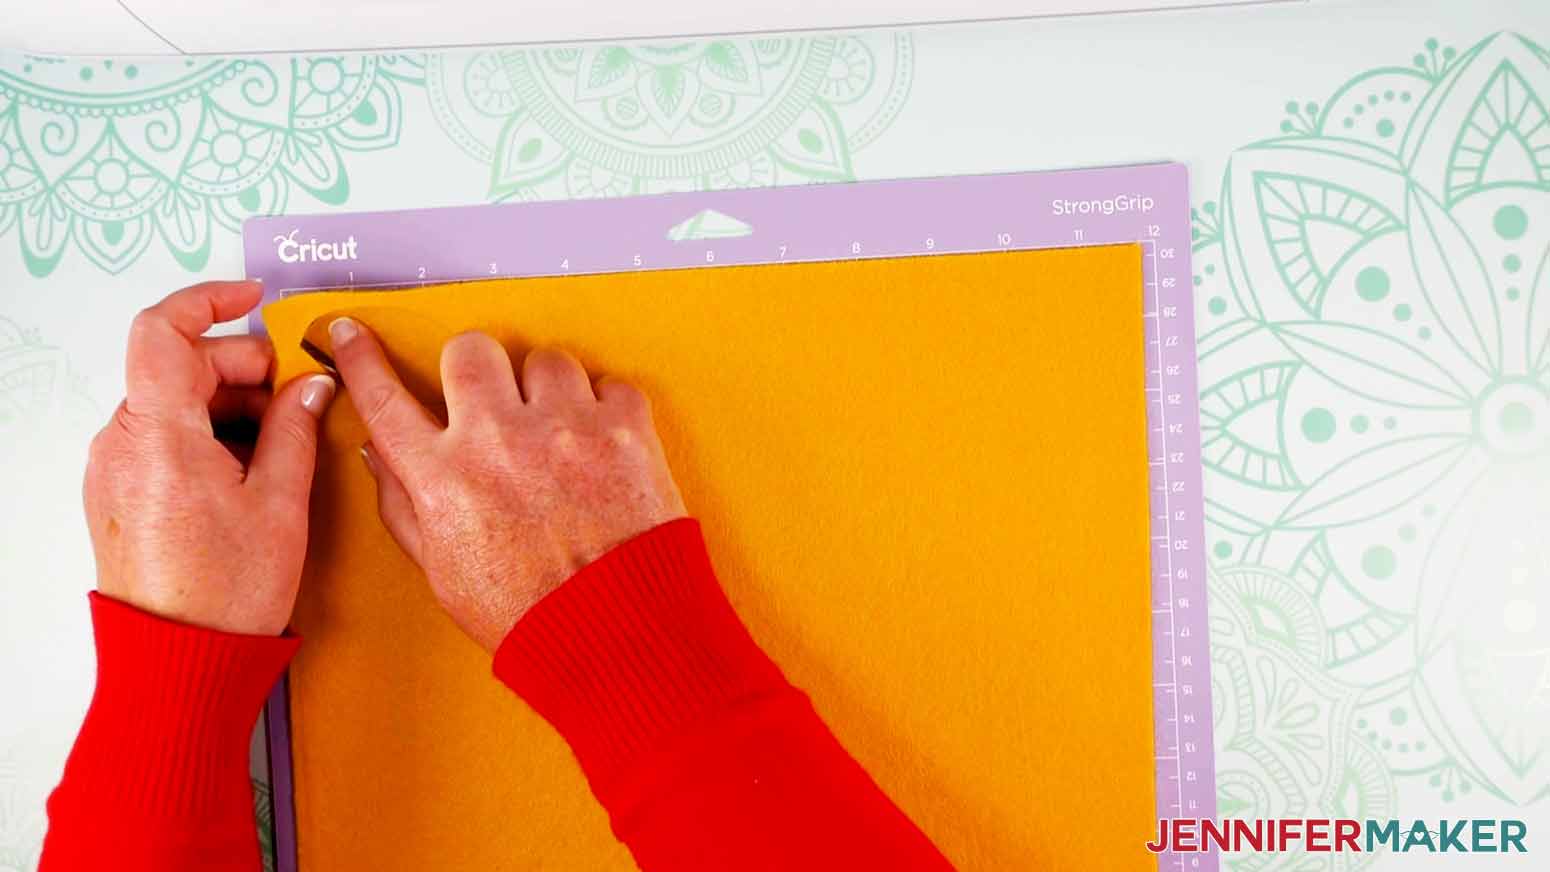
Now, place the felt down on your Cricut StrongGrip (purple) mat and burnish the felt to the mat using the Brayer Tool.
NOTE: Cricut recommends using the FabricGrip (pink) mat to cut felt, but I found with this project, the StrongGrip worked best. It’s completely up to you!
Next, load the mat and start your cut.
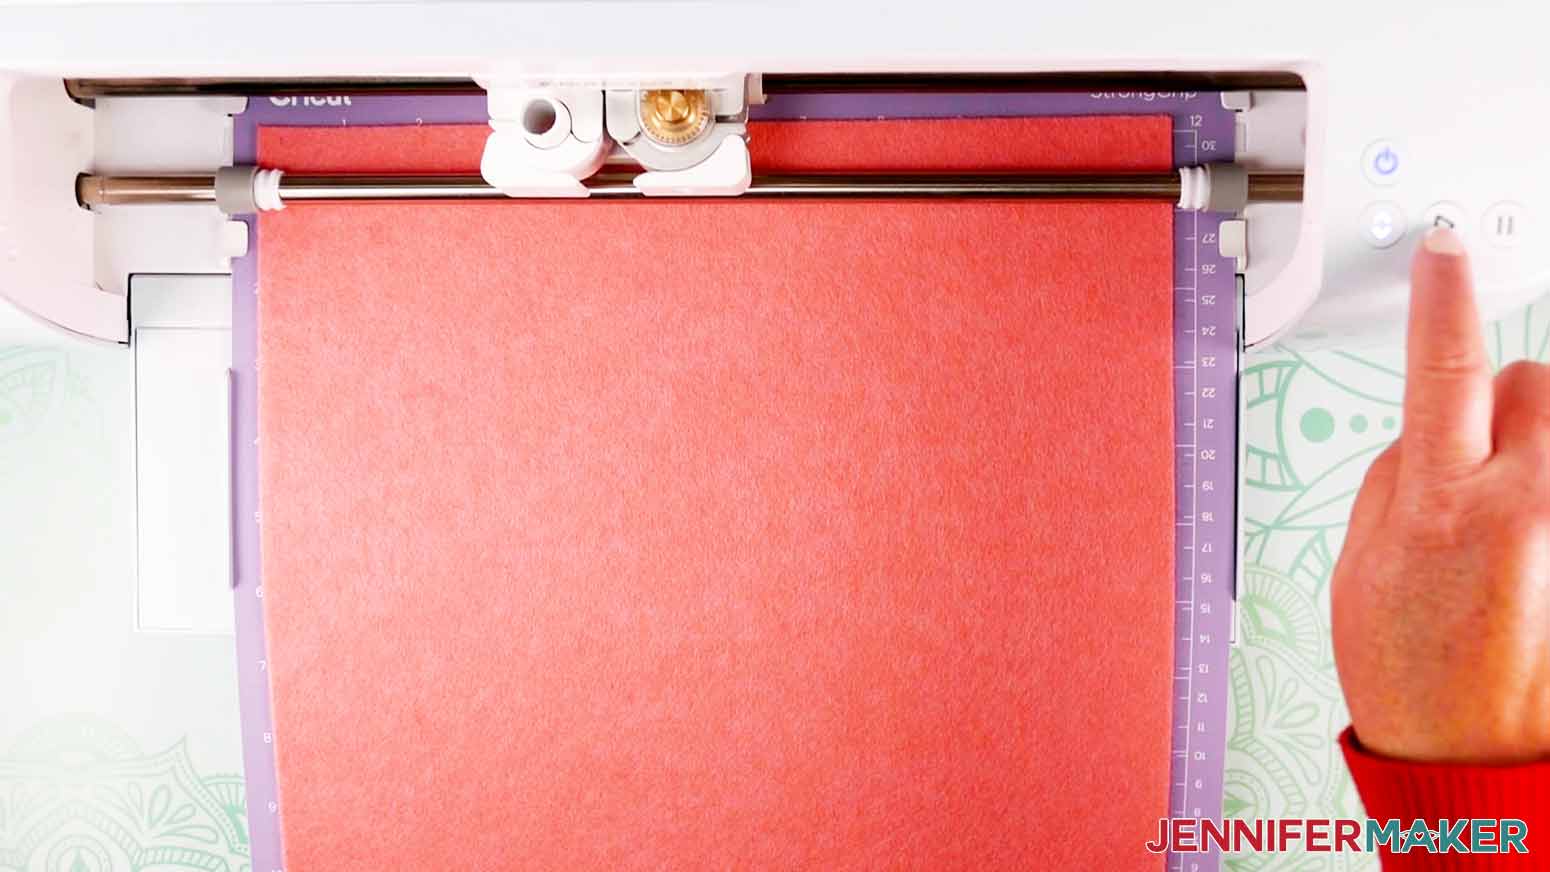
When the Cricut has finished cutting, unload your mat from your Cricut by hitting the blinking "load/unload" button, and remove the felt from the mat. It should pull right up, but you can also use tweezers to grab the edge and pull it up that way.
Repeat the same steps for all the felt pieces.
Now we are going to cut our vinyl.
Remember to switch out the Rotary Blade for the Fine-Point blade in "Clamp B" for this cut.
Select “Premium Vinyl - Permanent Glossy” from the materials menu.
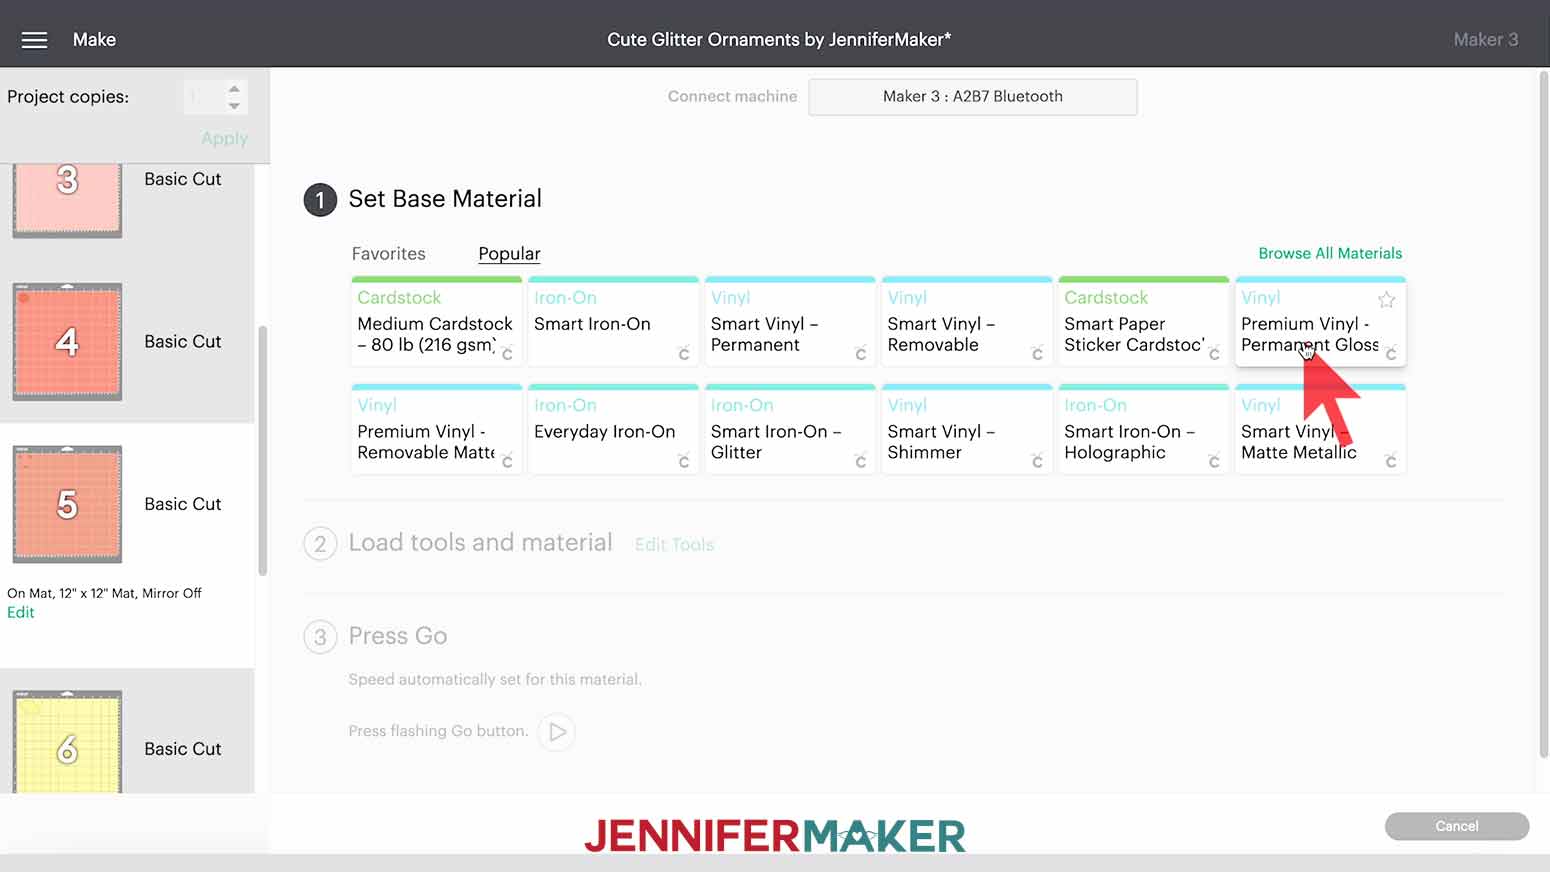
Be sure to select “More Pressure” as it creates a cleaner cut.
Once the vinyl is on the mat, shiny side up, load the mat and start the cut by pressing go.
When it's done, unload the mat and remove the vinyl by flipping the mat over and bending it back to peel the material away from the mat.
Once your vinyl is cut, you’ll need to remove the excess vinyl and WEED everything.

STEP 3: DECORATING OUR ORNAMENTS
Do not put transfer tape on all your vinyl yet. As some of these designs are layered, there is a trick to layered vinyl that makes application a lot easier. The key is to layer things before you put them on your material using one piece of transfer tape.
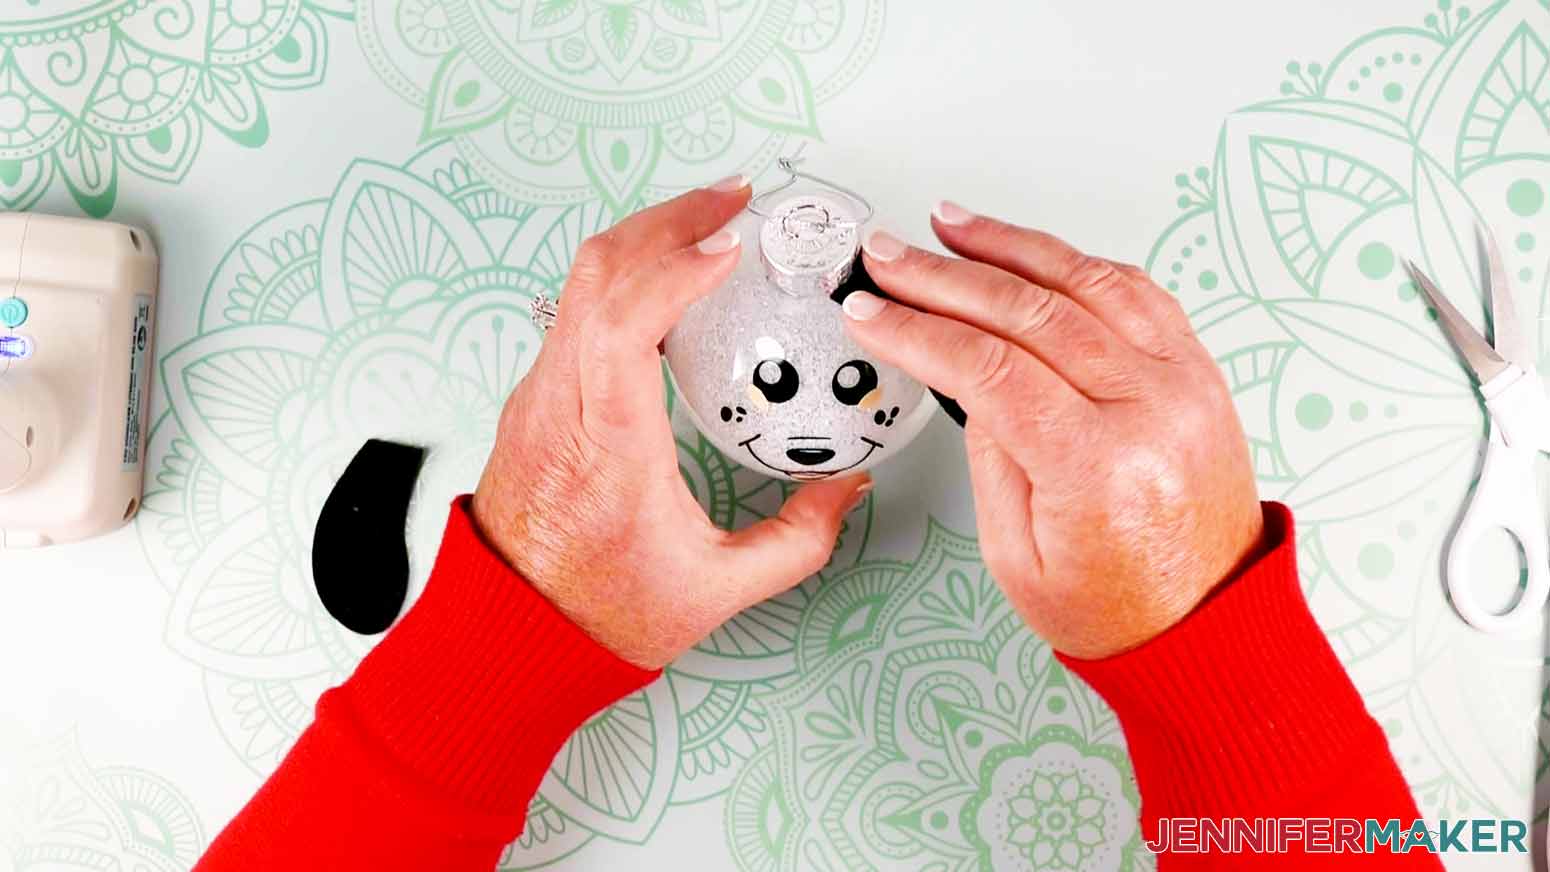
If the design has multiple layers, like this one (cute dog); determine which is the biggest layer and cut a piece of transfer tape to fit that size.
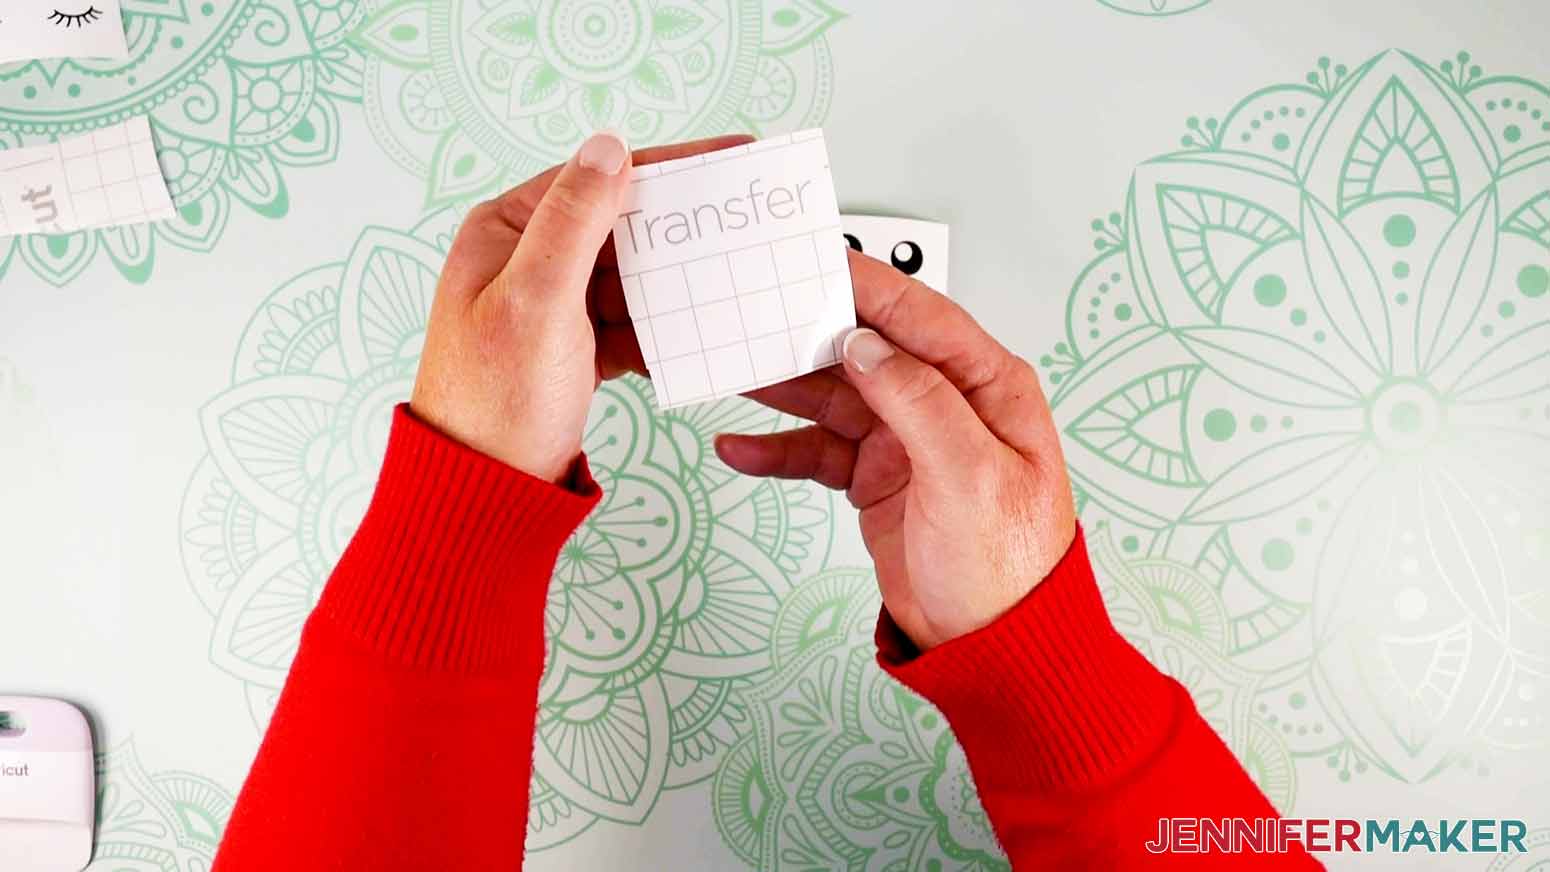
Next, figure out which layer is the TOP layer of your design. Mine is the peach blush and tongue.

Place the transfer tape down by holding the transfer tape in the shape of a taco, then putting the bottom of your “taco” onto the middle of your design. Smooth the transfer tape over the decal from the center outward and burnish it down using the Scraper Tool.
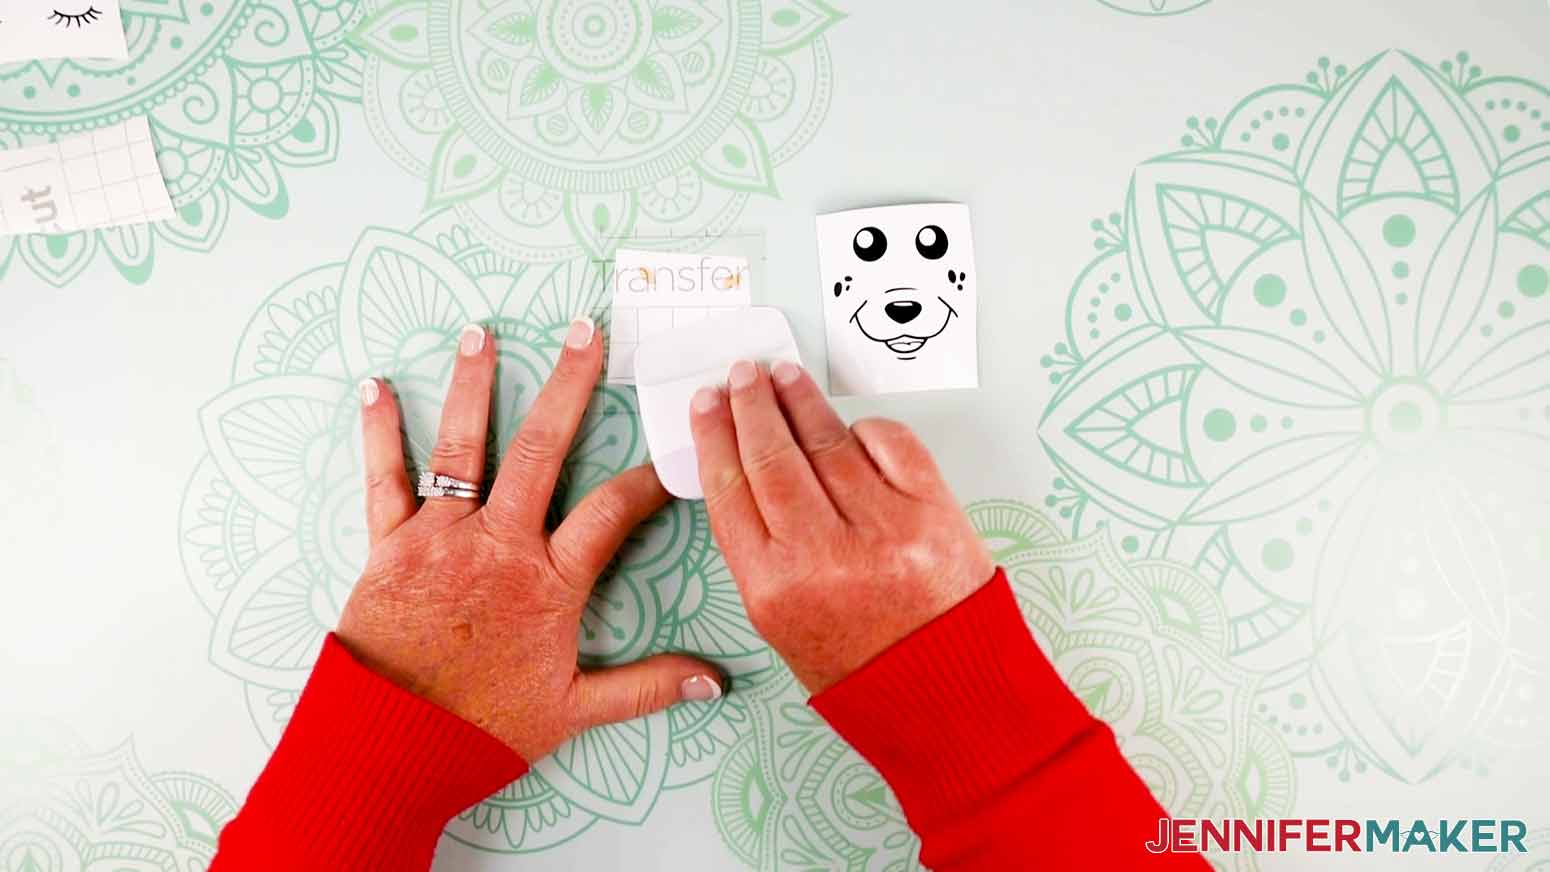
Now remove the backing from the peach vinyl so only the peach vinyl is on the transfer tape. If the vinyl does not stick to the transfer tape, lay it back down and burnish it again.
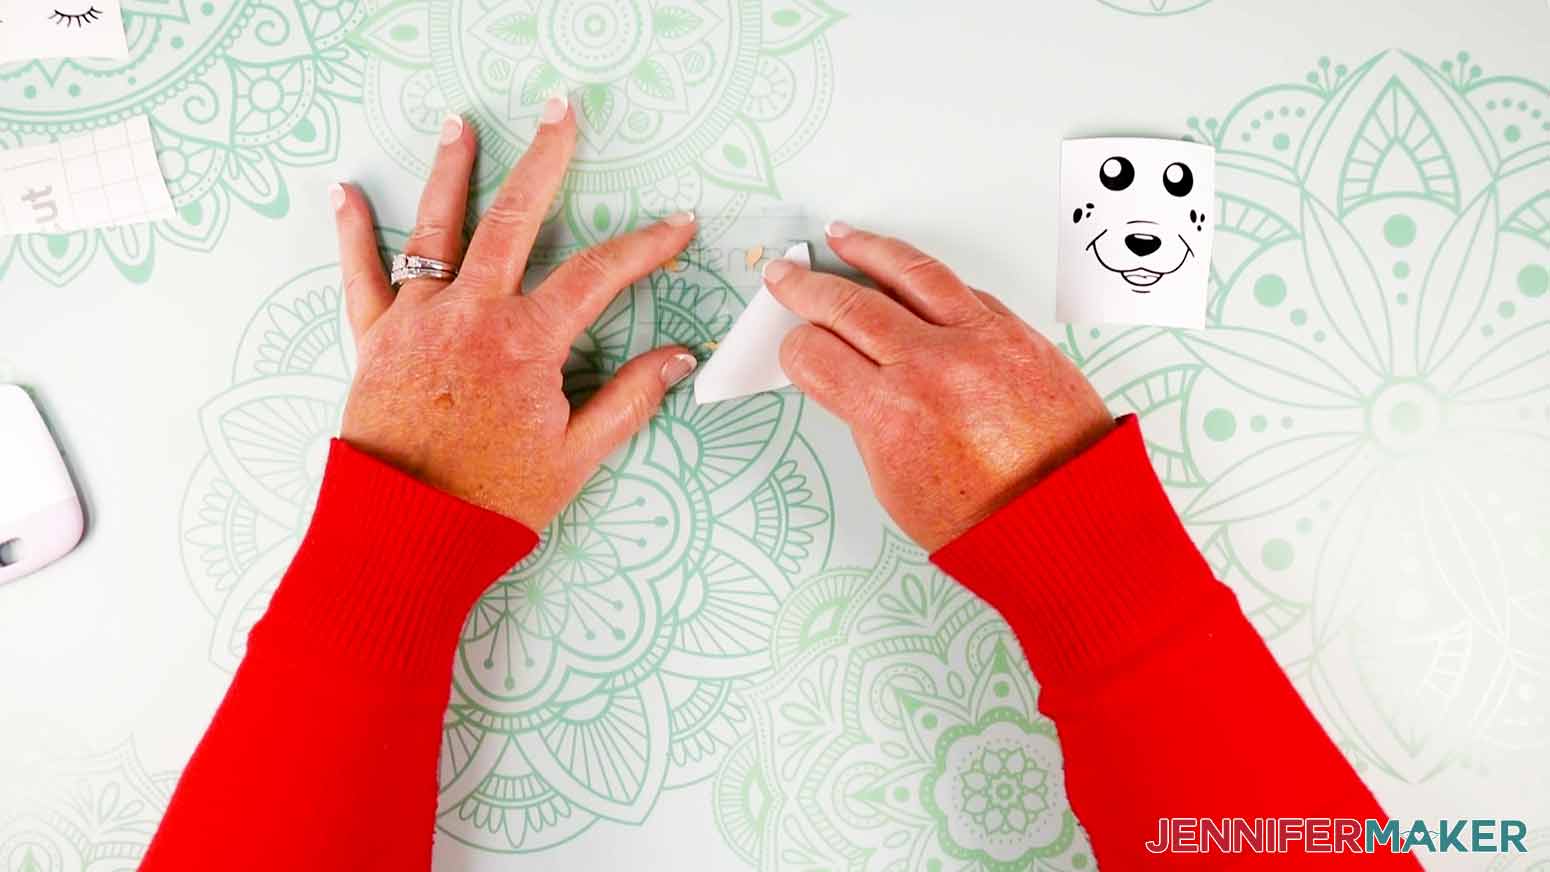
Now position your vinyl and transfer tape over the next layer — in this case, it would be the black vinyl outline.
 Once it’s positioned, burnish it down, again, and remove the vinyl backing.
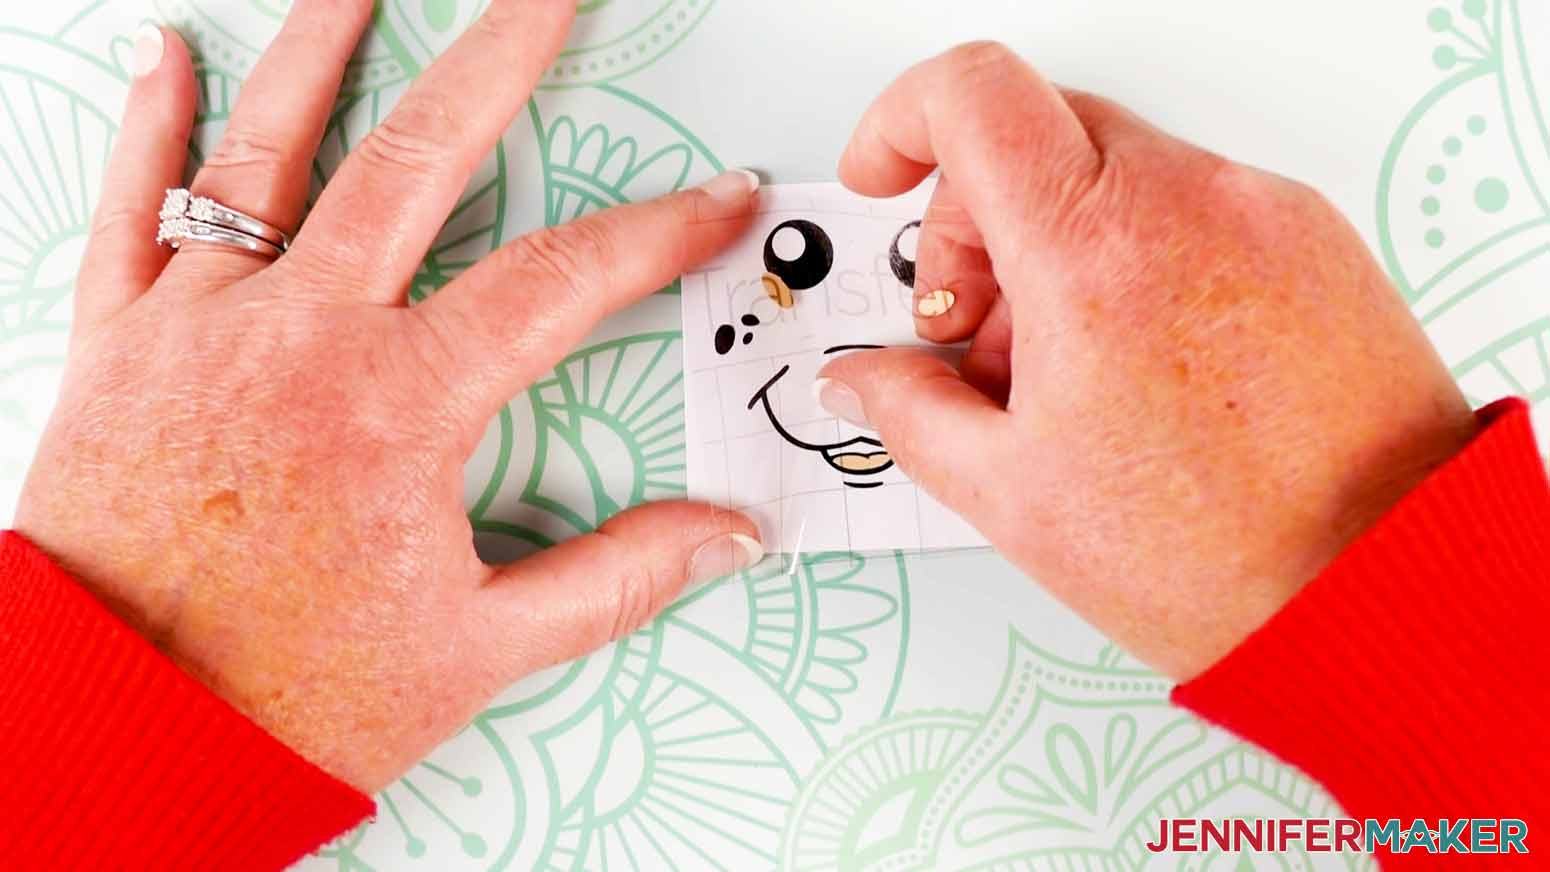
Repeat for any other layers that need to be added.
Now that you have your vinyl layered.
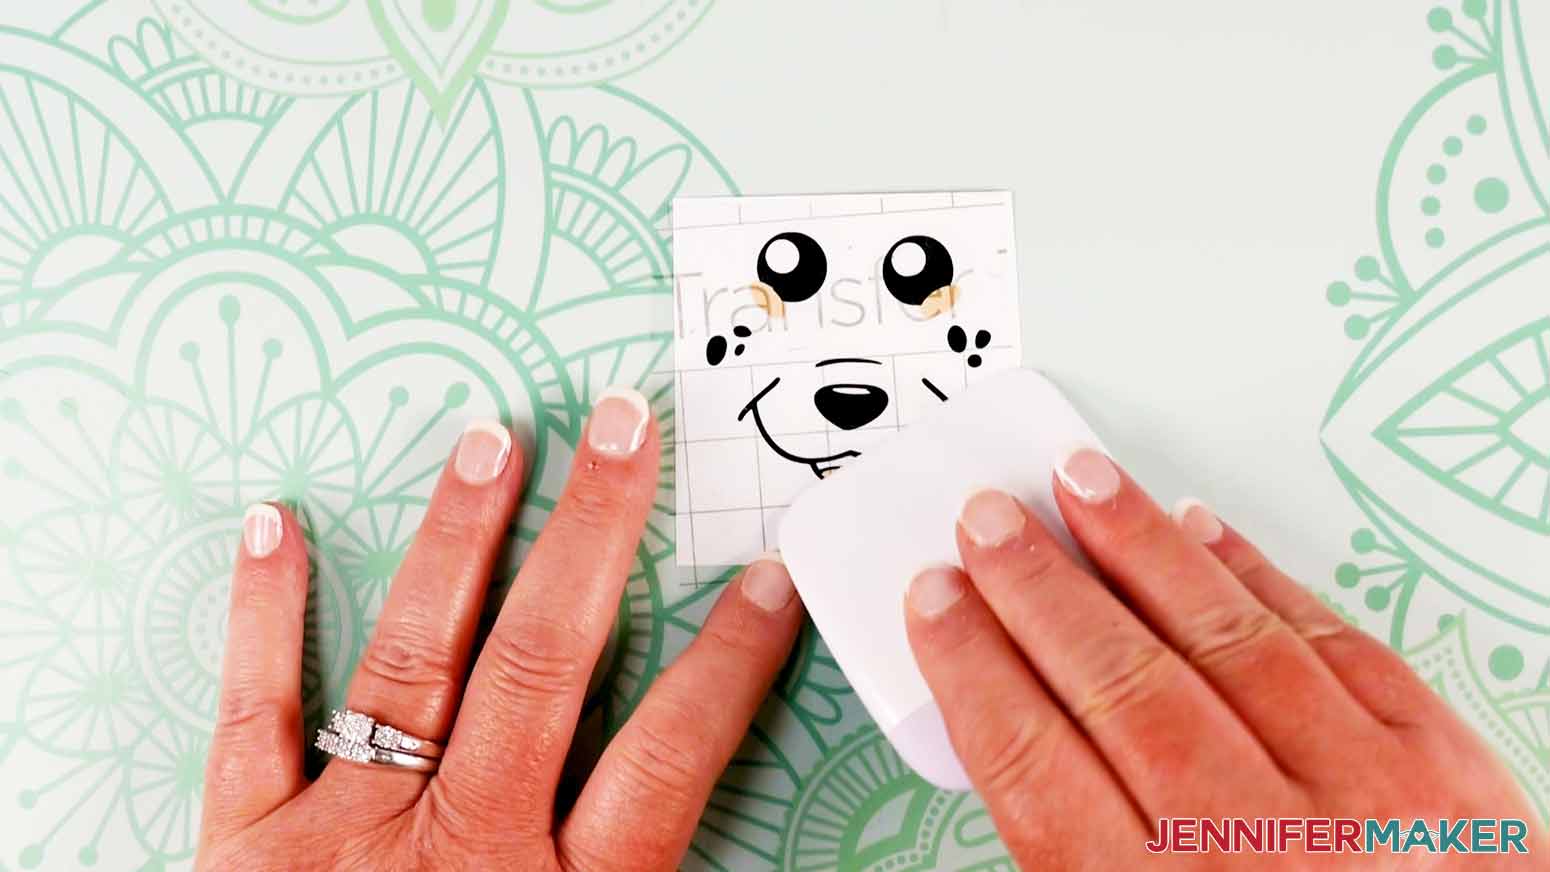
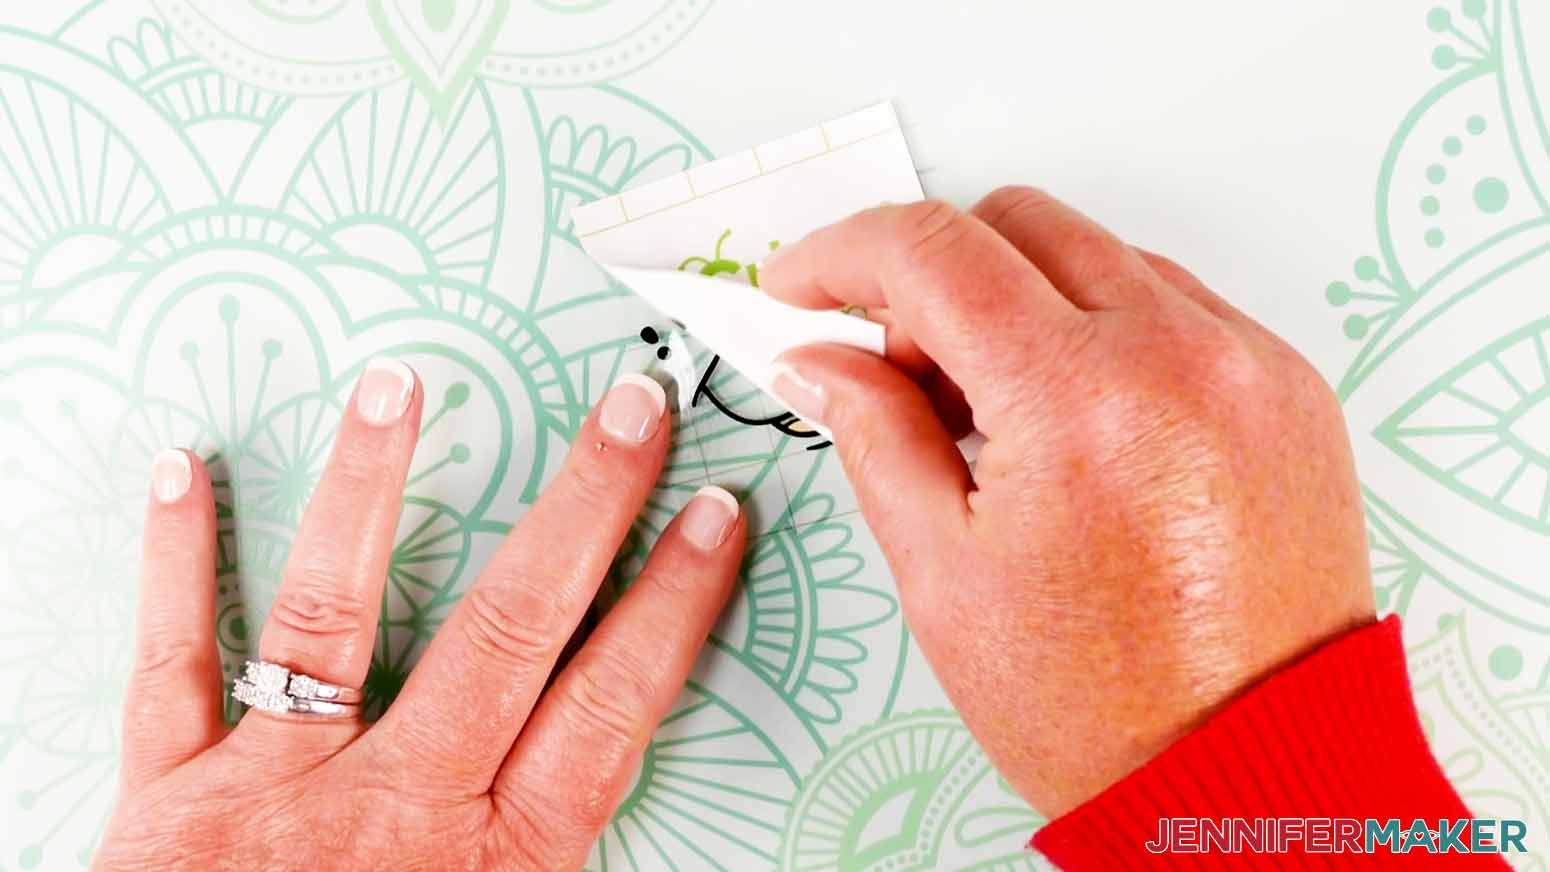
Make small snips around the edges of the transfer tape. These snips allow your transfer tape to bend around the ornament when you apply it without giving you creases in the vinyl.
Next, we are going to place our ornament in or on something sturdy, I am using a plastic cup, to keep it from rolling.
Now we are going to apply the face on our ornament, and using our finger or the Scraper Tool rub from the center of our vinyl outward tacking the vinyl into place.
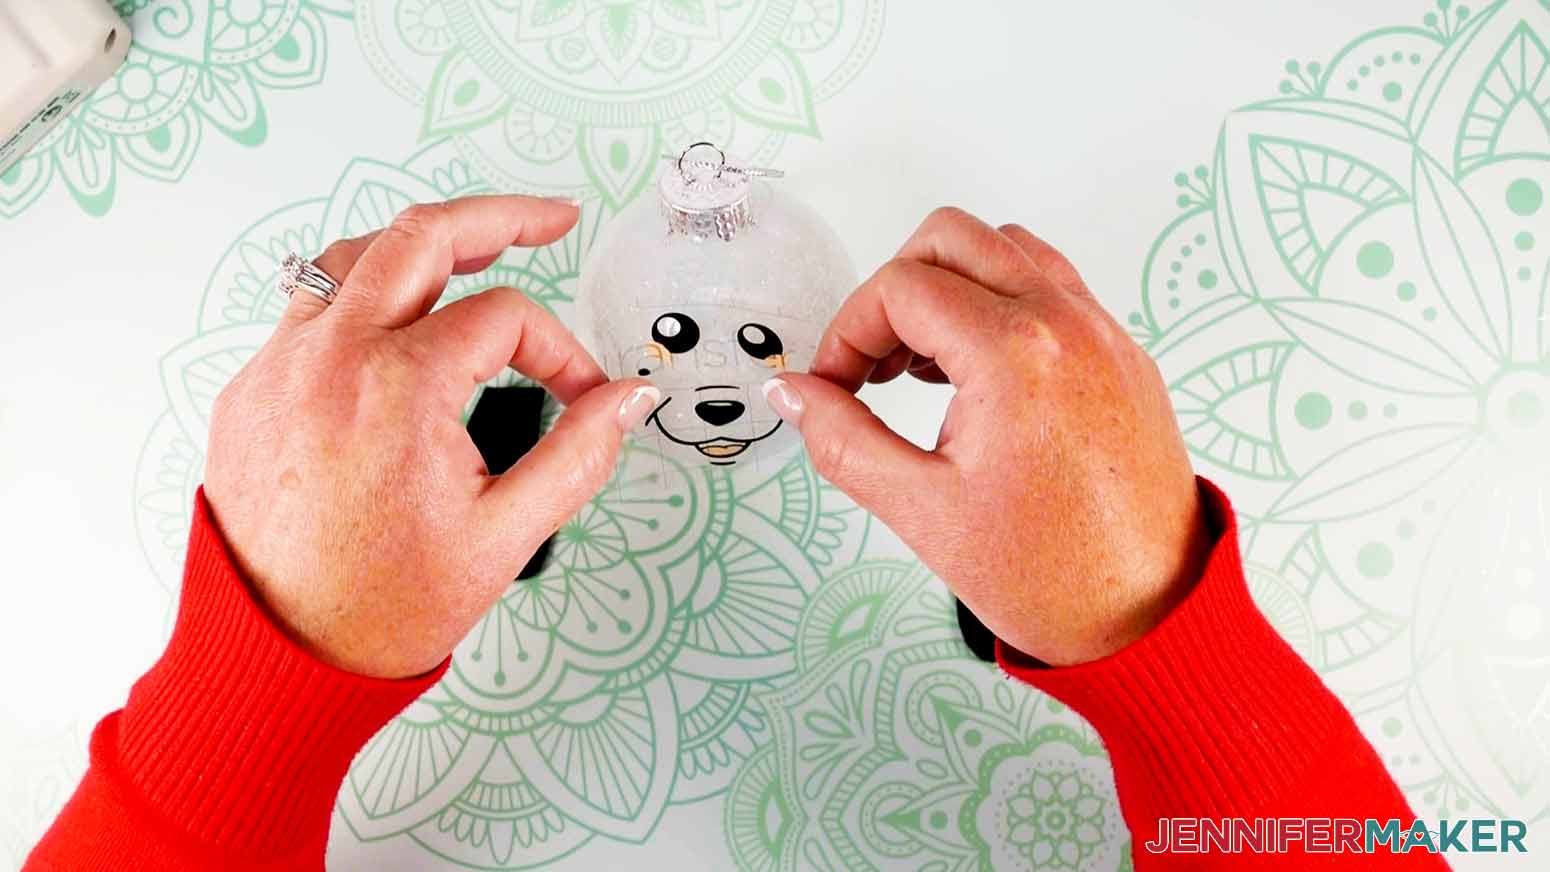 Gently, remove the transfer tape leaving the vinyl on the ornament.
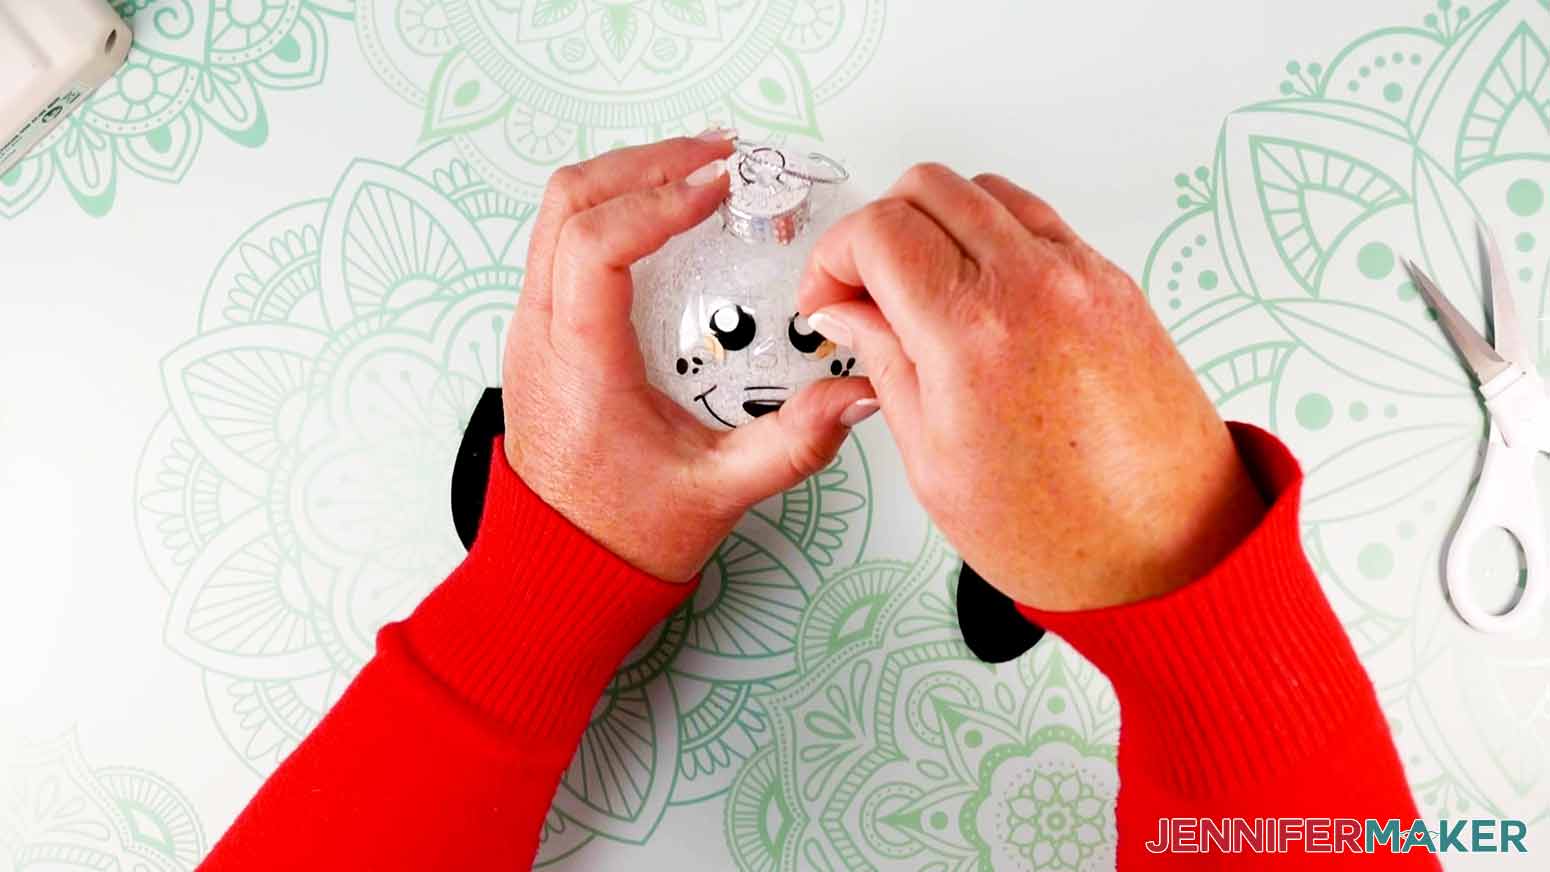 Smooth any bubbles that were missed out working from the center outward.
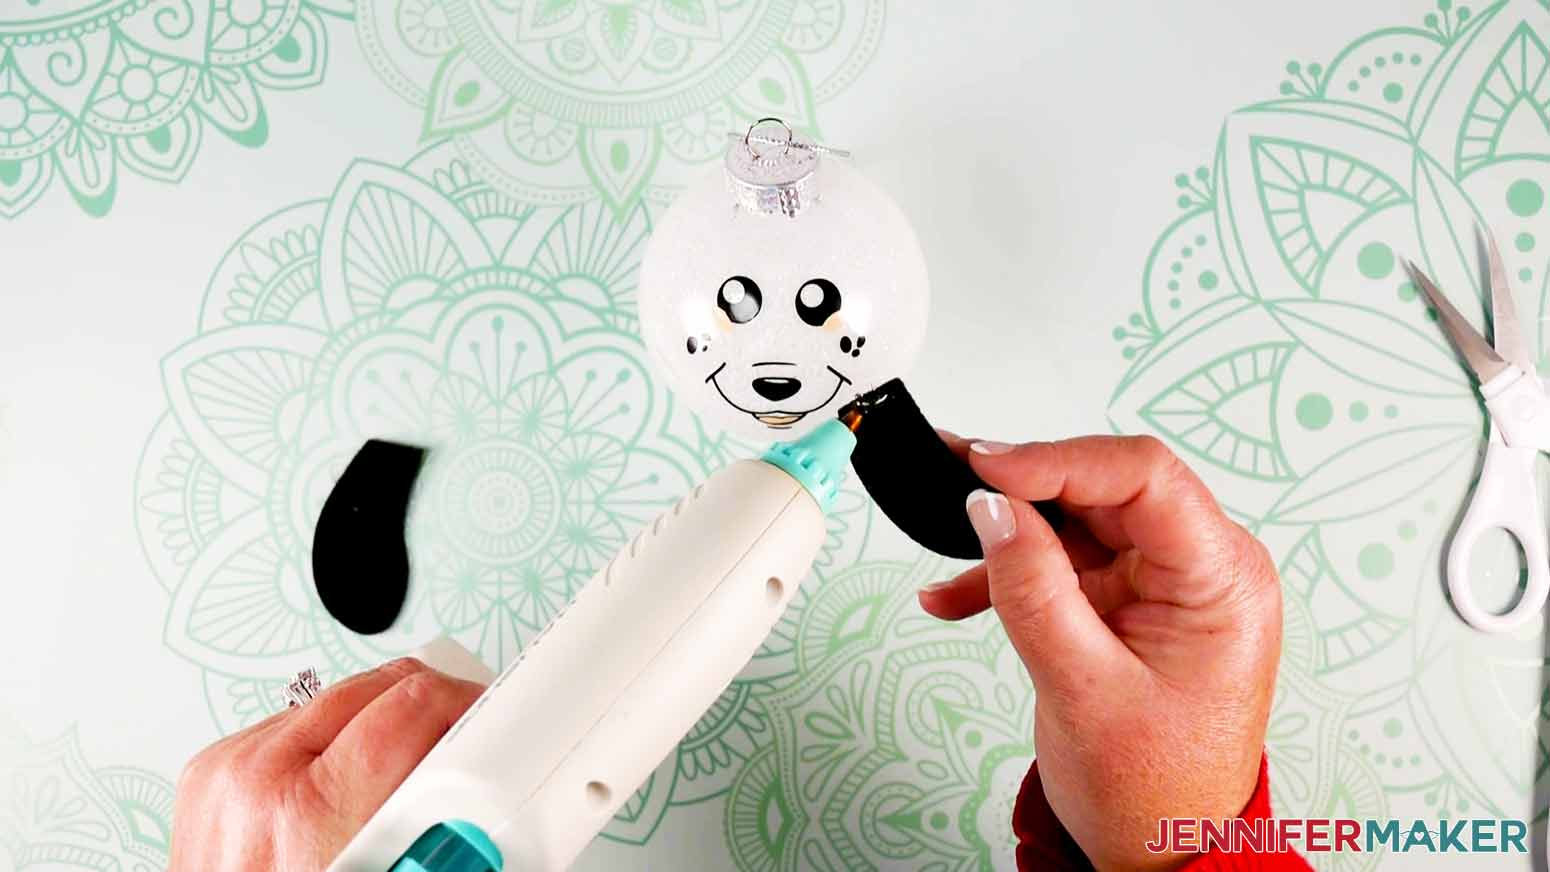
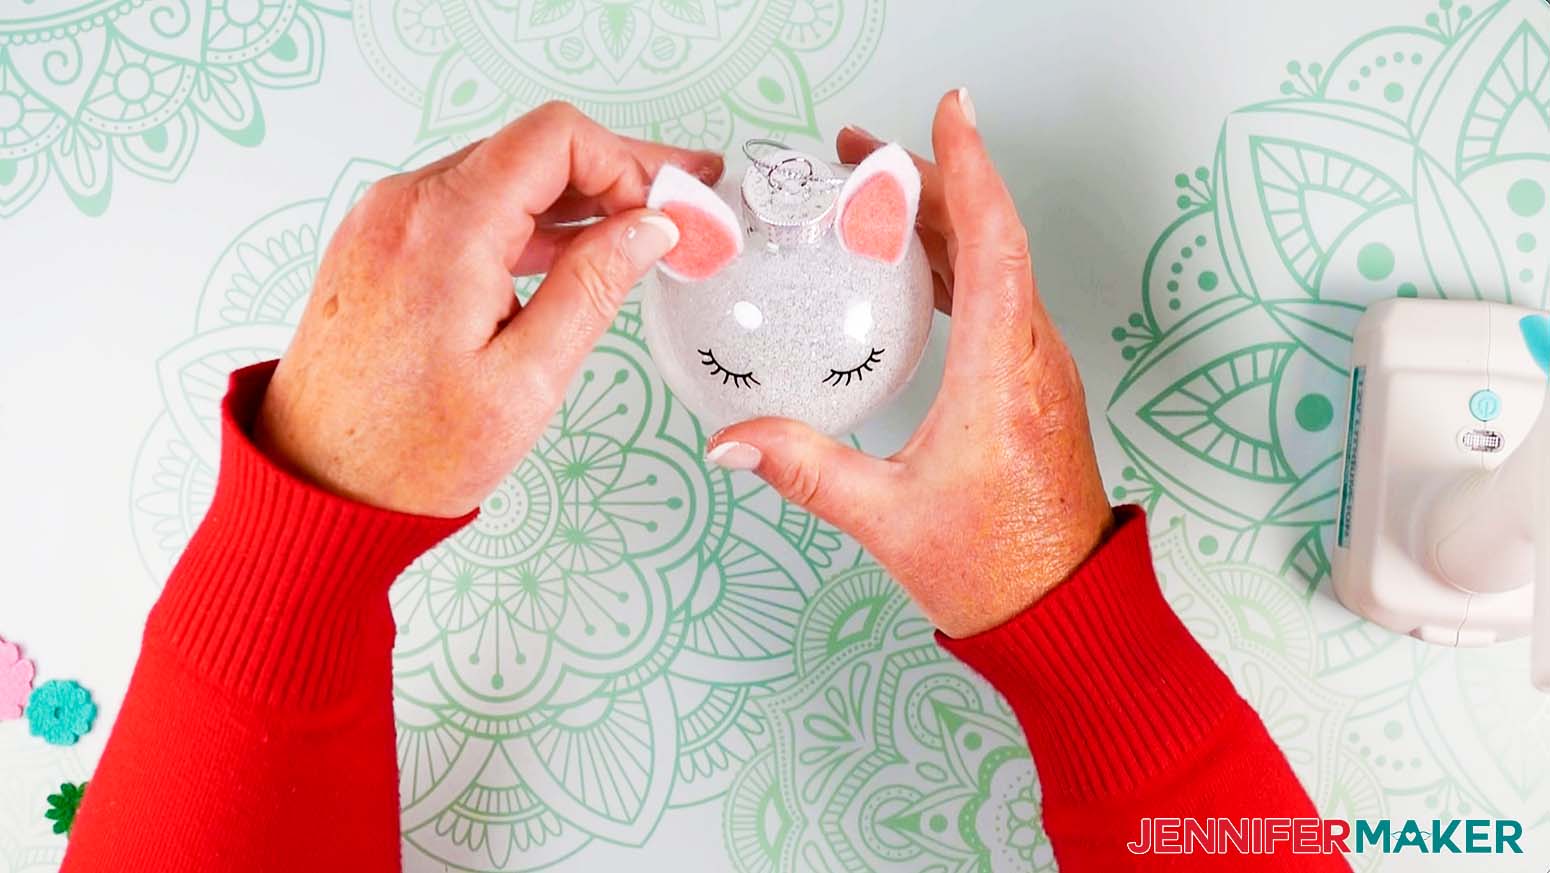
Next, we are going to add our cute felt ears!
For these, I am going to take some hot glue and put some on the inside of the ear at the top. Then place it on the ornament near the top cap. We want to place them so that they frame our face but don’t cover it up.
The steps are basically the same to assemble the unicorn, but we have a few more pieces of felt.
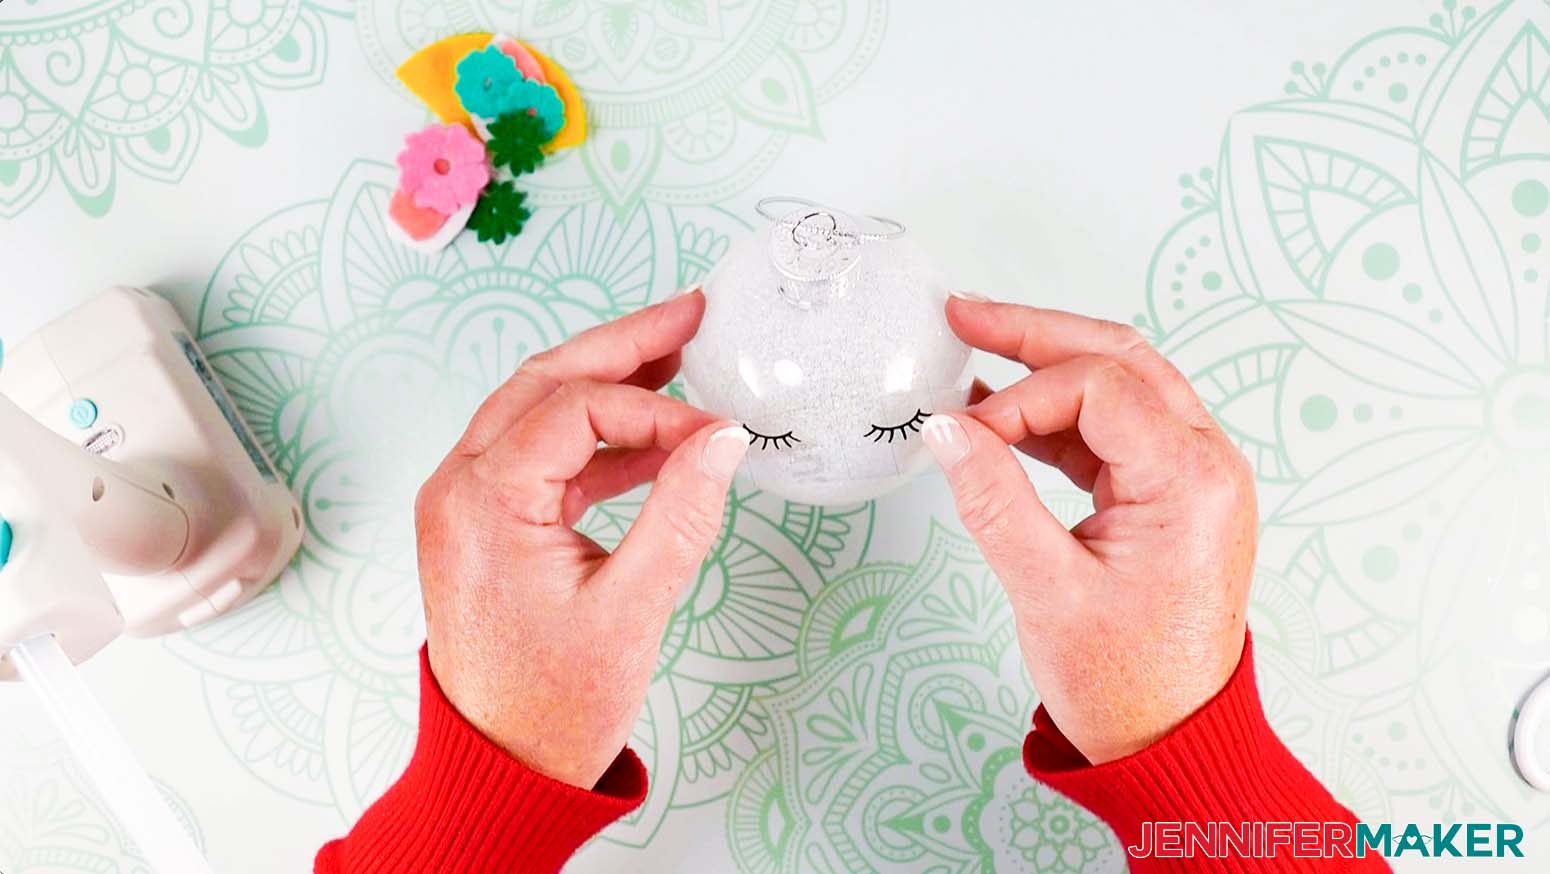
First let’s add our lashes. With the ornament held in place by our cup, gently add the lashes and rub them down with your fingers and remove the transfer tape.
Now we will layer and glue the felt pieces for the ears, pink on top of white and add those to the ornament.
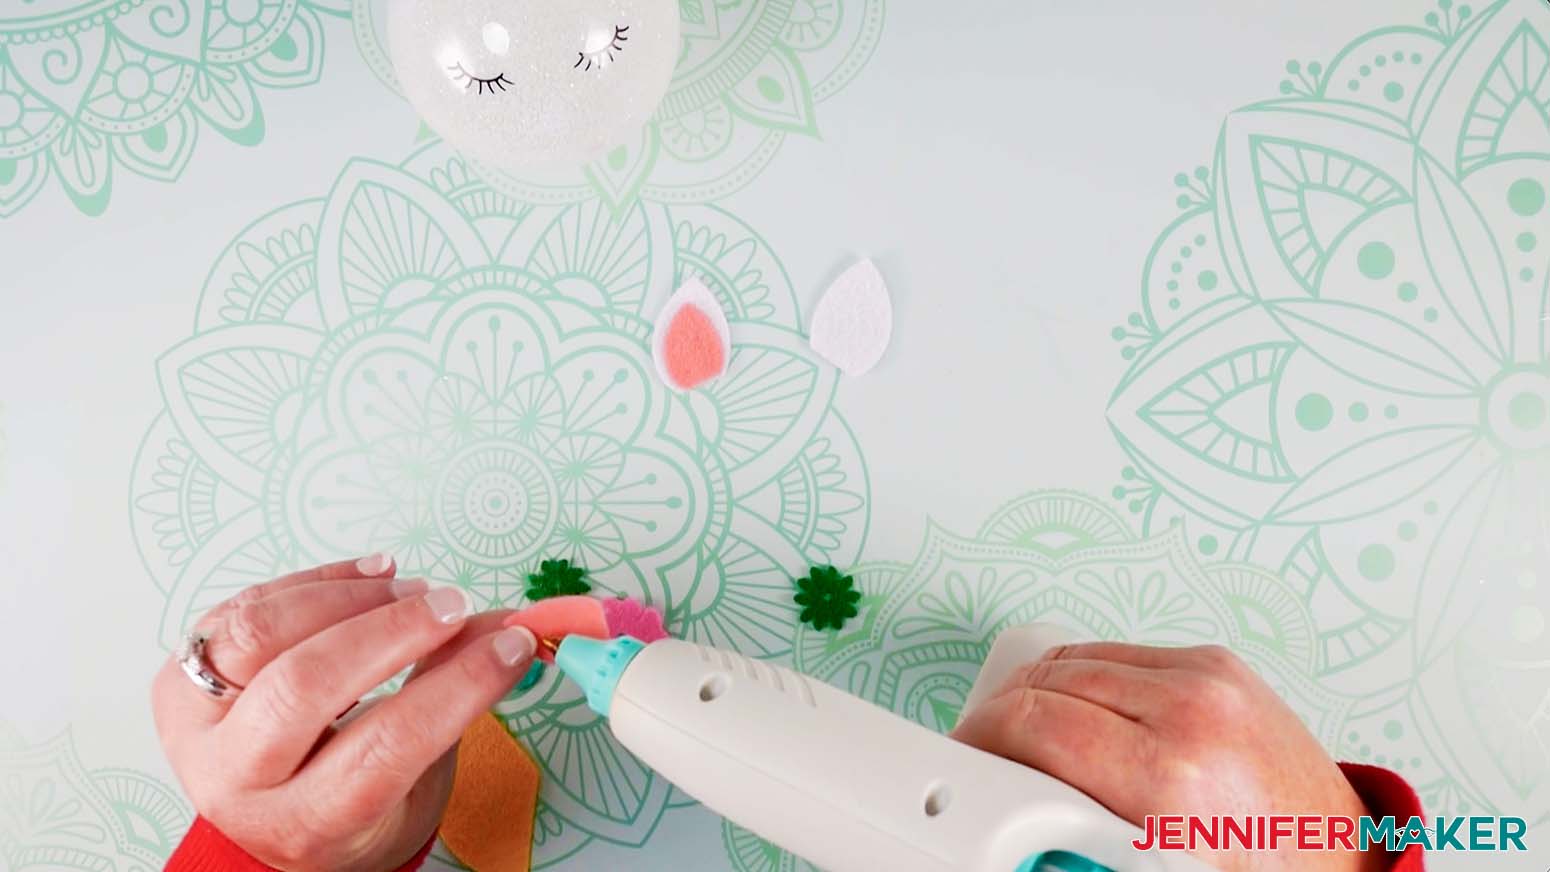
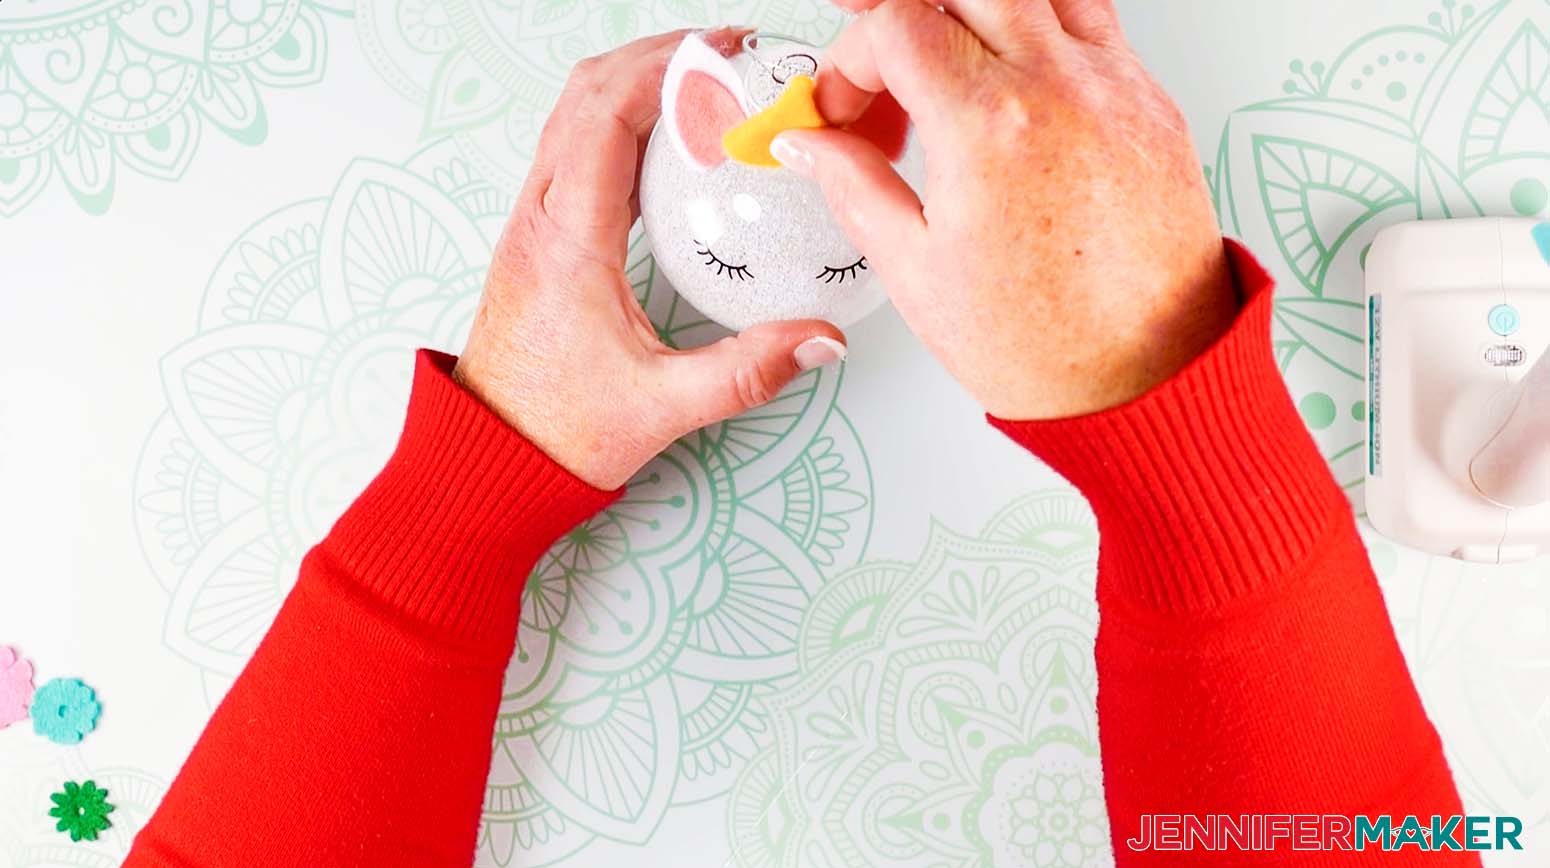
Next we will add our horn and flowers.
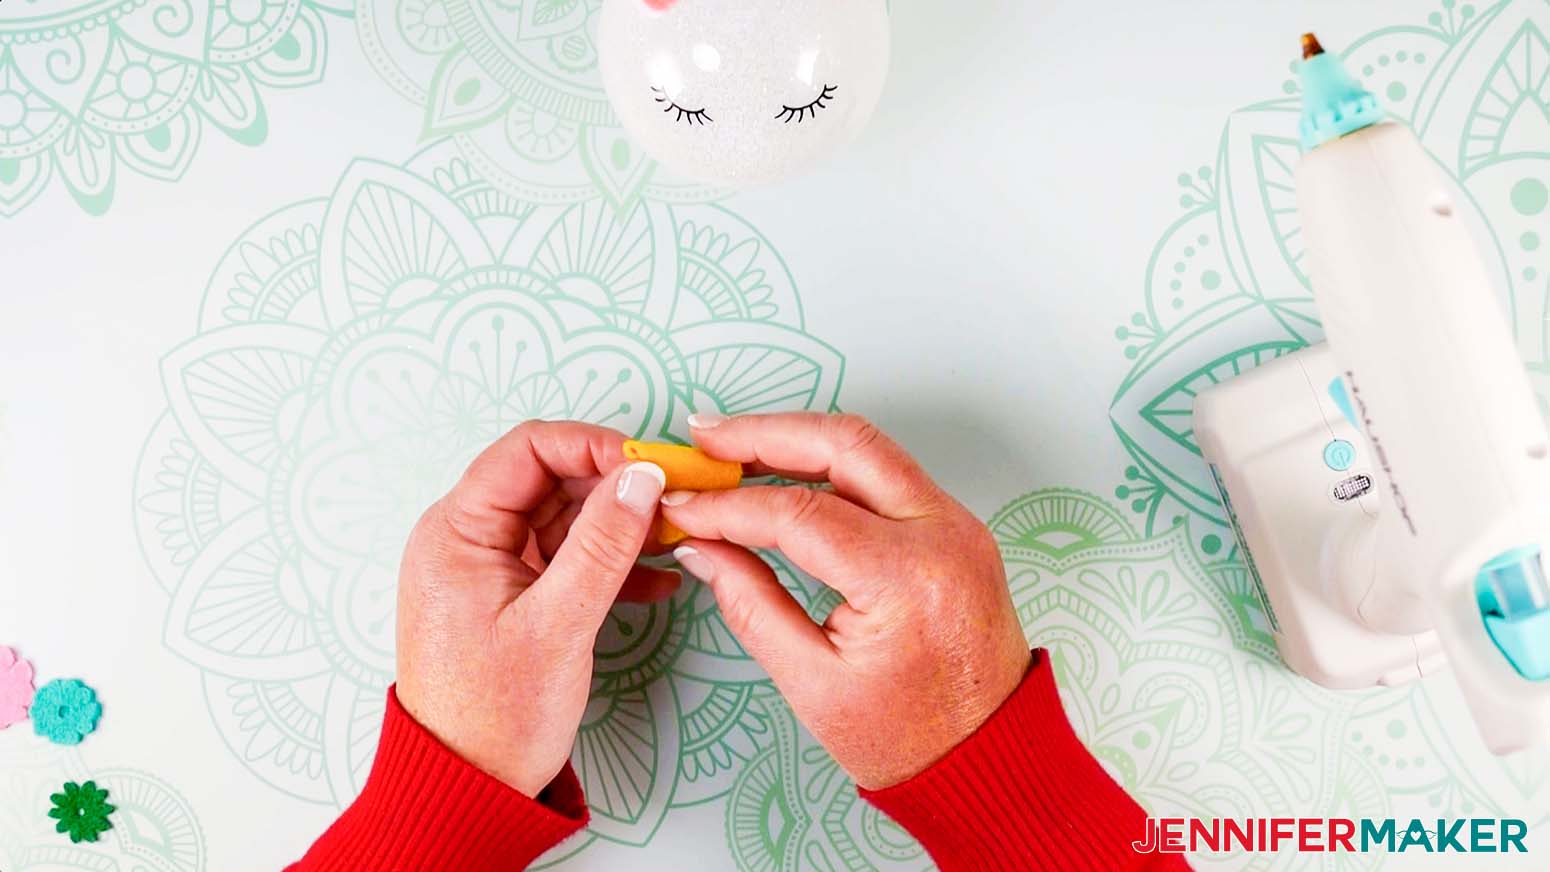
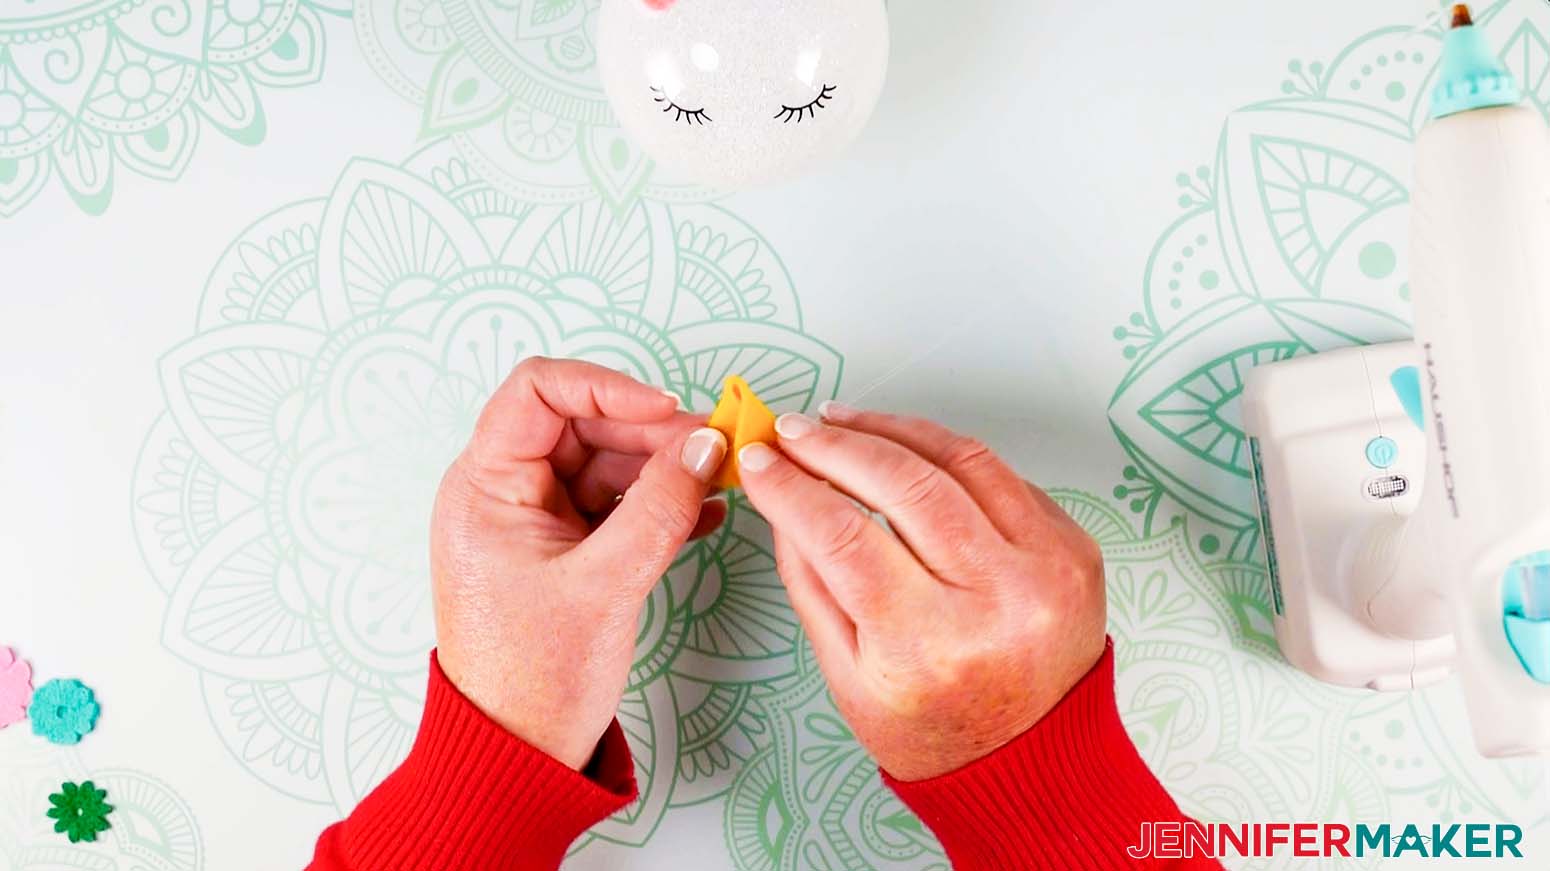
First fold the horn into the shape of a cone.
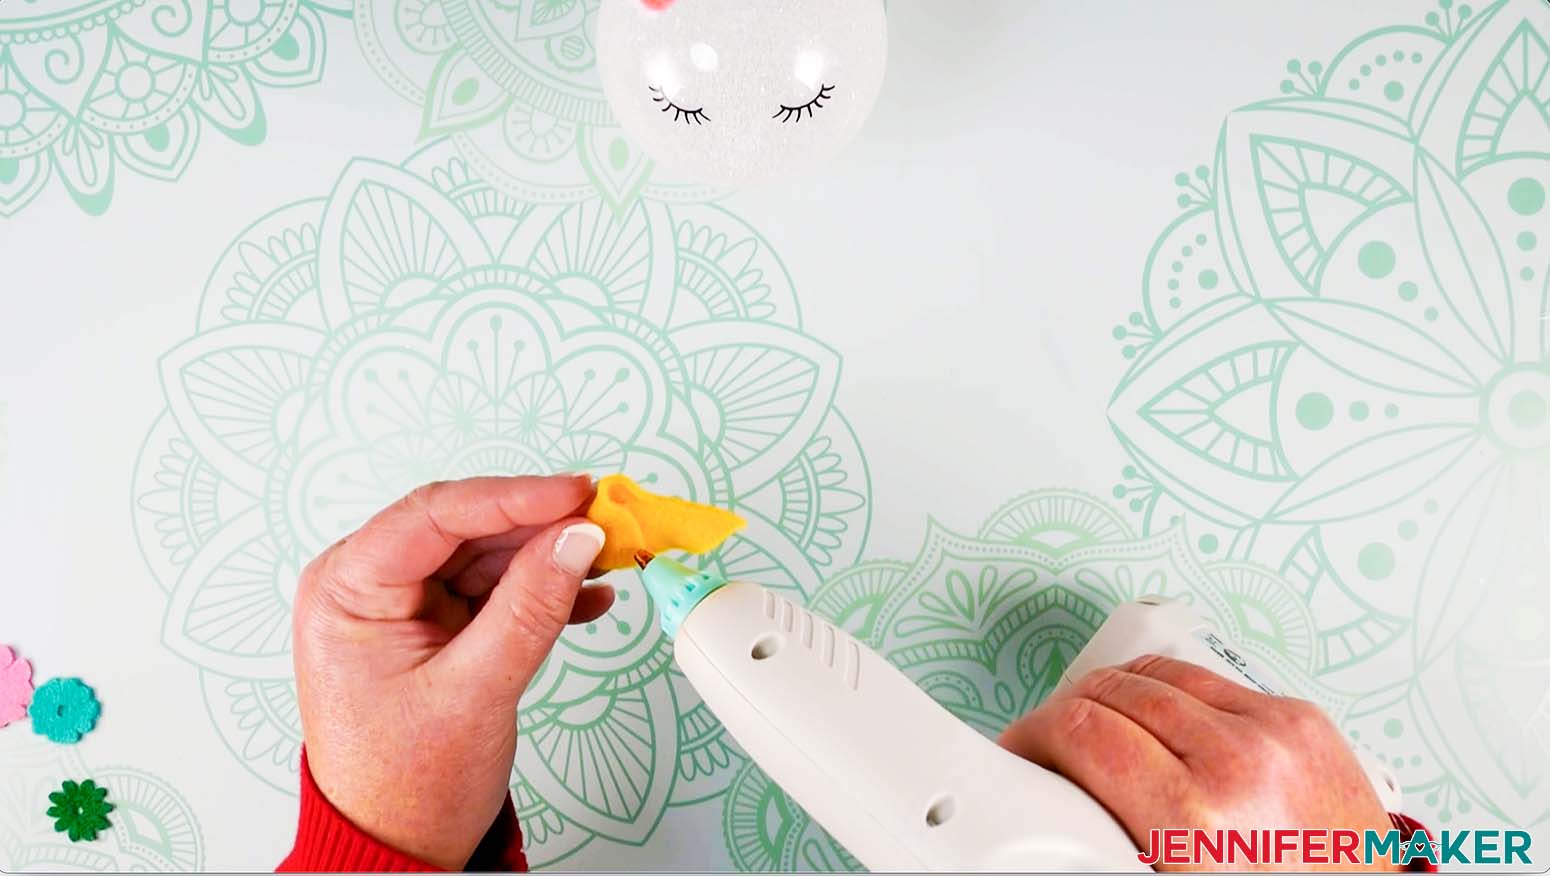
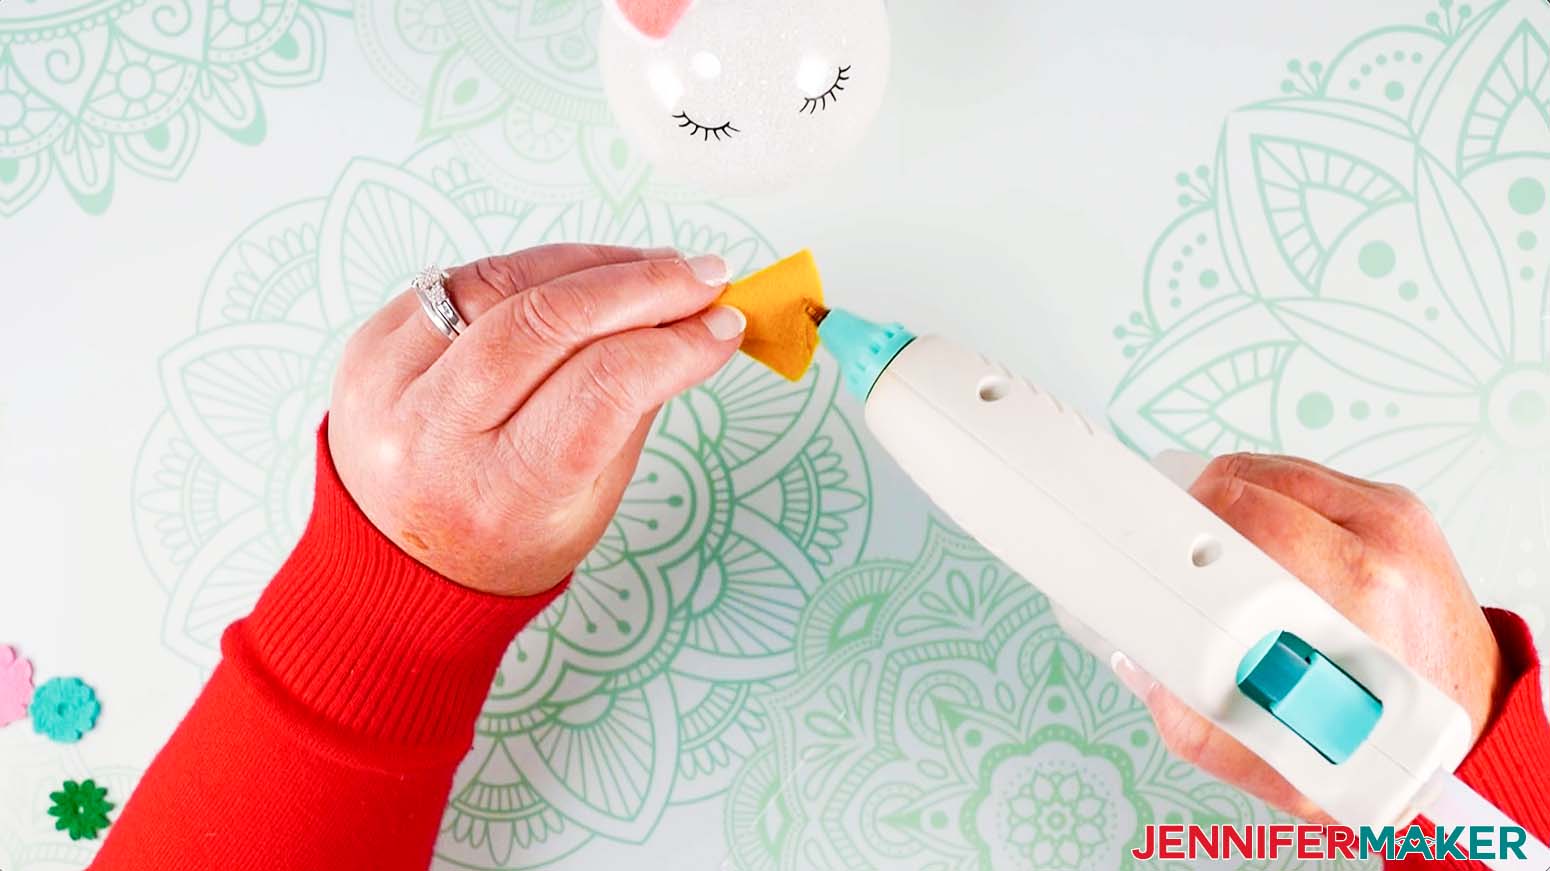
Then add a thin line of glue to the edge and press and hold.
Add glue to the back of the horn.
And glue it in place right between the ears.
Next add glue and attach the flowers.
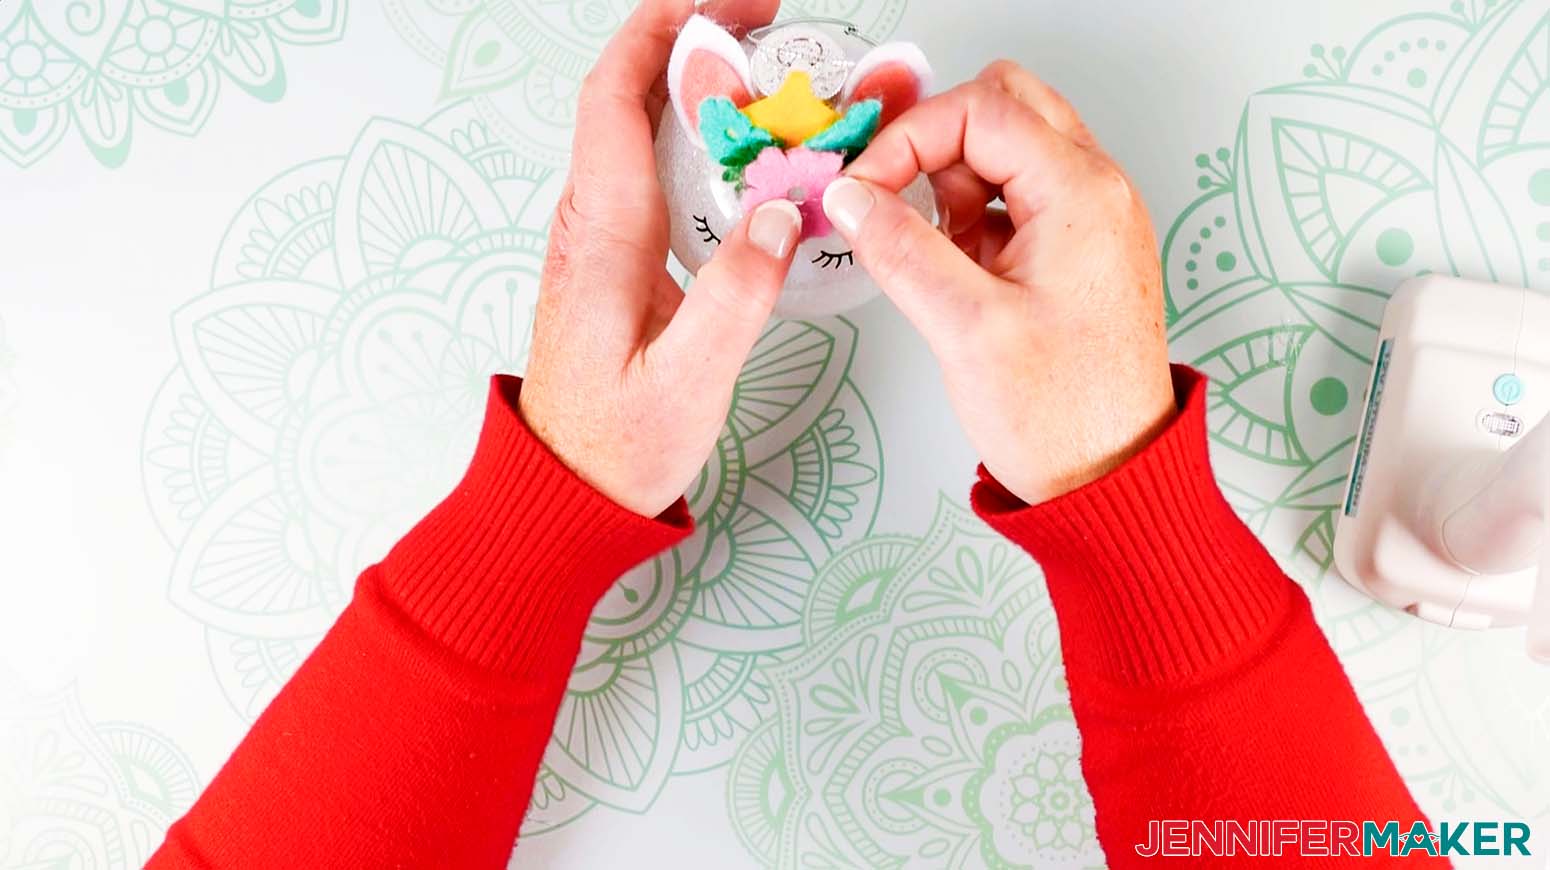
You can arrange them like I did or mix it up however you like.
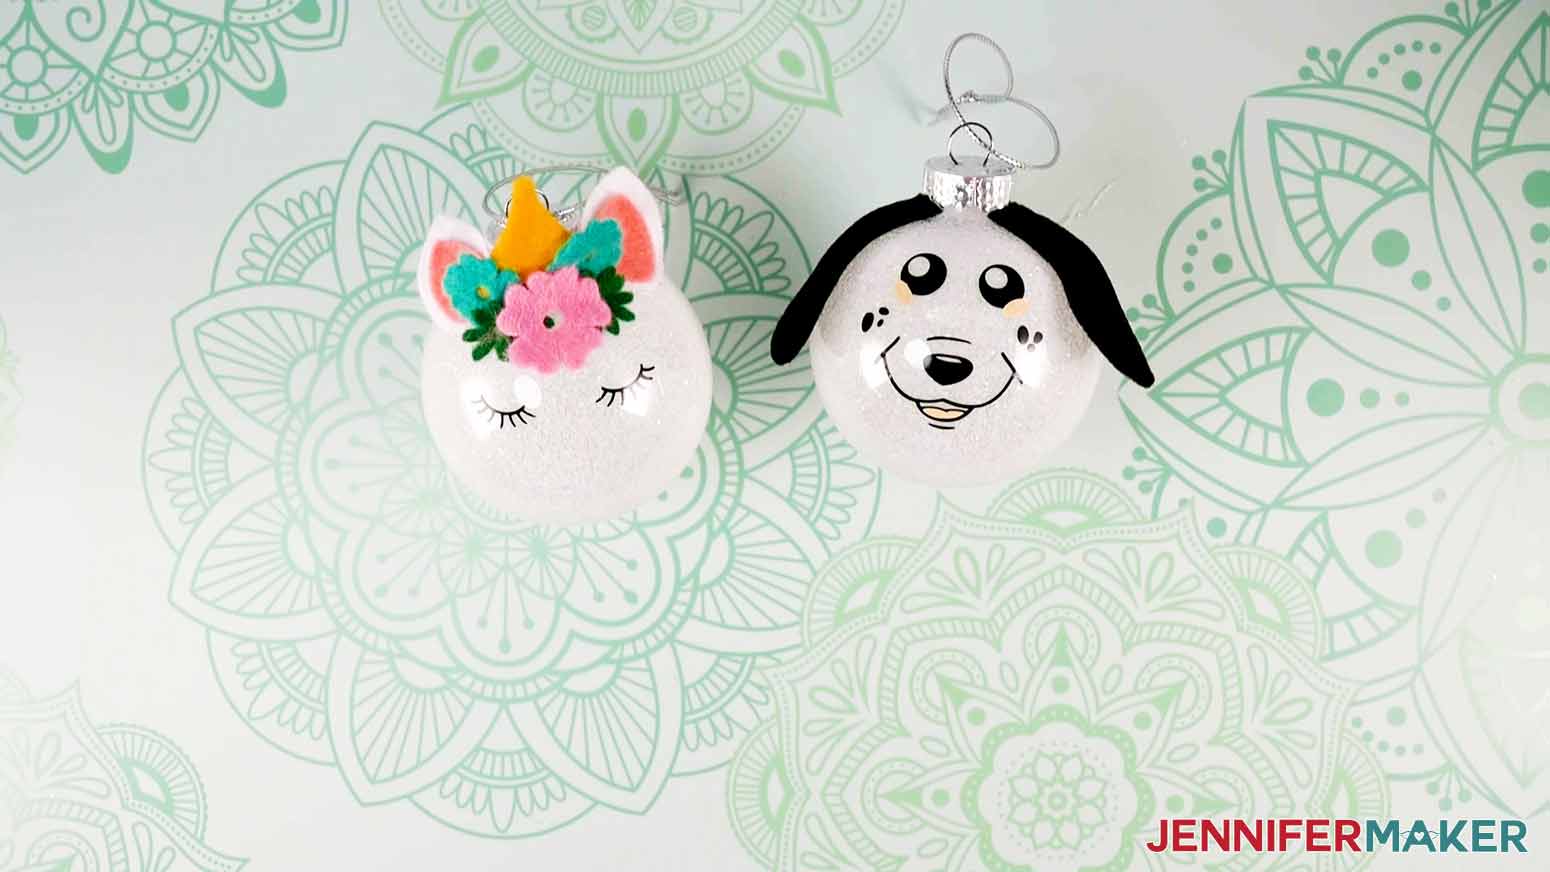
STEP 4: SHOW IT OFF!
Now you have a cute Christmas ornament to hang on the tree or give as a gift. I just love how they all turned out!
Notes
Finished Ornaments measure about 3 inches, slightly larger with the ears and horns.
Recommended Products
As an Amazon Associate and member of other affiliate programs, I earn from qualifying purchases.

Answers to Your Questions About How to Make Glitter Ornaments
How do you glitter inside an ornament?
The easiest way is to get glitter inside an ornament is to coat it with Polycrylic and then use a small paper funnel to pour extra fine glitter inside.
What kind of felt do I use?
I recommend stiff felt, as it cuts better and keeps its shape longer. The Cricut felt is particularly good and results in crisp, clean edges!
Can I cut this project on a Cricut Joy?
Yes, you can cut the vinyl for your glitter ornaments on a Cricut Joy. You cannot cut felt, but either skip the felt pieces or just use cardstock instead!
Can I cut felt on my Cricut Explore Air?
Yes, you can! You’ll just want to put freezer paper on one side of your felt before you cut it, bonding it with an iron or EasyPress. This bonded side then goes against your machine mat to keep the felt in place as you cut it with the fine point blade.
Get my free SVG files to make your own cute glitter ornament set
I love seeing what you make! Please share a photo of your DIY glitter ornaments in our Facebook group or tag me on social media with #jennifermaker.
Love,

Want to remember this? Save this Felt Christmas Tree Advent Calendar Tutorial to your favorite Pinterest Board!