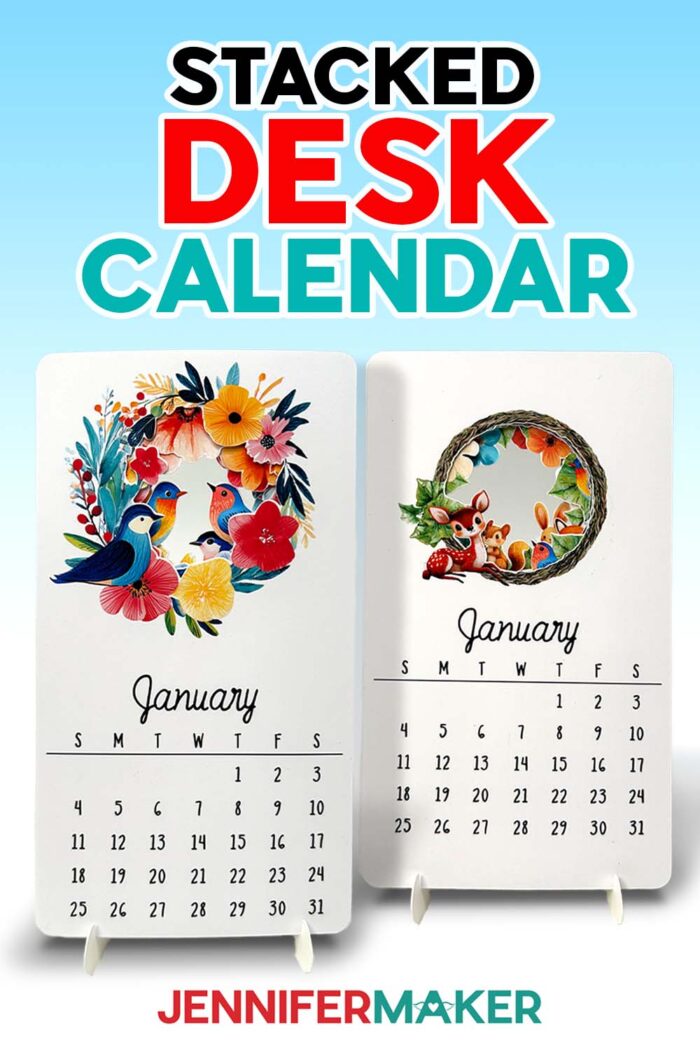
Learn how to make a stacked desk calendar with a stand!
I really love my first version of a stacked calendar. Making it was so much fun! I printed out a set of cute monthly cards, stacked them up on a little stand, and placed it proudly on my desk. For the first few weeks, it looked perfect. But then February rolled around, and when I swapped out the January card, it just got buried in the back where I couldn’t see it anymore. Even though I knew the card was still there, it felt like something was missing. That got me thinking. What if the calendar cards weren’t just individual designs to cycle through, but part of a larger, more cohesive image? So I designed a layered stacked desk calendar design that stays beautiful no matter what month you’re on!
See the full step-by-step video tutorial on how to make a stacked desk calendar:

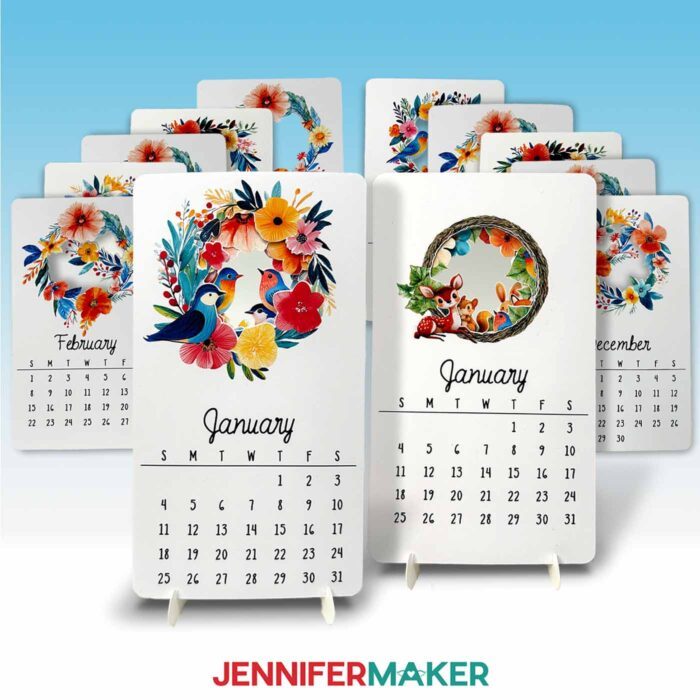
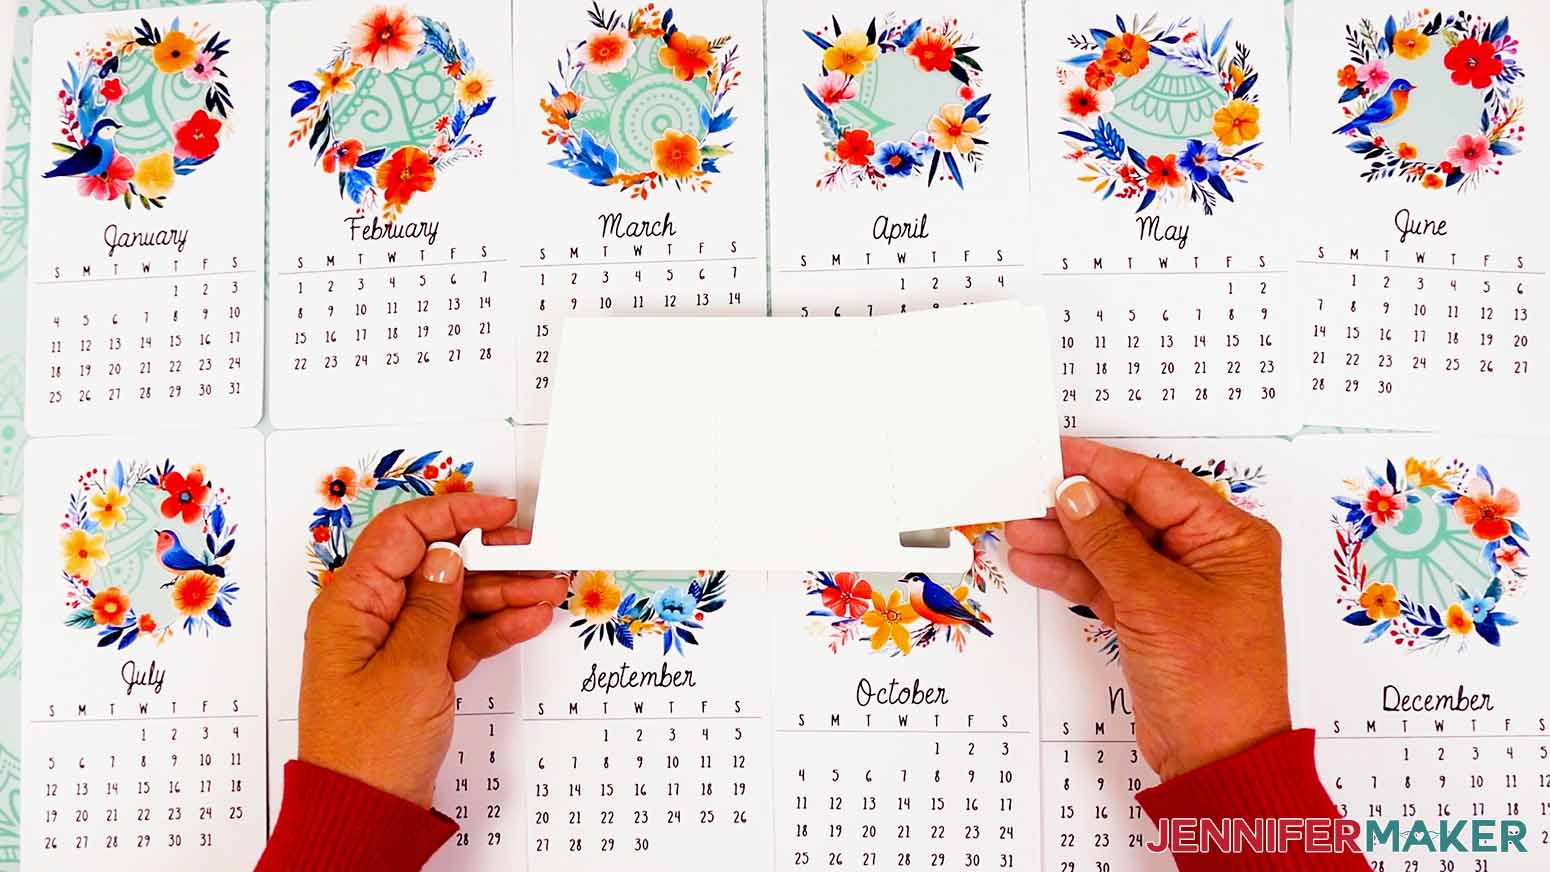
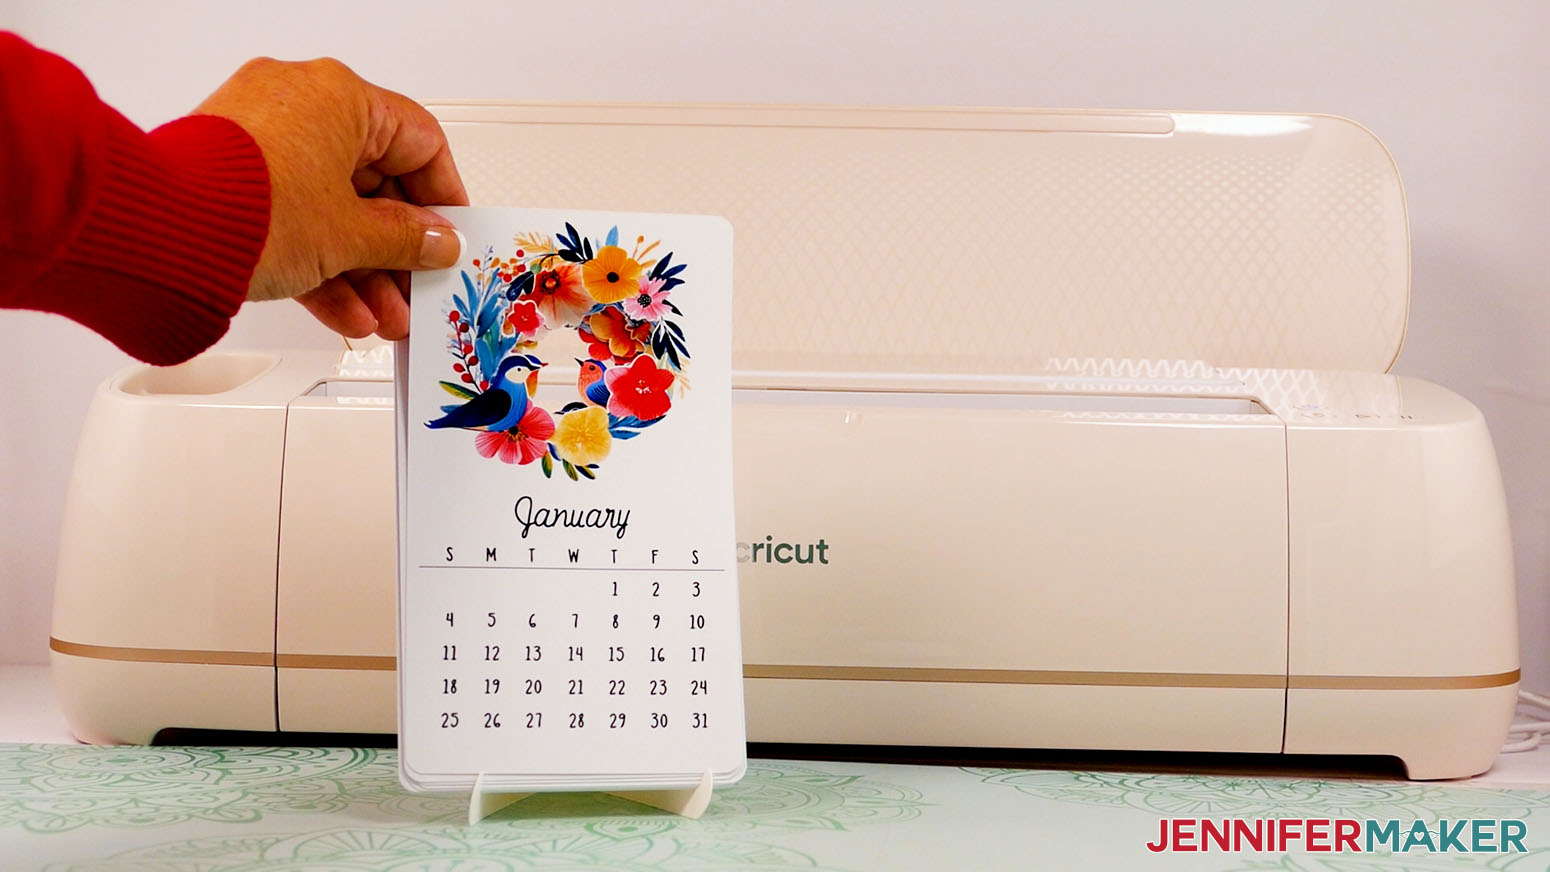
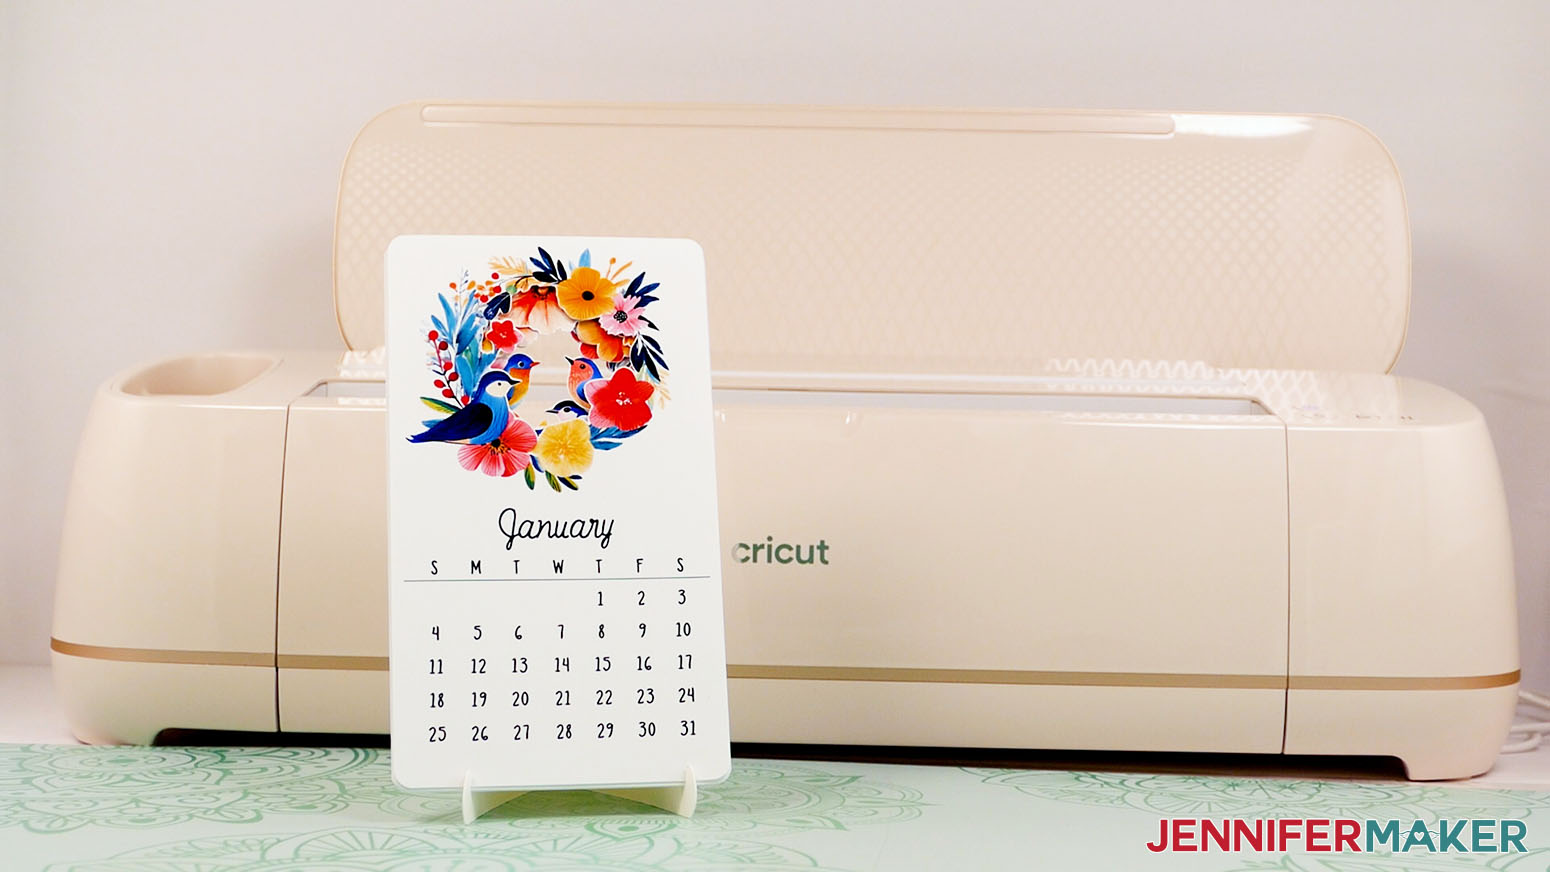
This brand-new printable desk calendar features a ring of birds and flowers in a stacked design that gives it a layered shadow box effect. Instead of a series of overlapping tabs across the top, you have a unified image with depth and dimension. It’s not only pretty to look at, but also keeps its visual balance as you flip from January to December!
There are a lot of ways to make homemade calendars, but stacked calendars are some of my favorites. They’re compact, cute, and a fun way to keep track of important dates without taking up too much space! Compared to wall calendars that need hooks and wall space, or flat desktop calendars that can get lost in paper piles, a stacked calendar stands neatly on your desk using a simple stand, so you don’t have to stop what you’re doing to check the day’s date. It’s as useful as it is decorative!
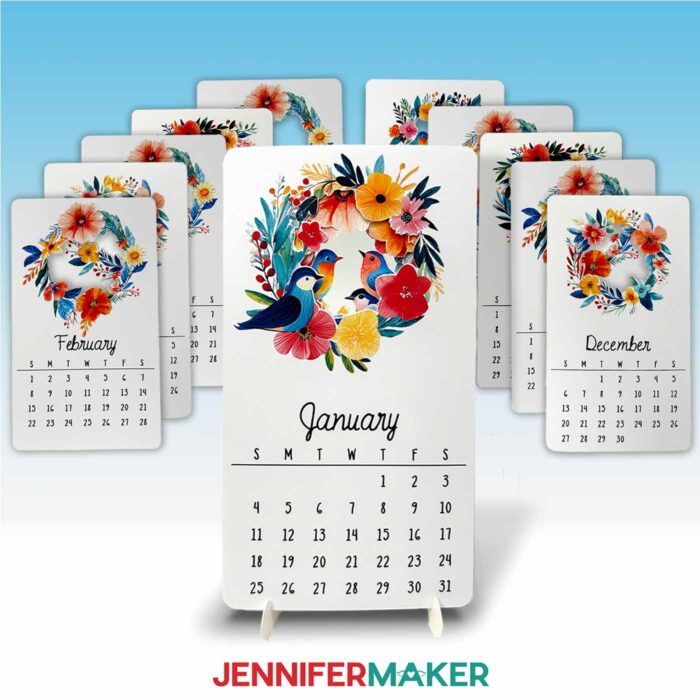
In my free video tutorial, I walk you through how to make all twelve calendar cards using your Cricut’s Print Then Cut feature, as well as how to cut the clever little desk stand for your calendar. I even include date grids that cover every possible month layout, so you have the right configuration at your fingertips, whether the month starts on a Sunday or a Thursday, has 28 or 31 days, or anything in between. That means you can use this stacked calendar design year after year, with no need to update the artwork. Neat, huh? I’ve also included a convenient 2026 version that’s ready to go, so you can start crafting right away.

You’ll need a color inkjet printer and matte photo paper to bring the artwork to life, along with a Cricut cutting machine. Any model with Print Then Cut capability will work. You’ll also need 110 lb. cardstock for the stand, plus a few basic tools like a green StandardGrip machine mat, a brayer, and craft glue. My free design files include both score and no-score stand options, depending on whether you want to use a scoring tool for a cleaner finish or stick with just your fine-point blade. And that’s everything you need to create a functional and eye-catching calendar with its own stand!

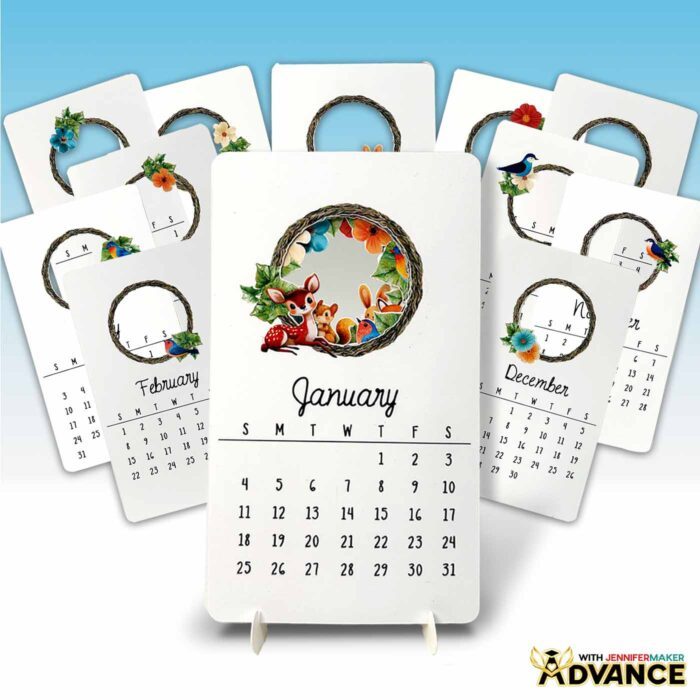
A stacked desk calendar is a beautiful and practical project to use on your desk, gift to a friend, or customize with your own design elements. If you’d like to personalize the art and create your own printable stacked desk calendar, I can teach you exactly how to do that in my Advance with JenniferMaker program! I’ll show you how to build layered artwork that fits perfectly within a stacked layout, so your custom calendar will look amazing any month of the year. Learn more about ADVANCE with JenniferMaker here!
If you’re a fan of specialty calendars, you’ll love this project. It’s fun to combine the charm of handmade art with the function of a desktop organizer tool. Whether you’re circling important dates or just like to see each month’s artwork, stacked calendars bring a little joy to the everyday.
When you’re ready to craft your own, make sure to grab my free designs and calendar template files to start making your stacked desk calendar. I can’t wait to see how you make it part of crafting a life YOU love!
Let me show you how to make a stacked desk calendar! This post contains some affiliate links for your convenience (which means if you make a purchase after clicking a link I will earn a small commission but it won’t cost you a penny more, there is no additional cost)! Read my full disclosure policy.
Materials to Make a Stacked Desk Calendar
View my Amazon shopping list with the exact items I used.
- Twelve (12) Sheets of 8.5″ x 11″ Matte Photo Paper
- One (1) 5″ x 7″ A7 Envelope (optional)
- One (1) Sheet of 8.5″ x 11″ 110 lb. Cardstock (for the stand)
- One (1) Sheet of 8.5″ x 11″ Copy Paper (to protect the printed images from the brayer)
- Color Inkjet Printer (if you want to print at home)
- A way to cut your materials – I’m using the Cricut Maker 4, but you can also use any Cricut Maker series machine, a Cricut Explore series machine, the Cricut Venture, or the Cricut Joy Xtra
- Cricut Green StandardGrip Machine Mat 12″ x 12″
- Scoring Stylus (optional for files with score lines) -OR-
- Single Scoring Wheel (optional for files with score lines)
- Brayer
- Spatula
- Craft Glue (I used Bearly Art Precision Craft Glue for securing the edge of the calendar stand)
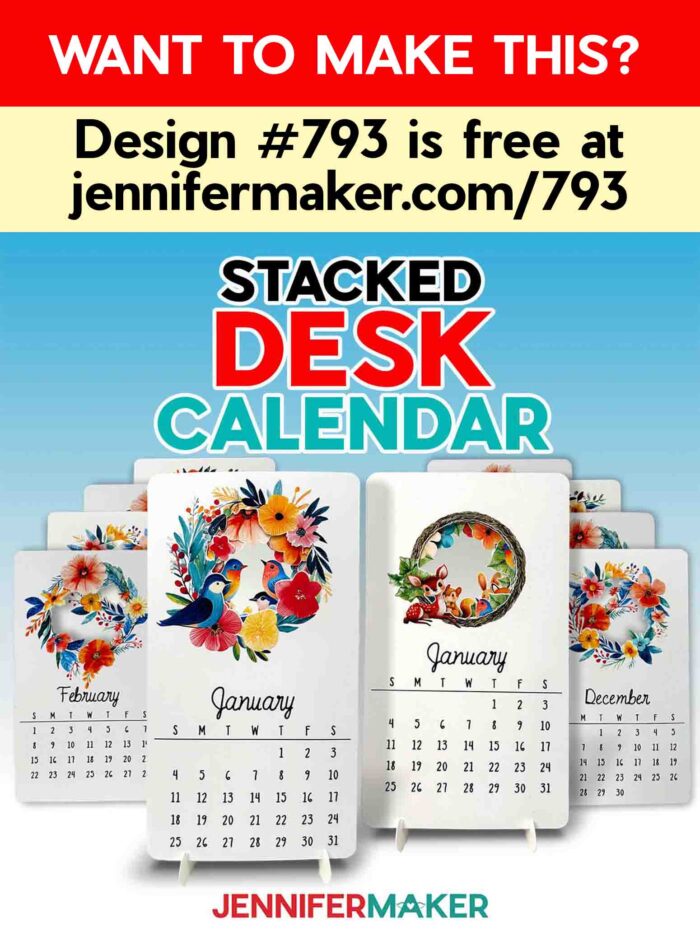
- Design #793 (My free PNG/SVG/PDF/DXF design files are available in my free resource library – get the password by filling out the form at the bottom of this page
How to Make a Stacked Desk Calendar!

Stacked Desk Calendar
Learn how to make a stacked desk calendar with a stand!
Materials
- Twelve (12) Sheets of 8.5” x 11” 61 lb. Matte Photo Paper
- One (1) Sheet of 8.5" x 11" 110 lb. Cardstock (for the stand)
- One (1) Sheet of 8.5” x 11” Copy Paper (to protect the printed images from the brayer)
- Design #793 (My free PNG/SVG/PDF/DXF design files are available in my free resource library - get the password by filling out the form at the bottom of this page)
Tools
- A way to cut your materials - I’m using the Cricut Maker 4, but you can also use any Cricut Maker series machine, a Cricut Explore Series machine, the Cricut Venture, or the Cricut Joy Xtra
- Cricut Green StandardGrip Machine Mat 12" x 12"
- A Color Inkjet Printer
- Scoring Stylus (optional for files with score lines) -OR-
- Single Scoring Wheel (optional for files with score lines)
- Brayer
- Spatula
- Bearly Art Glue (for securing the edge of the calendar stand)
Instructions
STEP 1: GET MY FREE STACKED DESK CALENDAR DESIGNS
First, download my Stacked Desk Calendar files from my free library – look for Design #793. Alternatively, you can use the Save This Project form near the top of this post and the design link will be emailed to you.
In the PNG folder, you’ll find 12 images that can be used to make your calendar – one for each month of the year. I made these designs with the help of AI art generation and adjusted them with image editing software.
In the SVG folder, you’ll find a “dates” design file that you can use to create calendar cards for any year. You’ll also find a “2026” design file with the calendar dates for the year 2026 already arranged for you. There are “score” and “no-score” versions of the desk stand included, as well.
There is also a DXF folder with cut files for other machines, and a PDF folder with versions you can print and cut by hand.
I’ll demonstrate how to create a desk calendar for any year using the PNG and SVG files, and teach you how to make the “noscore” version of the stand as well.
TIP: If you’re not sure how to upload, go to jennifermaker.com/svgs to learn how to unzip and upload files.
STEP 2: PREPARE AND CUT YOUR STACKED DESK CALENDAR DESIGN
CRICUT DESIGN SPACE
- In Cricut Design Space, open a blank Canvas.
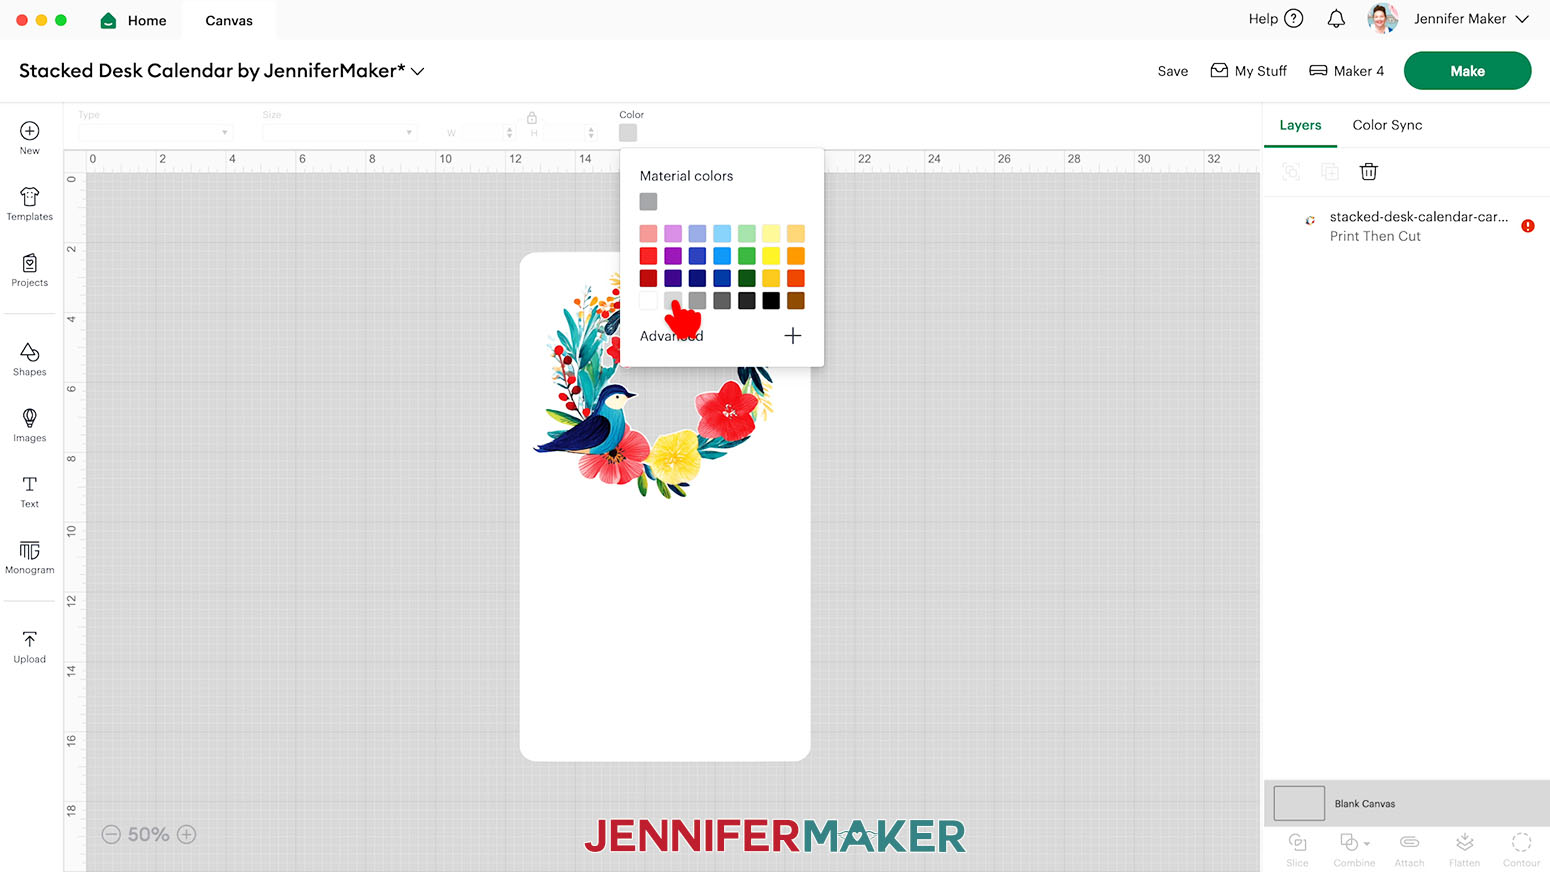
NOTE: If you’re new to using Cricut Design Space, go to cricutkickoff.com for my introductory tutorial on Design Space basics. - Some of our images will load with white backgrounds and no outline, which can be hard to see on a white Canvas. So click the “Blank Canvas” icon at the bottom of the Layers Panel, then click the box under “Color” and choose a different color for your Canvas.

- To add the calendar cards to your Canvas, click “Upload” and then “Upload Image.”
- Click “Browse.”
- Select the “card1” PNG.
- Click “Open,” and then “Continue.”
- On the “Background Remover” screen, you don’t need to do anything so click “Apply & Continue.”
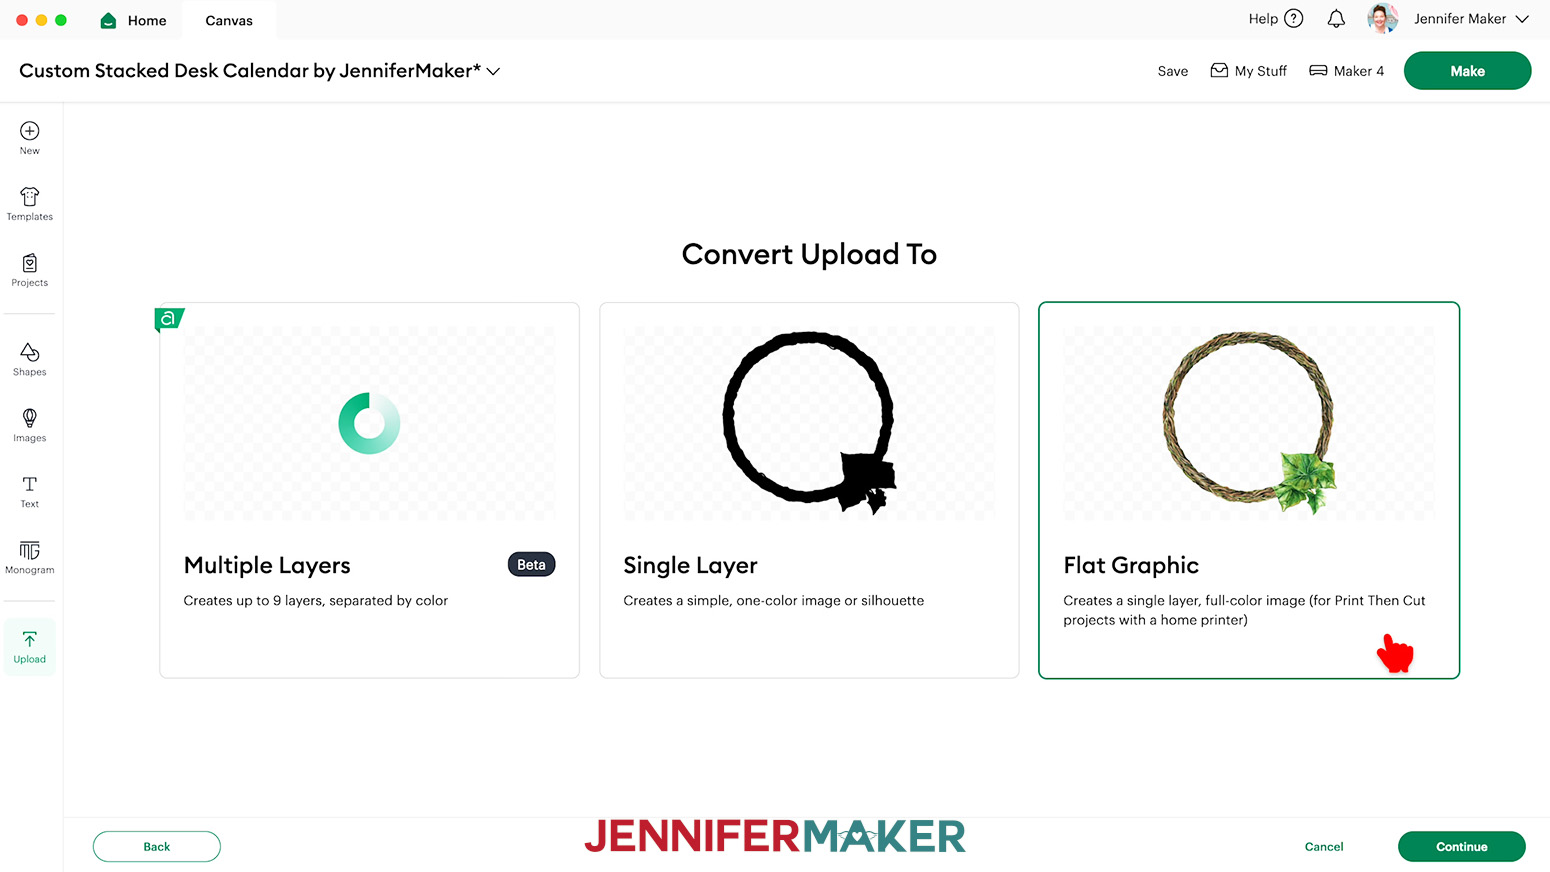
- On the “Convert Upload To” page, select “Flat Graphic” and click “Continue.”
- Click “Upload” to add the image to your Canvas.
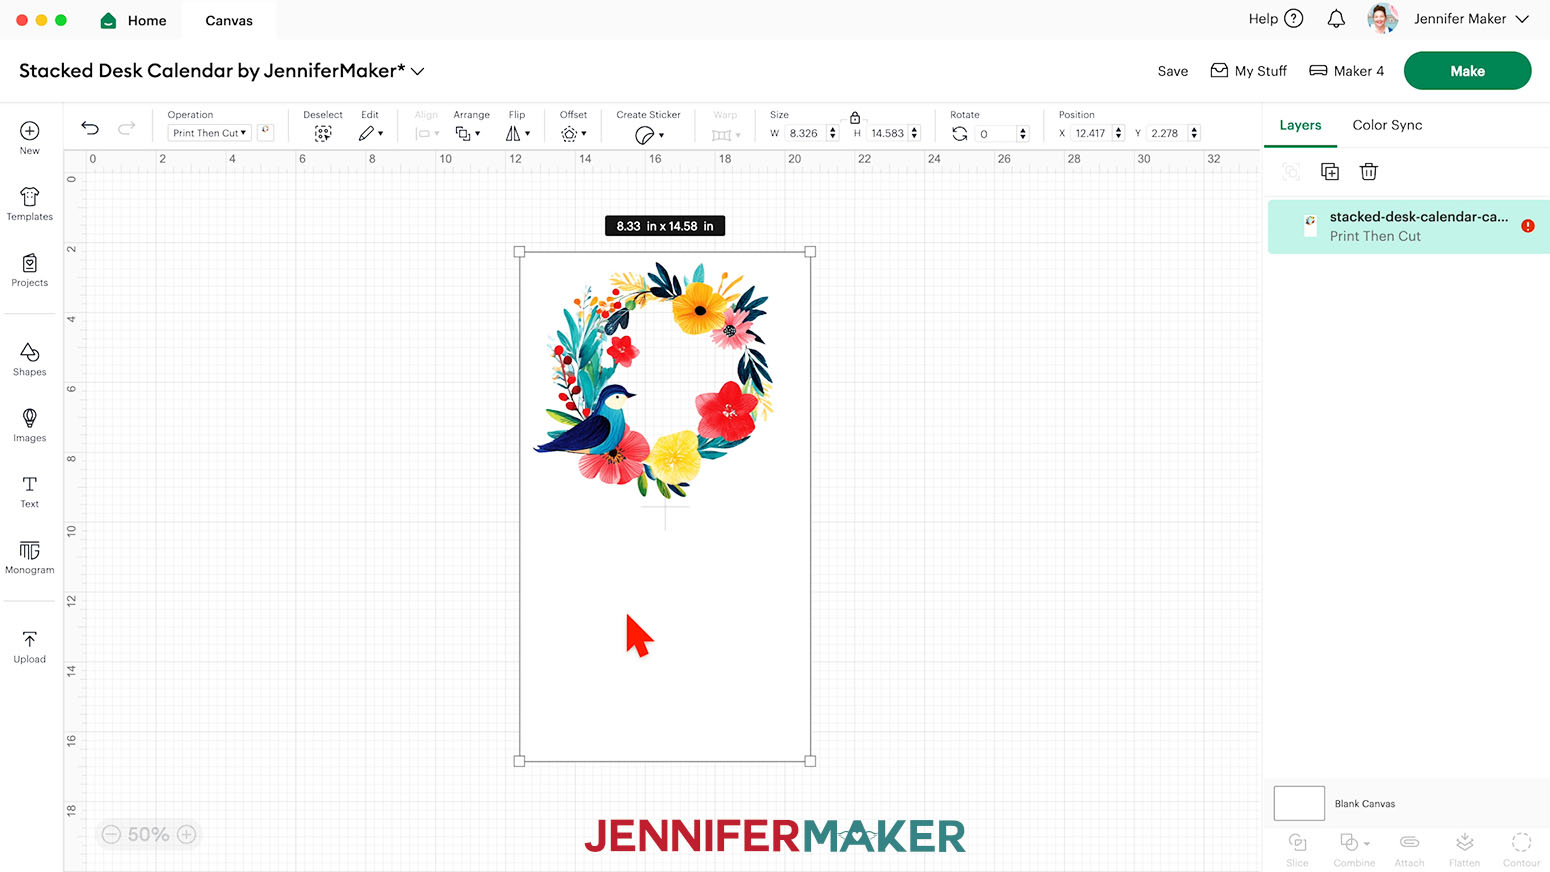
NOTE: The image will load in too large for Print Then Cut, and you’ll see a red warning icon in the Layers Panel. We will fix this later. - Repeat Steps 3-9 to add the remaining card PNGs (“card2” through “card12”) to your Canvas.
TIP: If Design Space lags when working with all the card files simultaneously, you can load and prepare a few cards at a time instead. - Click “Save” and give your project a name.
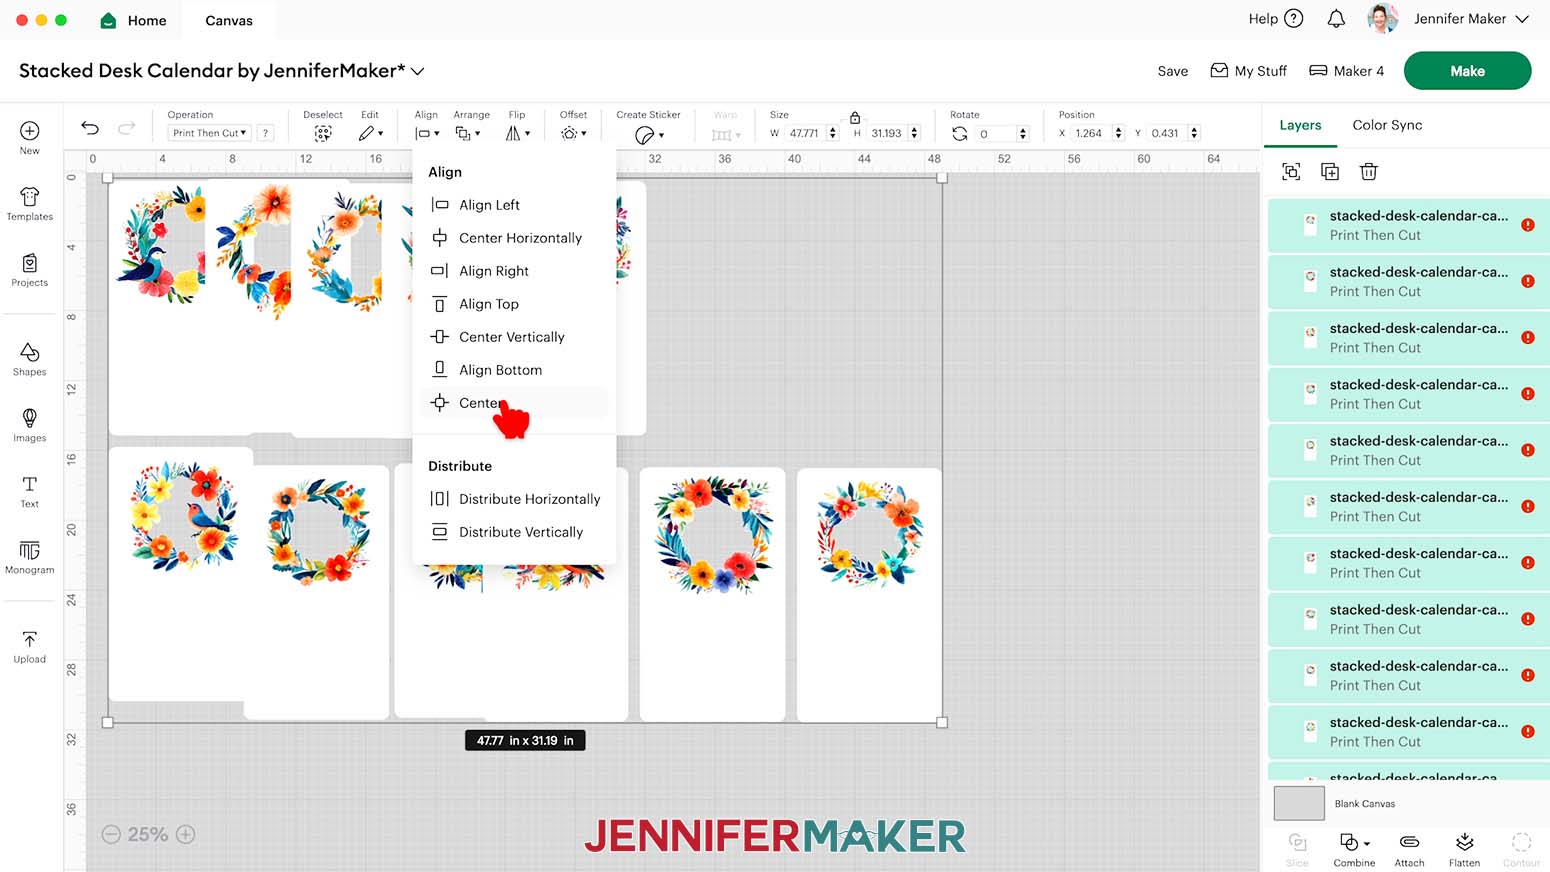
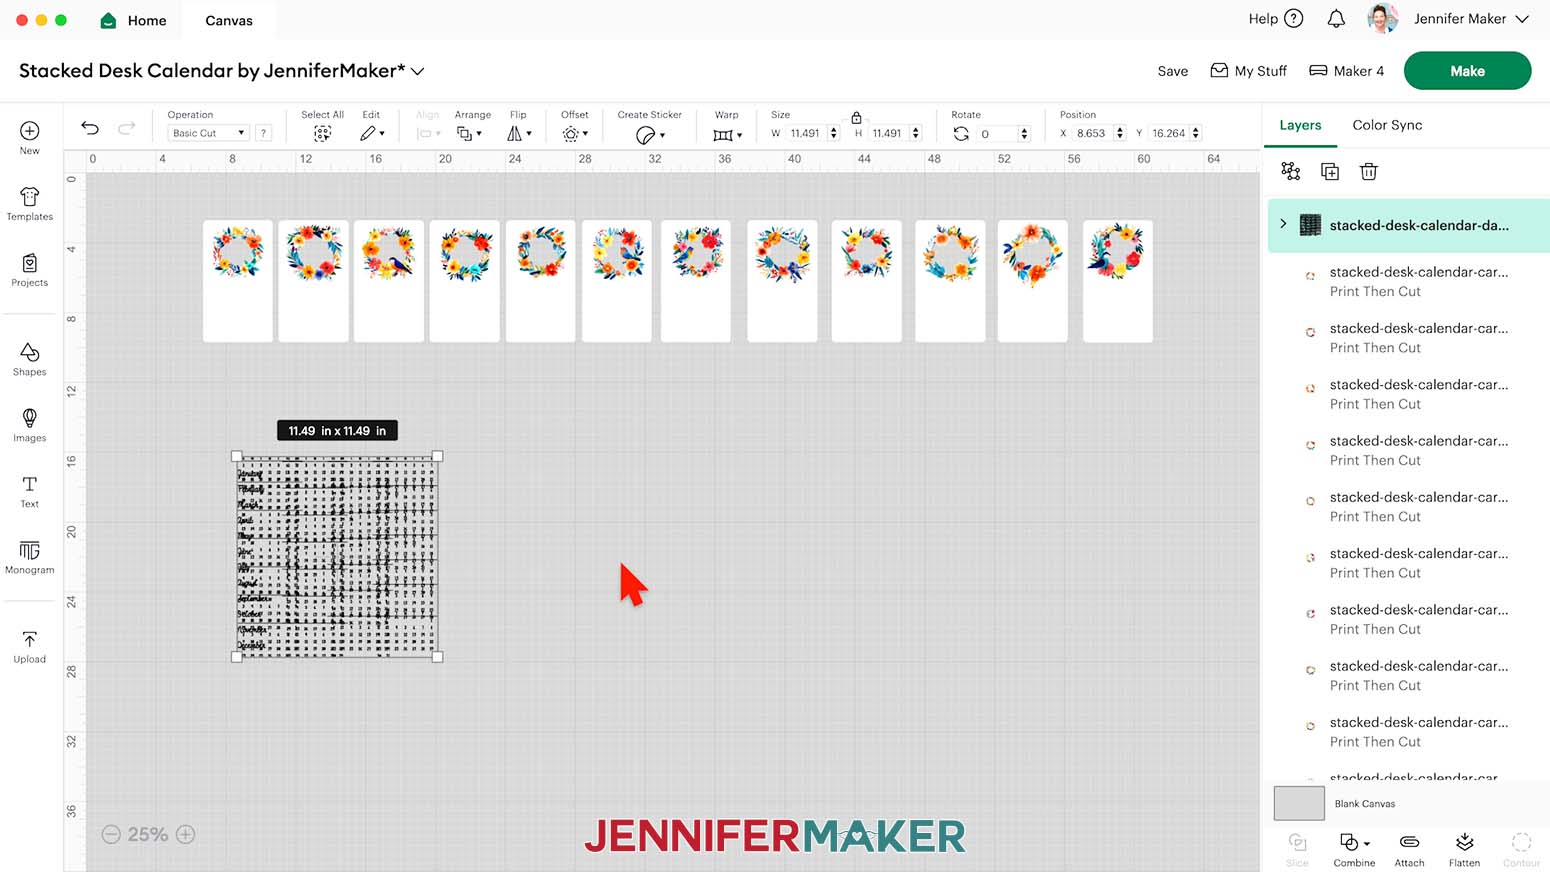
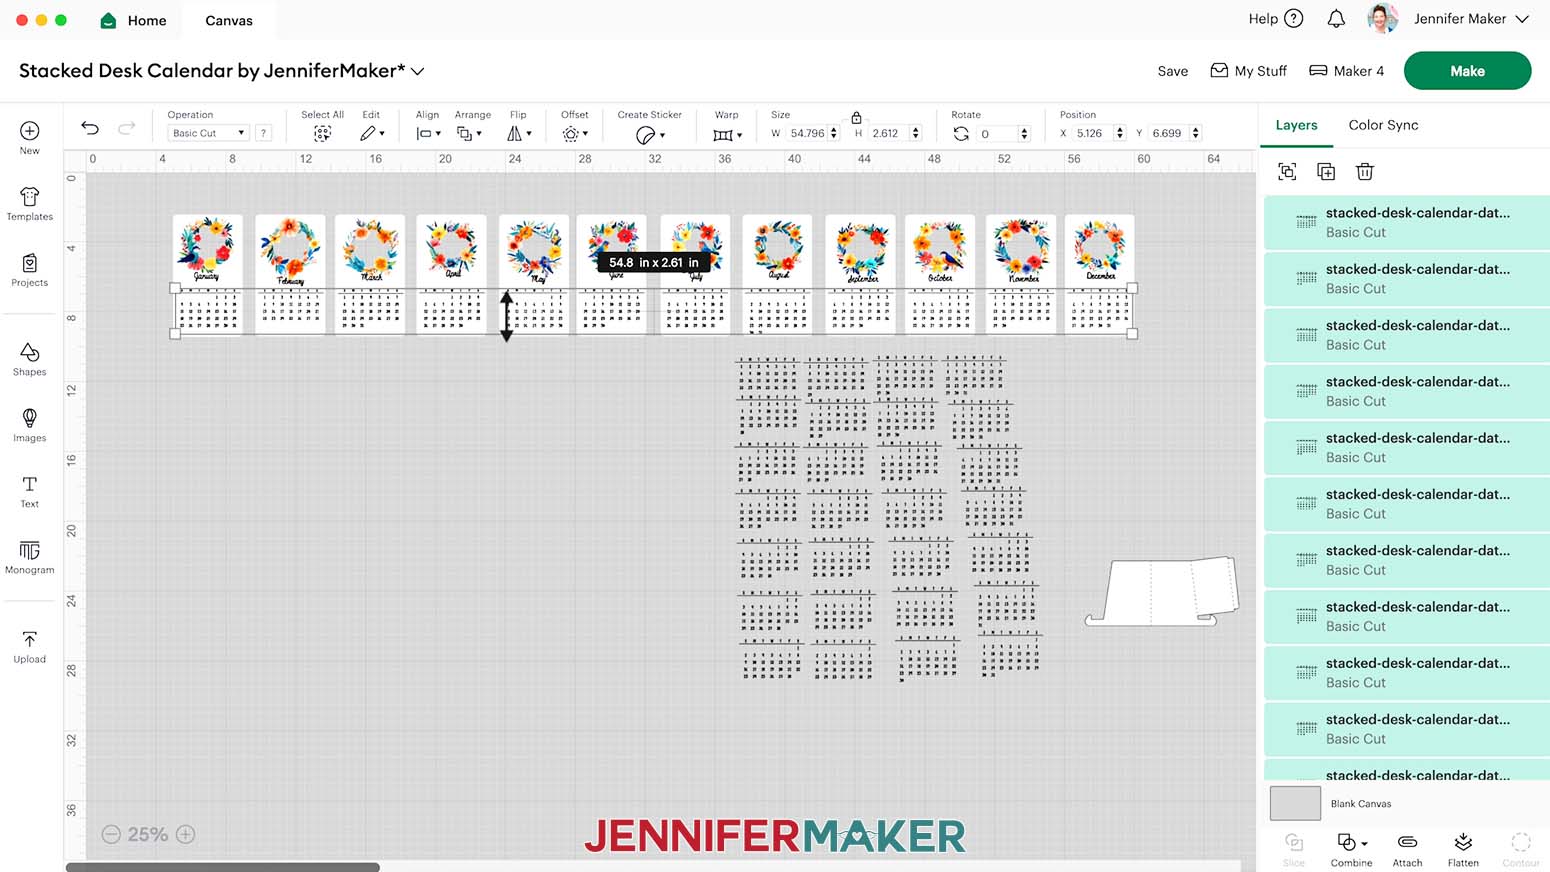
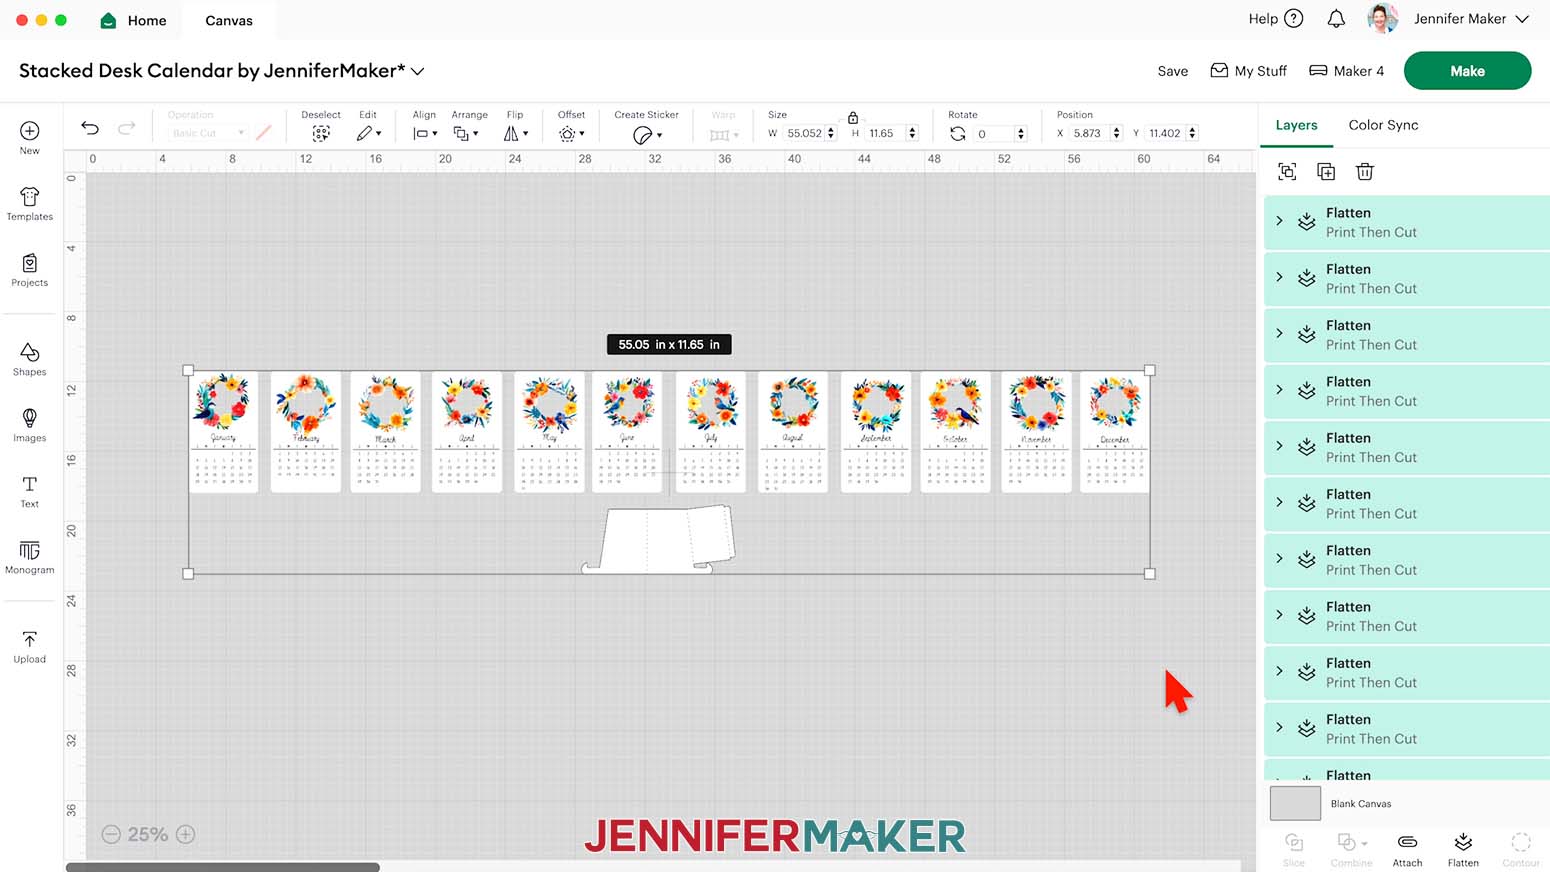
- Since the cards are too big for Print Then Cut, select all of the images, then click on “Align,” and “Center” to stack them.
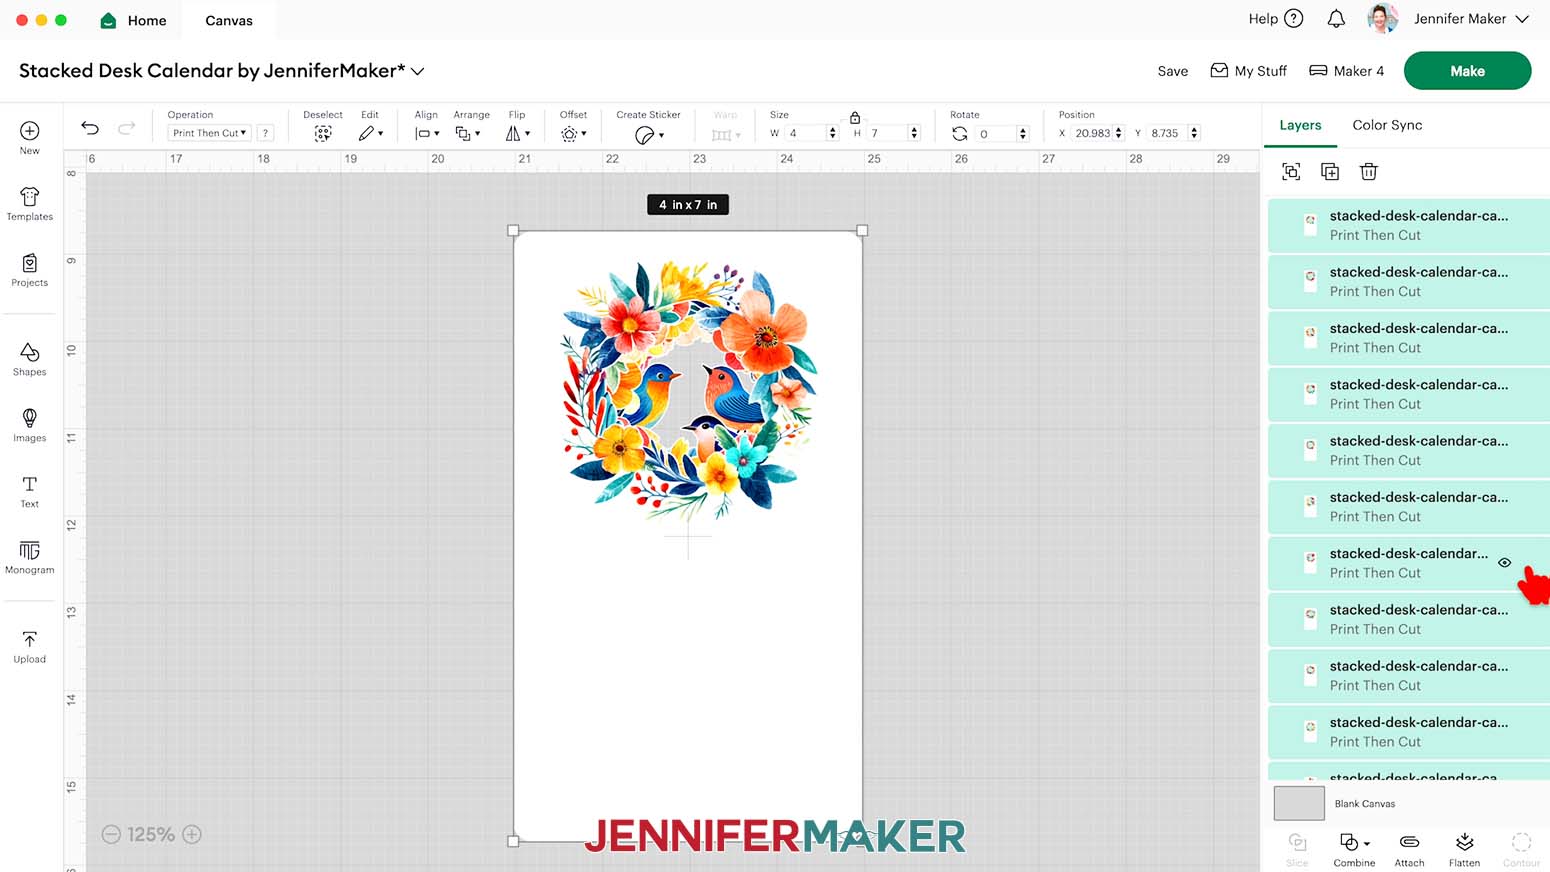
- With all the layers selected and the “Lock” icon closed, enter “4” in the “Width (W)” field on the “Size” menu. Then press “Enter/Return” on your keyboard. The “Height (H)” field will adjust automatically. The red warning icons should also disappear from the Layers Panel.
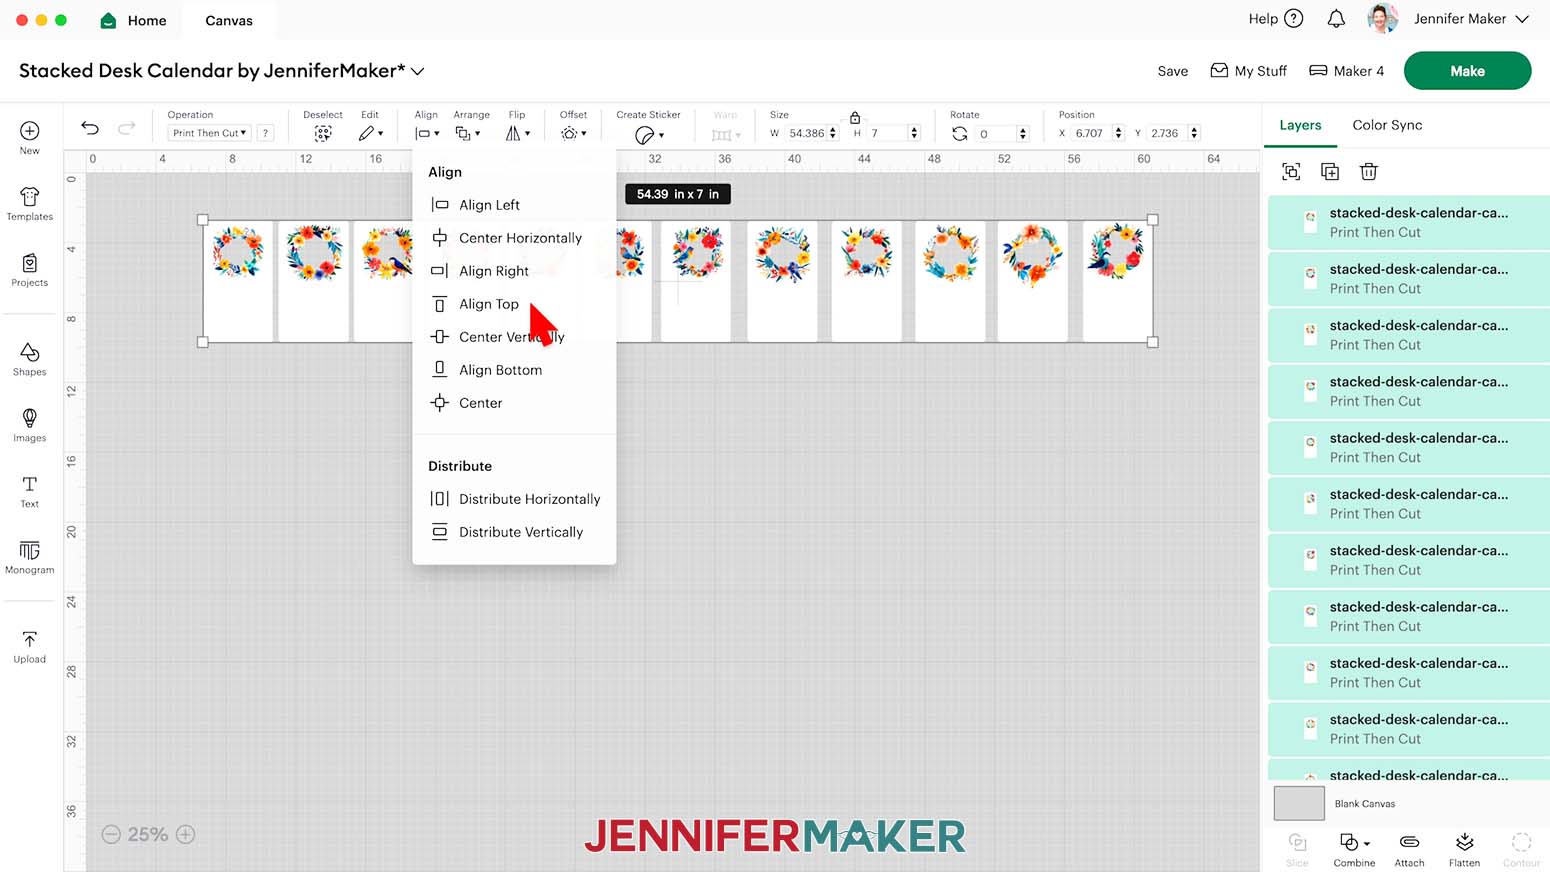
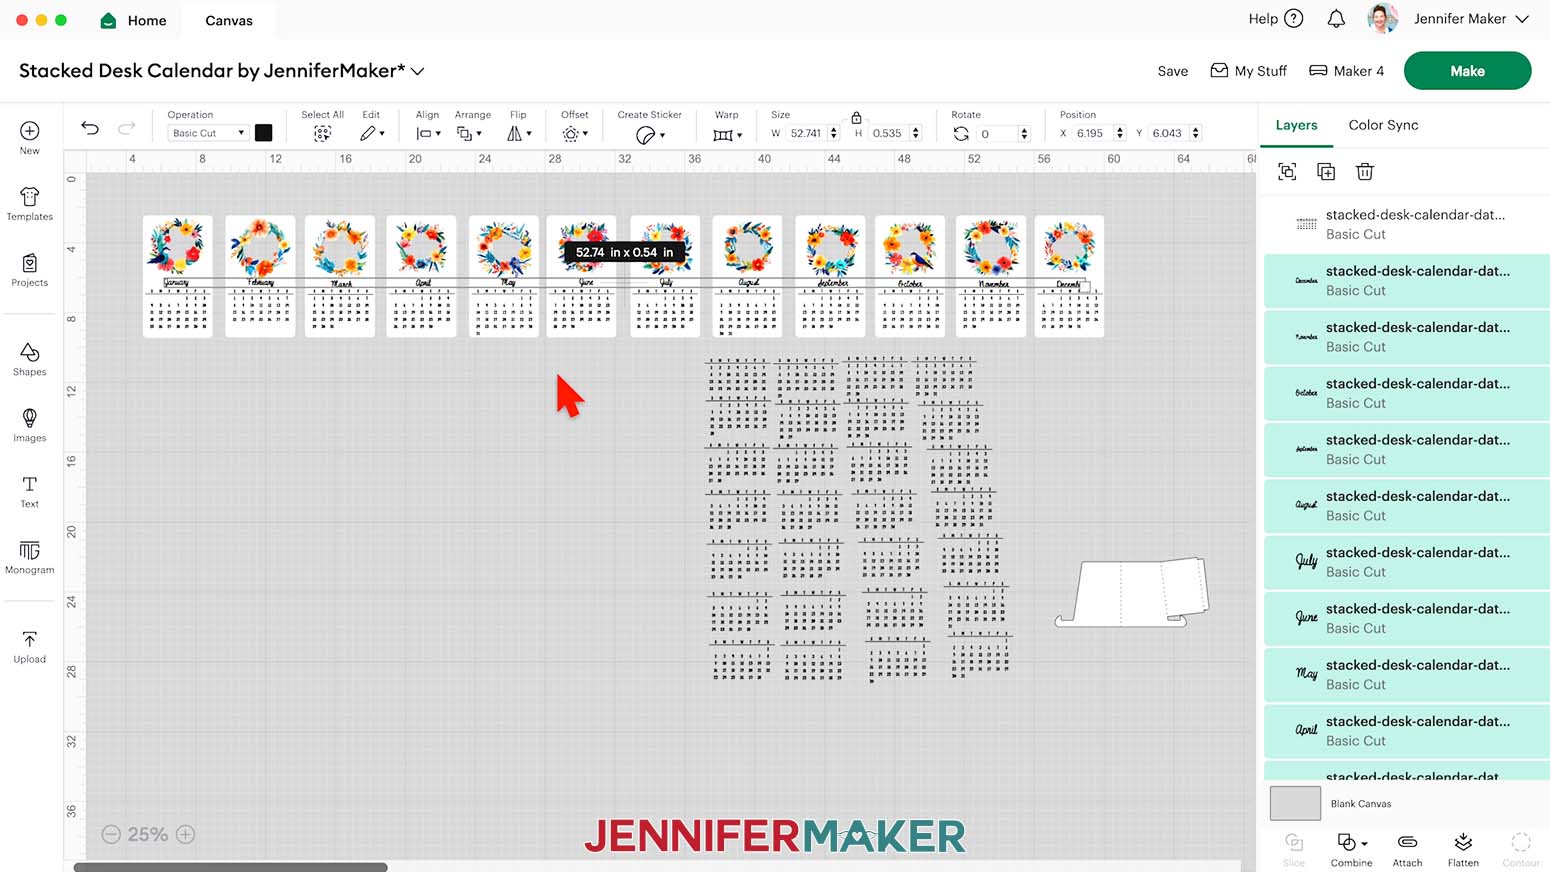
- Spread the cards in a single row so none of them overlap.
TIP: Click the “Minus (-)” icon in the lower left corner to zoom out so everything is visible on your canvas. - Select all of the cards and click “Align” and “Align Top.”
- To add the calendar details, click “Upload” and then “Upload Image.”
- Click “Browse.”
- Select the dates SVG file of your choice.
NOTE: I’ll demonstrate with the “dates” version of the “stacked-desk-calendar” file. - Click “Open,” and then “Continue.”
- Click “Upload” to add the design to your Canvas.
- Drag the design to an open space.
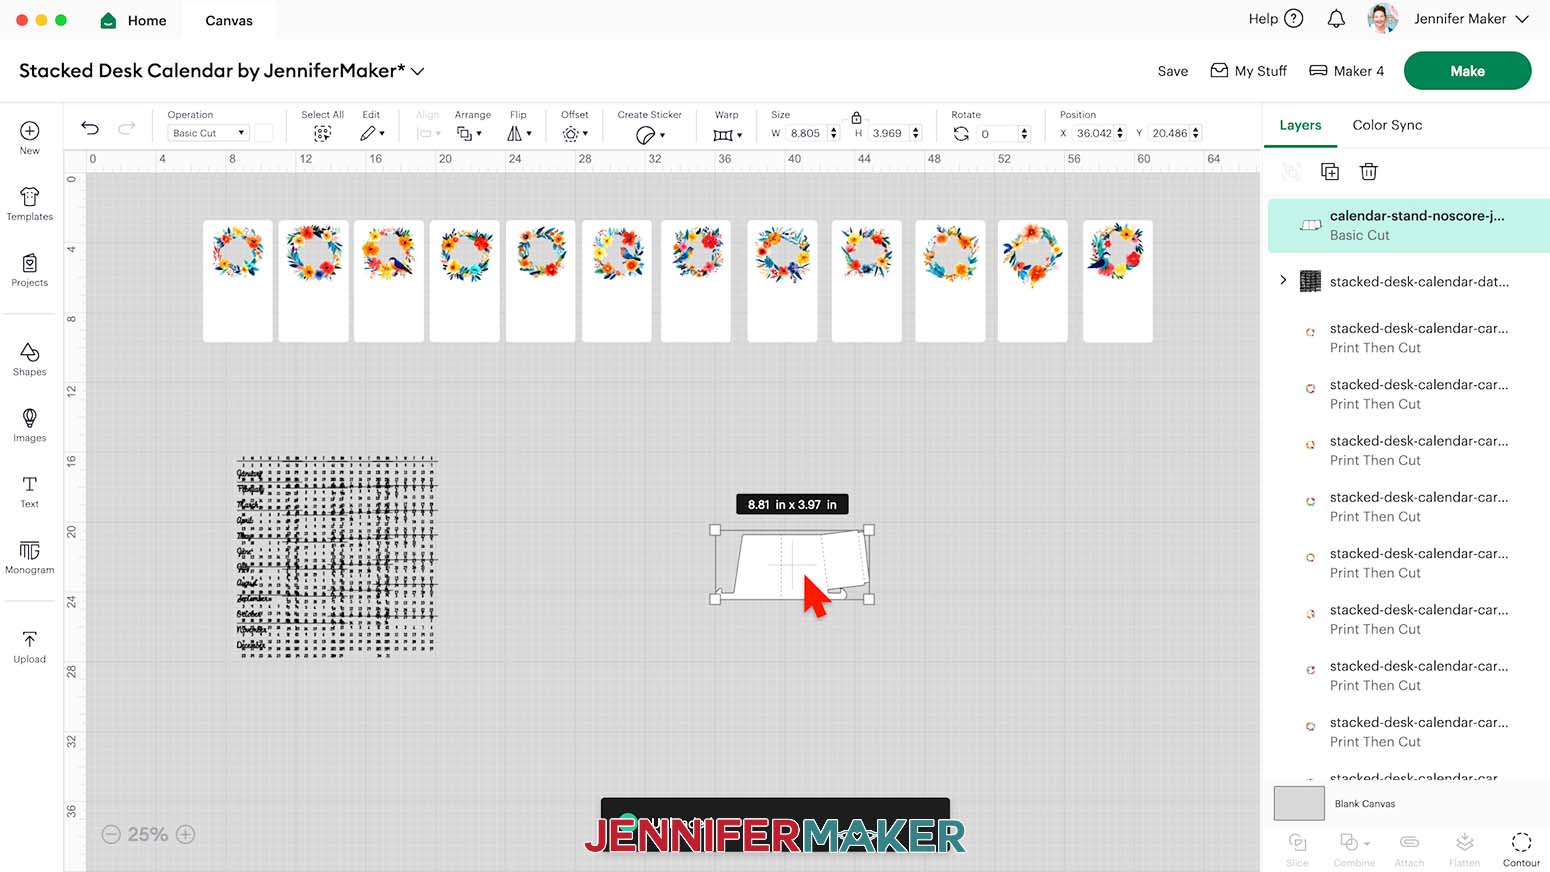
- Repeat Steps 16-21 to add the “stand” SVG of your choice.
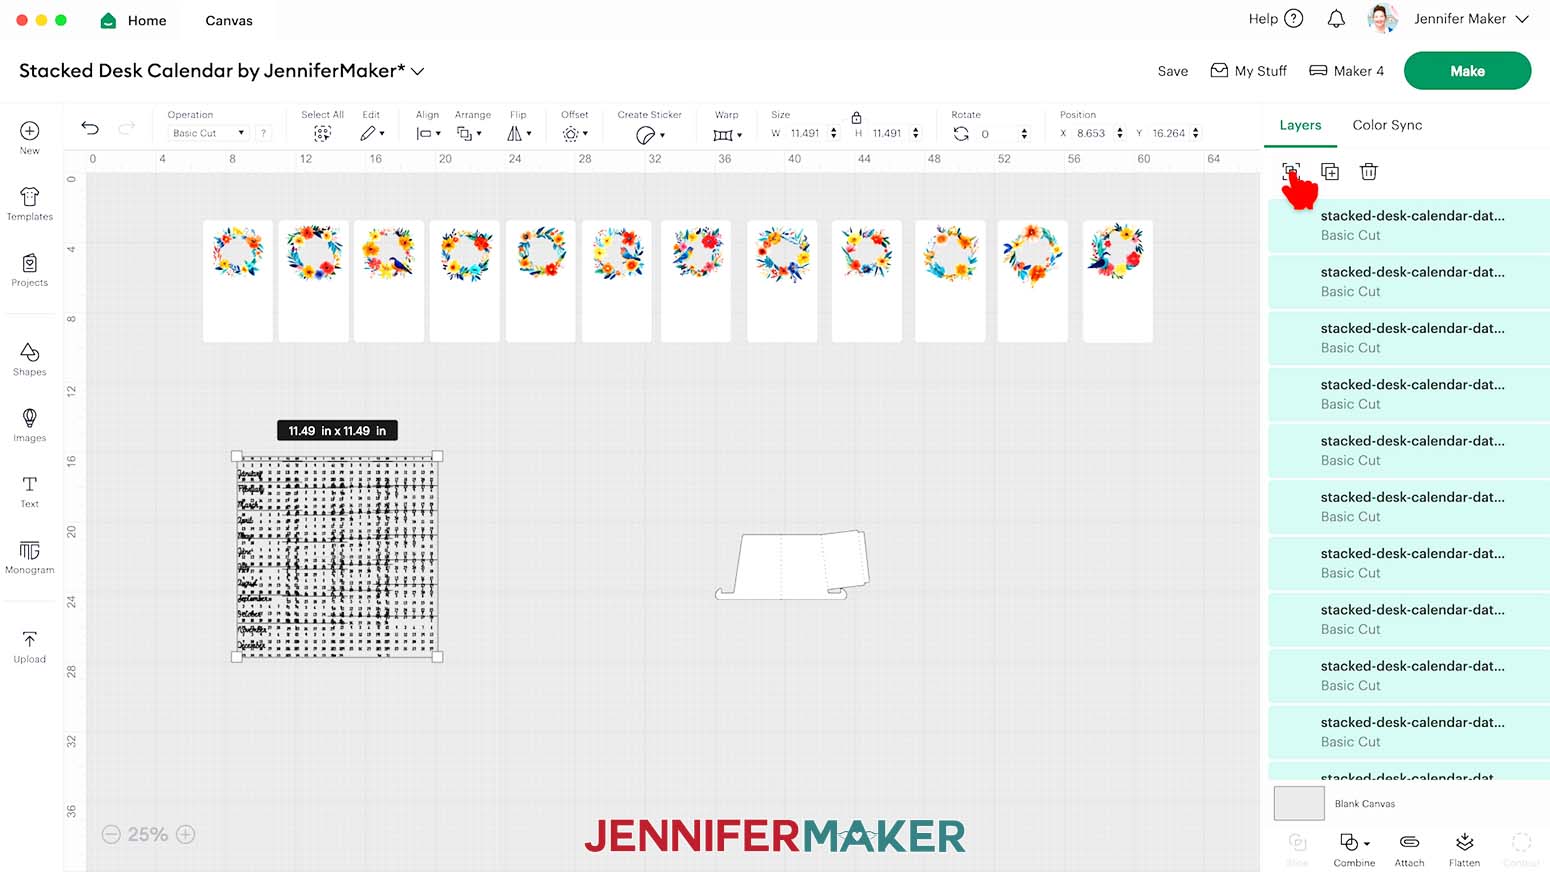
NOTE: I’ll choose the “noscore” version of the stand. - In the Layers Panel, drag the “Dates” layer to the top of the list, then click the “Ungroup” icon to ungroup it.
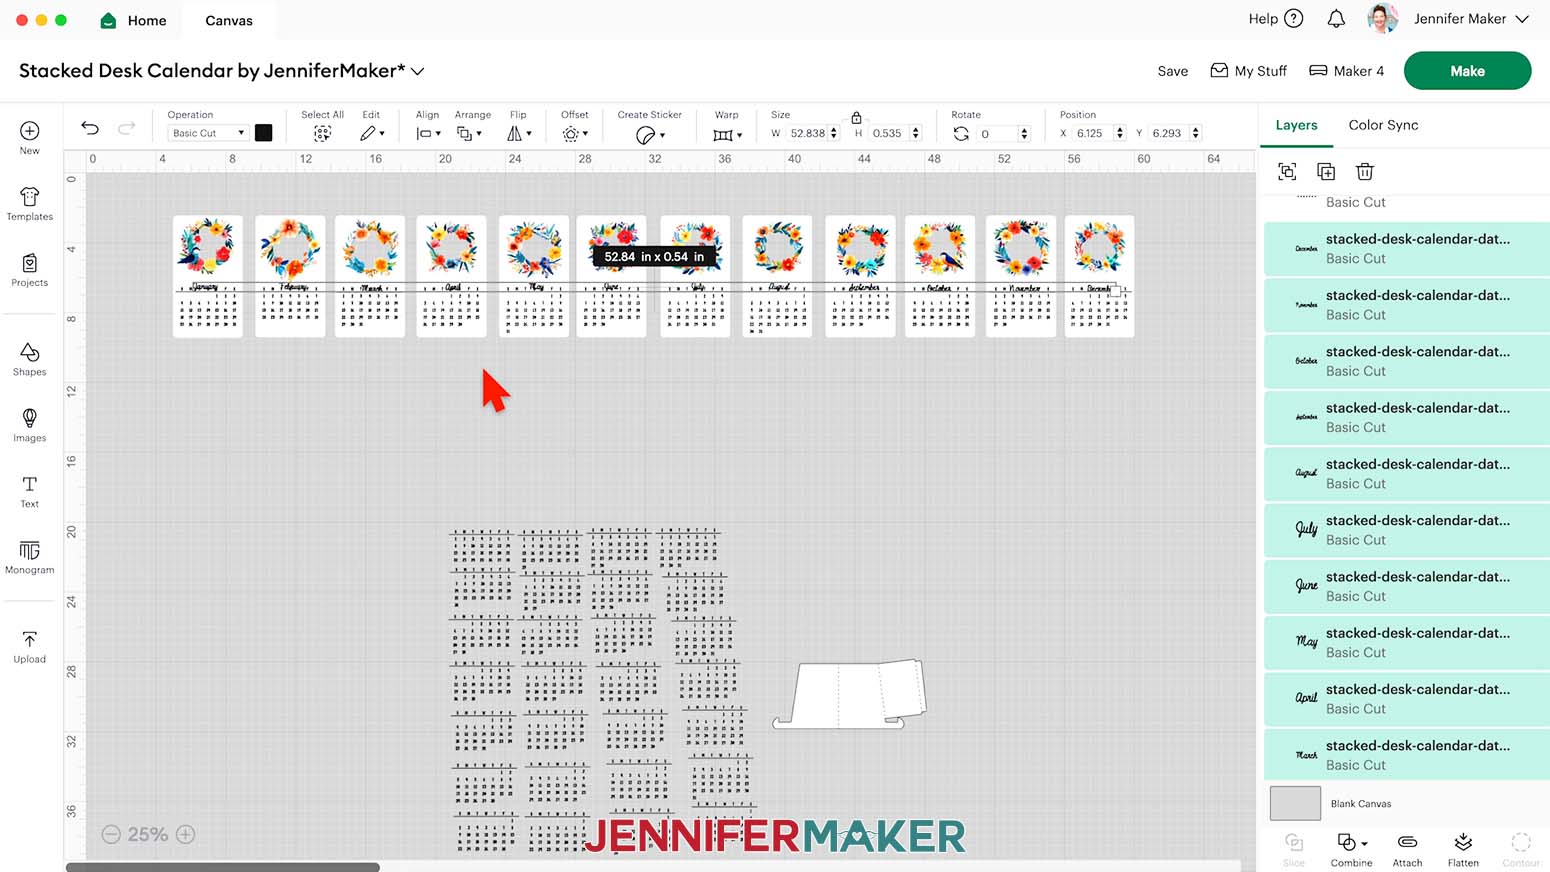
TIP: You can spread out the month labels and date grids to make them easier to see. - On your Canvas, drag the month labels onto the cards just below the decorative element.
NOTE: The month labels can go in any order, or on any card. - To add the dates to a card, select the appropriate date grid, click the “Duplicate” icon, and move the copy close to the bottom of the card.
TIP: Use a calendar app on your phone or computer to select the right date grid for your month and year. - Click the date grid on a card and use the “Up” and “Down” arrow keys on your keyboard to position it vertically.
NOTE: I recommend starting with a grid that has six rows of dates to make sure all the details fit. - On the same card, use the arrow keys to position the month vertically.
- Hold down the “Shift” key and select all of the date grids on your cards. Then click “Align” and “Align Top” so the lines separating the weekdays and dates are in the same position on each card.
- Then hold down the “Shift” key and select all of the month labels on your cards. Click “Align” and “Align Bottom” so the months are in the same position on each card.
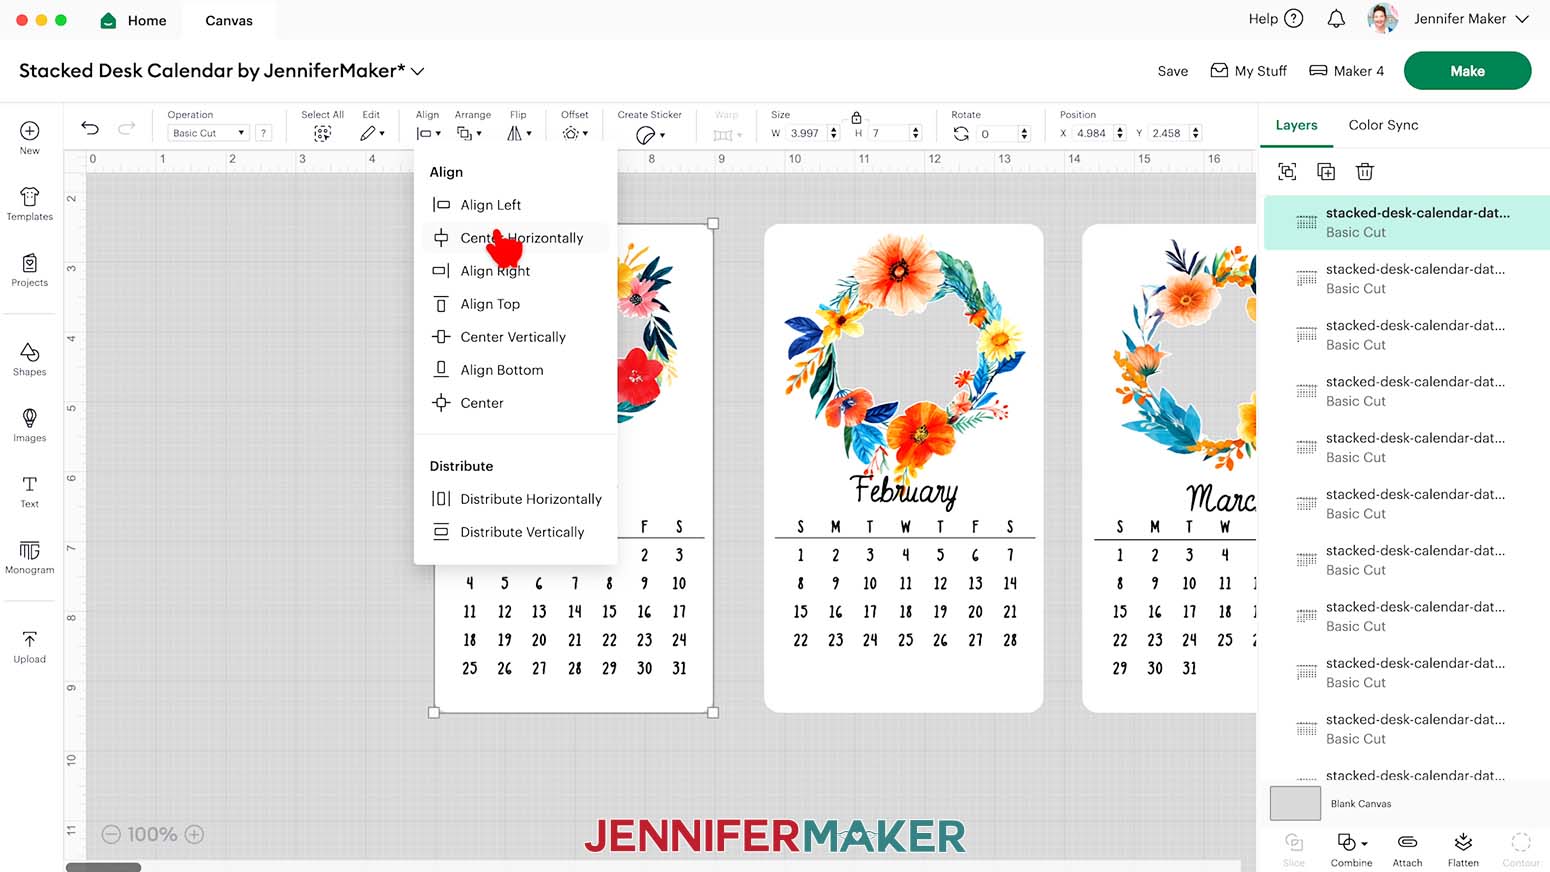
- Drag a Bounding Box around the card, its month label, and its grid, then click “Align” and “Center Horizontally” to center the details between the left and right sides of the card. Repeat for the 11 remaining cards and details.
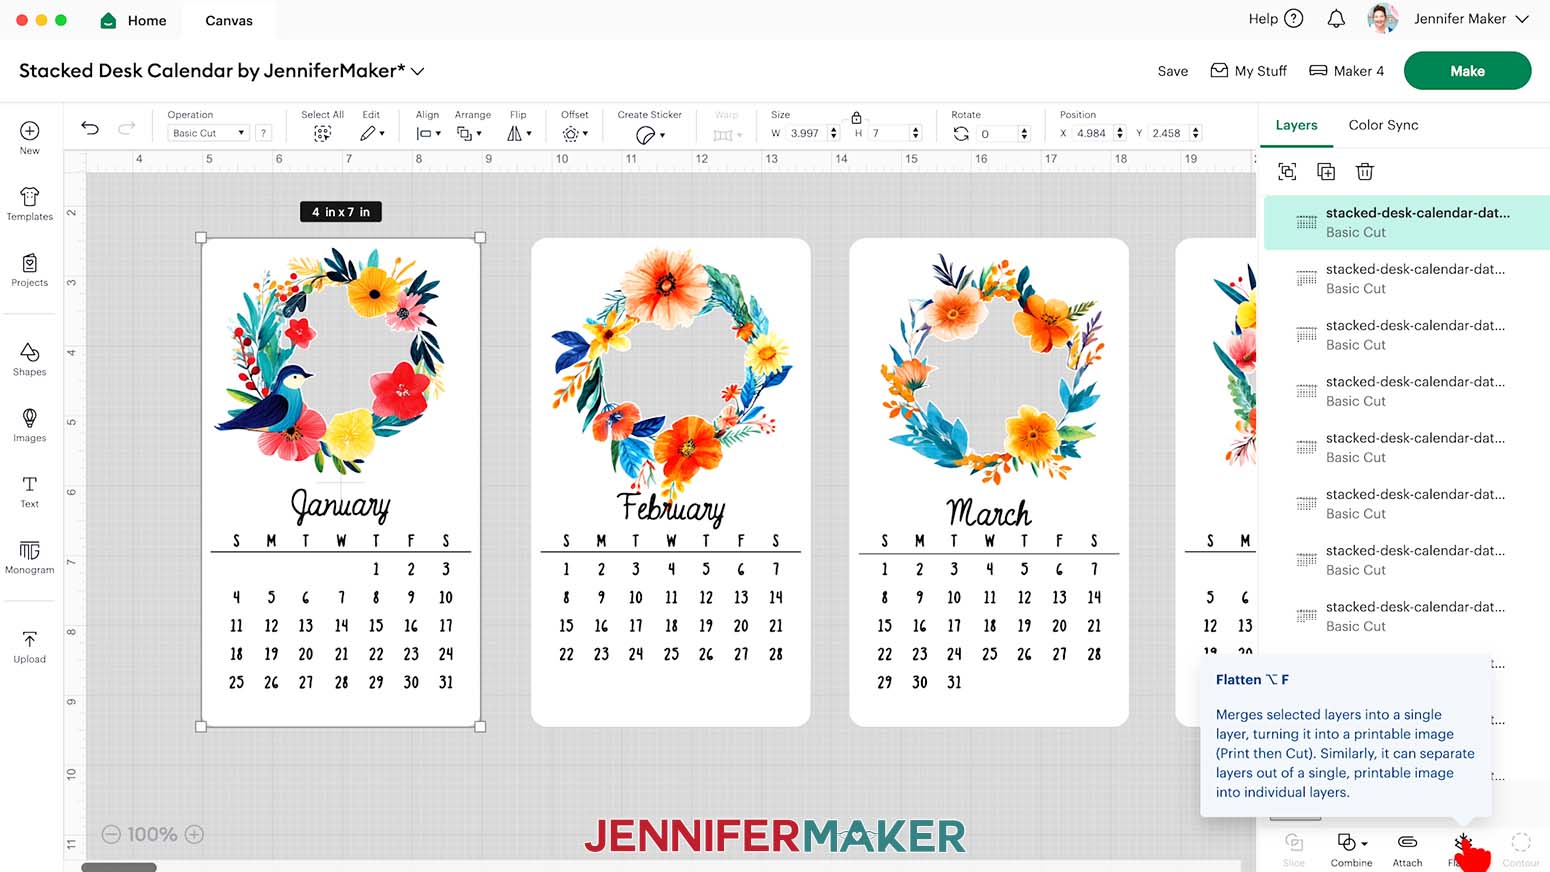
- When you’re satisfied with your cards’ designs, select the first card, its month label, and its date grid, then click “Flatten” to combine them into a single Print Then Cut layer. Repeat for the 11 remaining cards.
- Delete any leftover month labels and date grids.
- If you’re cutting the “noscore” version of the stand, your project is ready to cut! If you’re cutting the “score” version, follow the steps from my scoring tool tutorial to adjust your file.
PRINTING AND CUTTING
IMPORTANT: If you haven’t calibrated your Cricut in a while, or if your Print Then Cut projects aren’t cutting precisely, follow these steps to calibrate your machine.
- Make sure the correct machine is selected in the top right.
- Click “Make.”
- On the Prepare screen, make sure the correct Material Size is selected for your mats.
NOTE: I’ll use “8.5 in x 11 in” for all my mats. - When you’re satisfied with your mat layouts, click on Mat 1 so it loads first on the next page, then click “Continue.”
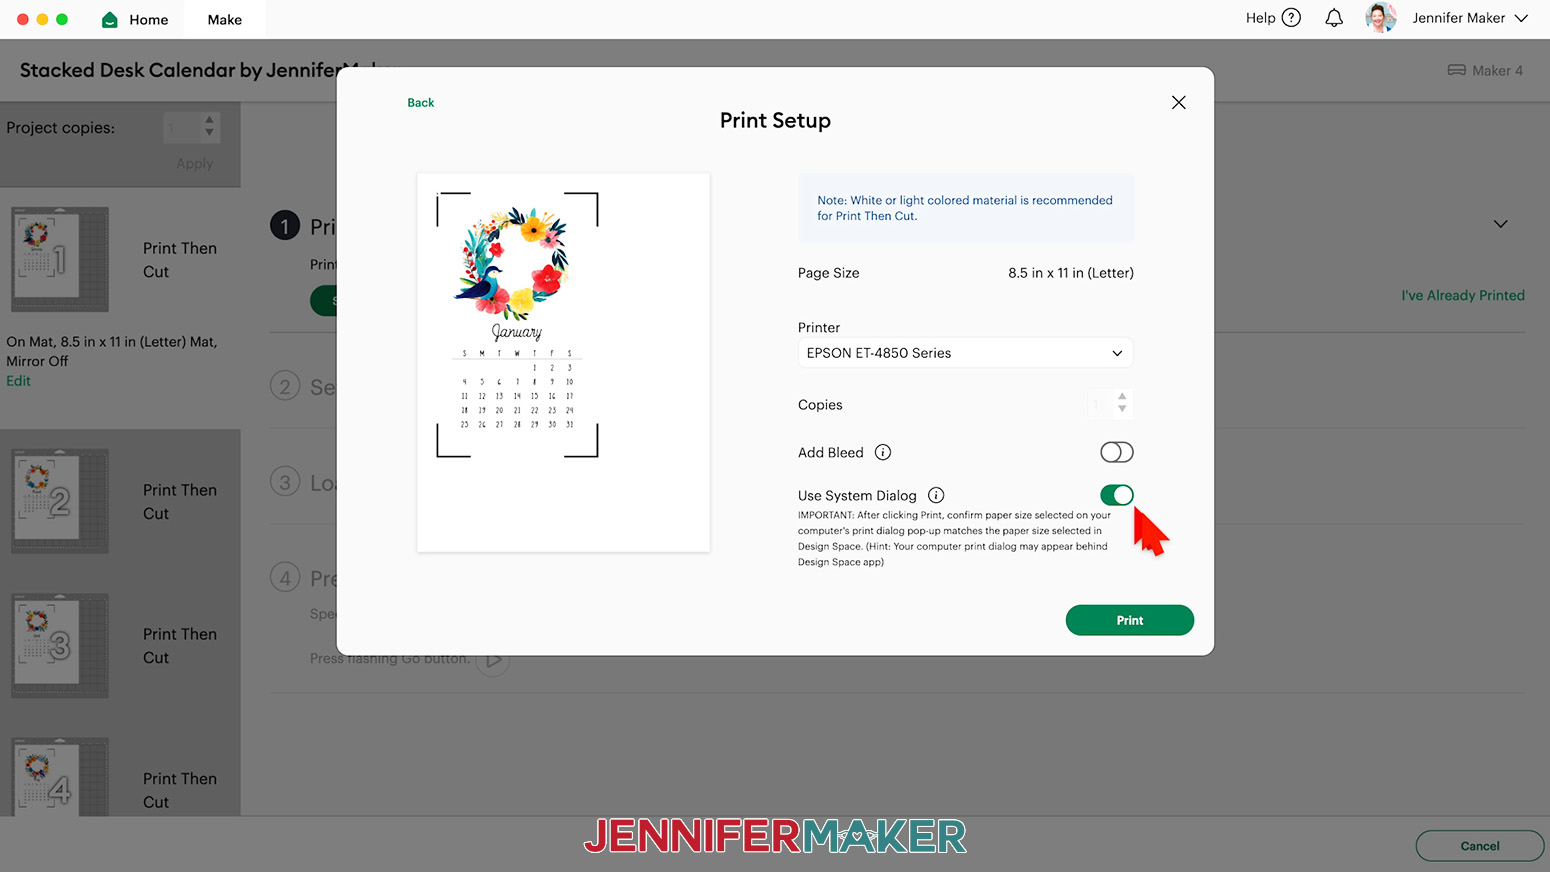
- We’ll print and then cut each card one at a time. On the Make Screen, click “Send to Printer” to print your first card.
- In the “Print Setup” window, select the correct printer, then toggle “Add Bleed” off, and “Use System Dialog” on.
- Click “Print.”
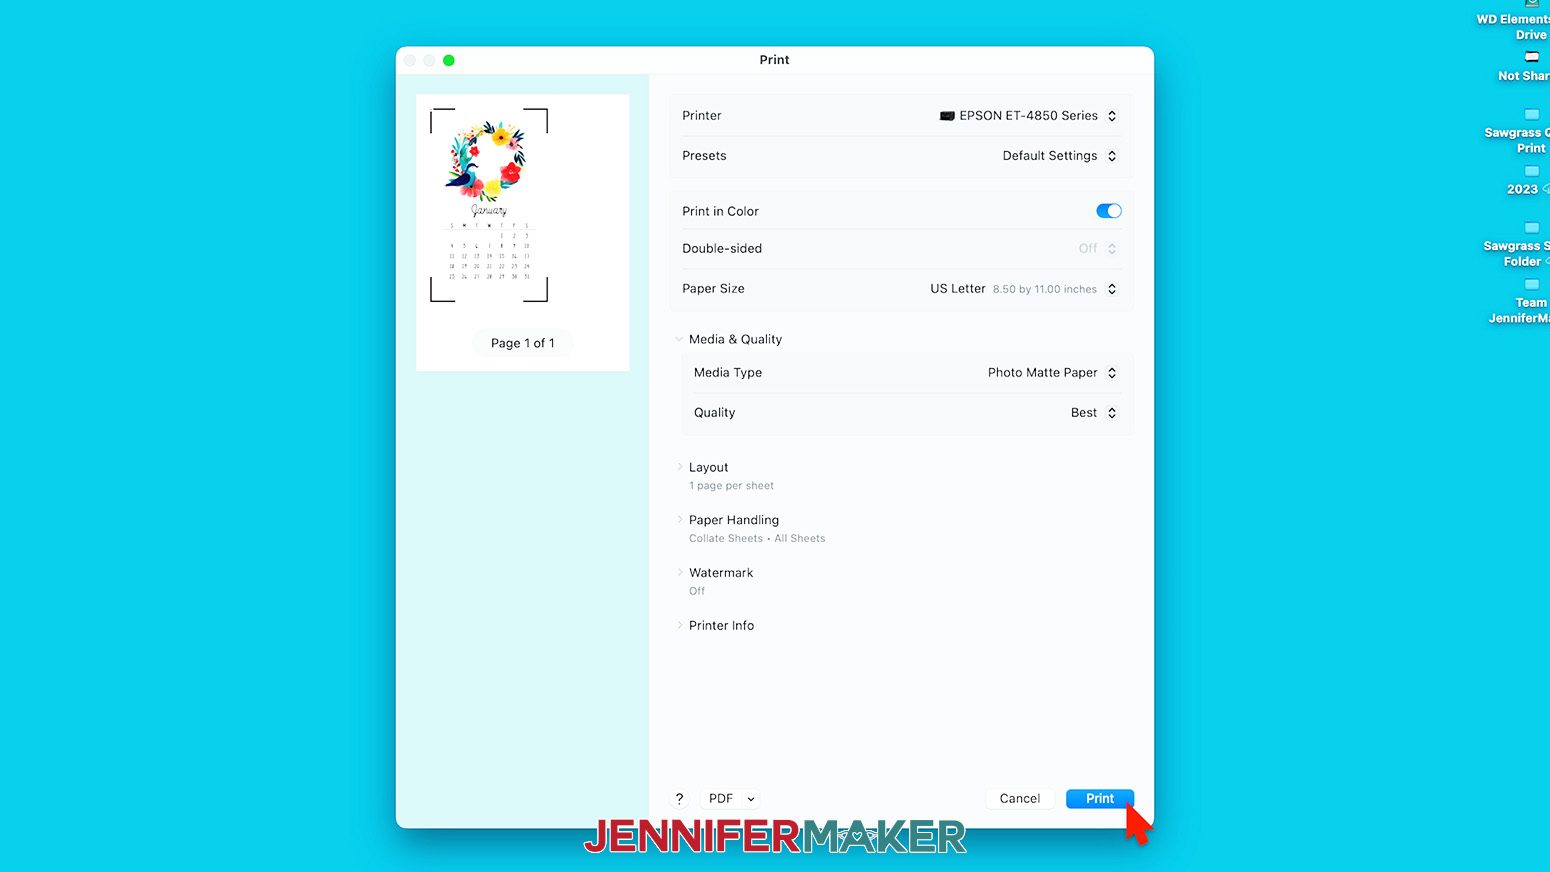
NOTE: Your System Dialog window might be behind the Cricut Design Space window, so minimize it if you don’t see the settings. - In the System Dialog window, make sure the correct printer is selected, change the Media Type to “Photo Matte Paper” and the Quality to “Best,” or whichever settings are closest.
NOTE: Not all printer settings will be the same, but you can use my choices as guidelines. - Load the photo paper into your printer according to the directions on the package.
NOTE: Make sure your paper is facing the correct way in the tray as the ink will appear washed out if printed on the wrong side. - Click “Print” to send the first Print Then Cut card to your printer.
- Let the print dry before handling it to avoid smudges.
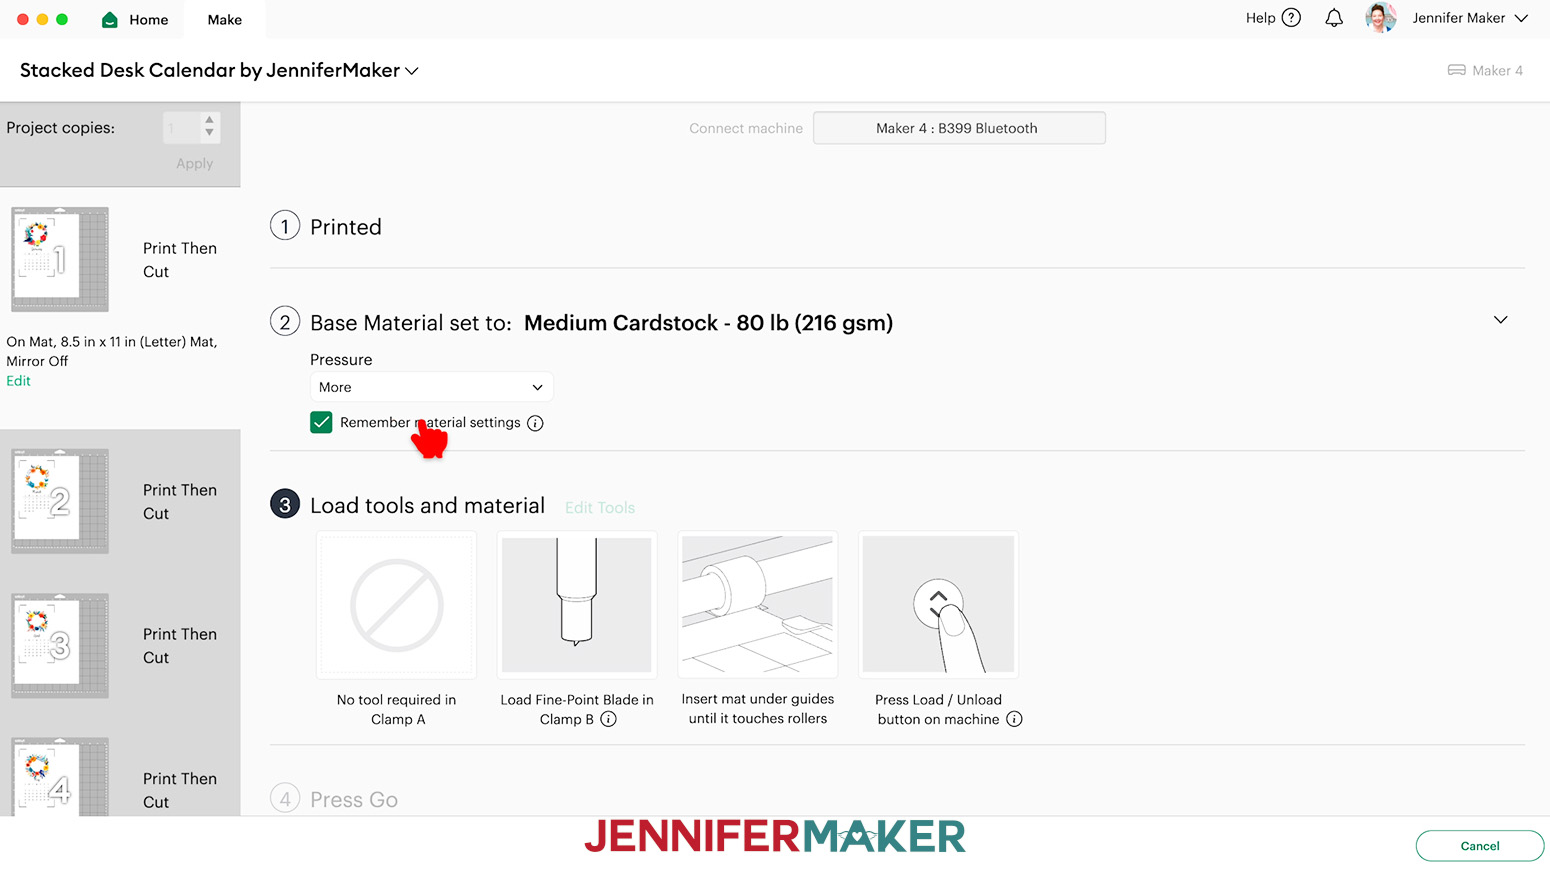
- Back on Cricut Design Space’s Make Screen, set the Base Material for your first card mat. I’ll use the “Medium Cardstock - 80 lb (216 gsm)” setting with “More” Pressure.
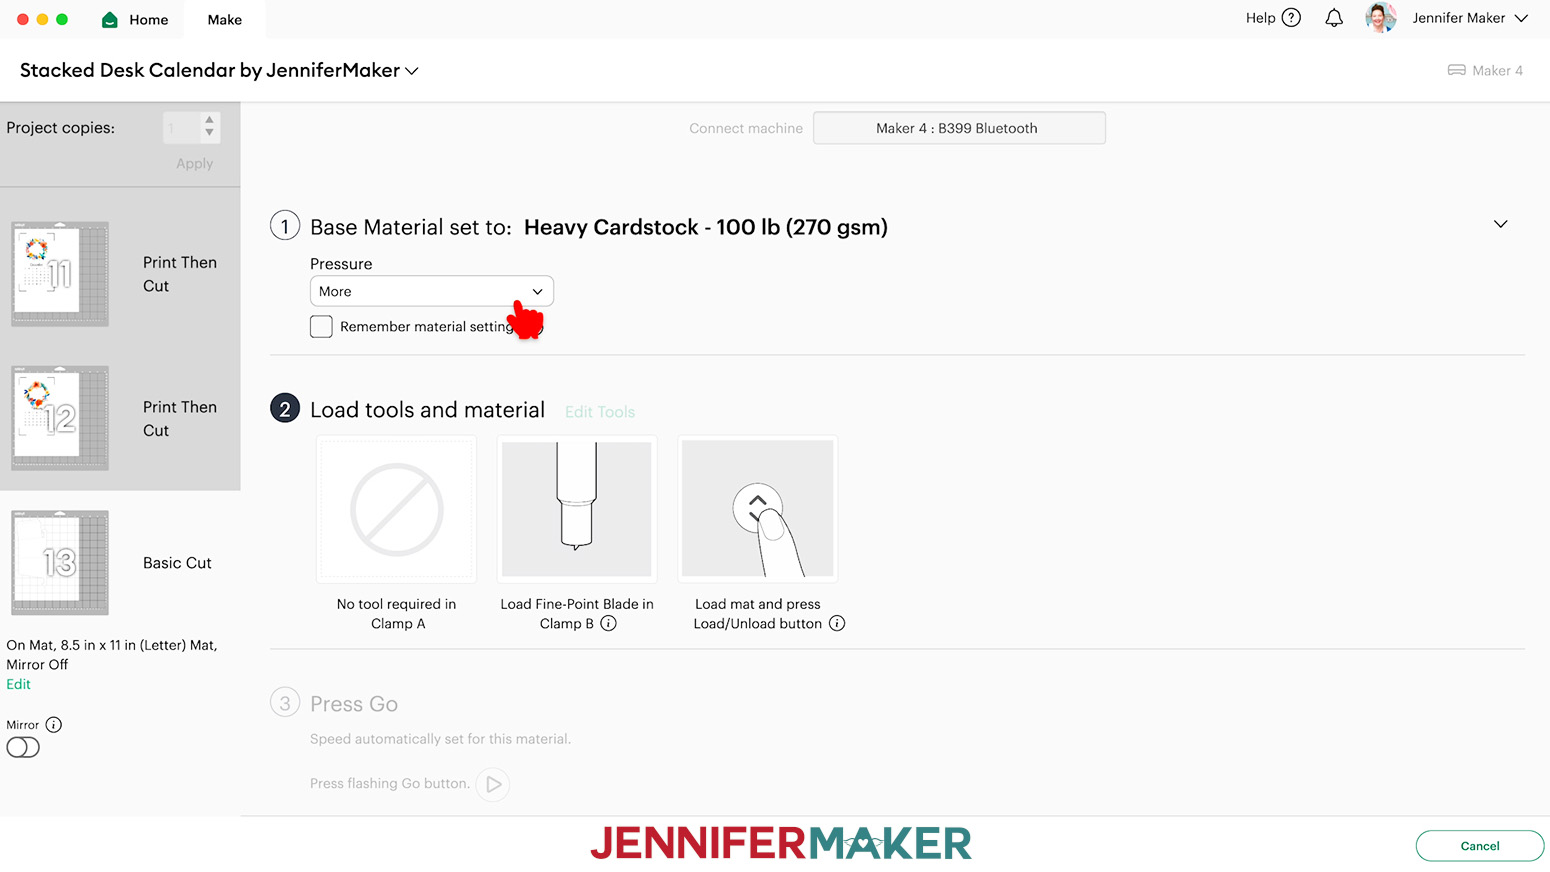
TIP: Changing the Pressure to “More” results in a cleaner cut.
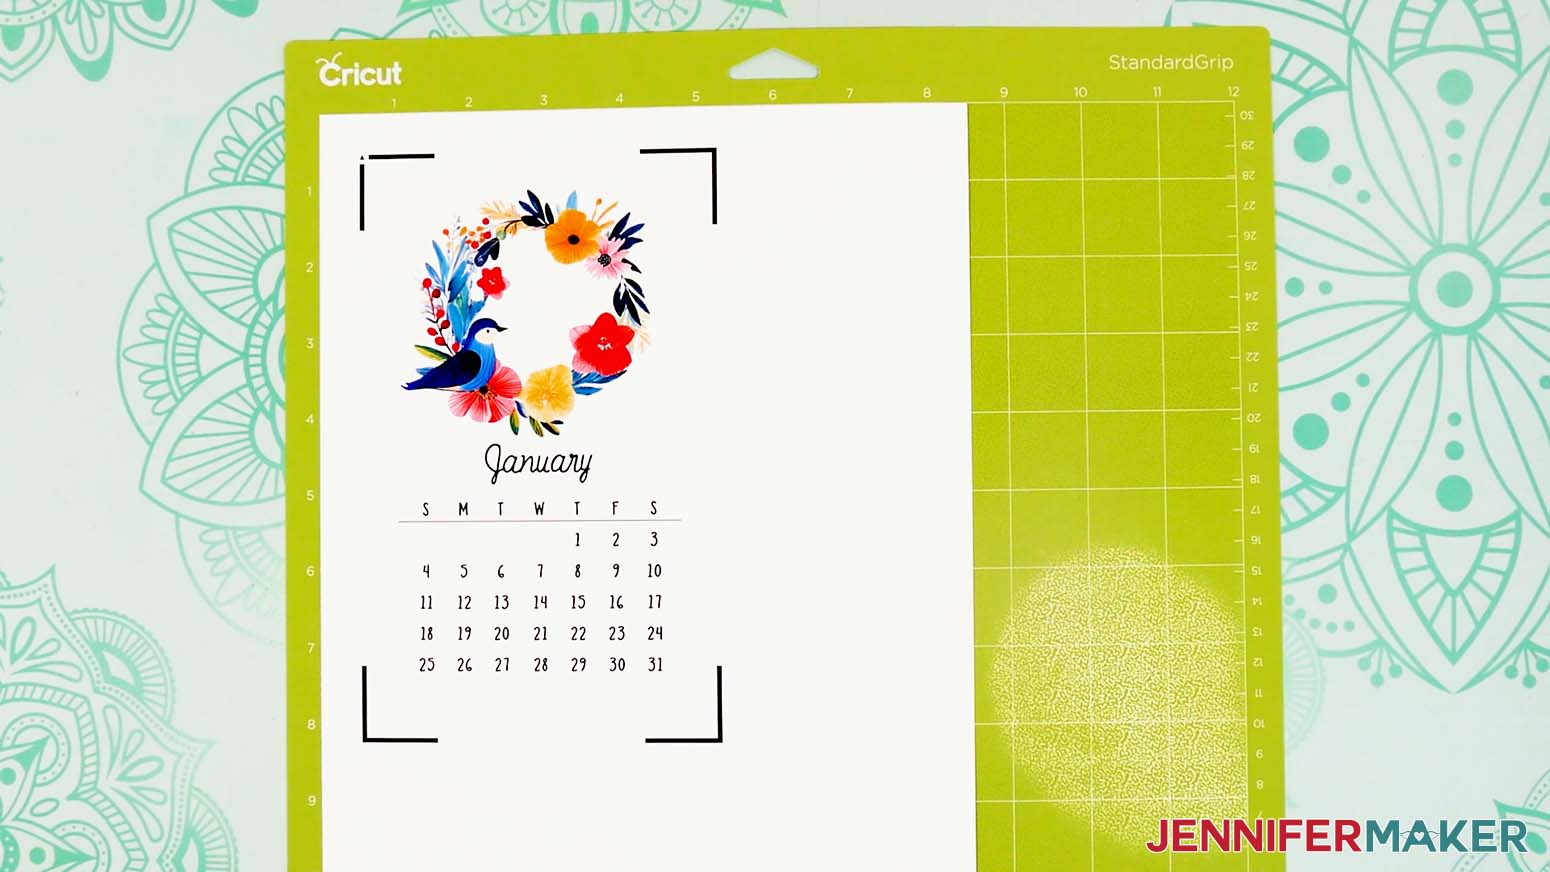
TIP: Check the box next to “Remember material settings” to save time between mats of the same type. - Place your printed card face up on a green StandardGrip machine mat.
- Place a clean sheet of copy paper on top of the print and use a brayer to make sure the print is fully adhered. Remove the copy paper.
- Check that your Premium Fine-Point Blade is clean and in the clamp.
- Press the flashing “Load/Unload” button to load the prepared mat into your Cricut.
- Press the flashing middle button to begin cutting.
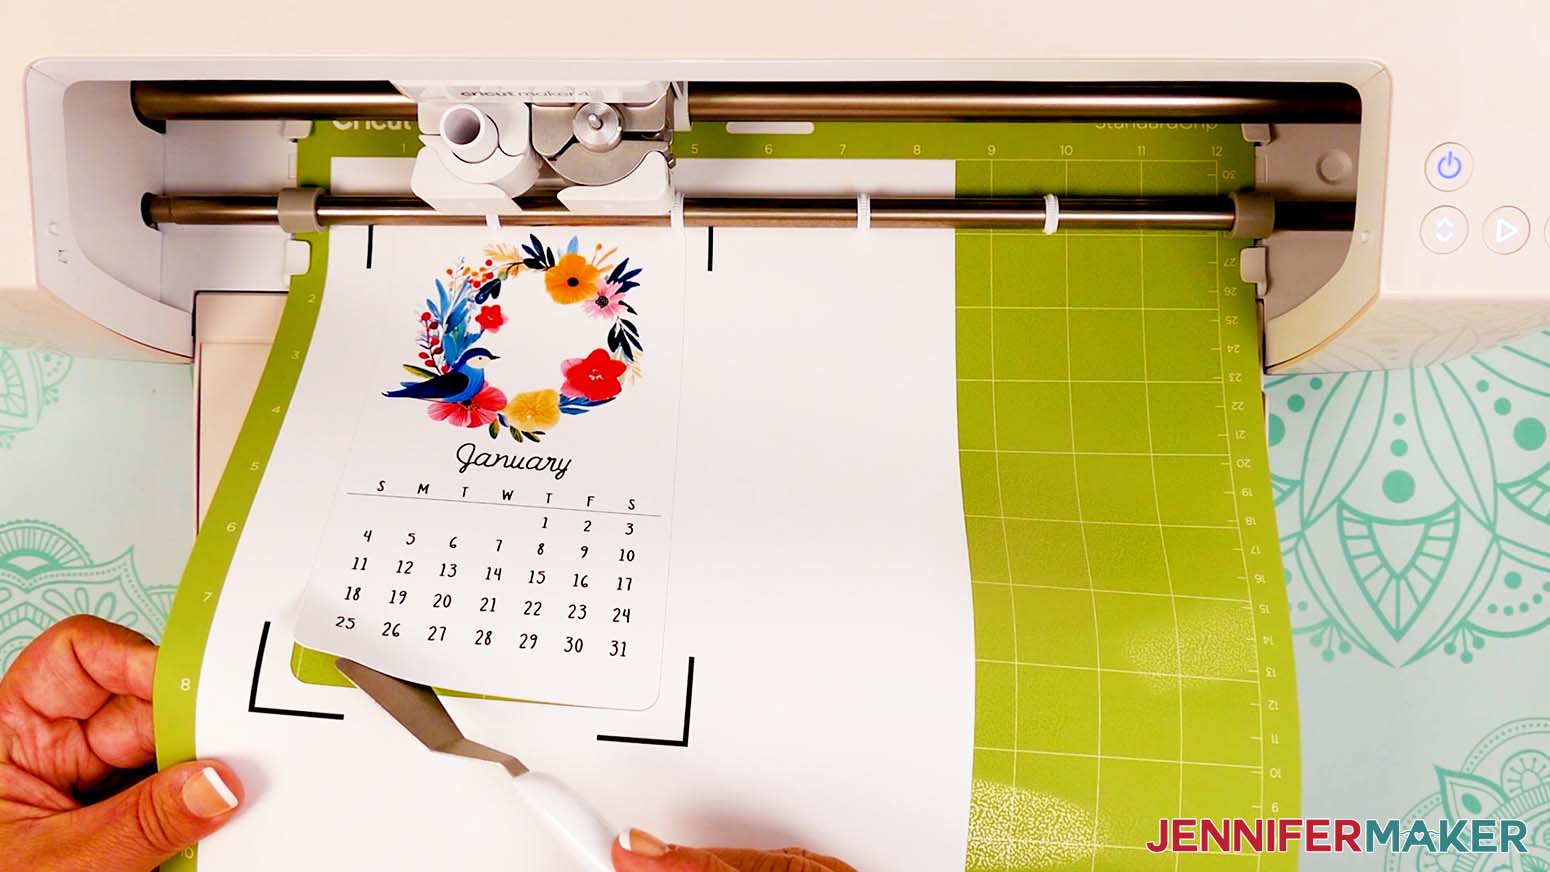
- When it has finished cutting, don’t unload the mat right away. Gently lift a corner of the material with a spatula to make sure the cuts went all the way through the photo paper. If not, press the middle button again to make a second pass of cuts in the same spots.
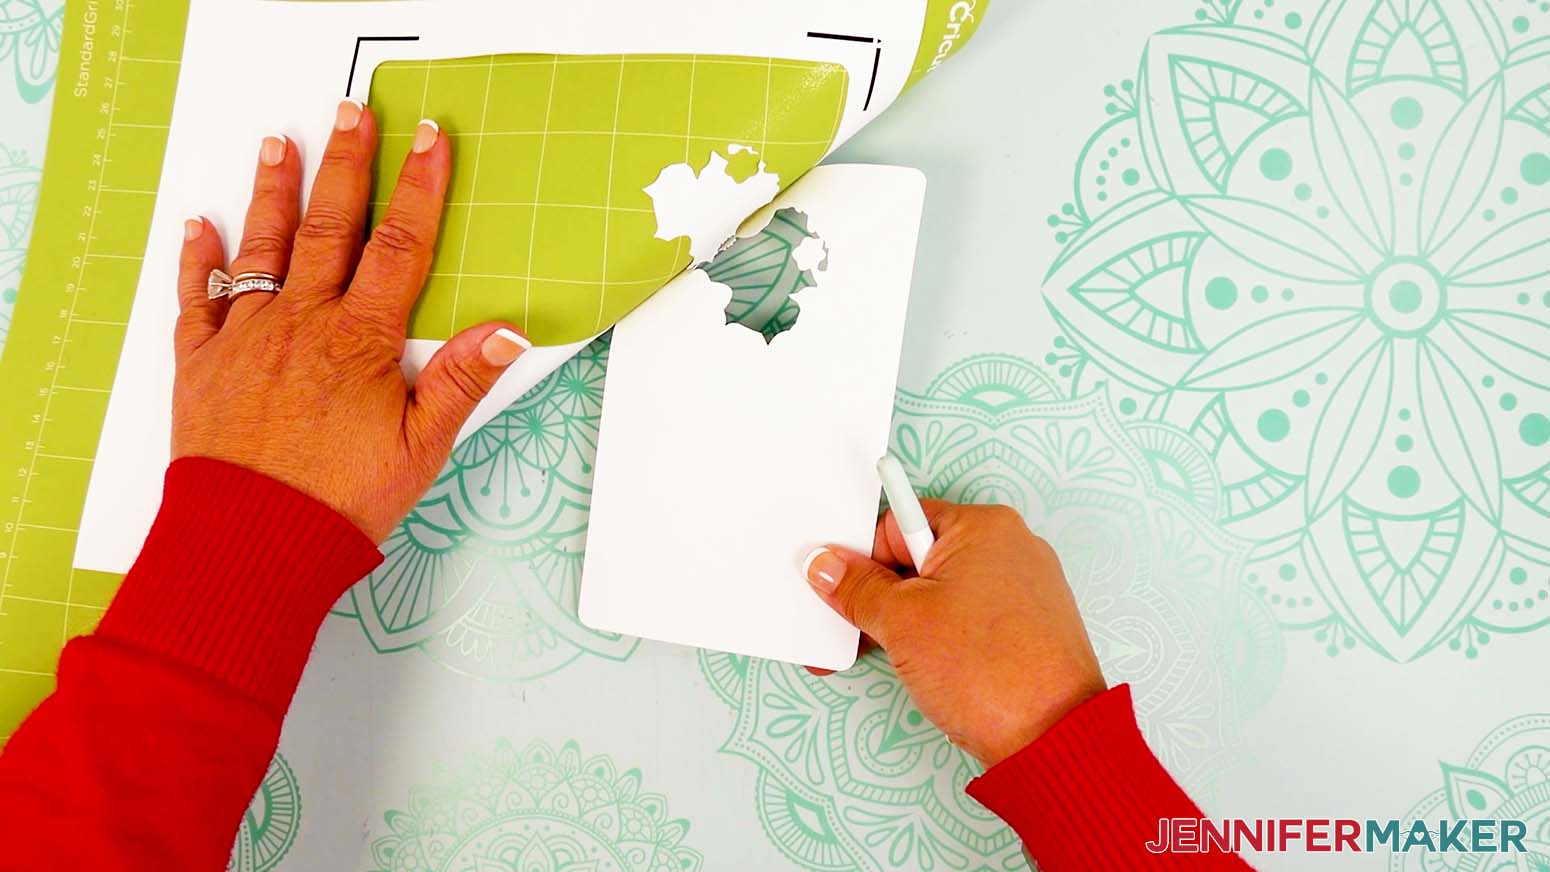
TIP: If you have any issues with your cuts, go to jennifermaker.com/cleaner-cuts. - When the cuts are complete, unload the mat, flip it over onto your work surface, and roll it back to release the photo paper.
- Repeat Steps 5-19 to Print Then Cut your remaining card mats.
- When you get to your stand mat, set the base material to “Heavy Cardstock - 100 lb (270 gsm)” and the Pressure to “More.”
- Place your cardstock face up on a green StandardGrip machine mat, and use a Brayer to adhere it well.
- Then repeat Steps 15-19 to cut your stand.
- Lay out all of your cut pieces face up.


STEP 3: ASSEMBLE YOUR STAND AND STACKED DESK CALENDAR
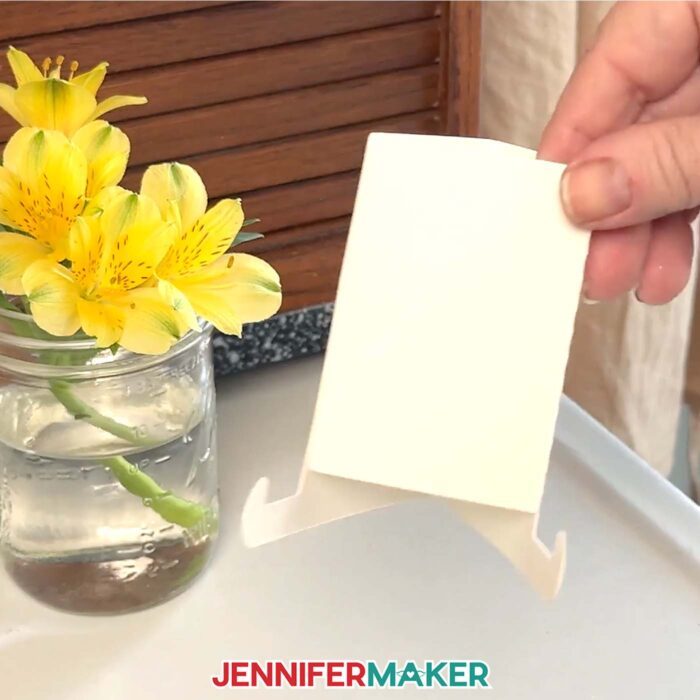
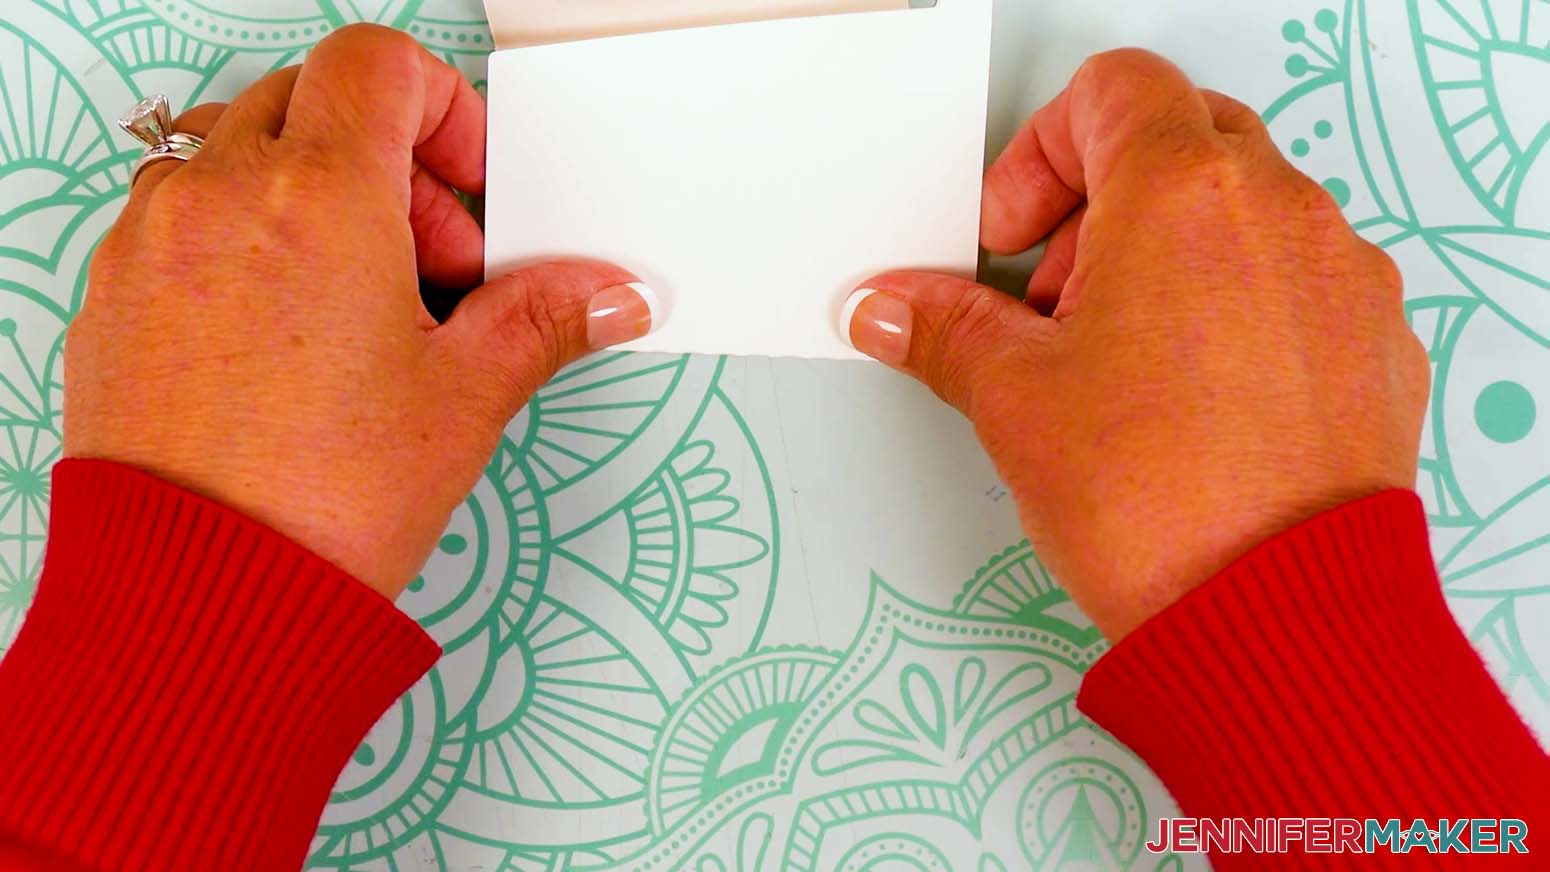
- Take your cut stand piece and fold along the crease lines in the same direction to create three panels.
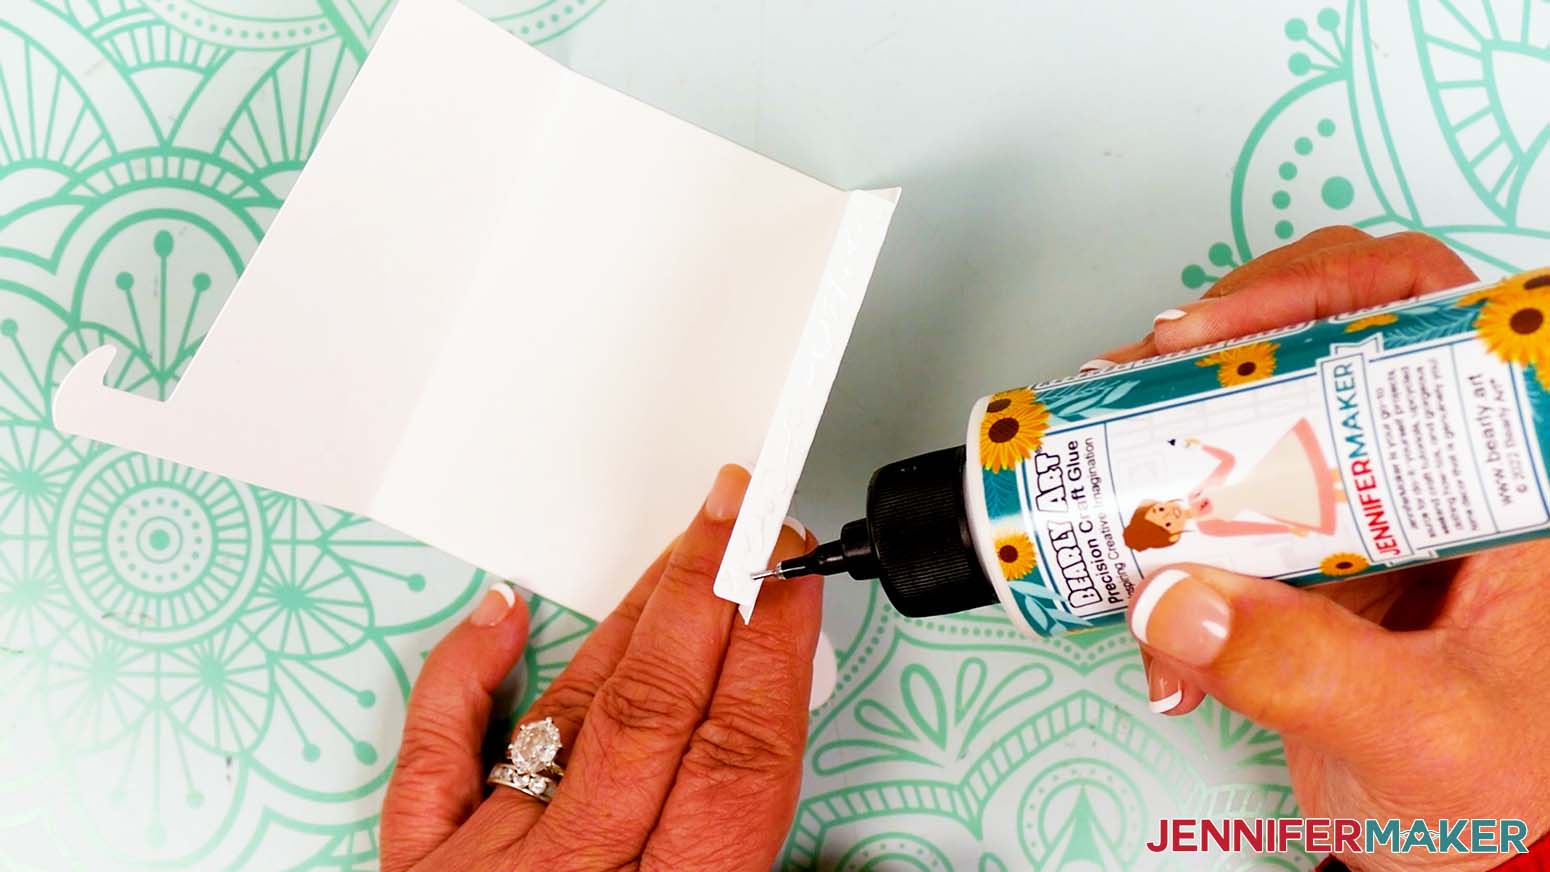
- Apply craft glue along the outside of the smallest folded panel’s tab.
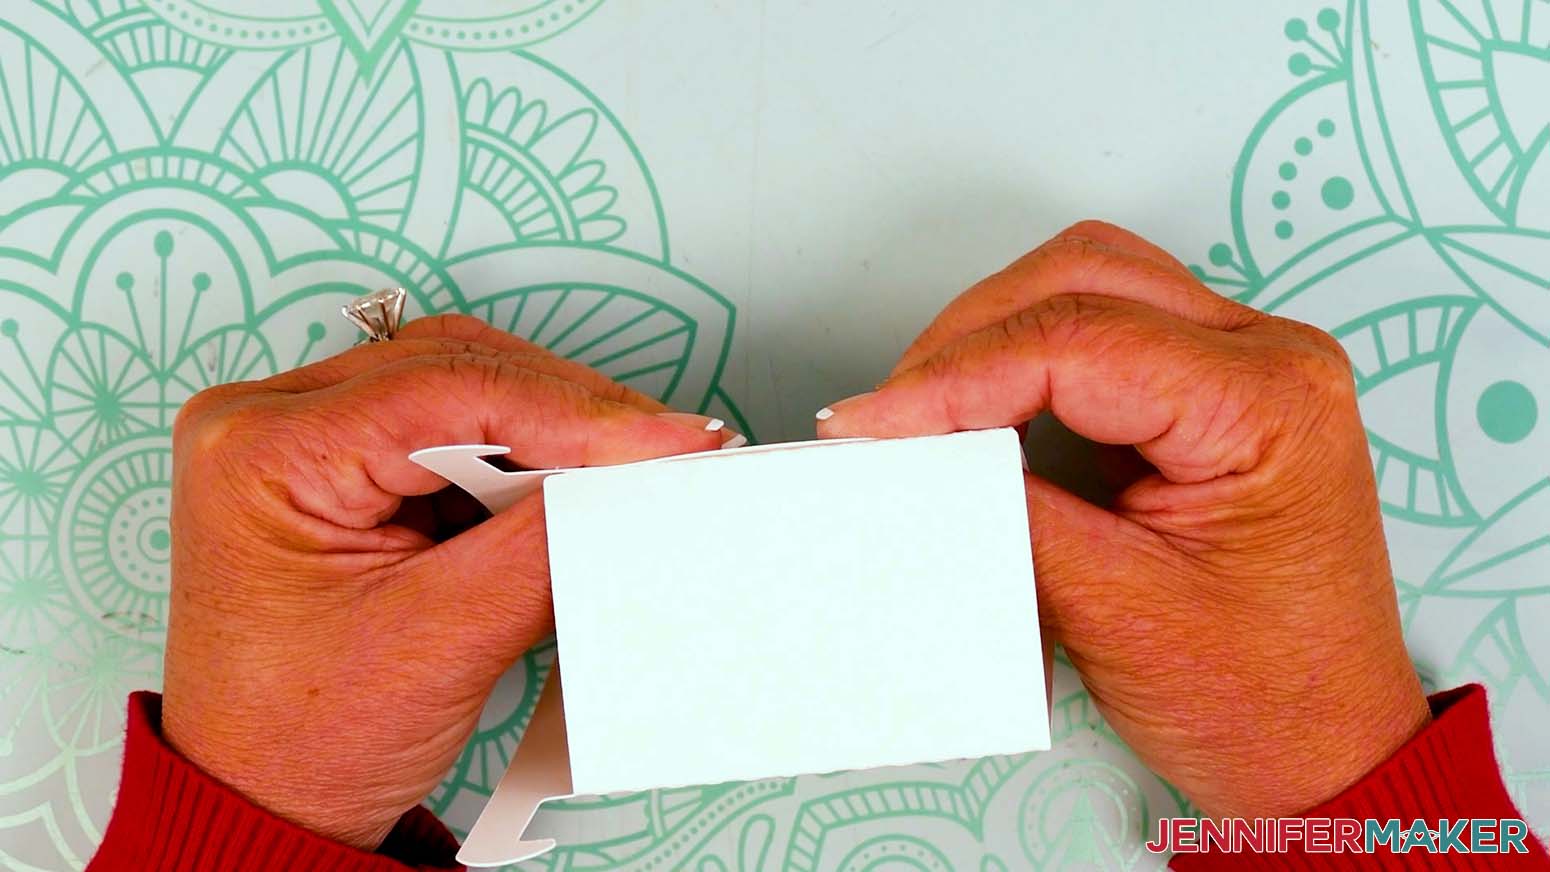
- Fold the stand into a triangular tube and attach the glued edge to the inside of the last folded panel.
- Keeping the edge as flush as possible, hold until the glue sets.
- Stack the cut calendar cards in month order.
- Place the stack on the stand for display!
STEP 4: SHOW IT OFF
You now have an awesome stacked desk calendar to mark the days in the coming year!
Display your calendar in your office, on the kitchen counter, or anywhere you need a handy reminder of important dates.
Notes
Finished Size:
4” x 7” per card
4” x 7.25” when displayed on the stand
Fonts Used: JM Sweet, JM Cursive
Answers to Your Questions About Making a Stacked Desk Calendar
Q: I want to customize the design on a stacked desk calendar. How do I do that?
A: You can learn how to design a customized stacked desk calendar in my ADVANCE program. Learn more about ADVANCE here!
Q: Are desk calendars worth it?
A: Absolutely! A desk calendar helps you stay on top of your schedule while adding charm to your space. My stacked desk calendar design does double duty, keeping you organized and looking gorgeous with layered artwork that changes each month but still looks thoughtfully designed.
Q: What does a stacked calendar mean?
A: A stacked calendar is made of individual month cards, layered one on top of another. My version takes it up a notch by turning those layers into a coordinated design, so every card is part of a beautiful scene that changes, but stays balanced and beautiful all year.
Q: Why use a desk calendar?
A: Desk calendars are great for tracking important dates and simply brightening your workspace! My stacked desk calendar adds an extra touch of fun with gorgeous artwork and a sturdy stand.
Q: What is the best calendar for offices?
A: A stacked desk calendar is perfect for offices! It’s compact, easy to read, and adds a splash of personality to your workspace.
Q: What paper do I use for a stacked desk calendar?
A: For the best results, use matte photo paper with your color inkjet printer. It gives your stacked desk calendar vibrant, professional-looking images that really pop. It cuts beautifully on your Cricut, too!
Q: How do I make a base for my stacked desk calendar?
A: I designed a special stand just for this project! You can cut it from heavy cardstock using your Cricut. There’s a version with score lines if you have a scoring tool, or a “no score” option if you don’t. Either way, it’s super easy to assemble.
Q: Can I make and sell stacked desk calendars?
A: If you want to use my designs and projects for commercial use, please familiarize yourself with my important licensing information before selling your crafts.
Get my free PNG/SVG/DXF/PDF files to make a stacked desk calendar!
(If you do not see the signup form above, click here.)
I love seeing what you make with my tutorials and how you customize them! Please share a photo of your stacked desk calendar in our Facebook group or tag me on social media with #jennifermaker.
Love,

Want to remember this? Save this Stacked Desk Calendar tutorial to your favorite Pinterest Board!