
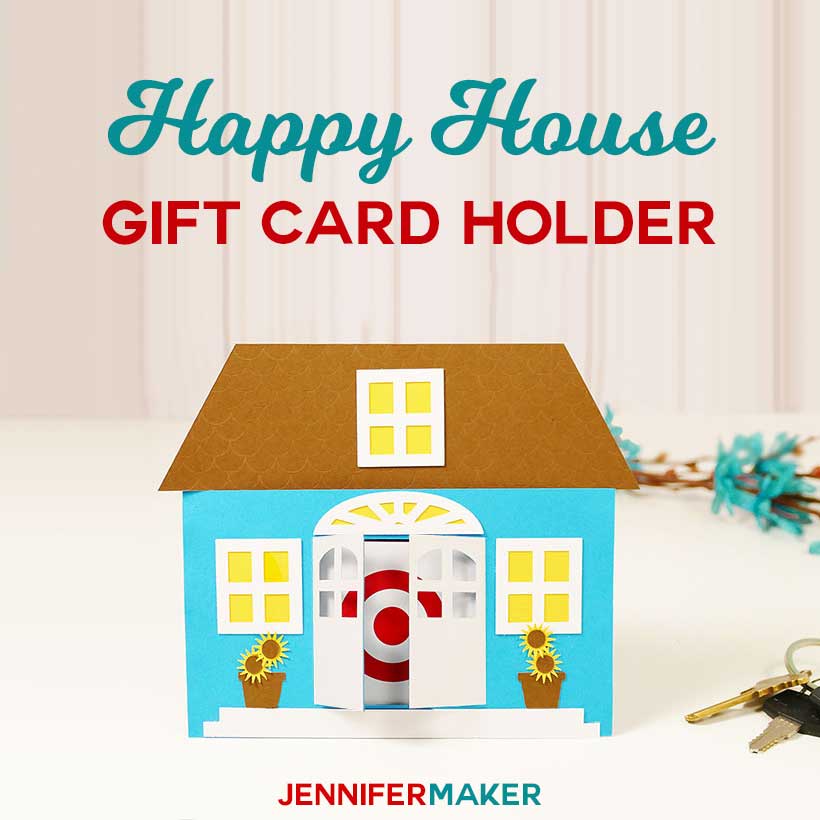
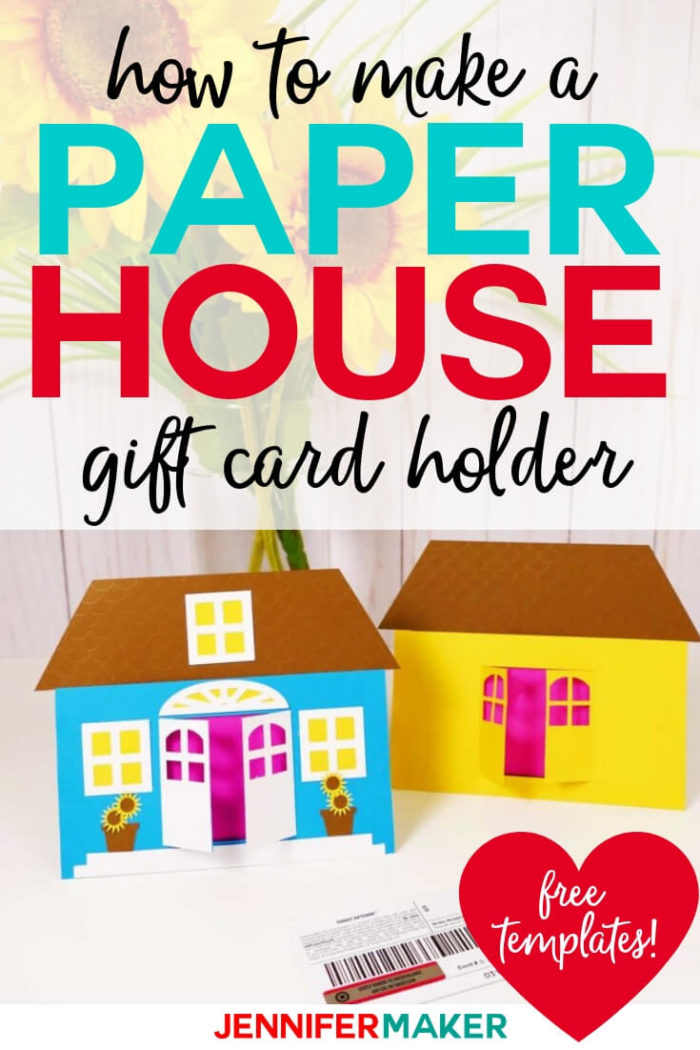
This DIY house gift card holder is perfect for homeowners, for house warmings, and just for sending love from your home to theirs! Grab the free cut file and pattern to make your own.
Who doesn’t love a good gift card? I know I love to give gift cards to my friends and family. It allows them to get just what they want and need without me guessing at a size, shape, color, or brand. But the biggest drawback to giving gift cards? They’re boring! And rather impersonal, if we’re being totally honest here. So I like to change all that by making awesome gift card holders for all my recipients. Not only is a custom gift card interesting, but nothing says “I care” like handmade. So I designed this charming house gift card holder to be really easy and quick to put together and you can customize it so easily! Read on to learn how to make your own gift card holder AND to grab the free cut file and pattern!

Let me show you how easy it is to make this Paper House Gift Card Holder! This post contains some affiliate links for your convenience (which means if you make a purchase after clicking a link I will earn a small commission but it won’t cost you a penny more)! Read my full disclosure policy.
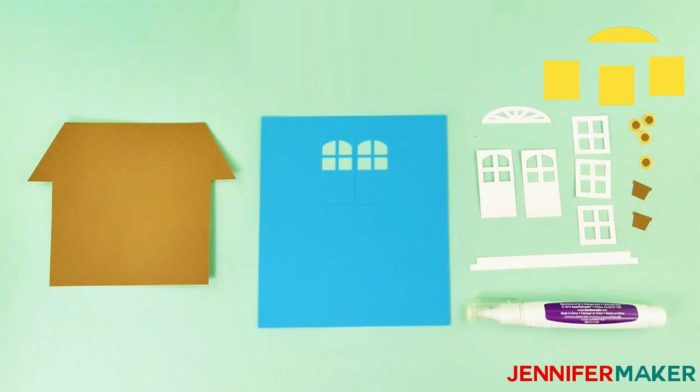
Materials to Make a DIY Paper House Gift Card Holder
-
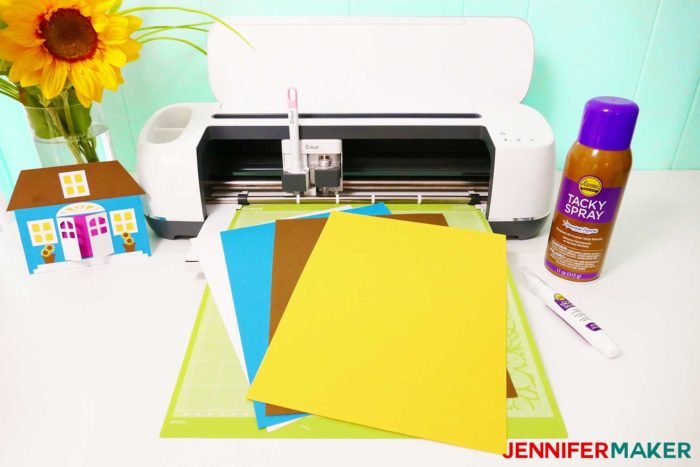
- Cardstock, blue, white, yellow, and brown (8.5″ x 11, 65 lb.)
- Tacky glue
- Spray adhesive
- A cutting mat for your Cricut (green or blue works, just make sure it’s sticky!)
- A way to cut your paper (I used the Cricut Maker cutting machine but they can also be cut on a Cricut Explore or Cricut Joy)
- Design #104 – My free SVG design files (available in my free resource library—get the password by filling out the form at the bottom of this page)
How to Make a Paper House Gift Card Holder!
Step 1: Get my free house gift card holder SVG File
Get the free gift card holder design (Design #104) from my free resource library (get the password to the library in the form at the bottom of this post).
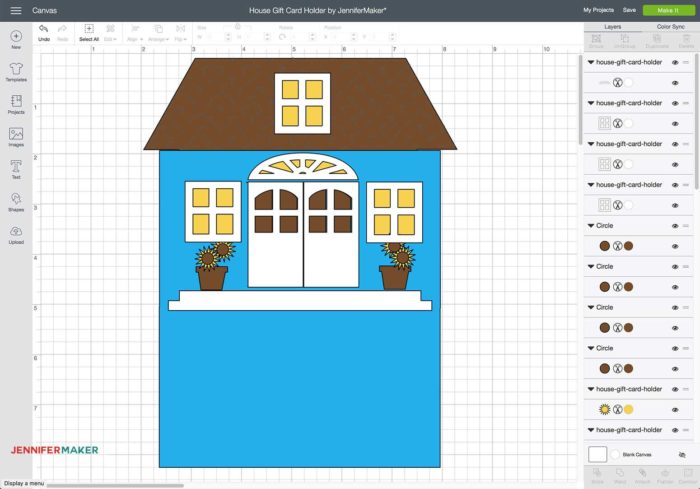
Here is what the house gift card holder SVG cut file will look like when you upload it to Cricut Design Space:
Tip: If you’re not sure how to upload an SVG cut file to Cricut Design Space, watch this helpful video training series I made. If you’re on an iPhone or iPad, here’s how to download and upload SVG files to the Cricut Design Space app.
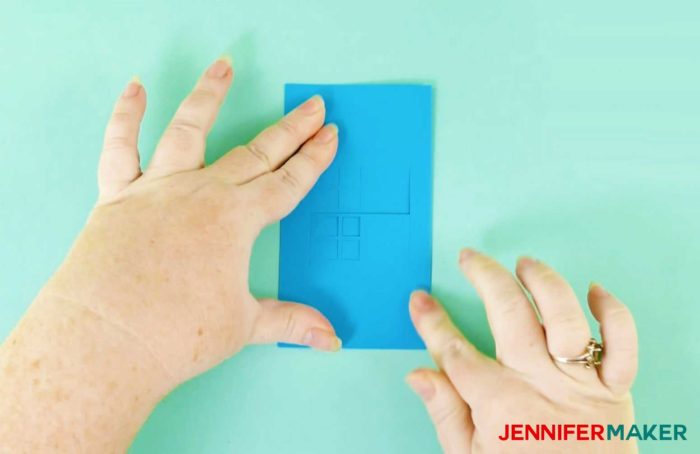
Step 2: Cut out Your Design
After you upload the SVG to Cricut Design Space, ungroup everything, change the layers with roof tile lines from Cut to Score, click both the roof tile lines and the brown room section, and then click Attach.
Need help with the scoring lines? Check out my tutorial on Cricut Scoring, Grouping, and Attaching!
Note that I used a scoring stylus in my Cricut to put the tile lines on the roof, giving it more interest and texture. If you do not have a scoring stylus, be sure to hide those layers before you cut or just use the SVG file marked “no-score.”
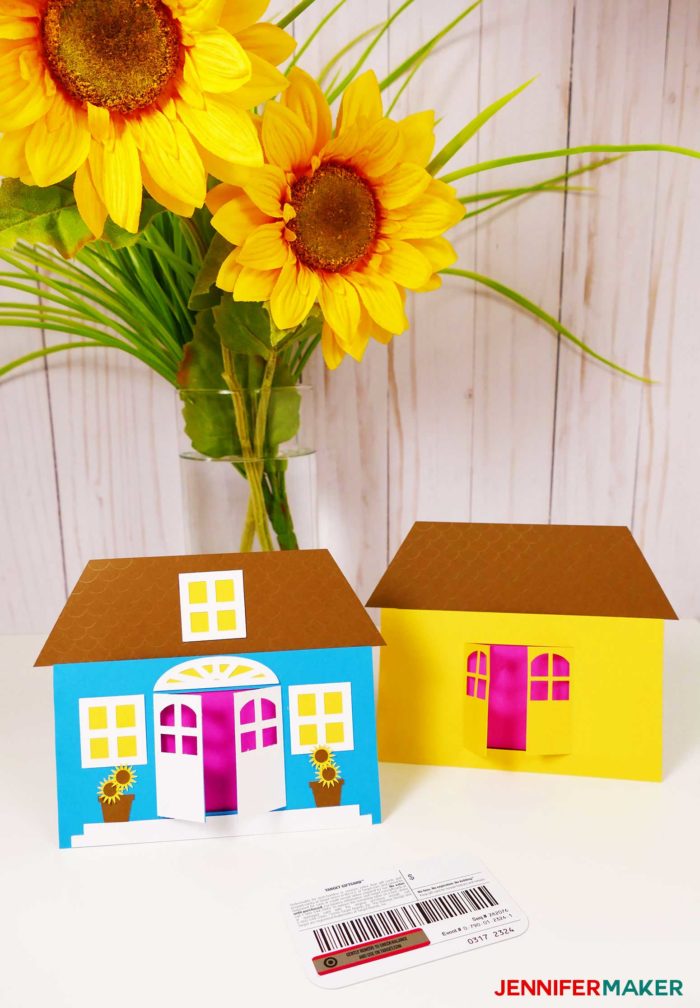
Also note that if you want a simpler house made of just two colors, you can do that! Just hide the white and yellow layers, then cut out the remaining two layers on any cardstock colors you wish.
Click “Make It” and you will be prompted to place your paper on your cutting mat and follow the prompts to load the mat into your Cricut so that the machine can cut out the various colors of the house.
Step 3: Assemble your Gift Card Holder
Here is what all the pieces look like when they’re cut out.
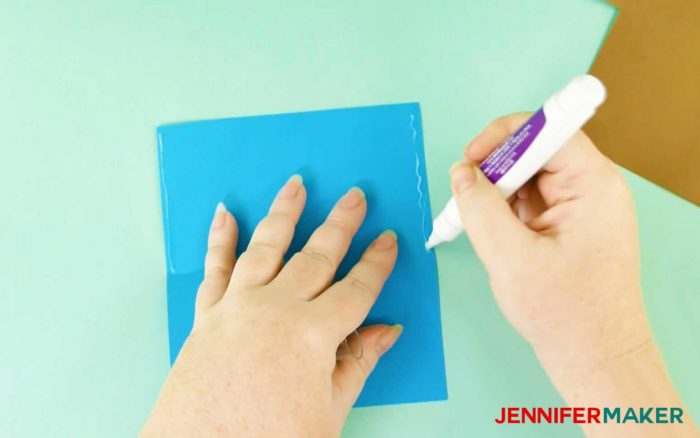
Gently fold the house section in half so that the double-doors open on one side of the fold.
Open the house back up flat and put glue on the very edge of the two sides of the house so that when you fold it again, it glues shut. Do not put any glue along the top or bottom edges, however. You are essentially creating a paper pouch or envelope right now.
Insert the bottom of your roof section into the top of your house section to make sure it slides in easily.
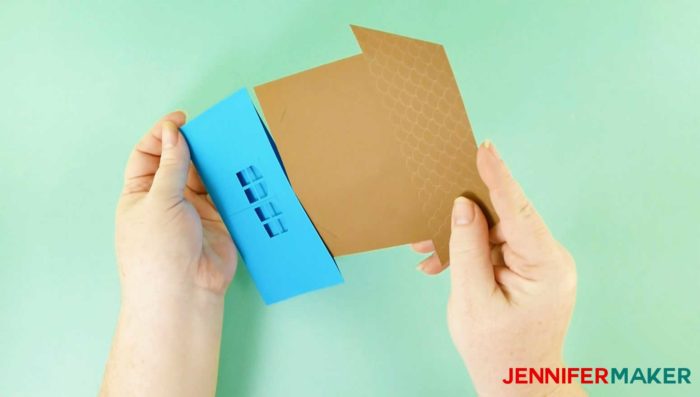
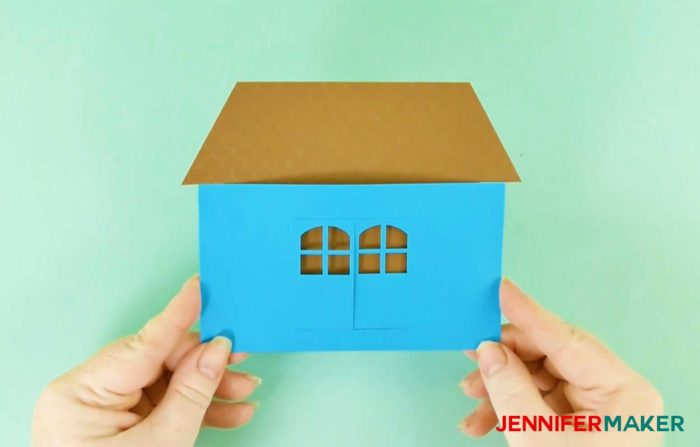
At this point, your house gift card holder is functional! Just insert your gift card into the diagonal slots on the pull-out section. But if you want to decorate your house, keep reading.
Attach the white door pieces on top of the existing door pieces on your house. You can also optionally fold the doors open to give the card more depth and interest. I attached the door pieces using spray adhesive because it’s less messy than glue for small pieces like this.
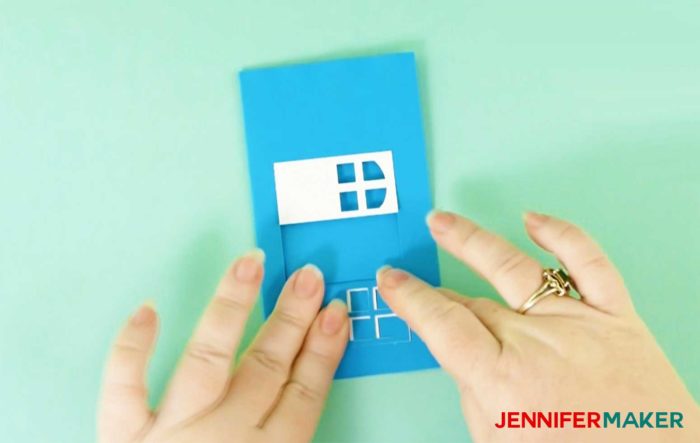
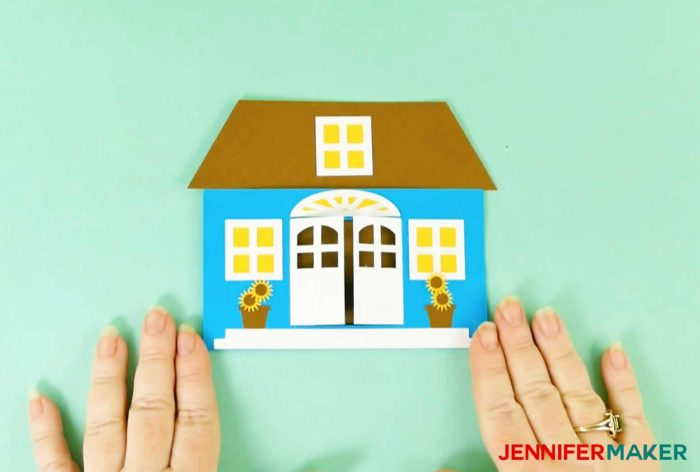
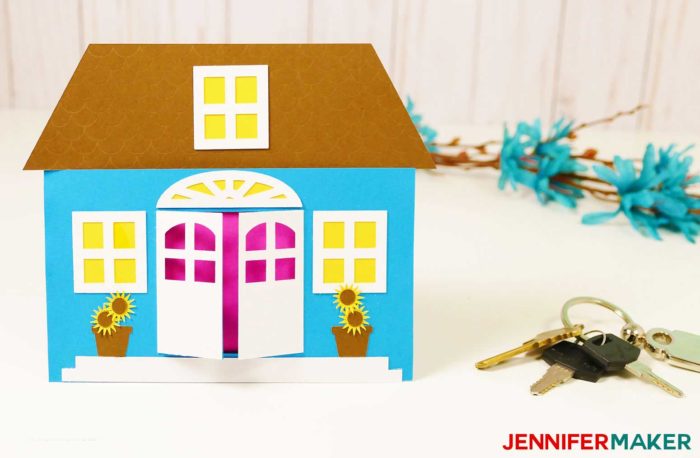
Attach the rest of the decorative house pieces on the front of your gift card holder. I recommend you use spray adhesive for these small pieces.
Step 4: Give Your Gift Card Holder
I just love how this DIY gift card holder turned out! You could even customize it with colors to match the new home.
Free Cut Files for the Happy House Gift Card Holder
Get the password for the library with the free cut files (in SVG/DXF format) here by filling out this form:
Love,

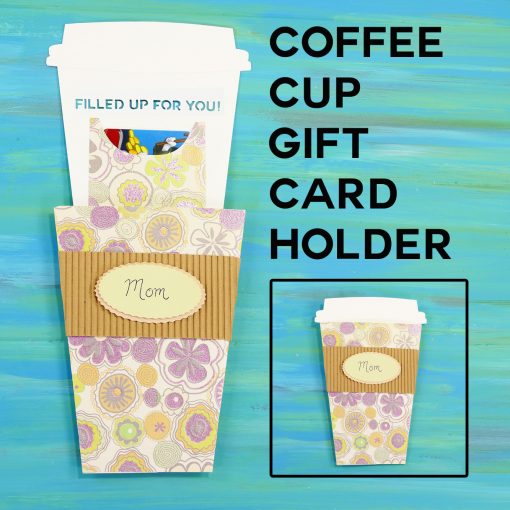
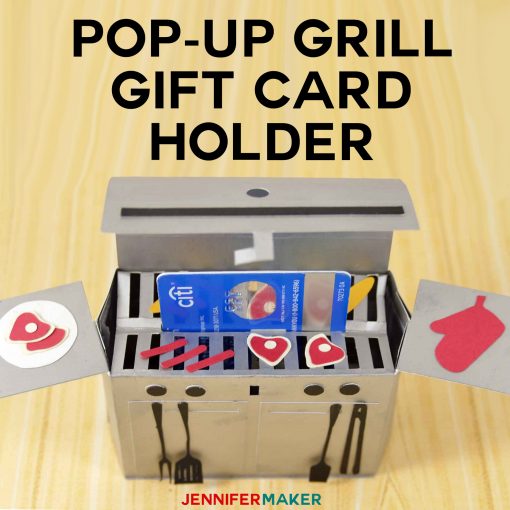
If you like this gift card holder, you may also like these other gift card holder tutorials:

Want to remember this? Save the DIY Gift Card Holder to Your Favorite DIY Pinterest Board!


Thank you so much for this. This gift card for a new house was exactly what I was looking for. You are so kind to share your terrific talents
So cute, wondering how you got your “tiles” on the roof? =]
Those are part of the tutorial, don’t they add great dimension! You will score the lines on the roof with your scoring tool!