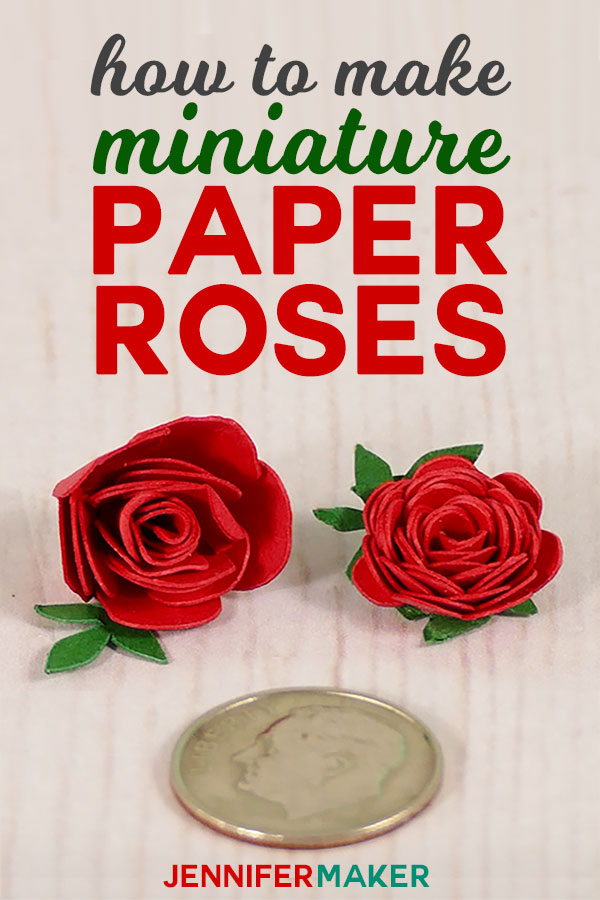
Make miniature paper roses for fun paper craft projects and decorations. These tiny paper roses look surprisingly realistic and are easy to make.
At this point, it’s no secret I love paper roses. I’ve made a real-size paper rose and two giant paper roses (my spellbound rose and my winter rose). But when I went to decorate my paper arbor luminary, I knew what I needed for it — miniature paper roses! I was a bit concerned with making them tiny enough, but I figured it out! So I want to share with you how I make miniature paper roses, too!
Now you might think it would be difficult to make paper roses so small, but the secret is in the shape. By using a spiral pattern and rolling them up, it’s faster, easier, and more realistic looking. Real flower petals grow in a similar spiral shape, so these look like the real thing … but really tiny!
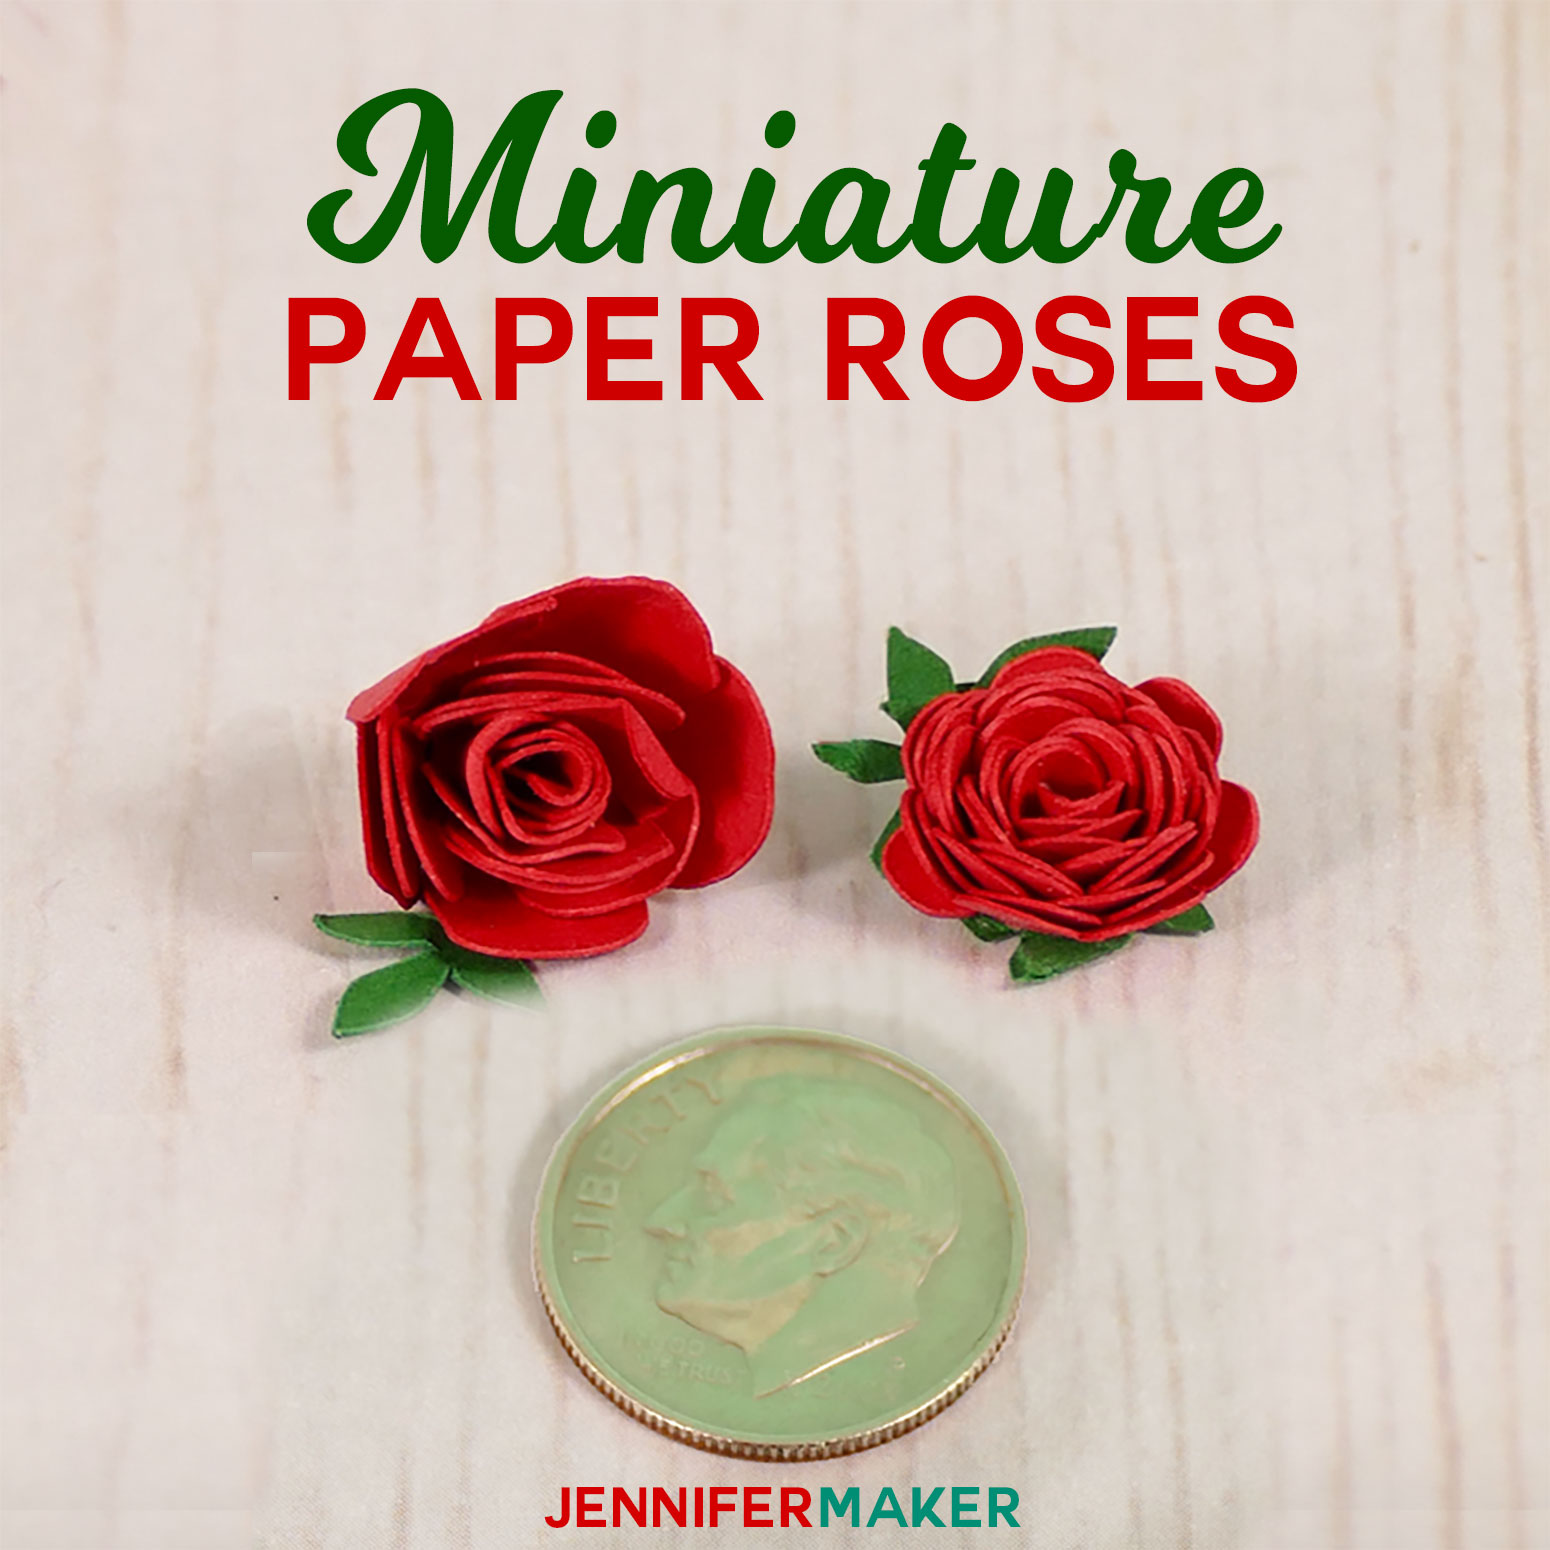
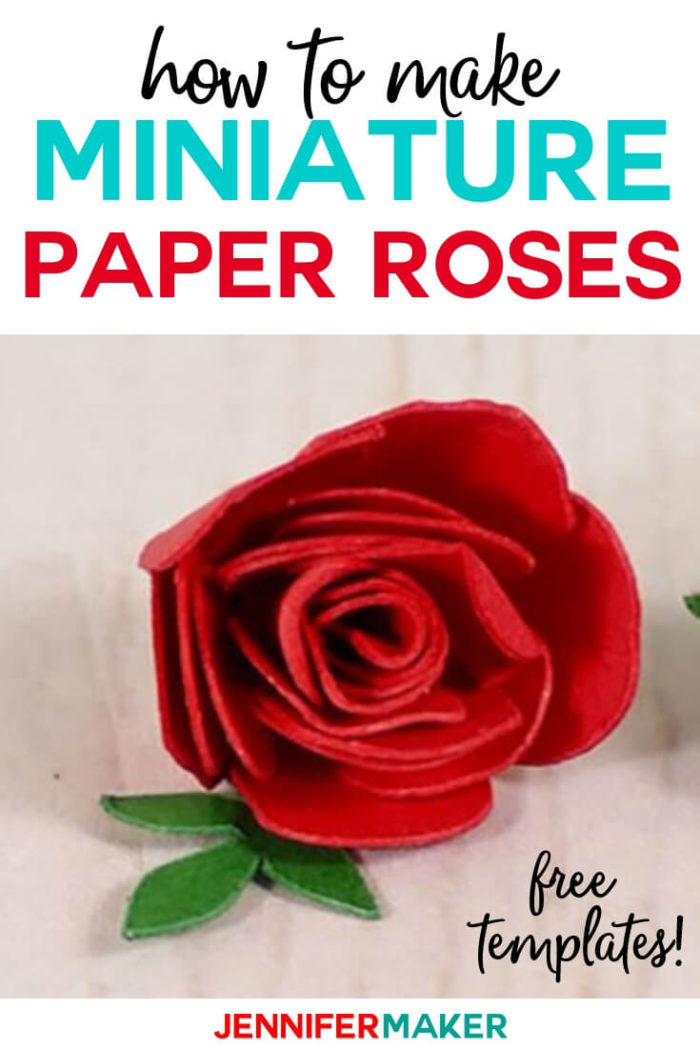
Here are close-ups of the miniature paper roses:
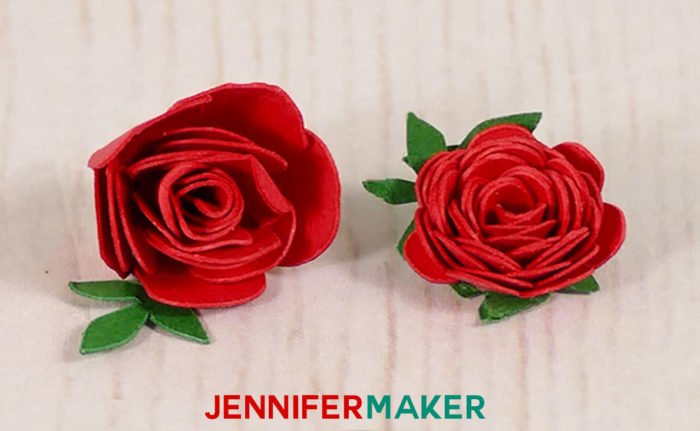
You’ll note these roses look a little different from one another, and they are! The rose on the right is a more natural looking rose, while the one on the right is more tidy and regular. Pick the miniature paper rose style you like best, or mix and match them for more realism!
I’m excited to show you how to make miniature paper roses for all your craft projects! This post contains some affiliate links for your convenience (which means if you make a purchase after clicking a link I will earn a small commission but it won’t cost you a penny more)! Read my full disclosure policy.
Materials to Make Miniature Paper Roses
- 65 lb. cardstock (I used red for the petals)
- Tool to roll flowers (you can also make your own DIY quilling tool with my tutorial)
- Green StandardGrip machine mat (the 12″ x 12″ size)
- A way to cut your cardstock (I used the amazing Cricut Maker cutting machine, but you can use any Maker series, Explore series, or Joy series machine, or the Cricut Venture)
- Tacky Glue
- Design #105 – My free SVG design files (available in my free resource library—get the password by filling out the form at the bottom of this page)
How to Make Miniature Paper Roses
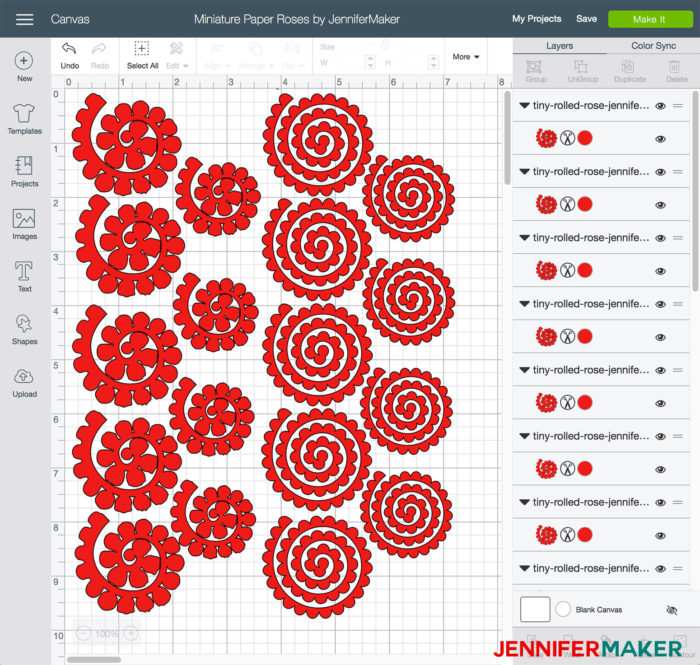
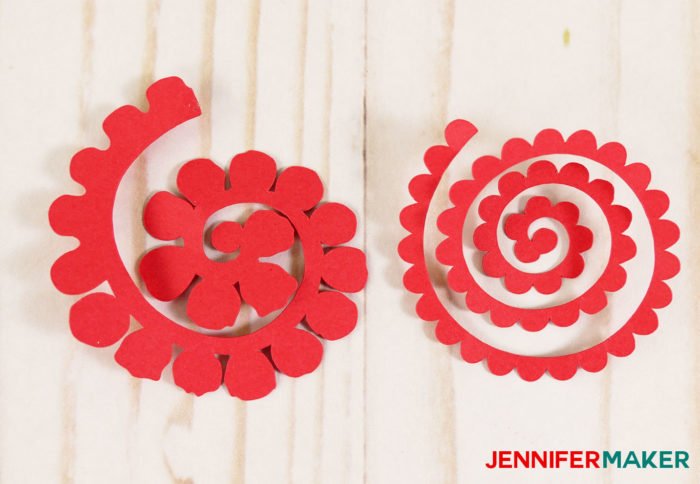
To begin, cut out your cardstock using my free miniature rose SVG, DXF, or PDF files (Design #105) found in my resource library. I have two different rose petals details, both optimized for their small size. The one with larger petals looks more realistic, and the one with smaller petals looks more tidy. I included two different sizes in my file — use the one that works best for you!
CUTTING MACHINE NOTE: If you’re not sure how to upload an SVG file to Cricut Design Space or another Design Software, or you’re having issues (such as getting a message that says “unsupported file”), please watch my free training series, The Joy of SVGs. If you’re on an iPhone or iPad, check out my post on How to Upload SVG Files to Cricut Design Space on iPhone & iPad!
Cricut Tip: If you cut these on a Cricut, I highly recommend you use a NEW StandardGrip mat with a clean blade. This will help you make these intricate, detailed cuts without ripping your cardstock.
Once your petals are cut, it’s time to roll them up into miniature paper roses! To begin, orient your petal just like this:
Pick up your quilling tool and insert the tip into the slot at the end of your quilling tool.
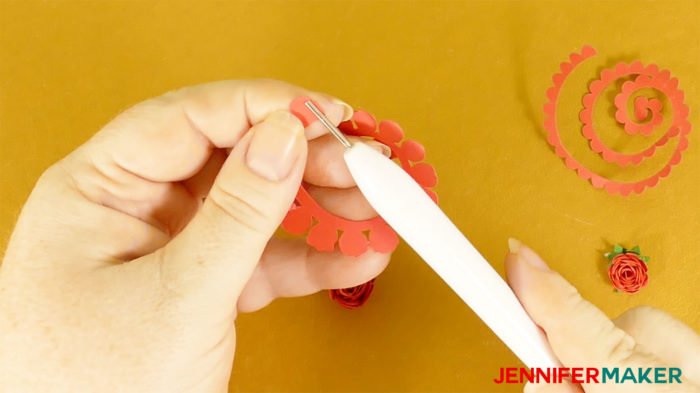
Now you rotate the quilling tool TOWARD you, rolling up the paper as you go. The key is to keep the paper tightly rolled around the tip of the quilling tool and also keep the base straight.
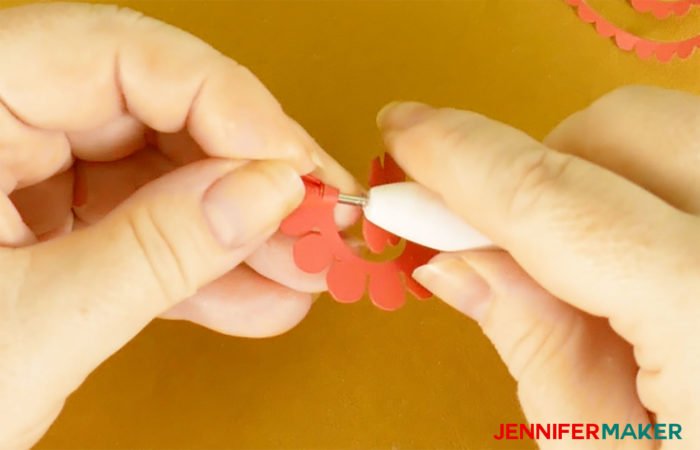
This might take a little practice. I find it’s really helpful to two things:
- Brace the rolled petals against the pad of my finger — this helps them stay in place and keeps their bases straight.
- Squeeze the petals as I spin them up, as this helps the petals take a curved shape and stay on the quilling tool better.
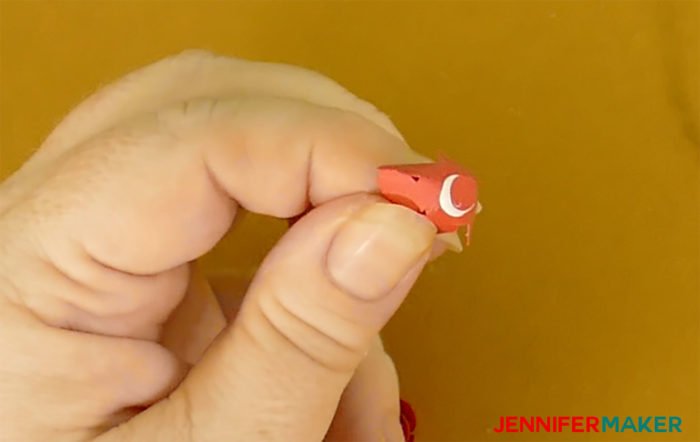
When you’re done rolling the flowers around the quilling tool, gently pull your miniature paper rose off by holding the petals between your thumb and forefinger:
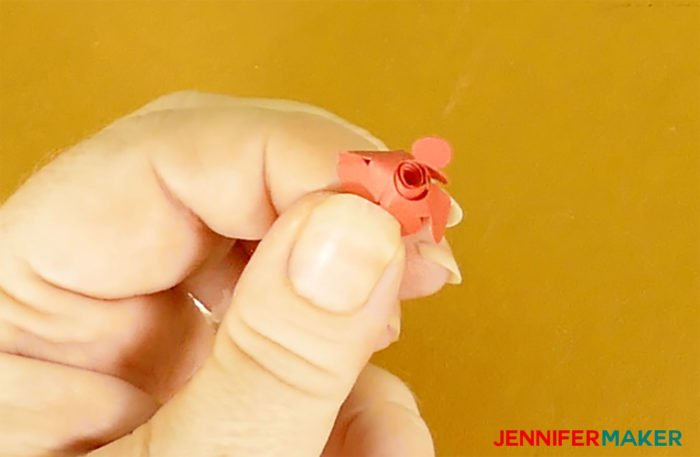
If done correctly, you’ll have just a little circle left, like shown in the photo above. Now fill the base with tacky glue, making sure the glue gets down into the flower.
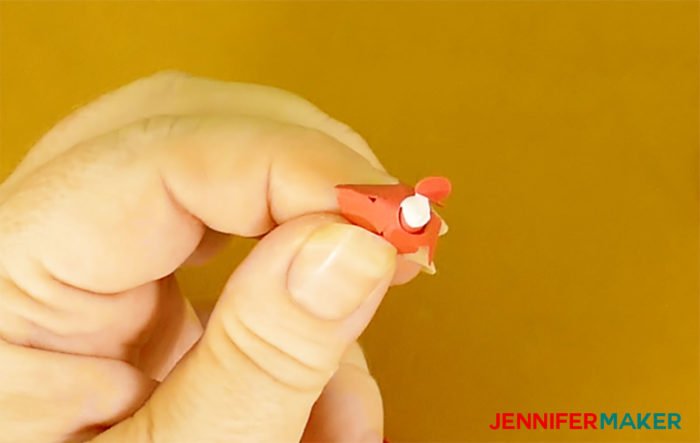
Now just press that circle down onto the glue and press down to make sure it makes good contact.
If your petals are poking out a bit in the center, you may find it helpful to press down the petals and the base at the same time. This also helps ensure that the glue is making contact with the bottom edge of the majority of the petals.
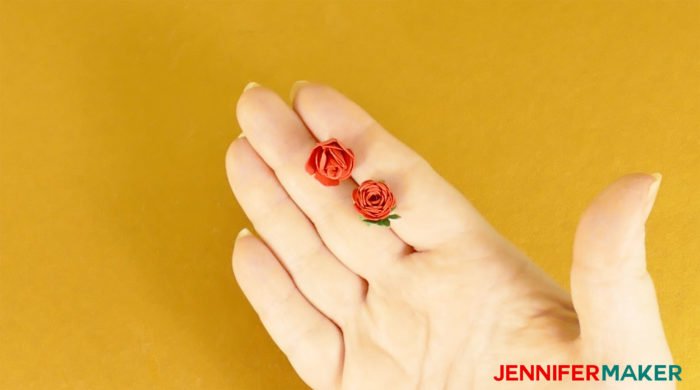
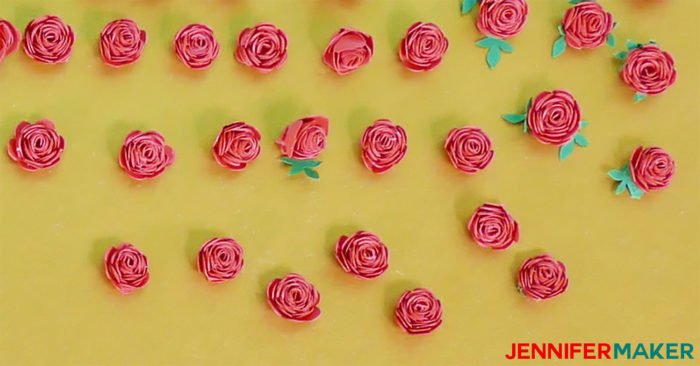
Allow your miniature paper rose to dry, then use as you wish! It really only takes about a minute to make a miniature paper rose, so you can make quite a few quickly. Here are a bunch of tiny paper roses I made in one evening while playing a game:
Now you may be wondering just what the heck you can use these miniature paper roses for! Well, I made them to decorate this paper arbor luminary:
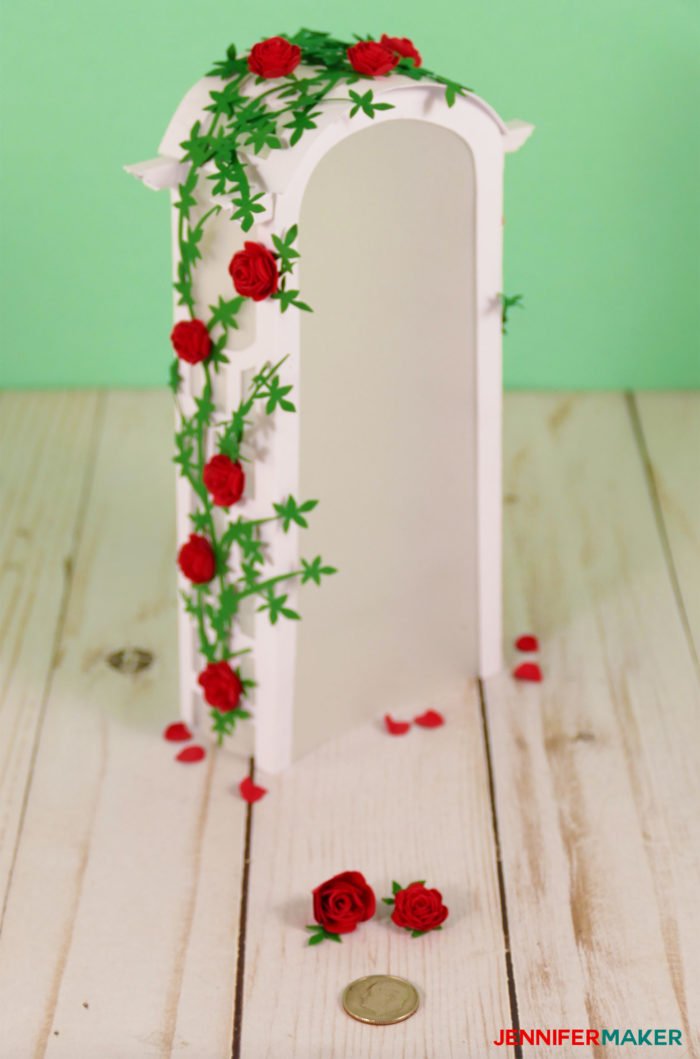
There’s about two dozen of these miniature paper roses on this garden arbor arch … which is also a luminary! You can learn how to make this paper garden arbor here!
But you could use these for SO many projects—cards, gifts, shadowboxes, dollhouses, and so on. I look forward to finding out how YOU use them!
Free Cut Files to Make Miniature Paper Roses
You can get the password to my resource library that has ALL of my free cut files in it by filling out this form:
I’d love to see your Miniature Paper Roses! If you make one, please share a photo in our Facebook group, email it to me at [email protected], or tag me on social media with #jennifermaker.
Love,

More Paper Flower Tutorials & SVG Cut Files


View all my paper flowers here.
Want to remember this? Save the Miniature Paper Rose to Your Favorite DIY Pinterest Board!