
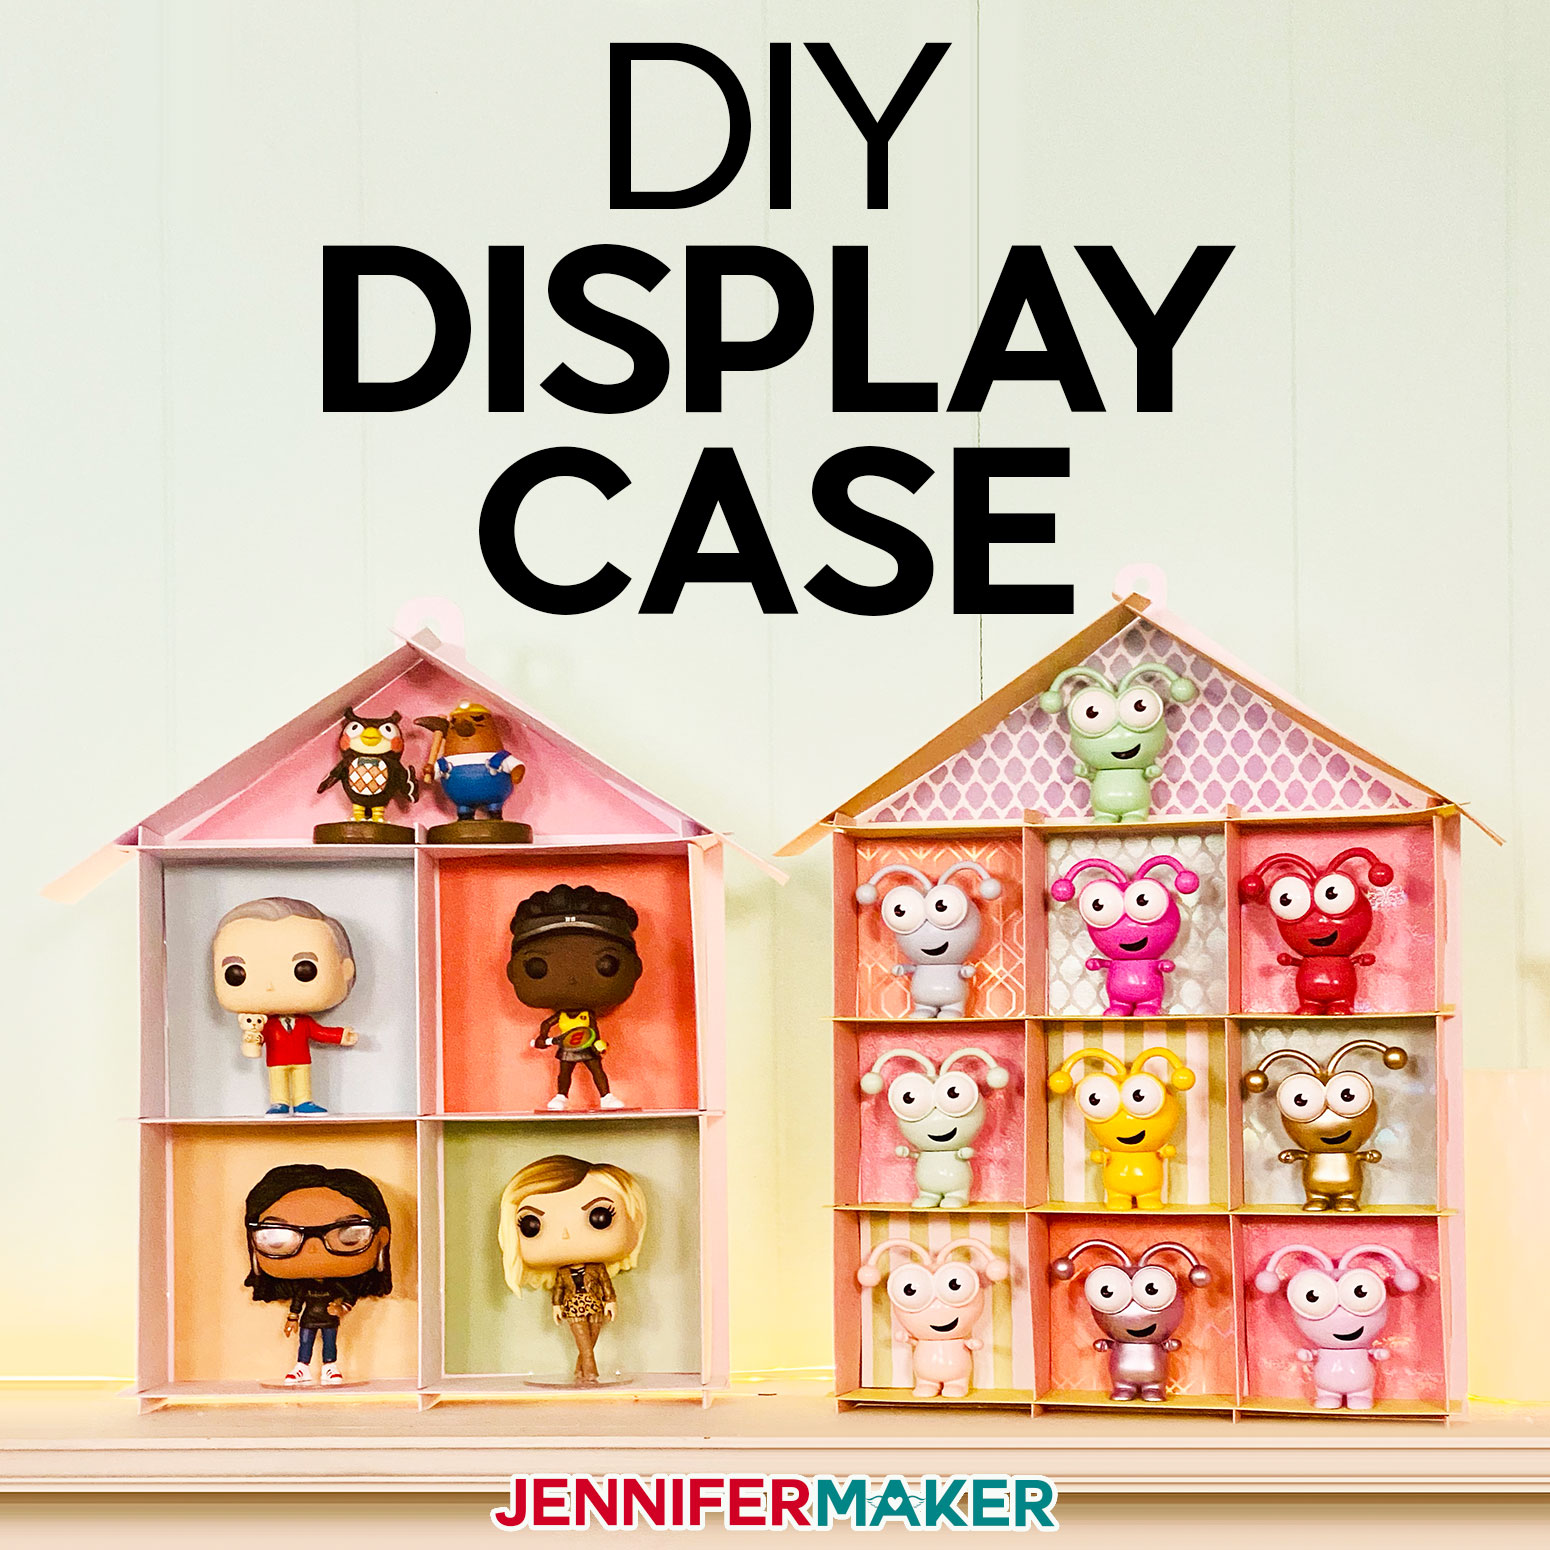
Learn how to make your own DIY display case with Kraft board or cardstock, creating the perfect house-shaped display for small things like Cricut Cuties, small Funko Pop figures, and other keepsakes!
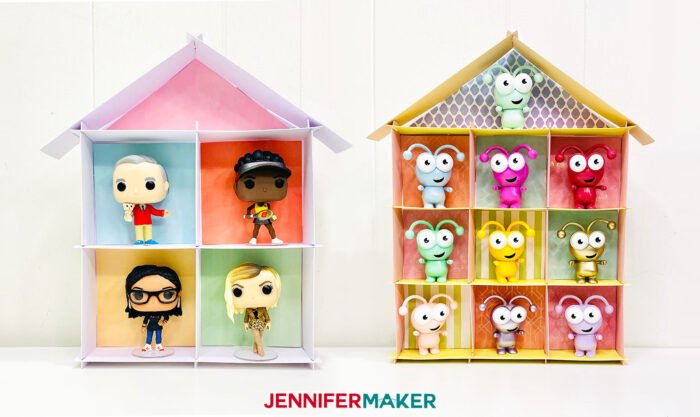
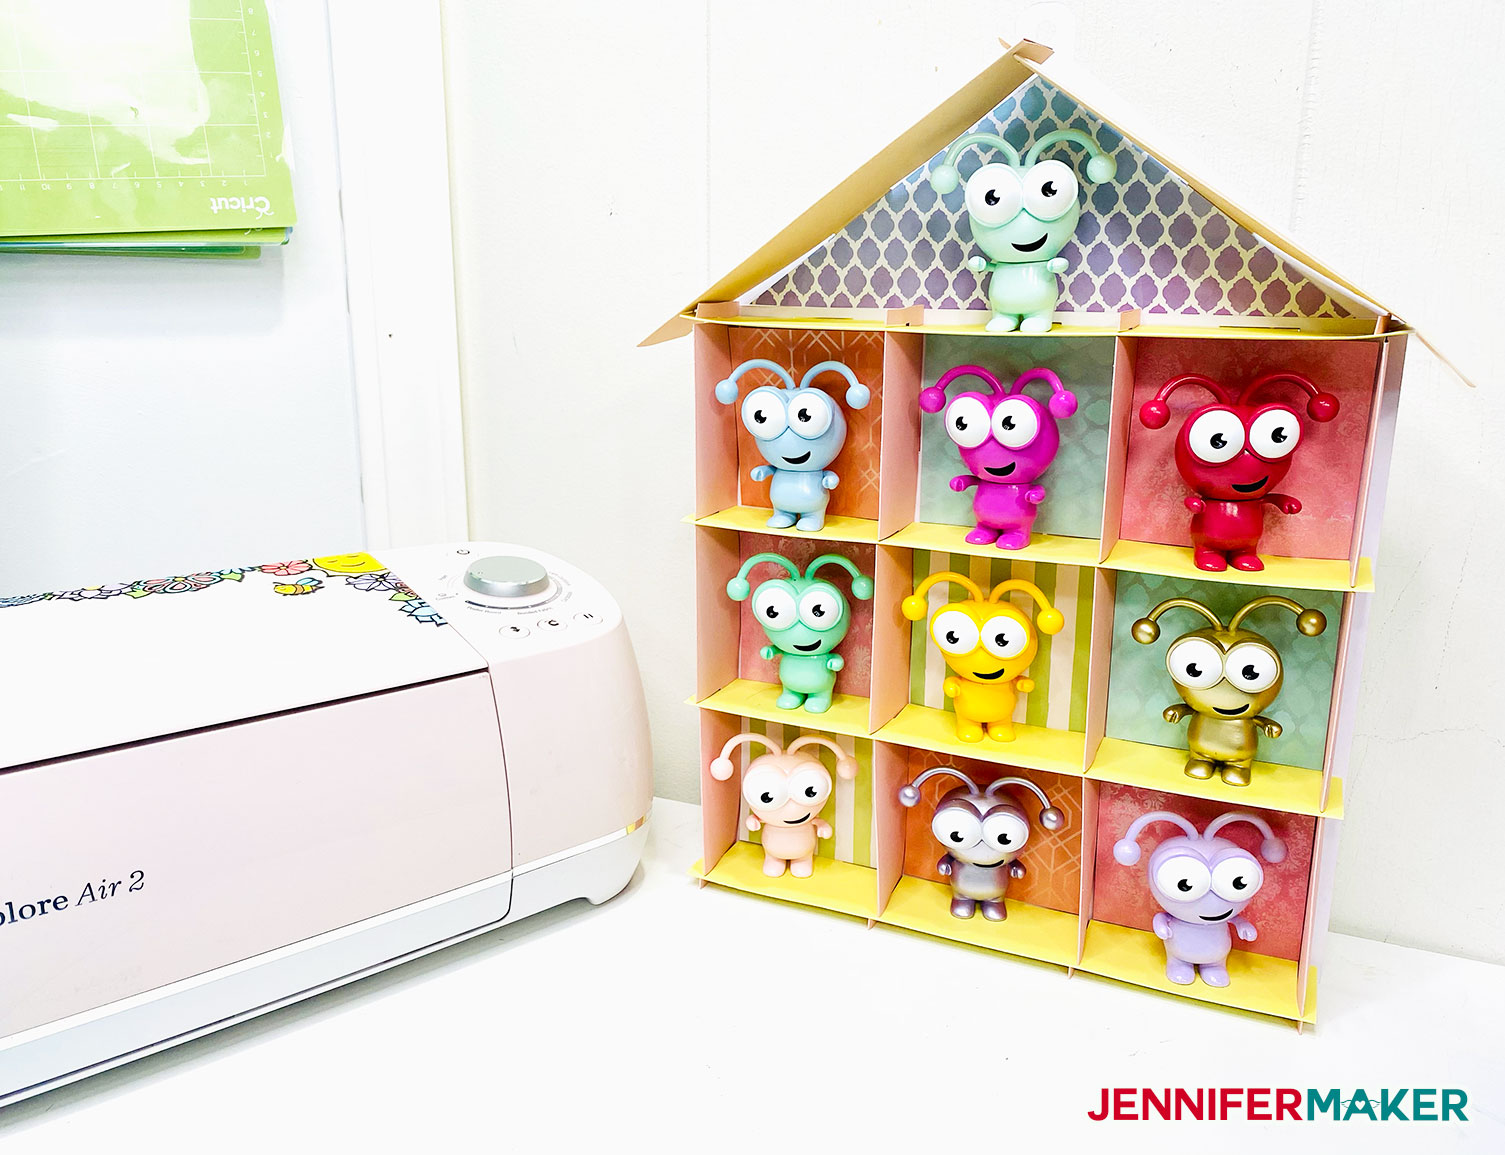
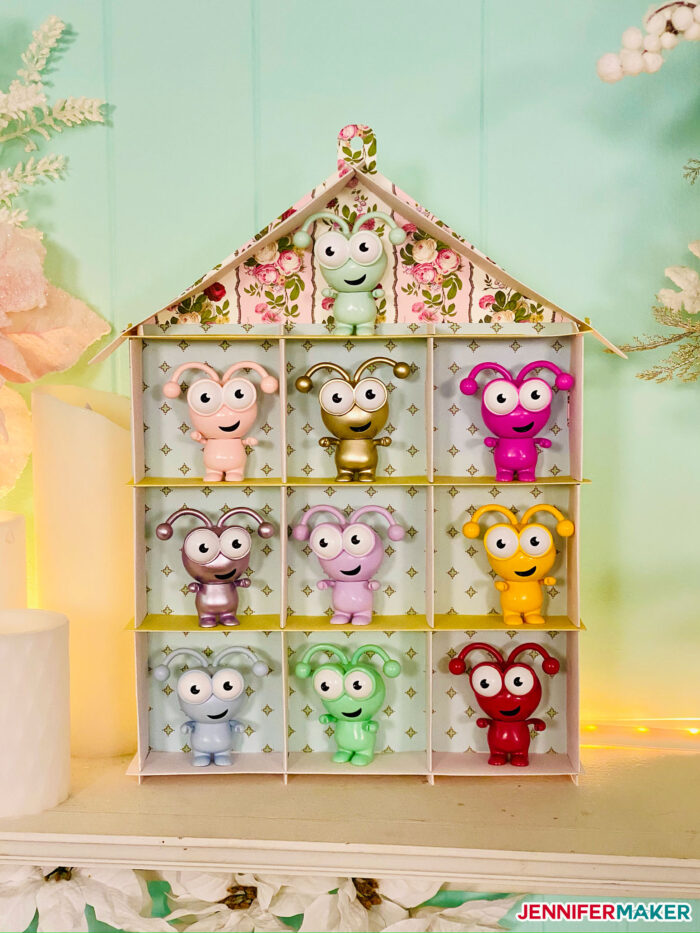
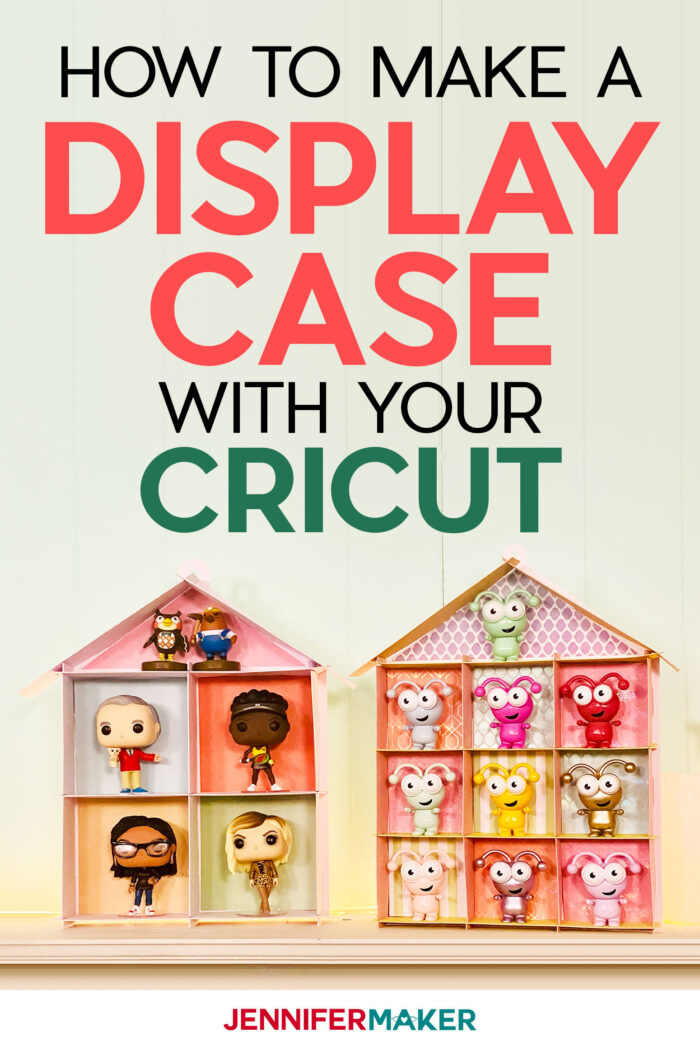
A new Cricut Mystery Box came out the other day, and inside was an adorable candy apple red Cricut Cutie! This brought my collection of Cricut Cuties up to 15 and I was running out of display space on my pegboard shelf… they were just all hanging out, homeless. So I designed a DIY display case in the shape of a house for them, able to give 10 Cricut Cuties a home! And then I made a version that is a bit smaller to hold just four figures … that version will fit the Cuties or even the larger Funko Pop figures if you size it up. Basically anything lightweight up to 4.75″ tall will fit in this DIY display case!
Watch the full step-by-step tutorial on making this DIY display case here:

The best thing about this DIY display case is that it requires no wood or chipboard. It’s made either from Kraft board or cardstock. Seriously! Thanks to the folded and reinforced construction, you can make this display case from materials you have on hand. That means this can be cut on a Cricut Explore Air as well as a Cricut Maker. (It is too large to fit on a Cricut Joy, unless you sized it way down to fit something much smaller than Cricut Cutie.)
Now you may be wondering which material type is better: cardstock or Kraft board? I’ll compare both at the end of this tutorial so you can see the differences and what my recommendations are. (Hint: Both will work, but one will work better!)

Something else really fun about this display case design is that it requires no glue or tape. For real! But you can if you wish, and I’ll show you how to both decorate the rooms and reinforce the back with a little glue if you’d like.
While I am using this to display my Cricut Cuties and Funko Pop figures, you could use it for anything small and lightweight — paper flowers would look gorgeous in this display case, for example!
So let me show you where to find my DIY display case pattern, and then I’ll show you how to cut and assemble your house-shaped shelves! This post contains some affiliate links for your convenience (which means if you make a purchase after clicking a link I will earn a small commission but it won’t cost you a penny more)! Read my full disclosure policy.
Materials to Make a DIY Display Case for Cricut Cuties or Other Keepsakes
See my Amazon shopping list for this project here!
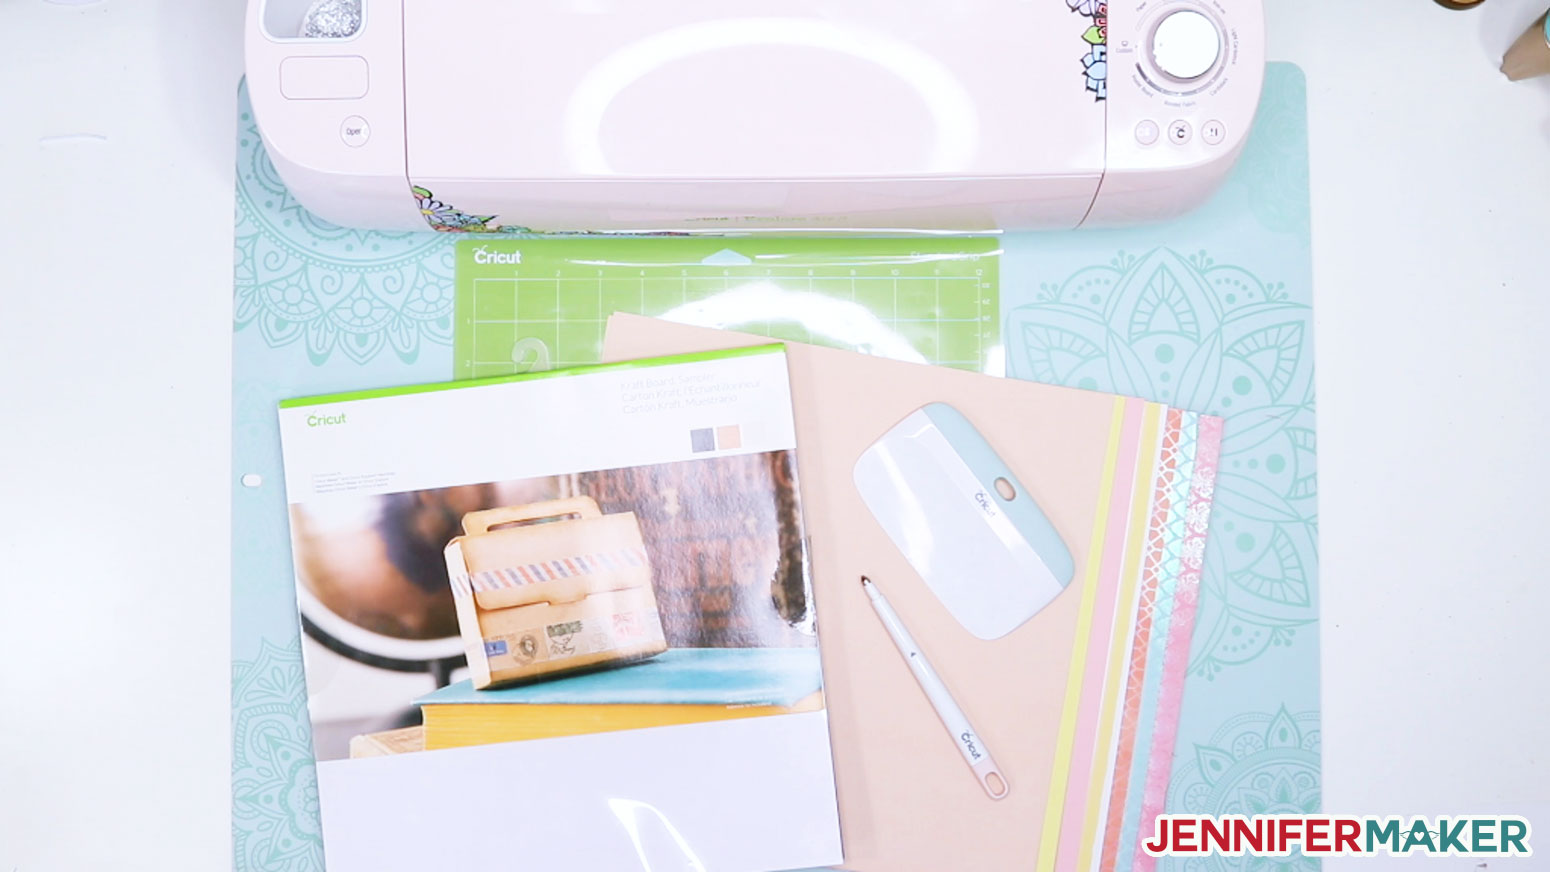
- 5-6 sheets of 12″ x 12″ 80-110 lb. cardstock or Kraft board (number depends on which size of display case you make) — I used this cardstock on my Cricut Cutie house and this Kraft board on my Funko Pop house.
- (Optional) Sheets of colored or patterned cardstock (any size) to decorate the “rooms”
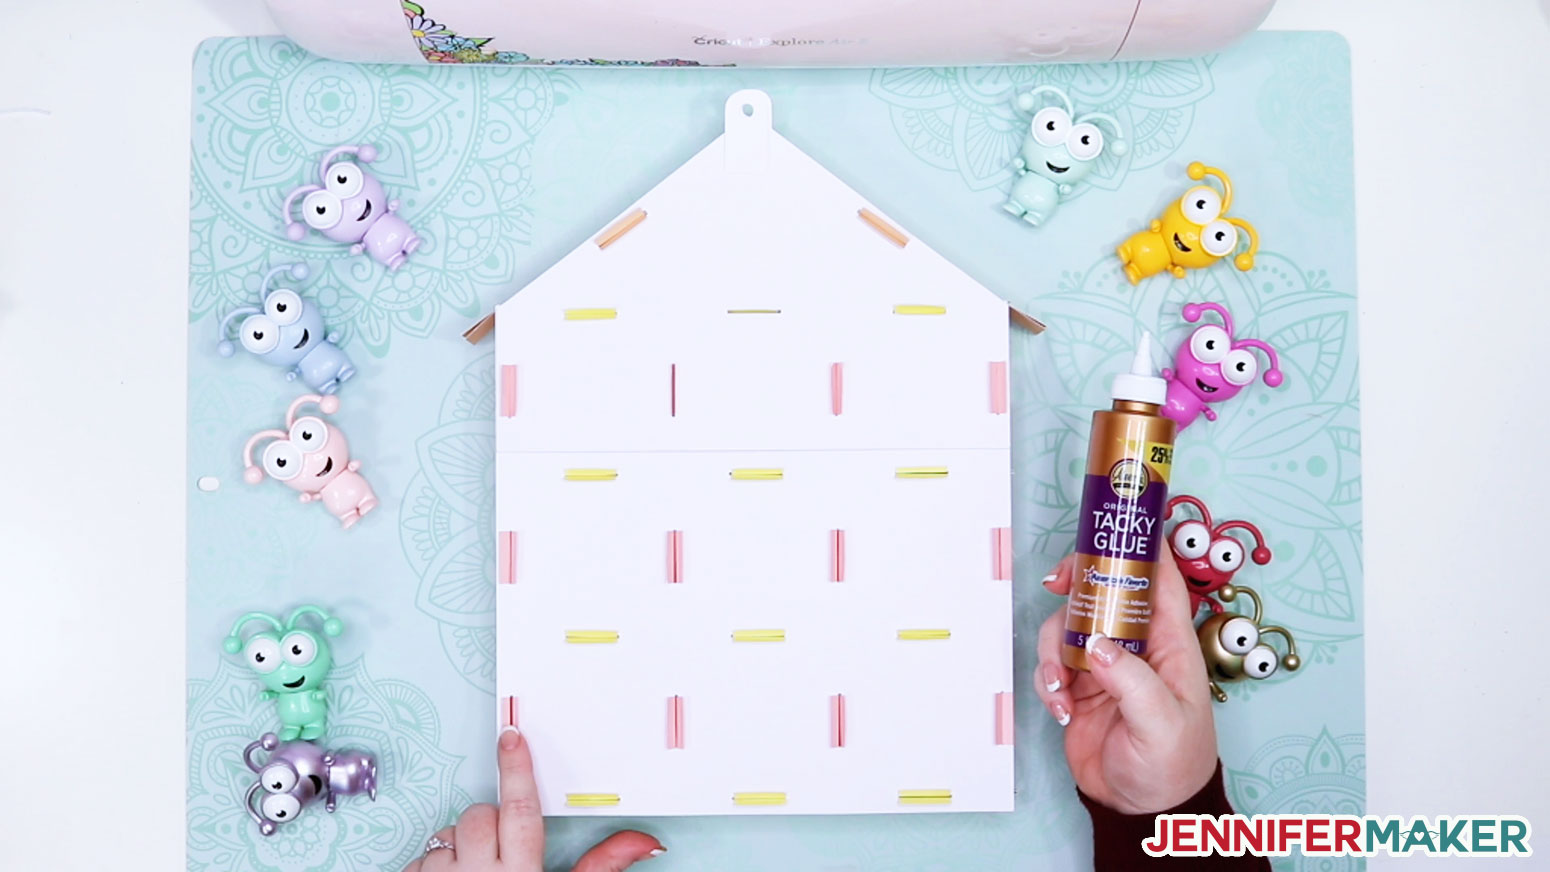
- (Optional) Tacky glue for extra decorative or reinforcement
- A way to cut your cardstock or Kraft board (I used the Cricut Explore with the fine-point blade, but you could also use the Cricut Maker)
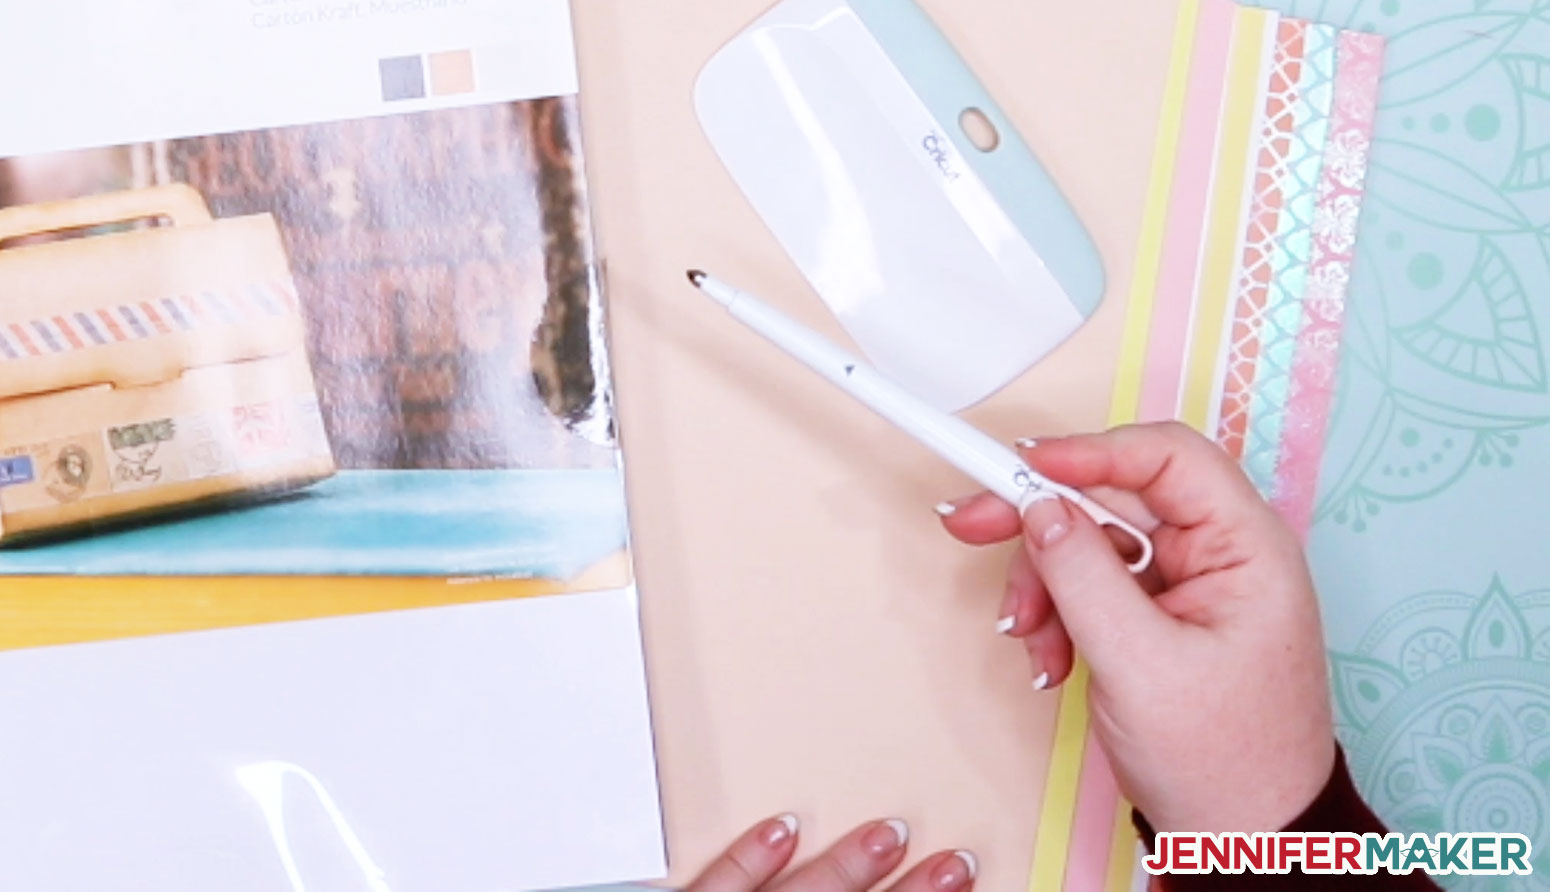
- A scoring stylus (Explore and Maker) or scoring wheel (Maker only)
- A green standard grip cutting mat
- Scraper tool
- Something to put in your display case, such as Cricut Cuties, Funko Pop figures (up to 4.5″), paper flowers, or anything lightweight
- Design #279 (My free SVG/PDF/DXF design files are available in my free resource library – get the password by filling out the form at the bottom of this page)
How to Make a DIY Display Case for Cricut Cuties
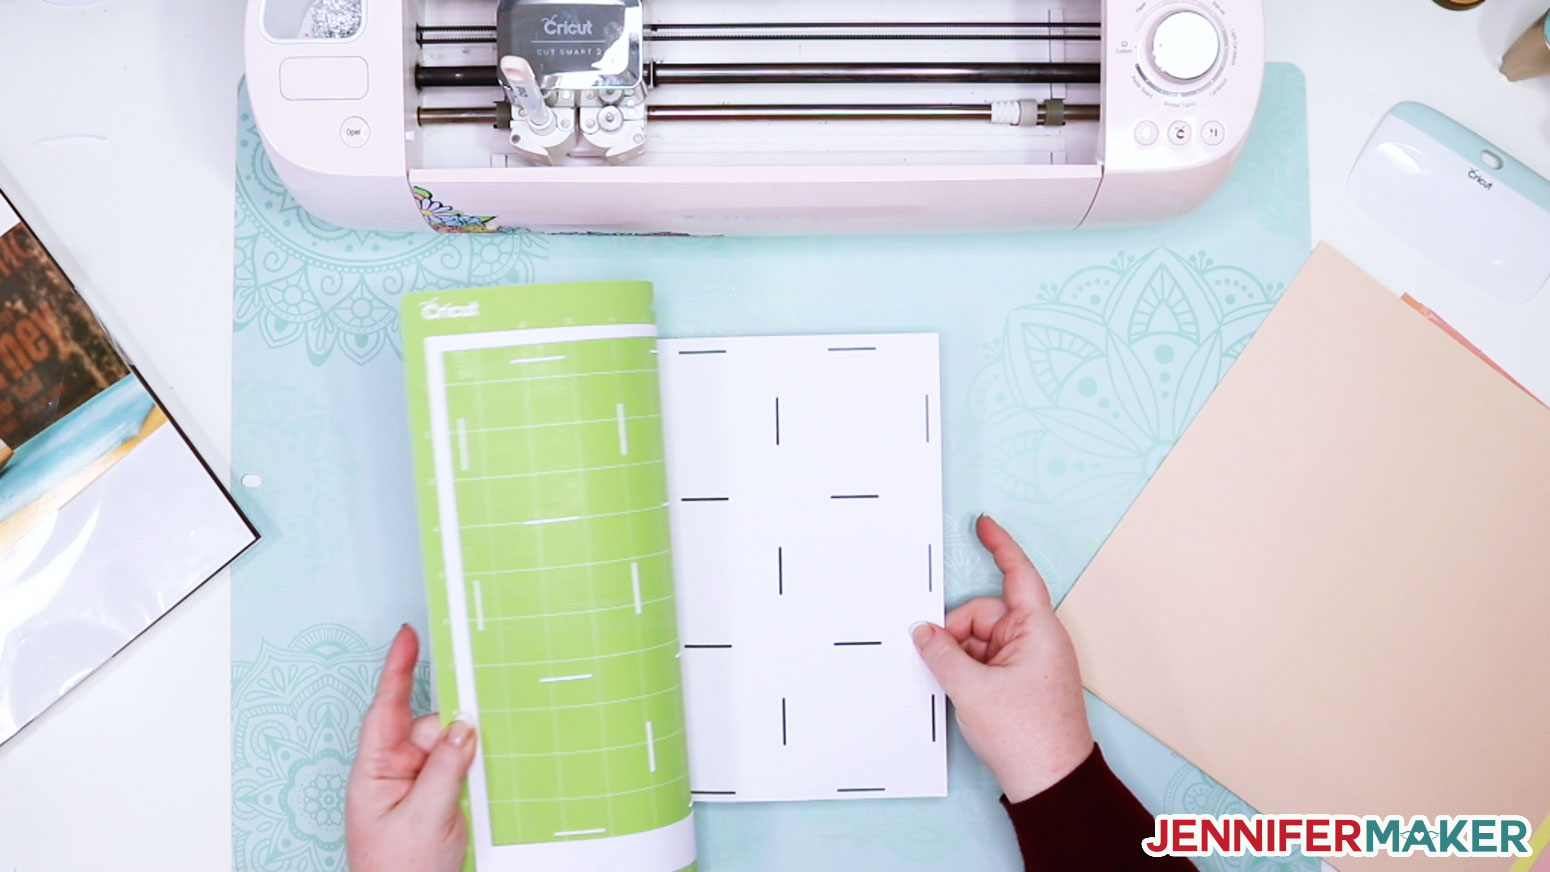
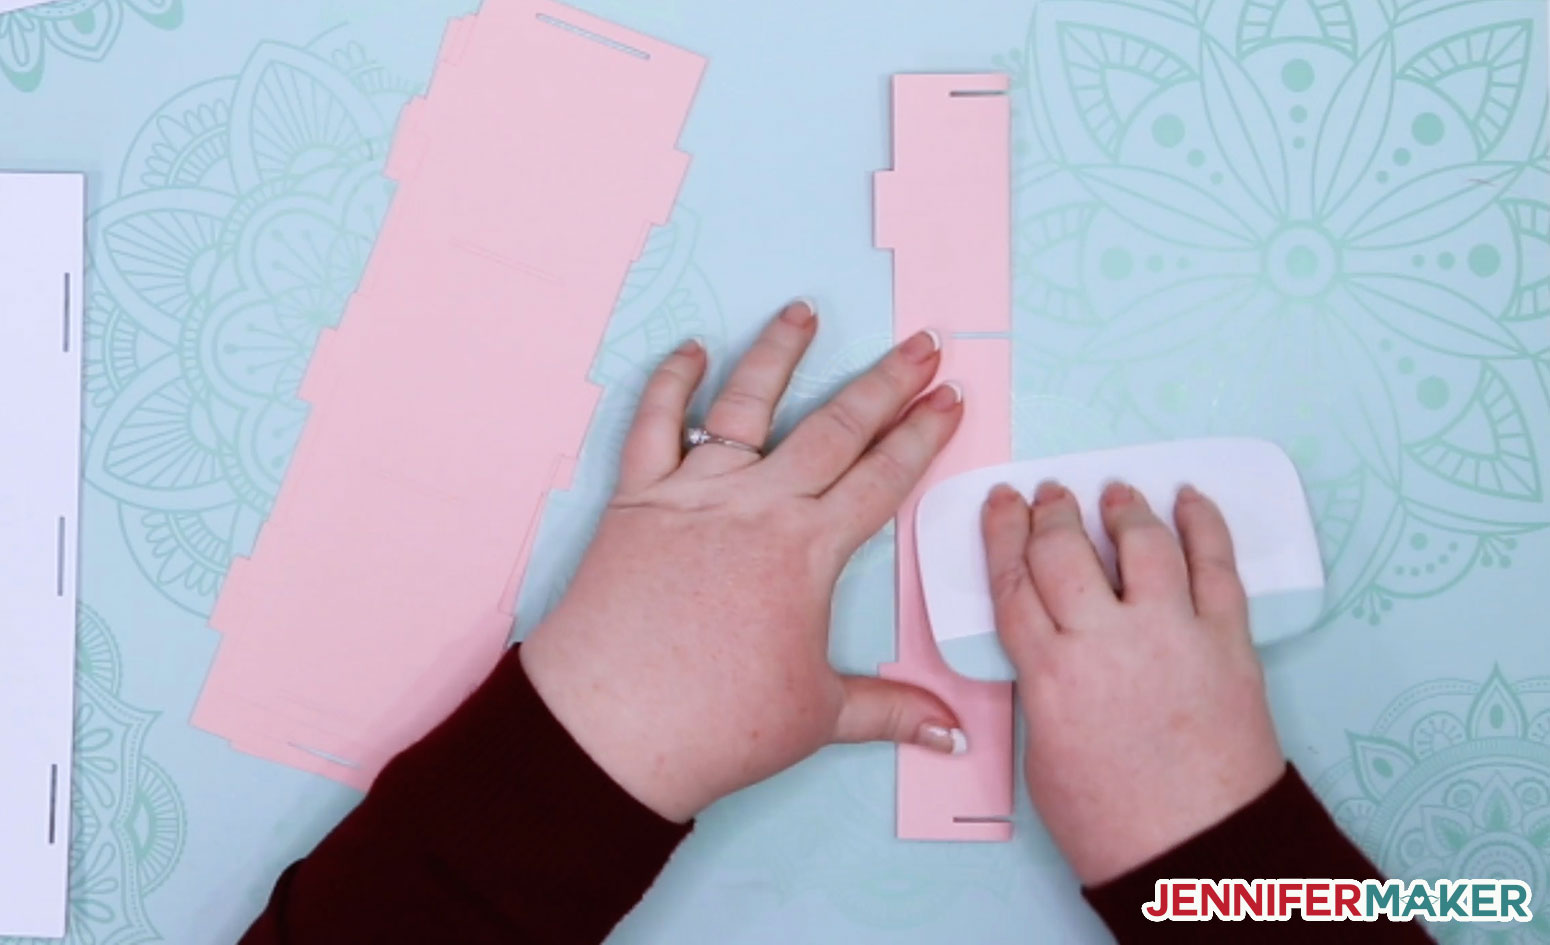
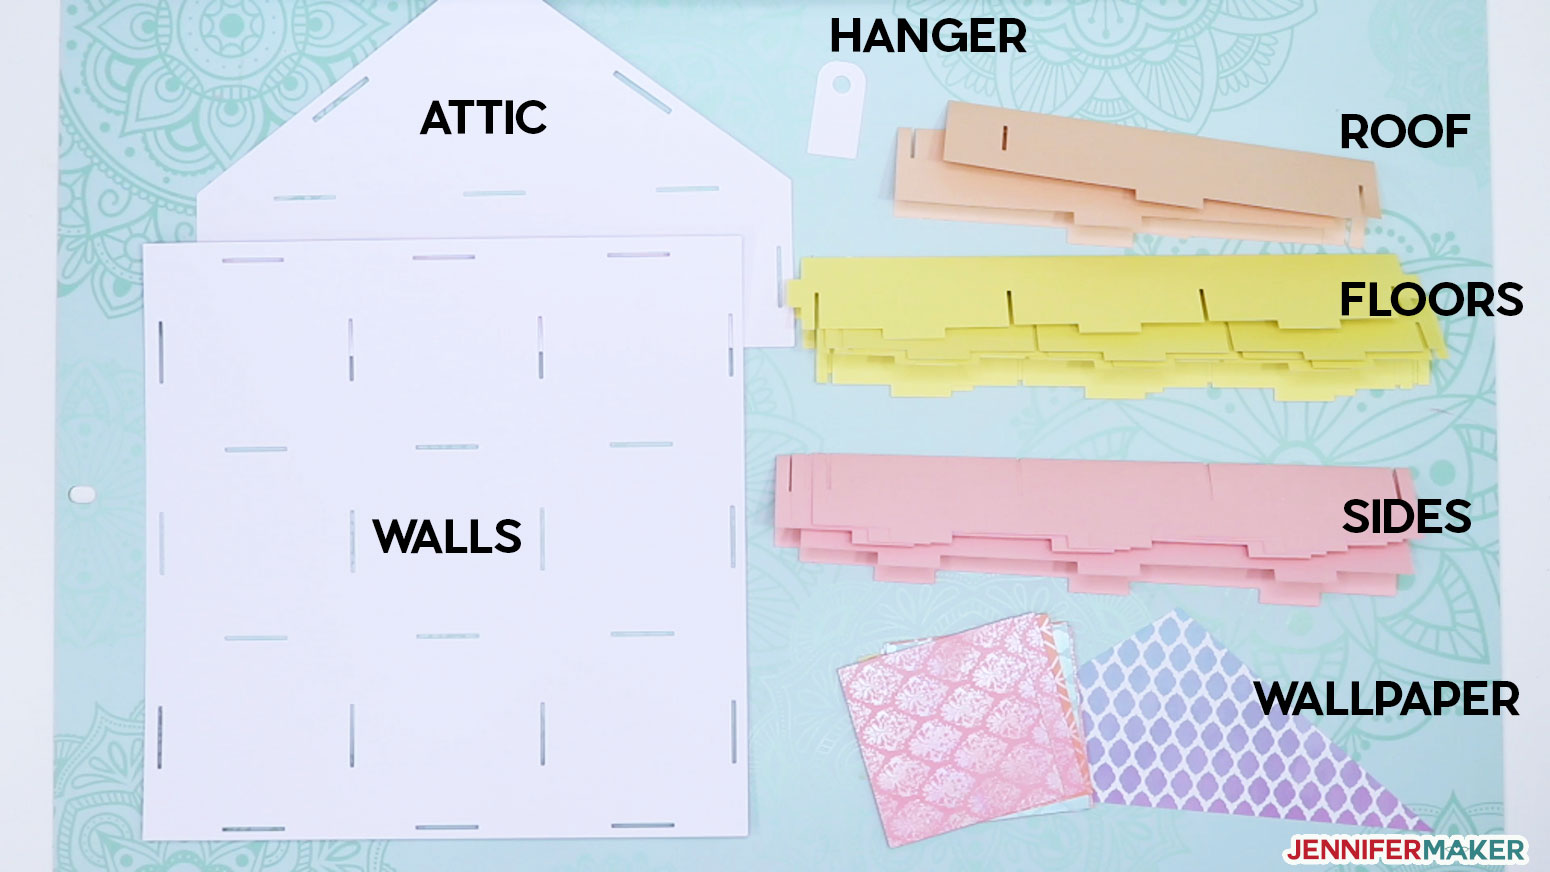
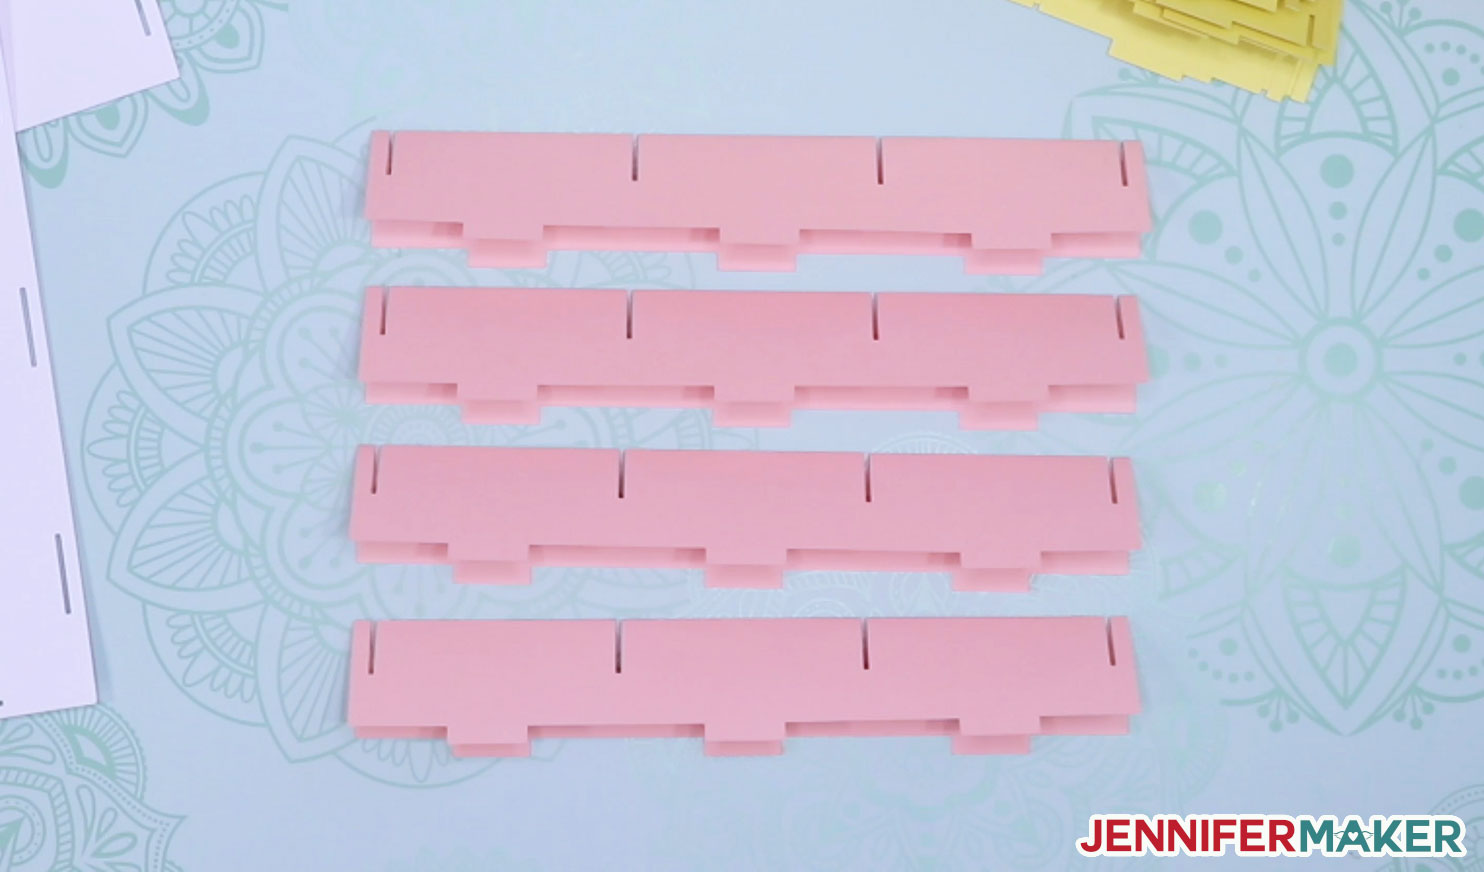
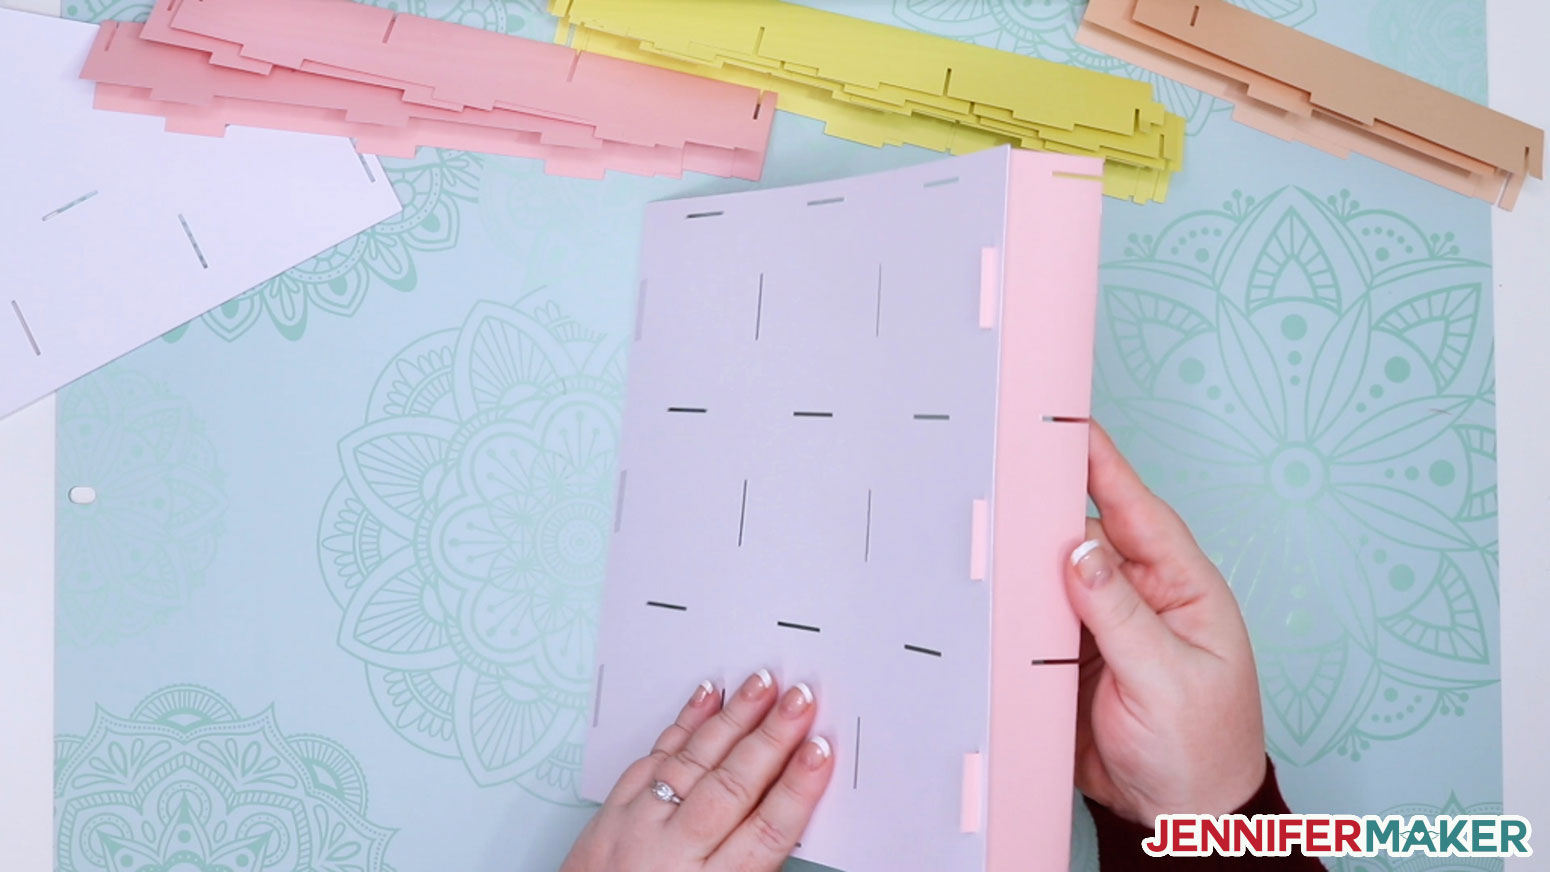
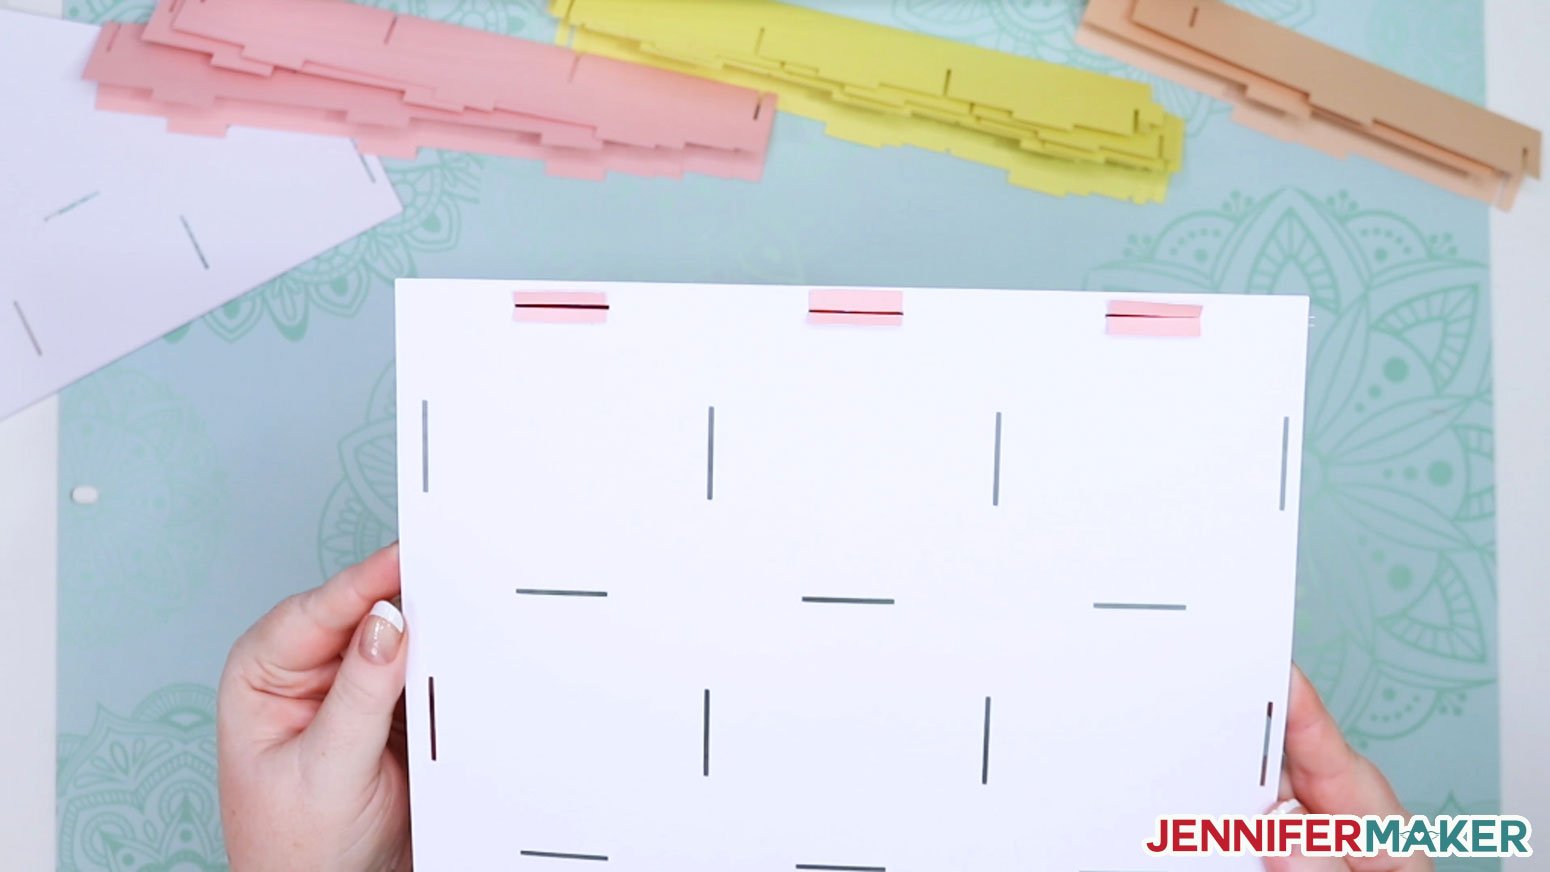
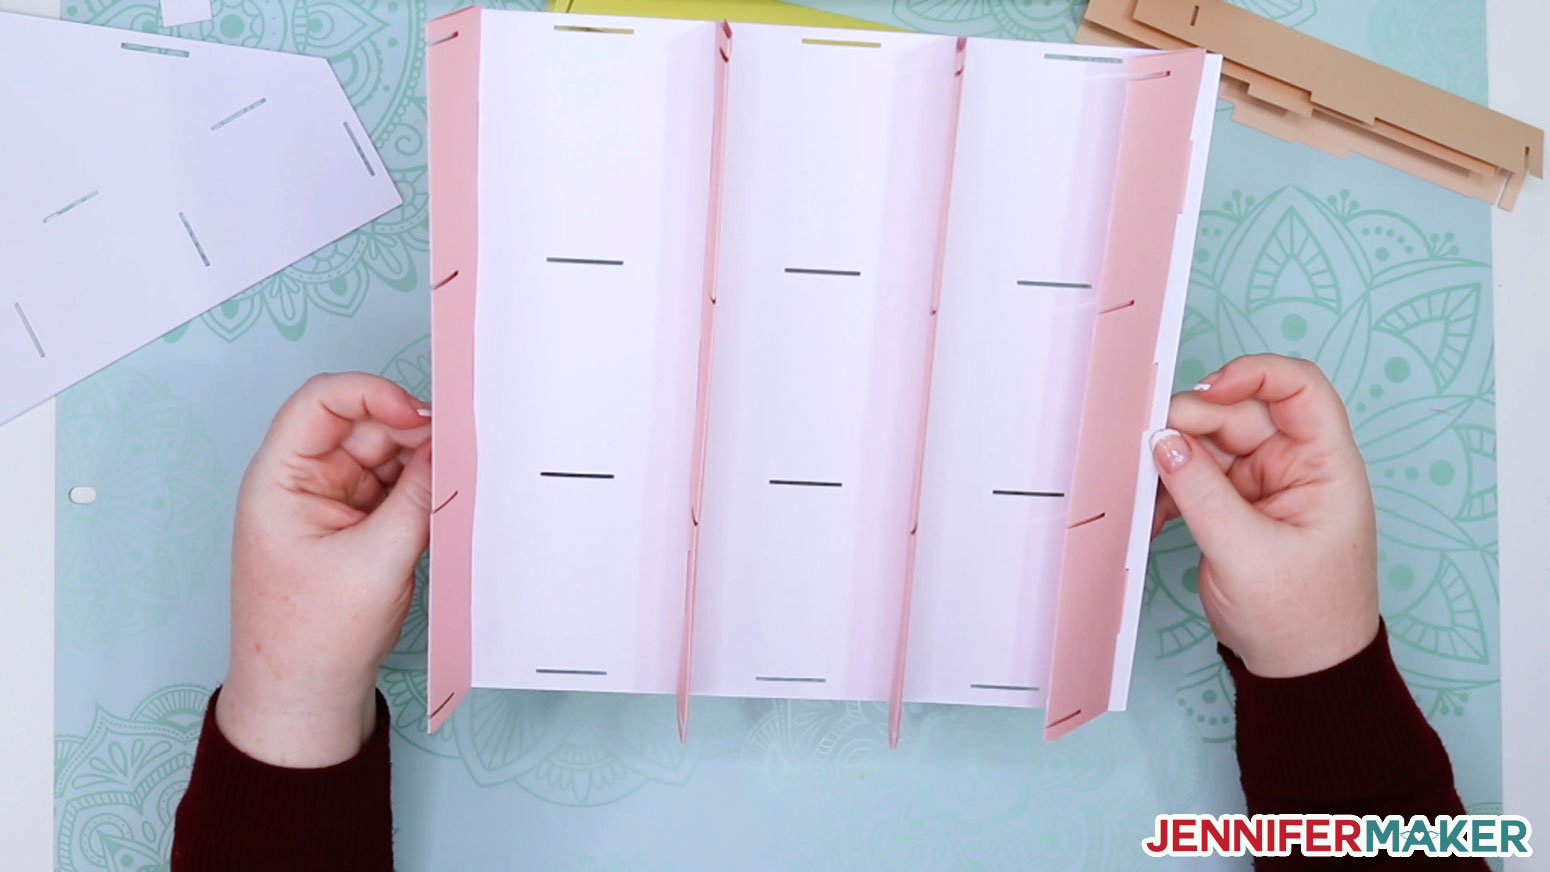
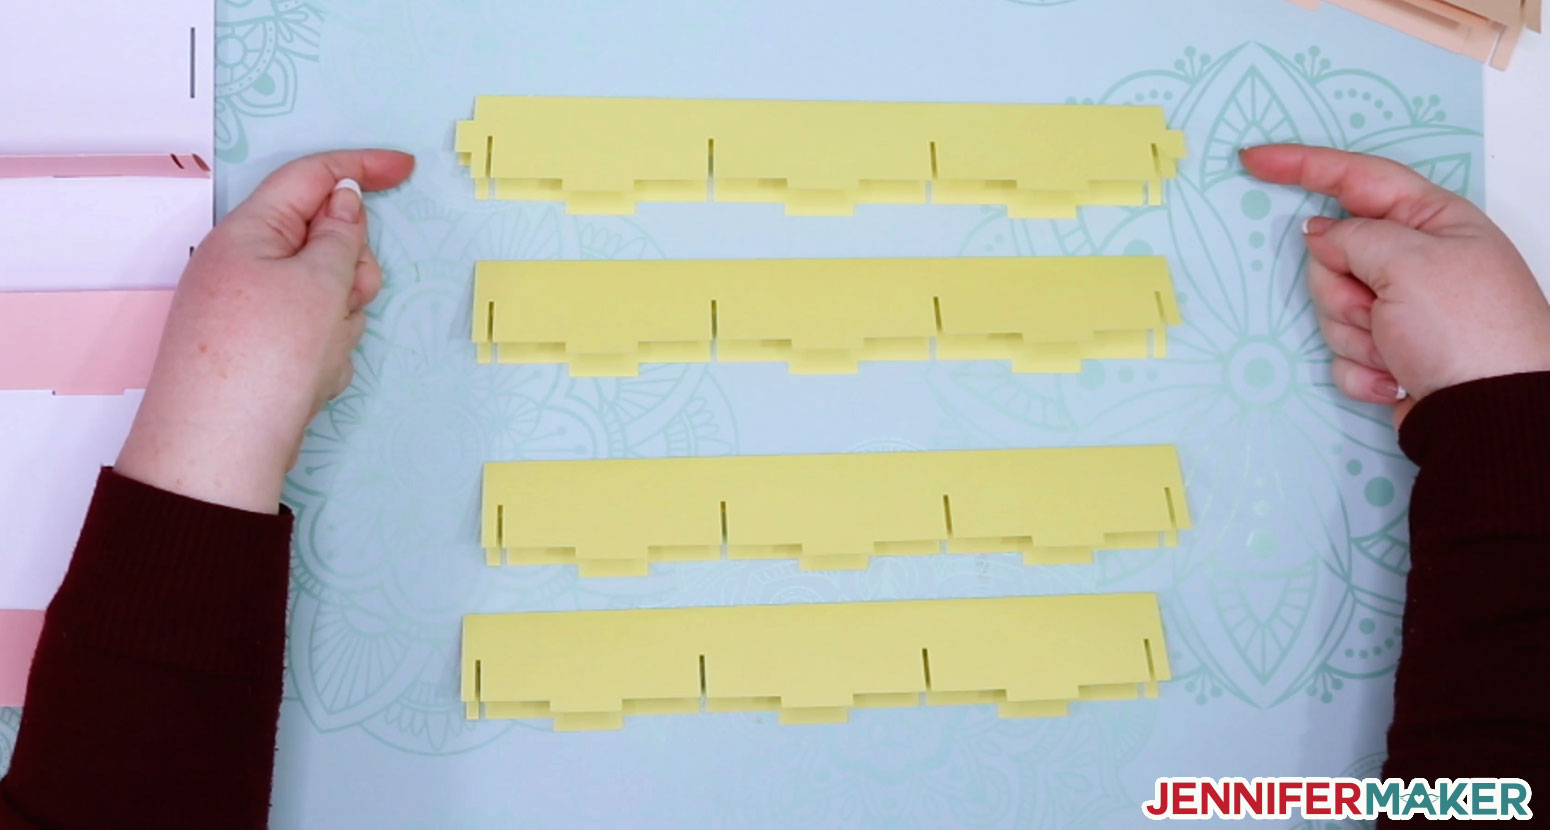
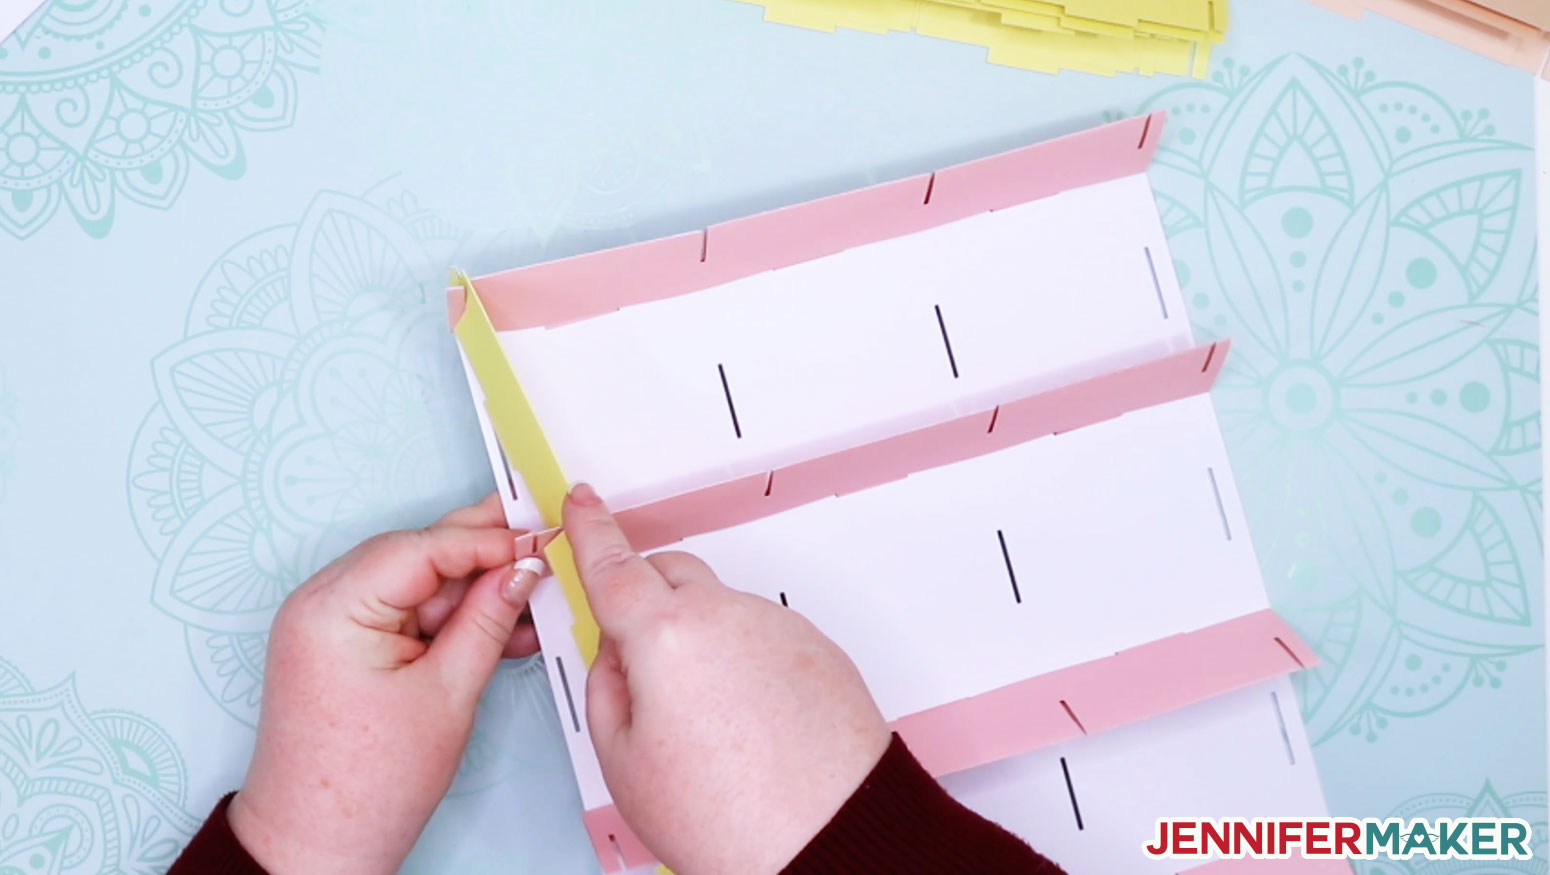
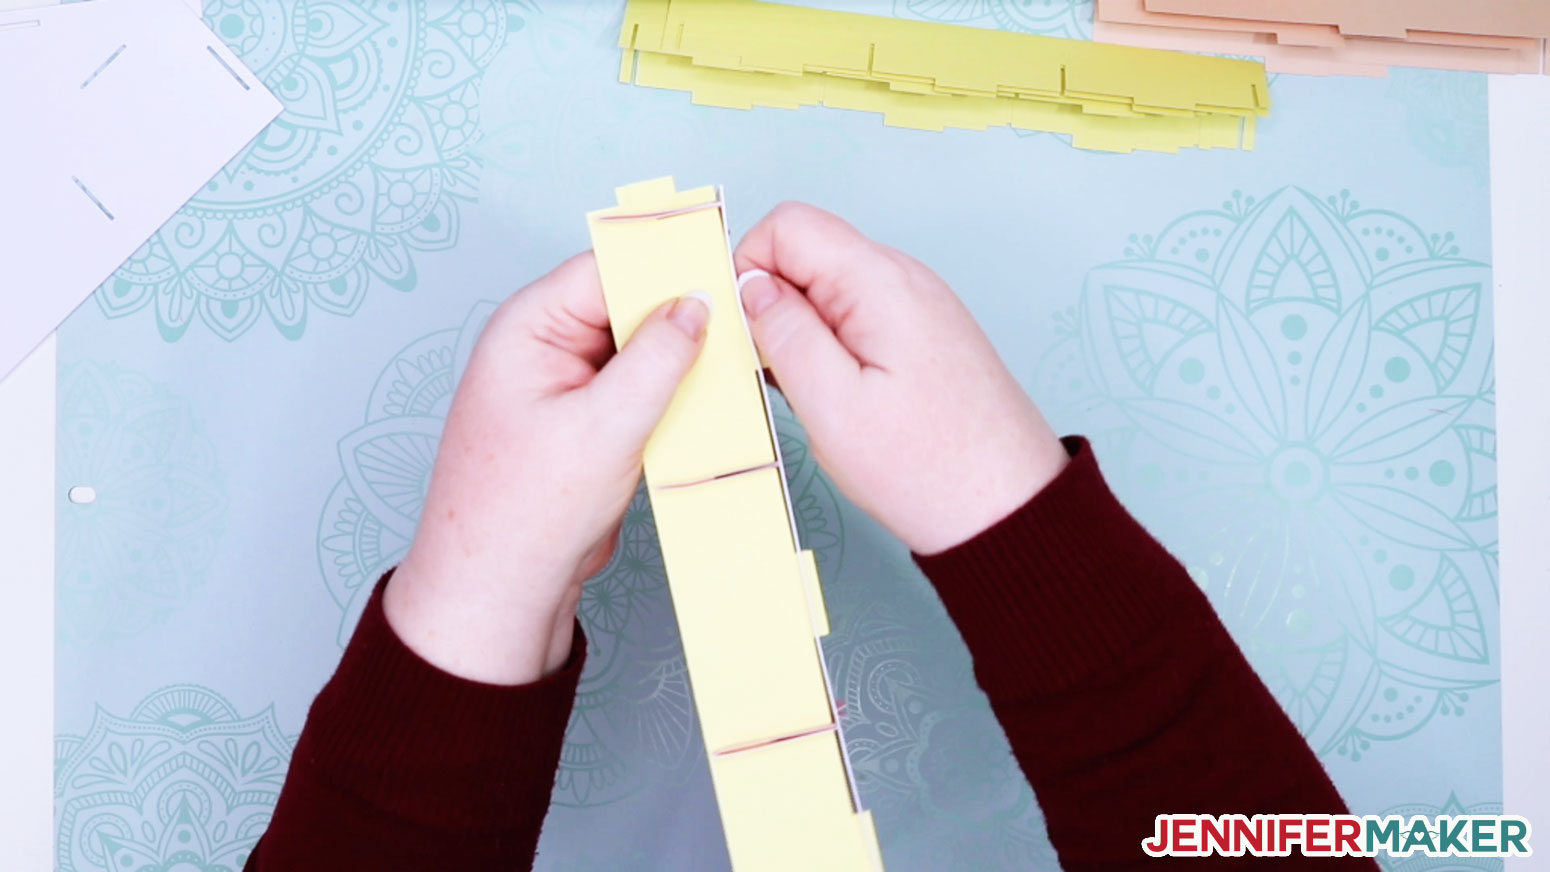
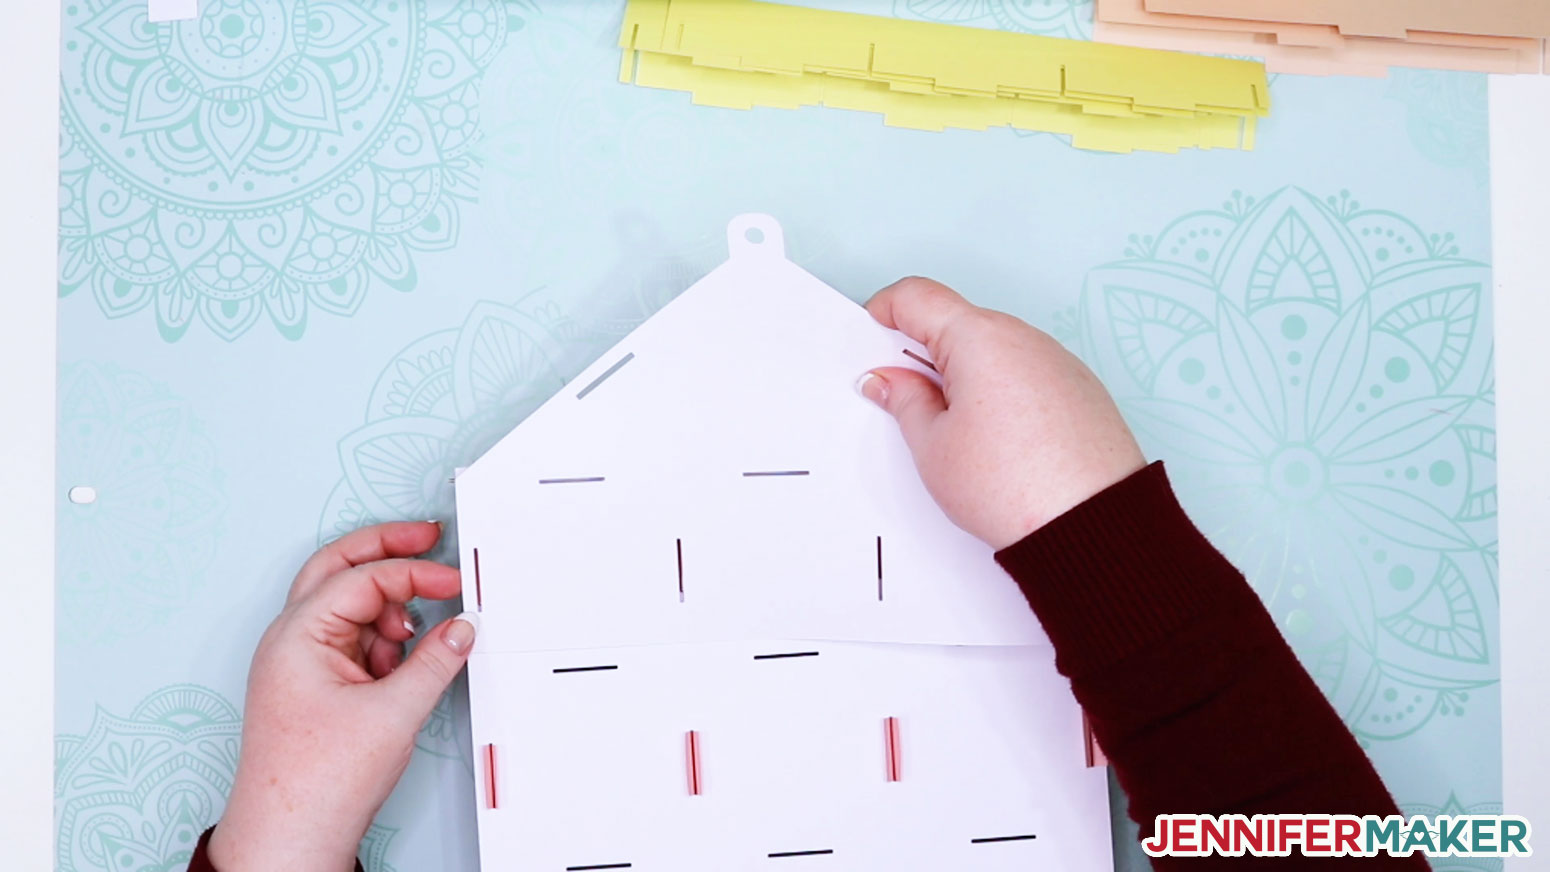
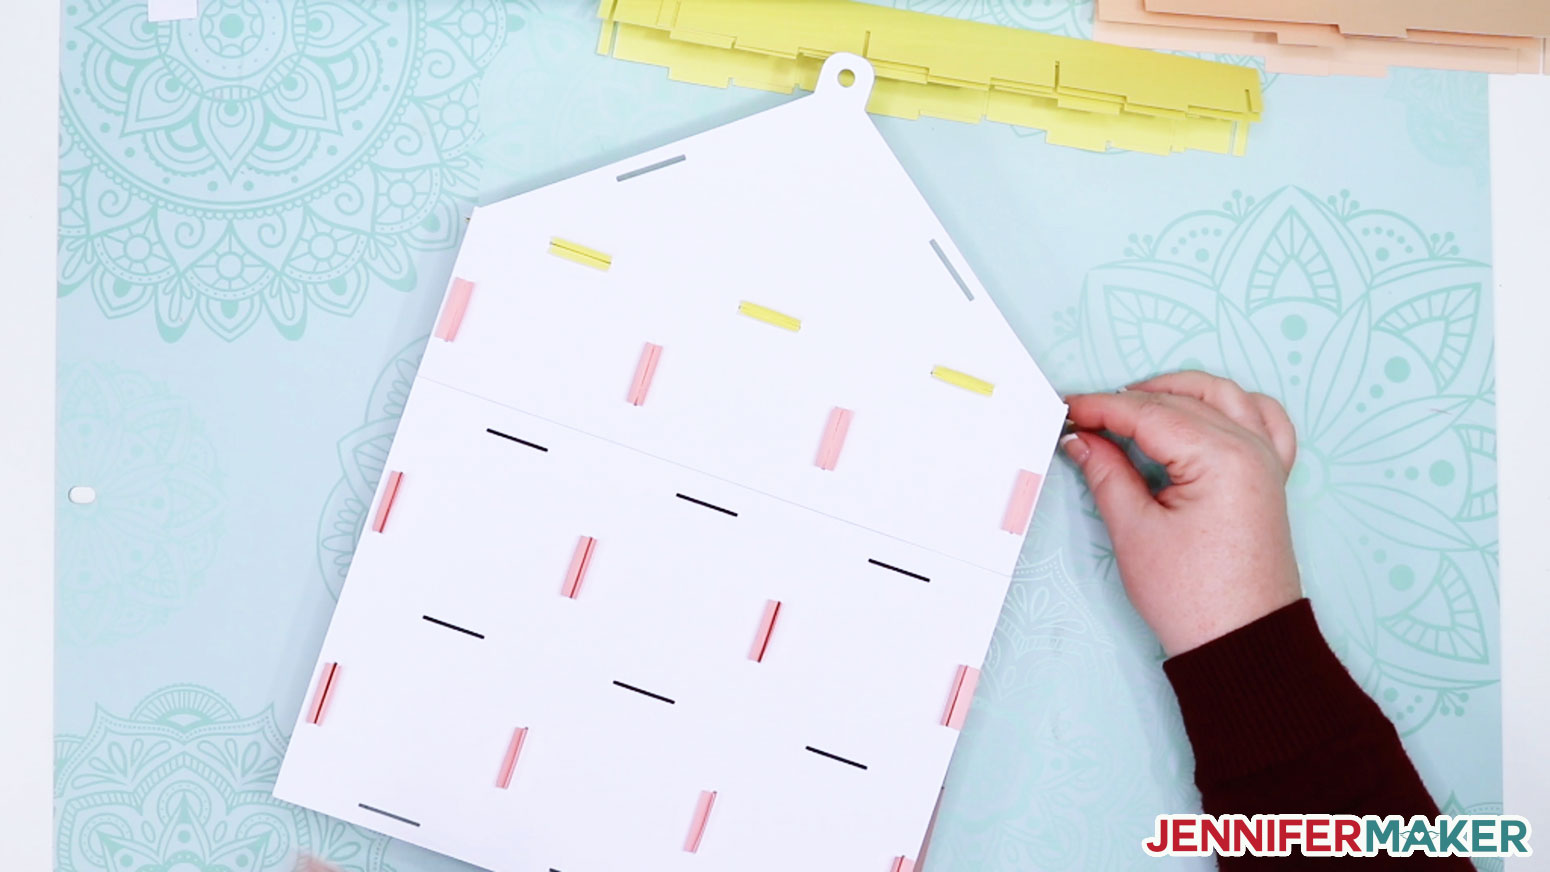
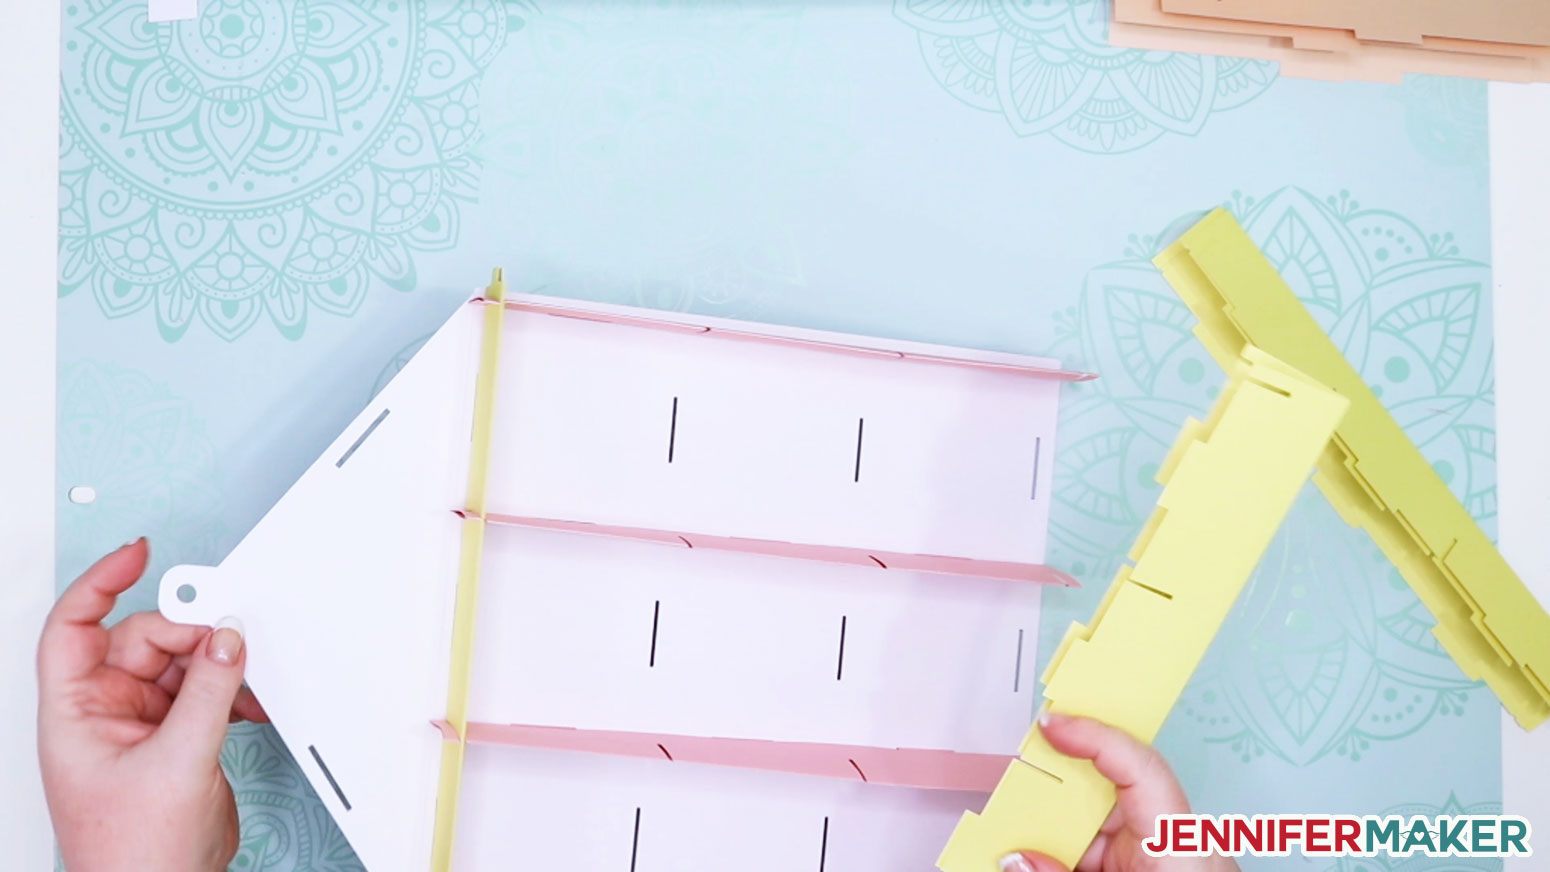
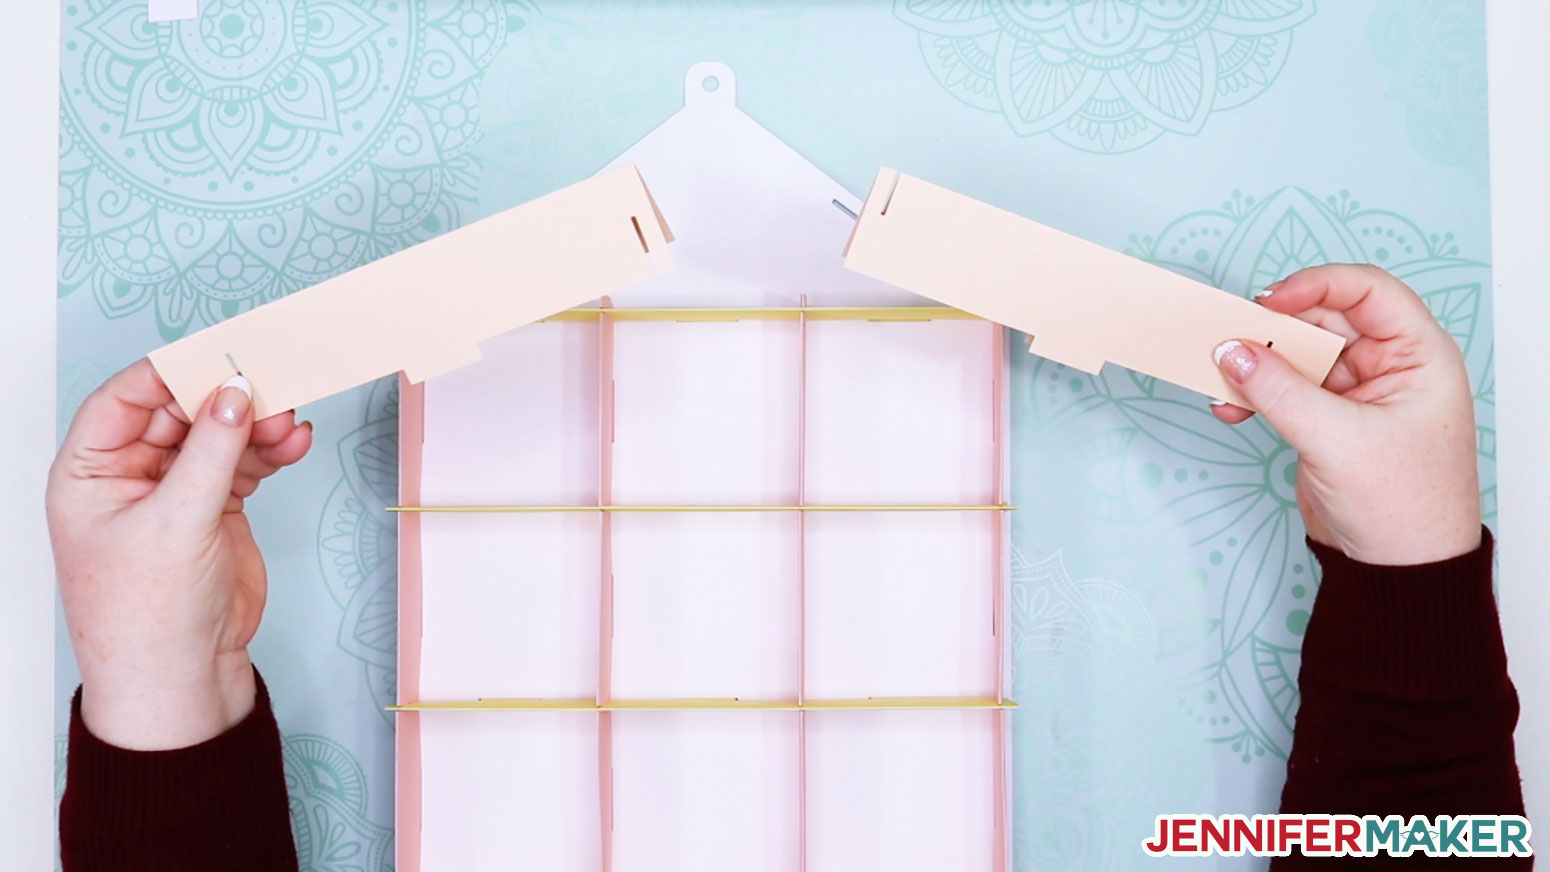
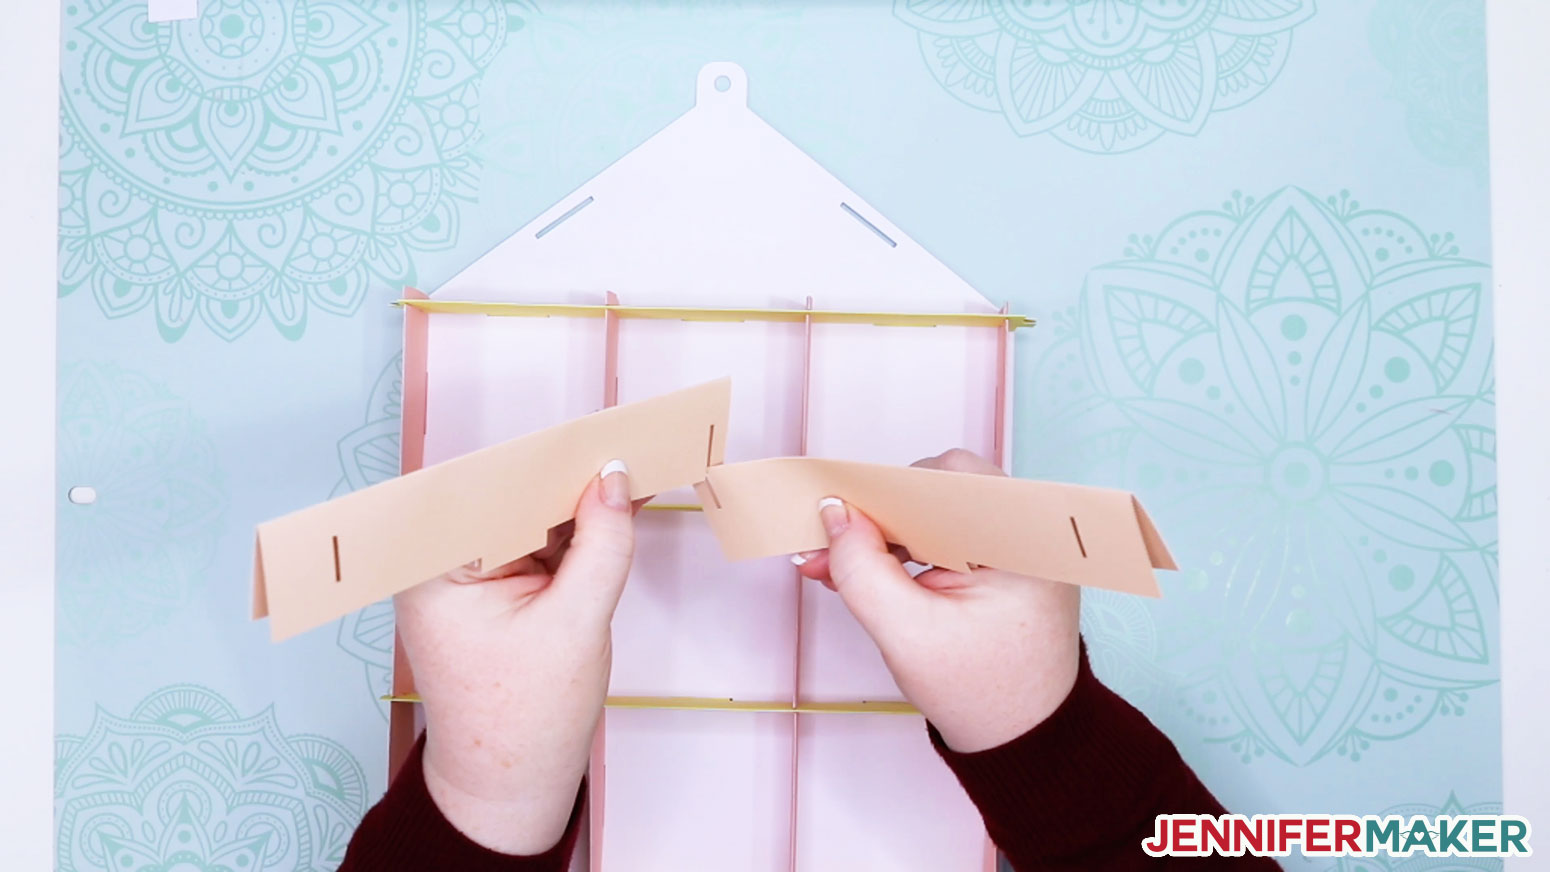
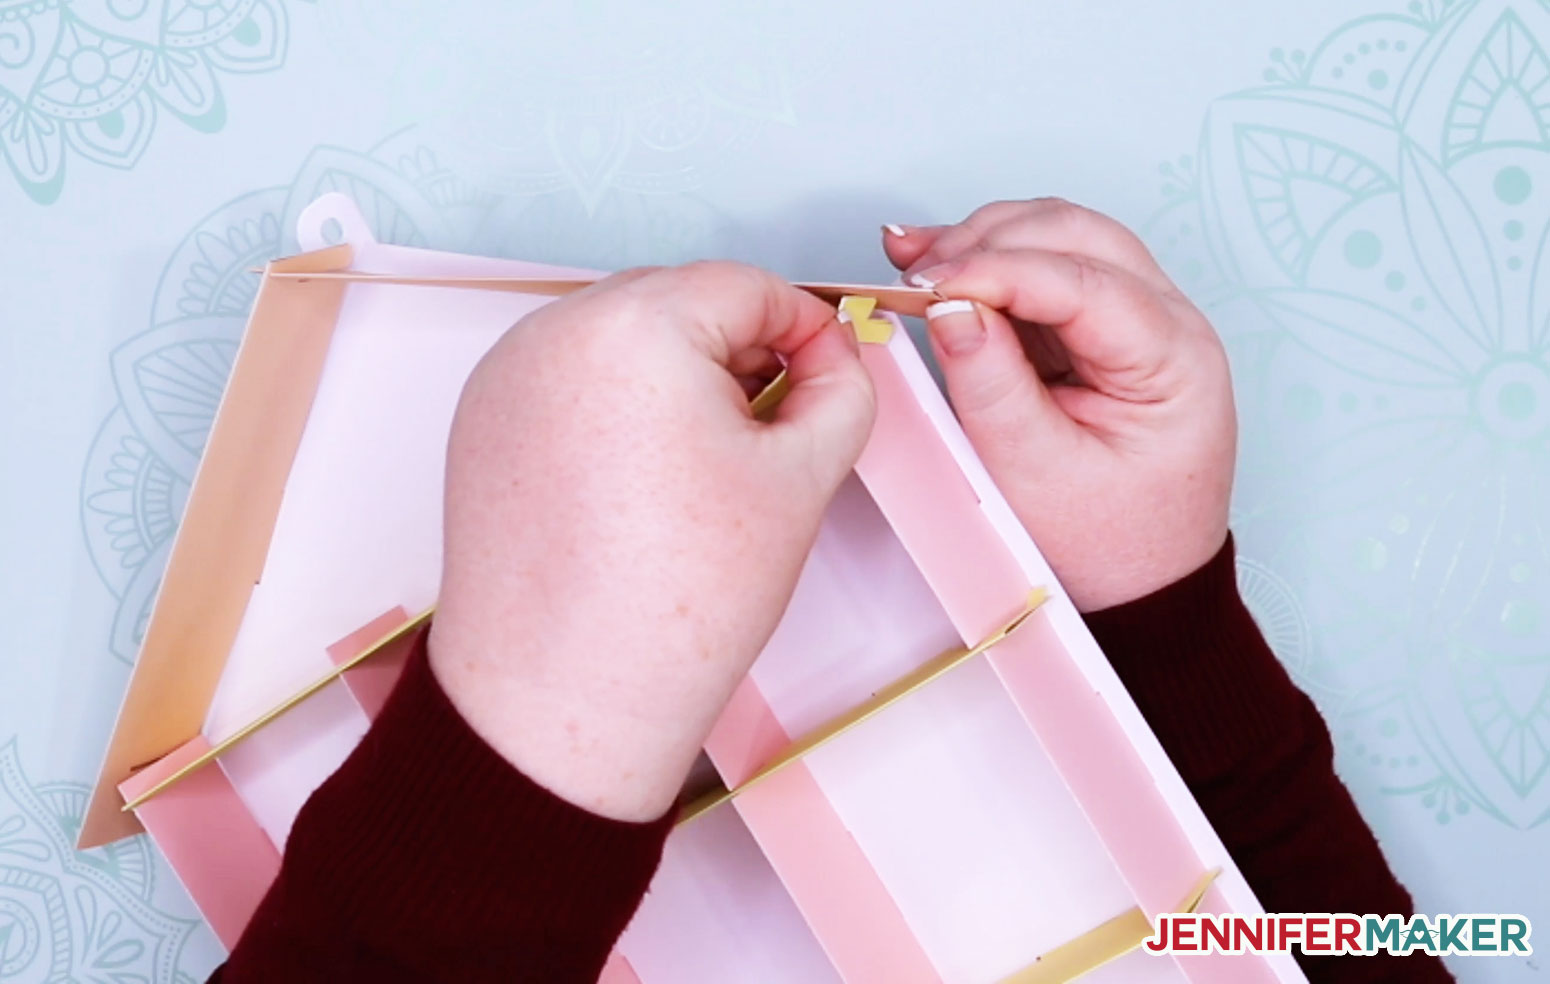
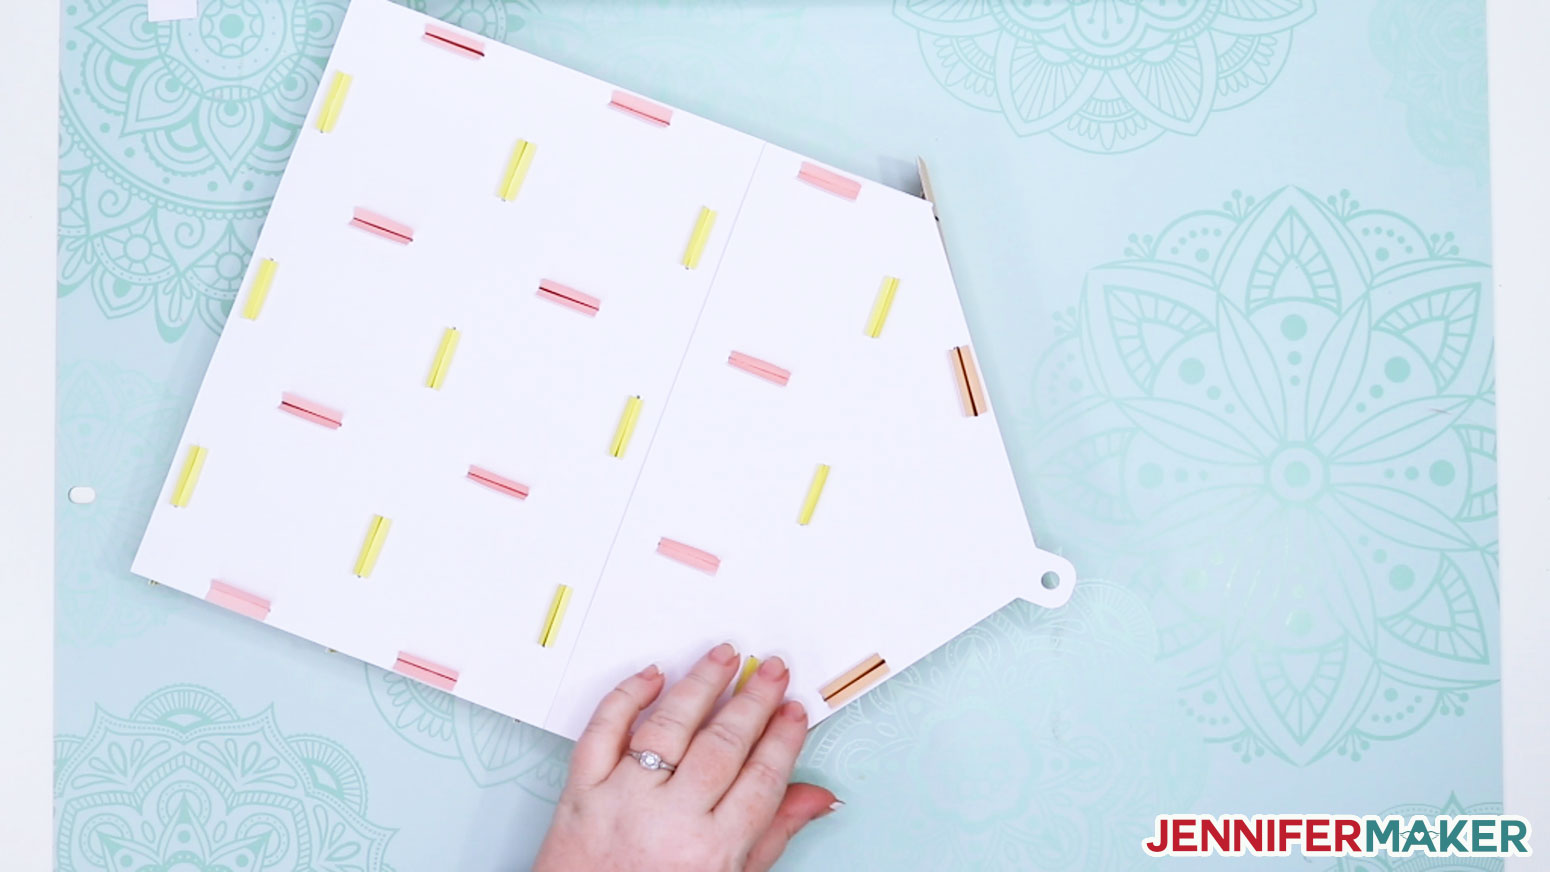
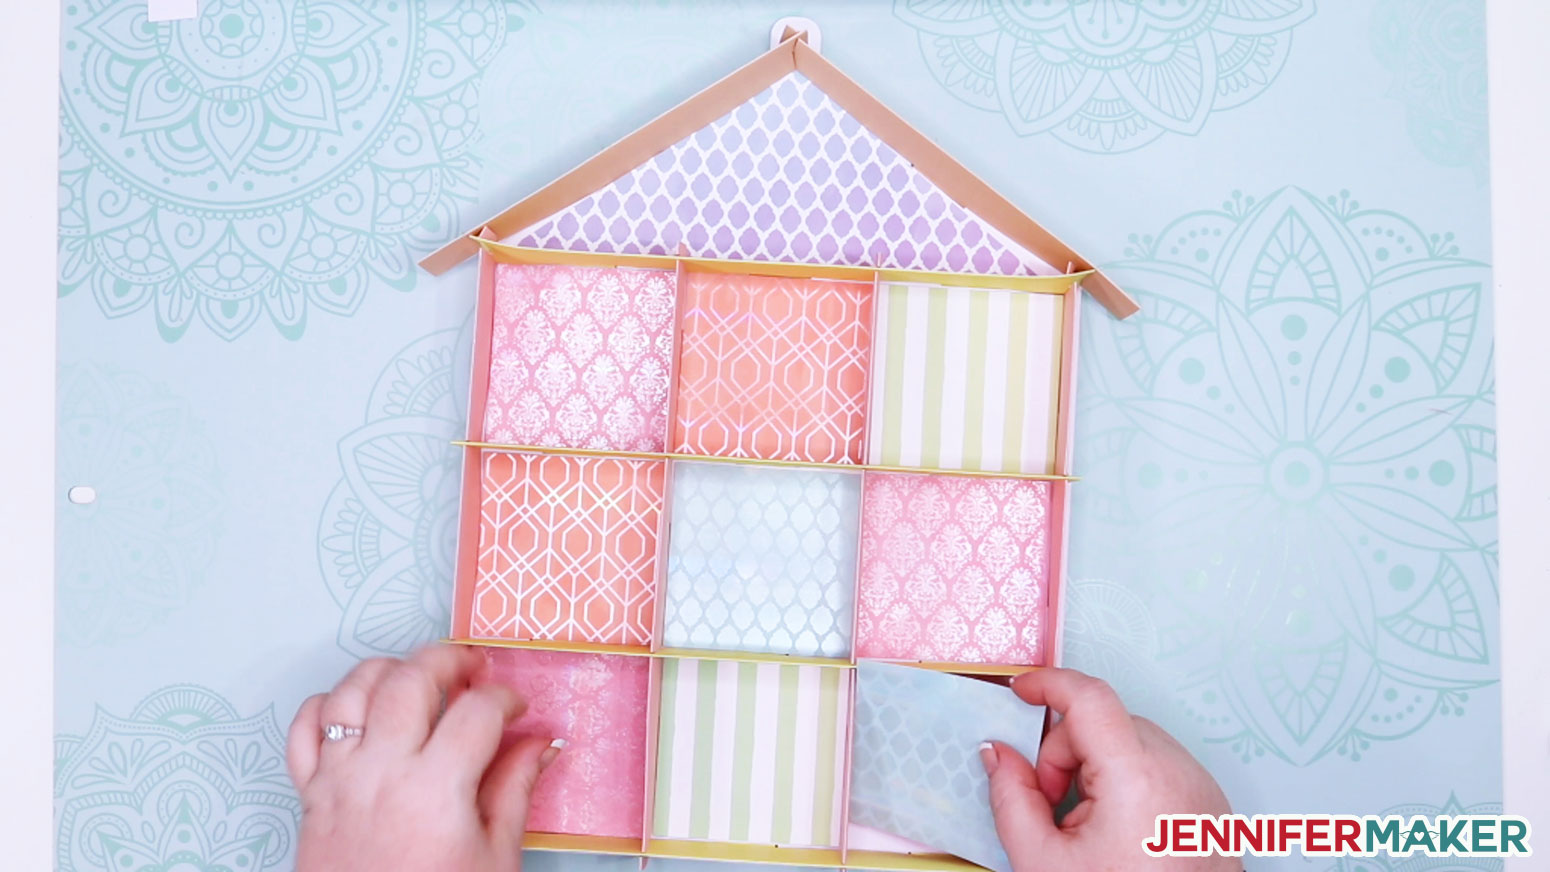
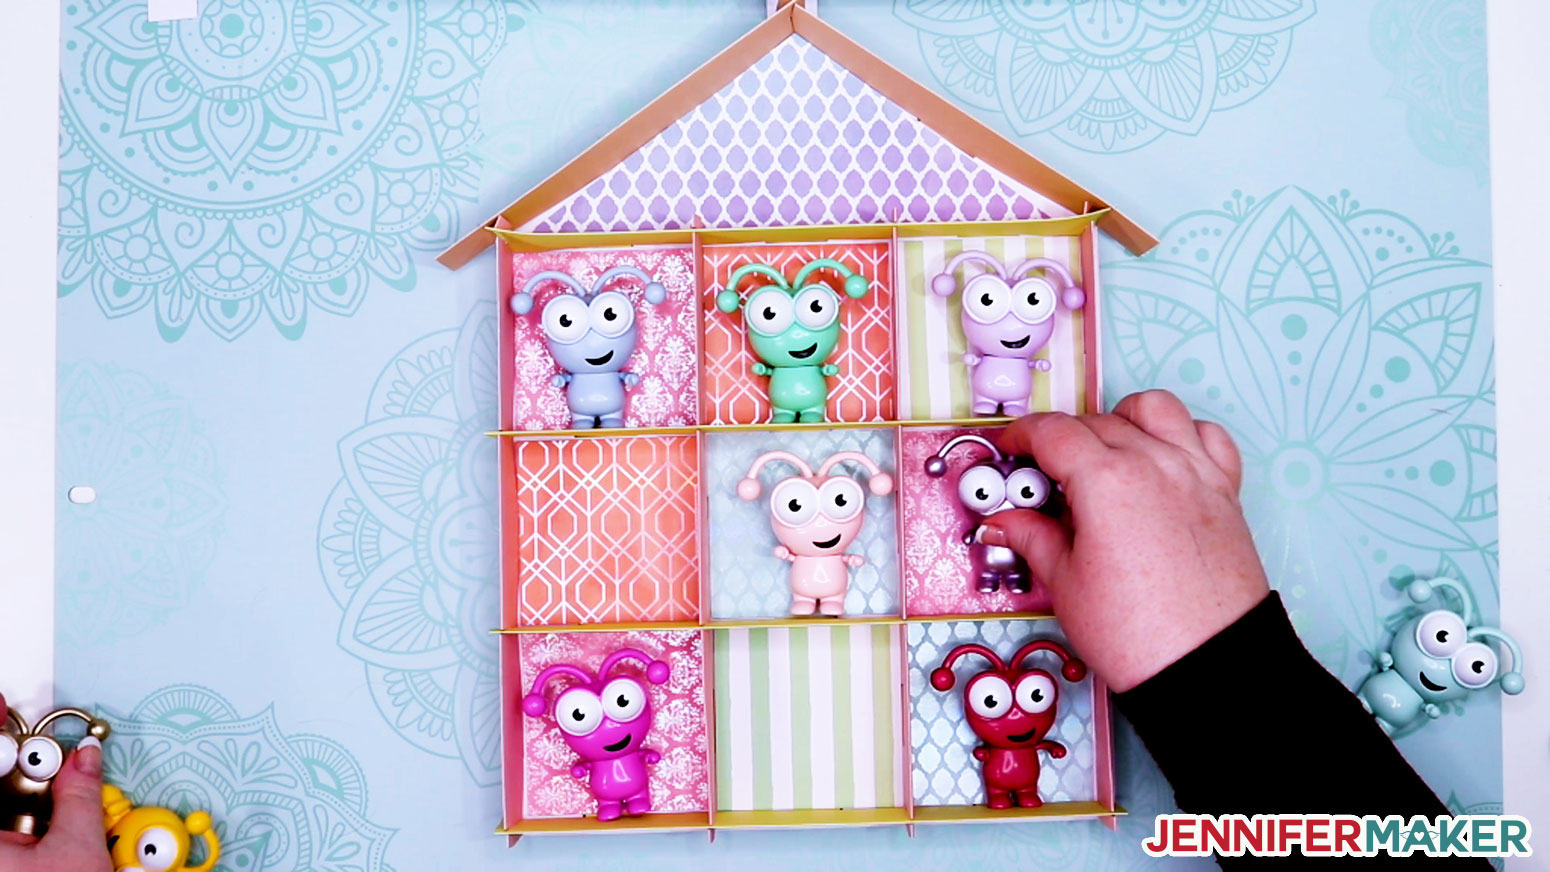
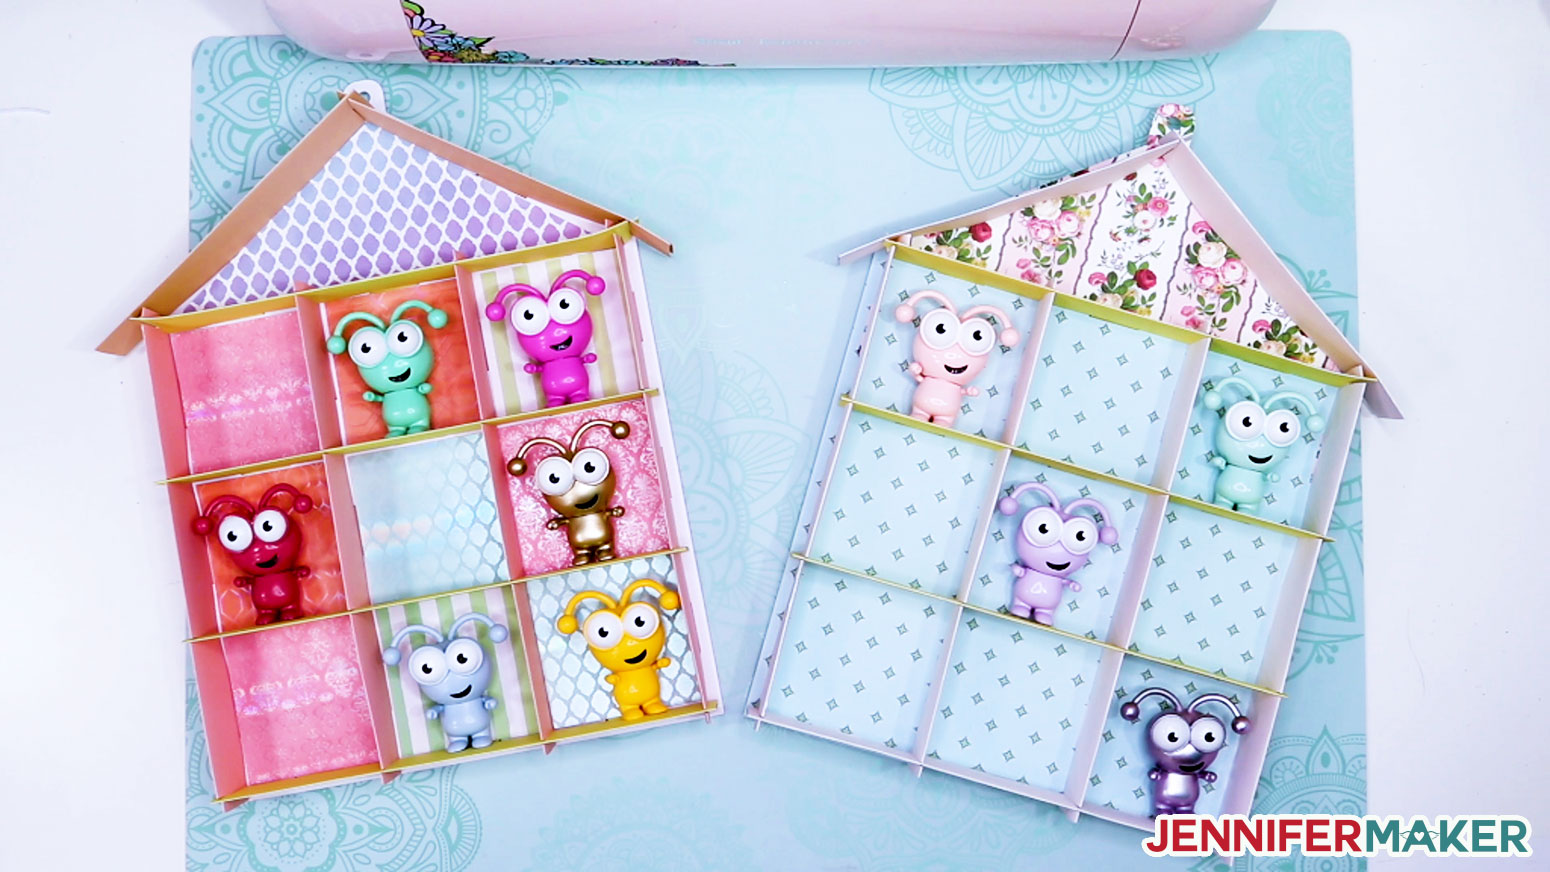
This house-shaped display case makes a great home for Cricut Cuties, Funko Pop figures, or anything small and lightweight. My DIY Display Case patterns and cut files for this project are free for you to use. You can get them either as a printable PDF or as an SVG cut file to use in a cutting machine like a Cricut. I will show you how to cut this DIY display case using a Cricut Explore cutting machine in this tutorial. The pattern file contains three sizes of display cases -- one 3x3 cubbie case that could hold 10 Cricut Cuties (or anything about 3 inches or less), one 2x2 cubbie case that could hold 4 Cricut Cuties, and one 2x2 cubbie case that could hold4 Funko Pop figures (or anything 4.75" or less). Download the DIY Display Case patterns (design #279) from myfree resource library (get the password to the library in the form at the bottom of this post). Here’s what the uploaded SVG cut file of the 3x3 display case sized for Cricut Cuties looks like once uploaded to Cricut Design Space: Tip: If you’re not sure how to upload an SVG cut file to Cricut Design Space, watch my helpful video training series called SVGs Made Simple. Note: The score lines need to be set and attached to their base layers before cutting — see this guide to learn how to set and attach score lines. For this photo tutorial, I will cut the DIY display case pattern with the 3x3 cubbies. If you cut the 2x2 display case, follow the same steps and just note that you'll have two less pieces (one horizontal "floor"and one vertical "wall") to fold and attach. First, decide what colors you want your pieces to me. If you're going to use all white paper, change all layers to the same color to maximize cuts on paper. You can do this easily in the Color Sync panel — just drag layers onto the same color to change them quickly. For this tutorial, I will cut my pieces out of the same colors you see in the pattern file (white, yellow, pink, orange, blue, and green) so it's easier for you to understand which piece I am working with. If you use cardstock, I recommend you use the "Medium Cardstock" setting for 80 lb. cardstock and "Heavy Cardstock" setting for the 110 lb. cardstock. You may also want to increase your pressure to "More." Be sure to also put your scoring stylus or scoring wheel in your Cricut. Place your cardstock or Kraft board onto your cutting mat, load the mat into the machine, and press the flashing button to begin cutting. When done, remove the mat and flip it over onto your work surface, then peel the mat away from your paper. This will prevent curling, which is important for this project. Tip: Use your scraper tool to remove all of the small bits left on your mat. Continue cutting until you have all pieces for this display case cut. Here are all of the pieces of the DIY Display Case cut out: You should have the following pieces: * 1 square piece -- these are the WALLS First, fold all of your scored pieces in half (10 total pieces for this 3x3 cubbie display case, 8 total pieces for the 2x2 cubbie case) along the score line. Use your scraper tool to make sure the fold is really crisp. (Do not fold the tabs yet.) Here's what they look like all folded: Locate the four (4) pieces that look like this -- note the they have thin slots in the middles, rather than at the edges. These are your side pieces. Take one side piece and slide its tabs into the slots at one of the edges of the large square piece (it doesn't matter which edge). Separate and fold down the tabs on the back to lock everything in place. (Note: Do not glue the tabs down -- you'll have an opportunity to do it later if you wish.) Repeat with the other two side pieces, sliding their tabs into the slots parallel to the first one you did. Fold their tabs down in the back to lock everything in place. This is what your DIY display case will look like so far: Now locate the piece with the extra tabs on the ends. This is the top floor of your display case. Slide the slots on the top floor piece over the tops of the side pieces at one of the edges (it doesn't matter which one). Insert the tabs of this top floor piece into the slots in the large square piece. Now take the sloped piece with slots (it looks like a triangle with a little hanger at the top) -- this is the attic piece. Slide the slots at the bottom of the attic piece over the tabs on the BACK of the square piece, like this: Note: You will need to unfold the tabs on the side pieces to fit them into the attic piece. Separate and fold down the tabs on the back to lock everything in place. Locate the three pieces that look like this -- note the they have thin slots in the at the edges, rather than in the middle. These are your other floor pieces. Insert the other floor pieces into your display case, sliding their slots over the side pieces and insert their tabs into the slots on the square piece. Fold their tabs down in the back to lock everything in place. You're almost done! You should have two rectangular pieces left -- these are your roof pieces. Slide the roof pieces together with their slots at either end, then insert their tabs into the slots on the attic piece. Slide the tabs on the ends of the top floor into the slots at the end of the roof pieces. Fold all tabs down on the back to lock everything in place. At this point, you're welcome to glue the tabs down if you'd like to do some extra reinforcement, but I did not. If you like the idea of reinforcing your DIY display case further, you can cut out and glue an additional square piece onto the back. And if you plan to hang this DIY display case, it's not a bad idea to glue on the little piece with a hole in it onto the back, matching it up to the hanger piece at the top of the attic. Finally, the square pieces are your "wallpaper" — you can decorate your rooms with those squares I've just set mine in without tape or glue so I can change them up later, but you're welcome to attach them more securely if you wish. Now you get to put your Cricut Cuties or whatever you want into your DIY Display Case! Keep in mind that since we used paper rather than something stiffer, there is a bit of flex still and your items may want to "bounce" in their rooms if you move or bump the display case. If this is an issue, use a little double-stick tape or poster putty to keep your items in their rooms! So which is better, cardstock or Kraft board? I definitely vote for Kraft board -- it feels very sturdy! If you must use cardstock, go for 80 lb. or 110 lb. weight cardstock (200 grams or thicker). I used 65 lb. for the floors and sides of the DIY Display Case I created for this photo tutorial and I felt the tabs didn't want to stay in place as well as thicker cardstock and Kraft board. So if you do use 65 lb. cardstock, you'll likely want to glue your tabs down to keep it all together. The one on the left was made with 65 lb. cardstock and on the on the right was made with 80 lb. cardstock, and you can tell the difference. As an Amazon Associate and member of other affiliate programs, I earn from qualifying purchases.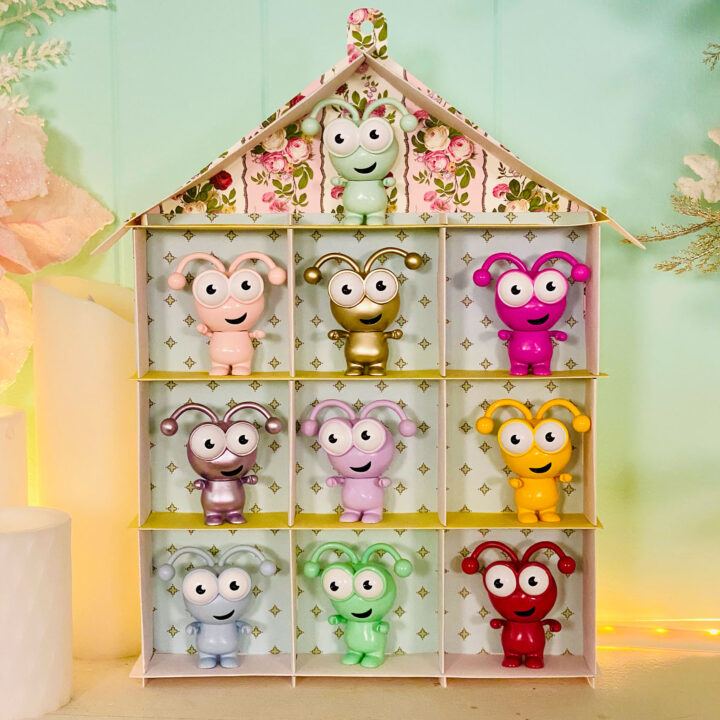
House-Shaped Display Case
Materials
Tools
Instructions
Step 1: Get my free DIY Display Case Patterns and SVG Cut Files

Step 2: Cut Out Your Display Case Pieces
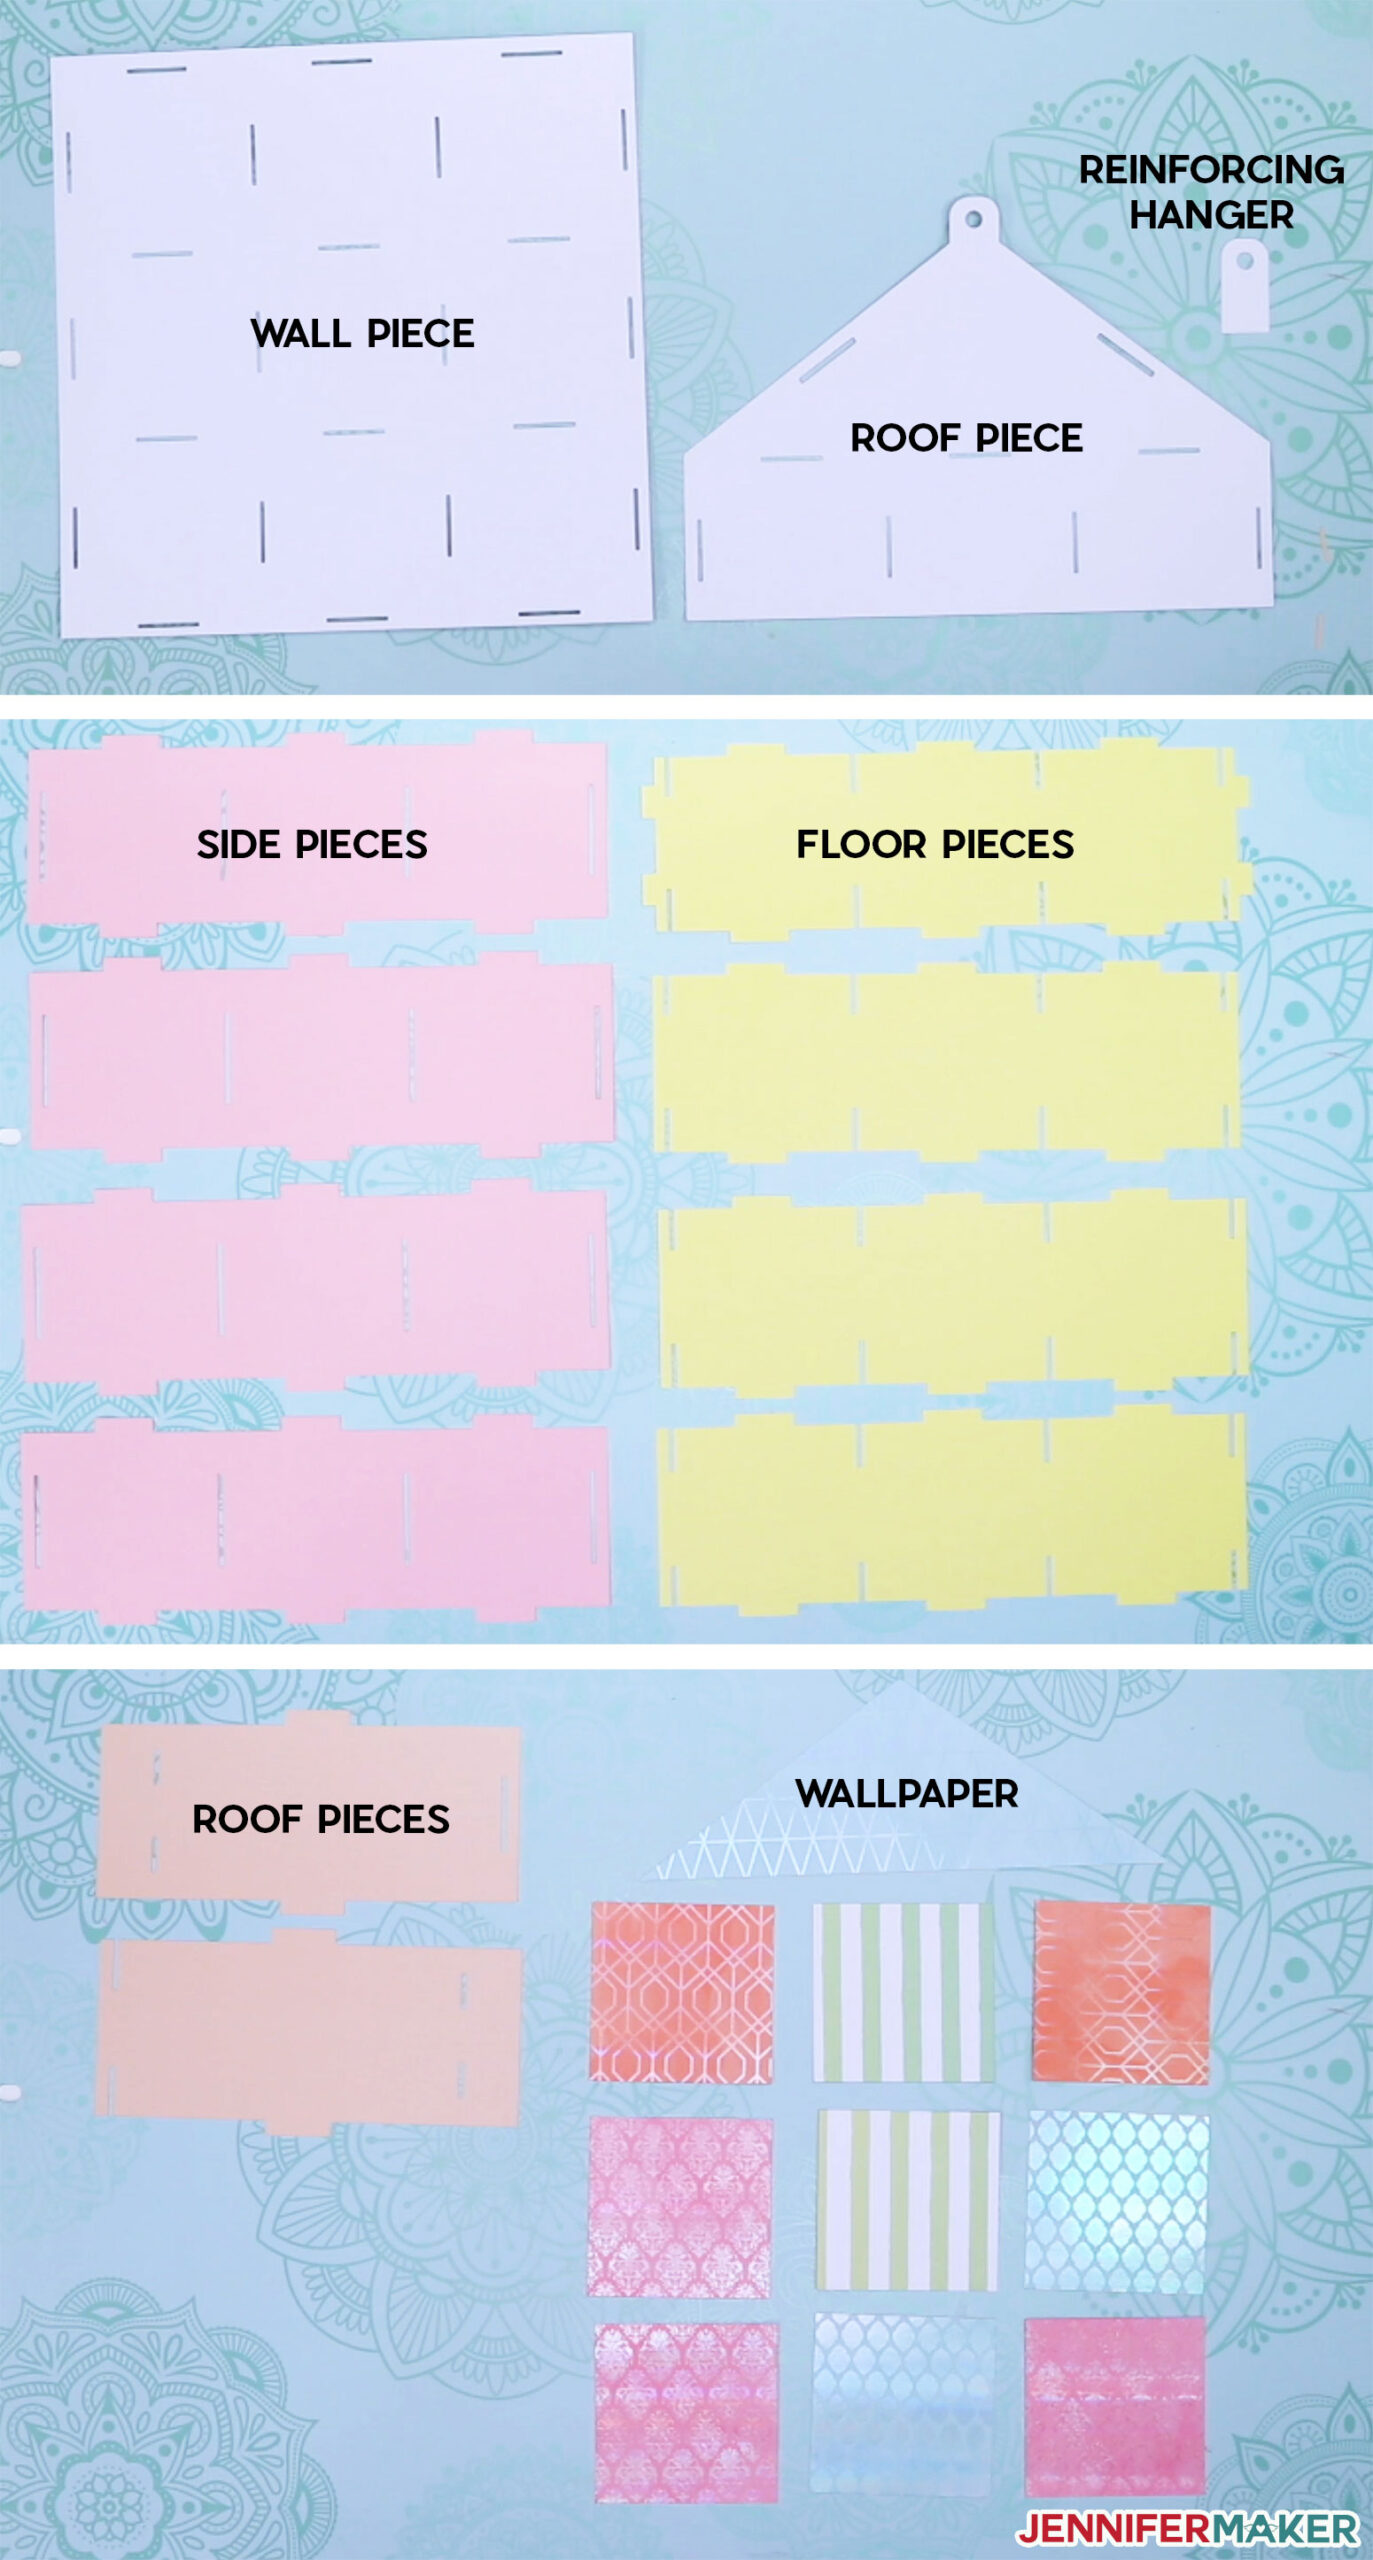
* 1 triangular piece with a hole at the top -- this is the ATTIC
* 4 long rectangular pieces with slots in the middle -- these are the SIDES,
* 4 long rectangular pieces with slots at the edges -- these are the FLOORS.
* 2 short rectangular pieces -- these are the ROOFS.
* 9 small square pieces -- these are the WALLPAPER.
* 1 small piece with a hole in it -- this is the hanger reinforcementStep 3: Attach Your DIY Display Case Pieces Together

Step 4: Show it Off!
Notes
Recommended Products

Answers to Your Questions About Making a DIY Display Case For Your Vinyl Figures
Q: Can you resize this project?
Yes, you can, but it can’t go much larger and still have it fit on a Cricut cutting mat. It can go quite a bit smaller, but the smaller you go, the harder it will be to fold and assemble.
Q: What kind of paper should I use?
Kraft board will be the strongest, but you can use any cardstock. I used 80 lb. cardstock in the patterned DIY display case and Kraft board in the pastel display case.
Q: Do I have to use a scoring stylus or scoring wheel?
No, but it will be easier to fold if you score it first.
Q: How do you glue the DIY display case together?
You don’t actually have to glue or tape it to keep it together, but you can! Just cut an extra display panel back (the square piece) and glue it to the back of the display case — this will lock every tab in place.
Q: What if I have more than 4 Funko Pops or more than 10 Cricut Cuties?
Just make however many display cases you need for your collection! You can even secure them together, side by side, with tape or glue if you want them to stay together. You’ll just need to trim the roof lines in order to keep them close together.
Q: Where do I get Cricut Cuties?
A: They typically come in certain Cricut Mystery Boxes (the ones that are Cricut Access exclusive). Read this guide to learn more about Cricut Mystery Boxes and when they come out.
Q: I can’t move my display case without things falling out. What can I do?
Cardstock and Kraft board have more give, so if you move your display case, it will flex more than a stiffer material like wood. If this becomes a concern, put a little adhesive glue dot or poster putty on the bottom of your figures to keep them on their shelves even when moved or bumped.
Get my free SVG files to Make the DIY Display Case for Your Cricut Cuties & Funko Pop Figures!
I love how easy it is to make DIY display cases for all of my small keepsakes with these patterns, and I think you will, too! I’d love to see what YOU do with this display case, and what you put inside it. Please do share a photo of your house-shaped cases in our Facebook group or tag me on social media with #jennifermaker.
Love,

Want to remember this? Save this DIY Display Case for Cricut Cuties tutorial to your favorite Pinterest Board!


I managed to get the latest mystery box, and the bright new cutie brings my total up to 3, so I’d started thinking about where to put them—and this post was perfectly timed! Thanks so much!
Wonderful! Thank you so much, this was a lot of fun to make and I’m glad you like it!
Jennifer! you have outdone yourself, for us! thank you for this cute little display case. you’re the best!
Thank you so much! I am so happy with how this turned out and I am glad you enjoy it as much as I do!
Thank you so much for this file. I just made it.
You’re welcome!
I’m so glad I was able to do this with your help! I made a great display case for my Tokidoki Unicorns, I adore that rocket gumball machine as well! Thank you!
I am so glad you enjoyed this project!
Thanks so much for this pattern I do need more Cuties to fill my house though
You are most welcome, Karen!
I love this no cuties but s&p shakers.
Im wondering can you yse poster board for this?
Hi Lula! Yes, the posterboard should hold up just fine.
I live this display house. How can I make it with smaller//more rooms? I have loads of thimbles this would be perfect to display them.
Hi Donna! When you first upload it, you can resize it to any size you need! Happy crafting!
Just made a Star Wars version for my son. So amazing!!
Awesome, Kari!
I love this idea for all of my funko pops! Would it work the same using something more sturdy like balsa or basswood?
You certainly can give it a try, Annie!
I did it I made the display case thanks Jennifer I even learn how to down load your files and save as SVG files you have been a big help I’m still learning how to use my Cricut Maker it’s a big challange for me but I will get their,your videos helps me so much thanks again…
So glad you are learning, Berta!
i’m getting ready to make this with Kraftboard. The Kraftboard I have is shiny on one side – do i cut all the pieces shiny side up or down??
This is completely up to you, Tammy. 🙂