Add some fun to your walls with these quirky Kitchen Signs!
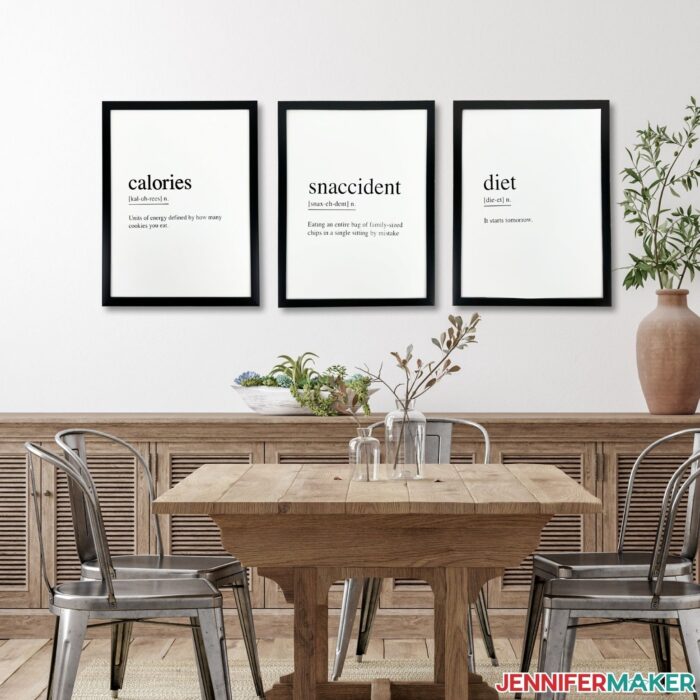
These kitchen wall signs are super popular nowadays and this is a great beginner project if you are new to your Cricut. I’m going to walk you through step by step to make one or all six of these signs for your kitchen or maybe your dining room. You will be amazed at how easy it is! I love the simplicity of this sign project, yet somehow it still manages to make the room look much more put together! I’ve seen signs like this go for steep prices at home decor stores and I’m shocked at how these are comparable (or even better) than those! Best of all, you get to customize it to your own liking. A wall design completely customized to your preference at a MUCH lower price? That’s definitely a steal! Look at just how beautiful these look and how they make the room look so much more presentable.

All you will need for this simple project is some permanent vinyl, you can really use any color. Some poster board to put your vinyl on. You’ll need frames, I’m using 11 inch by 14 inch frames, but the designs can be resized to fit other frames too.
And of course you’ll need a Cricut cutting machine. These designs can be cut on all of the machines, yes, even the Joy! How cool is that?
Want to add some kitchen wall decoration to your home but don’t have much time on your hands to go shopping? This DIY kitchen sign is an easy DIY project and a fun idea to add a personal touch to your kitchen space. You can choose from all different types of frames to match your kitchen decor and quickly create a stylish look with these wall art pieces.
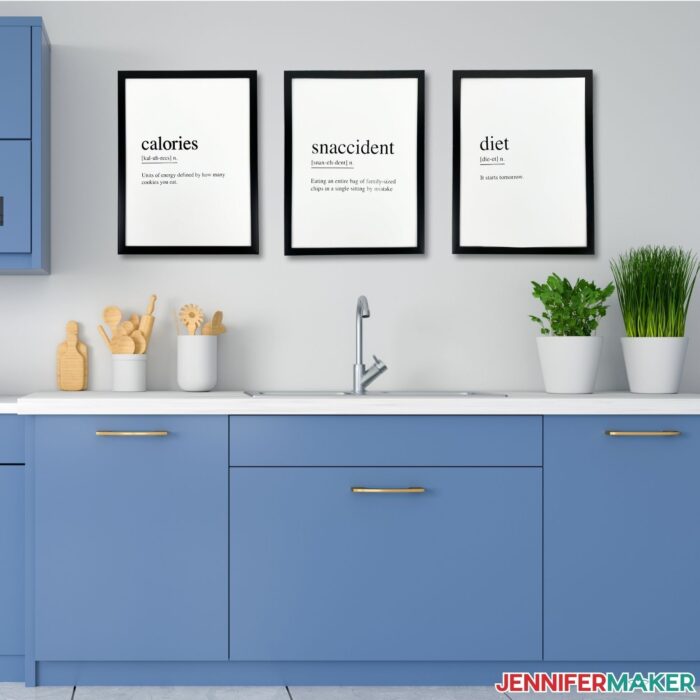
You can put these on a frame made from reclaimed wood if you’re going for a more rustic look or choose from different colors to add a more modern look to your kitchen or dining room. A great way to add some personal style to your walls is by creating a gallery wall to cover any blank walls you may have in your kitchen area.
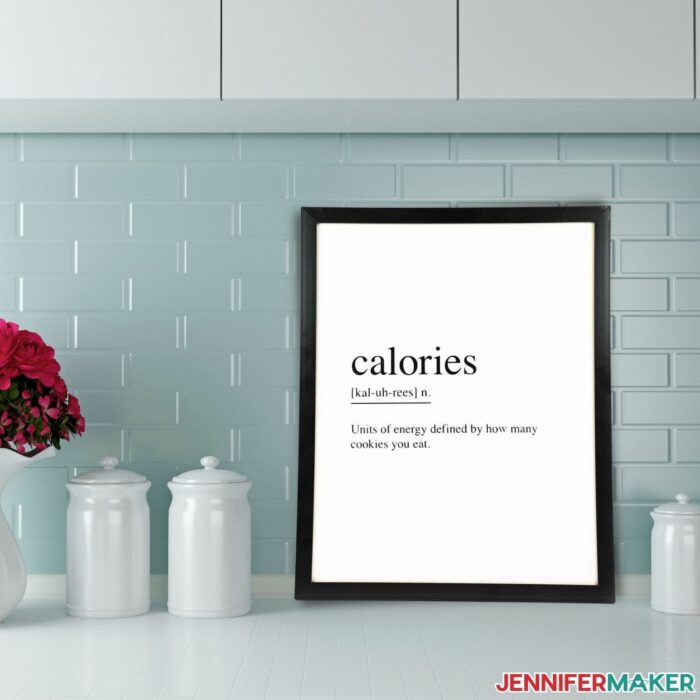
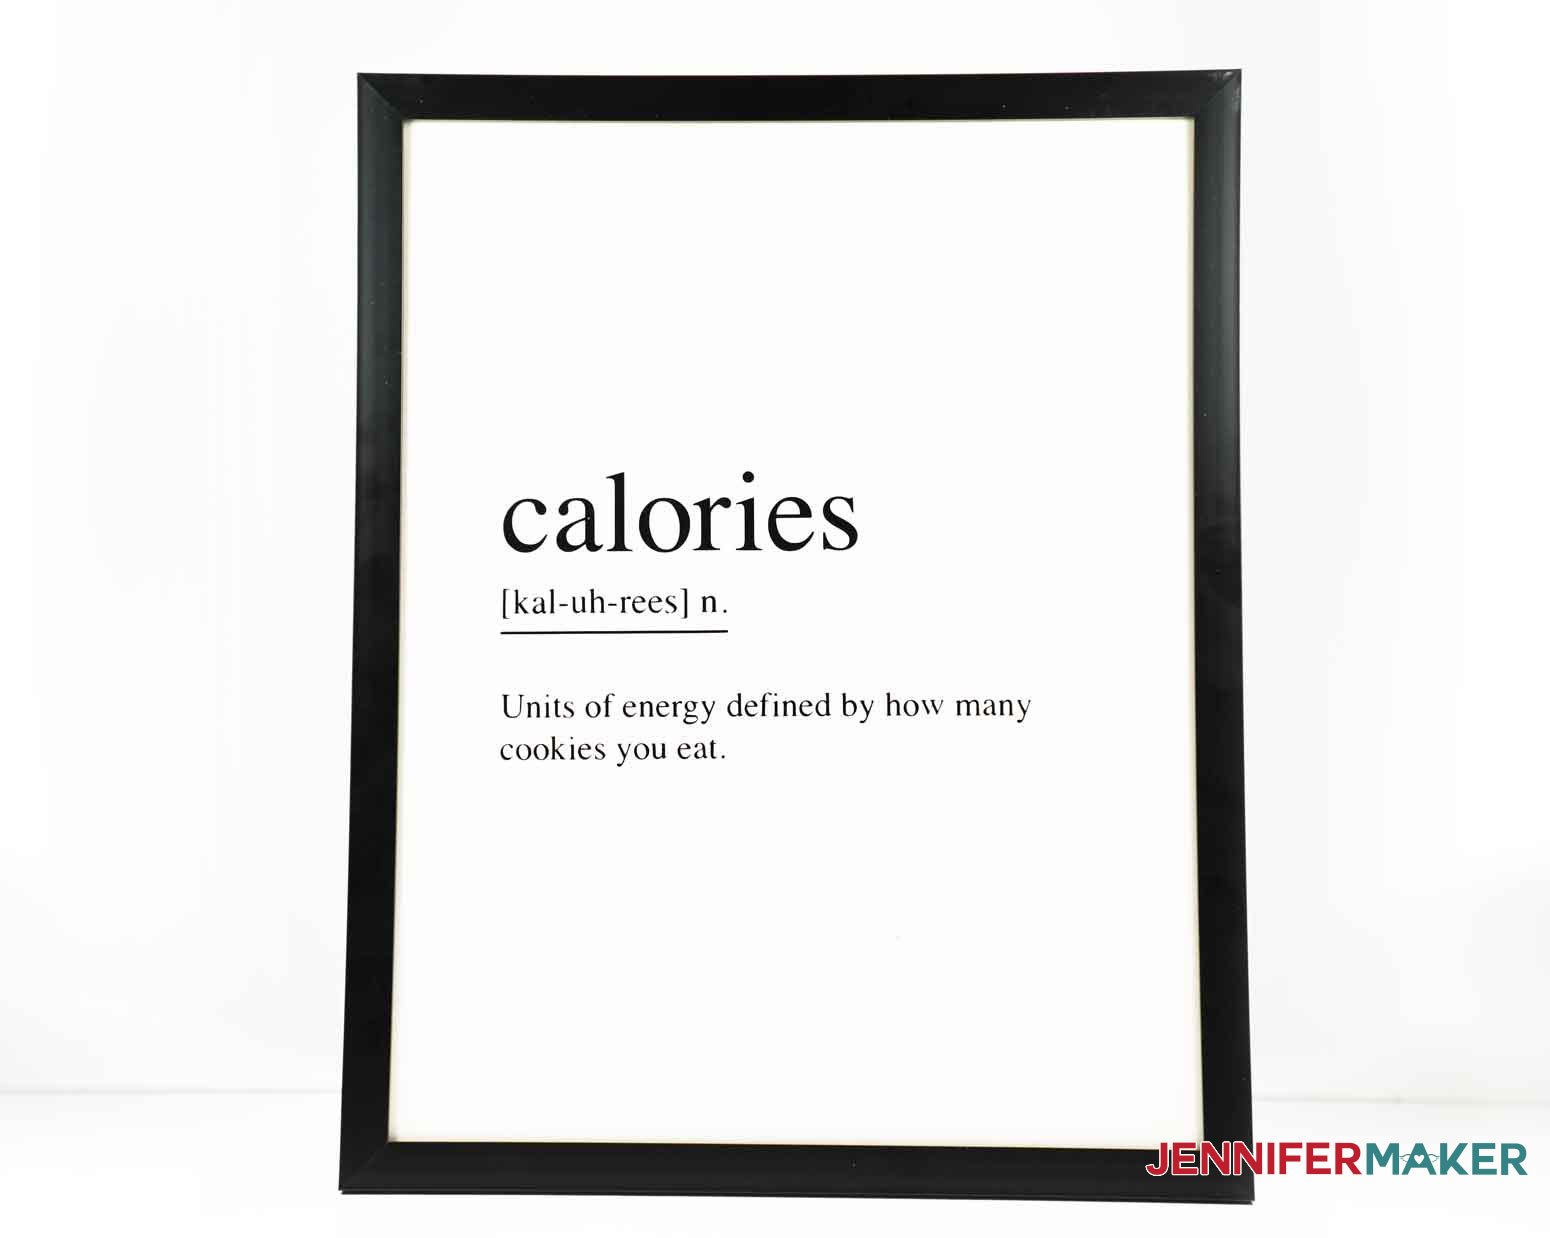
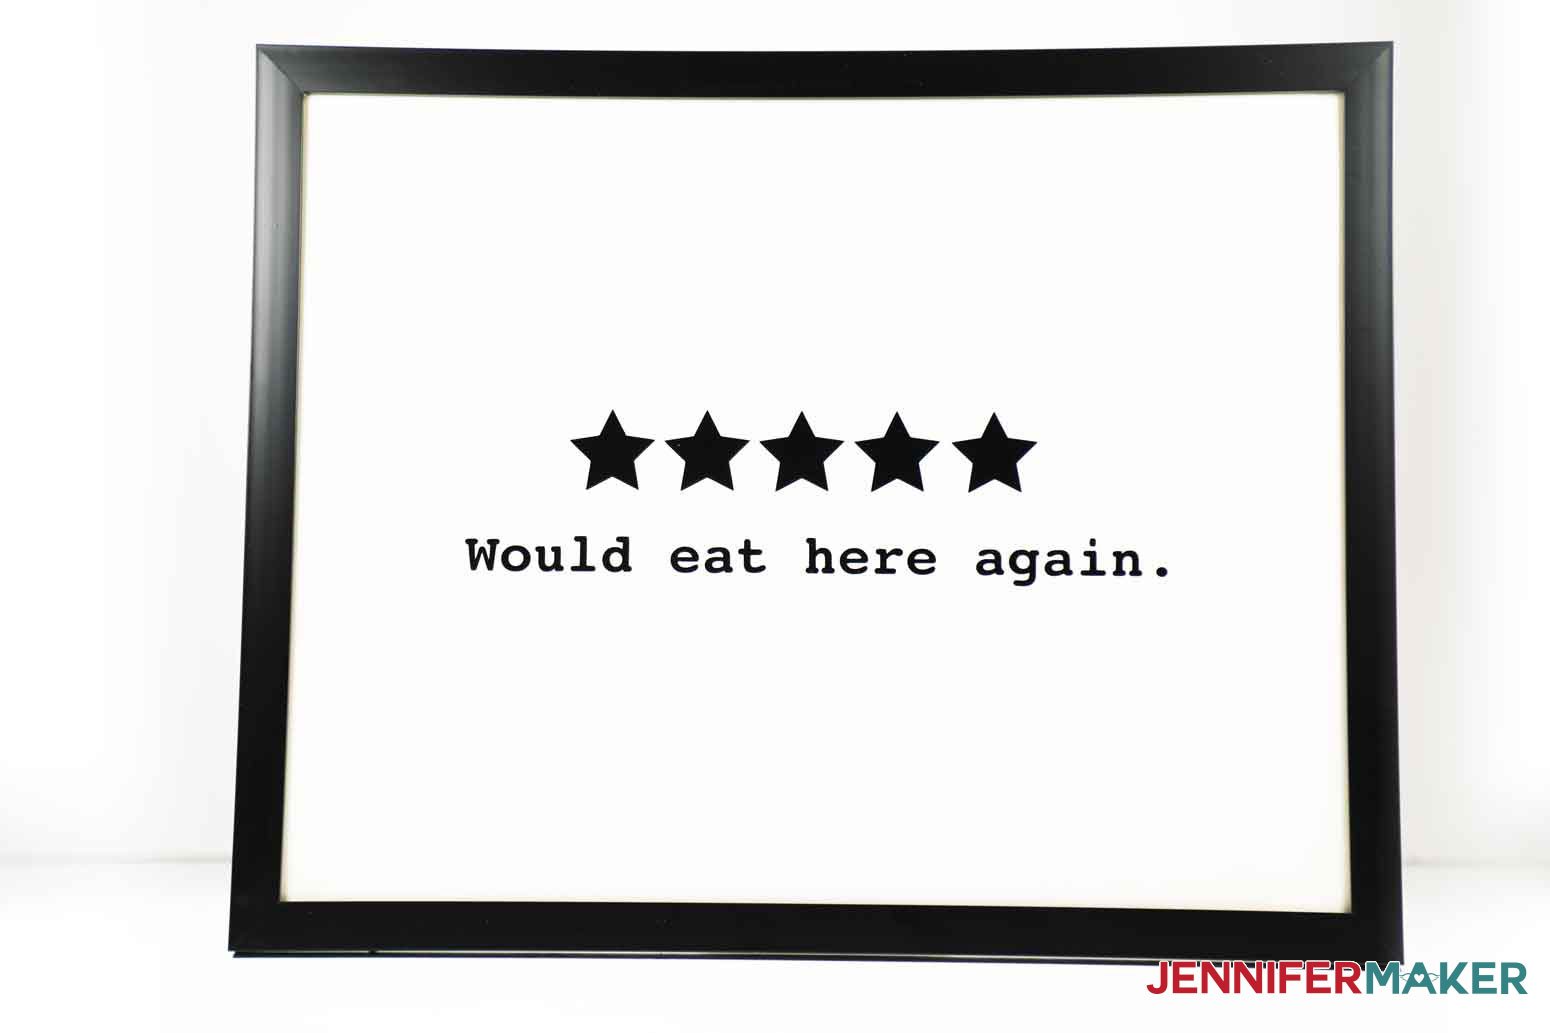
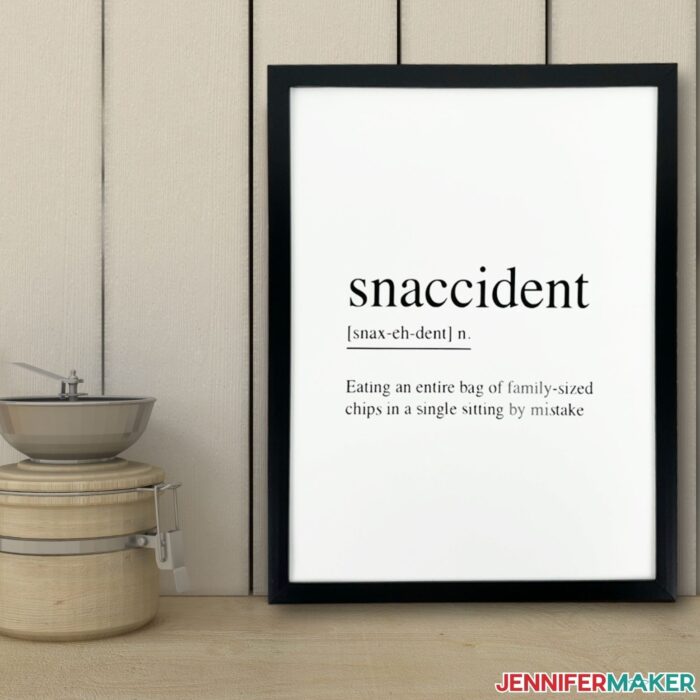
I’ve included six different designs to add a little more decor to your kitchen walls including these lovely ones:
Here’s a supply list of what you need to make kitchen wall signs! This post contains some affiliate links for your convenience (which means if you make a purchase after clicking a link I will earn a small commission but it won’t cost you a penny more)! Read my full disclosure policy.
Materials to Make Kitchen Wall Signs
View my Amazon shopping list with the exact items we used to make this project
- Black Gallery Frames
- Sheets White Poster Board
- Premium Vinyl – Permanent in Black
- Transfer Tape
- Green StandardGrip Cutting Mat
- Weeding Tools
- XL Scraper
- Ruler
- Craft Knife or Scissors
- Trimmer (Optional)
- Pencil and eraser
- A method to cut your vinyl – I used the amazing Cricut Maker but you can also use the Cricut Explore
- Design #329 – My free SVG/PDF/DXF design files are available in my free resource library beginning November 4, 2021 (get the password by filling out the form at the bottom of this page) or get early access to the design files by getting a VIP Pass to Maker Academy Weekend
Supplies for Kitchen Wall Signs Part 2:
- Flour Sack
- Tote Bag
- Smart Iron-On Vinyl (Black)
- Cricut Roll Holder (Optional)
- EasyPress
- EasyPress Mat
- Weeding Tool
- Scissors
- Measuring Tape
- A method to cut your vinyl – I used the amazing Cricut Maker but you can also use the Cricut Explore
- Design #329 – My free SVG/PDF/DXF design files are available in my free resource library (get the password by filling out the form at the bottom of this page)
How to Make Your Own DIY Kitchen Wall Signs
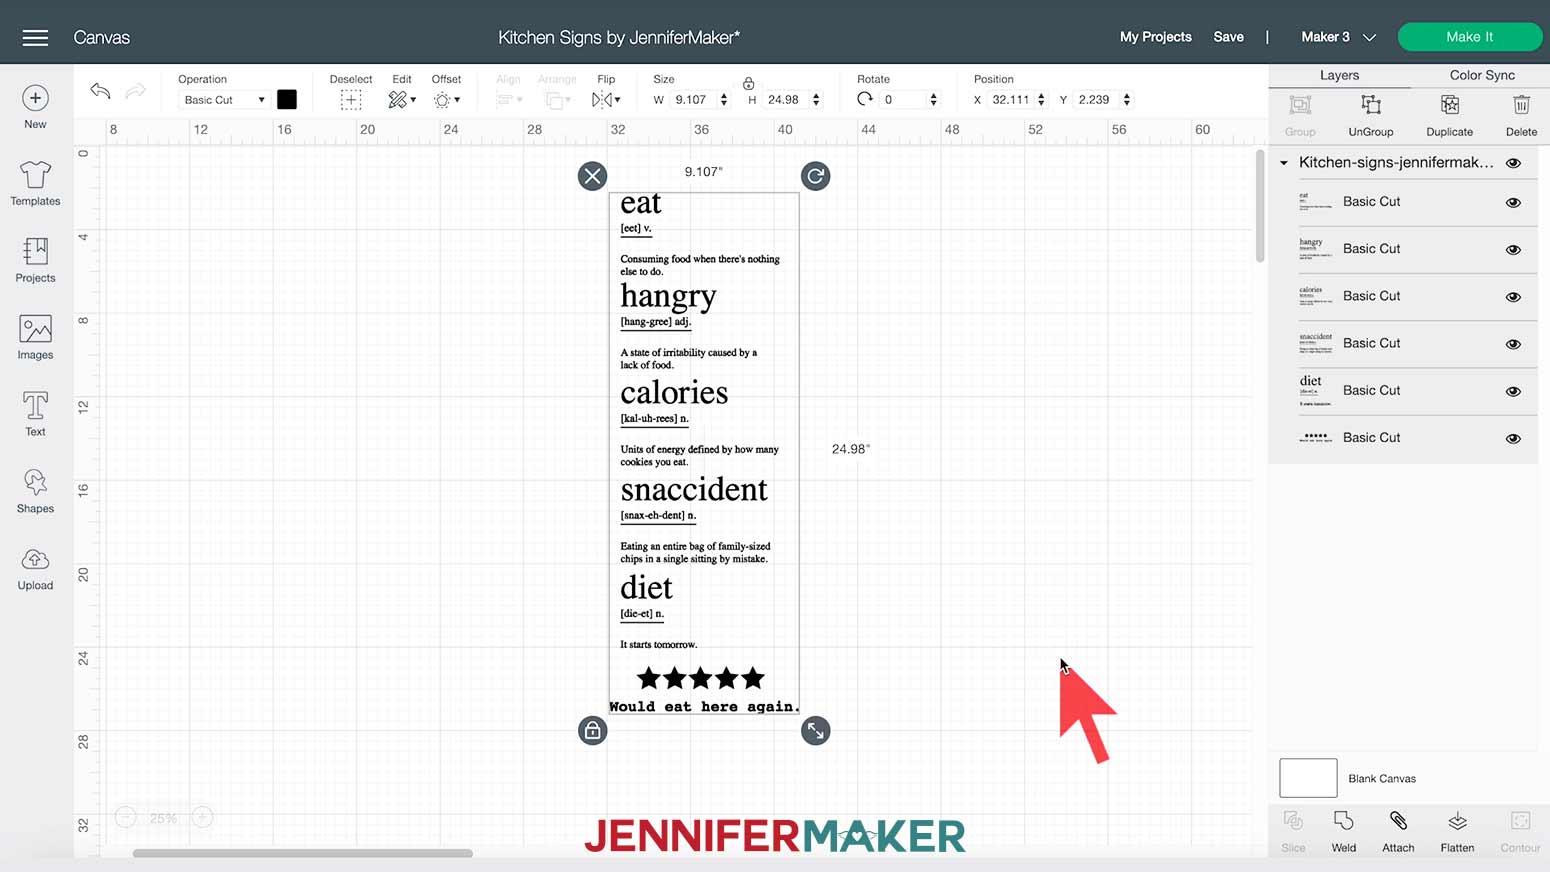
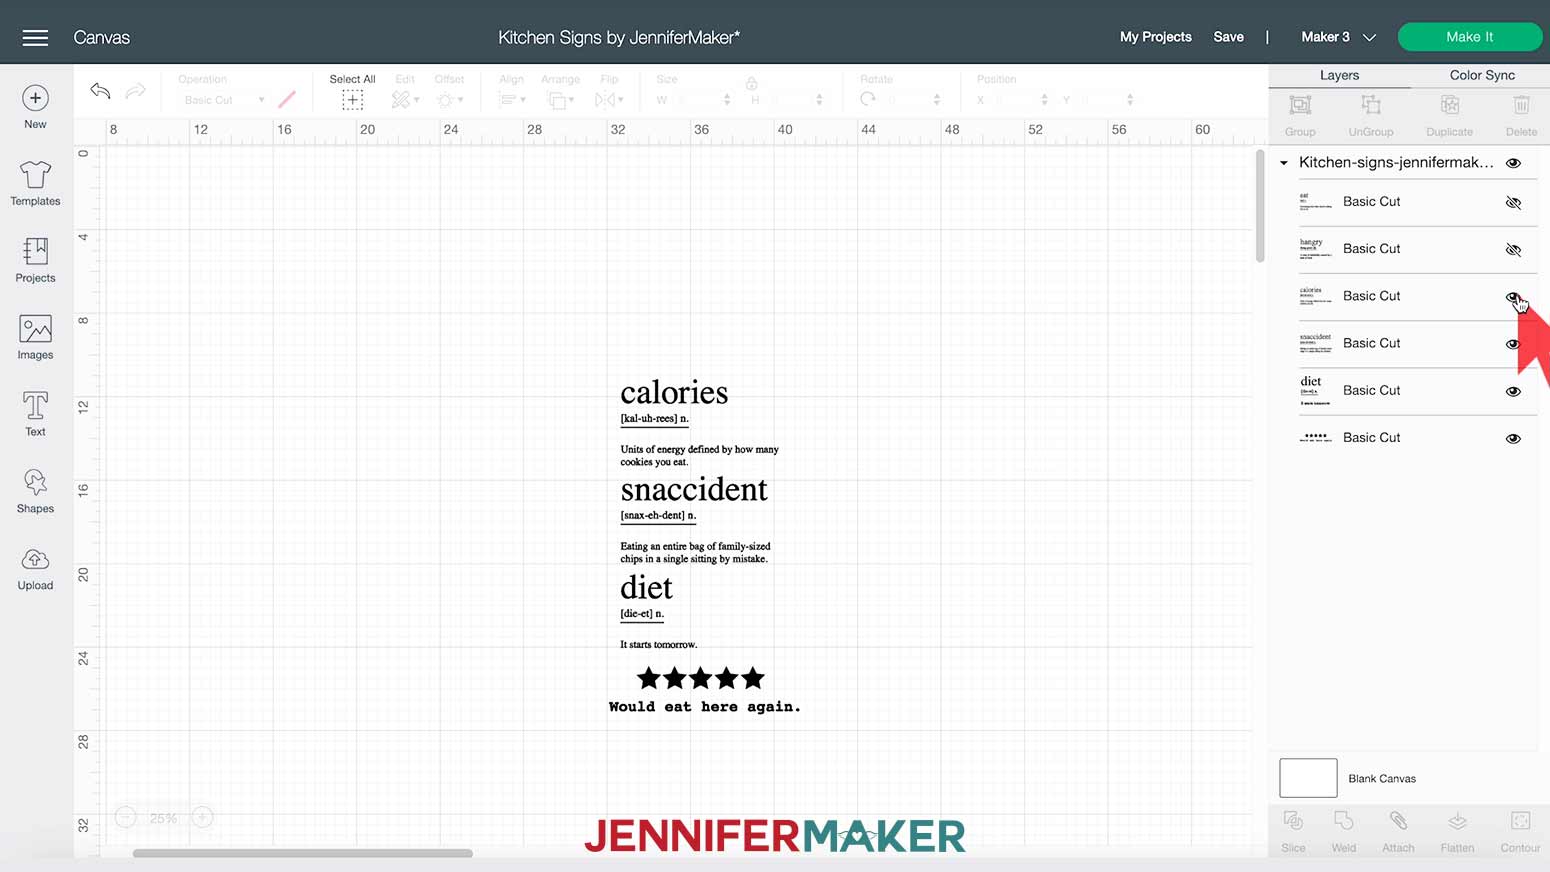
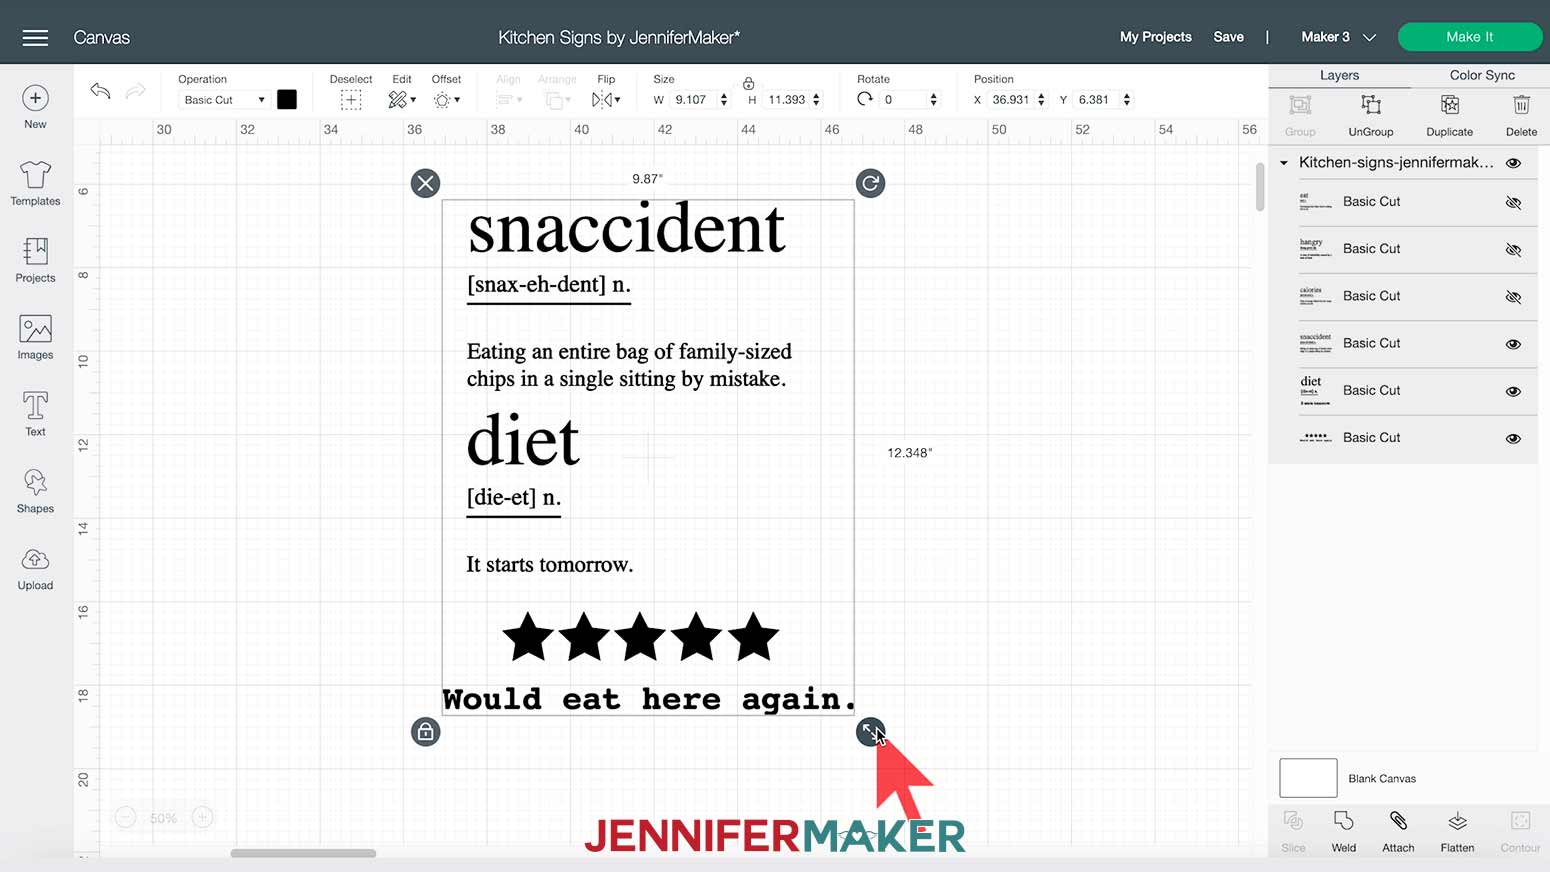
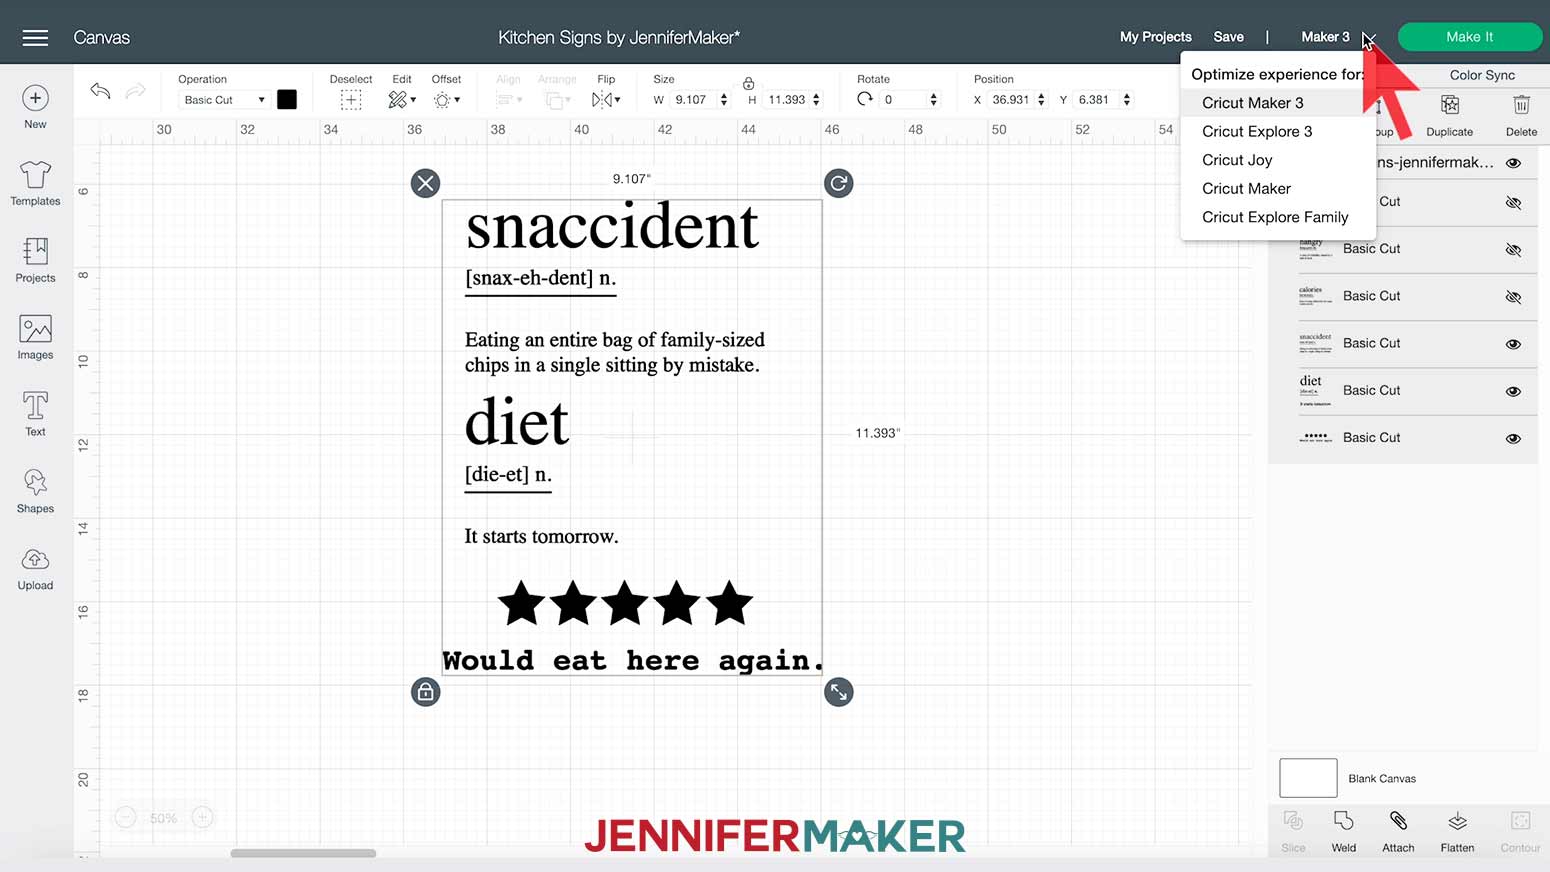
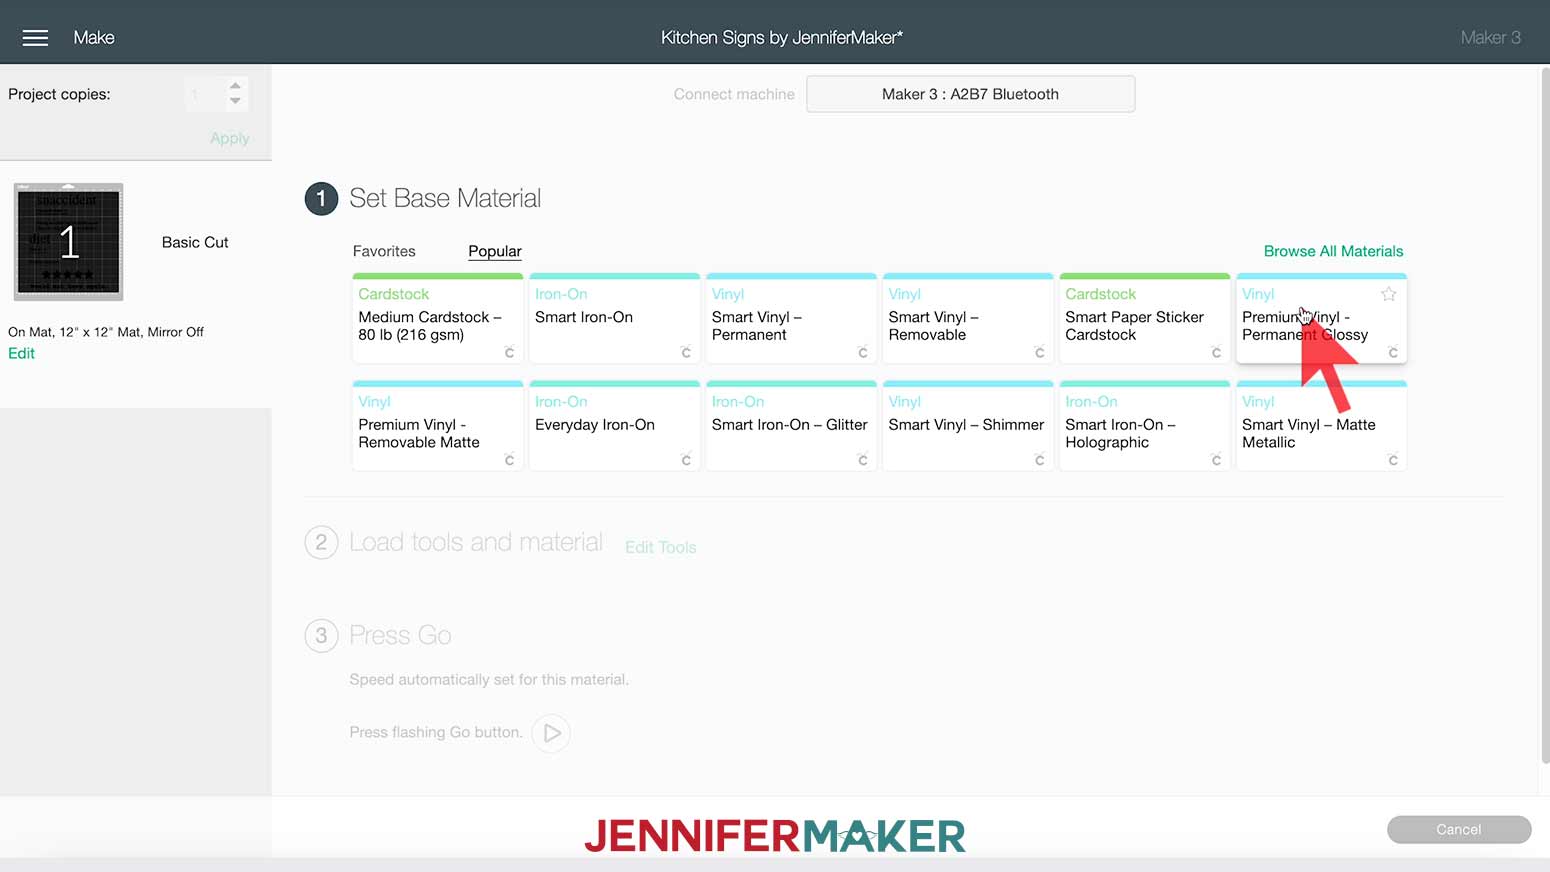
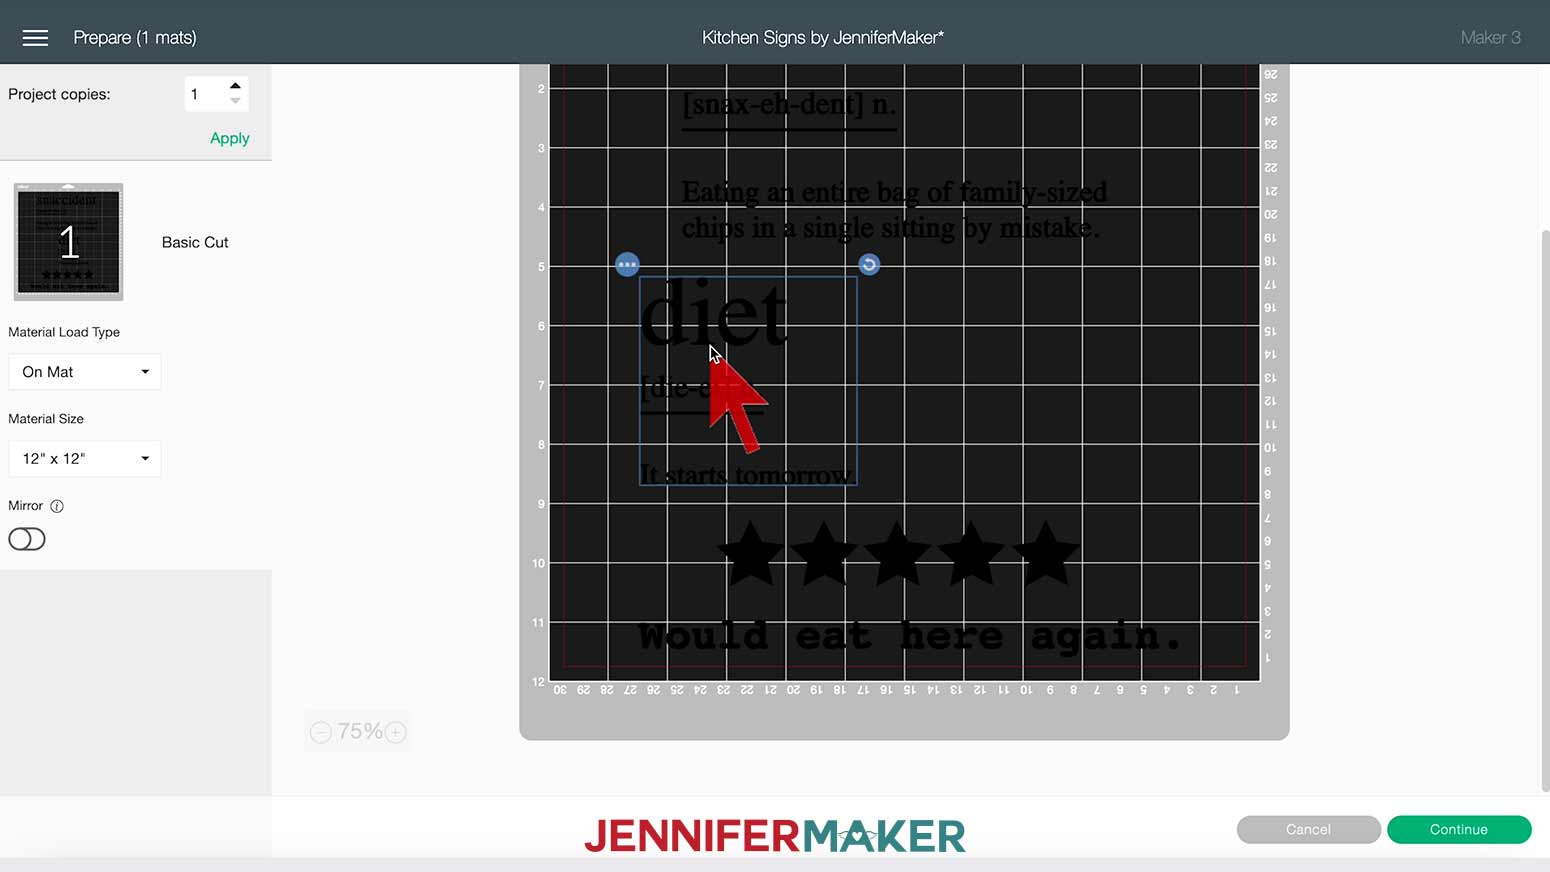
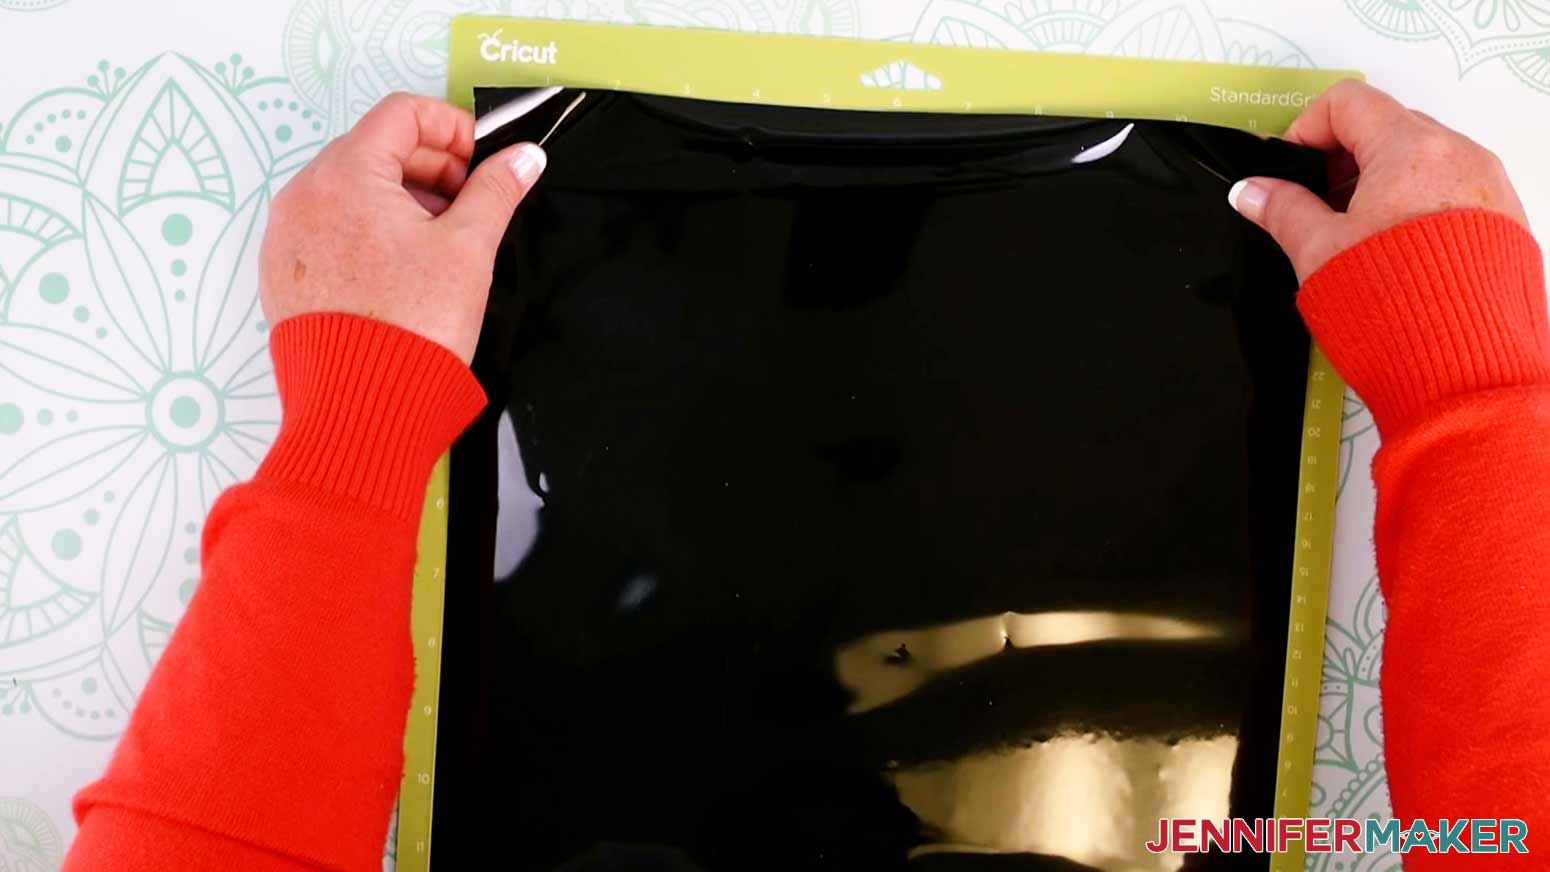
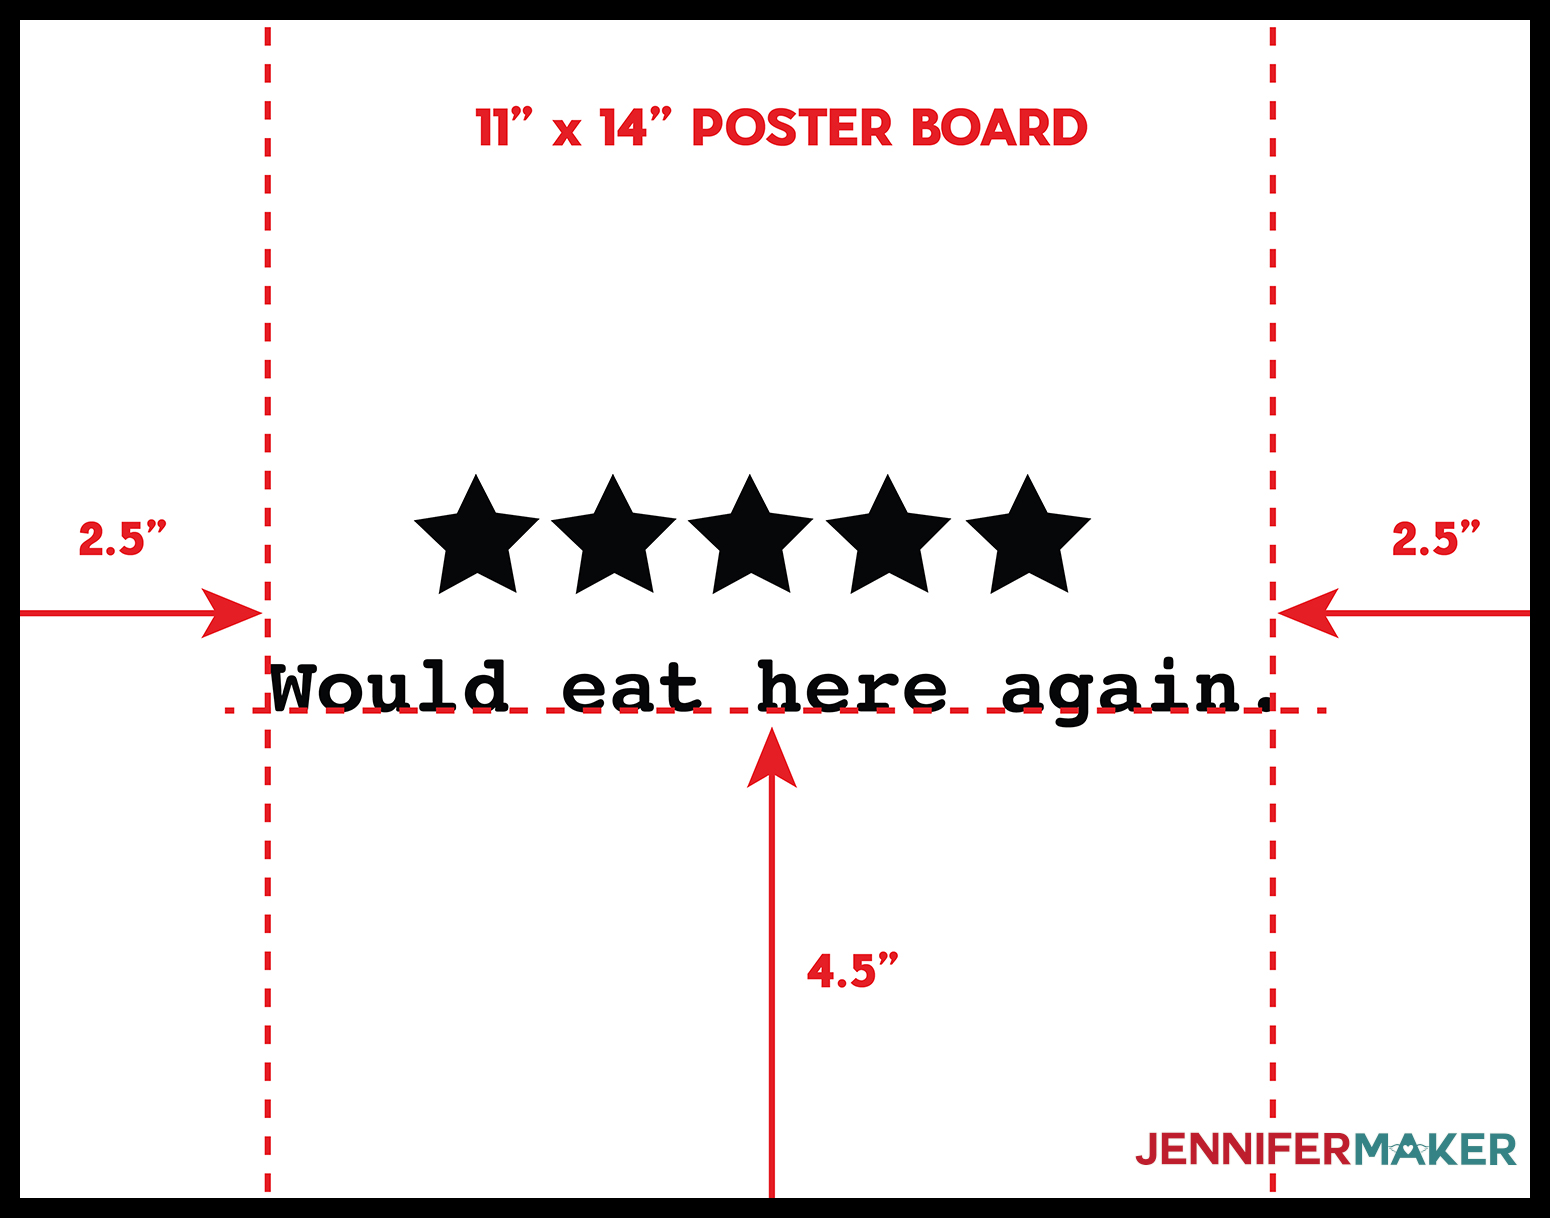
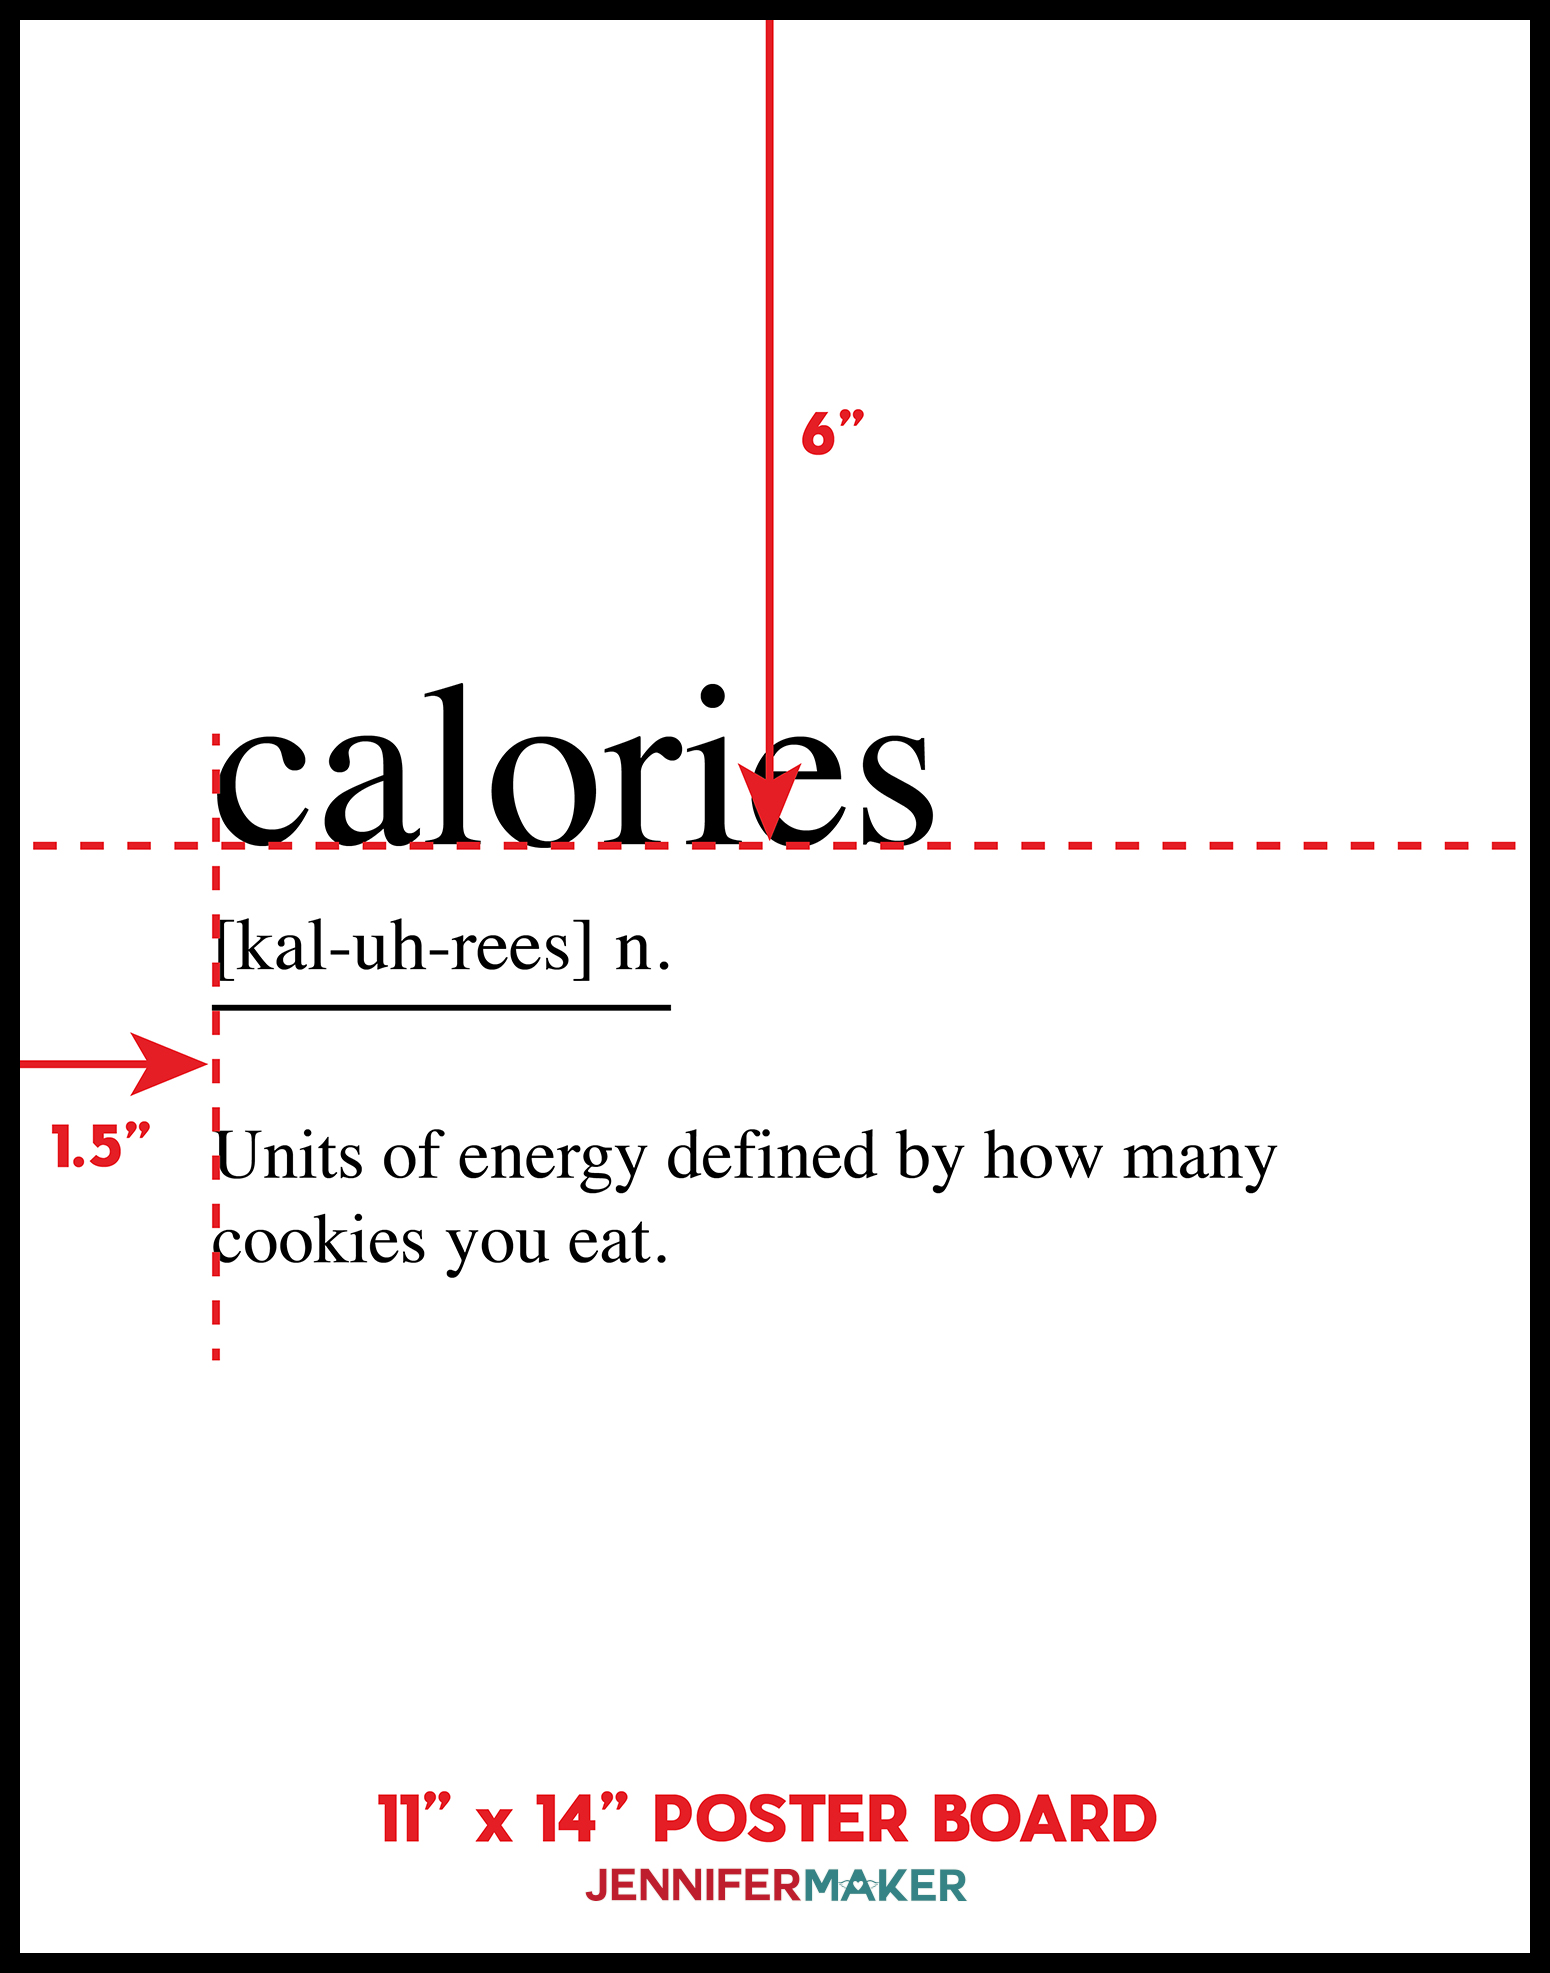
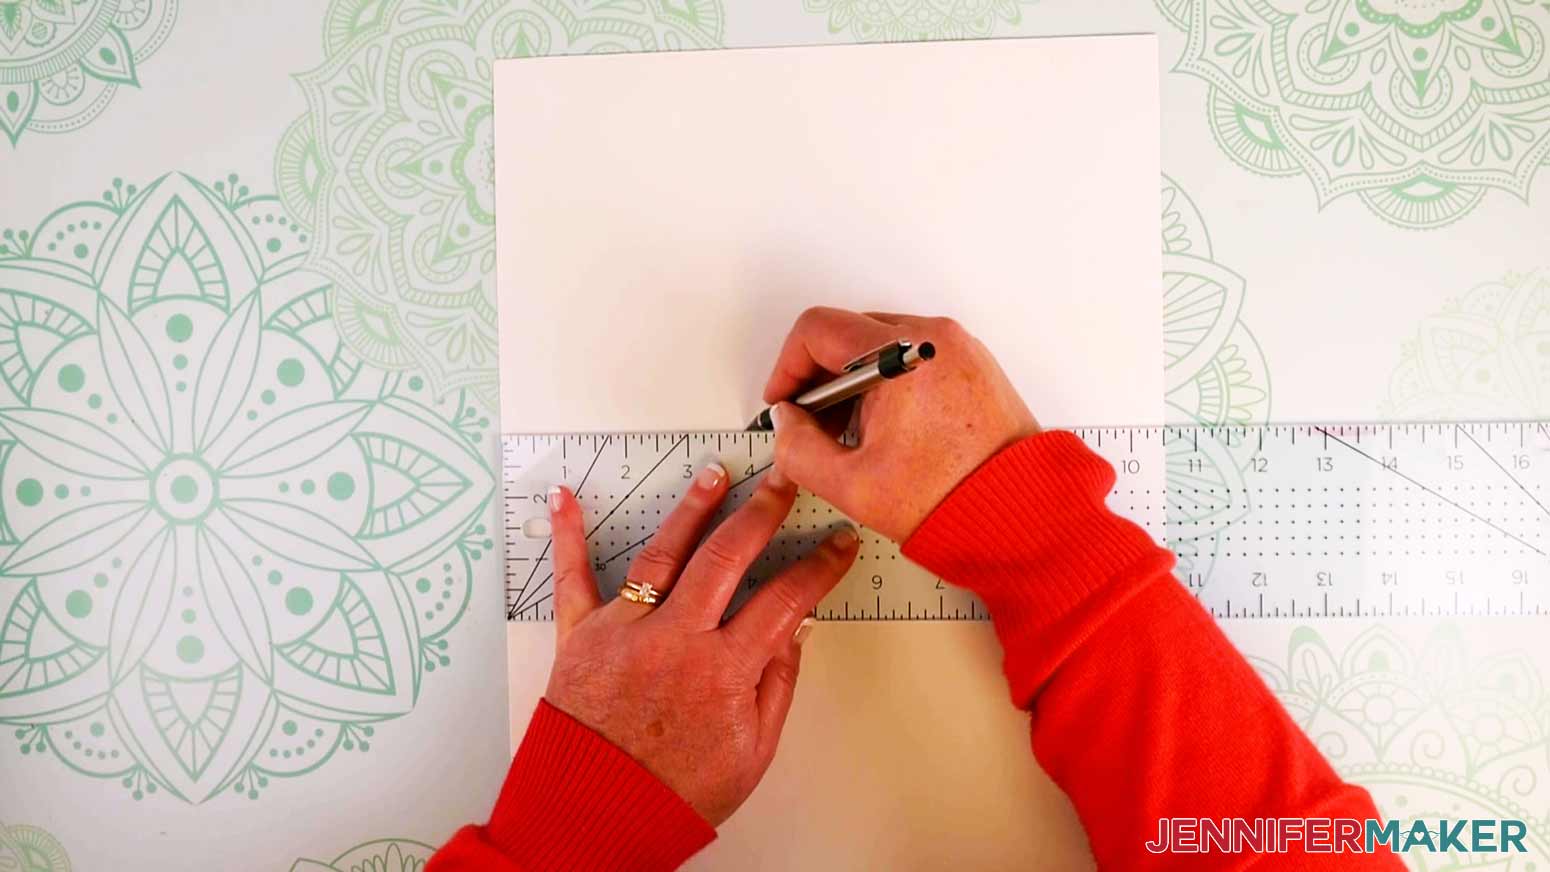
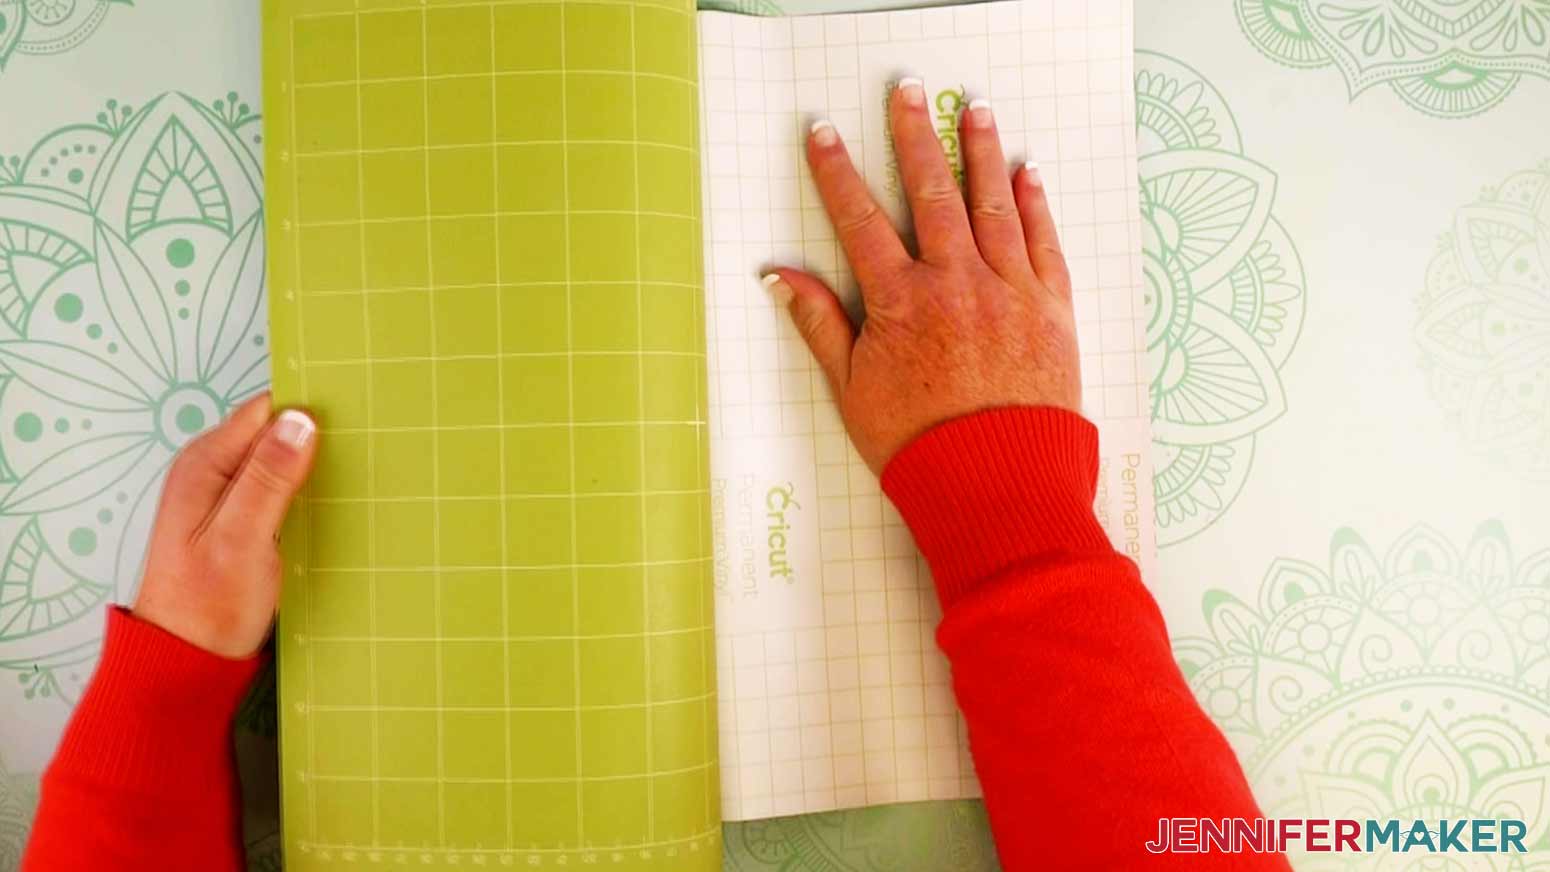
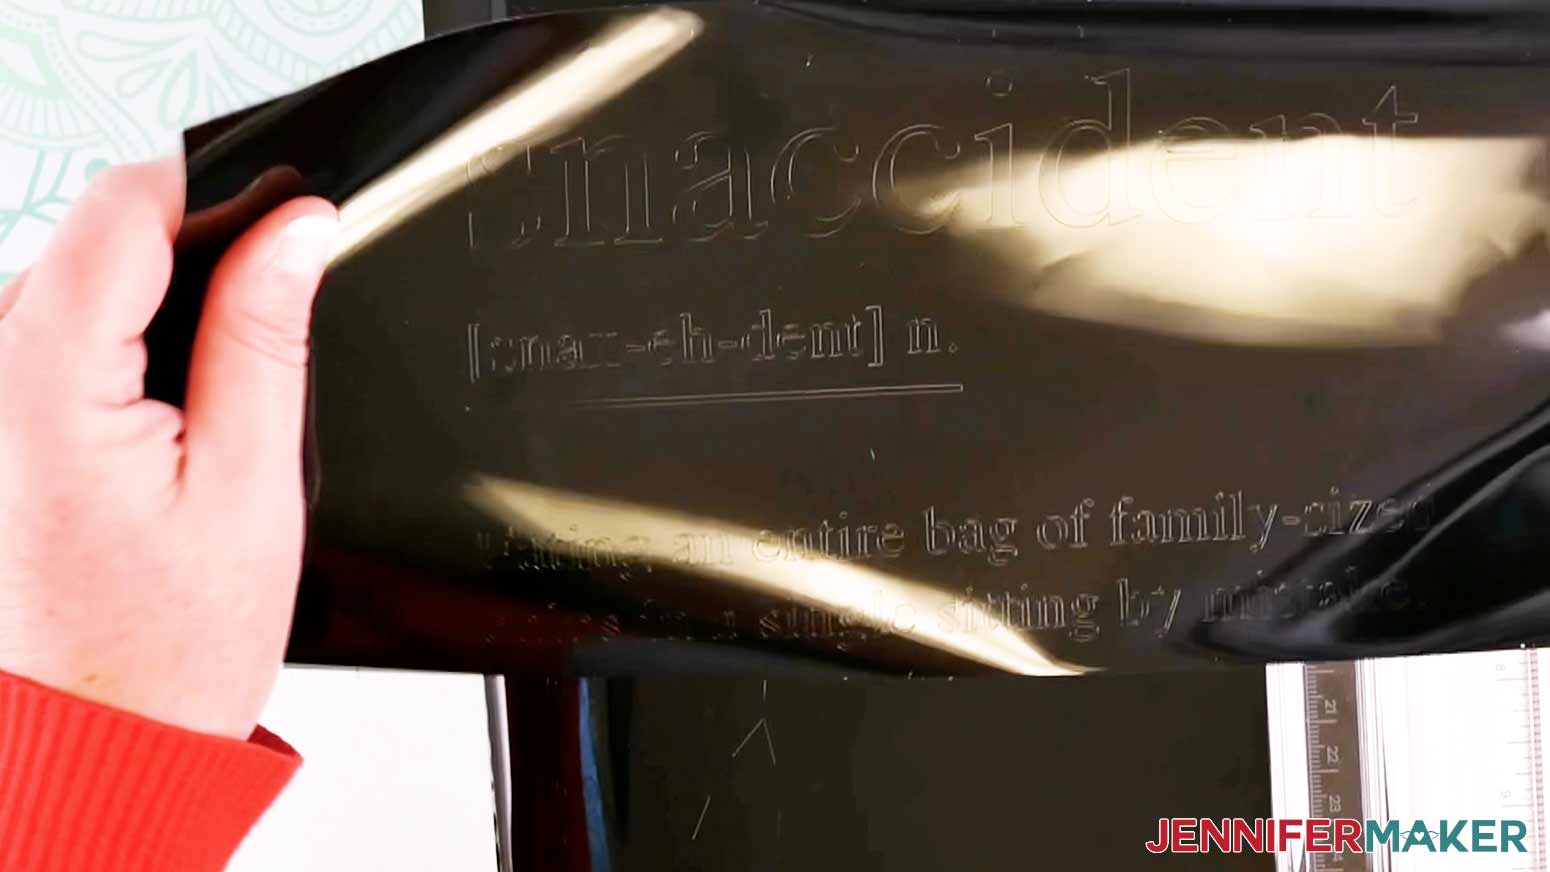
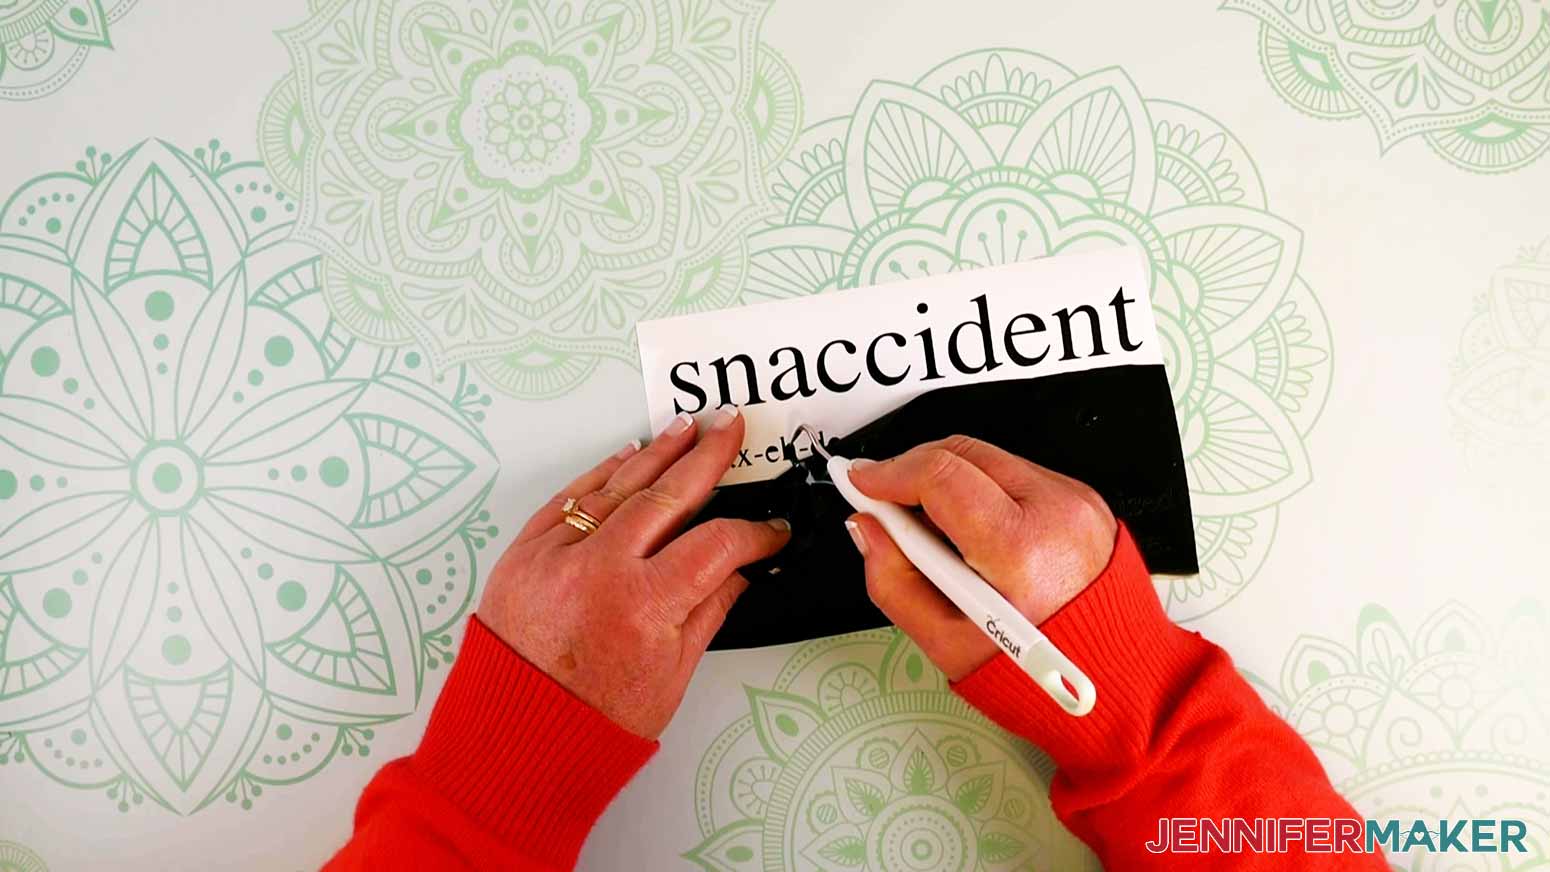
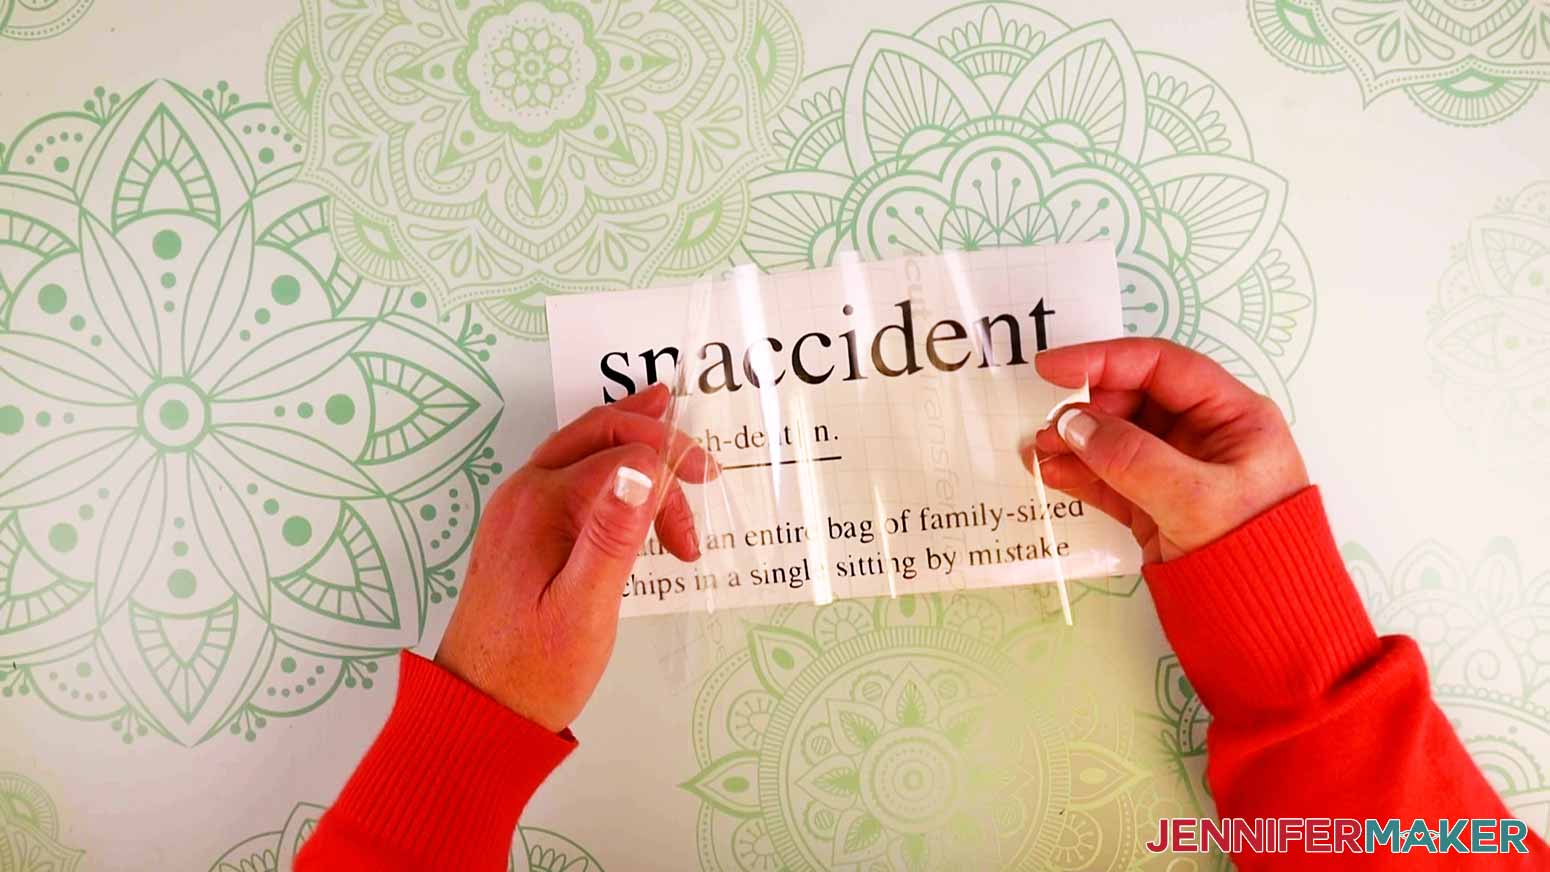
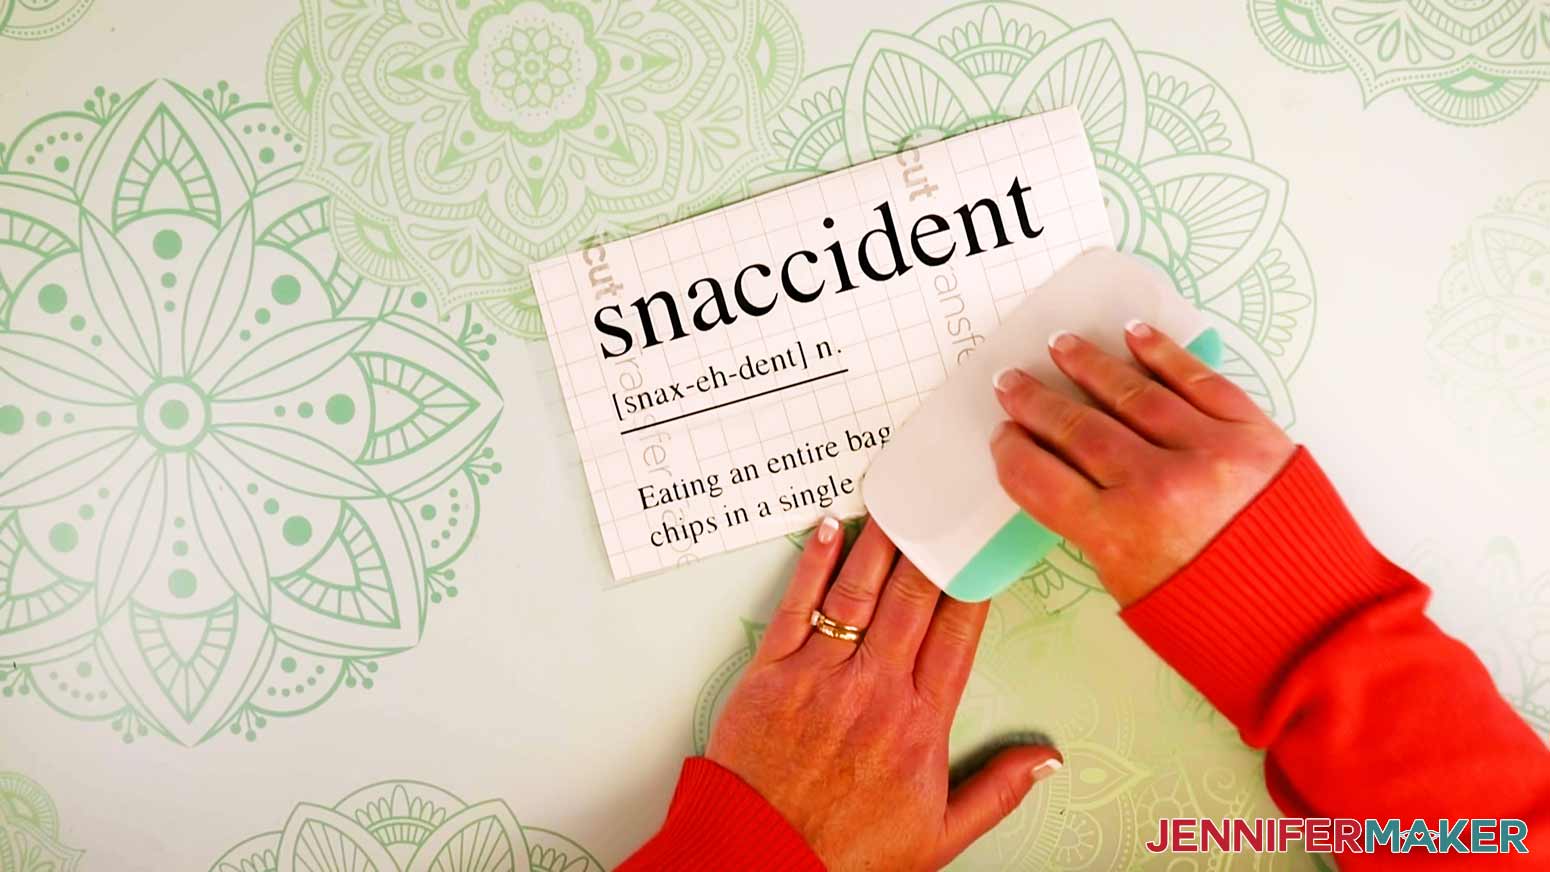
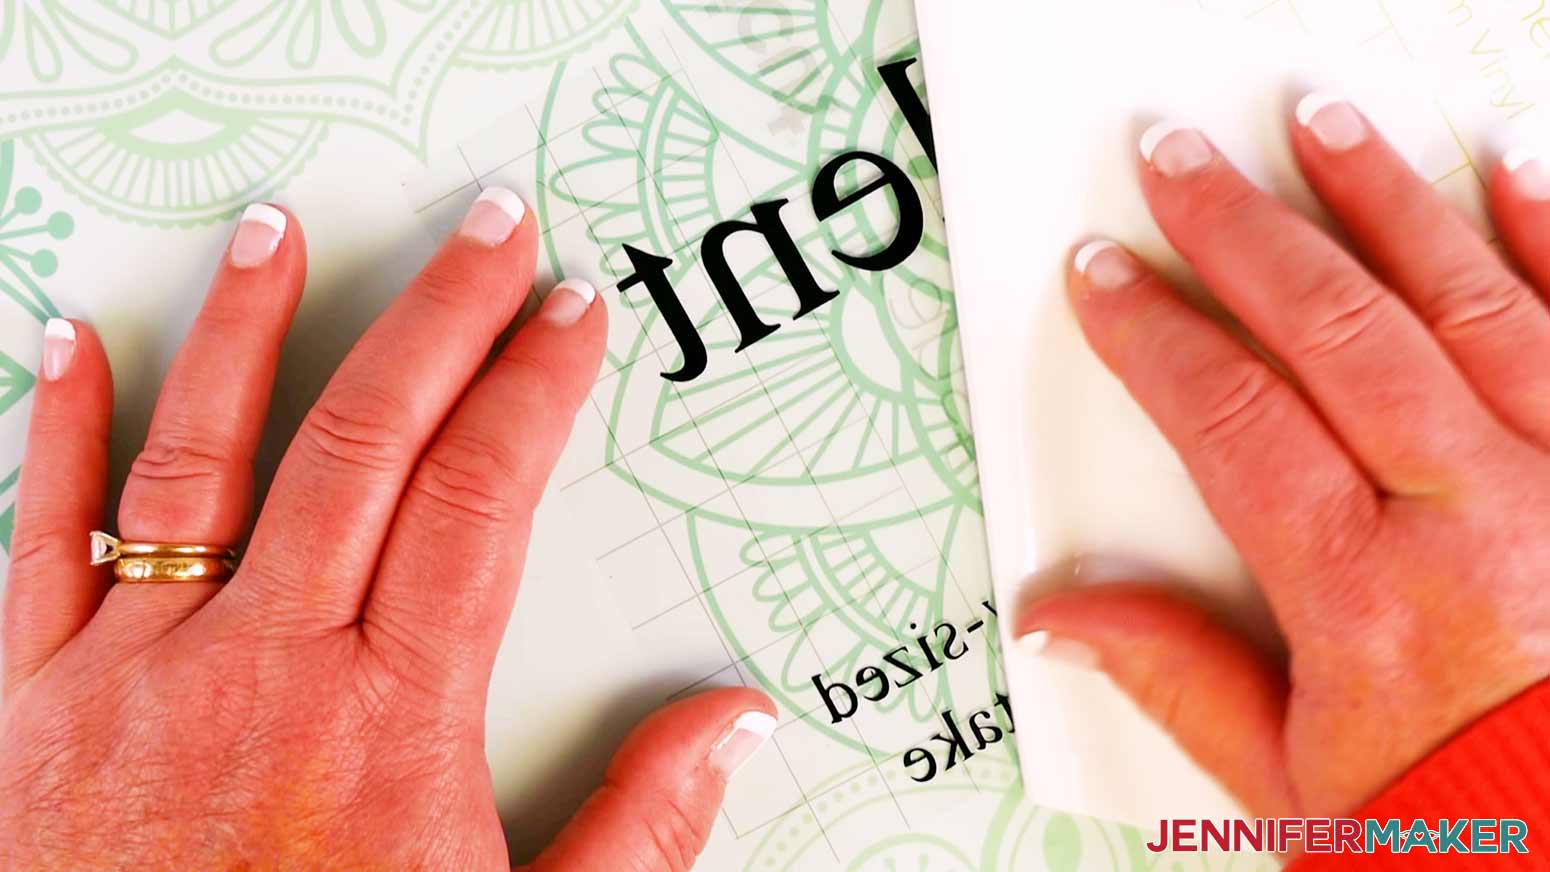
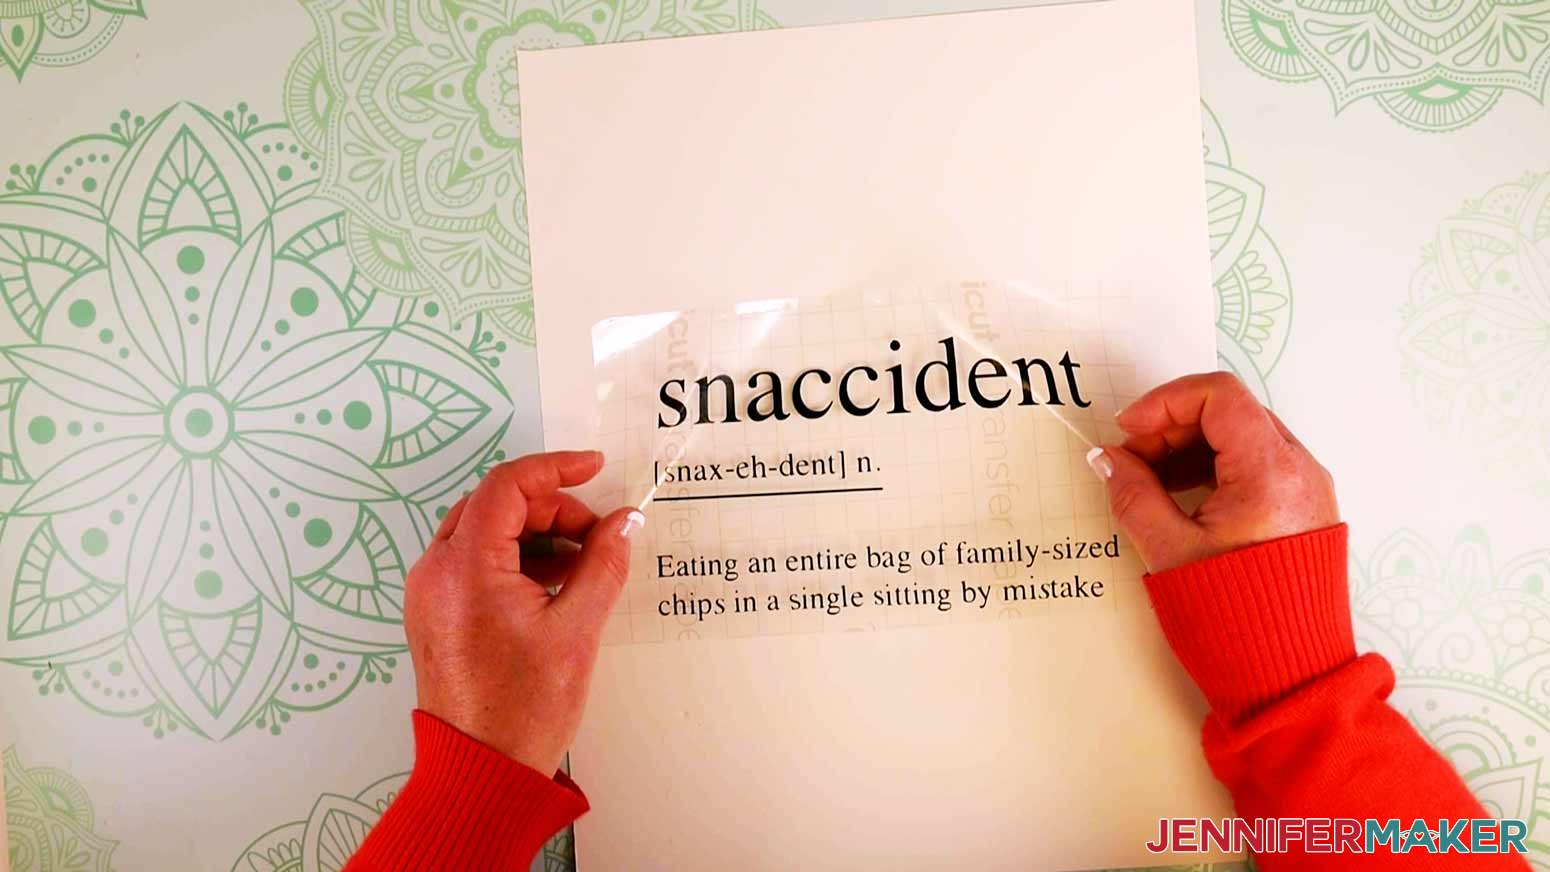
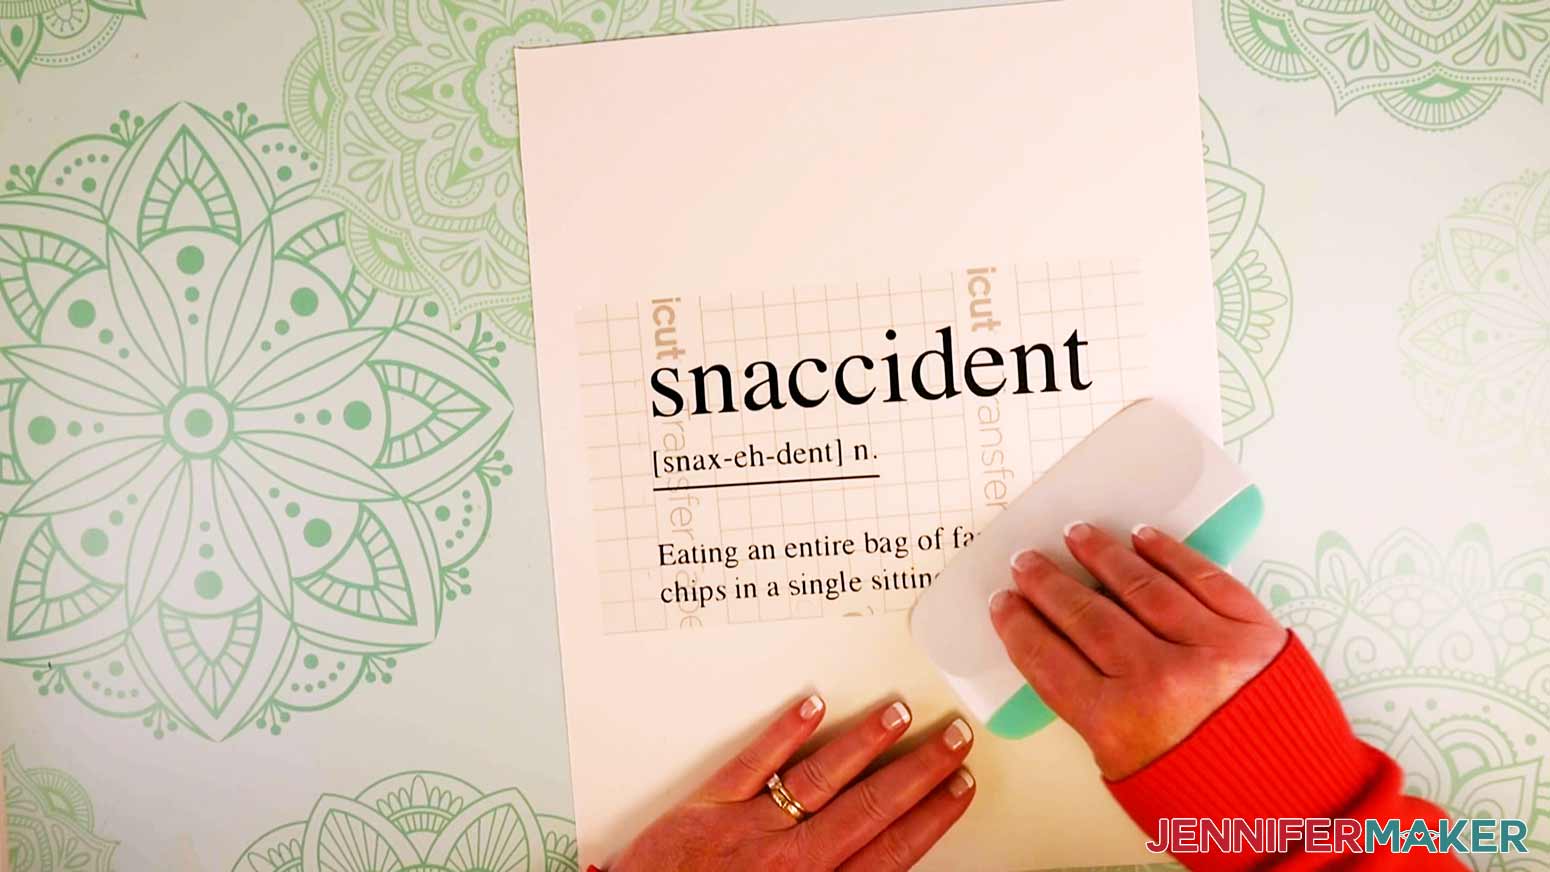
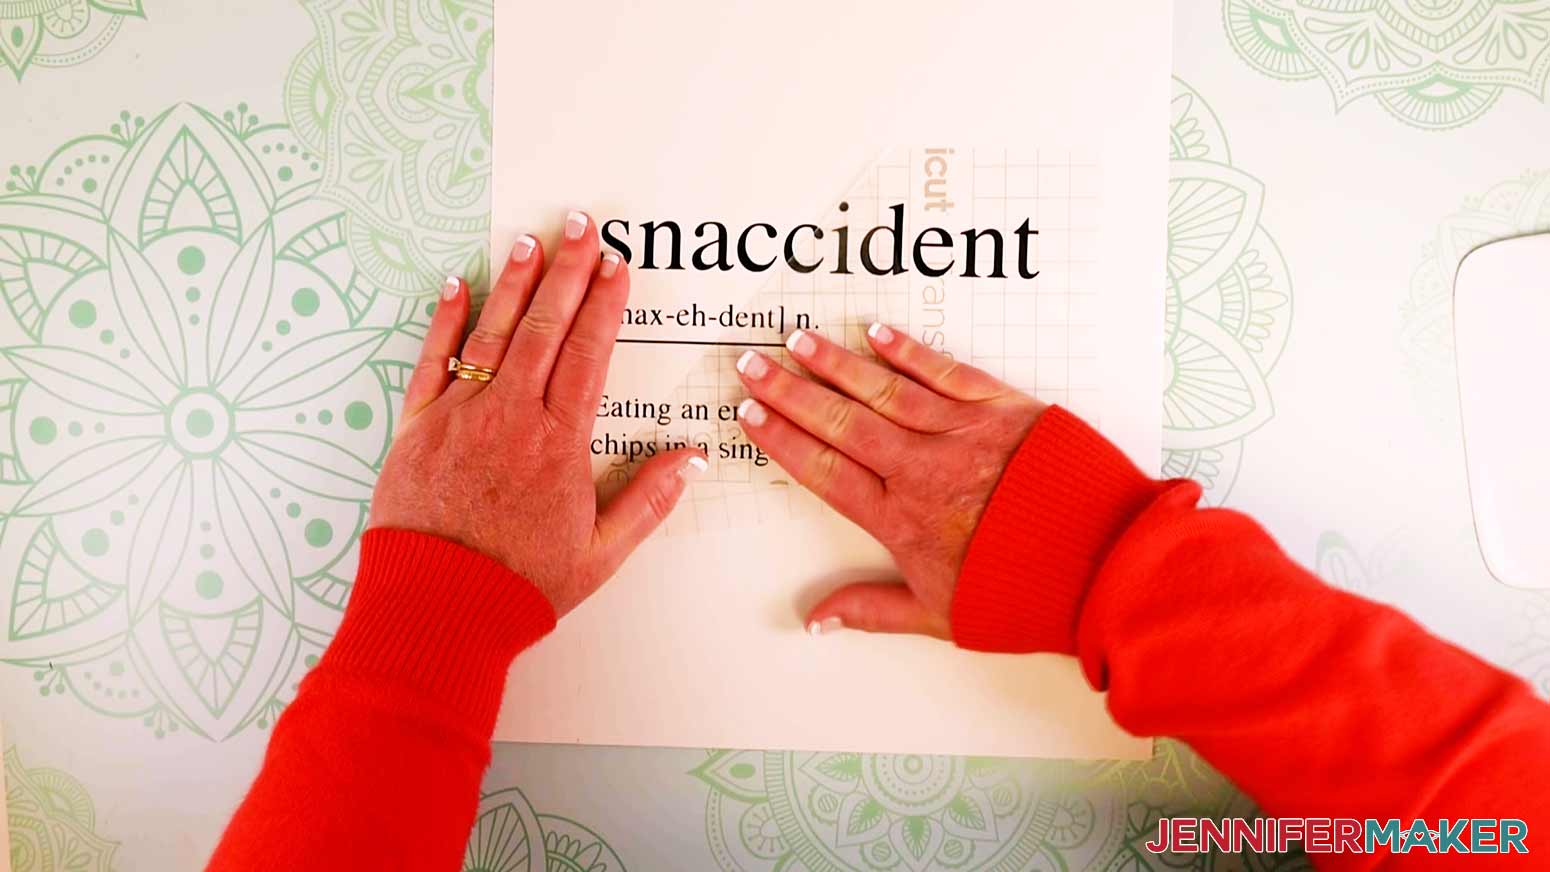
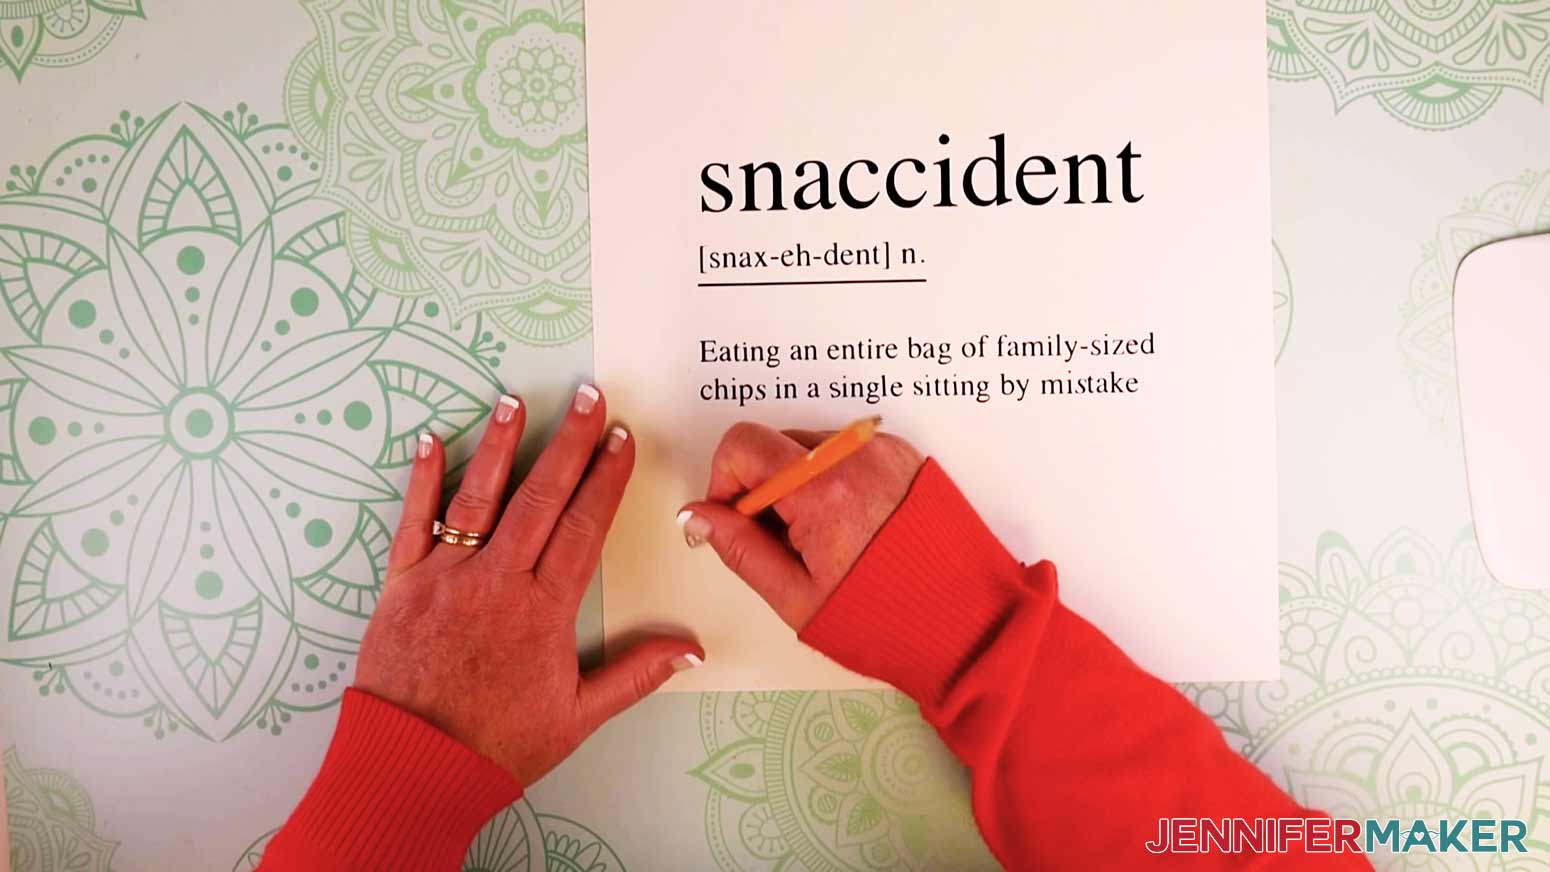
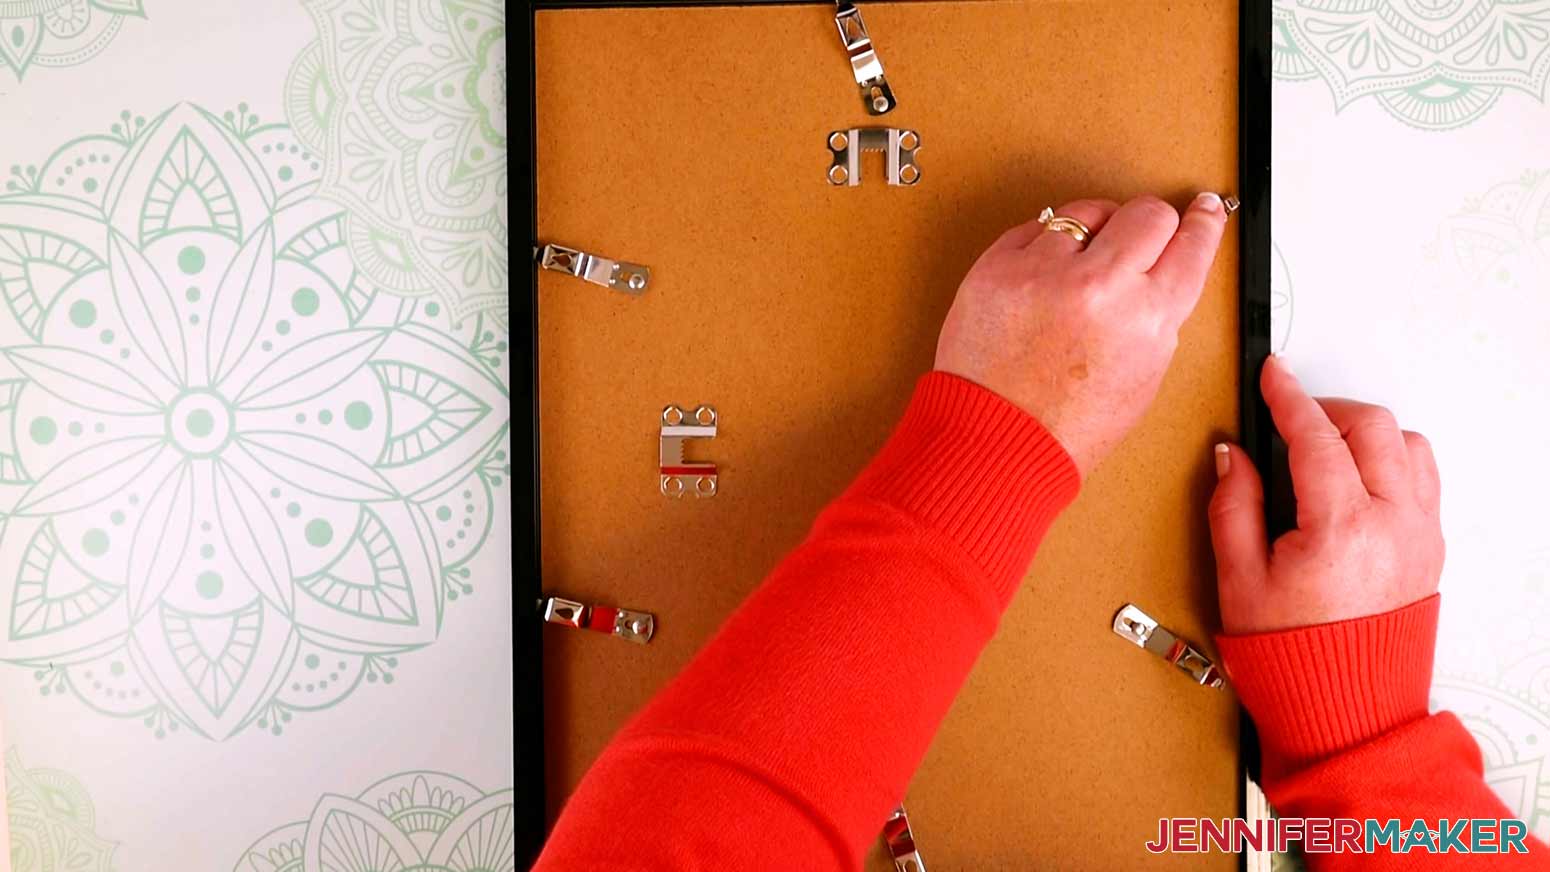
Add some fun to your walls with these quirky Kitchen Signs! These fun and quirky kitchen signs can be made with a Cricut cutting machine if you don’t have a large format printer! Choose from six designs and mix-and-match them on your kitchen or dining room wall. Each framed sign is 11 x 14 inches. First, download my DIY Kitchen Signs designs from my library – look for Design #329 TIP: If you are not sure how to upload an SVG cut file to Cricut Design Space, watch this helpful video training series I made. If you are on an iPad or iPhone, here is how to download and upload SVG files to the Cricut Design Space app. This is what my Kitchen Signs SVG file looks like when it is uploaded to Cricut Design Space. These signs are ready to make. Just hide any designs you don’t want to cut by clicking on the eye icon next to those layers in the Layers Panel on the right. If you need to resize the decals to fit your frames, now is a good time to do that. Resize them by clicking and dragging the arrow on the lower right corner of the design box on the canvas. Once you’re ready to cut, select your machine on the top menu bar and then click Make It. Unless you’re using Smart Vinyl on a Cricut Maker 3, Explore 3 or Joy, select On Mat and click Done. Select your Base Material when prompted. I used Premium Vinyl—Permanent. If you’re using a mat like I did, place Premium Vinyl - Permanent in Black on a Green StandardGrip Mat to make the Kitchen Signs. Refer to the mat layouts to see how much vinyl you will need. TIP: You can also use any other vinyl color or even another type like Premium Vinyl - Removable if you prefer. You will be prompted to load your Fine Point Blade and mat. When you’re all set up, click the flashing Start button. While your vinyl is cutting, prepare the 11” x 14” frame. If your frame has protective plastic on it, make sure to remove it. To make sure I centered my vinyl on the poster board in the correct place so they all matched, I followed these placement guidelines. I used a ruler to measure the distance down from the top of the poster board and drew a faint line in pencil (instead of cutting). Then I measured the distance from the left side of the poster board and drew another faint guideline in pencil. TIP: I used the matte side (not the shiny side) of the poster board because the transfer tape could pull up on the shiny finish and the pencil marks are harder to remove from the shiny side. Now that the poster board is ready to go, let’s get the vinyl ready. First remove the vinyl from the mat by flipping the mat over and rolling it back away from the vinyl, this helps prevent the vinyl from curling. If you cut more than one design like I did, use a Cricut Trimmer to cut them into separate decals. Now weed your design carefully, removing all of the excess vinyl you do not need. Be sure that all the small dots and pieces stay adhered to the carrier sheet, while making sure you remove all the small centers to your letters and numbers. TIP: I have lots of weeding tips on my Cricut Best Tips and Tricks post. Next, cut a piece of Cricut Transfer Tape a size just larger than your weeded vinyl piece. Remove the backing from the transfer tape. Apply the transfer tape to your vinyl decal by holding the transfer tape in the shape of a taco or “U” shape then putting the bottom of your “taco” onto the middle of your design. Smooth the tape over the decal from the center outward making sure to press out and remove any bubbles. When the transfer tape is in place, use a scraper tool or other hard and flat-edged item (like a store loyalty card) to transfer the vinyl decal design to the transfer tape. It’s important to scrape it well to transfer the vinyl decal. It helps to scrape it from both the transfer tape side AND the carrier sheet side. Carefully peel the carrier sheet off the vinyl. TIP: If little bits don’t want to transfer to your tape, scrape it again and pay careful attention to those problem areas. Now place your design on your poster board, being mindful that it is straight and centered using the guidelines you drew. Refer to the placement guide again to see how I aligned the words to the lines. Make sure both the vinyl and transfer tape are adhered to the poster board. Use your fingers to push out any bubbles or creases in the vinyl. Pick up a corner of the transfer tape and slowly remove it from your vinyl. Use your fingers again to make sure the vinyl is securely adhered to the poster board without any noticeable bubbles. Use an eraser to remove all the guidelines and pencil marks you made on the poster board. Now your frame is ready for final assembly. Prepare the frame by taking the back off and removing any protective film covering the plexiglass. Pop the poster board in the frame with the vinyl facing the glass. Insert the backer piece and close the tabs. Here are a couple complete Kitchen Signs! The fonts I used for the Kitchen Signs are Times New Roman and Courier New, which are both free fonts in the public domain. The approximate final sizes of the framed Kitchen Signs are 11 x 14 inches.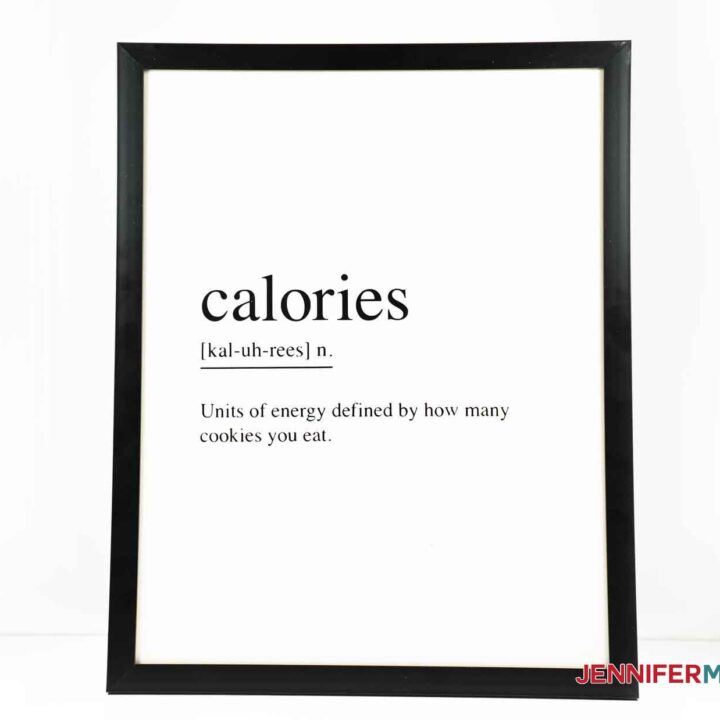
Kitchen Signs
Materials
Tools
Instructions
STEP 1: GET MY FREE KITCHEN SIGNS FILES

STEP 2: PREPARE THE FRAME
I used 11” x 14” white poster board as my material background. Make sure your poster board fits your frame without any buckling or bending. Mine was slightly large so I trimmed about 1/8” off the top and one side using a craft knife along a straight edge ruler, you can also use scissors or a rotary cutter. Just make sure not to trim too much off!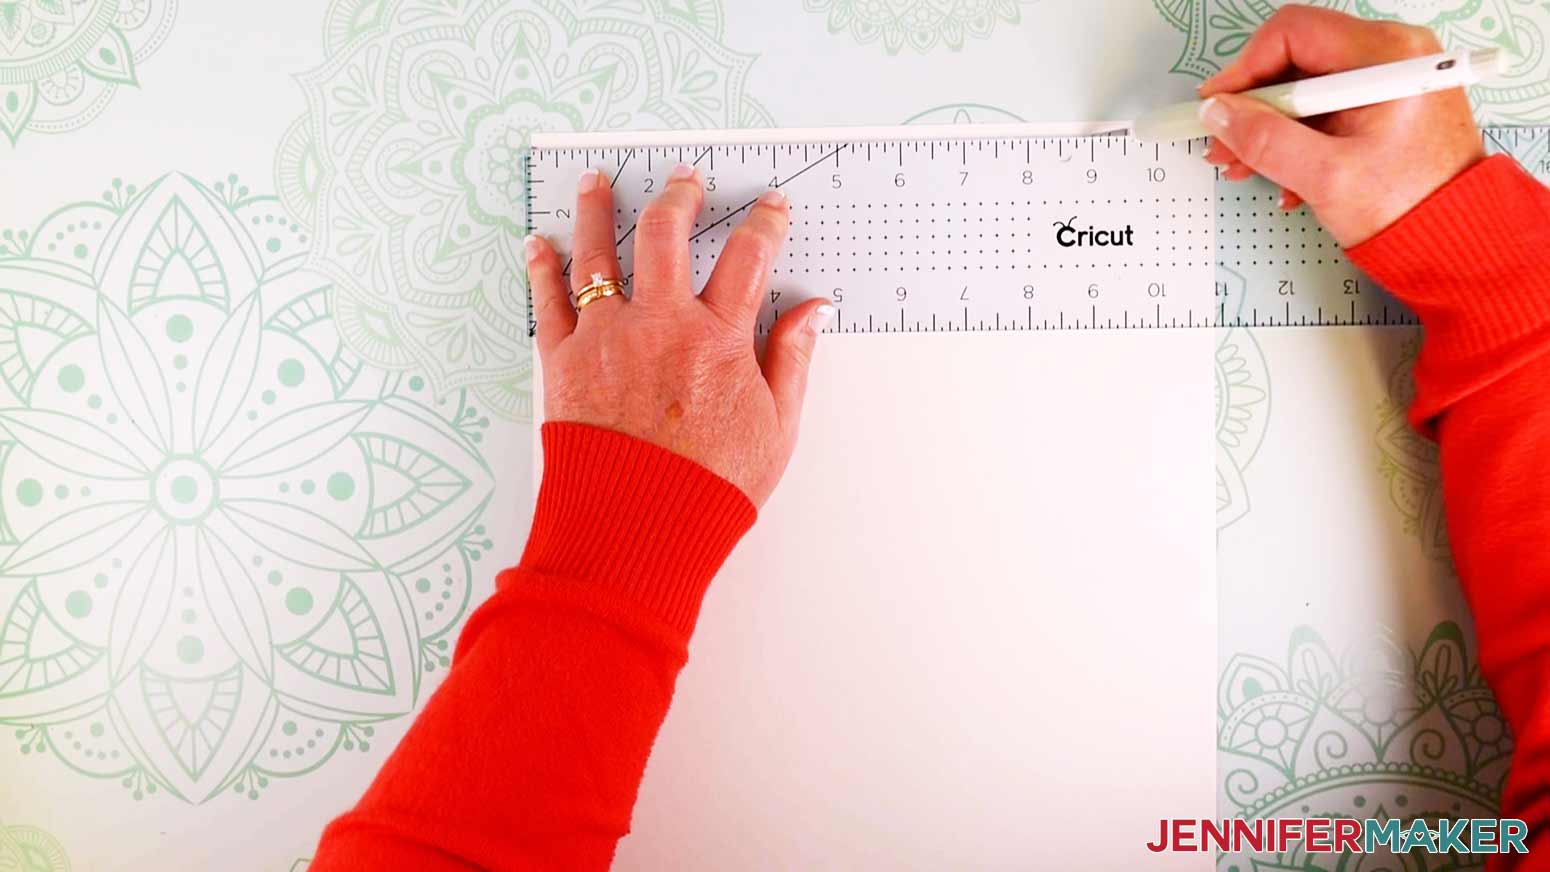
STEP 3: WEED AND TRANSFER THE VINYL
Notes
The detailed step-by-step assembly video on how to create personalized round wood door hangers is part of Maker Academy Weekend. Get a pass to watch all 20+ workshops, each with a printable handbook, transcript, audio files, design files, and support with a VIP pass below:

At the end of the day, it doesn’t really matter if you’re going for a farmhouse style or a vintage style, you’ve got to admit, this is an easy way to add a great touch to any space.

This simple look is great for a small space, or even if you’d like to cover up an entire wall! Adding a bit of kitchen wall art can also put you in a better mood and can turn into great conversation starters with your friends and family members.
Answers to Your Questions About How to Make DIY Kitchen Wall Signs
Q: Where is your tutorial for this project?
This is a special project we made for our free Maker Academy Weekend 2021 event! A complete and detailed step-by-step video premiered during the event November 4-7, 2021 — specifically, this tutorial video was available to watch for free for 24 hours beginning November 6 at 11:00 am ET! Get access to the workshop video and a 15-page printable handbook that details how to make this beautiful project with a VIP Pass to Maker Academy Weekend 2021, which comes with other perks and bonuses, too!
Get the free designs for my fun Kitchen Signs!
I love seeing what you make with my designs and how you use them! Please share a photo of your kitchen wall signs in our Facebook group or tag me on social media with #jennifermaker.
Love,

Want to remember this? Save this DIY Kitchen Wall Signs Tutorial to your favorite Pinterest Board!