
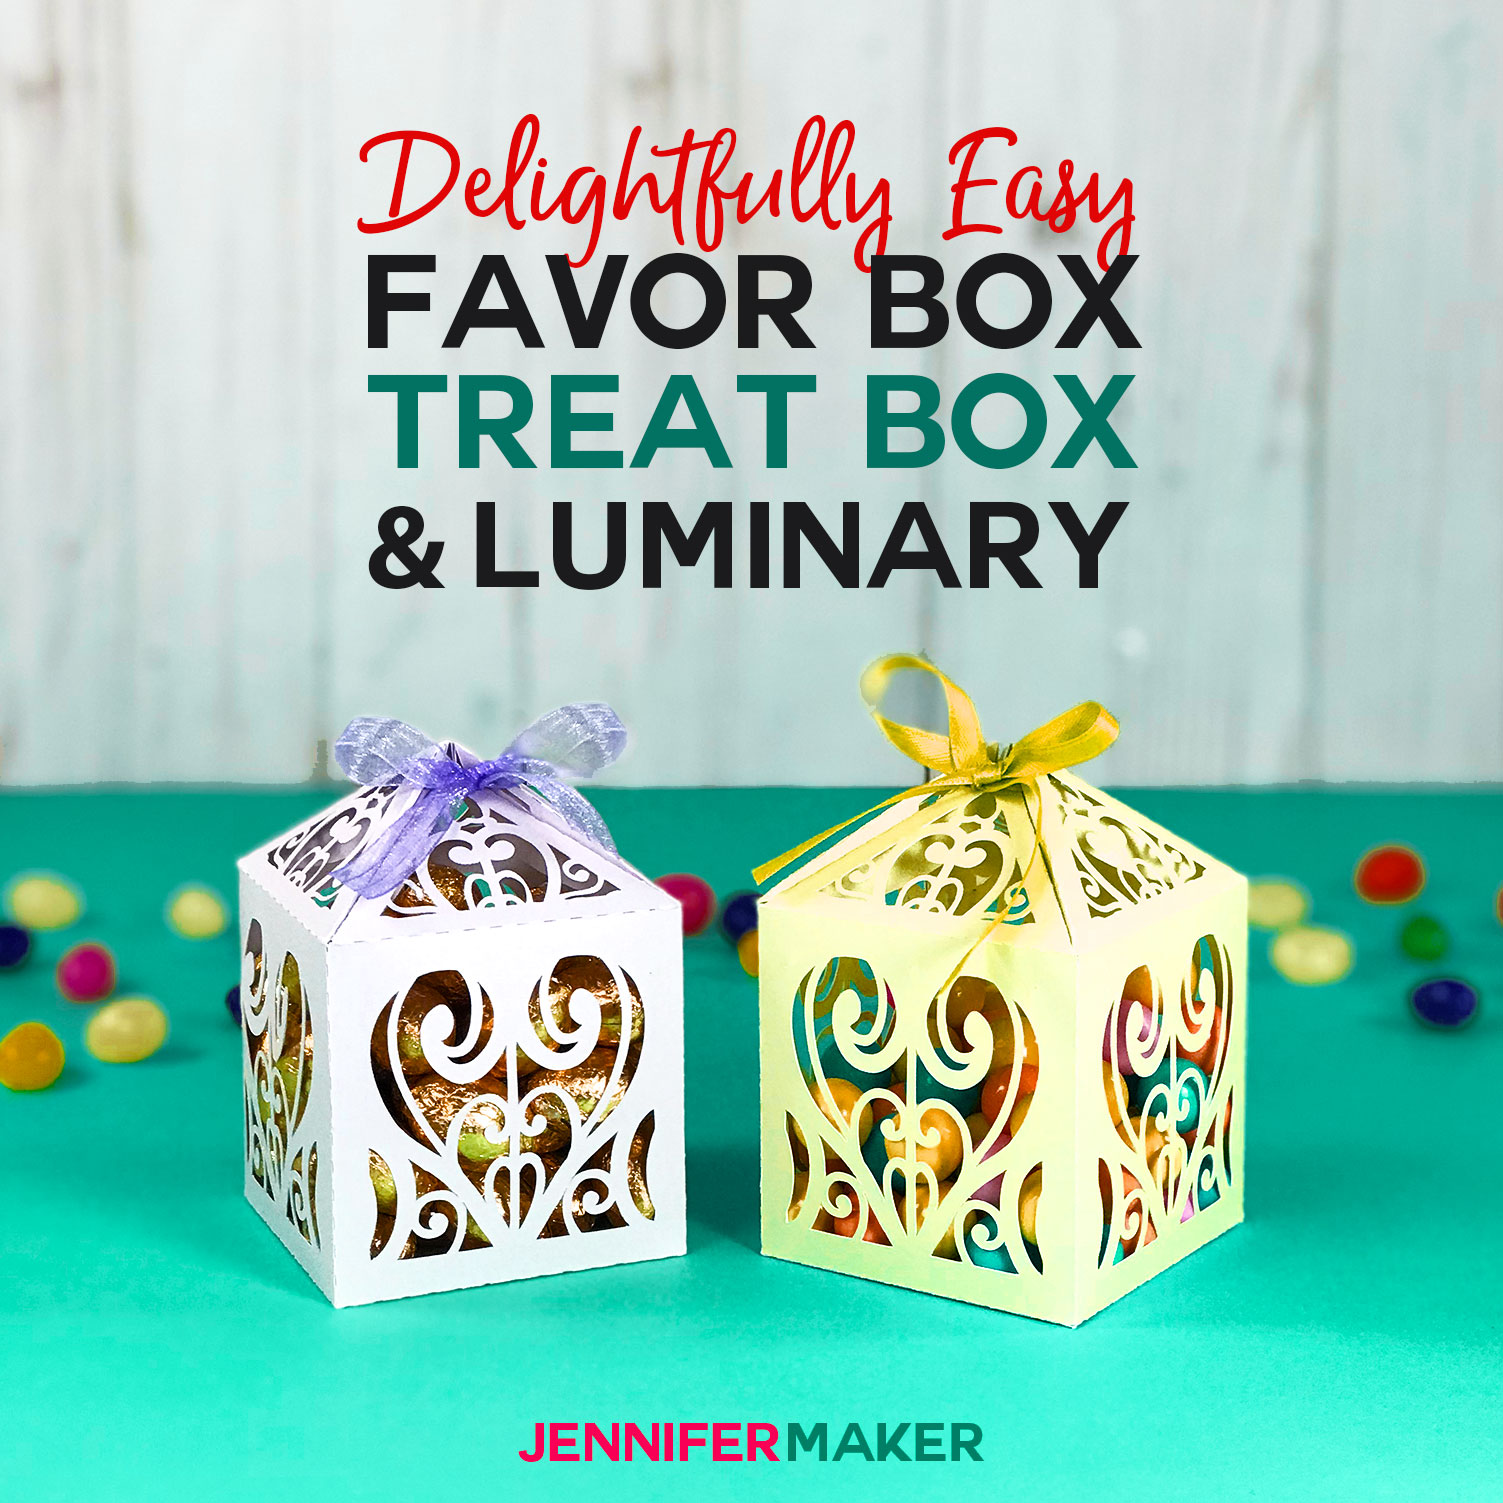
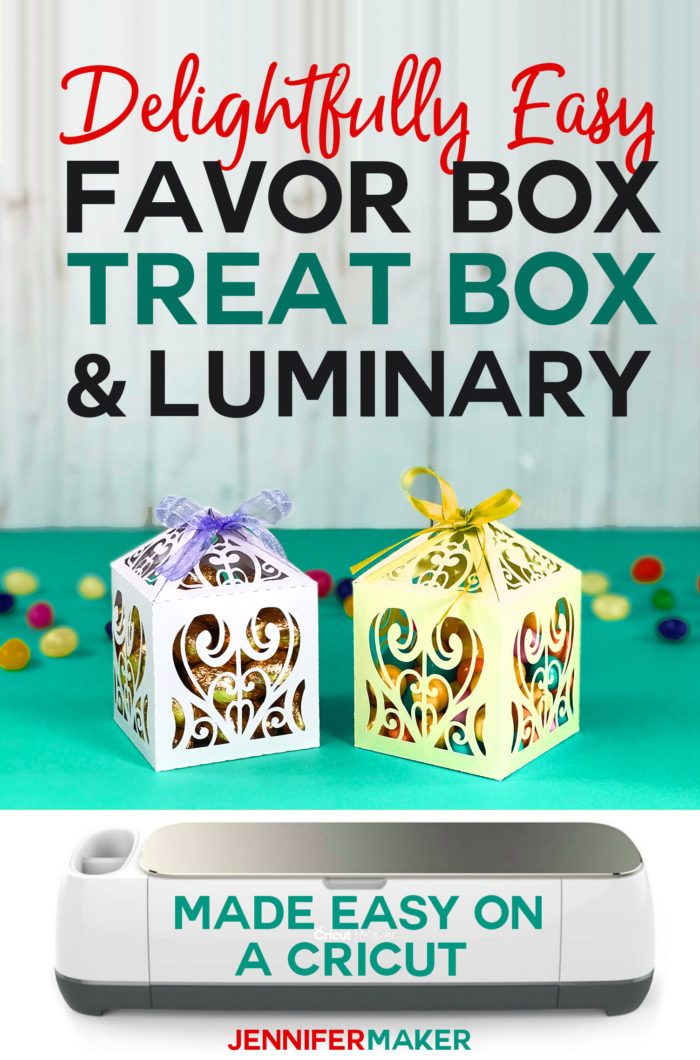
Create a stunning DIY favor box for a wedding or a treat box for a holiday, then turn it into a gorgeous paper luminary when it’s emptied! I show you how to do this and provide the free template for the DIY favor box in this tutorial!
After designing the filigree-style “laser-cut” wedding invitations, I realized something was missing from my set — a favor box! So I designed a pretty DIY favor box (aka treat box) in the same style as those invitations. Once I’d assembled it, I realized it was the perfect grown-up treat box. Fill these DIY favor boxes with goodies — candy, a bath bomb, or an ornament — and then you can put an LED tealight inside to make a sweet little luminary. How fun is that?
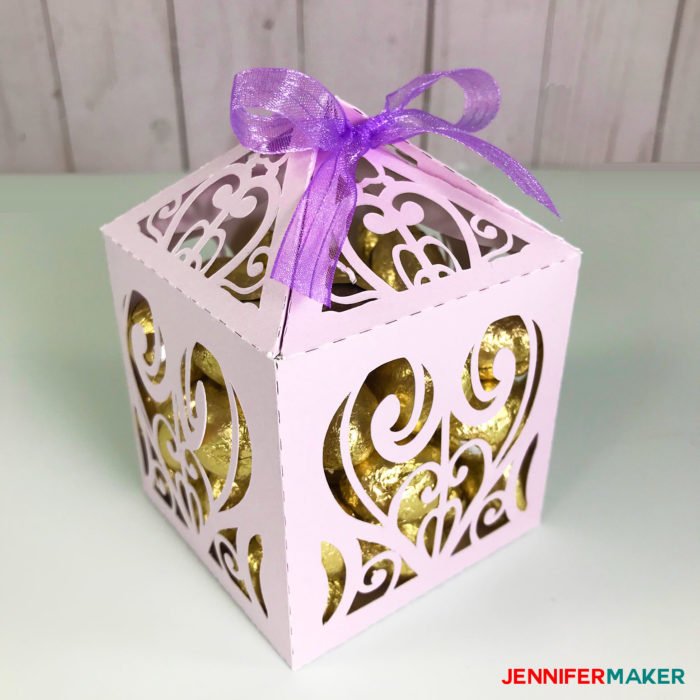
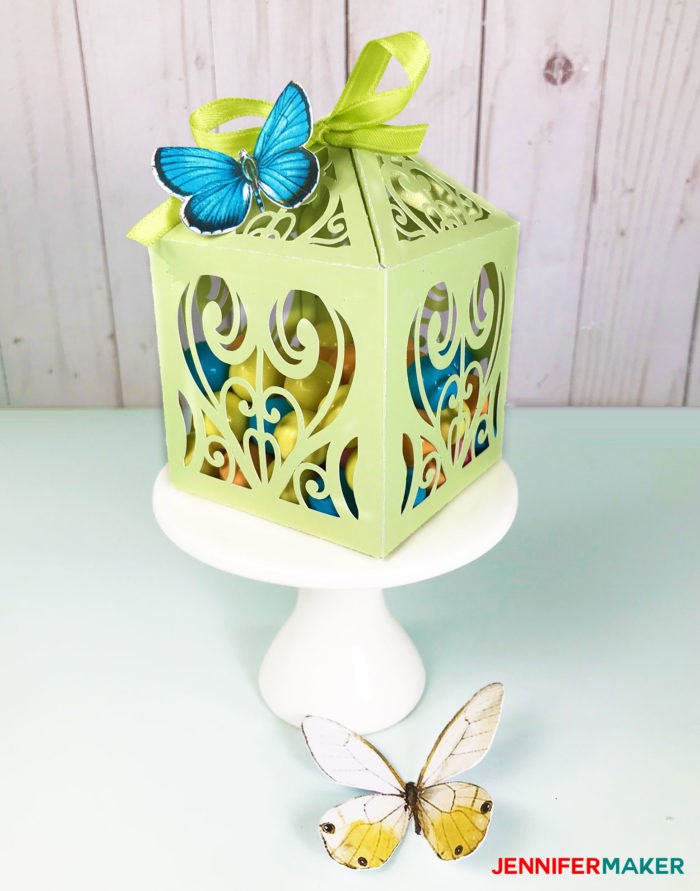
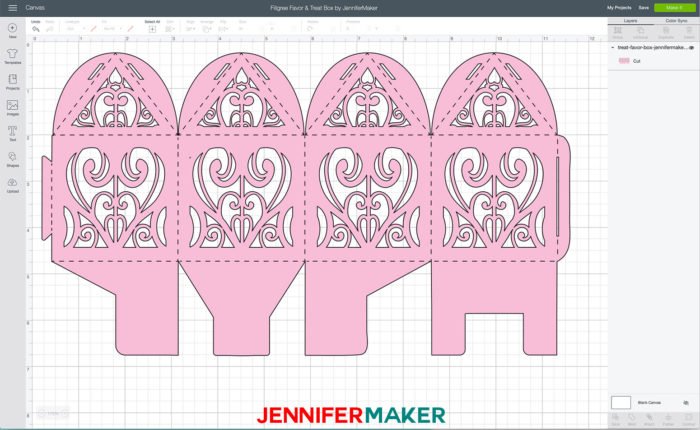
The design of this filigree box is what I’m calling “swirly hearts.” So lots of swirls, scrolls, and hearts in pretty, free-flowing patterns.
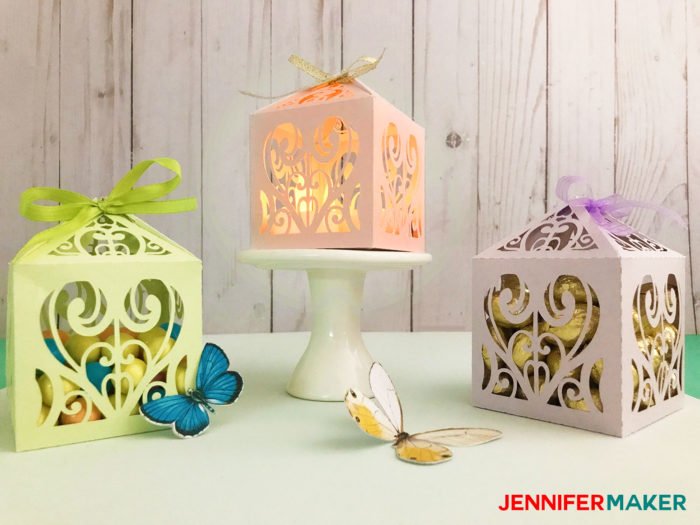
And here’s what the pretty filigree box looks like with some LED tea lights inside:
Allow me to show you how to make these DIY favor boxes, treat boxes, and unique paper luminaries. This post contains some affiliate links for your convenience (which means if you make a purchase after clicking a link I will earn a small commission but it won’t cost you a penny more)! Read my full disclosure policy.
Materials for DIY Wedding Favor Boxes, Treat Boxes, and Paper Luminaries
- 80 lb. or 105 lb. 12″ x 12″ cardstock for the boxes
- Pretty ribbon to keep the top of the treat box closed
- Tacky glue and/or tape
- LED tealights (optional)
- A way to cut your vinyl for the stencil (I used the amazing Cricut cutting machine!)
- Design #147 – My free favor box template (available in my free resource library—get the password at the bottom of this post)

How to Make DIY Treat Boxes, Wedding Favor Boxes, and Luminaries
Step 1: Get My Free Box SVG Design
Get the free favor box design (Design #147) from my free resource library (get the password to the library in the form at the bottom of this post).
Tip: If you’re not sure how to upload an SVG cut file to Cricut Design Space, watch this helpful video training series I made. If you’re on an iPhone or iPad, here’s how to download and upload SVG files to the Cricut Design Space app.
Step 2: Fold the Favor Box
This is easy — just fold on the dashed lines that were cut for you
Step 3: Secure the Side Tab
Tuck the tab into the side of the box (go from the outward in) and glue the tab down on the inside of the box to secure it.
Step 4: Fold and Secure the Bottom
Fold the flaps at the bottom, then tape to secure it.
Step 5: Attach Ribbon
Thread ribbon through three of the four flaps at the top. Tie the ribbon across the fourth flap for a pretty bow!
Get my Filigree Heart DIY Favor Boxes Design FREE!
Download my free filigree heart favor box template by subscribing (free) below to get the password to my resource library.
Love,

Want to remember this? Save the DIY Wedding Favor Boxes, Treat Boxes, and Paper Luminaries to Your Favorite DIY Pinterest Board!
I learned how to download from your resource library but cannot find the tutorial. Is there a video tutorial for the easy luminary treat box? I already subscribed to the resource library so found pattern but no video tutorial. Thanks for help
Oh, this is such a fun box to make and perfect for little treats! Some of my older tutorials don’t have videos, but these little boxes are pretty easy to assemble after cut! I hope you share them in my Cricut Crafters & Makers group when you finish them!
Hi Jennifer! I love your videos & tutorials!
I am making your swirly hearts wedding invite & favor box for my daughter in law. I see that the folds are perforated. Is there a reason I couldn’t use the scoring wheel??
Hi Tracy! If you have the Cricut Maker, it will prompt you to use the scoring wheel.
Hi Jennifer,
Thanks for sharing the amazing way and techniques to build the best Gable Favor boxes. I appreciate your blog post. Keep sharing more informative knowledge with us.
So glad you love them, Rebecca!
Thank you for the amazing resources. I cut this design, I have a question about how to thread the ribbon. Are the flaps folded in and the ribbon is threaded through the inside of the box or are the flaps folded out and the ribbon is threaded through the outside? I tried both but I’m wondering how you did yours. Thanks!
You can thread the ribbon in whichever way looks most pleasing to you, Marcela! 🙂