
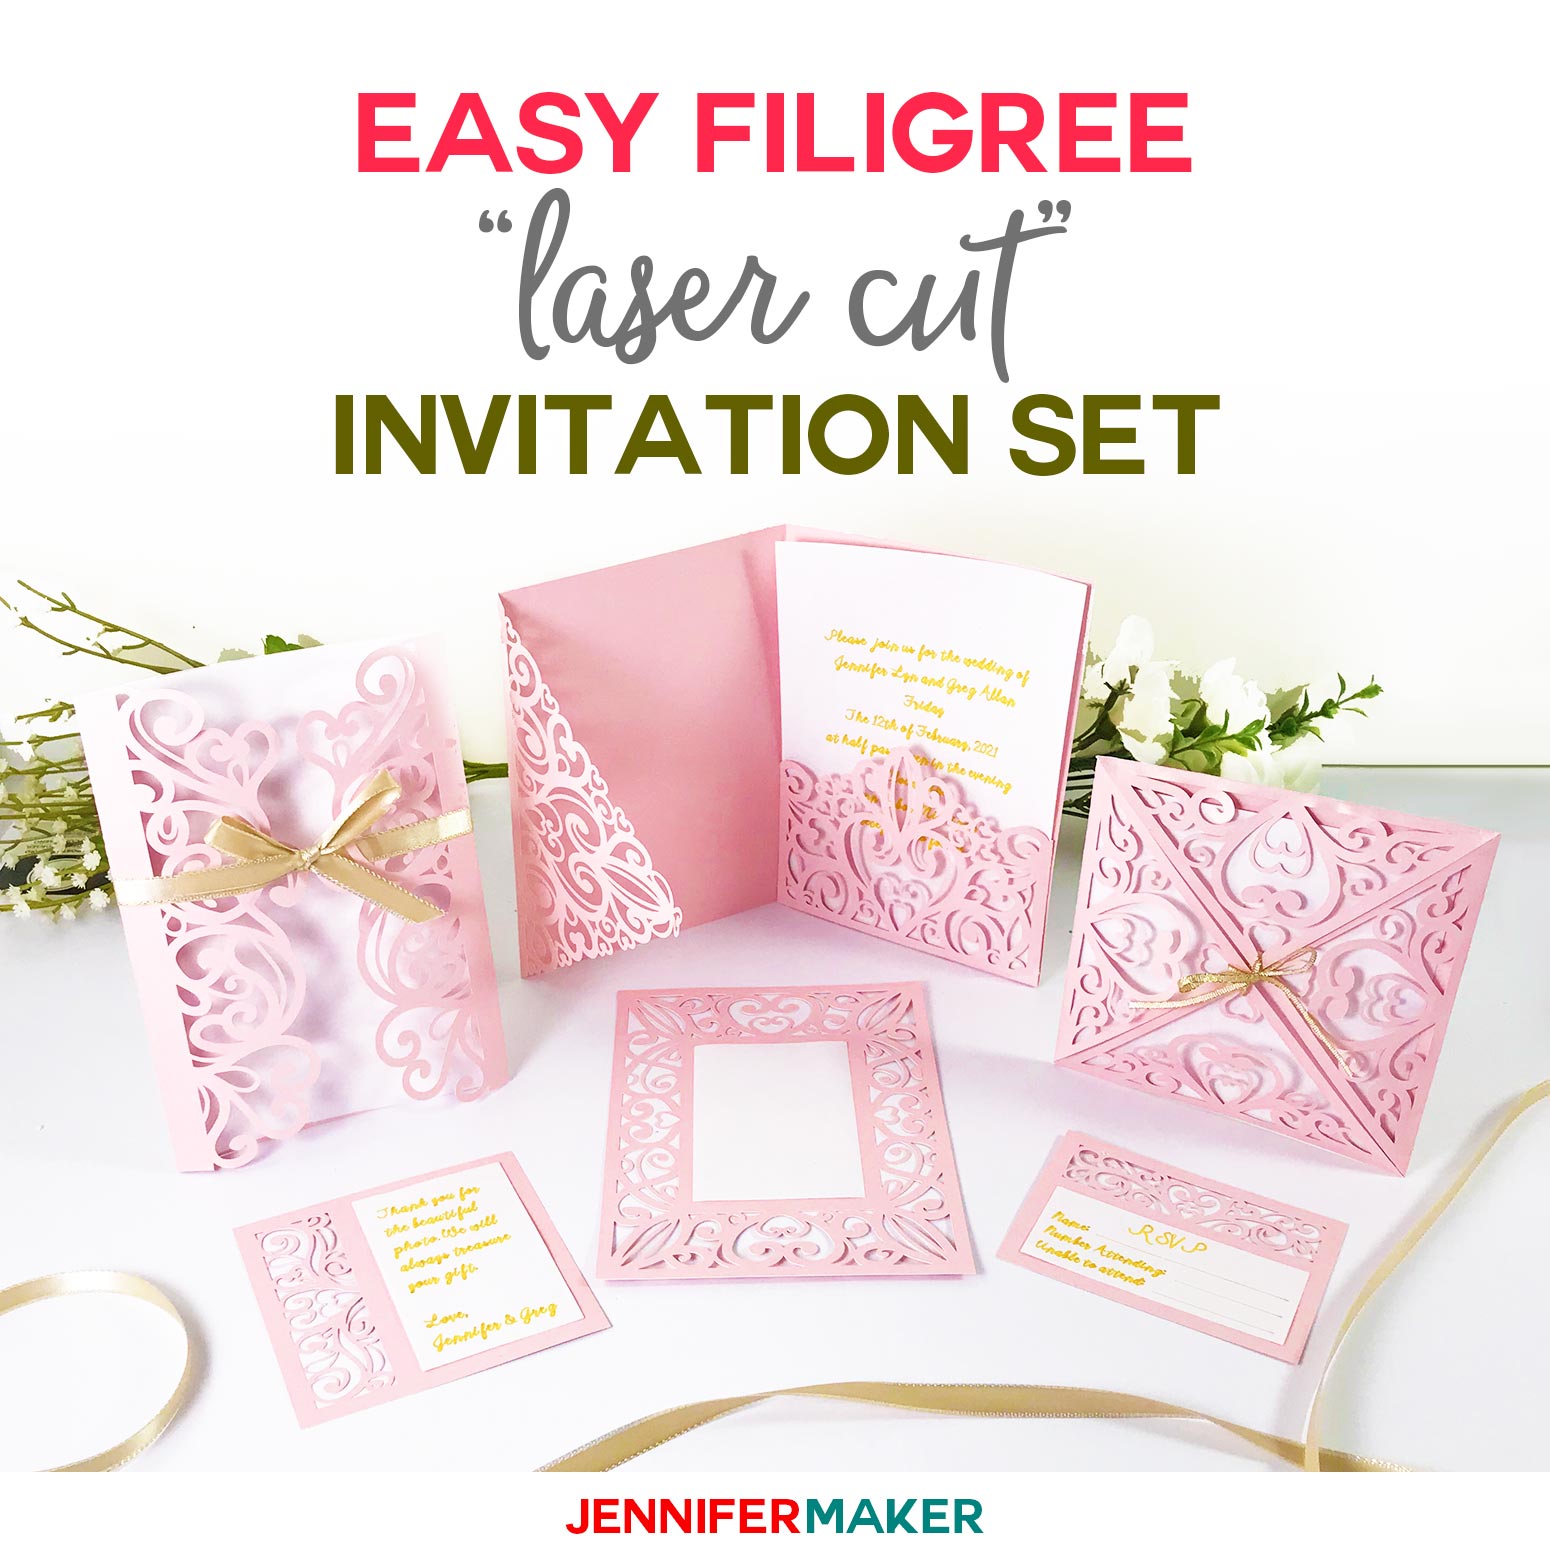
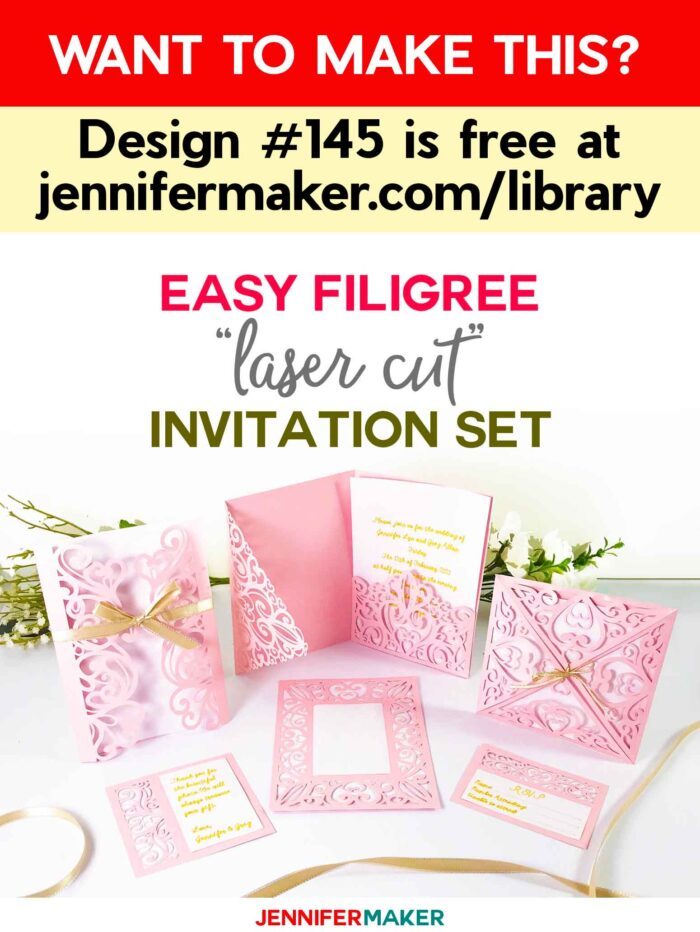
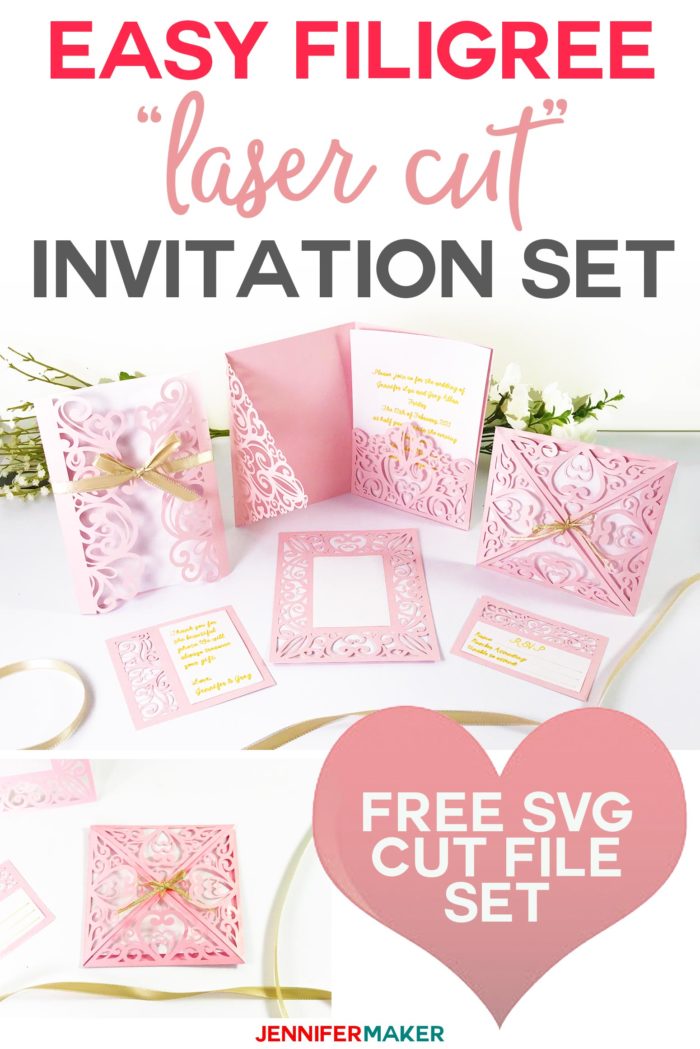
Learn how easy it is to cut your own “laser cut” DIY wedding invitations with my free templates!
Wedding season is almost upon us and I wanted to create a pretty DIY wedding invitation template free for you! These filigree-style invitations are very popular on Etsy right now, where they are known as “laser cut” invitations (even though you don’t typically cut them with on a laser cutter, but on a bladed cutting machine like a Cricut). I’ve designed a complete set of “swirly heart” filigree laser cut invitation and cards for you to use as you wish. They’re great for weddings, but also showers, quinceañeras, birthday cards, Mother’s Day, Valentine’s Day, and any other occasion where you want a “pretty” card.

Watch my full invitation assembly video to see precisely how to make these:
The design of these filigree invitations is what I’m calling “swirly hearts.” So lots of swirls, scrolls, and hearts in pretty, free-flowing patterns. Each template in the set is in the same style, of course! All of the large invitations are A7 size (5″ x 7″).
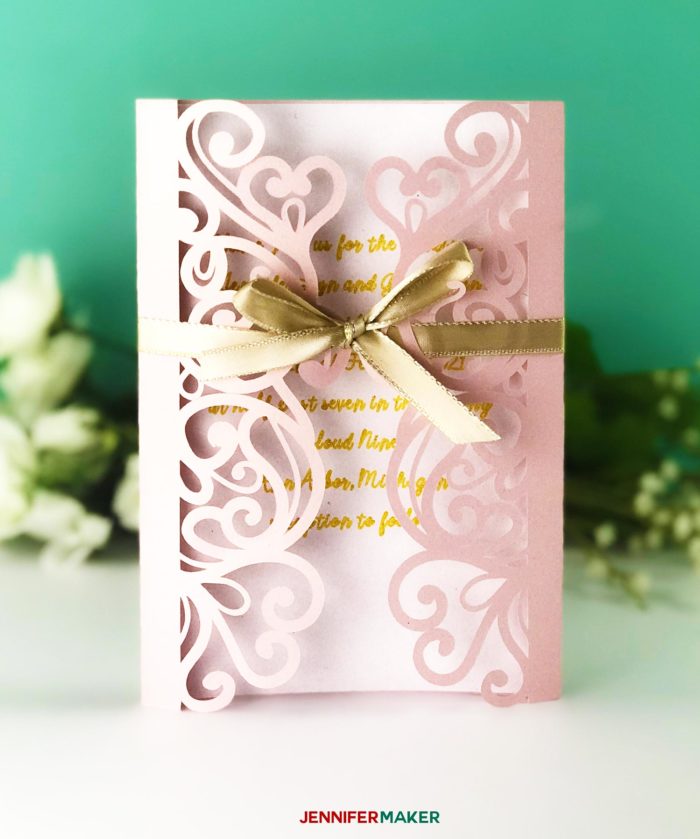
In my DIY wedding invitation template set you’ll find a gatefold invitation like this:
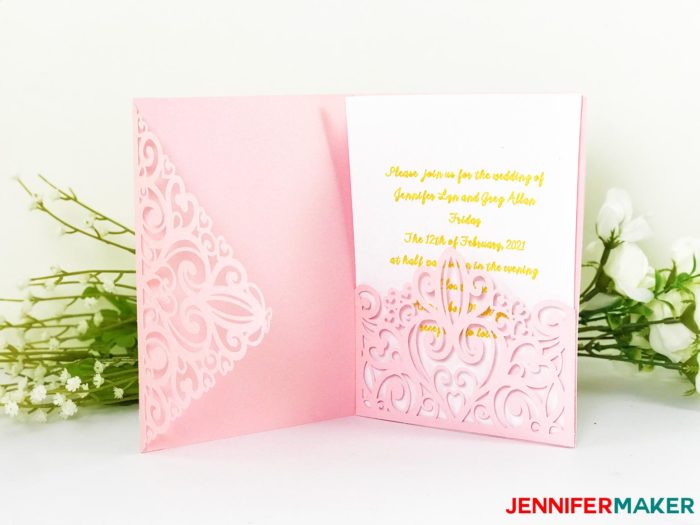
A tri-fold invitation with a pretty pocket like this:
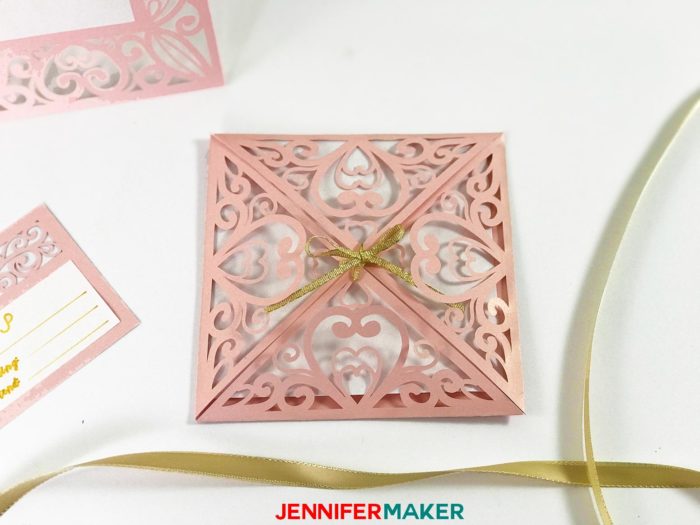
A four-fold invitation like this:
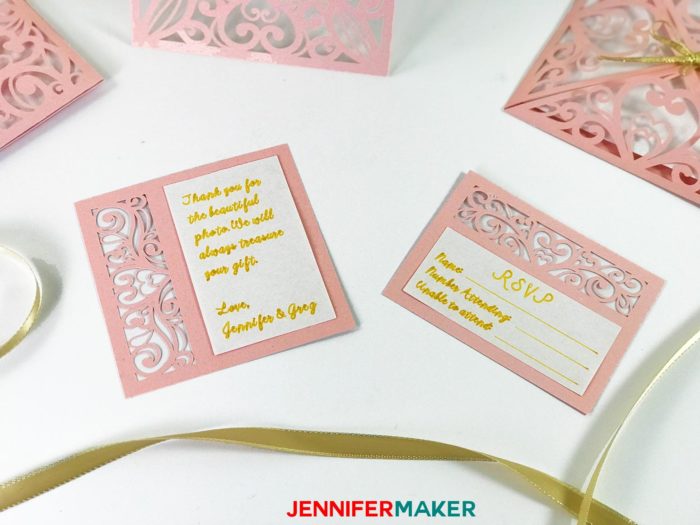
Two smaller cards great for thank-you cards, RSVP cards, reception cards, or even place cards.
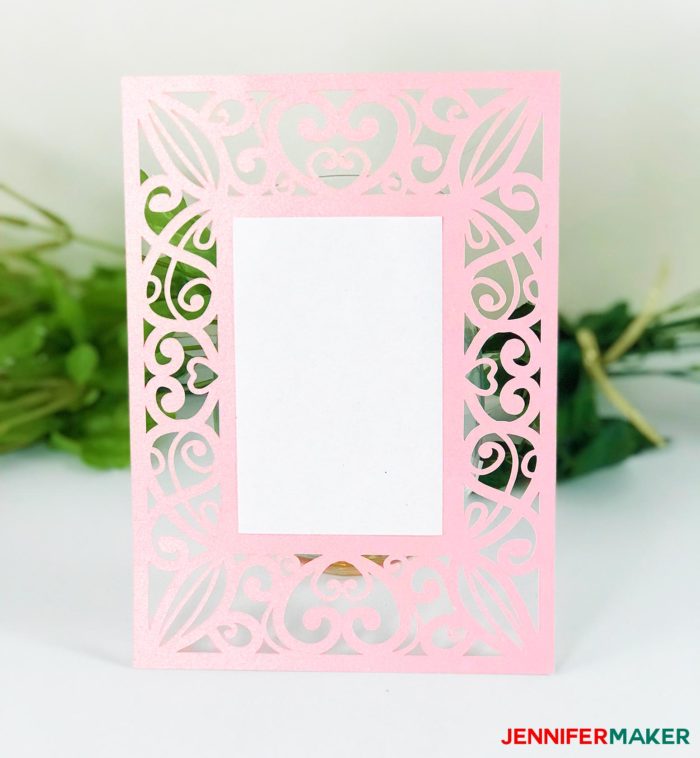
And a flat invitation like this!
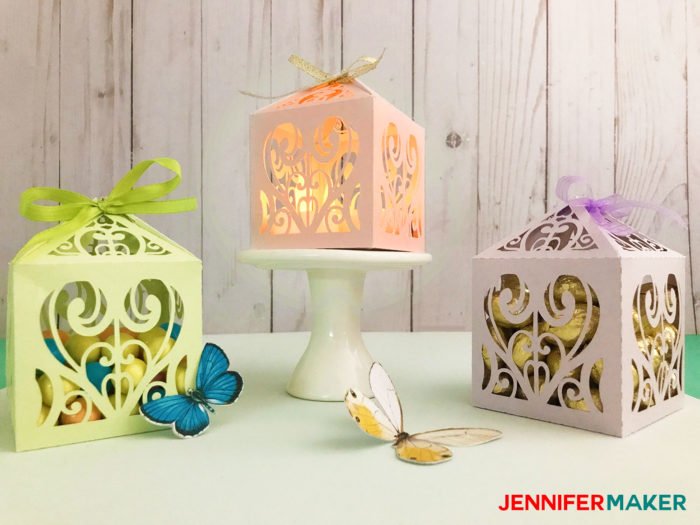
I also made a matching favor box / treat box / luminary as a separate project! Be sure to grab that as well if you want it.
The great thing about this wedding invitation template set is how easy it is to make them with a cutting machine like a Cricut or Silhouette!
I’m excited to show you how to make these DIY wedding invitations This post contains some affiliate links for your convenience (which means if you make a purchase after clicking a link I will earn a small commission but it won’t cost you a penny more)! Read my full disclosure policy.
Materials for DIY Wedding Invitation Templates
- 80 lb. or 105 lb. 12″ x 12″ cardstock for the invitations (shimmer cardstock looks particularly nice)
- 8.5″ x 11″ White cardstock (like this)
- (Optional) Pretty ribbon to keep gatefold and fourfold invitations closed
- Glue dots for invitations that need attaching (glue dots will be faster and won’t warp your paper)
- A way to cut your paper (I used the amazing Cricut, but you can use another cutting machine or even a craft knife like an X-acto knife)
- Design #145 – My free invitation templates (available in my free resource library—get the password at the bottom of this post)
How to Make DIY Wedding Invitation Templates
Step 1: Get My Invitation Designs
If you’d like to use my free templates (Design #145), you can get them in my resource library (get the password for it at the bottom of this page). Don’t forget to unzip it. You can also purchase invitation SVG cut files on Etsy! Here are some of my favorite invitations designs on Etsy:
- Scroll Invitation Set
- Rose Invitation Set
- Lace Invitation Set
- Tree Invitation
- Eiffel Tower Invitation
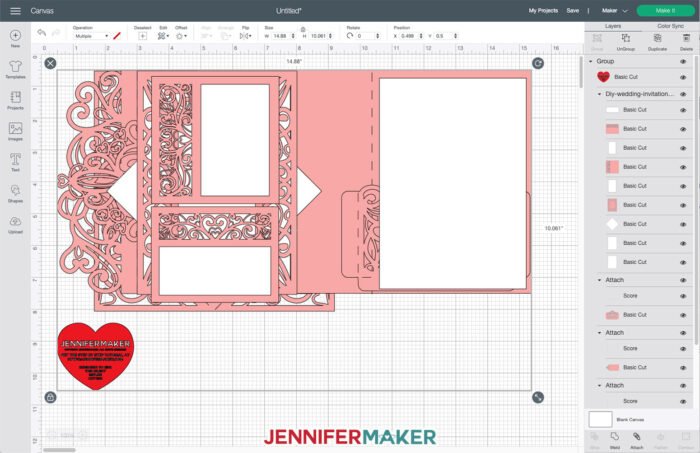
Here are some of my free invitations template SVG cut files uploaded to Cricut Design Space. Note that you do need to change some lines to score lines. Watch my video to see where and how to set those score lines.
IMPORTANT NOTE: If you’re not sure how to upload an SVG file to Cricut Design Space, or you’re having issues (such as getting a message that says “unsupported file”), please watch my free training series, SVGs Made Simple. It will help you SO much!
Step 2: Cut and Assemble your DIY Invitations
Watch my full assembly video to see exactly how to cut and assemble these invitations.
Attention Cricut Design Space Users: If you upload the SVG file and it appears too small, use the “stacked” version of the SVG to retain the proper sizing. Here’s what that will look like when you first upload it to Design Space:
Answers to Your Questions About DIY Wedding Invitations
Q: Are DIY wedding invitations cheaper?
A: It depends, but my free wedding invitation SVG files will help you keep your costs down! The cost depends on the amount of invitations you’re making, the materials, and the time they take. If you want unique papercut wedding invitations but don’t want to make them, there are many Etsy sellers who can help! If you take a mix and match approach, make sure the invitation is a standard dimension to fit common envelope sizes so you don’t have to buy more made-to-order items or pay extra for shipping.
Q: Is it OK to hand address wedding invitations?
A: Of course, but you can have your Cricut machine address them for you, or a or other cutting machine using the text tool.
Q: Can I make my own wedding invitations with a Cricut?
A: Yes, you can! You can use my free SVG files to create exactly the invitations you want using a variety of materials. Cutting machines like a Cricut or Silhouette Cameo are powerful tools that can help you bring any idea to life!
Q: What wedding decor can I make for DIY weddings?
A: Handmade pieces are a great way to save money on your big day! You can make wedding signs, papercut table numbers, simple wedding favors, vinyl stickers, printable templates, and much more for your wedding day.
Q: Which Cricut machine do I need to make these free downloads?
A: This Cricut file SVG bundle can be cut with a Cricut Explore, Cricut Explore Air, Cricut Explore Air 2, Cricut Maker, Cricut Maker 3, or Cricut Venture. The smaller free wedding SVG files that don’t use score lines can be cut on a Cricut Joy Xtra or Cricut Joy.
Q: How can I get perfect creases on cardstock?
A: Place your scraper on the score line or dashed cut line before folding it to get the crease in the right place and perfectly straight.
Q. Are your free files just for personal use or also commercial use?
A: You can sell completed DIY Cricut wedding invitations and laser cut invitation sleeves made using these these digital files. We only ask that you give credit to JenniferMaker.com and do not sell the digital download cut file. If you use these SVG designs, please share photos with us! We love supporting small businesses!
Get my Invitation Templates FREE!
Download my free invitation templates by subscribing (free) below to get the password to my resource library.
Love,

Want to remember this? Save the DIY Wedding Invitations Templates to Your Favorite DIY Pinterest Board!


You are very clever, thank you so much for sharing these beautiful designs.
Thank you, very pretty designs !
Thank you so much for sharing i cant wait to make all your projects they look amazing x
These are amazing. Thank you so much for sharing your designs.
Thank you very much for sharing your files. I’m so in love with this set. You’re awesome.
Thank you so much, Yolanda!
My invitations came out great! Your tutorial was wonderful!! Thank you.
Why 80lbs and 105 paper!? What about 100 lb?
You can use the paper or cardstock you prefer. Those specific weights are for the cardstock I used.
There is a random cut near one of the hearts. I thought it was a glitch in my download but I see it’s in all of the photos too. It is in the gate door card. I hope it can be corrected. thanks!
Hi Rebecca, we have removed that cut line.
Hi! I’m super new at this. What is the difference between the 80 and 100 pound? Thanks!!
Congratulations! Beautiful invitations! And perfect timing for me as well! Do you have a tutorial on how to make envelopes?
Thank you so much! This is a great idea and I’d love if you can suggest it here at this link so I remember!
is 8.5 x 11 cardstock big enough?
Thank you by the way!
I recommend 12×12 cardstock as it’s easier to cut and weed and that’s what I have the measurements set for, 12×12 paper. You will have to shrink the design down to fit 8 1/2 x 11.
Loved watching this and learning. Then watched it again and made my husband watch. Now, am I brave enough to try?
You most certainly are, Jane! That’s the only way we learn, by trying! You always have the option of testing things out with less expensive paper, like copy paper, if you are feeling hesitant (you may need to adjust the size of the SVG depending on which one you are using). But, you WILL learn and you WILL be so proud! 😍