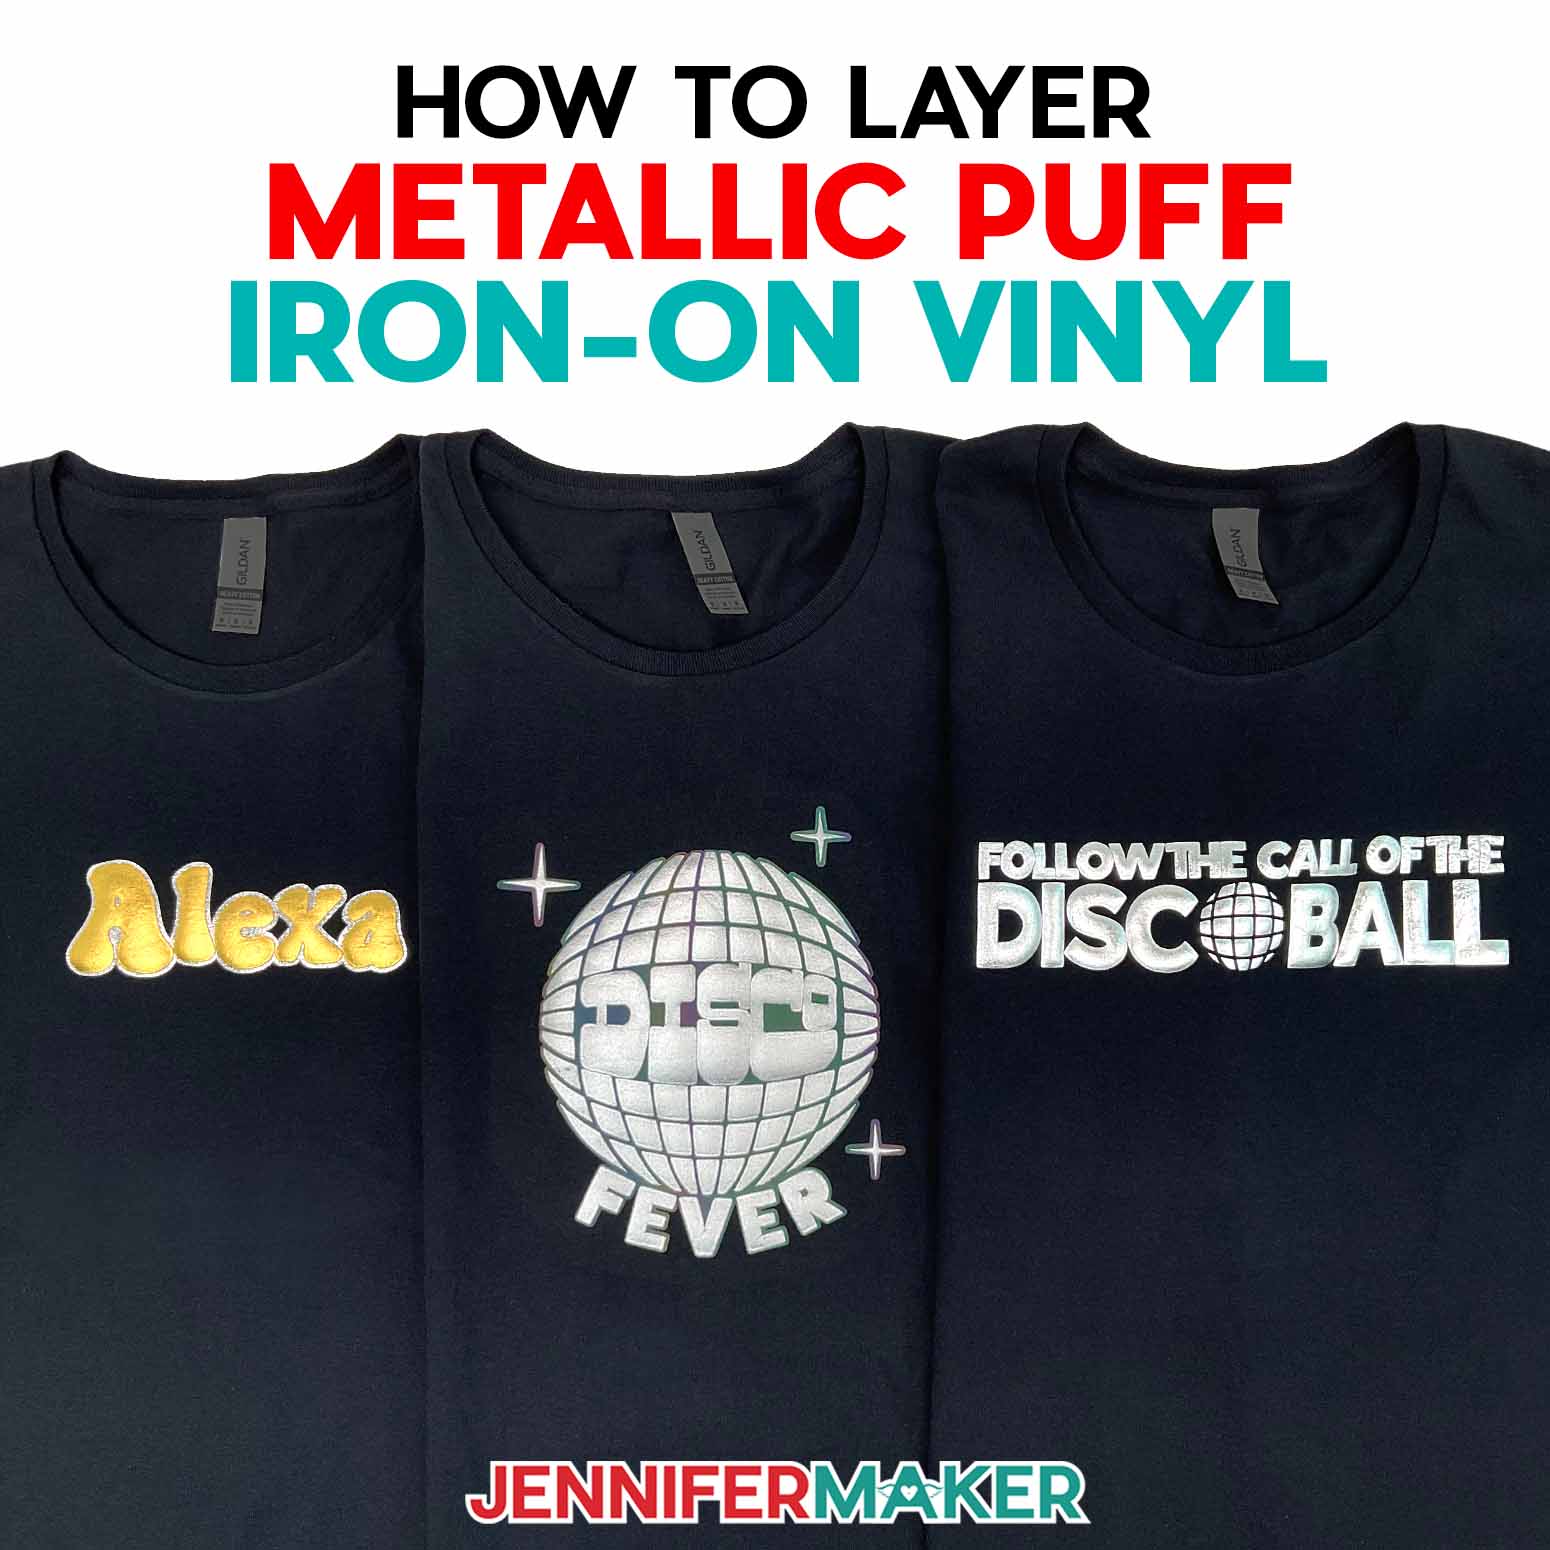
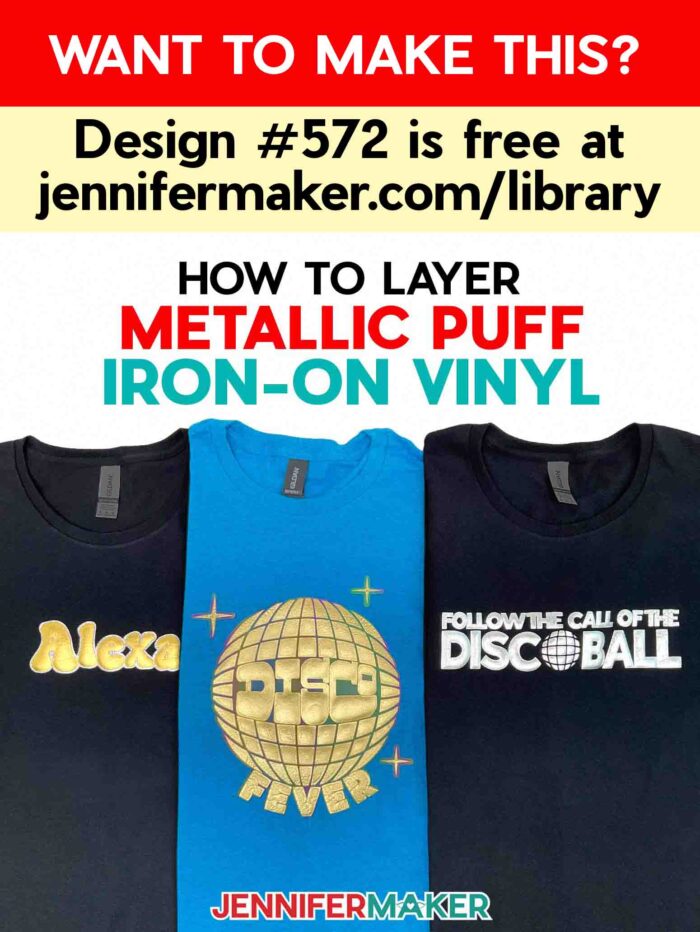
Learn how to get consistent results with metallic puff iron-on vinyl!
Puff vinyl is known for its dimension, but it’s even better when you use the metallic version for added shine! I’ll show you how to get fantastic results with the right heat and pressure. Metallic puff iron-on vinyl can be picky about moisture and even processing, so I have tips to help it go more easily!

There are a wide range of novelty and specialty vinyls out there, and it’s been fun to try lots of them! We tried puff vinyl earlier this year, but when I saw that it came in a metallic version, I had to try it out. And when I try a new material, tool, or craft, I love to take notes, write down my best tips, and share them all with you! And with its vintage look, unique texture, three-dimensional feel, and huge array of puff colors, this innovative vinyl might be your new favorite!
You might think that all puff vinyl is equal, but you’d unfortunately be incorrect. Different brands and types do apply a bit differently, but I’ll walk you through the whole process for getting the best fluffy puff effect from your metallic puff vinyl. If you’ve got regular puff vinyl, be sure so check out that tutorial because it’s got some major differences from this one!
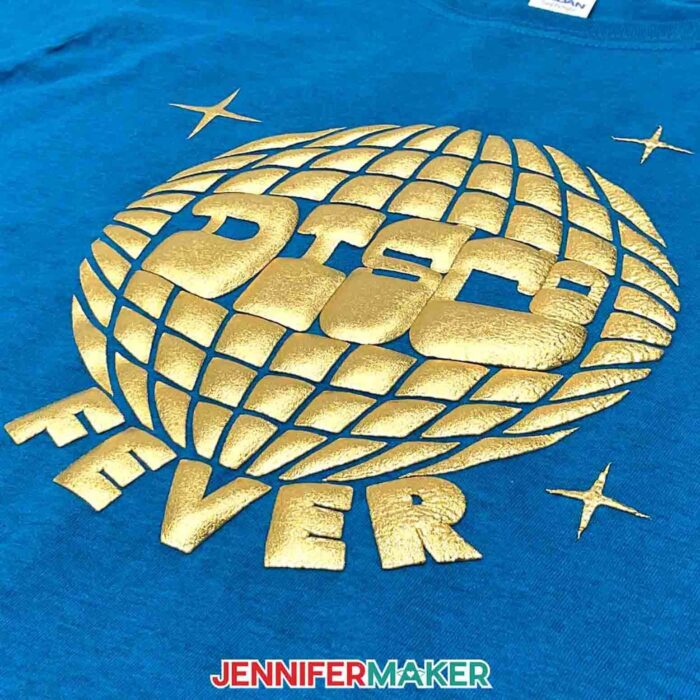
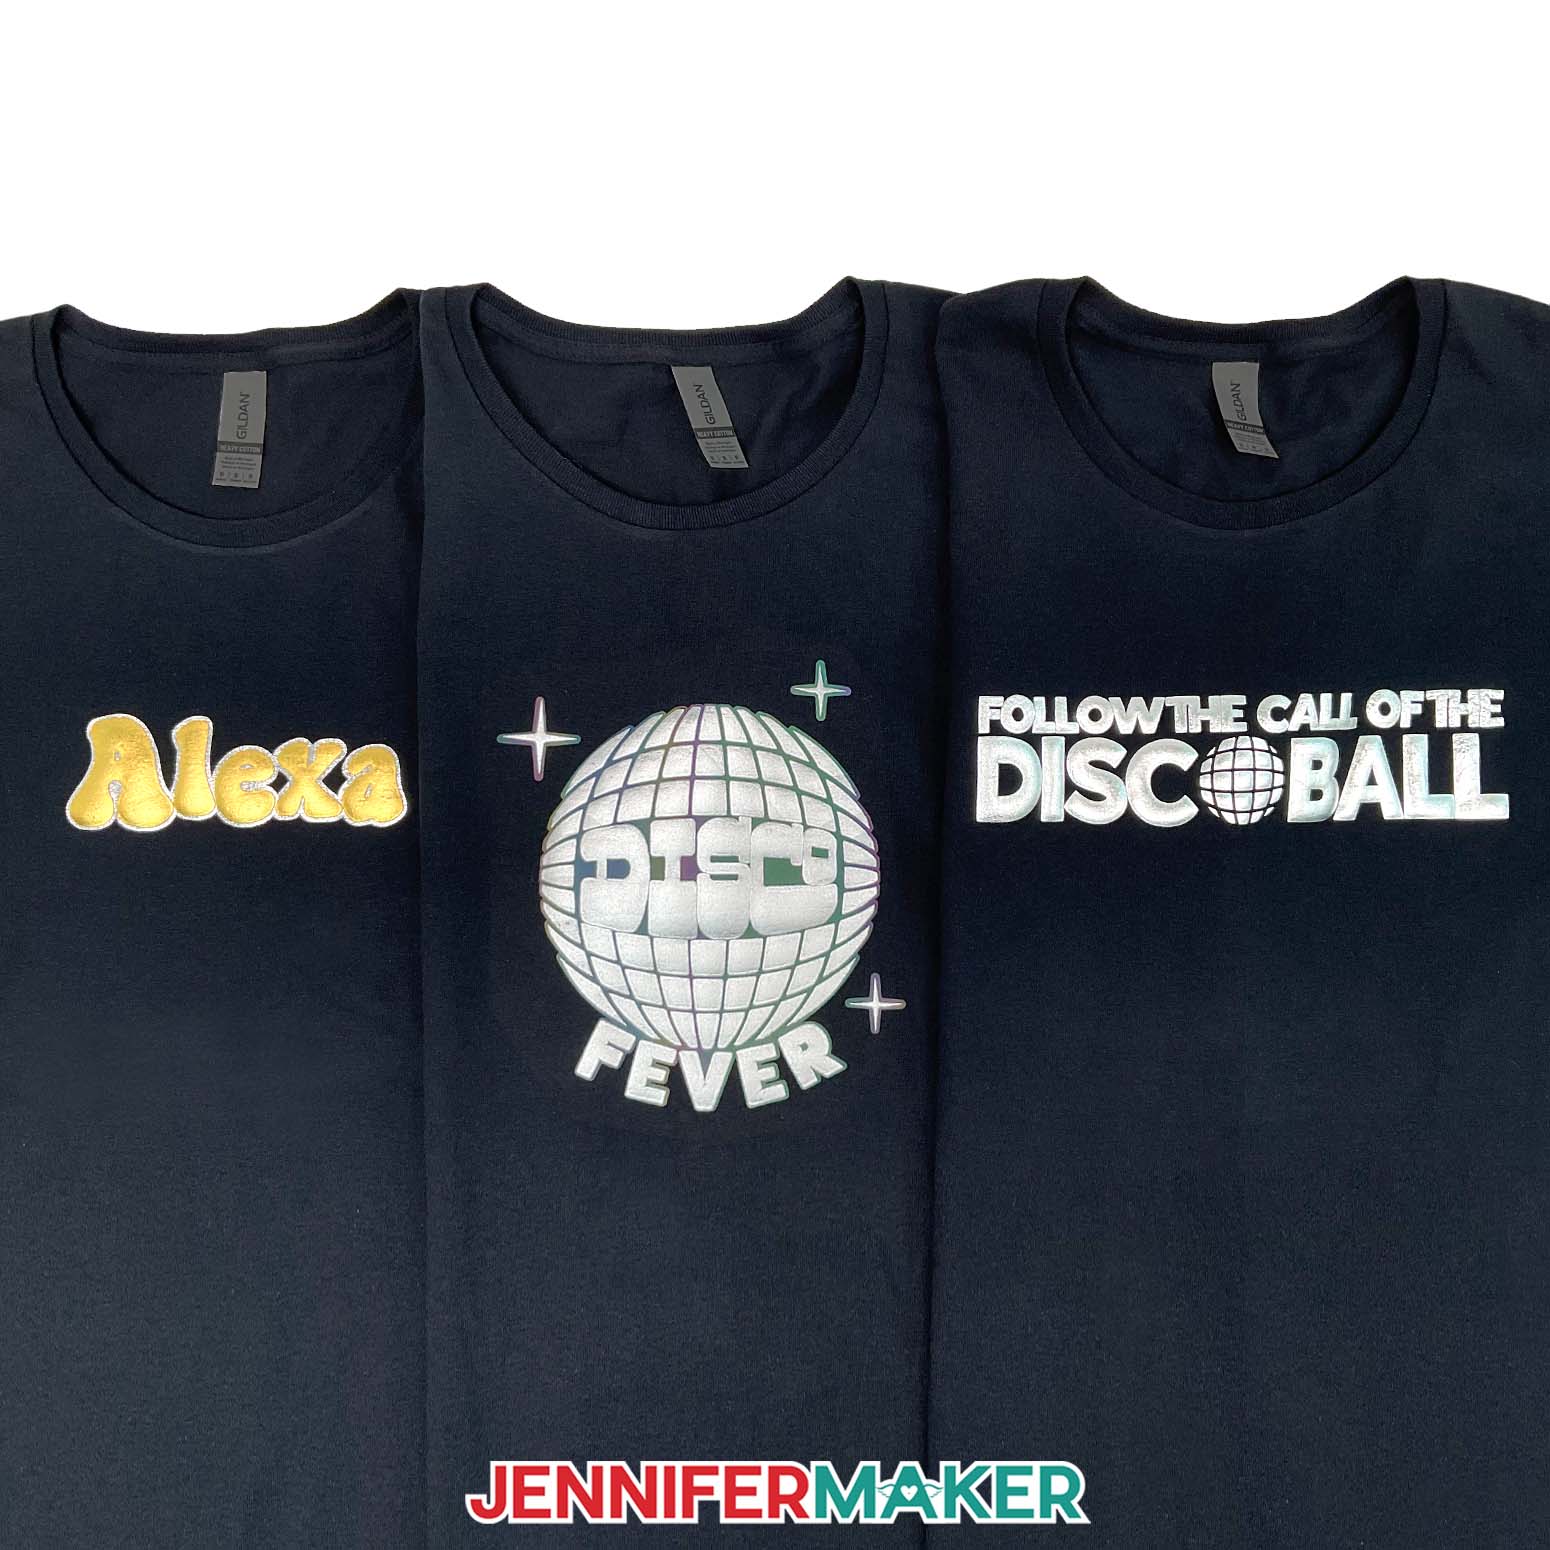
I wanted to really showcase the metallic sheen of this specialty vinyl, so what better design than a shiny disco ball? I have two free, disco ball-inspired designs to share, or you can follow the tutorial to cut and apply your own custom design in metallic puff iron-on vinyl. Just remember to test before making a full project, though. Puff vinyl is not like regular vinyl, and can take some practice to get perfect.
If you’re using your own design, be sure that the details are not too small. Since puff vinyl expands after pressing, intricate designs can fill in and create an undesirable result. Less detailed designs work best with puff HTV vinyl.
To create your own metallic puff iron-on vinyl shirt, you’ll need one made of 100% cotton fabric. You can also use a shirt made of uncoated polyester or a cotton poly blends, but be aware that puff vinyl will not adhere to materials like nylon or nylon fabric blends and similar fabrics. Don’t try — you’ll be disappointed in the results!
You can cut metallic puff vinyl with any Cricut machine and a cutting mat, or another cutting machine that uses SVG files. I used a Cricut Maker 3 to cut the puff vinyl, as well as the background vinyls (which are optional, but add a great border to your design).
What’s the key to getting a soft metallic puff from your vinyl? Even, consistent heat and heavy pressure. A regular home iron will not really work for this project — you need a flat surface and a flat heat source that can cover an area larger than your whole design. I used both the Cricut EasyPress and Autopress heat press machine in my test presses, and will show you how to use each of them to apply puff vinyl.
So, how do we get that super firm pressure that we need for that maximum puff? To achieve it, you’ll want to swap your pressing mat with a thick wooden cutting board. Medium pressure won’t work here — you really have to press HARD!

There is more and more puff vinyl going on the market all the time, but I haven’t tested it all. Maybe someday I will! Until then, I recommend the ones I do because I have tried them personally and had success. If you try another brand of metallic puff vinyl, you can still use this tutorial — just be aware that your results may be different. Always check the manufacturer’s application instructions — there might be different settings or steps than what I recommend in this tutorial.
While puff vinyl, especially metallic puff vinyl, has a learning curve, it’s such a cool way to decorate fabric once you get your techniques and settings down! I’ll even show you how to use my T-shirt ruler guides to position the layers just right on your shirt. Use puff vinyl to decorate hoodies, tote bags, baby bodysuits, and more! Puff vinyl decorated items are a super cool nod to a vintage trend that you’re going to love.
Let me show you how to layer metallic puff iron-on vinyl! This post contains some affiliate links for your convenience (which means if you make a purchase after clicking a link I will earn a small commission but it won’t cost you a penny more, there is no additional cost)! Read my full disclosure policy.
Materials to Craft with Metallic Puff Iron-On Vinyl
View my complete Amazon shopping list!
- Cotton T-Shirt (I used Teal) -or- Cotton T-Shirt Teal (I used Teal)
- HT Puff Metal silver – or –
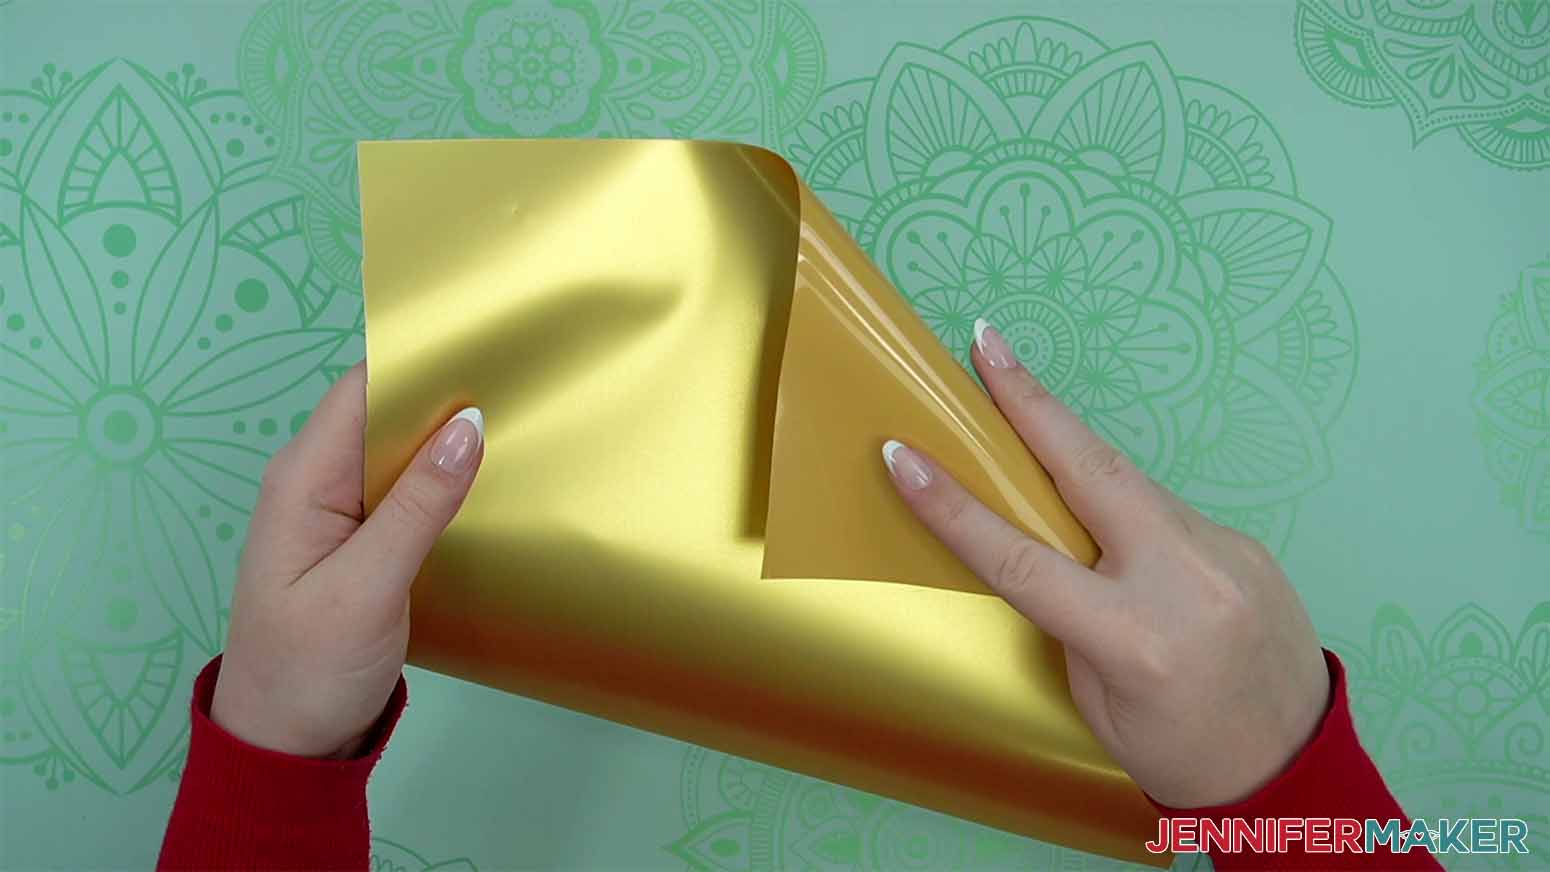
- HT Puff Metal gold –
- Siser Smooth Glitter HTV – Gold – optional
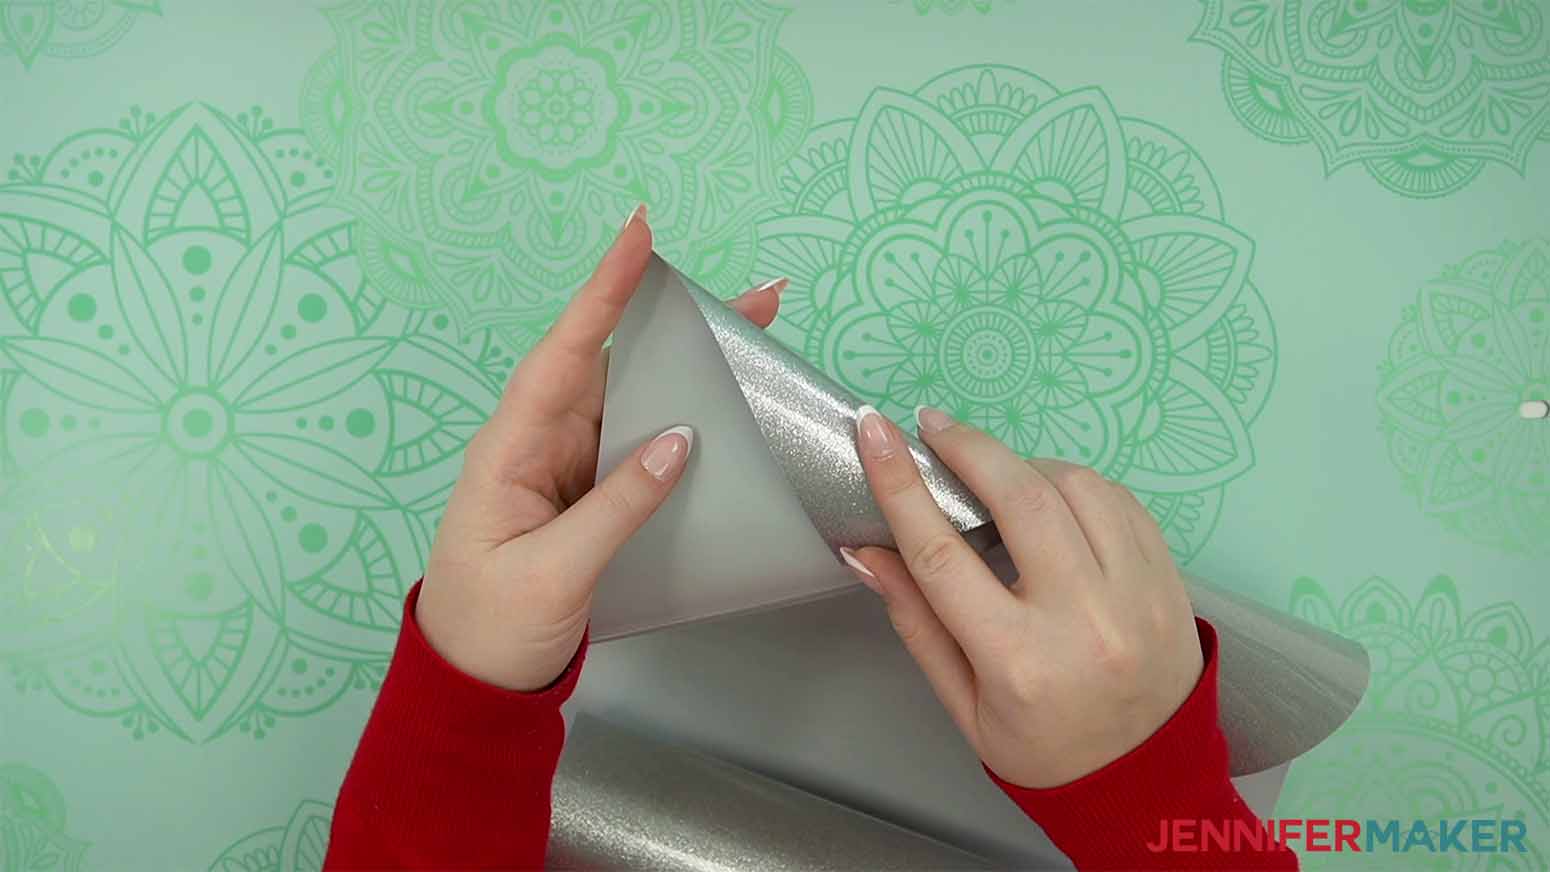
- Siser Smooth Glitter HTV – Silver – optional
- Siser Smooth Glitter HTV – Clear – optional
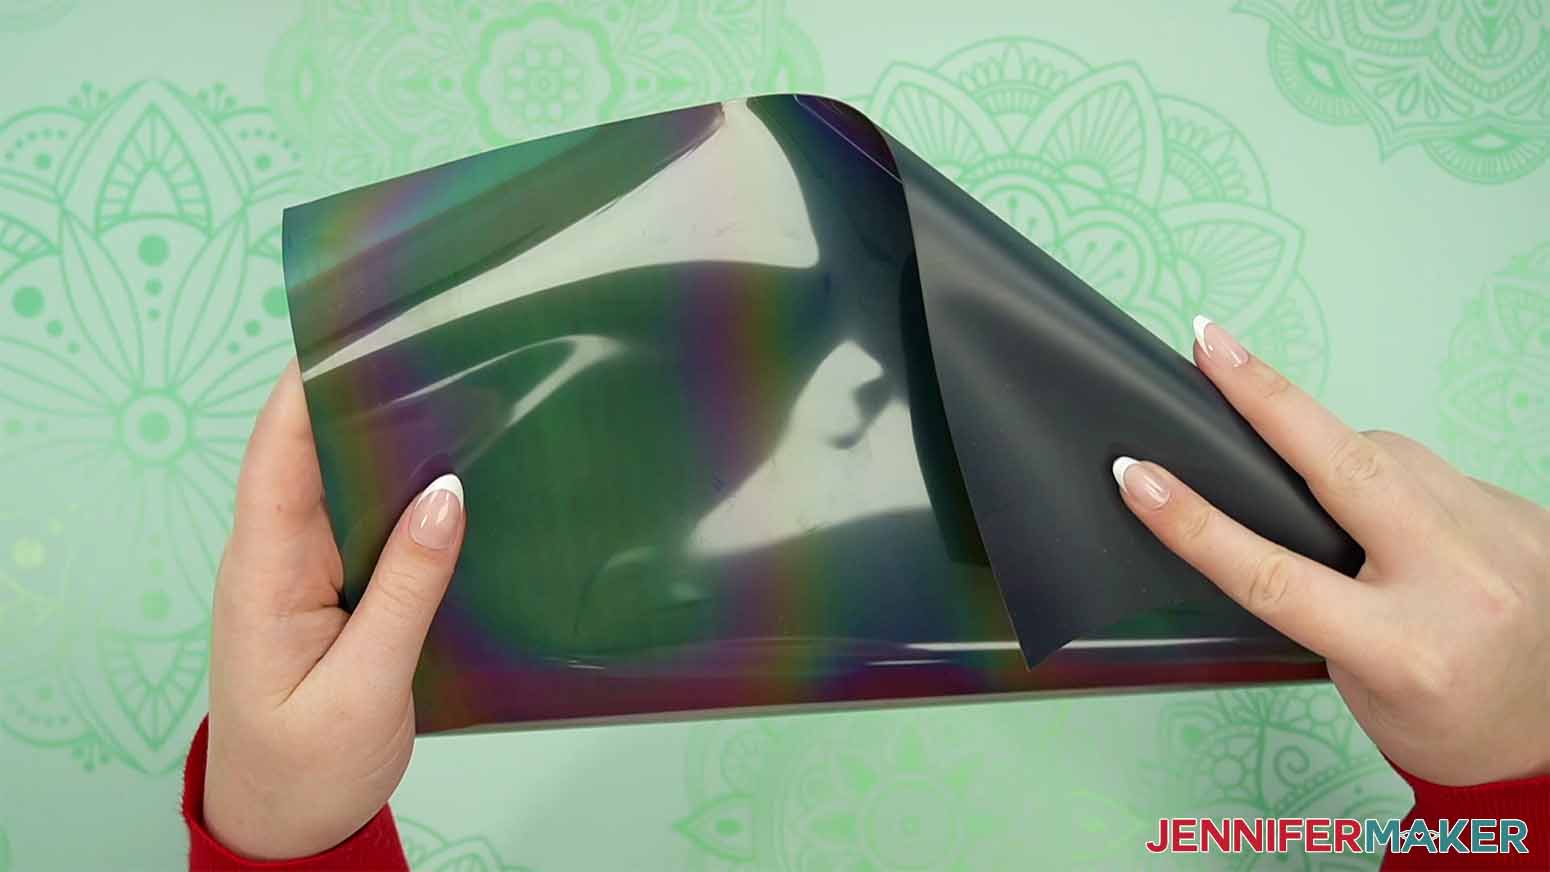
- Reflective Rainbow HTV – optional
- A way to cut your vinyl – I’m using the Cricut Maker 3, but you can also use the Cricut Maker, a Cricut Explore Series machine, or the Cricut Venture
- Cricut Green StandardGrip Mat, 12″ x 12″
- Cricut EasyPress 2 Heat Press 12″ x 10″ -OR- Cricut Autopress
- Cricut EasyPress Mat 16″ x 20″
- Cricut Brayer
- Cricut Scissors
- Cricut Weeding Tool
- Cricut Brayer
- Cricut Spatula
- Wood Cutting Board – 16″ X 11″ X 1″
- Lint Roller
- Design #572 (My free SVG/PDF/DXF design files are available in my free resource library – get the password by filling out the form at the bottom of this page)
How to Make Your Own Metallic Puff Iron-On Vinyl Shirts

How To Use Metallic Puff Vinyl
Learn how to make shirts with metallic puff iron on vinyl!
Materials
- Cotton T-Shirt Teal -or-
- Cotton T-Shirt Teal
- HT Puff Metal silver
- HT Puff Metal gold
- Siser Smooth Glitter HTV - Gold - optional
- Siser Smooth Glitter HTV - Silver - optional
- Siser Smooth Glitter HTV - Clear - optional
- Reflective Rainbow HTV - optional
- Design #572 (My free SVG/PDF/DXF design files are available in my free resource library - get the password by filling out the form at the bottom of this page)
Tools
- A method to cut your vinyl — I used the amazing Cricut Maker 3, with the Fine-Point Blade but you can use any Cricut
- Cricut Green StandardGrip Mat, 12" x 12"
- Cricut EasyPress 2 - 12"X10"
- Cricut Autopress
- Cricut Brayer
- Cricut Scissors
- Cricut Spatula
- Cricut Weeding Tool
- Wood Cutting Board - 16" X 11" X 1"
- Lint Roller
Instructions
STEP 1: GET MY FREE PUFF VINYL DESIGN FILES
First, download my Puff Vinyl designs from my free library – look for Design #572. Alternatively, you can use the Save This Project form near the top of this post and the design link will be emailed to you.
The SVG folder has two designs, Follow the Call of the disco Ball, and Disco Fever.
TIP: If you’re not sure how to upload, go to jennifermaker.com/svgs to learn how to unzip and upload SVG files.
I’ll use my T-shirt guides for alignment. You can get the files to make at set at https://jennifermaker.com/t-shirt-ruler-guides.
STEP 2: PREPARE AND CUT YOUR PUFF VINYL DESIGN
- Open Cricut Design Space and click “New Project.”
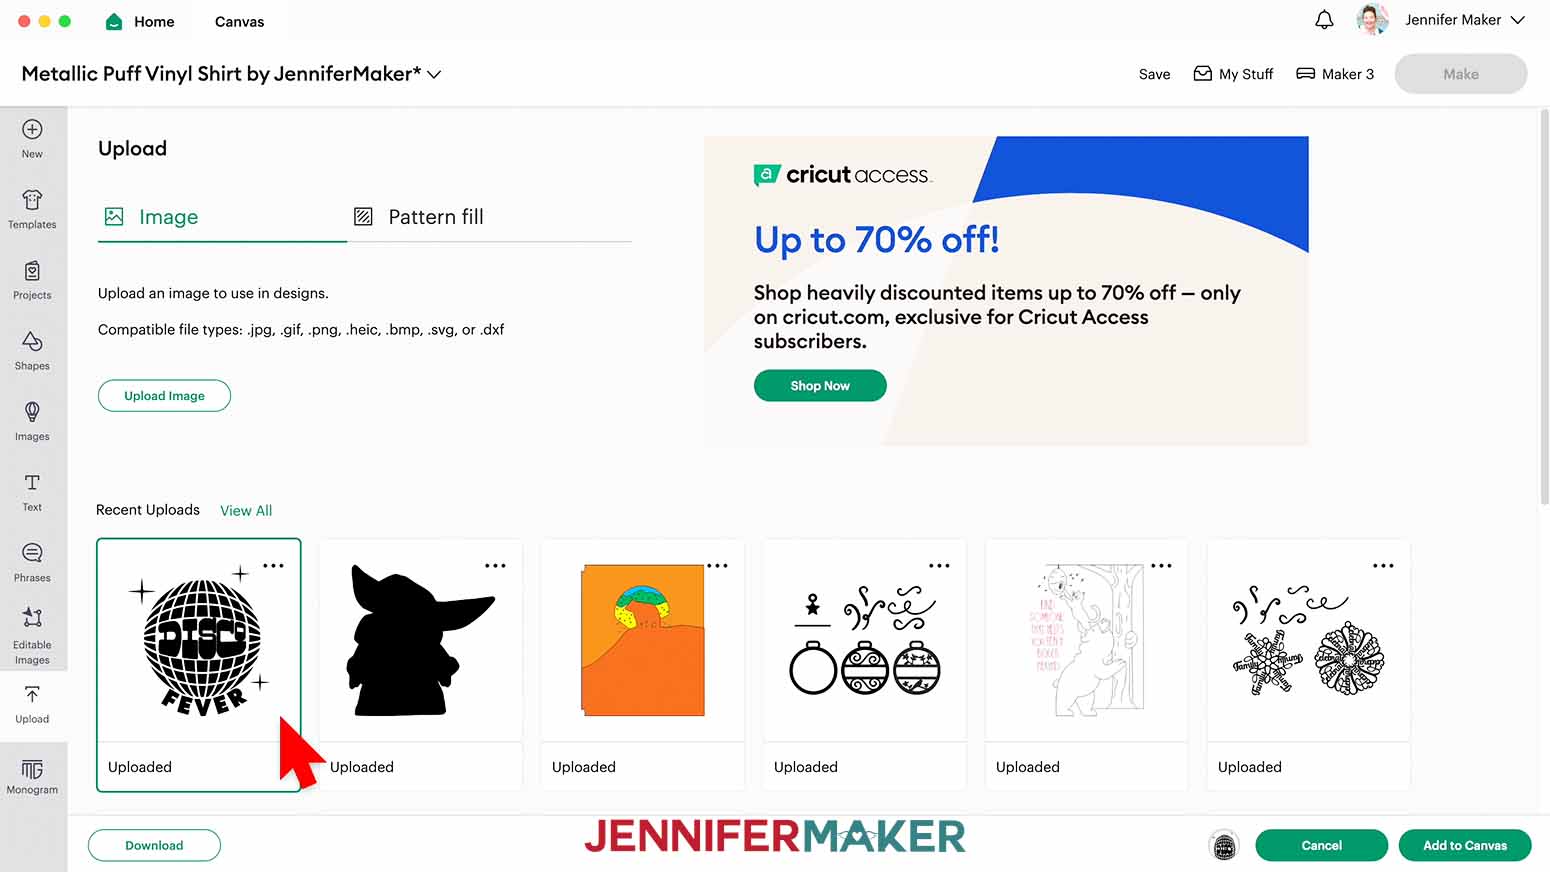
- Click “Upload” and then “Upload Image.”
- Click “Browse.”
- Select the design SVG file, “.svg.”
- On the Prepare to Upload screen, it will say “Cut image” with the design preview.
- Click “Upload.”
- Find your design in Recent Uploads and add it to the Canvas.

- You can slightly resize the design with the lock icon closed. TIP: The puff vinyl will expand to fill in some gaps, so keep that in mind and make a test version if you make the design much smaller.
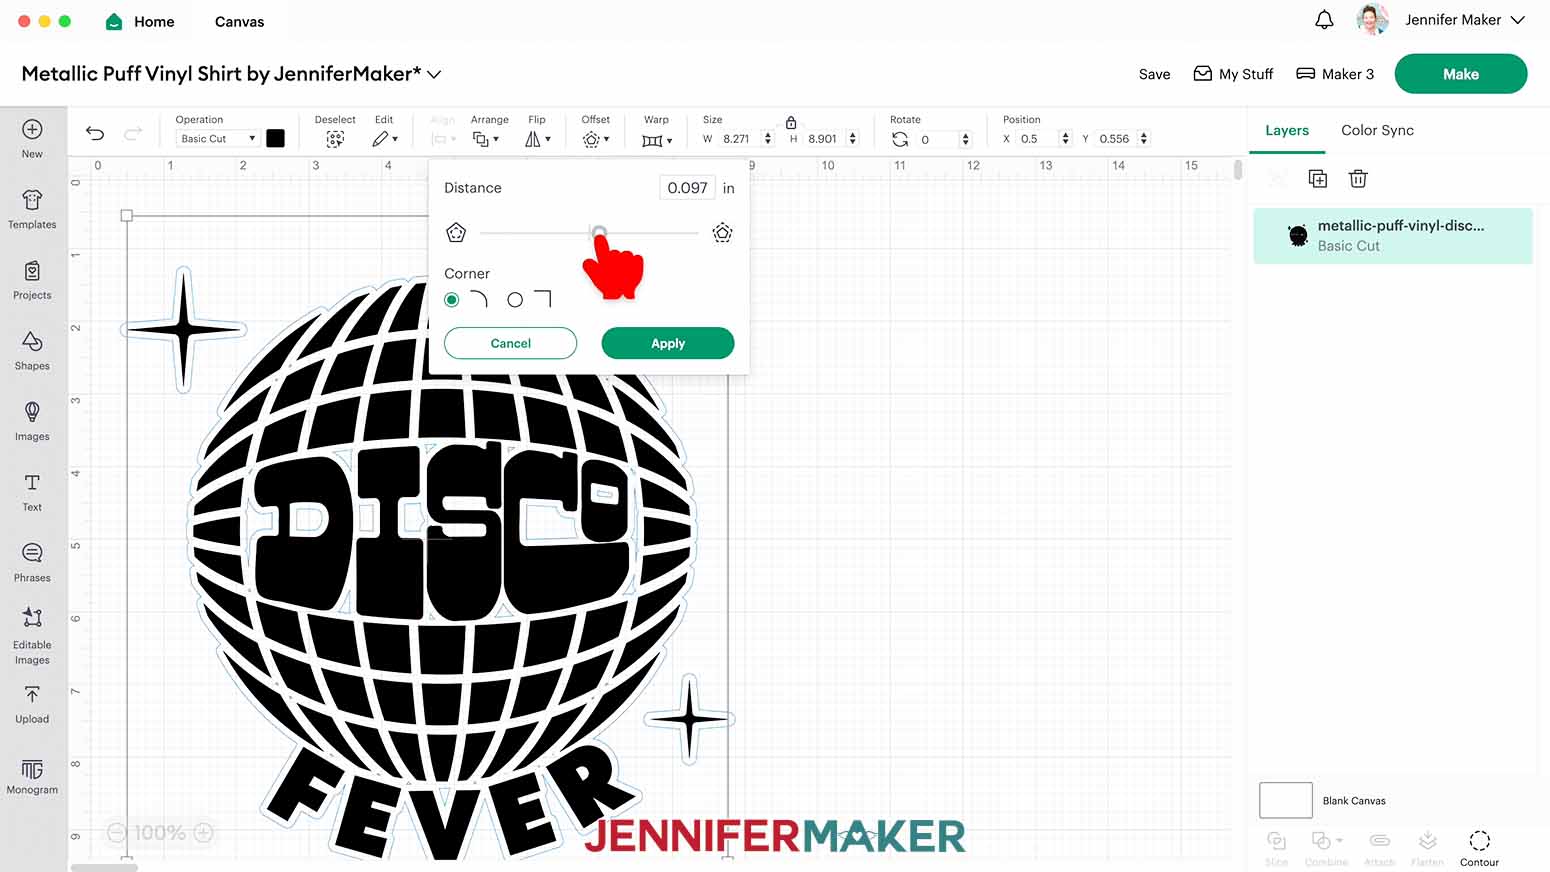
- If you want to add a background, click “Offset.”
- Adjust the slider so the offset is thin but all of the elements will cut as one piece.
Better offset
- Click Apply.
- Use the Color Box to change the Offset to a light color.
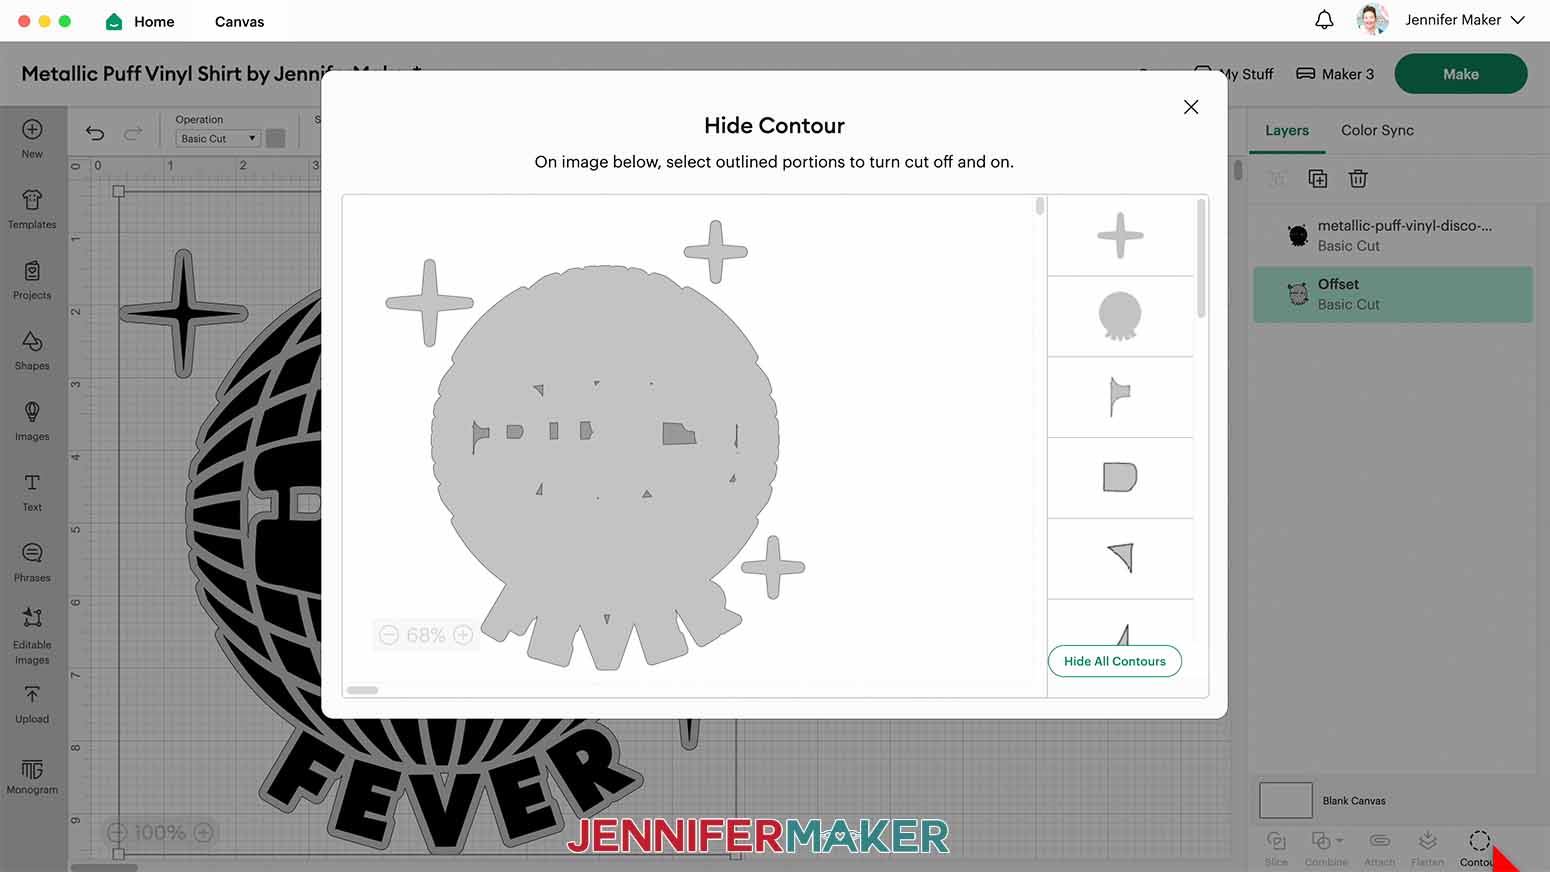
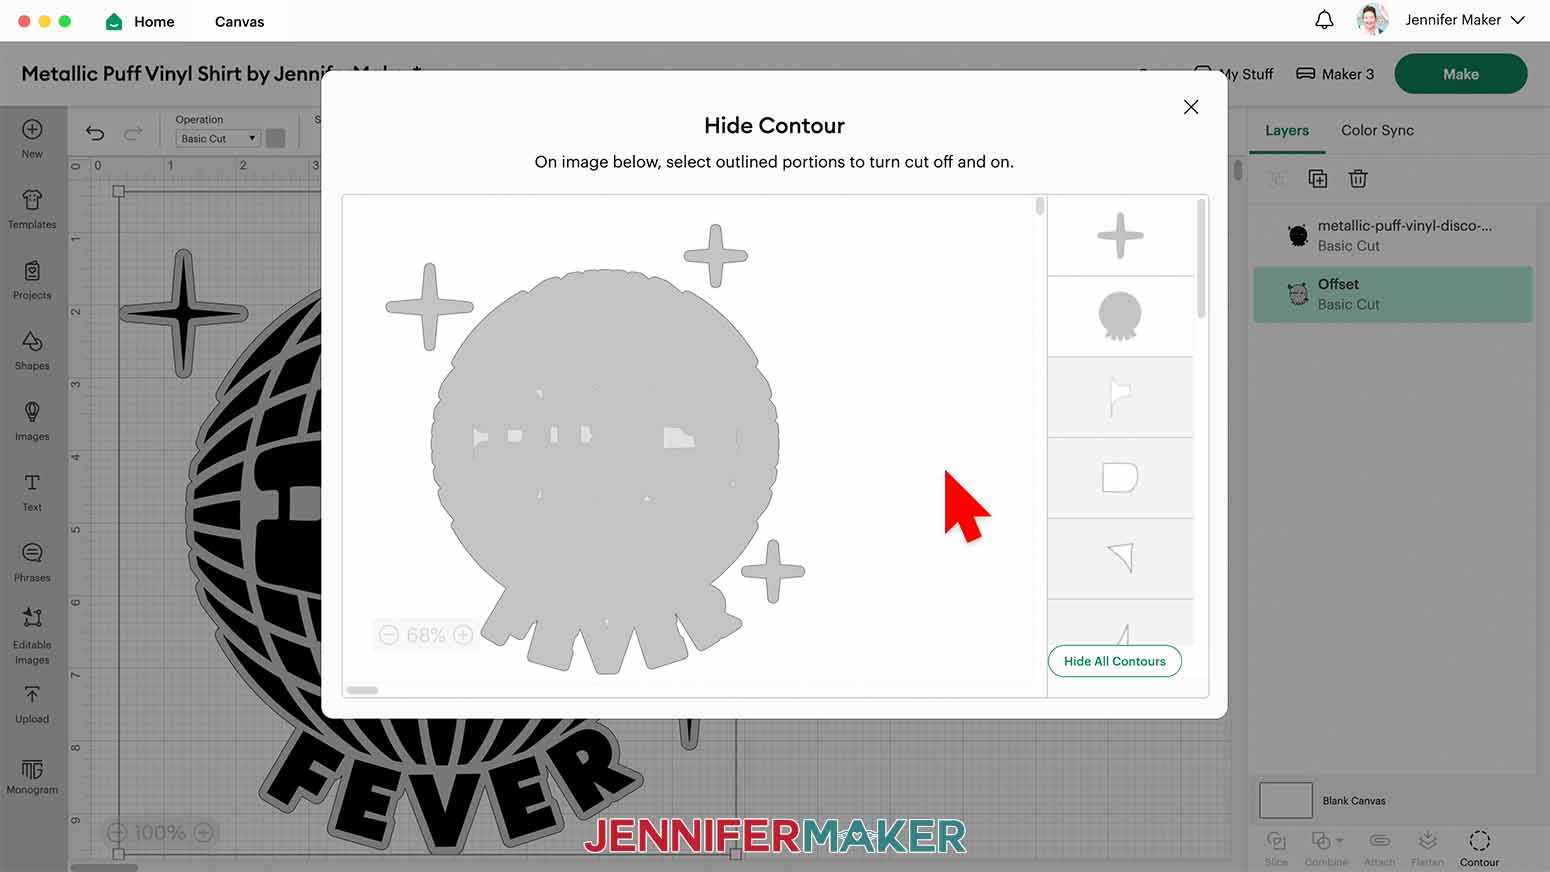
- Click Contour.
- Click all the small pieces to turn them off and make the background a solid piece.
- Close the Contour pop-up.
- Make sure the Offset will still fit on your material and blank.
- Check that the correct machine is selected.
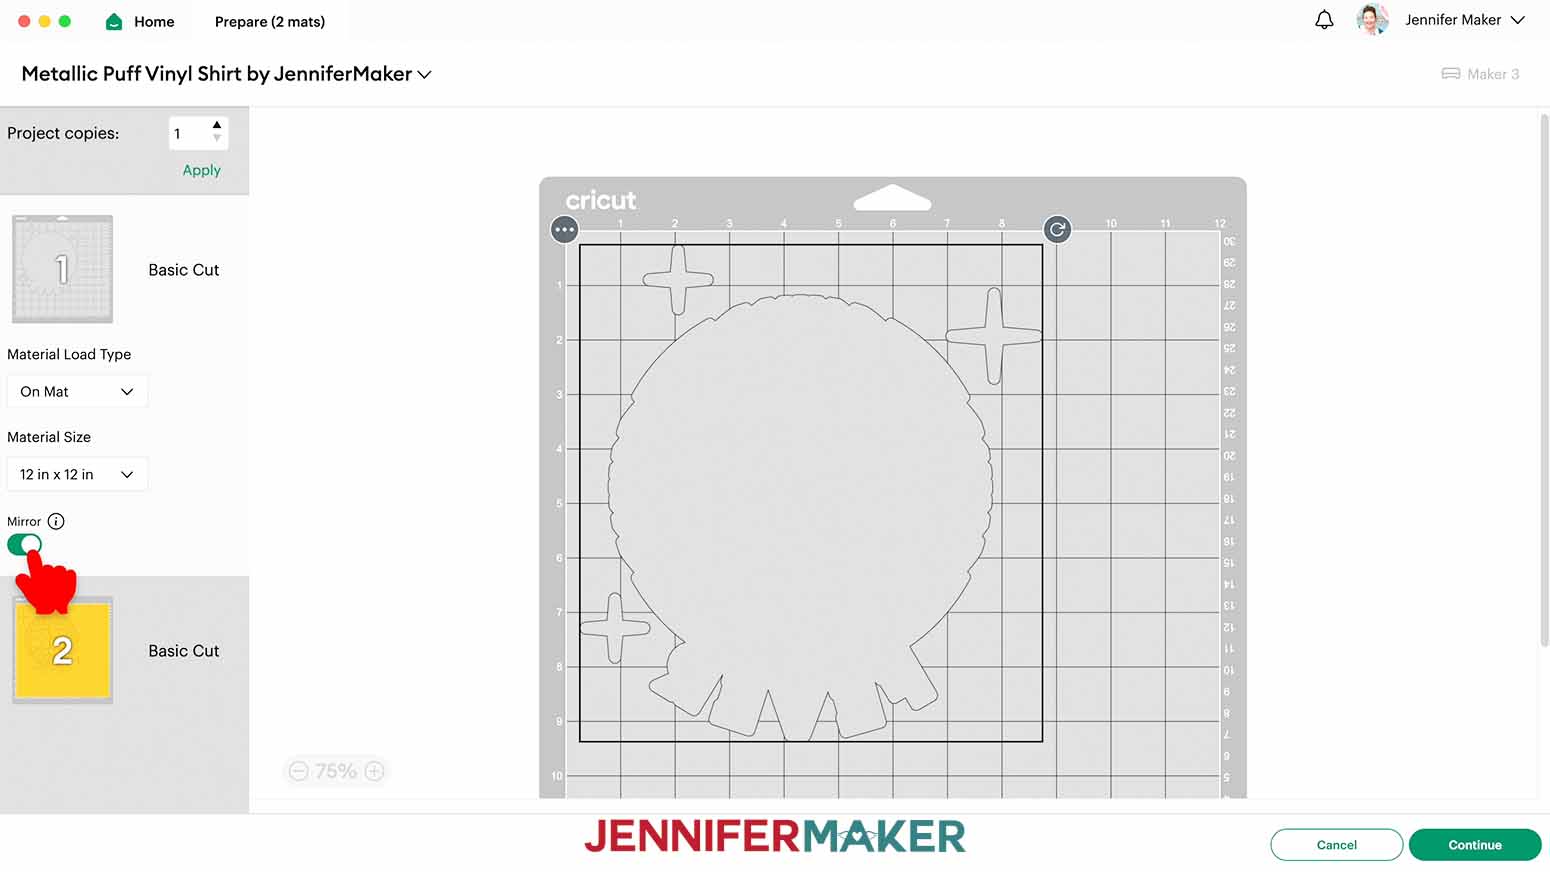
- Click “Make”
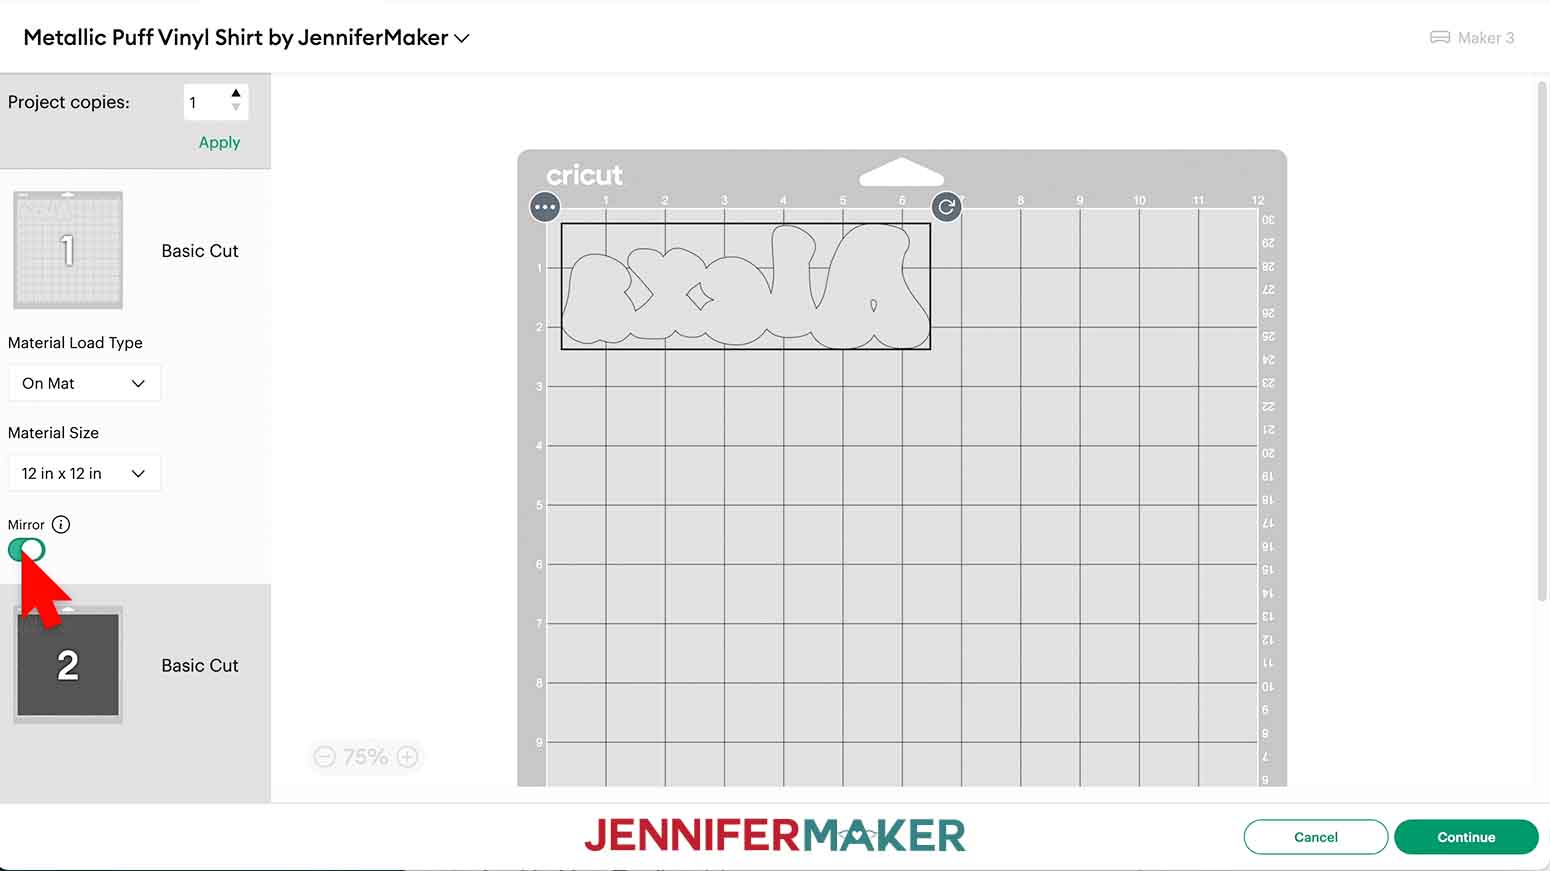
- On the Prepare Screen, turn on “Mirror” for all the mats.
- Select the first mat, then click “Continue.”
 Better offset

CUTTING
- On the Make Screen, select the “Everyday Iron-on” setting for any of the vinyl options listed.
- Change the Pressure to “More” for a cleaner cut.
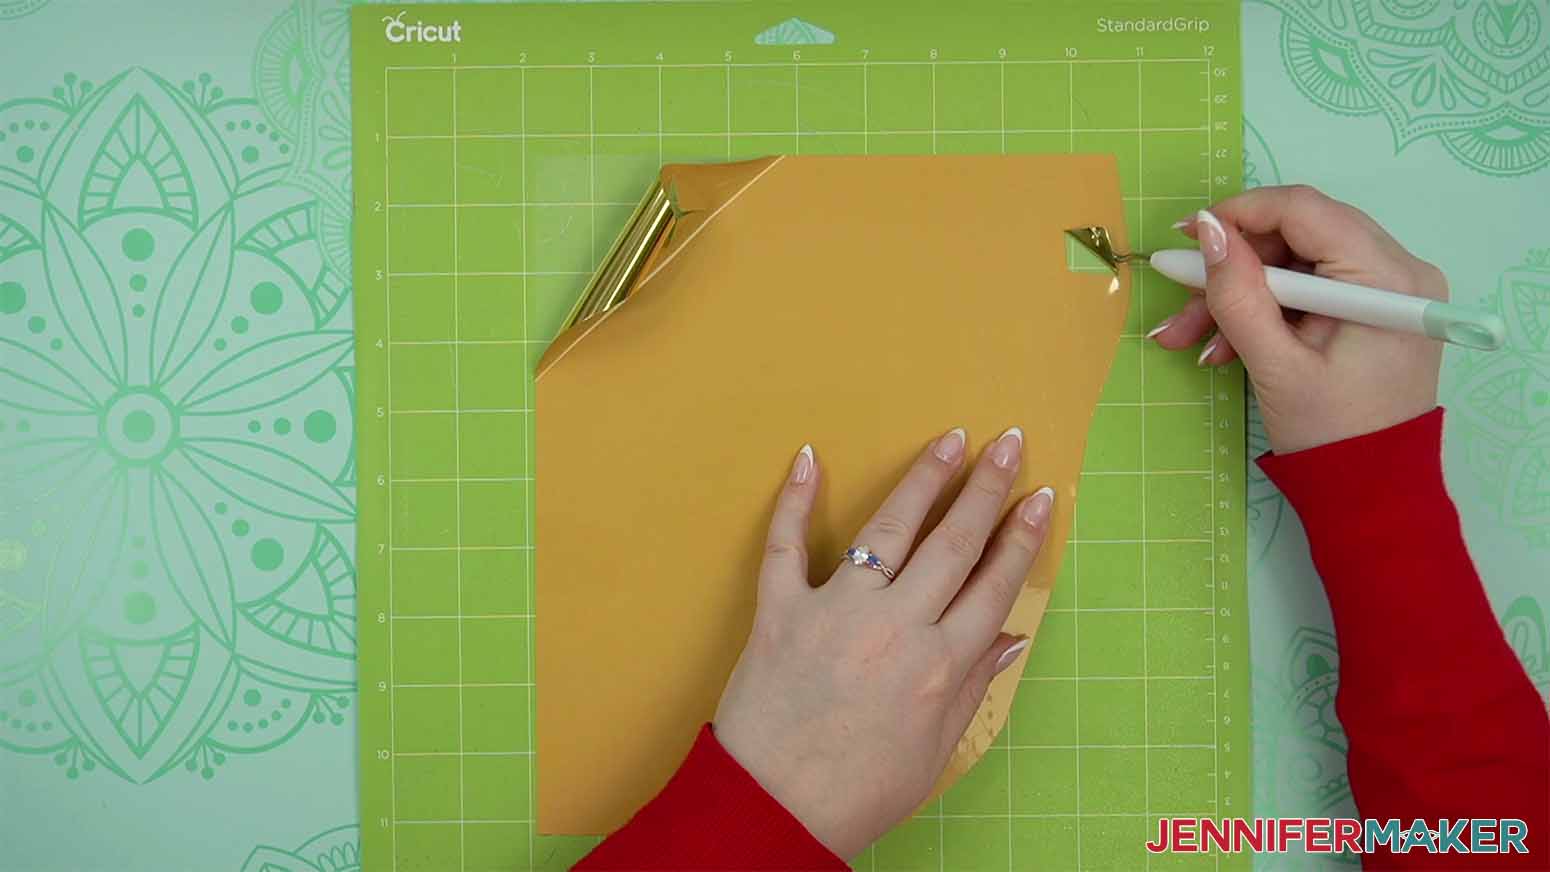
- Use scissors to cut your first color of vinyl to be just a bit bigger than the design area needed.
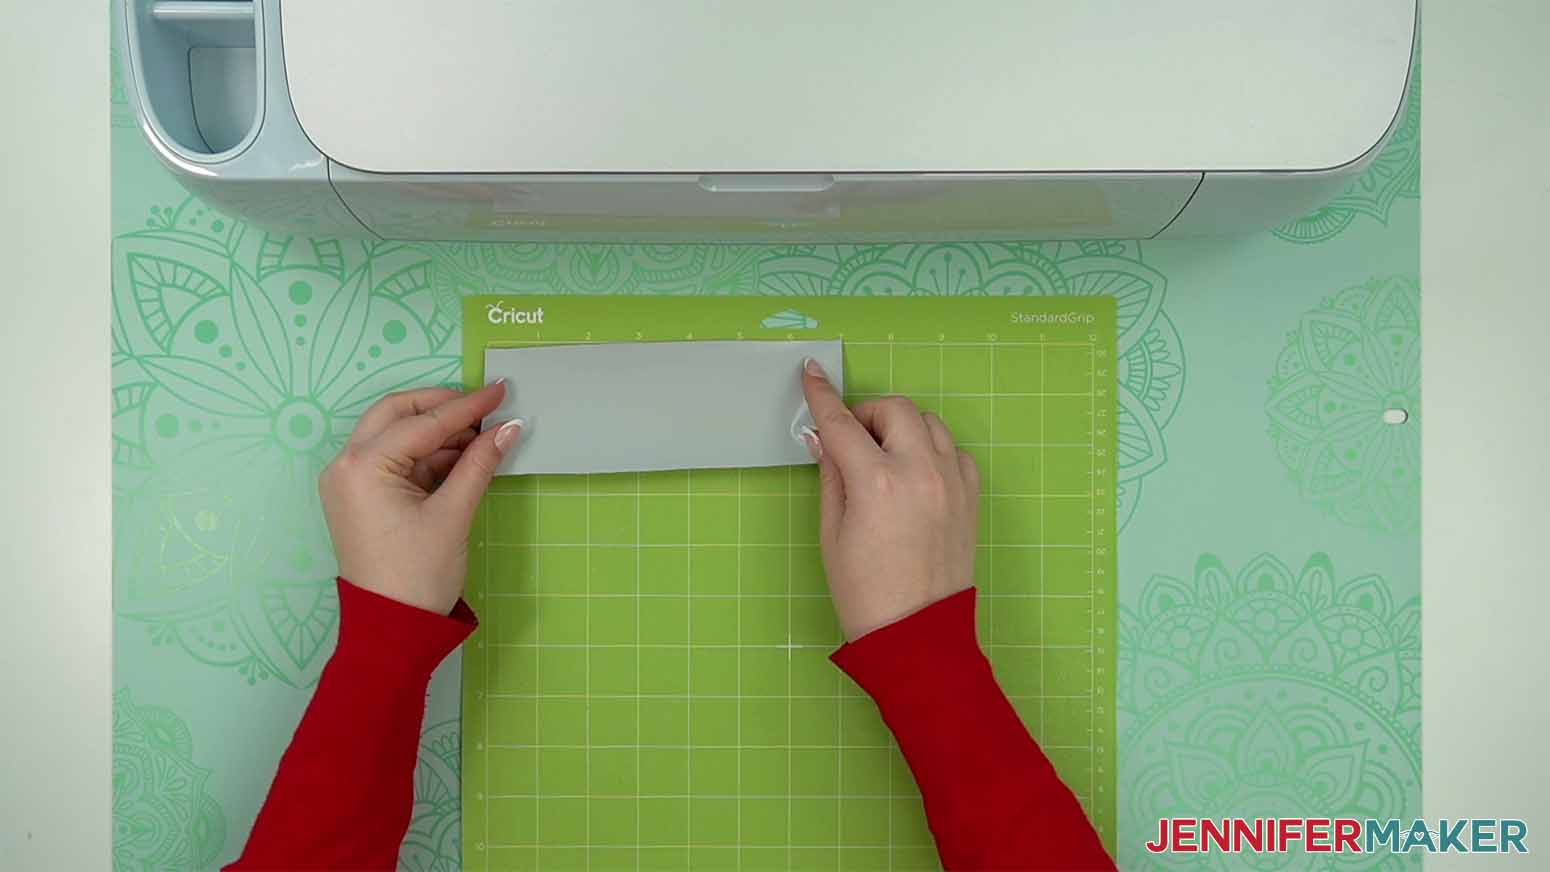
- The vinyl options listed for the Offset layer are shinier on the carrier sheet side.
- If you can’t tell which side is the vinyl, use your weeding tool to lightly scratch a corner. The side that you can mark and lift a little is the vinyl.
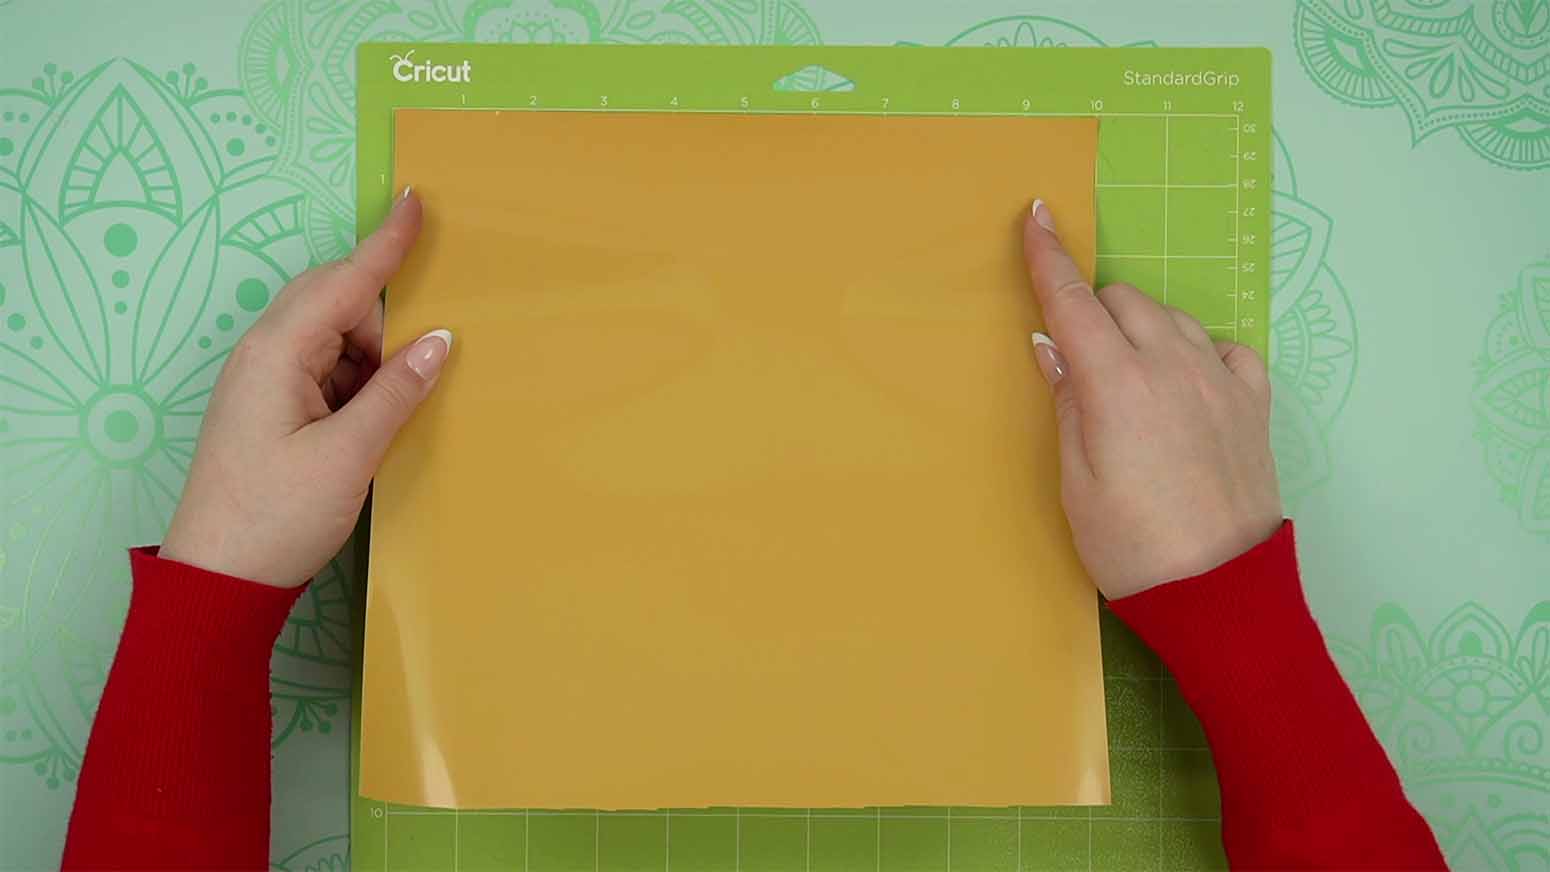
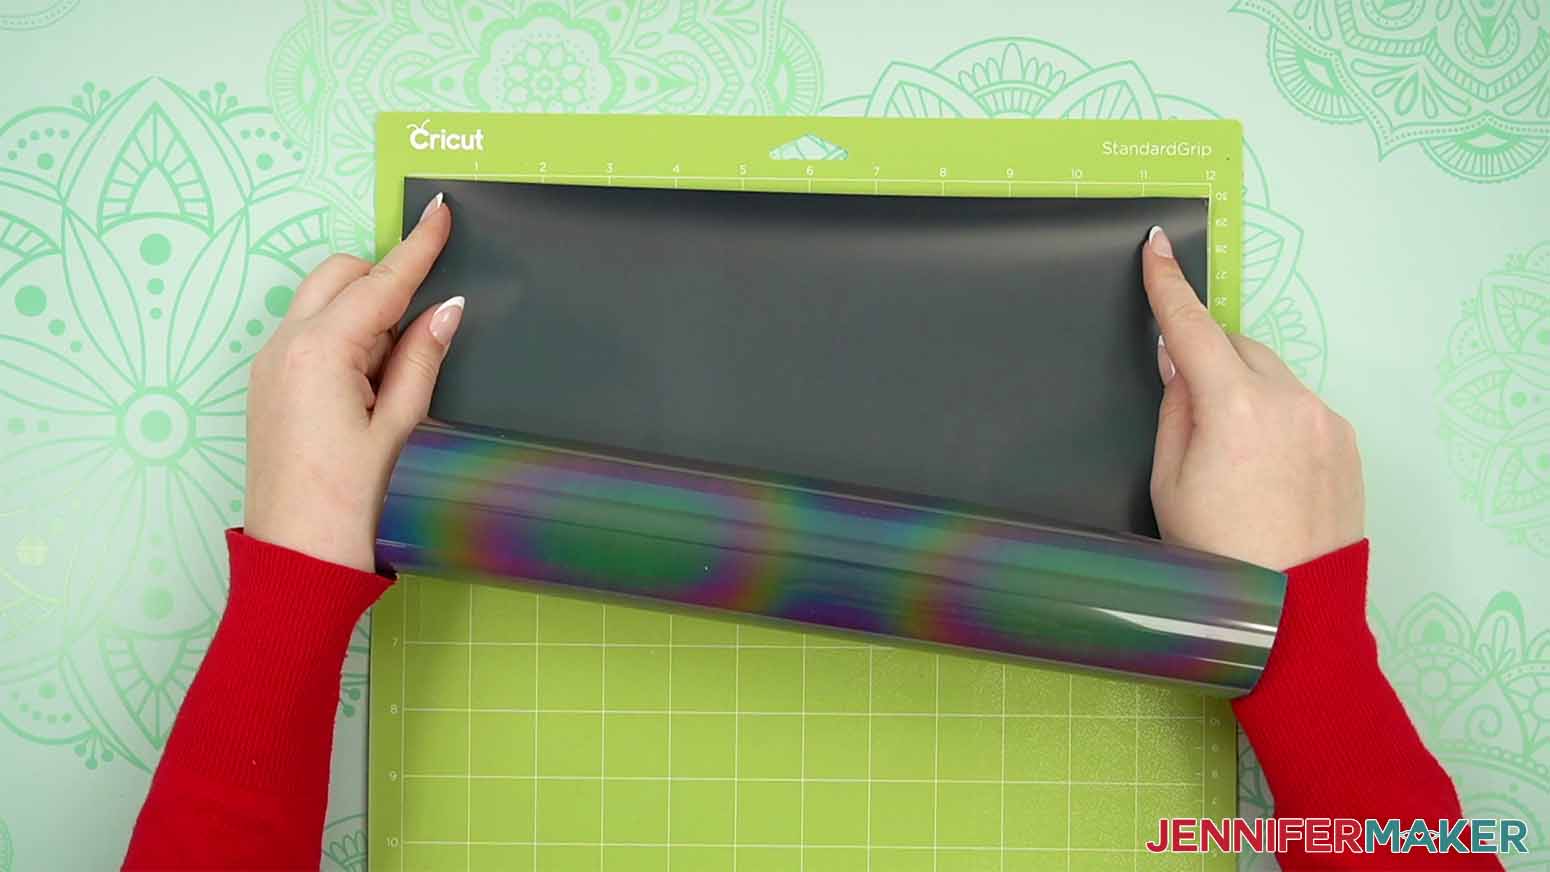
- Place the first color of vinyl with the vinyl side up on a green StandardGrip machine mat. Make sure the vinyl covers the design area on the screen
- Use a brayer to adhere it securely.
- Check that your Fine-Point Blade is clean and in the clamp.
- Press the flashing button to load the prepared mat into your Cricut.
- Press the flashing button to begin cutting.
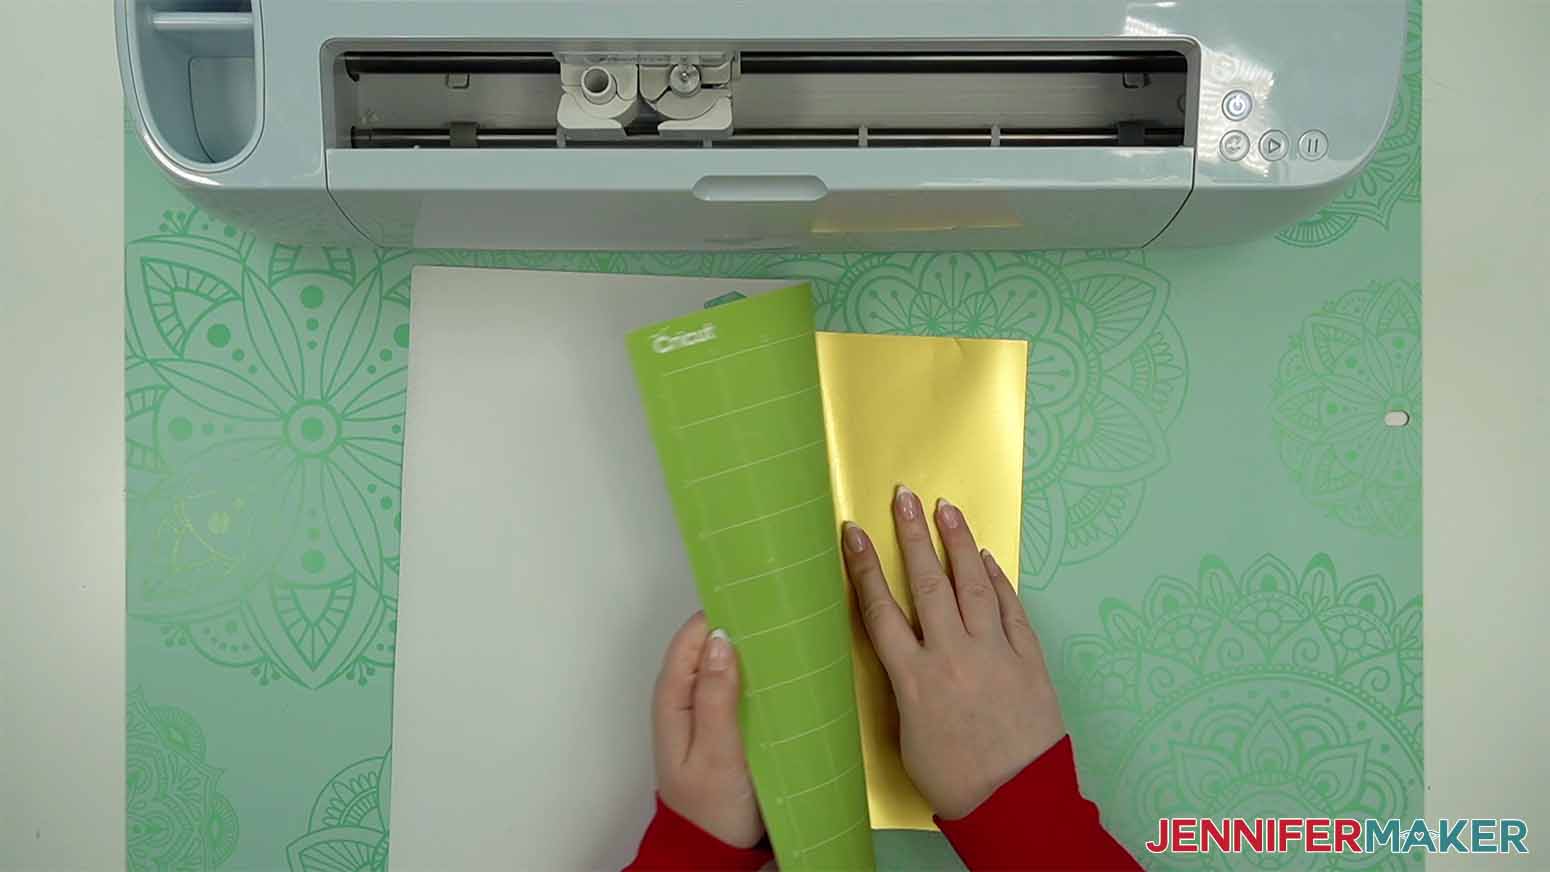
- When it has finished cutting, unload the mat, flip it over onto your work surface, and roll it back to release the vinyl.
- If there are uncut vinyl sections you can cut away without interfering with the design, trim them away to store for small projects.
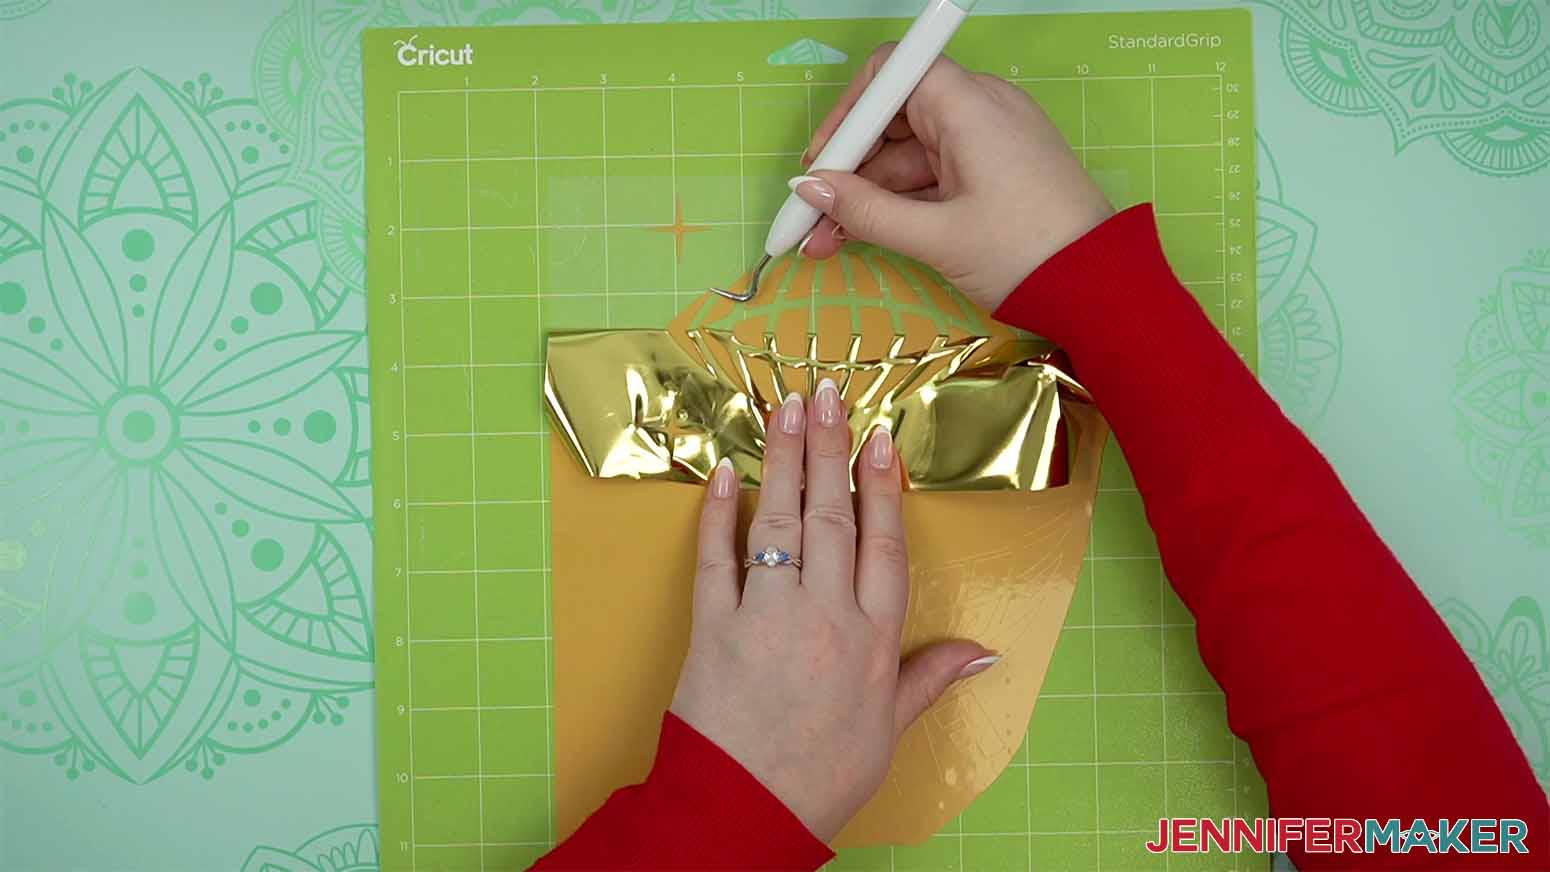
- Put the design back on the mat, with the cuts facing up.
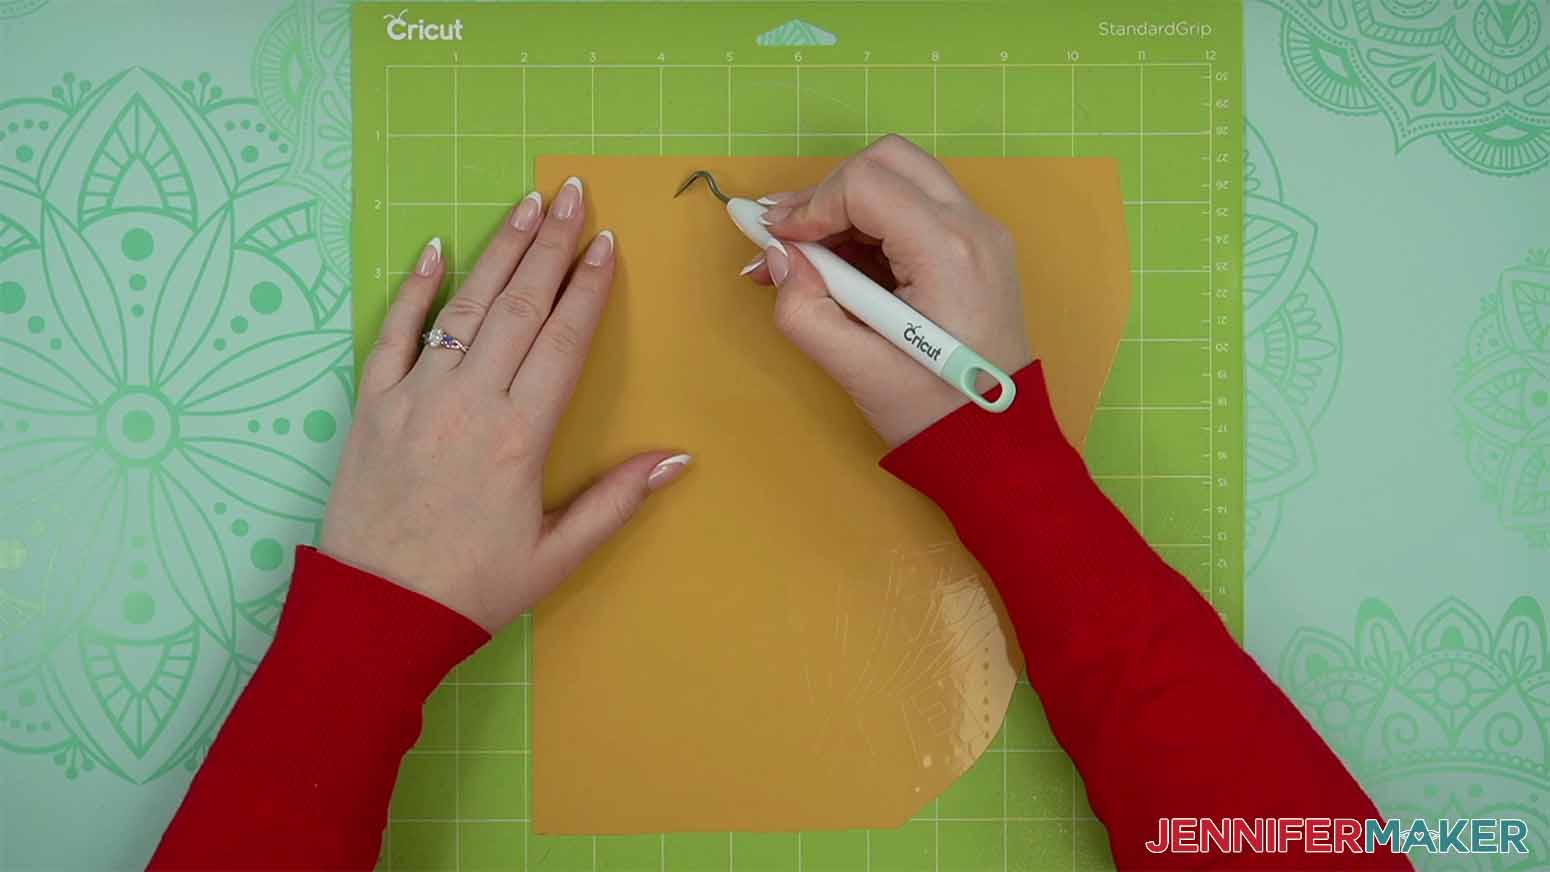
- If you’re weeding a design with delicate sections like the stars, use your weeding tool to carefully lift the excess vinyl from the indents so you’re peeling the material away from the design instead of toward it. This helps keep skinny pieces in place.
- If a delicate spot starts lifting, carefully anchor it to the mat with a rounded section of the weeding tool and lift the excess around the tool with your other hand
- And if a section does lift, gently pat the area back down into place and hold it still with your tool while peeling the rest away.
- Once you’re done, make sure no elements have shifted, and gently nudge them back in place if needed.
- If you have other mats, prepare, cut, and weed them following the same process.


PRESSING
NOTE: These settings worked for both the Reflective Heat Transfer Vinyl Rainbow and Siser Smooth Glitter HTV as the first layer.
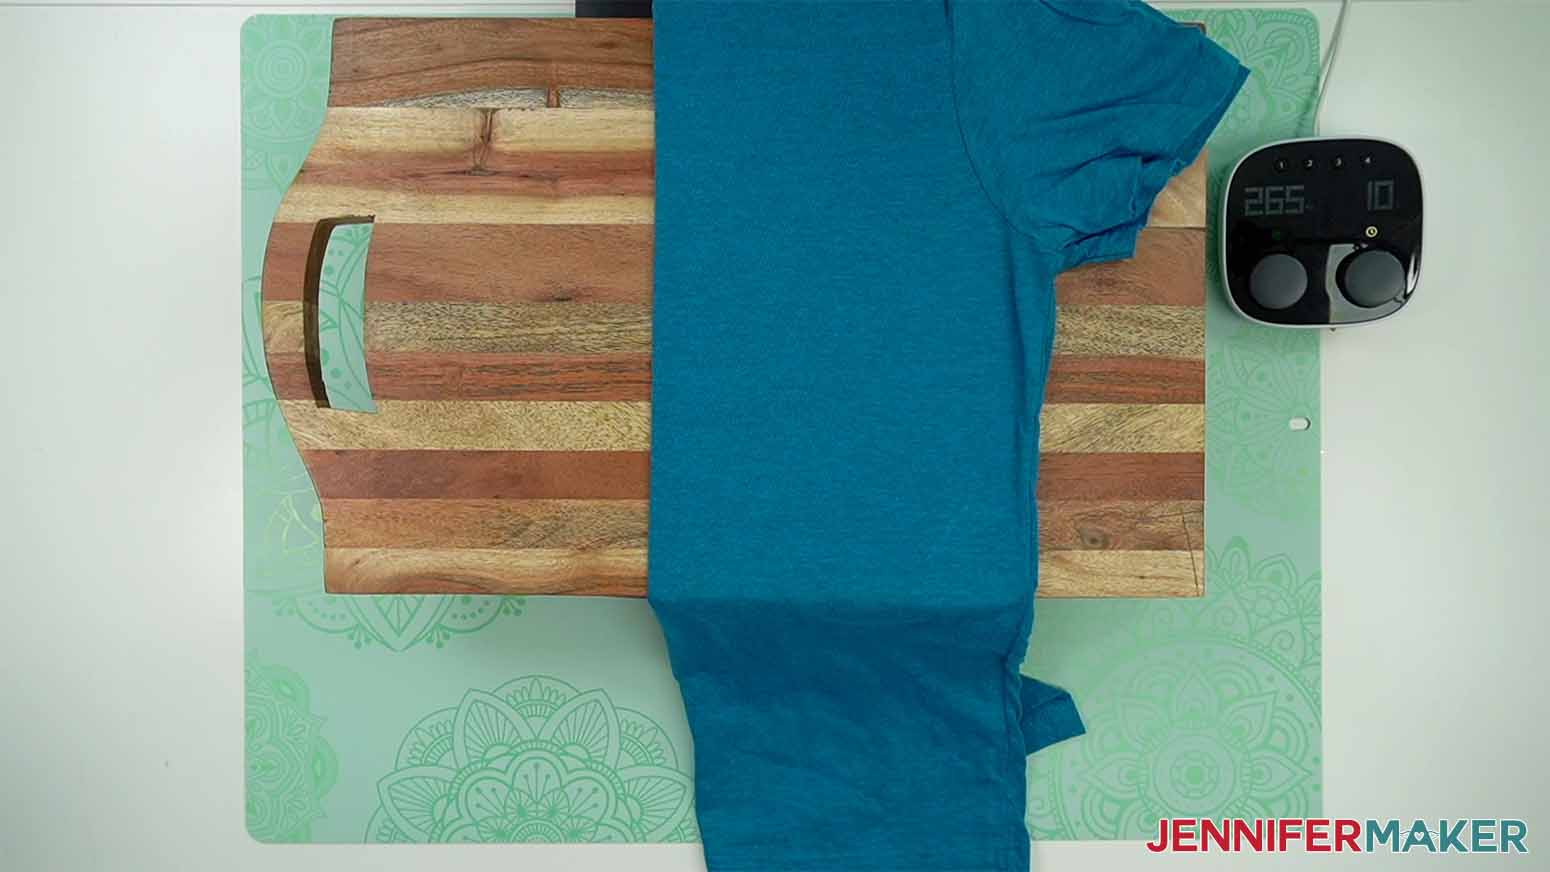
- Put the 1” wooden (or otherwise heat-safe) cutting board on your pressing area. Do not use a heat pad, because puff vinyl needs a smooth, hard surface for the best results. Metallic-Puff-Iron-On-board
- Make sure the surface and board are secure enough for heavy pressure.
- Always check for manufacturer’s instructions before pressing. Siser Sparkle smooth glitter’s instructions say to heat at 305° (152 C) 15 seconds. But since it will be pressed a second and third time for the puff layer, I found that 300° F (149 C) for 10 seconds worked to tack down the first layer.
- Pre-heat your press to 300° F (149 C).
- Open the shirt and lay it face up on the cutting board.
- Press the shirt all over the design area for 10 seconds to remove any moisture or wrinkles that can interfere with the design. NOTE: Moisture will keep the puff vinyl from puffing up, so make sure the shirt, work area, and materials are all dry and free of steam.
- Use a lint roller to clean the design area.
- Fold the sleeves together and lay the crease on the pressing area. Make sure there are no wrinkles.
- Lightly press the crease to make a straight vertical line in the design area.
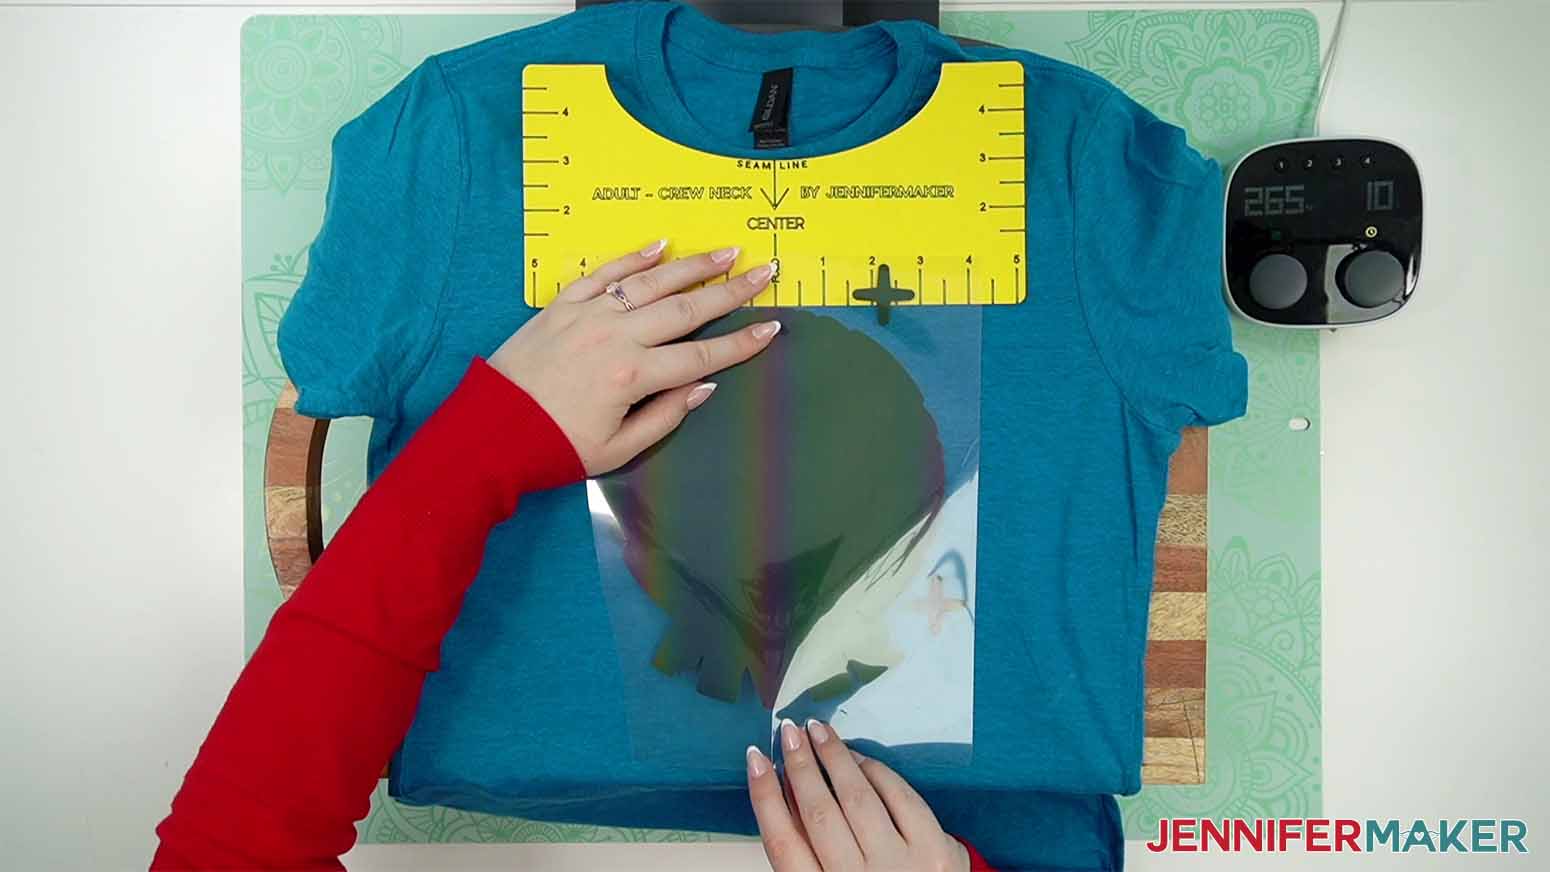
- Place your T-shirt ruler guide on your shirt with the top edge just below the collar’s seam.
- Vertically crease the top and bottom of the design’s carrier sheets, but NOT the actual vinyl.
- Align the top of the main design’s first layer with the bottom of the ruler.
NOTE: For a design like Disco Fever, some of the accent elements, like the stars, may be slightly above the ruler. Focus on the largest section.
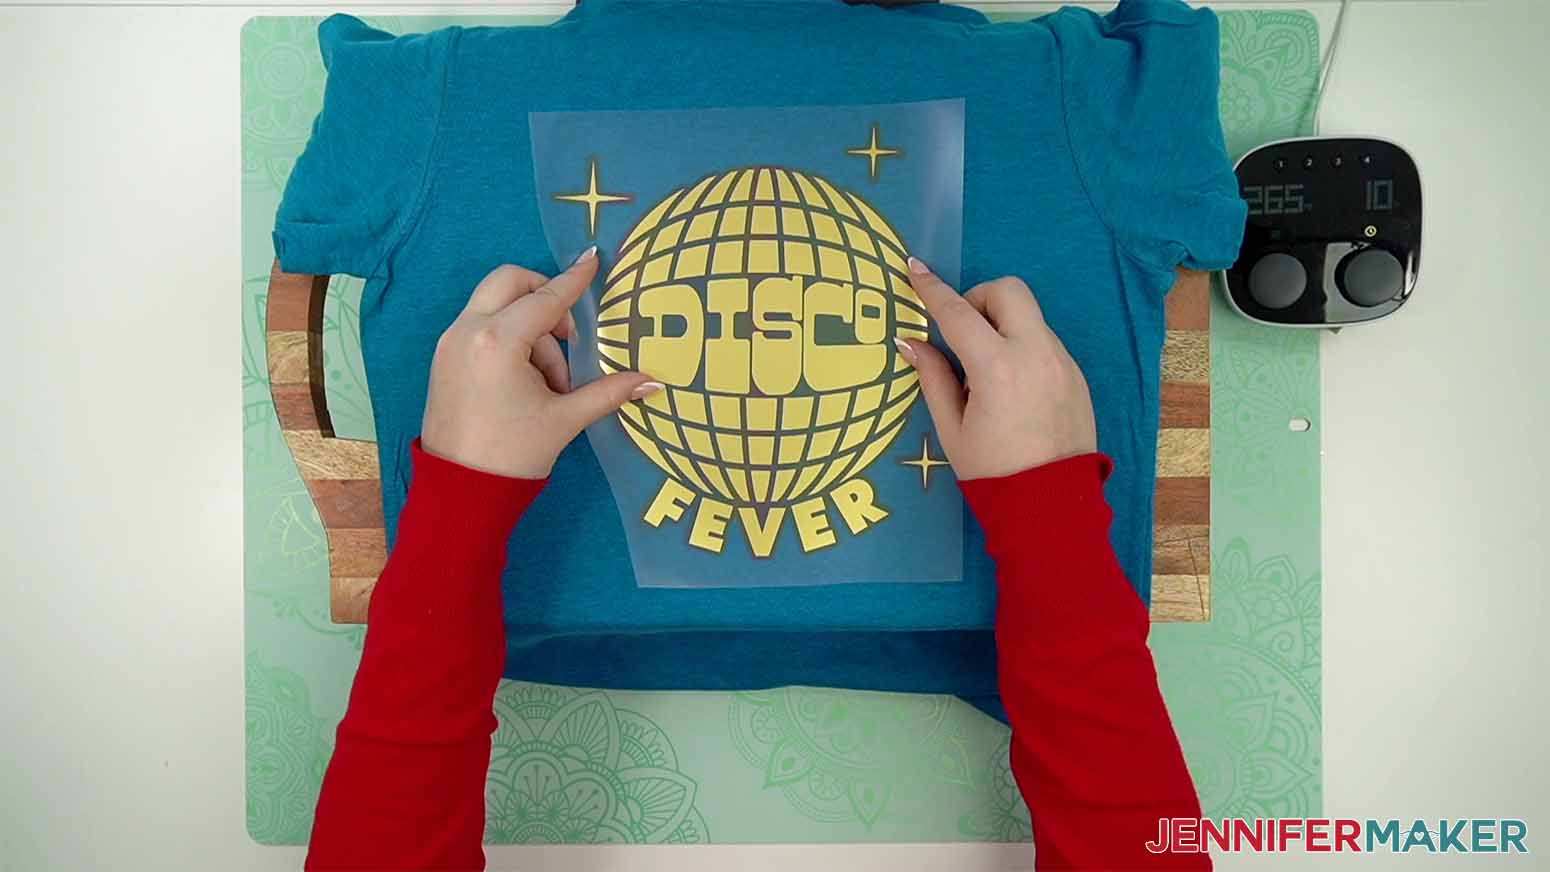
- Use the creases in the carrier sheet to align the decal to the shirt’s crease and ruler.
- Pat the empty carrier sheet sections down to lightly stick to the fabric.
- Remove the ruler.
- Press the entire design area all at once for 10 seconds. If you’re using a handheld press, use firm pressure.
- After 10 seconds, let the carrier sheet sit until it’s cool to the touch, but not completely cold.
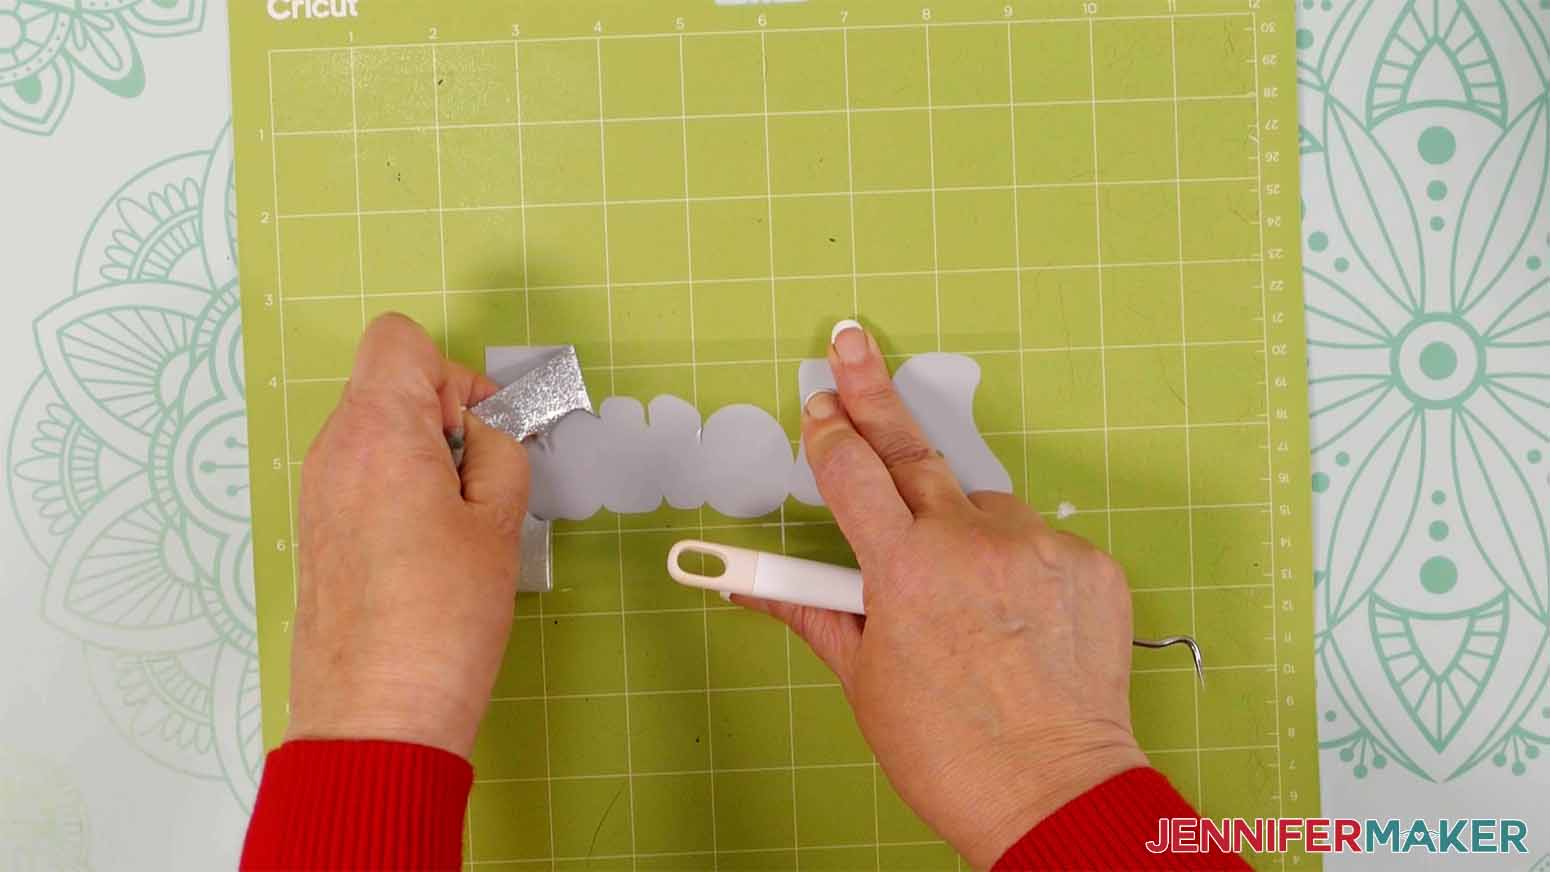
- Hold the shirt in place with one hand and lift a corner of the carrier sheet with the other. Keeping the carrier sheet rolled back on itself, gently pull it away from your anchoring hand in a smooth motion. If vinyl starts to come up, pat it down, replace the carrier sheet, and press for just a few seconds. Then use the same motion to try removing it again. This layer is just tacked down, not fully adhered, so it’s ok if small edges lift.
- Place the puff vinyl material side down on the first layer.
TIP: If your first layer was an offset, make sure it’s evenly visible around the edges of layer 2. Otherwise, put your ruler back down for reference.
- If there is any vinyl not protected by the carrier sheet, cover it with butcher paper.
- Press the entire design without moving the heat source for 10 seconds at 300° F (149 C). If you’re using a handheld press, use firm, even pressure.
- Let the vinyl and carrier sheet cool completely.
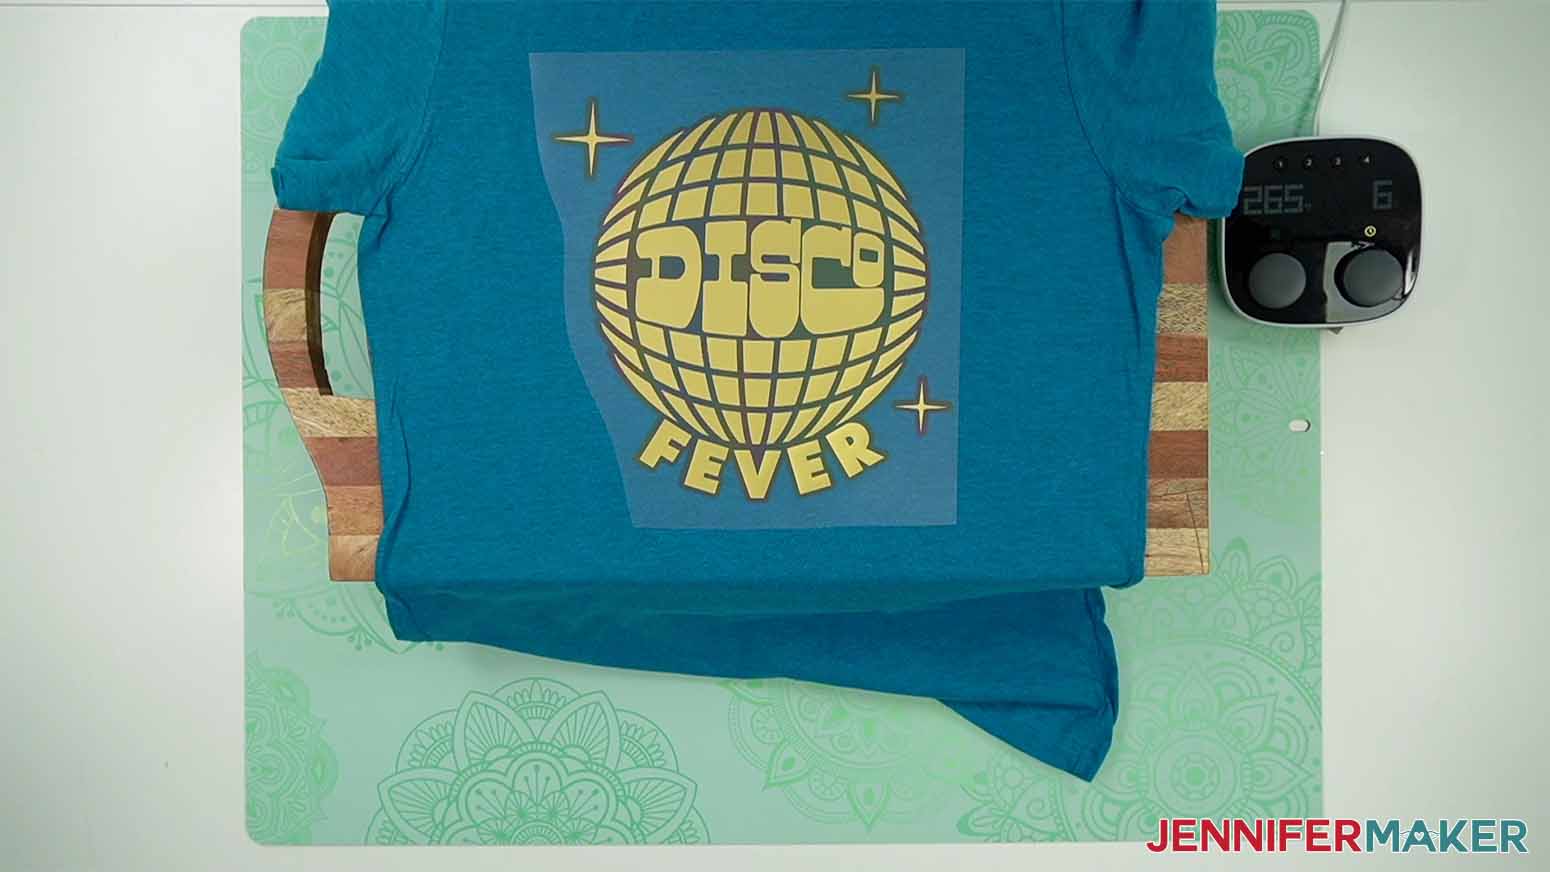
- Use one hand to anchor the shirt and the other to gently roll the carrier sheet off. The puff vinyl is just tacked down, so it’s ok if some edges lift. Just pat them in place. Don’t heat it again, because that can activate the puff motion.
NOTE: It won’t be puffy yet.
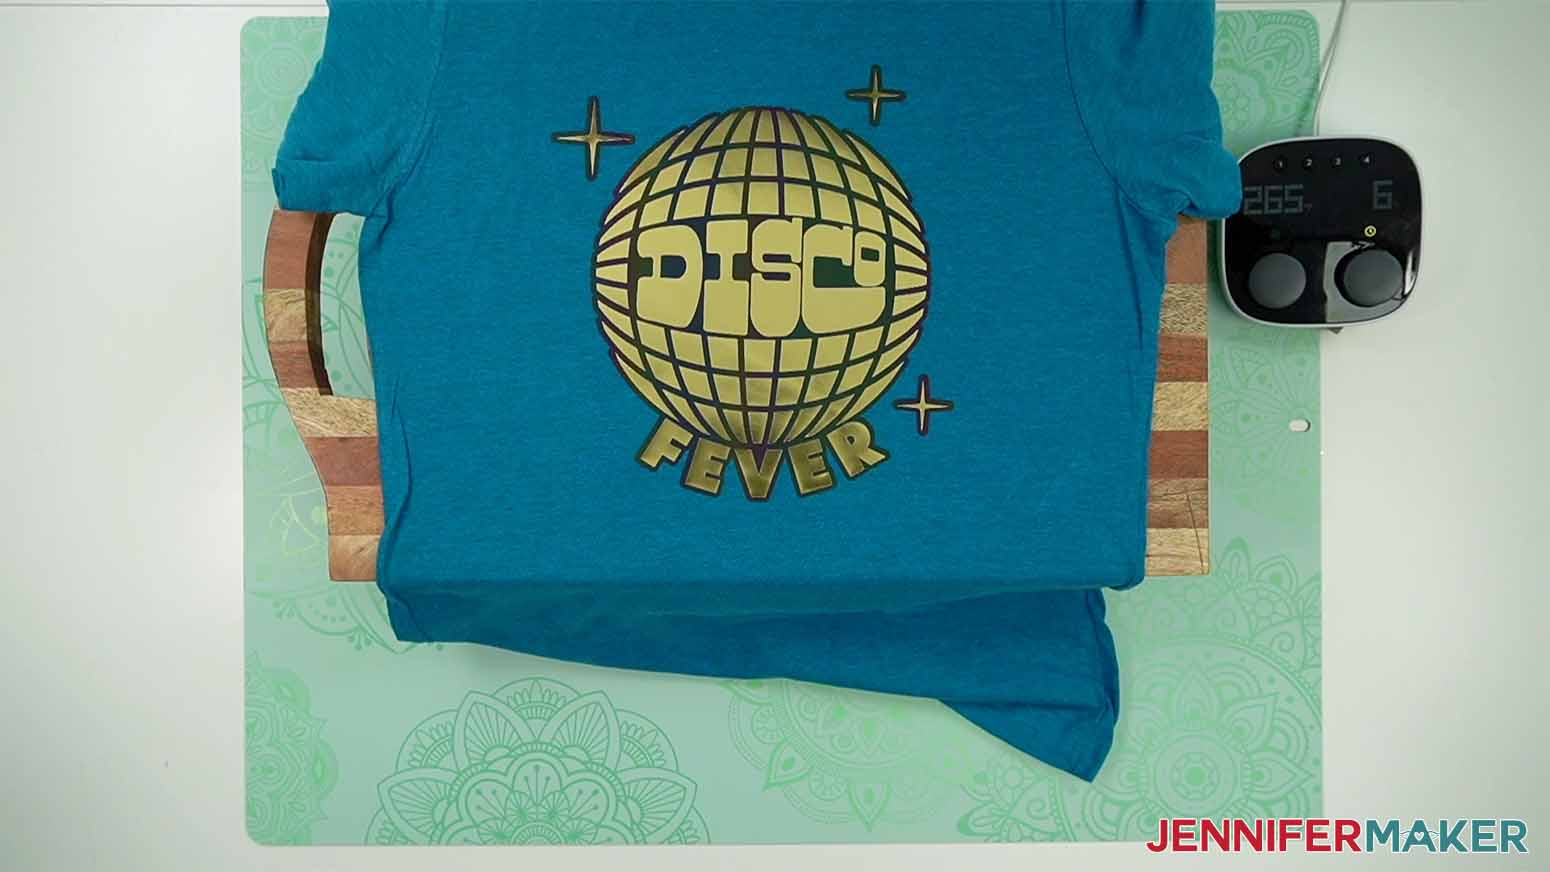
- Cover the entire design with butcher paper.
- Press for 10 seconds at 300° F (149 C) with the same amount of pressure. If you’re using a handheld press, use very firm, even pressure for the best results.
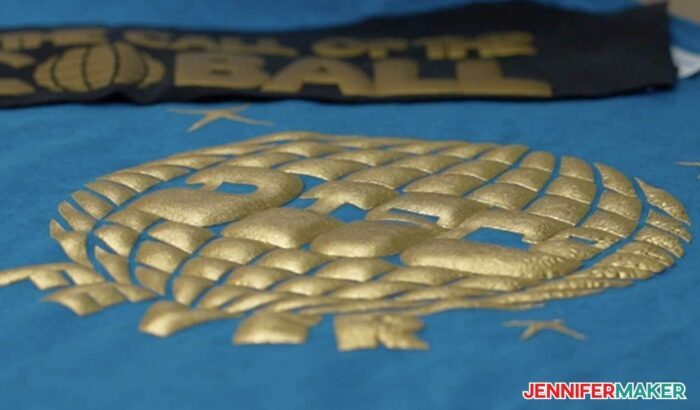
- Remove the butcher paper and reveal the puff!


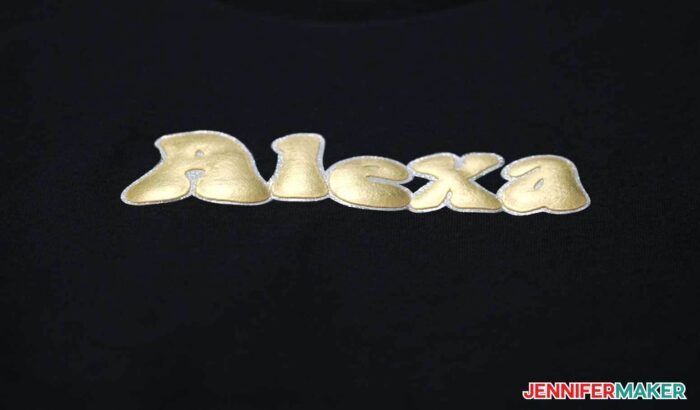
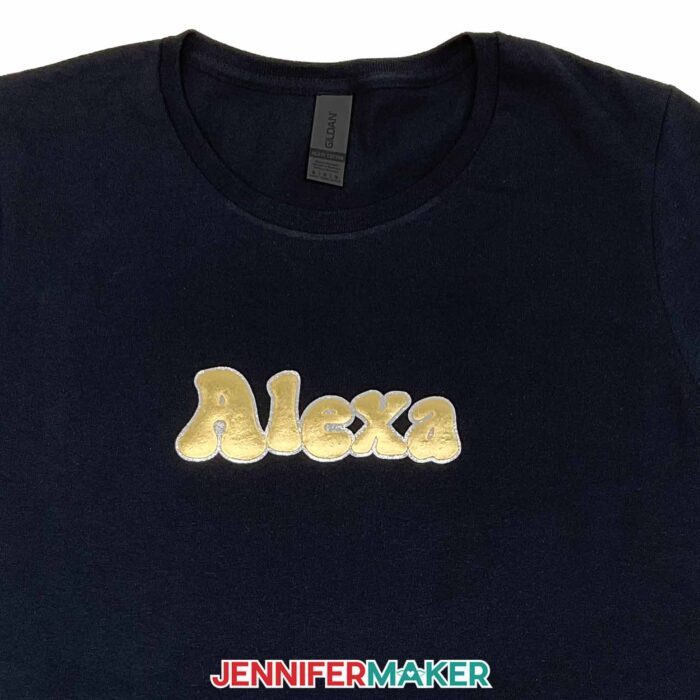
VARIATION - GLITTERY SHADOW
PREPARE THE DESIGN
- In Design Space, click Text
- Type a name or word.
- Select a font in the Font menu, like JM Groovy under the System section after you add it.
- Close the Font menu.
- With the lock icon closed, change the dimension so it's the right size for your project.

- Click the Offset menu.
- Change offset to about .111 worked for my design, but you might have to experiment using your text and materials, because you don’t want it to get completely hidden when the name puffs.
- Change the offset to a different color.
NOTE: Unlike the earlier project, don’t use the Contour tool to remove any of the inside cuts.
- Make sure the correct machine is selected and click "Make"

 NOTE: Unlike the earlier project, don’t use the Contour tool to remove any of the inside cuts.
CUTTING
- Mirror both mats and click Continue.
- For the Siser Smooth Glitter I used "everyday Iron-on" with the pressure set to "More" with the material shiny side down on a green StandardGrip machine mat.
- Cut and weed the vinyls like the previous variation.
PRESSING
- Prepare like before
- Set press to 300°F (149°C) and time to 10 seconds NOTE: The smooth glitter’s manufacturer’s settings didn’t quite work for layering, but I used 300° F (149 C) at 10 seconds with medium pressure to tack it down. This works best with a warm peel, so let it sit for a few seconds before removing the carrier sheet.
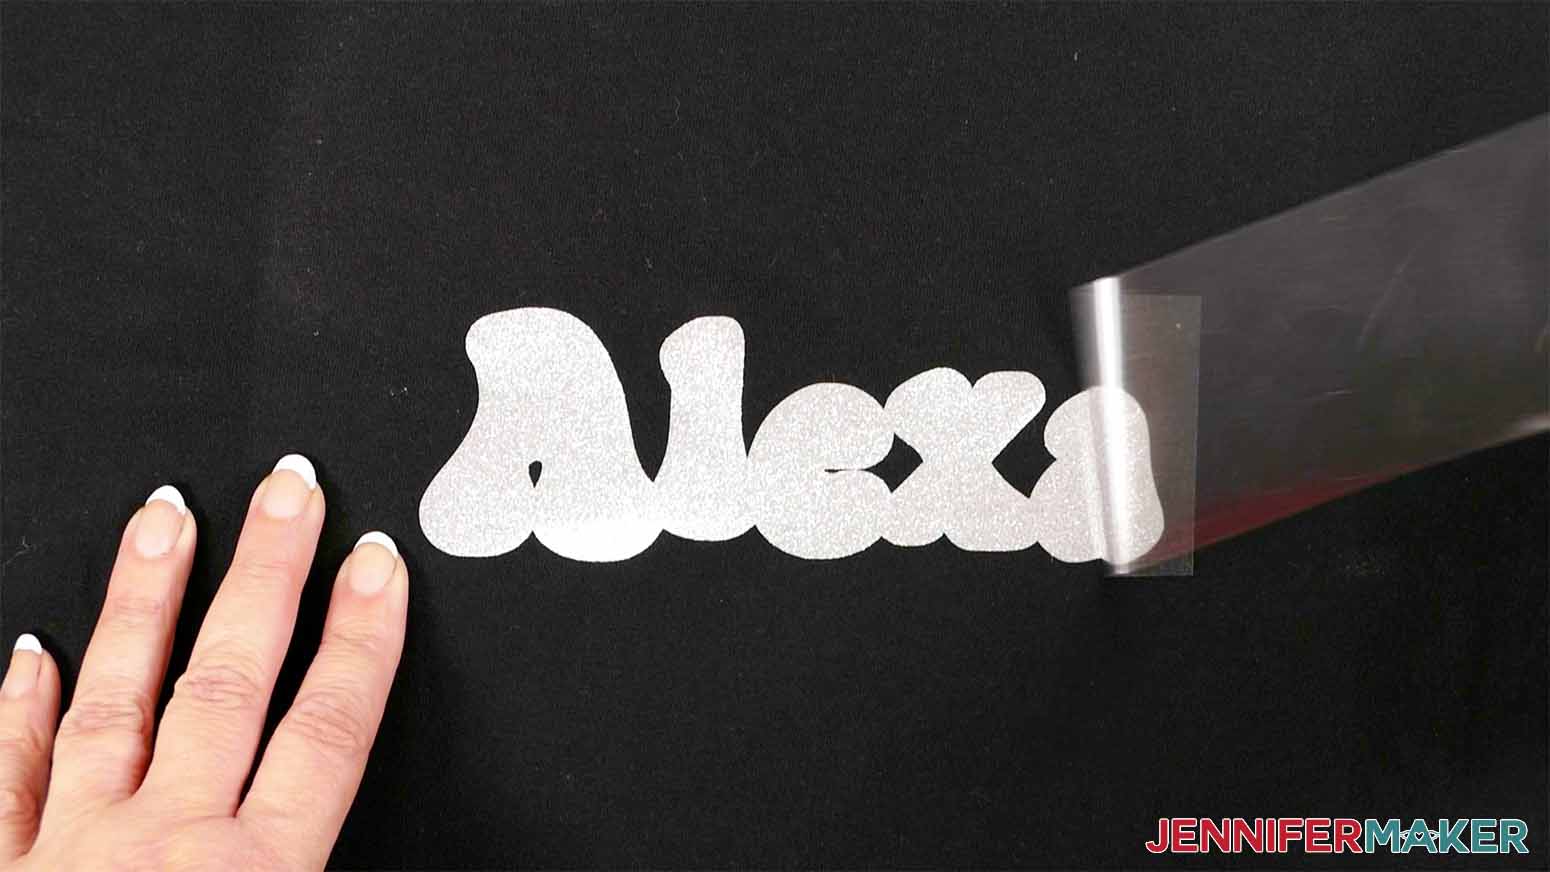
- Tack the glitter layer down with medium pressure.
- Warm peel the carrier sheet.
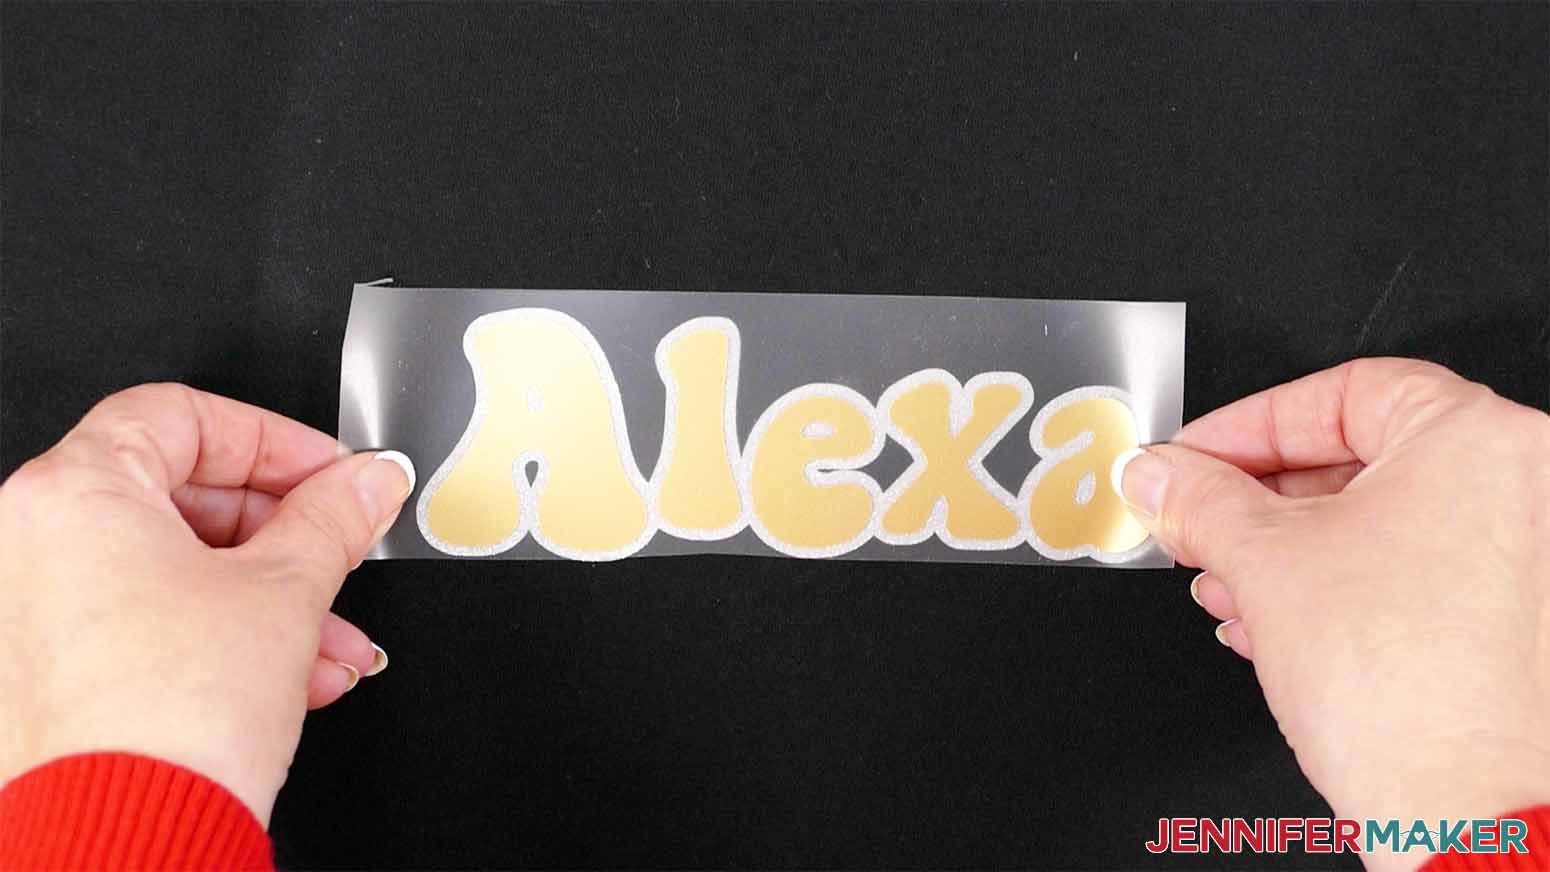
- Align the puff layer on top so you can see the glitter evenly all around the design
- Tack the puff vinyl down at 300° F (149 C) for 10 seconds with firm, even pressure.
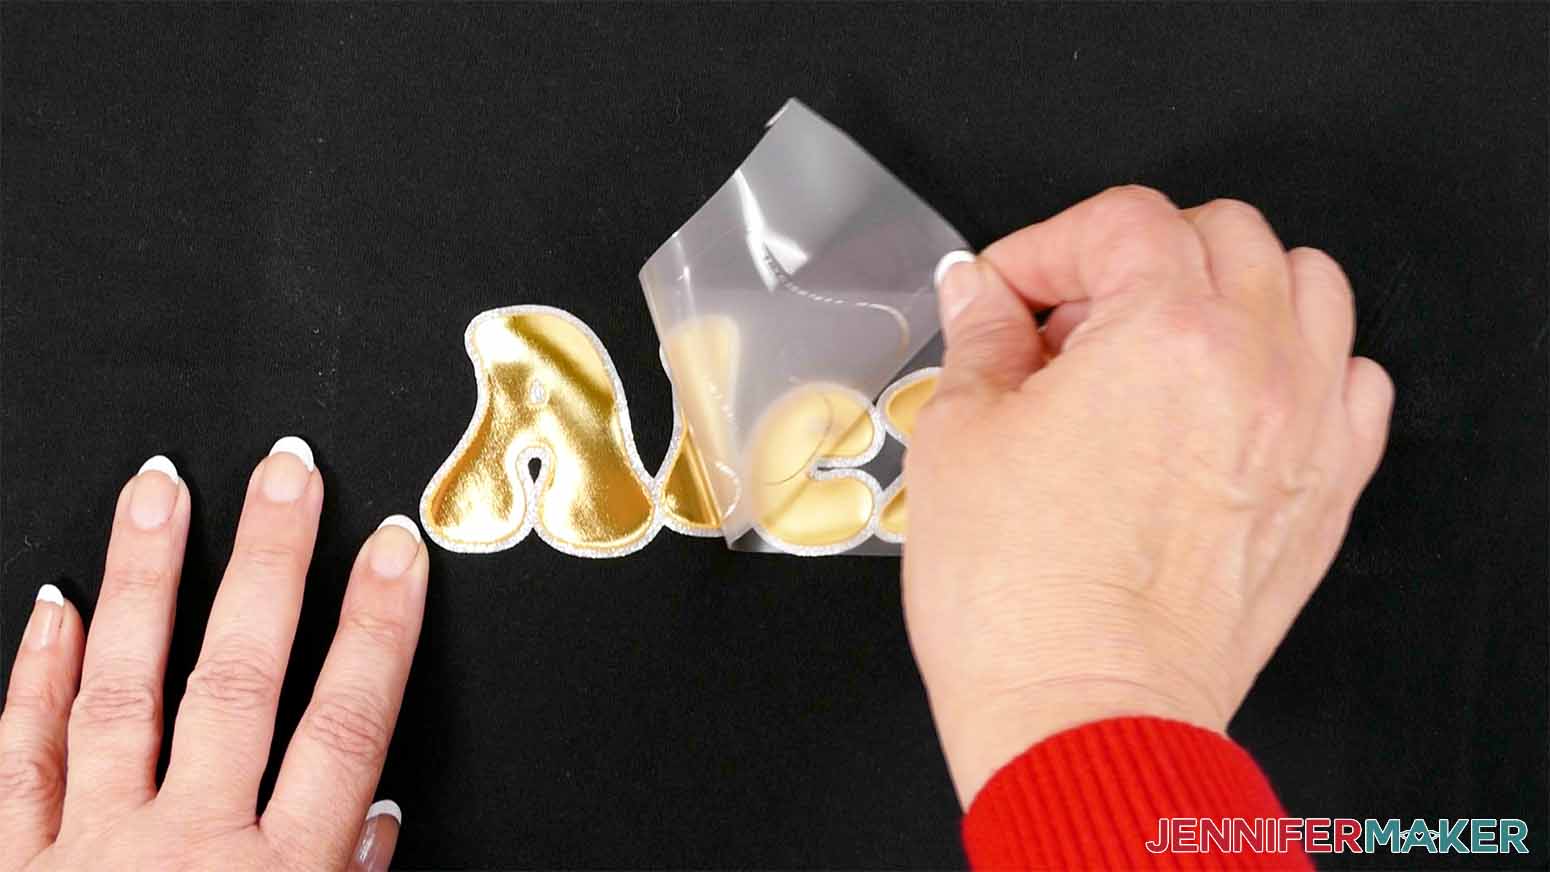
- Let it cool then peel back the carrier sheet.
- Cover all the vinyl with butcher paper, and press it once more with the same settings.
Or apply the metallic puff iron-on alone!

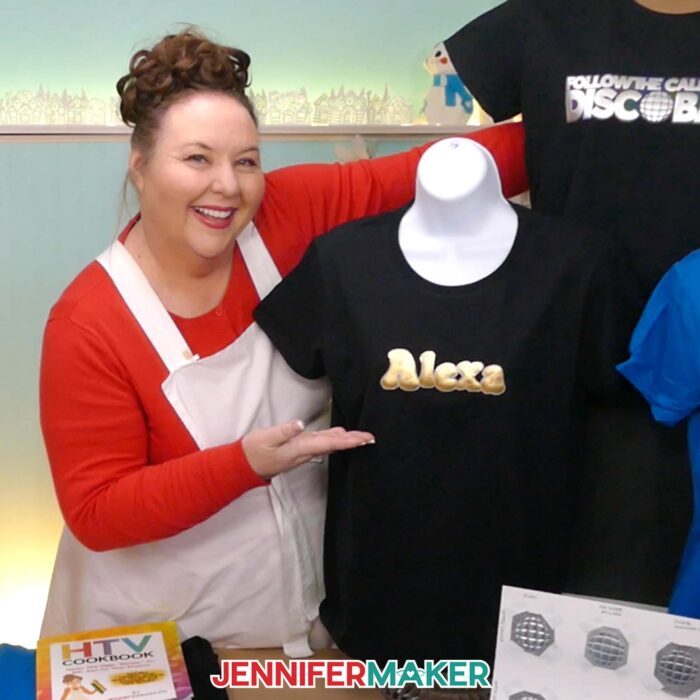
SHOW IT OFF
Notes
Typeface used: Point Panther, The Bold Font (free alternative)
Answers to Your Questions About Metallic Puff Iron-On Vinyl
Q: What is puff iron-on vinyl?
A: Puff HTV is a type of vinyl that expands into a soft puff look after pressing. It’s a fun retro throwback that’s making a resurgence, and I love the way it looks! There are tons of puff colors on the market these days, so have fun with it!
Q: Is puff vinyl hot or cold peel?
A: While some manufacturer’s recommend hot peel, and some recommend cold peel for puff heat transfer vinyl, I’ve found through my tests that I get best results when I “cool” peel my metallic puff vinyl. Wait til it’s cooled off, but not completely cold before you peel off the carrier sheet.
Q: Can you use a regular iron for puff vinyl?
A: I don’t recommend it. You cannot get the same heavy pressure and consistent heat from a home iron as you can from a flat heat press, and you need both of those things for the desired effect. You can try pressing small designs under a household iron, but you’ll have better results with a heat press.
Q: Can you put puff vinyl on top of regular HTV?
A: You sure can! I walk you through the whole process of layering metallic puff HTV on top of other types of heat-transfer vinyl right here in this tutorial.
Q: Can you press puff vinyl twice?
A: This is where it gets a little tricky! With regular puff vinyl, pressing twice is a no-no. With metallic puff vinyl, pressing twice is the key to getting a great puff. On your first press, you’ll tack the vinyl down. On the second press, you’ll cover the design in butcher paper and press again. When you peel off the butcher paper, your puff will start to raise!
Q: How long do I press puff vinyl?
A: I pressed my metallic puff vinyl for 10 seconds on the first press, and 10 seconds on the second press and got great results.
Q: What heat press setting for puff vinyl?
A: I pressed my metallic puff vinyl at 300 degrees Fahrenheit, or 149 degrees Celsius with great results.
Q: How do I care for my puff HTV shirt?
A: Wait at least 24 hours before washing your puff vinyl shirt for the first time. Wash it inside out with cold water on a gentle cycle, with a mild detergent. Do not use bleach. Then you can tumble dry low. You may notice that after washing and before drying, your puff vinyl looks flat! Don’t panic, this can happen when it’s wet. Simply tumble dry the shirt on low to medium heat and your vinyl should puff back up.
Get my free SVG file to create a shirt with metallic puff iron-on vinyl!
I love seeing what you make with my designs and how you use them! Please share a photo of your metallic puff iron-on project in our Facebook group or tag me on social media with #jennifermaker.
Love,

Want to remember this? Save this Tutorial on Metallic Puff Iron-On Vinyl to your favorite Pinterest Board!