Learn how to sublimate a hoodie with my free designs!
Whether you’re out on a chilly day or just looking for some cozy duds at home, there’s always a place for a cute, snuggly hoodie. And wouldn’t it be better if the hoodie has an awesome design on it? Don’t worry about searching for the perfect comfy sweatshirt, because if you have some basic sublimation equipment, you can add the perfect design to make it yours — exactly where you want it!
Want to save this project? Enter your email below and we’ll send the project straight to your inbox.
Watch the full step-by-step tutorial on how to sublimate hoodies:

If you think that sublimating a hoodie is just like sublimating a T-shirt, you might be surprised! I love sublimating because of the vibrant colors and permanent designs sublimation dyes can create. While sublimating hoodies isn’t entirely unlike sublimating T-shirts, there are some key differences when you’re working on bulkier items like sweatshirts. These differences are extra obvious when sublimating different spots like the back, chest, and arms of the garment.
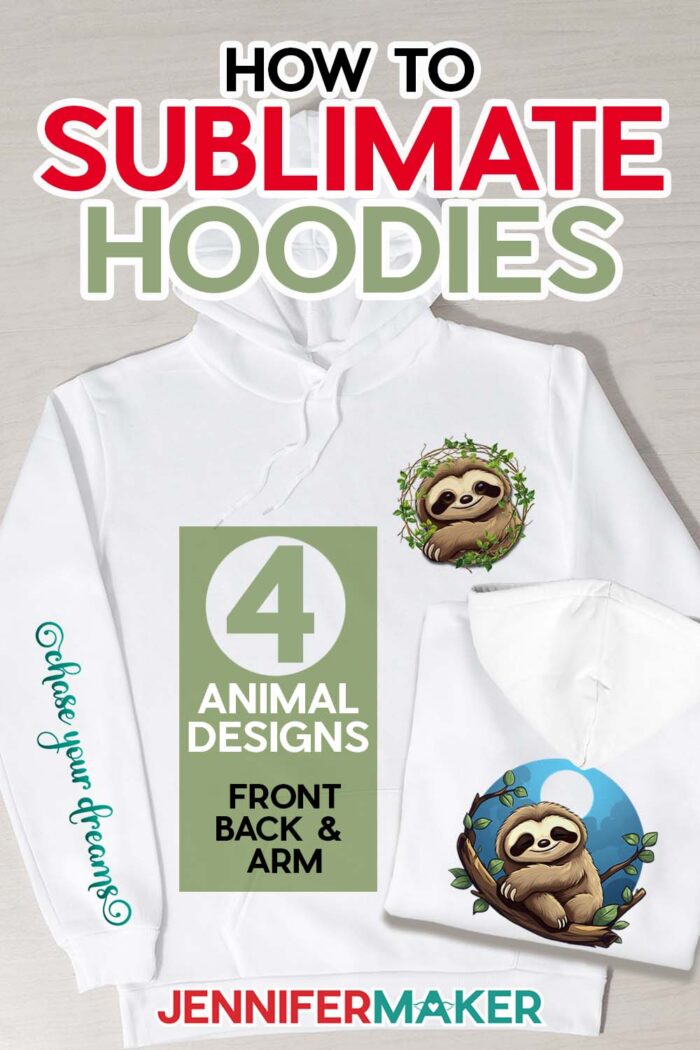
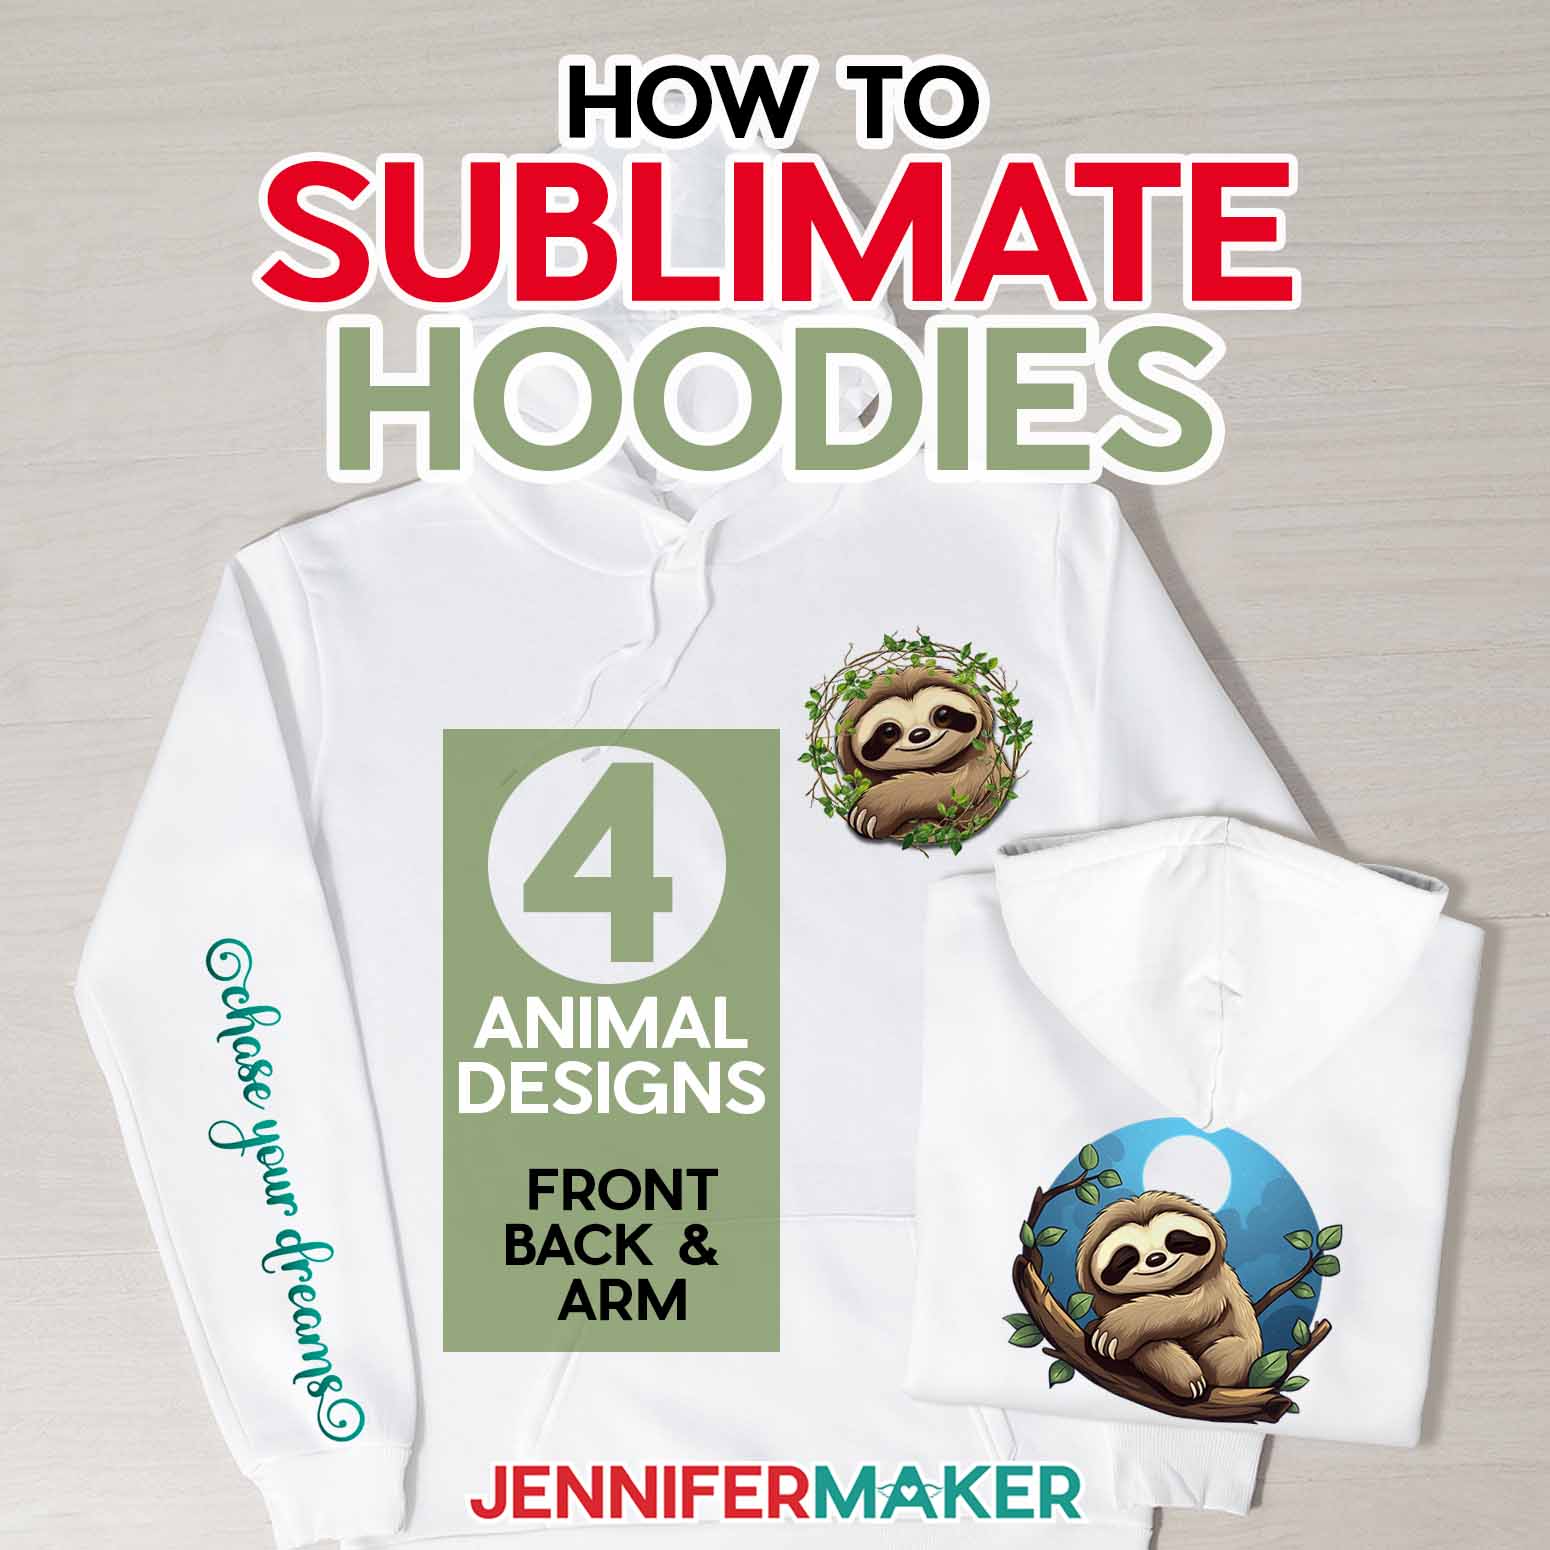
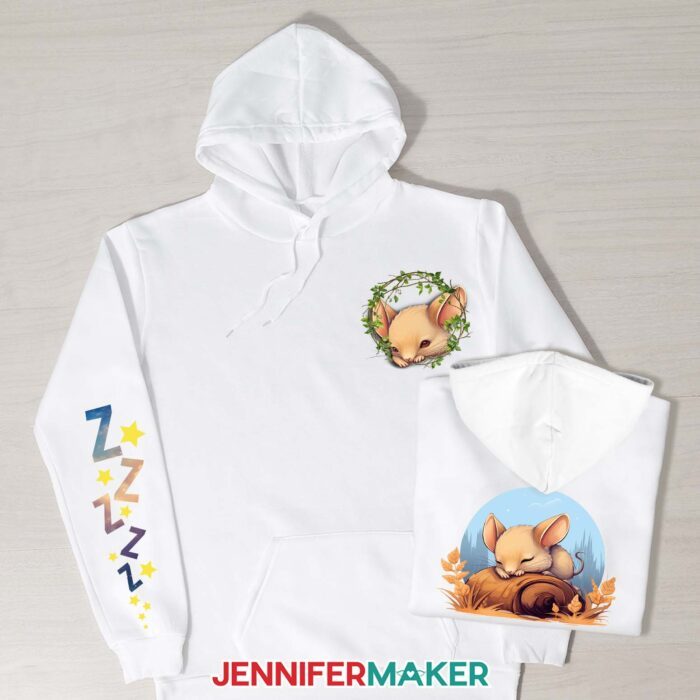
But don’t worry! I’ll walk you through the whole process of sublimating my adorable sleepy animal images to the back, the chest, and a sleeve of a hoodie! I created these designs with the help of an AI image generator and some tweaking in Photoshop. We’ll use Google Docs to prepare them, then you’ll need a sublimation printer with compatible ink (and sublimation paper) to print them.
Sublimation works best on white, 100% polyester fabric, like the hoodies linked in my materials list. Don’t try to sublimate a cotton sweatshirt — the dye will just wash out! I tested several different styles of polyester hoodie, but the ones in my materials list were my favorite and gave the best results. Because of the placement of the seams, they were the easiest to sublimate — especially on the sleeves and front.

I’ll show you how I did it using a really helpful tool called a pressing pillow. When tucked inside a garment, they raise up the area away from seams that would ordinarily make for a tricky transfer. They also help to protect any other sublimated areas you’ve already pressed!
Another tool I tried was an arm shaper, and I’ll demonstrate how to use one with your hoodie. But … is the arm shaper tool a crafting win? You’ll need to watch the video tutorial to get my honest opinion!
One more new tool to add to your shirt-making toolkit is my back-positioning ruler! This helps you place your printed sublimation design in the perfect spot on the back of a hoodie. You can find it in my free resource library under project #433, and get written instructions on how to use it in my T-Shirt Ruler Guide post. It’s really easy to make with a cutting machine, but you can also make one by hand.
You’ll need the usual sublimation supplies, like a fan for ventilation, white cardstock for catching extra ink, heat tape to keep everything together while you press, and a few other things from my materials list.

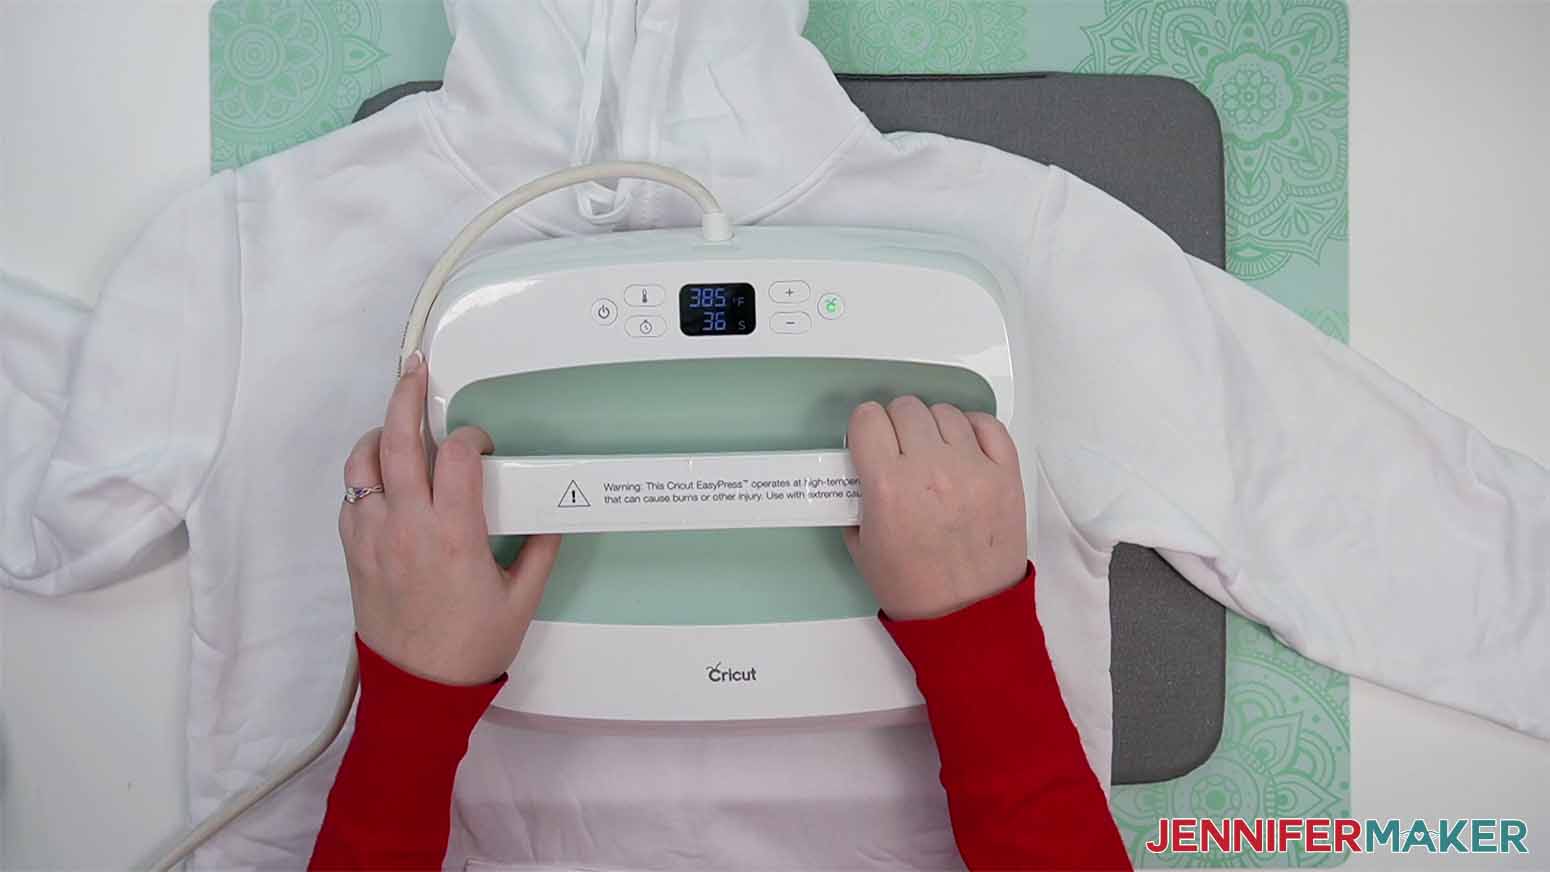
I used a Cricut EasyPress for this project, but you can use any flat heat press that reaches the temperature you need. My hoodies sublimate well at 385 degrees F, but other hoodies may require different temperature and pressing times depending on the press. You can learn all about the different heat press types in my Sublimation Cookbook.
But, what if this is your first time making a custom sublimation hoodie, or maybe you’re even new to sublimation in general? Messing up a hoodie would be an expensive mistake, so it’s a good idea to do a test press of your design onto a piece of 100% polyester fabric. That way you can tweak any settings before making a potential mistake with your hoodie.
So, are you ready to create your own sublimated hoodie? With my techniques and tips, you’ll be able to sublimate your own design onto a blank hoodie before you know it! Sublimation hoodies make great gifts for someone special — and that includes you, too! I can’t wait to see how yours turn out!
Let me show you how easy it is to sublimate a hoodie! This post contains some affiliate links for your convenience (which means if you make a purchase after clicking a link I will earn a small commission but it won’t cost you a penny more, there is no additional cost)! Read my full disclosure policy.
Materials for Sublimating Your Own Hoodies
View my Amazon shopping list with the exact items we used to make this project
- One (1) White 100% Polyester Hoodie
- One (1) Sheet of A-SUB 125g Sublimation Paper 8.5″ x 11″
- Butcher Paper -OR- 12×12 White Cardstock
- Optional: Polyester Material for Practice
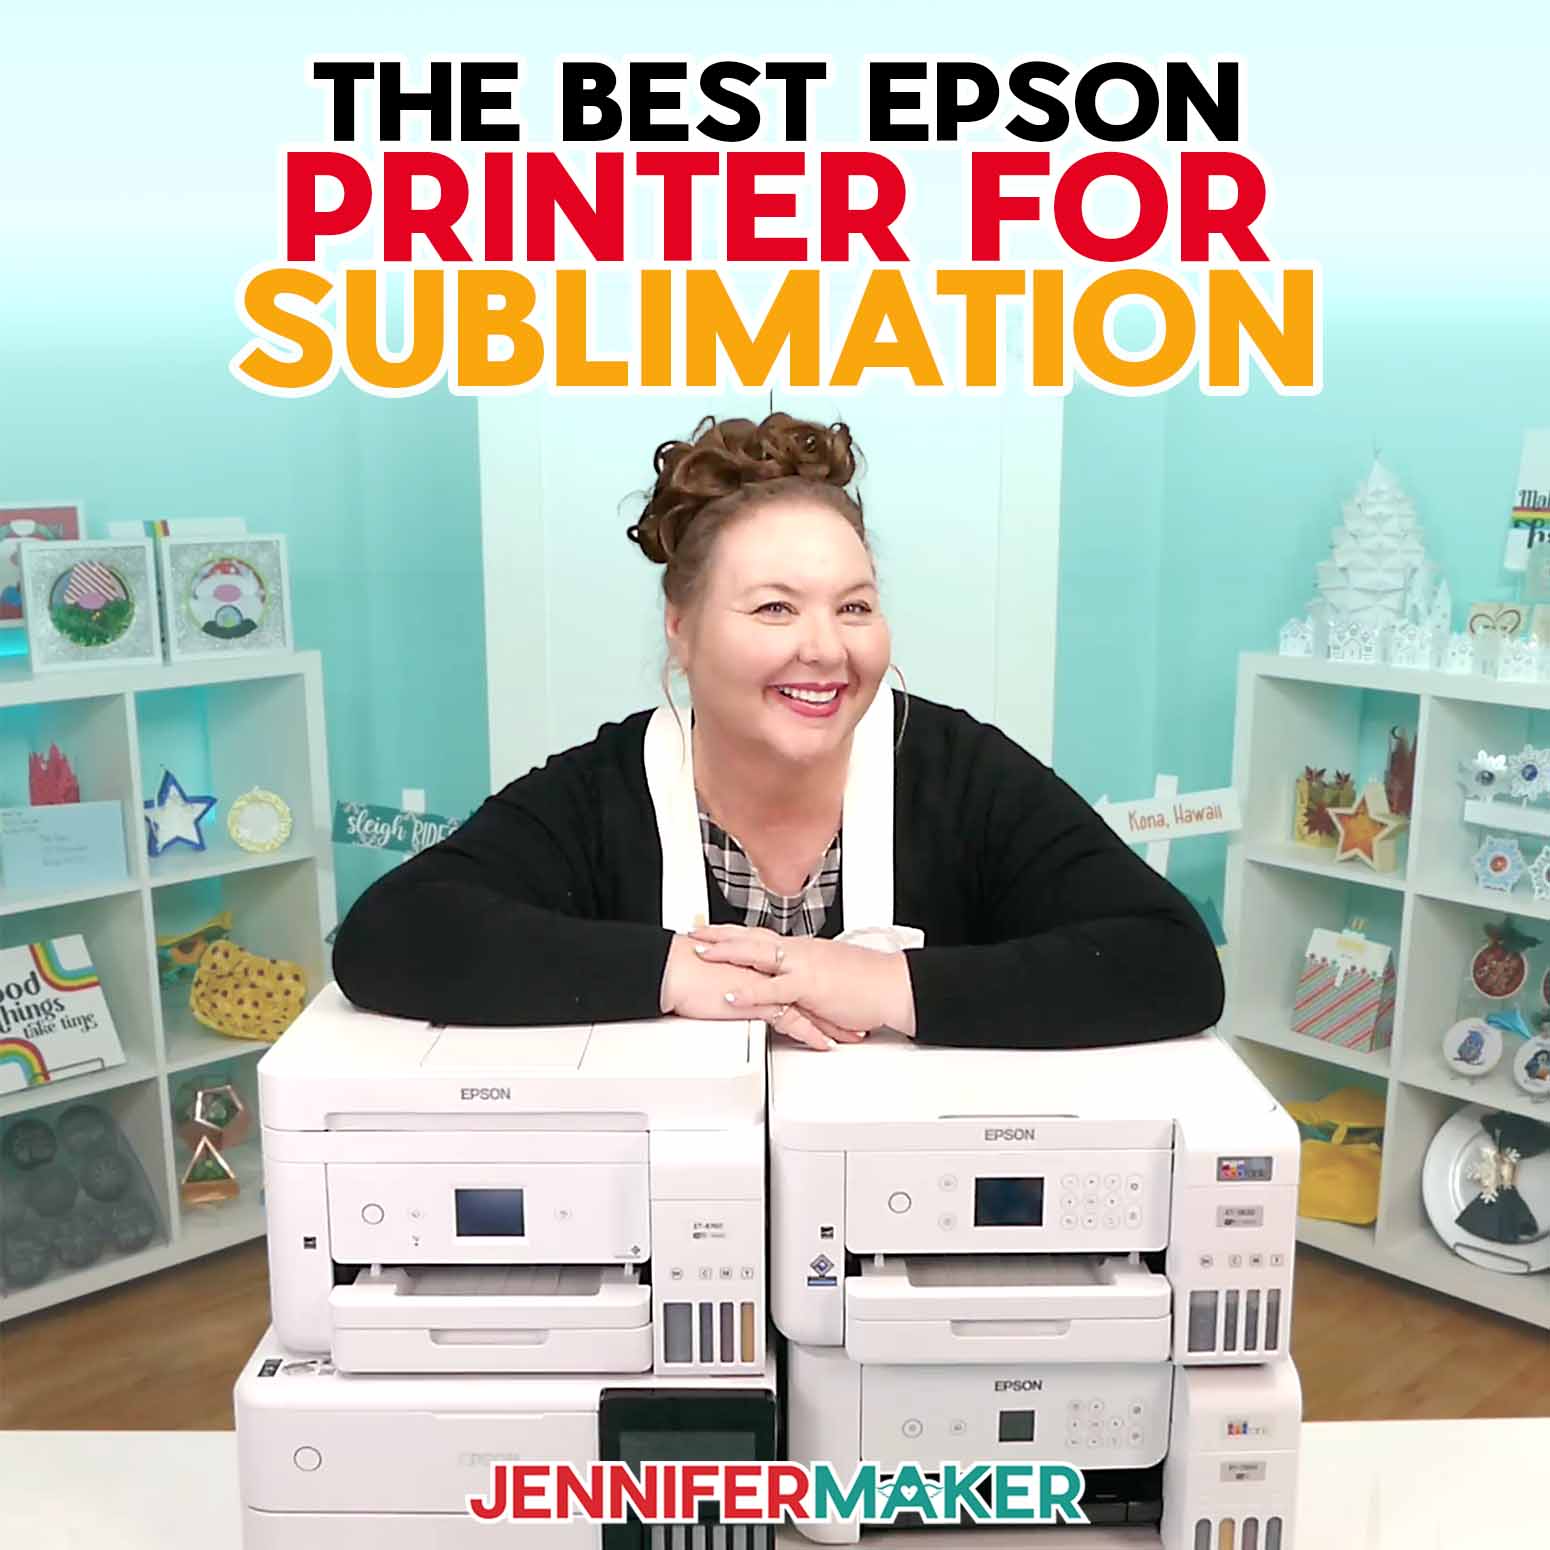
- Sublimation Printer – I used a converted Epson EcoTank ET-4700 Inkjet Printer
- Sublimation Ink
- Heat Press – I used the Cricut AutoPress
- Fan for Ventilation
- Heat Resistant Tape
- Ruler
- Lint Roller
- Cricut EasyPress Mat -OR- Teflon Pillows
- My free shirt rulers (optional)
- Design #561 (My free PNG/PDF design files available in my free resource library – get the password by filling out the form at the bottom of this page)
How to Sublimate Hoodies
How To Sublimate Hoodies
Learn how to sublimate designs onto both sides of a hoodie as well as the sleeve!
Materials
- One (1) White 100% Polyester Hoodie
- One (1) Sheet of Sublimation Paper 8.5" x 11"
- White, Uncoated Butcher Paper
- 12x12 White Cardstock
- OPTIONAL: Polyester Material for Practice
- Design #561 (My free PNG/PDF design files available in my free resource library - get the password by filling out the form at the bottom of this page)
Tools
- Sublimation Printer - I used a converted Epson EcoTank Inkjet Printer
- Sublimation Ink
- Heat Press - I used the Cricut EasyPress 2
- Fan for Ventilation
- Heat Resistant Tape
- Ruler
- Lint Roller
- Cricut EasyPress Mat -OR-
- Heat Pressing Pillows
- OPTIONAL: My T-Shirt Ruler Guides
- OPTIONAL: Scissors
Instructions
STEP 1: GET MY FREE SUBLIMATION HOODIE DESIGNS
First, download my Cute Sleepy Animal Sublimation designs from my free library – look for Design #561. Alternatively, you can use the Save This Project form near the top of this post and the design link will be emailed to you.
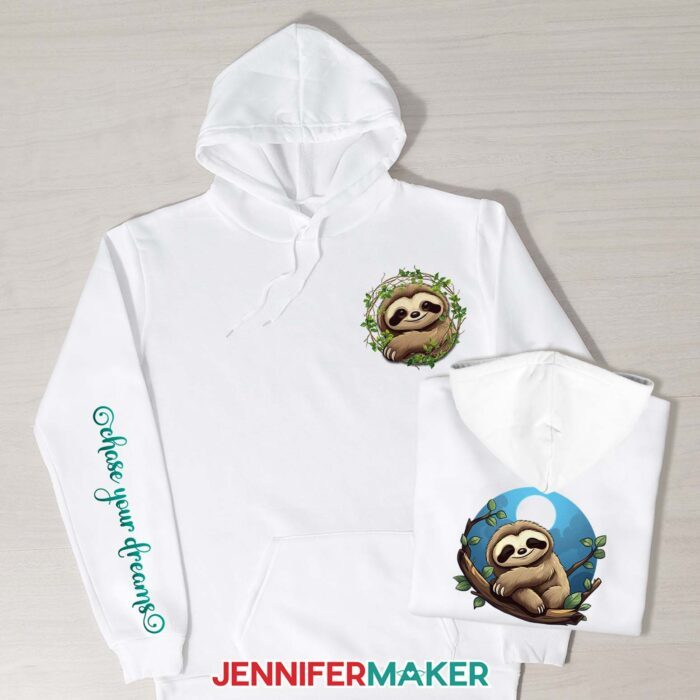
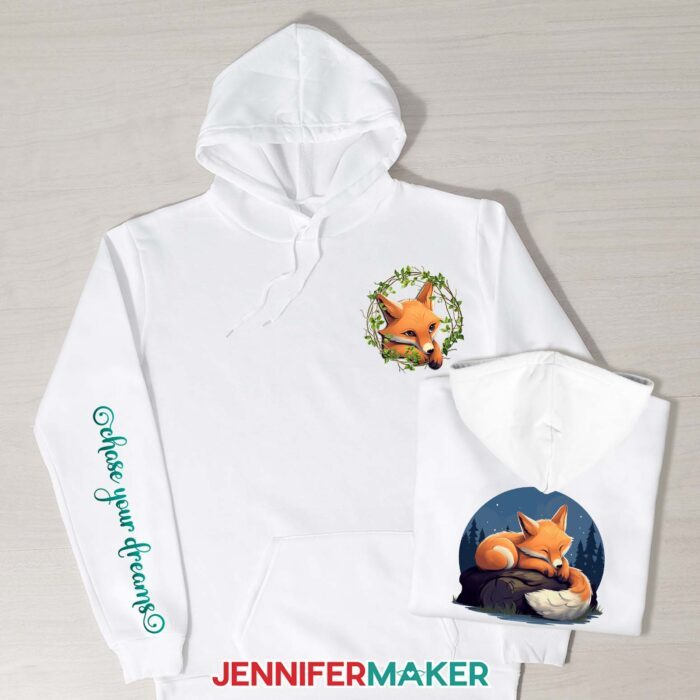
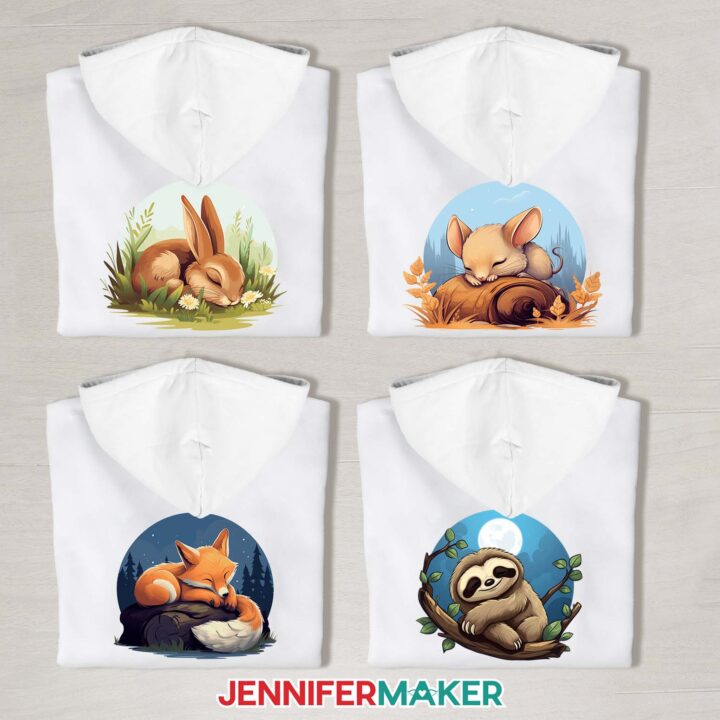
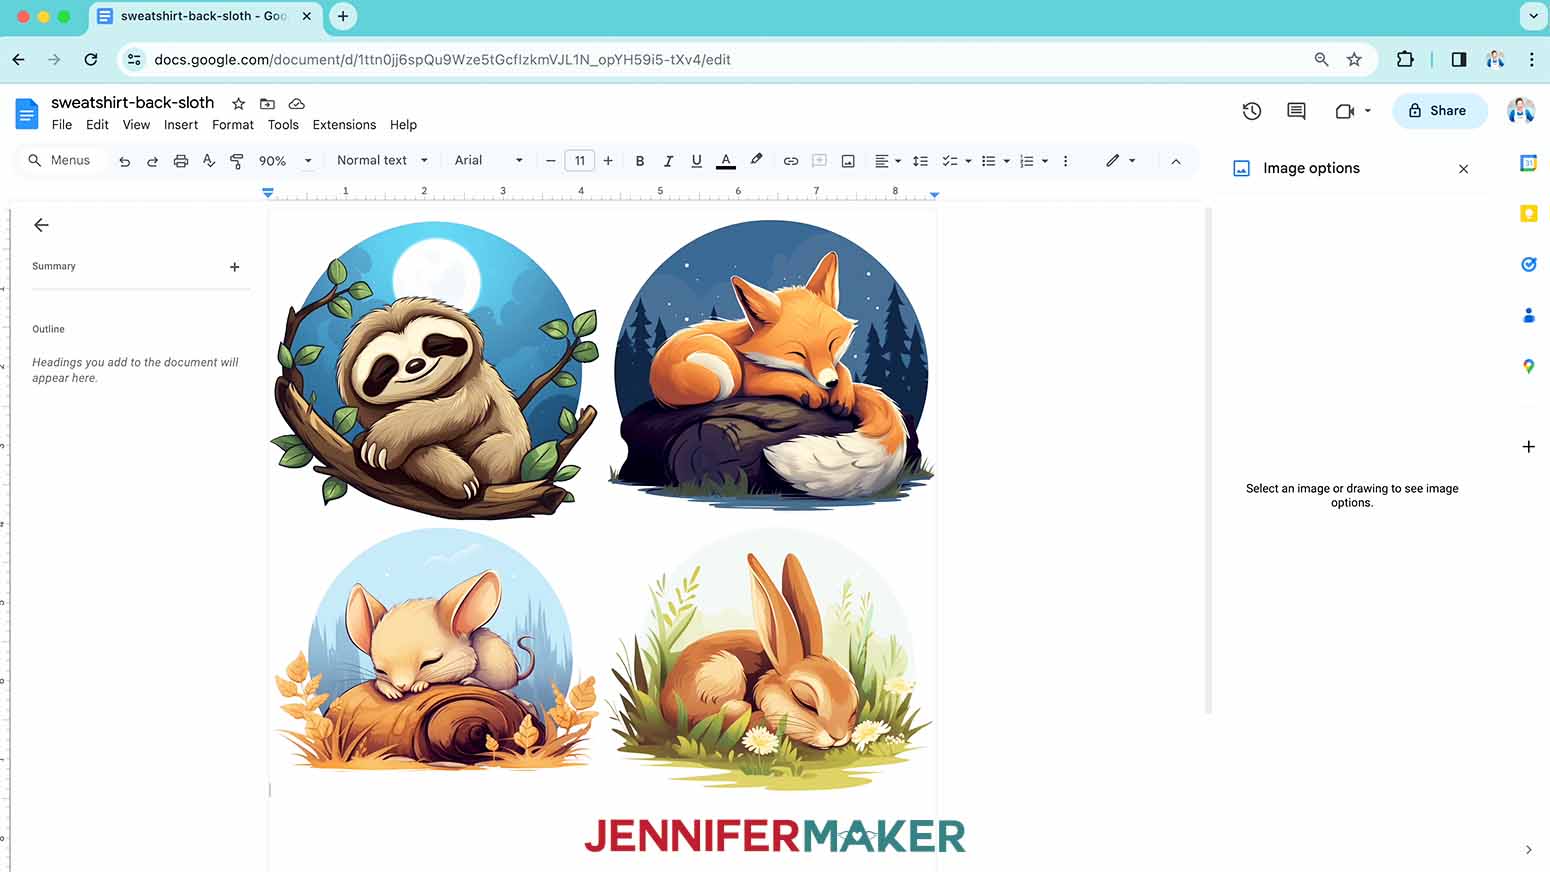
There are four large sleeping baby animal designs: a fox, a sloth, a rabbit, and a mouse.
I’ve also included four smaller, matching sleepy baby animal designs, and three phrases: “Happy Dreaming,” “Zzzzz,” and “Chase Your Dreams.”


I used an AI art generator to create the designs, then made them even more fantastic with image editing software. If you want to learn more about the process, check out my AI Art Design workshop on creating and using AI-generated art in your crafts.
STEP 2: PREPARE AND PRINT YOUR DESIGNS
1. Open Google Docs in the Google Chrome web browser on your computer. You can also download and open the Google Docs app, but be aware that you won’t be able to install or access any printer profiles from a mobile device, and you’re also limited in features, so I do not recommend it on a mobile device. (Note: You will need a free Google account to use the free Google Docs software.)

2. With Google Docs open, click on Blank in the upper left corner to open a new document.
![]()
3. Go to the File menu and select Page setup. Change your margins to “0” and change your Paper Size to match your sublimation paper size.

4. Go to the Insert menu, select Image, and select Upload from Computer. Locate the sublimation design you want to use for the back (hint: it’s probably in your Downloads folder), and click Open.
5. Resize the image to 8.25” wide. Either select the image then click and drag a corner or you can right-click the image and select Image Options and change the size in the fields.

6. Reposition the image on your page by selecting the image, then click on “Wrap text” from the menu that appears below it. Once you do this, you can click and drag the image anywhere on your page. I recommend putting your design in the center of your page, as that ensures it won’t get cut off at the edges and you have plenty of space for cutting/tearing edges.
7. Give your document a name so you can find it later (you don’t have to worry about auto-saving, as it saves itself as you go).
8. Go to the File menu and choose Print.
9. Select your printer under “Destination.”
10. Click the arrow beside “More Settings” and click on “Print Using System Dialog.”
11. Your print menu may look different - make sure you “mirror” the print and select the highest quality print.
NOTE: The printed designs will appear lighter before pressing.
12. Determine the center line of your sublimation design by carefully folding the sides together and pinching the top and bottom edges of the paper without creasing the image itself.

13. Carefully tear the paper closely around each printed design, leaving a ragged edge. This makes a pressing line less likely to appear when the paper is pressed into the hoodie.

14. Follow Steps 1-13 above to prepare and print the front sublimation design and the sleeve sublimation design.
- Resize the front animal design to 3.5” wide.
- Resize the ZZZZZ and Happy Dreaming sleeve design to 9.5” tall.
- Resize the Chase Your Dreams sleeve design to 10.5” tall.


STEP 3: PREPARE AND SUBLIMATE THE HOODIE
CAUTION: Good ventilation is important any time you use sublimation. Have your windows open and a fan going to help the fumes dissipate quickly. And don’t breathe in very close to the project while it’s still warm.
1. Set your heat press to the correct temperature and time. According to my Sublimation Cookbook, the EasyPress 2 needs to be set at 385° F (196° C) for 40 seconds with light pressure for polyester fabric.
OPTIONAL: Use the pressing steps below to test your prints on polyester fabric to save yourself from using expensive blanks.

SUBLIMATE THE BACK OF THE HOODIE
1. Find the center of the back by folding the hoodie in half vertically, matching up shoulder seams to make sure the sides are even.

2. Lightly press the folded hoodie for approximately 10 seconds to help set the center line, remove excess moisture from the material, and smooth out any extra wrinkles.

3. Lay the hoodie flat so the back is visible and the hood is lifted above the neck line, then insert a pressing pad and piece of cardstock into the hoodie.
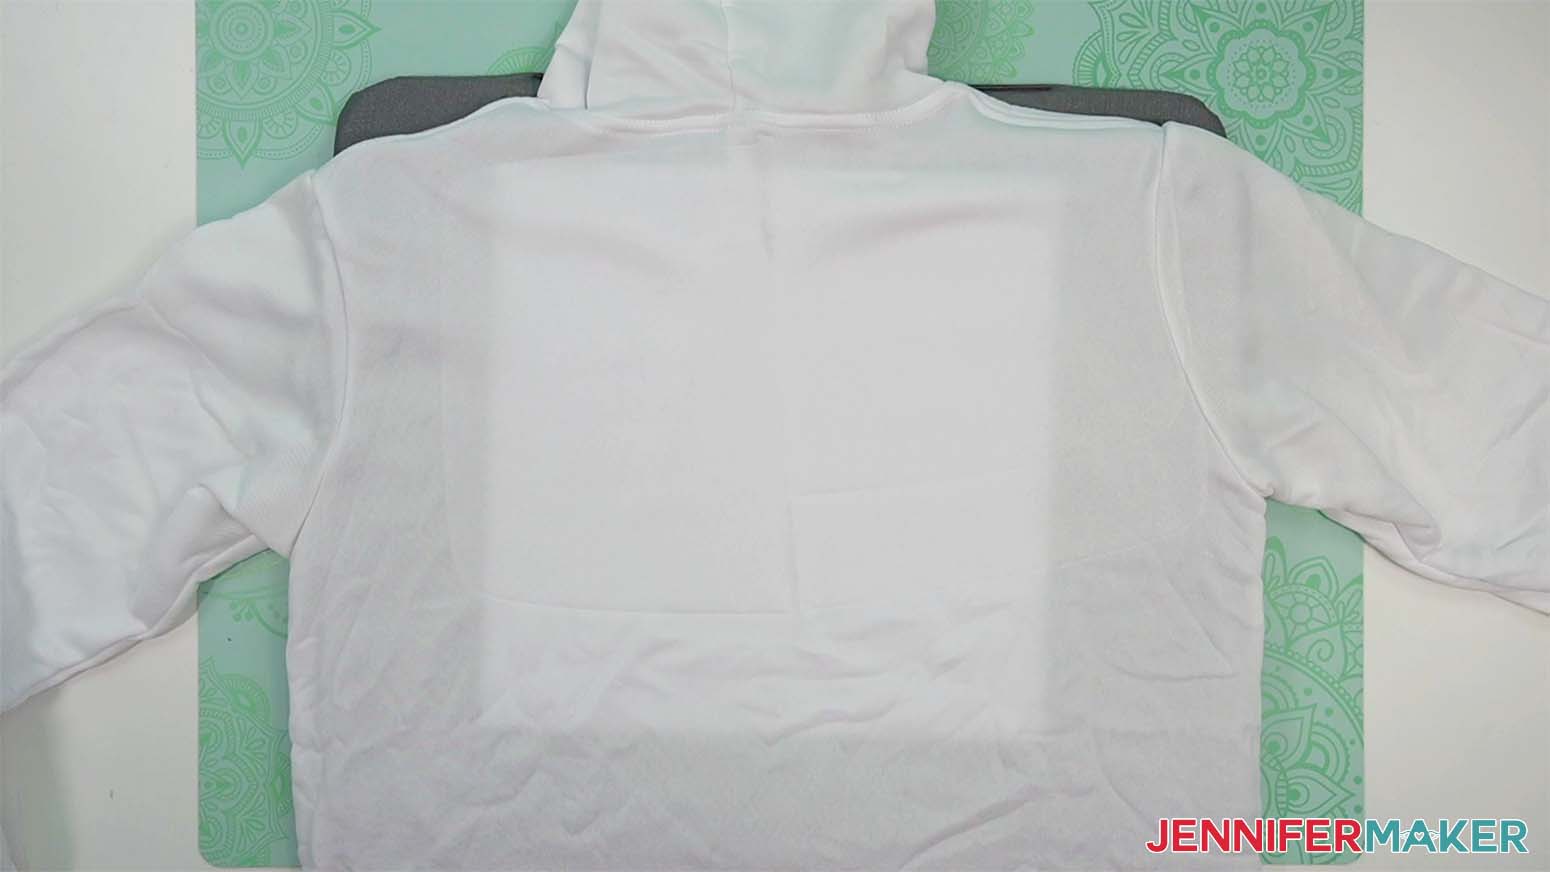
4. Lint roll the hoodie.
5. Center the design on the hoodie by lining up the creases on the paper with the pressed line on the back of the hoodie about 5” below the neckline.
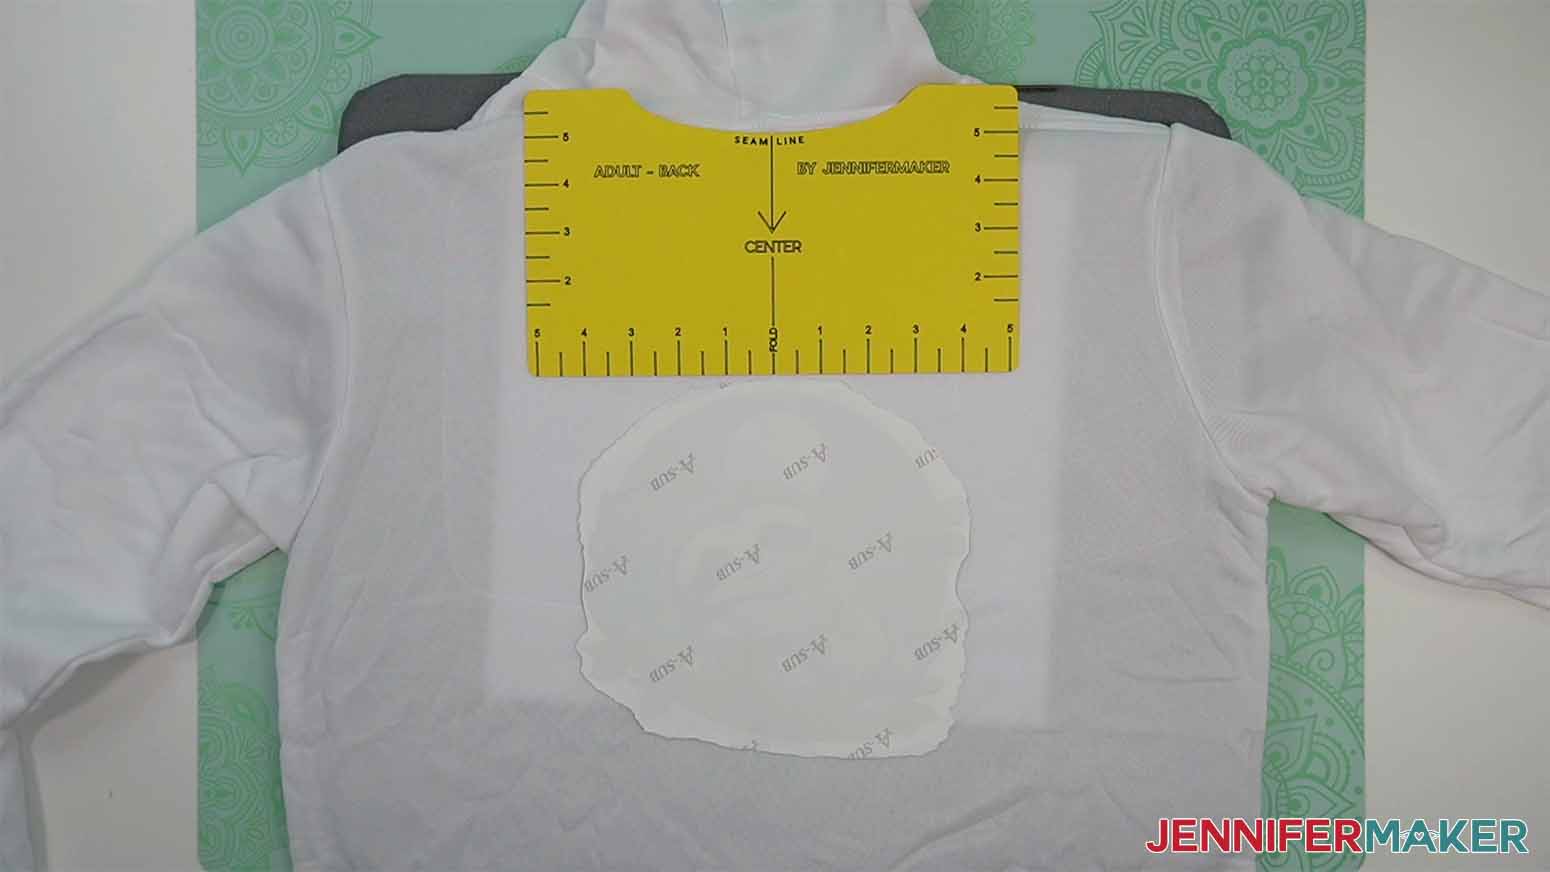
6. Pull the hood down onto the back to see if the design is mostly or completely visible.

7. If necessary, pull on the bottom of the design slightly until the image is visible. (Approximately 6” down from the neck seam works well if using the hoodies I have listed on my supply list.)

TIP: My T-Shirt Rulers are a great help when determining placement of designs on clothing.
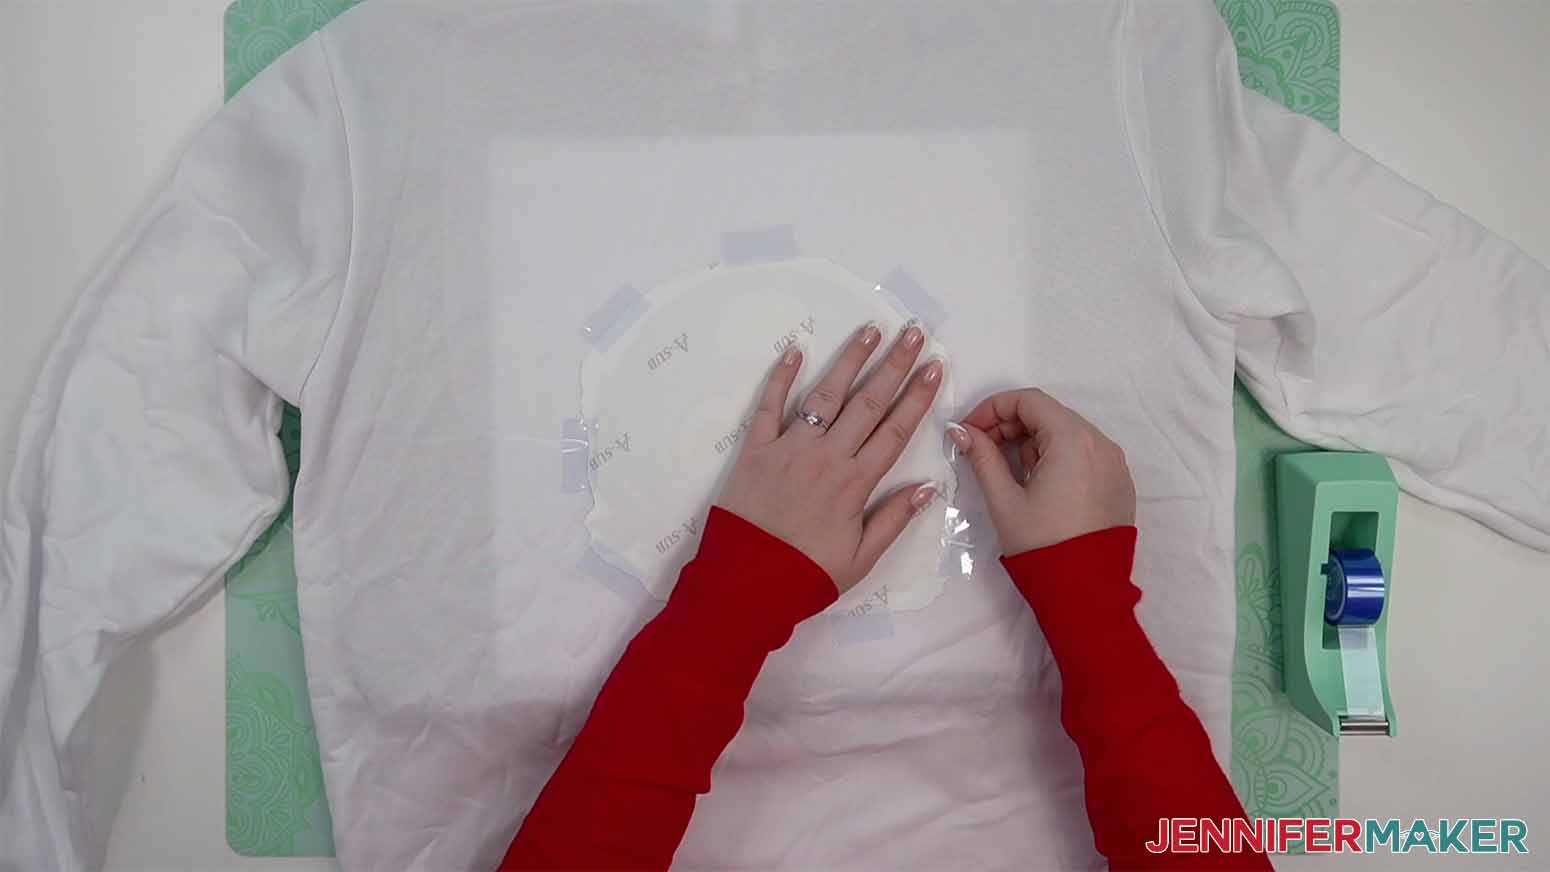
8. Tape all four edges of the design with heat resistant tape.
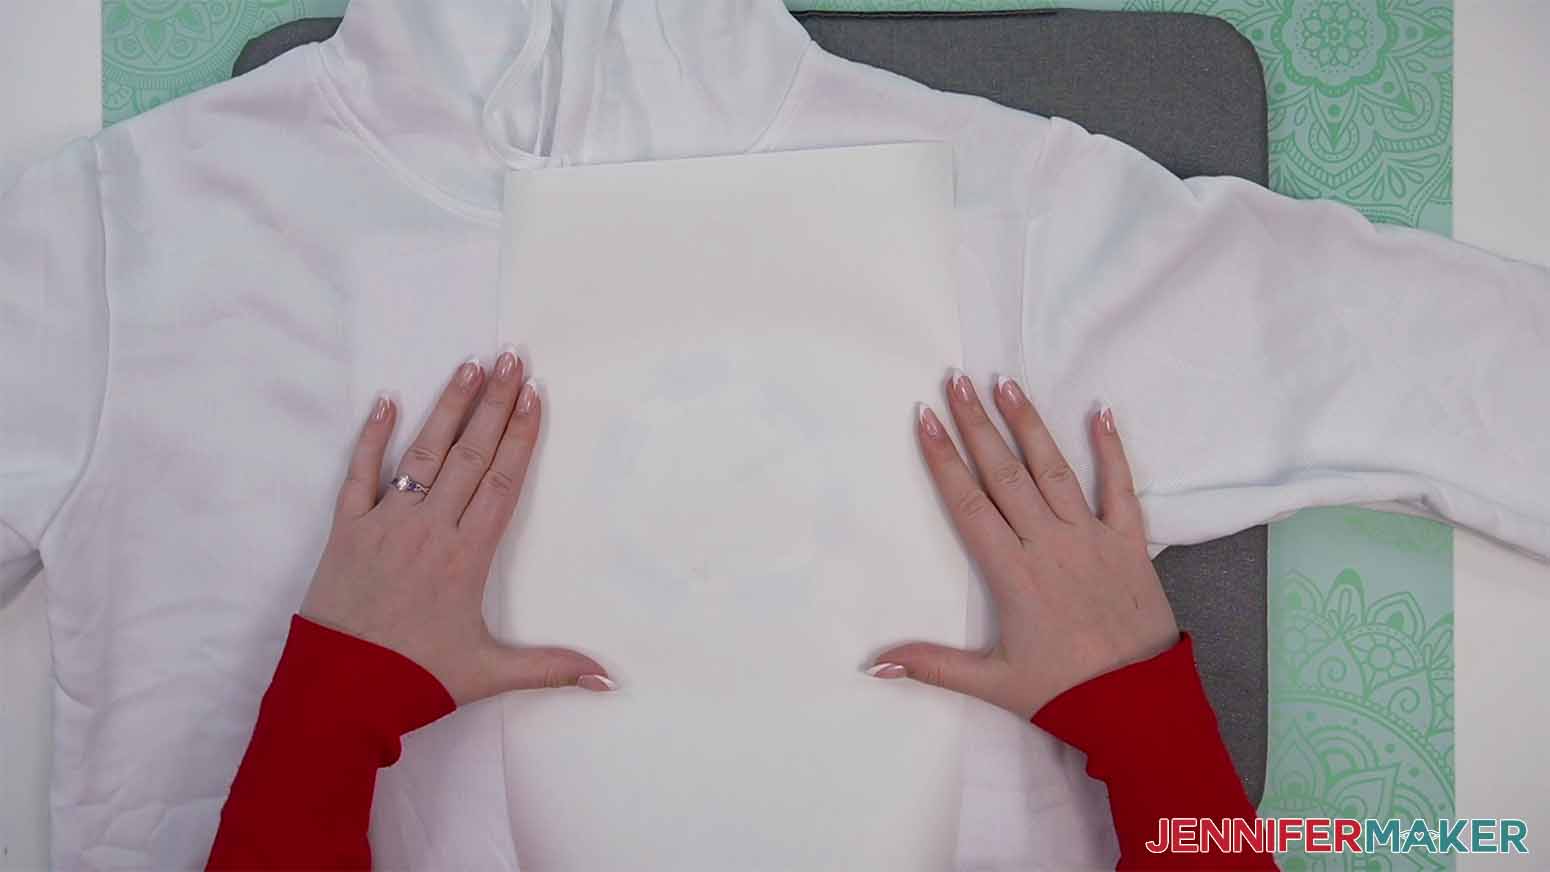
9. Place a piece of butcher paper on top of the hoodie and taped design.

10. Press the hoodie with light pressure for 40 seconds at the correct temperature.

11. After pressing, allow the design to sit for approximately 10 seconds to help prevent ghosting.
12. Remove the taped design from the hoodie, and the pressing pad or cardstock from inside the hoodie.

13. The back of your hoodie is ready!

SUBLIMATE THE FRONT OF THE HOODIE
1. Lay the hoodie flat so the front is visible, then insert a pressing pad and piece of cardstock into the hoodie.
sublimate-hoodies-front-insert-pad (show a photo of the seams dropping below the edge of the pressing pad when it is inside the hoodie.)
NOTE: I recommend a pressing pad to help protect the sublimation that is already on the back of the hoodie and to help flatten areas around the seam.
2. Lightly press the hoodie for 10 seconds to help remove excess moisture and any wrinkles.
3. Lint roll the material.
4. Measure the location to place the design for the front upper left of the chest. I placed the center of my design approximately 5.5” from the right of where the hood meets the center of the collar, and approximately 5.5” down from the shoulder seam. (The placement can be adjusted to what works best for you!)

5. Place the printed image face down on the hoodie, using the straight edge seam of the hoodie as a guide to make sure your creased top and bottom on the design are aligned vertically on the hoodie. Make sure the pressing pad or cardstock inside the hoodie is directly below the design.

6. Tape all four edges of the design with heat resistant tape.

7. Place a piece of butcher paper on top of the hoodie and taped design.
8. Press the hoodie with light pressure for 40 seconds at the correct temperature.

9. After pressing, allow the design to sit for approximately 10 seconds to help prevent ghosting.
10. Remove the taped design from the hoodie, and the pressing pad or cardstock from inside the hoodie.

11. The front of your hoodie is ready!

SUBLIMATE THE SLEEVE OF THE HOODIE
1. Find the center of the sleeve by pinching the upper seam in the middle of the shoulder and folding it in half vertically, making sure the sides are even.

2. Lightly press the folded sleeve for approximately 10 seconds to help set the center line, remove excess moisture from the material, and smooth out any extra wrinkles.

3. Pull the sides of the sleeve apart so the crease now runs down the middle of the sleeve with flat material on either side. Then insert a pressing pad or piece of cardstock into the sleeve. (I found a piece of 12” x 12” cardstock folded in half works quite well for the sleeves.)

4. Lint roll the material.
5. Decide where to apply the sleeve image. I placed my designs approximately 3.5” from the top shoulder seam so they will still be visible if the sleeves are pushed up the arms.

6. Place the printed image face down on the sleeve, making sure to line up the creased edges with the center line pressed on the sleeve. The pressing pad or cardstock inside the sleeve should be directly below the design.
7. Tape all four edges of the design with heat resistant tape.

8. Place a piece of butcher paper on top of the sleeve and taped design.

9. Press the hoodie with light pressure for 40 seconds at the correct temperature.

10. After pressing, allow the design to sit for approximately 10 seconds to help prevent ghosting.
11. Remove the taped design from the hoodie, and the pressing pad or cardstock from inside the sleeve.

12. The sleeve of your hoodie is ready!

STEP 4: SHOW IT OFF
Hoodies are great for keeping you warm in the cold! You can also give them as personalized gifts! You can even choose unique locations for the designs - such as text above the pocket.

Notes
Sizes Used in Samples:
Hoodie - Size Medium
Sleeping Sloth 8.25x7.45
Sleeping Rabbit 8.25x6.68
Sleeping Mouse 8.25x6.12
Sleeping Fox 8.25x7.37
Chase Your Dreams 2.12x10.5
Happy Dreaming 2.4x9.5
ZZZZ 2.71x9.5
Sleepy Fox with Vine Border 3.5x3.64
Sleepy Rabbit with Vine Border 3.52x3.98
Sleepy Mouse with Vine Border 3.51x3.17
Sleepy Sloth with Vine Border 3.51x3.47
Typefaces used:
“Chase Your Dreams” - Christmas Jellyshake, Free Font Alternative: Blantick Script
“ZZZZZ” Wonderful Display Font, Free Font Alternative: Bestoom
“HAPPY DREAMING” Wonderful Display Font, Free Font Alternative: Bestoom
Care Instructions:
Turn the hoodie inside out, then machine wash with cold or warm water and a mild detergent.
Hang dry or dry with low heat.
Answers to Your Questions About How to Sublimate Hoodies
Q: Can you do sublimation on hoodie?
A: Absolutely! Just make sure your hoodie is polyester, and not a cotton shirt, or a cotton blend. My YouTube video tutorial will teach you the ins and outs of sublimating designs onto the chest, back, and arm of a white, 100% polyester hooded sweatshirt.
Q: What temperature do you sublimate sweatshirts?
A: Always check the manufacturer’s instructions on your sublimation blanks. My hoodie sublimated at 385 degrees Fahrenheit.
Q: Can you tell me how long to heat press a hoodie?
A: Again, check the manufacturer’s instructions on your hoodie before sublimating. My hoodie sublimated for 40 seconds.
Q: Do you cold peel sublimation?
A: When sublimating polyester hoodies, let your sublimation design cool off for about 10 seconds after pressing before removing the sublimation paper. This will help prevent ghosting or blurring of the design which can happen if the sublimation process is still going on when the paper is moved.
Q: Can you sublimate on black shirts? Can you sublimate on colors other than white?
A: No … and yes! Sublimation works best on white, 100% polyester garments. You cannot sublimate directly onto black or dark shirts, but there are workaround techniques using supplies like heat-transfer vinyl and even bleach that you can explore.
Q: How do you wash a sublimated hoodie?
A: Caring for these sublimation hoodies is really easy, because the sublimation ink is actually a dye — it infuses into the sweatshirt’s fibers instead of sitting on top of them like vinyl would! Wait at least a day after sublimating so the ink has time to set, then turn the hoodie inside out before washing with cold or warm water and a mild detergent. Hang dry or tumble dry on low heat.
Get my free PNG files to sublimate hoodies!
(If you do not see the signup form above, click here.)
I love seeing what you make with my designs and how you use them! Please share a photo of your sublimated hoodie in our Facebook group or tag me on social media with #jennifermaker.
Love,

Want to remember this? Save this How to Sublimate Hoodies Tutorial to your favorite Pinterest Board!