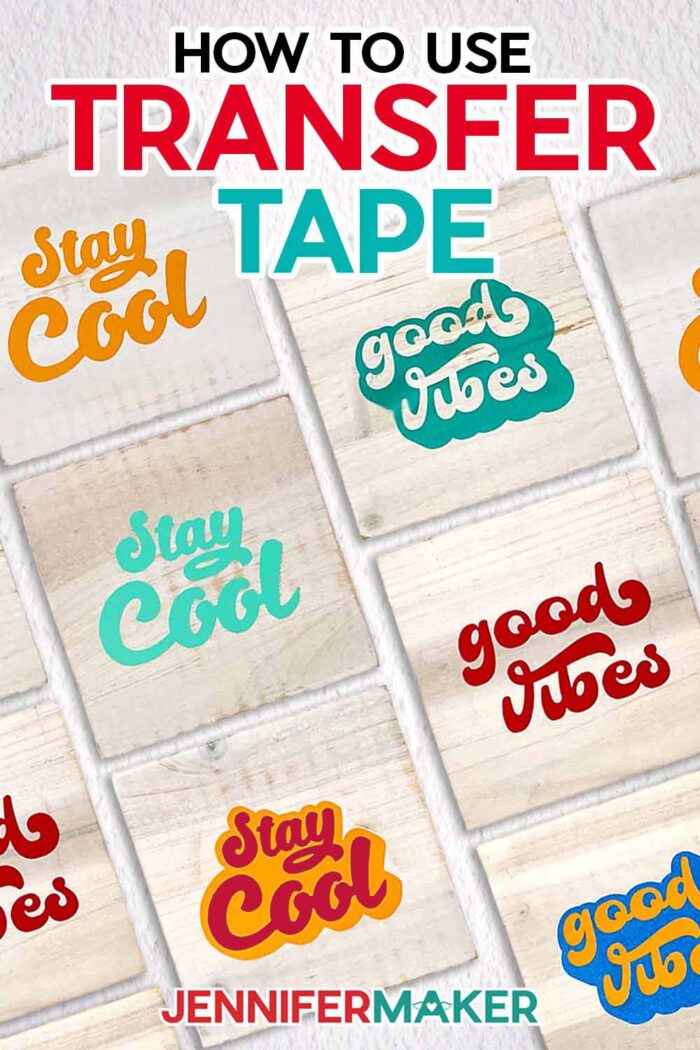
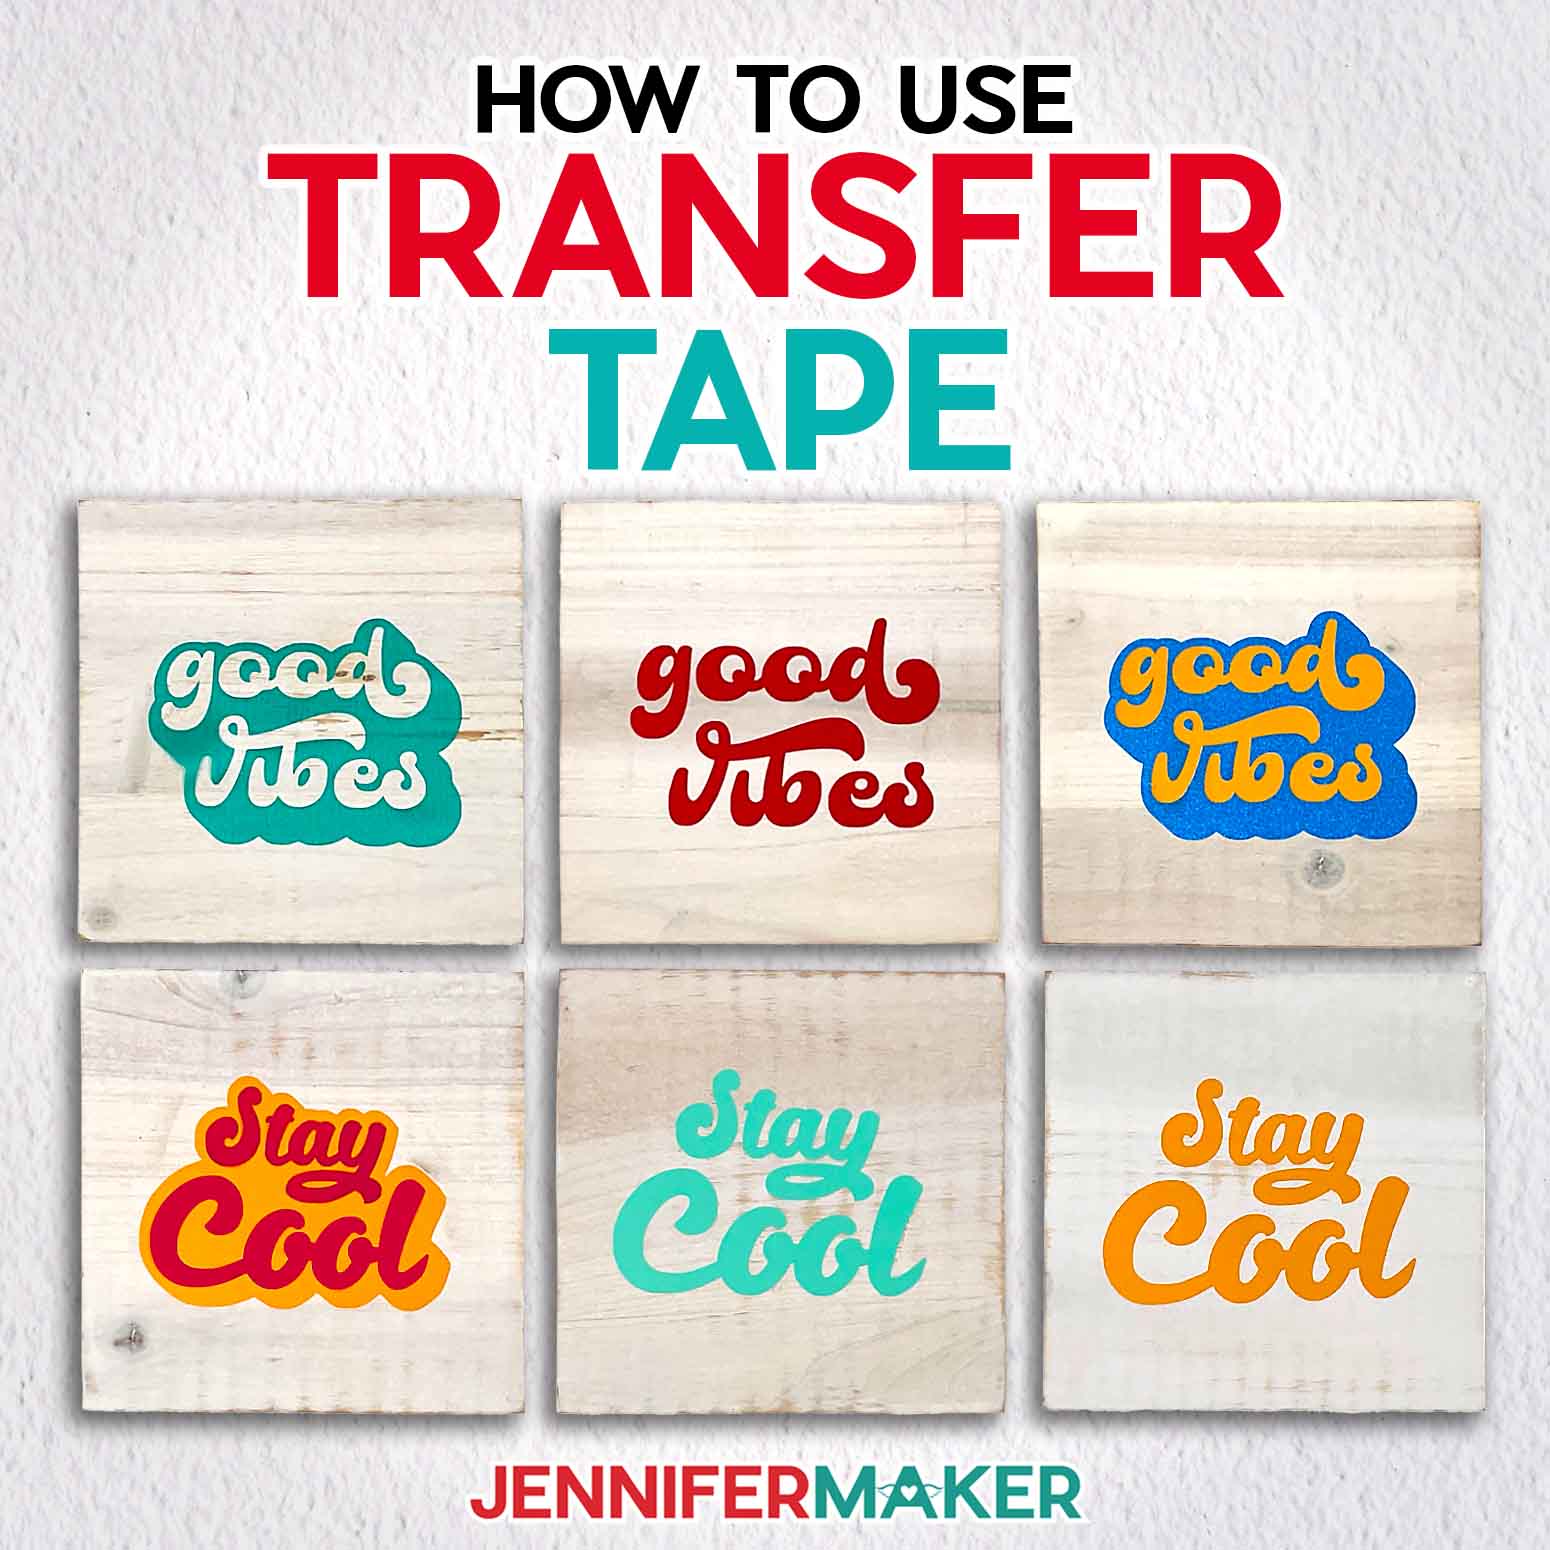
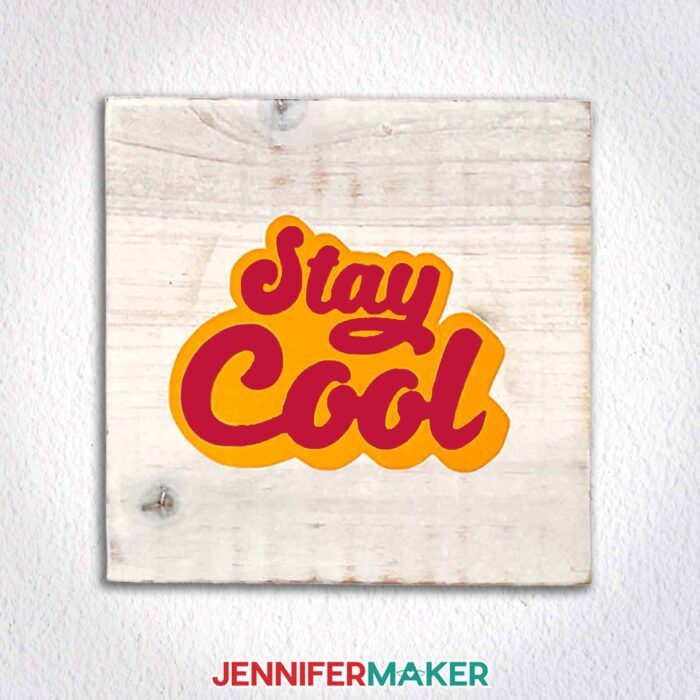
Learn how to use transfer tape for vinyl projects!
Adhesive vinyl has become a major staple when it comes to my crafting life, and one is the best beginner Cricut projects you can experiment with. There’s truly no end to the many different things you can make with it, like fun decorative signs, customized cups, even decorations for your household appliances! But what do all these vinyl projects have in common? They all need transfer tape to get the job done. However, if you’re new to working with transfer material or don’t understand how and what types to use, it can turn a fun and simple craft into anything but! Today I’ll show you the ins and outs of how to use transfer tape, so you can get confident about working with (and transferring) adhesive vinyl decals.
See the full step-by-step video tutorial on how to use transfer tape for vinyl:

Ready to learn how to use transfer tape? This post contains some affiliate links for your convenience (which means if you make a purchase after clicking a link I will earn a small commission but it won’t cost you a penny more)! Read my full disclosure policy.
This is a Cricut Mystery Box project — it uses the same blue light grip machine mat that you could have gotten in the “Outer Space mystery box in May 2023. While this mystery box is no longer available, you can still purchase the machine mat in my material list. Learn more in my Cricut Mystery Box Guide.
Why is transfer material a necessity when working with adhesive vinyl? Can’t you just peel it off and stick it where you want it? Well, yes, and no. In theory, you could peel the vinyl off from the carrier sheet and stick it where you want it. However, in practice, this is a good way to ruin your vinyl decal.
Because adhesive vinyl is so thin and sticky, and because the designs cut with it can be quite complex, transfer tape makes it infinitely easier to apply your decal to its intended place. It allows you to take delicate and intricate designs and place them onto any smooth surface you like!
From standard permanent vinyl to the surprisingly sturdy shimmer and glitter vinyl – there are a lot of different types of adhesive vinyl, with a lot of differences in how they’re applied — which can be a lot to keep track of!

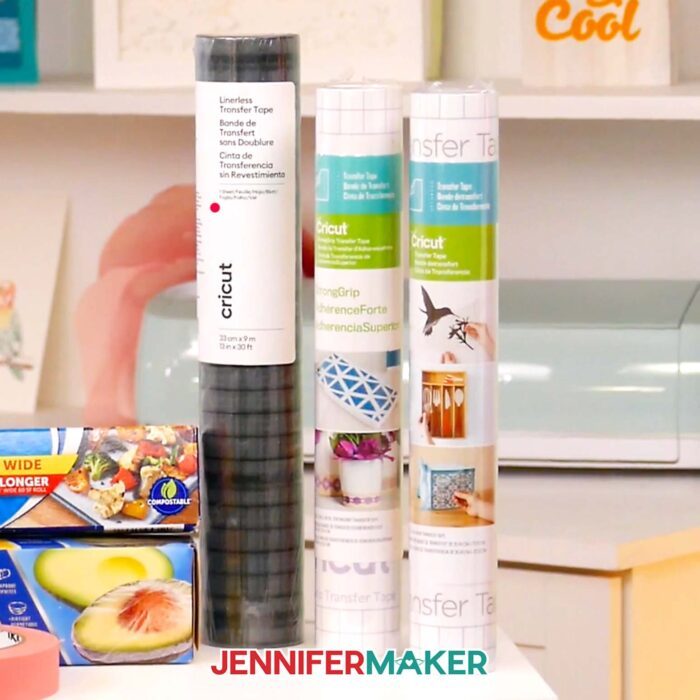
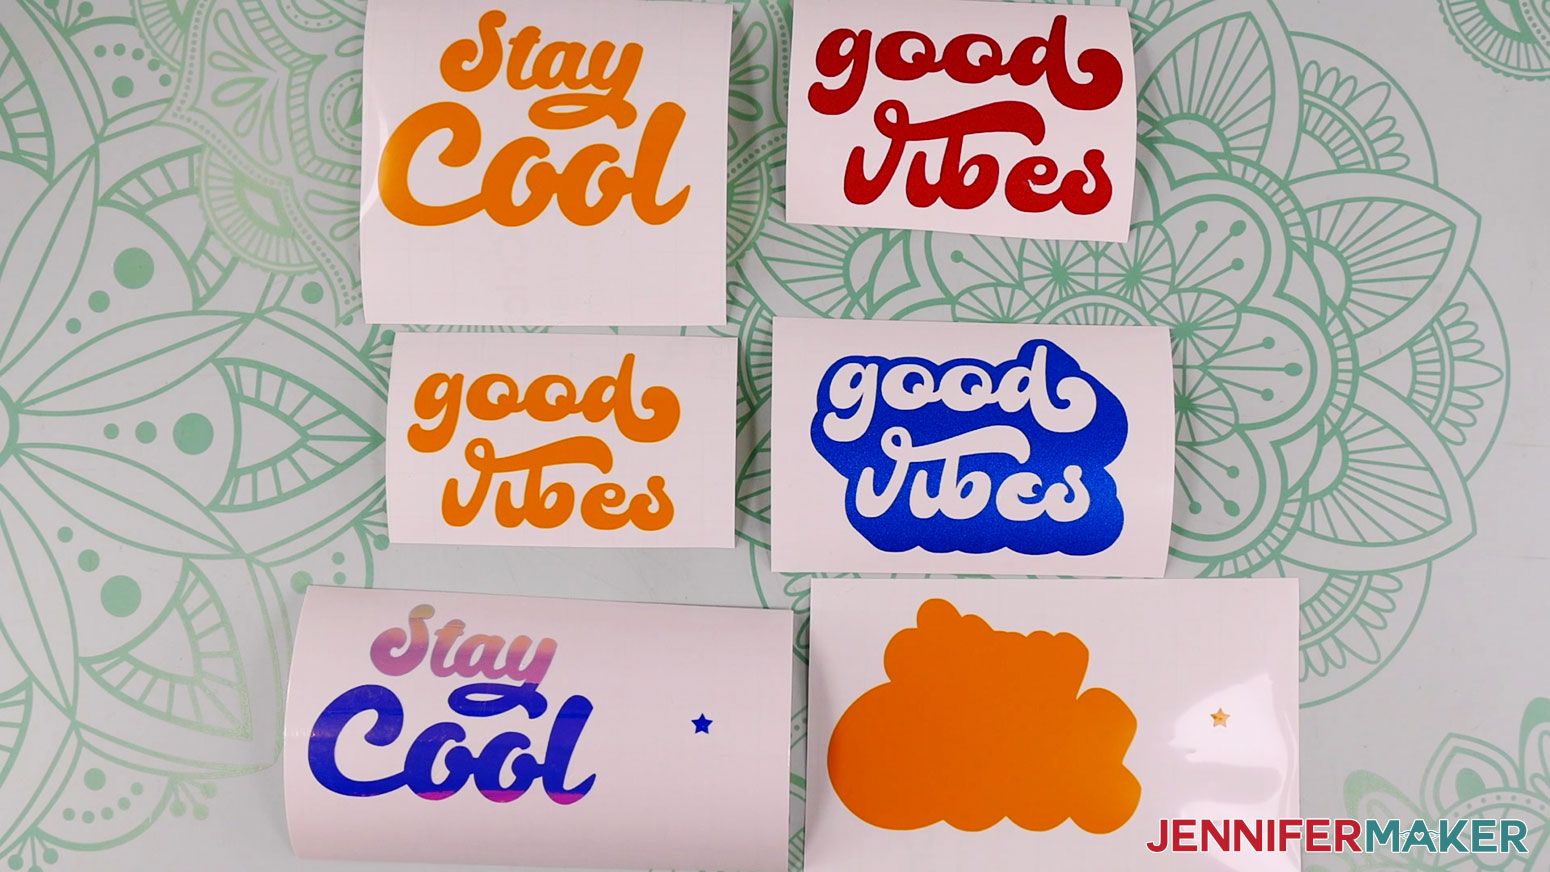
To show you all about transfer tape, we’ll make these fun retro decals I designed for adhesive vinyl. Once you get my free cut file, the first thing I’ll do is show you how to cut the decals on your Cricut machine, and then I’ll walk you through how to apply two kinds of transfer tape – Cricut StrongGrip and StandardGrip, as well as linerless StandardGrip, which doesn’t come with the paper backing. This is a nice way to create less waste, if you can live without the grid pattern on the back.
Don’t worry or get overwhelmed, because I’m here to help. I’ll show you why I use each type of tape in different situations, and share some great layering hacks — like when to grab the parchment paper, how registration marks can help, how to control the tape’s stickiness, how to know when to layer directly onto certain items (or if that’s a disaster waiting to happen), and lots more. There’s even a tip on how to get the transfer tape off it’s liner – have your weeding tool ready!
Finally, I’ll apply my decals to these Wood Panels from my materials list. If you watch my YouTube video tutorial, I’ll share some alternatives you can try beyond clear transfer tape that you might already have around the house, too!
If this seems like a lot, I completely understand. We all start somewhere when it comes to learning new crafting skills. I was there too at one point, too! But once you get transfer tape down pat, you’ll be able to confidently create tons of super cool vinyl projects. It’s worth it to learn how to use transfer tape the right way!
And once you get the basics down on how to use transfer tape, you can try other methods! If you’re trying to place a large or detailed design perfectly, try the wet transfer method for vinyl with a slippery secret weapon!
Or, once you’re ready to try curved surfaces, check out my vinyl wine glass tutorial for tips on snipping the material to match the item’s surface!
Materials & Tools to Learn How to Use Transfer Tape
View my Amazon list for all my favorite tools and supplies!
- Craft Wood Board Panels 5″ x 5″ (or your choice of blank to apply your decal)
- Cricut StandardGrip Transfer Tape
- Cricut StrongGrip Transfer Tape
- Cricut Linerless Transfer Tape
- Parchment Paper
- Cricut Holographic Vinyl (I used blue)
- Cricut Permanent Vinyl (I used maize yellow)
- Cricut Shimmer Vinyl (I used blue)
- A method to cut your vinyl – I used the amazing Cricut Maker 3, with the Fine-Point Blade but you can use any Maker or Explore
- Cricut Green StandardGrip Mat, 12″ x 12″ -OR- Cricut Blue LightGrip Mat, 12″ x 12″
- Cricut Brayer
- Cricut Weeding Tool
- Cricut Scissors
- Cricut Scraper
- Lint Roller
- Screwdriver – if you have signs with hanging hardware
- Pencil
- Ruler
- 4″ roll of painters tape (optional)
- Press n Seal Wrap (optional)
- Design #491 (My free SVG/PDF/DXF design files available in my free resource library – get the password by filling out the form at the bottom of this page)
Learn How to Use Transfer Tape

How to Use Transfer Tape
How to Use Transfer Tape.
Materials
- Craft Wood Board Panels 5" X 5"
- Cricut Transfer Tape, 12X48, Standard Grip
- Cricut Transfer Tape, 12X48, Strong Grip
- Cricut Linerless Transfer Tape
- Painters Tape
- Press n Seal Wrap
- Parchment Paper
- Cricut Holographic Vinyl-I used blue
- Cricut Permanent Vinyl-I used maize yellow
- Cricut Shimmer Vinyl-I used blue
- Cricut Shimmer Vinyl-I used red
- Design #491 (My free SVG/PDF/DXF design files available in my free resource library - get the password by filling out the form at the bottom of this page)
Tools
- A method to cut your vinyl — I used the amazing Cricut Maker 3, with the Fine-Point Blade but you can use any Maker or Explore
- Cricut Green StandardGrip Mat, 12" x 12" -OR-
- Cricut Blue LightGrip Mat, 12" x 12"
- Cricut Brayer
- Cricut Weeding Tool
- Cricut Scissors
- Cricut Scraper
- Lint Roller
- Screwdriver
- Pencil
- Cricut Metal Ruler
Instructions
STEP 1: GET MY FREE VINYL DESIGN FILES
First, download my free "How to Use Transfer Tape" SVG/PDF/DXF files from my resource library -- it's Design #491.
The download folder includes a PDF to cut by hand, and DXF or SVG files for use with a cutting machine. I'll show you how to use the SVGs with a Cricut.
You will see designs for "Stay Cool" and "Good Vibes" in both one, and two color versions. Upload the SVG file of your choice to Cricut Design Space and add it to the Canvas.
Today, I’ll be making the “Stay Cool” design in blue holographic and yellow permanent vinyl. I’ll also be making the “Good Vibes” design in yellow permanent and blue shimmer vinyl. I'll also show you how to layer your two color designs using either registration marks, or parchment paper.
Specialty vinyls, like shimmer, require Strong grip transfer tape, while permanent vinyl requires Standard grip transfer tape. The two color designs will need to be combined. If they use the same type of transfer tape, they can be combined on the bottom layer’s liner. If they use different types of transfer tape, they will need to be combined on the blank, with the vinyl using Strong grip transfer tape applied first.
TIP: If you are not sure how to upload an SVG cut file to Cricut Design Space, watch this helpful video training series made. If you are on an iPad or iPhone, here is how to download and upload SVG files to the Cricut Design Space app.
EXAMPLE 1: “STAY COOL” IN BLUE HOLOGRAPHIC AND YELLOW VINYL
STEP 2: PREPARE THE DESIGN FILE
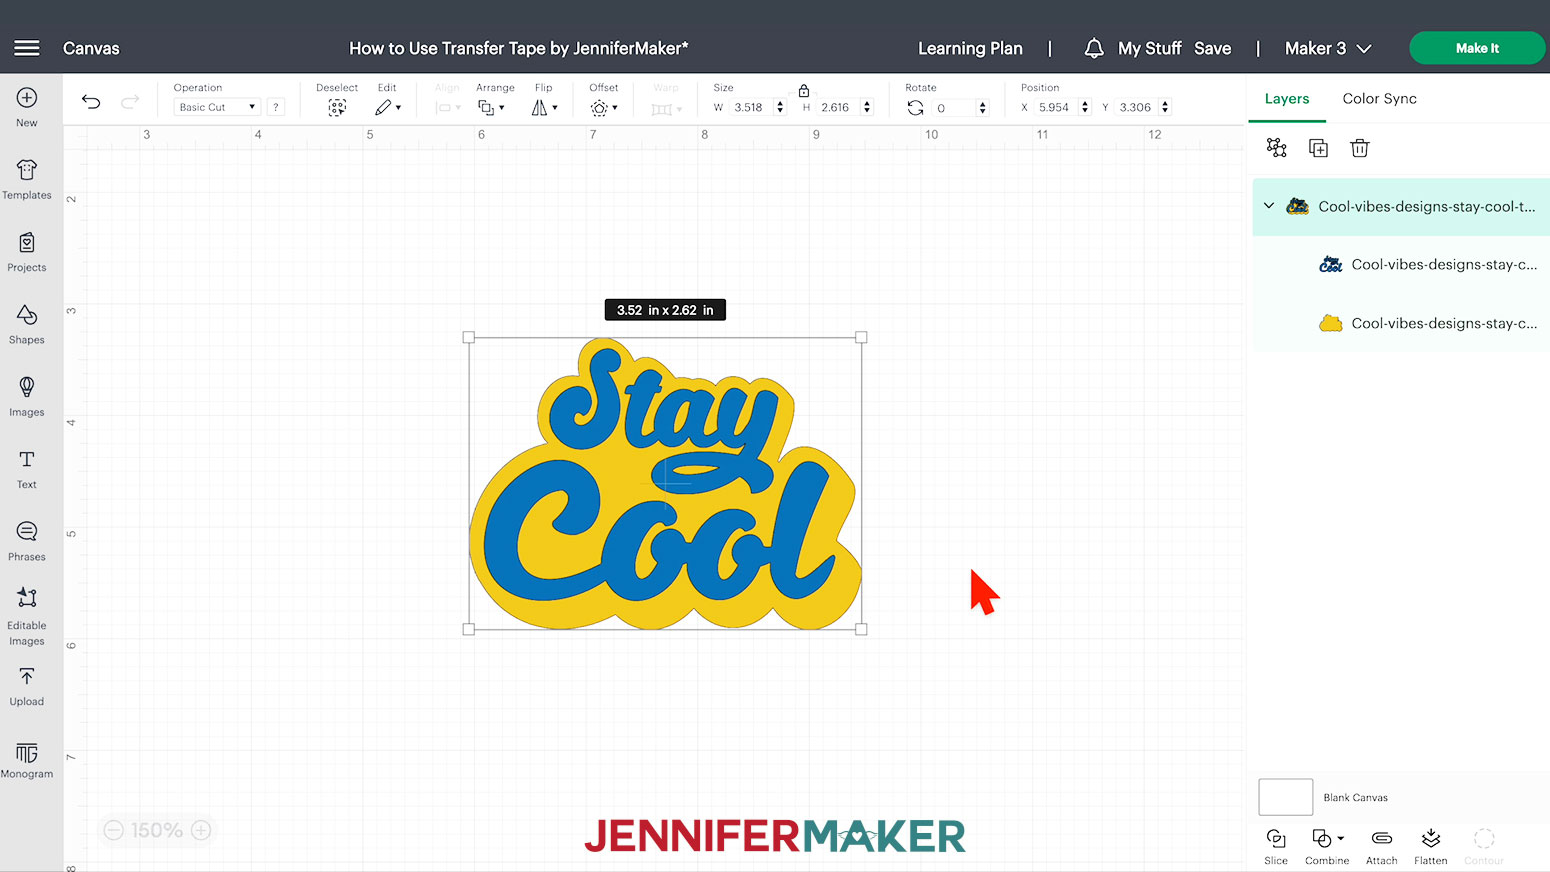
This is what my "Stay Cool" SVG file looks like on the Canvas. You can zoom in or out to see all of the design by clicking on the plus (+) or minus (-) sign on the lower left.
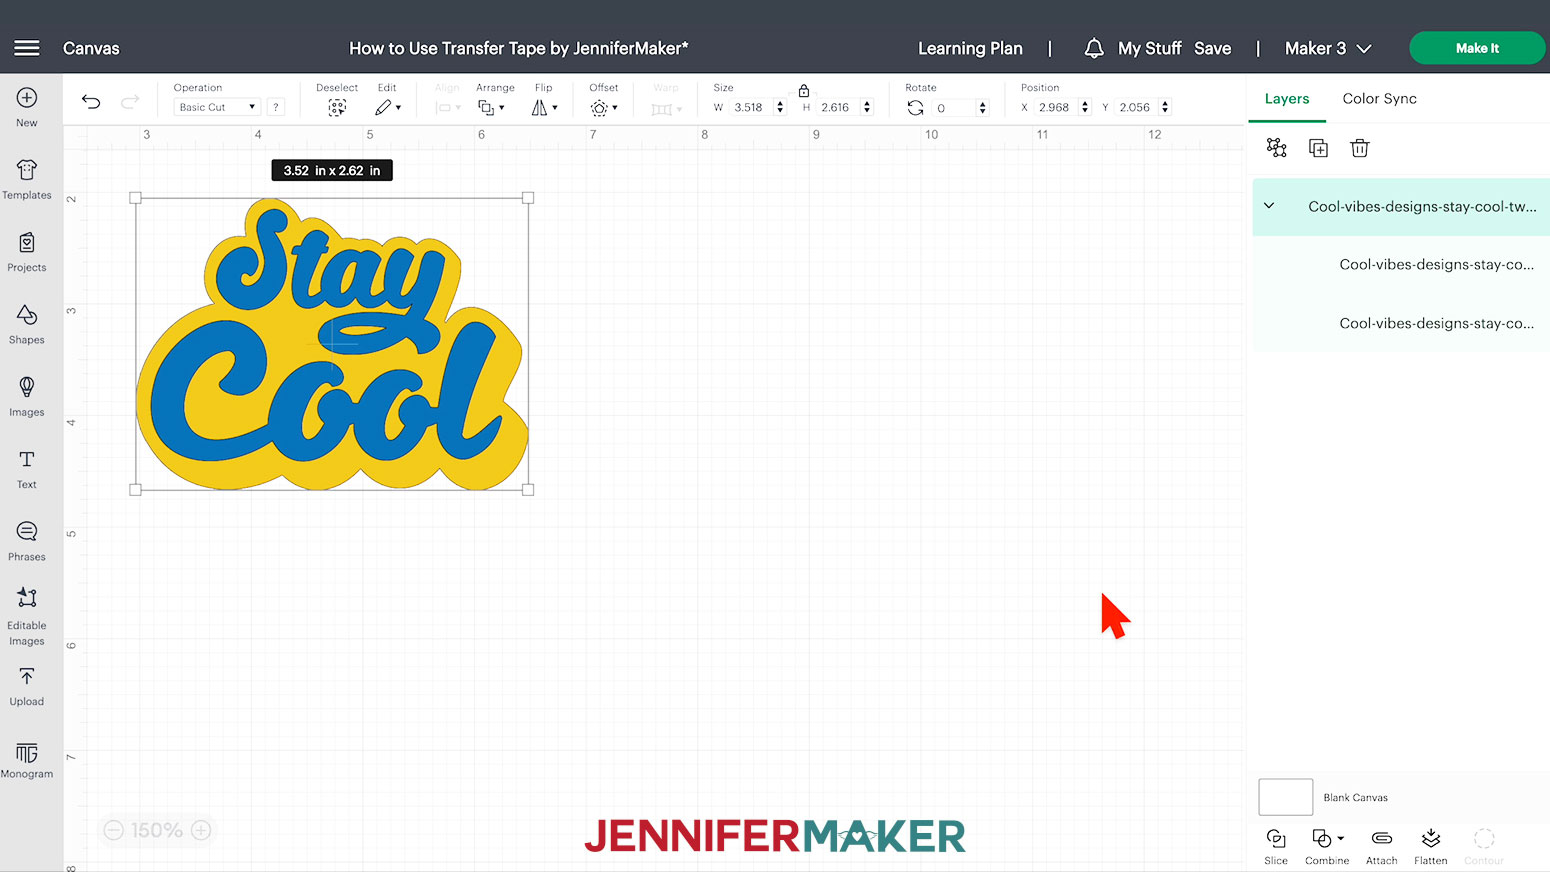
I'm making the "Stay Cool" top layer in blue holographic, and the bottom layer in maize yellow permanent vinyl.
Tip:Visit my previous tutorial on layering vinyl, for more information on layering multiple color vinyl designs.
Let's add registration stars. Adding registration marks makes it a lot easier to apply the top layer in the perfect position. You can skip this if layering with parchment paper.
Make sure to size the design according to the blank you will be applying. 3.52" wide is recommended for the 5" wood sign. Make sure and measure your blank if you are using a different one.
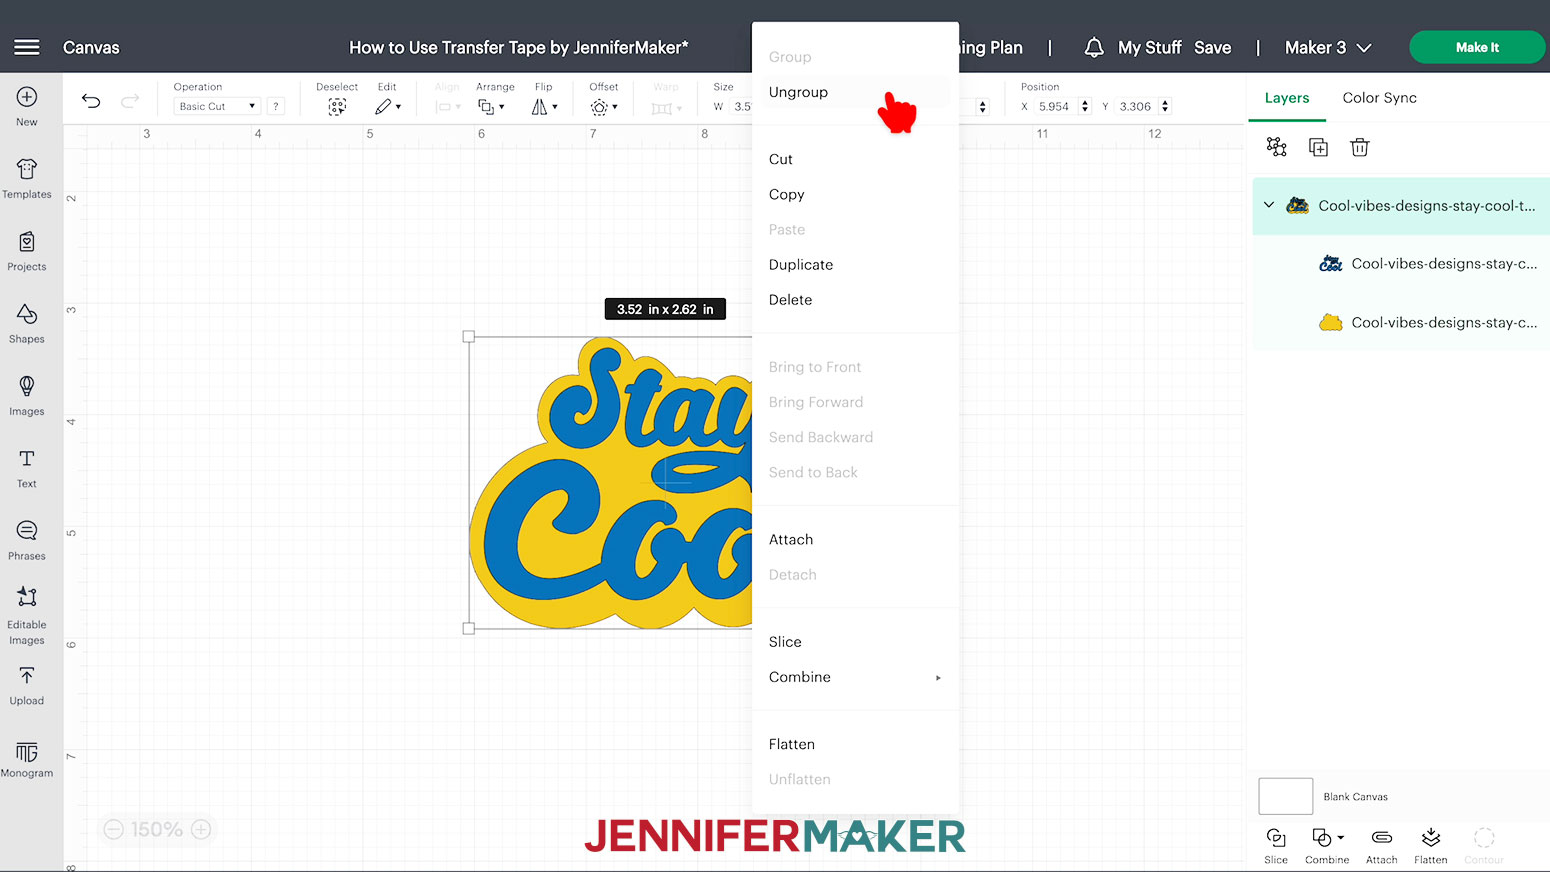
Click "Ungroup" to separate the layers.
Click on "Shapes" and select one of the stars.
![]()
Drag the star off to the side. Click and drag the resize handle to make the star smaller. The stars will be removed later.
![]()
Right click and select "Duplicate". Click and drag to separate them so you can see both stars.
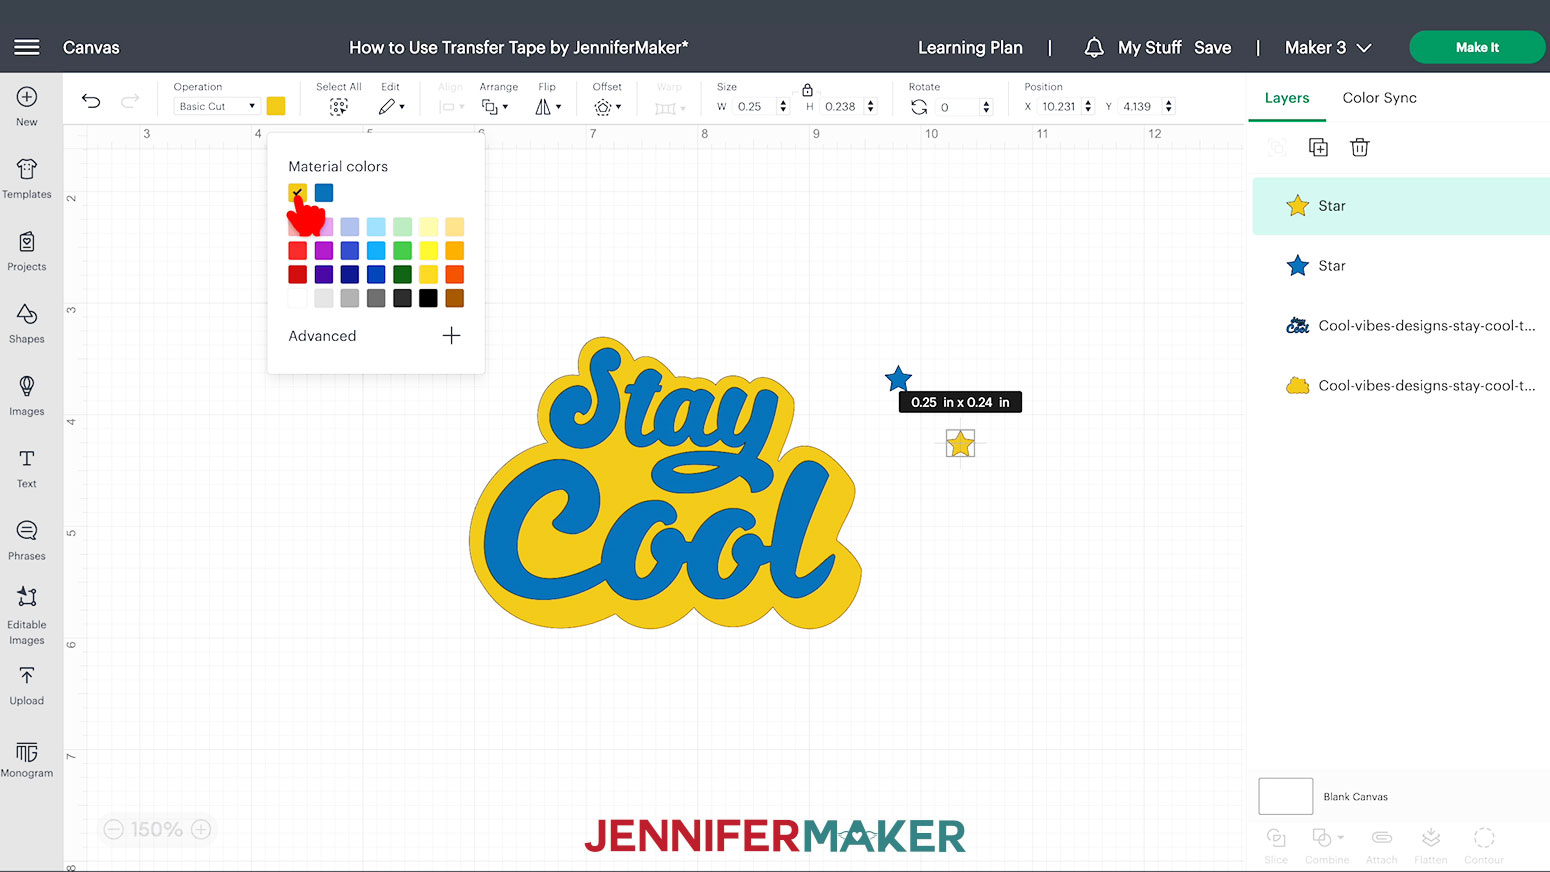
We need to change each star color to match one of the layers. Select one of the stars, and click on the "Color Menu" box. Select blue to match the top layer.
Change the remaining star to match the yellow layer. ––
Select both stars and click "Align" and then "Center".
![]()
Move both stars closer to the design so that it will be easier to line everything up.
We need to attach each star to its matching layer. Since you can only see one of them, we'll use the layers panel.
While holding the Shift key, select the first star and its matching layer, while holding and click "Attach".
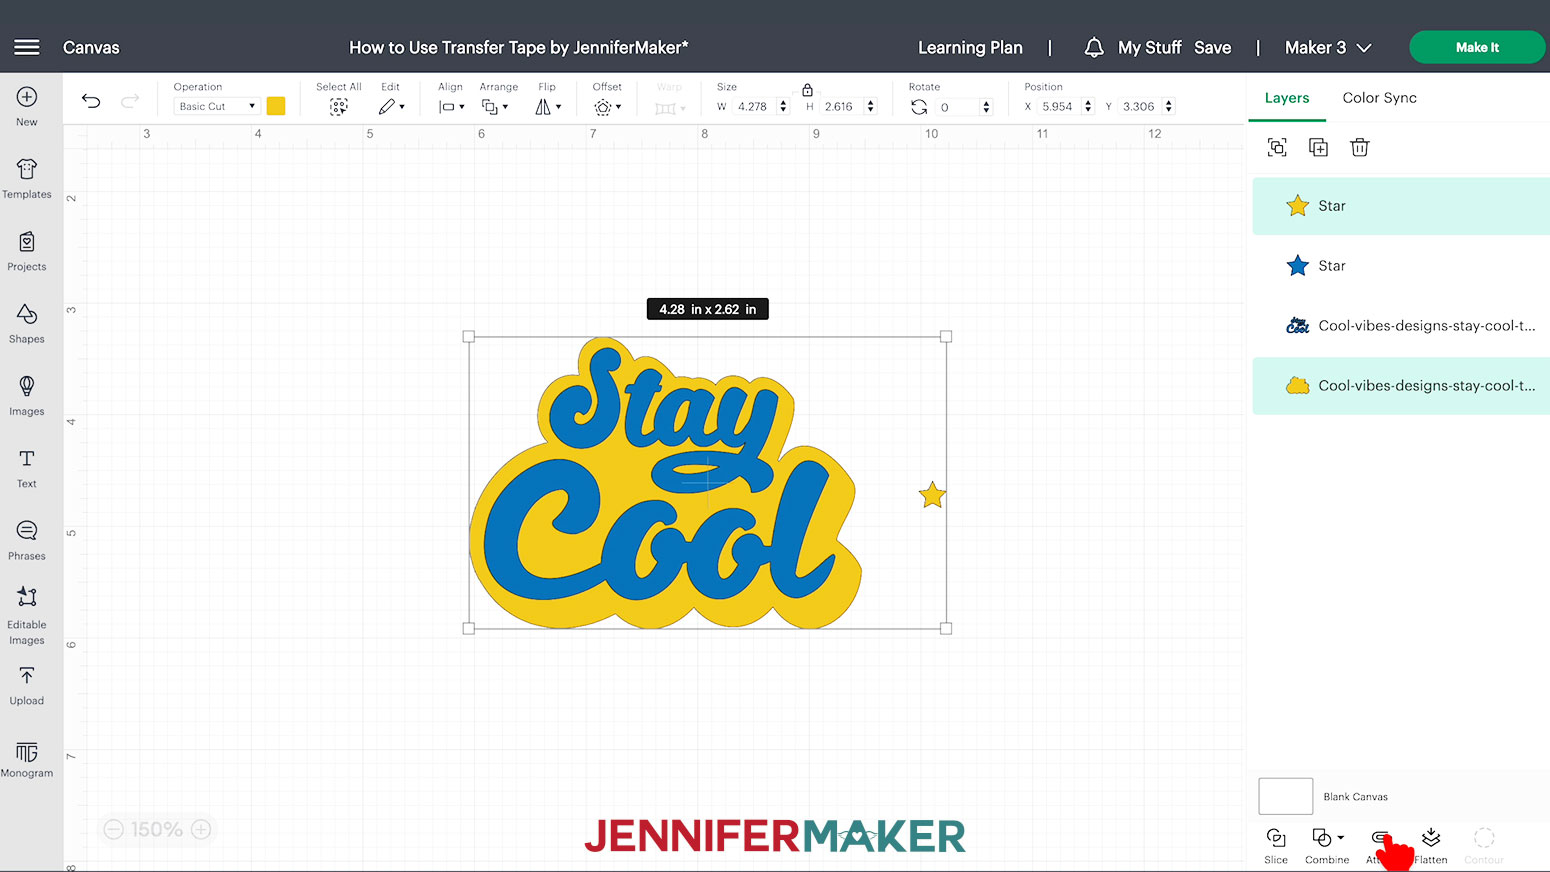
Repeat with the second star.
Each layer that gets attached will automatically move to the topmost position, but you can click "Arrange", and send the layer to the back, for better visibility.
![]()
STEP 3: CUT AND WEED THE DESIGN
When you are ready, select your Cricut machine — I selected Maker 3 — and then click the green “Make It” button in the upper right corner.
If prompted, select "On Mat" and 12" x 12". Then click the green “Confirm” button.
On the Prepare screen, keep the "Material Size" at 12" x 12".
Make sure the correct design pieces are on the right mats. If you see a mistake, click Cancel to go back and fix it.
Click Continue.
On the Make screen, for the blue layer, set your Base Material to "Holographic Vinyl" and set the Pressure to "More."
For the yellow layer, set your Base Material to "Premium Vinyl - Permanent" and set the Pressure to "More."
![]()
Cut your vinyl with scissors down to 4" X 6" to save material.
Place your vinyl onto a clean, green StandardGrip Machine Mat and adhere it well with a brayer, liner side down.
Note: If using smart vinyl, you will not need to brayer the vinyl to the mat, since it loads directly into the Cricut Maker 3.
Make sure your Fine-Point Blade is clean and in clamp B. Load the mat into your Cricut and press the flashing button to load the material. Press the "Go" button to cut the vinyl.
When the cut is compete unload it, flip it over, and peel the mat away from the vinyl. This helps prevent any potential curling.
TIP: If you have any trouble cutting the vinyl, check out my Cricut Tips & Tricks for Cleaner Cuts.
Now, it is time to weed!
Using a weeding tool, pull up a corner of the vinyl.
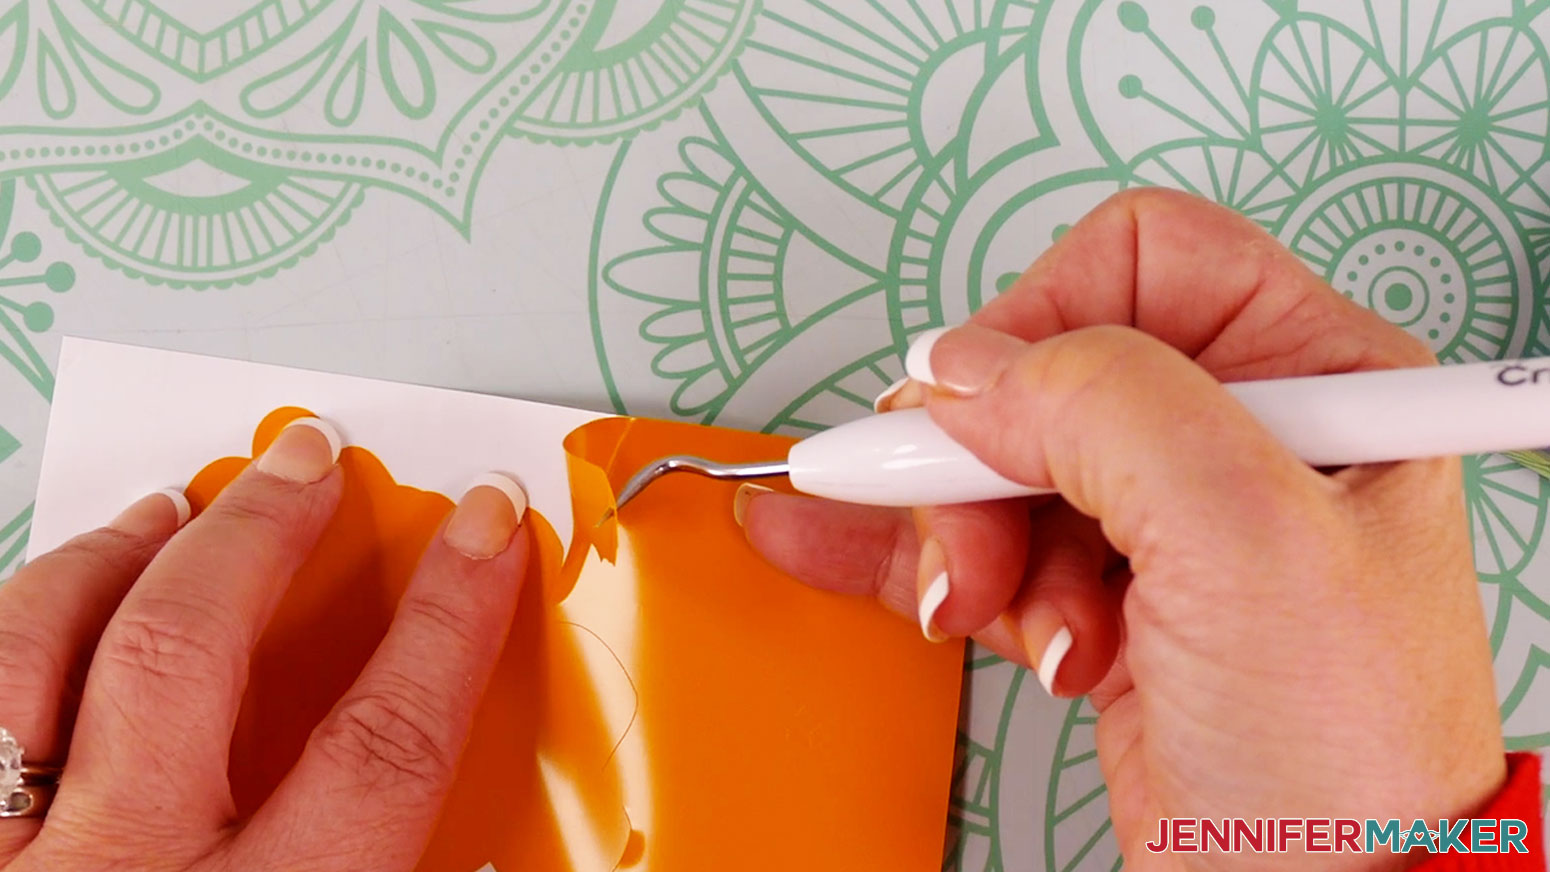
Note: Holographic is prone to ripping and getting scratched if not weeded carefully.
I like to work from larger to smaller sections during weeding. Using a weeding tool, carefully peel away the extra background vinyl.
Make sure and remove the smaller pieces inside of the letters.
Now, weed the second vinyl layer the same way we did the first.
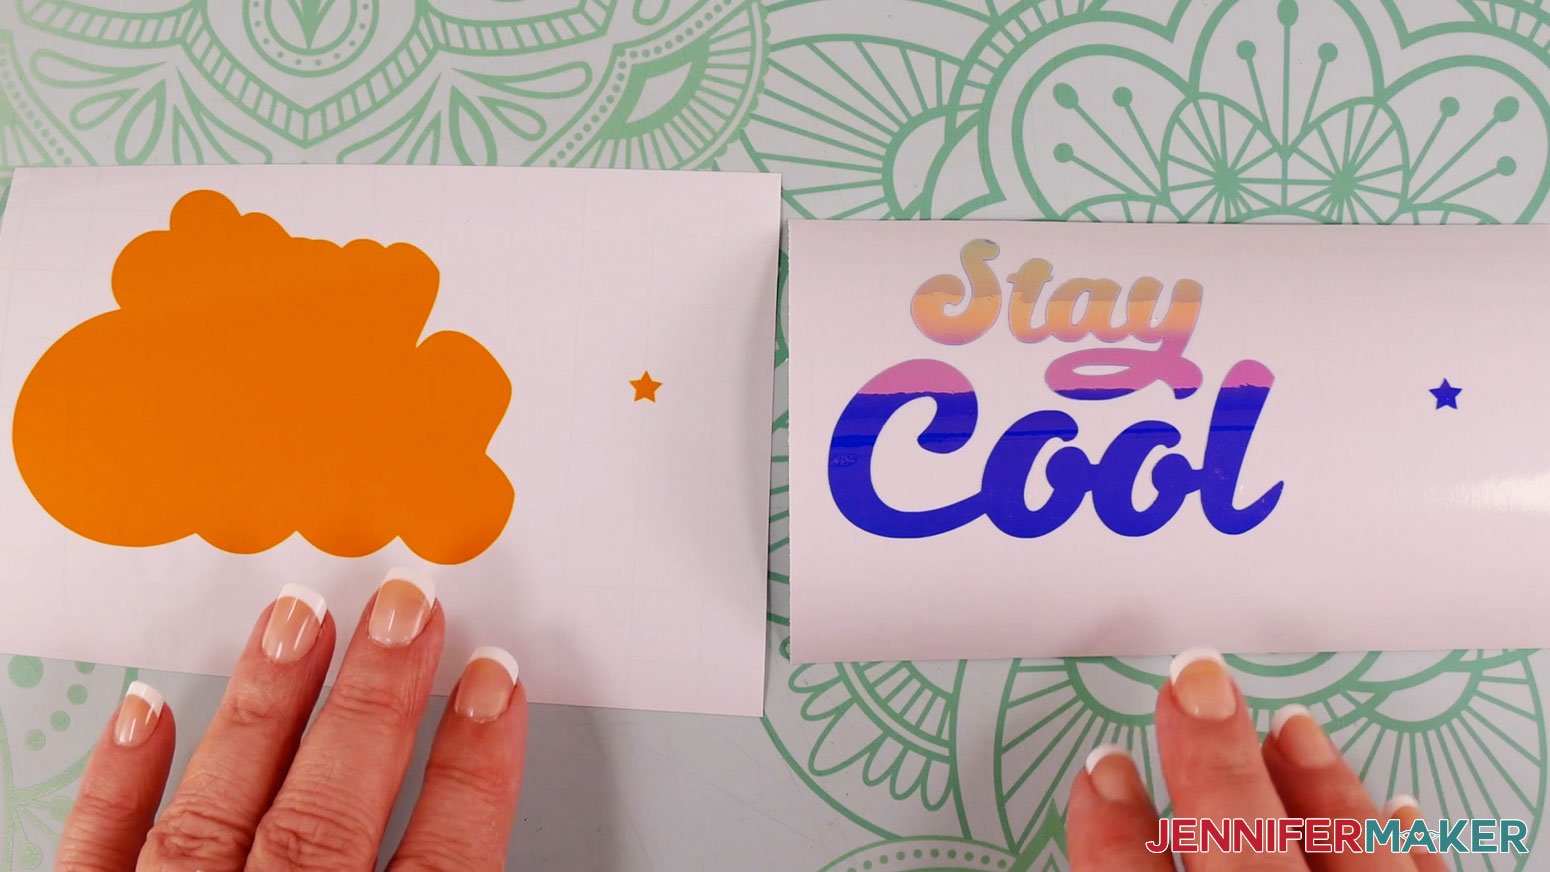
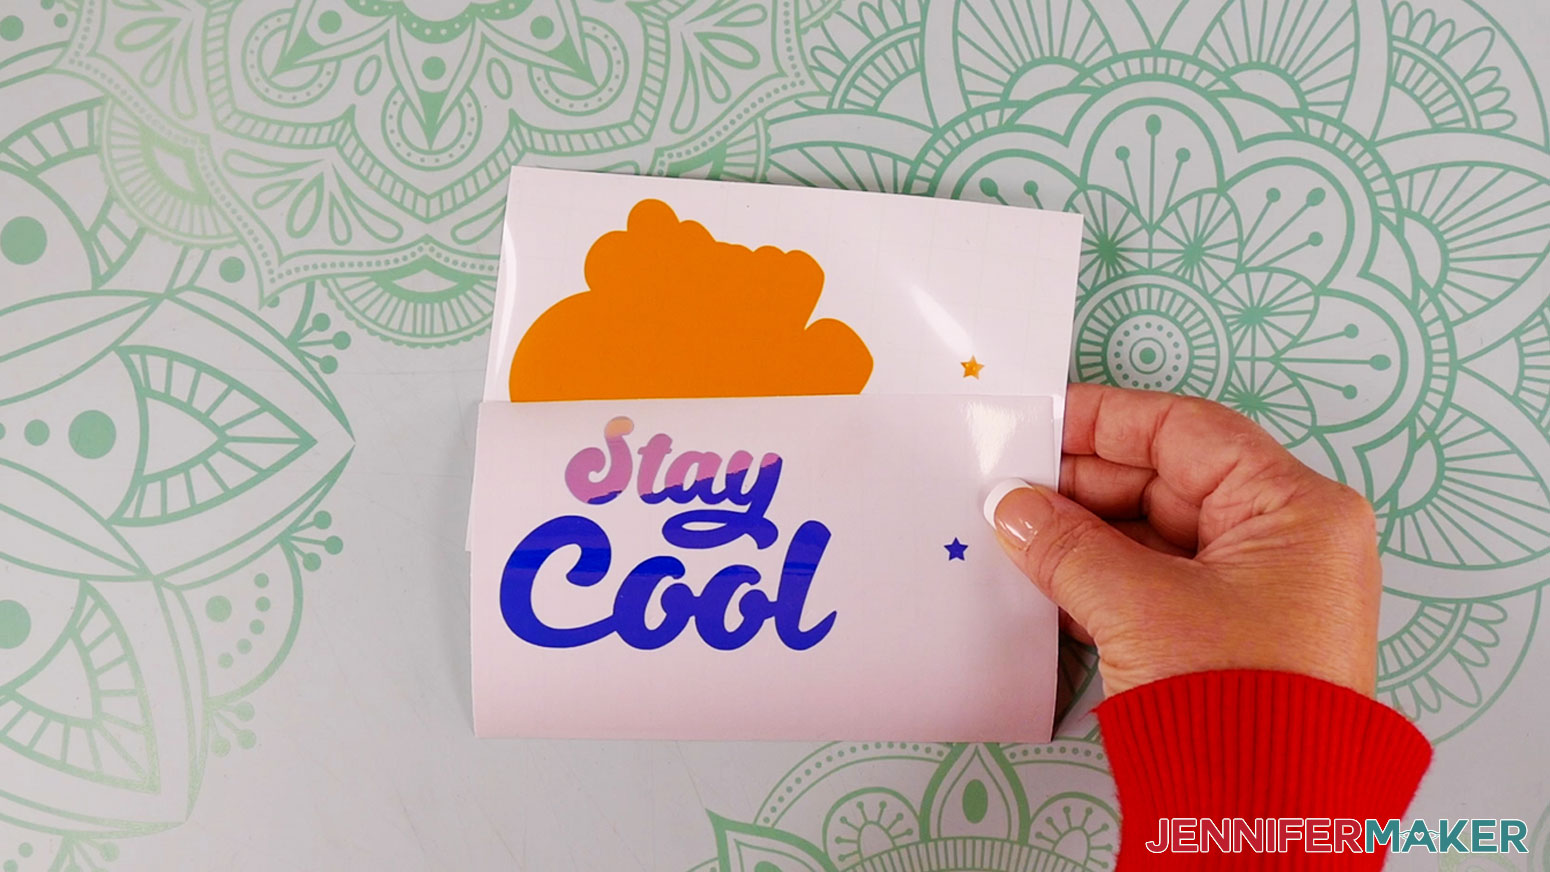
Here's how the design looks fully weeded.
STEP 4: HOW TO LAYER AND APPLY YOUR VINYL DESIGN
You will be amazed at how simple it is to layer your vinyl designs with registration marks or parchment paper!
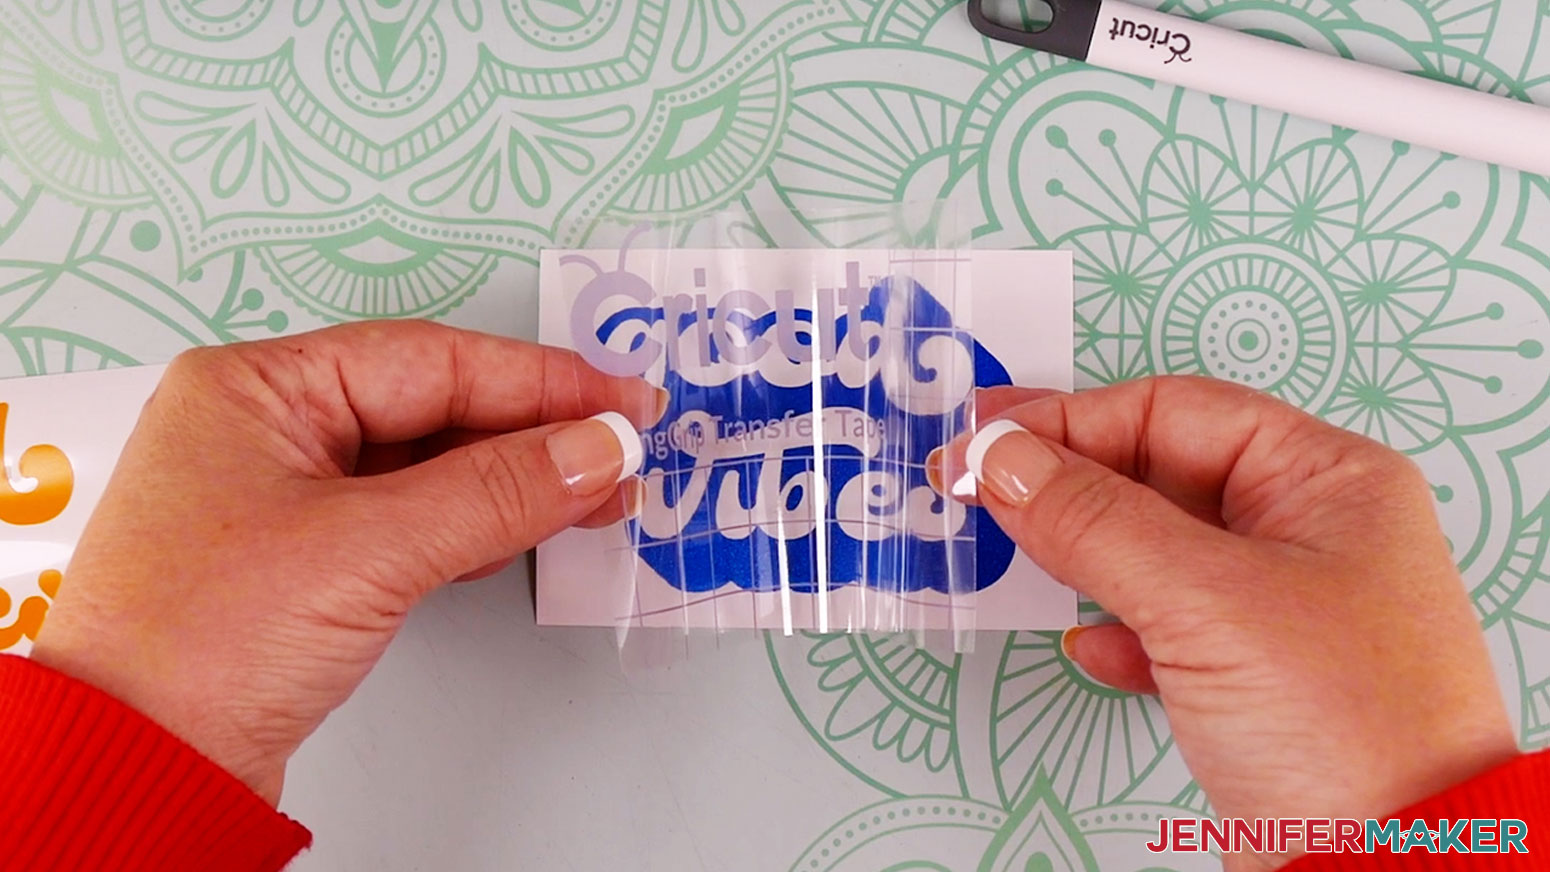
The best way to apply transfer tape to vinyl is using the "taco" method. Cut a piece of transfer tape slightly larger than your vinyl. Remove the backing from the transfer tape. Hold the transfer tape in the shape of a taco, or a "U" shape. Then, put the bottom of your “taco” onto the middle of your design. Smooth the tape over the decal from the center outward to minimize wrinkles and bubbles.
Variation: Registration Marks
For this design, the yellow layer is the bottom most layer. We don't need to do anything with this since we're applying all layers on top of this one.
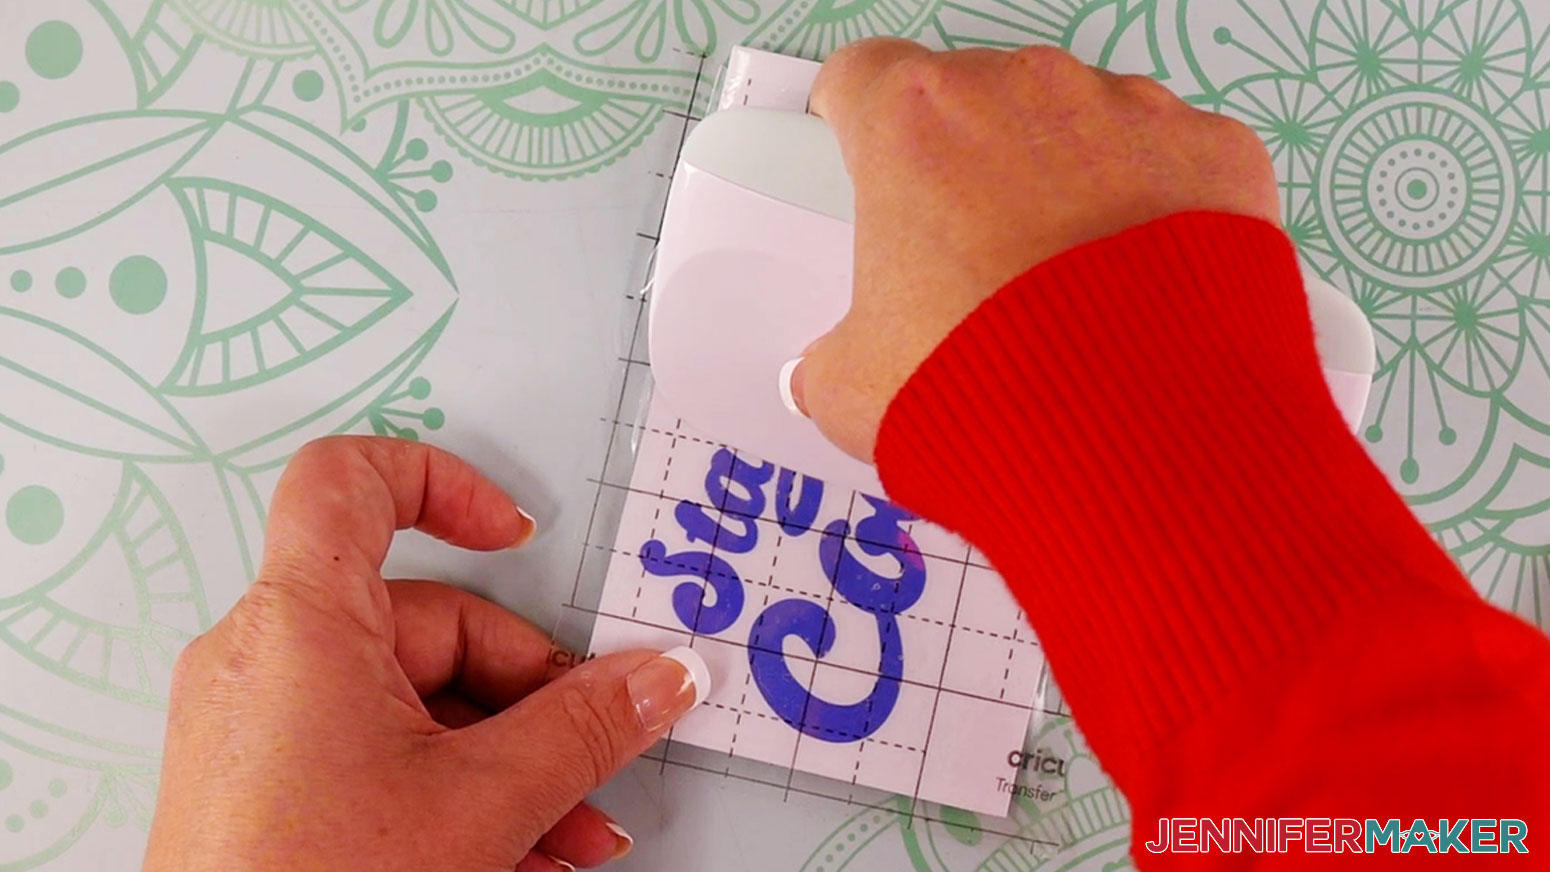
Cut a piece of Standard Grip transfer tape for the blue holographic vinyl slightly larger than your design. Apply the transfer tape using the taco method and use your small scraper to smooth the tape over the vinyl.
Flip your vinyl over and gently peel away the backing from your vinyl.
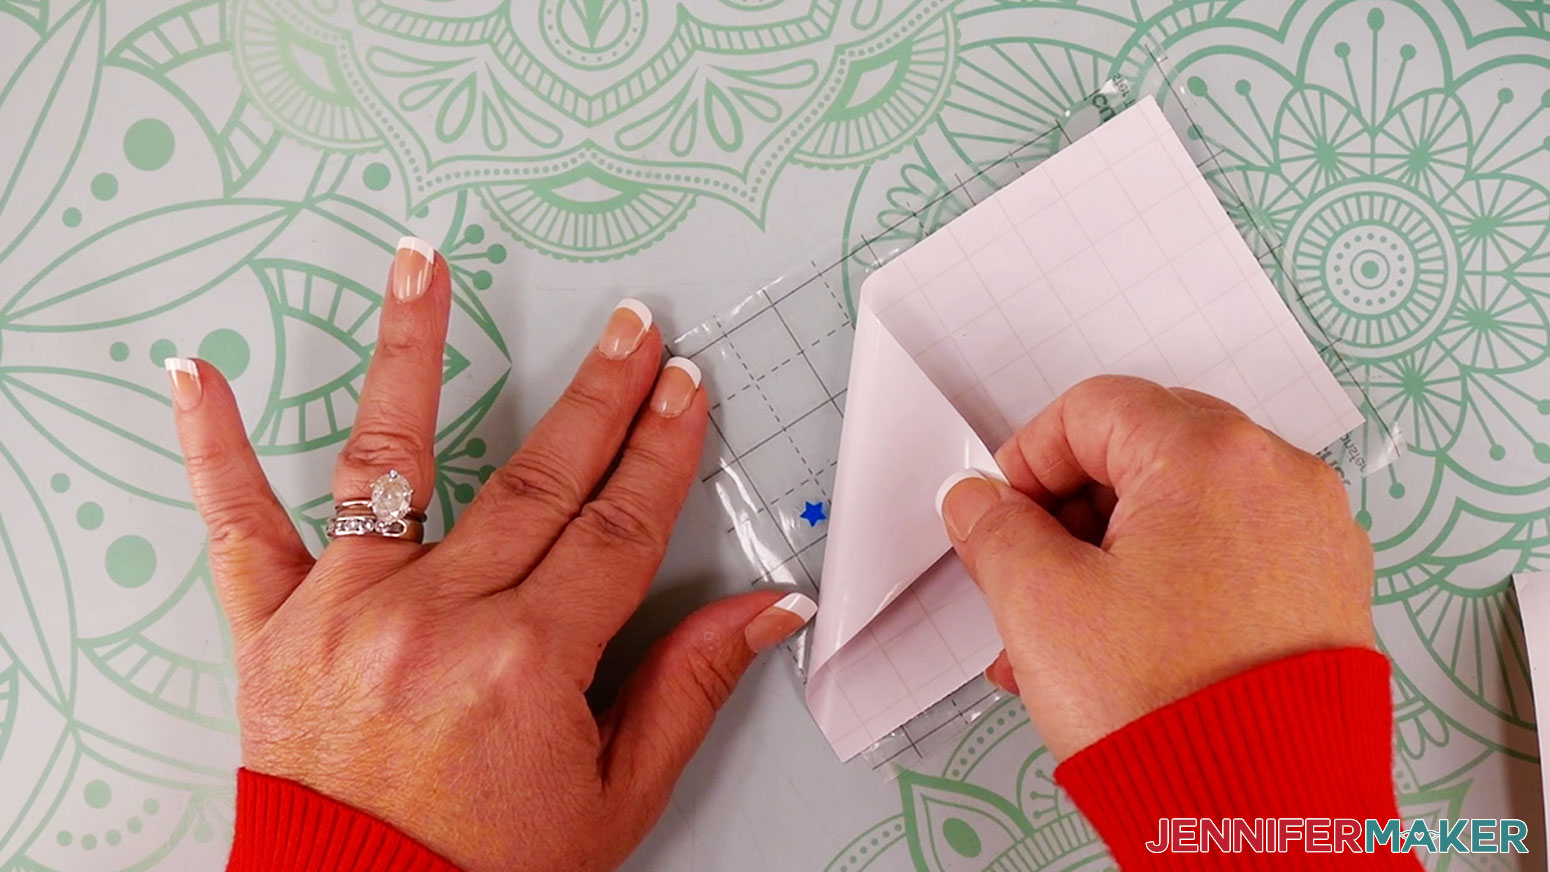
Once the vinyl backing is removed, we will carefully line up the both stars.
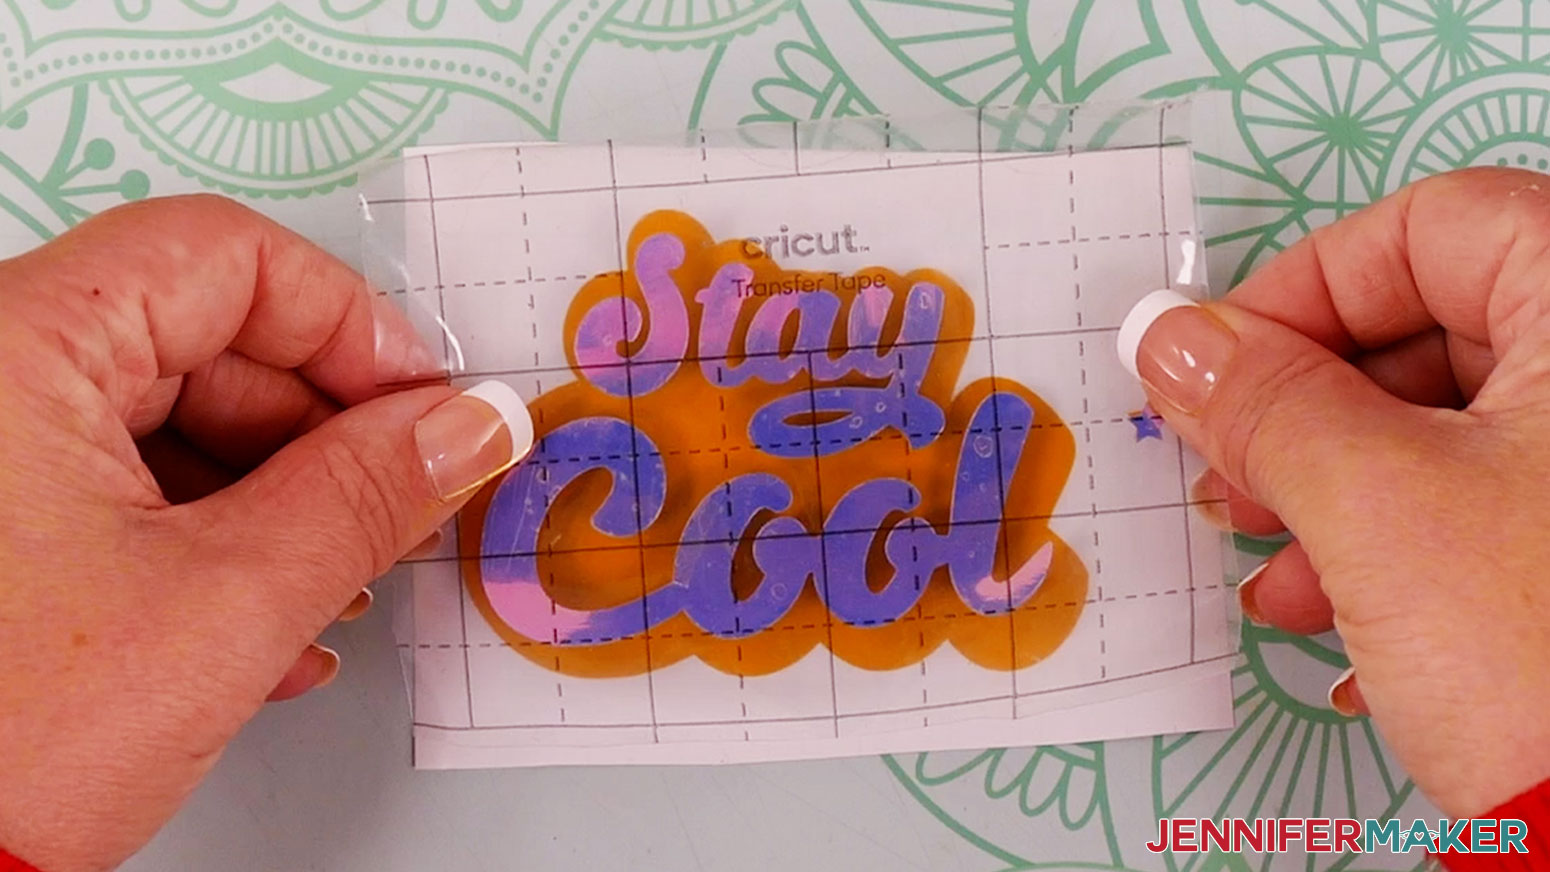
If you don't line up the stars perfectly the first try, lift the top layer up and try again. If you are still having difficulties, try the parchment paper method.
Gently press the top layer on to the bottom layer. Use your scraper tool to burnish the second layer on to the first layer.
You should leave your transfer tape in place until you're ready to apply your layered vinyl design to your blank!
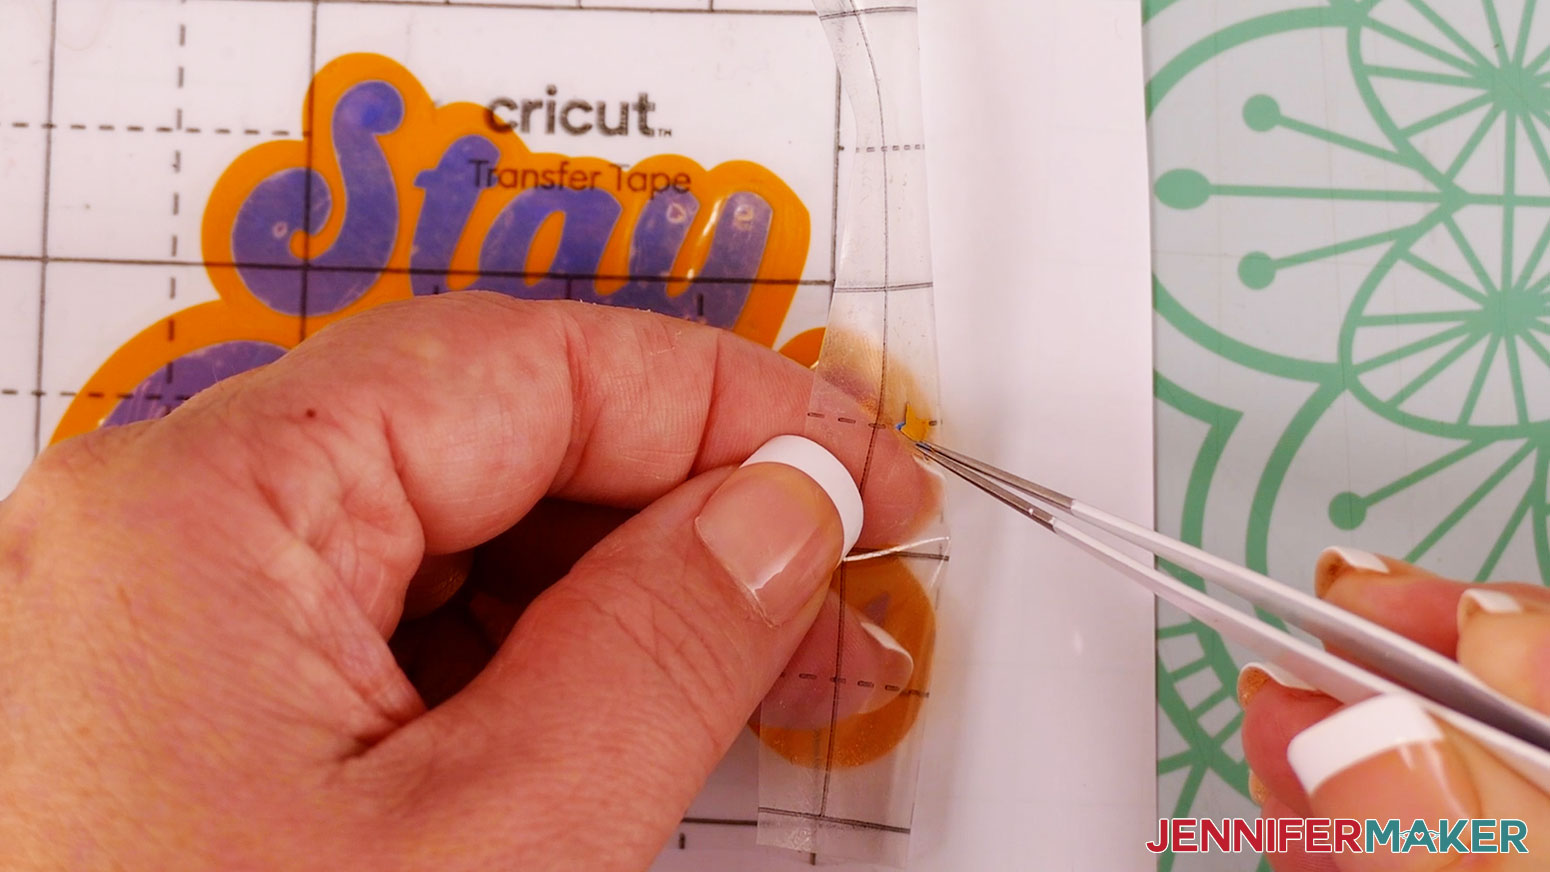
Remember, before applying your design, you'll need to remove the registration stars. You could leave them, or peel them off the blank, but I like to simply remove them.
TIP: If you are still having problems lining up your layers check out how I use parchment paper to line up layers of vinyl in my How to Layer Vinyl on Cricut project
Applying to Blank
Peel the liner off of the transfer tape and design. If the vinyl is not sticking to the transfer tape, try burnishing again.
You can eyeball the design placement, but you can also use parchment paper to perfectly position the vinyl onto the blank.
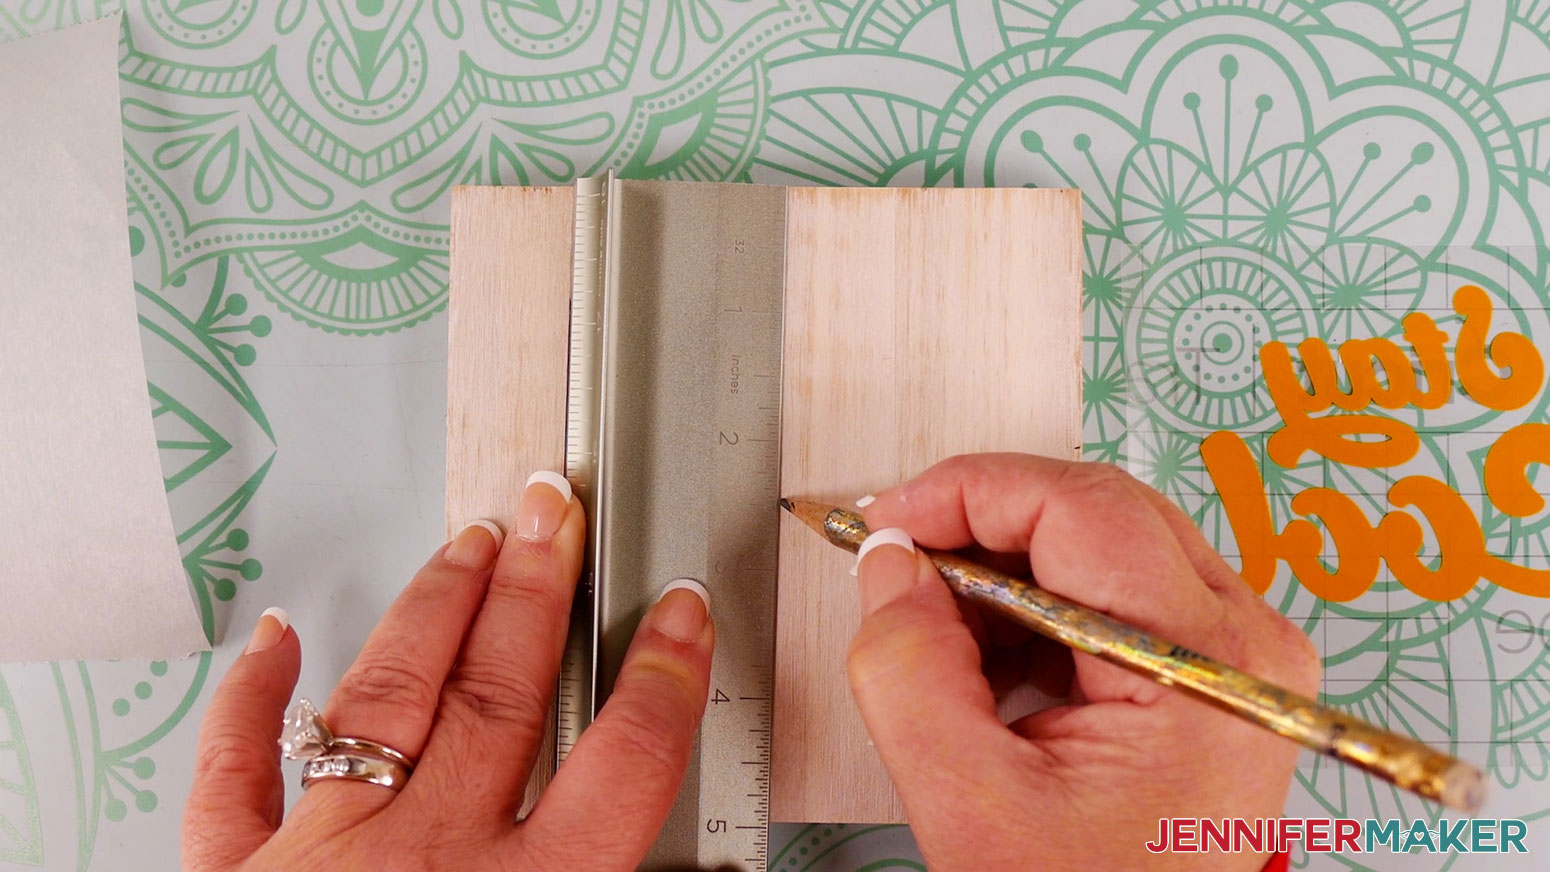
Mark the center of the 5" blank with a pencil and ruler.
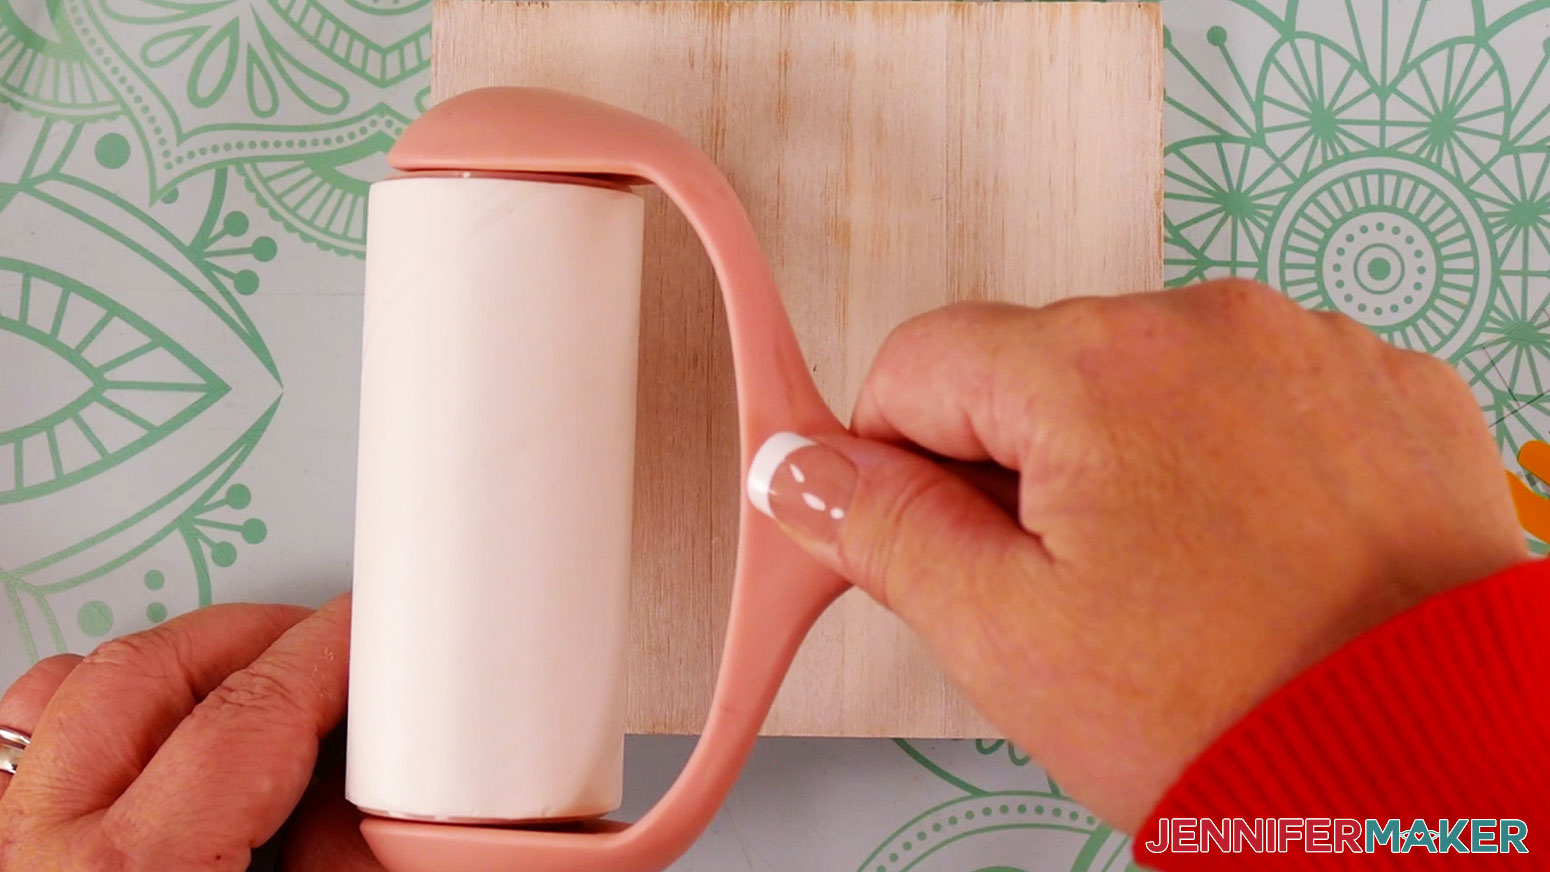
Make sure the surface is clean and dry. Use rubbing alcohol to clean plastic and glass surfaces. You can also use a lint roller, since we are applying our vinyl to wood.
Note: You can apply your design directly onto the blank, but I like to use parchment paper to help with positioning.
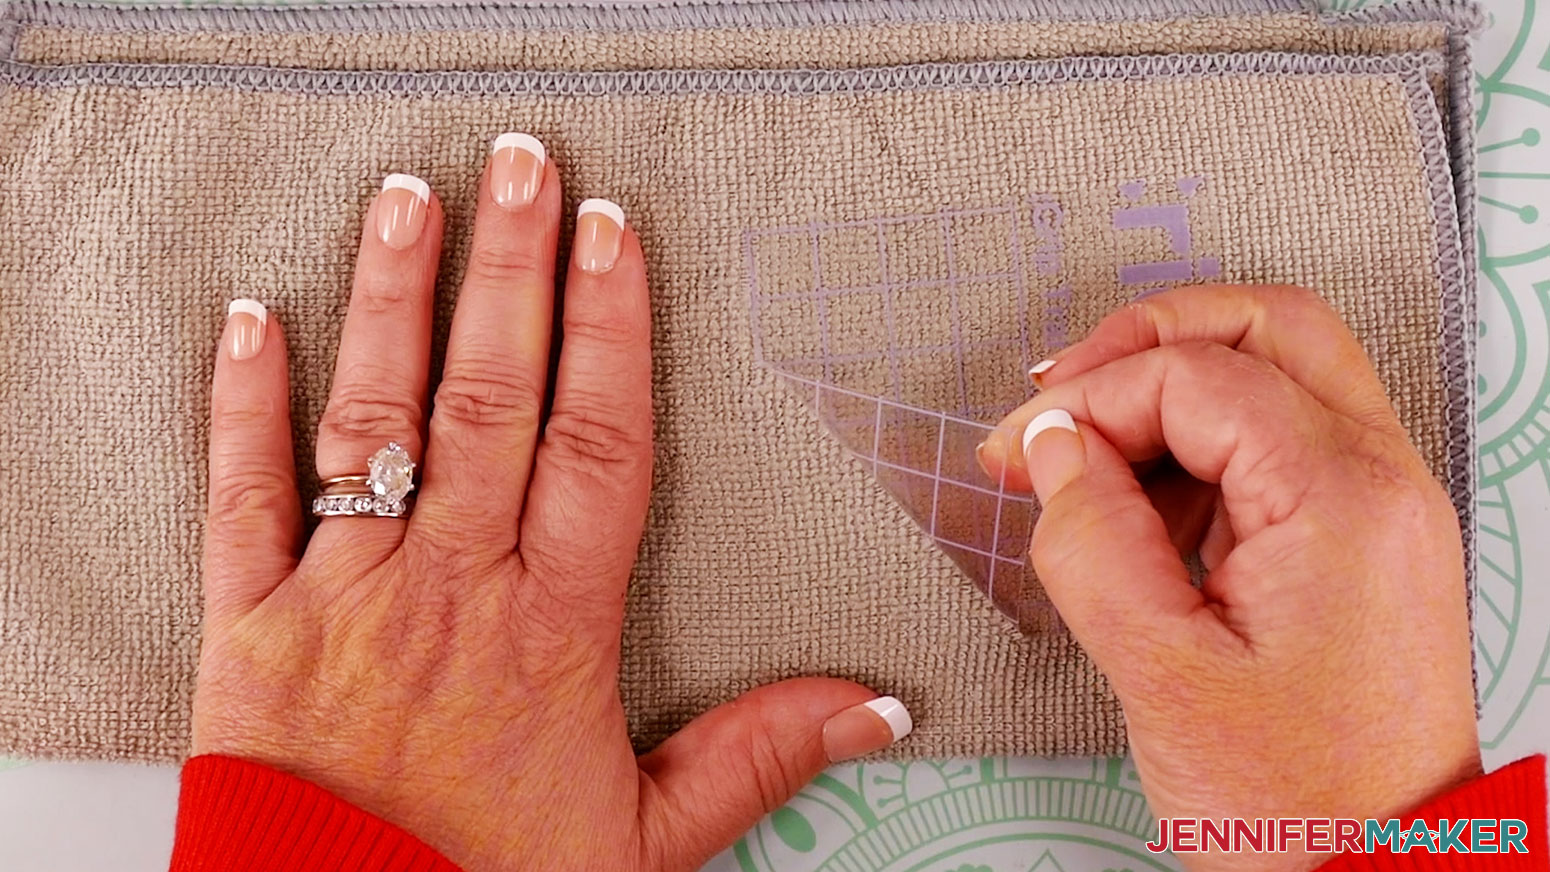
Using the "taco" method, place your design on some parchment paper, with a small area of transfer tape still exposed at the top.
![]()
Press the exposed section of transfer tape onto the blank in the center.
With one hand applying a little pressure to keep the transfer tape in place, use your other hand to gently remove the parchment paper.
![]()
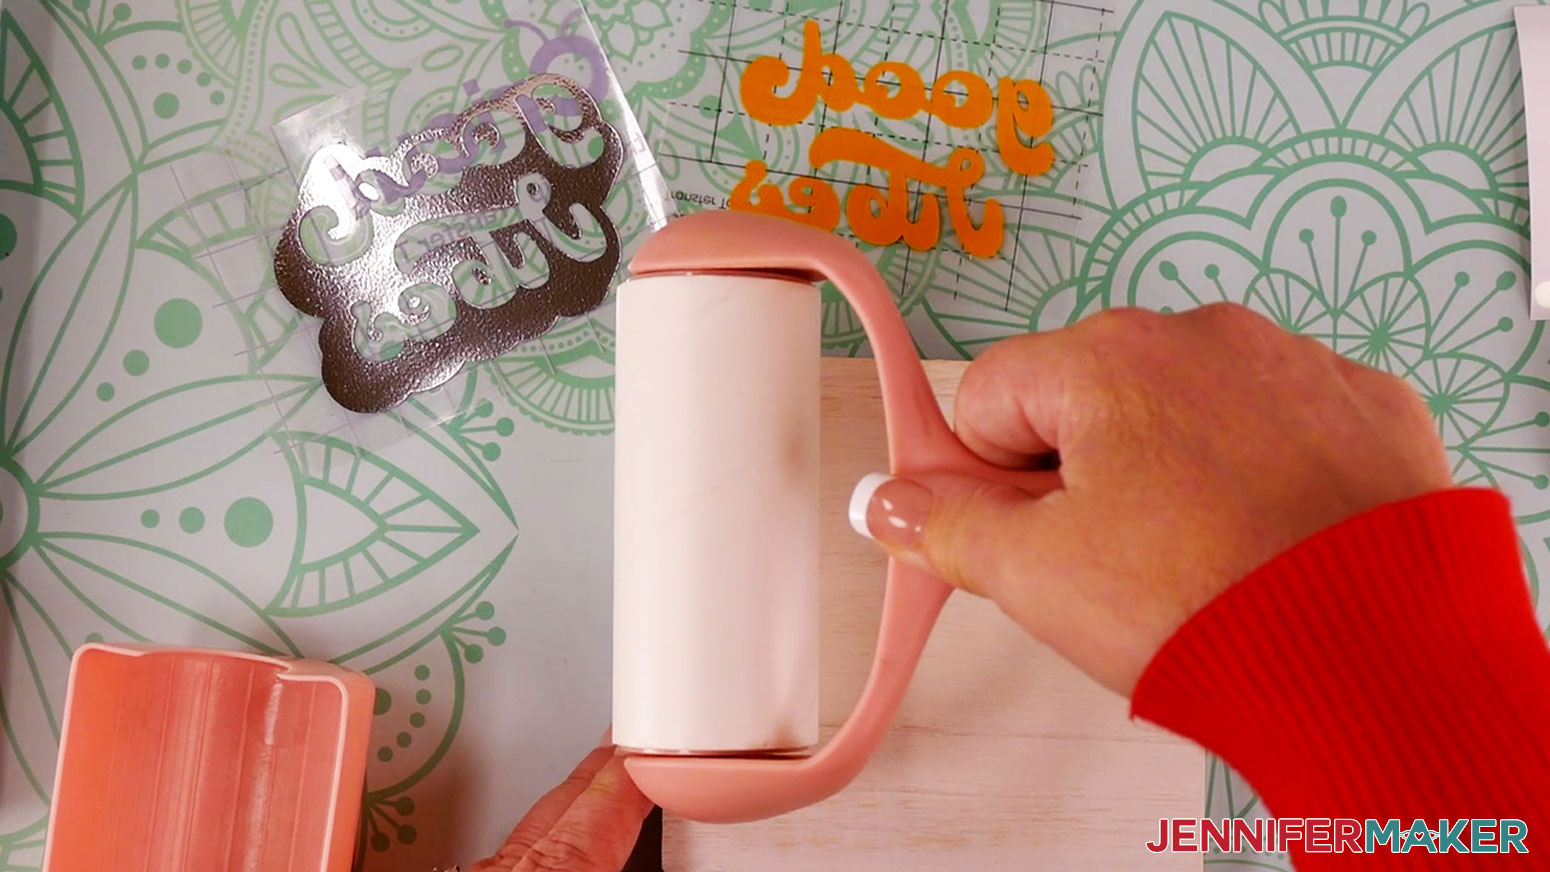
Continue to press on the section of transfer tape that was exposed. This will help keep everything aligned. Use your small scraper tool to burnish the design on to the flat blank.
![]()
Once the design is burnished well to the blank, slowly remove the transfer tape at an angle. If the vinyl is not sticking to the blank, secure the transfer tape back down, and burnish again.
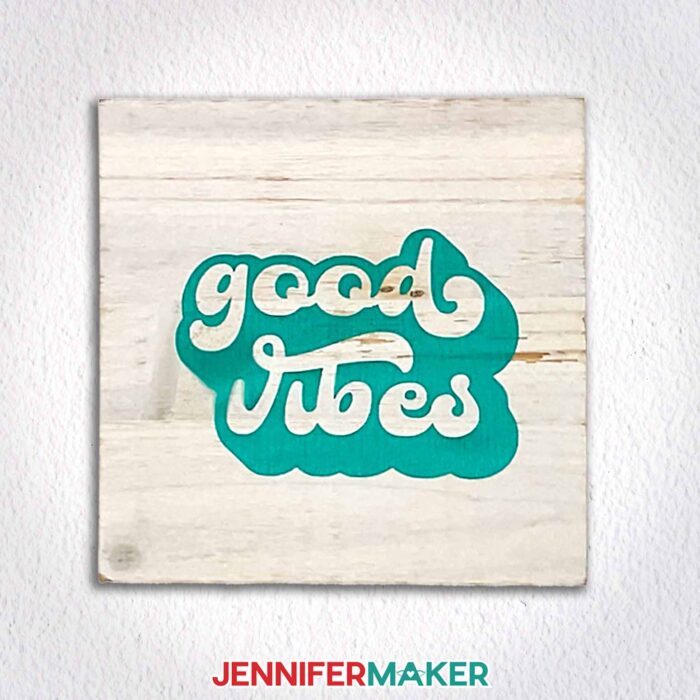
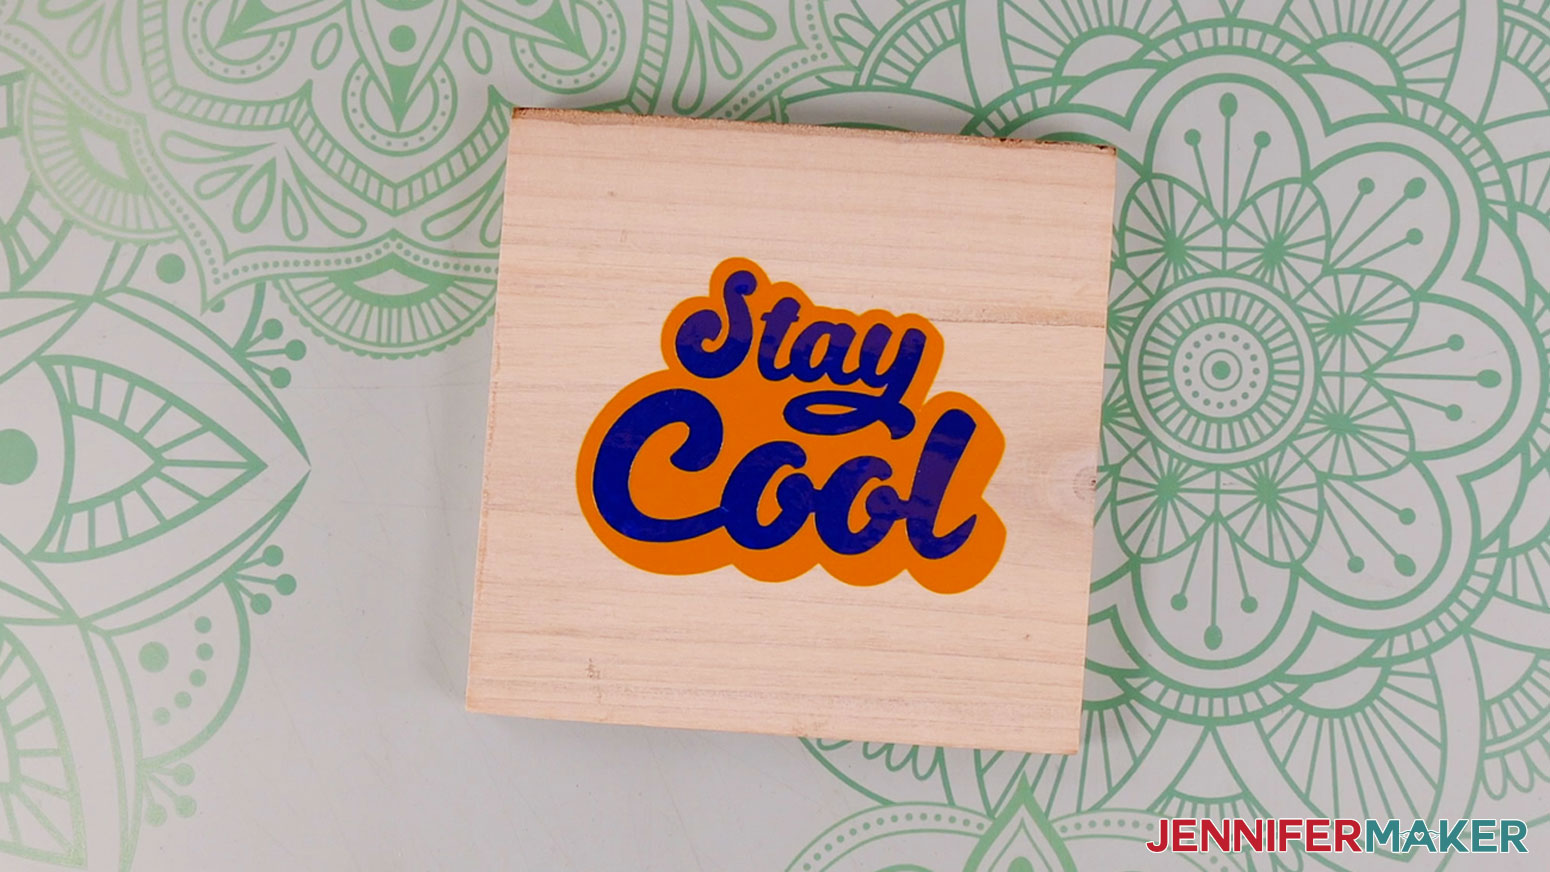
The two color design in blue holographic and yellow permanent vinyl looks great on this wood sign!
EXAMPLE 2: “GOOD VIBES” IN YELLOW PERMANENT AND BLUE SHIMMER VINYL
STEP 2: PREPARE THE DESIGN FILE
This is what my “Good Vibes” SVG file looks like on the Canvas.
![]()
I'm making the “Good Vibes” top layer in maize yellow permanent vinyl, and the bottom layer in blue shimmer vinyl.
![]()
Make sure to size the design according to the blank you will be applying. 3.52" wide is recommended for the 5" wood sign.
What if you want to layer a specialty vinyl like glitter, true brushed, or shimmer with standard permanent vinyl? The shimmer vinyl requires strong grip transfer tape, which is too sticky for the permanent vinyl.
Rather than combining on the bottom layer's transfer sheet, we will combine the layers directly onto the blank.
Specialty vinyls can be layered on top of other vinyls, but it is not recommended to to apply other vinyls to it. Other vinyls simply won't stick that well on top of specialty vinyls, but I have a workaround.
With both layers selected, click "Ungroup".
![]()
Select the two layers and click "Combine" and then "Exclude".
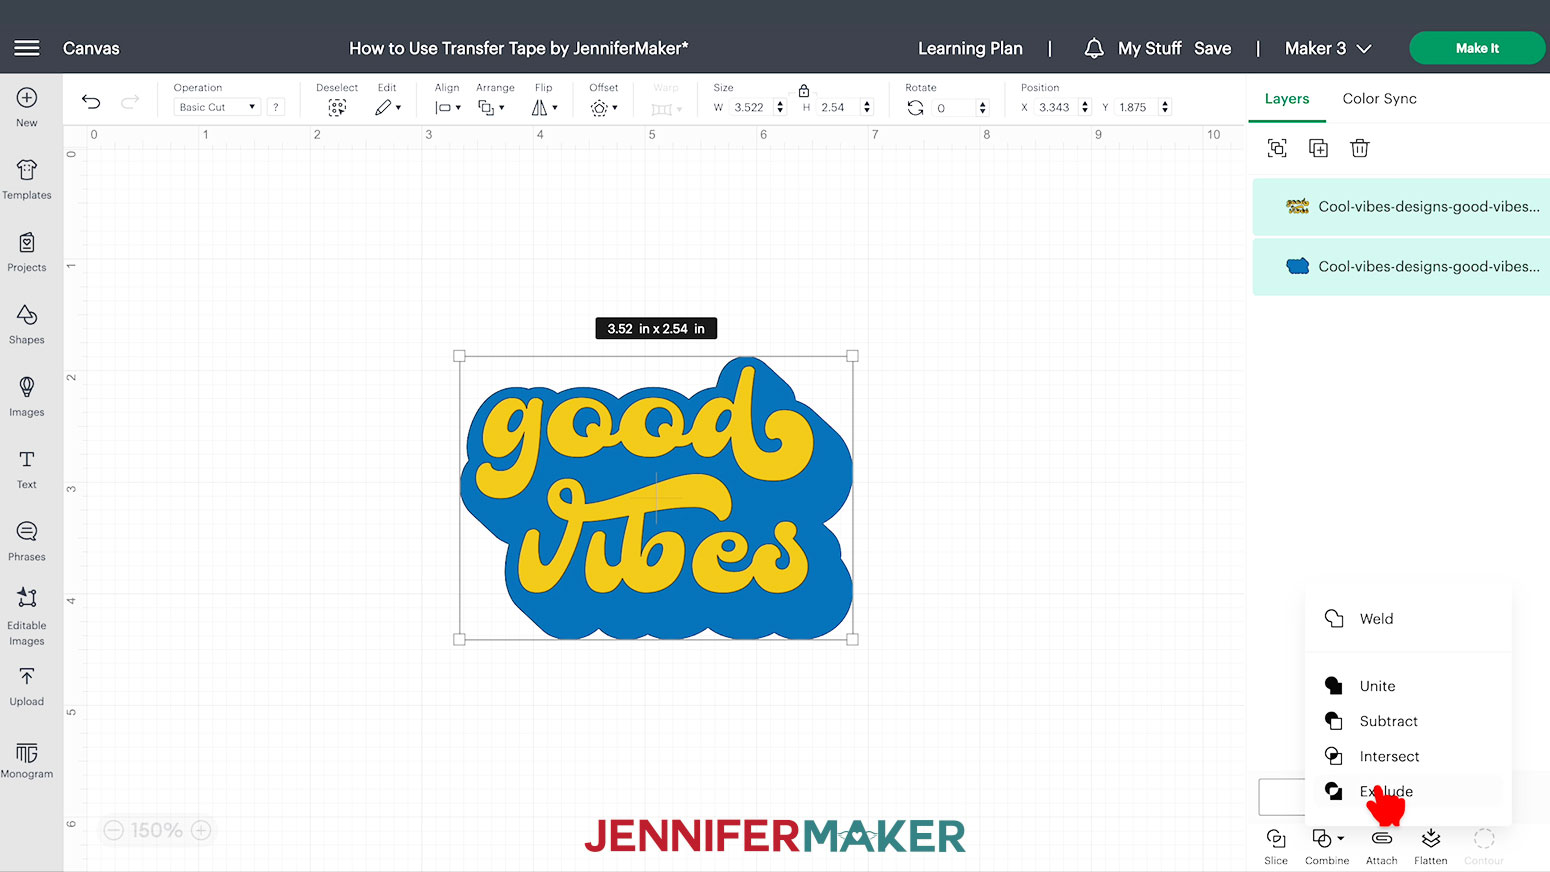
You will see the "Exclude" results on the Canvas. The inside letters are now excluded, or cut out, of the center of the shadow. This works great when we want to have our shimmer vinyl appear like it's on the bottom, since we cannot layer directly onto it.
Select the top layer, and click "Duplicate". Click on the "Color Box" and change the color to yellow.
Zoom in, and move the duplicated text layer within the excluded area you just created.
![]()
The new excluded design takes on the color of the bottom layer, so select the "Color Box", and change to blue.
We have now revised the colors to allow the shimmer vinyl to be used as the bottom layer.
STEP 3: CUT AND WEED THE DESIGN
When you are ready, select your Cricut machine — I selected Maker 3 — and then click the green “Make It” button in the upper right corner.
If prompted, select "On Mat" and 12" x 12". Then click the green “Confirm” button.
On the Prepare screen, keep the "Material Size" at 12" x 12".
Note: Select "Off Mat" if using SmartVinyl.
Click Continue.
On the Make screen, set your Base Material to "Premium Vinyl - Permanent" and set the Pressure to "More", for the yellow layer.
Set your Base Material to “Premium Vinyl – Shimmer” and set the Pressure to "More", for the blue layer.
Cut your vinyl with scissors down to 4" X 6" to save material.
Place your vinyl onto a clean, green StandardGrip Machine Mat and adhere it well with a brayer, liner side down.
Make sure your Fine-Point Blade is clean and in clamp B. Load the mat into your Cricut and press the flashing button to load the material. Press the "Go" button to cut the vinyl.
When the cut is compete unload it, flip it over, and peel the mat away from the vinyl.
Now, it is time to weed!
Make sure to weed the letters out on the bottom layer.
![]()
Using a weeding tool, pull up a corner of the vinyl.
Note: Use caution when weeding holographic, true brushed, shimmer and glitter vinyls. Shimmer is prone to ripping if not weeded carefully.
Using a weeding tool, carefully peel away the extra background vinyl.
Here's how the design looks fully weeded.
STEP 4: HOW TO LAYER AND APPLY YOUR VINYL DESIGN
We'll be applying the shimmer vinyl first, then the permanent vinyl directly on the blank. If we try and apply the shimmer vinyl last, or try to combine them on the liner, the Strong grip transfer tape will peel back the permanent vinyl.
![]()
Cut a piece of Strong Grip transfer tape for the shimmer vinyl, and Standard grip transfer tape for the permanent vinyl, slightly larger than your designs. I'll use my linerless StandardGrip tape this time, so only the StrongGrip will need its liner removed. Apply the transfer tape to your layers by holding the transfer tape in the shape of a taco, a "U" shape, then put the bottom of your “taco” onto the middle of your vinyl design.
Use your small scraper to smooth the tape over the decals from the center outward and burnish on both sides and both layers.
Peel the transfer tape and design off the liner of the shimmer layer. If the vinyl is not sticking to the transfer tape, try burnishing again.
You can eyeball the design placement, but you can also use parchment paper to perfectly position the vinyl onto the blank. This works great for the two color version without registration marks.
Make sure the surface is clean and dry. Use rubbing alcohol to clean plastic and glass surfaces. You can also use a lint roller, since we are applying our vinyl to wood.
Using the "taco" method, place your bottom shimmer layer on some parchment paper, with a small area of transfer tape still exposed at the top.
![]()
Press the exposed section of transfer tape onto the blank in the center.
With one hand applying a little pressure to keep the transfer tape in place, use your other hand to gently remove the parchment paper.
![]()
Continue to press on the section of transfer tape that was exposed. This will help keep everything aligned. Use your small scraper tool to burnish the design on to the flat blank.
![]()
Slowly remove the transfer tape at an angle. If the vinyl is not sticking to the blank, secure the transfer tape back down, and burnish again.
Using the "taco" method, place your top layer on some parchment paper, with a small area of transfer tape still exposed at the top.
Press the exposed section of transfer tape onto the bottom layer and blank, where you excluded the areas for the letters. Good thing we can see through parchment paper!
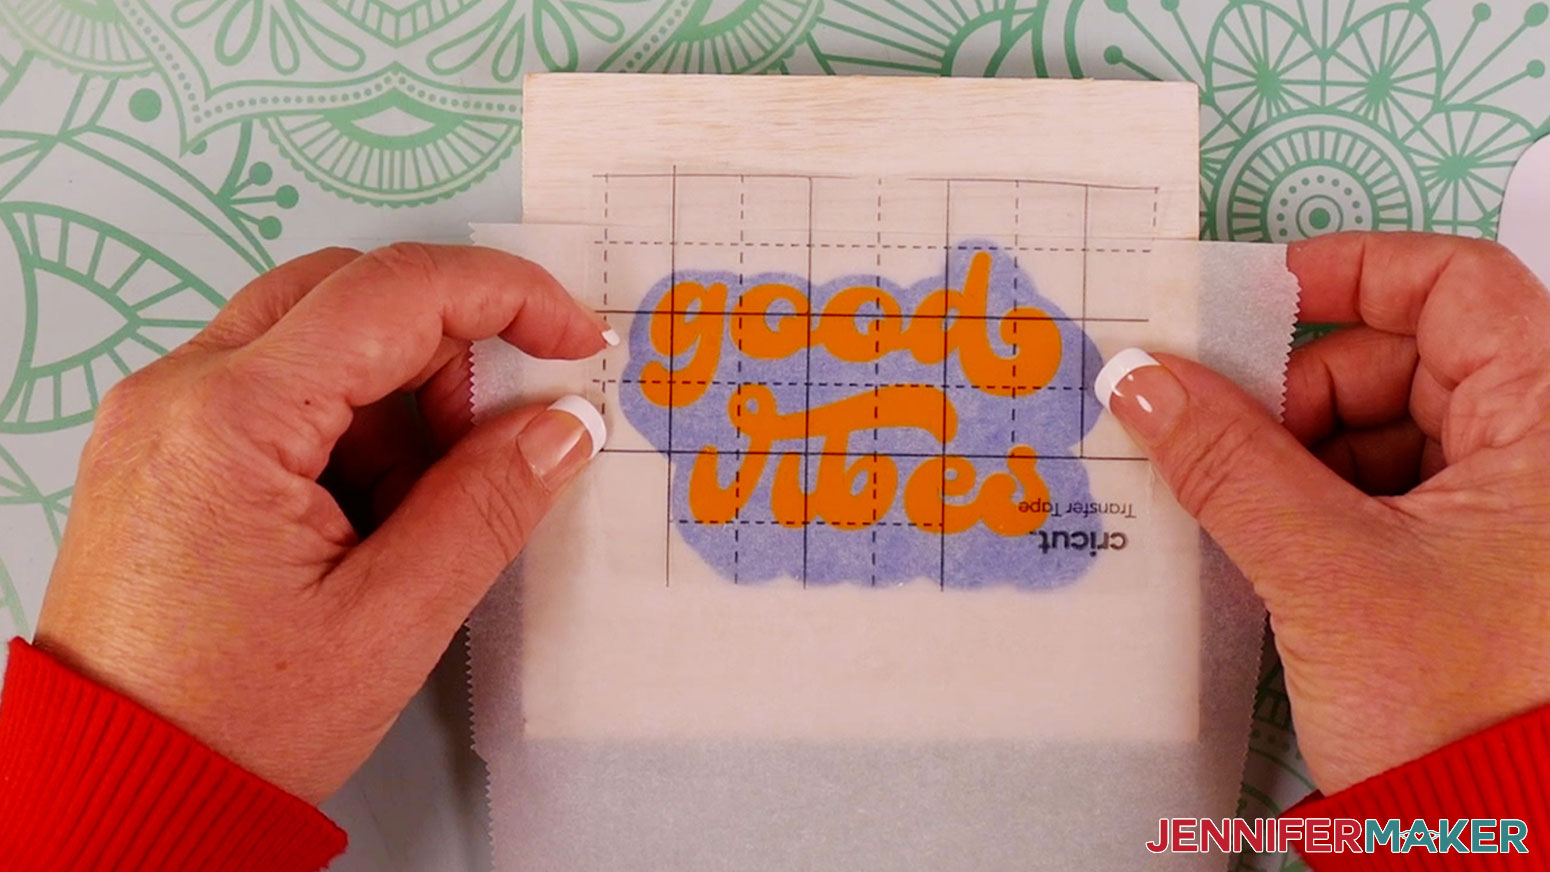
With one hand applying a little pressure to keep the transfer tape in place, use your other hand to gently remove the parchment paper.
Continue to press on the section of transfer tape that was exposed. This will help keep everything aligned. Use your small scraper tool to burnish the design on to the flat blank.
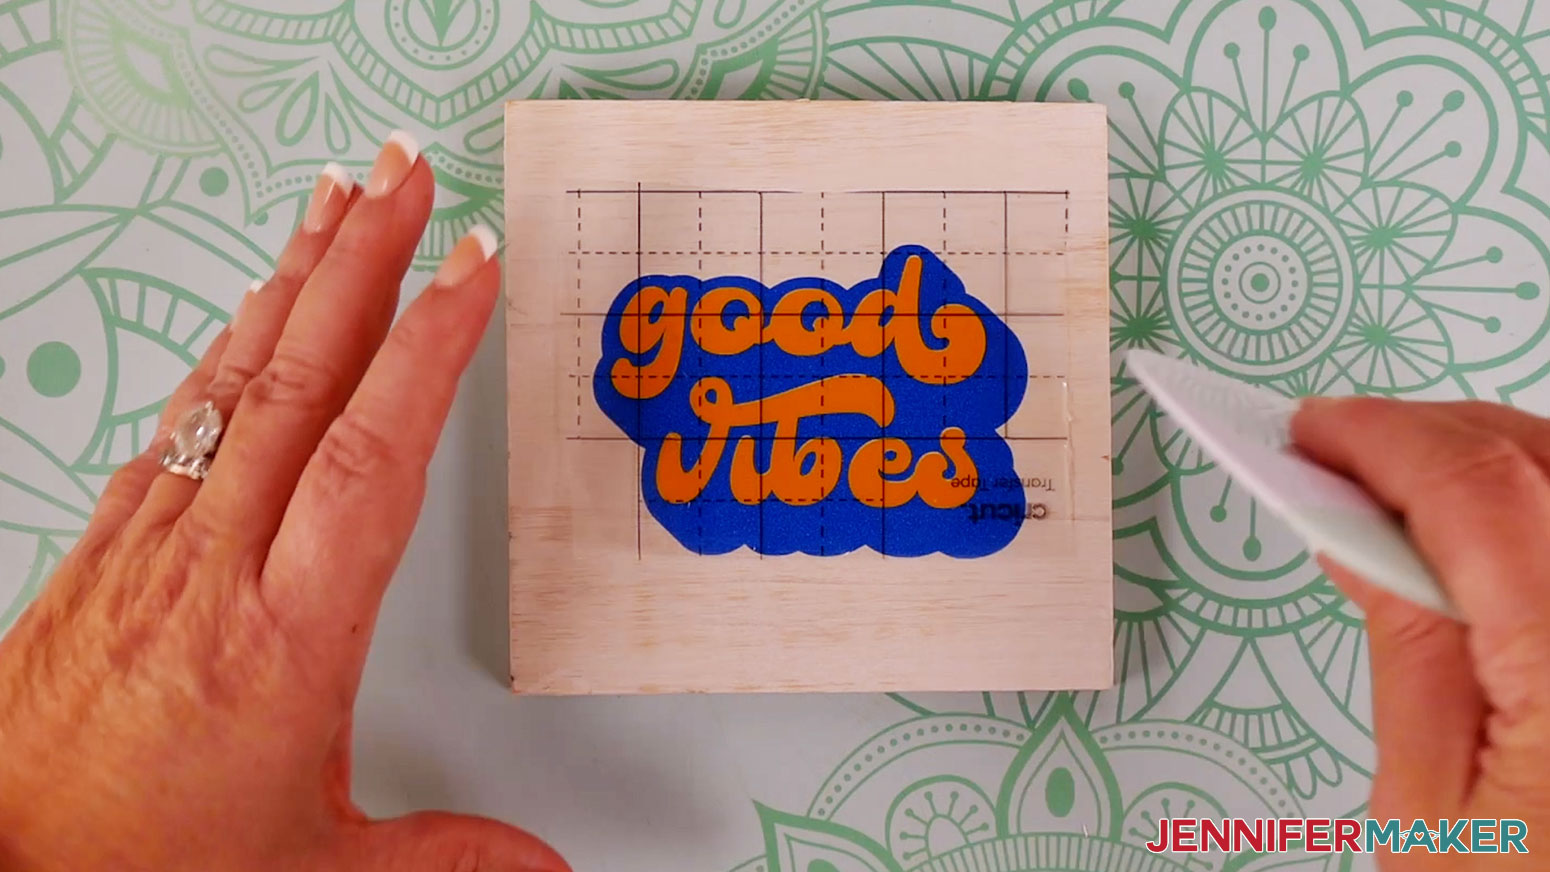
Slowly remove the transfer tape at an angle. If the vinyl is not sticking to the blank, secure the transfer tape back down, and burnish again.
The shimmer vinyl is strong enough to withstand peeling StandardGrip transfer tape from it. That is why we applied it to the blank first. The permanent vinyl would be pulled off the blank if we tried applying it before the shimmer vinyl and StrongGrip transfer tape.
The two color design in yellow permanent and blue shimmer vinyl looks great on this wood signs! I love mixing permanent and shimmer vinyl. The shimmer vinyl looks especially good as the bottom layer.
ALTERNATIVES
You can use "Press N Seal" or painters tape, as an alternative to transfer tape. These alternatives are slightly less sticky than Standard grip transfer tape, and can be used with permanent vinyl. Shimmer, Glitter, and True Brushed vinyls will not work well with these alternatives since they require Strong grip transfer tape.
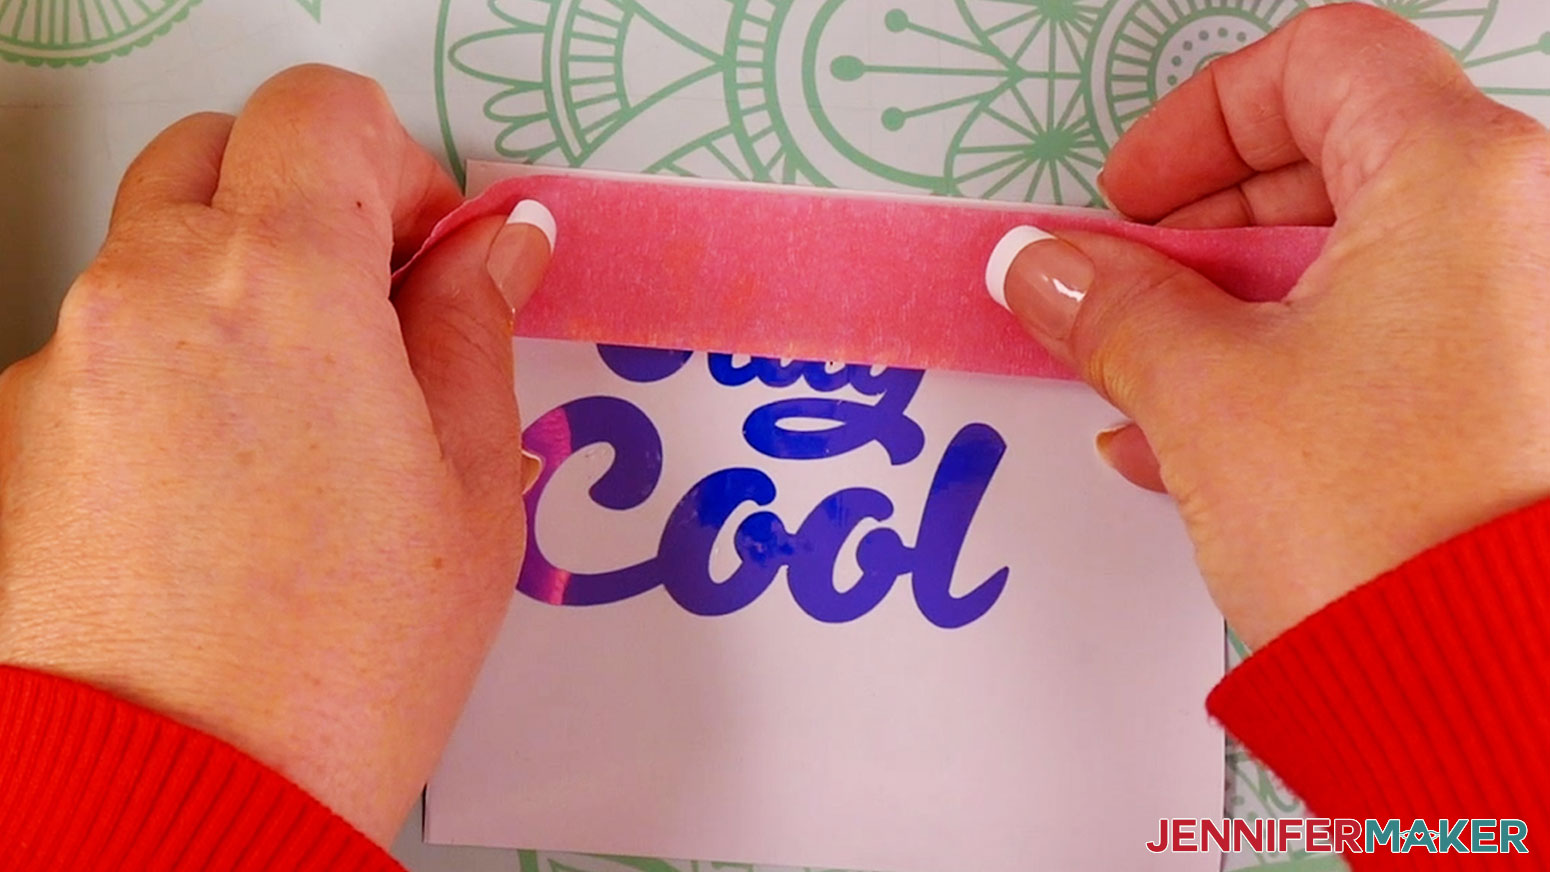
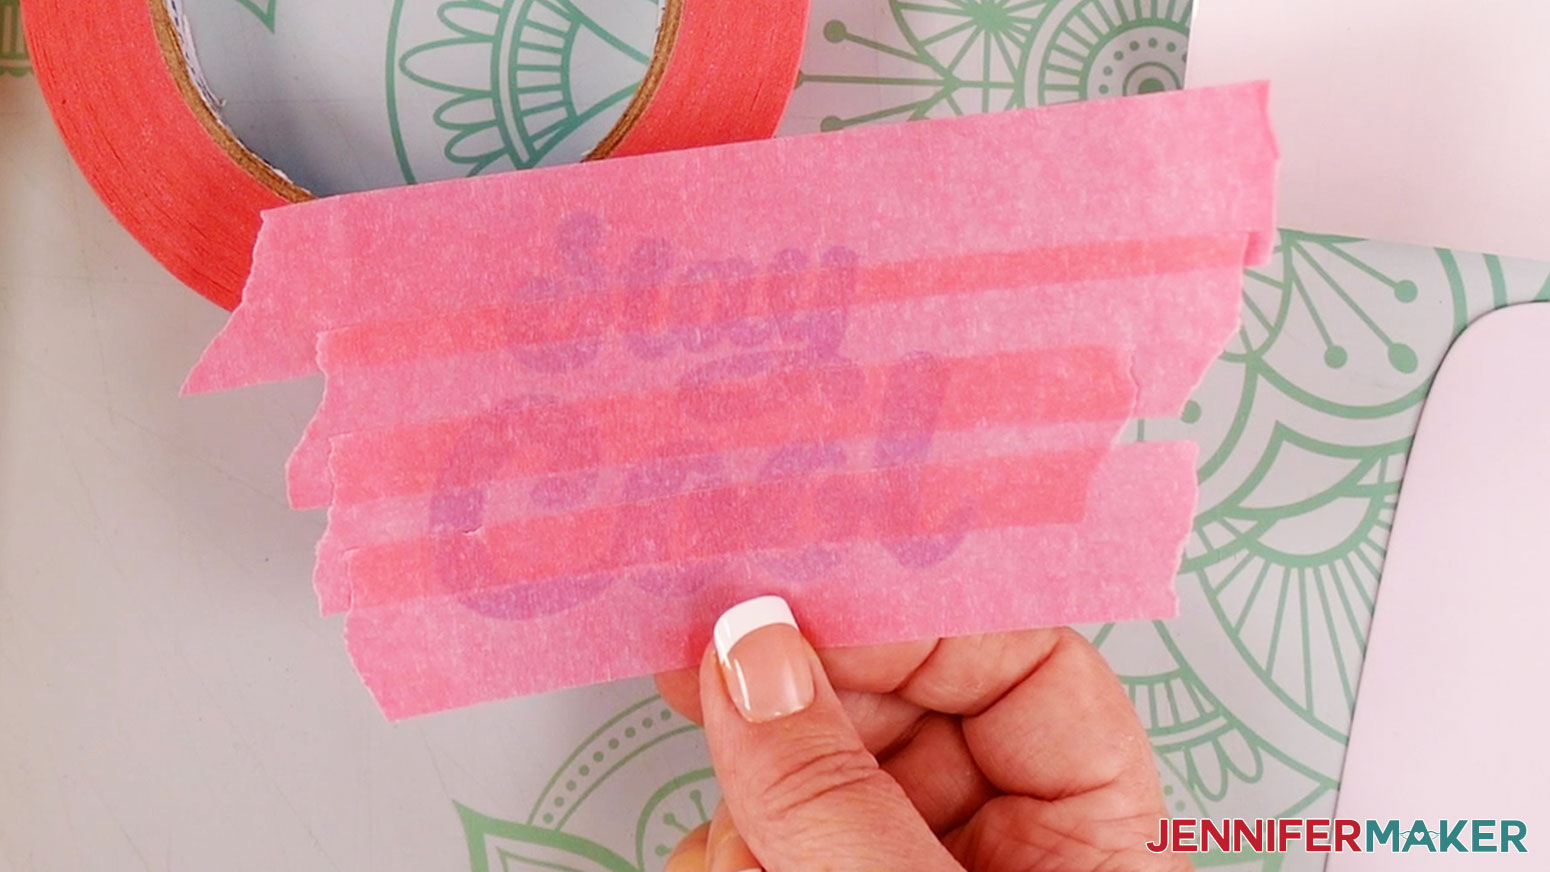
If you run out of transfer tape, you can use painters tape to transfer the one color design. Painters tape is less sticky than transfer tape, and works great in a pinch.
Try painters tape on the one color "Stay Cool" design, if you don't have any standard grip transfer tape on hand. You can layer strips of painters tape to cover the design. Make sure and use permanent vinyl.
Cricut also offers standard grip Linerless Transfer Tape. This works great and has less waste than the other transfer tapes with liners. This does not work with Shimmer, Glitter, and True Brushed vinyl.
You can also de-stick your standard grip transfer tape if you find it is too sticky, by applying it first to a soft surface a few times. Or simply re-use the transfer tape, as it losses its stickiness after multiple uses.
HARDWARE FOR WALL HANGING - OPTIONAL
Lay your wood sign on a flat surface, face down, and make sure the design is facing upward. Use a small screwdriver, and the two provided screws, to secure the sawtooth hanger to the back of the frame. Don't screw them too tight.
![]()
You can now mount the wood sign on the wall, or skip this step for a stand-alone version that looks cute on a desk, or any surface.
STEP 5: SHOW IT OFF
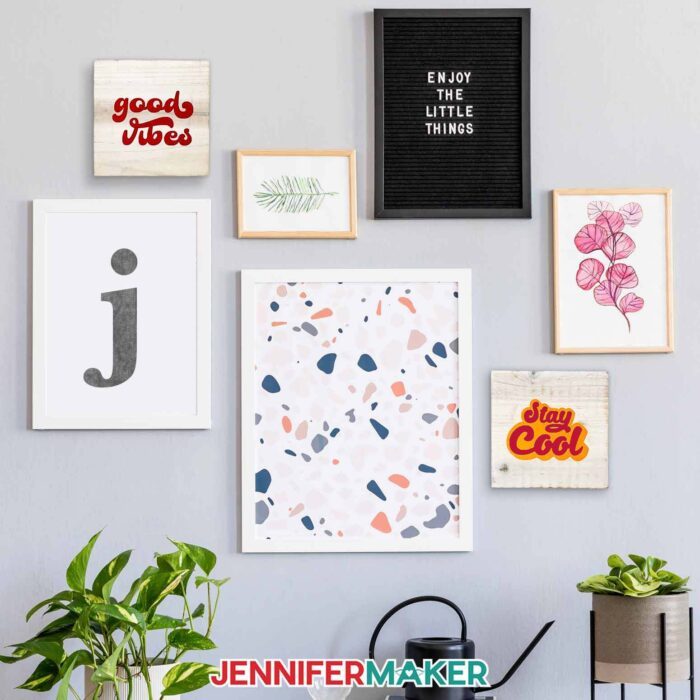
These signs work great free-standing or wall-mounted, and can be made with a variety of vinyls and transfer tapes. Always keep in mind, the type of vinyl dictates which type of transfer tape to use. Remember, you can use transfer tape multiple times before throwing away.
Now, remember to always "Stay Cool" and have "Good Vibes"!
![]()
![]()
Notes
Typefaces used: Brenson Charlotte, Brenson Charlotte Shadow, Andala, Andala-Extrude
Answers to Your Questions About Using Transfer Tape for Vinyl Projects
Q: What is the trick to transfer tape?
A: There are several “tricks” to effectively and using transfer material, but I’d have to say my biggest tip would be to make sure you’re using the right strength tape, and burnish the tape down well to your piece of vinyl with your scraper tool, before trying to transfer your adhesive vinyl design. And if you can’t get it off the liner, use your weeding tool to pick it up at a corner!
Q: Do you have to use transfer tape with vinyl?
A: Like I said before, you CAN peel and stick your vinyl…but it might not end well. The risk for error is high, and you won’t be able to preserve the spaces or small details the way you would by using transfer tape. Transfer tape really is the best way to apply an adhesive vinyl decal to a surface. And once you know how to use transfer tape, you’ll realize that it’s the easiest way, too. That said, you can use other alternatives like Press N Seal wrap or painter’s tape in lieu of StandardGrip tape — they often work great in a pinch! If you need a stronger tape however, you’ll want to purchase StrongGrip tape.
Q: How do you lay transfer tape on vinyl?
A: After you cut a piece of transfer material large enough to apply to the whole design, remove the backing sheet from your tape and curve it like a taco, adhesive side down. Lower it onto the surface of your cut vinyl design and, after it touches, smooth it down with your fingers from the center outwards. Then use your scraper (or an old store loyalty card or credit card) to burnish the transfer tape down onto the vinyl. Leave the vinyl backing on the vinyl until you’re ready to apply the vinyl decal to a surface.
Q: Why won’t my decals come off the transfer tape?
A: Sometimes transfer tape works so well, that it works a little TOO well. If you’re finding that your vinyl cutouts won’t transfer onto your surface because the tape appears to be too strong, first try burnishing your design onto the surface again. Try a few times if needed. If that doesn’t work, your transfer transfer tape may be too strong for your type of vinyl. Either try again with a different, less sticky type of transfer tape, stick it to something soft a few times to make it less sticky, or try using the Press N Seal or painter’s tape methods. When peeling off the transfer material, do so at a 45-degree angle or less for best results.
Q: Do you need to mirror when using transfer tape?
A: A lot of crafters get confused as to when they should mirror their vinyl. Heat transfer vinyl is usually mirrored, after all. As a general rule, adhesive vinyl doesn’t need to be mirrored — with a few exceptions. Never mirror your adhesive vinyl unless you’re applying it to the back of glass where it will be read from the other side. The only other exception is in the case of printable adhesive vinyl sticker paper, like the kind used for Print Then Cut stickers. Don’t mirror printable adhesive vinyl.
Q: How many times can you use transfer tape?
A: You might be surprised to learn that you can generally re-use transfer tape three or four times! Or, as your StrongGrip tape gets less sticky, use it for projects that require StandardGrip tape. And when that gets less sticky, you can still usually use it a few more times — especially with different brands of vinyl which may be less sticky than other brands. You really do get your money’s worth when you learn how to use transfer tape!
Q: What can I use if I don’t have transfer tape?
A: Rather than using transfer tape if you don’t have any on hand and need to transfer a cut vinyl design, you can use Press N Seal wrap or painter’s tape in lieu of StandardGrip tape. Furthermore, you can also experiment with using clear contact paper or lint roller tape!
Get my free SVG files to Learn How to Use Transfer Tape!
I’d love to see all the vinyl projects YOU make with the help of transfer tape! Please share a photo in our Facebook group or tag me on social media with #jennifermaker.
Love,

Want to remember this? Save this tutorial on How to Use Transfer Tape to your favorite Pinterest Board!