
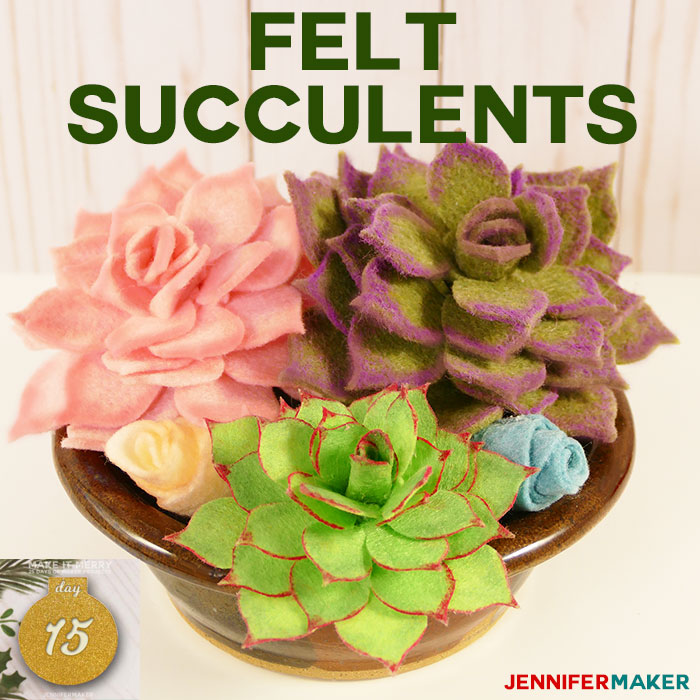
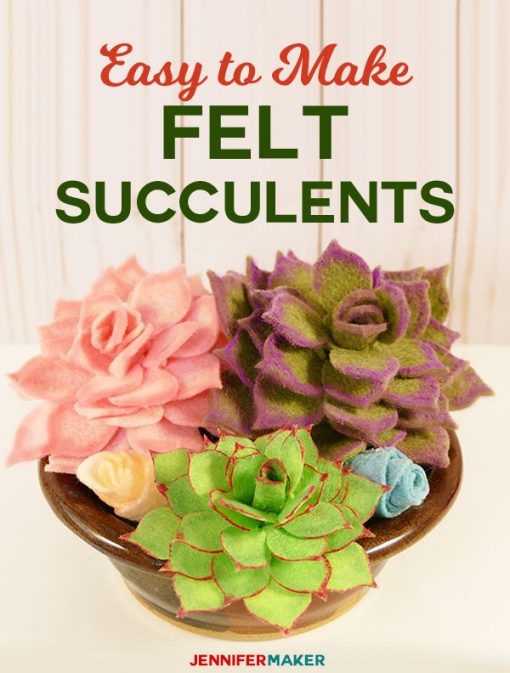
 Confession time. I kill houseplants. If a houseplant comes into my home, it’s effectively on death row. It’s not that I don’t TRY to keep it alive. I just seem to … forget. I don’t have this problem with the outdoor plants—I love to garden. But indoor plants? Yeah, not so much. But I have a solution! A felt houseplant! So Day 15’s gift in my MAKE IT MERRY: 25 Days of Maker Projects is an adorable felt succulent pattern so you can enjoy a pretty houseplant, too!
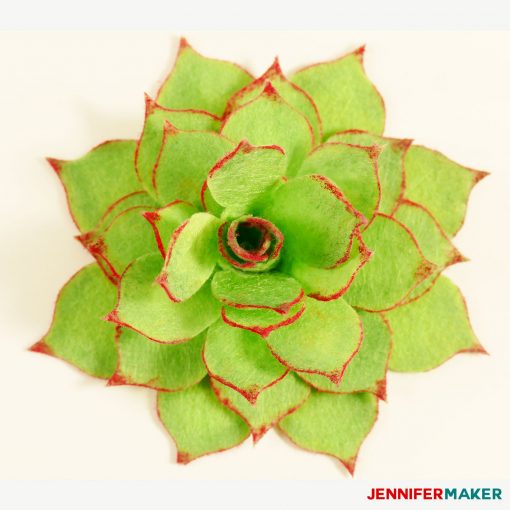
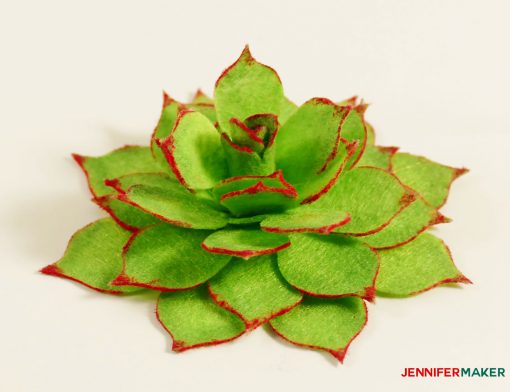
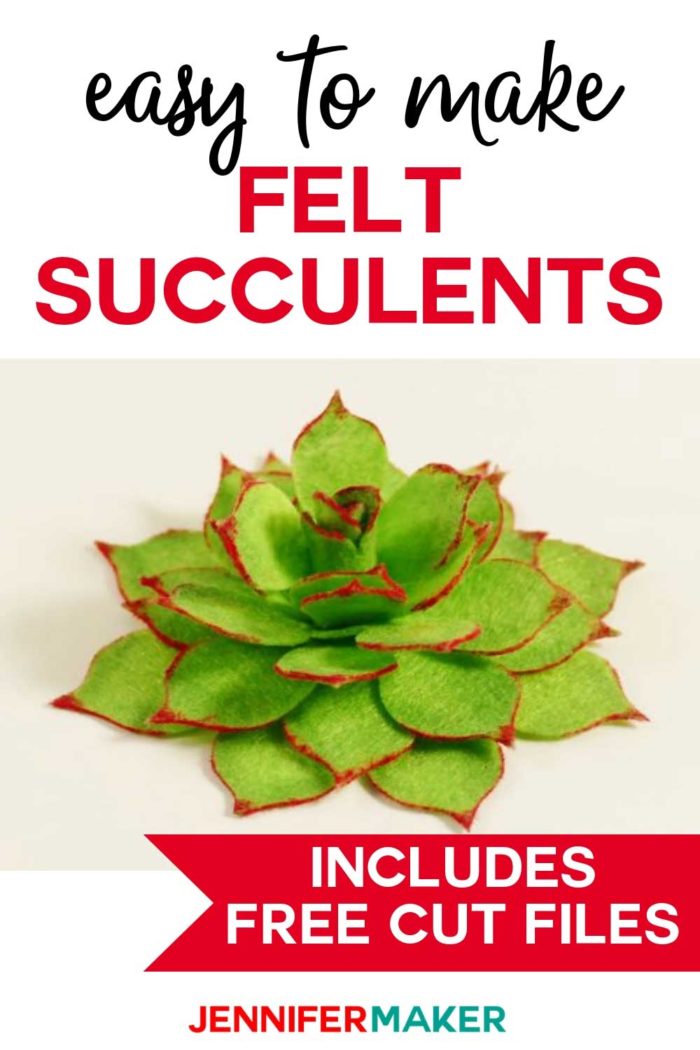
Like all of my many other DIY flowers and plants, the petals were traced from those of a real succulent. A Graptoveria “Silver Star” served as my model because I loved how its leaves spiraled out in such a pretty, even manner.
And to make it easy to assemble, I’ve attached several leaves together rather than make you glue each one on individually. So it’s easy peasy!
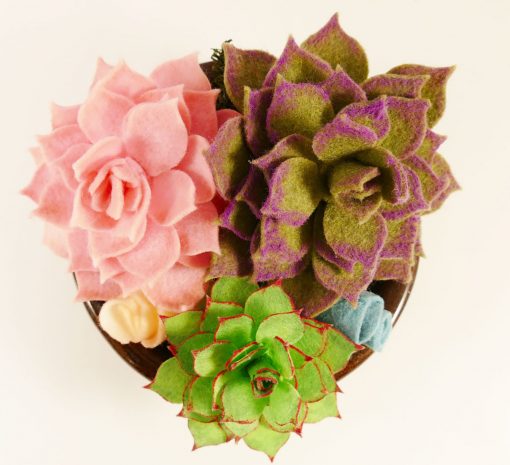
An arrangement of these felt succulents also makes a great gift! I plan to put each one in a mini pot and give them as stocking stuffers this year.
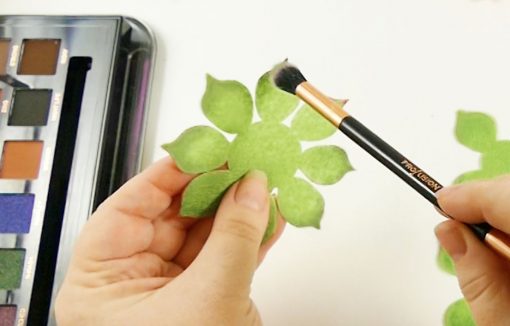
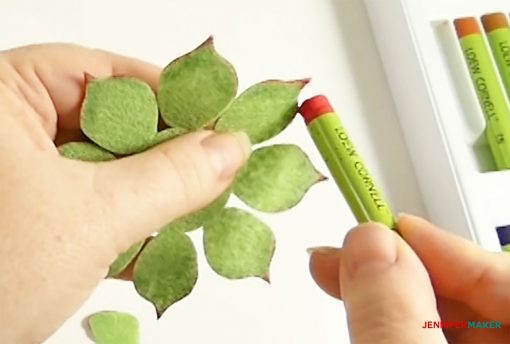
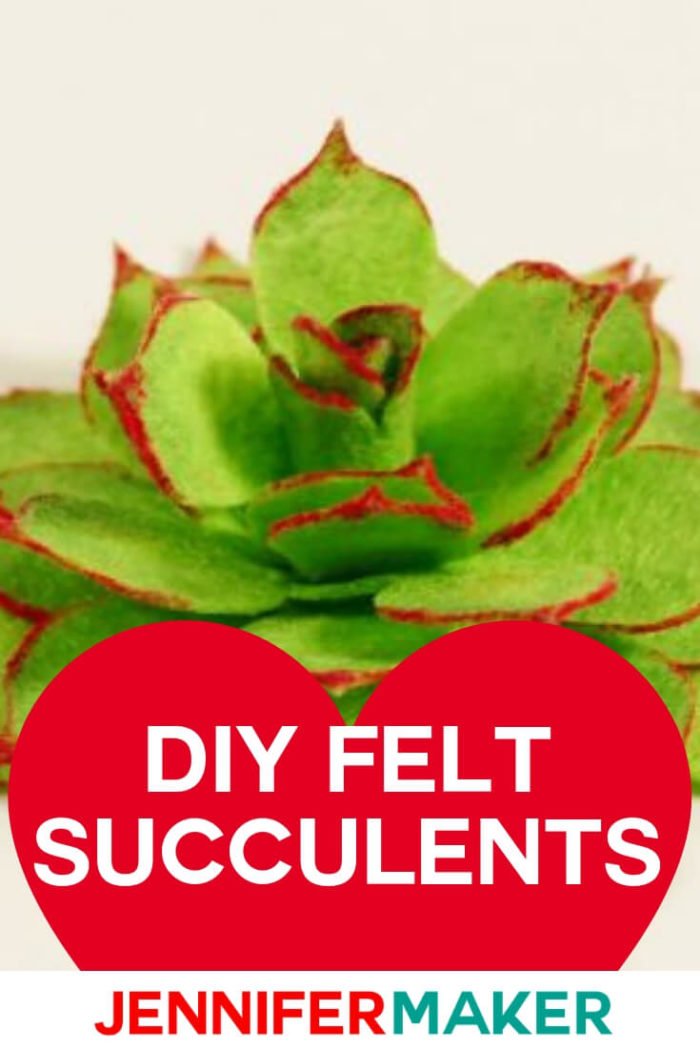
To make your succulents look realistic, you’ll want to shade the leaves and possibly the edges as well. But paint and markers don’t work well on felt. I found the best things to use for shading were eye shadow and blush! And to color the edges, I used an oil pastel crayon—lipstick also works, though is smudges a little easier.
I want to show you how to make these felt succulents! This post contains some affiliate links for your convenience (which means if you make a purchase after clicking a link I will earn a small commission but it won’t cost you a penny more)! Read my full disclosure policy.
Materials for the Felt Succulents (Silver Star)
- Felt (the better the quality, the nicer the end result — I was particularly happy with the Cricut felt)—go for natural colors like yellowy greens, pinks, blues, and purples.
- Eyeshadow and blush (to shade the leaves)
- Lipstick or oil pastel crayons (to color the edges of the leaves)
- Glue gun and hot glue sticks
- Tweezers
- A way to cut your felt (I used the amazing Cricut cutting machine!)
- Design #78 – My free SVG cut files/patterns for the felt succulents (available in my free resource library—get the password at the bottom of this post)
How to Make Your Felt Succulents
First, download Design #78 which are the patterns for my silver star succulent from my free resource library. The file is called Felt Succulents SVG/DXF/PDF. If you’re going to cut them out on your cutting machine, upload the file to your design software.
Tip: If you’re not sure how to upload an SVG cut file to Cricut Design Space, watch this helpful video training series I made. If you’re on an iPhone or iPad, here’s how to download and upload SVG files to the Cricut Design Space app.

Cut out your felt using my pattern. If you intend to make an arrangement of felt succulents, I recommend a variety of different sizes. The default size fits on an 8.5″ x 11″ sheet of felt and is probably the largest you want to go, but you can resize it down to be smaller. In my photo, the dark green one is at maximum size and the lighter green one was resized so the whole set of shapes was only 5.5″ across.
Once your pieces are cut out, color them to make them more realistic. Use the eyeshadow and blush to shade the leaves (refer to photos of real succulents to see the shading). Then use an oil pastel crayon on the edges to get a contrasting edge, like many of real plants have. Alternatively, you could use lipstick!
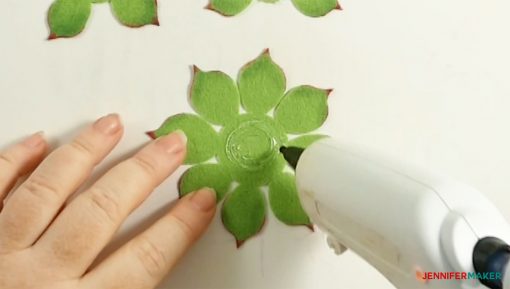
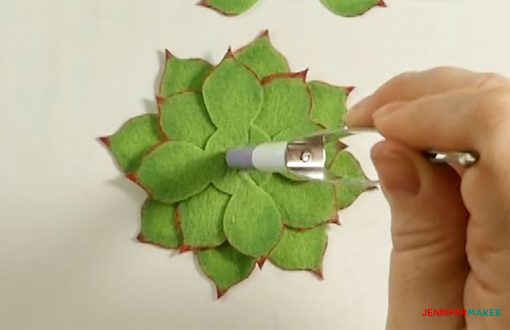
Next, using your hot glue gun, put a ring of glue in the middle of the largest set of leaves. Avoid putting glue right in the very center. Instead, you want it around the center (but not at the edge of the center either).
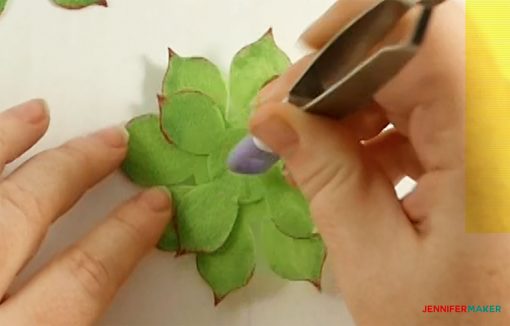
Now place a set of the second largest leaves on top of the largest, offsetting the leaves so they are between the bottom layer’s leaves. Press down with the tip of something, like your tweezers, to create an indentation in the center.
Put a ring of glue in the center of the second layer of leaves.
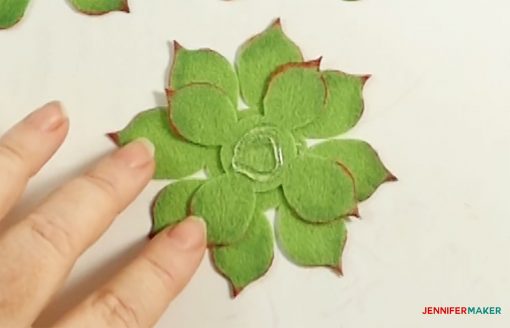
Place the other set of leaves on top of the two that are already glued together. Push down in the center again to keep it compressed with the other two. Doing this will help give your succulent a better shape so it doesn’t look like just a flat bunch of felt pieces.
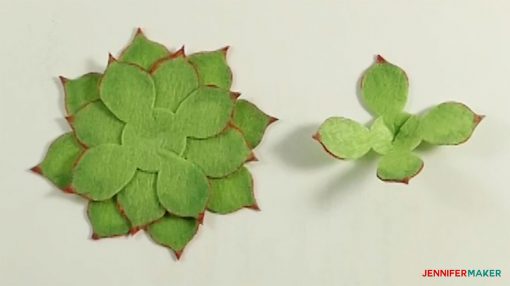
For the next two sets of leaves you’ll need to glue them into a slight cone shape first. Just put a dab of glue on the little “V” shape and then overlap the two sides of the V. This will create a natural dish.
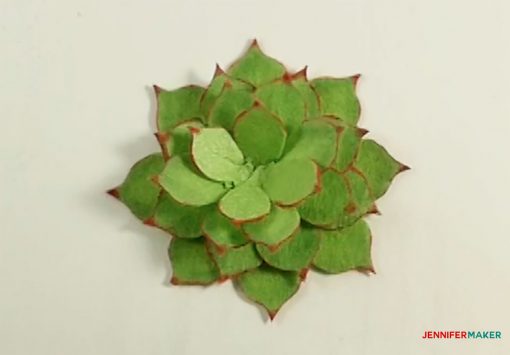
Once you’ve dished your leaves, continue gluing them to the felt plant. Again, use rings of glue and push down in the center of each set of leaves after you put it into place.
Create the bud that goes in the center of the by rolling up the last piece and gluing it into a rolled bud shape.
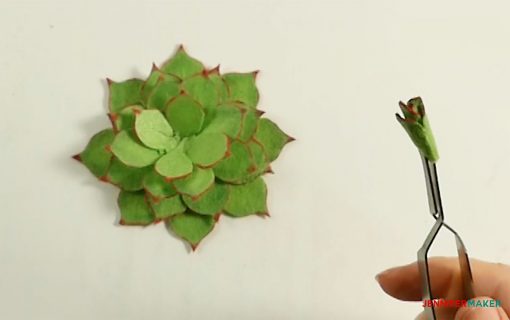
Now, put glue in a ring at the center of your glued plant and push the bud down into it, allowing the leaves around it to move up against the bud. Some (or all) of the leaves on that last layer should stick to the sides of your bud, helping to give it a three-dimensional shape like the real plant.
SVG DIMENSIONS IN DESIGN SPACE
W 7.993″ x H 10.201″
(This is the measurement upon initially uploading the file before any ungrouping or other tasks.)
SIZE OF FINISHED PROJECT AS SHOWN
5.5″ across the width of the largest leaves.
Get my free cut files for the Felt Succulent Pattern
I’d love to see your felt succulents! If you make one, please share a photo in our Facebook group or tag me on social media with #jennifermaker.
See all of the tutorials and free designs in my MAKE IT MERRY: 25 Days of Maker Projects!
Love,

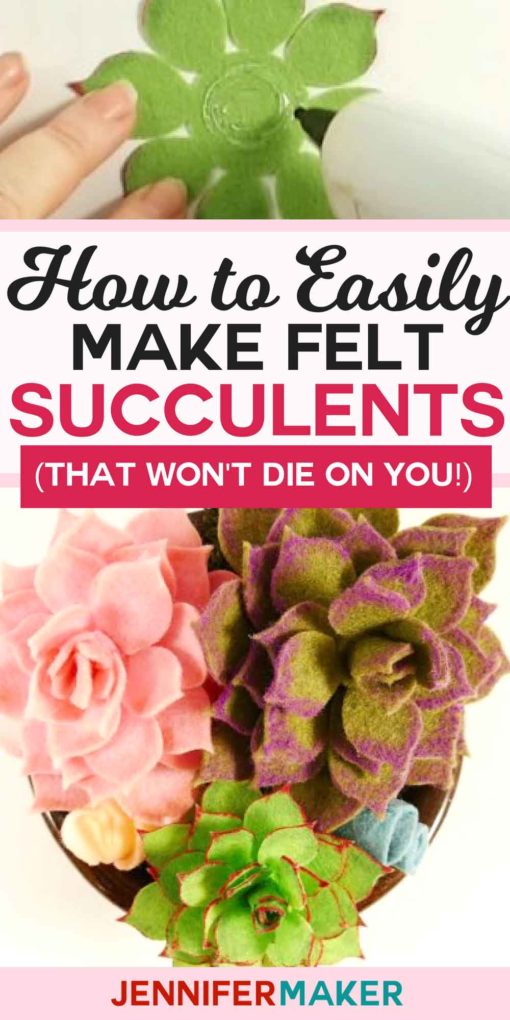
Want to remember this? Save the Felt Succulents Tutorial to your favorite Pinterest board!


I love these felt succulents. I’m making some little vases with yogurt glass jars. I’m etching a design or doing a vinyl design. We thought about putting live succulents in them. Now I’m thinking this might be a cool idea. These are for a church fund raiser and the live succulents are pricy.
Lovely thank you