
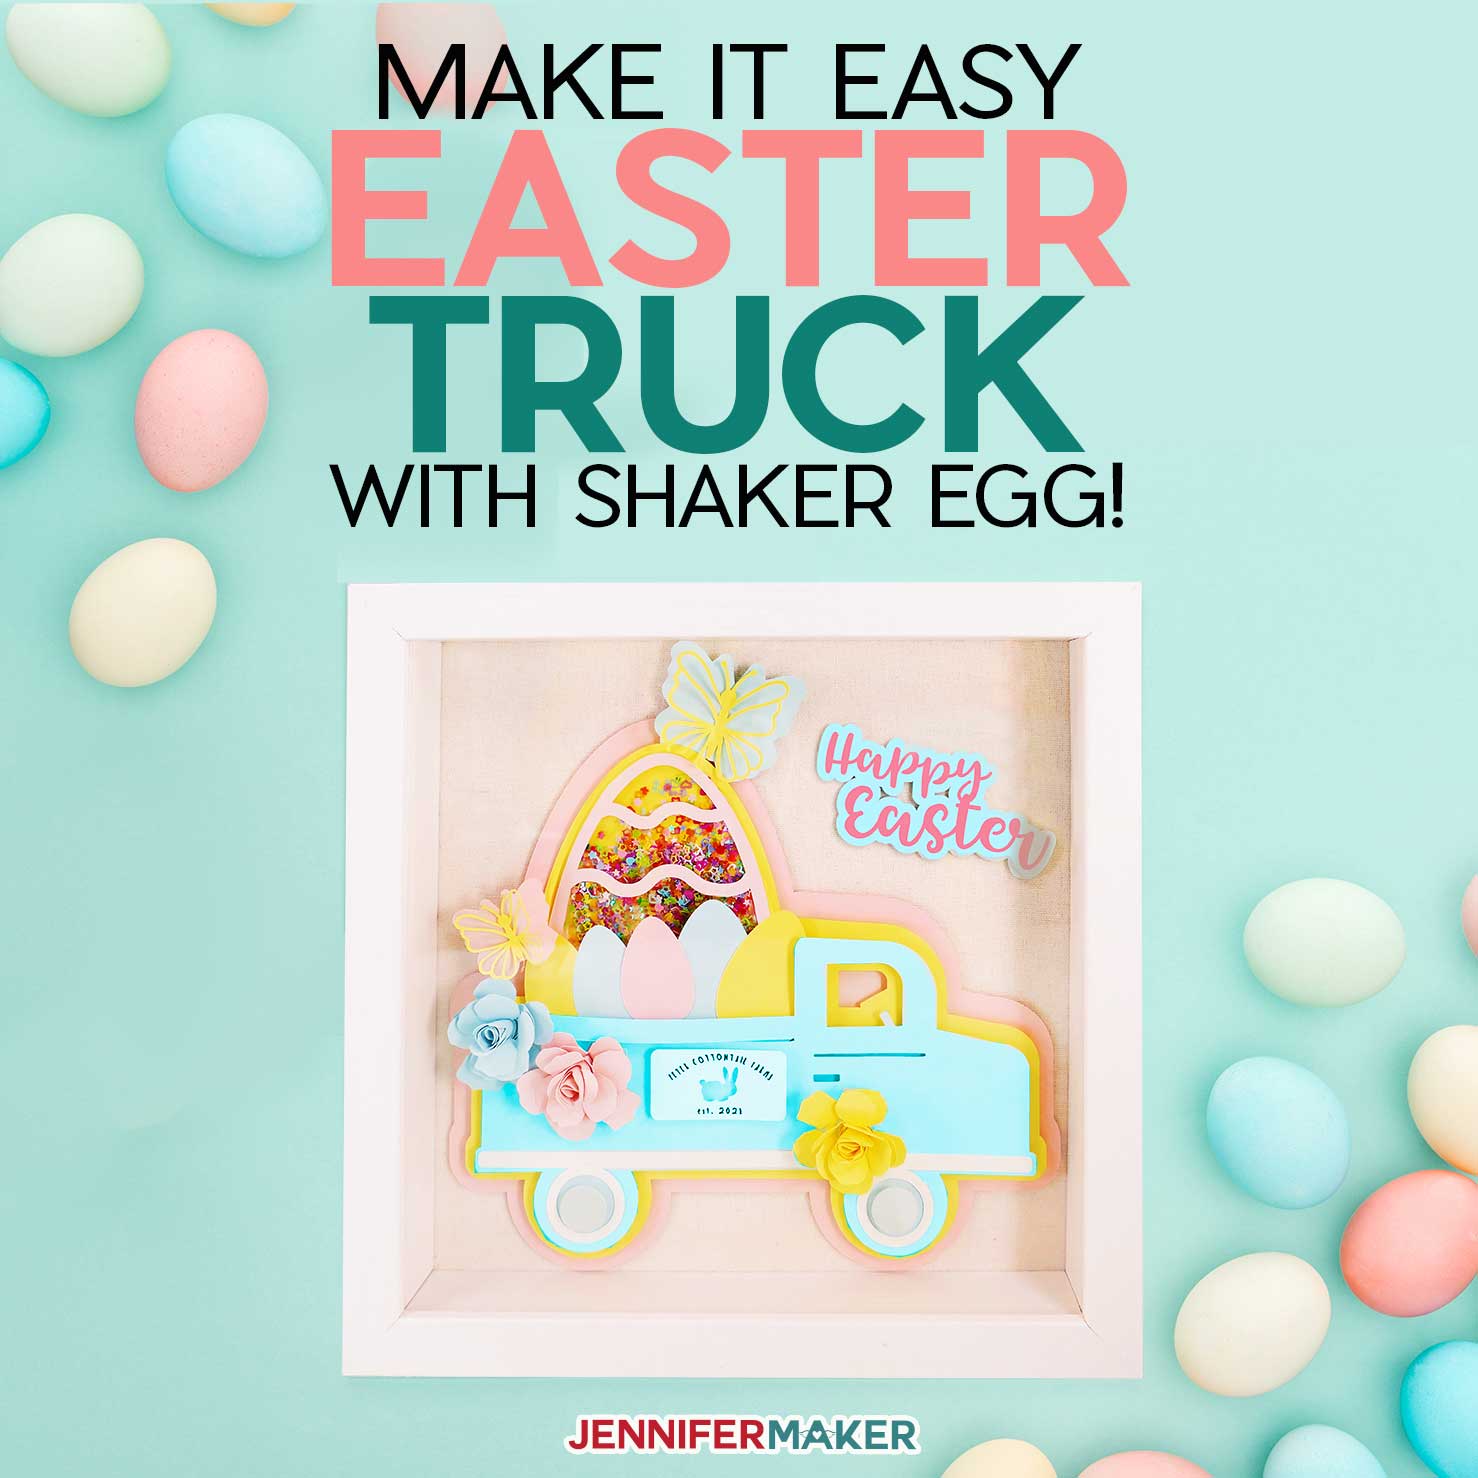
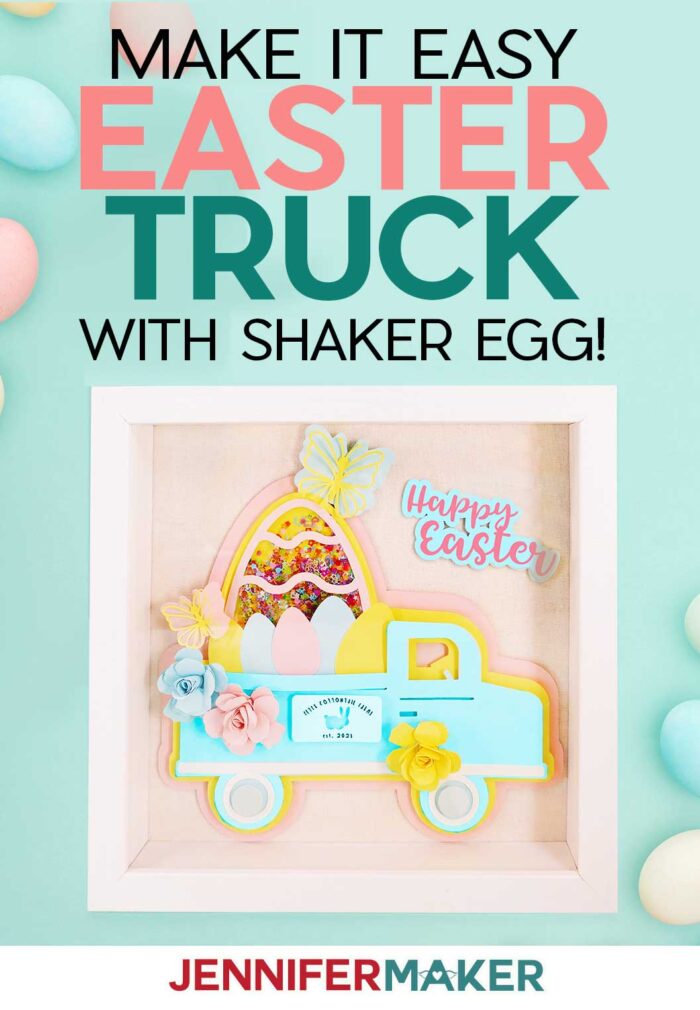
This Easter Truck Decor is a fun design to make and hang for Easter or with a few simple modifications, can be perfect for a baby’s room.
Shadow Box projects are an easy and fun way to decorate your home for any holiday or season! Plus, they’re an excellent way to display your creations. I have many shadow boxes filled with beautiful things now, including my Shadow Box Paper Art and my Paper Flower Shadow Box. So I decided to play with my popular Vintage Farm Truck and create this fun Easter Truck Decor, perfect for the upcoming holiday! But, you can get creative and adapt this design to fit a nursery or day care as well — feel free to fill the truck with flowers, butterflies, or anything you wish!
See this Easter truck assembled in my step-by-step assembly video:
Another reason I am so excited to share this Easter Truck Decor project with you is because it’s a great beginner project that will give you the chance to try your hand at a couple of different techniques! If you’ve made our shaker card, part of the shadow box decor will look familiar!


To make this Easter Truck Decor project, you’ll need 65 lb. cardstock. I used 8 1/2″ x 11″ along with a 9″ x 9″ shadow box.
For the Easter egg cover, I used acetate but you can use embossable window plastic or cut down a sheet of transparency film to work as well. In a pinch, you can use an old cutting mat cover!
I love glitter confetti for the shaker card part of this project but you can also use chunk glitter, rhinestones, small pieces of party foil — really anything super small and shakeable will work!
Adhesives are important for this project. Foam mounting tape is essential for creating the window with space for the contents of your egg! I also used double-sided adhesive and tacky glue to attach other parts of the egg design. It is important to know that if you use a cardstock with a texture, like glitter, you may need to experiment with glues or even double-sided tape to find the best adhesive for your paper.
I used foam dots for the Easter Truck Decor layers and to tape the butterfly and flowers to the truck because I really love the 3D look that foam dots give to this design! For the butterflies, I used tacky glue and hot glue for the flowers. If you don’t have all of these adhesives on hand, you can easily swap out whatever you have! There’s a lot of flexibility in the Easter Truck Decor Shadow Box to use what you have on hand!
I used my Cricut cutting machine to cut the cardstock and acetate, along with the fine point blade and standard grip mat.
Let me show you how to make this Easter truck decor shadowbox. This post contains some affiliate links for your convenience (which means if you make a purchase after clicking a link I will earn a small commission but it won’t cost you a penny more)! Read my full disclosure policy.
Materials to Make Fun Easter Truck Decor
View my Amazon shopping list with the exact items we used to make this project!
- 9″ x 9″ Shadow Box
- Acetate
- Yellow Cardstock
- White Cardstock
- 8 1/2″ x 11″ Metallic Foil Board (Silver)
- Glitter Confetti
- Foam Tape
- Foam Dots
- Tacky Glue
- Rubbing Alcohol
- Cricut LightGrip Mat (Blue)
- Glue Gun
- Tweezers
- Cricut Fine Point Pen
- A way to cut your vinyl for the stencil (I used the amazing Cricut cutting machine!)
- Design #296 – My free template (available in my free resource library—get the password at the bottom of this post
How to Make Your Own Easter Truck Decor
Easter Truck Decor
Home decor featuring vintage farmhouse trucks is very popular. In this tutorial I will show you how to make the cutest farmhouse truck shadowbox that's perfect for Easter. And this one comes with an extra dash of fun...a shaker egg filled with glitter confetti!
Materials
- 9" x 9" Shadow Box
- Two (2) sheets of 8.5" x 11" 65 lb. pink cardstock
- Two (2) sheets of 8.5" x 11" 65 lb. yellow cardstock
- One (1) sheet of 8.5" x 11" 65 lb. white cardstock
- One (1) sheet of 8.5" x 11" 65 lb. blue cardstock
- One (1) sheet of 8.5" x 11" Metallic Foil Board (Silver)
- Acetate
- Glitter Confetti
- Foam Tape
- Foam Dots
- Tacky Glue
- Rubbing Alcohol
- Design #296 - Easter Truck Decor SVG/DXF/PDF (available free in my resource library)
Tools
Instructions
STEP 1: GET MY FREE EASTER TRUCK DECOR DESIGN
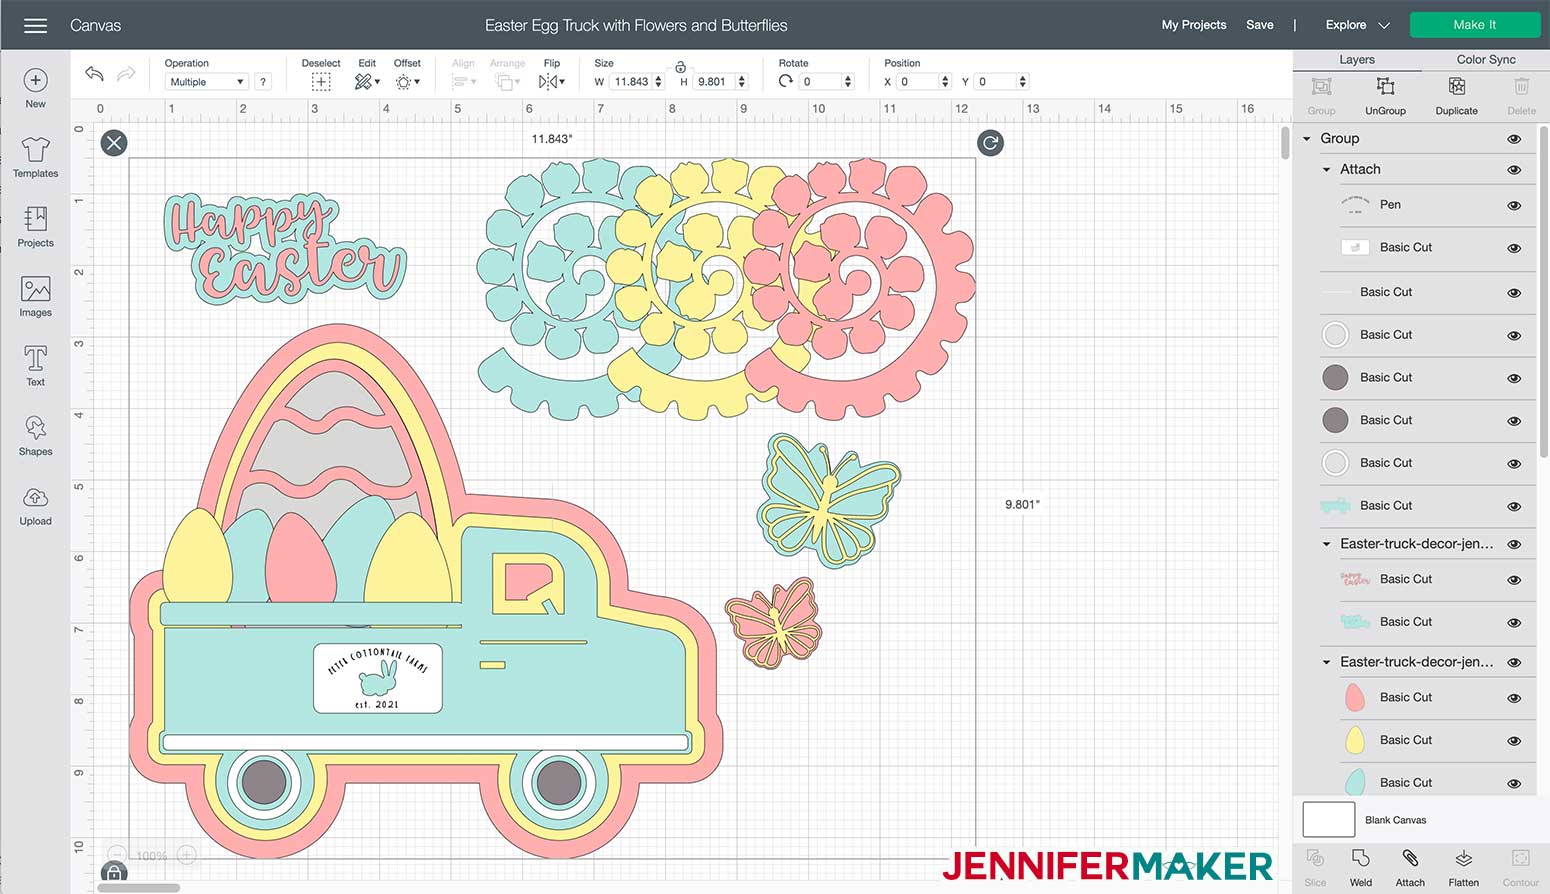
First, download Design #296 which is my free Easter Truck Decor SVG/DXF/PDF from my free resource library. If you're going to cut it on your cutting machine, upload the file to your design software. This is what my Easter Truck Decor SVG looks like in Cricut Design Space.
Tip: If you're not sure how to upload an SVG cut file to Cricut Design Space, watch this helpful video training series I made. If you're on an iPhone or iPad, here's how to download and upload SVG files to the Cricut Design Space app.
Once the SVG is uploaded all you have to do it click "Make It."
STEP 2: CUT YOUR EASTER TRUCK DECOR
Since the first two mats each had very little on them, I combined them into one mat to cut down on the amount of mats I had to cut. If you are not familiar with how this works I explain it in this helpful blog post all about Cricut Design Space Tips & Tricks.
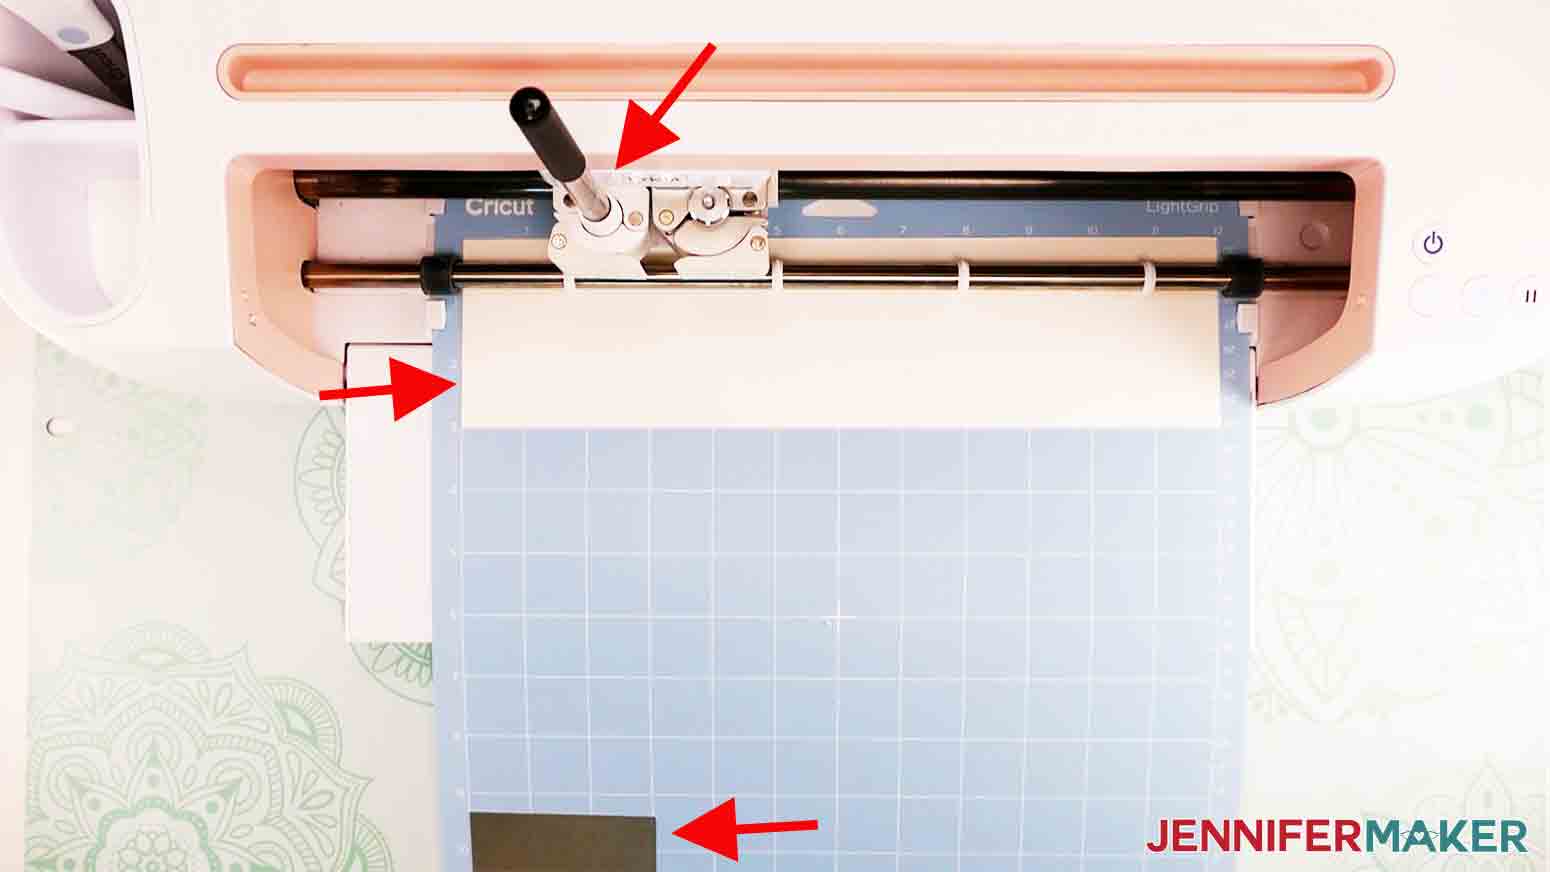
I'm using 65 lb. cardstock for the majority of this project, but I also use Metallic Foil Board and acetate, so make sure to change your material settings when you get to those mats.
And remember you will need to insert a Cricut Pen into Clamp A for the first mat.

TIP: If you'd like to change the words on the truck sign to personalize it, you can! Just hide that layer in Design Space and add your own text.
Here's a look at all of the pieces you should have when everything is cut.
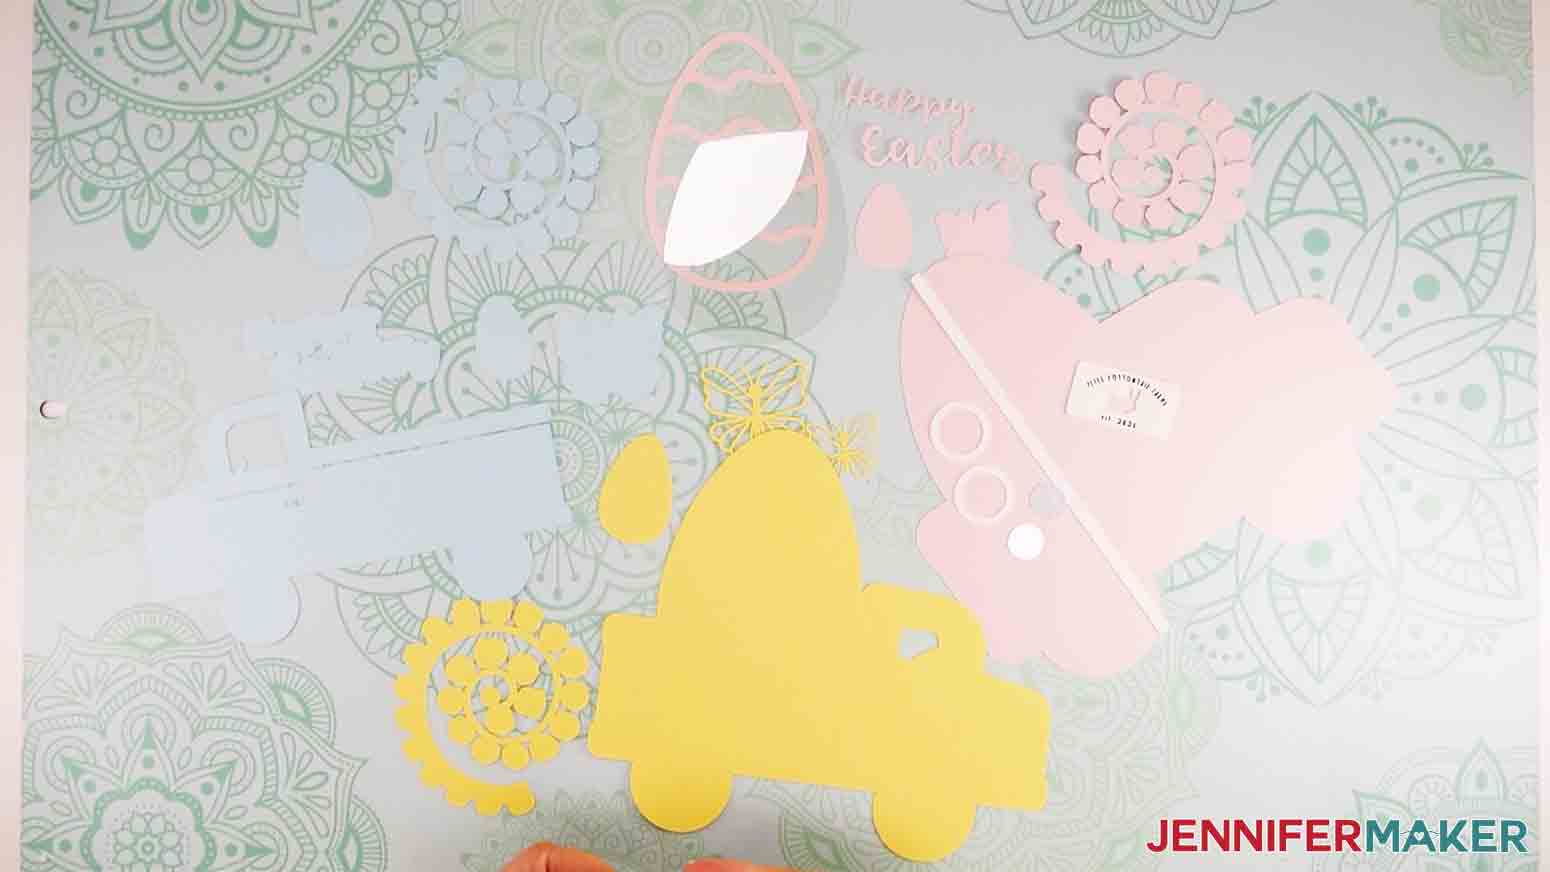
Note: The light gray layer is your acetate layer.
STEP 3: ASSEMBLE YOUR EASTER TRUCK DECOR
Now to the fun part: putting it all together!
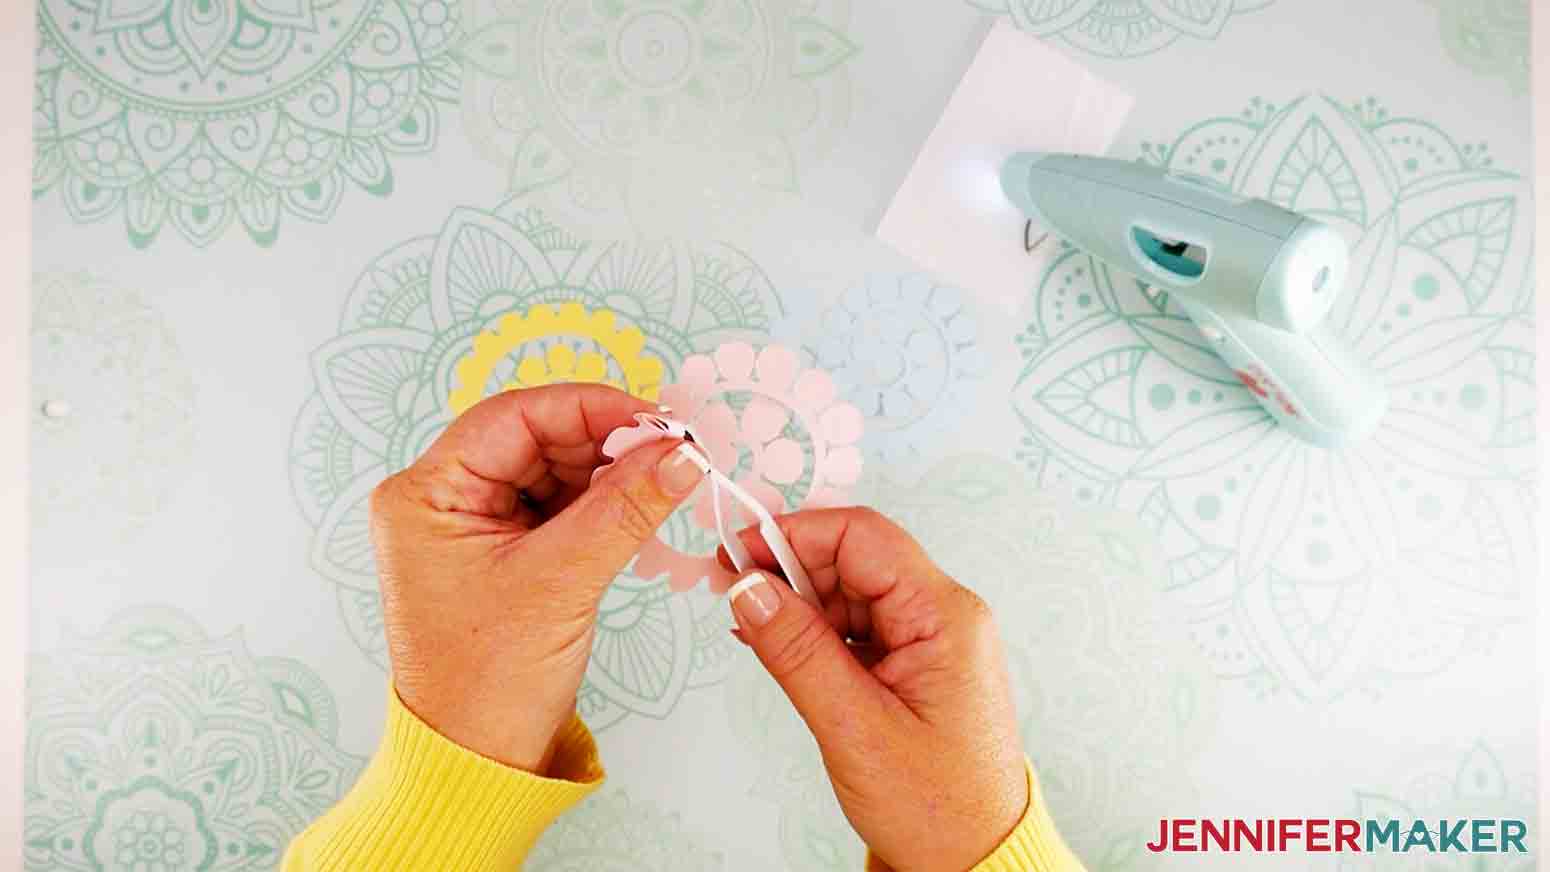
I started by rolling the flowers. I just love these miniature roses. If this is your first time making rolled paper flowers here's a great tutorial that shows you how to roll all of my paper flowers.
When I finished rolling each one I used hot glue to glue them together.
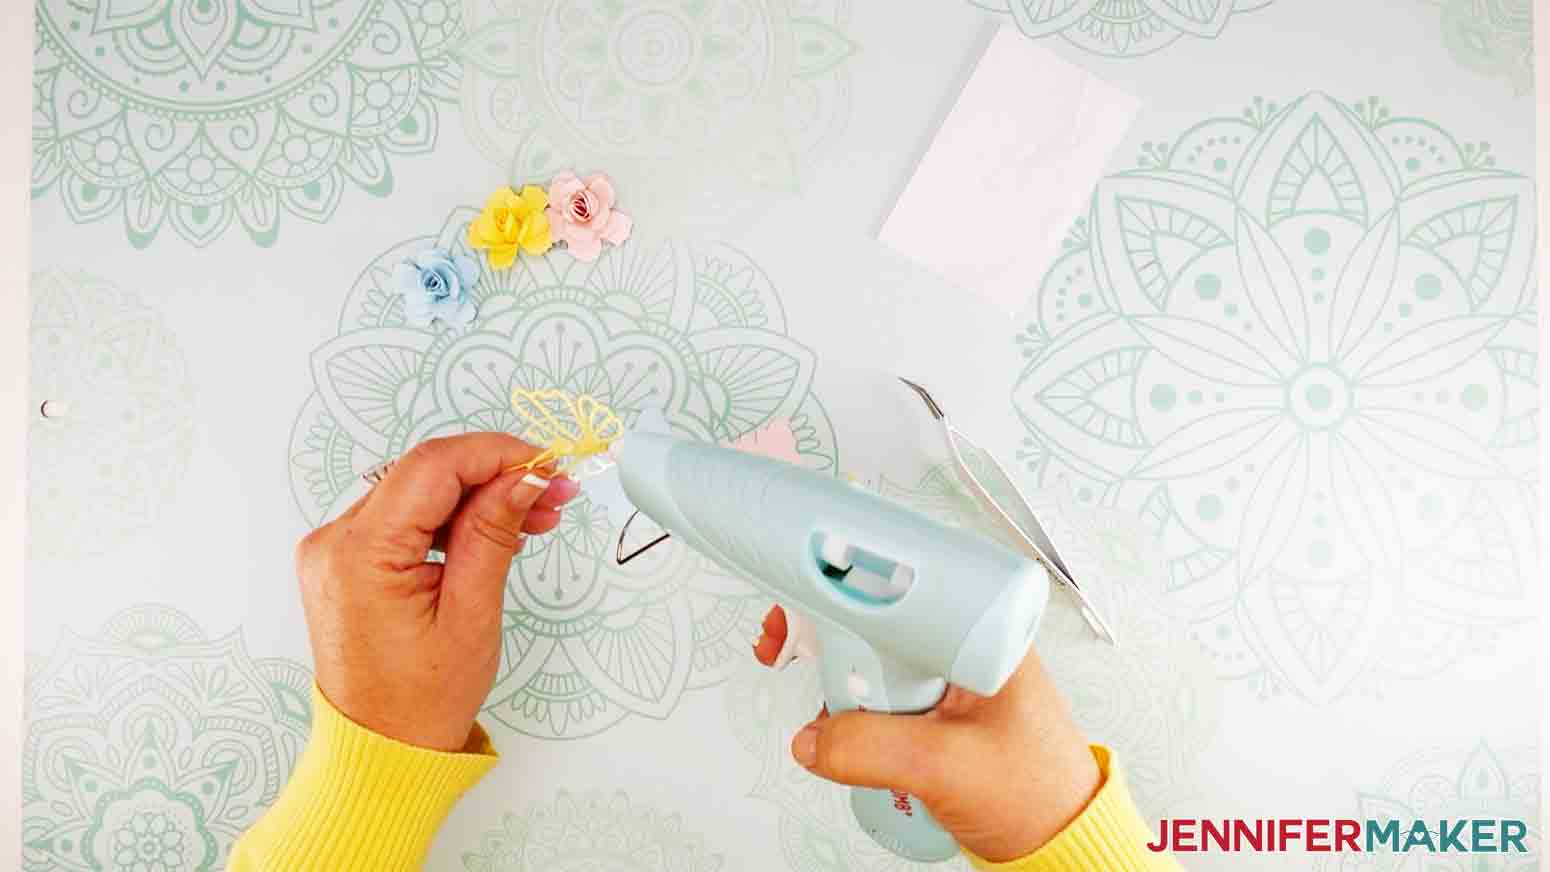
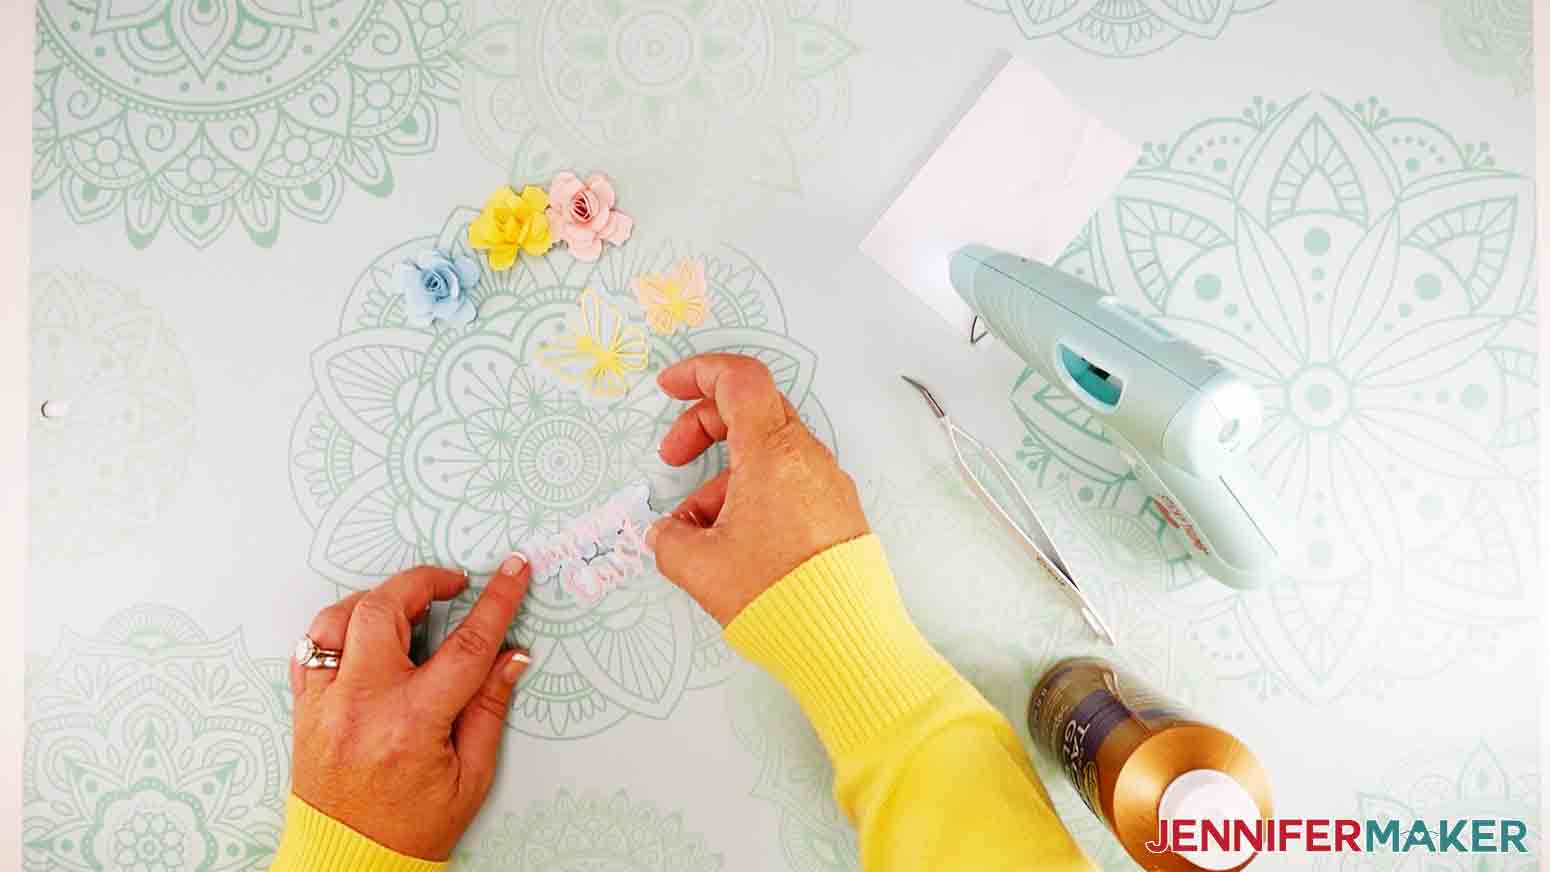
Next, I glued the butterfly parts together. First I bent the butterfly in half, creating a crease lengthwise along the body. Then I added a sliver of glue, leaving the wings free. Then I glued the "Happy Easter" cutouts together.
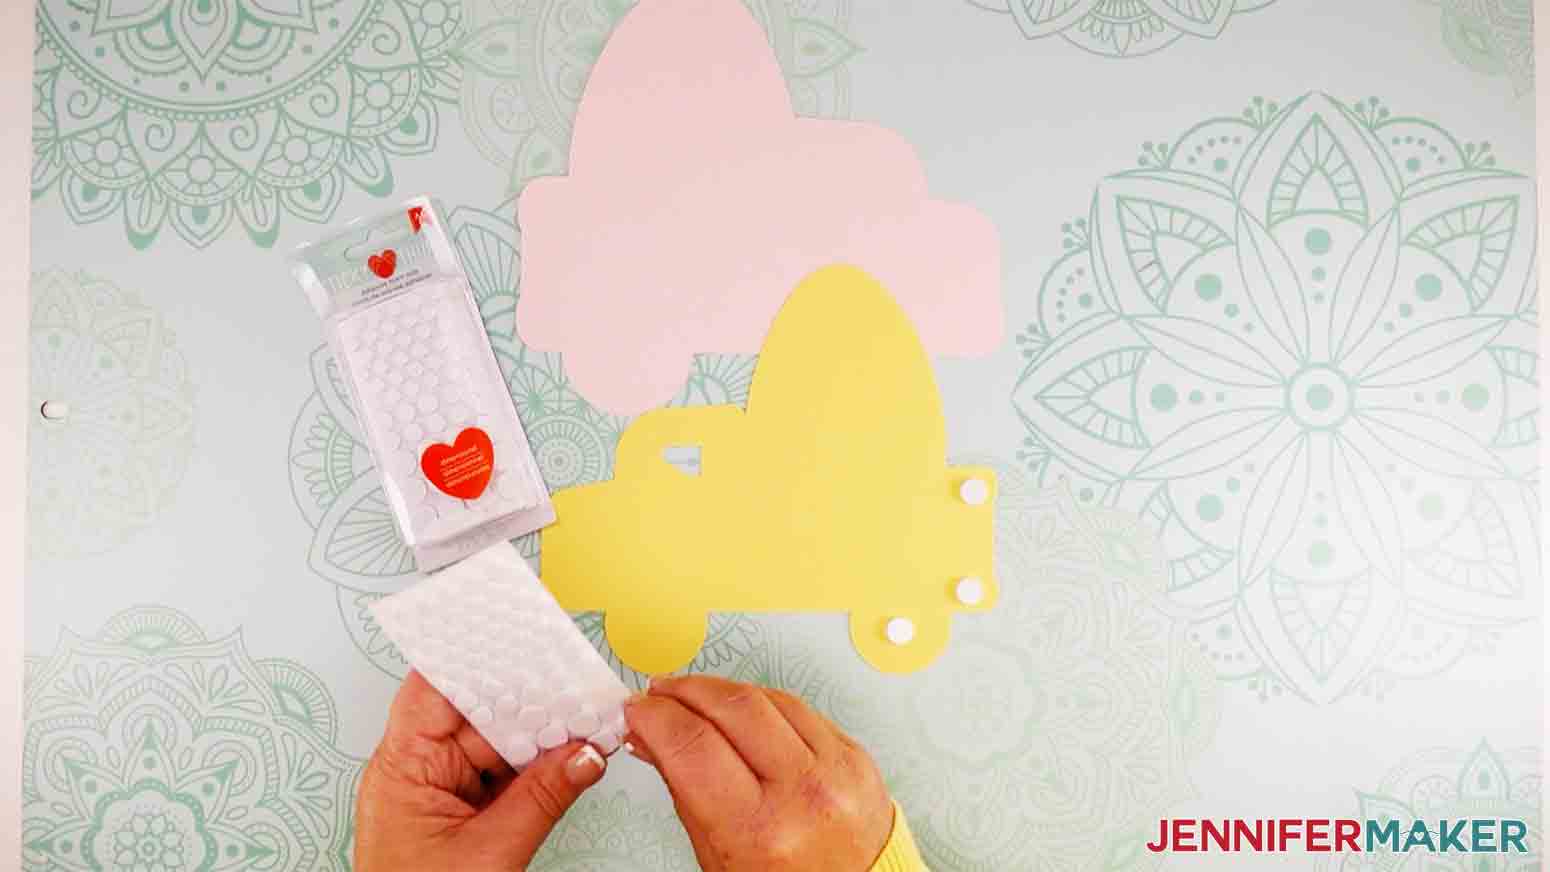
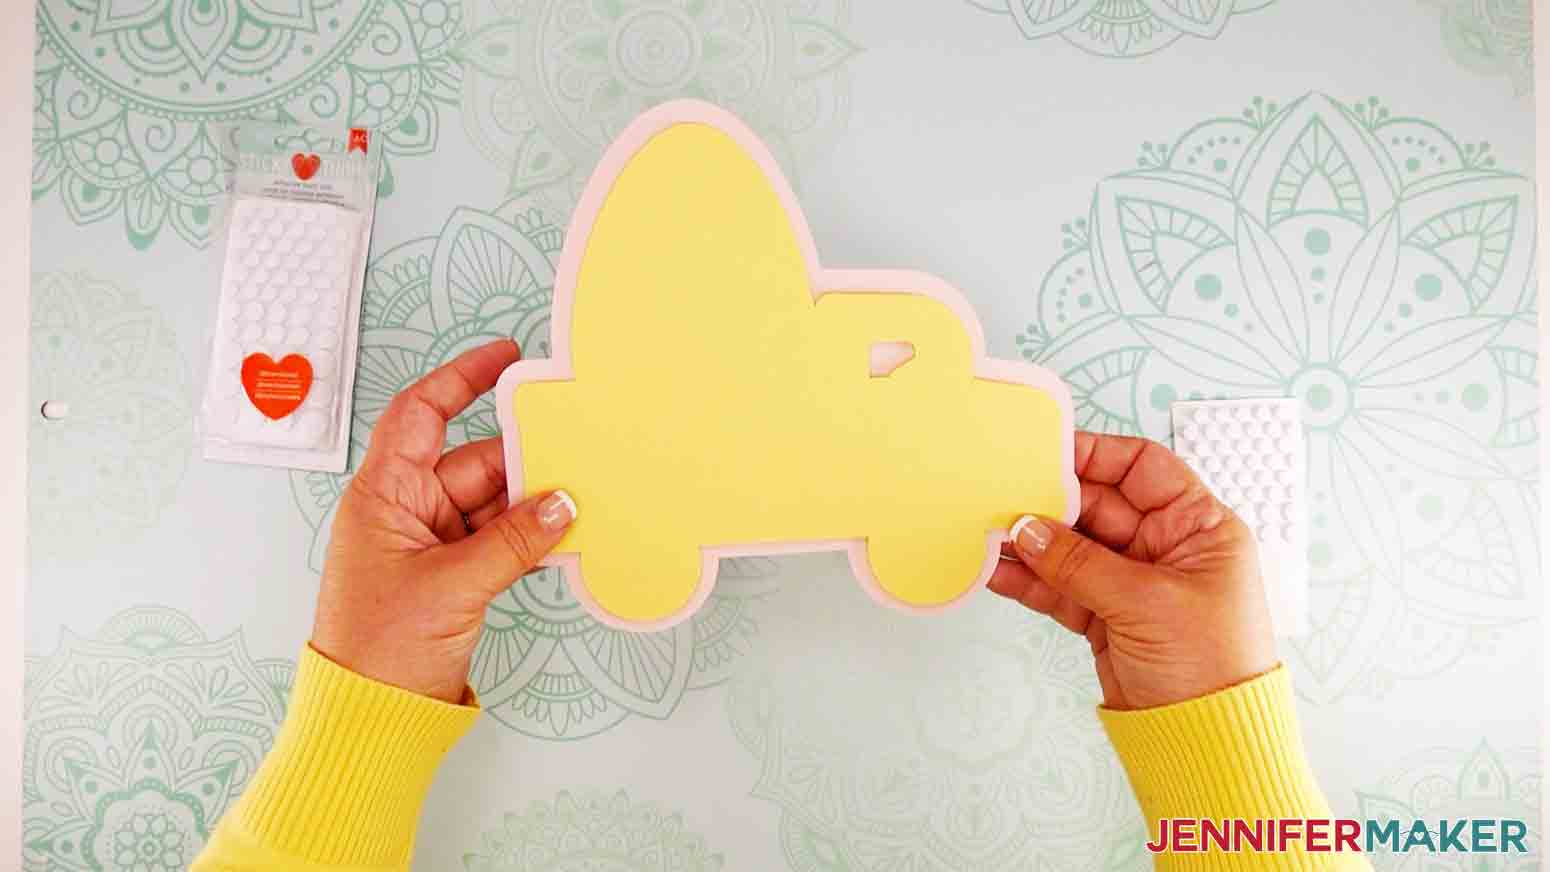
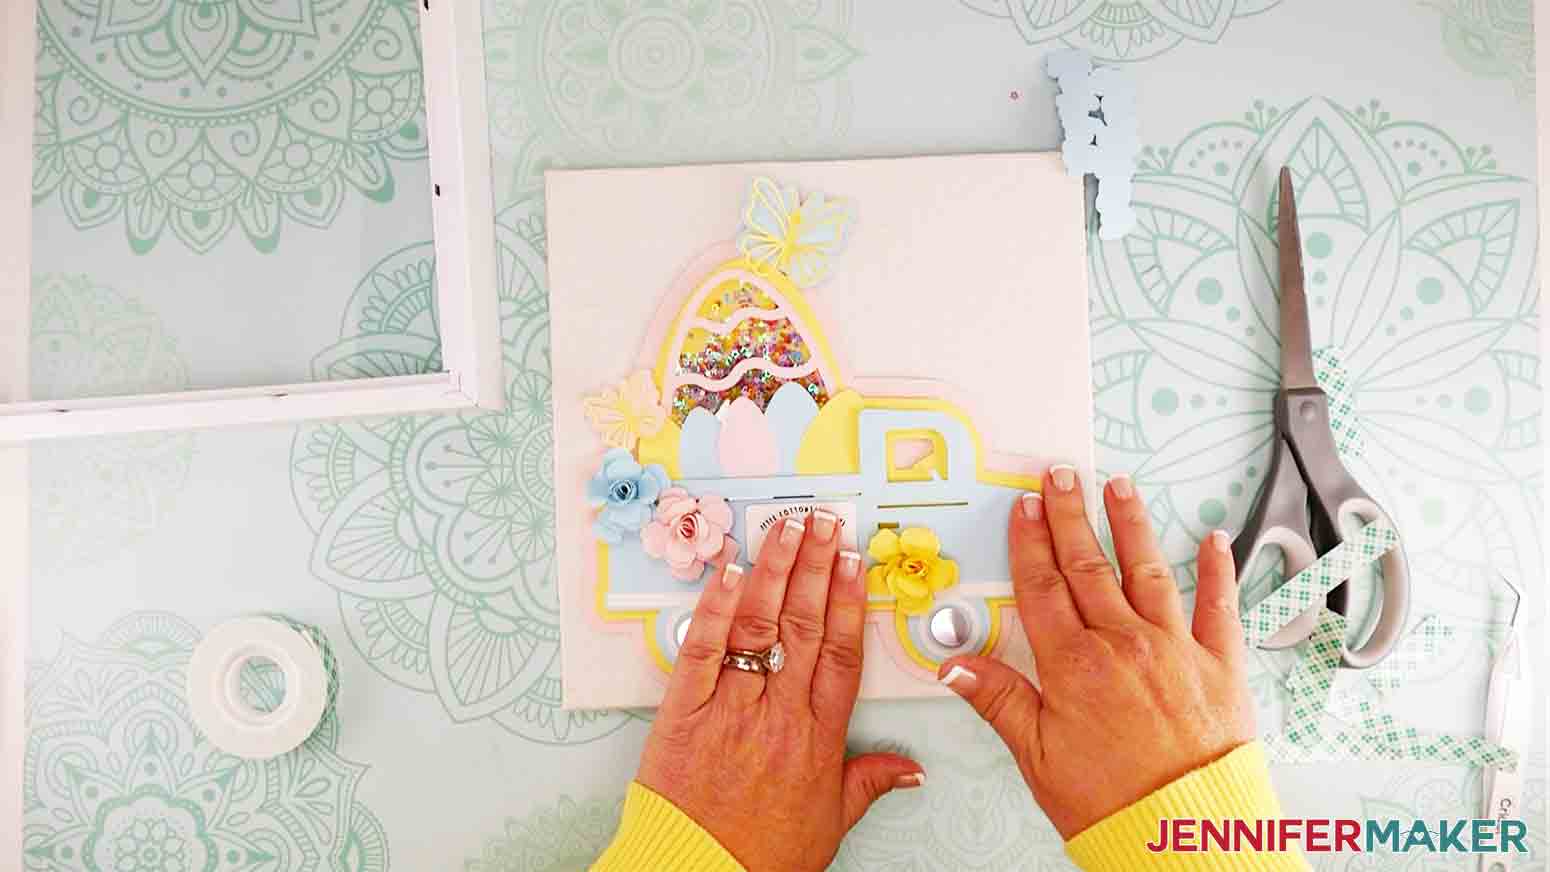
I wanted to give my project a little dimension so I used foam dots to put together the truck layers. Whenever you layer something like this with foam dots, be sure to put the dots on the backside — this will help you avoid accidental foam peekage in your layers!
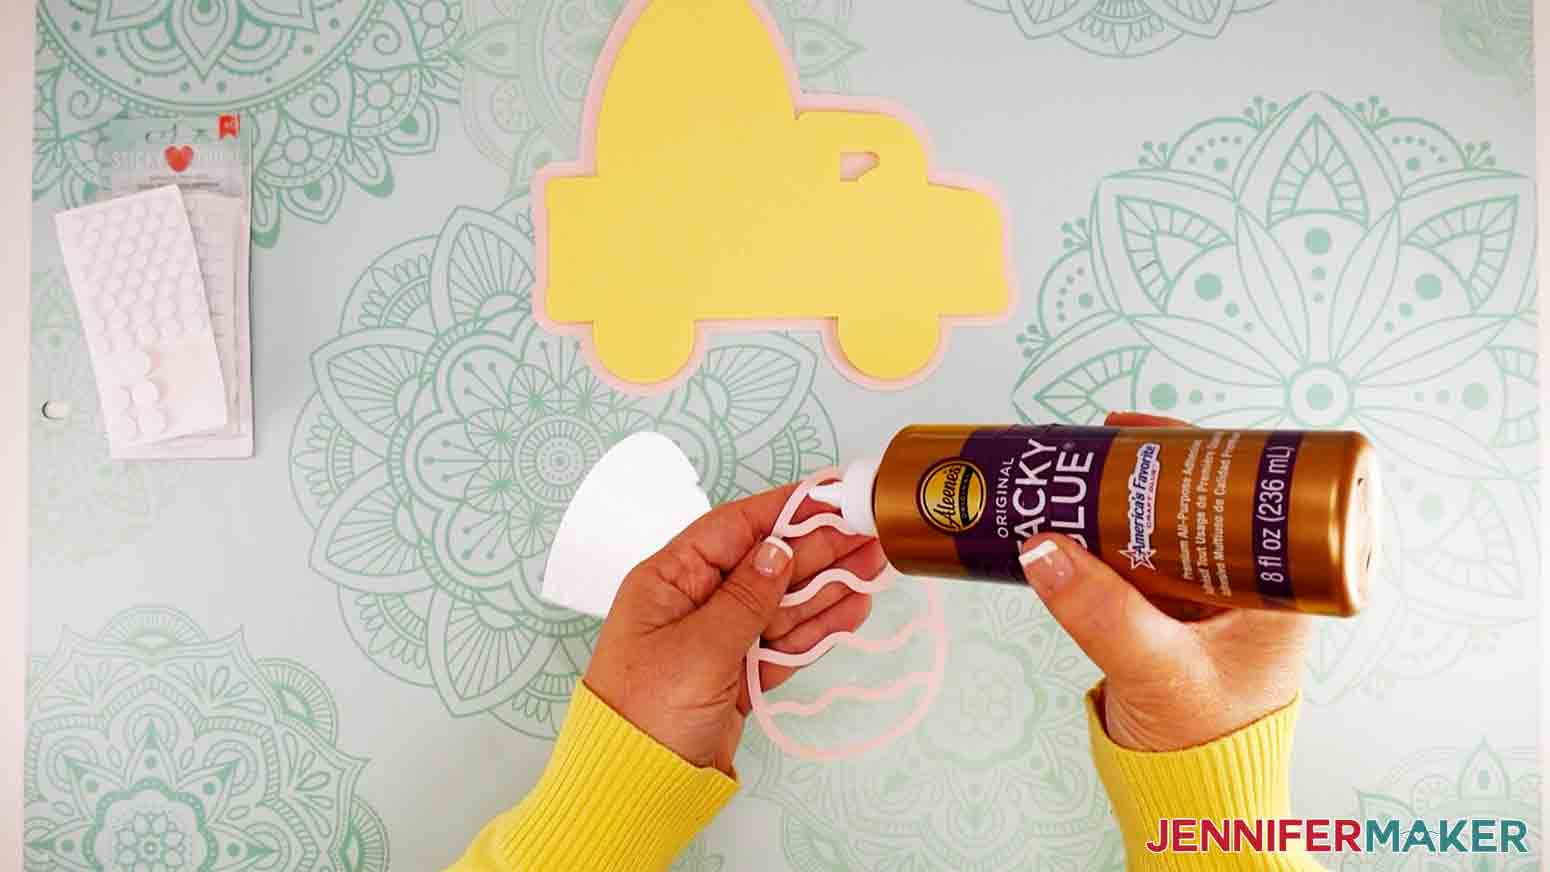
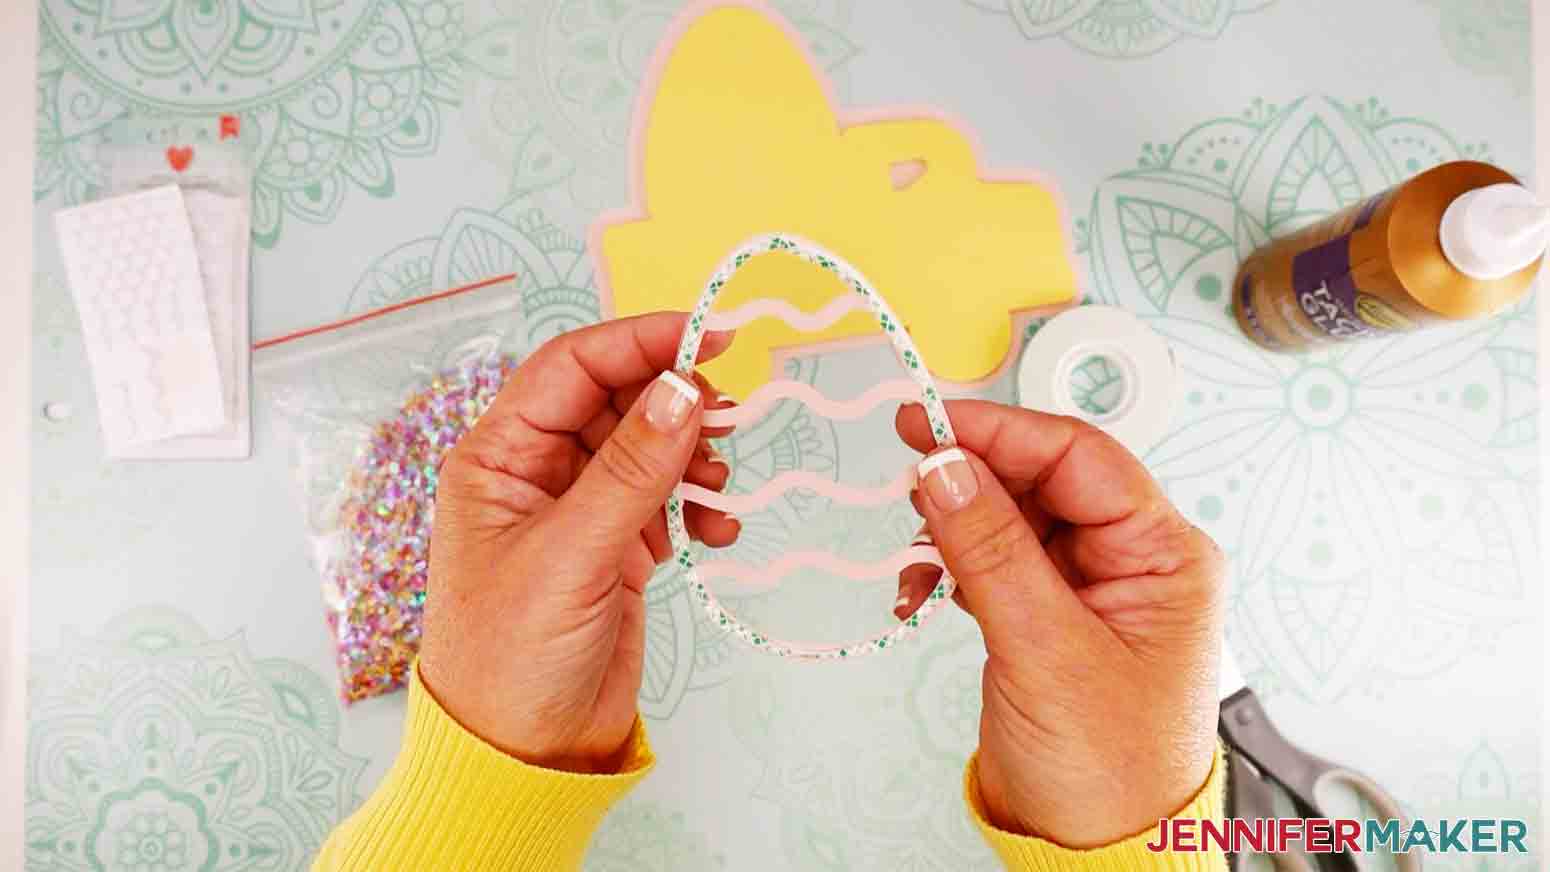
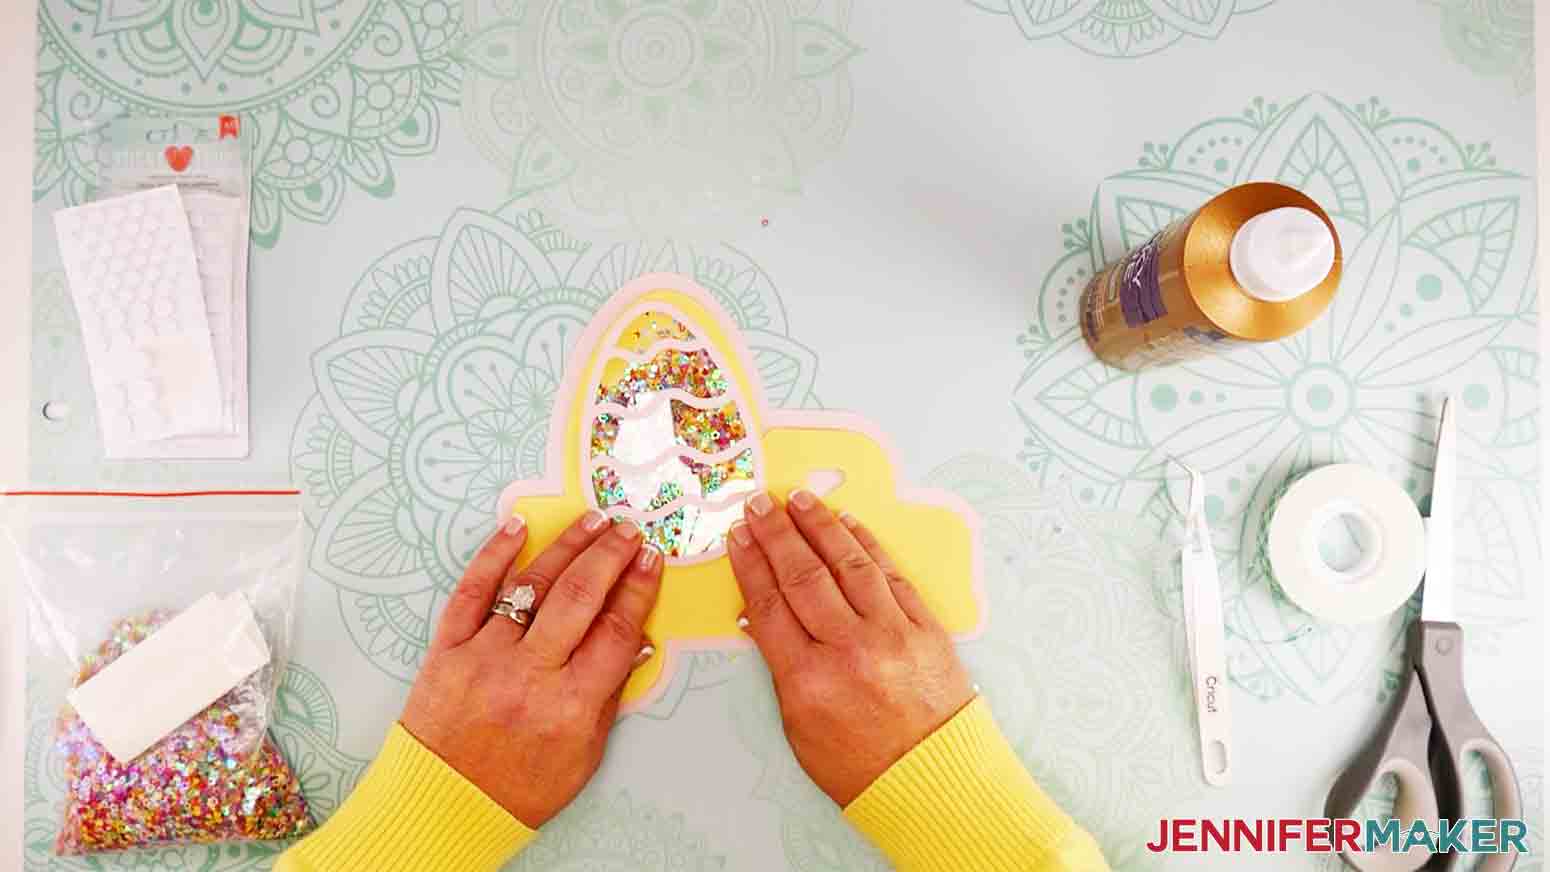
Next up, it's time to glue the egg-shaped piece of acetate to the big cutout easter egg. The acetate goes on the bottom. Before you start gluing anything make sure these pieces lined up. Now glue around edge of the cardstock egg and press the pieces together, make sure to use just a very small amount of tacky glue, that's really all you need.
Now flip that piece over so the cardstock is touching your mat. Cut very thin pieces of foam tape and place them around the rim of the easter egg like a moat. This will hold all of the glitter confetti in when you tape it to the bigger piece.
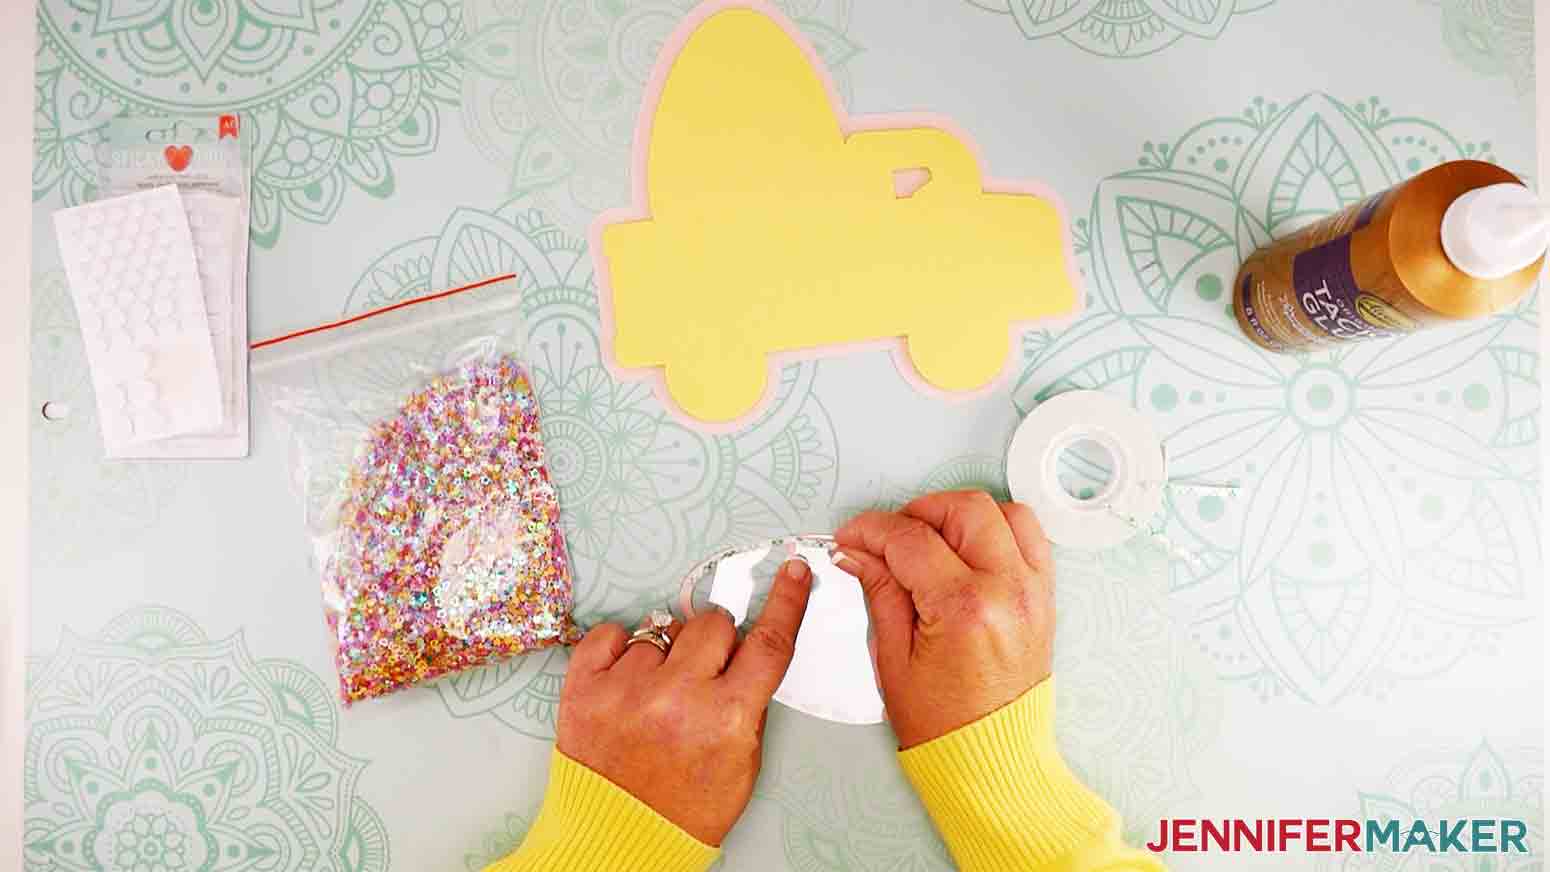
Once you have the foam tape in place add the glitter confetti before you remove the tape backing.
TIP: If this is your first time making a shaker design, here's a great tutorial for beginners. One thing I have noticed in previous designs is that the glitter or confetti all falls to the bottom. I really like to see the glitter because it adds such a nice touch to the design, so this time I put some tacky glue on the back piece of the part where the glitter would go and smeared it around a little so some of the glitter would stick to it. I like how it turned out.
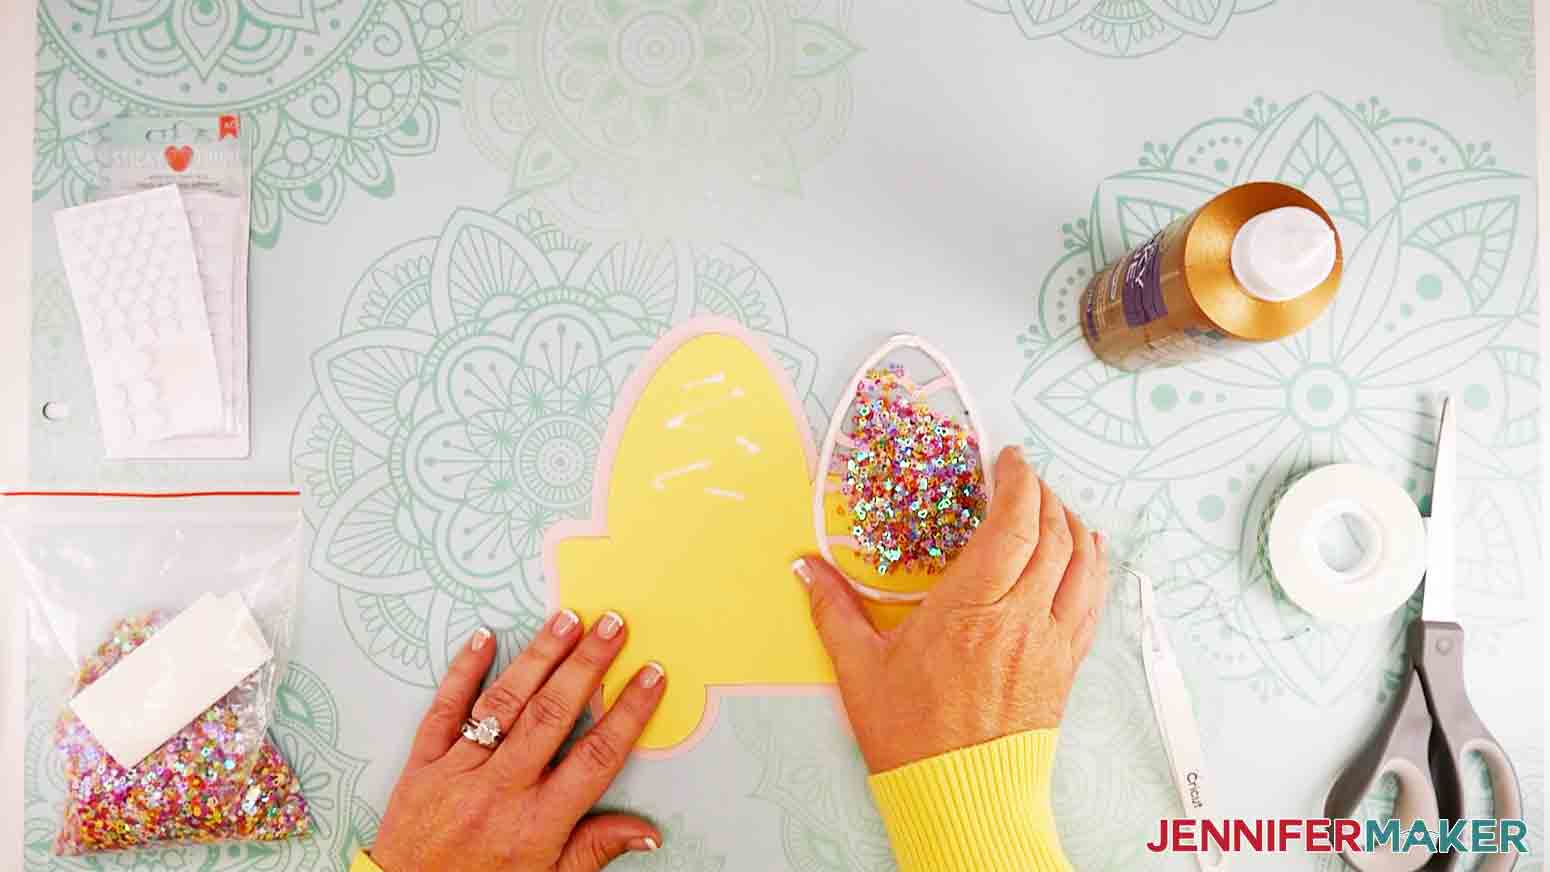
Now carefully remove the tape backing and press the glitter egg very carefully to the larger yellow egg attached to the truck. *
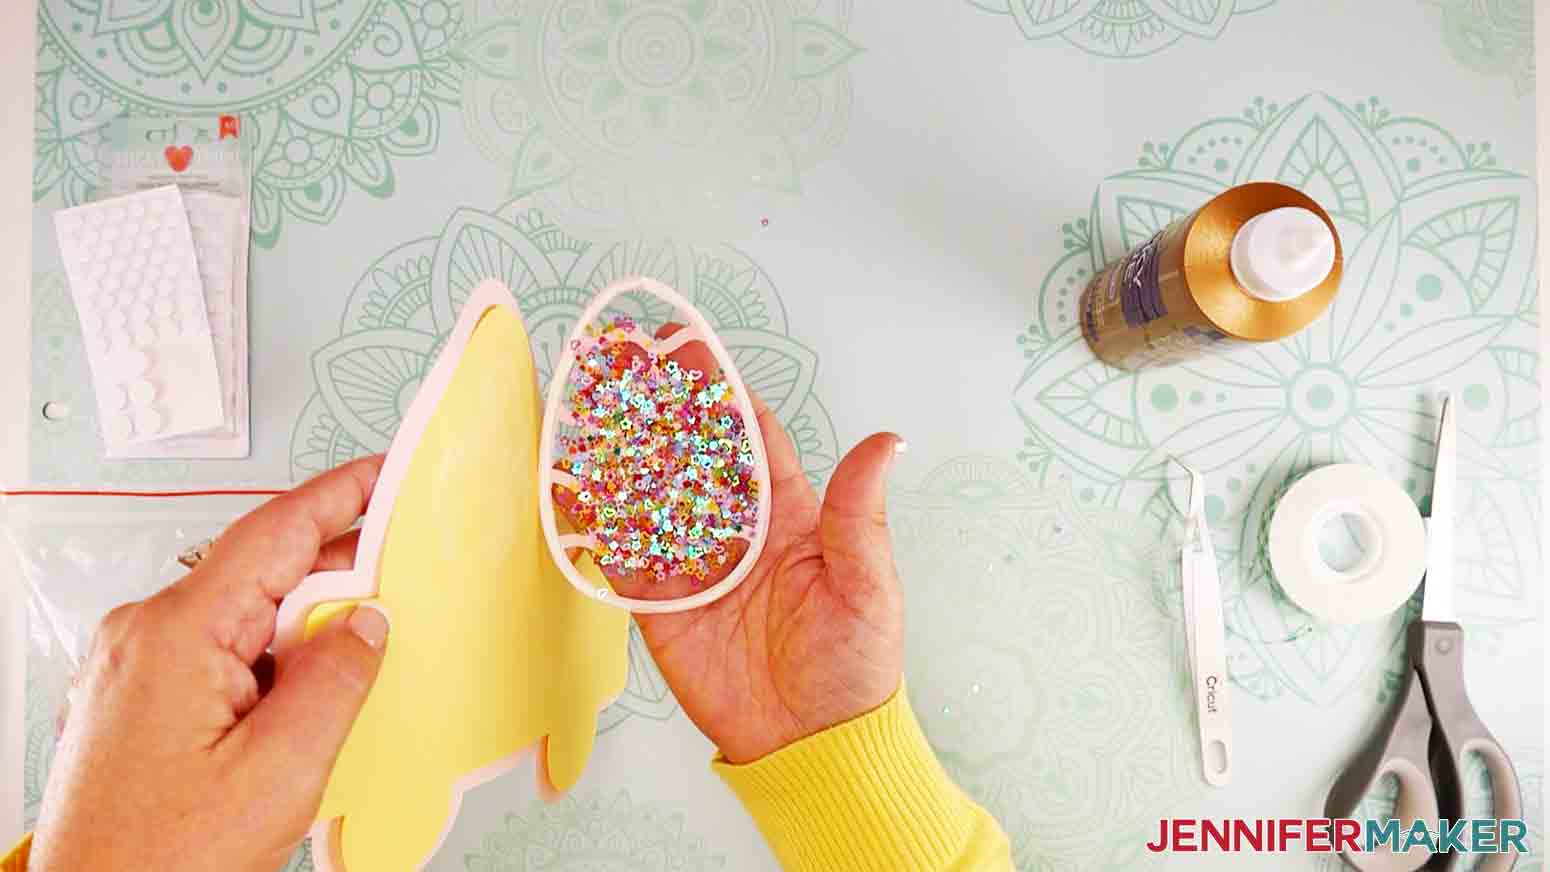
I'm not going to lie, this was really tricky, it's hard to see how it will line up without spilling the glitter confetti all over the place. Thinking back, it would gave been a good idea to cut a piece of cardstock the same size as the acetate layer and glue THAT to the back of the egg. So even though I didn't do it this way myself, I recommend you do it that way — and I included a white egg piece for you to add to the back of your egg in the pattern!
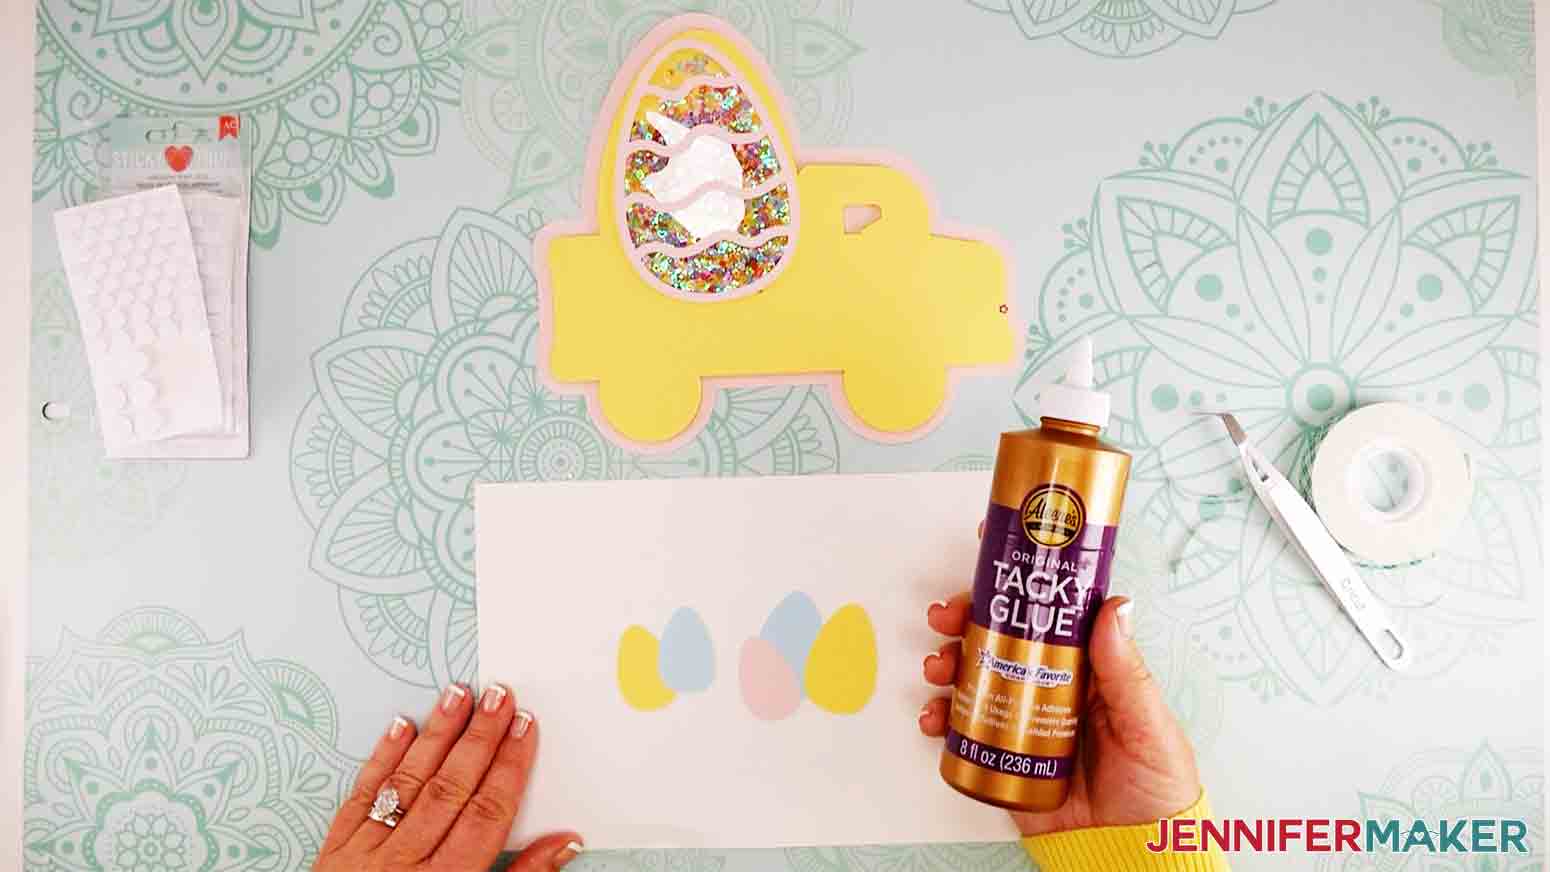
It gets easier from here. First I glued the five smaller eggs together with tacky glue. These will go in the truck bed on top of the glitter egg and just behind the side of the truck bed. I used foam tape on the back to give them some dimension.
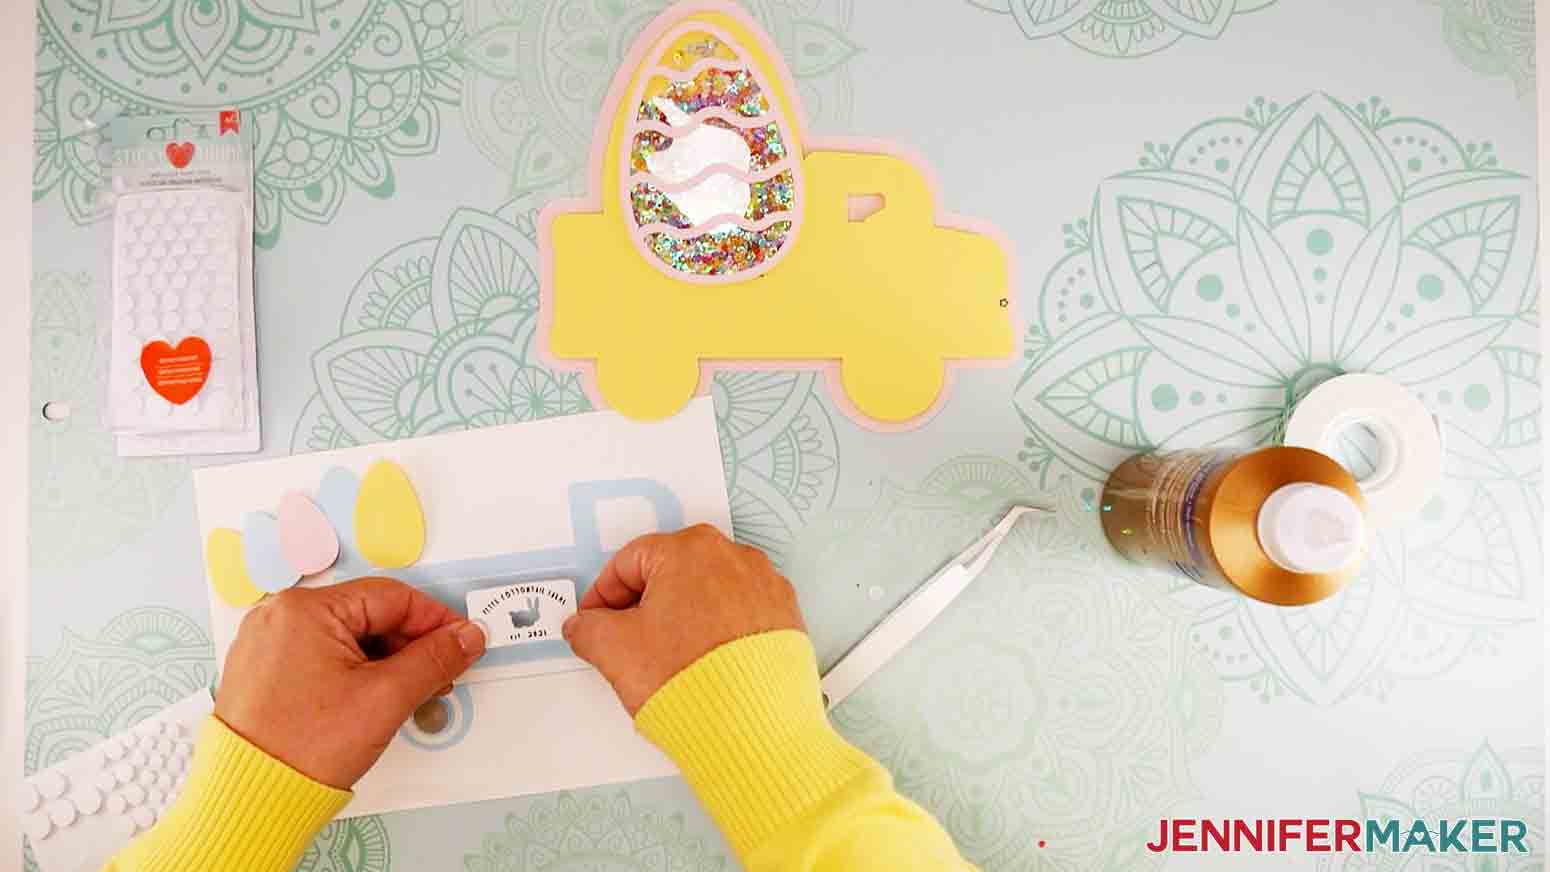
 I then glued all the smaller pieces to the smallest truck layer. I just love the little sign, "Peter Cottontail Farms."
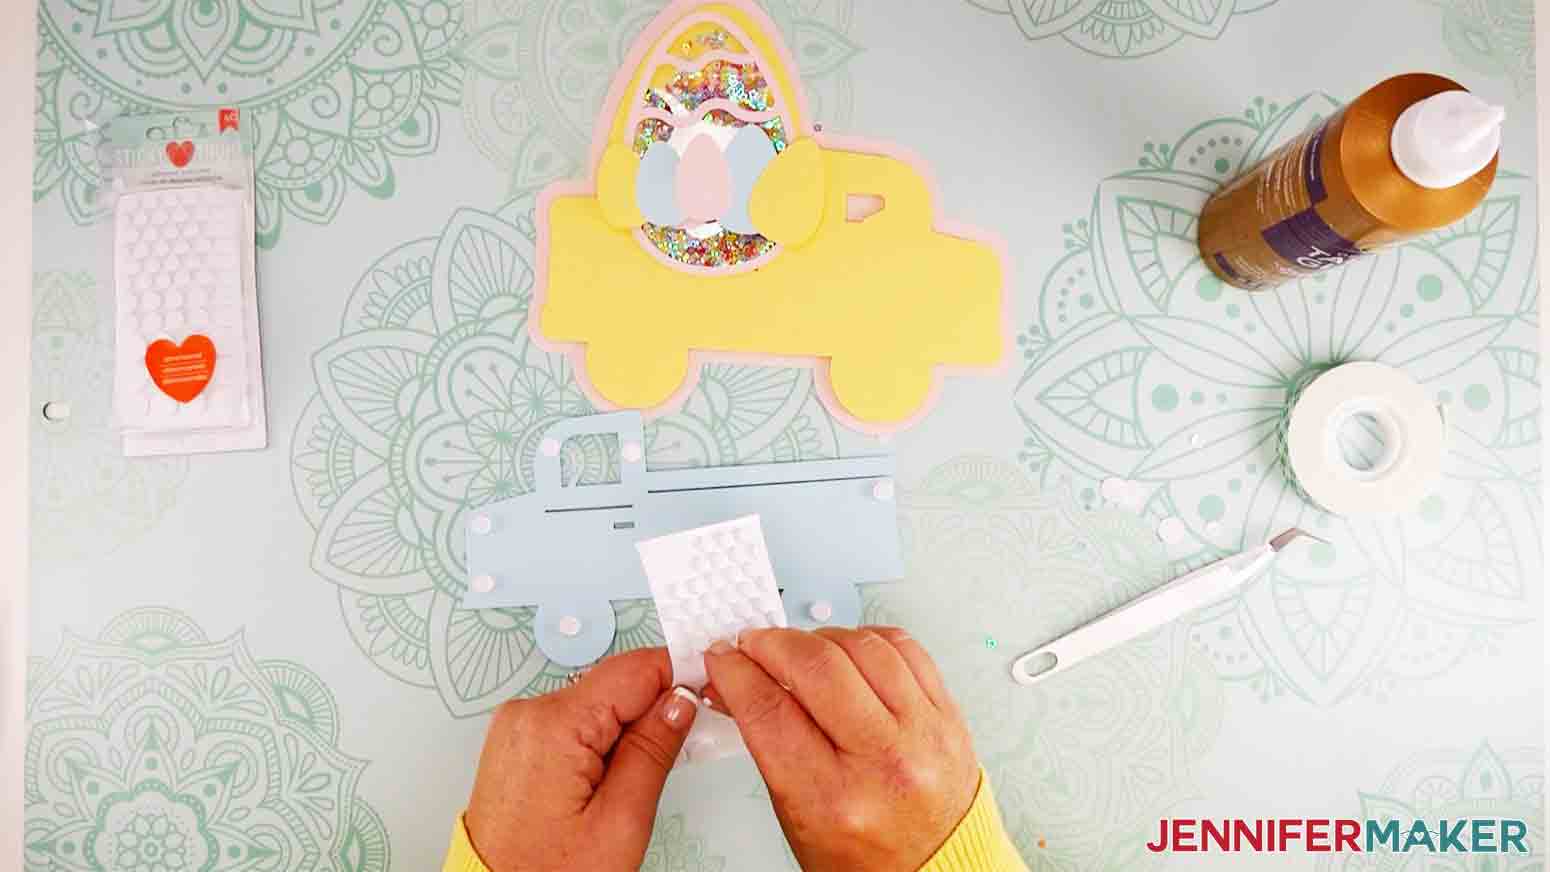
I used foam dots for the tires. I also used foam dots to add the small truck layer to the larger layer.
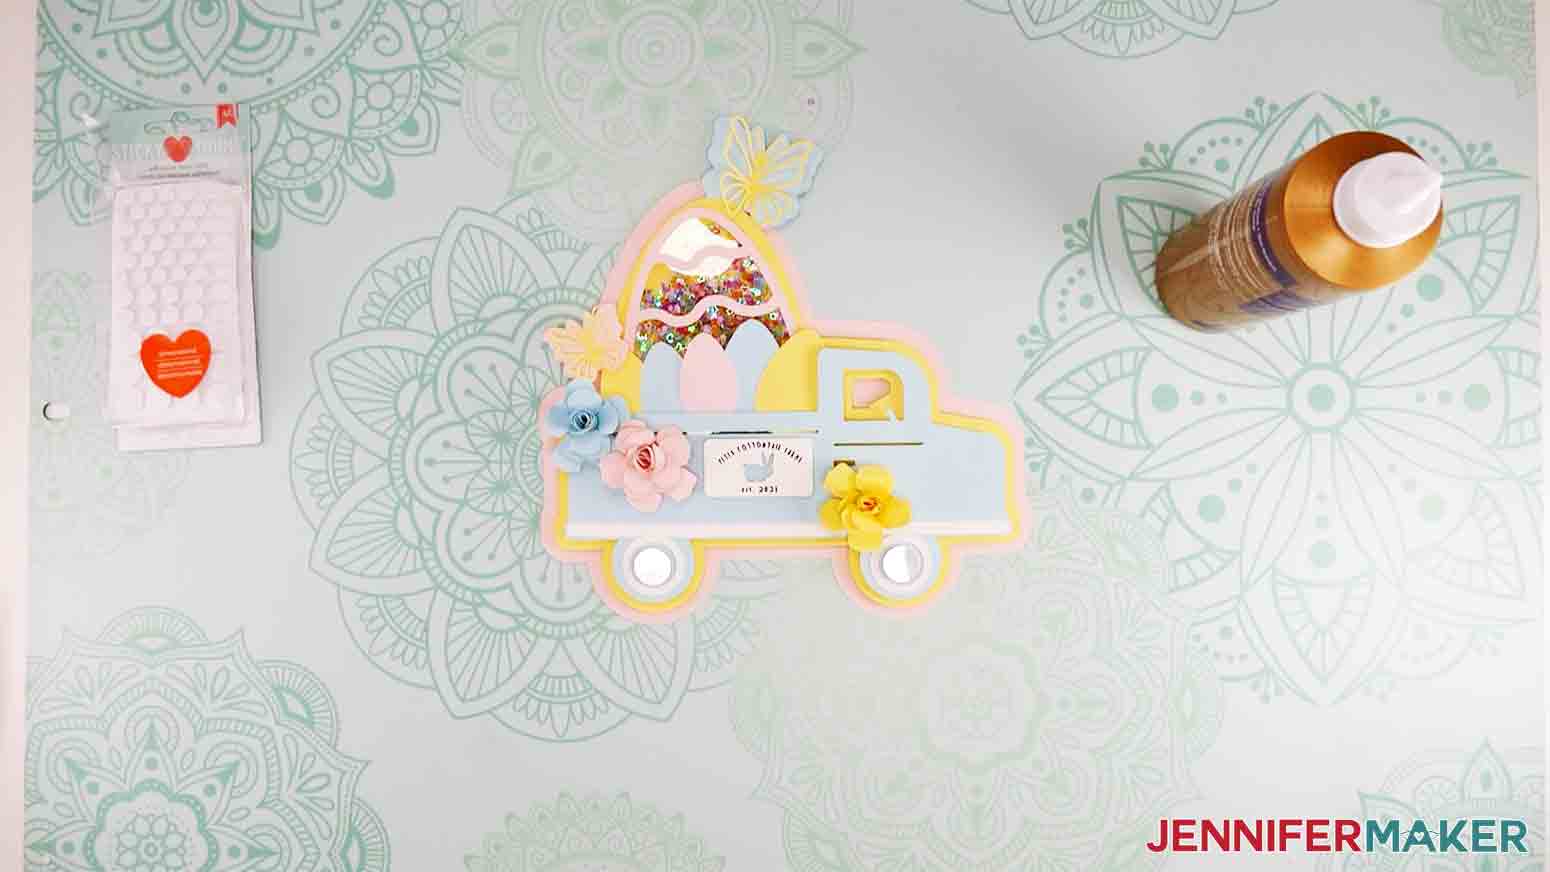
And finally I used more foam dots to add the butterflies and roses. You can put these wherever you like...it is your creation after all.
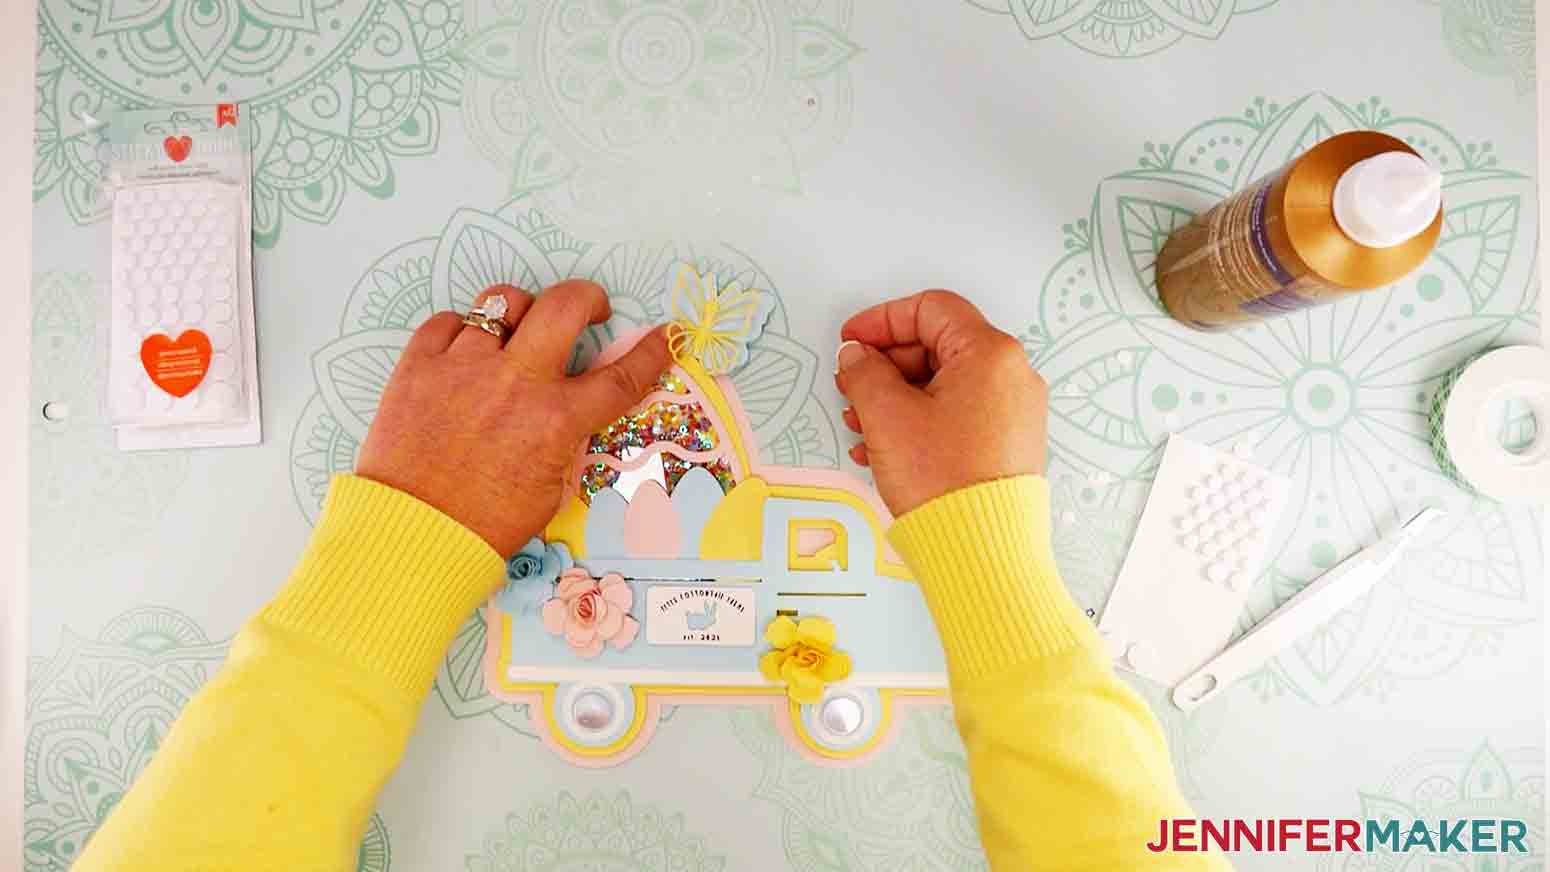
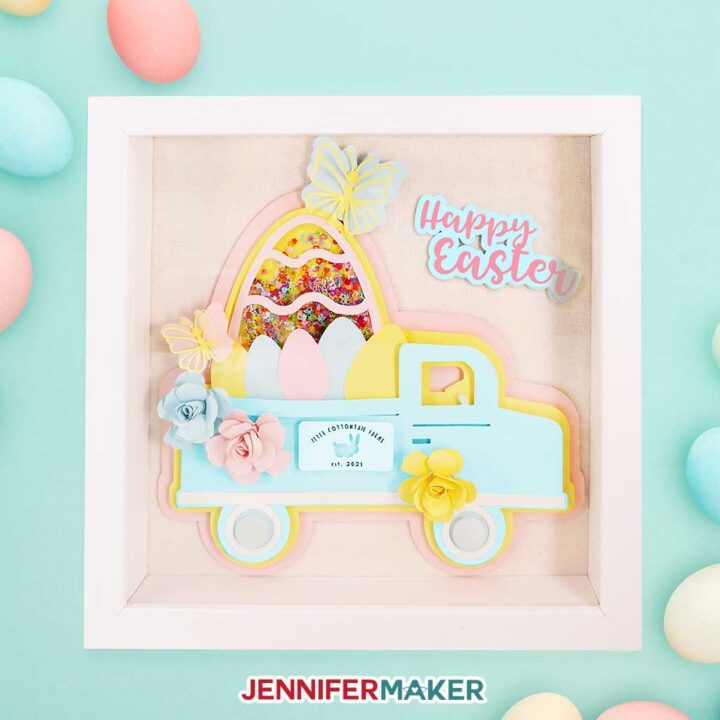
Here's what it will look like when you are done putting all the pieces together.
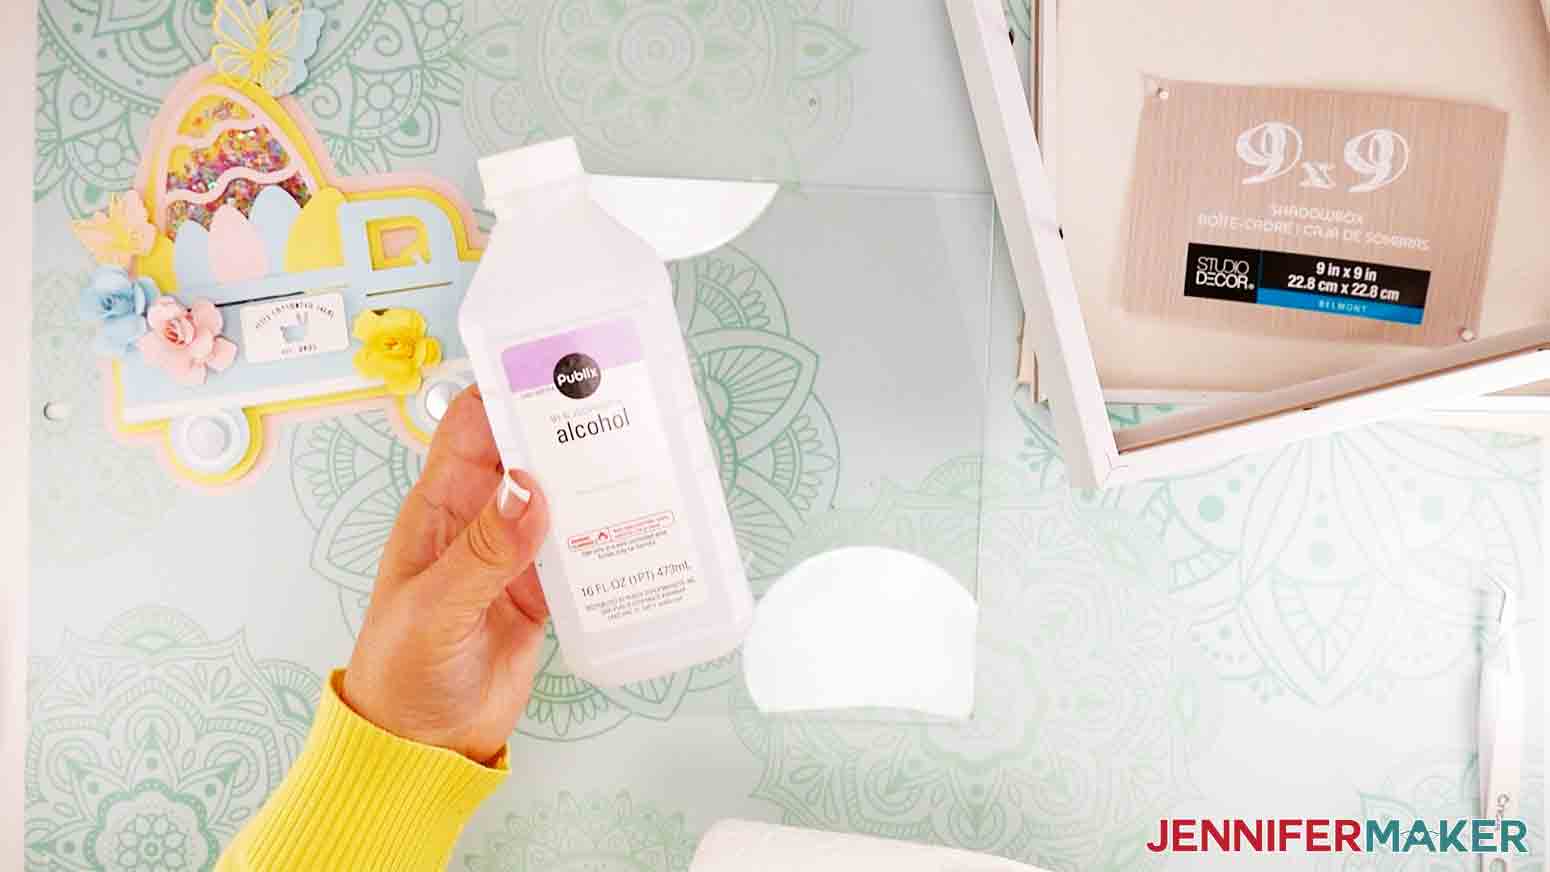
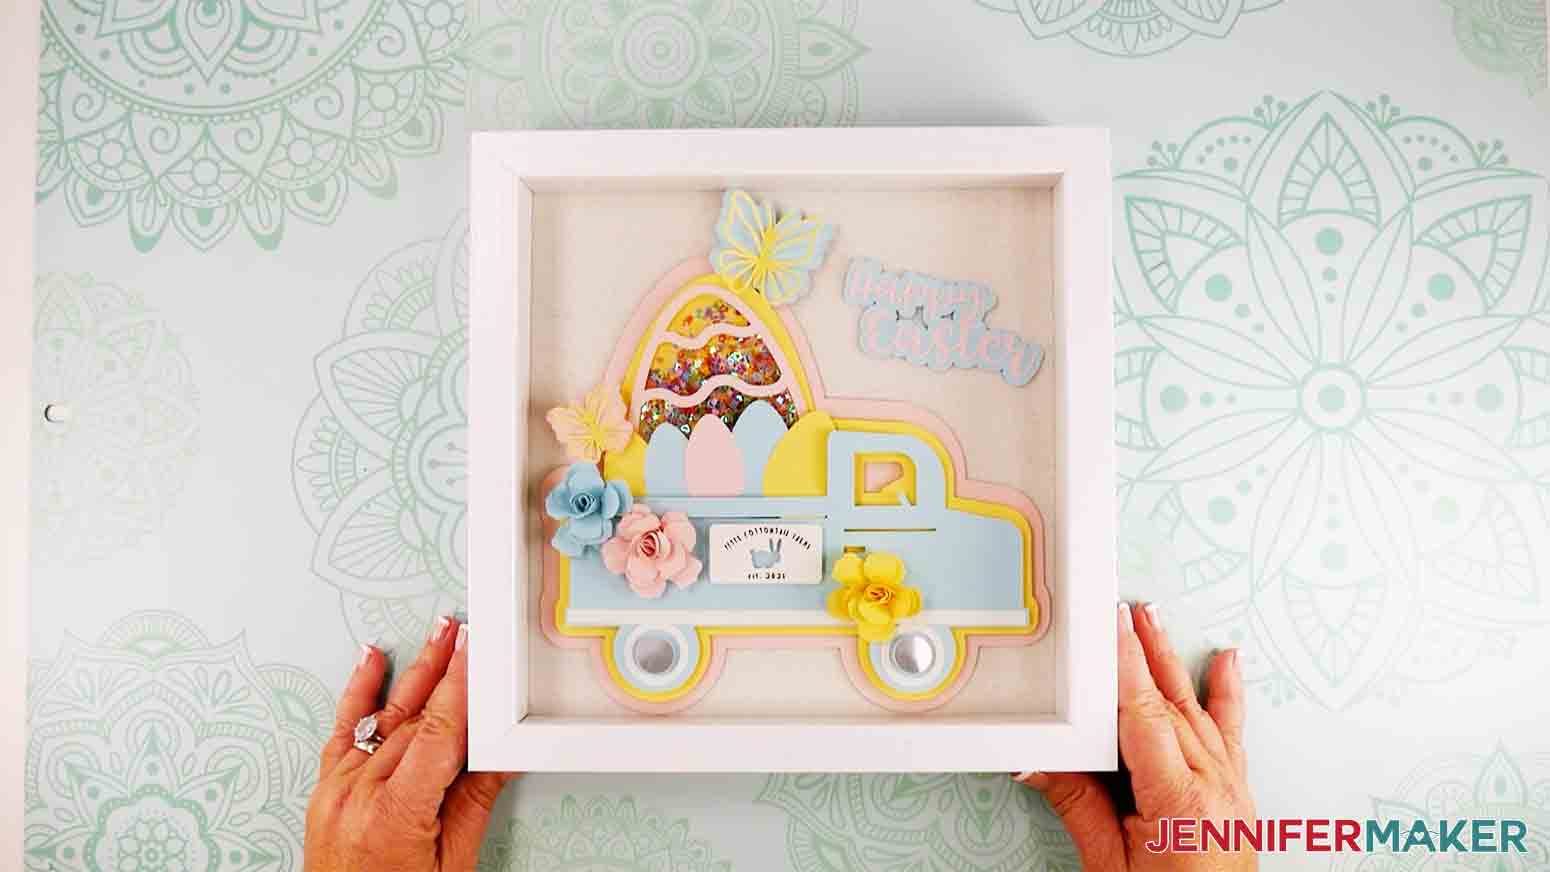
Now it's time to put your easter truck into your shadow box. I used a 9" x 9" white shadowbox for my project, but you can use whatever you like, just make sure to adjust the size of your SVG accordingly in Cricut Design Space before cutting it.
Use rubbing alcohol to clean the shadowbox glass first.
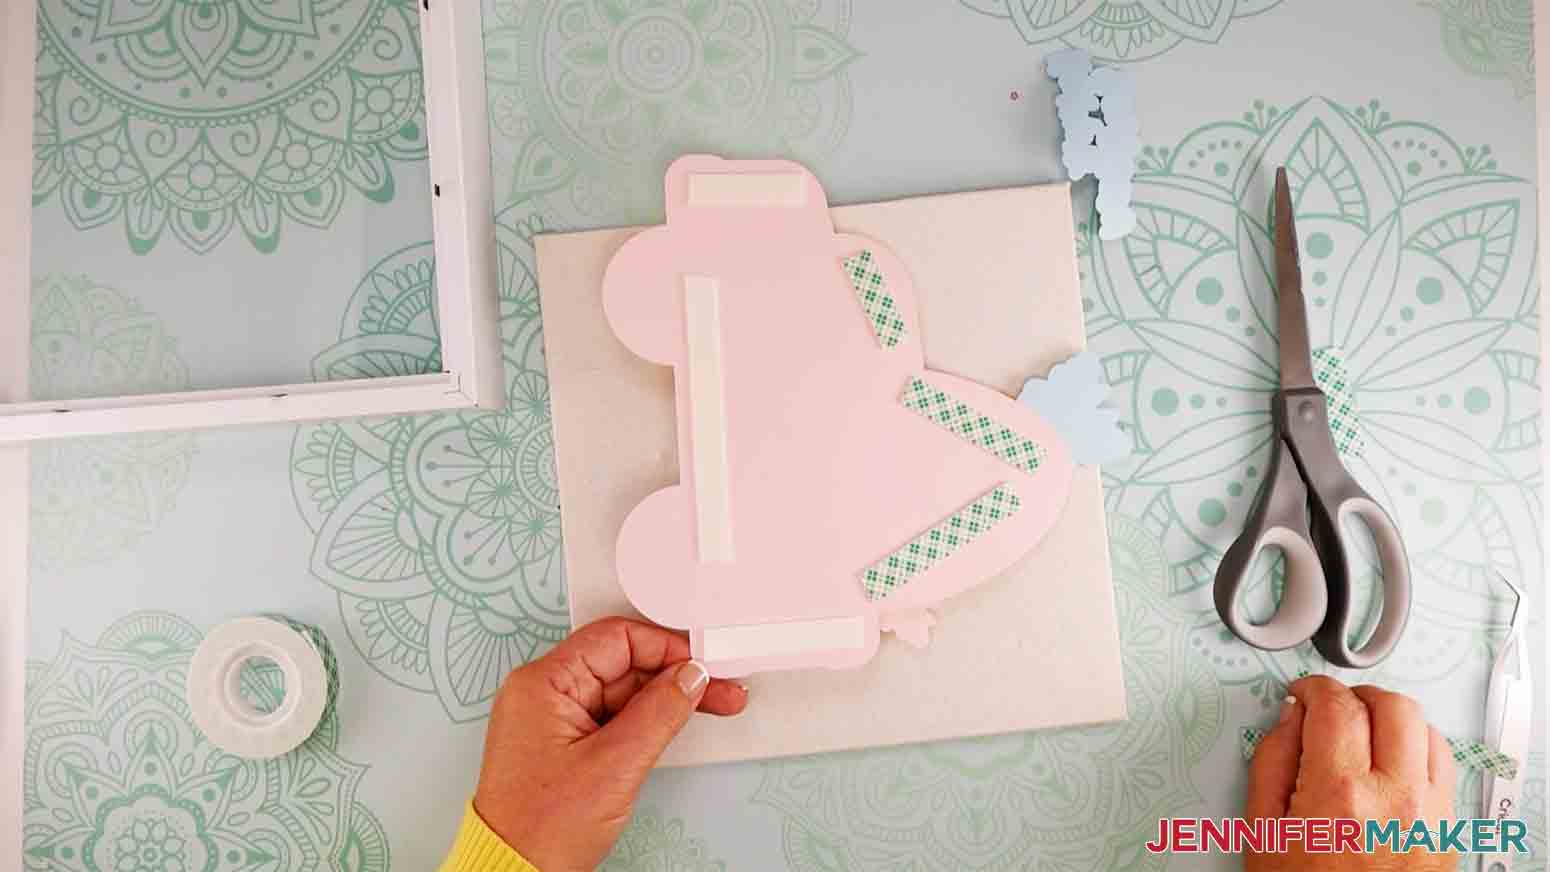
Now use some foam tape or hot glue to add your truck to the shadowbox backing.
Then add the "Happy Easter" part where you want it and put your Easter Truck Decor Shadow Box back together and there you go!
STEP 4: SHOW IT OFF!
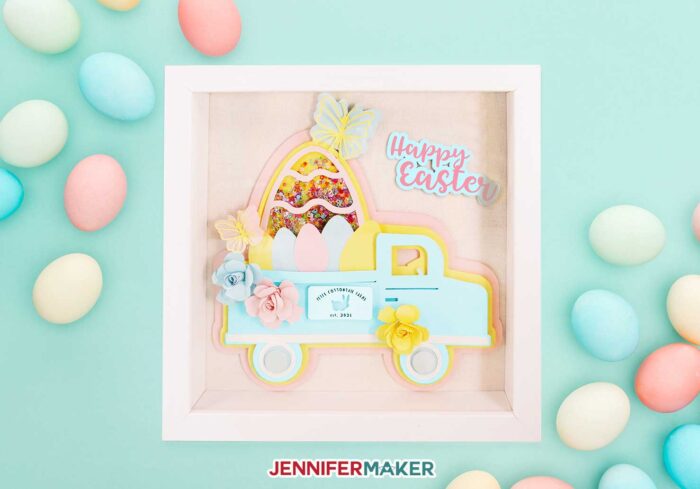
Time to show it off your Easter Truck Decor Shadow Box! Isn't this just the sweetest?
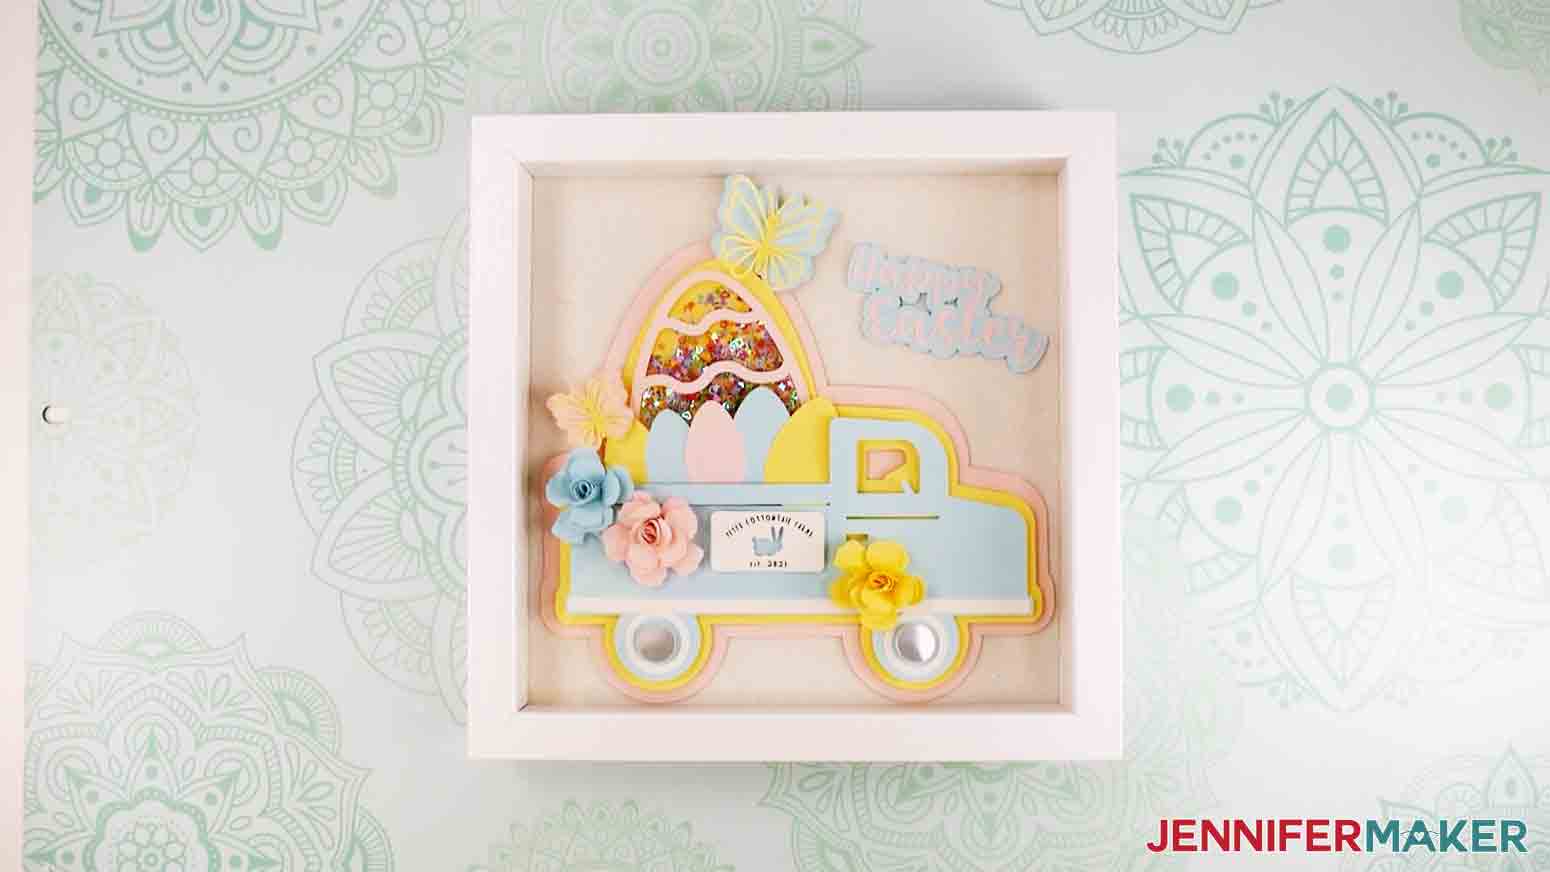
This would look so nice anywhere around the house at Easter time. It would also make a really nice gift for a friend or loved one.

Notes
I used the Tingler Script font and the SimplyDunnWrite font, both from FontBundles.net.
Recommended Products
As an Amazon Associate and member of other affiliate programs, I earn from qualifying purchases.

Answers to Your Questions About the Easter Egg Truck Shadow Box
Q: What can I use instead of acetate?
Any clear plastic that is thick yet flexible enough to cut and be taped down works great! If you don’t have acetate, check your stash for clear plastic covers on materials and re-use that instead.
Q: Can I use regular glitter in the egg portion?
You definitely can, but it might not shake as well and could get stuck all over the entire plastic part. The bigger and chunkier the glitter, the better it works! You can also use little scrapbooking elements as filler!
Q: How can I keep the glitter from just sticking to the acetate?
Again, the chunkier the glitter, the less likely it seems to do that, but if you have your heart set on a glitter that is “sticking” to the plastic, it’s because of static electricity! Removing that will remove your problem! We’ve heard of people gently wiping down the plastic with a dryer sheet or applying a thin coating of Static Guard from a can. You can also wash it gently with mild soap! Gently is the key, so you don’t scratch the acetate!
Q: What can I use besides alcohol to clean the glass?
Yes, alcohol has been in short supply for some of us! To clean glass, you can use any percentage you can find! If you just can’t find any, washing the glass with warm water and a little mild dish soap or vinegar, or using a citrus based glass cleaner is a great idea, too! If you are going to place vinyl on top of the glass, though, stay away from regular glass cleaners – many of them contain ammonia which can cause problems with the vinyl adhesive over time!
Get my free SVG files to make this Easter Truck Decor
I’d love to see YOUR Easter truck decor! Please share a photo in our Facebook group or tag me on social media with #jennifermaker.
Love,

Want to remember this? Save this Easter Truck Decor Shadowbox tutorial to your favorite Pinterest Board!


I think I will try to put a pale green background behind the truck or maybe a pale lavender. With vision problems, it’s hard to see the pink base layer for me. It’s a beautiful shadow box and thank you all for this project.
Hi Diane! Pale green or lavender would be beautiful! Feel free to make it your own!