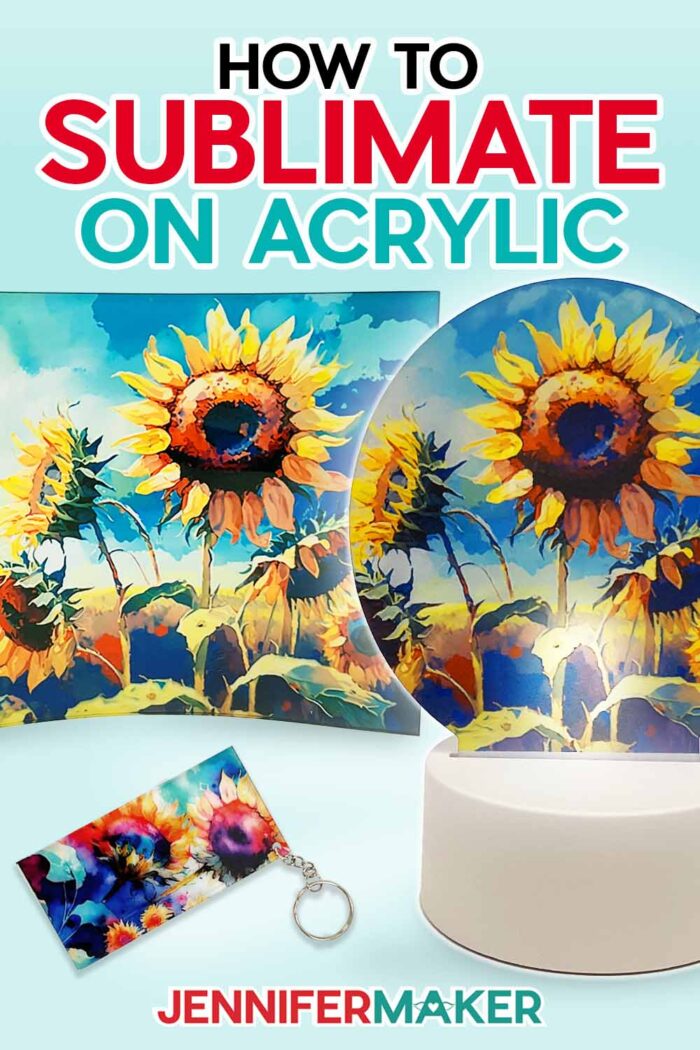
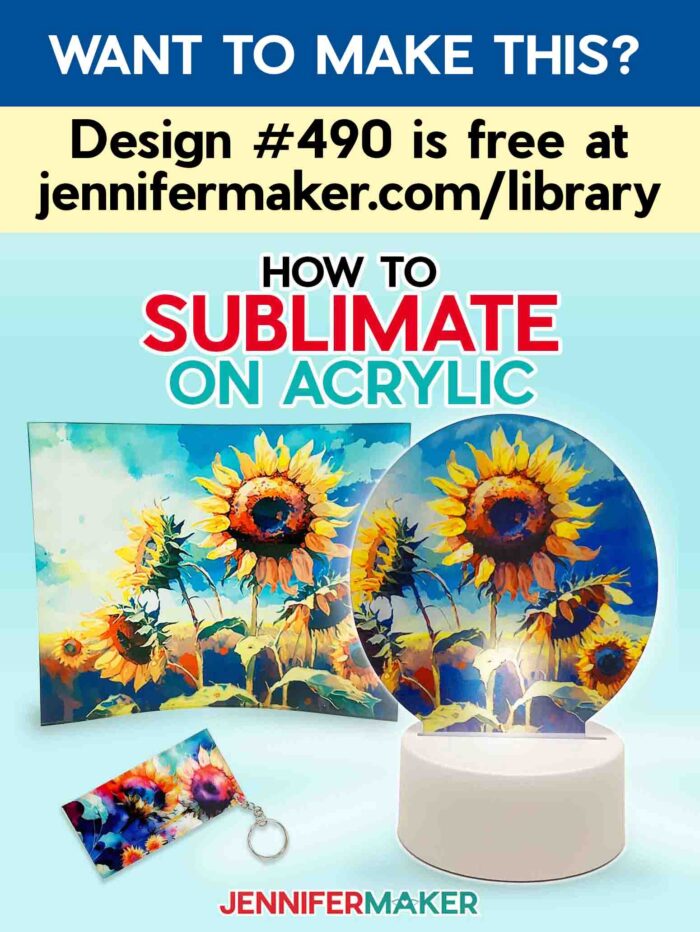
Ready to try sublimation on acrylic blanks? Try keychains, nightlights, and photo panels!
Are you curious how to add vivid designs to clear items like keychains, nightlights, and photo panels? Well, sublimation on acrylic is my favorite way to showcase illustrations and photos on these simple surfaces! You don’t even need to buy acrylic with a sublimation coating or use a spray to add one! The detail and color possible with sublimation printing is hard to beat for home crafters and small businesses. But combining it with acrylic pieces really makes your work stand out! There are some special tips and tricks to acrylic sublimation blanks (did you know you can control their shape? SO cool!) so let me show you what I’ve learned!

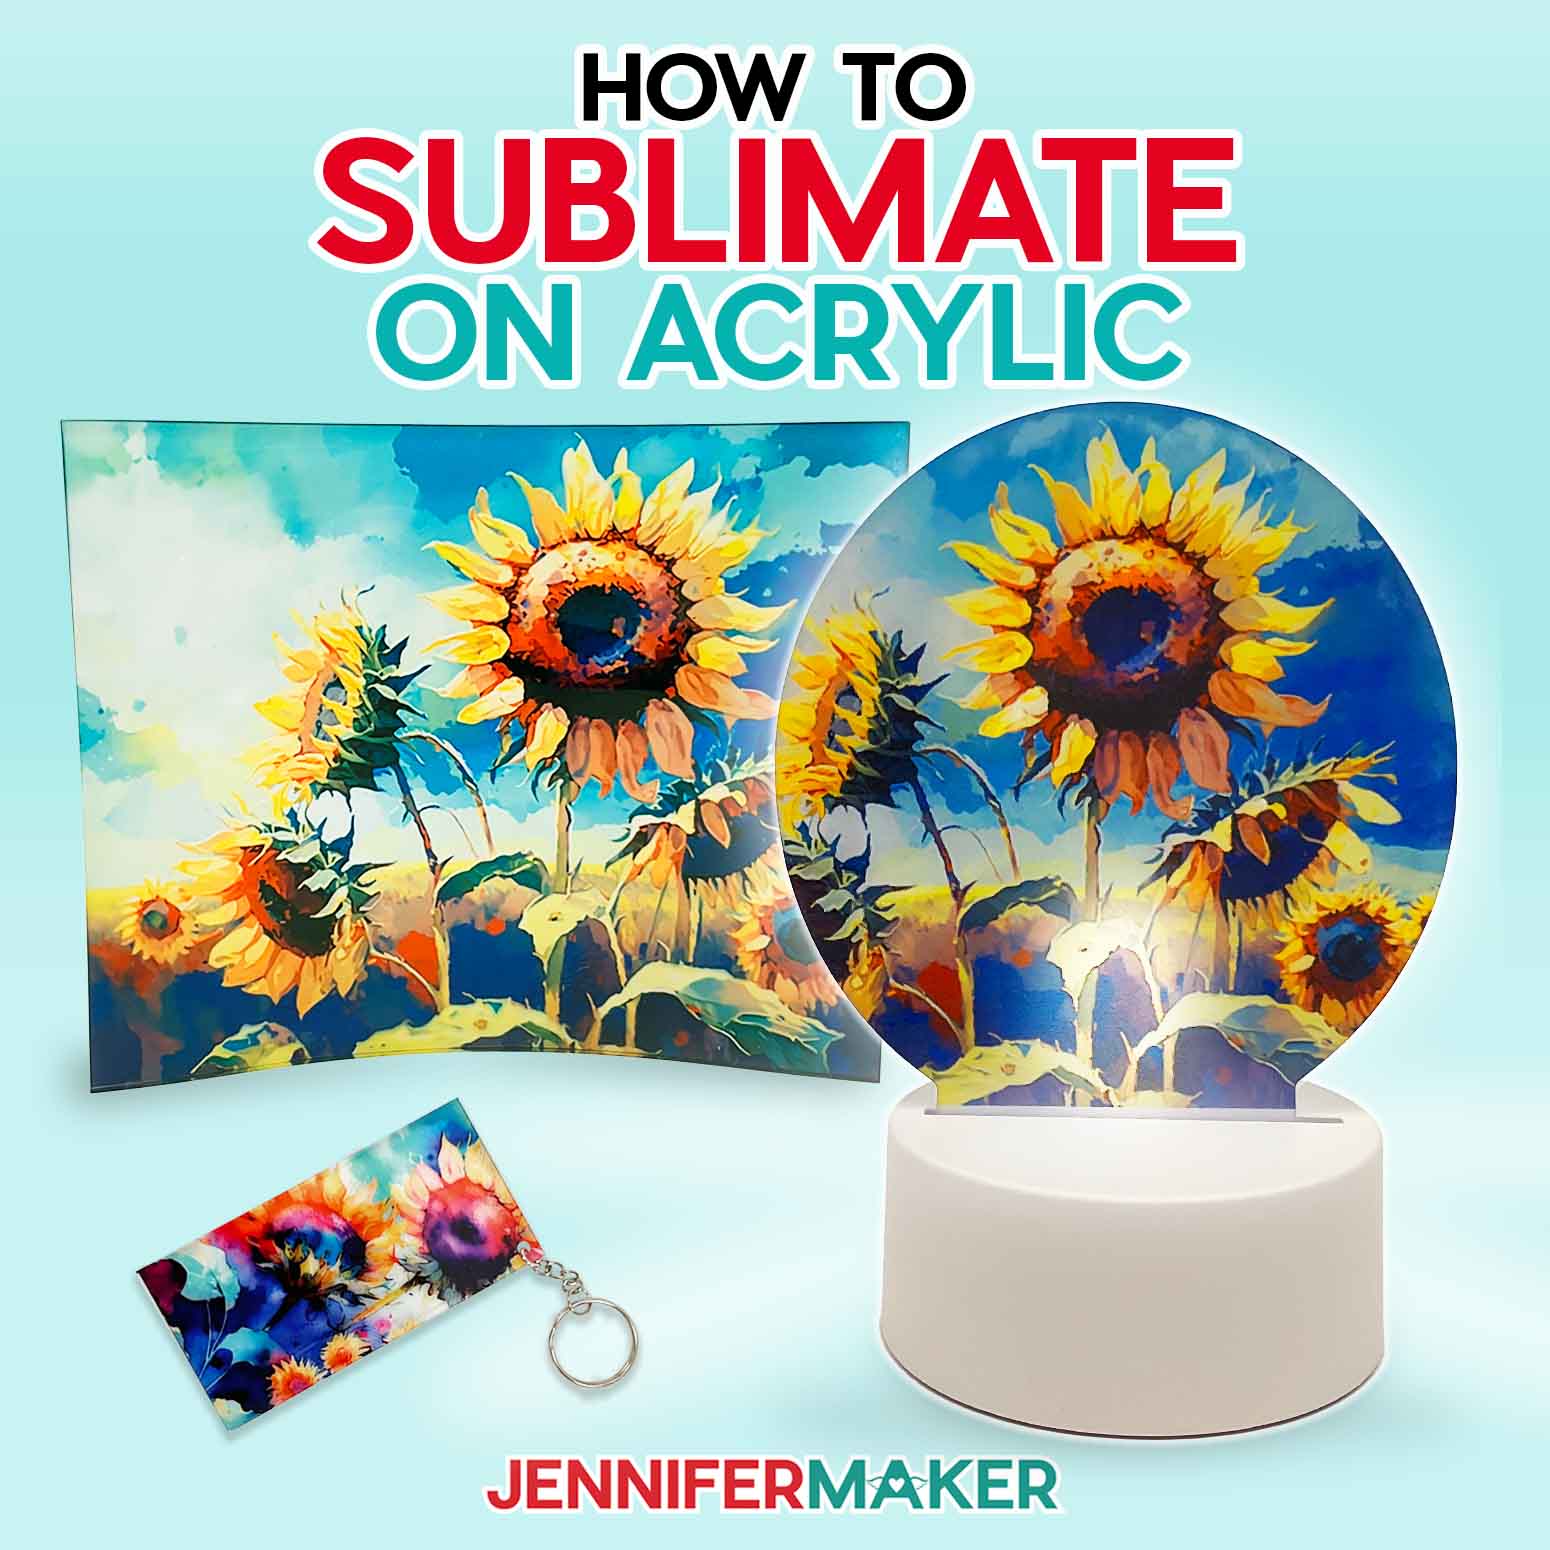
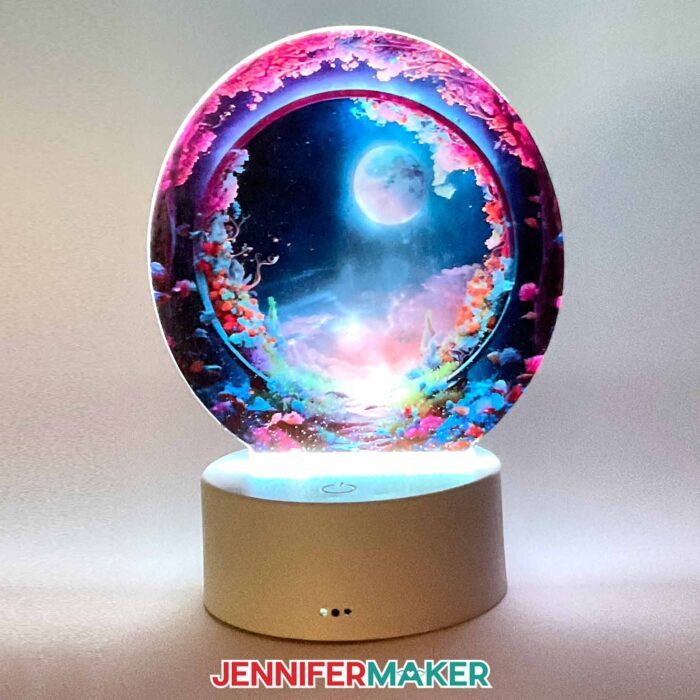
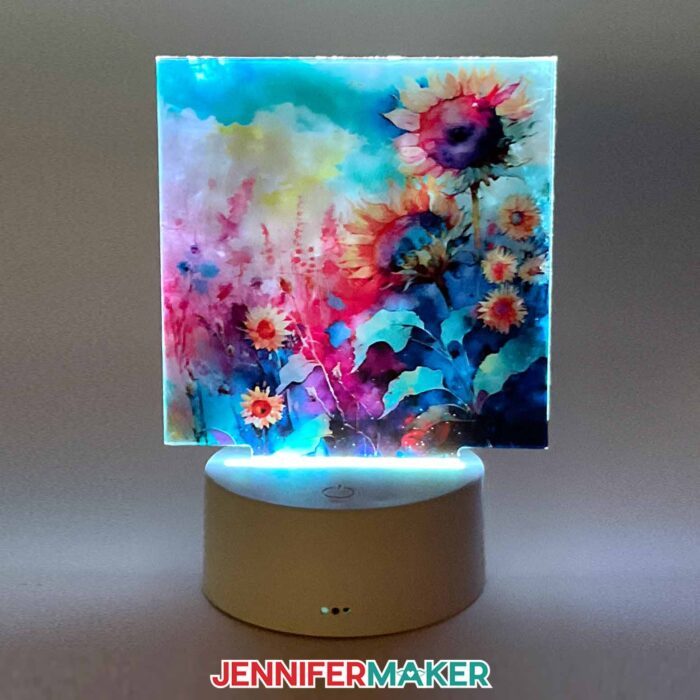
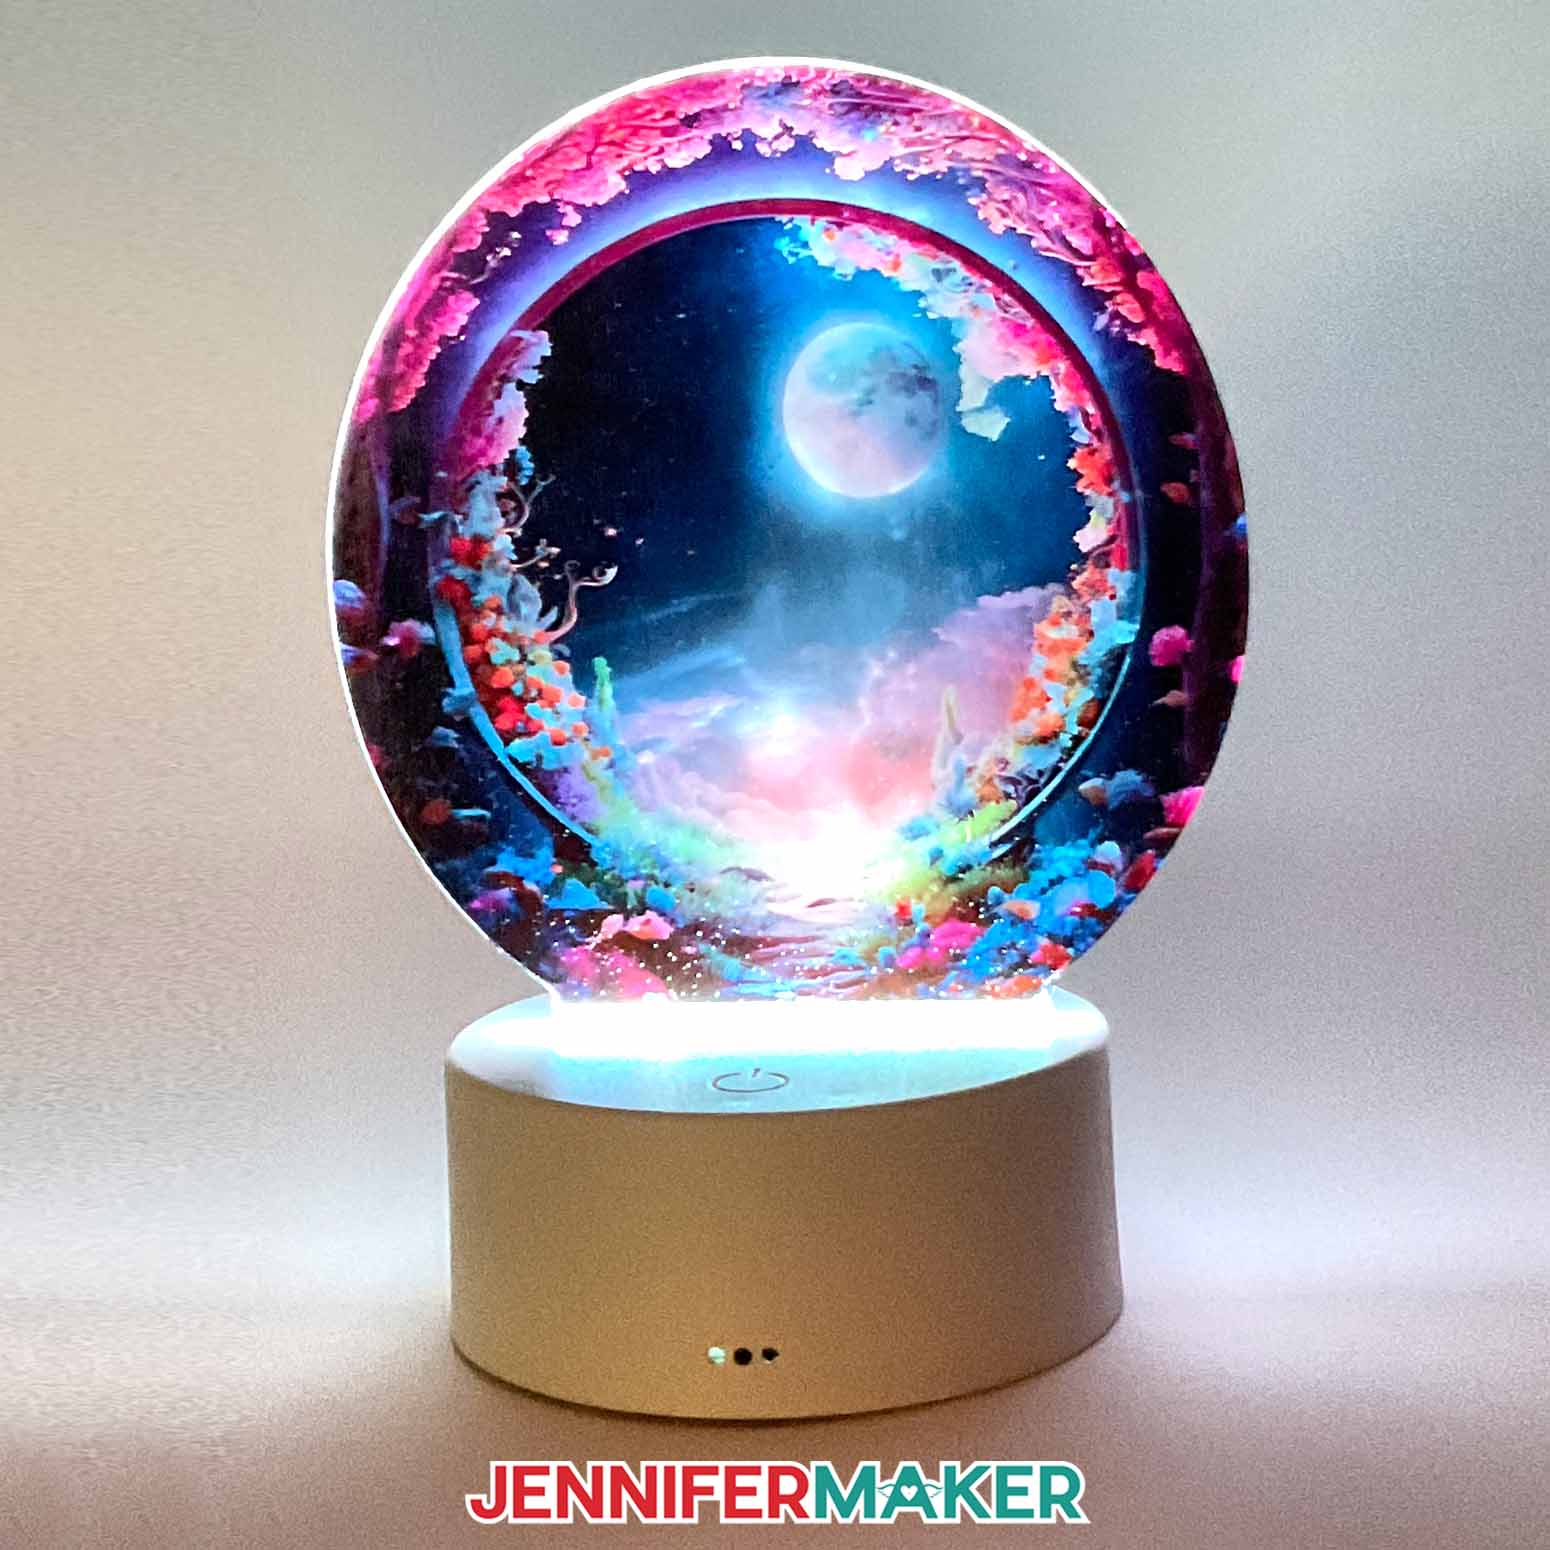
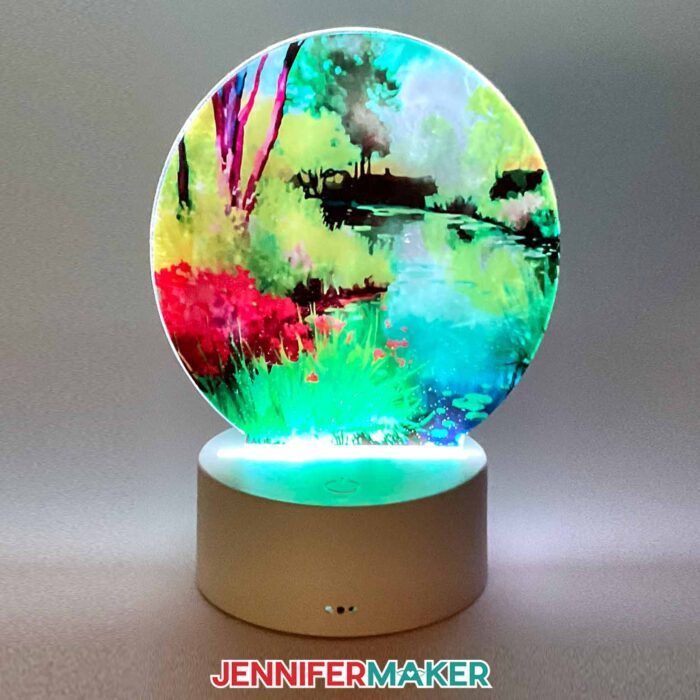
One thing I really loved when I first saw sublimation on acrylic was how light shining through the item affects the design. They just GLOW! So, I created some watercolor nature scenes using an AI art generator to share with you. It’s so much fun to learn new creative tools!
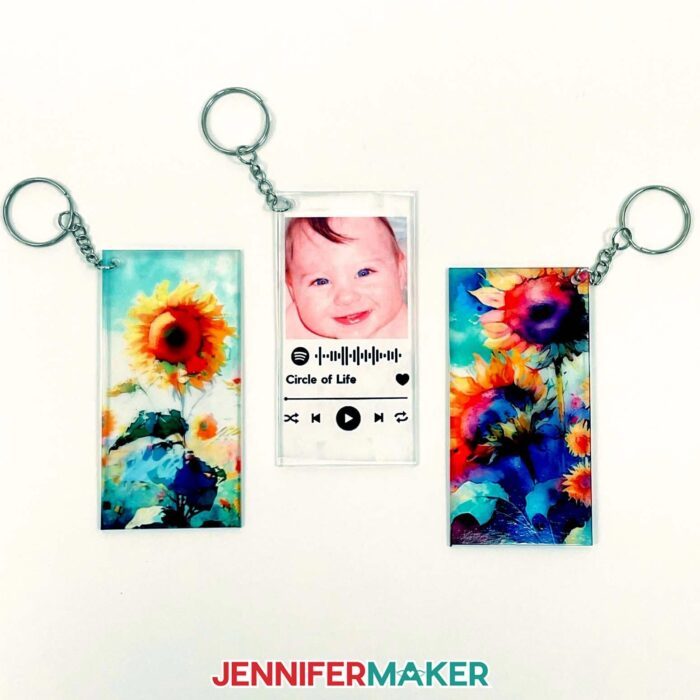
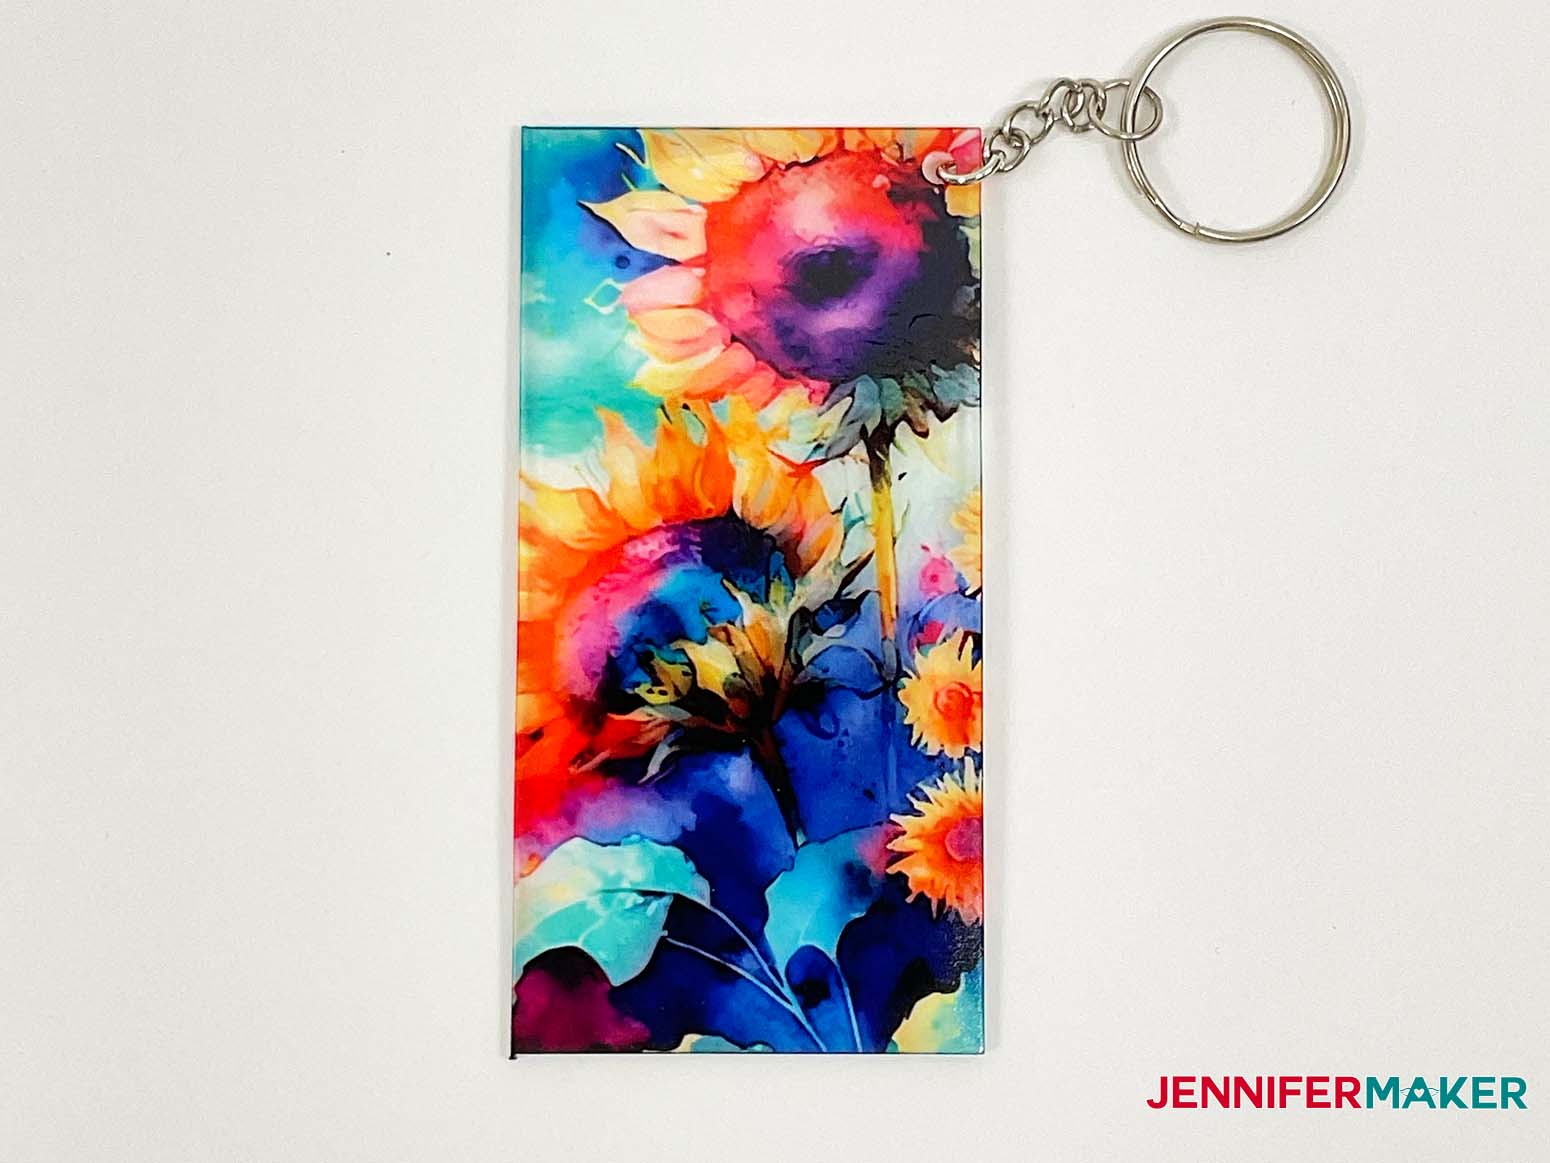
As you’ll see, real photos look fantastic, too, even on small items like an acrylic keychain. I really love the keychain I made with a photo of Alexa and a Spotify link to one of our favorite songs! You can learn more about that project in my Make It Sing workshop.
The high temperatures required for sublimation impact the acrylic sheets differently than other surfaces like fabric. The plastic sheets get so hot, they actually become malleable! And you will need to handle the items while they’re still hot to either flatten or shape them, so remember to use heat safe gloves whenever you handle the hot plastic.
Sometimes the smaller acrylic objects curled at the edges while cooling, so placing a flat, heavy object like a book on top helped them stay flat. Don’t worry, I’ll show you how to do it safely in the video.

It’s especially important to keep the acrylic nightlight pieces flat so they fit in the base. The nightlights are beautiful with my watercolor nature designs during the day, but they really shine at night!
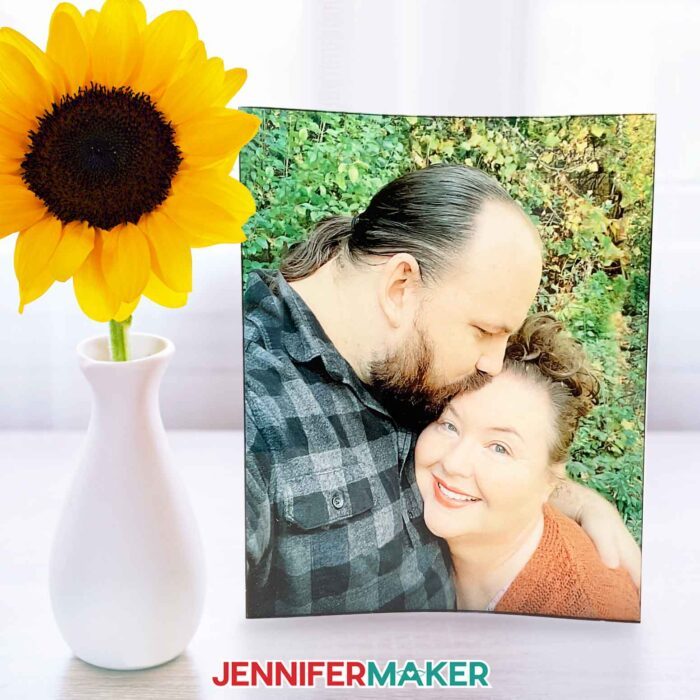
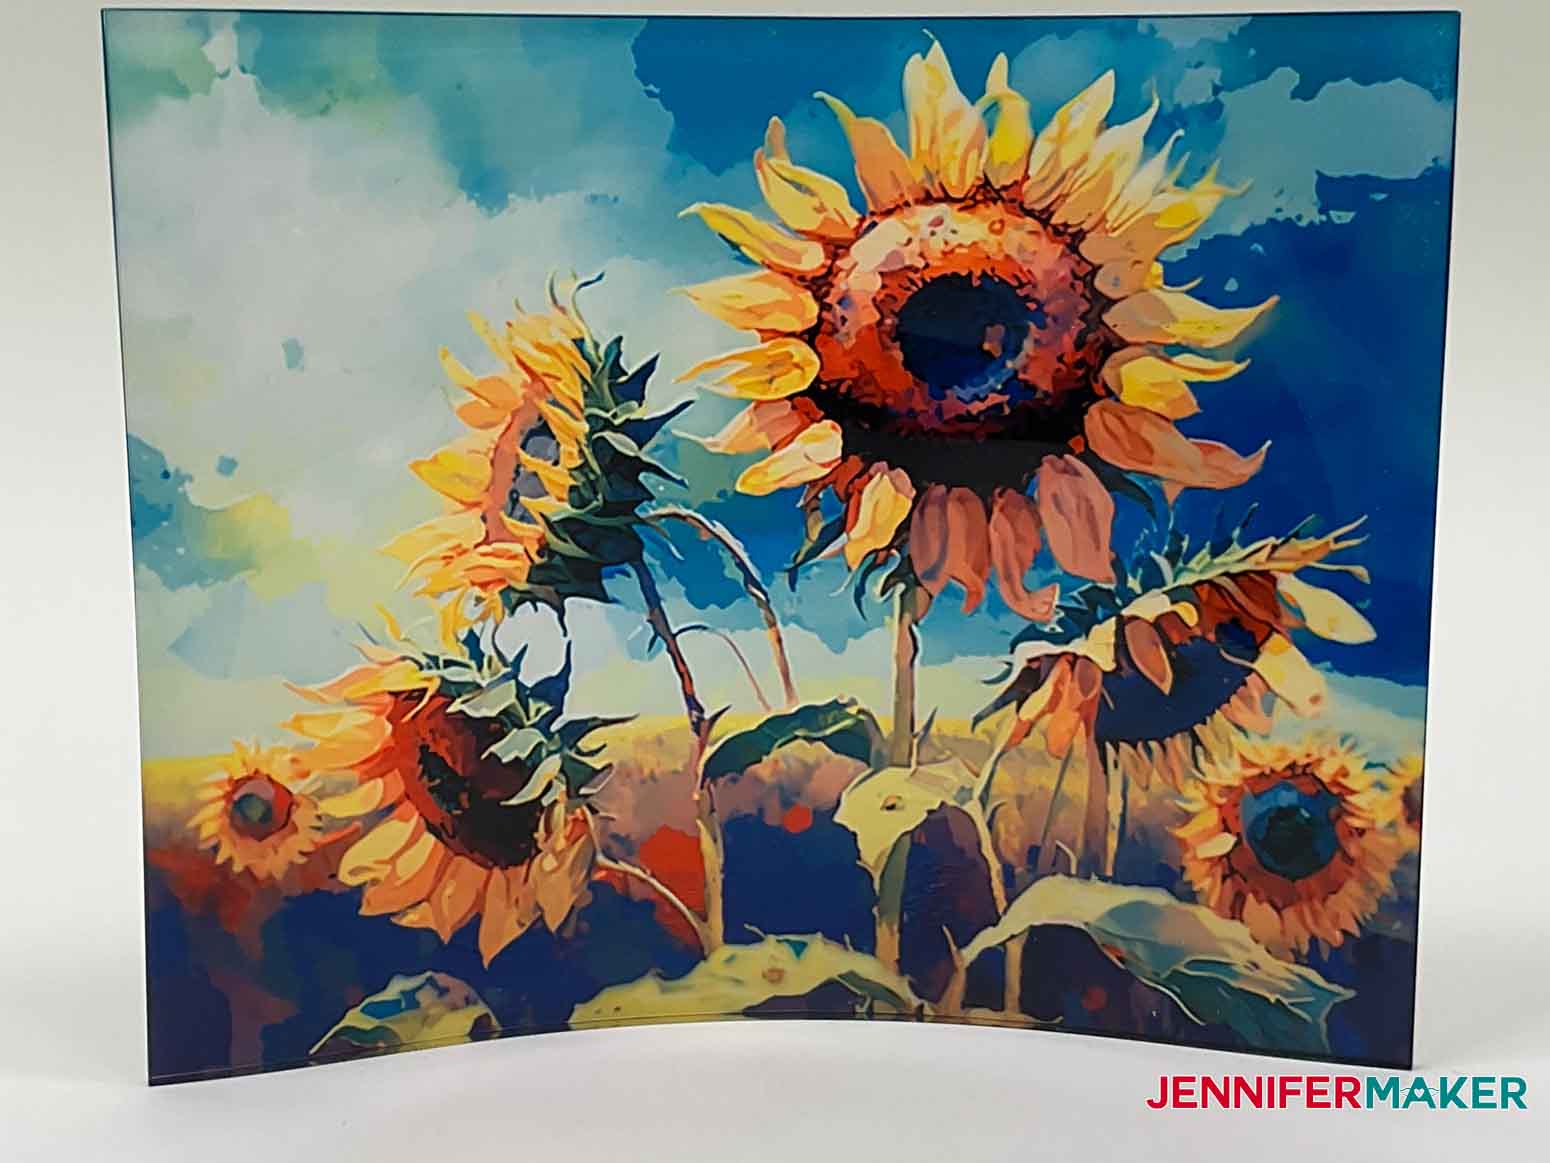
On the other hand, the acrylic photo panel must be shaped to stand up on its own. There are a few special tools recommended (like a shaping jig and green rubber mat) but I found a ceramic canister to be easy and cost-effective. My video has helpful tips on getting the gentle curve without damaging the final product. It takes a good amount of patience, but I just love the frameless look!
And before you begin, here are a few more important tips to save time and money I learned about using sublimation on acrylic:
- Since the acrylic can scratch during shipping, the blanks will arrive with a protective film, often on both sides. You need to remove it before adding the design! Sometimes the protective coating is paper, in which case you can remove each piece as needed to avoid decorating it instead of the acrylic surface. But some items have a plastic cover, which can melt and ruin your project even if it’s not on the side being heated!
- You can use most heat presses as long as they get hot enough, but you’ll get the best results with a press large enough to sublimate the entire acrylic surface all at once. Even heat and pressure is really important for sublimation on acrylic, so pressing in sections can create inconsistent results.
- High-quality materials matter when using sublimation on acrylic! I tried other brands of photo panels with very mixed results, so I only recommend the company on my materials list. I tested a lot of acrylic blanks to pick my favorites!
- Sometimes the transfer paper can stick to the acrylic, but the project isn’t ruined! I’ll show you how to gently remove it using a shallow pan of water and a soft sponge!
As with all sublimation projects, you will need a sublimation printer with compatible paper and ink. See my post on picking the best sublimation printer for your needs!
And remember, the dye sublimation process produces fumes, so always keep a window open and a fan going. My full material list will set you up for safety and success!
Let’s learn how to use sublimation on acrylic! This post contains some affiliate links for your convenience (which means if you make a purchase after clicking a link I will earn a small commission but it won’t cost you a penny more)! Read my full disclosure policy.
Materials & Tools for Sublimation on Acrylic Blanks
View my Amazon shopping list with the exact items we used to make this project!
- Acrylic Photo Panel -OR-
- Acrylic Nightlight with Nightlight Base and AA Batteries -OR-
- Acrylic Keychain 2″ x 4″
- Sublimation Paper 8.5″ x 11″
- Sublimation Printer – I used a converted Epson EcoTank ET-2800 Inkjet Printer
- Sublimation Ink – I used Hiipoo Ink
- Cricut EasyPress 12″ x 10″ and
- Cricut EasyPress Mat 12″ x 12″ -OR-
- Cricut AutoPress or a standard heat press
- Fan
- Heat Resistant Gloves
- White Butcher Paper and White 12″ x 12″ Cardstock – to protect your heat press platen and work surfaces
- Rubbing Alcohol
- Lint Free Cloth
- Heat Resistant Tape
- Scissors
- Flat Nosed Pliers – for keychain
- Shallow pan – for water or sink
- Sponge
- Smooth Heat Safe Surface like this 16″ x 12″ Cutting Board and a Heavy Book or Books – optional but the best way to keep the acrylic objects flat
- Ceramic Canister or purpose-built jig – for shaping photo panel
- Design #490 – My free Sublimation on Acrylic PNG collection (available in my free resource library—get the password at the bottom of this post)
How to Use Sublimation on Acrylic Keychains, Nightlights, and Photo Panels

Sublimation on Acrylic
Learn how to sublimate on acrylic keychains, nightlights, and photo panels.
Materials
Tools
- Sublimation Printer - I used a converted Epson EcoTank ET-4700 Inkjet Printer
- Sublimation Ink - I used Hiipoo Ink
- Cricut EasyPress 12 x 10 -or-
- Cricut AutoPress
- Cricut EasyPress Mat 12" x 12"
- Fan
- Heat Resistant Tape
- Heat Resistant Gloves
- Scissors
- AA Batteries-optional for nightlight
- Heavy Book or Books
- Flat Nosed Pliers - for keychain
- Lint Free Cloth
- Shallow pan for water or sink
- Sponge
- Smooth Heat Safe Surface like this 16" x 12" Cutting Board - optional
- Ceramic Canister - for photo panel
- Cricut 360 Floor Lamp - optional
- Photo Panel Curved Jig - optional
Instructions
STEP 1: GET OR PREPARE AND PRINT A SUBLIMATION DESIGN
You can use my How to Sublimate on Acrylic files from my resource library, Design #490.
I have five pretty watercolor paintings or you can use your own designs.
Watercolor Sunflower 1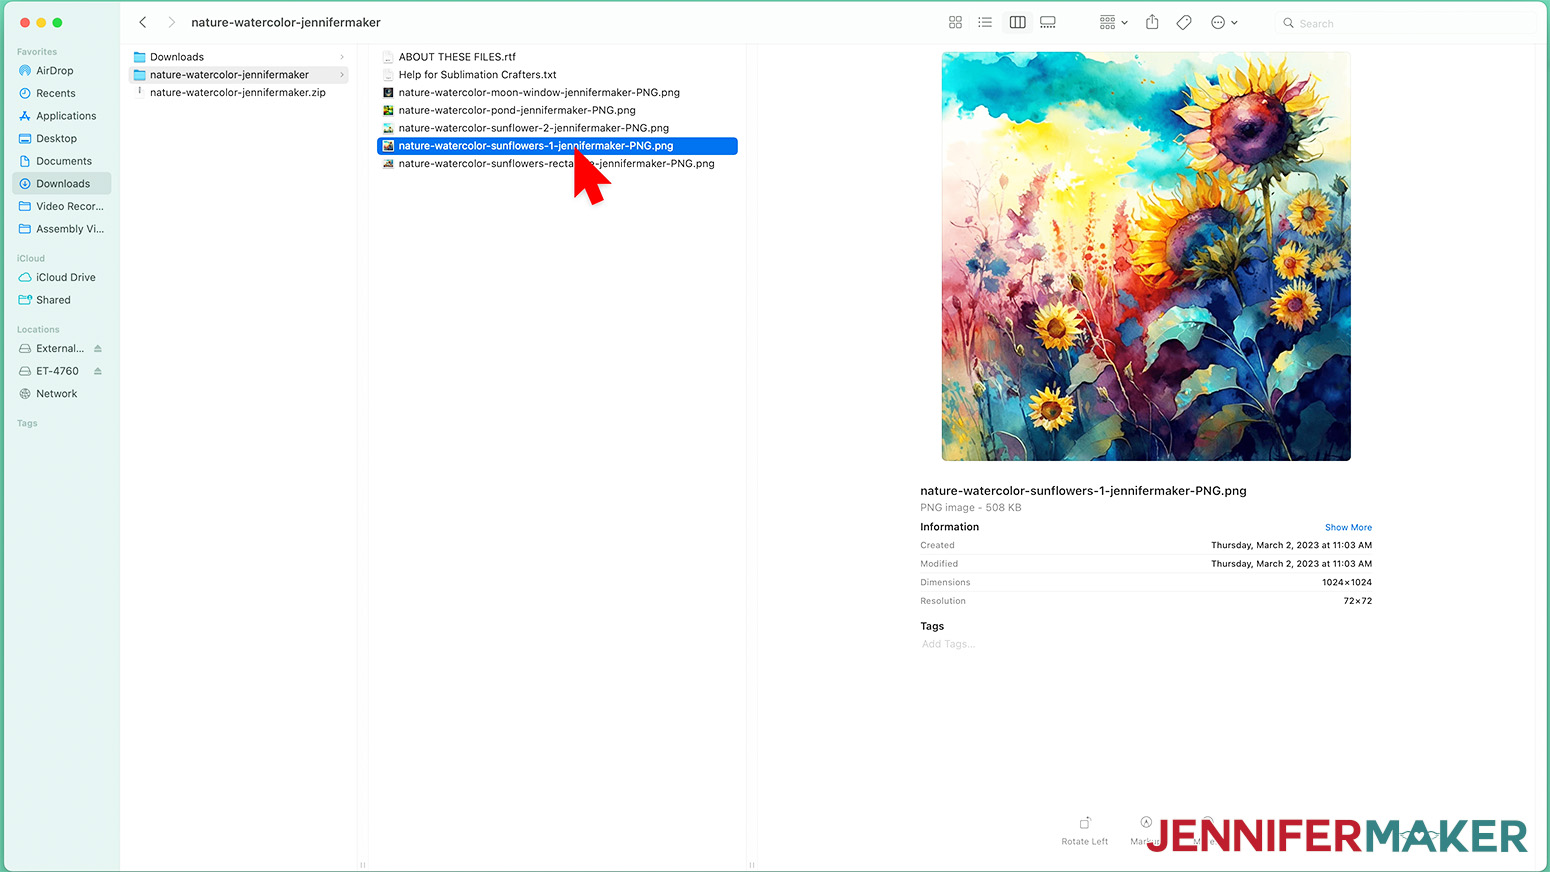
Watercolor Sunflower 2

Watercolor Sunflower Rectangle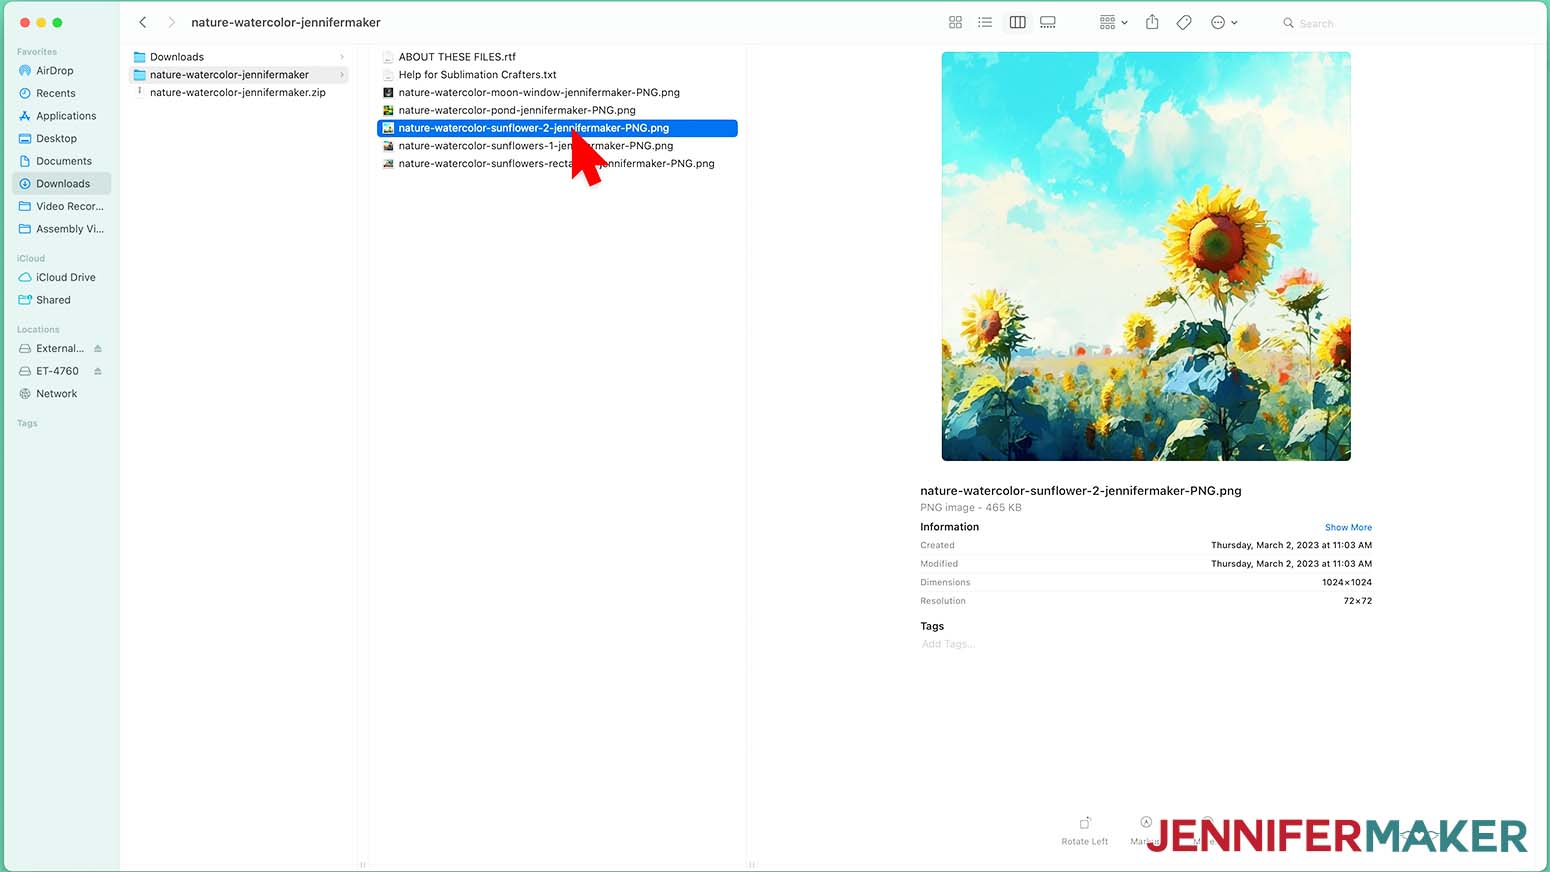
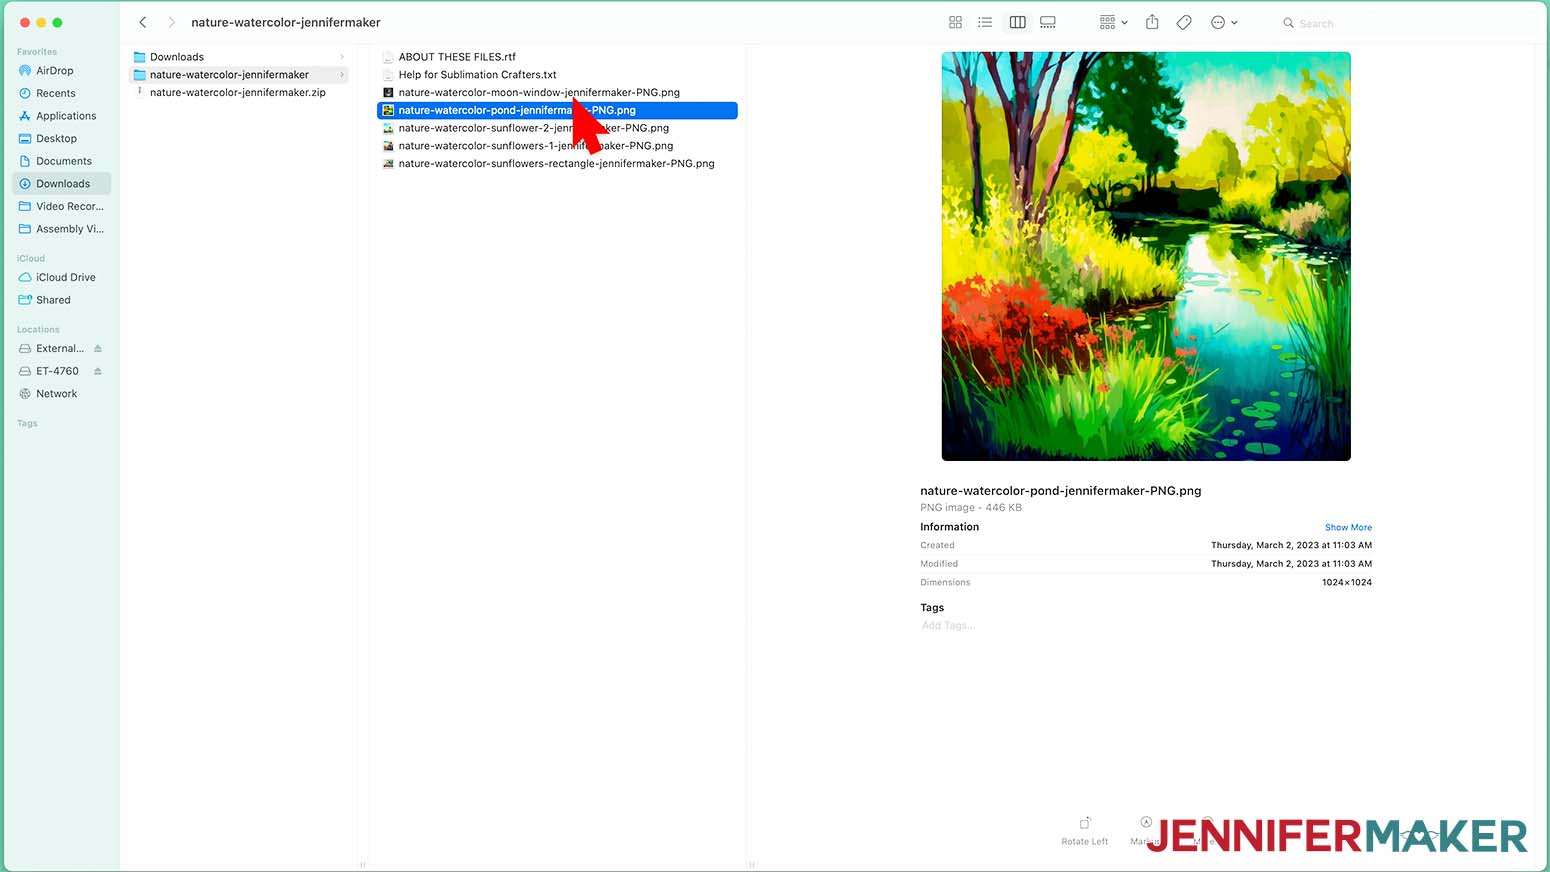
Watercolor Pond
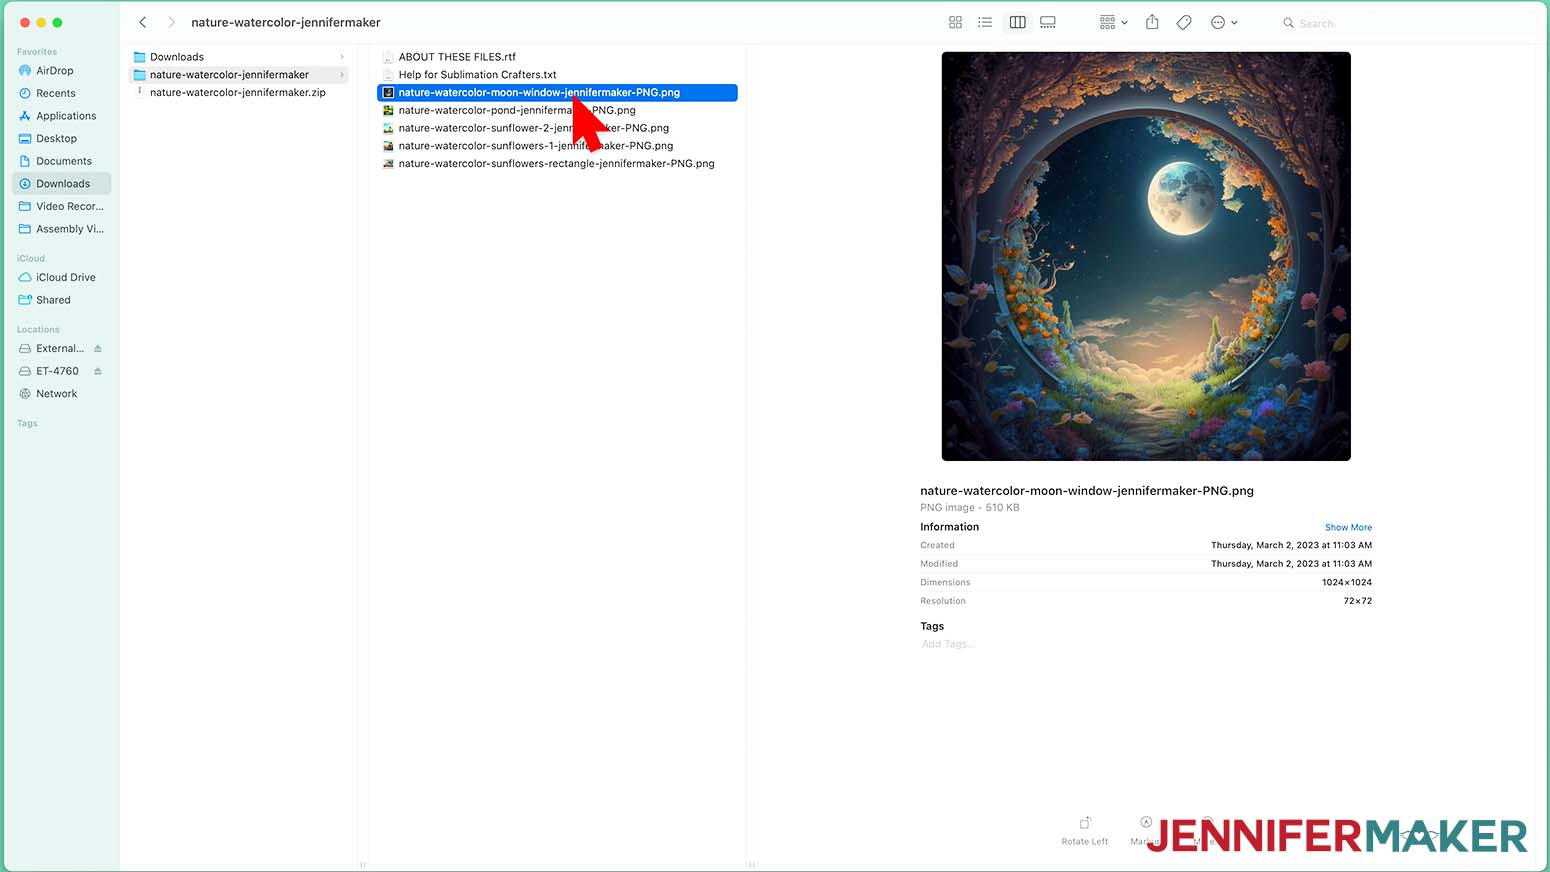
Moon Window
Whether you are making a nightlight, keychain or photo panel, measure your blank and make sure your image size is correct before printing. If you need help printing for sublimation please check out my Sublimation T-Shirts for Beginners for detailed information on printing.
You do not need to Mirror your print.
STEP 2: SUBLIMATE YOUR ACYLIC BLANK
Before you begin make sure you have proper ventilation by opening a window or turning on a fan.
Warning: you will be working with materials that will be heat to a high temperature. It is strongly recommended that you wear heat resistant gloves when handling these materials.
NIGHTLIGHT
I will use the Moon Window image for the nightlight.
Preheat your EasyPress to 360°F (182°C) set the time to 60 seconds.
It's also a good idea to get some heavy books and a heat safe surface ready. Acrylic when heated is malleable and will curl a bit when cooling down. I found that if I put my hot blank under something heavy like some books, this will help keep the acrylic flat as it cools down.
Peal the protective paper off one side of the nightlight blank.
![]()
If there is any residue use a lint free cloth with a little bit of rubbing alcohol on it to remove.
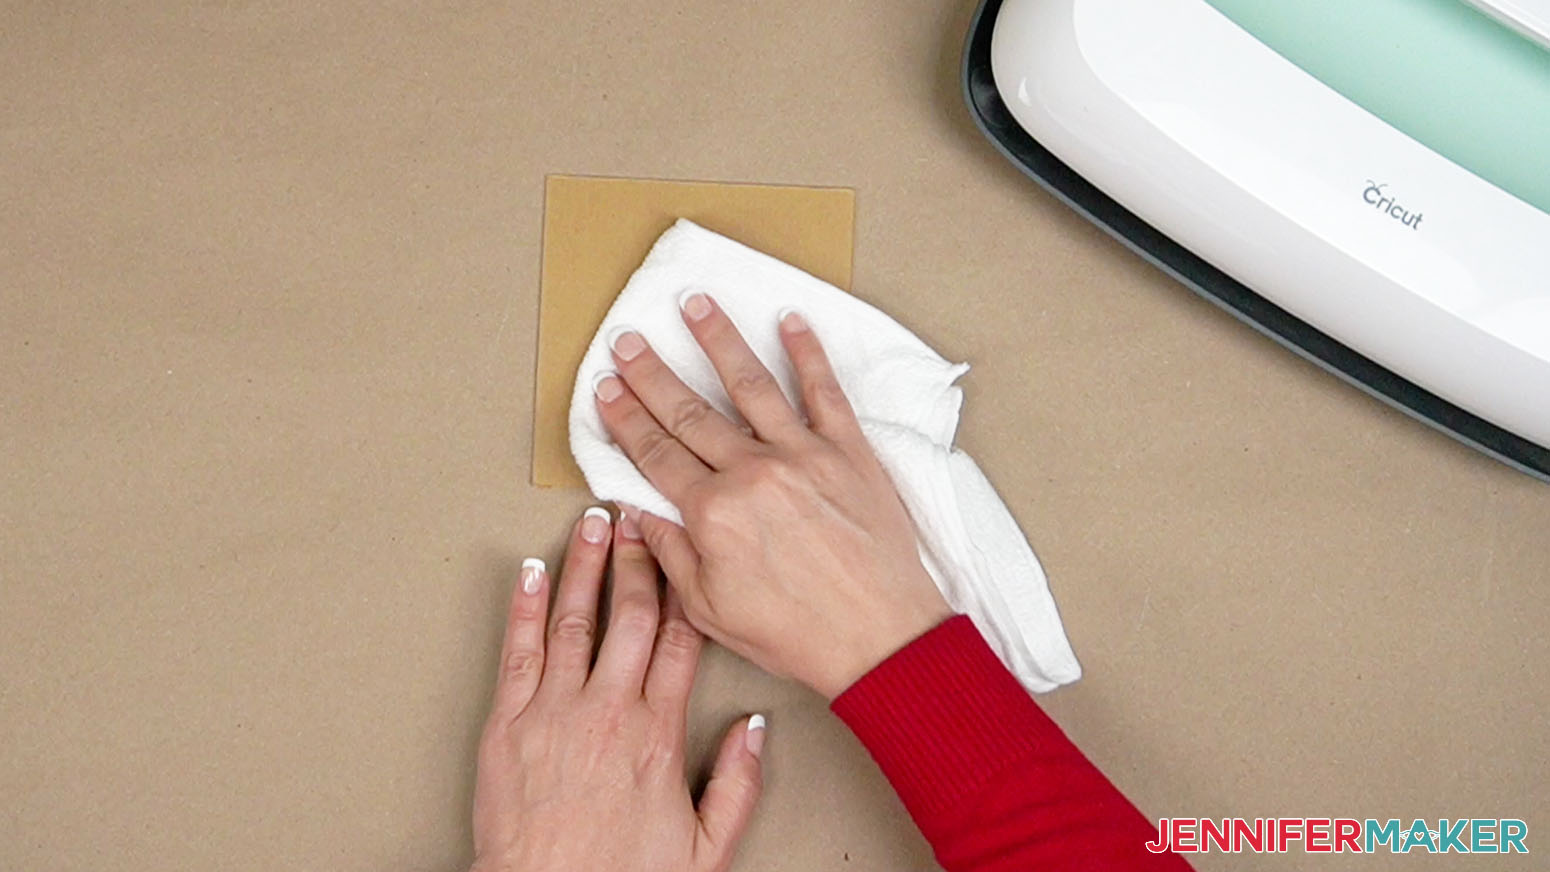
Instead of using a lint roller, gently wipe off and dust and debris with a lint free cloth. A lint roller will leave sticky residue on the acrylic blank.
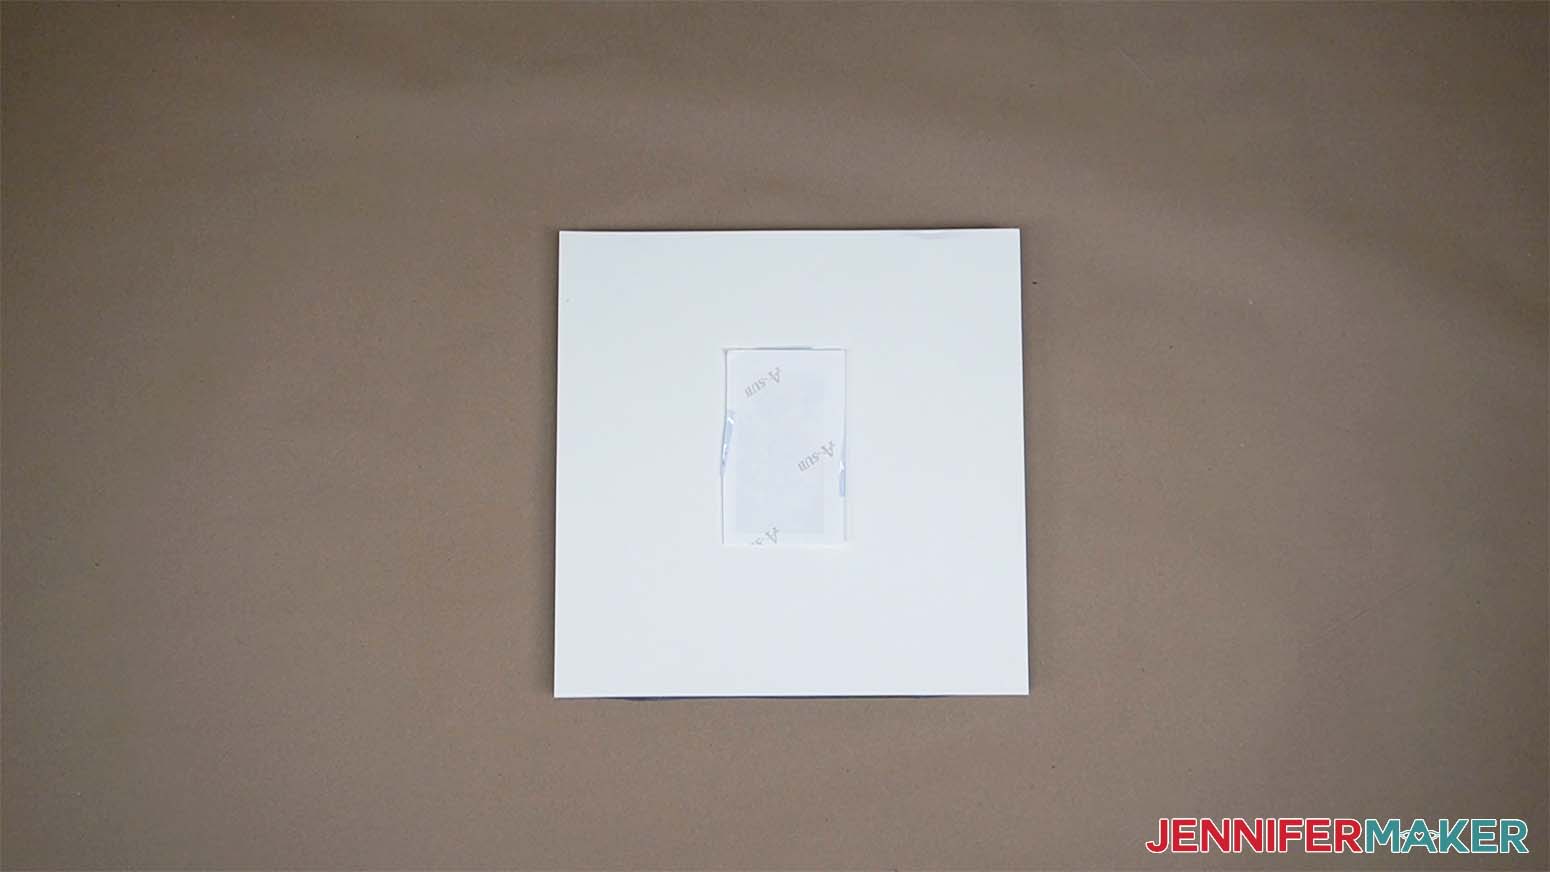
With the sublimation print face up on the table, place the blank face down with the paper backing facing up. Secure with heat resistant tape.
NOTE: It is best to make the print a little larger than the blank. This also makes it easier to tape the blank.

Place a clean sheet of white card stock on your heat mat.
Place your blank on the white card stock with the print as the top layer.
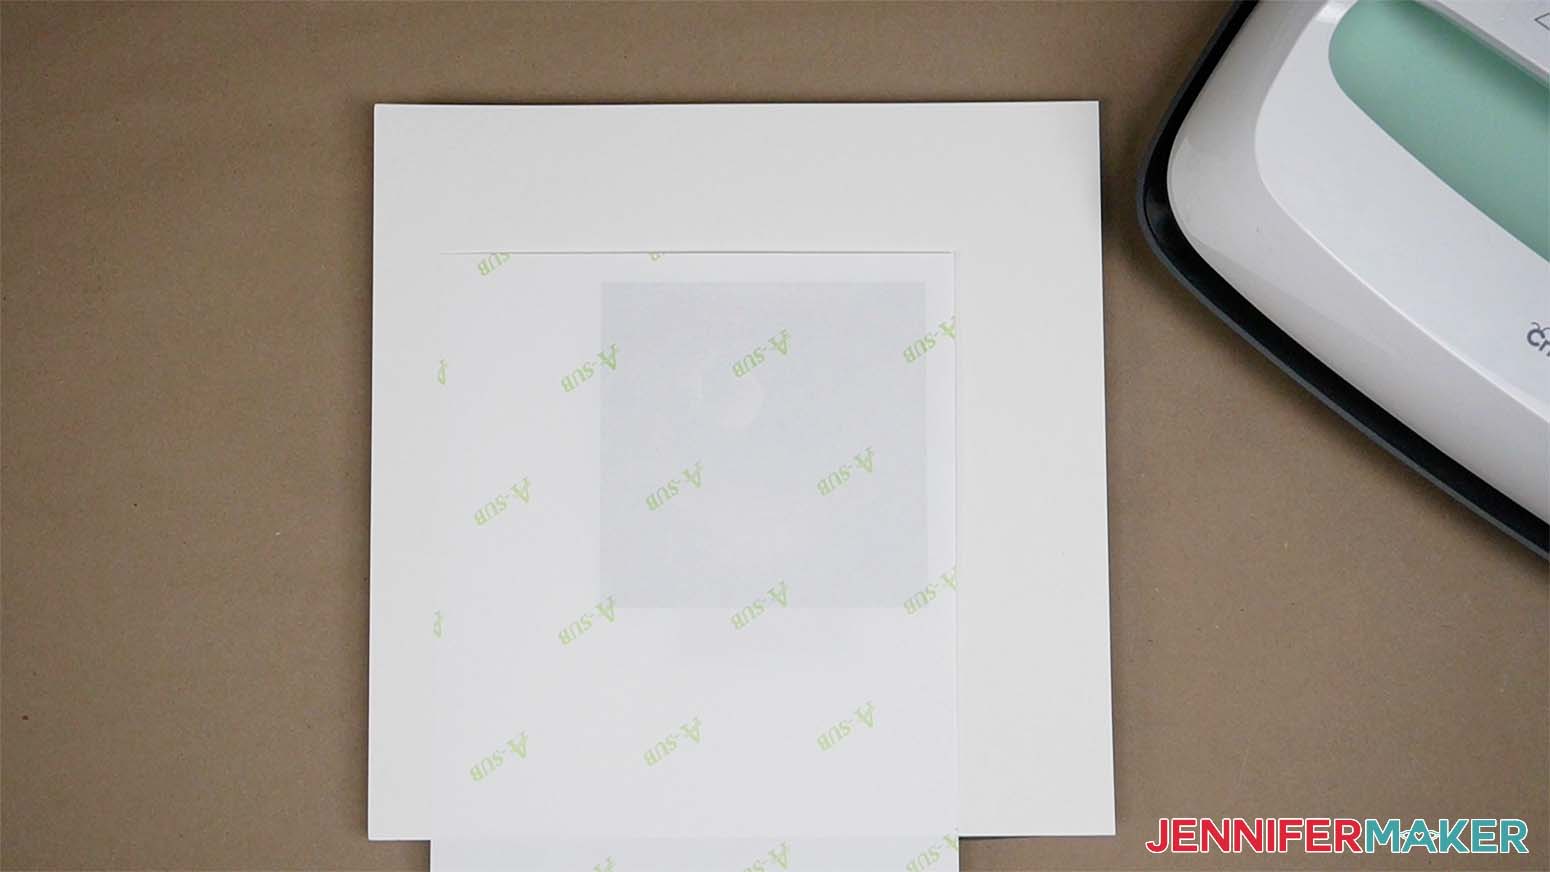
Place a clean sheet of butcher paper on top.
Place the Easypress on top the the sublimation print and acrylic blank and click the C button to start the timer. Use medium pressure.
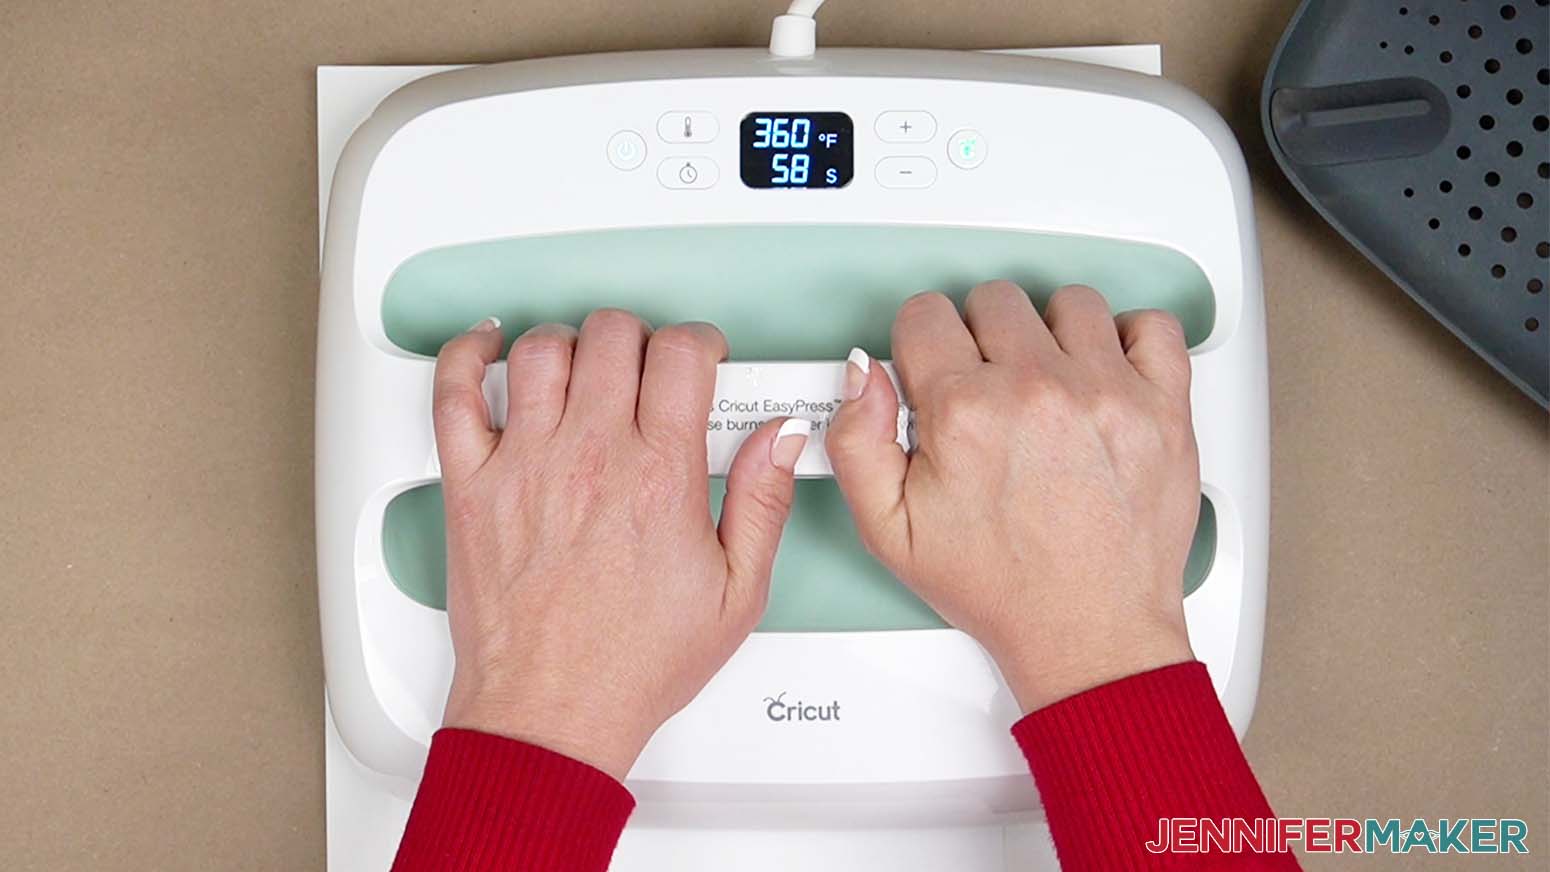
When the time is up, lift the EasyPress straight up and return it to its stand.
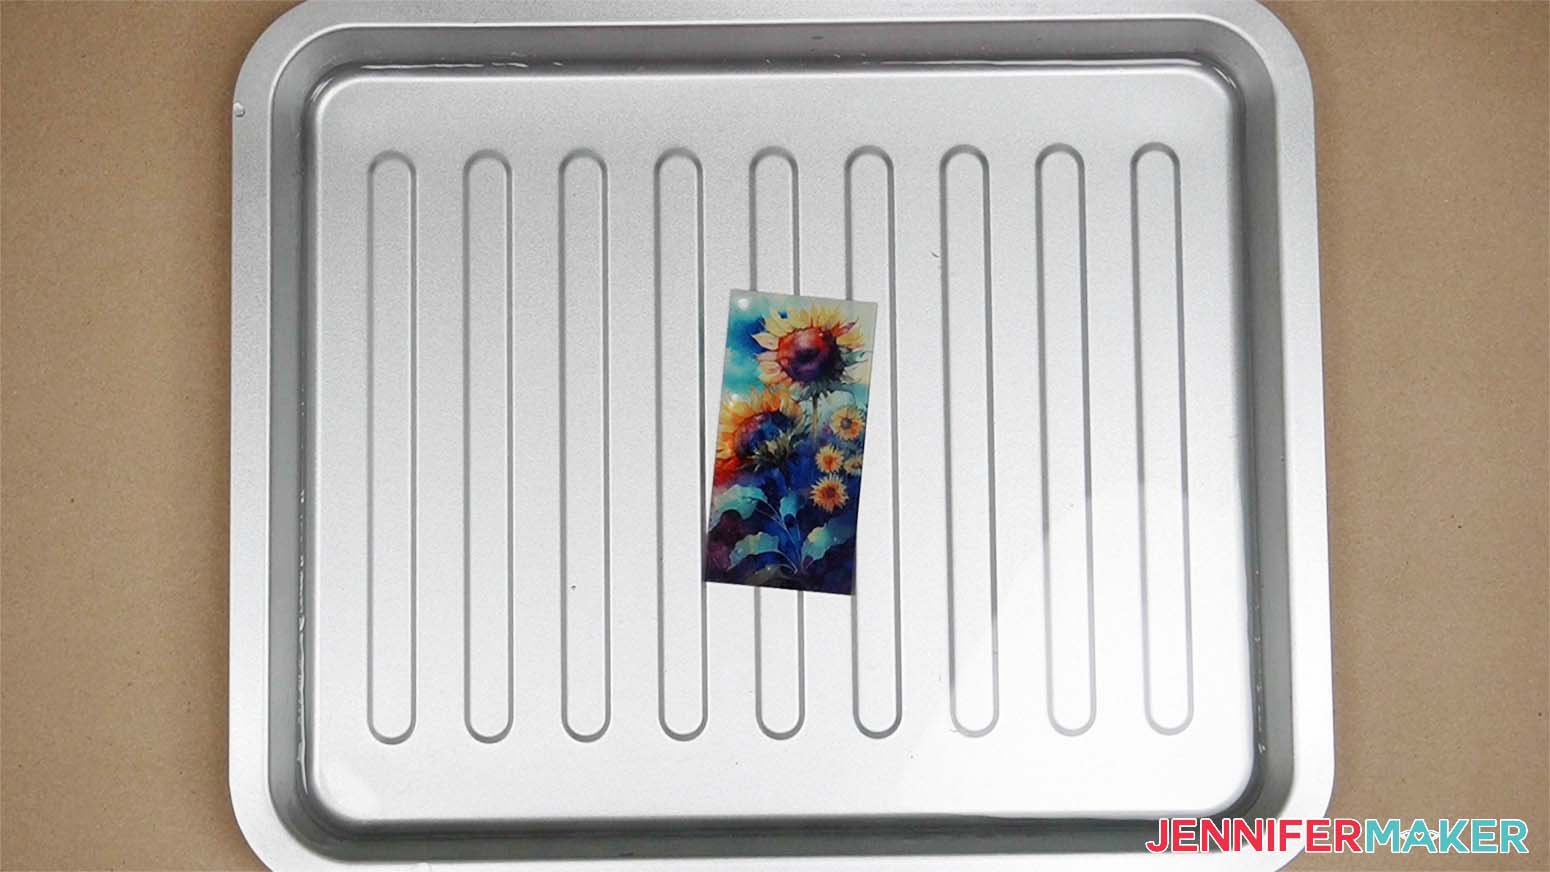
Carefully pick up the bottom piece of cardstock and move it to the flat surface you prepared. Place something heavy like a book on top of it. Let it sit for a couple of minutes.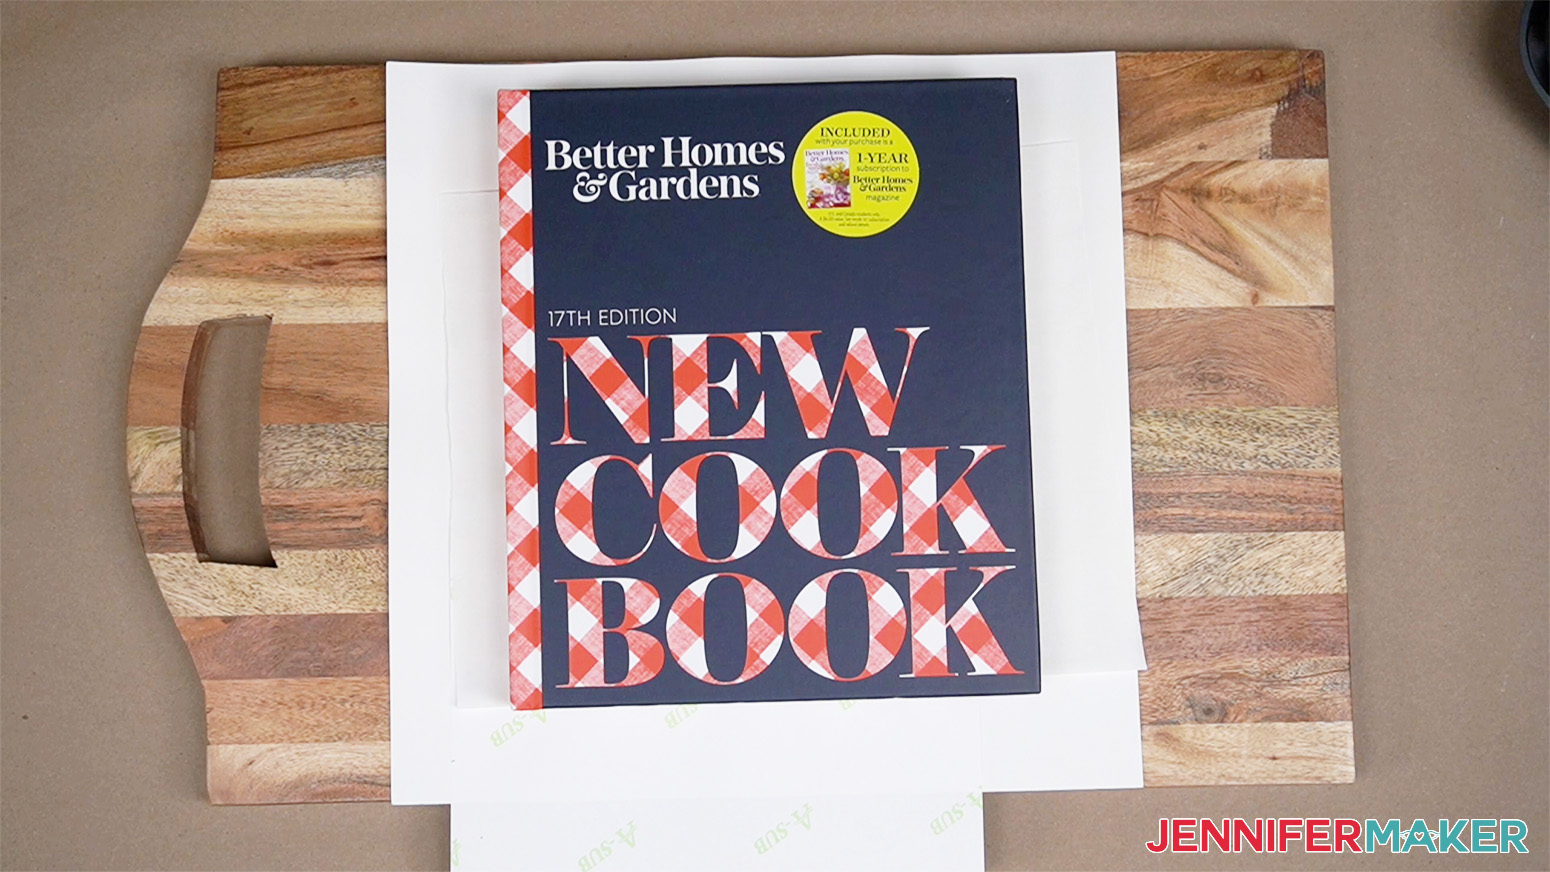
After it has cooled, remove what you can of the paper. Most of the paper will be stuck to the blank. Soak the blank in water for a few minutes.
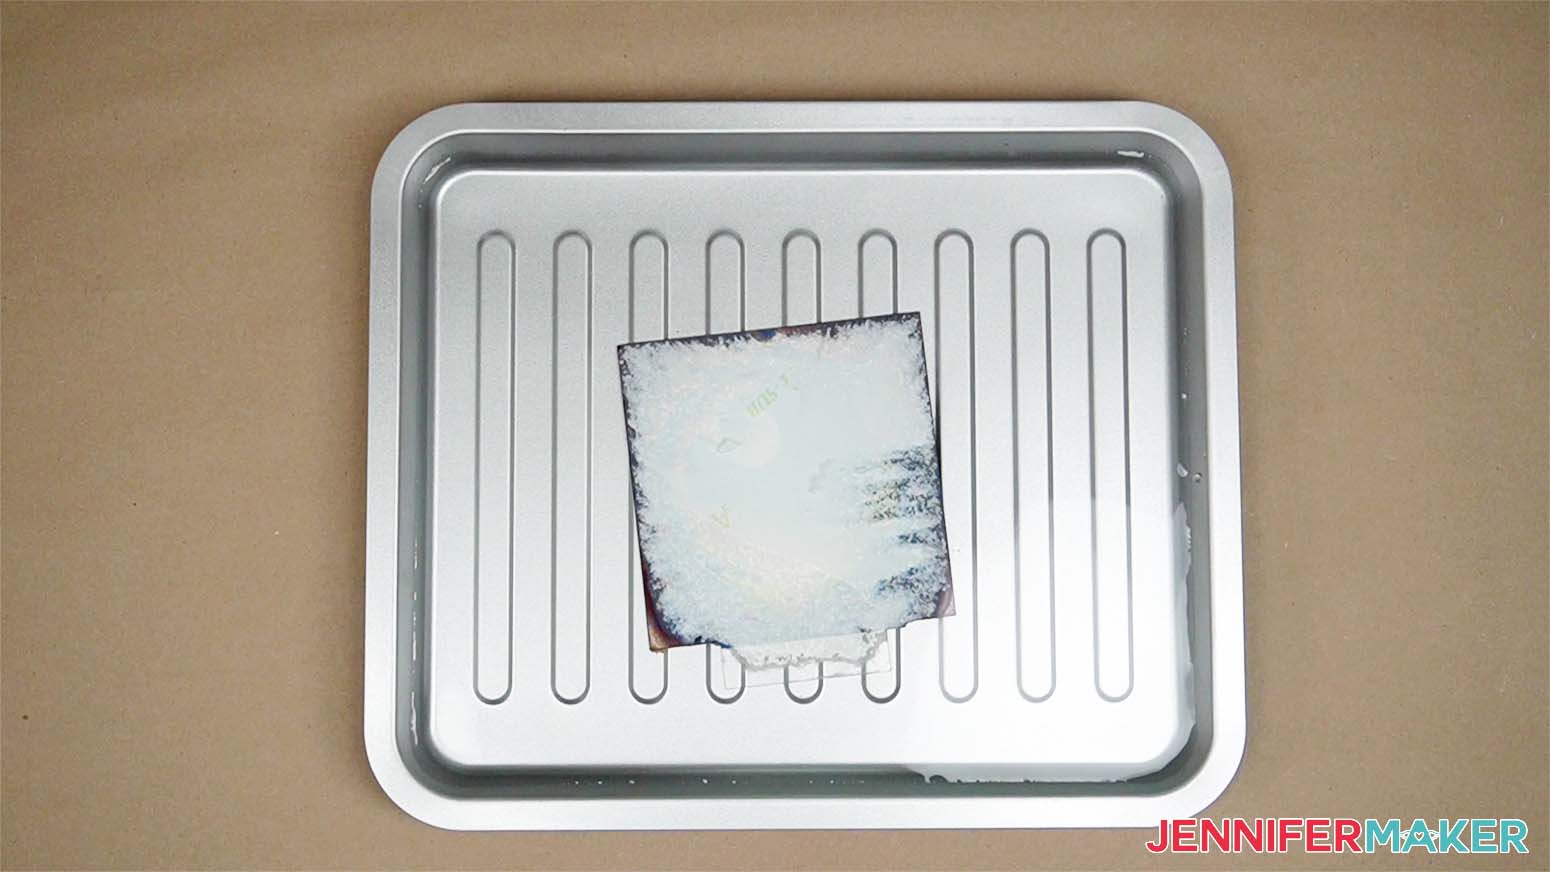
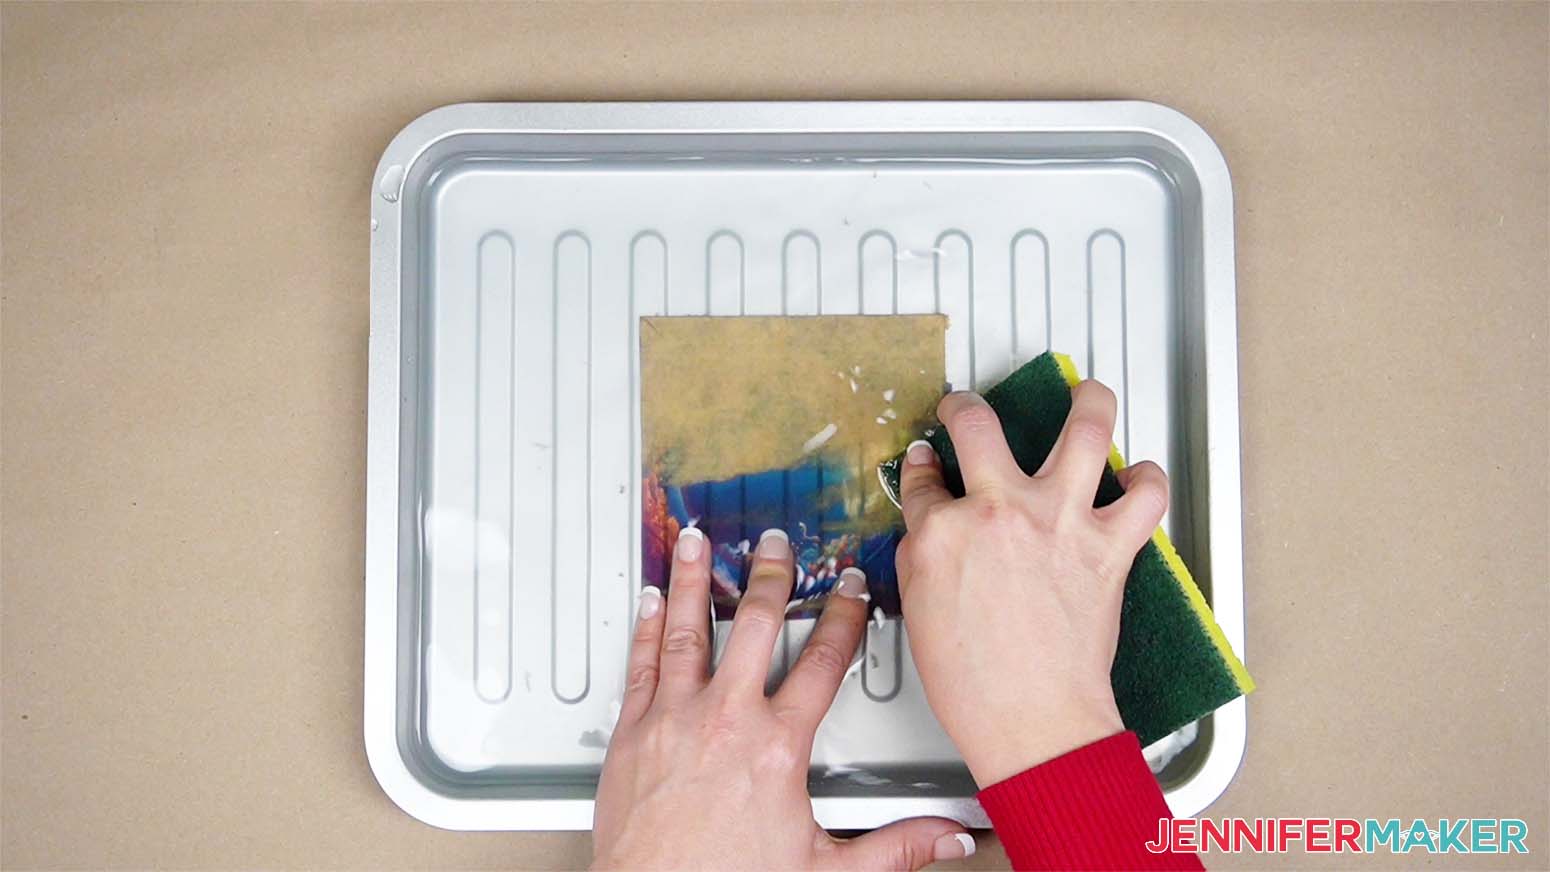
Use a sponge to remove the excess paper on both sides of the blank. The paper might leave a white residue, that's ok.
Your nightlight blank is ready!
Put batteries in the nightlight base. If the nightlight print acrylic is too thin for the base, you can use another acrylic blank and place it behind the nightlight print.
![]()
KEYCHAINS
You can use any of my images for keychains as well. If you'd like to learn how to make the spotify keychain head over to my Make It Sing class for more information. I will use my Watercolor Sunflower 1 image.
Preheat your EasyPress to 370°F (188°C) and the time to 60 seconds. It's also a good idea to get some heavy books and a heat safe surface ready. Acrylic when heated is malleable and will curl a bit when cooling down. I found that if I put my hot blank under something heavy like some books, this will help keep the acrylic flat as it cools down.
Peal the plastic carrier sheets off both sides of the keychain blank.
Instead of using a lint roller, gently wipe off and dust and debris with a lint free cloth. A lint roller will leave sticky residue on the acrylic blank.
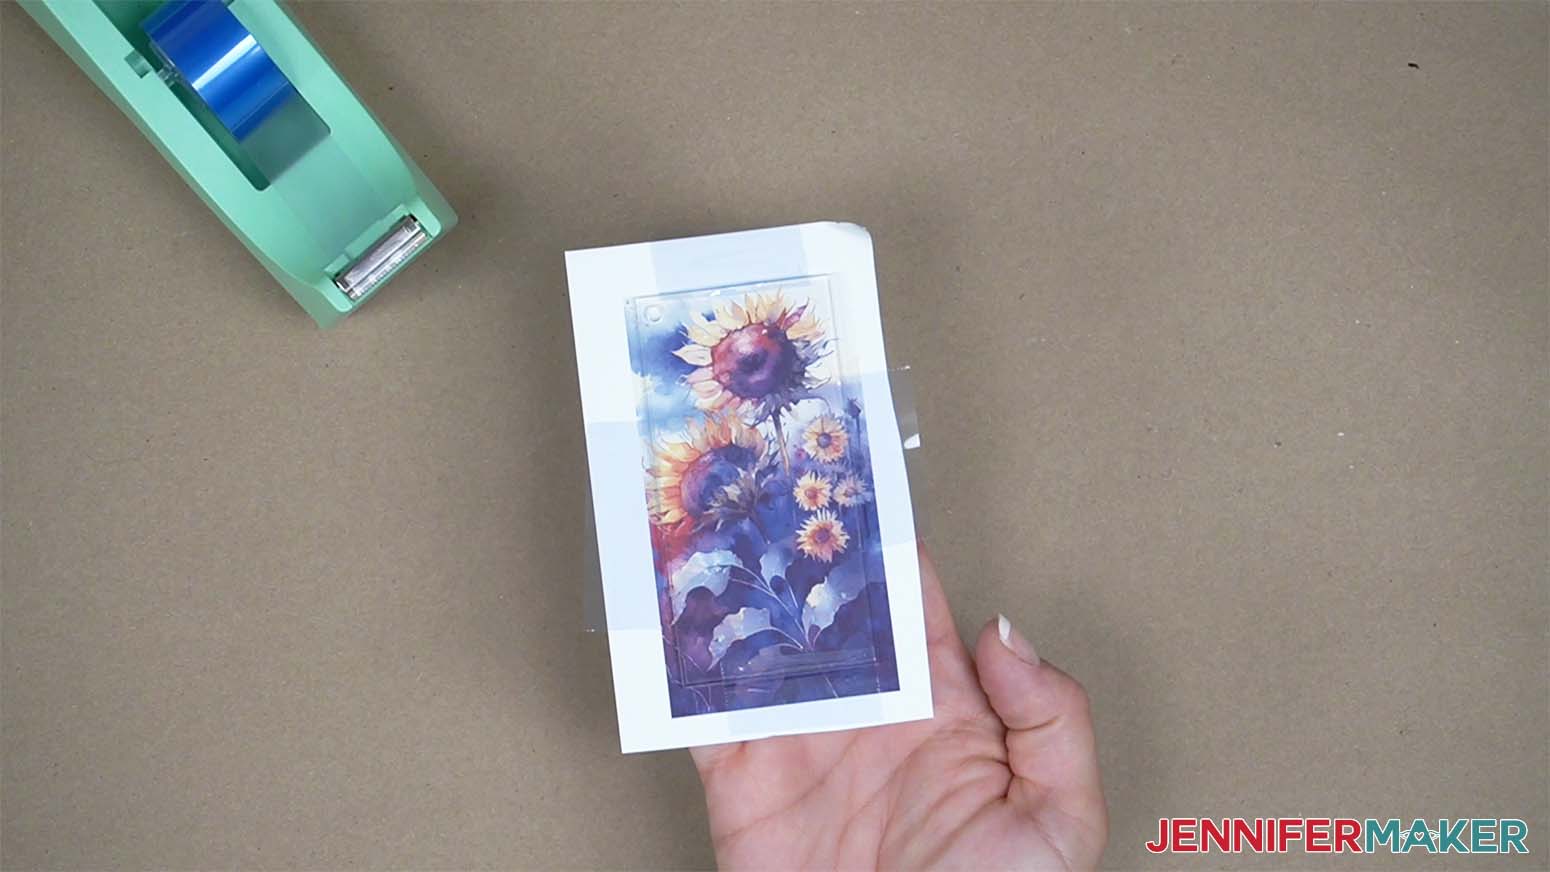
With the sublimation print face up on the table, place the blank on top of the print. Secure with heat resistant tape.
NOTE: It is best to make the print a little larger than the blank. This also makes it easier to tape the blank.
Place a clean sheet of white card stock on your heat mat.
Place your blank on the white card stock with the print as the top layer.
Place a clean sheet of butcher paper on top.
Place the Easypress on top the the sublimation print and acrylic blank and click the C button to start the timer. Use medium pressure.
When the time is up, lift the EasyPress straight up and return it to its stand.
Carefully pick up the bottom piece of cardstock and move it to the flat surface you prepared. Place something heavy like a book on top of it. Let it sit for a couple of minutes.
After it has cooled, remove the paper. Some of the paper might stick to the blank. Soak the blank in water for a few minutes.
Use a sponge to remove the paper on from the blank.
To attach the key ring to the keychain, use flat nose pliers to open the ring at the end of the chain. put the keychain on the ring, and close it with the pliers.

PHOTO PANEL
These thick acrylic panels have a special sublimation coating on them and are a great way to show off special photographs.
For the photo panel, I found it easiest to use the AutoPress. The AutoPress seemed to distribute the heat better which will be important when we put a curve into it later in the project.
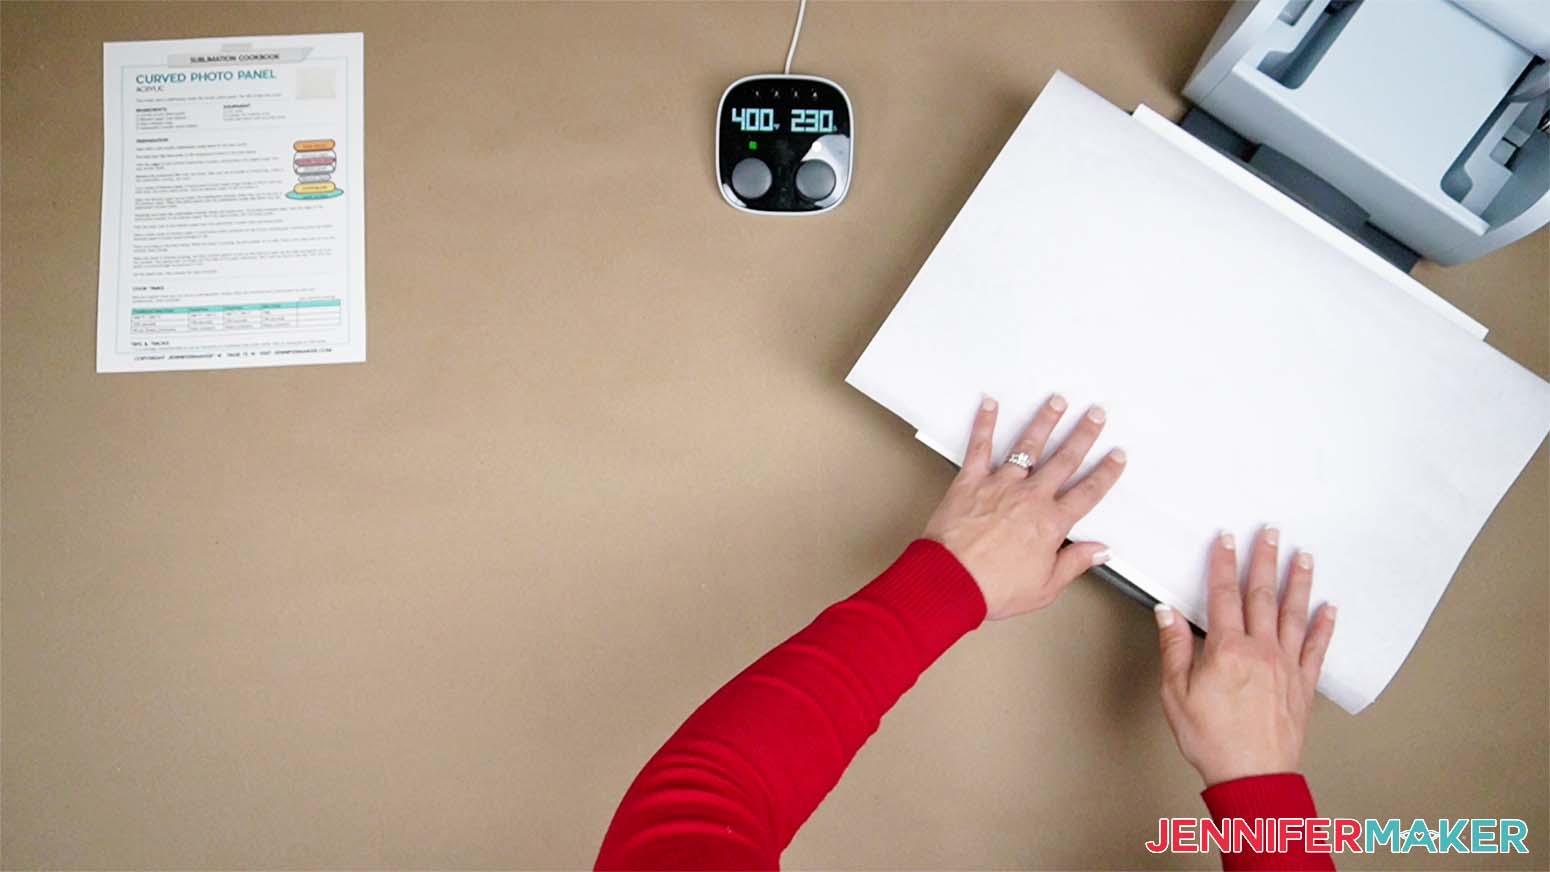
Preheat your AutoPress to 400°F (204°C) and set the time to 230 seconds.
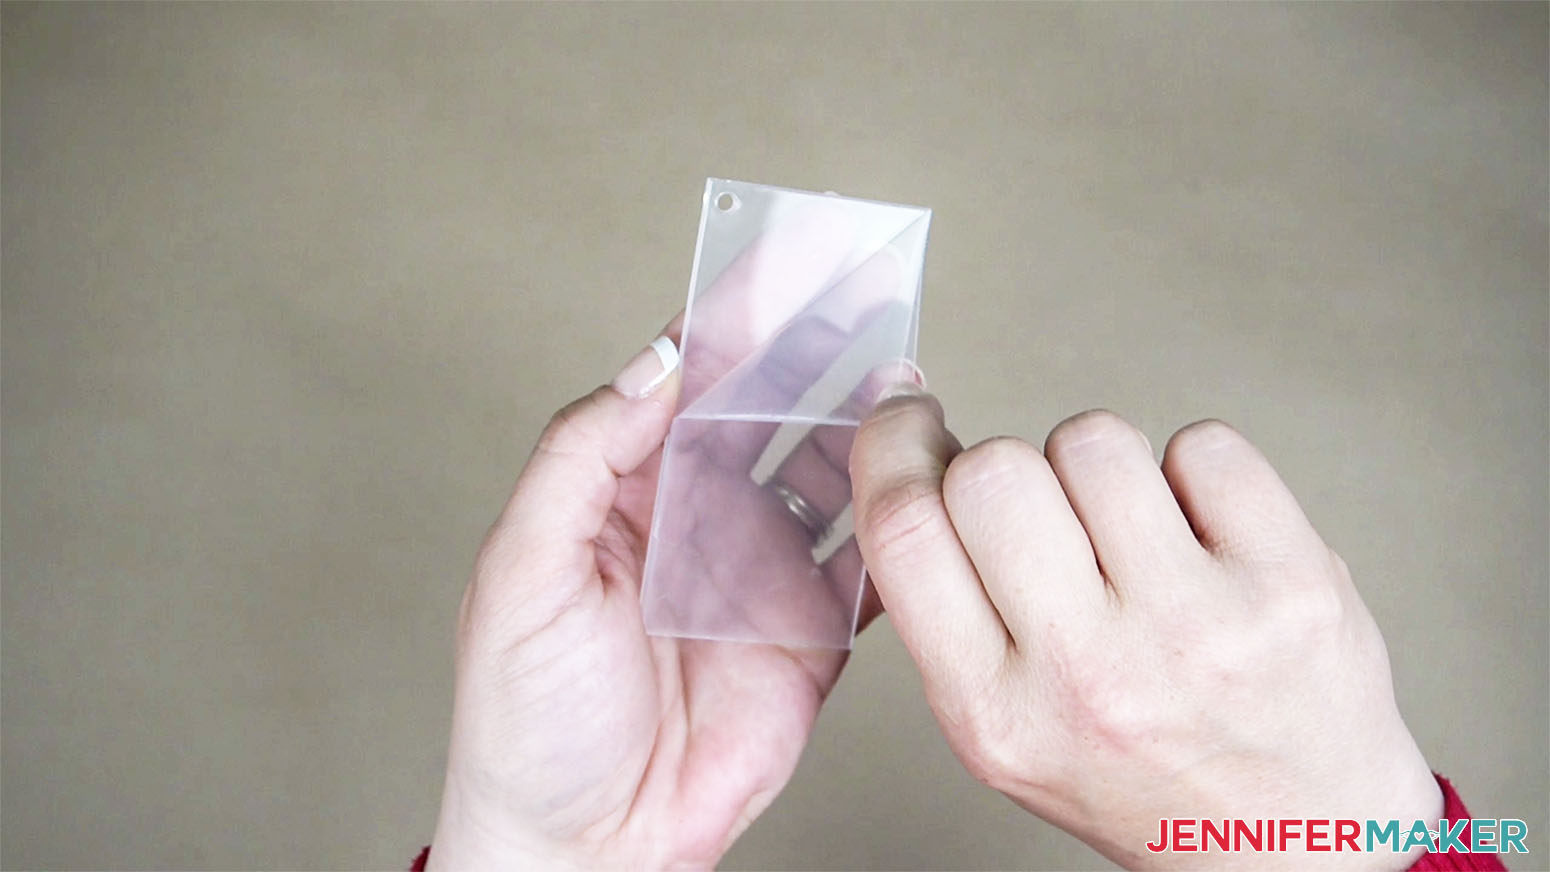
I recommend washing your hands before handling the photo panel. The photo panel will have a blue side and a dull frosted side. The blue is a protective film that needs to be pulled off. The dull frosted side is a special sublimation coating, try not to handle this side too much. You don't want to leave any dirt or oil from your fingers on it.

After you peel the blue film off, set the panel aside on a clean surface.
Cut a piece butcher paper large enough to fold in half and cover the entire photo panel. Fold and crease the butcher paper.
Open the butcher paper up and place the sublimation print face up on one half of the butcher paper.

Take the photo panel and place it dull side down unto the sublimation print. Make sure that the print goes over all the edges.
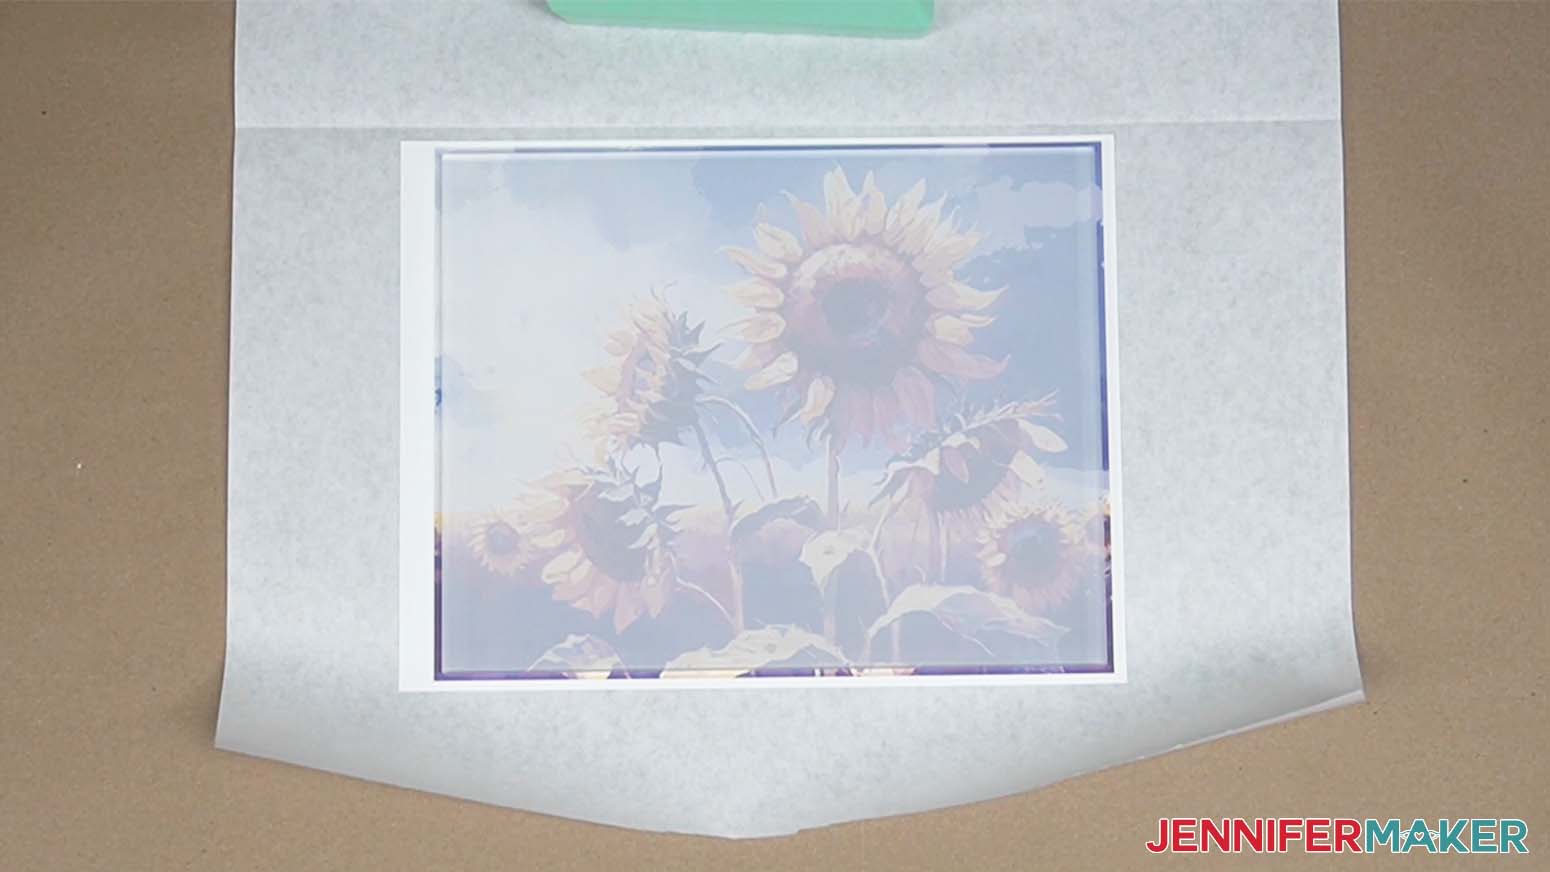
Now carefully turn both the print and panel over.
Using heat resistant tape, carefully tape the edges of the print to the butcher paper. Try not to let the tape overlap onto the acrylic itself, it might leave an indentation when heating.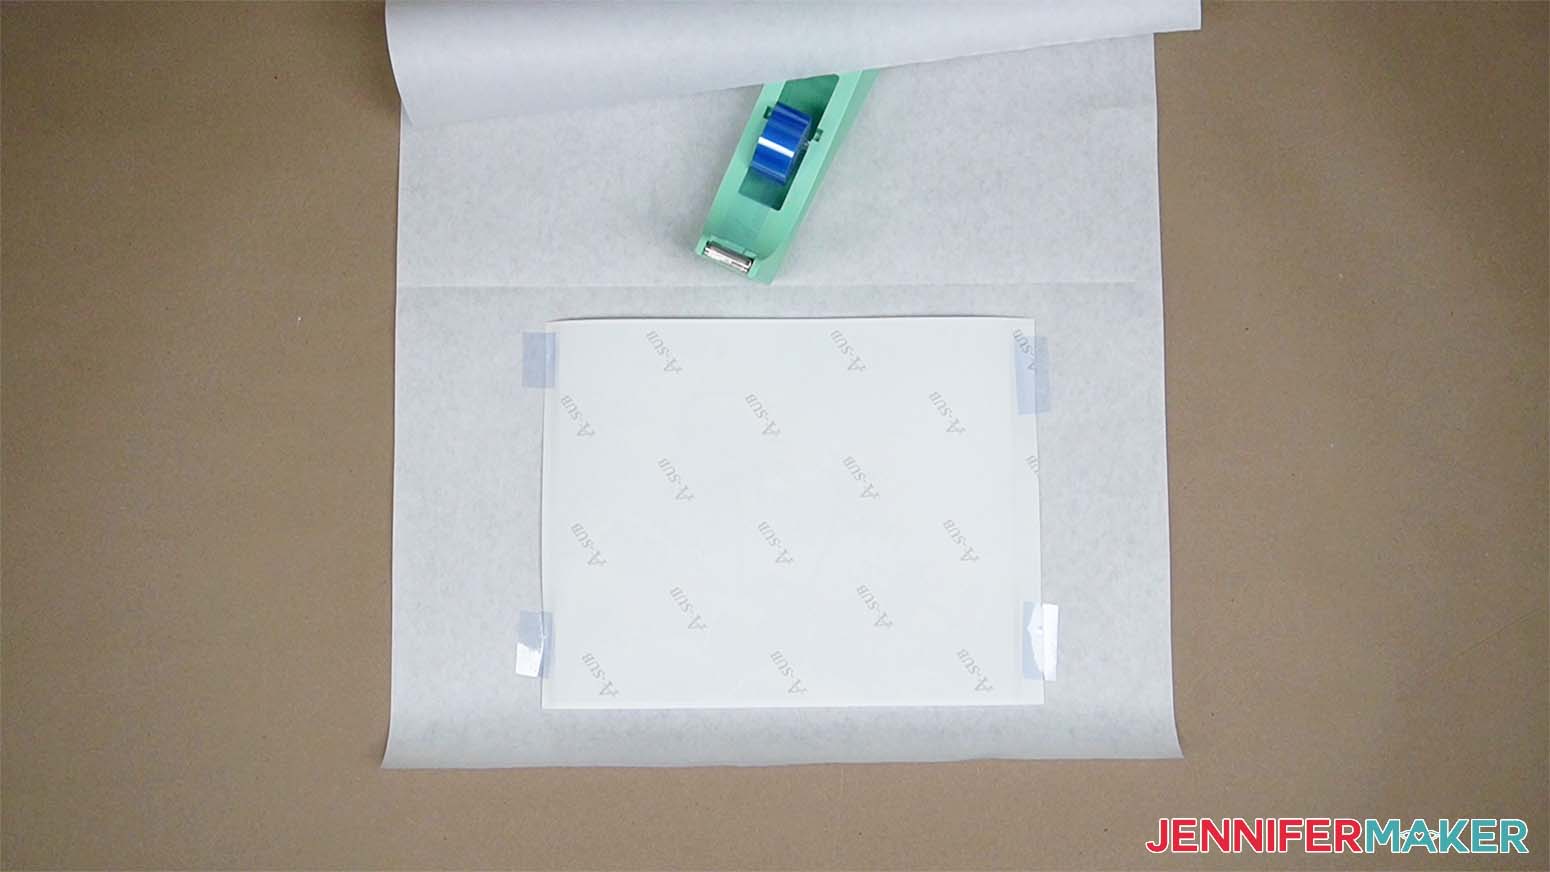
Fold the the other half of the butcher paper over the print and panel.
Put a clean sheet of cardstock on the pressing mat. and carefully move the photo panel/butcher paper over the the mat.
Press for 230 seconds at 400°F (204°C).
While it is pressing, lay the canister on its side.
TIP: put a lint roller on the table next to the canister to keep it steady.
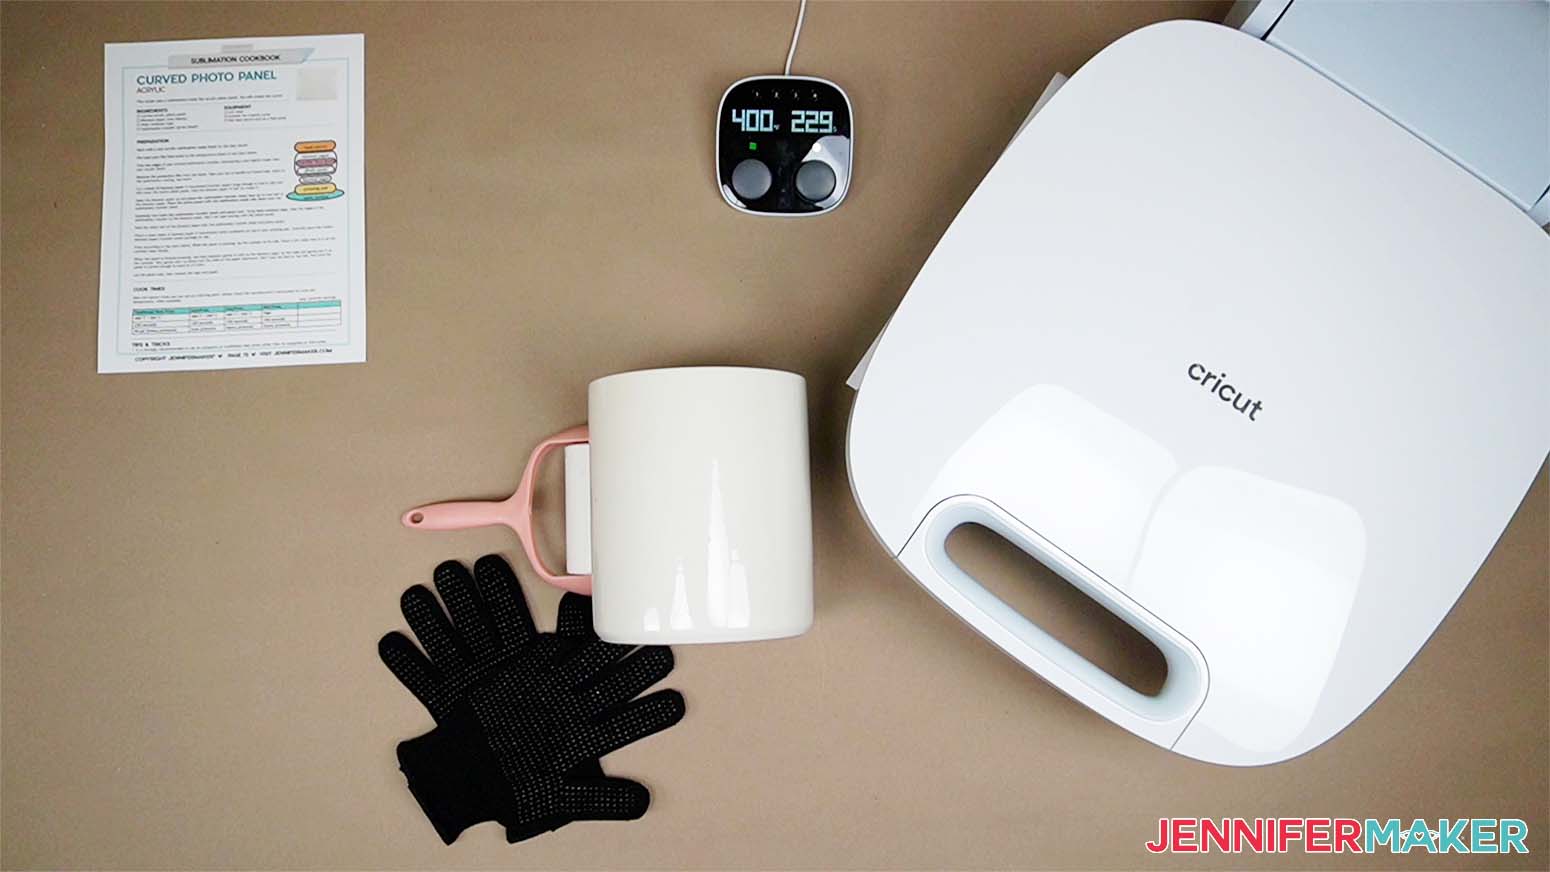
Put on heat resistant gloves and carefully pick up the butcher paper by the sides and gently put it on the side of canister. Very gently start to pull the sides of the paper downward. You need to be super careful with this! If you pull too hard or too fast the sublimation coating will crack so go slow! The panel doesn't need to wrap completely around the canister, just enough so that the panel can stand on its own.
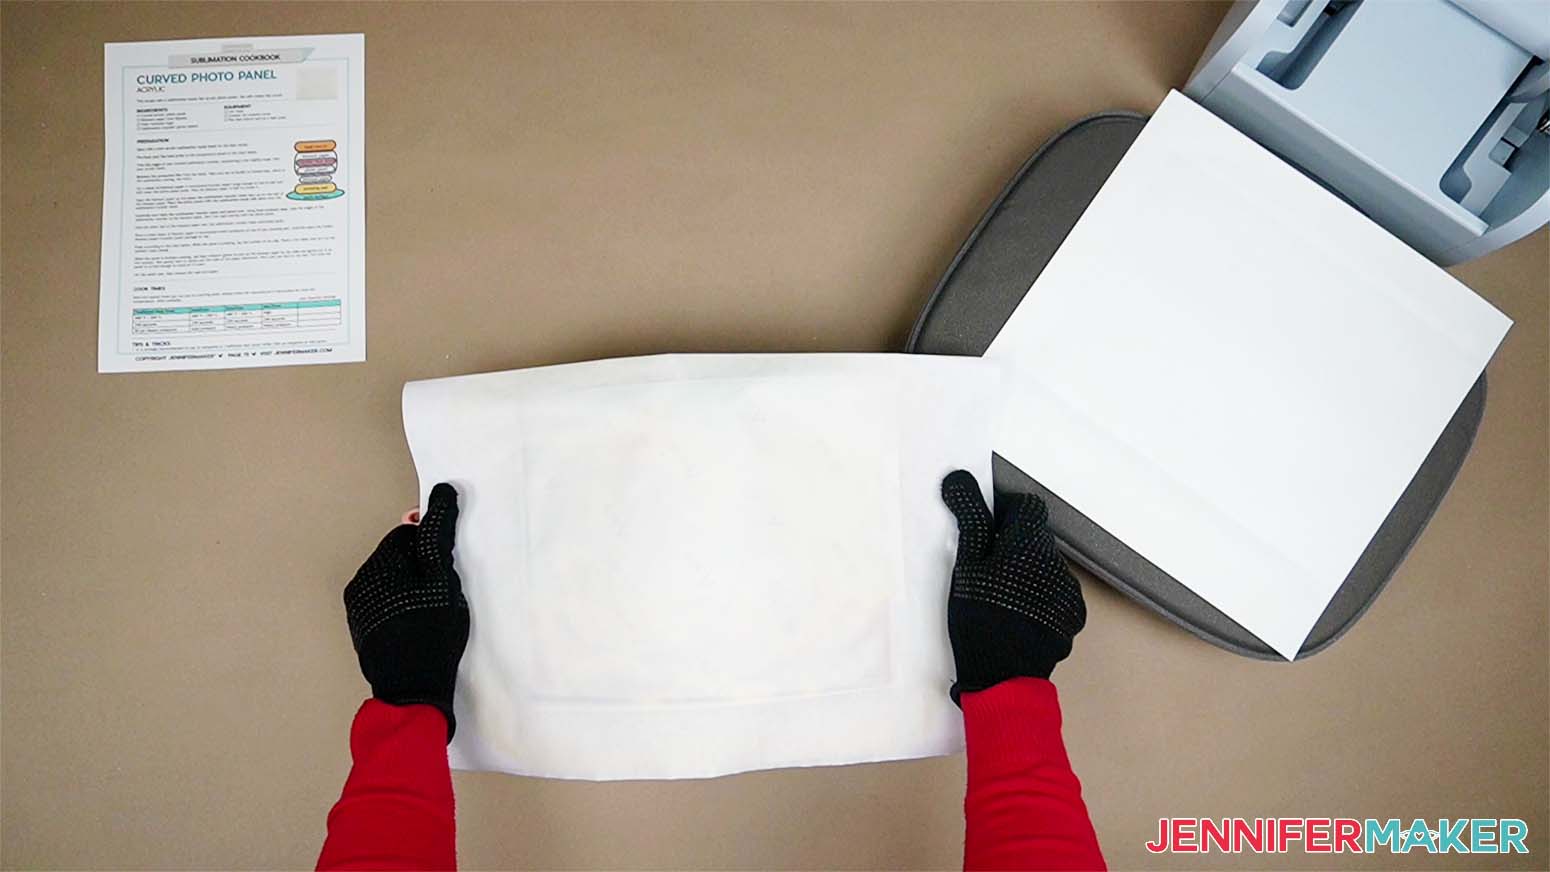
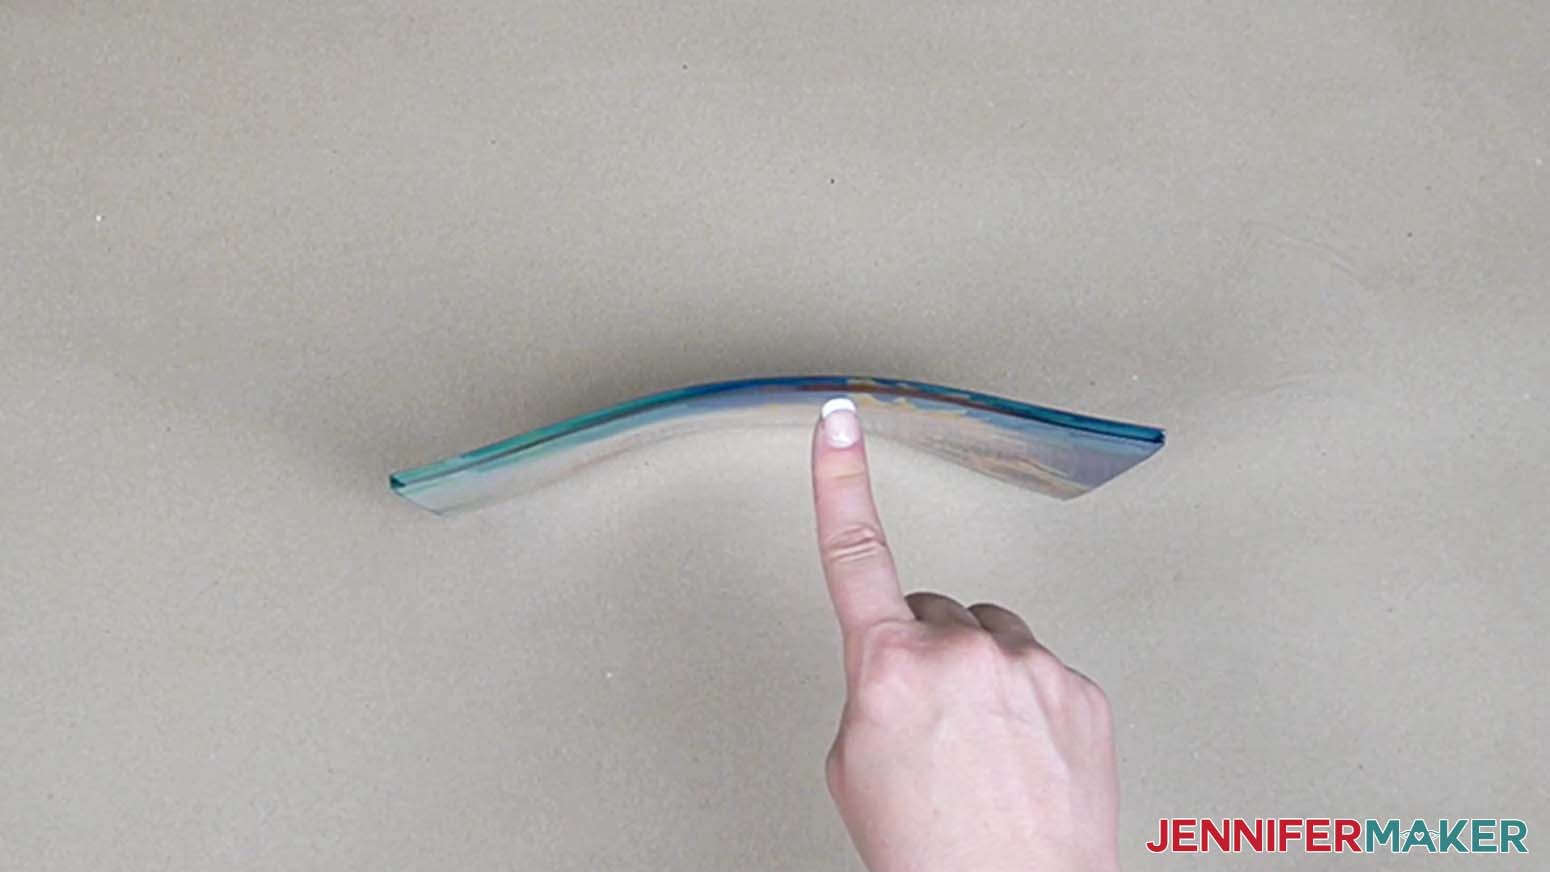
When the acrylic has cooled, you can remove the tape and paper.
STEP 3: SHOW IT OFF
Notes
Nightlight blank size 5.125" x 6"
Keychain size 2" x 4"
Photo panel size 8" x 10"
Answers to Your Questions on How to Use Sublimation on Acrylic
Q: Can you sublimate in acrylic?
A: Yes, acrylic is made of sublimation-compatible polymers. Some acrylic blanks have a white surface to give your image an opaque background, but I also like the clear acrylic, as long as the design doesn’t heavily rely on white! Even better, you can use a non-mirror image on the back and view it perfectly from the front!
Q: Can you sublimate 100% acrylic?
A: Yes, since acrylic includes the polymers that absorb sublimation dye, most acrylic blanks with work with sublimation techniques.
Q: What temperature do you heat press sublimation on acrylic?
A: I’ve actually found that different temperatures can work best for sublimation on acrylic depending on your heat press. Check out my Sublimation Cookbook for my recommended setting for different combinations of acrylic blank and press!
Q: How do you sublimate a picture on acrylic?
A: You can follow my tutorial above to print your photo perfectly and apply it to any sublimation acrylic surface!
Q: Can you heat press on acrylic?
A: Yes, I found my Autopress best for sublimation on acrylic because the pressure is consistent over the entire piece, but an Easy Press or a standard heat press will also work.
Q: What materials can you not sublimate on?
A: If the surface isn’t made of or coated with a polymer like polyester, it likely will not hold sublimation dye. There are a few exceptions (like wood – though I did get the best results when it was coated with white acrylic paint), but for the most part you want to make sure the material is made of or coated with a polymer. When in doubt, look for blanks meant for sublimation, and follow the manufacturer’s instructions for the recommended temperature and other details for a successful sublimation.
Q: Where can I get images to use for sublimation on acrylic?
A: In addition to my free resource library, check out Cricut Design Space, Adobe Photoshop, Design Bundles, Silhouette Studio software, Creative Fabrica, Creative Market, Font Bundles, and other online marketplaces for images, photos, and illustrations!
Q: How can I learn more about sublimation?
A: Can’t remember how long to press that sublimation blank? Not sure what order to stack your layers? Confused about how to get the best transfer? The Sublimation Cookbook can help, with a step-by-step guide for over 150 different sublimation blanks. Each of these “recipes” show you exactly what to use, how long to press, how hot to press it, and how to take care of your sublimated project for long lasting results.
Q: Are there more resources about sublimation on acrylic?
A: While making these projects, I learned a lot about sublimation on acrylic from some very talented crafters! Angie Holden at The Country Chic Cottage has an excellent introduction video you should check out for tips and ideas on other blanks! And I got great help on working with the acrylic photo panels from Becky at DesignBundles and her video!
Get my free PNG files to try Sublimation on Acrylic!
(If you do not see the signup form above, click here.)
I’d love to see YOUR beautiful sublimated acrylic projects! Please share a photo in our Facebook group or tag me on social media with #jennifermaker.
Love,

Want to remember this? Save this tutorial on How to Sublimate on Acrylic to your favorite Pinterest Board!