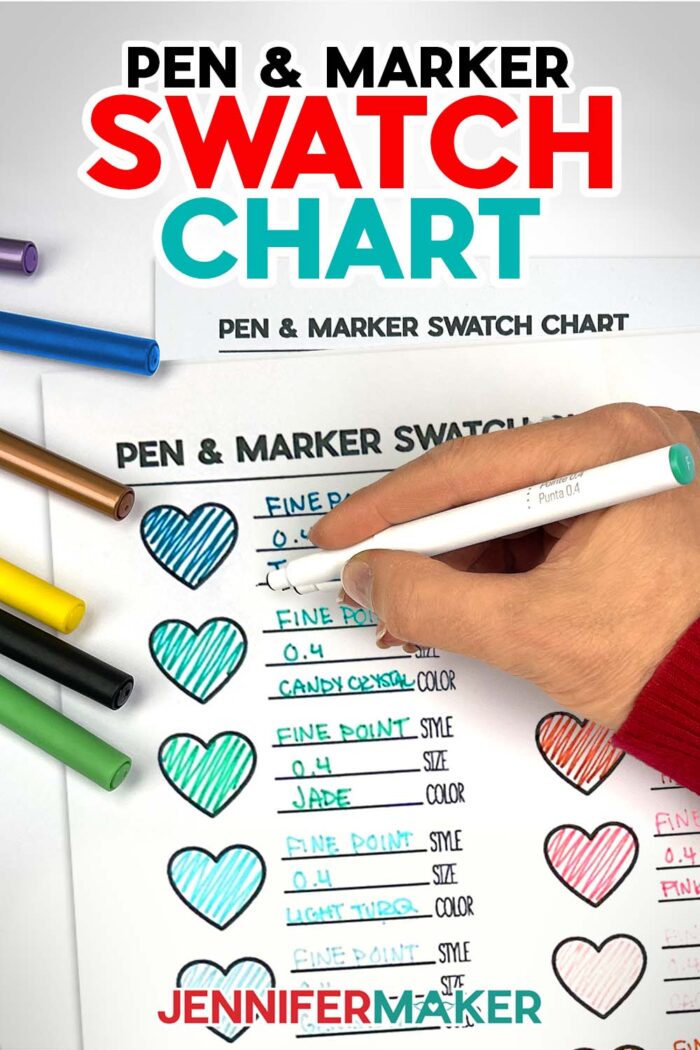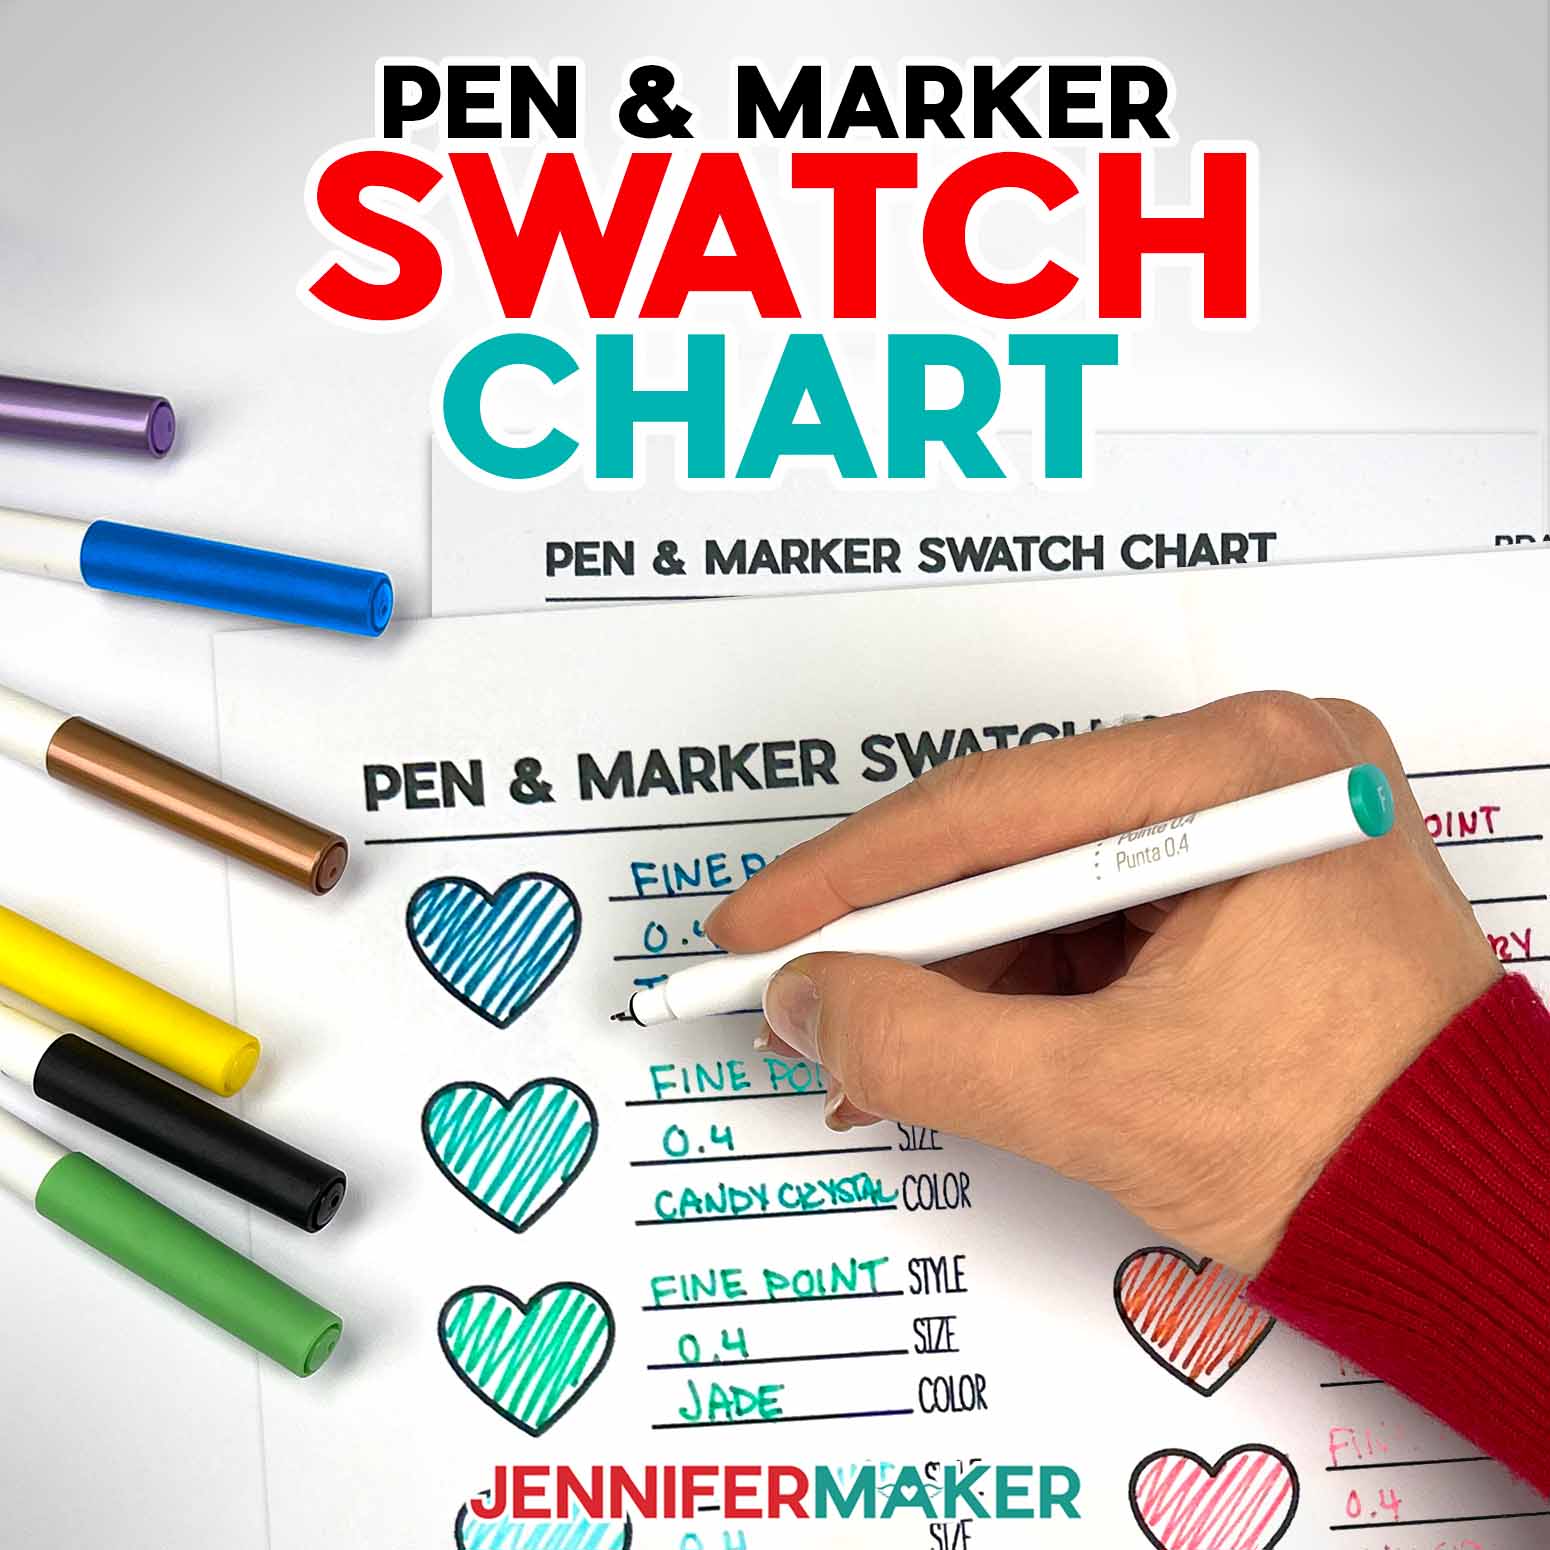
Learn how to make and use a pen and marker swatch chart!
Recently, I had the perfect red in mind to add stitch details to my baseball cap box. But I have several packs of Cricut pens and markers and the caps don’t always match the actual color, so it took a lot of searching and testing! After I found it, I decided to make a pen and marker swatch chart to more easily track the names and true colors of my coloring supplies. And of course, I’m sharing it with you! There are two charts that you can either print or draw with your Cricut. Let me show you how to use them!

When you hear “color swatching” you may think of paint swatches or reference books you flip through when picking a color scheme for a new room. But making your own color swatch sheets for art supplies can help you plan craft projects, too!
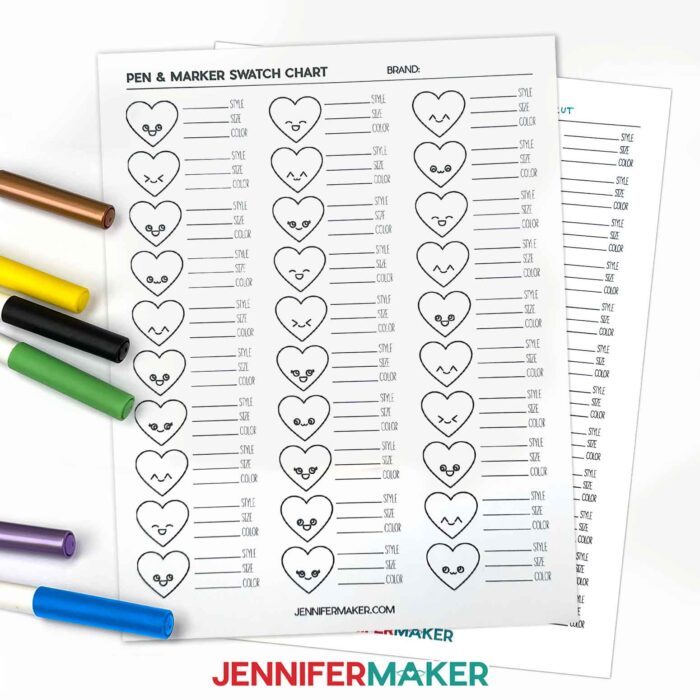
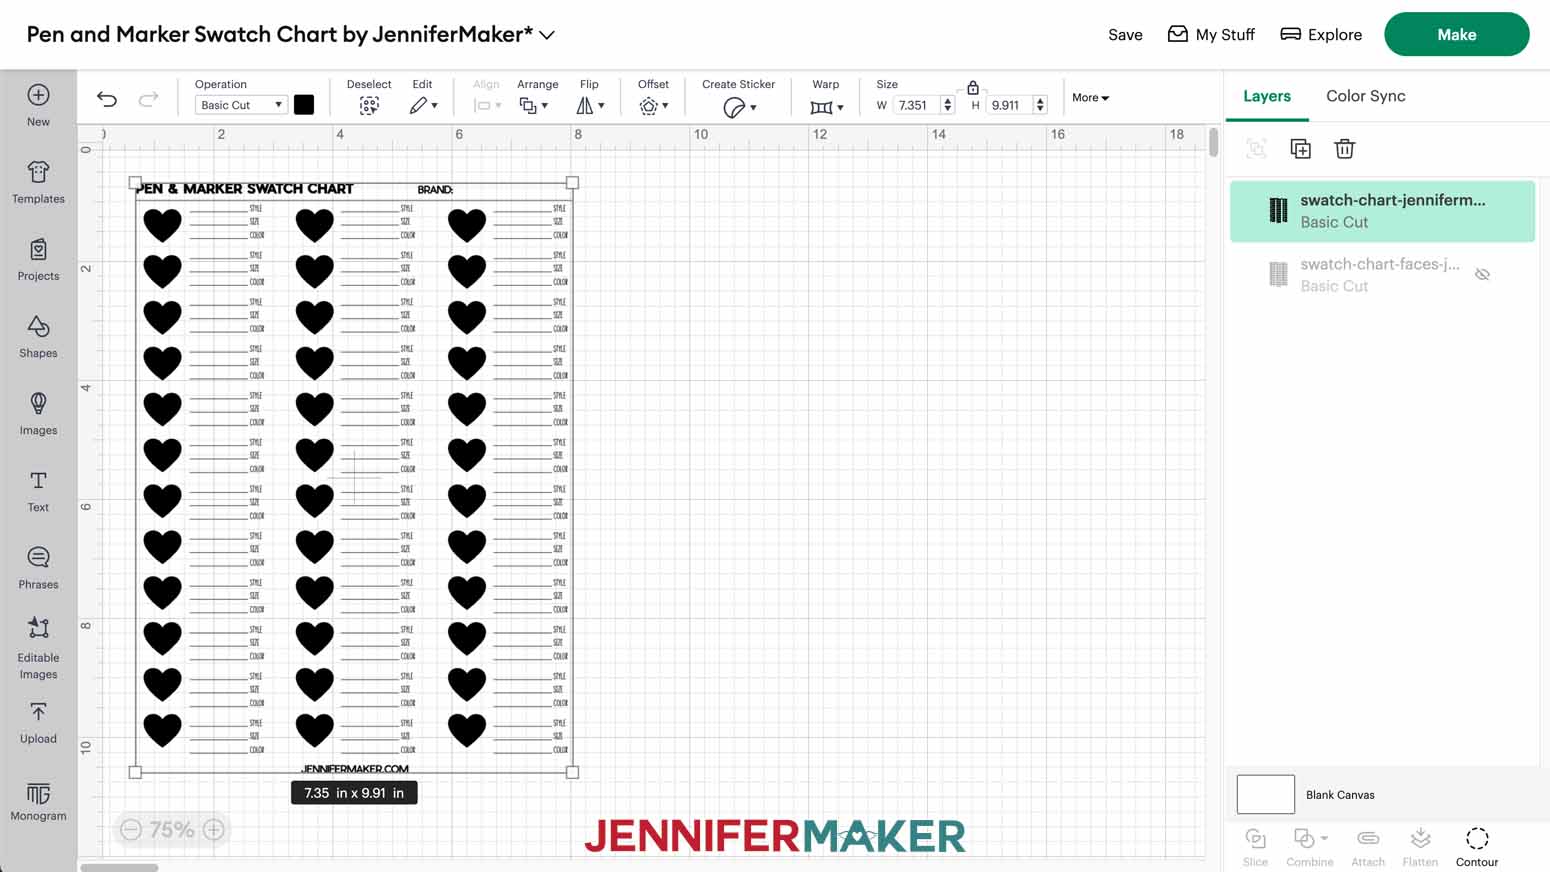
Making a pen and marker swatch sheet is pretty simple, especially if you use my free digital items. There are two chart options: one with hearts with cute faces to swatch up to 30 pens and markers; and one with smaller hearts to swatch up to 36 colors.
I’ve included SVG versions you can draw using your Cricut using the tutorial below, or you can print a PDF file for faster results. Then, you can write in the size, style, name, and brand for each pen or marker, and add a sample in the cute heart. A pen and marker swatch chart is an excellent tool, but it’s as simple as a coloring page! And you can make new ones so easily, you’ll have an entire coloring book of different color samples in no time!

Then, the next time you’re looking for the perfect red, you don’t have to try to remember color names or test a lot of different colors. Just check your pen and marker swatch chart to find what you need and grab it from your craft supplies. Save time searching and get back to crafting!
The printable PDFs are very easy to use. All you need to do is print them on letter-sized paper and start adding your own information.

If you want to make a pen and marker swatch chart with your craft machine, the SVG options take just a little preparation using the steps below. I used a Cricut Maker 3, but you can also use an original Maker, an Explore series machine, a Venture, or the Joy Xtra. The charts are a little too detailed to fit on a Joy.
Then, put some US letter size paper on a blue LightGrip machine mat, set a compatible .4 mm pen in the machine, and watch it create your chart! Normal printer paper works well for pens, though you may want to use cardstock if you’re swatching markers or other options that can saturate paper. Let the chart dry before filling them in to avoid smudges.
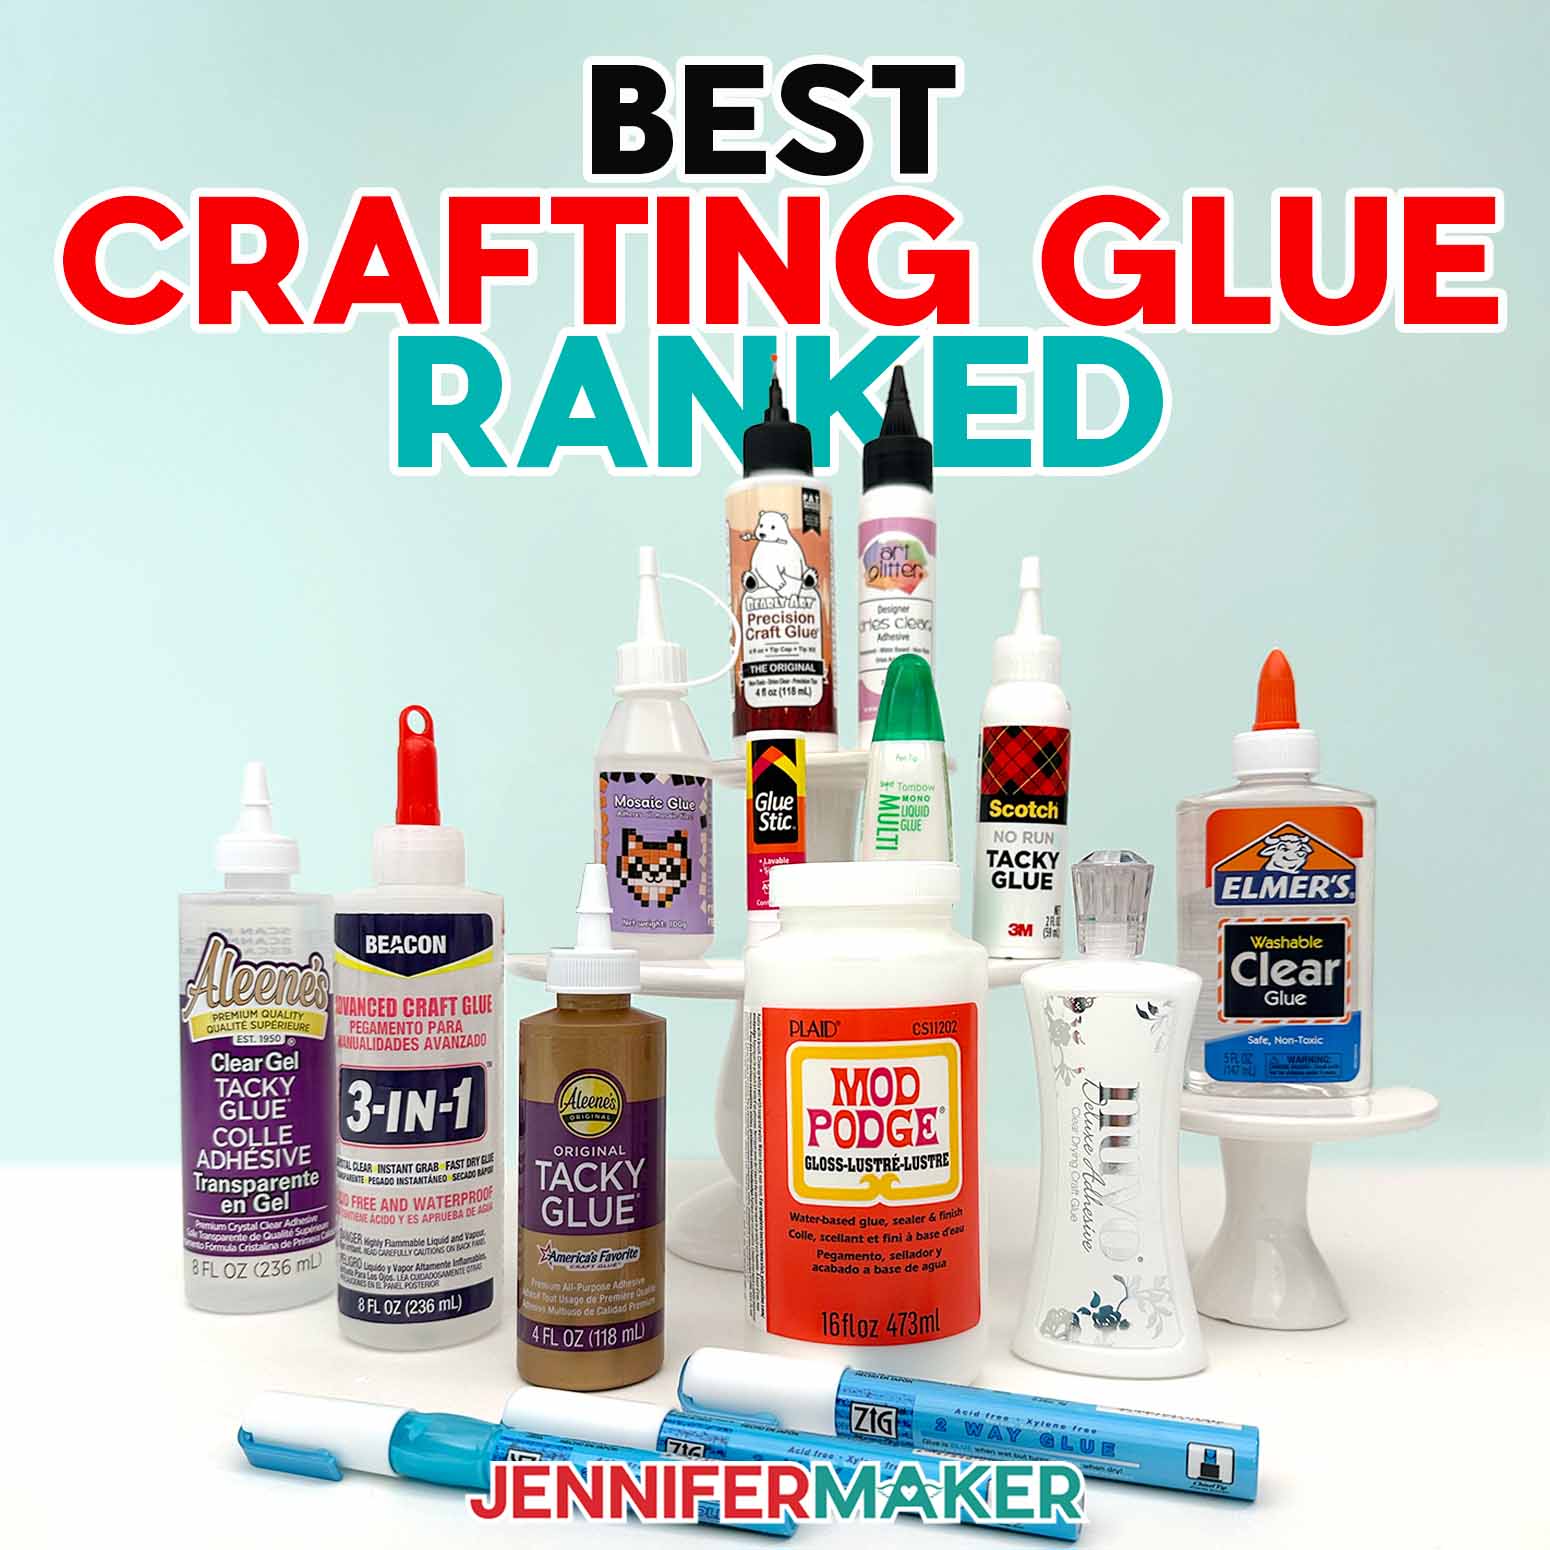
You don’t have to stick to Cricut pens and markers on your swatch chart, of course! You can also use it to record pencil swatches, alcohol markers and inks, and a whole host of colorful art supplies! Just remember to record the details and keep track of the brand name to avoid confusion later on. I hope you find these charts as helpful as I do!
Let me show you how easy it is to make a pen and marker swatch chart! This post contains some affiliate links for your convenience (which means if you make a purchase after clicking a link I will earn a small commission but it won’t cost you a penny more, there is no additional cost)! Read my full disclosure policy.
Materials to Make A Pen And Marker Swatch Chart
View my Amazon shopping list with the items we used to make this project!
- One (1) Sheet of 8.5” x 11” Copy Paper per chart
- An Inkjet Printer (for PDF versions)
- Cricut Fine Point 0.4 mm Pens (for SVG versions)
- Cricut Blue LightGrip Machine Mat 12″ x 12″
- Brayer
- A way to cut your materials – I’m using the Cricut Maker 3 but you can also use the original Maker, an Explore series machine, the Venture or Joy Xtra.
- Design #602 (My free SVG/DXF/PDF design files are available in my free resource library – get the password by filling out the form at the bottom of this page)

How to Make Your Own Pen And Marker Swatch Chart
Learn how to make your own pen and marker swatch charts using printable or Cricut-drawn versions! CRICUT DESIGN SPACE
Pen And Marker Swatch Chart
Materials
Tools
Instructions
STEP 1: GET MY FREE PEN AND MARKER SWATCH CHART DESIGNS
First, download my Pen And Marker Swatch Chart SVG/PDF/DXF files from my free library – look for Design #602. Alternatively, you can use the Save This Project form near the top of this post and the design link will be emailed to you.
The download folder includes PDFs that you can print and fill in by hand, or DXF and SVG files you can make with a cutting machine. There are two chart options: one with hearts with cute faces to swatch up to 30 pens and markers; and one with smaller hearts to swatch up to 36 pens and markers.
I’ll show you how to prepare the SVGs with 30 hearts for drawing with my Cricut Maker 3, but the steps are the same for the other chart and machines.
TIP: If you’re not sure how to upload, go to jennifermaker.com/svgs to learn how to unzip and upload SVG files.
NOTE: If you’d prefer to use the printable charts, open the PDF with your preferred PDF reader, like Adobe Acrobat Reader, which you can download for free. Then print the chart in black ink using your printer with normal paper. Follow the process in Step 4 to fill in your printable swatch charts!STEP 2: PREPARE THE PEN AND MARKER SWATCH CHART DESIGNS
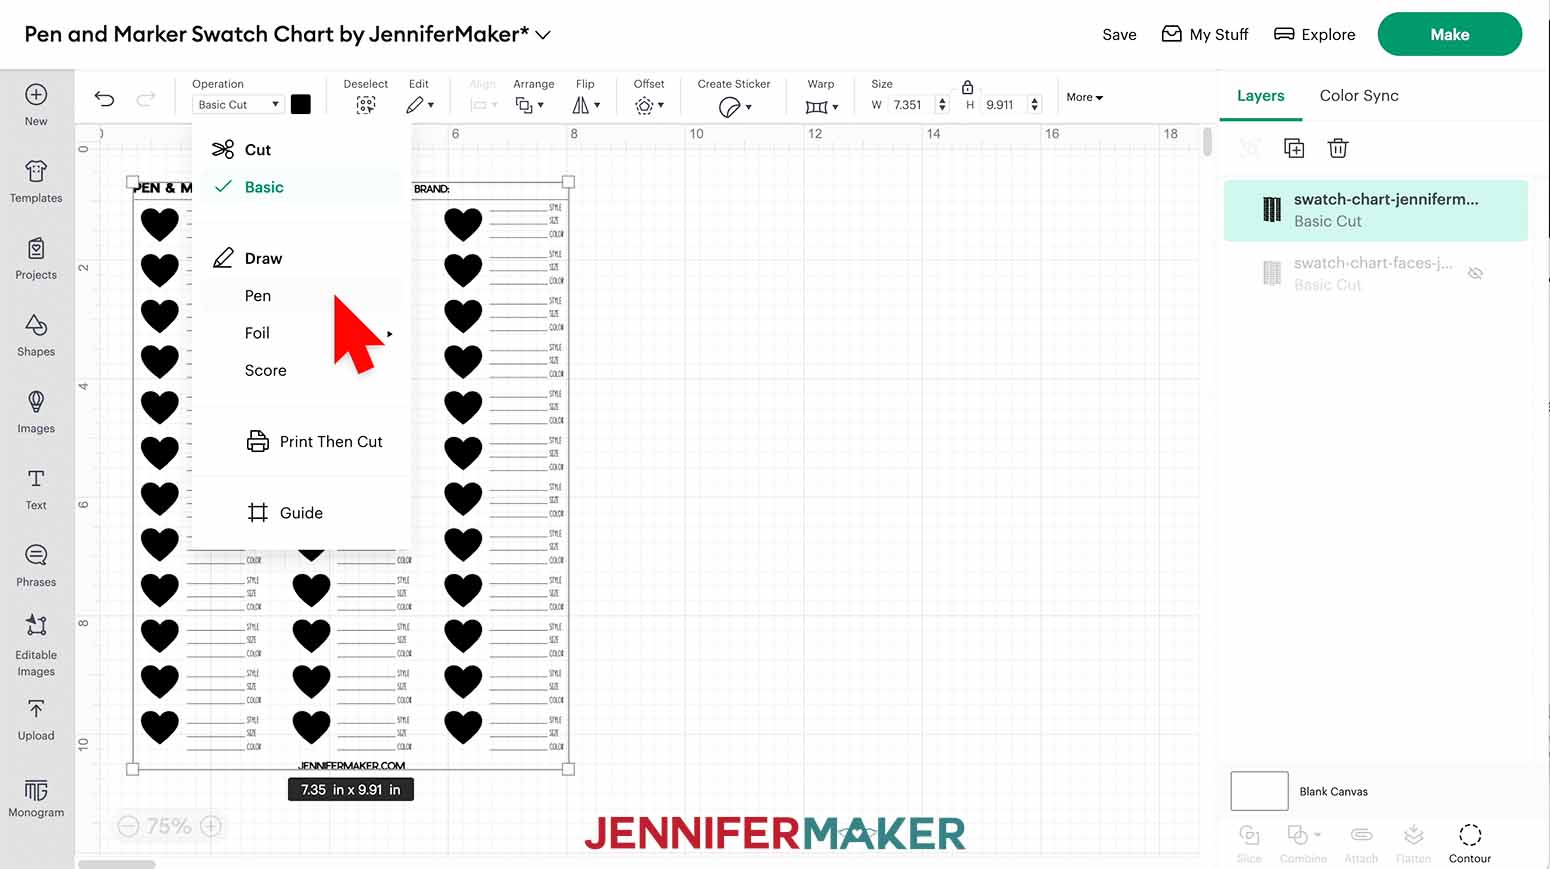
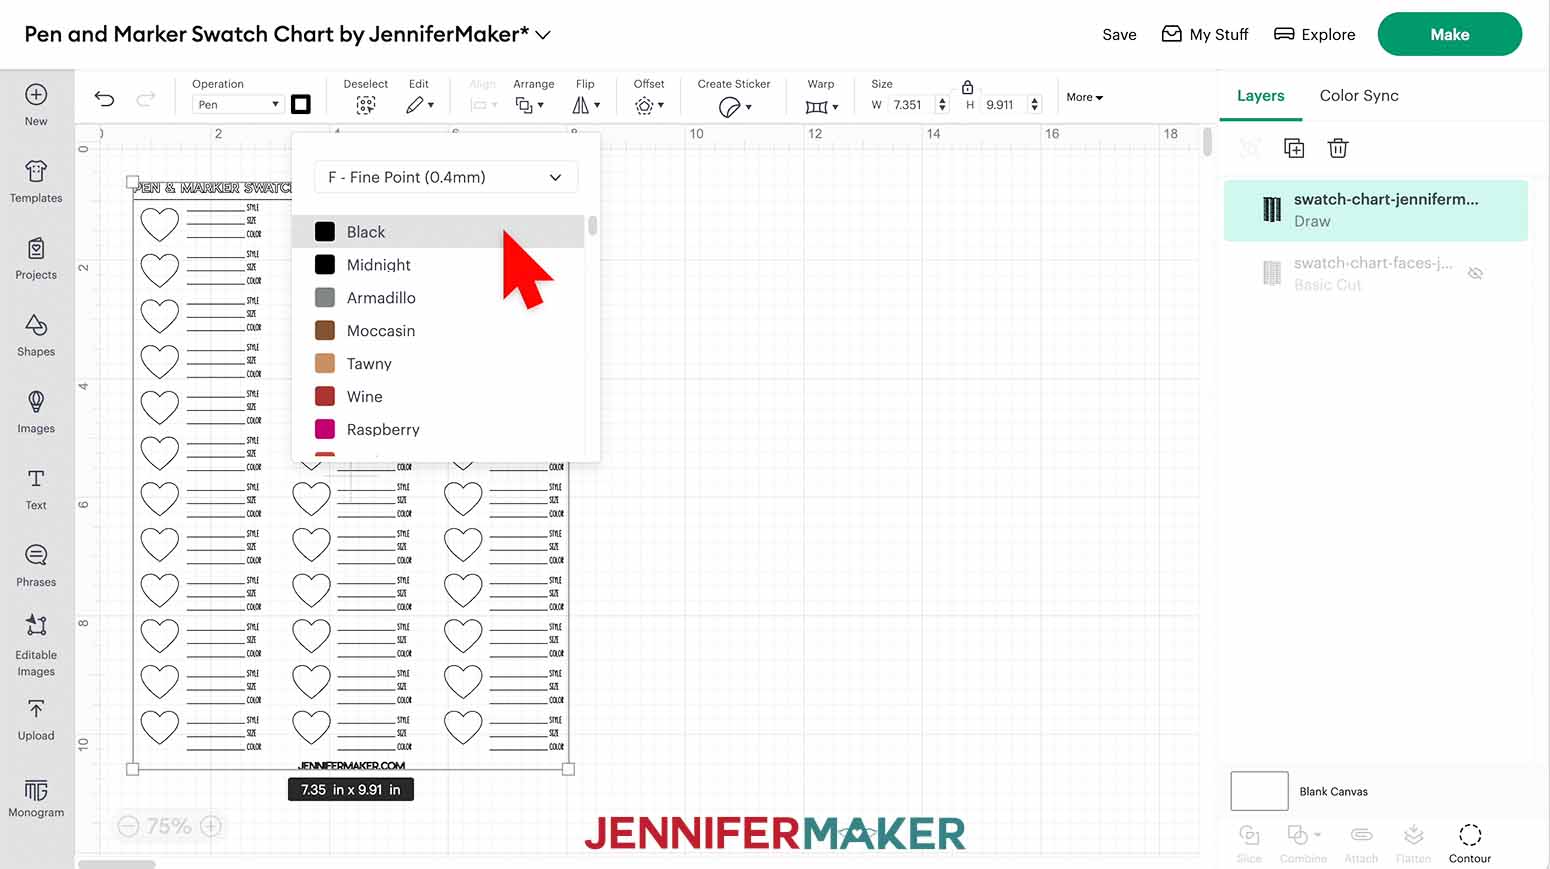
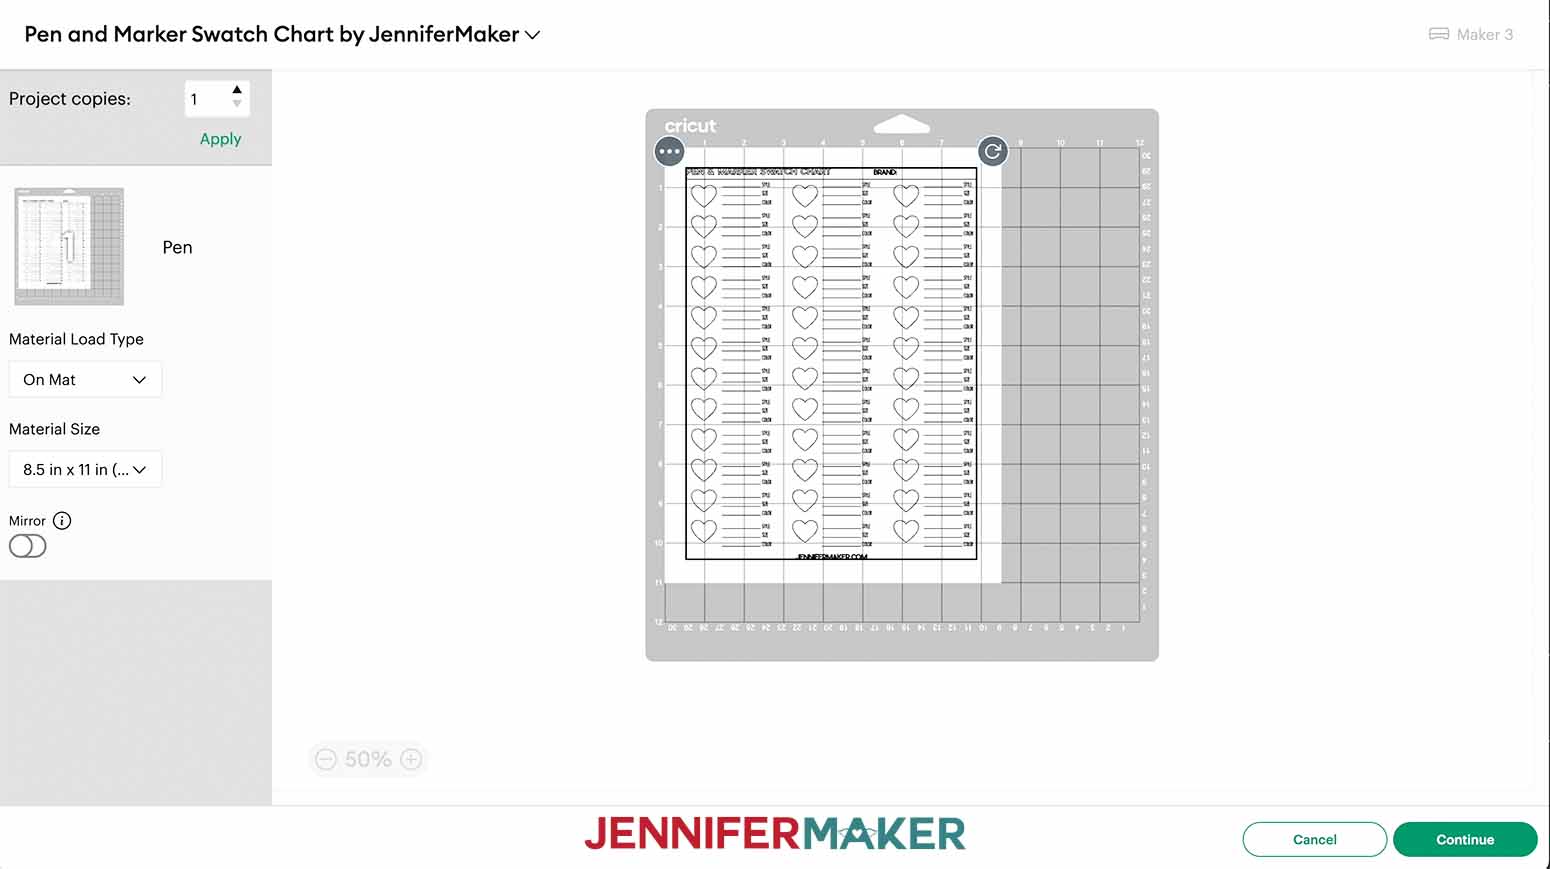
STEP 3: DRAW THE PEN AND MARKER SWATCH CHART
TIP: Put the cap on the back of the pen so you don’t lose it.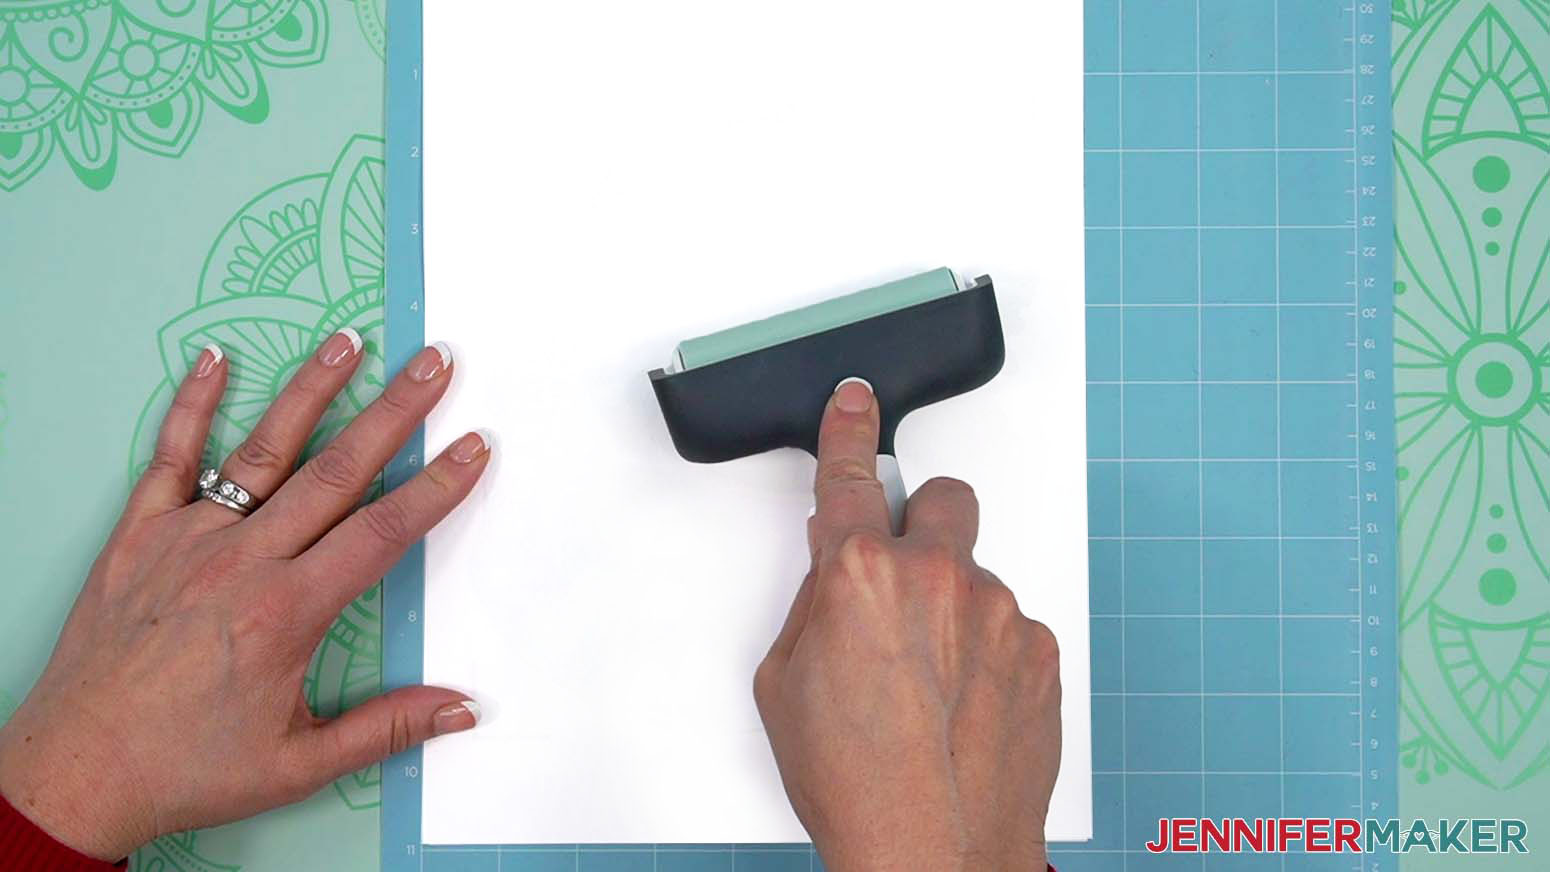
STEP 4: FILL IN YOUR PEN AND MARKER SWATCH CHART
TIP: If you’re using a thin pen, you can fill in the details with the same drawing tool, but thicker pens or markers will be hard to read, so use a different one for those records.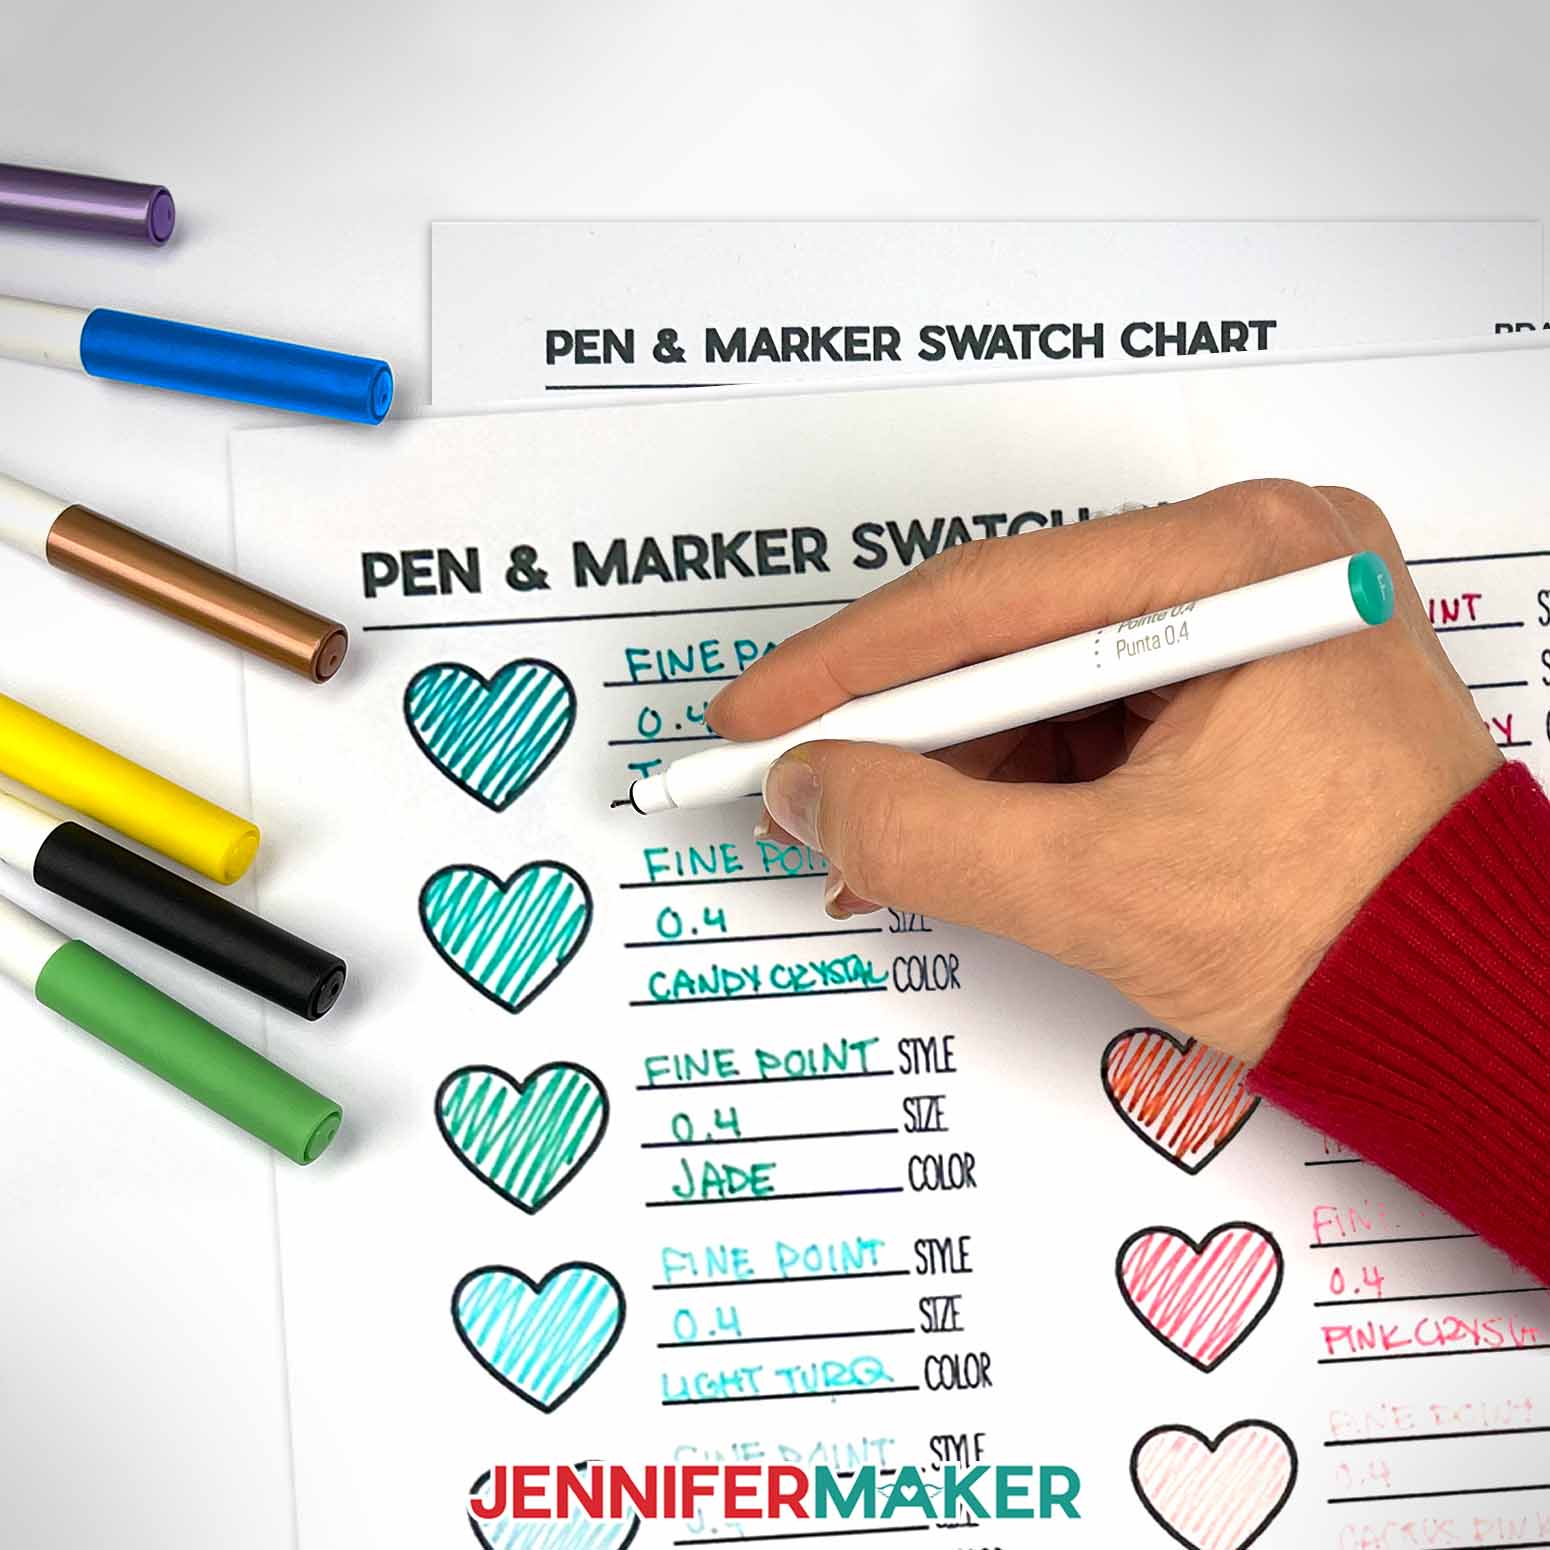
STEP 5: SHOW IT OFF
Keep your pen and marker swatch chart nearby to add new options or reference them during craft projects!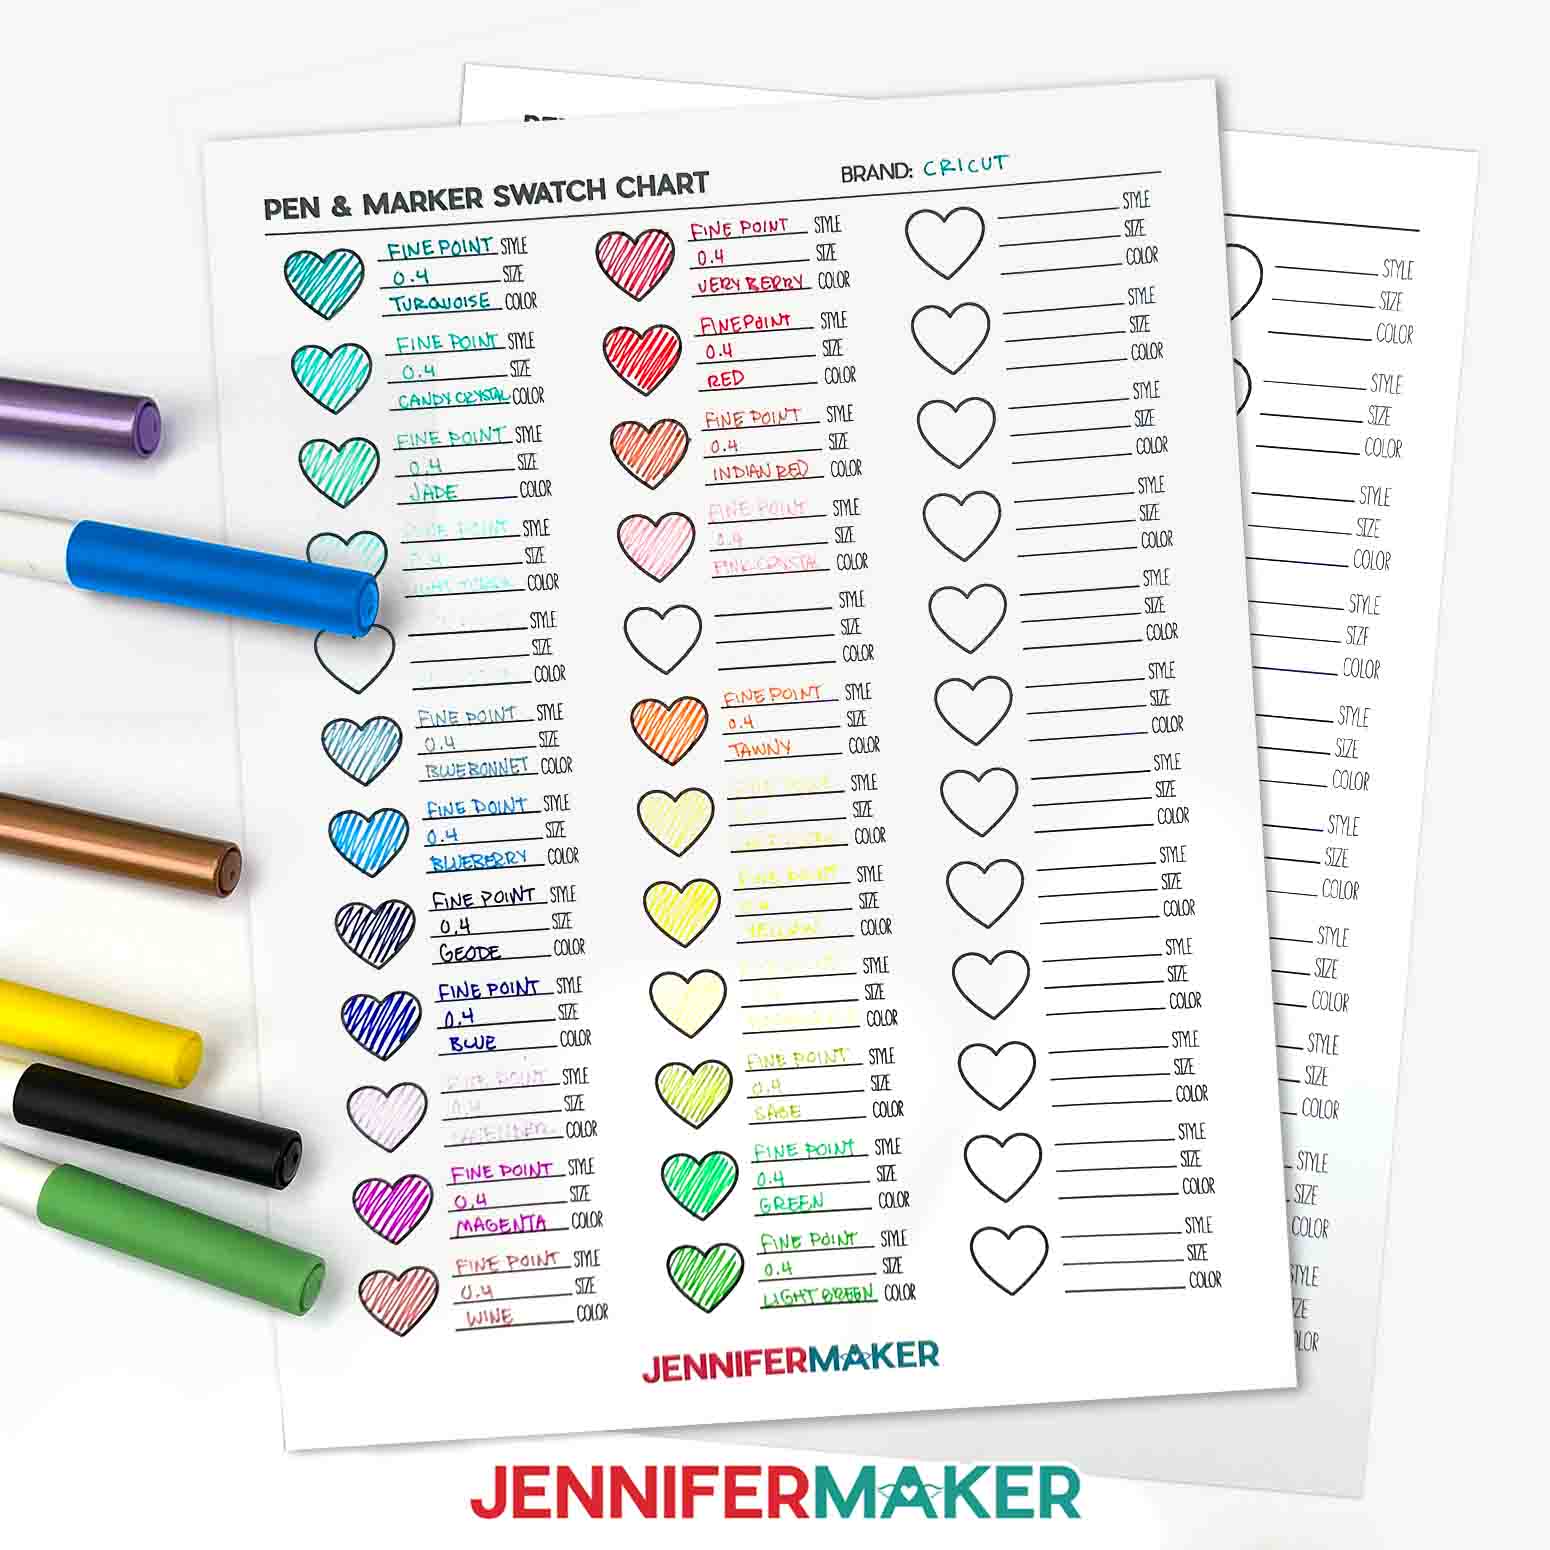
Answers to Your Questions About Making a Pen And Marker Swatch Chart
Q: What is a color swatch chart?
A: Color swatch charts are simple but powerful tools to help you track coloring supplies and pick the right option for a project by referencing the true color instead of the cap. The chart is a piece of paper where you can record details and examples of different art supplies for future reference. This can really save you time and help you track your favorite options. Color swatch charts are especially helpful for creative entrepreneurs or others running small businesses because you can track the colors you have available to add to made-to-order items and handmade pieces. Then, interested buyers can see the true colors when making their selection instead of guessing how their special goods will look.
Q: How do you swatch colored pencils?
A: You can make a color chart for colored pencils, just record the details and fill in the hearts on my color swatch template!
Q: What kinds of craft supplies can I use on my swatch chart?
A: You can make a swatch chart of any coloring supplies, but my files work best with pens and markers. You can swatch gel pens, alcohol marker sets, Tombow markers, Tombow dual brush pens, a Copic airbrush set, and even vintage treasures you find secondhand!
Q: Can I make this project on a Cricut Joy?
A: This design is pretty big for a Joy, but the Joy Xtra can make these pen and marker swatch chart designs!
Q: What kind of paper do I use for the chart files?
A: I used normal printer paper, but you can also use 8.5″ x 11″ 65 lb or higher cardstock to make a more sturdy swatch chart. Or, if you want to see how your pens and markers look on colors of paper, make one on that color to see the interaction! Just make sure the paper will fit in your Cricut or your printer if you use the printable PDF.
Q. Do I have to use a Cricut?
A: Good news, there are many ways to make a pen and marker swatch chart using my files! If you have a Silhouette Cameo, which uses Silhouette Studio, you can use the DXF files in Silhouette Basic Edition. If you have upgraded to Silhouette Designer Edition, Designer Edition Plus, or Business, you can use the SVG files. If you don’t have a cutting machine, you can print my PDF files, too. All of these options are in the free zip file.
Get my free SVG files to create a pen and marker swatch chart!
I love seeing what you make with my designs and how you use them! Please share a photo of your pen and marker swatch chart in our Facebook group or tag me on social media with #jennifermaker.
Love,

Want to remember this? Save this Pen And Marker Swatch Chart Tutorial to your favorite Pinterest Board!