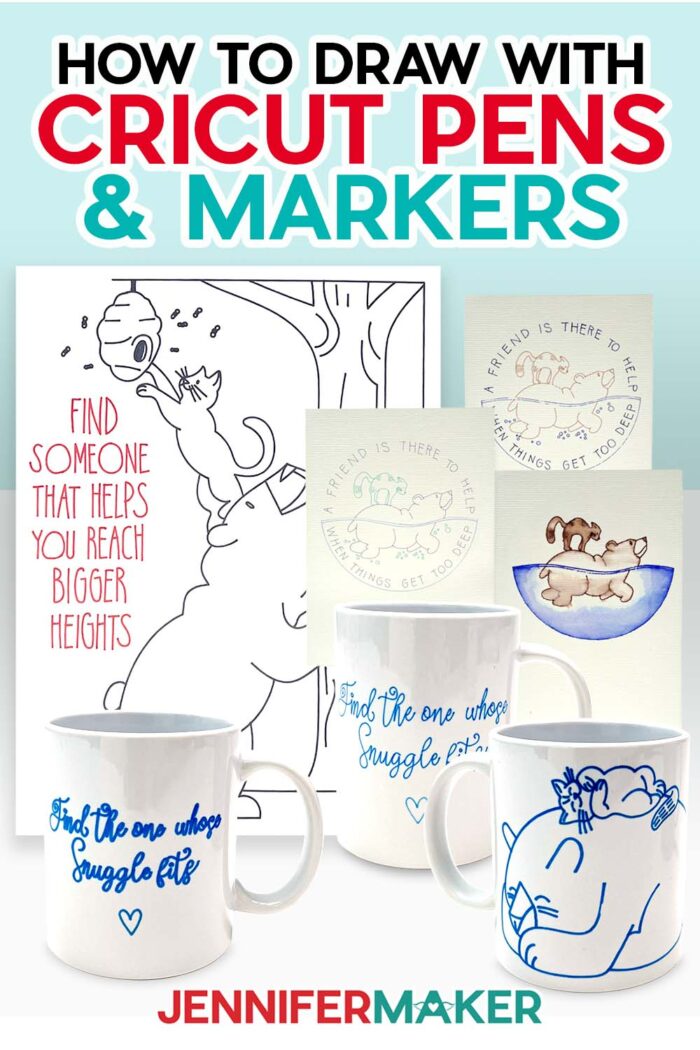
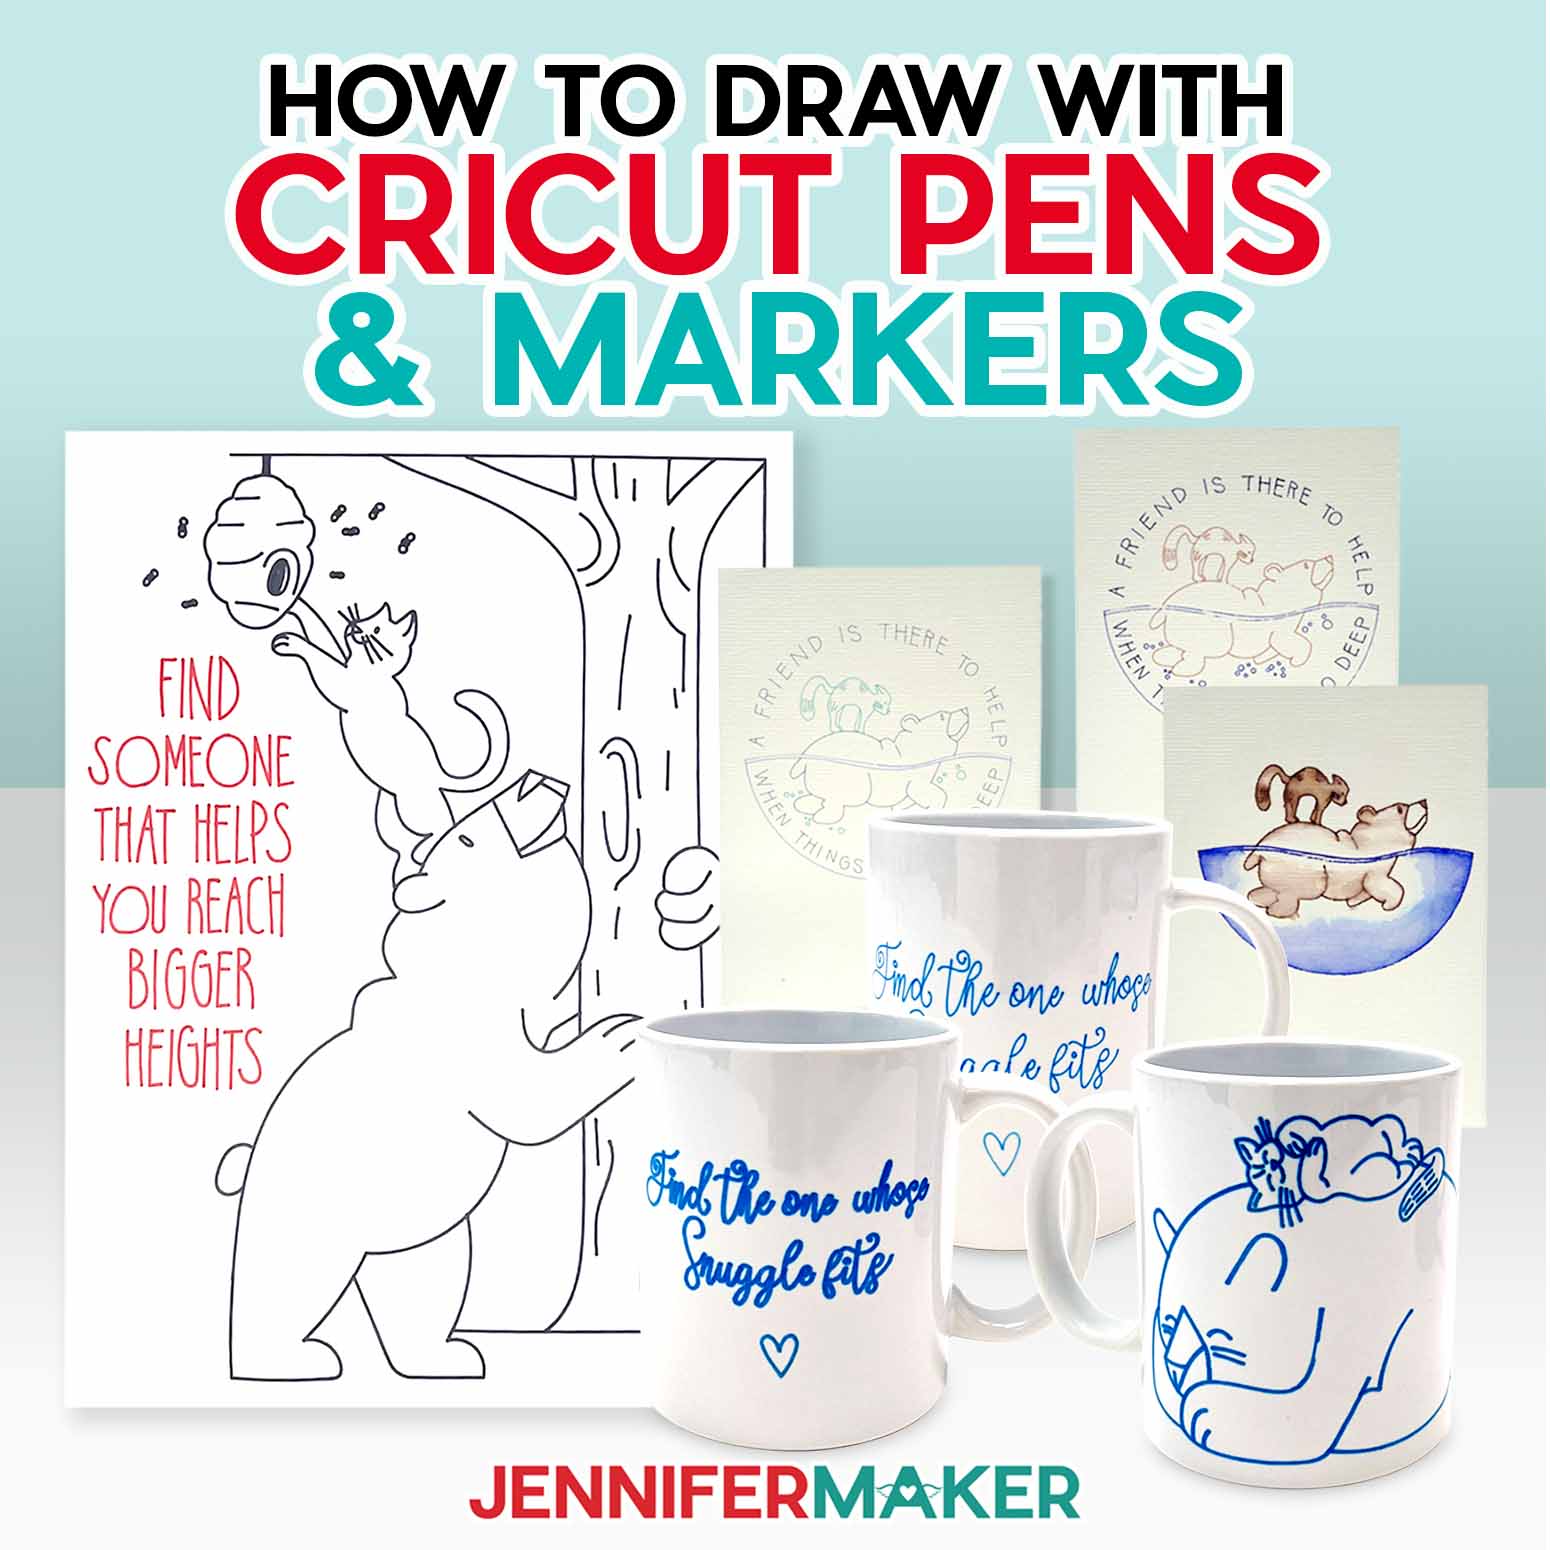
Learn how to draw with Cricut pens and markers for fun designs!
Do you want to draw beautiful cards or designs, but struggle to bring your ideas to life by hand? Well, once you learn how to draw with Cricut pens and markers, you can open up so many creative possibilities! I’ll show you how to prepare designs and add them to cards, posters, and mugs using some of the many Cricut pens and markers available.

Drawing with your Cricut machine is so easy and fun once you get the basics down! And there are so many types and different colors available, you’ll never get bored. Just remember a few important steps.
If you’re using my designs, remember to change the cut lines’ Operation to “Pen” to use the Cricut Draw function and attach the design layers to Basic Cut layers if you intend to cut the shape.
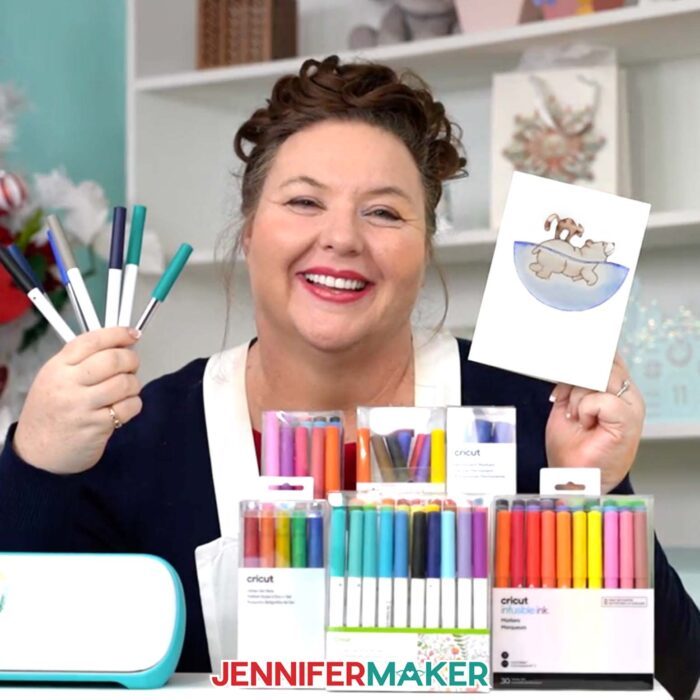
Use the right pen or marker for the project, material, and machine. There are many options for the Explore and Maker machines, from fine tip pens to Infusible Ink markers. You can experiment with different combinations for these to make your own designs!
If you have pens and markers for an Explore or Maker, they can fit in the Venture with the included adapter.
But, the Venture also has some of its own that don’t use the adapter, like the big markers. I’ll show you how to make a big poster like this in no time with those!

The Joy and Joy Xtra have their own pens and Cricut markers, but they don’t work with the larger machines. So always make sure you have the right type.
And then, I’ll show you how to adjust a design and template for Infusible Ink pens and markers. I’ll use my Cricut Maker 3 to draw and cut the pieces on normal copy paper and transfer it using a Cricut Mug Press. You can see the difference in thicknesses easily!
I have lots of details on using Infusible Ink pens and markers in my custom mug tutorial!

I’m using the Cricut Maker 3 for the card and mug, but you can also use the Cricut Maker, a Cricut Explore Series machine, the Cricut Venture, or even the Cricut Joy Xtra, or Joy for these designs (or another machine that uses cut files and can draw). Just be sure to change the size as needed and that you have pens and markers that fit your machine and the design. If you make the designs smaller, use smaller pens instead of chunky markers so they’re still legible.
Once you’re comfortable with the basics of how to draw with Cricut pens and markers, there are so many more to try!
I’ve really enjoyed the Cricut watercolor markers recently. You can follow my tutorial on how to use them with these designs for a totally different result!

Let me show you how to draw with Cricut pens and markers to make these fun projects! This post contains some affiliate links for your convenience (which means if you make a purchase after clicking a link I will earn a small commission but it won’t cost you a penny more)! Read my full disclosure policy.
Materials and Tools to Draw With Cricut Machines
View my Amazon shopping list with these tools and more pens and markers to try!
For the card:
- Cricut Fine Point 0.4 mm Pens
- One (1) Cricut Cold-Press Watercolor Card, R40 Size
- StandardGrip Machine Mat 12″ x 12″
- Brayer
- Cricut Watercolor Marker and Brush Set (for a different look, follow my watercolor tutorial)
For the Venture poster:
- Cricut Green StandardGrip Machine Mat 24” x 28”
- One (1) Sheet of 24” x 28” White Cardstock
- Cricut Venture Permanent Markers 2.5 mm
For the mug:
- One (1) Cricut Infusible Ink Compatible Mug, 12 oz (you can also use non-Cricut sublimation mugs)
- Cricut Infusible Ink Pens
- Cricut Infusible Ink Markers
- Two (2) Sheets of 8.5” x 11” Laser Copy Paper (for infusible ink mug)]()
- Cricut Mug Press
- Heat Resistant Pad
- Heat Resistant Tape
- Scraper
- Lint Roller
- StandardGrip Machine Mat 12″ x 12″
- Brayer
Plus
- A way to draw and cut your designs: I’m using the Cricut Maker 3 for the card and mug and the Venture for the poster, but you can also use the Maker, Explore series, Joy Xtra, and Joy for the different projects, just resize and make sure you have the correct pens or markers for your machine!
- Design #569 (My free SVG/PDF/DXF design files are available in my free resource library – get the password by filling out the form at the bottom of this page)
How To Draw With Cricut To Make Cards, Posters, And Mugs

How to Draw With Cricut
Learn how to draw with Cricut pens and markers while creating note cards, sublimation mugs, and large-scale posters!
Materials
- Cricut Fine Point 0.4 mm Pens (for card)
- Cricut Permanent Markers 2.5 mm (for poster)
- Cricut Infusible Ink Pens (for mug)
- Cricut Infusible Ink Markers (for mug)
- One (1) Cricut Cold-Press Watercolor Card, R40 Size (for greeting card)
- One (1) Sheet of 24” x 28” White Cardstock (for poster)
- One (1) Cricut Infusible Ink Compatible Mug, 12 oz(you can also use non-Cricut sublimation mugs)
- Two (2) Sheets of 8.5” x 11” Laser Copy Paper (for infusible ink mug)
- Cricut Watercolor Marker and Brush Set (optional)
- Design #569 (My free SVG/DXF/PDF design files are available in my free resource library – get the password by filling out the form at the bottom of this page)
Tools
- A way to draw and cut your images - I’m using the Cricut Maker 3, but you could also use the Cricut Maker, an Explore Series Machine, the Cricut Joy, the Cricut Joy Xtra, or the Cricut Venture.
- Cricut Green StandardGrip Machine Mat 12" x 12" -OR-
- Cricut Green StandardGrip Machine Mat 24” x 28”
- Cricut Mug Press
- Heat Resistant Pad
- Heat Resistant Tape
- Brayer
- Scraper
- Lint Roller
Instructions
STEP 1: GET MY FREE HOW TO DRAW WITH CRICUT DESIGNS
First, download my How to Draw with Cricut designs from my free library -- look for Design #569. Alternatively, you can use the Save This Project form near the top of this post and the design link will be emailed to you.
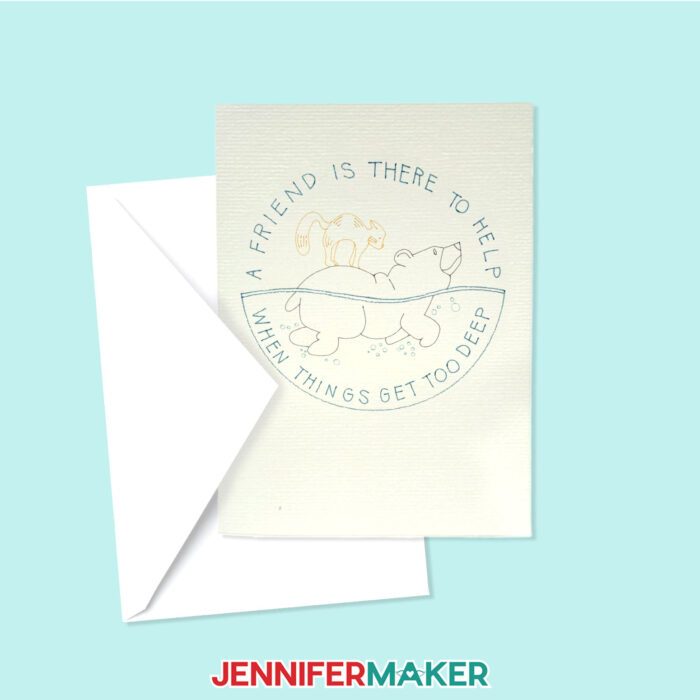
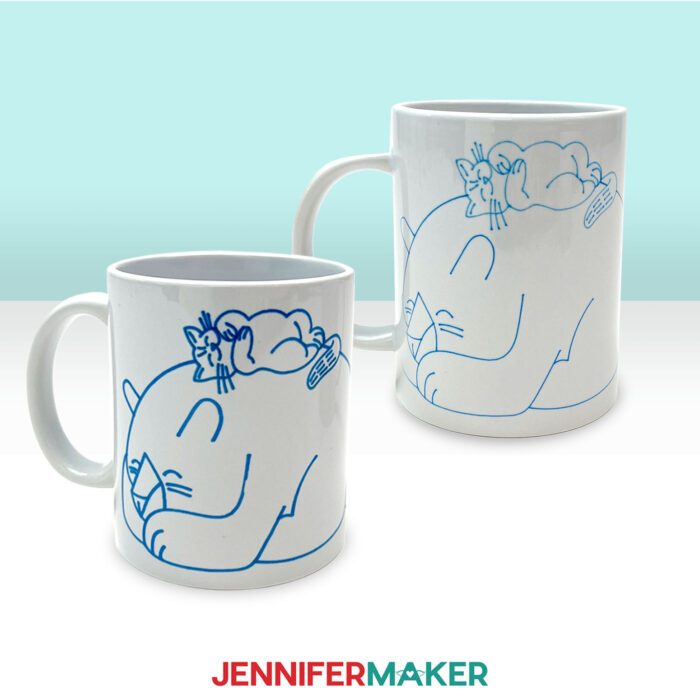
There are three cute cat and bear designs in the folder: “Too Deep,” “Snuggle Fits,” and “Bigger Heights.” There’s also a template for placing the designs on a 12 oz. mug.
In this tutorial, I will show you how to prepare and assemble the “Too Deep” design on a 4.75” x 6.625” greeting card, the “Snuggle Fits” design on a 12 oz. sublimation mug, and the “Bigger Heights” design on a 24” x 28” poster.
TIP: If you’re not sure how to upload, go to jennifermaker.com/svgs to learn how to unzip and upload SVG files.
PROJECT 1: GREETING CARD WITH CRICUT FINE POINT PENS
STEP 2: PREPARE YOUR DESIGN
CRICUT DESIGN SPACE
1. Open Cricut Design Space and click “New Project.”
2. Click “Upload” and then “Upload Image.
3. Click “Browse.
4. Select the “cat-and-bear-cards-too-deep-jennifermaker-SVG” file.
5. On the Prepare to Upload screen, it will say “Cut image” with the design preview.
6. Click “Upload.
7. Find the design in Recent Uploads and add it to the Canvas.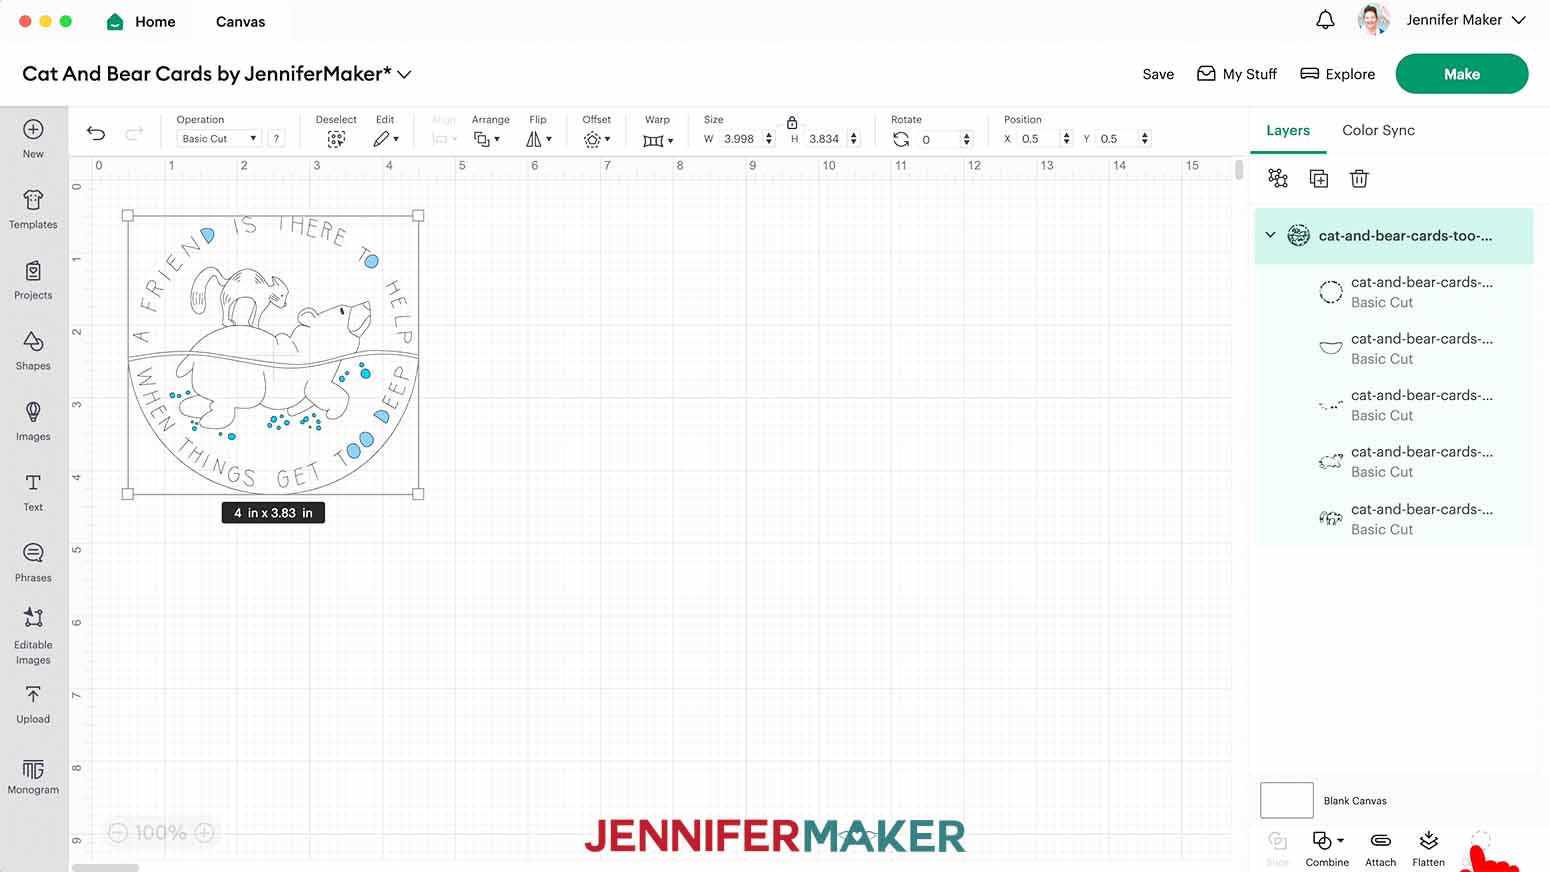
8. With the design selected, in the Operation menu, select “Pen.”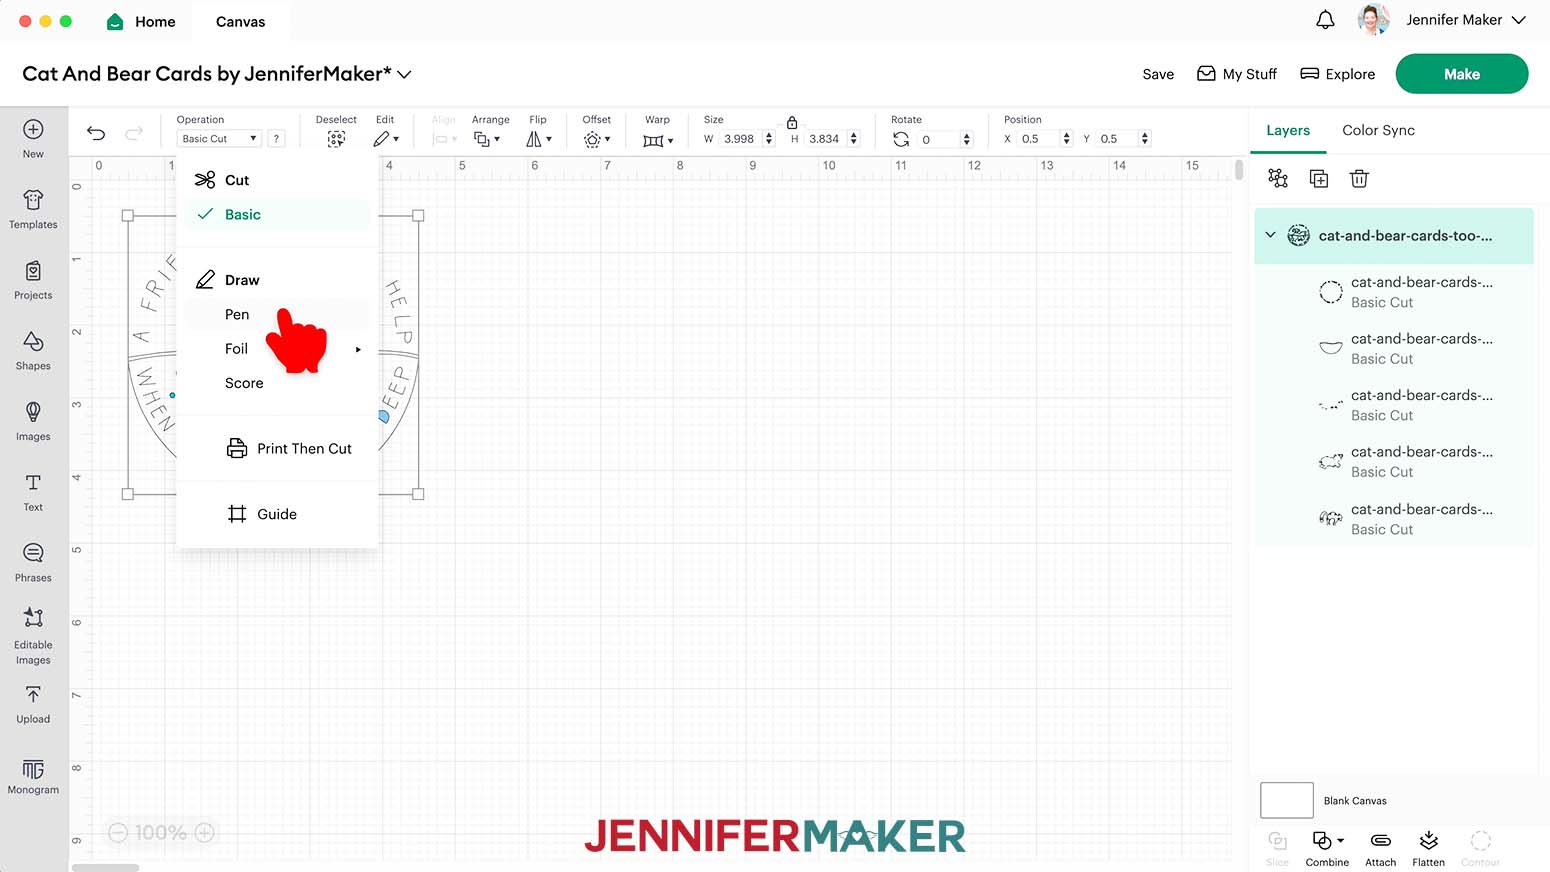
9. In the Layers panel, click on the top-level layer of the SVG design and click “Ungroup.”
10. In the Layers panel, select the top layer (the sentiment).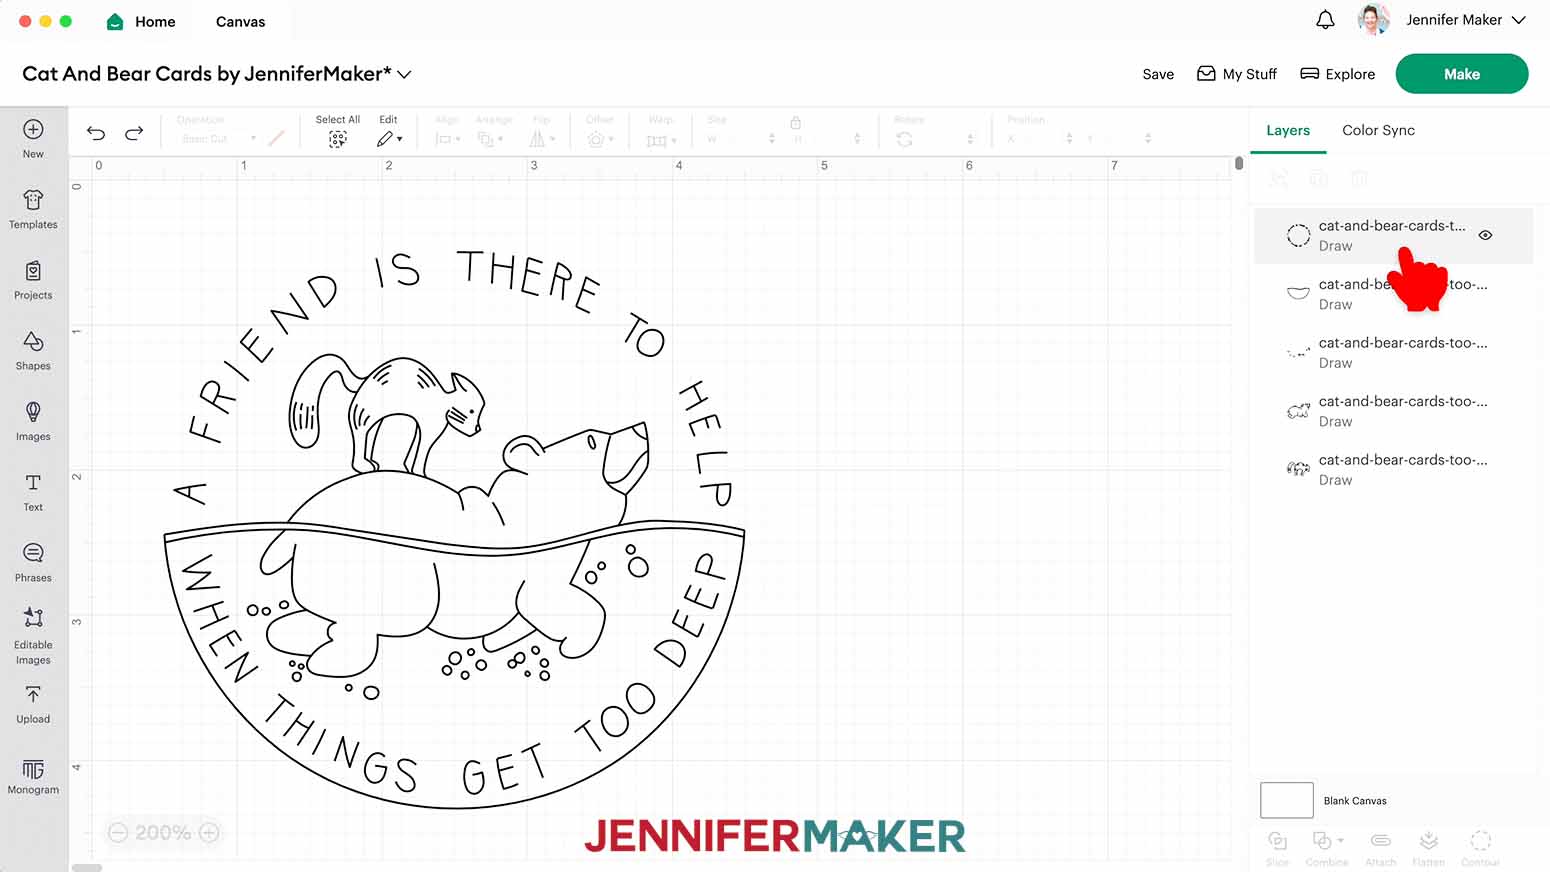
11. Click on the color swatch next to the Operation menu to open the Pen dropdown.
12. Select “F - Fine Point (0.4mm)” and then select the color pen of your choosing. Do not select an Infusible Ink pen for this project.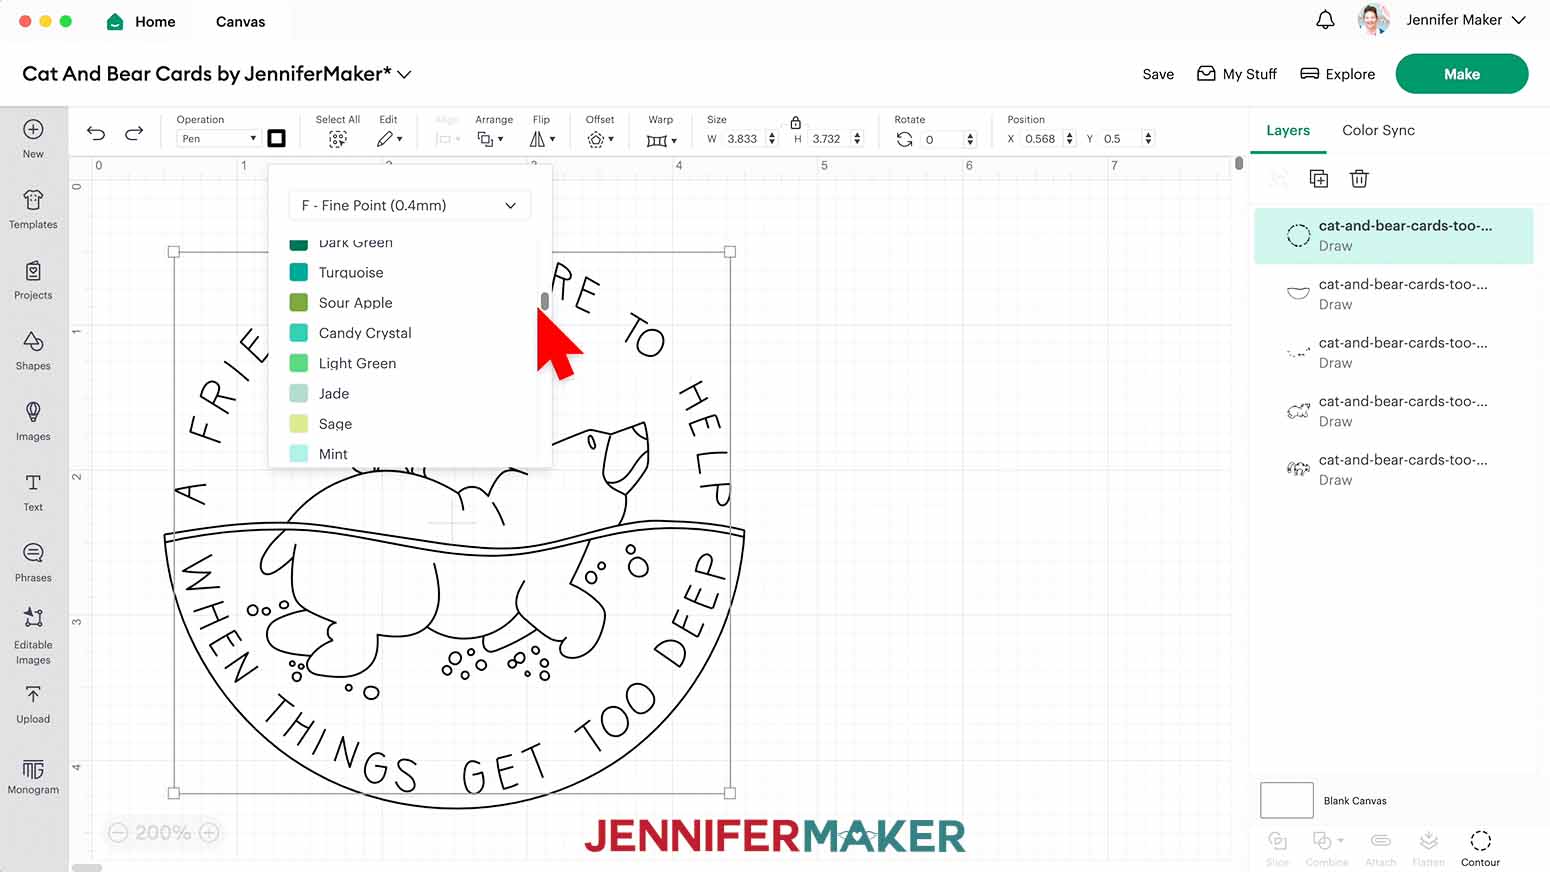
13. Repeat steps 10-12 for each layer, selecting the color pen that you would like to use for each element of the illustration.
14. Once each layer has a pen color assigned, select everything and click “Attach.”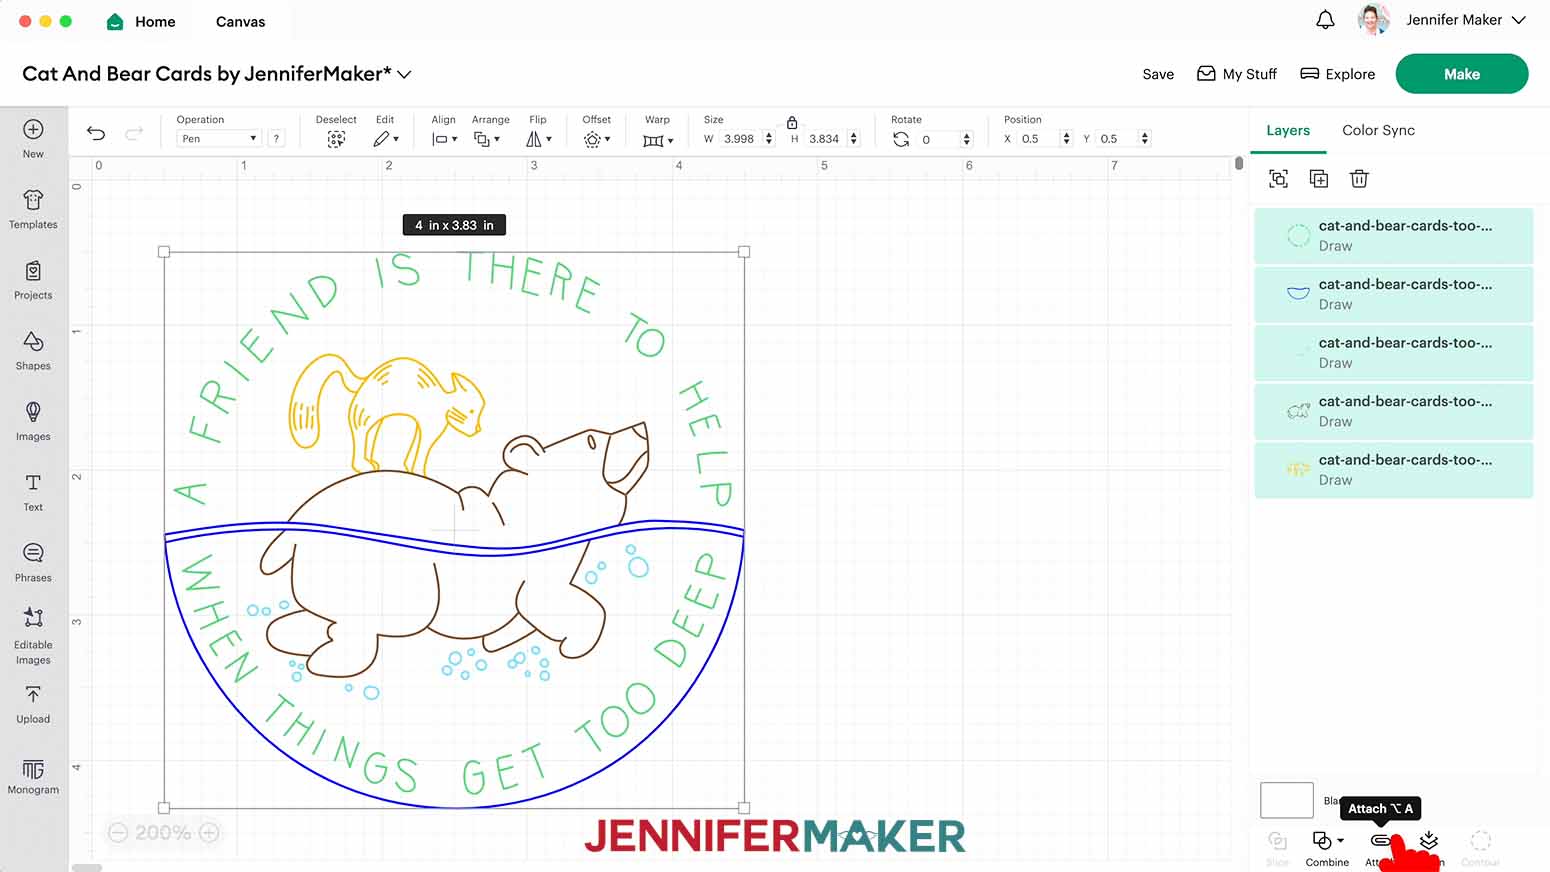
15. Select everything, ensure that you have the proportions locked, and change the size of the artwork to fit on the size card you are using.
16. Your layers are ready to draw!
17. Make sure the correct machine is selected in the top right.
18. Click “Make.”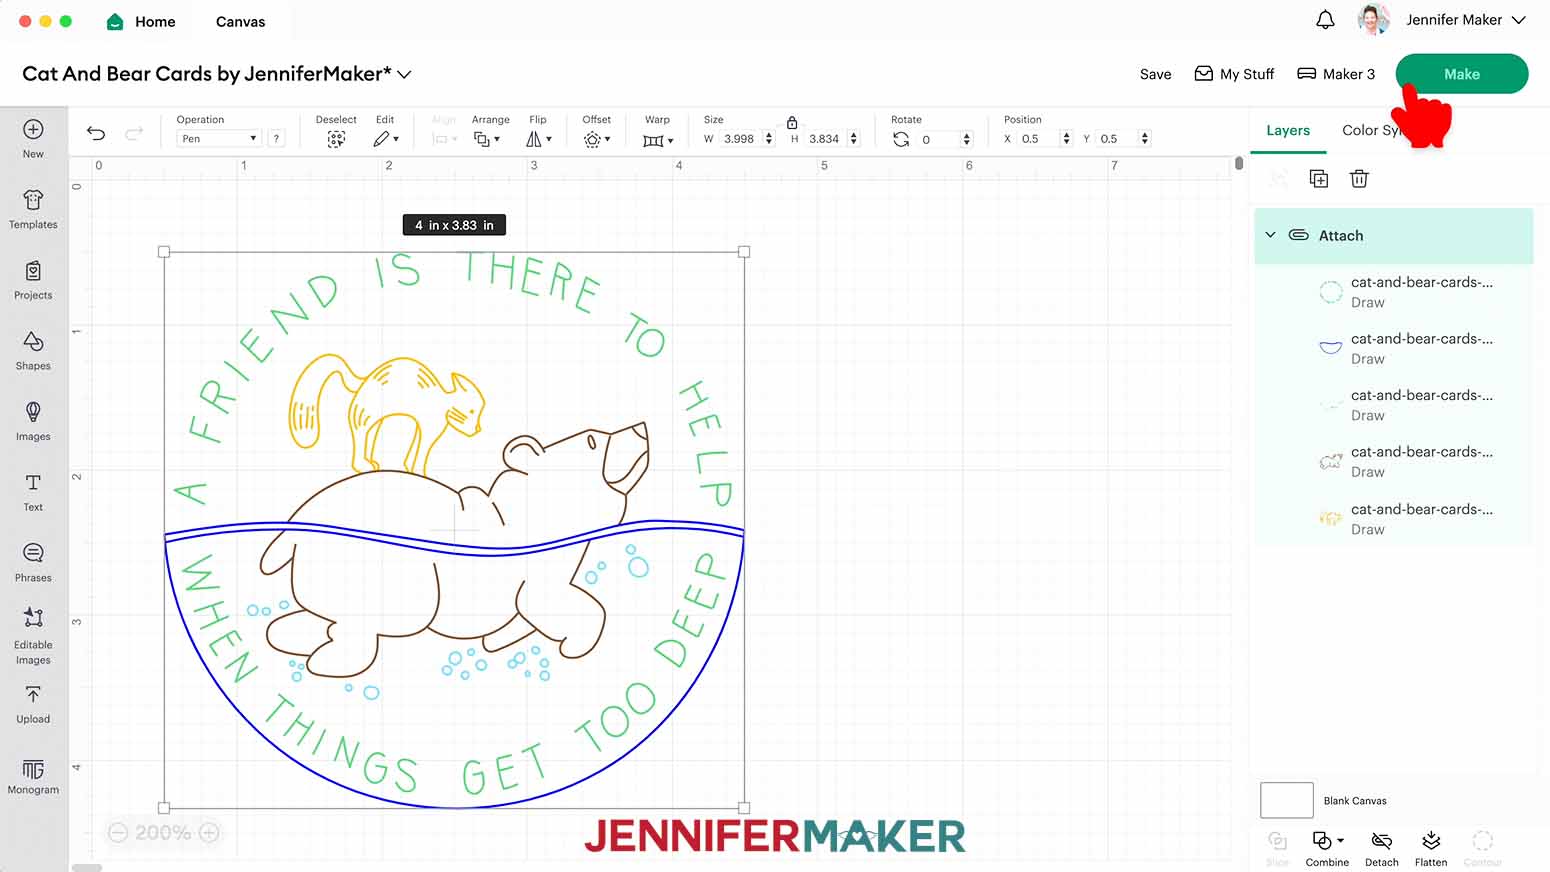
19. If prompted, click “On Mat,” choose your mat size, and click “Confirm.”
20. On the Prepare Screen, you should have one mat.
21. Click “Continue.”
DRAWING
1. On the Make Screen, search for and set your Base Material as “Watercolor Cards.”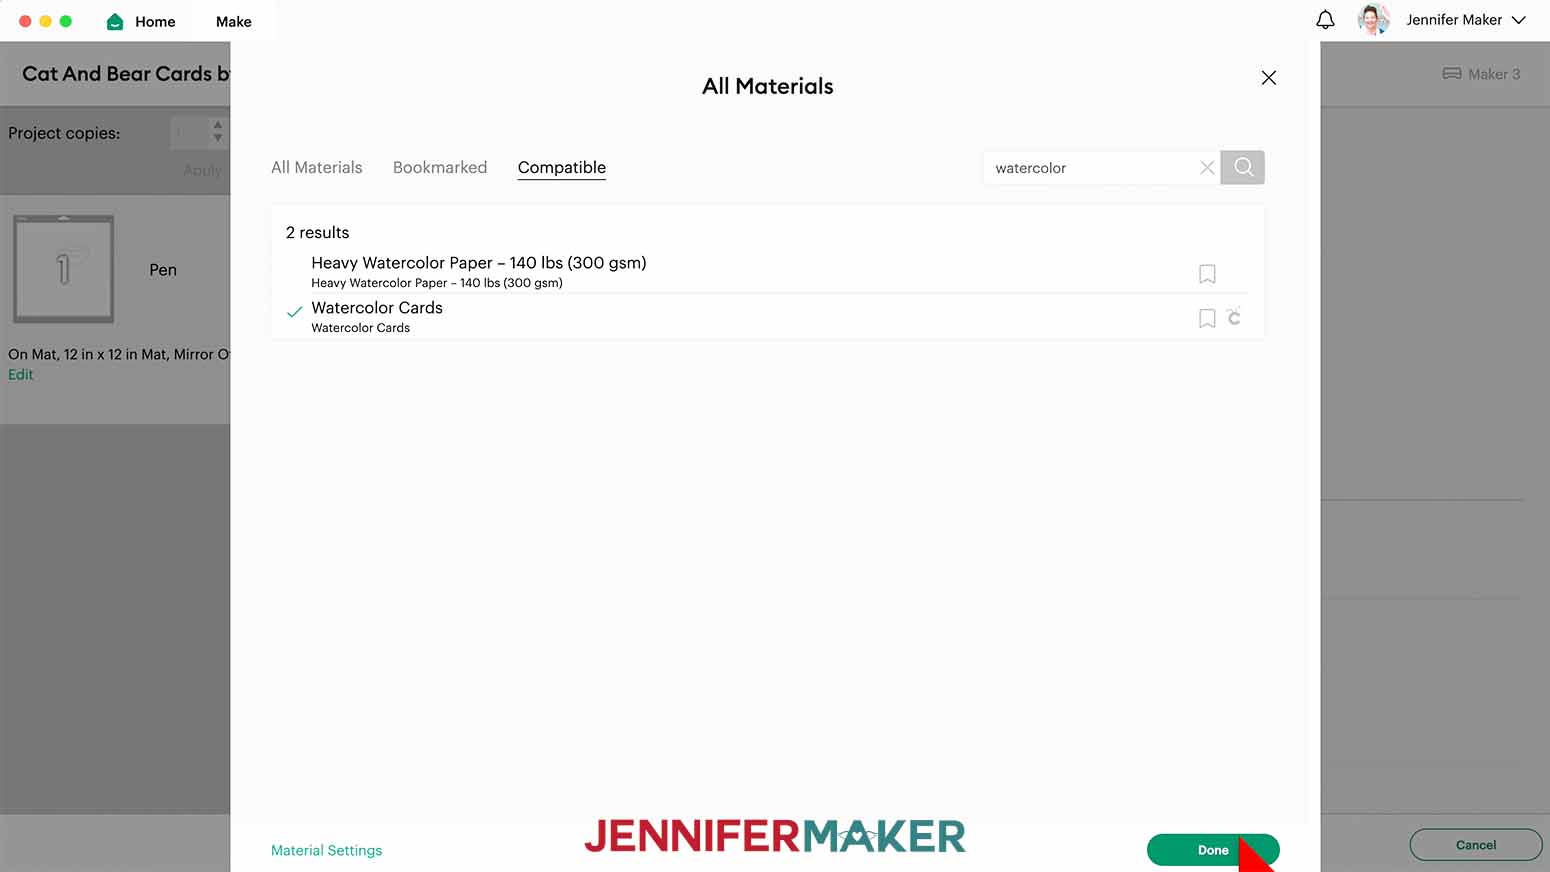
2. Load the specified pen into the clamp.
3. Open the card and hold it face up with the crease running vertically and the front panel at the right.
4. Match the crease to a vertical line on the 12" x 12" Green StandardGrip Machine Mat and line up the top edge with a horizontal mat guide.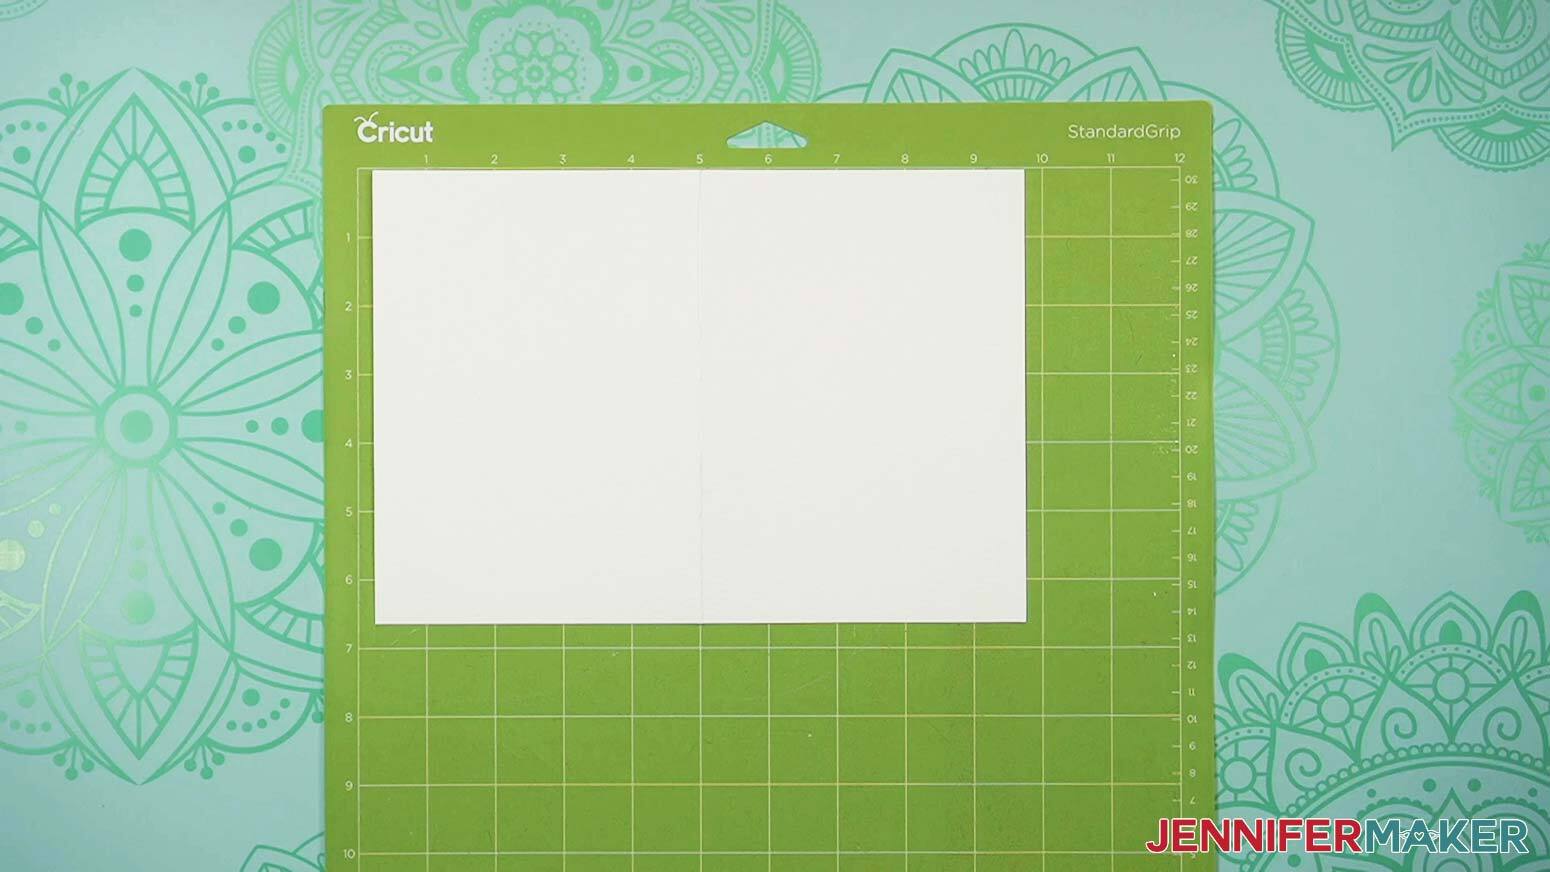
TIP: I like to place the crease at the 5" mark and the top edge at the top line. That means the front panel is between 5" and 9.75" horizontally.
5. Press the card onto the mat with a brayer.
6. In Design Space, roughly center the art in the card's front area, making sure it's to the right of the vertical 5” line but above 6.5" horizontally.
7. Load the prepared mat into the Cricut and press the flashing button to begin drawing.
8. When the Cricut is done with the first pen, you will be prompted by Design Space to load the next specified pen.

9. After your second pen is loaded, click the flashing button to continue.
10. Repeat steps 8 and 9 until you have completed the drawing.
11. Unload the mat, flip it over onto your work surface, and roll it back to release the card.
STEP 3: ASSEMBLE YOUR GREETING CARD
1. Fold your card in half along the existing crease.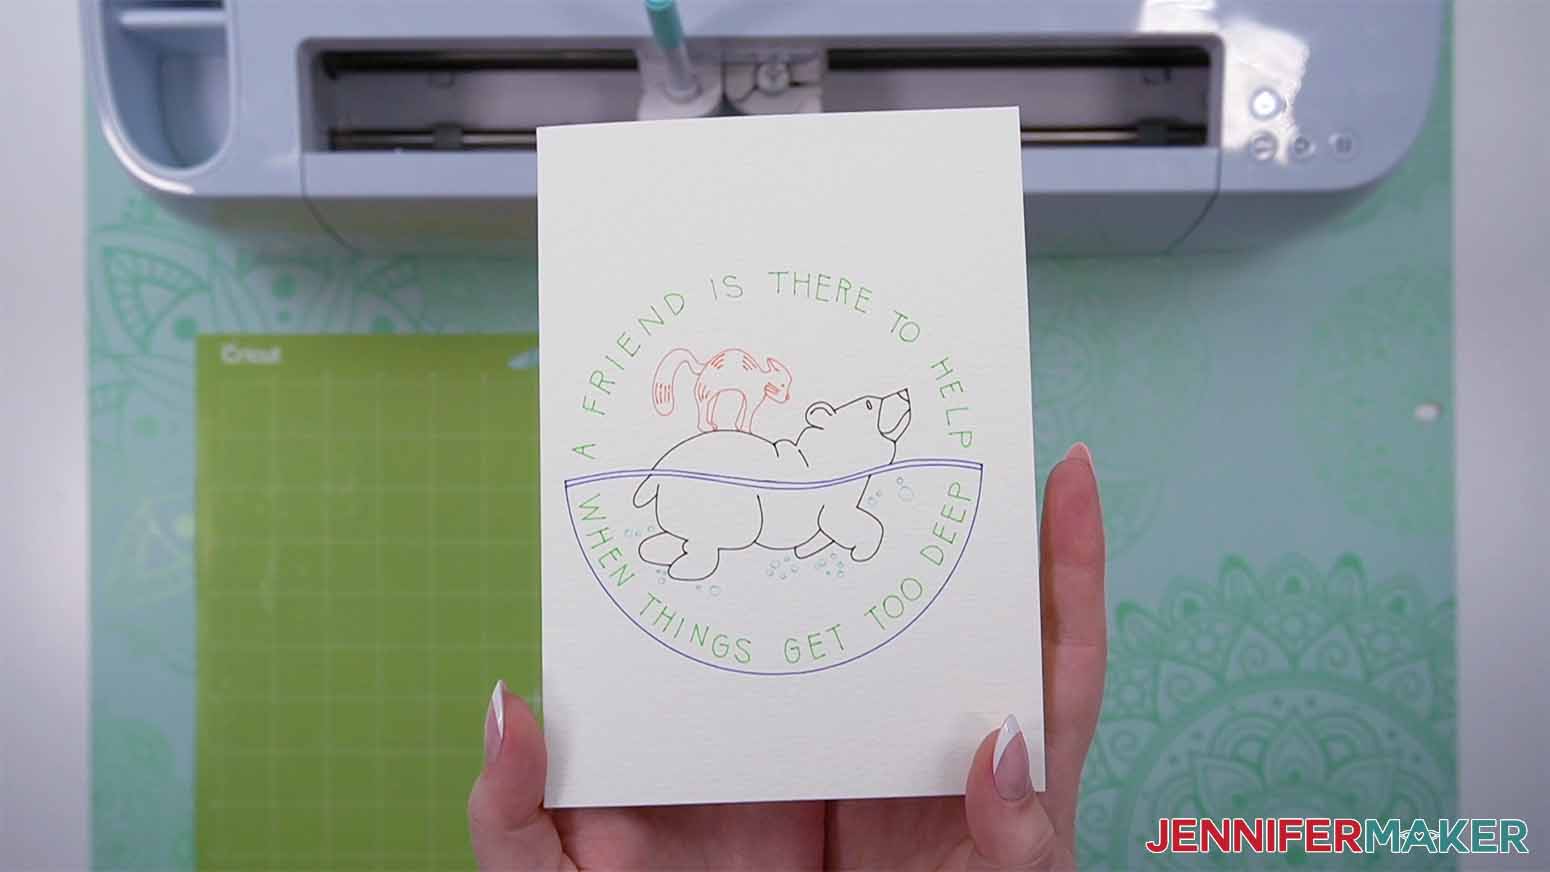
2. Your greeting card is complete!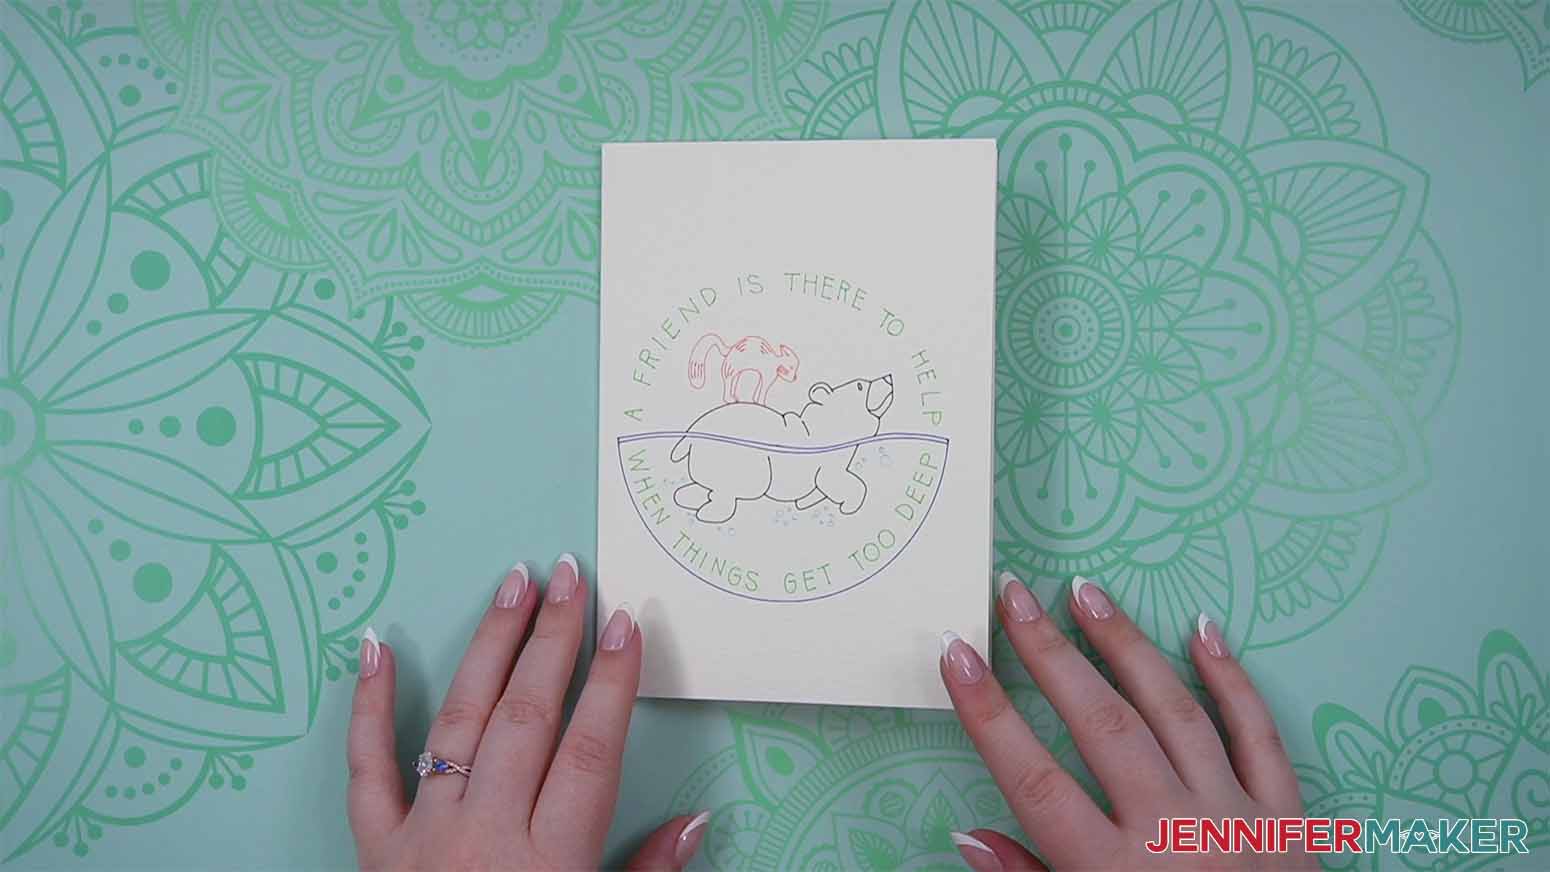
You can also follow my How to Make an Envelope tutorial for making a unique envelope for mailing your finished card!
PROJECT 2: LARGE POSTER WITH CRICUT 2.5 MM MARKERS AND THE CRICUT VENTURE
STEP 2: PREPARE YOUR DESIGN
CRICUT DESIGN SPACE
1. Open Cricut Design Space and click “New Project.”
2. Click “Upload” and then “Upload Image.”
3. Click “Browse.”
4. Select the “cat-and-bear-cards-bigger-heights-jennifermaker-SVG” file.
5. On the Prepare to Upload screen, it will say “Cut image” with the design preview.
6. Click “Upload.”
7. Find the design in Recent Uploads and add it to the Canvas.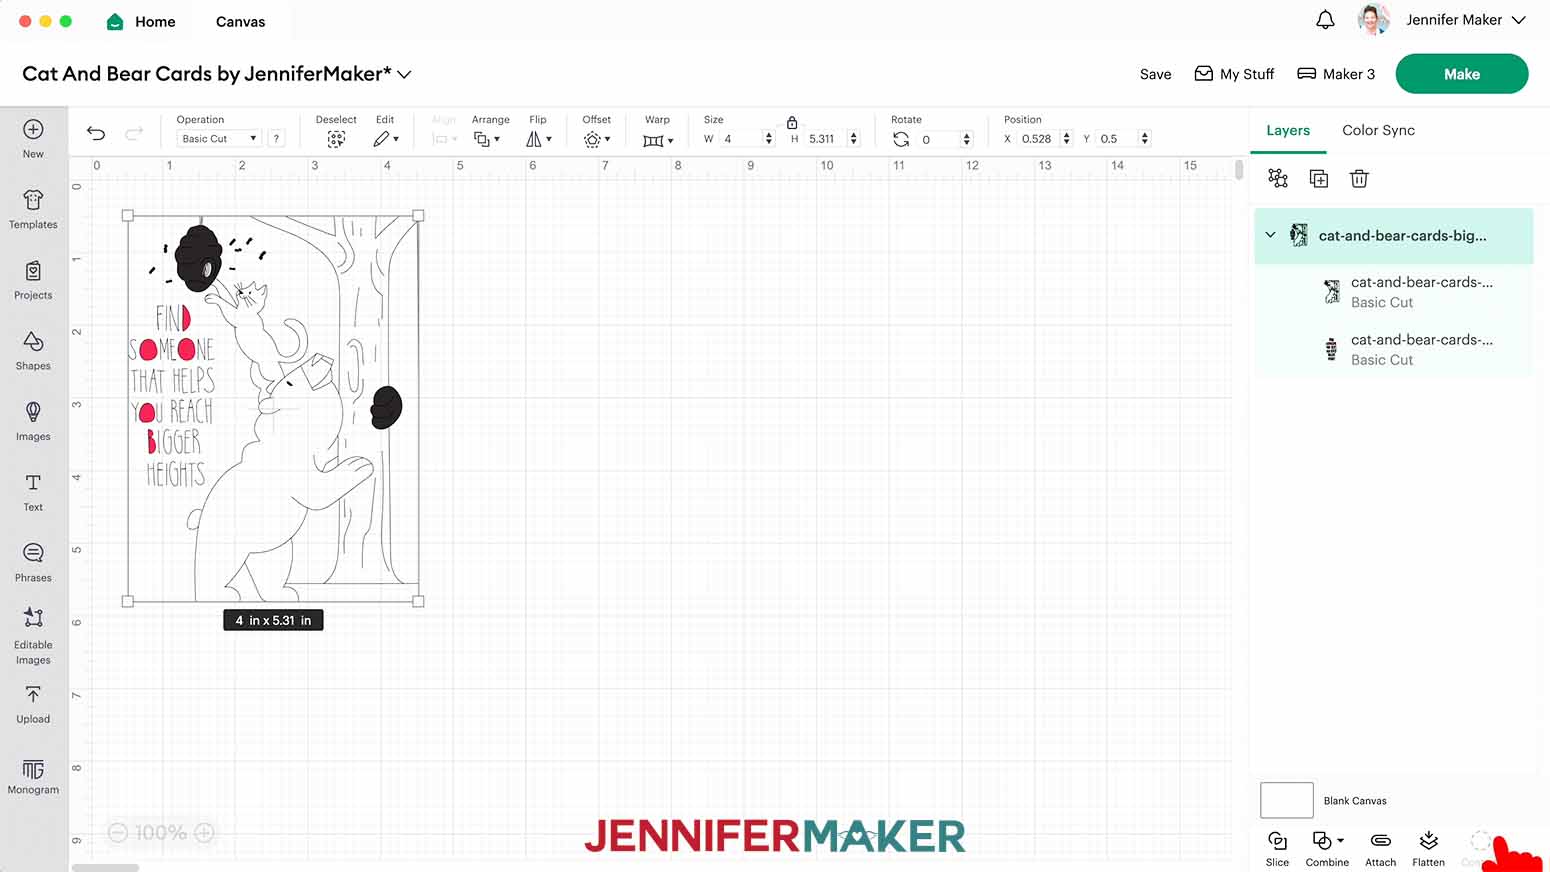
8. With the design selected, in the Operation menu, select “Pen.”
9. Ensure that you have the proportions locked and change the size of the artwork to fit on the 24” x 28” Venture cutting mat by changing the height (H) to 24”. This will make the width close to 18”.
NOTE: You may get a warning that the image is too large. This will go away when you change your machine to the Venture in the next step.
10. Change the machine you are using to the “Cricut Venture” in the machine dropdown menu in the top right.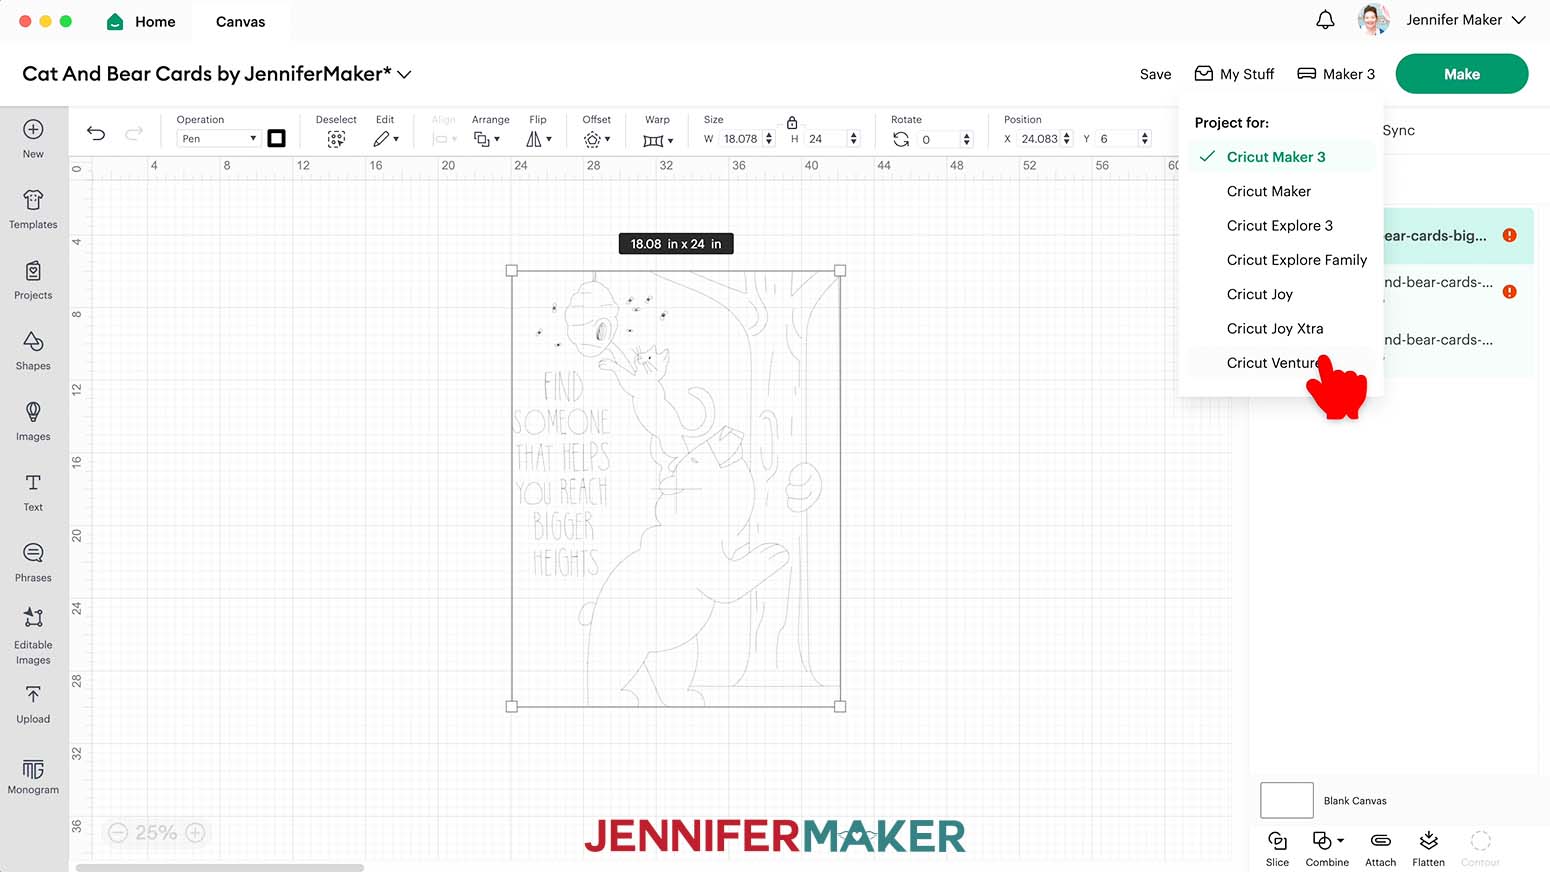
11. In the Layers panel, click on the top-level layer of the SVG design and click “Ungroup.”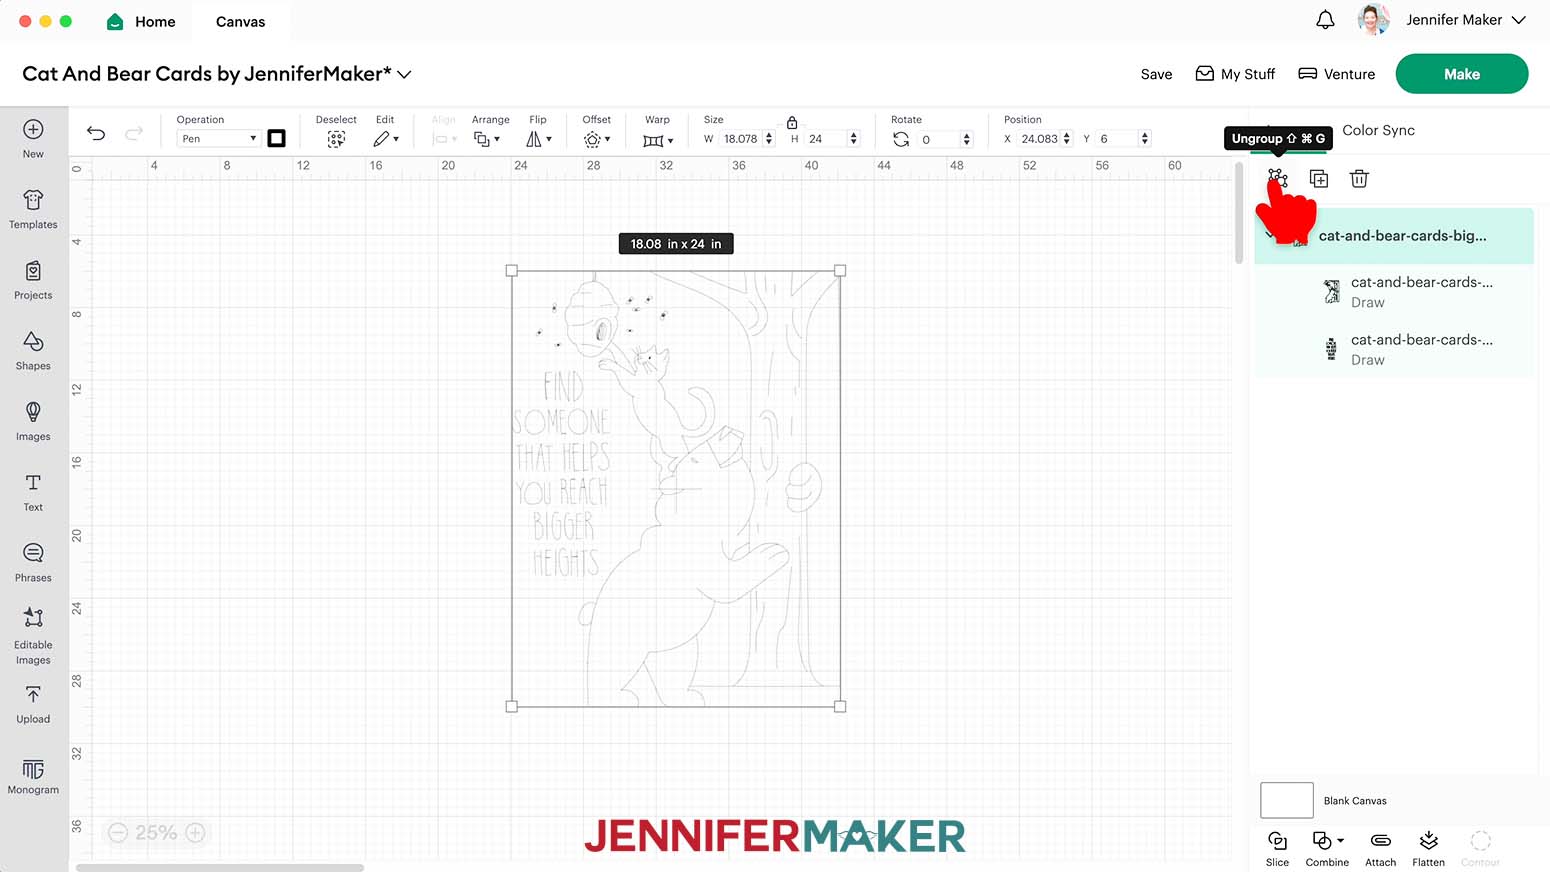
12. In the Layers panel, select the top layer (the illustration).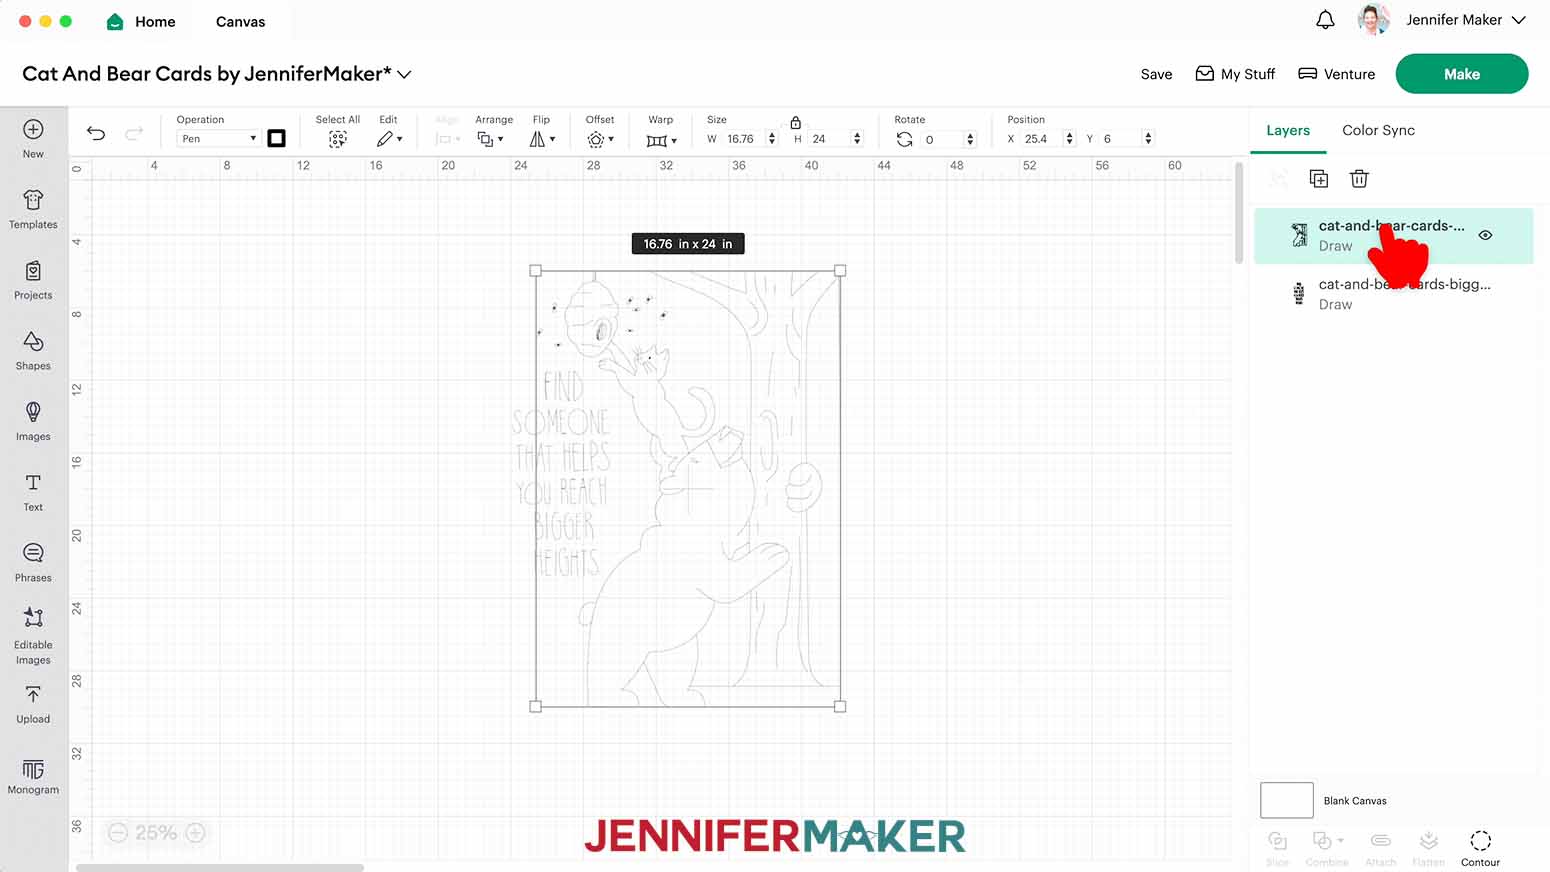
13. Click on the color swatch next to the Operation menu to open the Pen dropdown.
14. Select “M - Marker (2.5mm)” and then select the color marker of your choosing.
15. In the Layers panel, select the second layer (the sentiment).
16. Repeat steps 13-14.
17. Once each layer has a marker color assigned, select everything and click “Attach.”
18. Your layers are ready to draw!
19. Make sure the correct machine is selected in the top right.
20. Click “Make.”
21. If prompted, click "On Mat," choose “24 in x 28 in,” and click “Confirm.”
22. On the Prepare Screen, you should have one mat.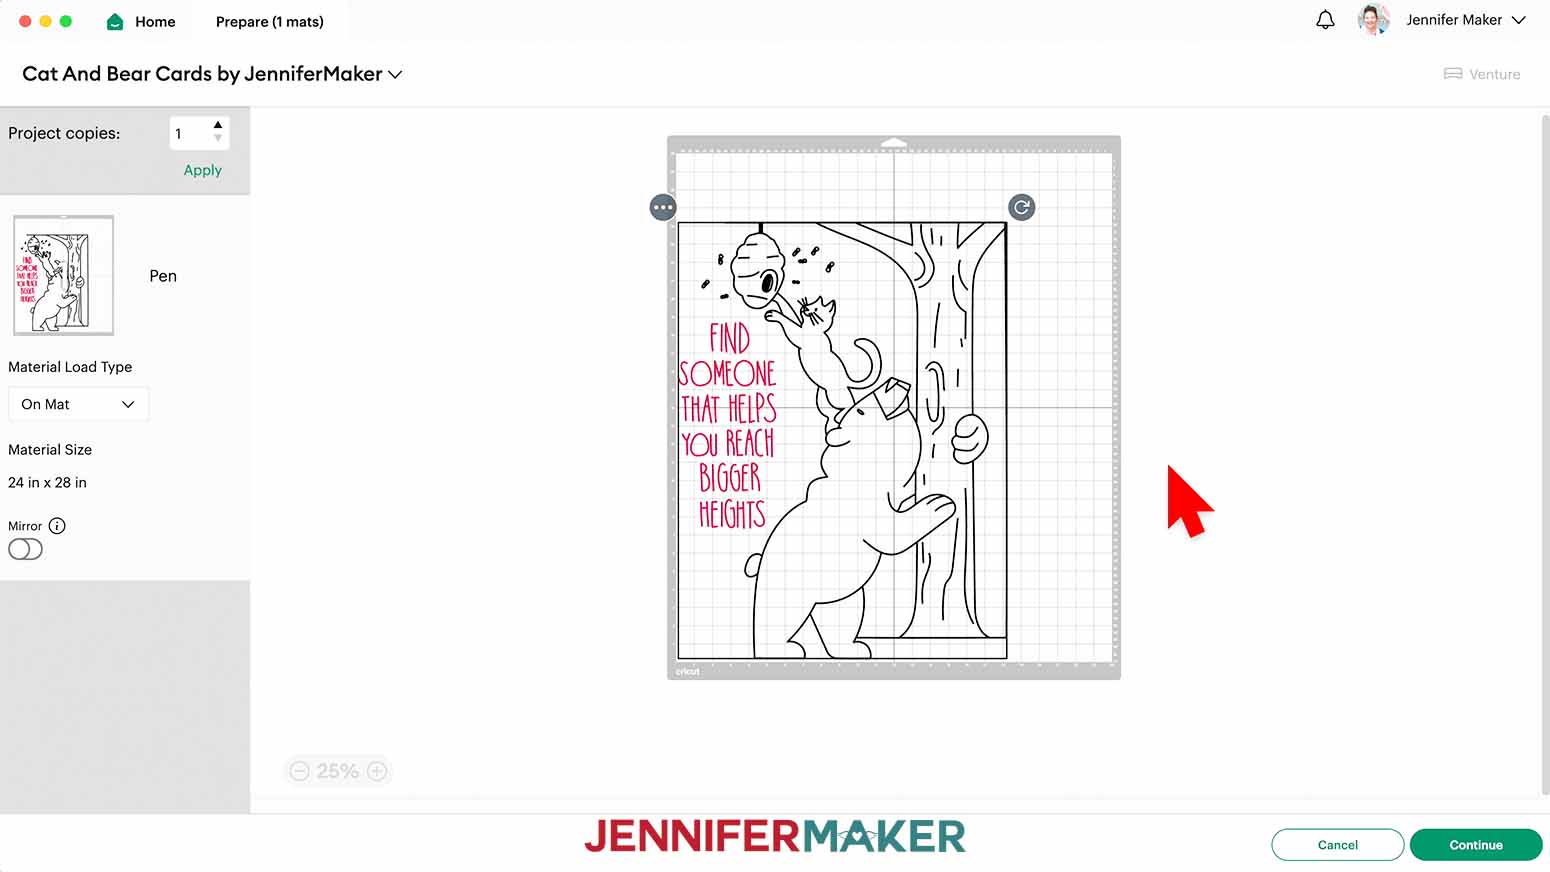
23. Drag the selection box around the artwork to center it on the mat as best as possible, then click “Continue.” 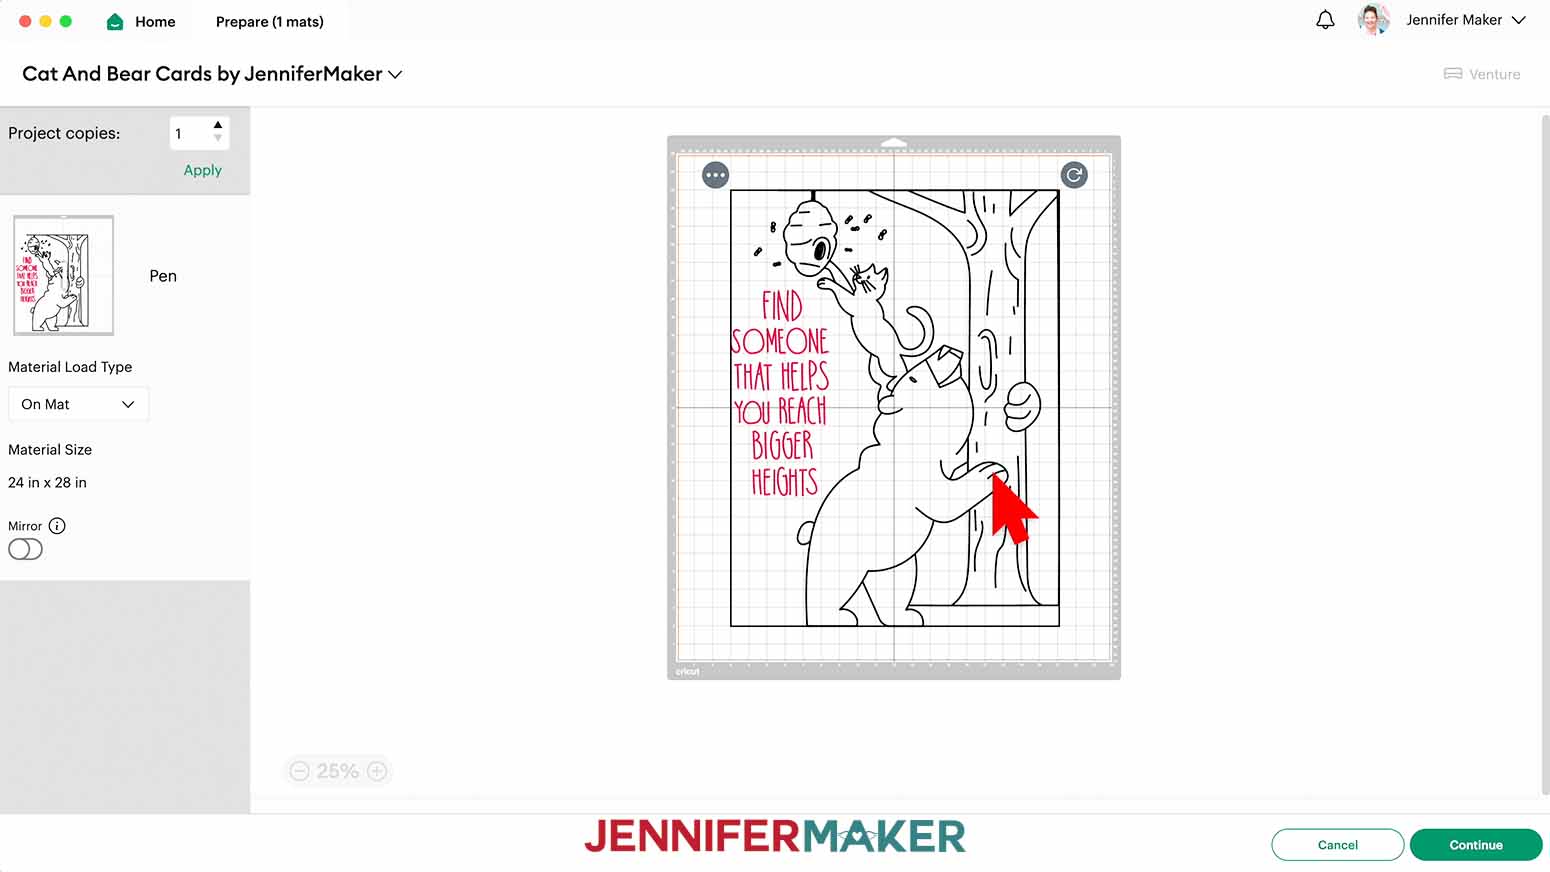
DRAWING
1. On the Make Screen, search for and set your “Base Material” as “Medium Cardstock - 80 lb” and then follow the prompts in Design Space to set up the Venture to draw your project.
2. Place your cardstock face up onto your 24” x 28” StandardGrip mat as straight as possible, using a brayer to ensure it is completely adhered.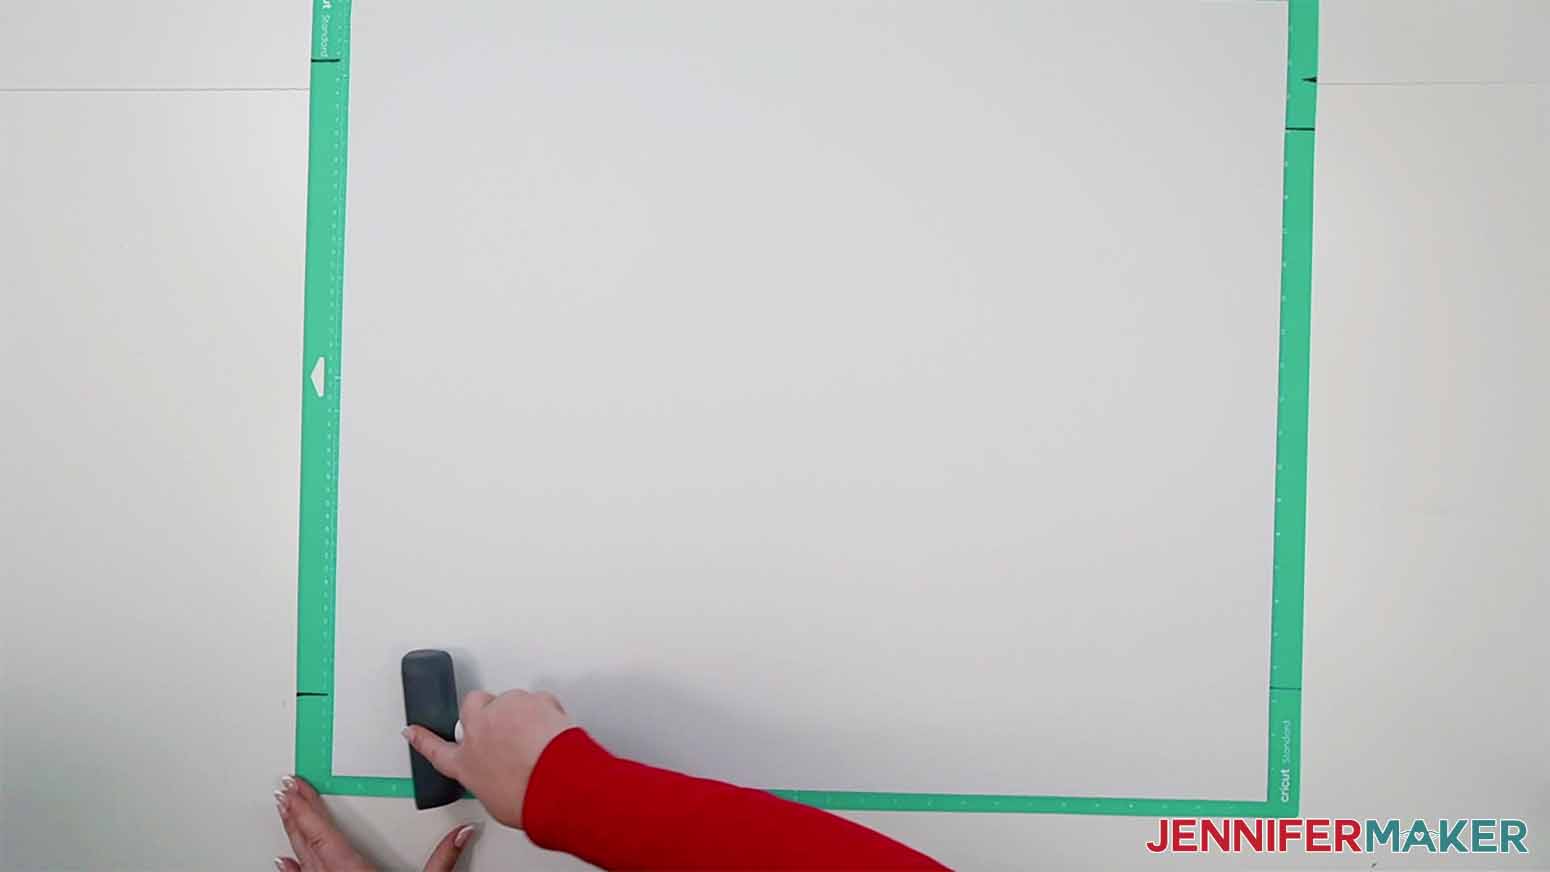
3. Open Clamp A on the Cricut Venture and remove the Accessory Adapter, if necessary, by gently pushing up on it from the bottom. Set it aside safely.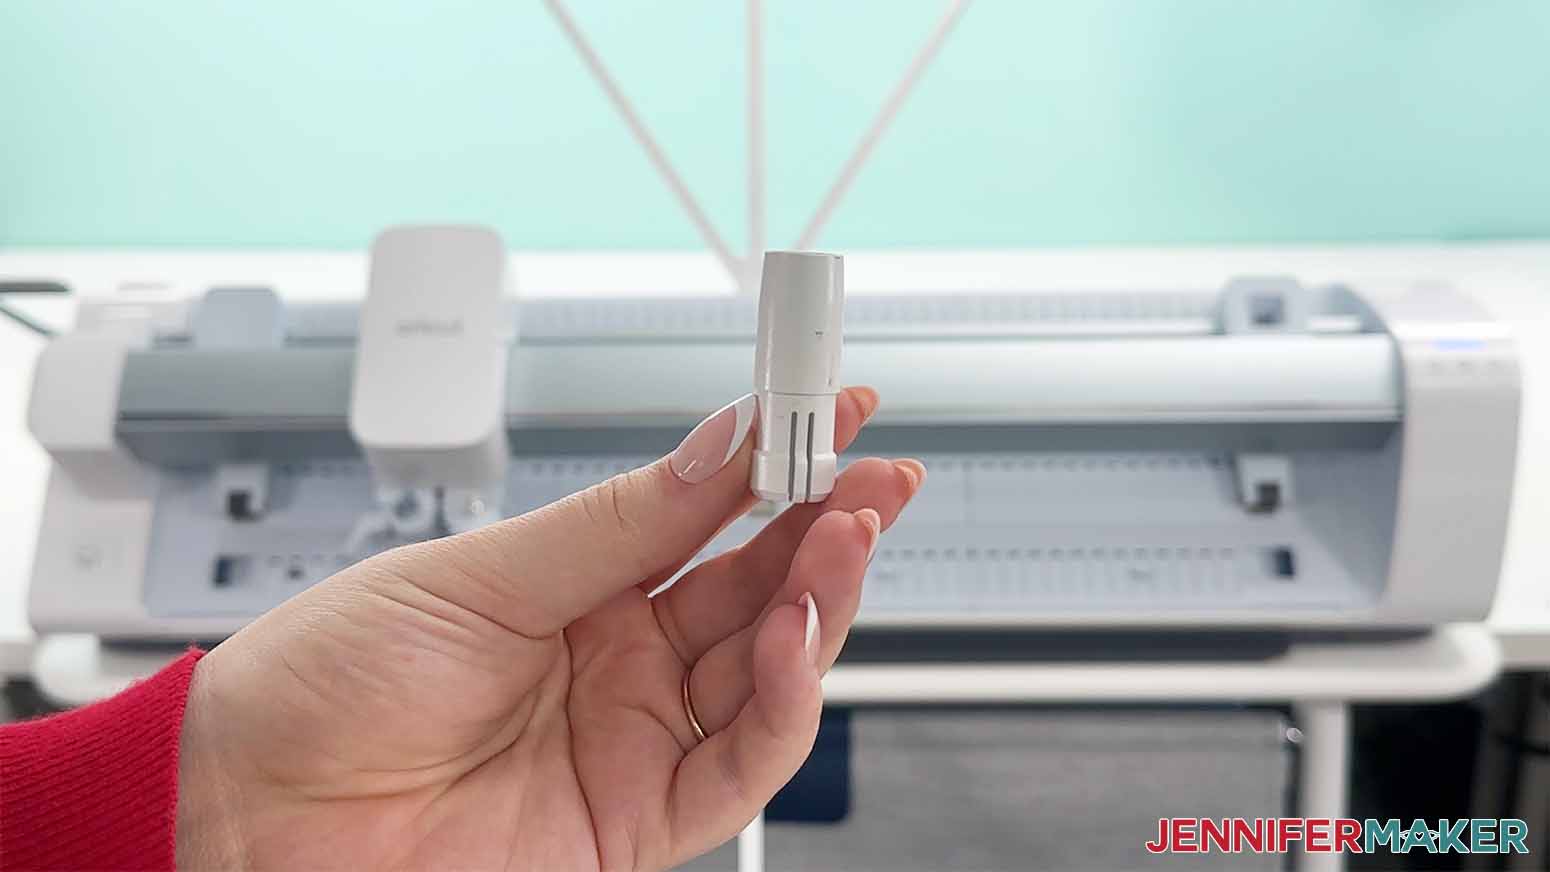
4. Test your 2.5 mm permanent Cricut marker on scrap paper to make sure it flows well.
5. Store the cap on the back of your marker and place it in Clamp A (it doesn’t click in, it just rests), then close the clamp.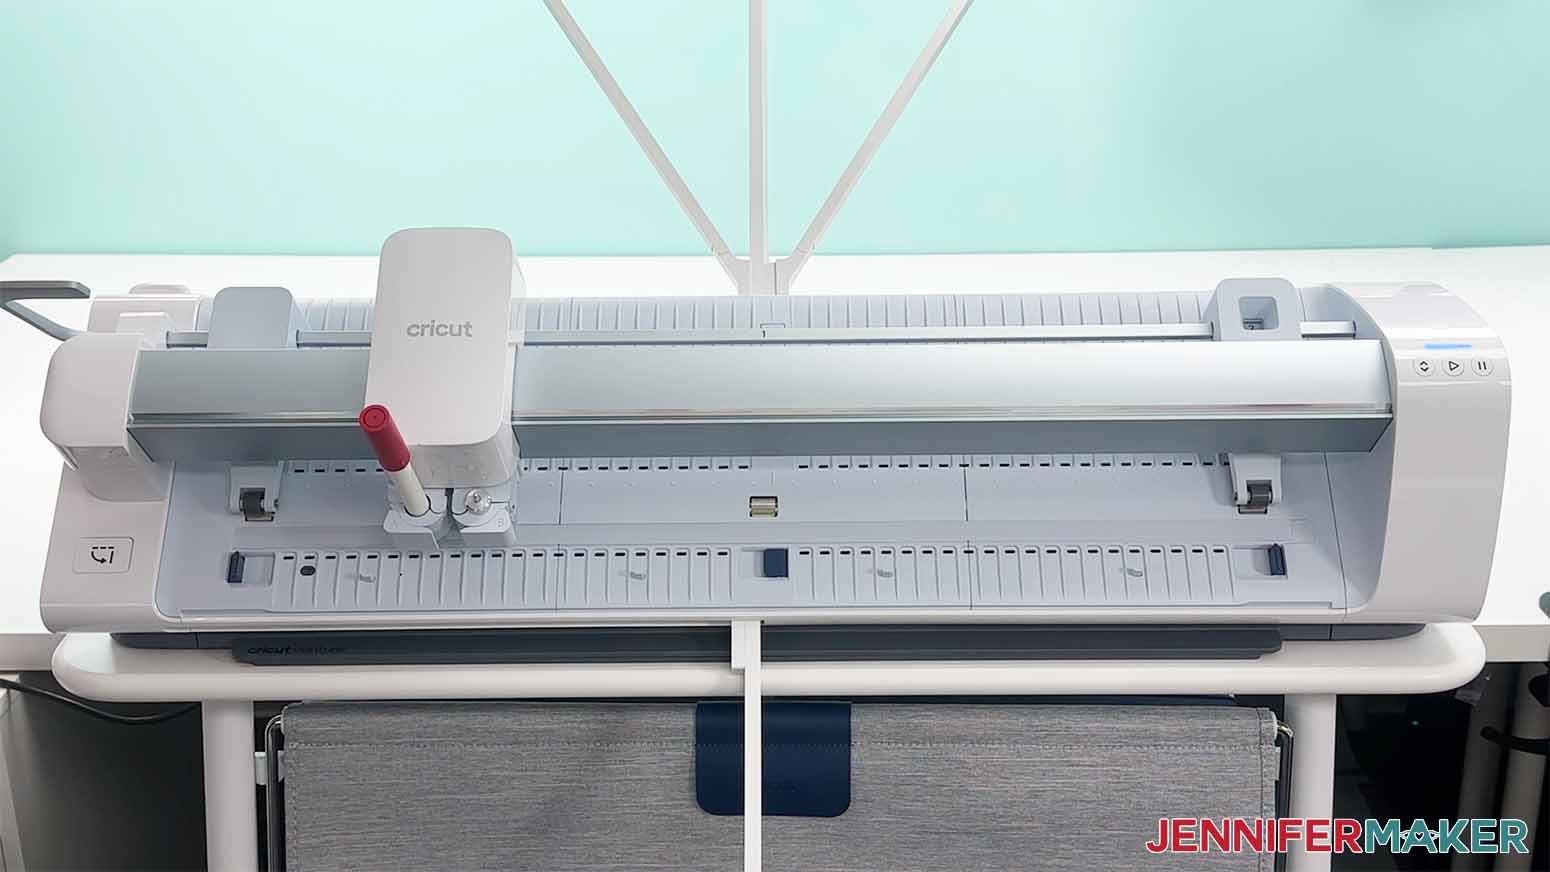
6. Raise the Lever and move the Pinch Roller to Position 2.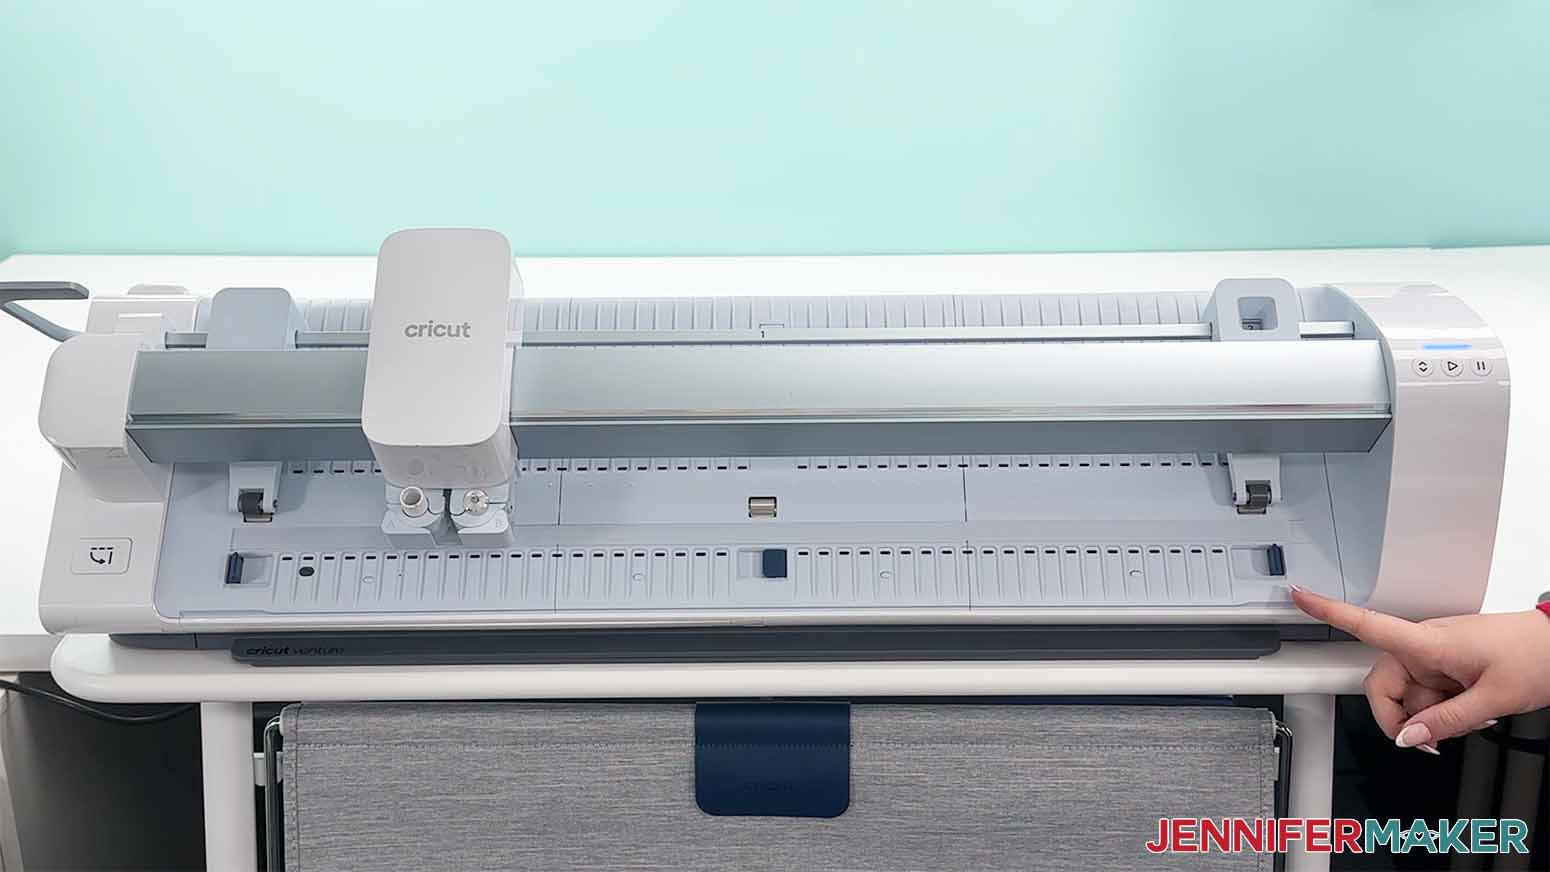
7. Raise the left and right mat guides and put the center guide down.
8. Press the mat support extension button to pop the extensions out from the top and bottom.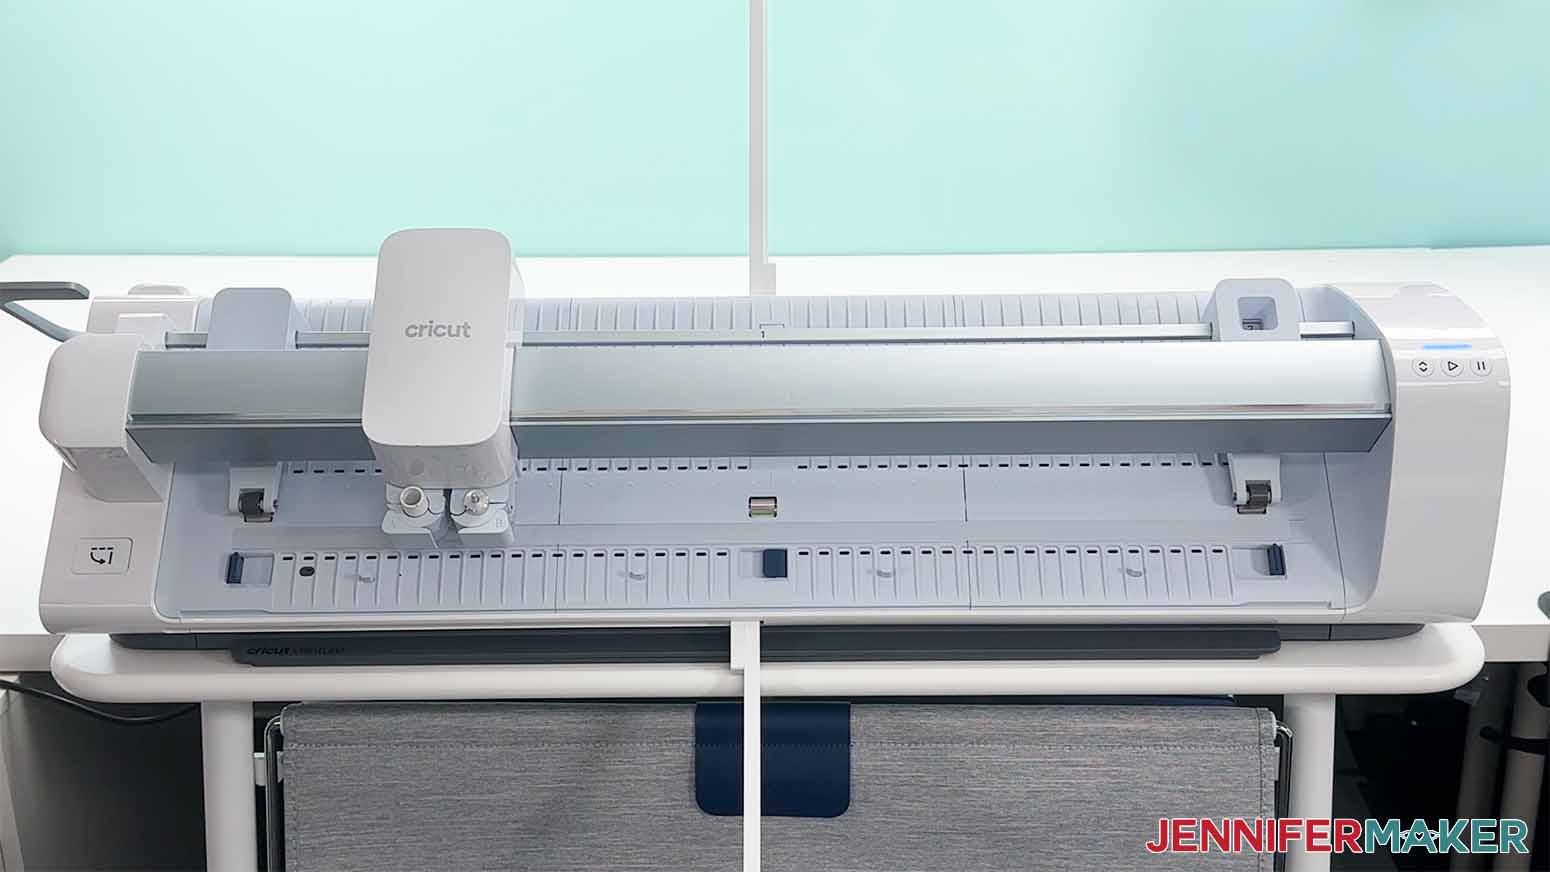
9. Assemble and add the additional support piece to the back.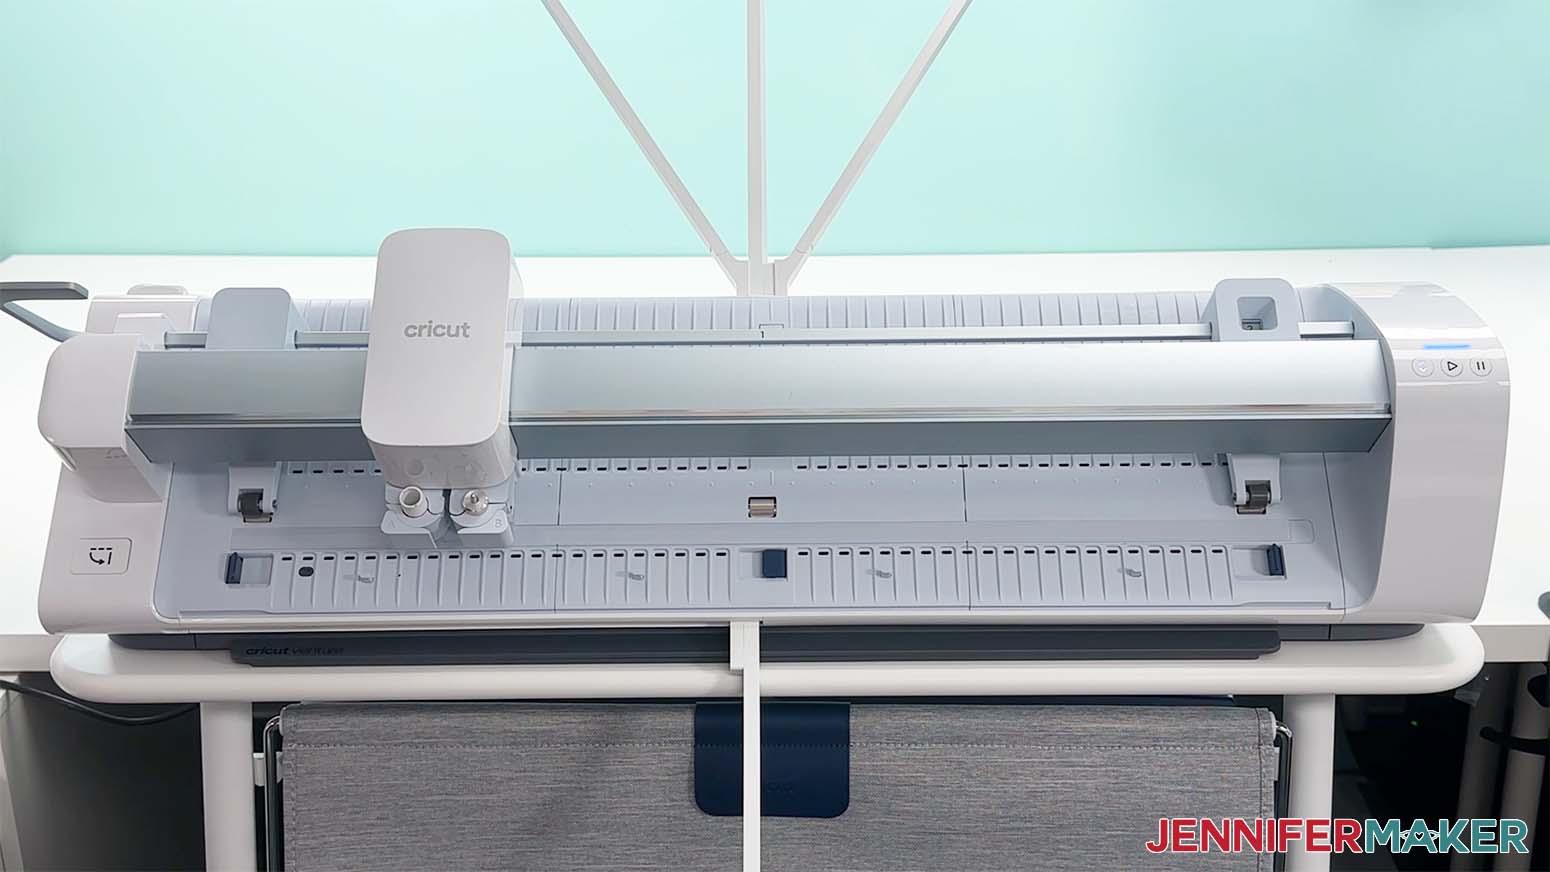
10. Feed the mat from the top, under the guides, until it catches and holds on the bottom guides.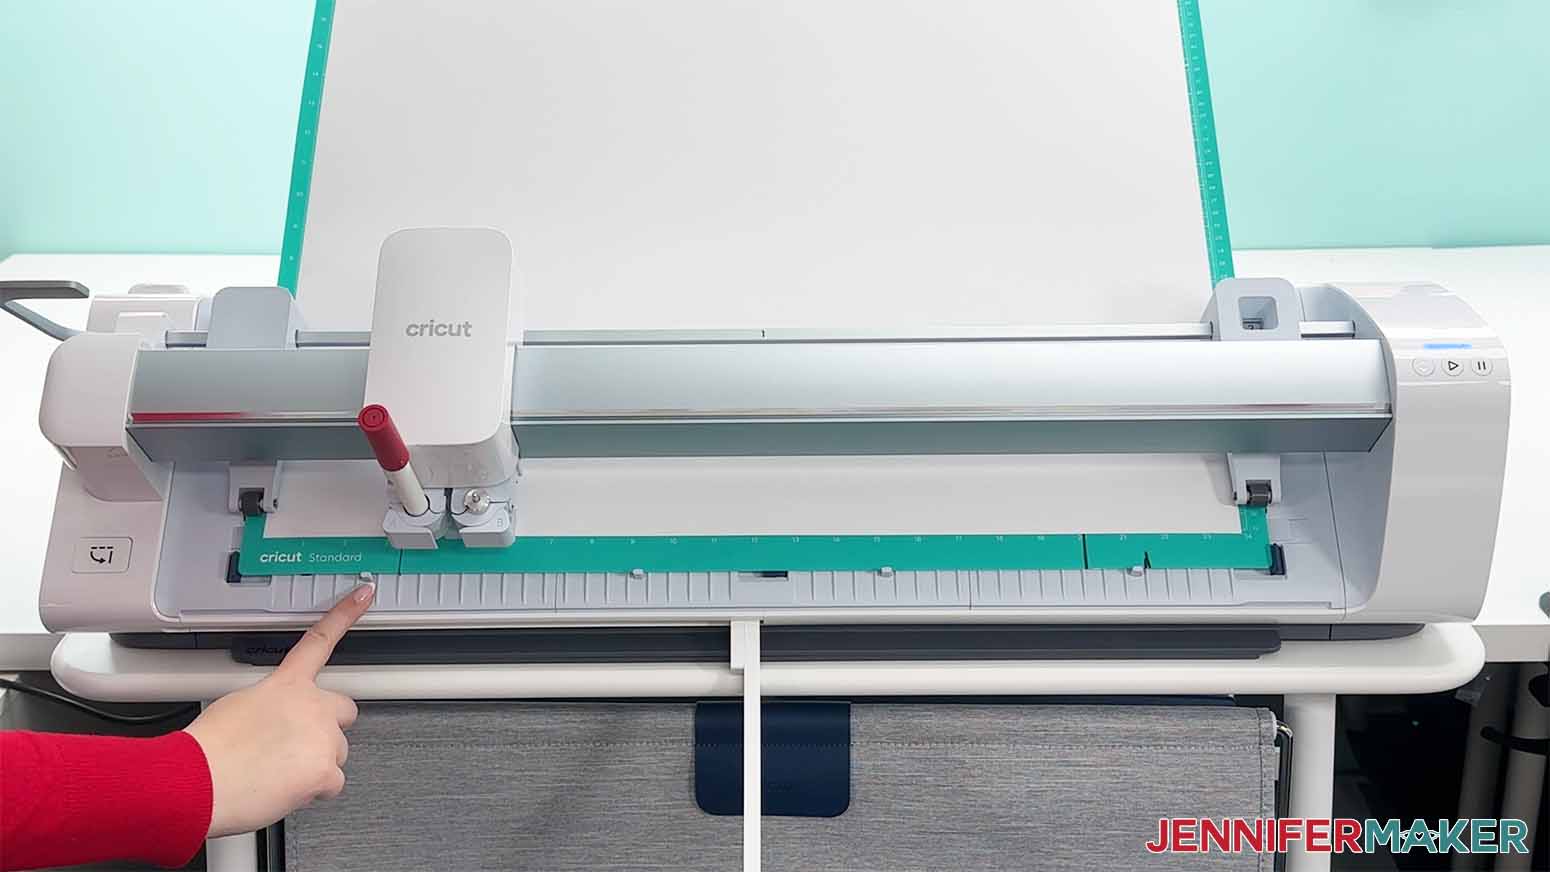
11. Lower the lever as the vacuum seals the mat to the machine, and press the flashing Load button to measure the mat.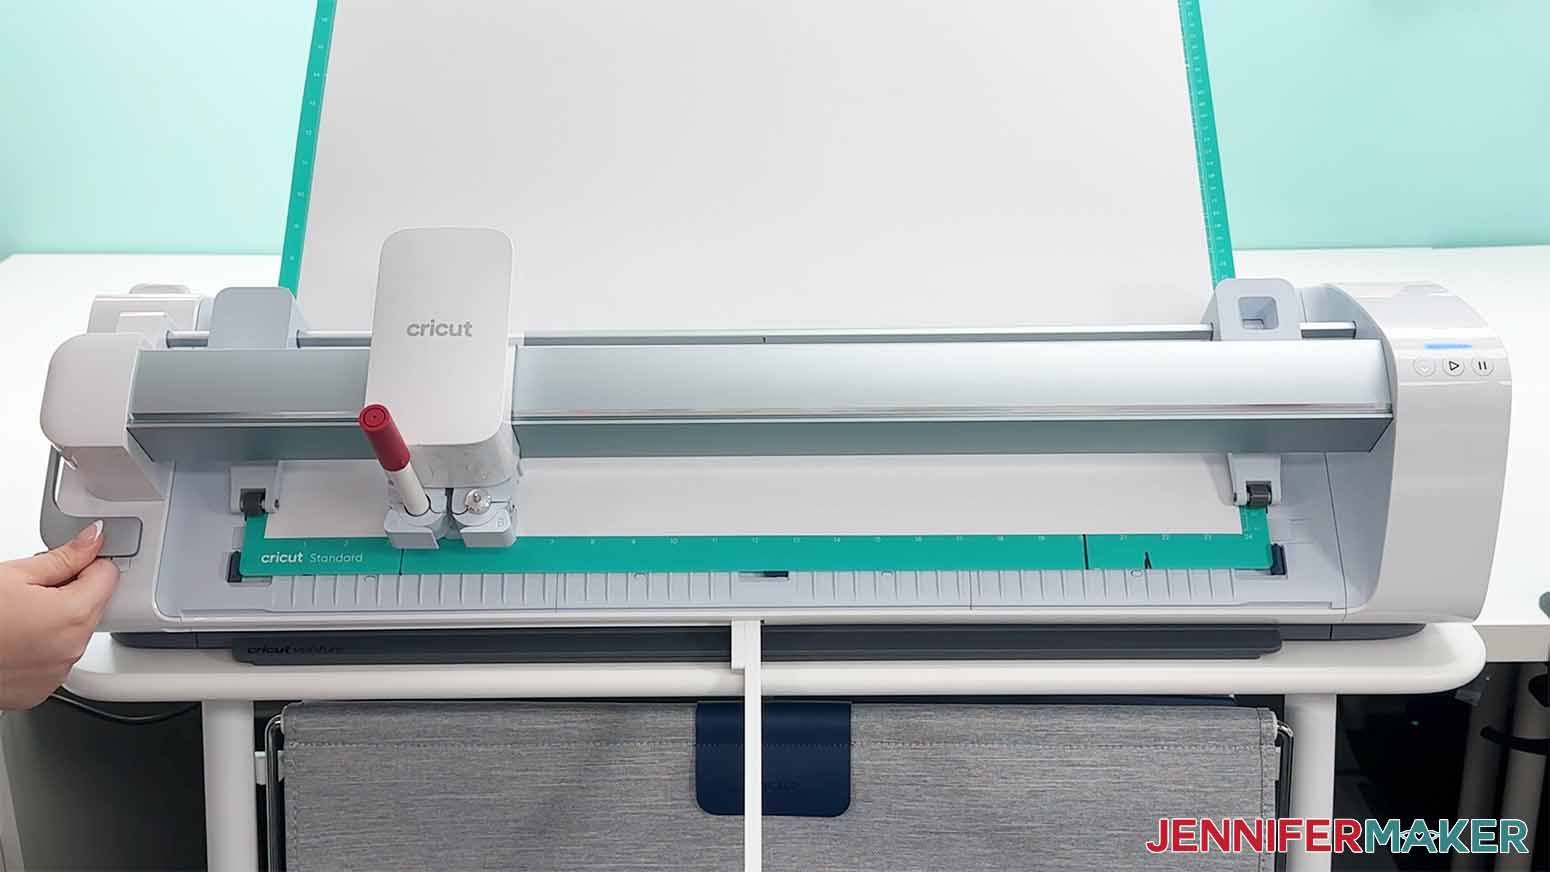
12. Press the flashing Go button to begin drawing.
13. Follow the prompts to change your marker when the Cricut Venture pauses, and press the flashing Go button again.
14. When it’s done, remove your marker from Clamp A and put the cap back on.
15. Hold the top of the mat and lift the Lever so you can slide the mat out.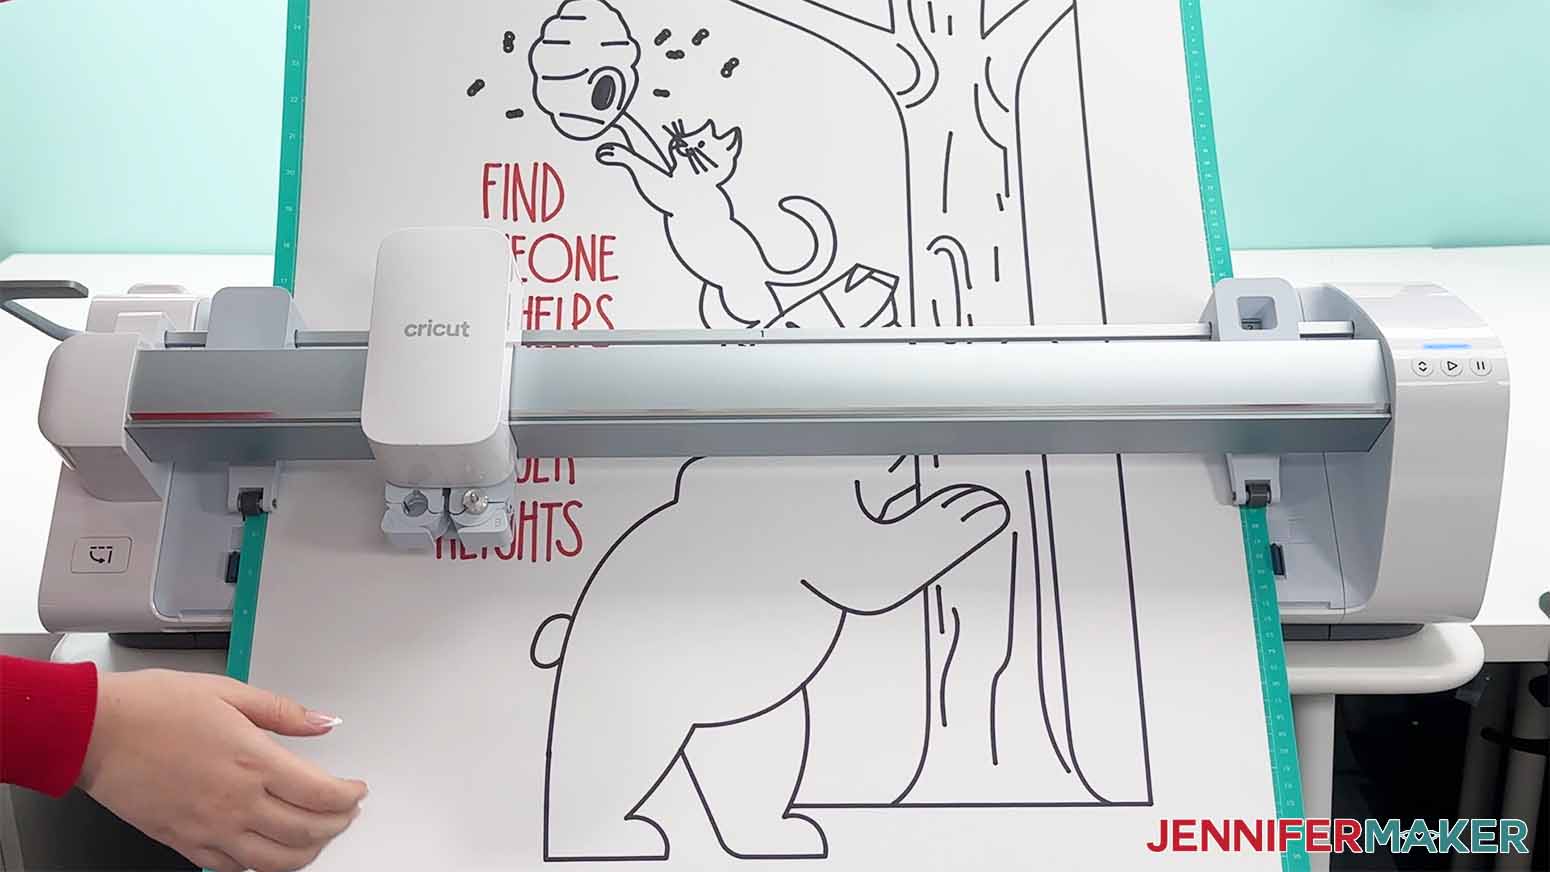
16. Flip the mat over and carefully peel it away from the cardstock.
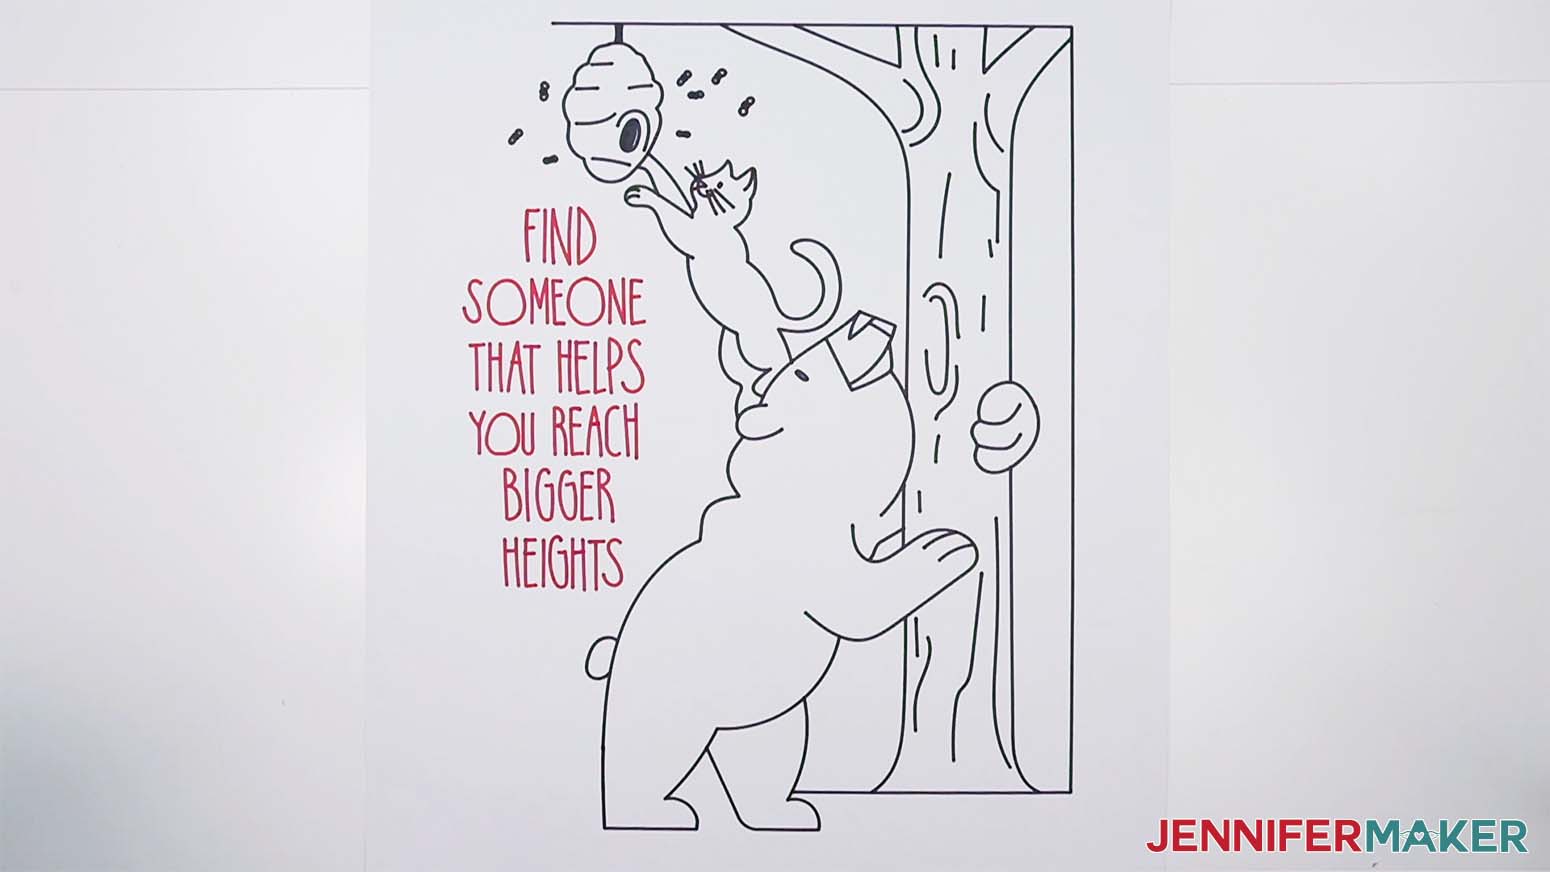
17. Your 24” x 28” poster is complete!
PROJECT 3: SUBLIMATION MUG WITH CRICUT INFUSIBLE INK PENS AND MARKERS
STEP 2: PREPARE YOUR DESIGN
CRICUT DESIGN SPACE
1. Open Cricut Design Space and click “New Project.”
2. Click “Upload” and then “Upload Image.”
3. Click “Browse.”
4. Select the “cat-and-bear-cards-snuggle-fits-jennifermaker-SVG” file.
5. On the Prepare to Upload screen, it will say “Cut image” with the design preview.
6. Click “Upload.”
7. Find the design in Recent Uploads and add it to the Canvas.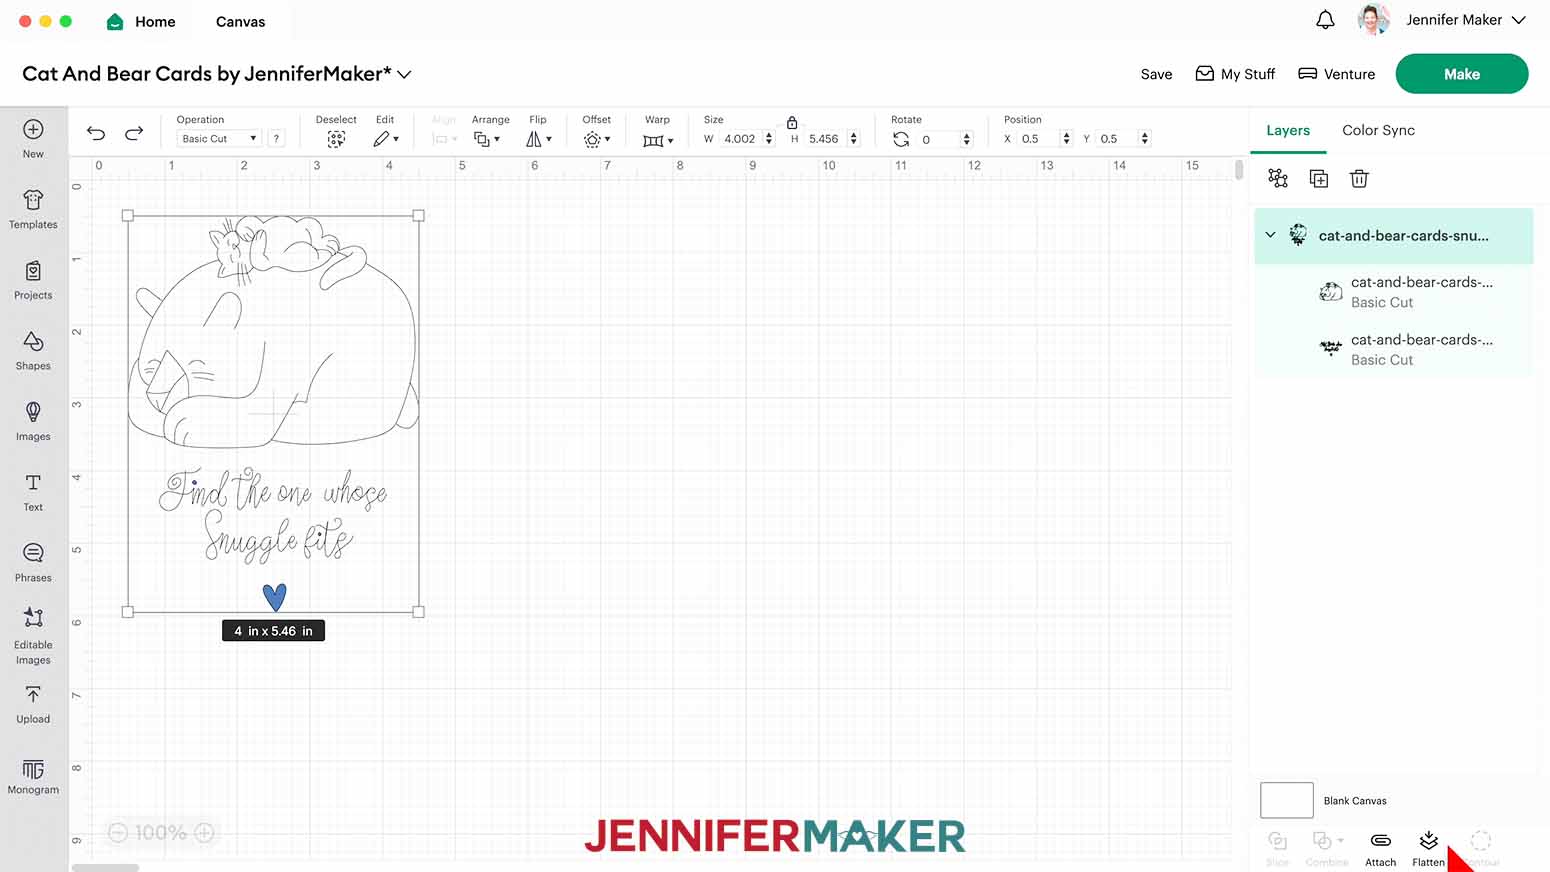
8. With the design selected, in the Operation menu, select “Pen.”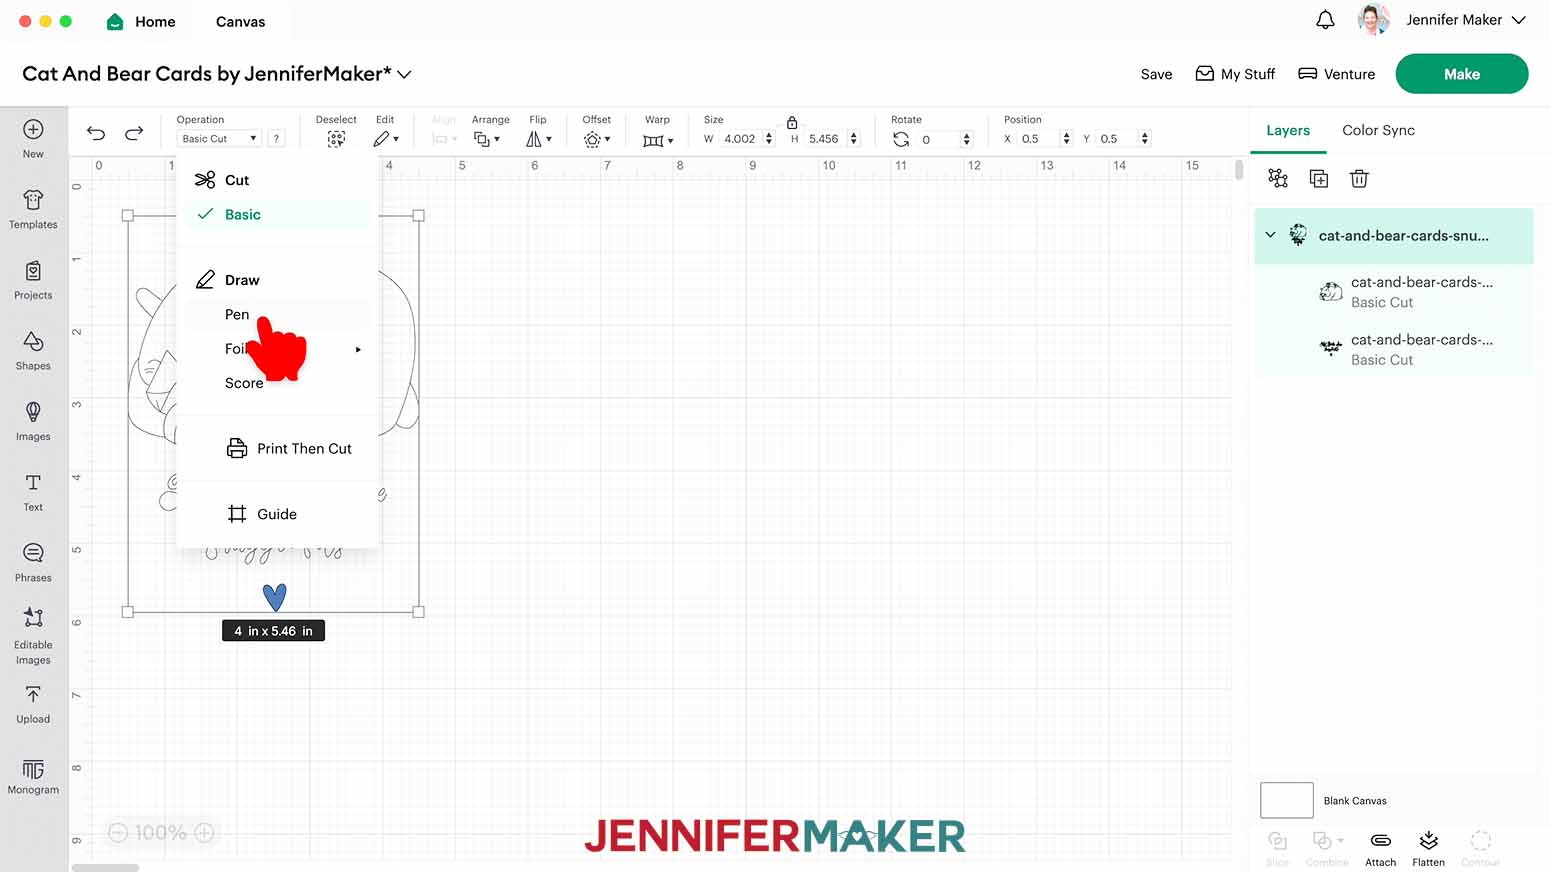
9. In the Layers panel, click on the top-level layer of the SVG design and click “Ungroup.”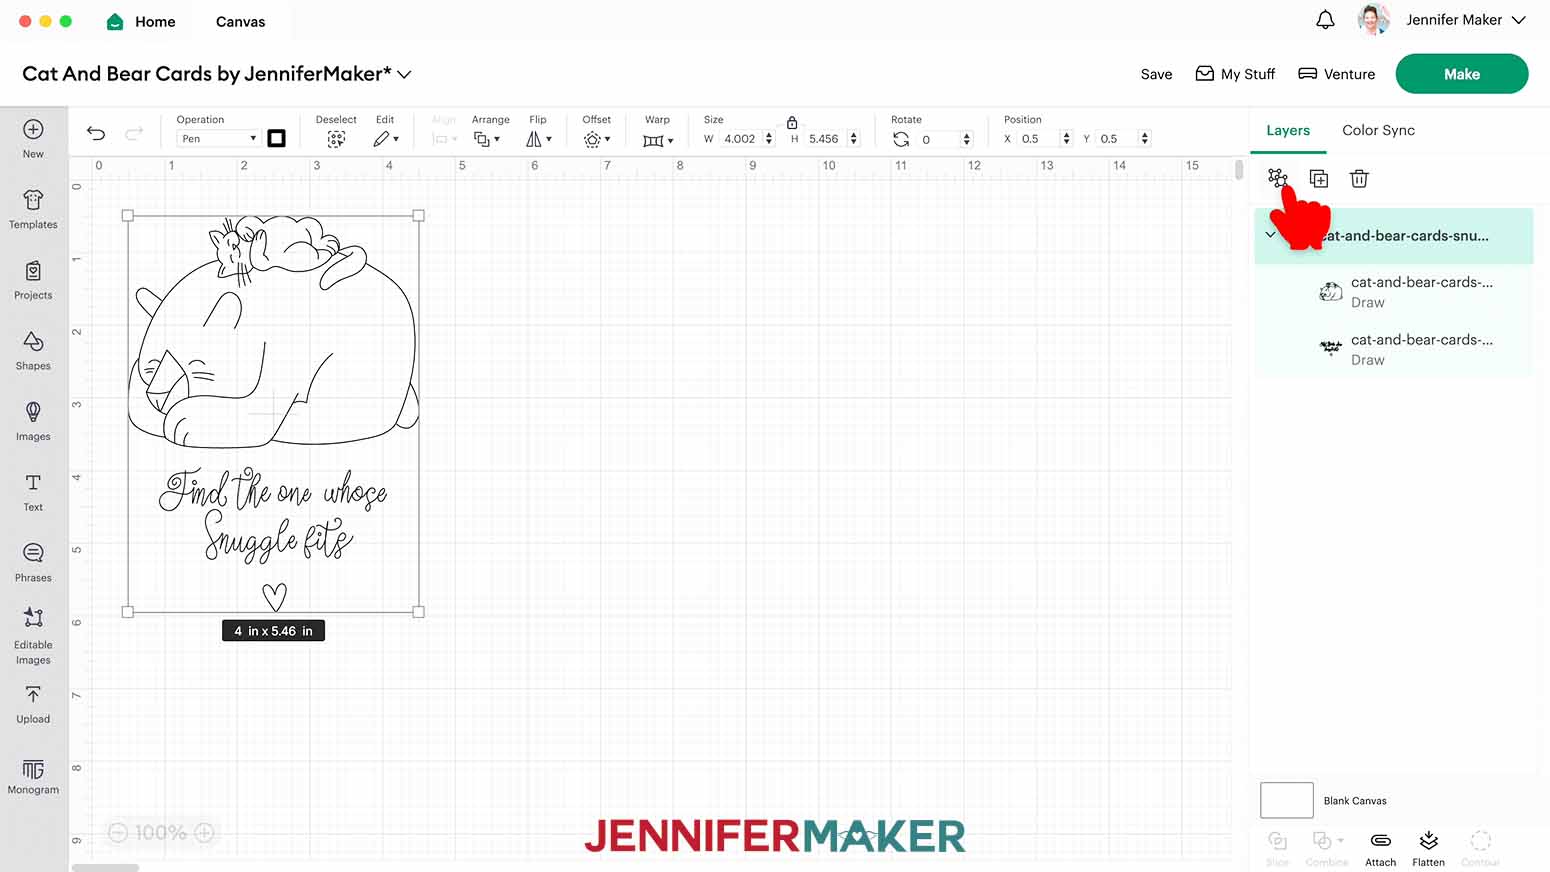
10. Select the illustration layer.
11. Click on the color swatch next to the Operation menu to open the Pen dropdown.
12. Select “M - Marker (1mm)” and then select the color marker of your choosing, making sure to select a color with “Infusible Ink” in the name.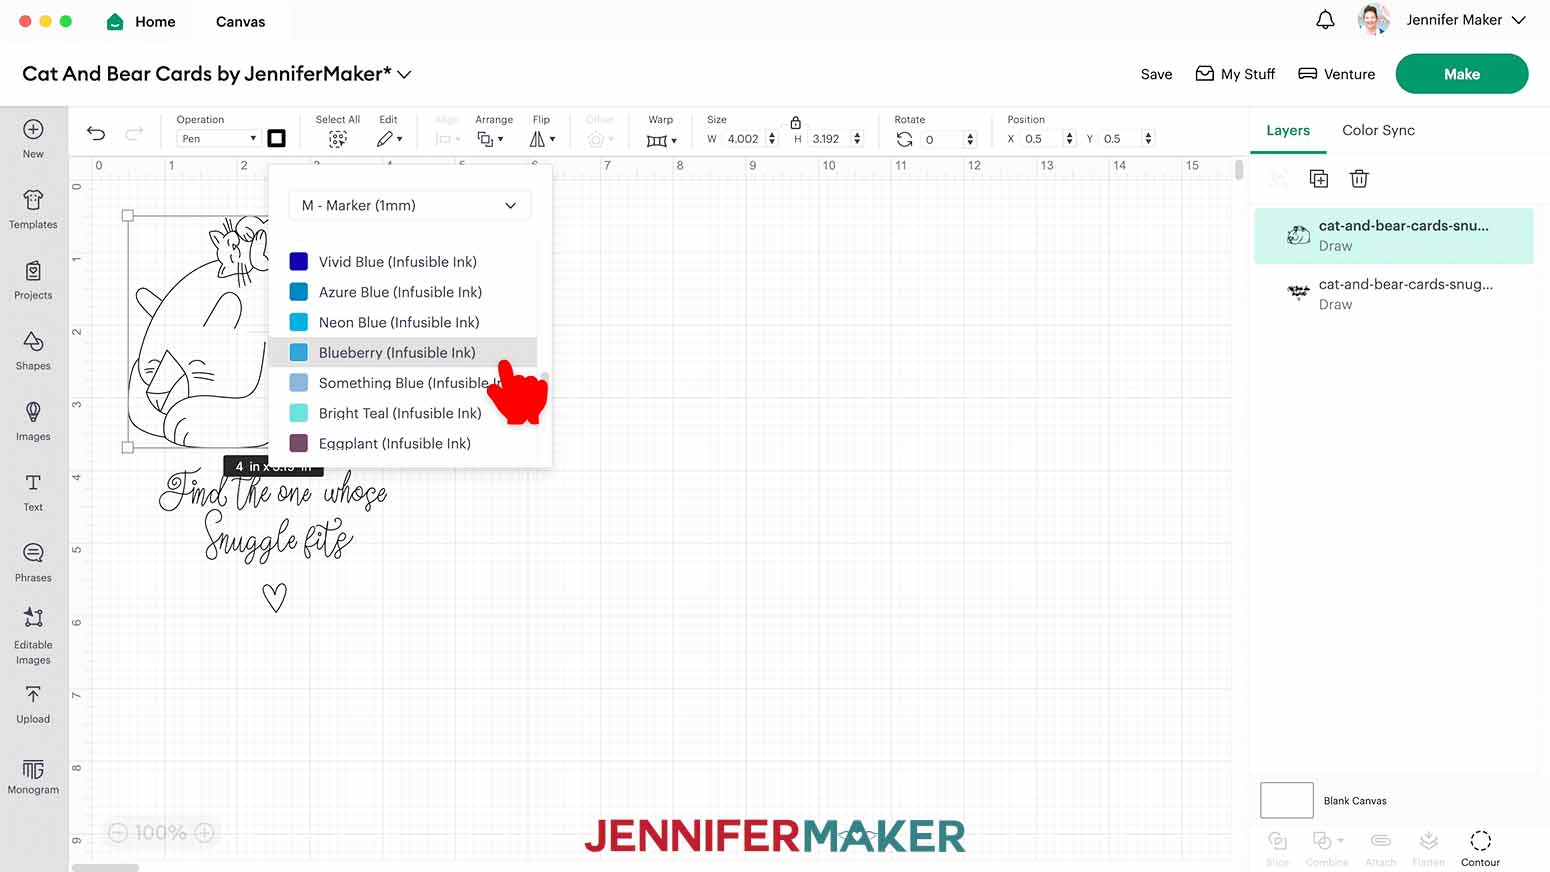
13. Select the sentiment layer.
14. Follow steps 11-12 to select “P - Fine Point (0.4mm)” and the appropriate infusible ink color.
15. To size your design for a 12 oz. mug, follow steps 2-7 above to add the “cat-and-bear-cards-12-oz-mug-template-jennifermaker-SVG” file to your canvas.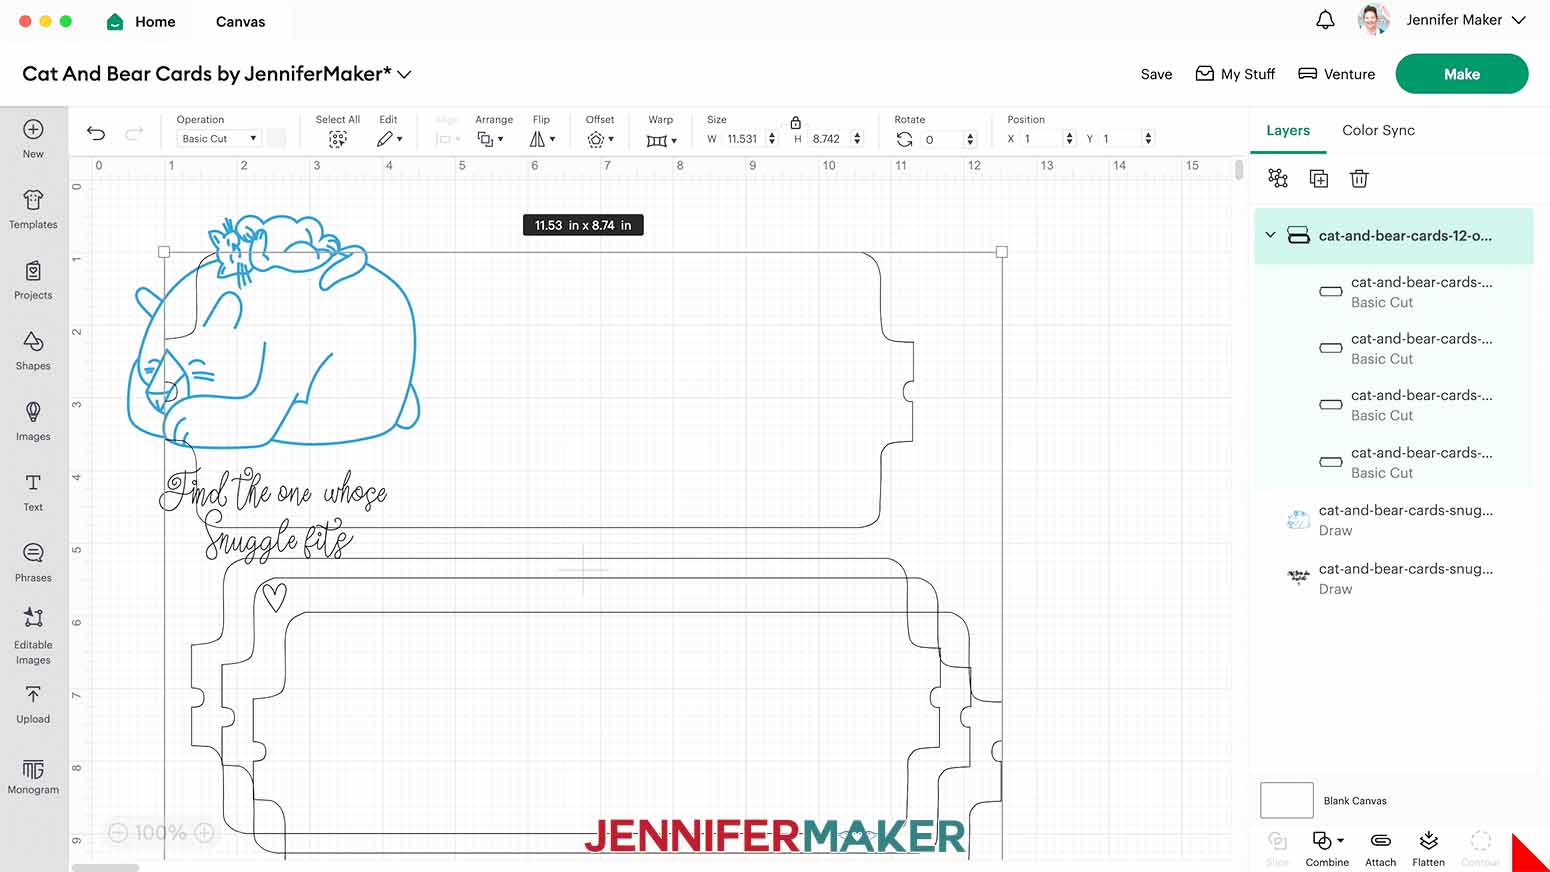
16. In the Layers panel, click on the top-level layer of the template design and click “Ungroup.”
NOTE: There are four template layers in the design - one for placing your artwork into and three for leaving blank and using as buffer sheets between your mug and the heat press.
17. Rearrange the illustration and sentiment layers so that they’re centered vertically inside the top template shape, and spaced approximately ½” apart from each other, and 1” in from each side.
TIP: If you’d rather not use the sentiment, you can hide or delete it and just center the illustration in the center of the template.
18. Select the top template, the illustration, and the sentiment layers and click “Attach.”
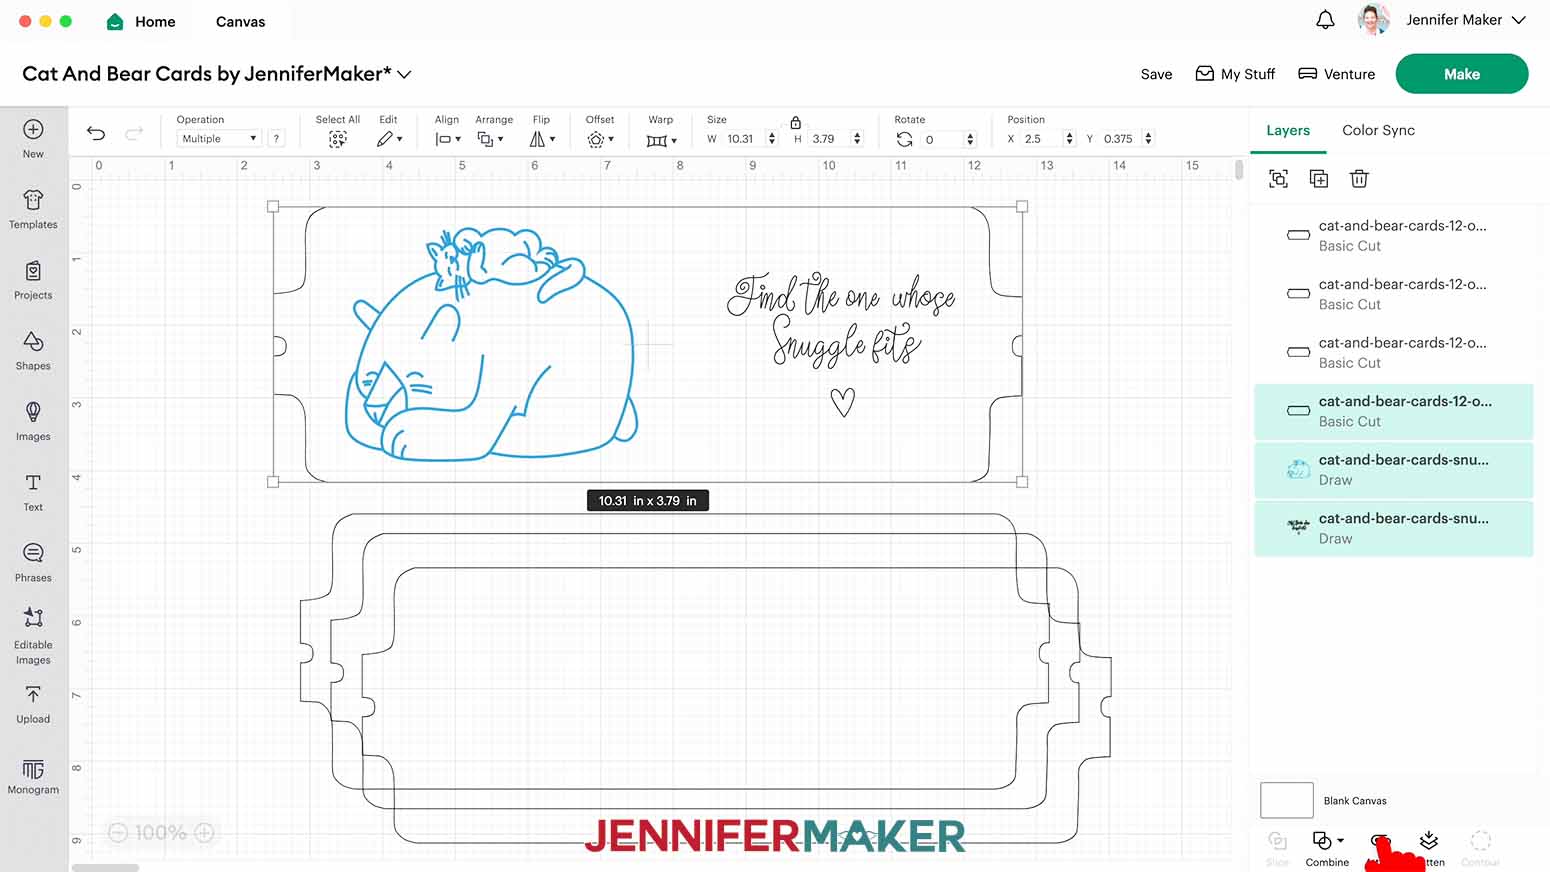
19. Your layers are ready to draw and cut!
20. Make sure the correct machine is selected in the top right.
21. Click “Make.”
22. On the Prepare Screen, select the Material Size of “8.5 in x 11 in.”
23. Select the second mat (with the artwork and template) and choose “Mirror.”
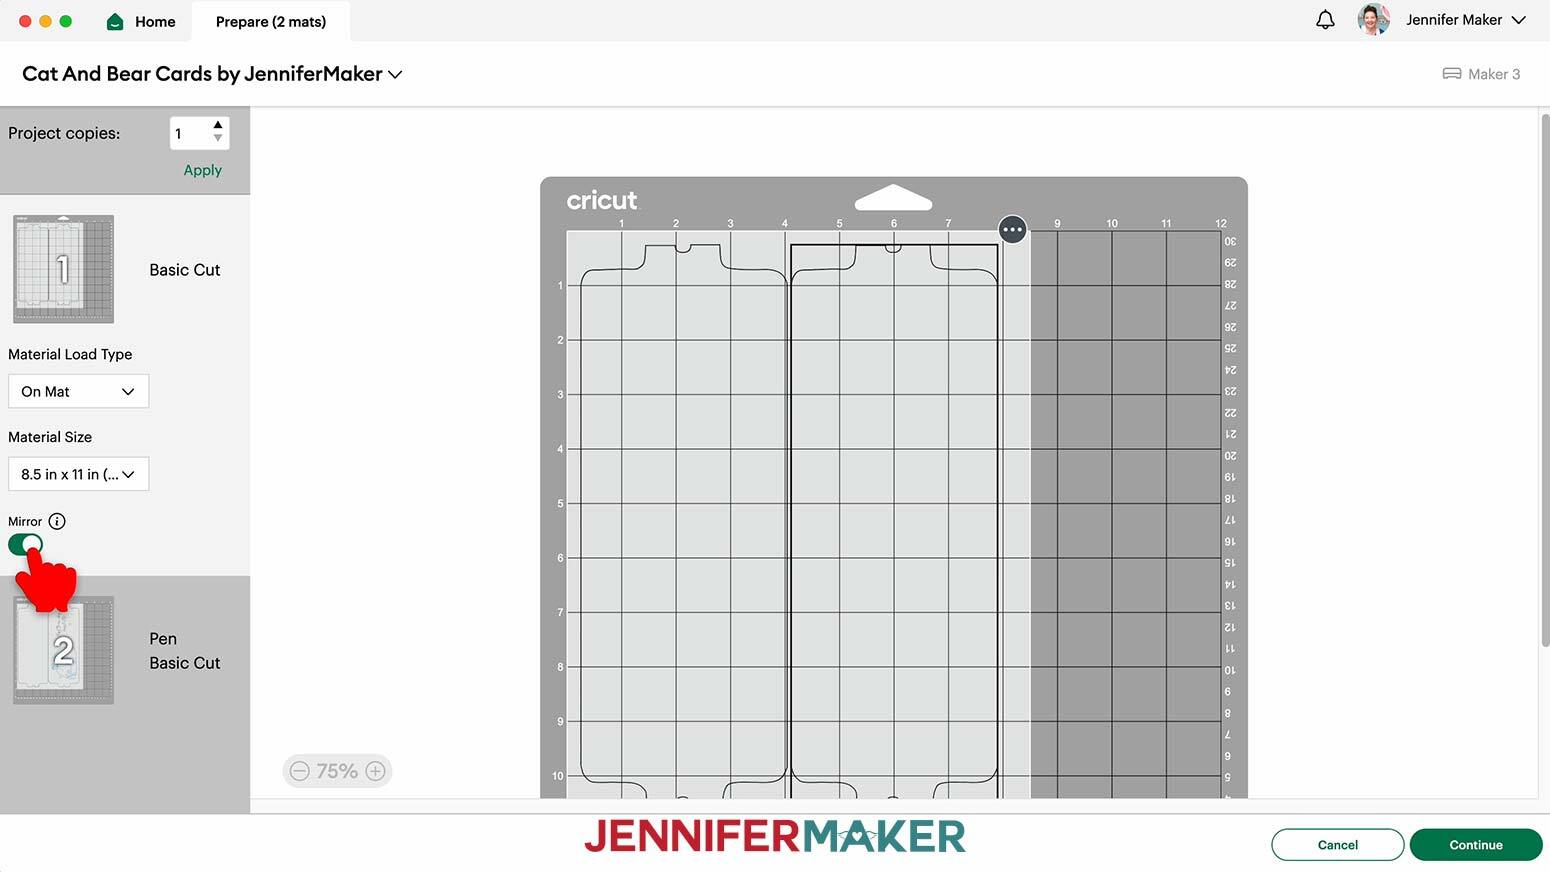
24. You should now have two mats, with the images rotated to fit the new material size.
25. Select the first mat and click “Continue.”
DRAWING/CUTTING
1. On the Make Screen, search for and set your Base Material as “Laser Copy Paper.”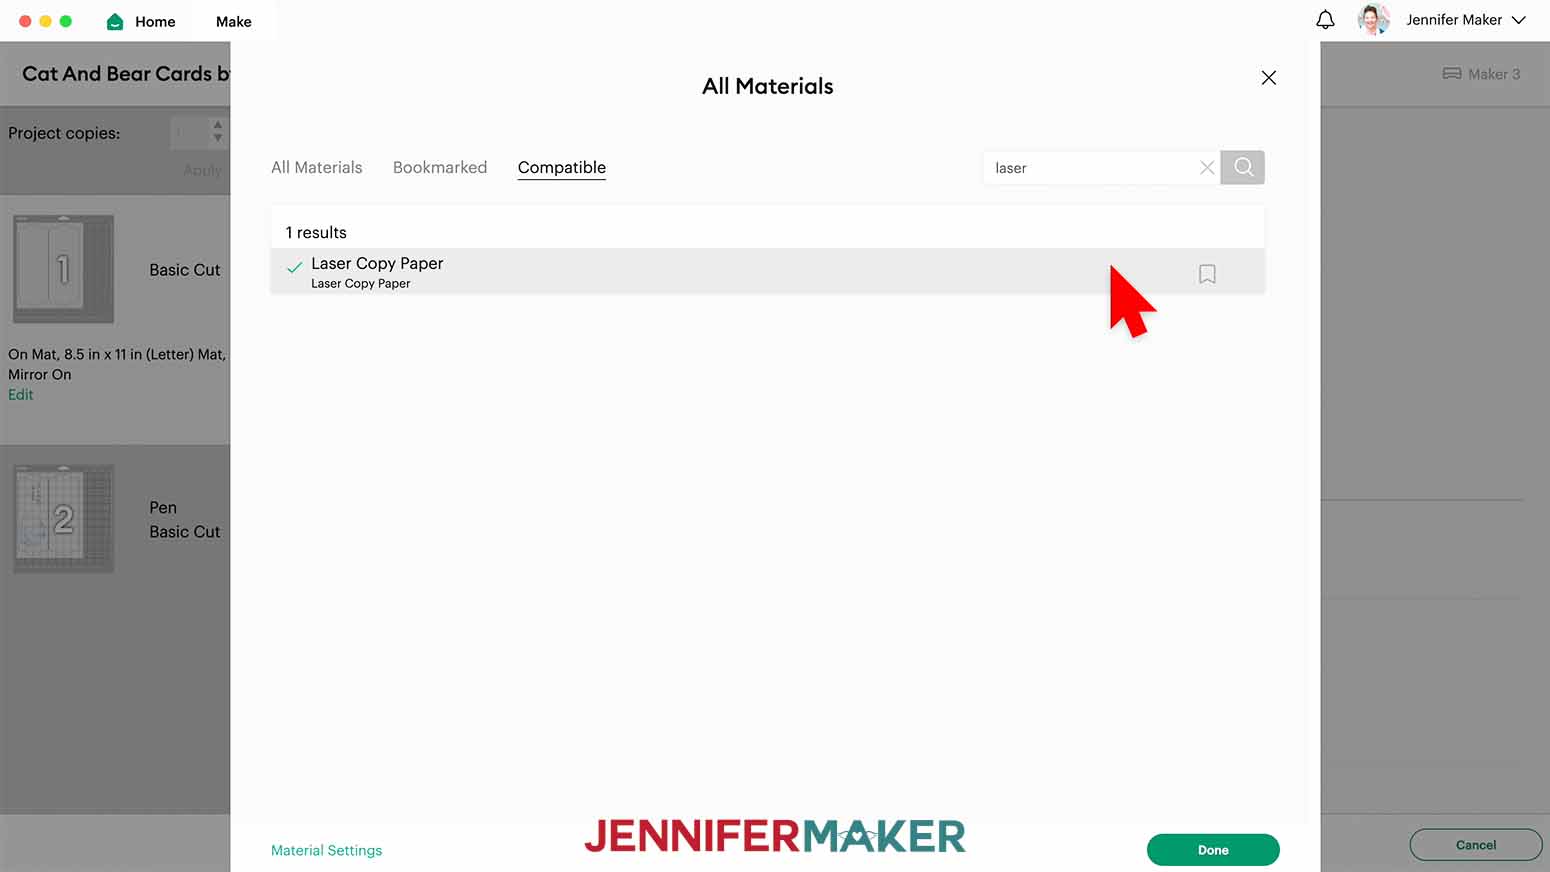
2. Change the Pressure to “More” for a cleaner cut.
3. Adhere a sheet of laser copy paper face up on a StandardGrip machine mat in a vertical orientation, using a brayer to ensure it is completely attached.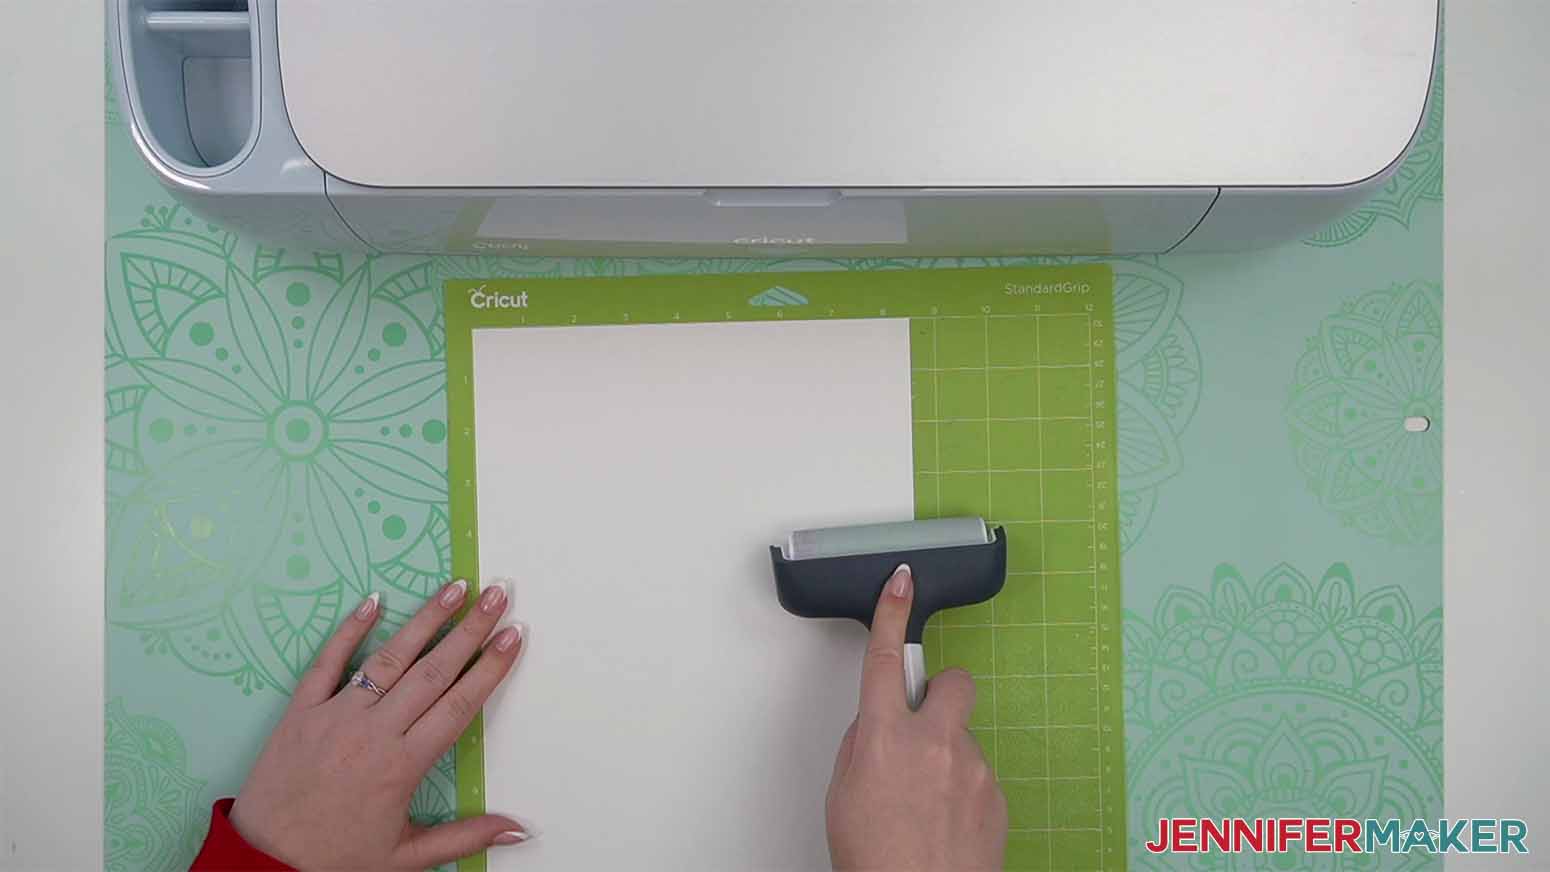
4. Make sure your Fine Point Blade is clean and loaded in the clamp.
5. Load your mat and press the flashing button to begin cutting.
6. When the machine has finished cutting your first mat, unload it and prepare your second mat following step 3 above.
7. Set your Base Material as “Laser Copy Paper.”
8. Make sure you have the specified pen loaded in Clamp A, and the Fine Point Blade loaded in Clamp B.
9. Load your mat and press the flashing button to begin drawing.
10. When it has finished drawing and cutting, unload the mat, flip it over, and carefully peel it away from the paper.
STEP 3: SUBLIMATE YOUR MUG
IMPORTANT: Infusible Ink is a form of sublimation, so remember to open a window or turn on a fan to help with ventilation!
1. Place a heat resistant pad on your table.
2. Set the Cricut Mug Press on top of the pad and plug it in. Press the power button to turn it on.

3. While the press warms up, take a lint roller and roll it around the surface of your mug.
4. Gather the four cut sheets of laser paper. With the sheet that has the drawing facing up and toward the mug, wrap the stack of sheets tightly around the mug with the ends coming together under the handle.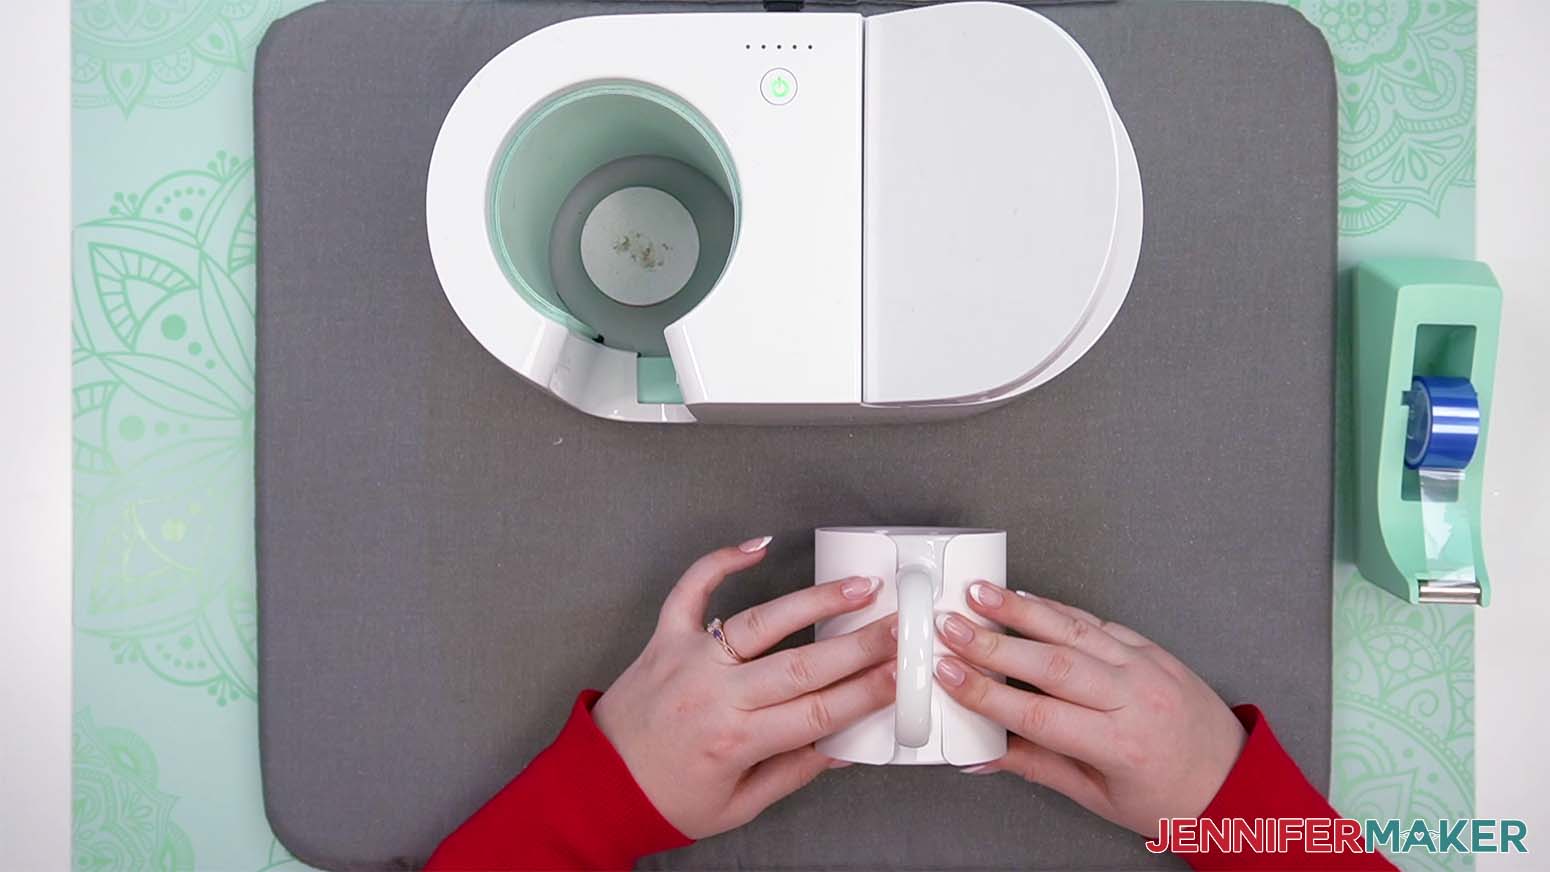
5. While holding the paper tight, attach a strip of heat resistant tape across the ends that join under the handle to hold them in place.
6. With the Cricut Mug Press powered on and the power button green, hold your wrapped mug by the handle and place it in the heating chamber, with the opening at the top.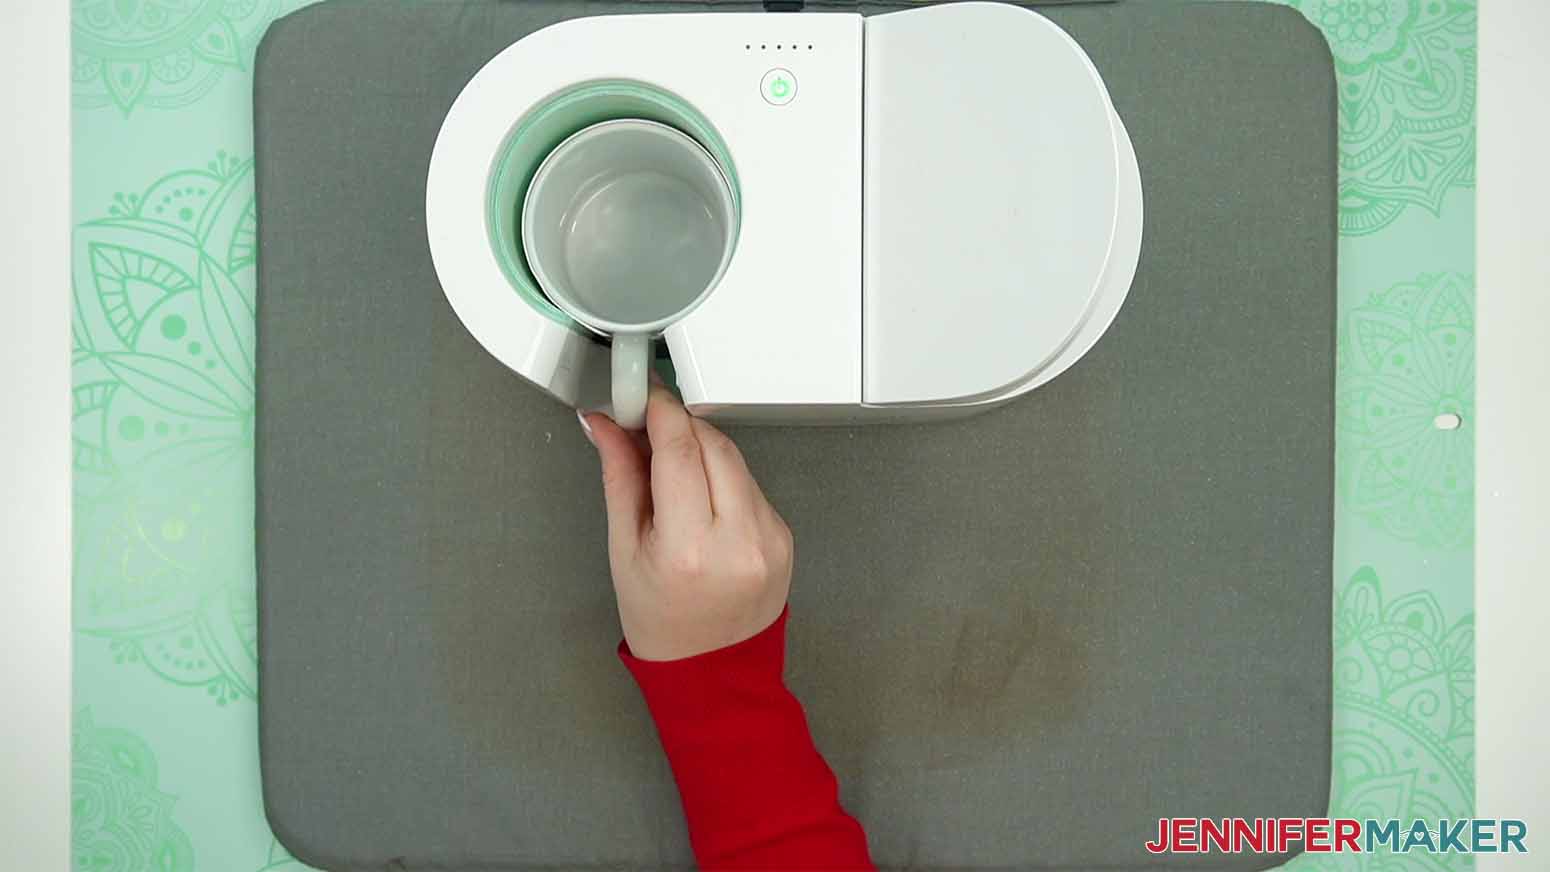
7. Pay attention to where the mug handle is and make sure the heat plate appears to be covering all of your design. I usually move my handle a bit to the left rather than center it.
8. Now close the clamp on the top of the Cricut Mug Press and check that the heat plate is still covering your design. If not, immediately open the clamp, reposition the mug, and close the clamp again.
TIP: Closing the clamp starts the pressing process. There is no other button to push or settings to worry about. The Cricut Mug Press takes the temperature of your mug and the ambient temperature of your room, and determines the correct settings for you. The little lights on top of the Press indicate the progress — an average mug takes about six minutes to press.
9. When the Cricut Mug Press is finished, it will beep at you. Lift up on the clamp to release it and pull the mug out by the handle, which will NOT be hot.
NOTE: Be careful not to touch the heat plate with the back of your fingers or touch any other part of the mug, as it WILL be quite hot.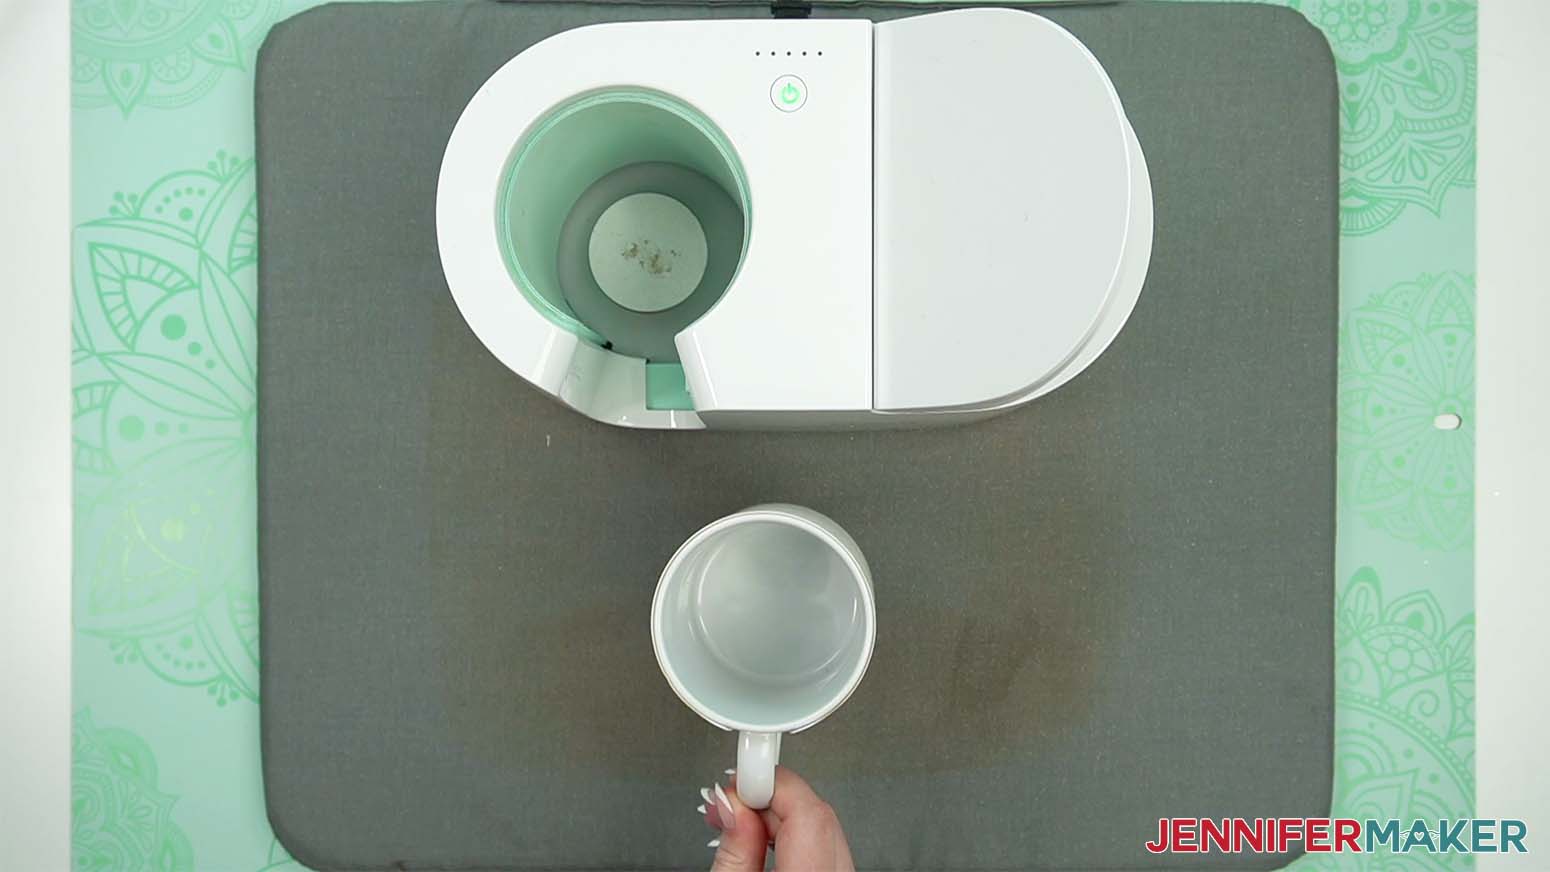
10. Immediately place your mug on a heat-resistant surface to cool. (I place my mug on the same mat I am using for the mug press itself.)
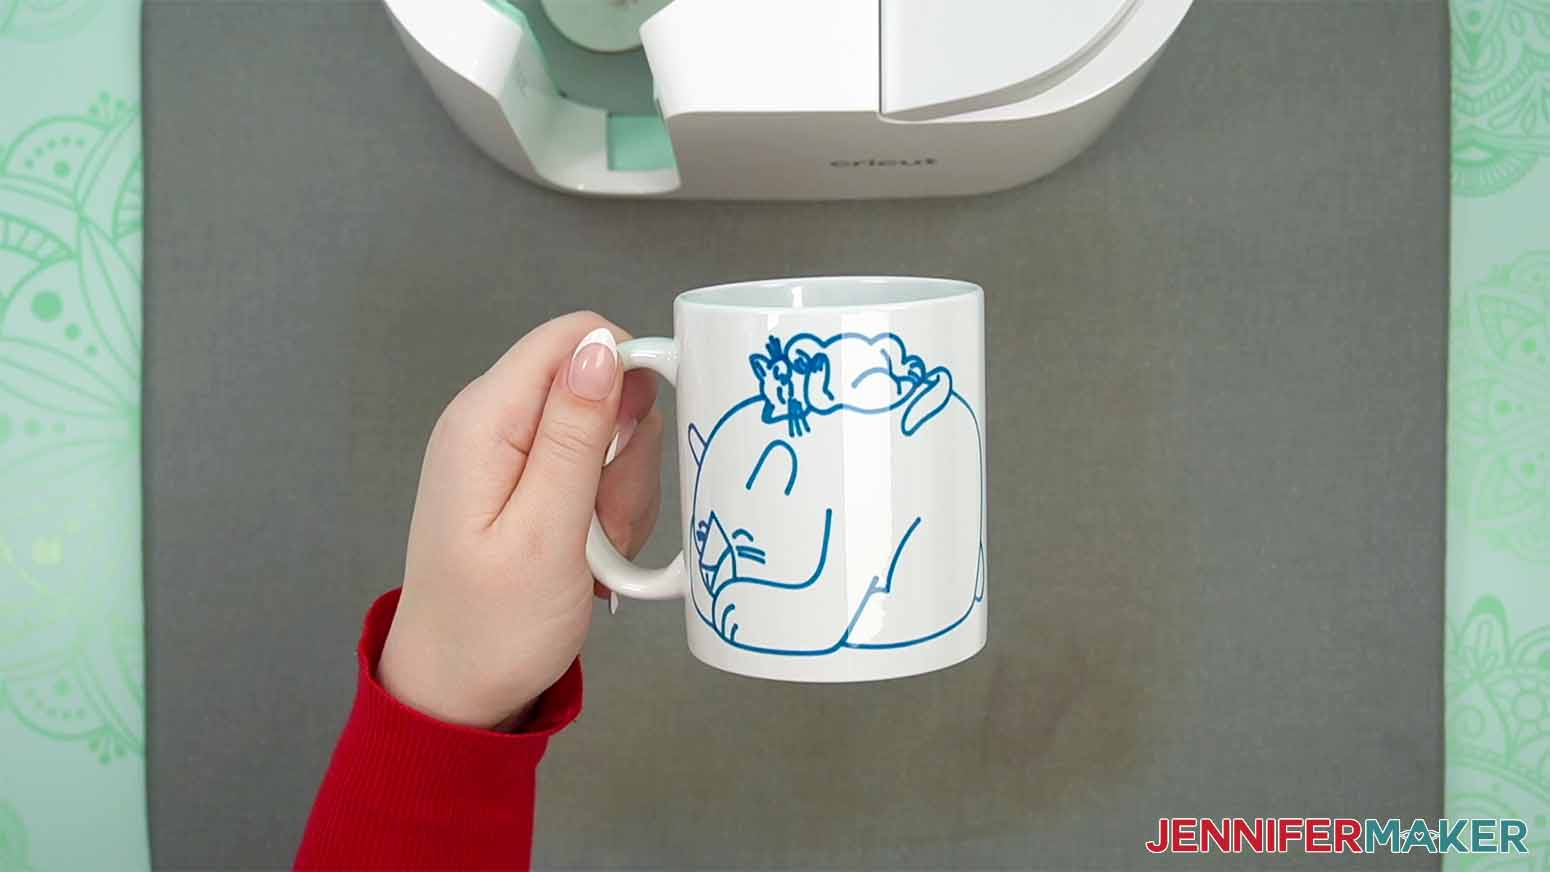
11. Allow the mug to cool down before you remove the transfer sheet. This takes anywhere from 15 to 30 minutes.
12. When the mug is cool enough to handle, remove the tape from under the handle and unwrap your beautiful mug!
STEP 4: SHOW IT OFF!
Here is what my finished Cricut pen and marker projects look like when completed!
Notes
Card Finished Size: 4.75” x 6.625” when folded
Poster Finished Size: 24” x 28”
Mug Finished Size: 3.25” x 7.75” print
Typefaces are all hand-drawn
Answers To Your Questions About How To Draw With Cricut
Q: Is it easy to draw with Cricut?
A: Different Cricut projects have different levels of difficulty, but overall — YES! My advice would be to start the simple, easy way, then work up to more complex designs with different pens and markers.
Q: Can you sell items made with Cricut?
A: As long as you’re using original designs with elements and typefaces that are free for commercial use, you can sell items made with a Cricut.
Q: Can you make cards on Cricut without card mat?
A: Cricut makes a special mat that helps with making cutaway and insert cards. It can be handy for batch-making cards, but I usually prefer using a green StandardGrip machine mat for pretty much everything.
Q: How do I draw with my Cricut?
A: In Design Space (Cricut’s software) select the draw image layer and change the Operation to Pen. Then use the little color box to select the type and color you want to use. When you get to the Make screen, follow the prompts to put the correct pen or marker in the clamp as needed. If you want to add a text layer, make sure the font you pick has a Writing Style to avoid the dreaded bubble letters in the text box. There are several Cricut fonts that work well, but you can also download my free typeface for writing text, JM Tall. Any Cricut machine can draw with the correct tool, Cricut Explore Air
Q: How do I set my Cricut to draw instead of cut?
A: Select the layer you want to draw, then click the Operation type drop-down menu. Click “Pen” and your Cricut will know what to do.
Q: Are Cricut pens and markers colors accurate?
A: Most Cricut pen colors are, but the Infusible Ink can vary. cardinal red marker always looks more pink.

Get my free SVG files to draw with Cricut!
I love seeing what you make with my designs and how you use them! Please share a photo of your drawings in our Facebook group or tag me on social media with #jennifermaker.
Love,

Want to remember this? Save this tutorial on How To Draw With Cricut Pens And Markers to your favorite Pinterest Board!