
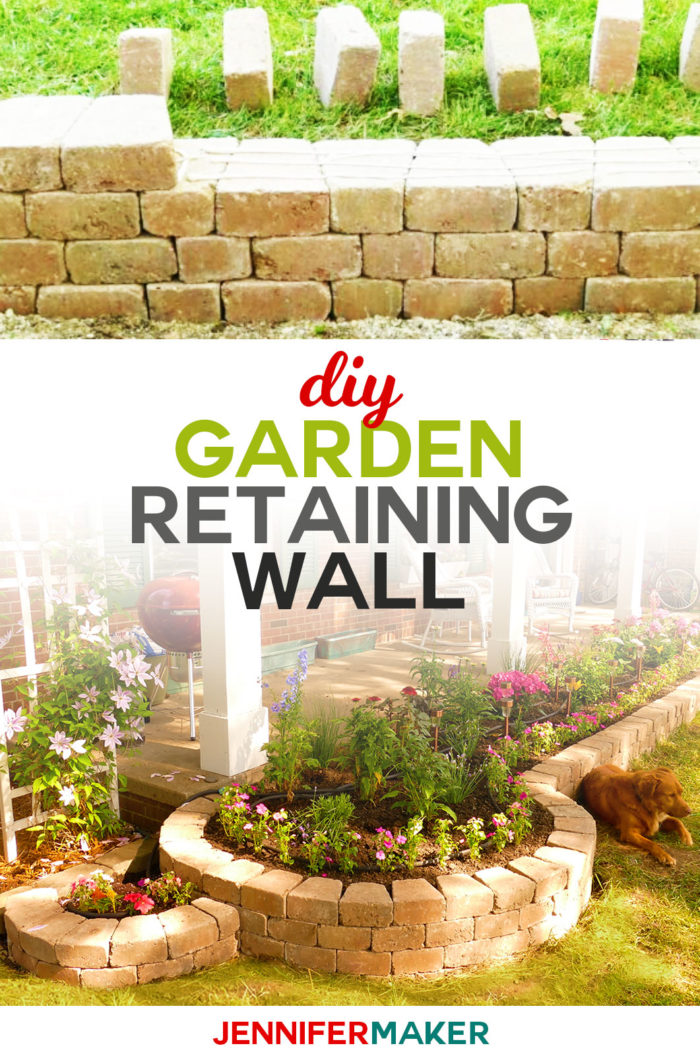
You can build retaining walls that look fabulous, last for decades, and costs far less than hiring it out. Our DIY retaining wall was built in a weekend and had a garden growing in it within days.
I love growing flowers! You may have seen my gutter garden already. And ever since the day I moved into my house nearly 13 years ago, I’ve wanted a raised flower bed with a retaining wall made of tumbled bricks. What took me so long? I thought it would be a crazy amount of work AND expensive. But once we decided to do it, the project took only two days and cost far less than I was expecting. And now our new DIY retaining wall houses a brand-new perennial garden and gives our house fabulous curb appeal. You can do this, too!
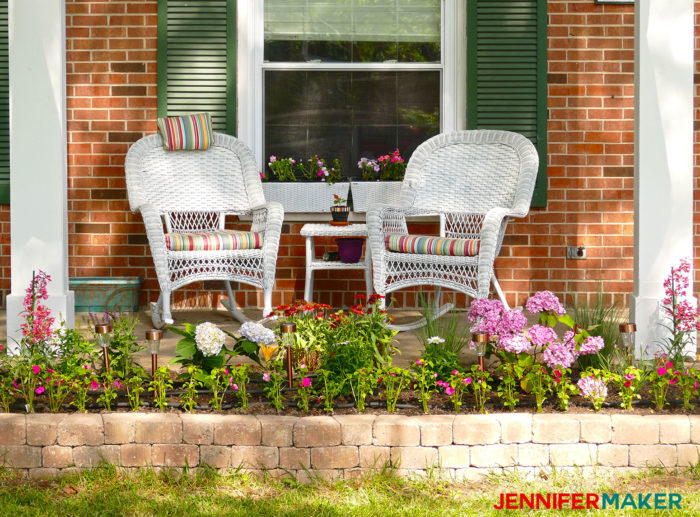
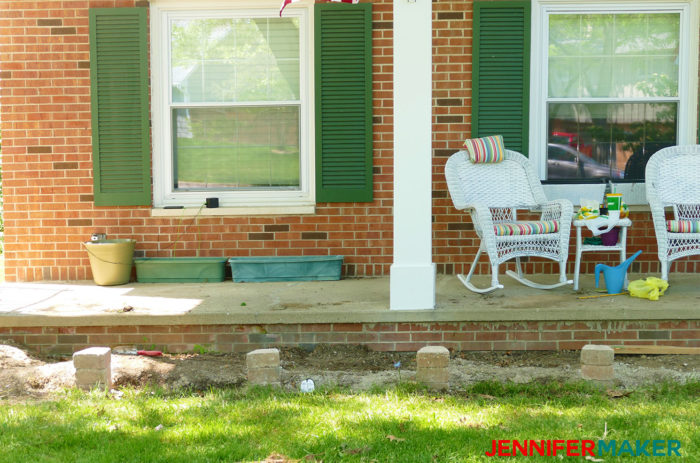
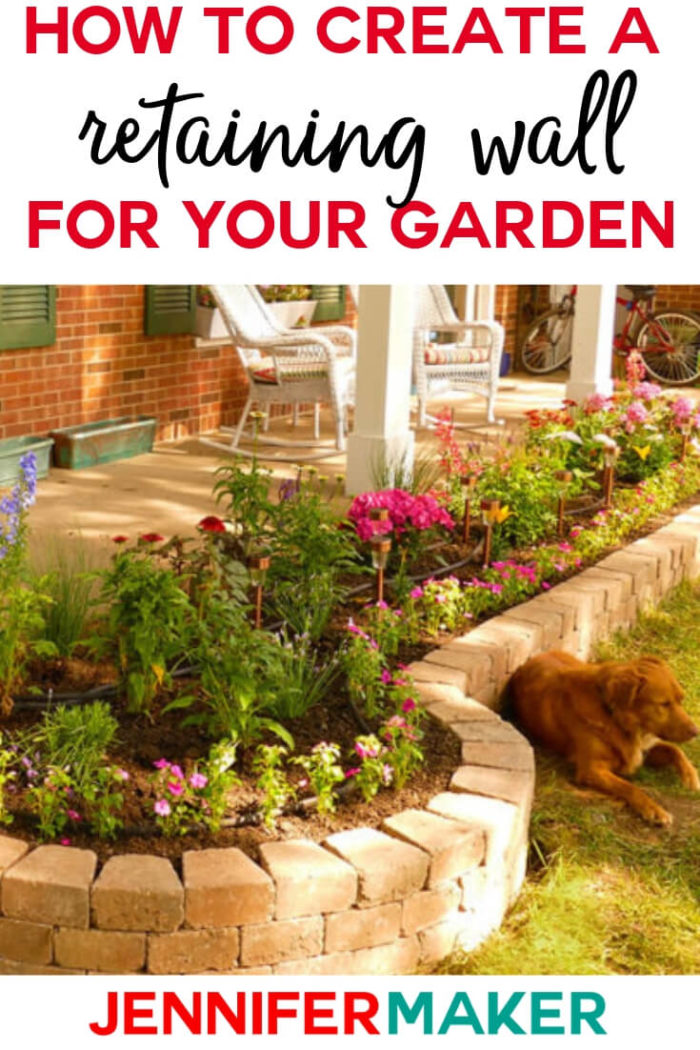
Here’s our new flowerbed with the DIY retaining wall made with tumbled bricks. (The flowers are all freshly planted, so they still need time to fill out.)
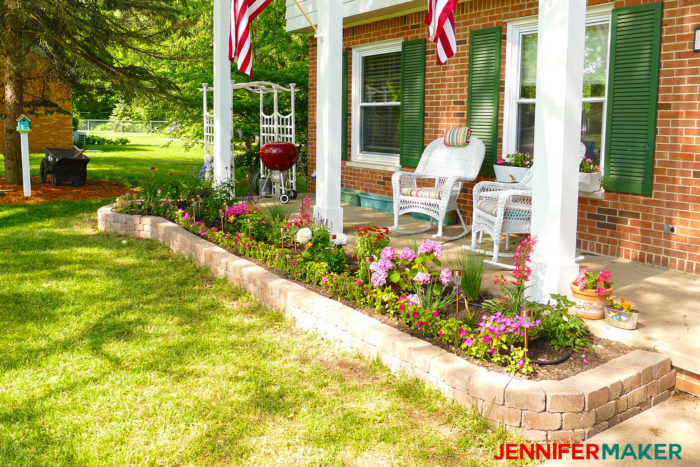
For the new flowerbed, we decided we wanted our retaining wall to be the same basic height as our elevated front porch. We kept it the same depth (42″ deep) and length (24′ long).
You may have different size requirements for your DIY retaining wall, but keep in mind that different blocks have different height maximums. Our blocks could build freestanding walls up to 2 feet high. And I should note here that while what we built is retaining the soil behind it, it’s also considered a freestanding wall. Our retaining wall would be classified as a gravity wall, according to Wikipedia’s entry on retaining walls. Technically, our wall looks good on both sides, so you can use this tutorial to create a seat wall or garden wall, too.
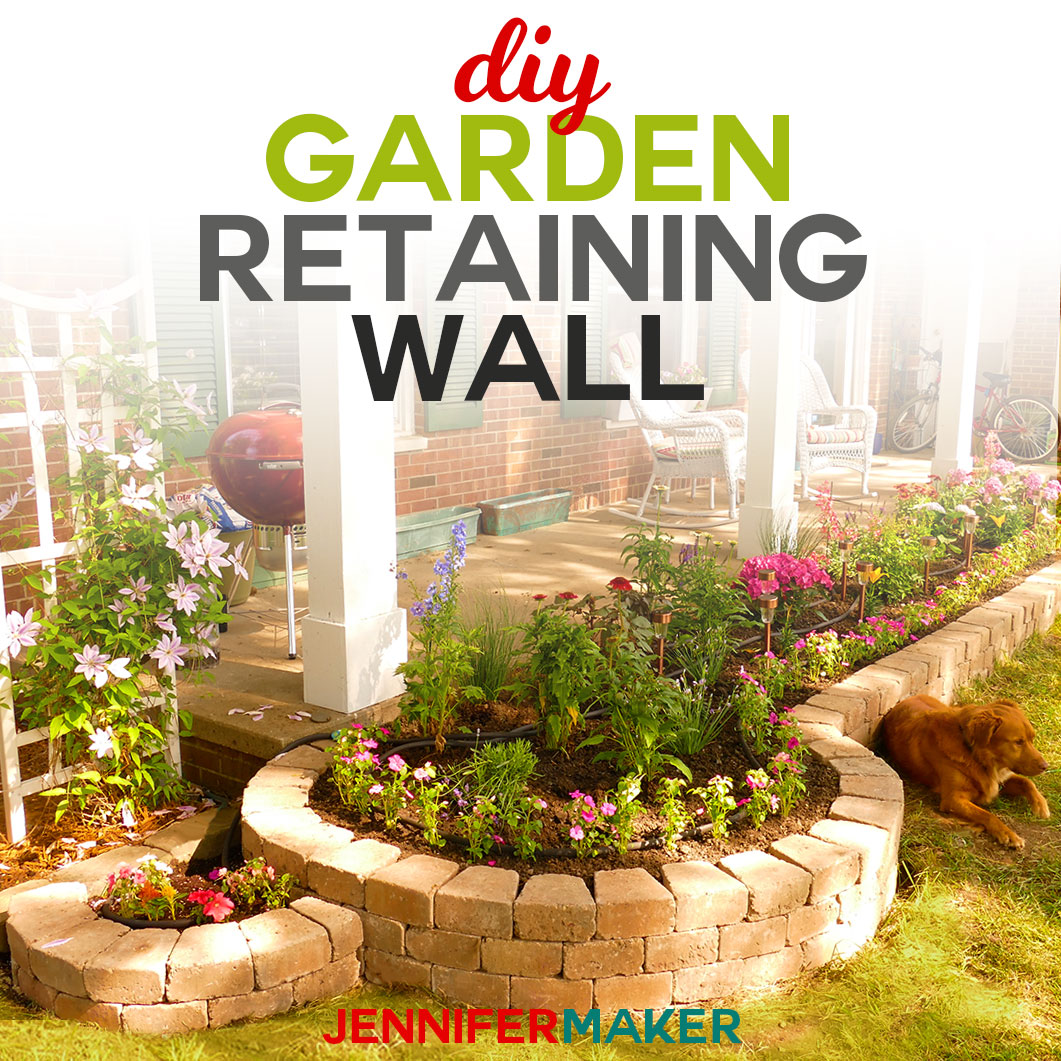
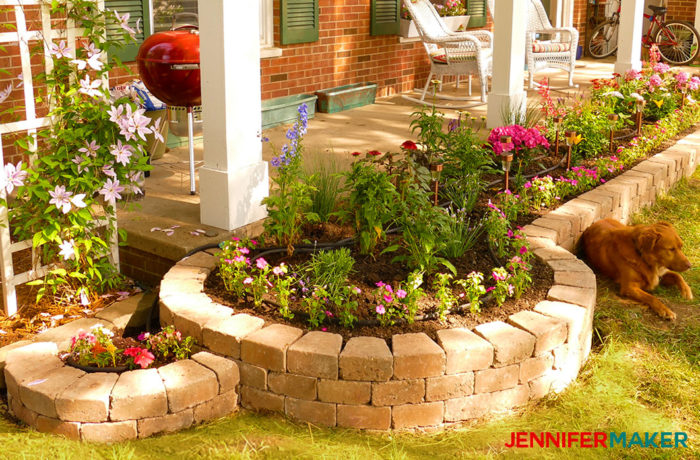
One of the fun features of this retaining wall is the curved circular anchor at the end of the garden. We added a lower, second section of bricks next to it to tie it in with the arbor area. This is one of my favorite parts of the garden!
I’m going to show you our tips and tricks to building retaining walls step-by-step in this tutorial! This post contains some affiliate links for your convenience (which means if you make a purchase after clicking a link I will earn a small commission but it won’t cost you a penny more)! Read my full disclosure policy.
Materials and Tools for DIY Retaining Wall Construction
- Freestanding wall bricks in a wedge shape (we used 3-1/2″ x 7″ Belgian Wedge Wall Blocks from Menards)
- Paver base
- Paver leveling sand
- Landscaping adhesive (we used and recommend this brand)
- Caulking gun
- Landscaping fabric
- Wood scraps to create a measuring device
- Level
- Shovel
- Broom
- Garden Hoe
- Mason’s chisel and Sledgehammer (if you need to break bricks)
How to Build Retaining Walls
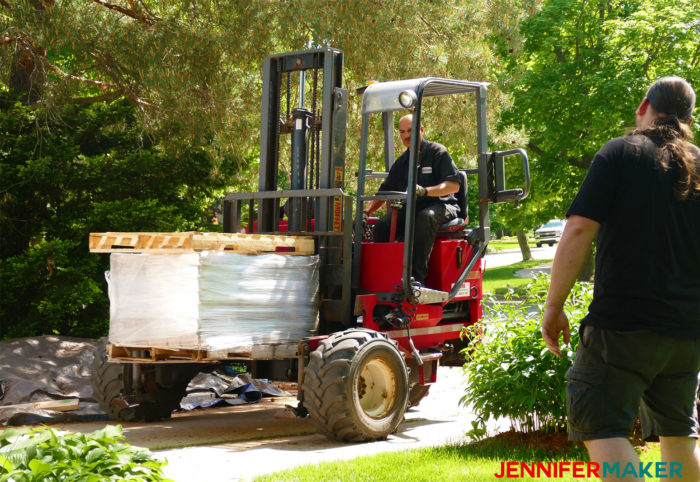
First, determine how long and how high you want your retaining wall. Note that some cities and townships require a permit if you build a wall taller than 4 feet. Also keep in mind your wall will be below ground a bit. Ours is about 4″ below ground to give us a really solid foundation. Figure out how many bricks fit within a given space, then multiply that by the number of courses (levels) of your wall. We needed 264 bricks, just shy of one pallet’s worth of bricks. So we ordered them at Menards and had them delivered.
Super Awesome Tip: Have your retaining wall bricks delivered if at all possible. It will save you SO MUCH TIME AND WORK! It was only $60 to have a pallet of bricks delivered right to our yard. So easy.
Mark off the area where you plan to put your retaining wall. If you’ll have a curve, as we did, you can lie a garden hose along the ground to mark it (for better curves). Or do what we did and create a circle using a stake and a piece of string (just tie the string to the stake, put the stake where you want the center of your circle to be, and move the string around the stake to mark a perfect circle). Our flowerbed already had some old bricks along the edge, so we simply had to remove the bricks.
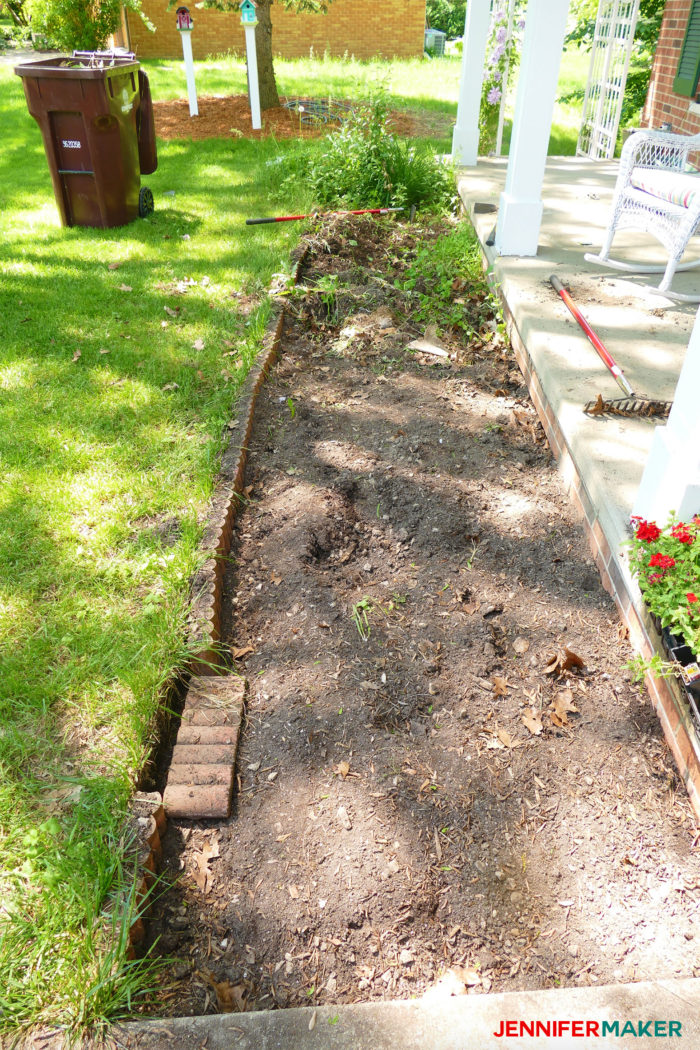
Using a shovel, dig a trench under the area where your bricks will go about 4-6 inches deep.
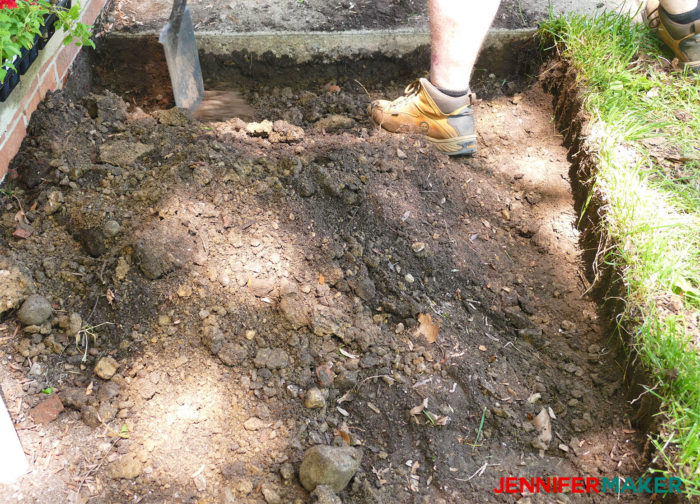
This is the look our dog Hunter gave us as we began tearing up his favorite digging area. (Yes, our decision to make an elevated flowerbed was due in part to our desire to keep the dog out of the flowers!)

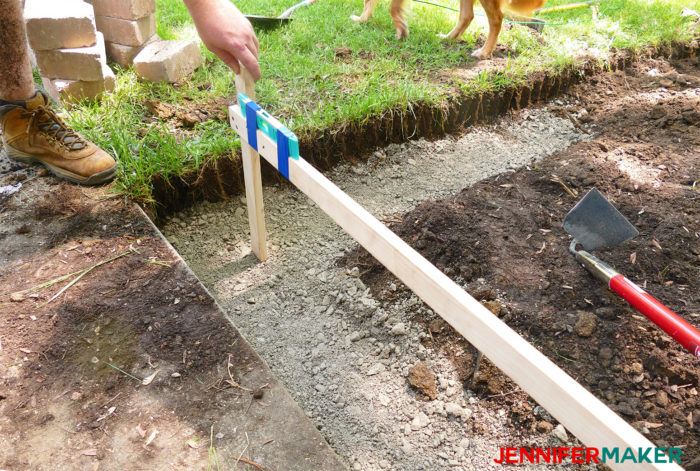
To help us get the trench the right depth for the DIY retaining wall, we taped our level to this “L”-shaped wood stick. You can make one out of scrap wood like we did if your space supports measuring this way. This little makeshift tool saved a lot of time and helped us get our wall straight!
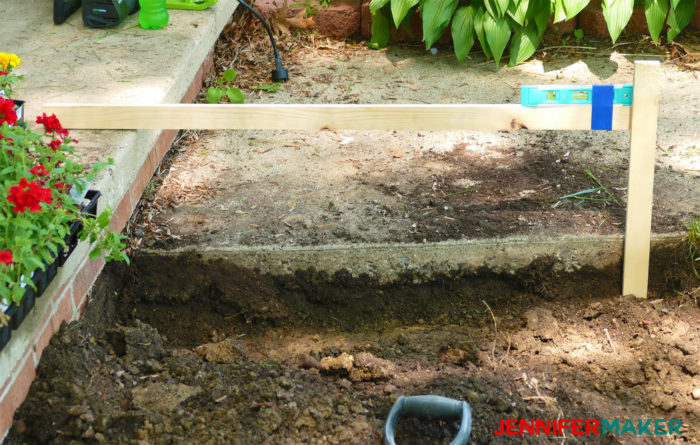
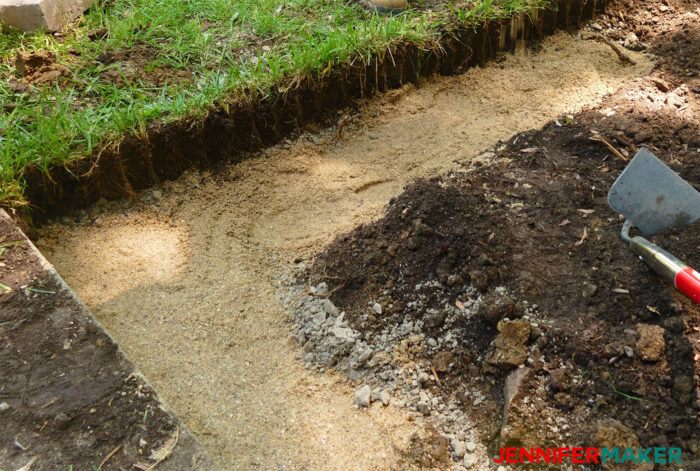
Now you want to create a leveling pad with a non-frost susceptible, well graded, compacted angular gravel-sand mixture. The leveling pad should be a minimum of 4-inches thick. We used 10 bags of paver base for this. Our measuring stick came in handy for this, too.
Next, you put your leveling sand on top of your gravel base, making sure it stays level as you go. Compact it down as you go. You really don’t want to skip these two steps or you’ll wind up with a retaining wall that sinks or — worse — falls over after a cold winter.
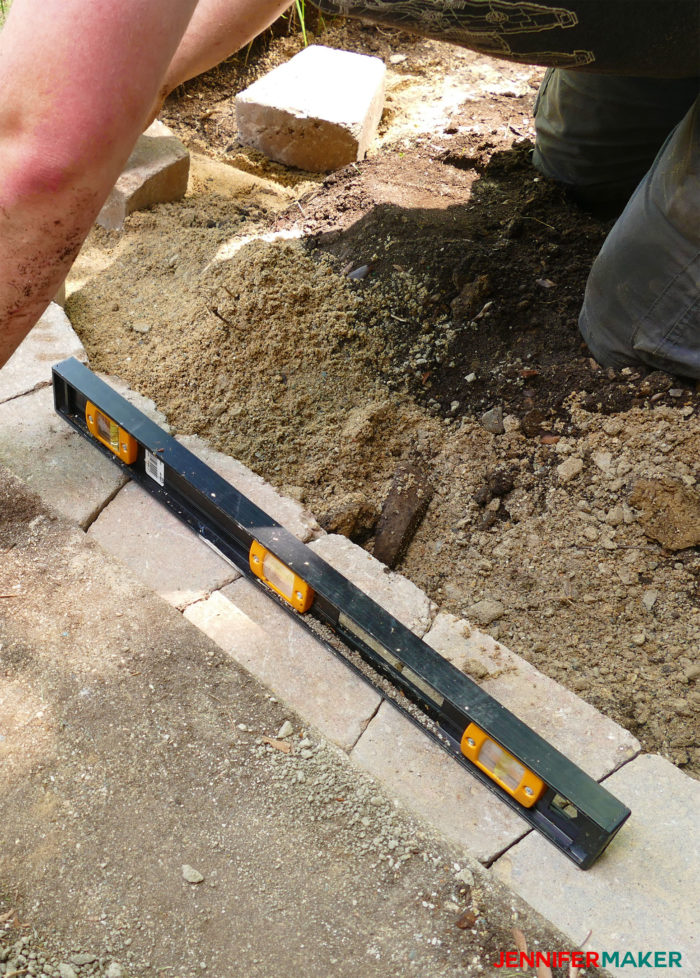
It’s finally time to put your bricks in! Once the top layer of fill material is compacted and level, place the base layer of blocks. The base layer should sit at least 1 to 2 inches below grade to help further prevent shifting. (Ours is a little deeper than that simply because of the nature of this flowerbed.) Place the bricks next to one another closely, using your level as you go along to keep them straight. If you’re using wedge-shaped bricks like we are, you’ll want to turn them 180° to one another to form a straight line.
Turning a corner in a retaining wall with wedge-shaped bricks is super easy. Just keep about 4-5 bricks in the same orientation and you’ll turn 90º.
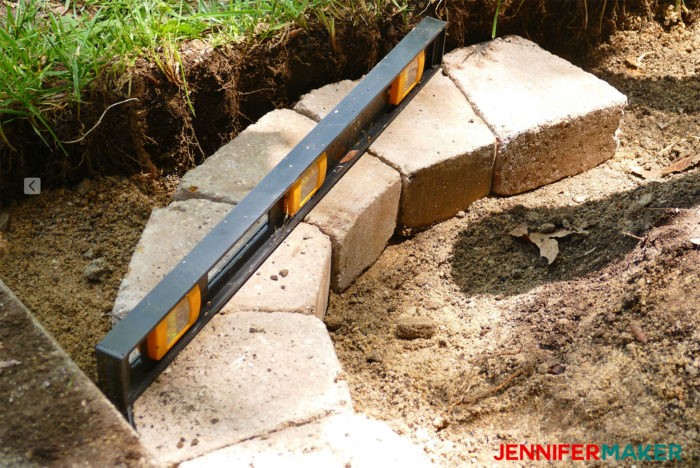
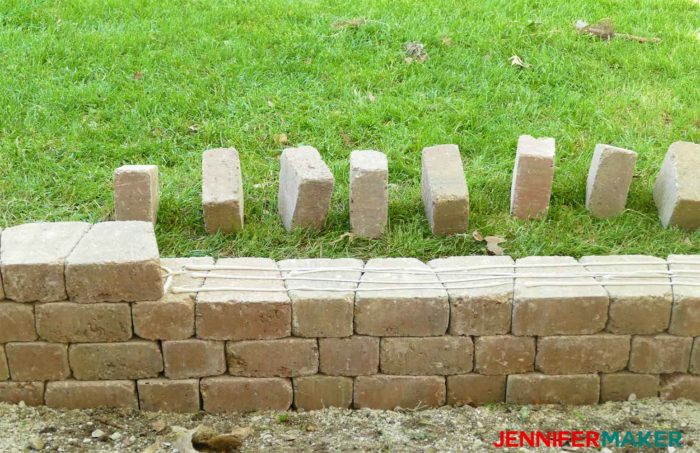
Once we finished the first course (level) of our garden wall, we took a step back to check our work. To get an idea for height, we stacked bricks up to the right size and checked to see if everything still appeared level. It did!
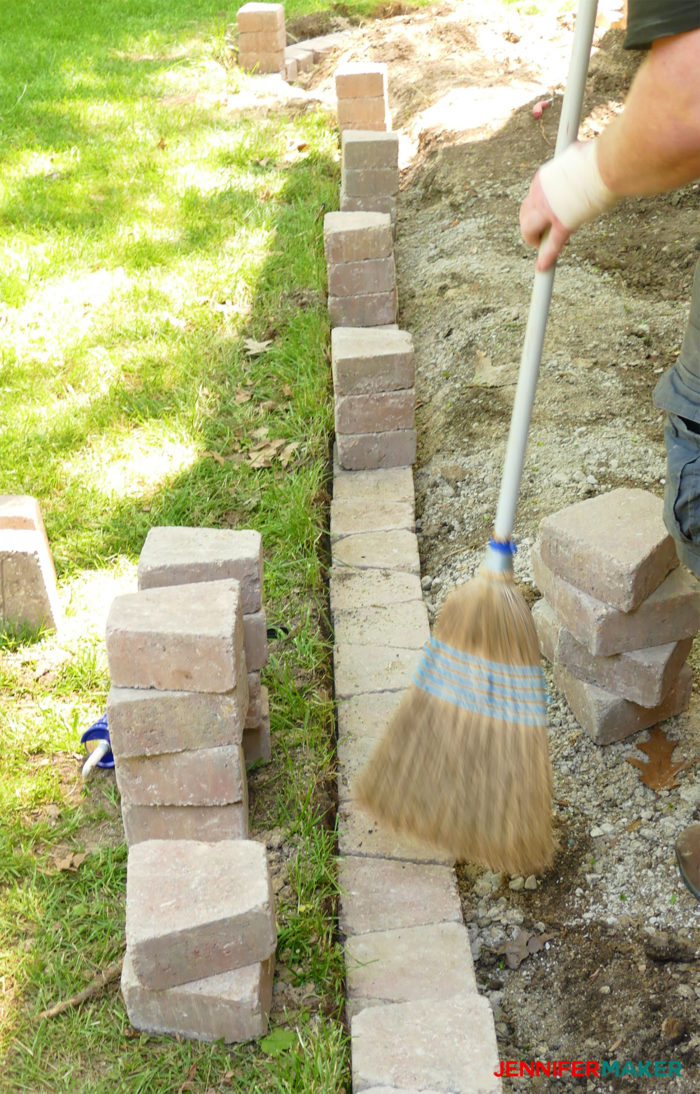
Once you’re confident of your foundation bricks, you’re ready to put on the next course of bricks. Begin by sweeping the foundation layer of bricks free of dust and debris.
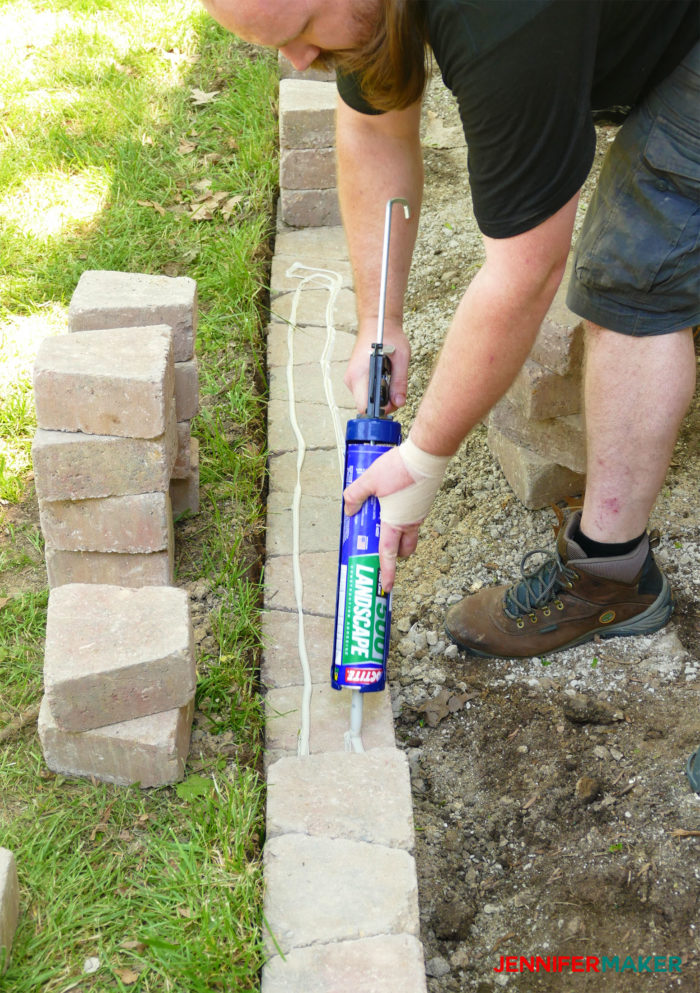
Now, put a generous amount of landscaping adhesive on top of the bricks. This adhesive is necessary to keep the bricks in place.
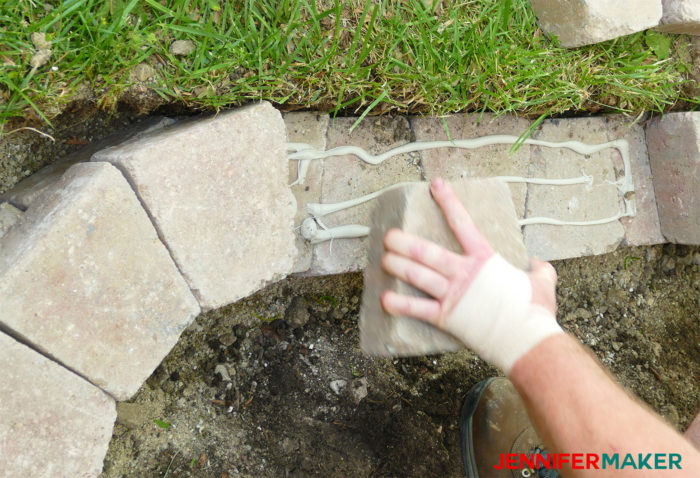
We placed our bricks offset so that the next level completely covered the joint between the previous level. This makes for a sturdier retaining wall!
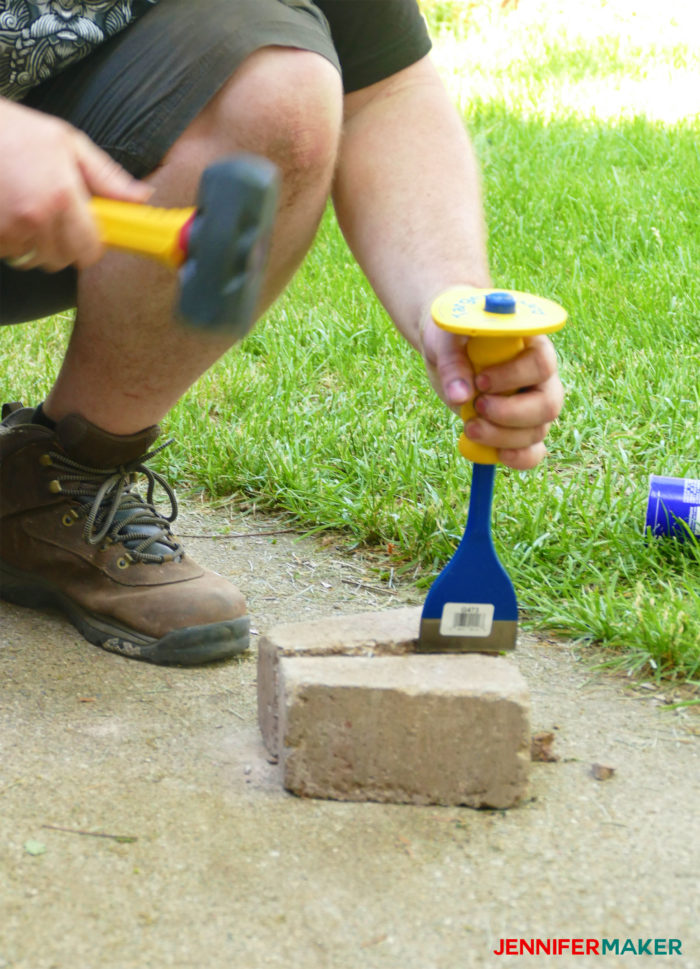
If you need to break bricks into smaller sizes to fit up against a wall, as we did, use a mason’s chisel. To break a retaining wall block, score the brick along the point at which you want it to break on all sides. Then place the chisel in the score mark and strike it with your hammer.
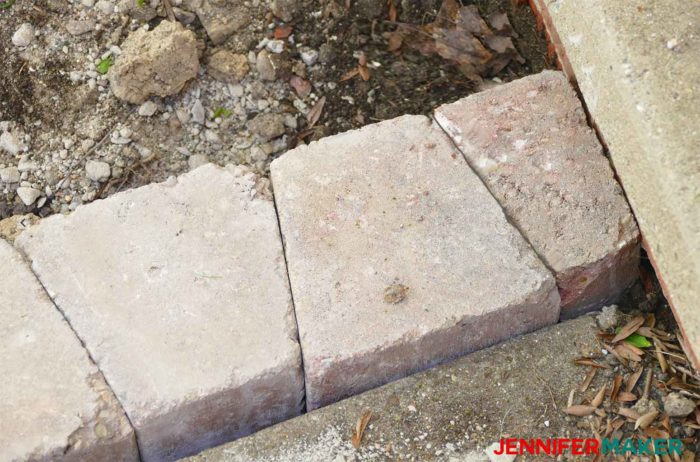
Here is an example of a brick we chiseled in half to fit against our porch.
Now just repeat the steps until you have your garden wall the height you want.
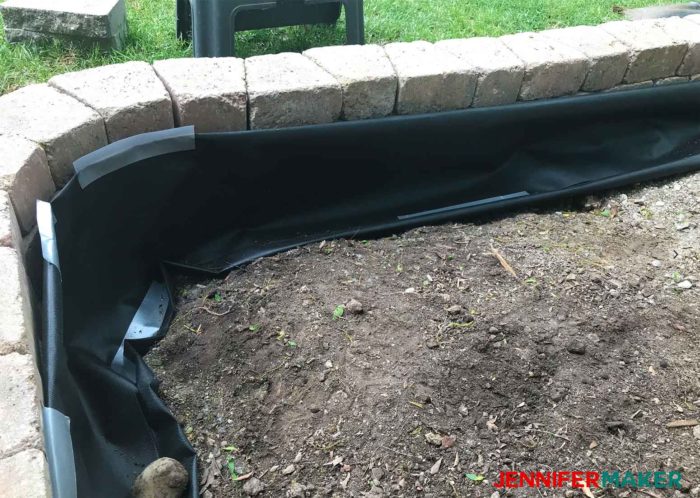
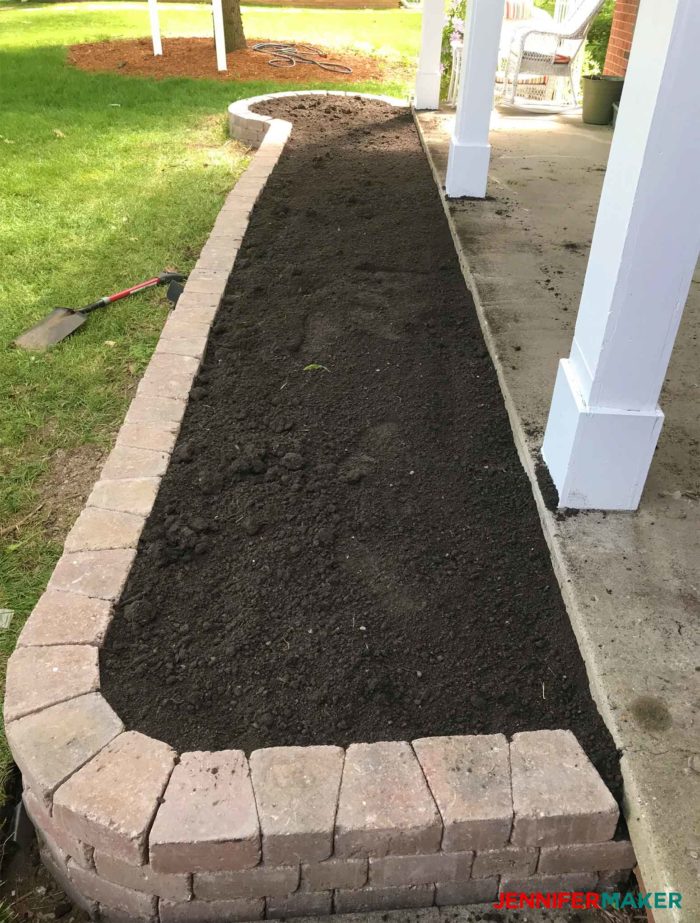
When we were done with our retaining wall, we put landscaping fabric up against the interior wall. We did this to make a barrier between the wall and the soil. We are hoping to prevent weeds from growing in between the bricks, which might force the bricks apart. Given how thick our wall is, this was probably overkill, but we figured it’s better to be safe than sorry.
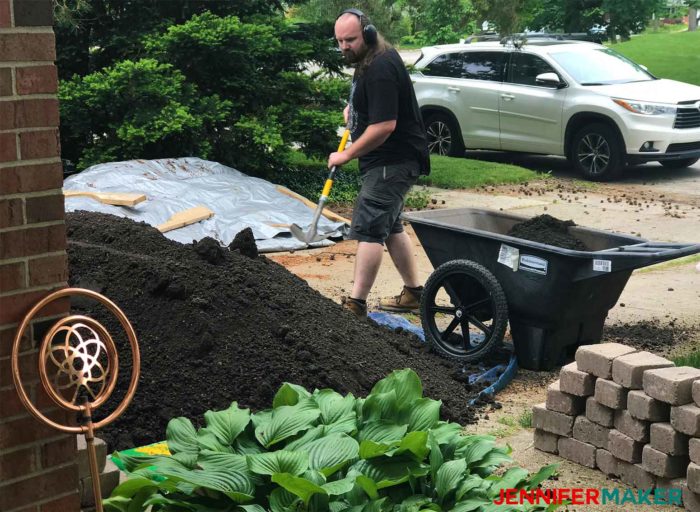
Finally, it’s time for soil. We calculated that we needed three cubic yards, so we had it delivered from a local company — another time saver!
The next day we went to our local nursery and bought many perennial flowers for a new garden!
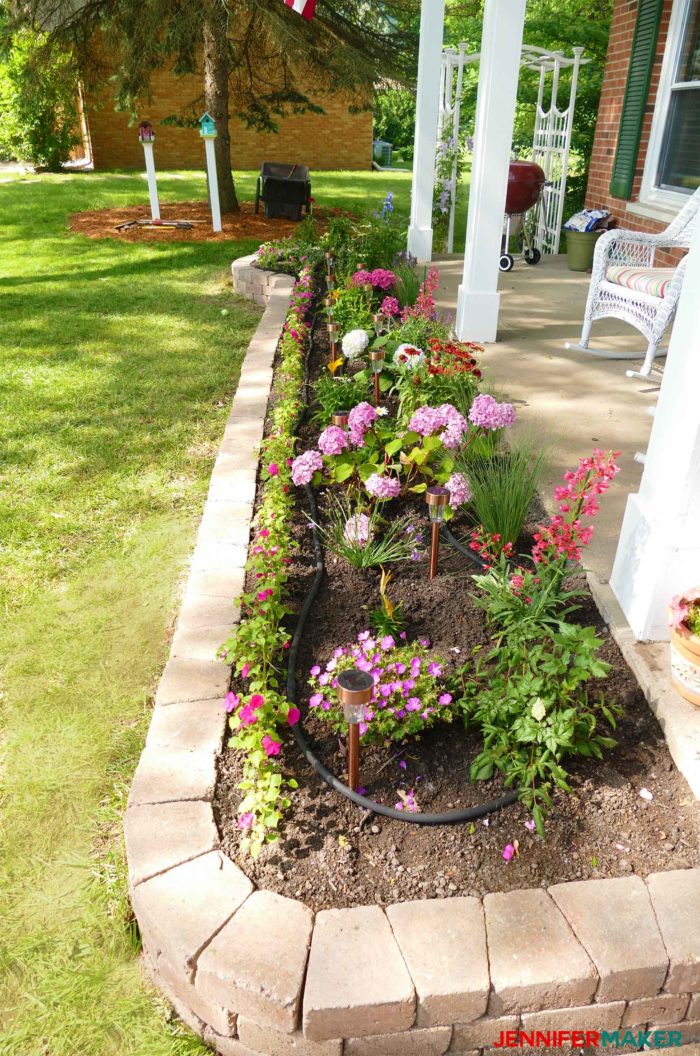
We are just over the moon about how this turned out! We’ll be spending many evenings sitting in our rocking chairs enjoying the Michigan summer.
By the way, two other projects are pictured in the above photo — the chair cushions and the chalkboard flowerpot!
Update: My daughter wanted to set a fairy garden on the end, in the little round area, but then decided she wanted to build an entirely new planter for it — so she’s building that now! Fairy gardens SO fun and garden beds like this are perfect for one — check out this in-depth guide on How to Make a Fairy Garden with tips on layouts, plants, supplies, and materials!
Do you like to do DIY outdoor home projects, too? Share and leave a comment below!
More Fun and Easy DIY Outdoor Home Projects
DIY Garden Gutter for a Deck Railing
Paint Concrete Stepping Stones
If you make your own DIY retaining wall, please share a photo of your project! Please share a photo in our Facebook group or tag me on social media with #jennifermaker.
Love,

Want to remember this? Save this DIY Retaining Wall Tutorial to your favorite Pinterest board!


That’s a good tip to make sure that you have a barrier in between the wall and the soil. I wouldn’t want weeds ruining all my hard work after building a wall. I’ll keep that in mind if I decide to build a little retaining wall out of bricks this spring.
Thank you, I’m glad you found it helpful!
Awesome articles, thank you for taking the time to share your thoughts and insights! 🙂
Aron Ambrus Construction