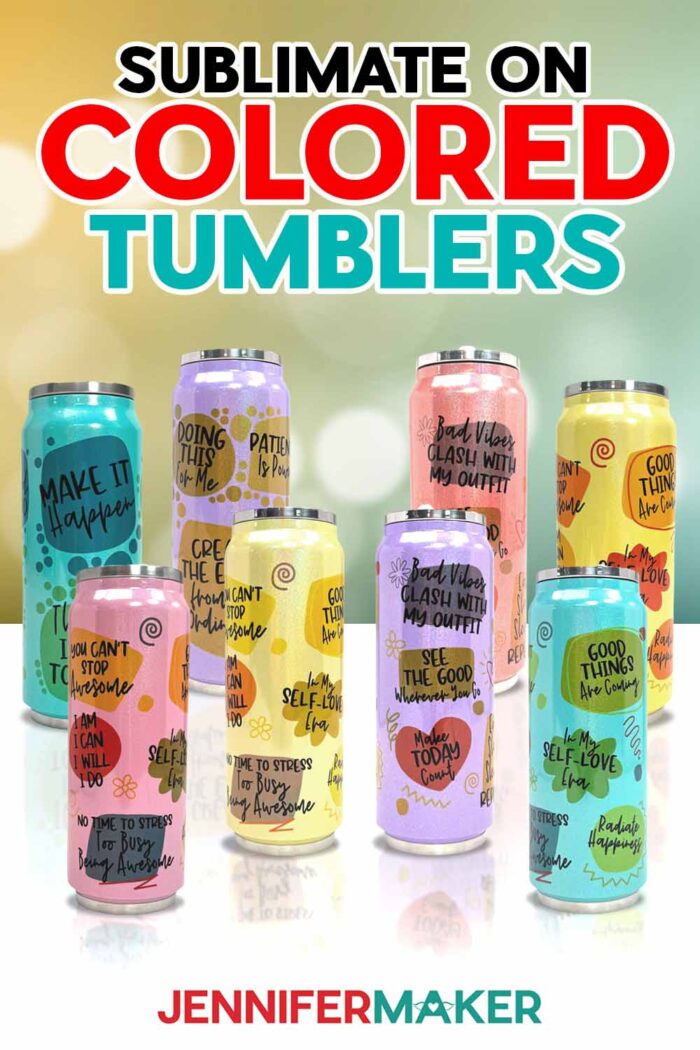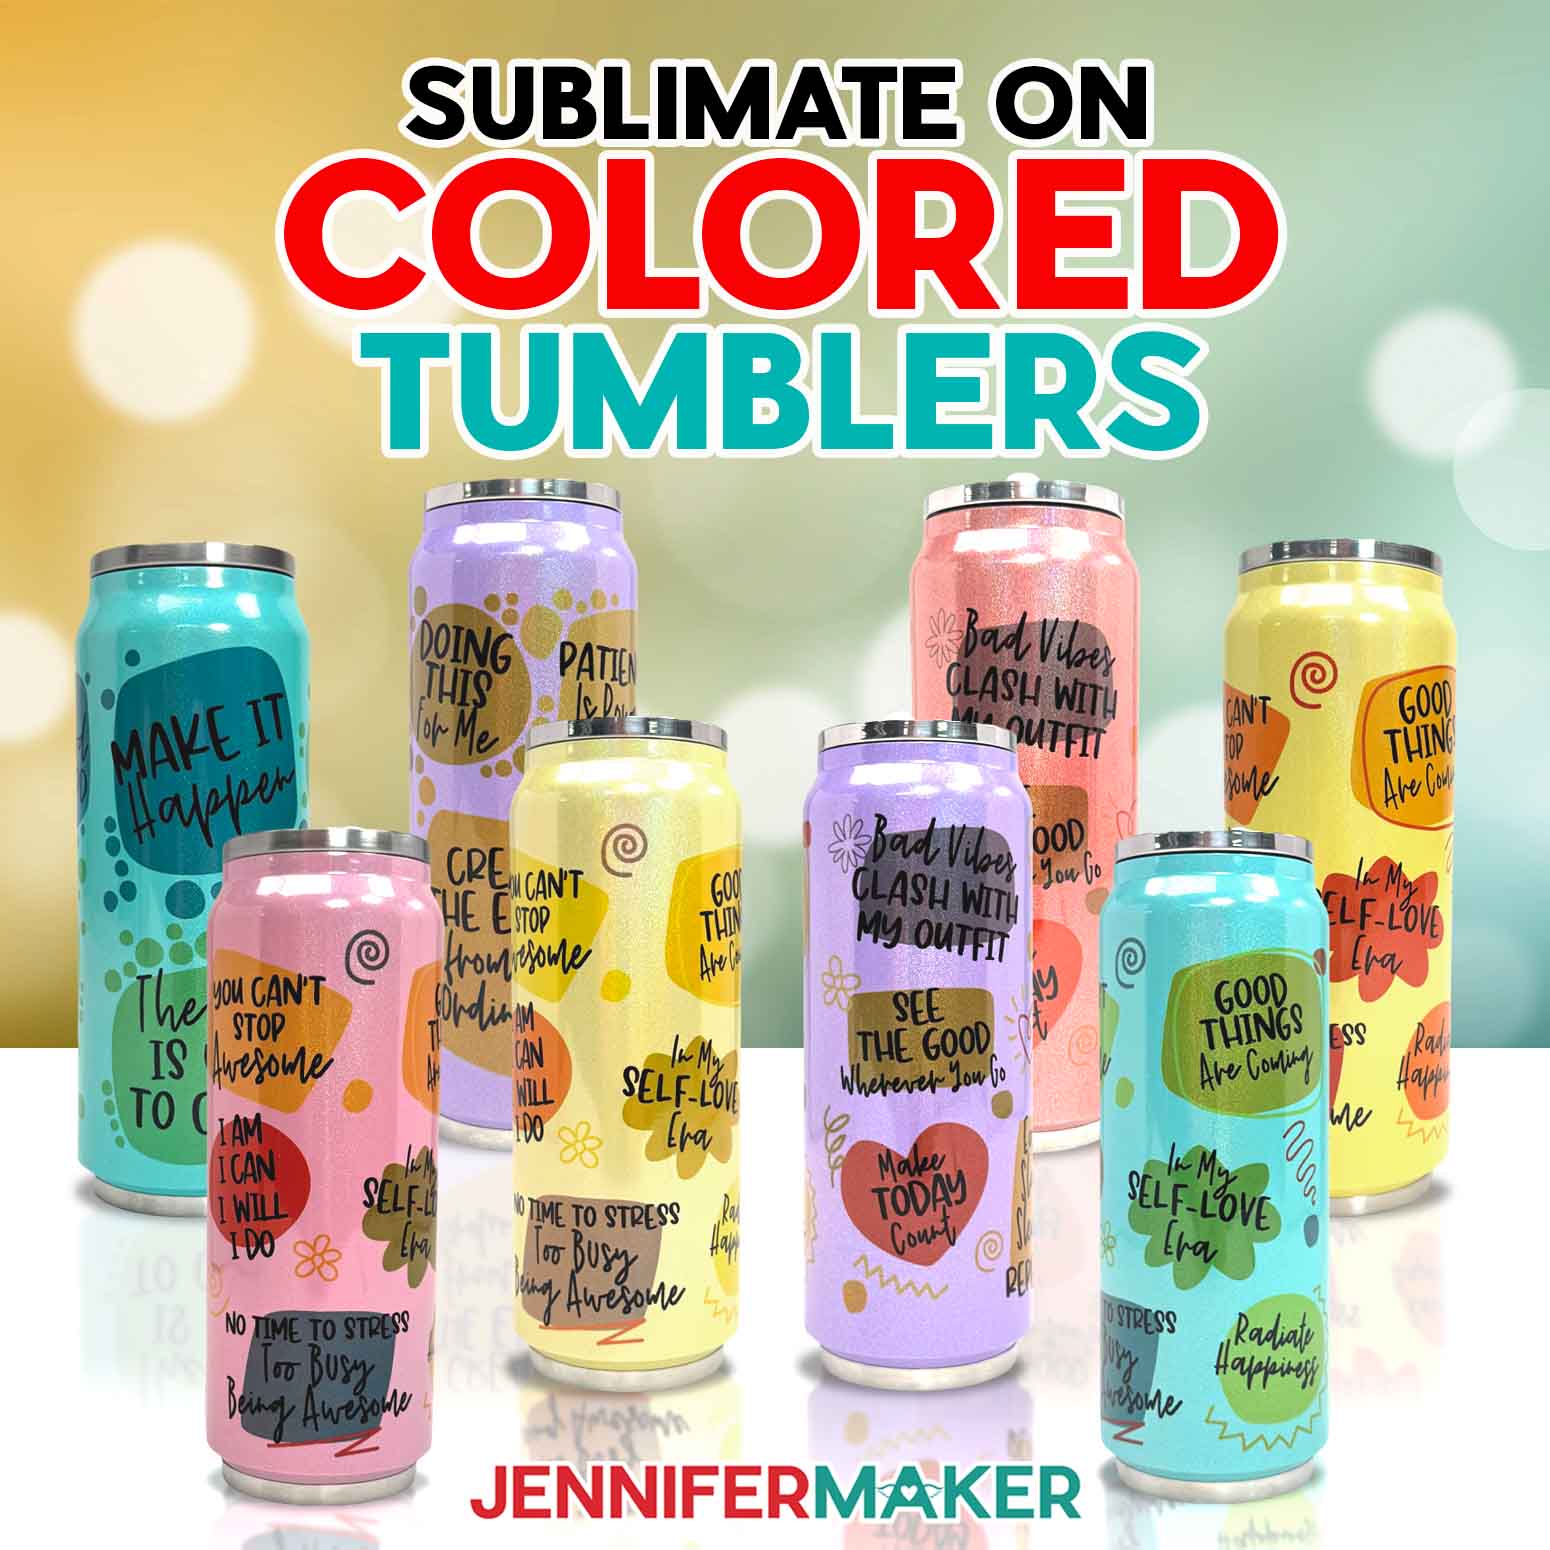
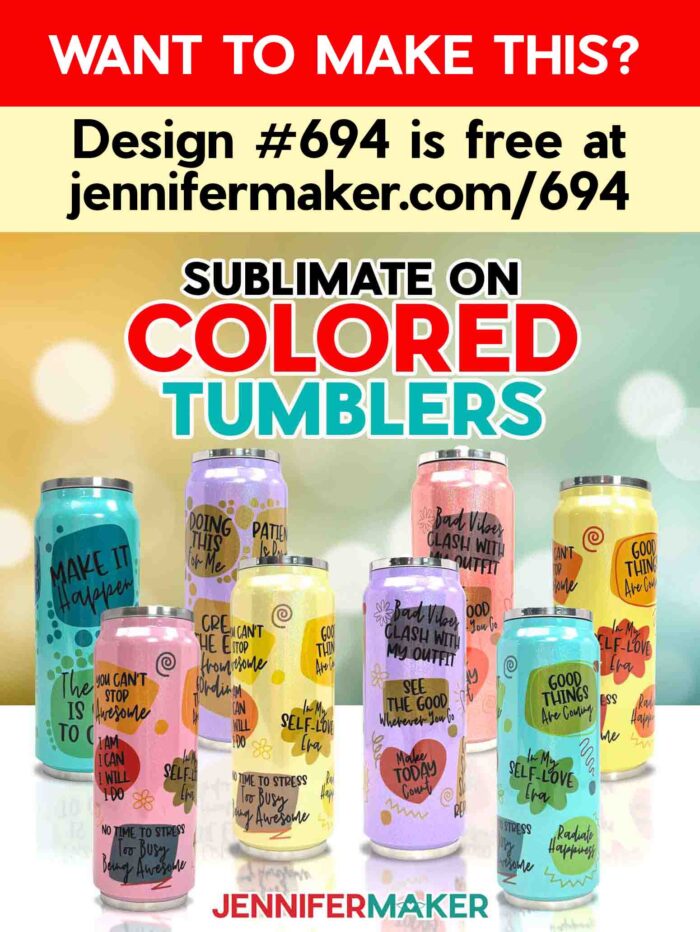
Learn how to do sublimation on colored tumblers for a fun twist on a favorite project!
Sometimes it’s fun to break the rules. Did you know it’s possible to sublimate on colorful surfaces just as easily as white ones? I know, I’ve told you that sublimation blanks MUST be white. But, in this tutorial, we’ll break the rules and do sublimation on colored tumblers! The magic lies in how the tumbler’s color interacts with the design.
Watch the full step-by-step video tutorial on doing sublimation on colored tumblers:

Most sublimation projects start with white blanks because the special sublimation ink we use is translucent, allowing vibrant colors to pop against a light background when infused into the surface at a high temperature. However, as long as it’s a polymer surface, it can be sublimated. So, what happens when you sublimate colored surfaces?
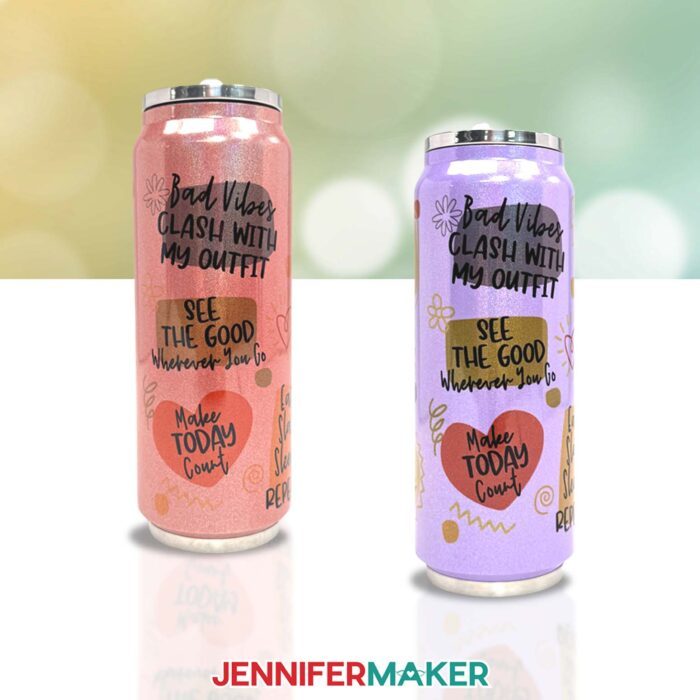
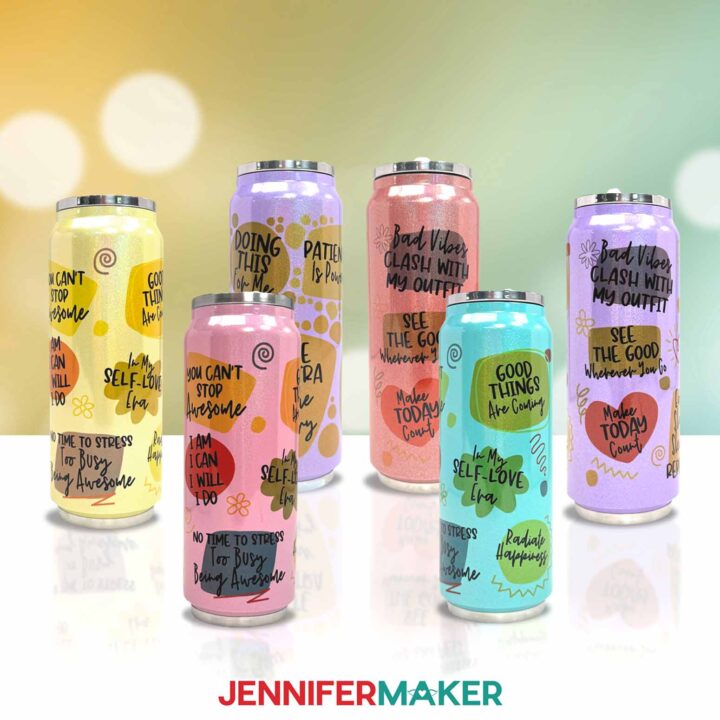
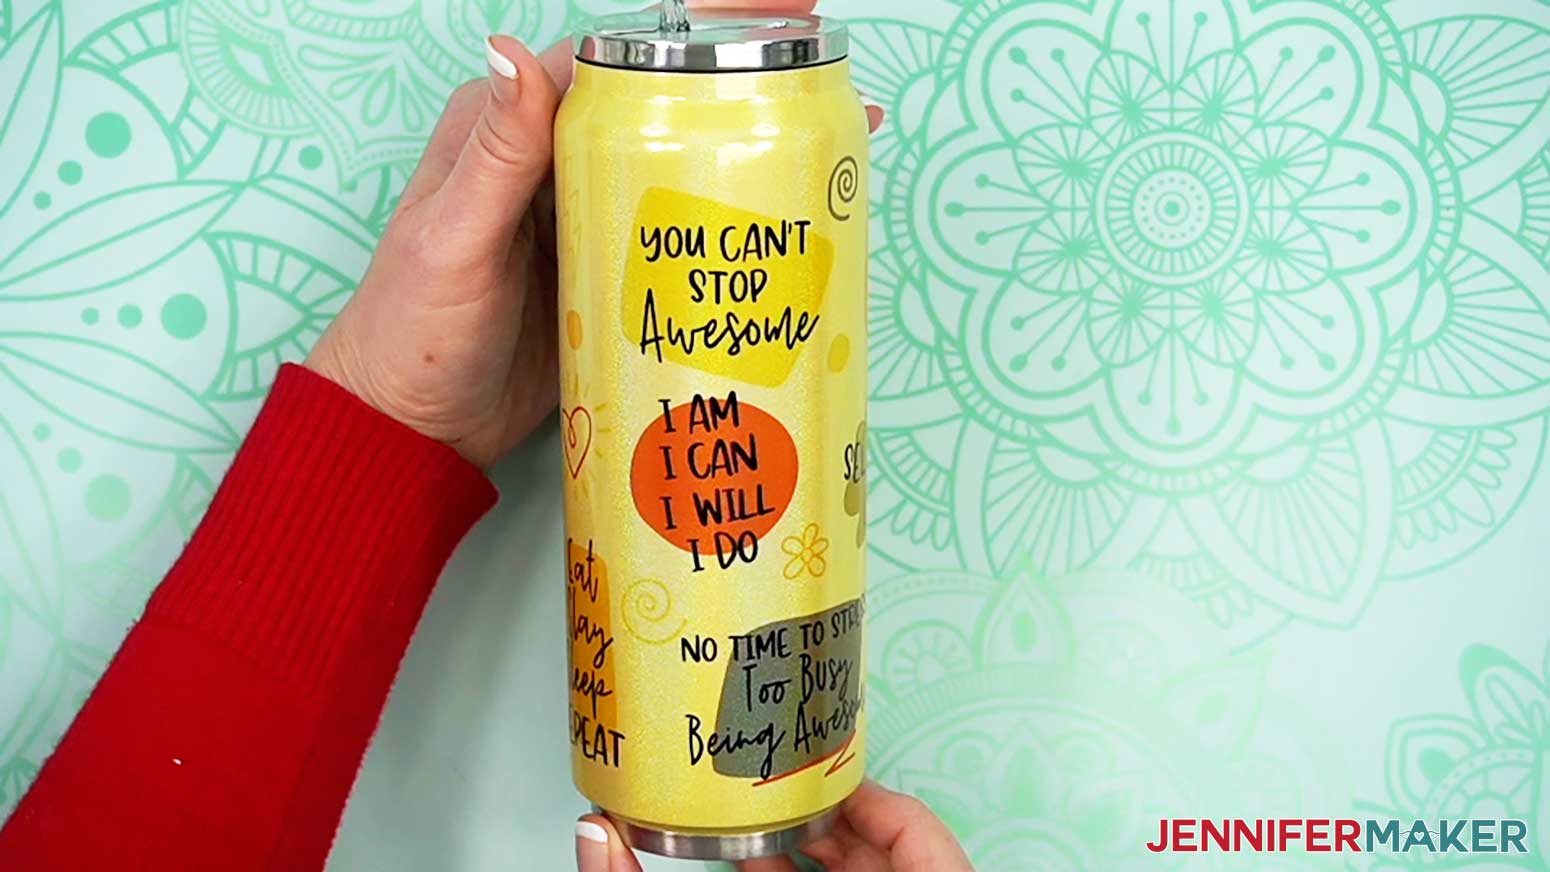
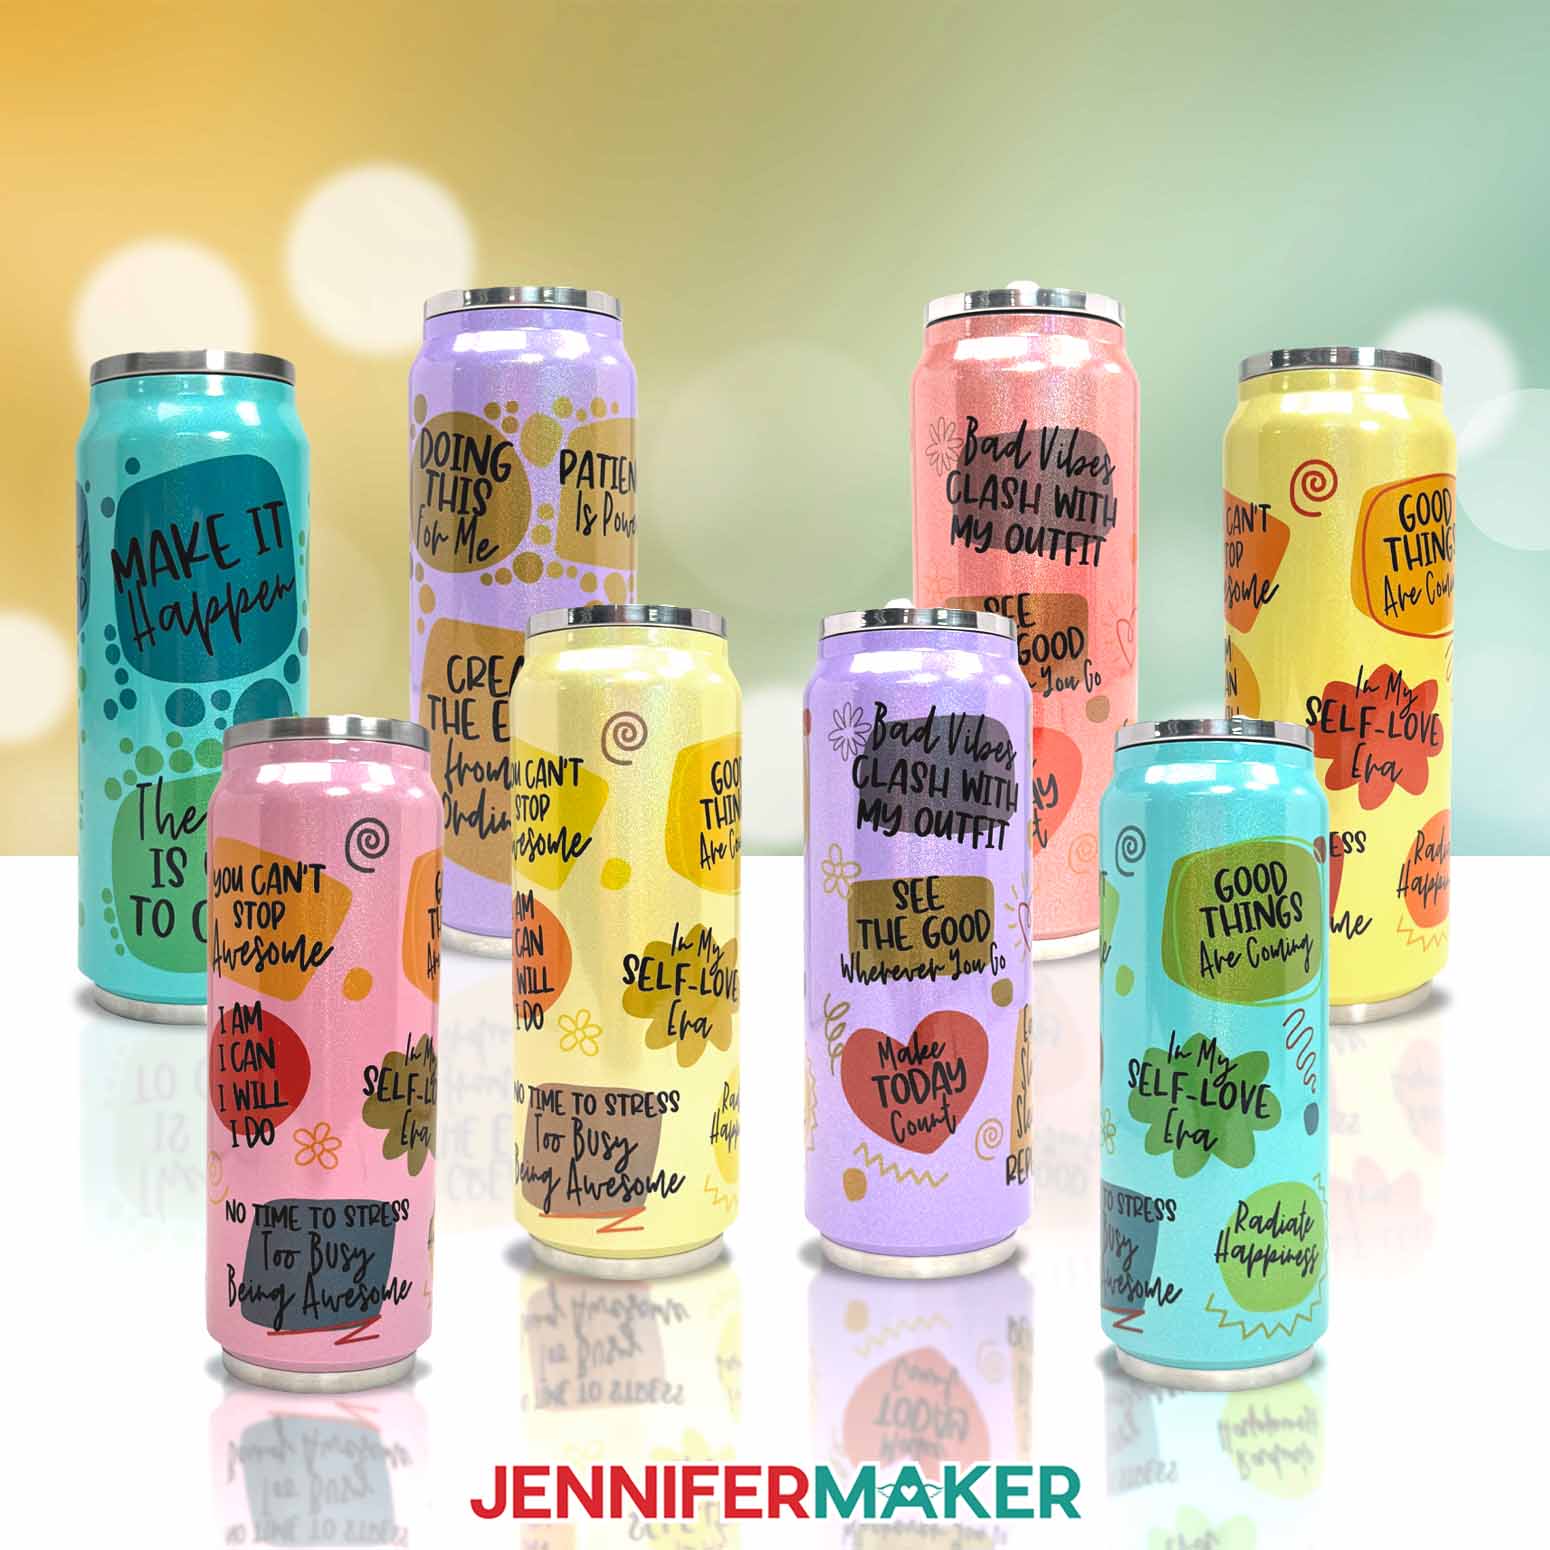
When you sublimate on colored blanks, the surface hue blends with your design, creating new and unexpected shades. For instance, sublimating a yellow tumbler can result in more vibrant orange and yellow areas, while the green shades can take on a warmer, more brownish tint. Sometimes the blends result in surprisingly beautiful effects, like when a blue tumbler with yellow design details turned out with stunning green accents!

If you want to personalize your tumbler with a photo, consider how the tumbler’s background color will affect the image. A picture of my dog, Hunter, looked perfect on a white tumbler, but when transferred to a pink tumbler, Hunter acquired a rosy hue. While photos can work on colored tumblers, they tend to stay truest to the original image when printed on very light or white colored blanks.
To learn more about sublimation on colored tumblers, scroll down for the step-by-step tutorial with photos, or watch my tutorial video above!
I recommend choosing light-colored blanks over darker ones, because darker blanks can mute the colors too much, or your design might not show up hardly at all. Understanding these color interactions is important when getting the best results for your tumbler designs.
I’ve included two PNG designs in my free download folder: A dots design and a “graffiti” design, both with positive affirmations and inspirational messages to brighten your day! Plus, they’re beautifully vibrant when sublimated onto white tumblers, too. I’ll show you how easy it is to prepare and print the designs using a free Google account with Google Docs.

To do sublimation on colored tumblers, you’ll need some basic supplies and tools. First, I really like the glittery 17 oz tumbler linked in my material list. Each stainless steel tumbler is coated with a sublimatable polymer in a glittery finish. They worked really well for sublimating because they came in pastel colors, light enough to show the sublimated designs but not so dark or vivid that the designs were hard to see.
You will also need a sublimation printer filled with compatible ink, like a converted Epson EcoTank. Find out how I converted one in this post.
If you’re wondering if Infusible Ink transfer sheets can be used instead, the answer is yes. They’re a good idea for sublimating when you don’t have access to a sublimation printer, and they come in lots of fun colors and patterns that can look beautiful sublimated onto the right colored blanks.
Cleaning your tumbler with a little isopropyl alcohol on a lint-free cloth removes any dust, fingerprints, or other debris that might interfere with your sublimation transfer. Careful preparation is key to achieving a flawless final result that stands the test of time.
First, we’ll wrap the sublimation transfer design face down around the tumbler and secure it with heat-resistant tape and shrink-wrap sleeves. Then I’ll show you how to use a heat gun to conform the shrink-wrap sleeve around the tumbler to make a tight seal. It’s important to wrap the tumbler very tightly to avoid ghosting or white spots!
Then it’s time to sublimate your cute design onto the tumbler! I’ll walk you through the sublimation process step-by-step using my craft-purposed convection oven, but you can also use a sublimation tumbler press. Follow the tutorial or my Sublimation Cookbook to get the right time and temperature settings for the stainless steel sublimation tumblers in my materials list, along with tons of other blanks.
Whether you’re crafting for yourself or creating gifts, experimenting with colored glitter tumblers is a fun way to break the “rules” of sublimation! Each blank interacts differently with sublimation ink, leading to delightful surprises every time. By testing various colors and designs, you can discover the best way to make each combination unique and successful!
So sublimate some colored tumblers, fill them with some favorite drinks, then say “cheers” to the fact that you took a crafting risk – and had fun doing it!
Let me show you how to do sublimation on colored tumblers! This post contains some affiliate links for your convenience (which means if you make a purchase after clicking a link I will earn a small commission but it won’t cost you a penny more, there is no additional cost)! Read my full disclosure policy.
Materials to Do Sublimation on Colored Tumblers
View my Amazon shopping list for the exact items I used!
- One (1) 17 oz Sublimation Glitter Tumbler Can
- Sublimation Transfer Paper (I used 125g 8.5″ x 14″ A-SUB Sublimation Paper)
- Cooling Rack (optional to cool your tumbler after sublimating)
- Sublimation Printer (I used a converted Epson EcoTank ET-2800 Inket Printer)
- Sublimation Ink
- Sublimation-Specific Convection Oven
- Oven Thermometer
- Fan (for ventilation)
- Heat Resistant Gloves
- Heat Resistant Tape
- 8″ x 12″ Heat Shrink Wrap Sleeves (if your tumblers don’t come with them)
- Heat Gun
- Scraper
- Looped Tape Measure
- Paper Trimmer -OR-
- Scissors
- Isopropyl Alcohol -AND-
- Lint-Free Cloth
- Ruler
- Pencil
How to Do Sublimation on Colored Tumblers!
Sublimate on Colored Tumblers
Learn how to sublimate on colored tumblers with positive affirmations!
Materials
Tools
- A Sublimation Printer - I used a converted Epson EcoTank ET-2800 Inkjet Printer
- Sublimation Ink
- Sublimation-Specific Convection Oven
- Oven Thermometer
- Fan for Ventilation
- Heat Resistant Gloves
- Heat Resistant Tape
- 8” x 12” Heat Shrink Wrap Sleeves (if your tumblers don’t come with them)
- Heat Gun
- Scraper
- Looped Tape Measure
- Paper Trimmer
- Scissors
- Isopropyl Alcohol
- Lint Free Cloth
- Ruler
- Pencil
- Cooling Rack
Instructions
STEP 1: GET MY FREE COLORED TUMBLER DESIGNS
First, download my Colored Tumbler files from my free library – look for Design #694. Alternatively, you can use the Save This Project form near the top of this post and the design link will be emailed to you.
In the PNG folder, you’ll find two tumbler wrap designs with positive affirmations: one with solid dots around the background shapes, and another with graffiti-style designs around the background shapes.
I’ll show you how to use these files to print a sublimation image to wrap around your glitter tumbler. I’ll also share a few tips for choosing a tumbler color that works with your design.
TIP: If you’re not sure how to upload, go to jennifermaker.com/svgs to learn how to unzip and upload PNG files.
STEP 2: PREPARE AND PRINT YOUR COLORED TUMBLER DESIGN
MEASURE YOUR COLORED TUMBLER’S DESIGN AREA
- Use the looped measuring tape to find the tumbler’s circumference to get the wrap’s width. Record your measurement on a piece of scrap paper.
NOTE: The tumbler in my list is 8.9” around. - Then measure the tumbler’s height to see how tall the wrap should be. If your tumbler is indented at the top and bottom like the one in my list, only measure the straight edge. Record this measurement, as well.
NOTE: The sublimation area for my tumbler is 6.25” high.
PRINT THE DESIGN FOR YOUR COLORED TUMBLER
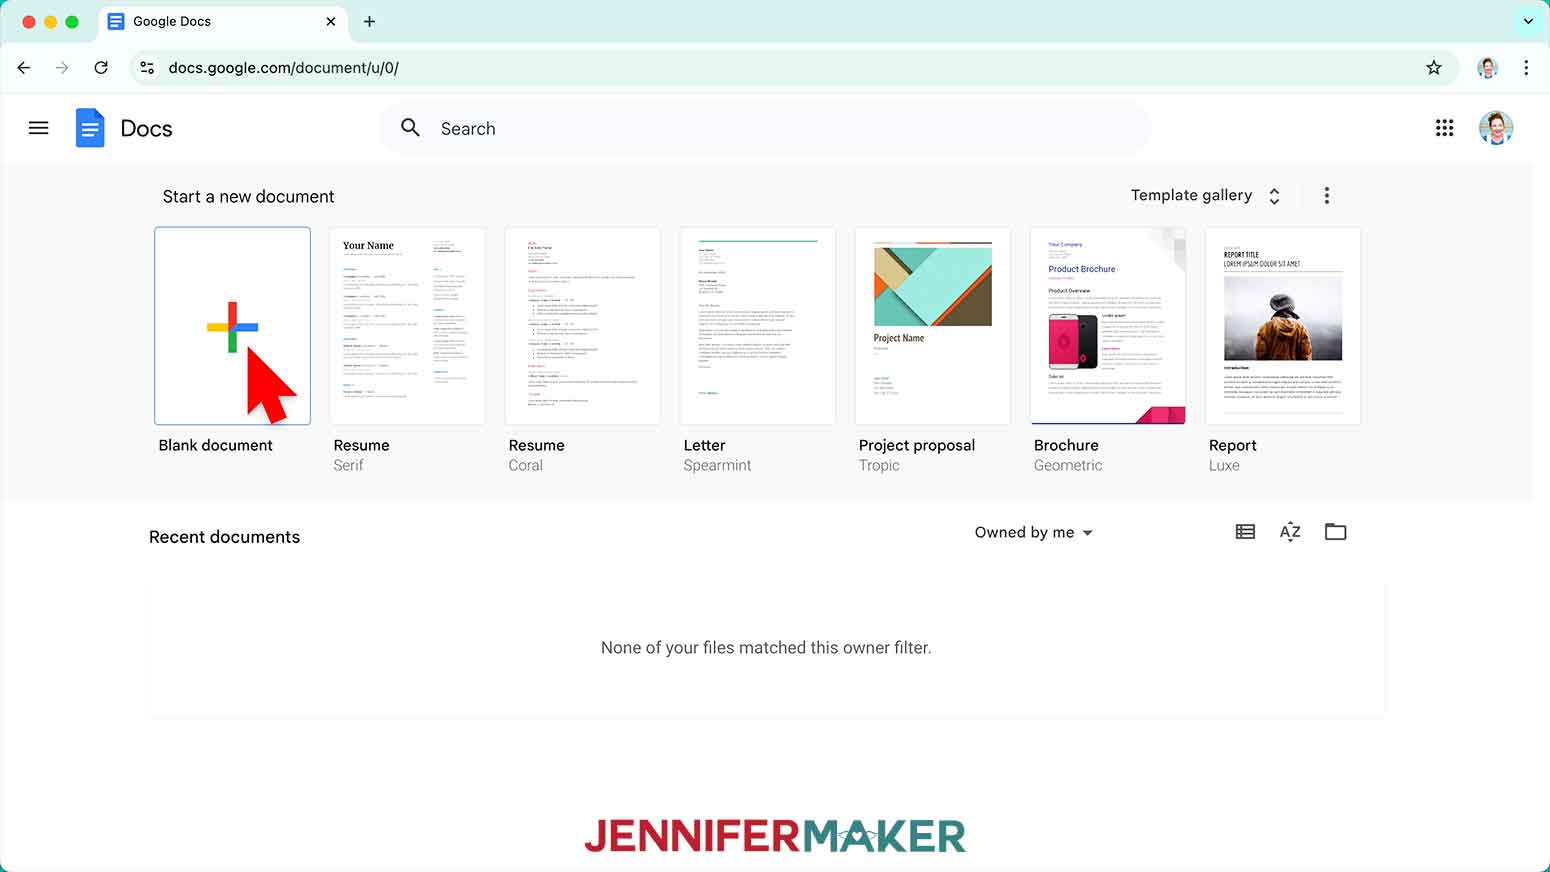
- Open Google Docs in the Google Chrome web browser on your computer.
NOTE: You will need a free Google account to use the free Google Docs software.
TIP: You can also download and open the Google Docs app, but you won’t be able to install or access any printer profiles from a mobile device, and you’ll also have limited access to features, so I do not recommend it on a mobile device. - Click “Blank document” at the top left to open a new document.

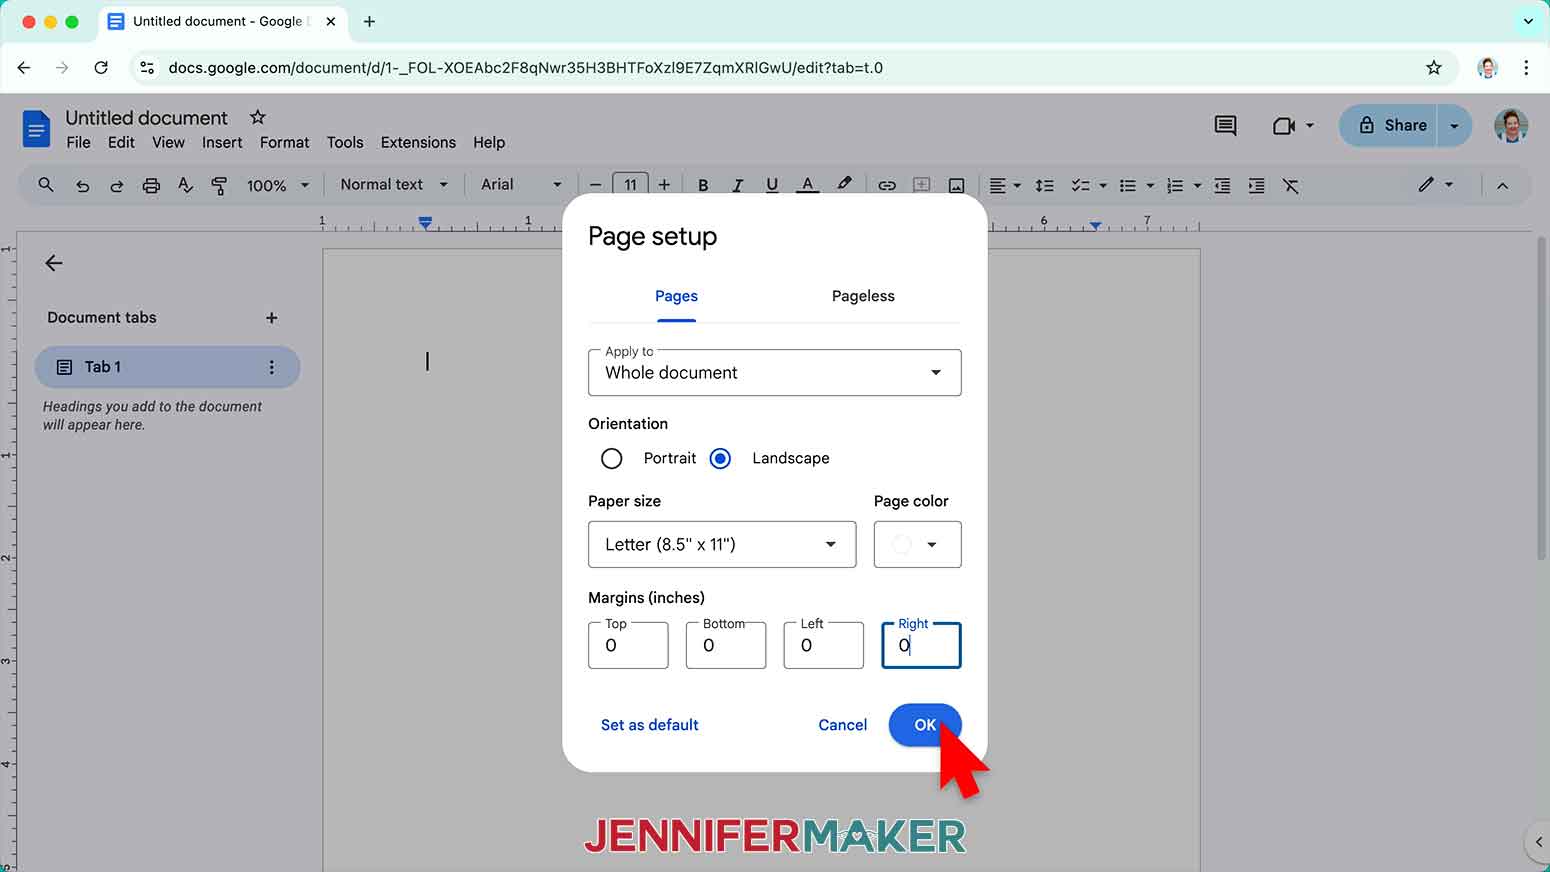
- Go to the File menu and select “Page setup.”
- Select the bubble next to “Landscape” to better fit the wrap’s orientation.
- Change your Paper Size to match your sublimation paper size. I’m using 8.5” x 11” or letter-size paper.
- Change your margins to “0” to use more of the page.
- Click “OK” to apply the settings.
- Click the area that says “Untitled document” at the top and type a name for the file.
- If you’re on a Mac computer, go to the Insert menu, select “Image,” and select “Upload from Computer.”
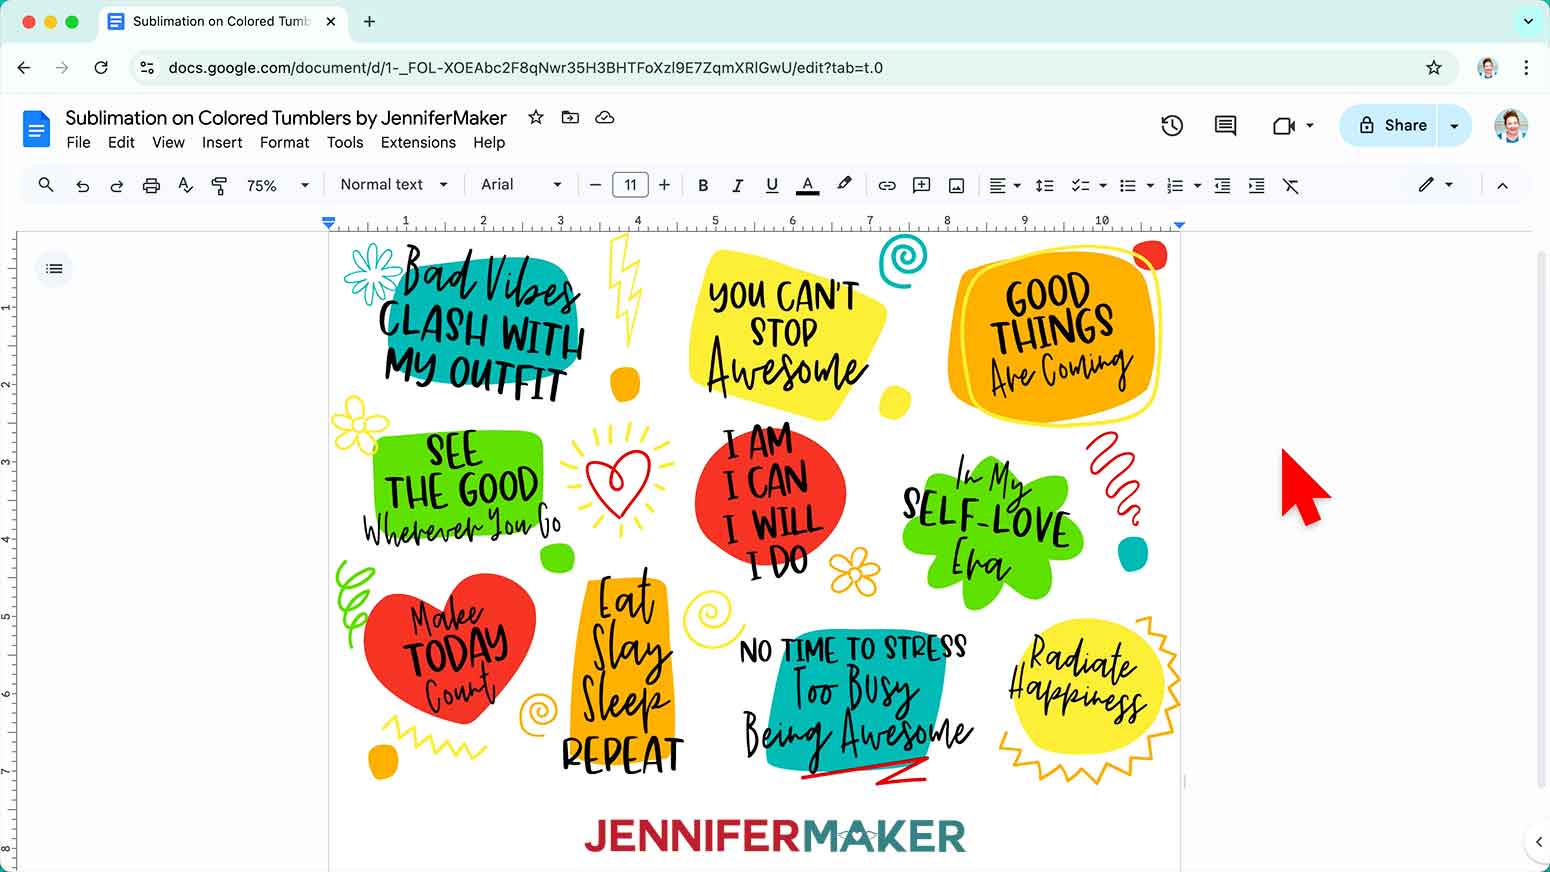
NOTE: If you’re on a Windows computer, skip to Step 12. - Select the sublimation design you want to use. I’ll demonstrate with the “graffiti” design.
TIP: You’ll most likely find it in your Downloads folder. - Click “Open.”
- If you’re on a Windows computer, go to the Insert menu, then select “Drawing” and “New.”
NOTE: If you’re on a Mac computer, you can skip to Step 17. - In the “Drawing” pop up window, click the “Image” icon.
- Click “Browse” and select your sublimation design.
NOTE: I’ll select the “graffiti” design. - Click “Actions” to pick “Rotate” and “Flip Horizontally.”
- Once the image looks mirrored, click “Save and close” to place the mirrored image into Google Docs.
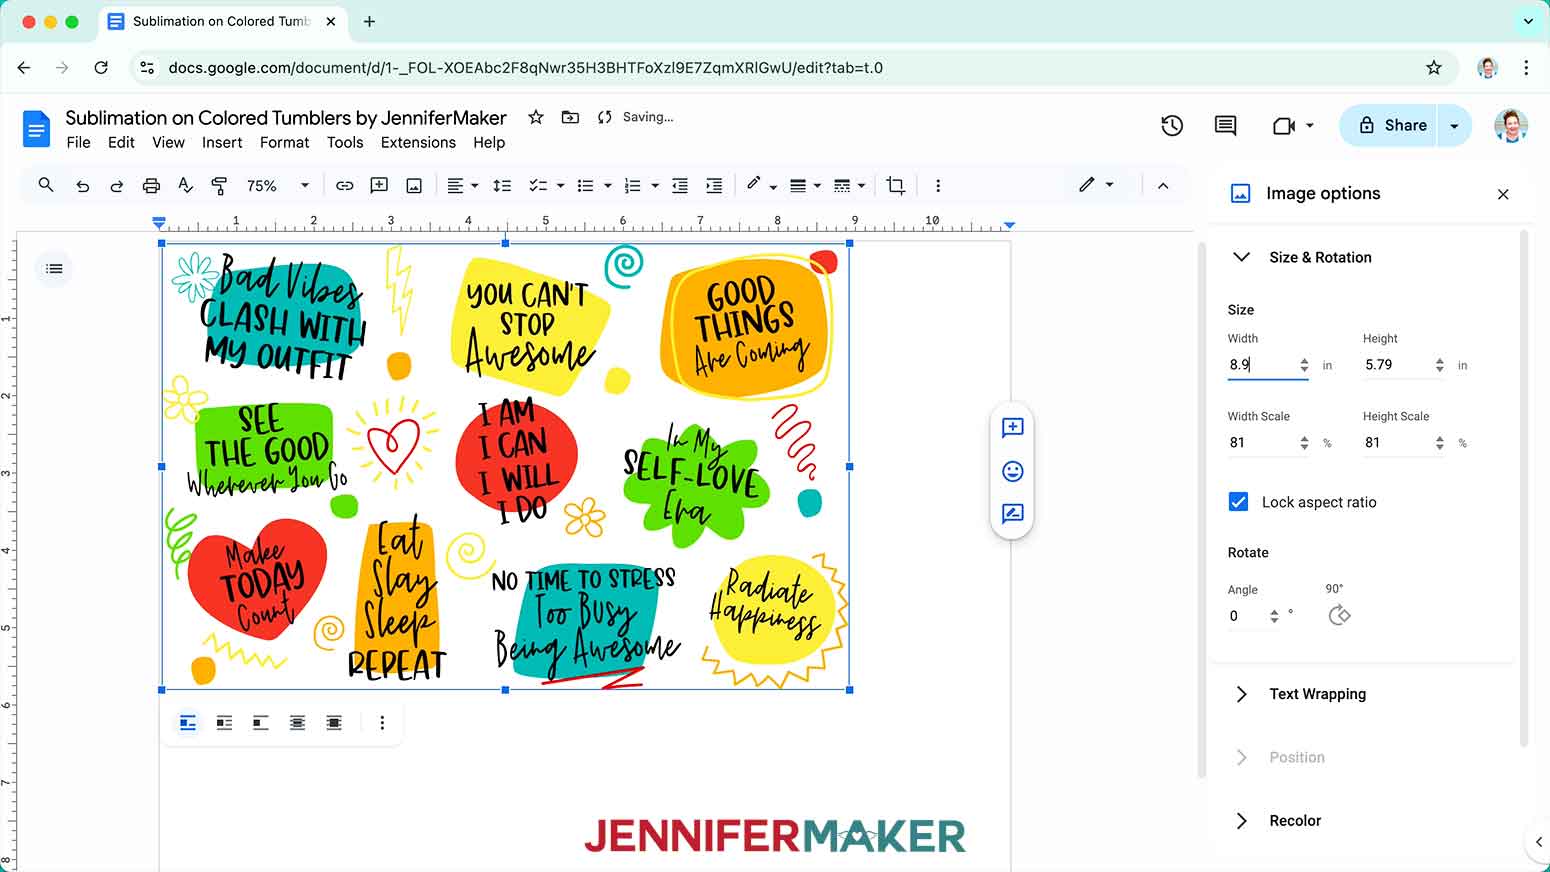
- To resize the design, click “Image Options” at the top of the canvas.
NOTE: You can also open the menu by going to “Format,” “Image,” and “Image Options.” - Select “Size & Rotation.”
- Keep the “Lock aspect ratio” box checked to maintain the design’s proportions.
- Change the “Width” field to match the circumference you recorded earlier.
NOTE: Since my blank is 8.9” in circumference, I’ll make my design’s width the same. - The “Height” field will automatically adjust proportionately.
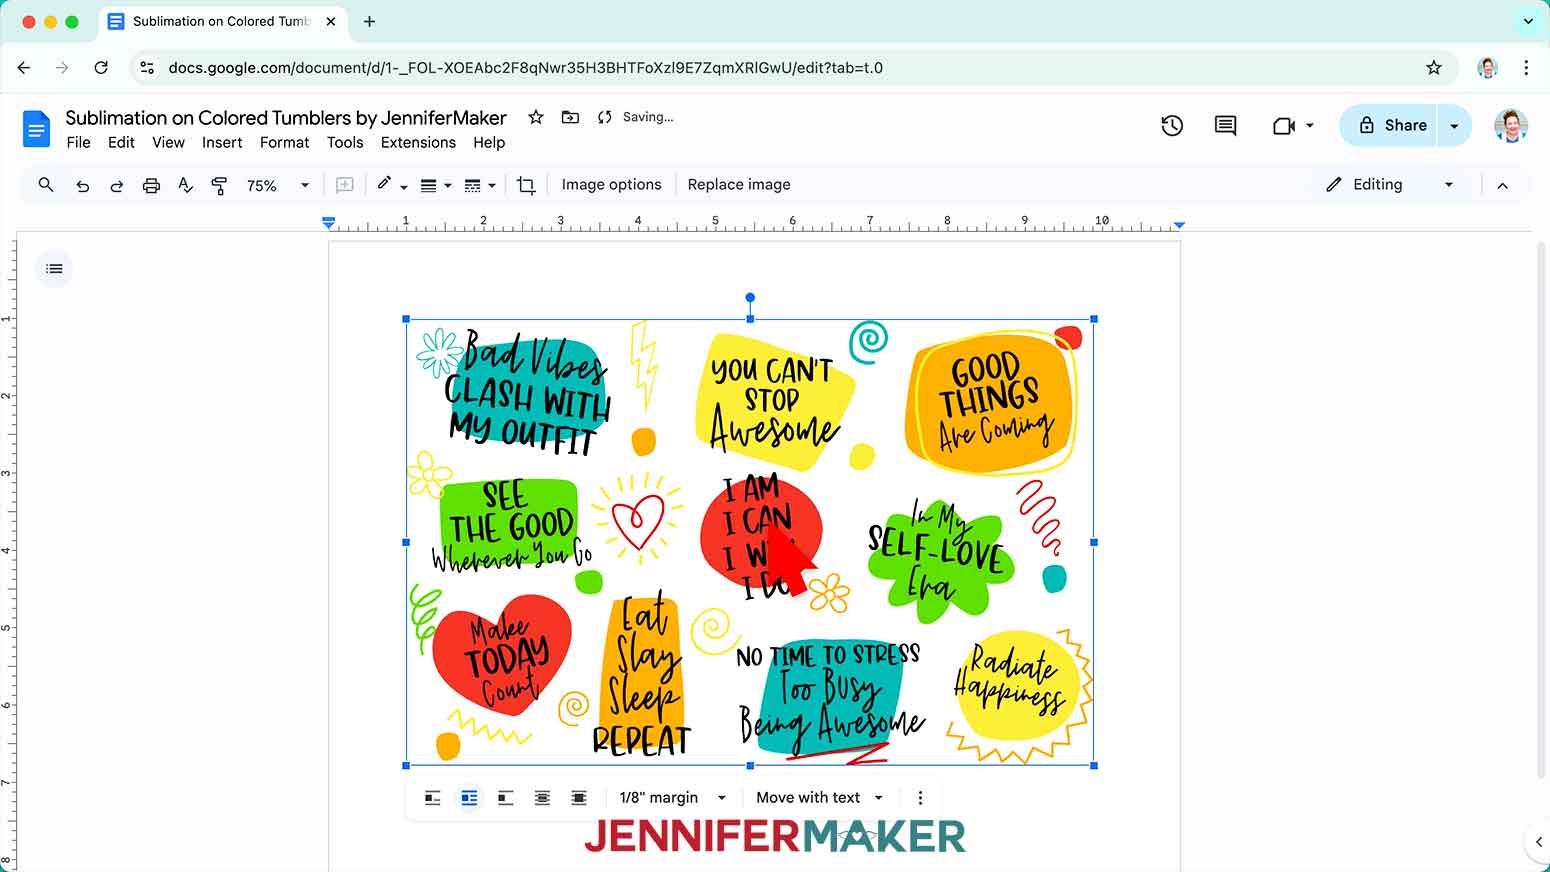
- Click the image and select the “Wrap text” icon from the menu that appears below it.
NOTE: This setting lets you move the design anywhere on the page. - Click and drag the image to the center of your page, as that ensures it won’t get cut off at the edges.
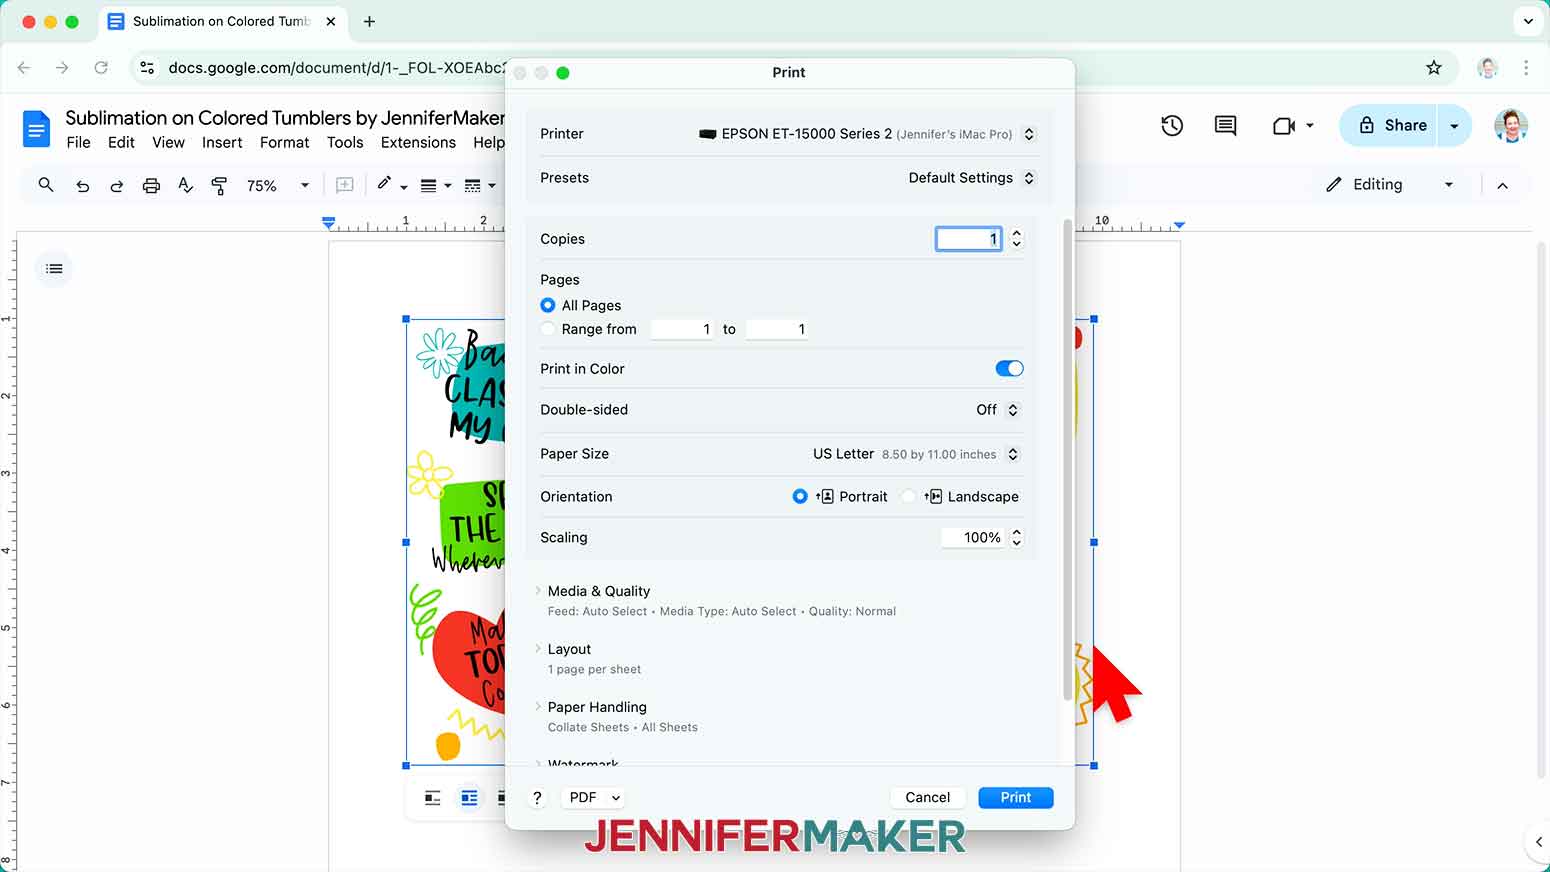
- Go to the File menu and choose “Print.”
- Select your sublimation printer under “Destination.”
- Click the arrow beside “More Settings,” and then click “Print Using System Dialog.”
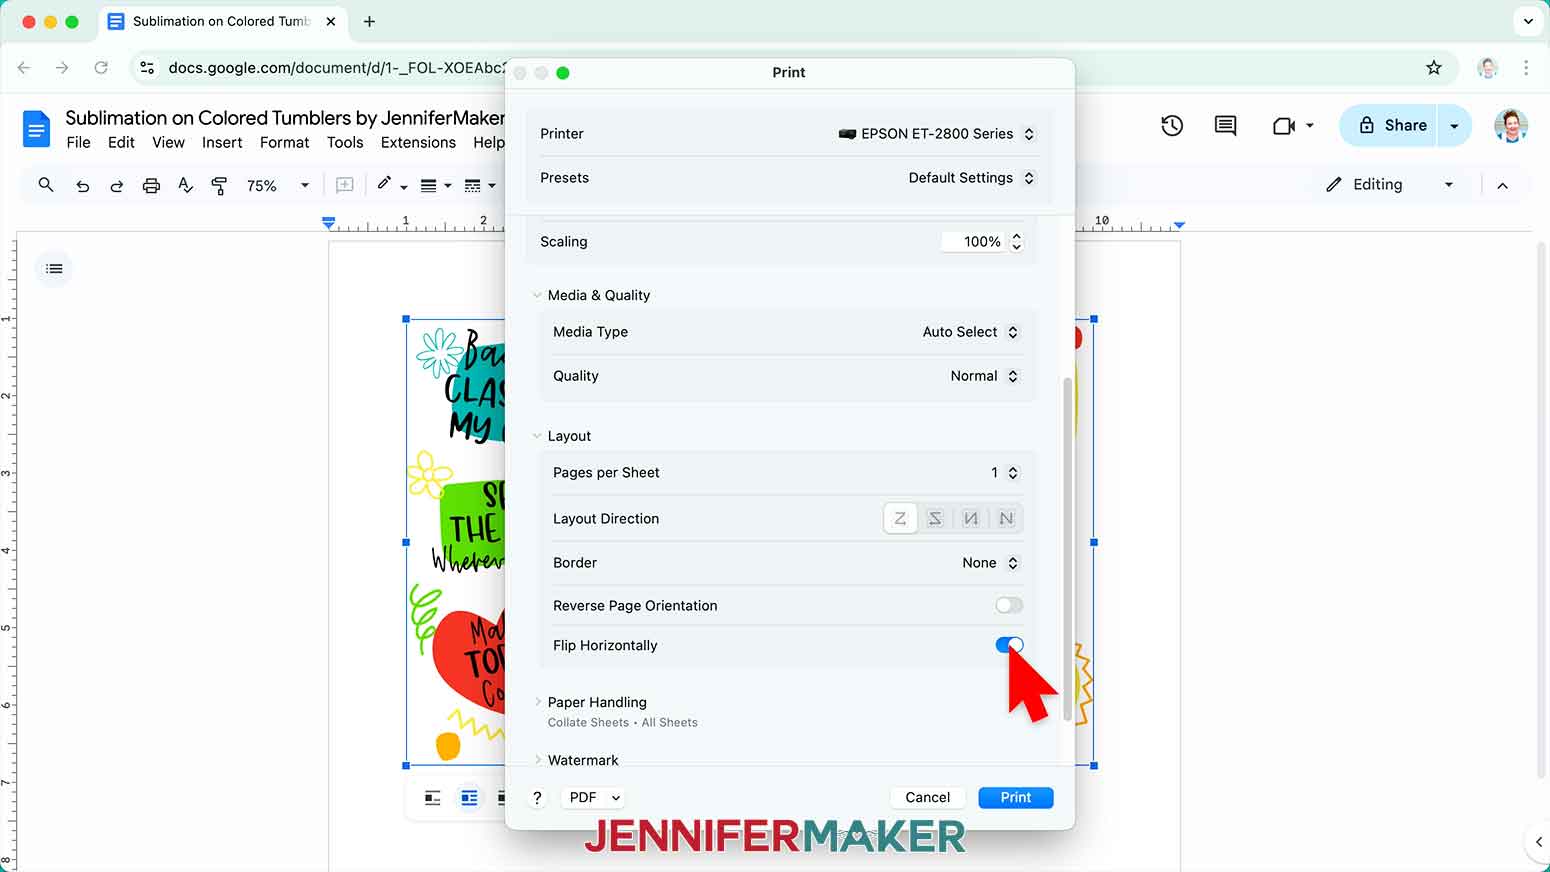
- Your print menu may look different - just make sure the sublimation printer is selected, that you “mirror” the print if you haven't already, and select the highest quality matte paper setting.
NOTE: The “Mirror” option is sometimes labeled as “Flip Horizontally.” If you’re having trouble finding these options, they are sometimes found under a “Layout” section or tab. - Load sublimation paper correctly into your sublimation printer.
NOTE: Check the packaging for information on how to load the paper. - Click “Print.”
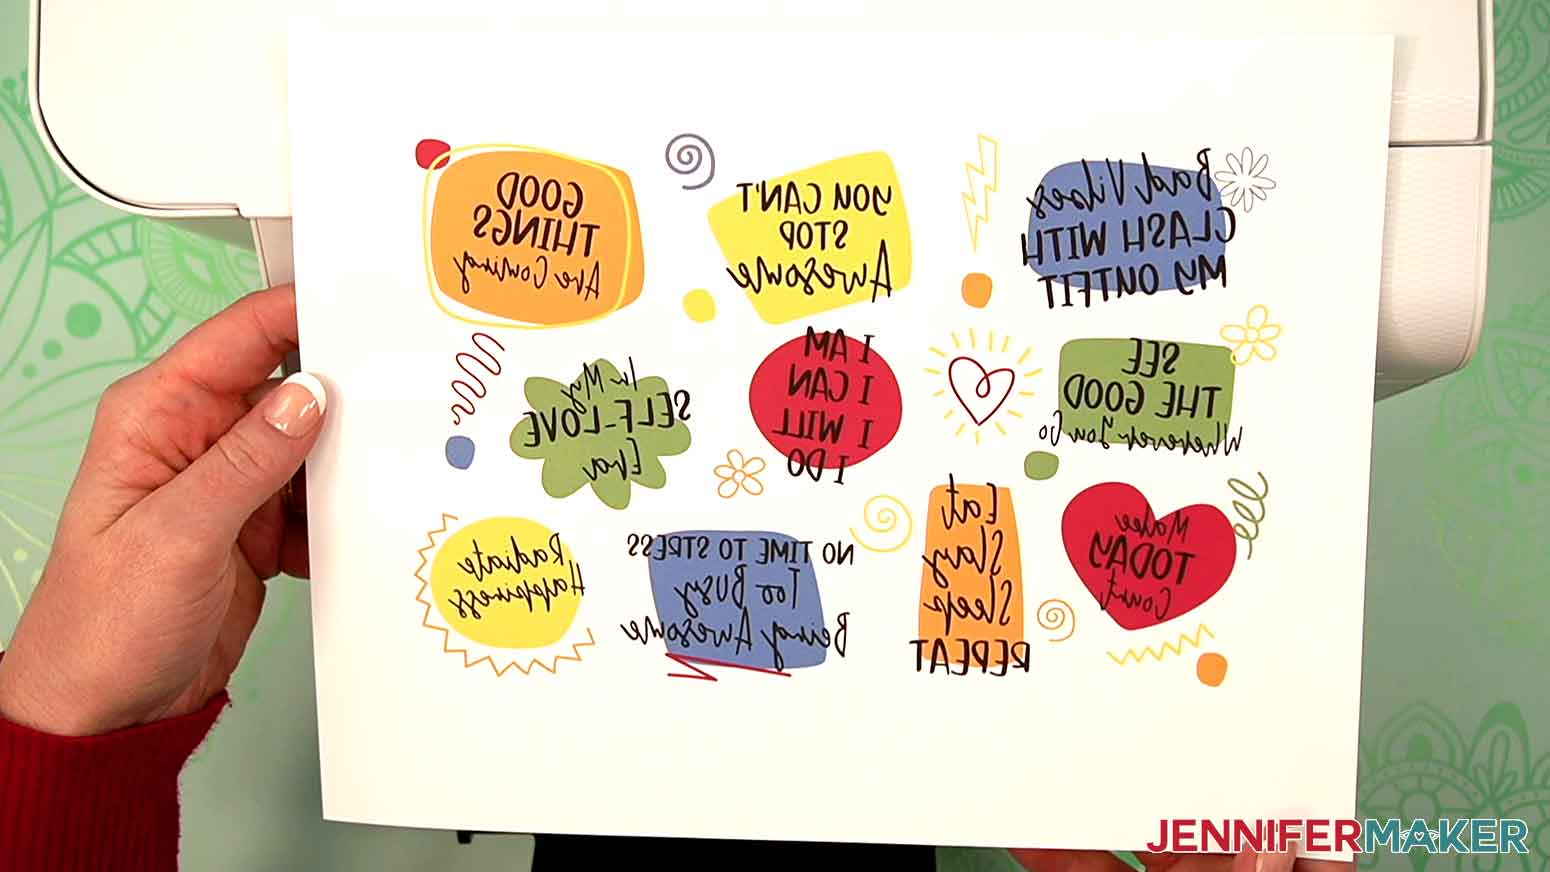
- Allow the print to dry before handling it, as the ink can smear.
NOTE: The printed design will appear lighter before pressing. - Your print is ready to press!


STEP 3: WRAP AND SUBLIMATE YOUR COLORED TUMBLER
- Once the print is dry, use a paper trimmer to cut away excess white paper on all four sides of the design.
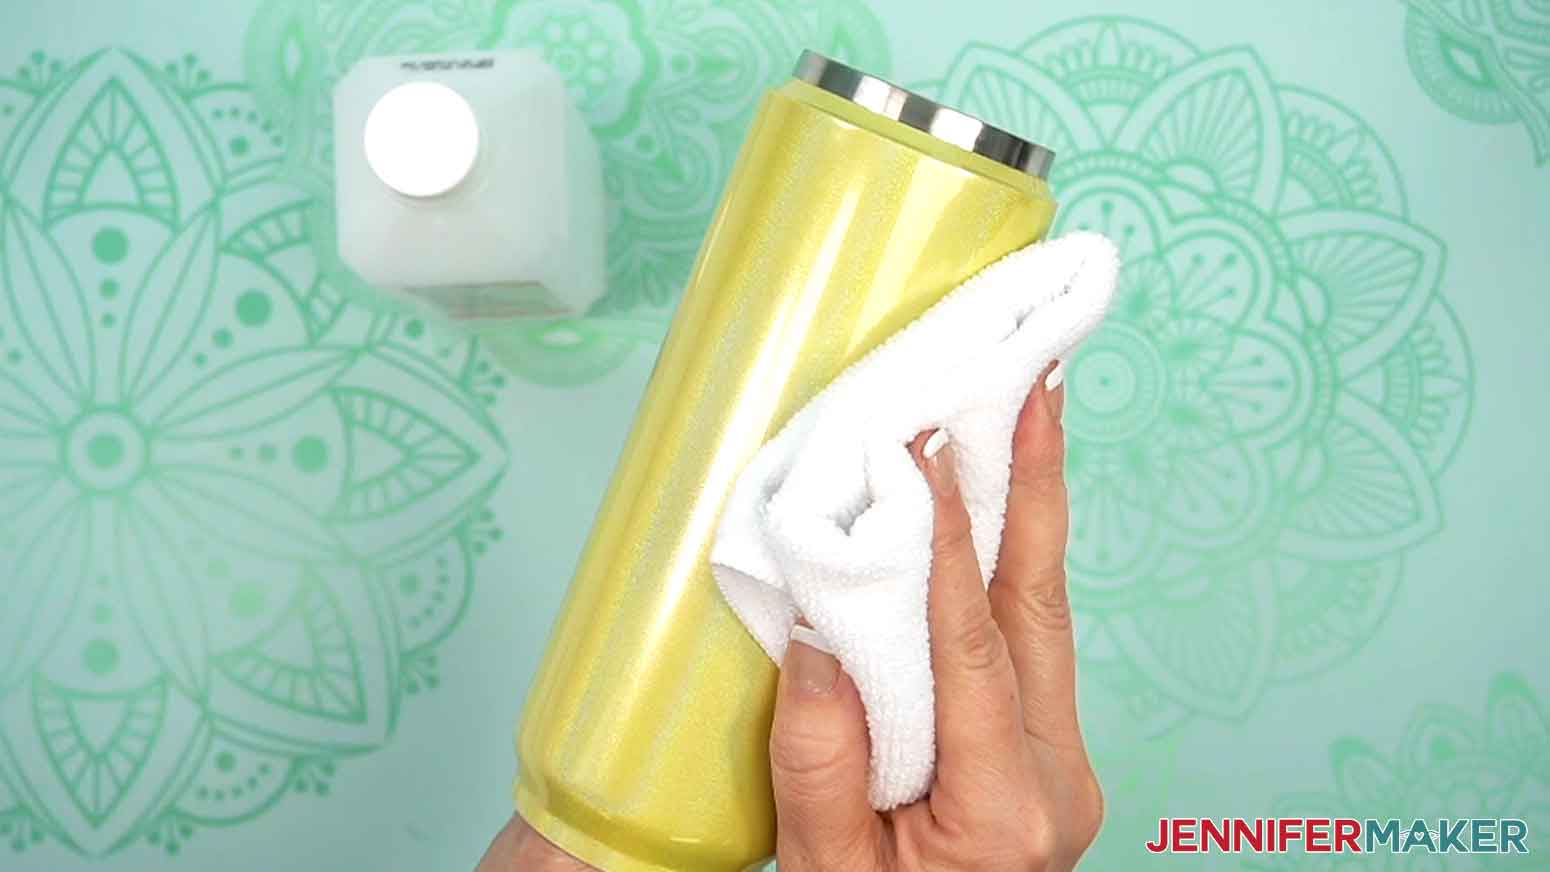
NOTE: Don’t get your fingers near the blade! - For the best transfer, use a lint-free cloth and rubbing alcohol to remove debris or skin oils from the tumbler and let it dry.
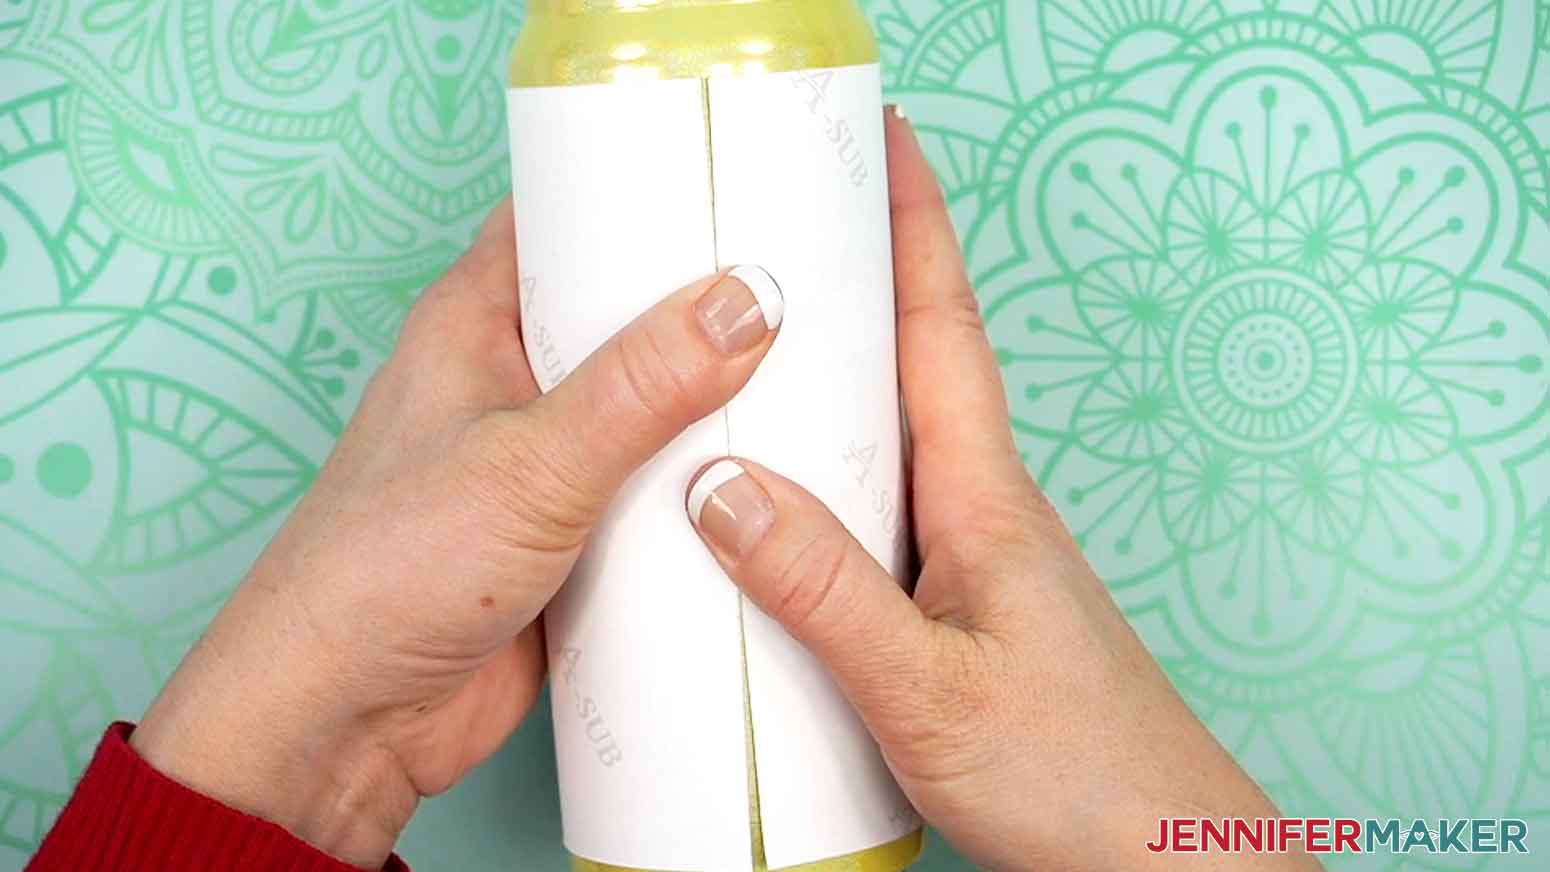
- Wrap the design around the tumbler with the ink facing in and with the elements oriented correctly.
TIP: Try not to touch your clean tumbler or the areas of the print with ink to avoid smudging or transferring ink. - Align the trimmed top and bottom edges so the design is straight.
- Lay the tumbler on its side and place a piece of heat-resistant tape securely on one seam edge near the middle. Don't let the tape touch the other edge of the print or the tumbler yet.
- Use one hand to hold the other edge tight against the tumbler.
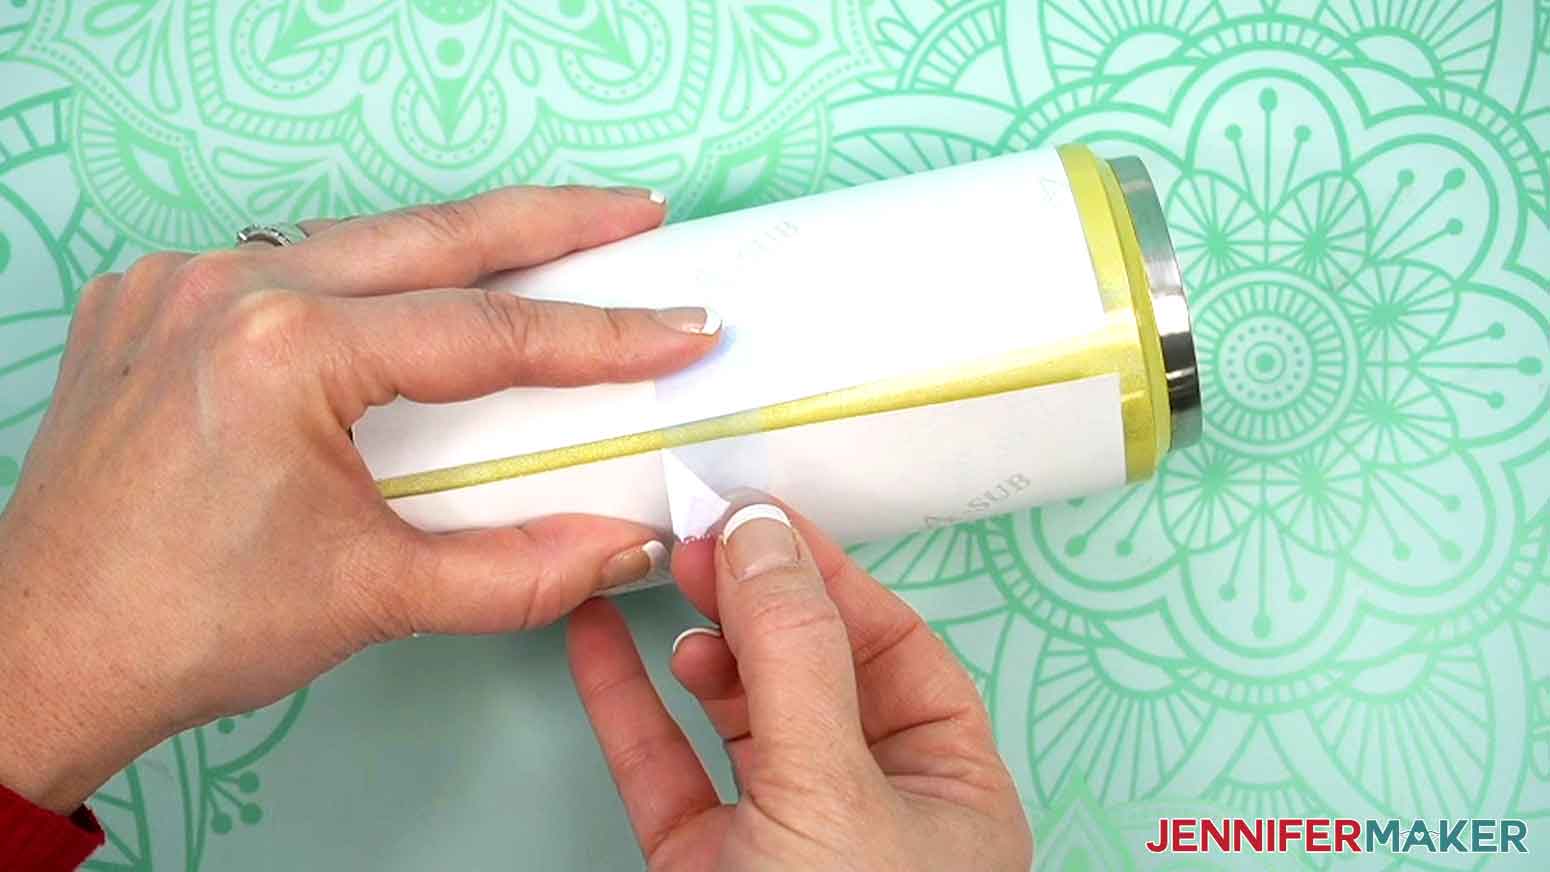
- Pull the loose section of the tape to wrap the print as tight as possible, then press the tape in place across the seam.
NOTE: Taping the wrap down tightly and avoiding wrinkles or air pockets will help prevent inconsistencies during sublimation. - Use short strips of heat-resistant tape on the top and bottom edges of the print to pull the paper tightly around the tumbler and secure it.

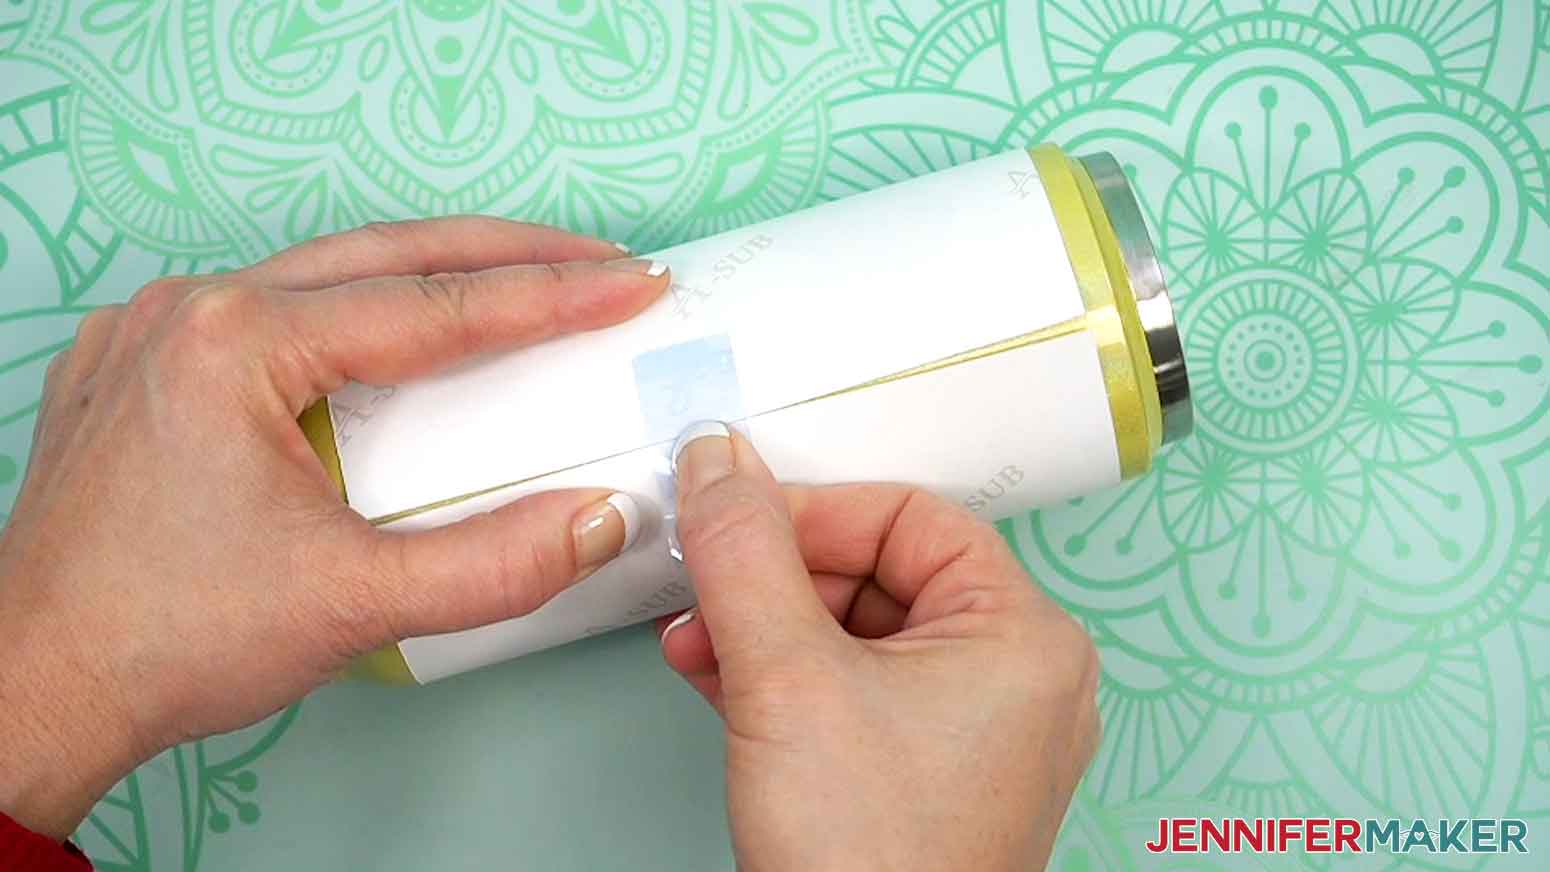
- Apply a long piece of heat-resistant tape along the seam from top lip to bottom lip.
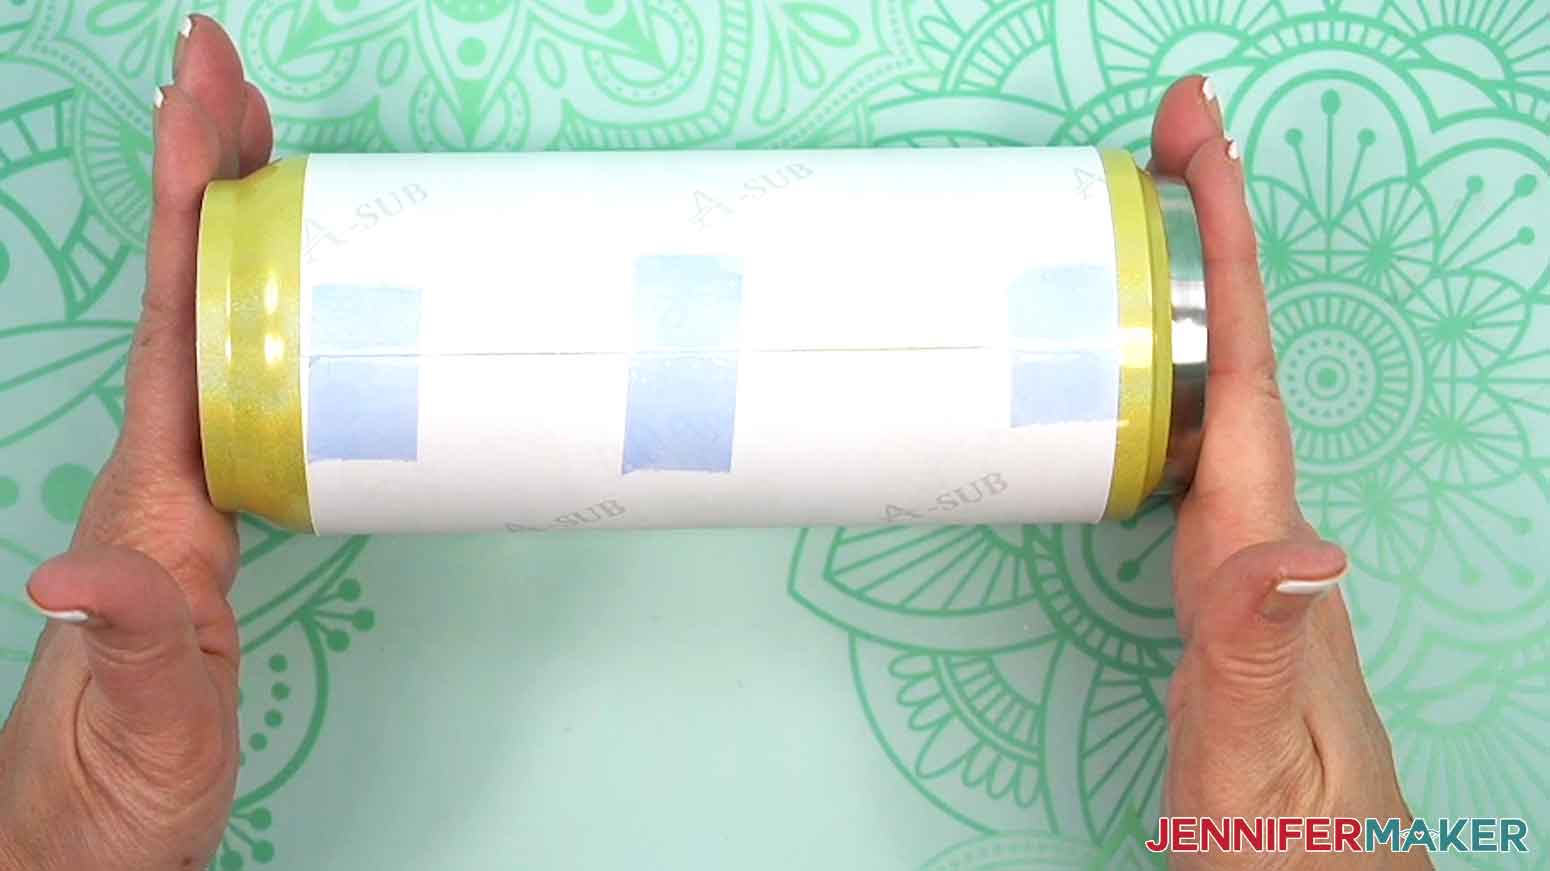
TIP: Use your Scraper to press the tape down tightly from the center outward to seal the seam. - Add tape horizontally around the top and bottom edges of the wrap to finish securing the design.
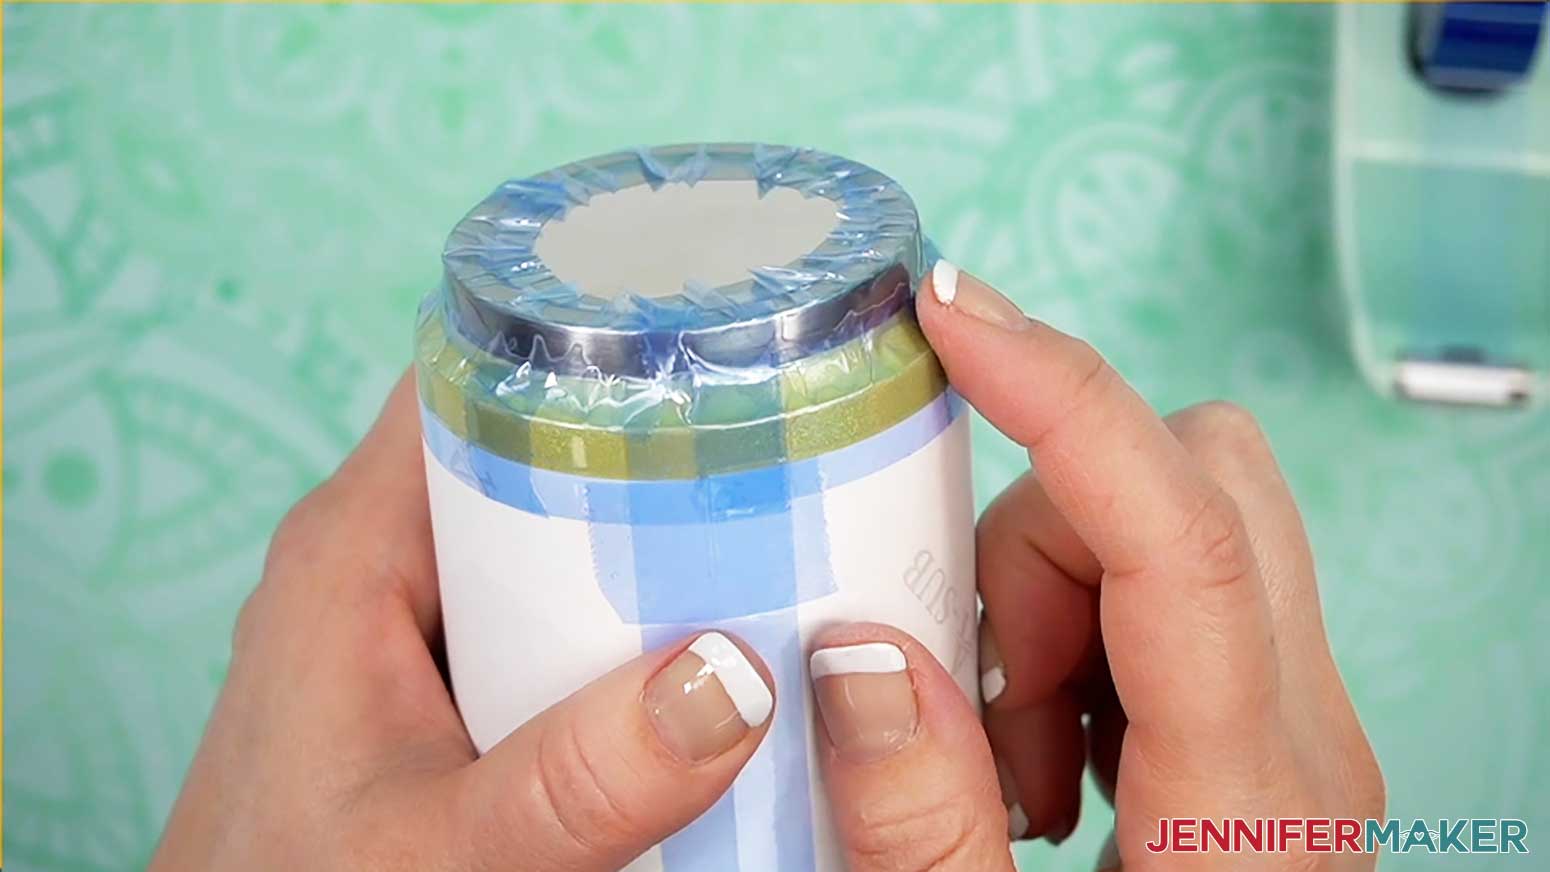
- Use heat-resistant tape around the top and bottom lips of the tumbler to prevent the shrink wrap sleeve from sticking to the surface during heating.
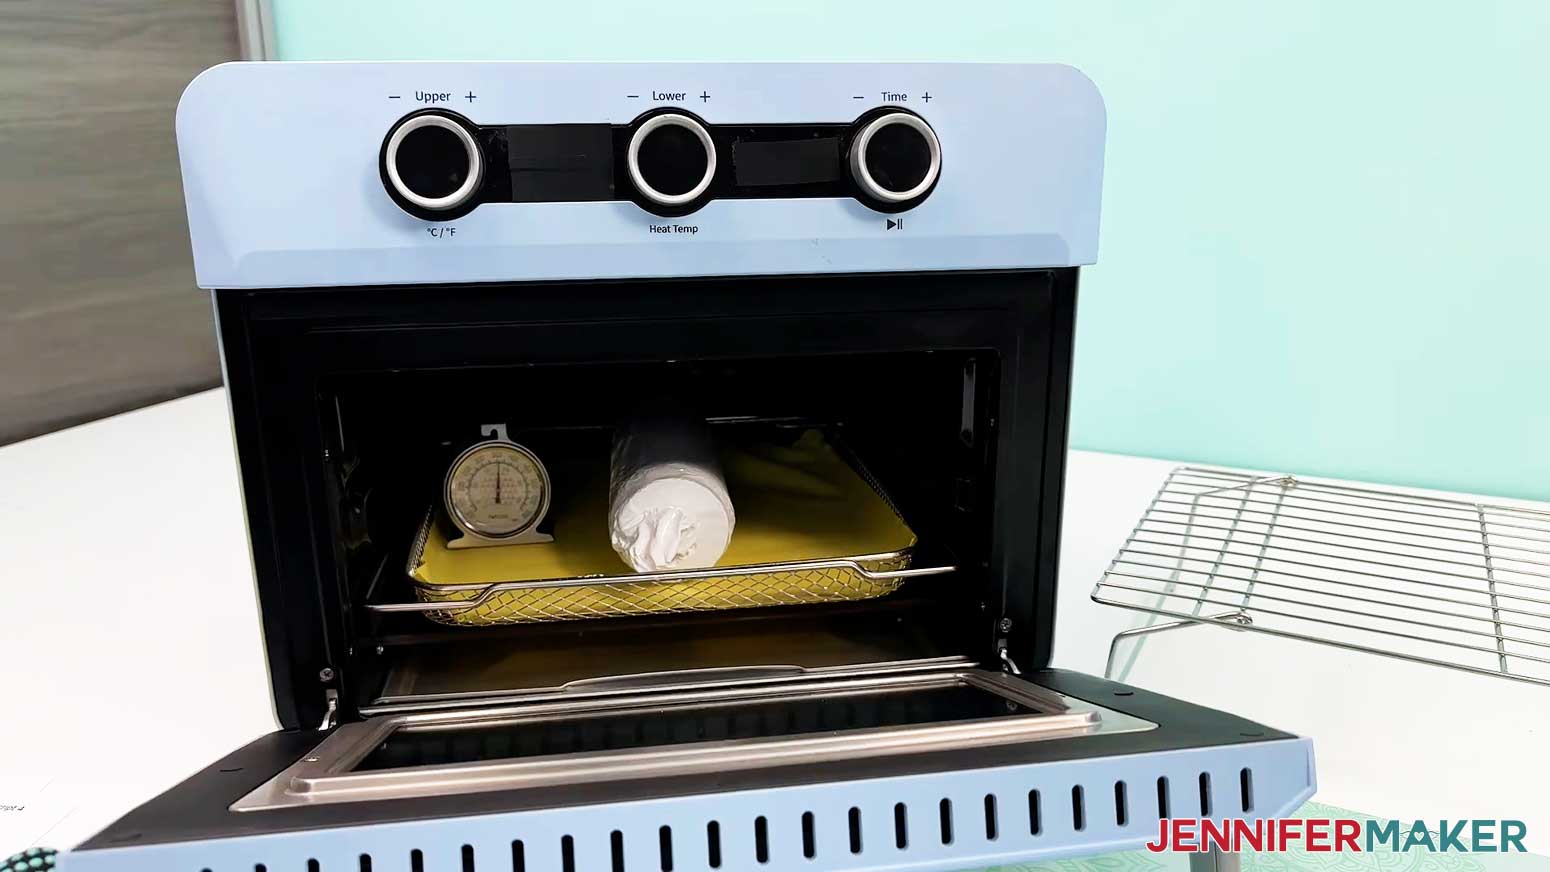
IMPORTANT: Before sublimating, open a window and turn on a fan to improve your ventilation. - Place a silicone baking mat onto the sublimation convection oven’s wire tray.
TIP: This will keep the tumbler from rolling later. - Place an oven thermometer in the center to make sure the temperature is correct.
- Preheat your convection oven to 360°F (182°C).
TIP: I’ll use the settings that I’ve found work the best for this type of project, but if you’re not sure where to start, check out my Sublimation Cookbook to get time and temperature settings for tons of sublimation projects!
NOTE: If your tumbler is a different brand from the one in my list, check the manufacturer’s heating instructions to find the best temperature setting for your tumbler. - Grab a shrink wrap tube that is the right size for your tumbler.
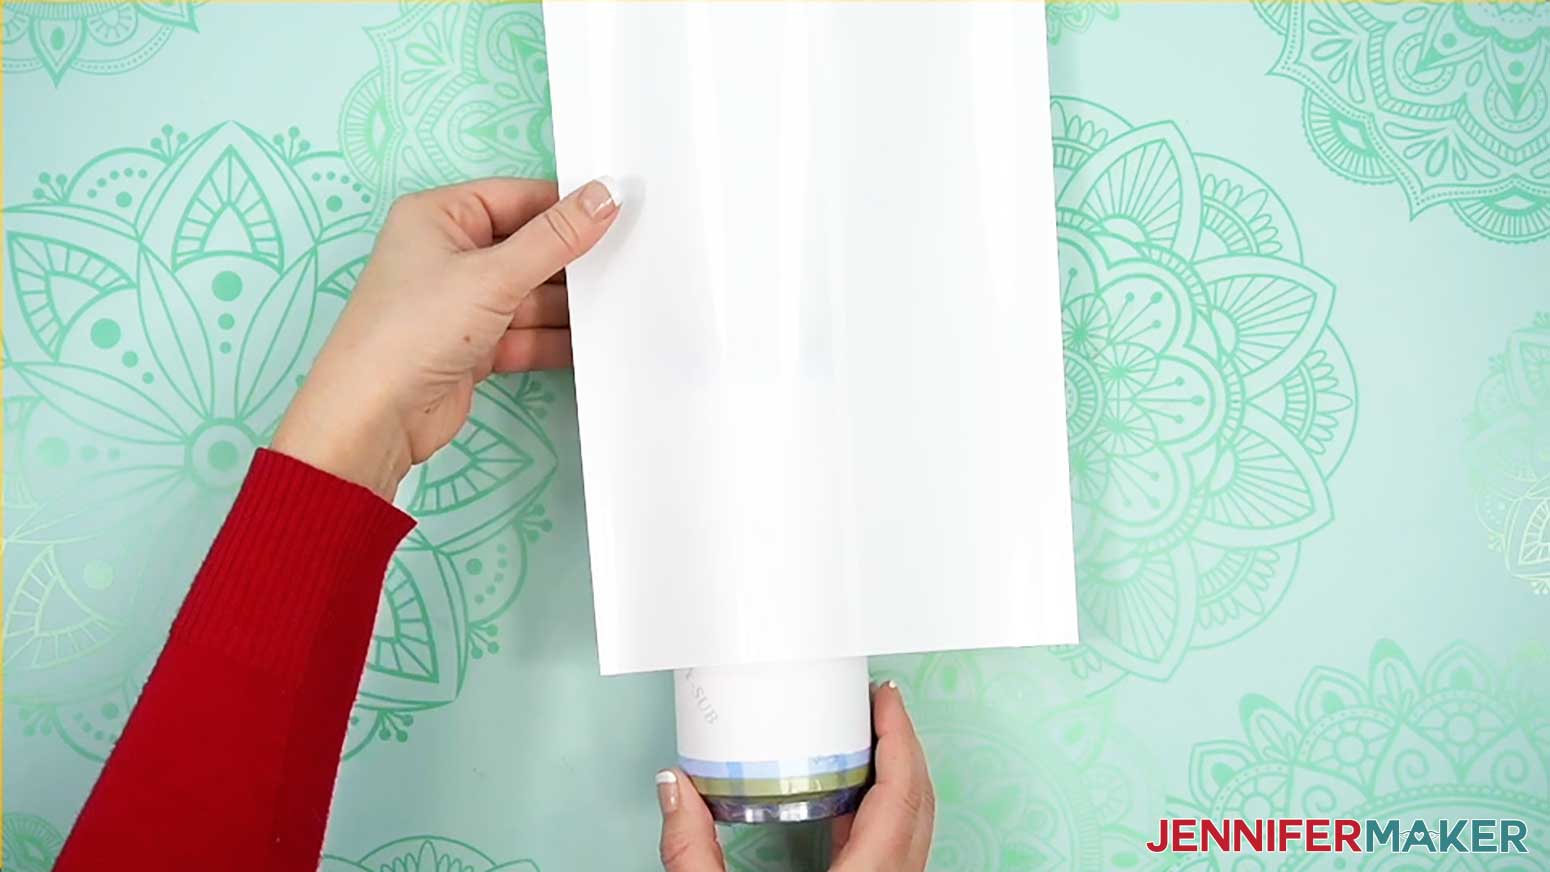
NOTE: Some sublimation tumblers come with shrink wrap tubes, but not all do. If you order the tubes separately, make sure they’re the right size for your tumbler. - Open the shrink wrap tube and pull it over your tumbler.
- Put on your heat-resistant gloves.
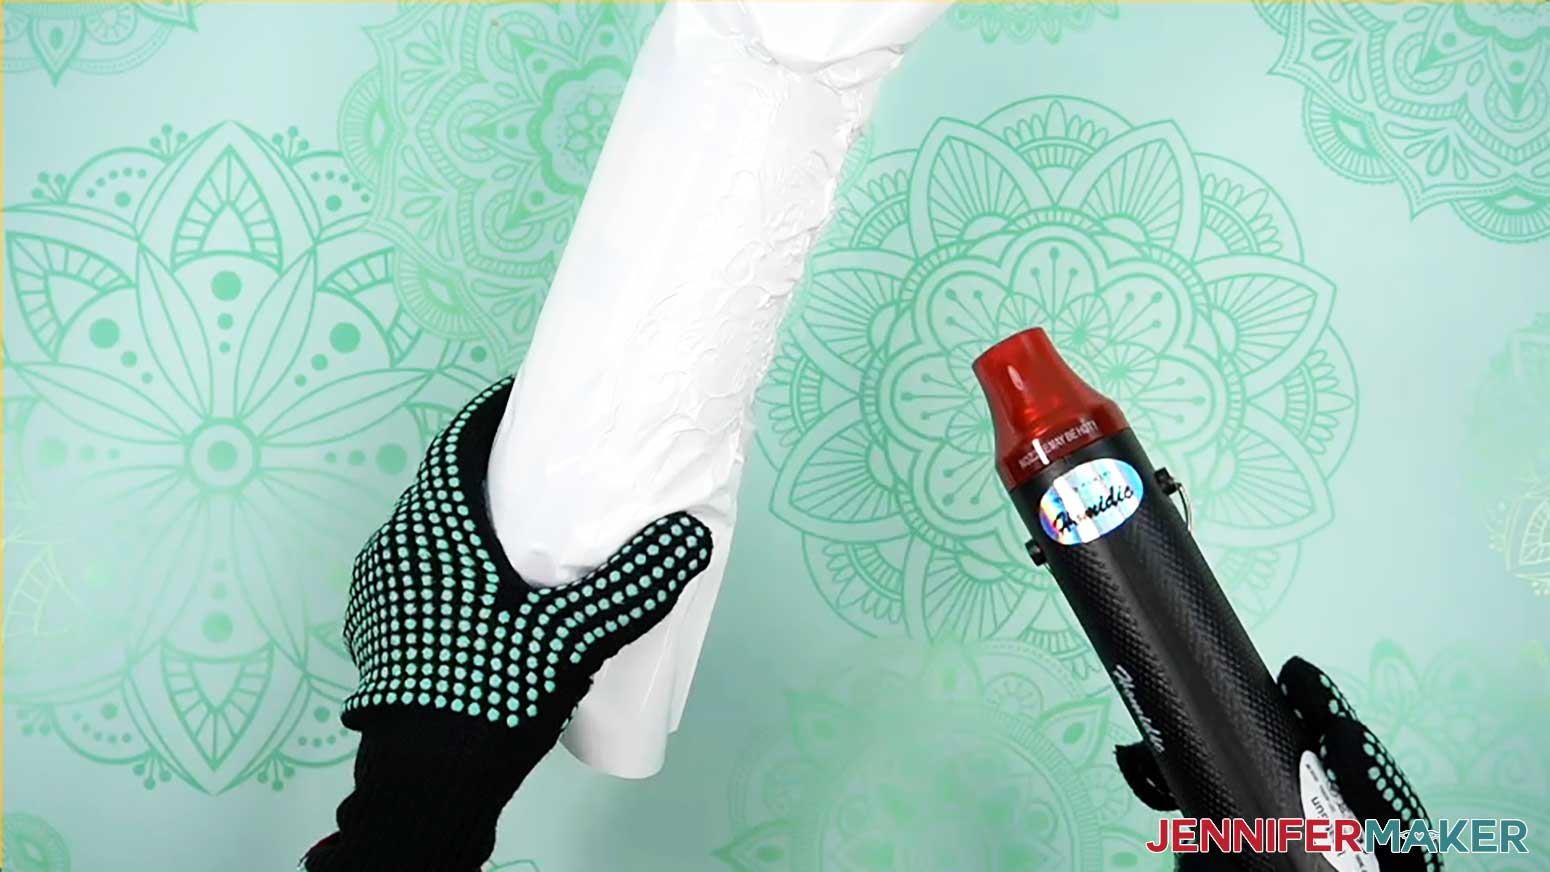
- Turn your heat gun to a low setting and slowly heat the wrap until it conforms to the tumbler.
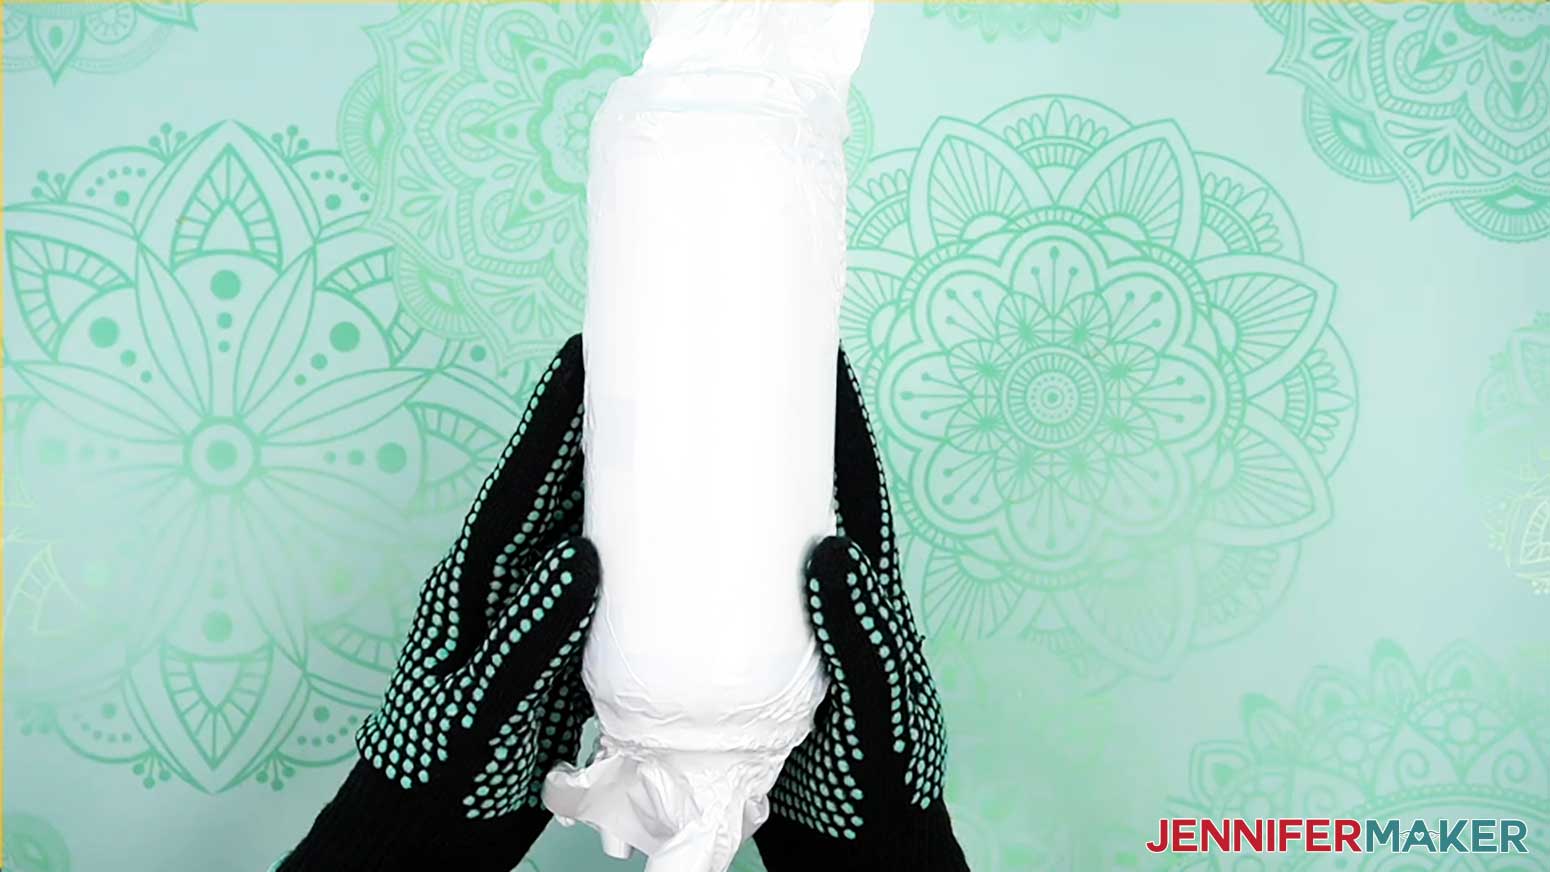
NOTE: Try not to focus the heat on one area for a long period of time to avoid starting the sublimation process prematurely. - Smooth out the majority of the wrinkles, but don’t make the wrap too tight or it will pull apart in the oven.
- Allow the tumbler to cool before putting it in the oven.
- Once the tumbler is cool and the oven is at the correct temperature, lay the prepared tumbler horizontally on the silicone baking mat.
TIP: Keep your gloves on, the oven is hot! - Bake the tumbler for six minutes, rotating once halfway through with your gloves on.
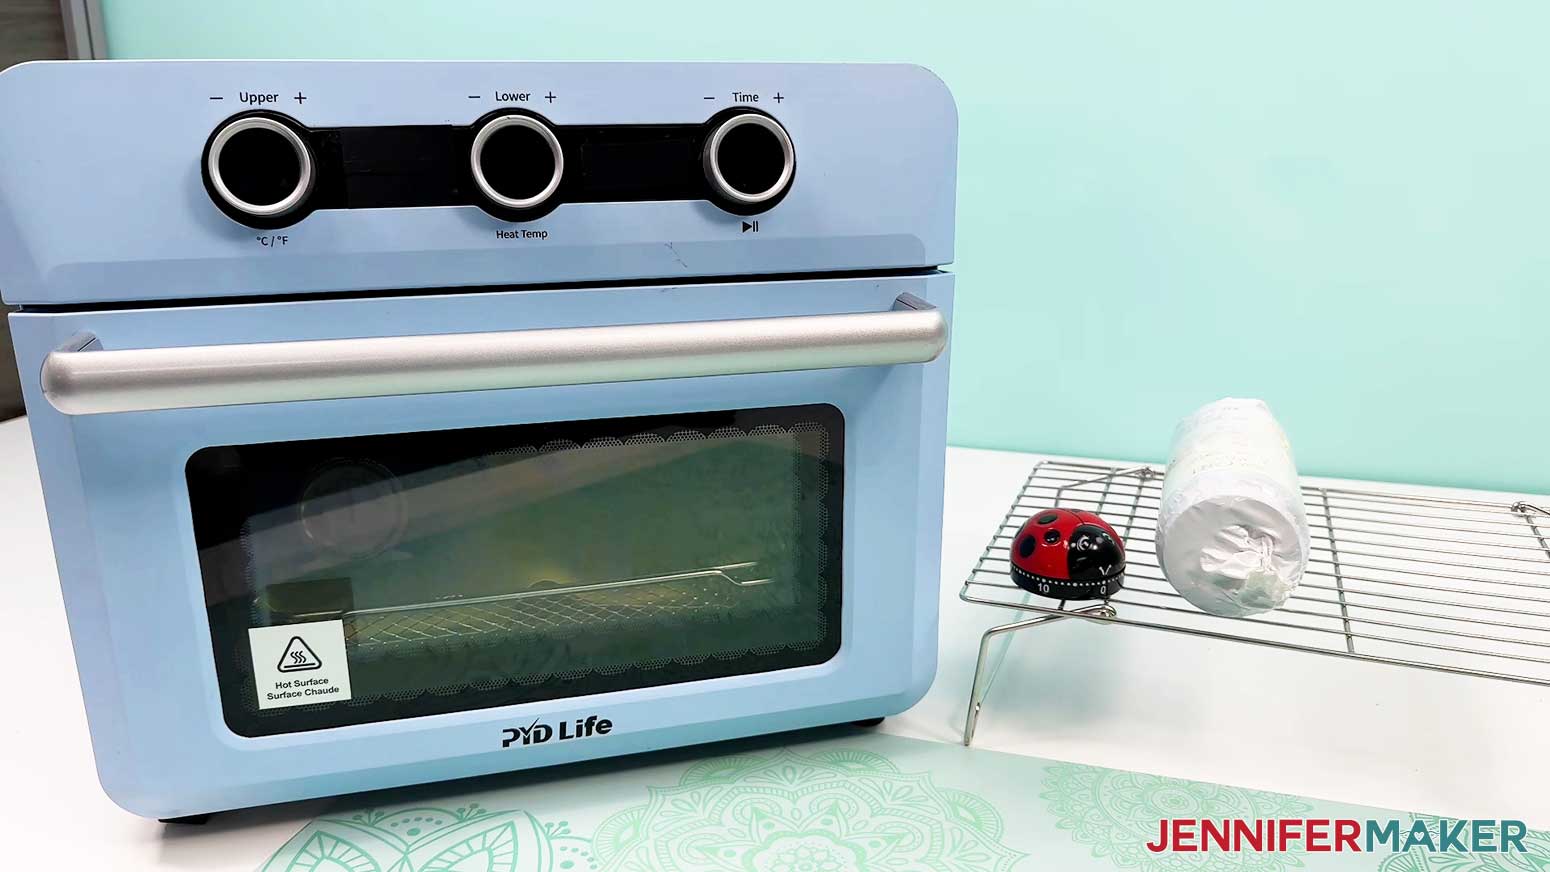
NOTE: This helps even out the heat on the tumbler. - After six minutes, the tumbler will be VERY hot. With your gloves on, carefully take it out of the oven and let it rest on a cooling rack for one to two minutes until it’s safer to handle.
- While the tumbler is still warm, carefully peel away the shrink-wrap, tape, and sublimation paper to reveal your design!


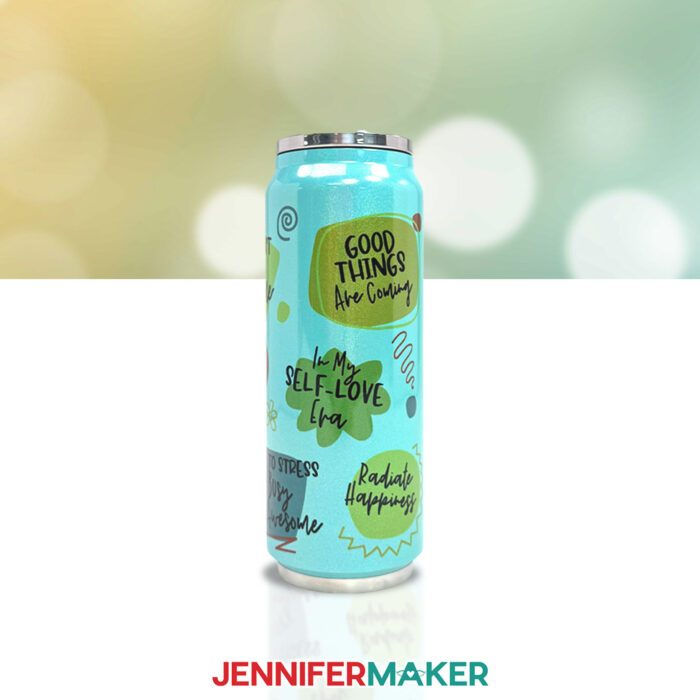
STEP 4: SHOW IT OFF
You now have a fun design sublimated on a colored tumbler! Even though I used the same design, every tumbler turned out different. The lighter tumblers stayed closer to the true colors, but the darker tumblers led to some surprising color changes.
Notes
Finished Size
Print Size: 9" W x 6.25" H
Tumbler Size: 3" W x 8" H
Fonts Used
Shoelace Scrawl / Free Alternative: Optional
Falling Leaves Print / Free Alternative: Delight Winter
Answers to Your Questions About Sublimation on Colored Tumblers
Q: I want to customize the colors of my sublimation designs to work better with my colored tumblers. How do I do that?
A: You can learn how to edit sublimation designs in Canva for colored tumblers in my ADVANCE program. Learn more about ADVANCE here!
Q. Can you sublimate on any tumbler?
A: No, you must use tumblers designed for sublimation dye. There is a wide range of sublimation tumblers available, but always check the original packaging to make sure they are sublimation-compatible. There are skinny tumbler options, larger tumblers with handles, and even wine glass tumblers! If you can’t find them locally, you can order items like wholesale stainless steel sublimation tumblers online.
Q: Can you sublimate on colored tumblers?
A: Yes! As long as the tumbler is designed for sublimation and the color is light enough to show off the design applied to it, you can sublimate on a whole rainbow of lighter-colored tumblers. Scroll up to check out my written and video tutorials to learn how!
Q. What do you need to make sublimation tumblers?
A: A printed sublimation design, adequate heat at the perfect temperature, pressure, compatible tumblers, and the tools and techniques in my tutorial! If you want to try sublimating without a printer, you can edit a SVG in Cricut Design Space and cut it from an Infusible Ink transfer sheet for another approach to sublimation.
Q. Do sublimation tumblers need epoxy?
A: Nope! With sublimation, the dye becomes part of the surface so you don’t have to seal it, unlike vinyl designs. Sublimated tumblers can even be washed in the dishwasher and still look great!
Q. Can sublimation tumblers go in the dishwasher?
A: Yes, as long as the sublimation blank is dishwasher-safe, they’ll stay in tip-top shape for many washes!
Q. Can you sublimate tumblers in a regular oven?
A: No, once you use a convection oven for the sublimation process, it is no longer safe to cook food in.
Q. Can I use sublimation printers for regular prints, too?
A: No, sublimation printing is different than regular inkjet printing or laser printing. Sublimation printers (whether purpose-built or converted) require high-quality sublimation ink, which is different from normal printer ink. If you really need to print something and all you have is a sublimation printer, the result is still usable, it’s just going to use sublimation ink. I don’t recommend trying to switch a converted printer back to using normal ink. If you don’t want to invest in a sublimation printer, look for a retail store who will make a custom printed sublimation sheet for you. Or, try Infusible Ink transfer sheets.
Q: What typefaces did you use?
A: Shoelace Scrawl or a free alternative is Optional. Falling Leaves Print or a free alternative is Delight Winter.
Q: What kind of paper do I use for sublimation tumblers?
A: Sublimation ink technically works with regular laser paper, but I really recommend you use special sublimation paper for the best and most vibrant results and ink transfer. I use A-SUB paper most often.
Q: What kind of ink do I use for sublimation?
A: Whether you’re putting designs on tumblers or tote bags, you must use special sublimation ink to create a permanent finish! I use Hiipoo Ink for most of my high quality sublimation transfers.
Q: How do I test my sublimation prints for vibrancy and color?
A: Use my free subliflower design to see how your colors look! It’s Design #385 in my resource library!
Get my free PNG files to do sublimation on colored tumblers!
(If you do not see the signup form above, click here.)
I love seeing what you make with my designs and how you use them! Please share a photo of your sublimated colored tumblers in our Facebook group or tag me on social media with #jennifermaker.
Love,

Want to remember this? Save this Sublimation on Colored Tumblers tutorial to your favorite Pinterest Board!