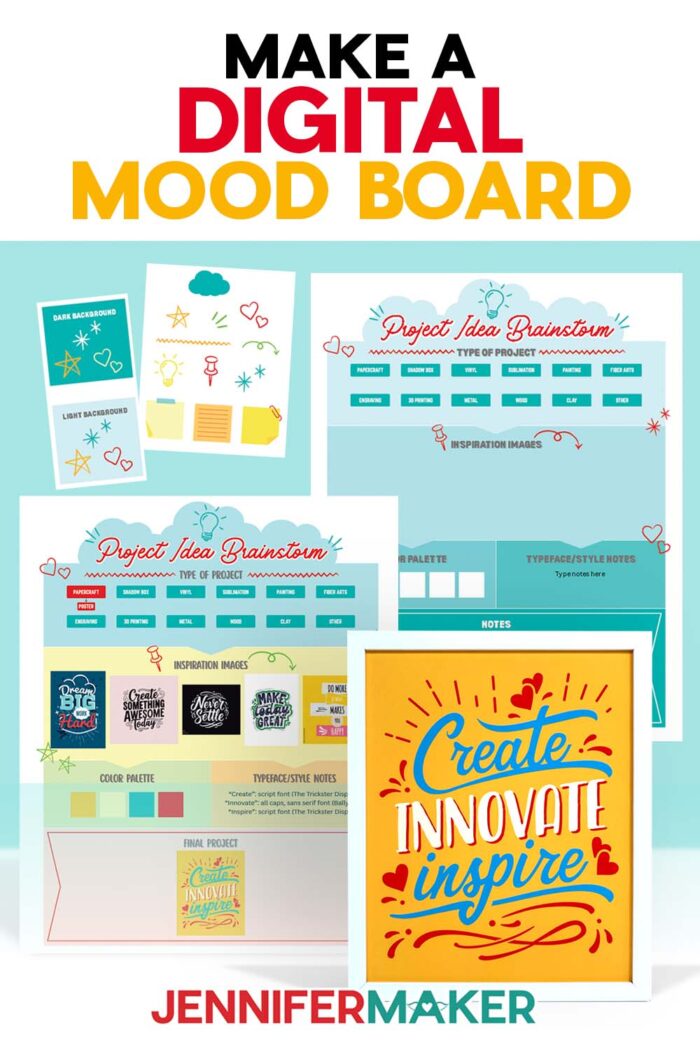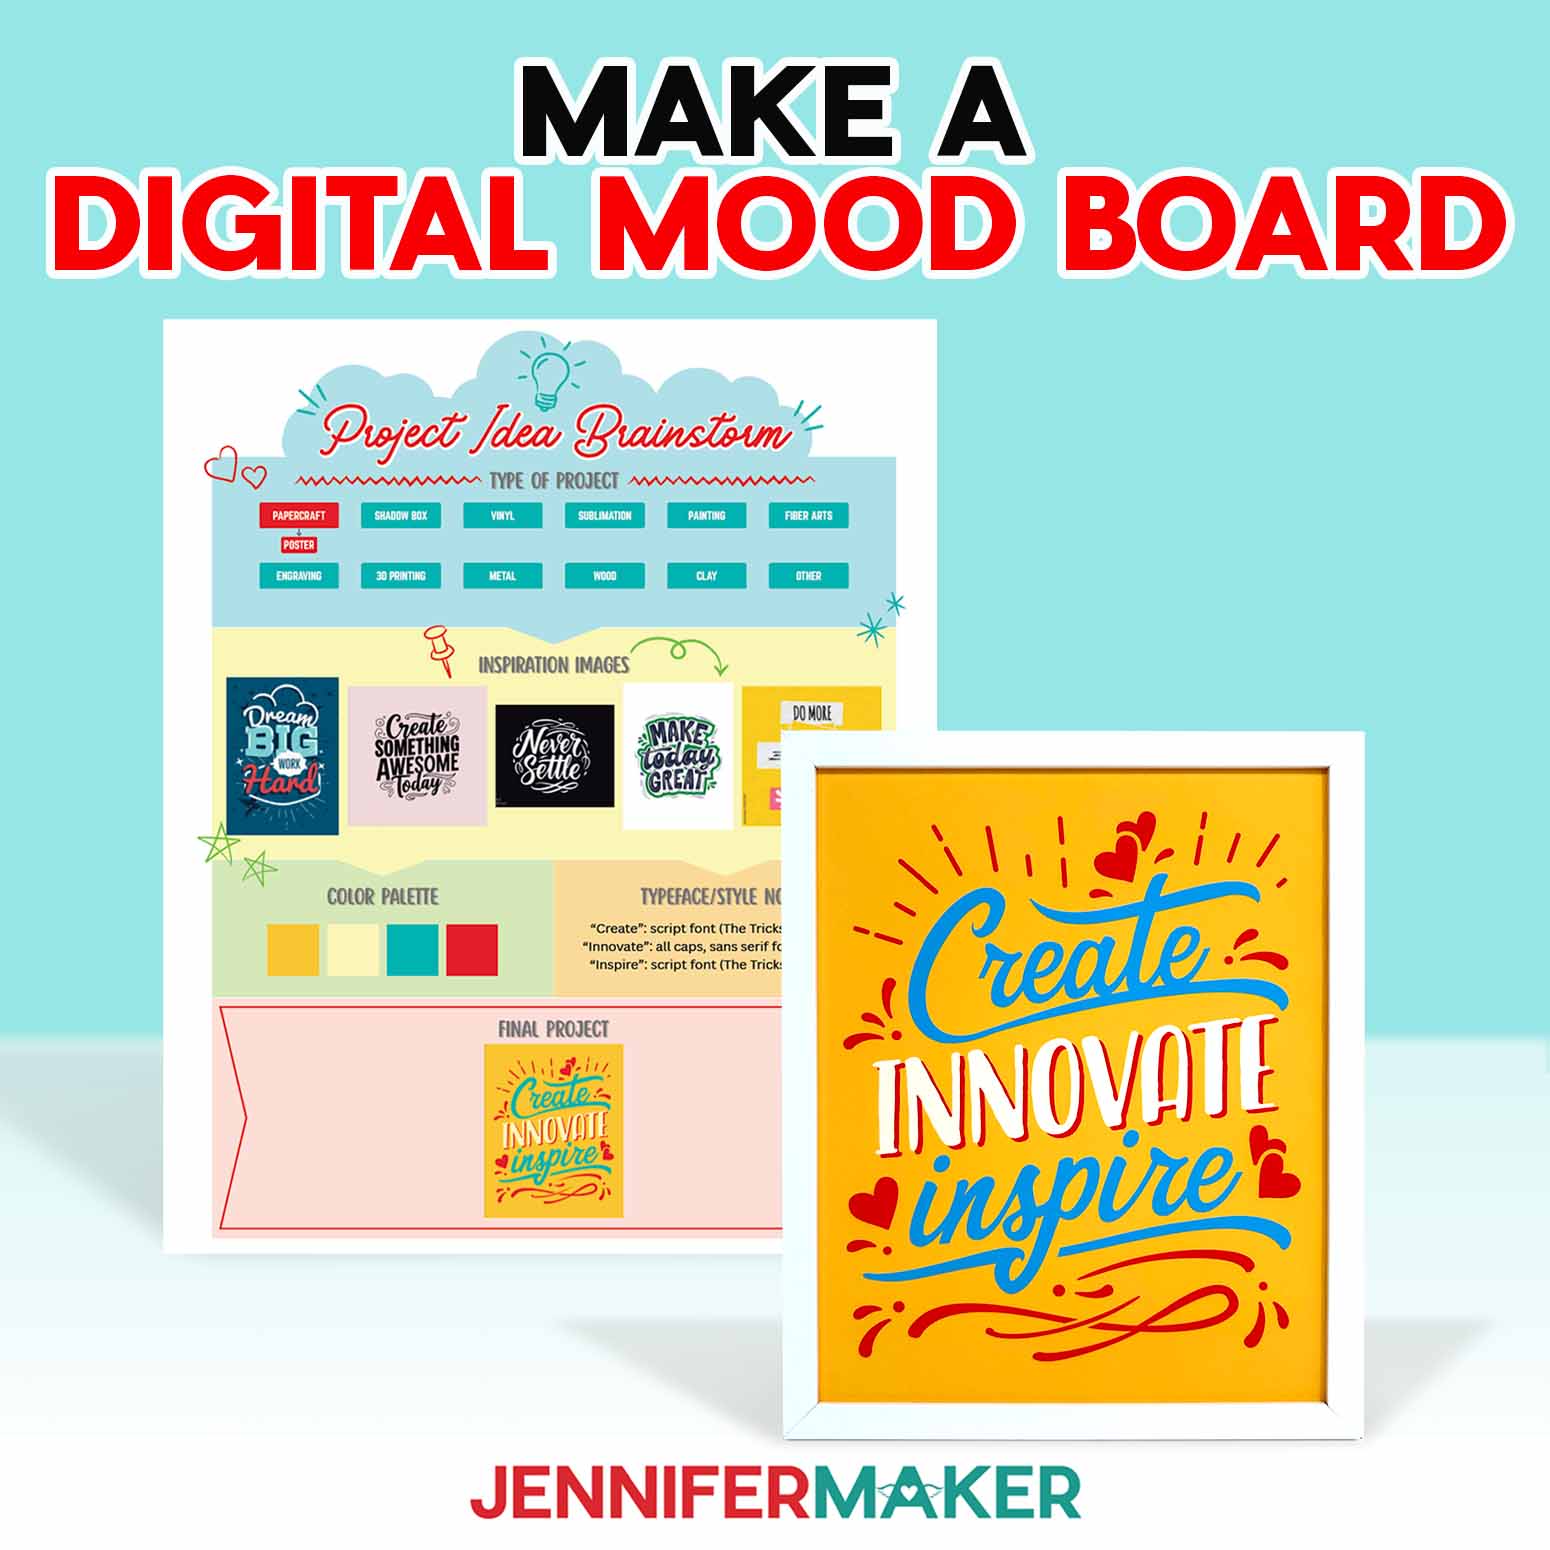
Learn how to make a digital mood board to visualize your next project!
If your craft ideas are scattered across screenshots, Pinterest boards, and open browser tabs, you’re definitely not alone. I used to start projects that way too. I’d feel excited about an idea, jump into designing, and then halfway through think… “Why does this feel off?” Learning how to make a digital mood board completely changed that part of my crafting routine. Now I can see all my design ideas in one place before I ever cut paper or peel vinyl.
See the full step-by-step video tutorial on how to make a digital mood board:

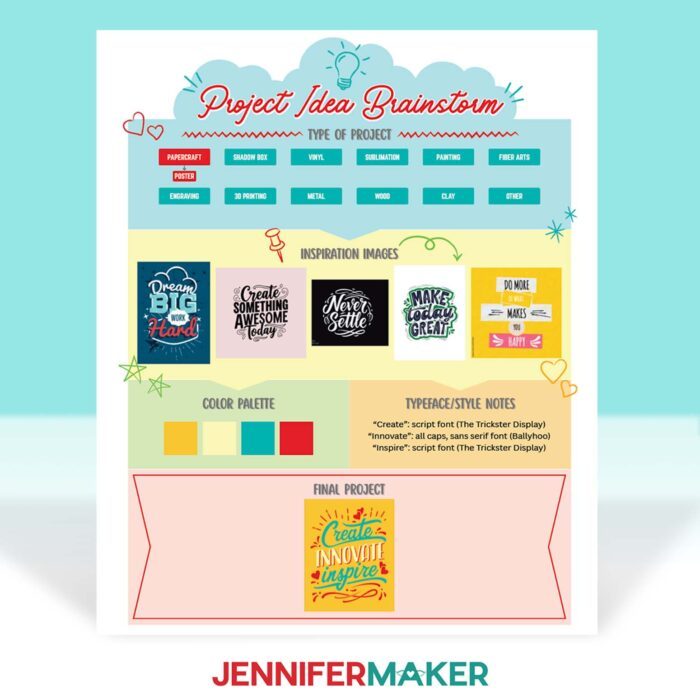
A digital board is simply a place to gather inspiration before starting your next project. It’s a great way to organize your thoughts and make sure your project is heading in the direction you actually want. Instead of guessing as you go, your creative process becomes calmer and much more intentional.
In my tutorial, I show you how I use Canva Whiteboards to organize inspiration. I love whiteboards because they give you unlimited space to explore a creative concept without committing to a design too soon. I can add images, sketch ideas, and circle interesting visual elements while I’m thinking.
The first thing I do is gather ideas for what I want to make. Canva makes it so easy to add a collection of images that represent the feeling I want for the project. Sometimes I upload my own images from screenshots or Pinterest finds. Other times I search Canva for fonts, textures, or layouts that spark visual inspiration.
As I look at everything together, patterns start to appear. That’s when I begin noticing things like:
• repeating color palettes
• interesting typography combinations
• element layouts that create cohesion and balance
Once those pieces start working together, I suddenly have a visualized roadmap for my project. The great thing about this method is that it keeps your ideas flexible. I’m not finalizing anything yet. I’m simply exploring possibilities as part of the process.
If you’d like to try this yourself, I created a free mood board template you can open right in Canva. It gives your ideas somewhere to land and makes creating an effective mood board much easier. Be sure to watch the video tutorial for the full walkthrough so you can build your own perfect digital mood board step by step.
If you enjoy planning projects this way, I also go deeper into this system inside my ADVANCE membership program. In my special workshop just for this project, I show how to expand one board into a reusable planning template for different craft styles and materials. It’s a great tool for refining your ideas and turning inspiration into confident designs. Learn more about ADVANCE with JenniferMaker here!
So, want to learn how to make a digital mood board using Canva? Let me show you how fun and easy it is! This post contains some affiliate links for your convenience (which means if you make a purchase after clicking a link I will earn a small commission but it won’t cost you a penny more)! Read my full disclosure policy.
Materials to Make a Digital Mood Board Poster
View my Amazon shopping list for the exact items I used!
- A Free Canva Account
- One (1) Sheet of 8.5″ x 11″ Matte Photo Paper (optional for printing a poster)
- One (1) 8″ x 10″ Frame (optional for displaying the printed poster)
- Color Inkjet Printer (optional for printing a poster)
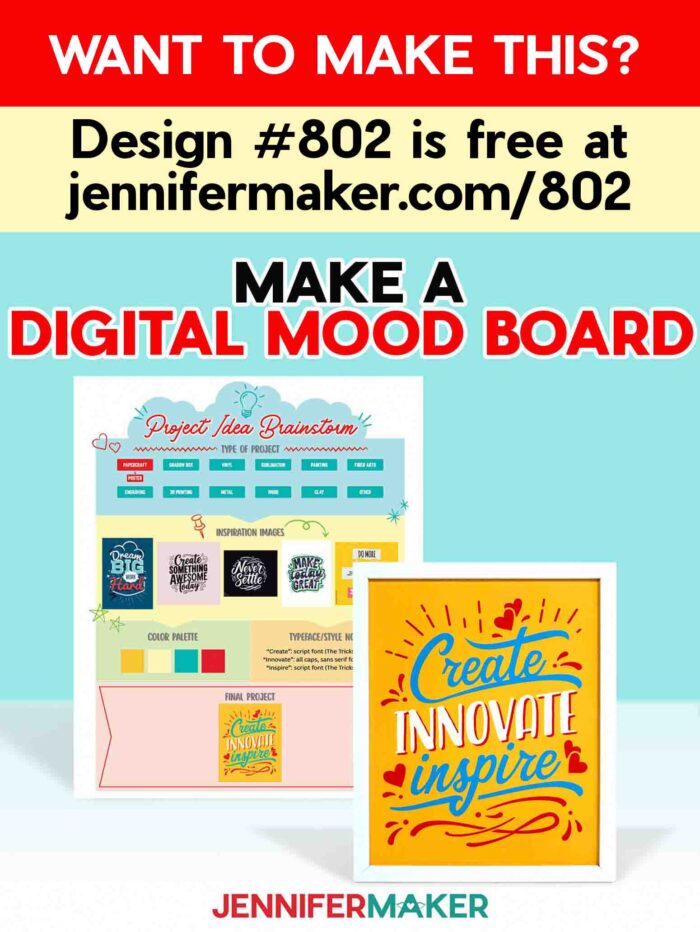
- Design #802 (My link to the project template is available in my free library – get the password by filling out the form at the bottom of this page)
How to Make a Digital Mood Board in Canva

How to Make a Digital Mood Board Using a Canva Whiteboard
Learn how to make a digital mood board using a Whiteboard in Canva!
Materials
- One (1) Sheet of 8.5" x 11" Matte Photo Paper (optional for printing a poster)
- One (1) 8" x 10" Frame (optional for displaying the printed poster)
- Design #802 (My free SVG/PNG/PDF design files are available in my free resource library - get the password by filling out the form at the bottom of this page)
Tools
- A Free Canva Account
- Color Inkjet Printer (optional for printing a poster)
Instructions
STEP 1: GET MY FREE MOOD BOARD TEMPLATE
First, download my Digital Mood Board files from my free library – look for Design #802. Alternatively, you can use the Save This Project form near the top of this post and the design link will be emailed to you.
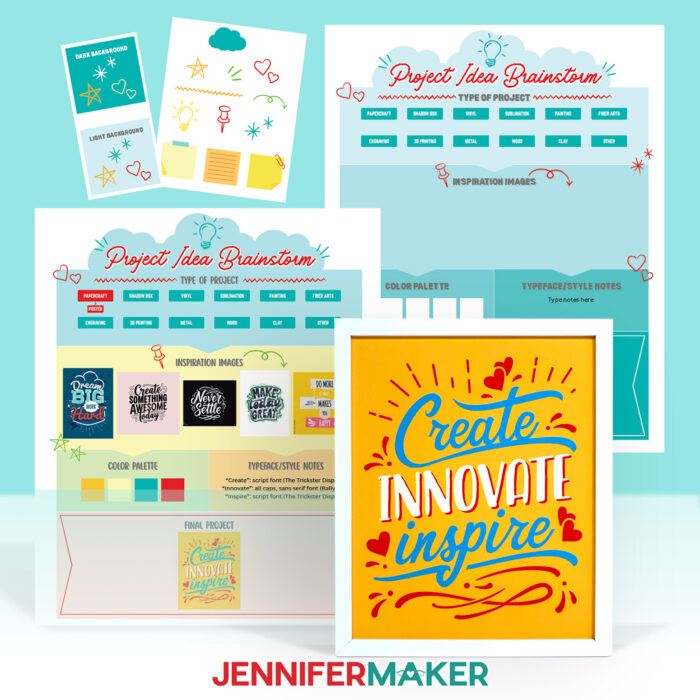
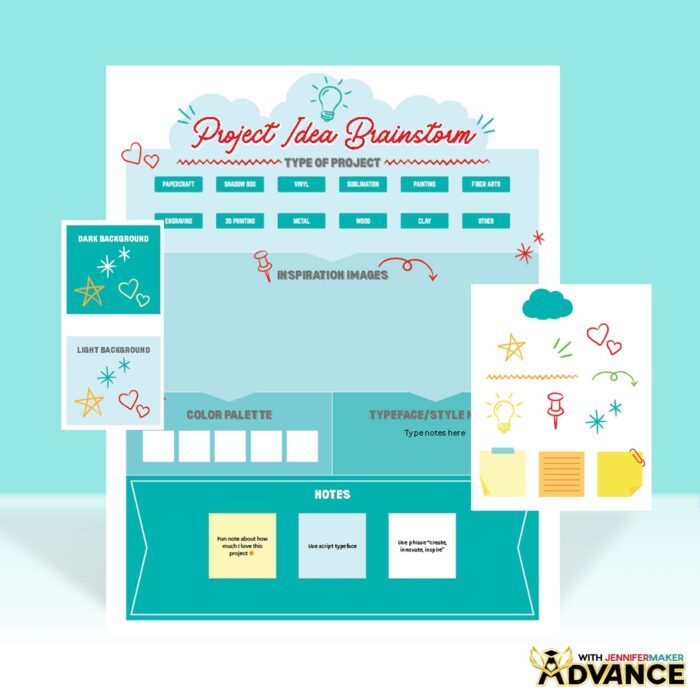
In the PDF folder, you’ll find a file with a link to the free Digital Mood Board Canva Whiteboard template. You can use my template to organize your ideas, or use a blank Canva whiteboard to make your mood board. There are also versions of the motivational poster I made using my example mood board. The PNG folder has a ready-to-print copy, and the SVG folder has a file you can customize in Canva using your own color preferences.
TIP: If you’re not sure how to unzip, go to jennifermaker.com/svgs to learn how to unzip files.
I recommend following along to design a mood board like my example before trying the same steps with your own ideas and goals.
STEP 2: PREPARE YOUR MOOD BOARD DESIGN IN CANVA
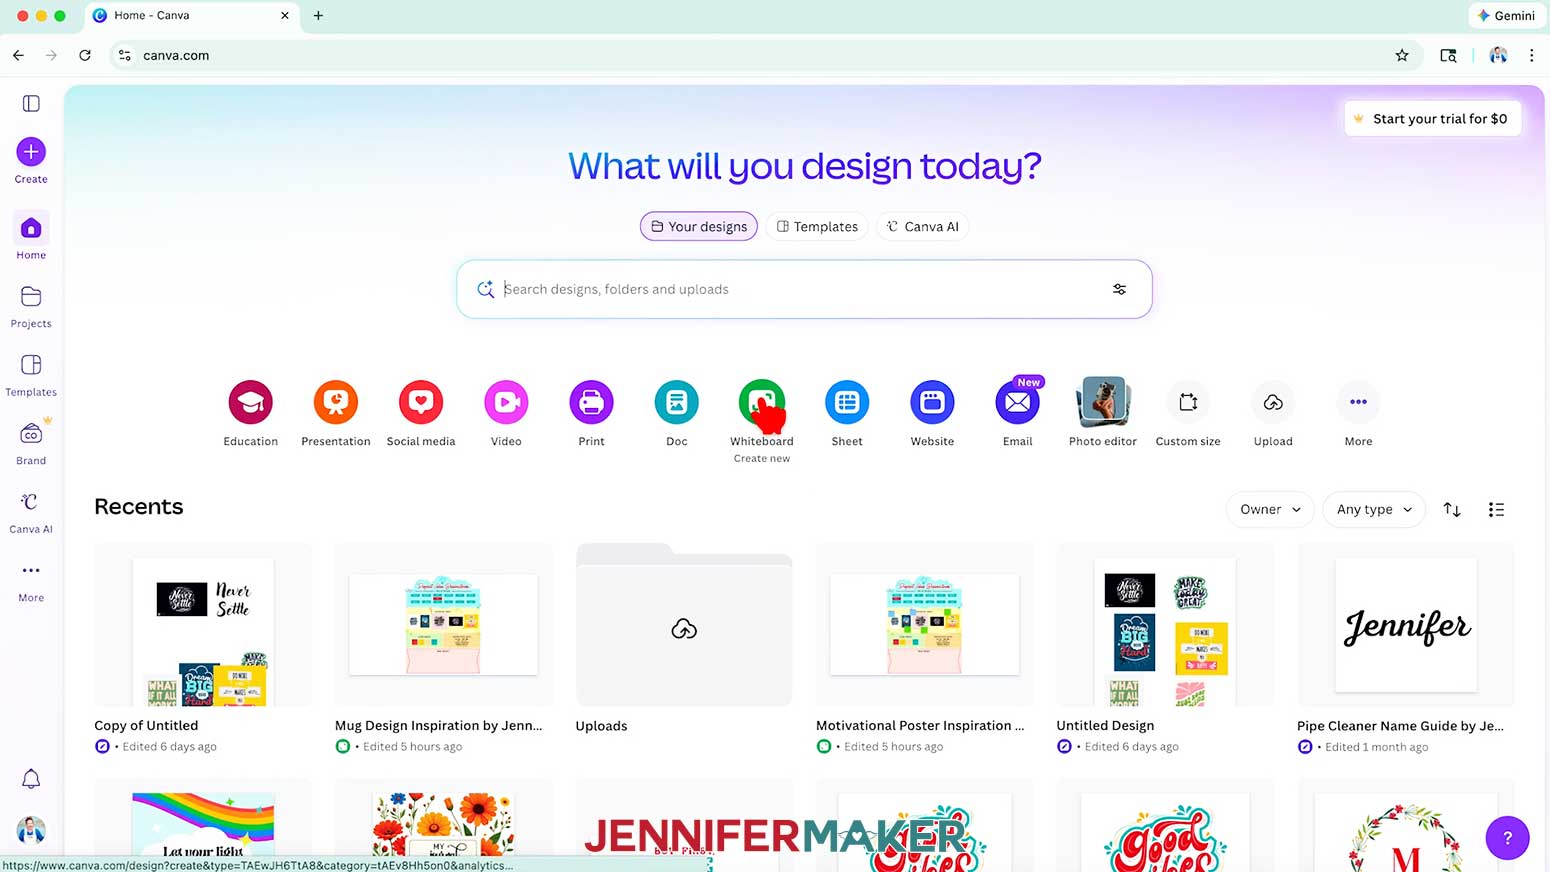
- To get started, open your computer’s browser and go to jennifermaker.com/canva.
NOTE: If you’re new to Canva, check out my Canva for Beginners tutorial. - Either sign in to your account or follow the prompts on the screen to sign up for a free account.
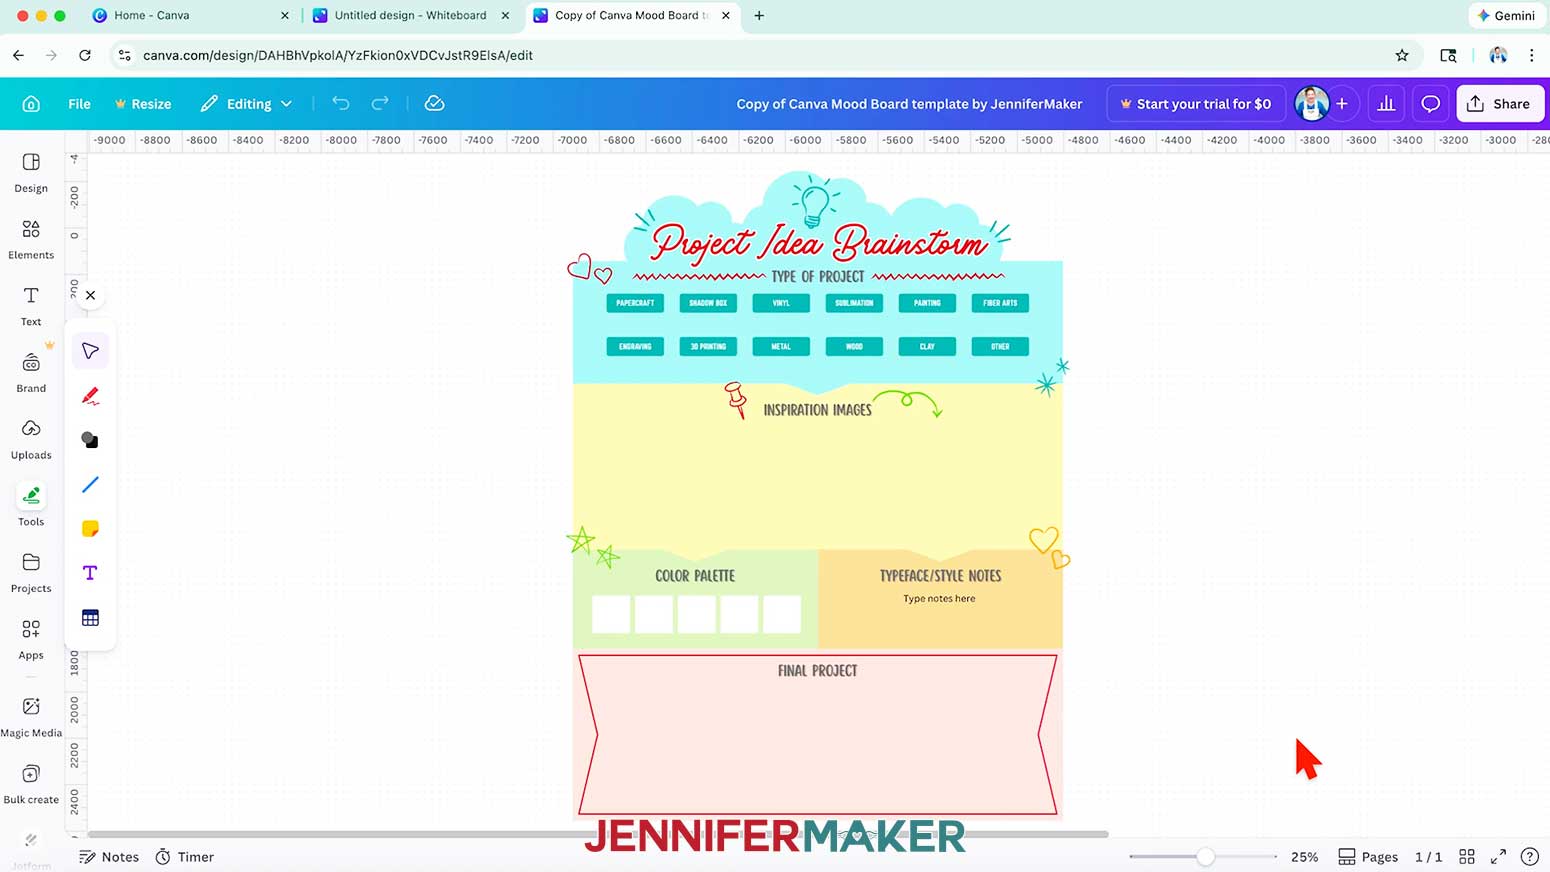
NOTE: Canva does offer paid subscriptions with more tools, templates, and elements, but I’ll show you how to do everything with the free account. - If you want to start with my Mood Board Template, use the link in my downloadable PDF to open it in a Canva Whiteboard.

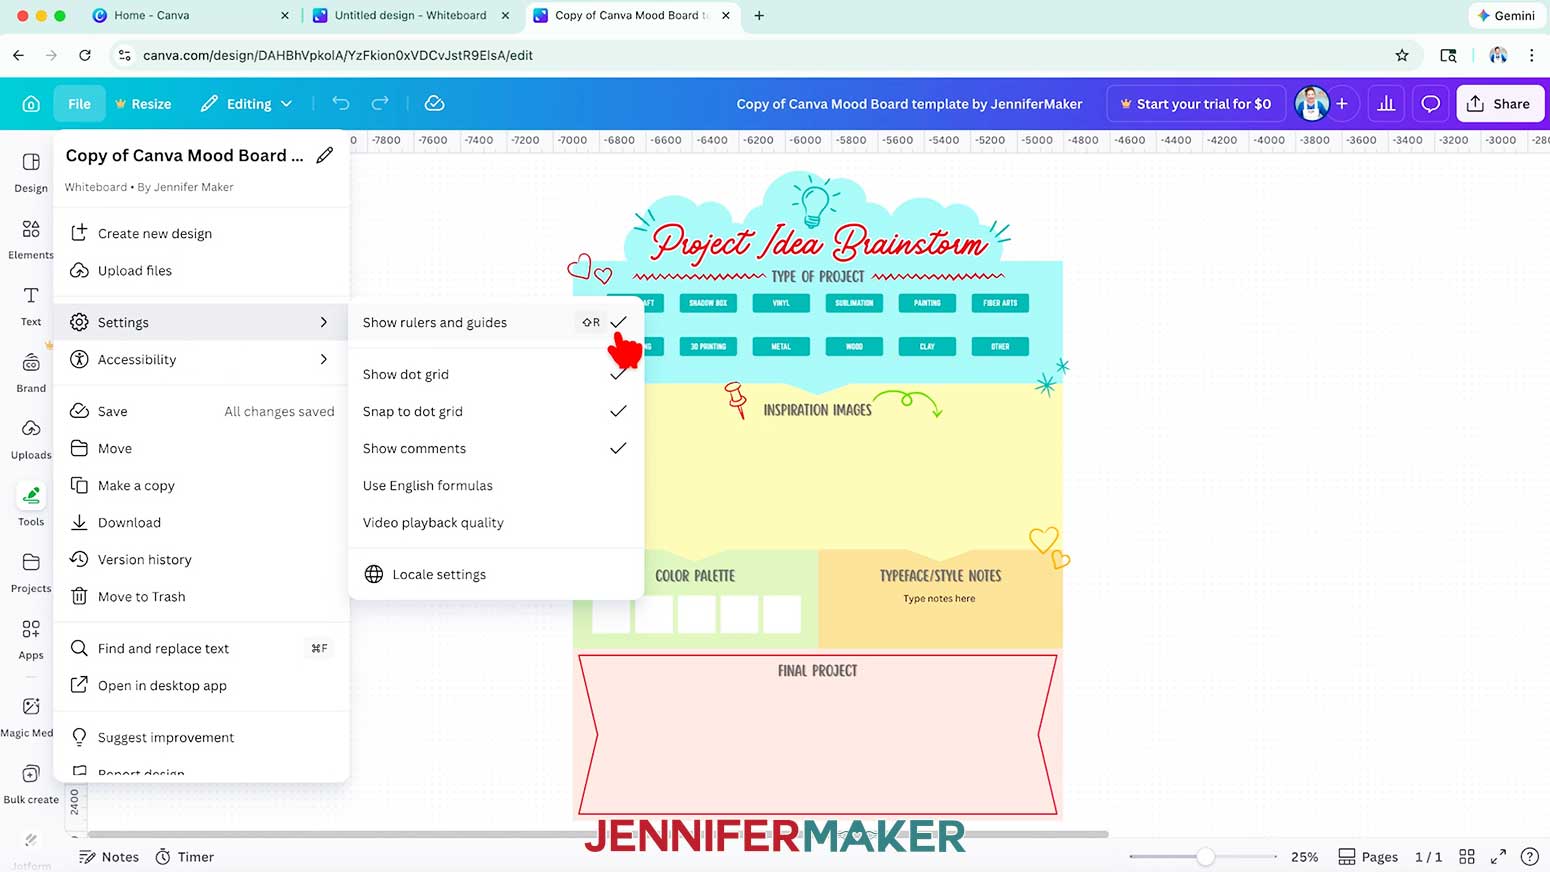
NOTE: Or if you don't want to use the template, go to the Canva Home screen, then click "Whiteboard" to open a blank one to start with. You can pick a template to apply once the blank Whiteboard is open. - To make your Whiteboard behave like mine, click “File,” go down to “Settings,” and make sure “Show rulers and guides,” "Show dot grid," and "Snap to dot grid" have check marks next to them.
- Click the filename field at the top and replace the current name with your own to keep track of the Whiteboard's focus.
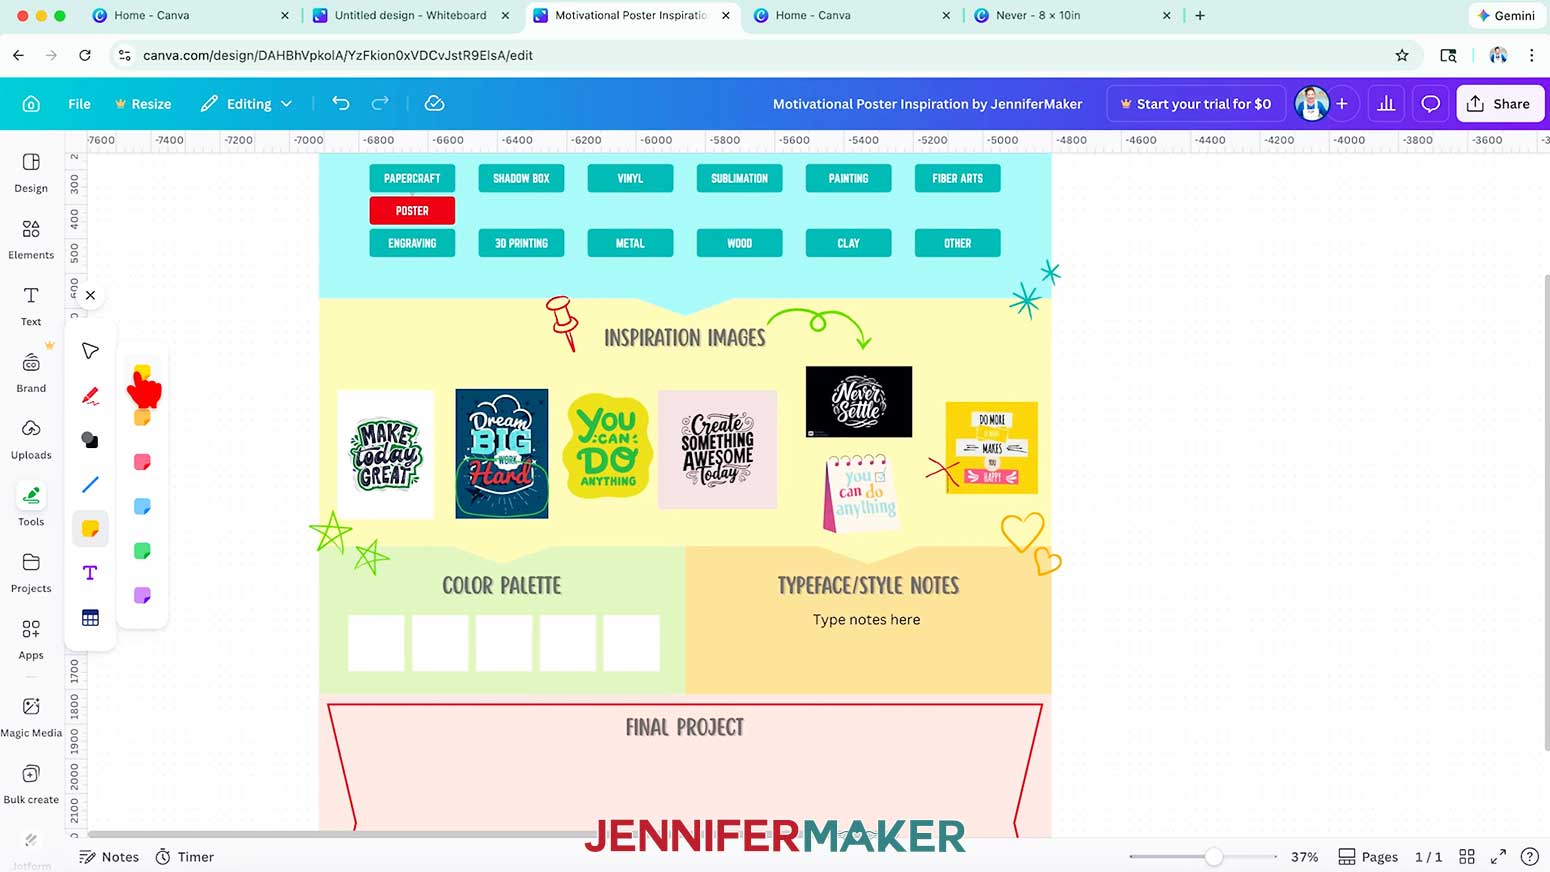
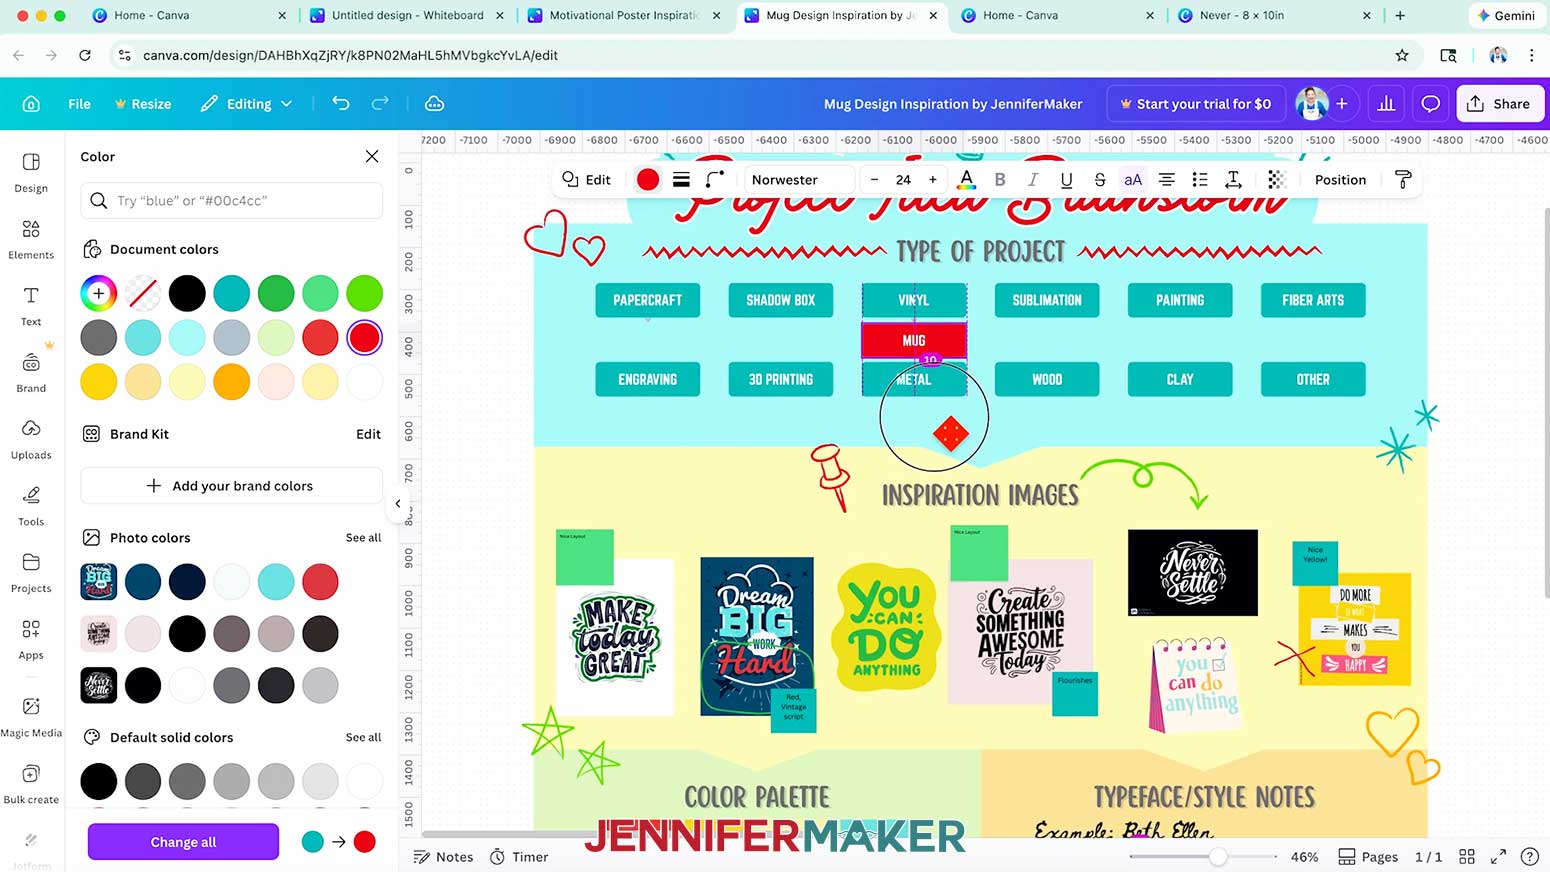
NOTE: I'll call mine "Motivational Poster Inspiration by JenniferMaker." - You can add a project focus at the top of my template by selecting a suitable "Type of Project" box and clicking the down arrow that appears below it.
NOTE: I'll add a new box below "Papercraft" for my poster inspiration. - Type the mood board's focus in the new box.
NOTE: I'll type "Poster" for my motivational poster idea. - You can change the box's color by using the color swatch circle at the top.
- Drag the board's focus box into position under the main type box.
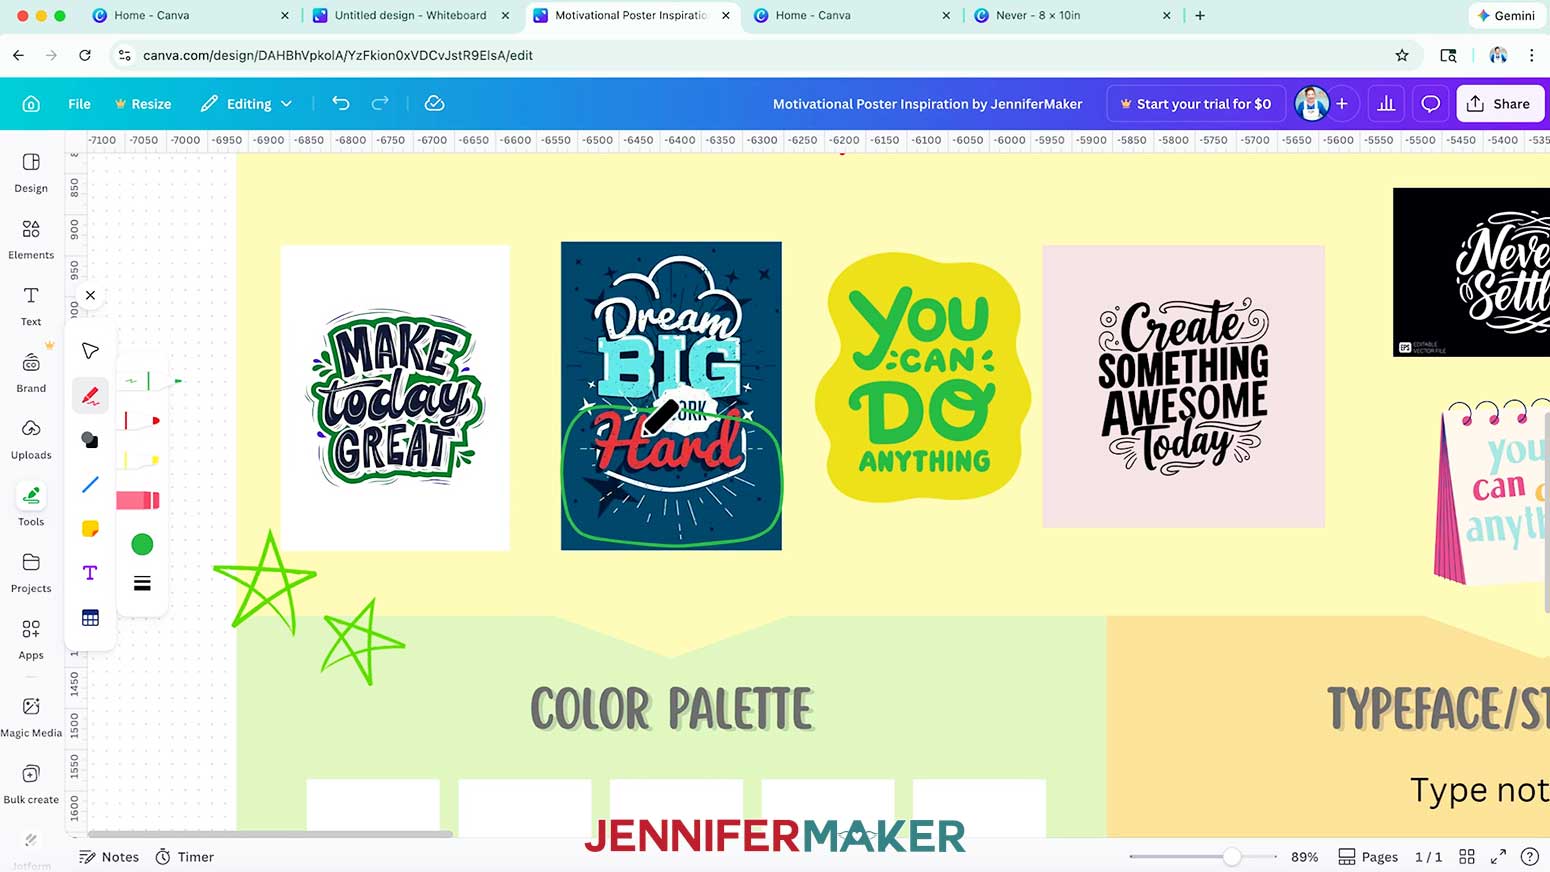
- Collect inspiration images from internet searches, Pinterest, photos of magazine projects, Canva examples, or other ideas from your daily life.
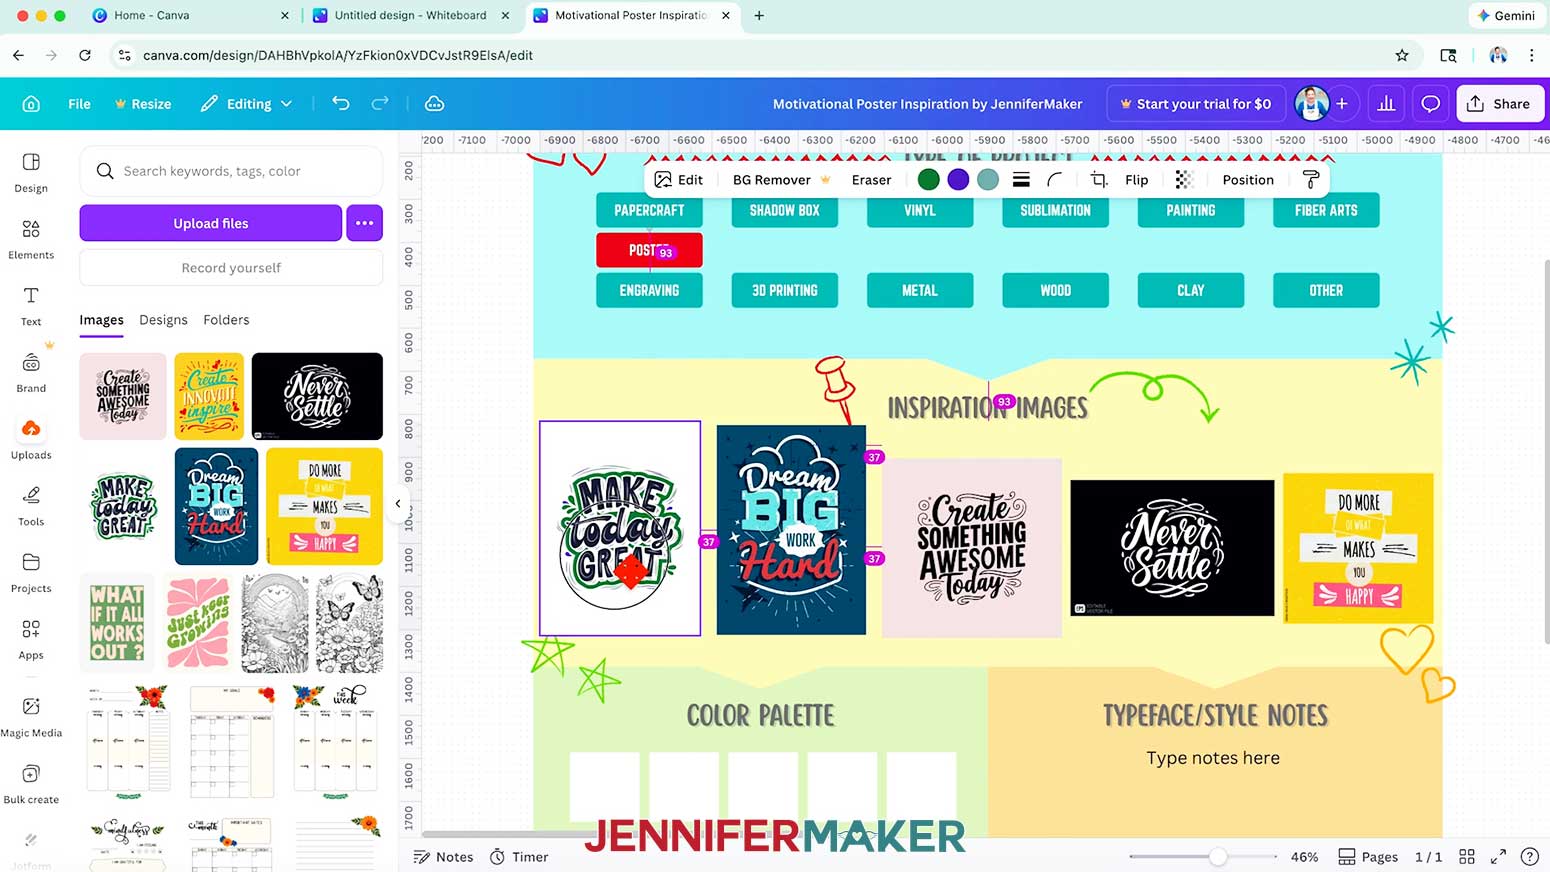
TIP: Inspiration images are to help you identify patterns you like, not for copying, so use them as ideas for starting points, but do not directly duplicate or copy them. - To add your inspiration files to Canva, click on “Uploads” in the side panel, then “Upload files,” and add any files or screenshots you have.
- Drag the uploaded examples to the "Inspiration Images" section of the template. Space them out so you can look for patterns and add notes.
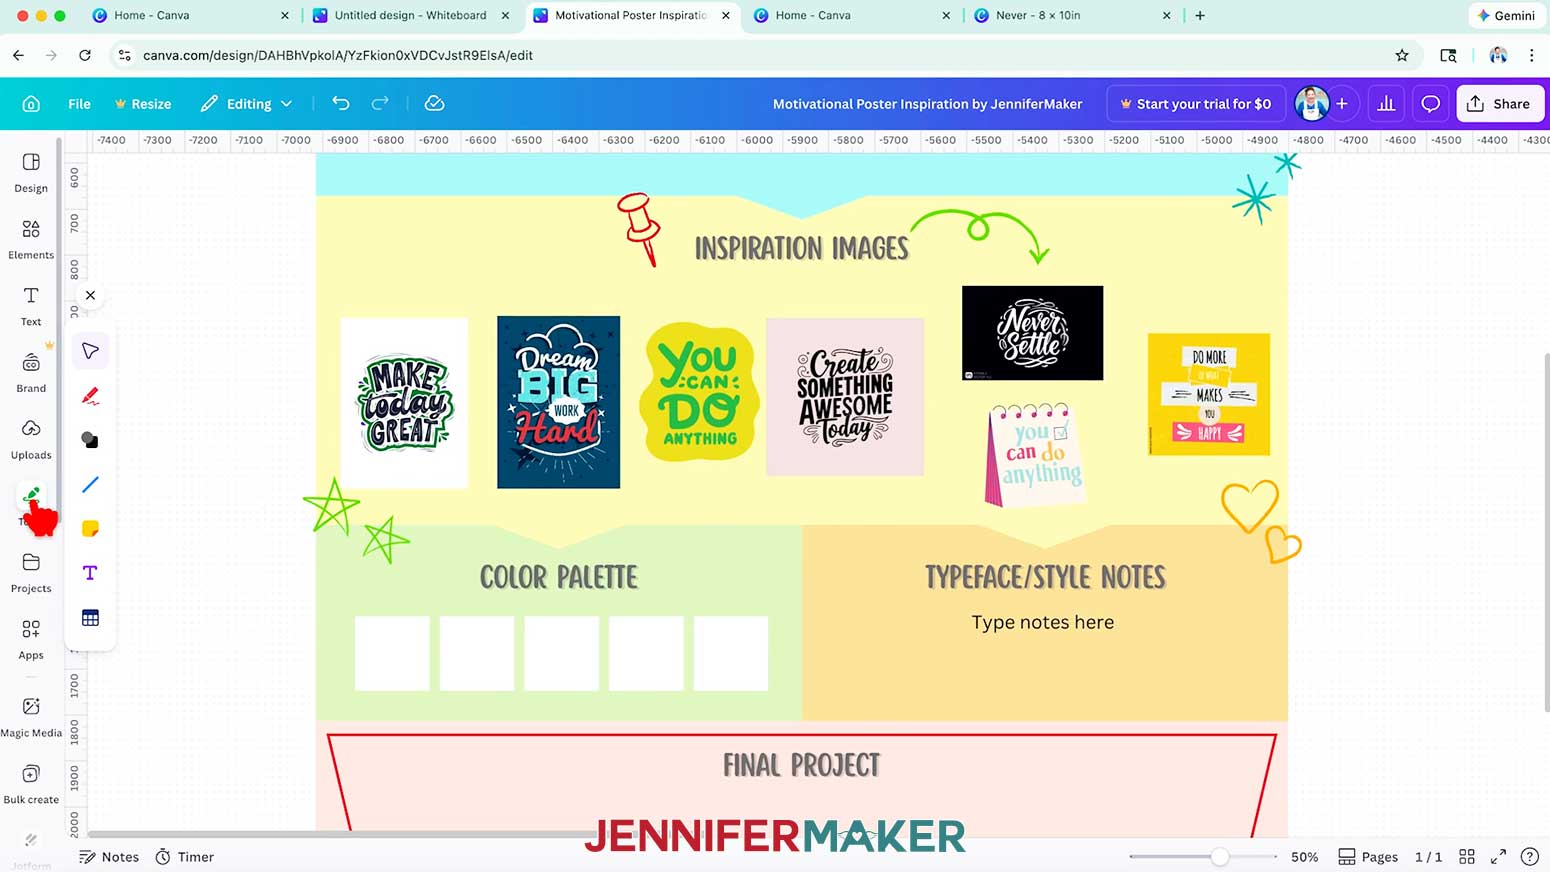
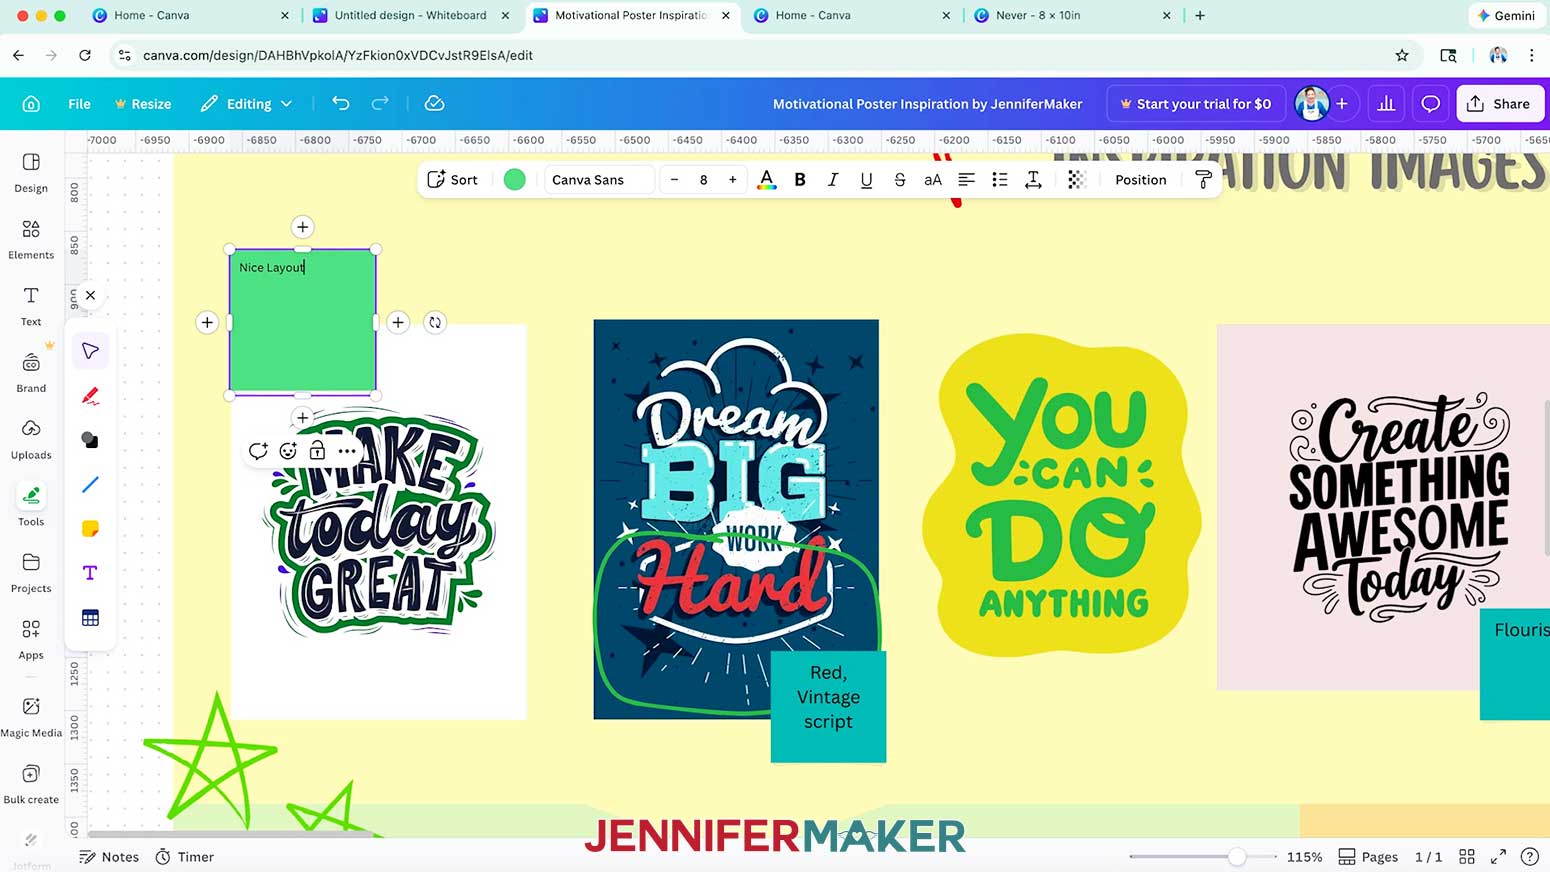
- Since the Whiteboard is for ideas, not your final design, you can click the "Tools" icon at the left side and use the options to add notes.
NOTE: There are drawing tools under the pencil icon, or you can add "Shapes," "Lines," "Sticky notes," "Text," or "Tables." Use the "Select" cursor icon to switch back to moving items on the Whiteboard. - I’ll use the pencil tool to circle aspects of the inspiration images that show patterns, like vintage typefaces and bold colors.
TIP: Or to note something you don't like -- because that's also helpful to consider -- draw an "X" through an aspect. - To keep track of what you mean by a sketch, add a sticky note and type your takeaway on it.
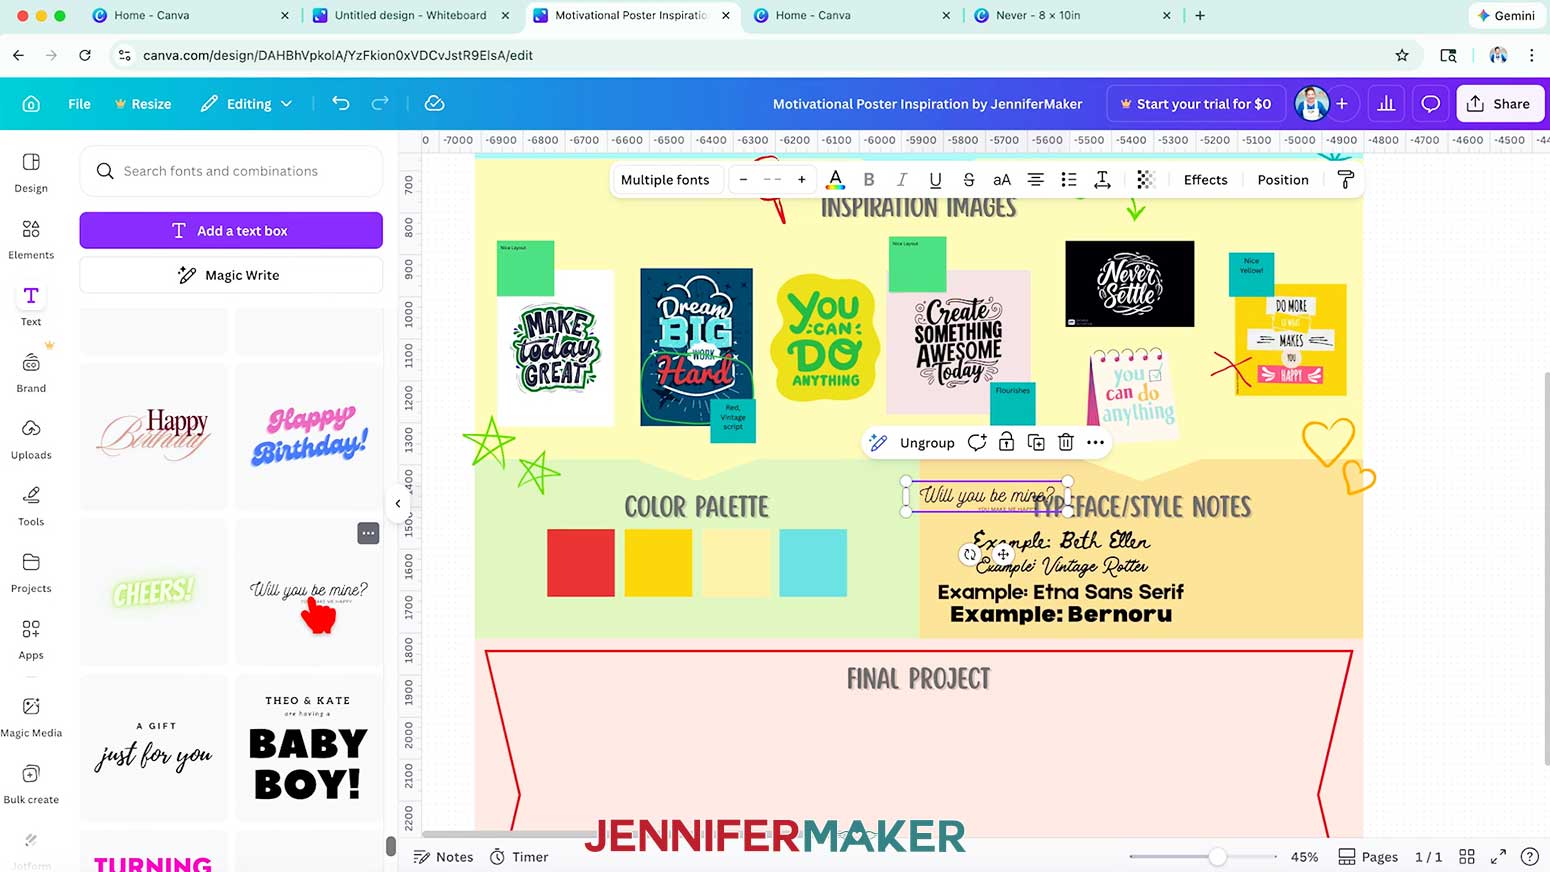
TIP: Sticky notes are helpful for communicating with collaborators, but you can remove your name from them if you're leaving notes for yourself. - You can fill in the squares in the "Color Palette" section by selecting one, then clicking the round color swatch at the top to open the color panel. Picking a color in the panel will fill the square on the template with your choice.
- If you see a color you like in an inspiration image, click a square under "Color Palette" in the template to select it, open its round color swatch at the top, click the rainbow plus sign icon that says "Add a new color," then use the eyedropper icon to click the inspirational color in the example.
- Layout is important for design projects, so you can also add sticky notes to compositions you like.
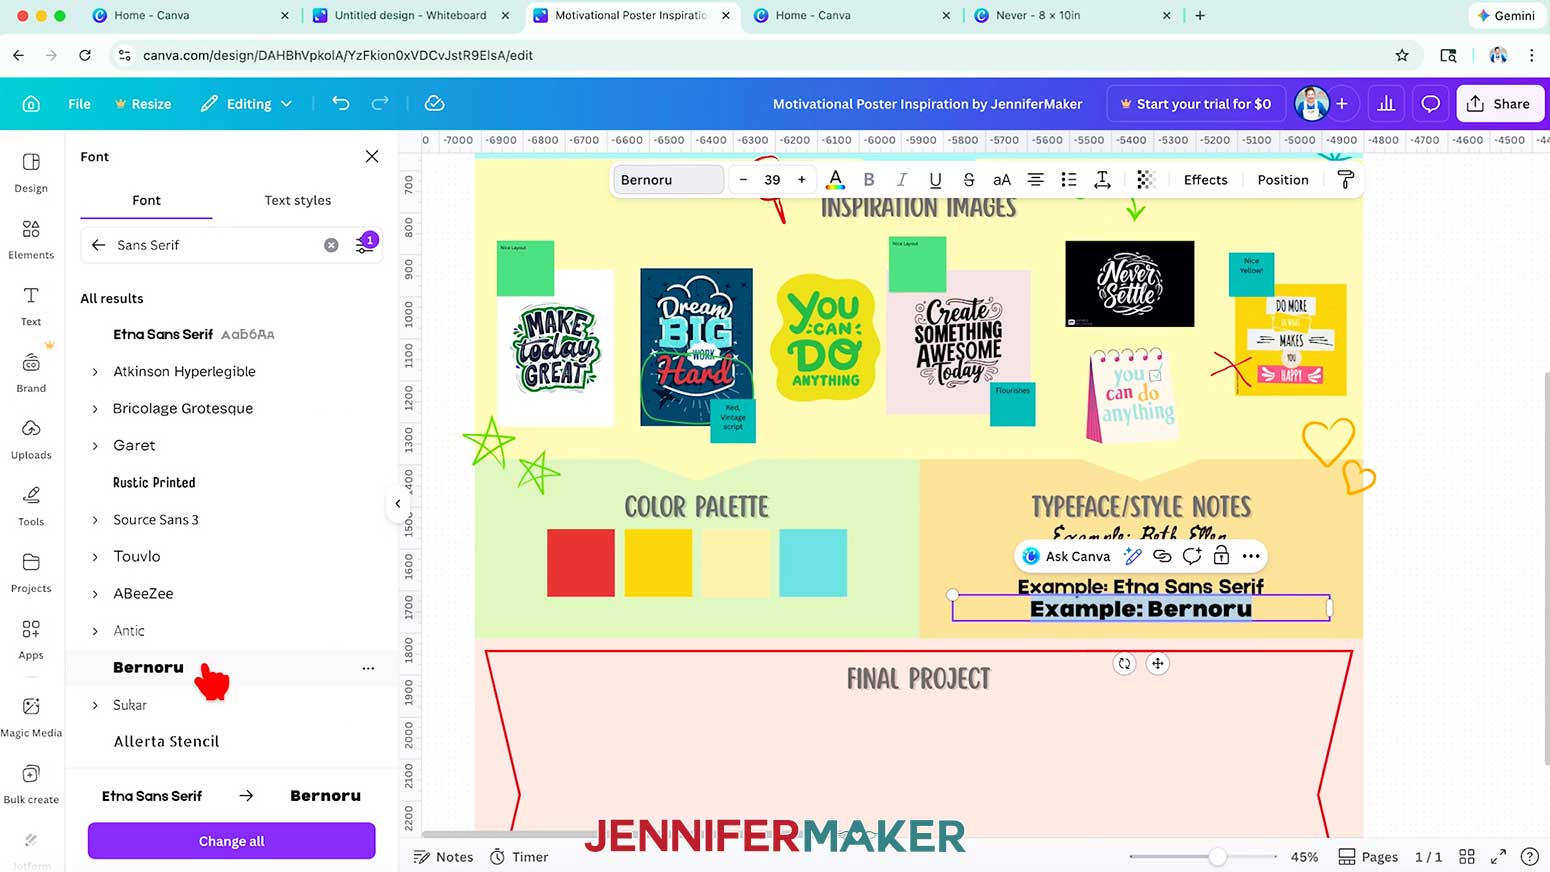
- To track text-related ideas, click the "Text" tool to add a text box under the "Typeface Style/Notes" section. Then, use the Font menu to search for options that fit your inspiration.
NOTE: I filtered and searched for free vintage typefaces to add a few decorative text options and some simpler ideas as well.
TIP: I write the typeface name as the example in each text box so I can remember the details at a glance. - You can also add a text box using pre-set ideas from Canva's "Font Combinations" section.
- Now you can see the patterns and ideas that stand out in your inspiration images. They provide a good starting point for your project design choices.

STEP 3: SHOW IT OFF
- To use the filled-in mood board for a project, go to "File" and "Make a copy," then rename the copy for your specific project.
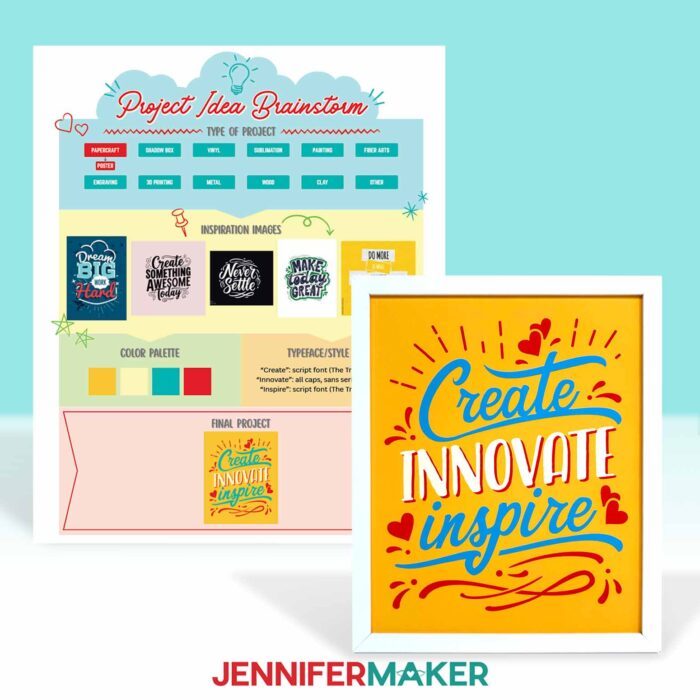
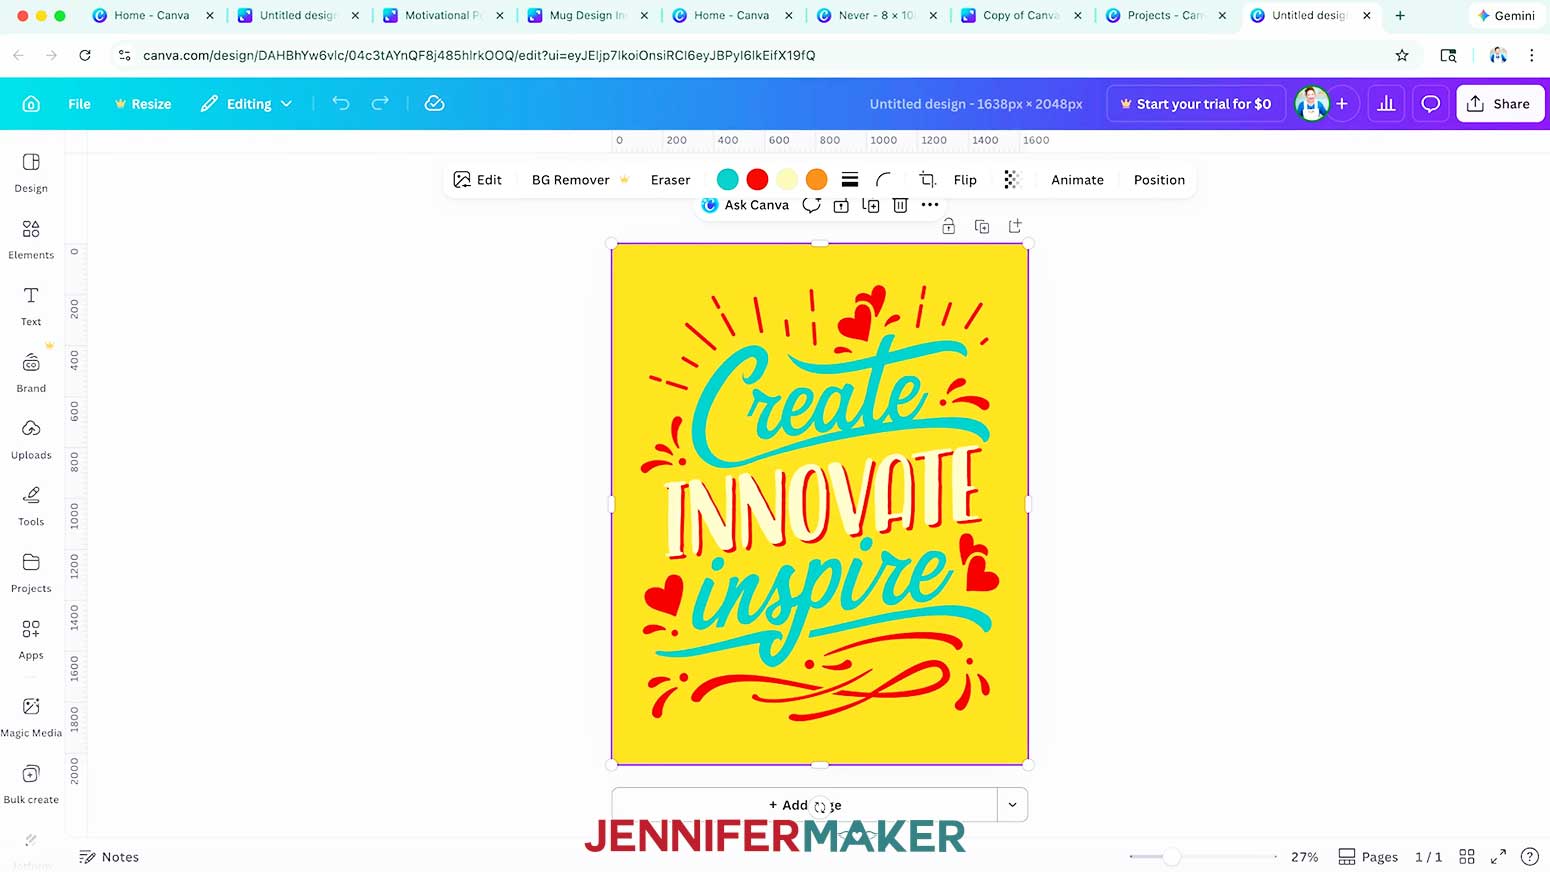
TIP: This way, you can add project-specific notes to the copy, and keep the original mood board intact for a complementary item later. - The free download also includes the motivational poster I made while planning this project. You can open the PNG for a print-ready design, or open the SVG in Canva to customize it with your favorite colors.
Notes
Printed Poster Size: 8" W x 10" H
The Trickster (Free Alternative: Amertha)
Ballyhoo (Free Alternative: Sunday Best)
Canva Typefaces Used:
Vintage Rotter
Scripter
Answers to Your Questions About How to Make a Digital Mood Board
Q: Can I customize my own mood board template in Canva?
A: You can learn how to customize a digital mood board template in Canva, in my ADVANCE program. Learn more about ADVANCE here!
Q: Can I use a free Canva account for this project?
A: Yes, the design techniques I teach in this tutorial can all be done with a free Canva account.
Q: Is this suitable for beginners?
A: Absolutely! The tutorial walks through the basic steps clearly, making it approachable even if it’s your first time using Canva’s whiteboard.
Q: Why should I make a mood board?
A: The purpose of a mood board is to organize ideas and inspiration before you begin designing. Instead of holding lots of abstract ideas in your head, you place them into a visual space where you can see how everything works together. A mood board helps translate inspiration into practical visual ideas you can actually use in your craft projects. Once you see the colors, fonts, and layouts together, it becomes much easier to move toward the final design with confidence.
Q: Why should I make a digital mood board before starting a craft project?
A: Creating an inspiration board before you begin helps you avoid wasted materials and frustration later. When your ideas are scattered, you may keep changing things while you work. A powerful tool like a digital mood board allows you to test combinations first. This helps clarify your design process so you know which direction to take before cutting, printing, or pressing anything.
Q: Do I need special software to make one?
A: No special software is required. I recommend Canva because the free version of Canva includes all the essential tools you need. Canva works wonderfully as a mood board maker, giving you space to add photos, text notes, shapes, and sketches. It also offers different options for arranging your inspiration so you can see your ideas clearly.
Q: What should I include on a mood board?
A: An effective board usually includes a mix of visual elements that support your creative vision. That might include photos, textures, typography, patterns, and layout examples. The aim is to reflect your aesthetic goals so you can see what styles naturally work together.
Q: How do I choose the right images for my board?
A: Look for images or elements that represent the feeling or style you want your project to have. Over time, you’ll notice patterns in color schemes, fonts, and layouts that keep showing up. Those patterns help shape your creative ideas and make it easier to move forward with confidence.
Q: What is the first step when creating a mood board?
A: The first thing to do is simply gather inspiration for your project. Start saving examples that catch your eye and bring them into one space. As you build your board, those inspirations often form digital collages that reveal a larger creative concept you may not have noticed before.
Q: Can mood boards help with personal craft projects too?
A: Absolutely. Mood boards are helpful for any personal project, whether you’re designing a poster, planning a Cricut project, or brainstorming a gift idea. Seeing everything together on one board gives you a clear path forward and makes your project feel much more manageable. If you ever struggle with unfinished projects, then a mood board might be just the thing to help you reach the finish line!
Q: Can digital mood boards help me in my small business?
A: They sure can! Creating digital mood boards for your projects helps keep your brand identity consistent, strengthens your visual communication, and keeps all of your ideas organized so you can revisit them any time you want. Create a board for a single project or a roadmap for a series of related projects. Digital mood boards can track it all.
Q: How do I know when my mood board is finished?
A: Your board is finished when it gives you a clear vision for your project. You should be able to look at it and immediately understand the colors, typography, and style you want to use. At that point, the board becomes a guide that helps you confidently move from digital to physical.
Get my free template link to make a digital mood board of your own!
(If you do not see the signup form above, click here.)
I love seeing your Canva projects, and how you use the skills I share with you! Once you’ve made your own digital mood board, inspire others and share a photo of your board in our Canva Creators Facebook group or tag me on social media with #jennifermaker.
Love,

Want to remember this? Save this How to Make a Digital Mood Board Tutorial to your favorite Pinterest Board!