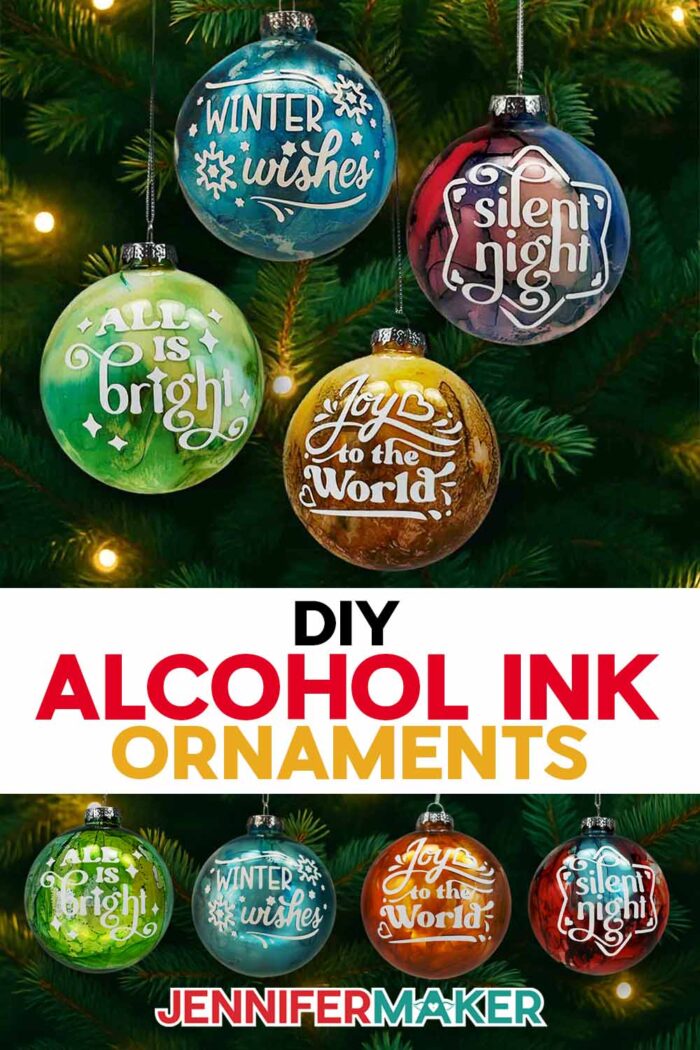
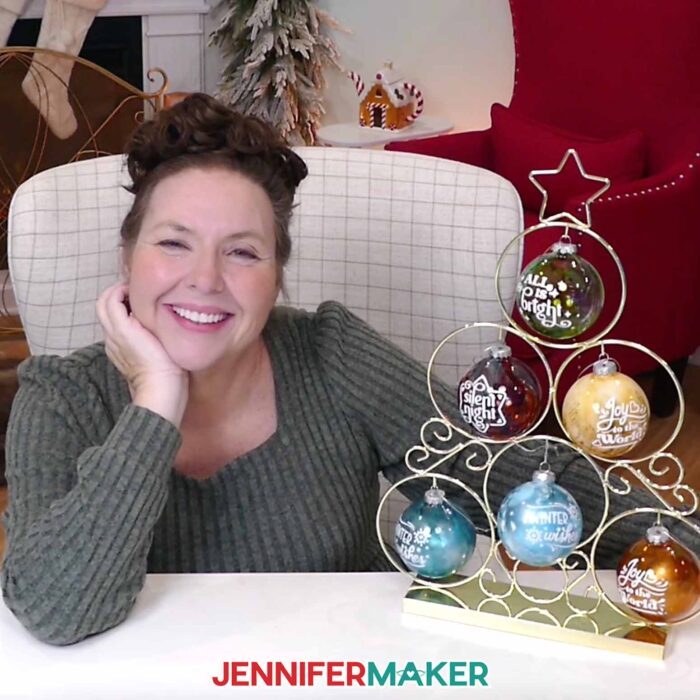
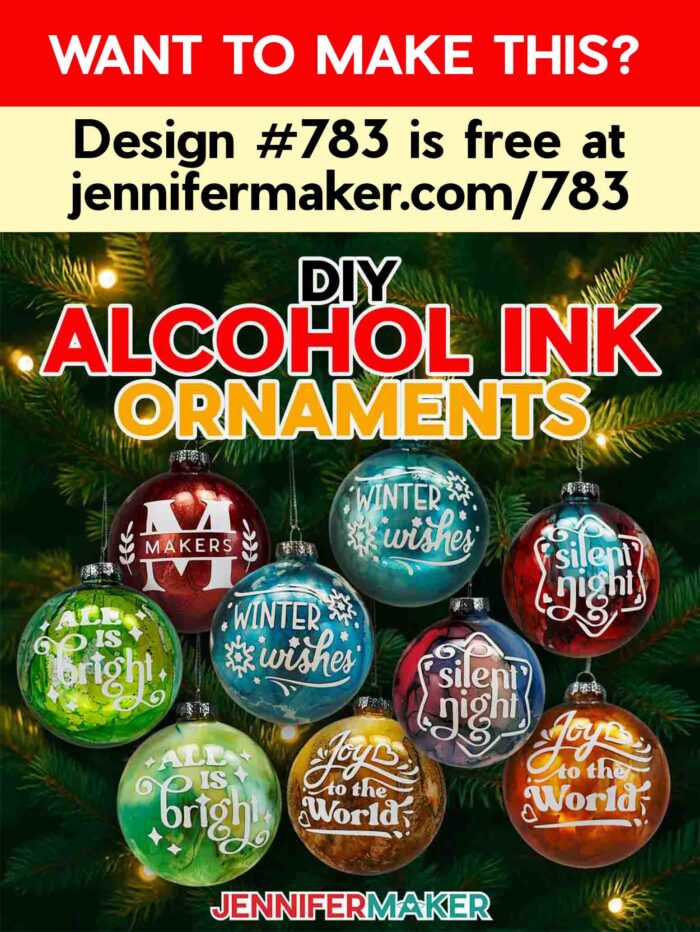
Learn to make one-of-a-kind DIY alcohol ink ornaments with vinyl decals!
Every year when the holidays roll around, I find myself craving projects that let me unwind and play. Crafts that give me a little creative escape from all the hustle and bustle. That’s exactly how I fell in love with making DIY alcohol ink ornaments. The first time I tried it, I was mesmerized by how the colors swirled and danced inside each ornament, creating stunning marbled designs that looked like they came from a boutique, but cost just a few dollars to make. With some clear ornaments, alcohol ink colors, and a little imagination, you can create the most beautiful one-of-a-kind Christmas ornaments that shimmer on your tree. No two will ever turn out the same!
See the full step-by-step video tutorial on how to make DIY alcohol ink ornaments:

If you’ve never used alcohol inks before, they’re vibrant, dye-based pigments suspended in alcohol. The pigments can move freely on a surface, then dry quickly in place as the alcohol evaporates. They create stunning blends and textures on non-porous surfaces like glass, metal, or plastic. They’re fun to spread by rotating the ornament, and they react to every drop of alcohol ink or touch of isopropyl alcohol you add! A single tiny drop can bloom into soft color, while a burst of compressed air can send it swirling across your ornament in delicate waves. Alcohol ink projects are fast, colorful, and a little unpredictable … which is exactly what makes them so relaxing and satisfying.
For this project, I like to use 3.15” glass globe ornaments. The smooth surface lets the ink glide beautifully, creating effects that resemble watercolor paints. Since they’re glass, be gentle when pressing on the curved surface to apply your vinyl decal. Before getting started, make sure your work surface is protected with paper since alcohol inks can stain. Slip on gloves, wear an apron or crafting clothes, and you’re ready to go. A fan can help if the alcohol in the inks is strong.
First, pick a few colors that make you happy. Try different colors from the same area of the color wheel, like teal and green or orange and yellow, for better blending. When you mix color combinations that are too far apart on the color wheel, the inks can muddy together, but when they’re close in tone, you’ll get a dreamy marble effect. If you want extra shine, try metallic alcohol inks. The golds and silvers shimmer beautifully under Christmas lights and instantly elevate your DIY ornaments.
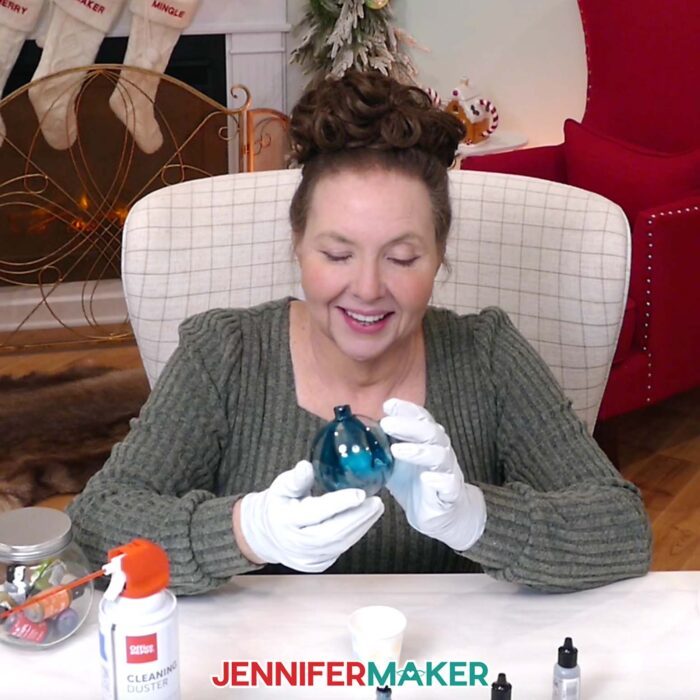
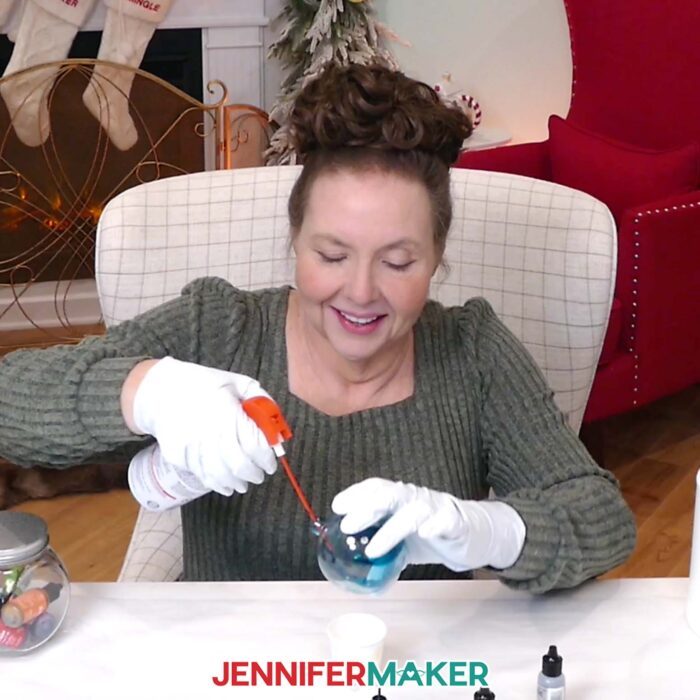
To begin, remove the ornament cap and place the ornament in a paper cup to keep it steady. Add a drop of alcohol ink inside and gently roll it around the inside of your ornament. You don’t need much ink – just a small amount goes a long way. If you pour too much, the colors can pool in the bottom, so start with a little bit and build from there. To spread the color evenly, use an alcohol ink air blower or a can of compressed air. Short bursts of air move the ink around to cover the entire inside of the ornament and create flowing patterns. If it dries too fast or gets patchy, a few drops of rubbing alcohol can reactivate the ink and help you blend again. It’s a simple way to fix mistakes and get the best results every time.
Once your ink colors are dry, it’s time for the trick that really makes them pop: watered down white acrylic paint. The paint creates a white background that brings out the alcohol ink colors’ vibrancy. Add some white paint directly inside the ornament with a bit of water, and swirl them gently to coat the sides. If you have extra paint, let it drip out by turning the ornament upside down in the cup. The end result is absolutely stunning! The colors appear richer and more defined, as if they were glowing from within.
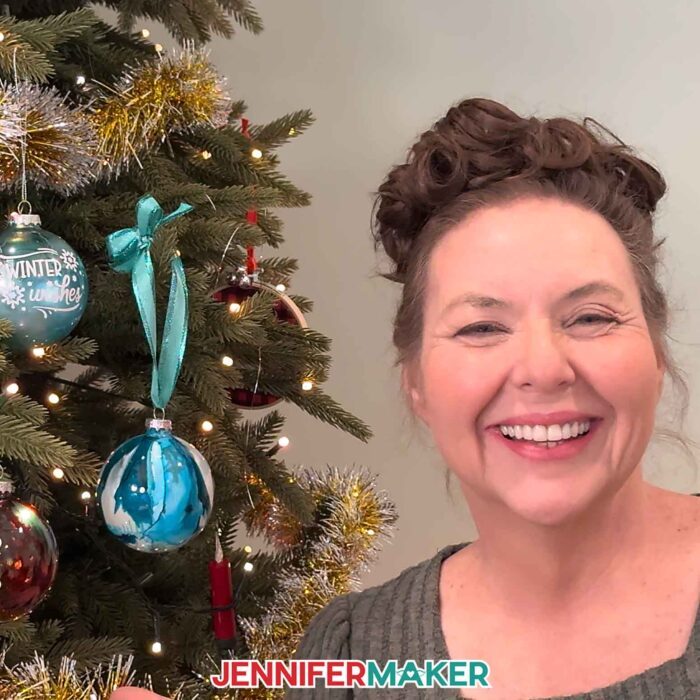
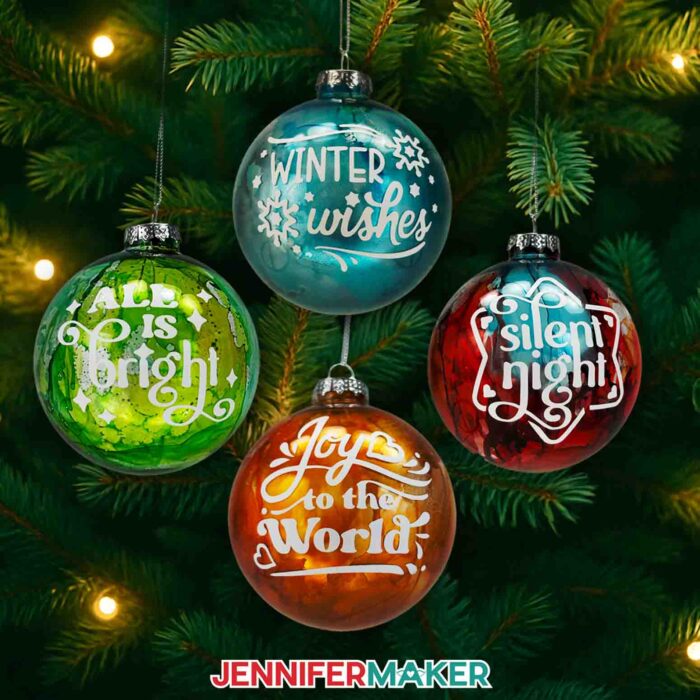
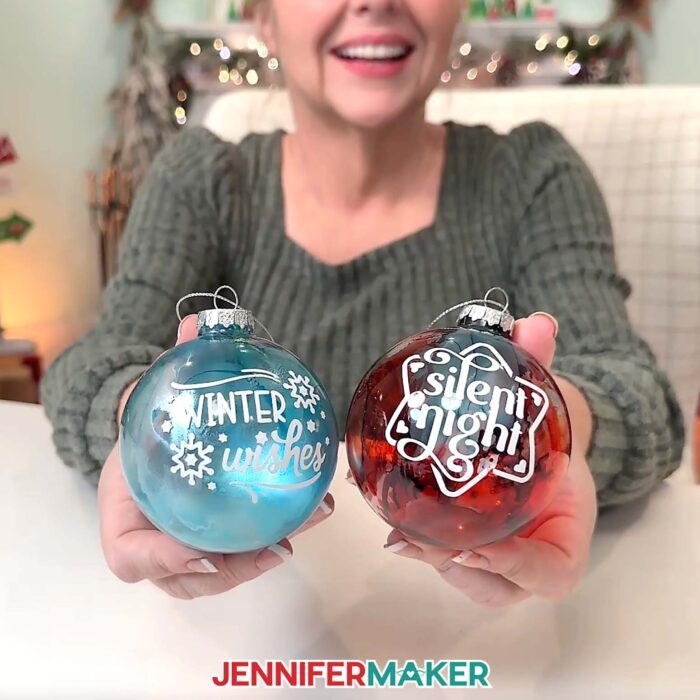
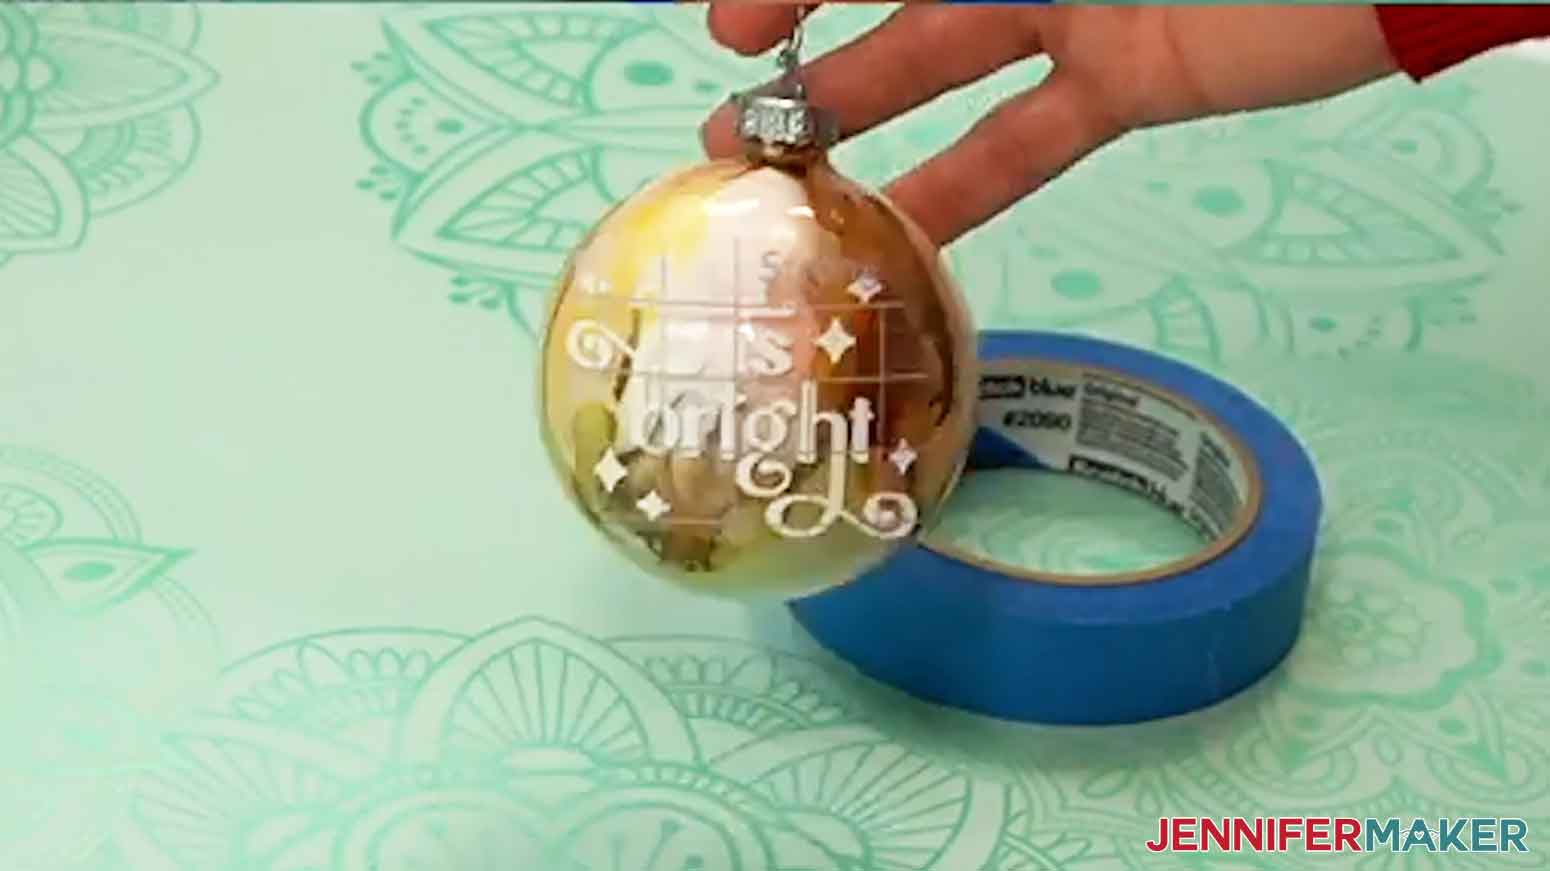
Once your ornament dries completely (overnight is ideal) you can pop the ornament cap back on and move on to decorating the outside. I cut vinyl decals of phrases like “All Is Bright” and “Silent Night” with my Cricut, and added them to the surface of the ornaments for the final touch. If it’s your first time applying vinyl to a curved surface, just cut small slits in your transfer tape to help it curve smoothly without wrinkles.
Alcohol inks react in unexpected ways with each drop, and you’ll quickly learn how to control the flow – or let go and see where the color takes you. There’s really no wrong way to make them, only different ways to explore your creativity. If one ornament doesn’t turn out quite how you pictured, that unpredictability is part of the fun.
In fact, these ornaments perfectly capture the spirit of the holiday season. Colorful, full of light, and wonderfully imperfect! Whether you’re crafting for your own tree, making gifts, or even planning to sell them, these DIY alcohol ink Christmas ornaments are a great way to spread handmade joy.
In my video tutorial, I share all the detailed instructions, from choosing inks and handling excess ink, to using air and paint for vibrant results. You’ll see how to get different effects, how to layer in metallic inks without overpowering your base colors, and how to shake the ornament just right to cover the inside evenly without a mess. It’s so much fun to watch the transformation happen in real time.

If you’re ready to take your crafting skills to the next level, be sure to check out my ADVANCE with JenniferMaker membership. In the exclusive workshop for this project, I show you how to design a split monogram to add to your alcohol ink ornament, creating a beautiful personalized keepsake. You’ll learn how to combine your alcohol ink backgrounds with custom designs for truly one-of-a-kind results! Learn more about ADVANCE with JenniferMaker here!
After you learn how to make DIY alcohol ink ornaments, you’ll have holiday keepsakes that look like little works of art – each one telling its own story through color and motion. Whether you make just one or a whole batch, these ornaments will add a handmade touch to your décor and remind you that crafting isn’t just about the end result. Rather, it’s about taking a moment to play, create, and let your imagination shine!
Let me show you how to make alcohol ink ornaments! This post contains some affiliate links for your convenience (which means if you make a purchase after clicking a link I will earn a small commission but it won’t cost you a penny more, there is no additional cost)! Read my full disclosure policy.
Materials to Make DIY Alcohol Ink Ornaments
View my Amazon shopping list with the exact items I used.
- One (1) 3.15″ Clear Ball Ornament (I used glass but you can also use plastic)
- Alcohol Inks – I used the Tim Holtz Ranger brand Turquoise and Valencia Orange from the “Spring Break” set of colors -AND-
- Tim Holtz Ranger Brand Poppyfield Red Alcohol Ink -AND-
- Tim Holtz Ranger Brand Patina Teal Alcohol Ink -AND-
- Tim Holtz Ranger Brand Botanical Green Alcohol Ink -AND-
- Tim Holtz Ranger Brand Butterscotch Yellow Alcohol Ink -AND-
- Alcohol Ink Metallic Mixatives – optional, I used Tim Holtz Ranger brand Gold and Silver colors
- Compressed Air
- Bottle of White Acrylic Paint with Pump
- Permanent Vinyl – I used White Cricut Value Vinyl
- Cricut StandardGrip Transfer Tape
- A way to cut your vinyl – I’m using the Cricut Maker 4, but you can also use a Cricut Maker Series machine, a Cricut Explore series machine, the Cricut Venture, the Cricut Joy Xtra, or the Cricut Joy
- Cricut Green StandardGrip Machine Mat 12″ x 12″
- Brayer
- Scissors
- Scraper
- Weeding Tool
- Tweezers
- Pipettes (for dropping ink or water into the ornament)
- Small Paper Cups or Egg Cartons (for holding the ornaments as you ink them and as they dry)
- Isopropyl Alcohol -AND-
- Lint-Free Cloth (for cleaning the ornament)
- Fan (for ventilation)
- Butcher Paper or Newspaper (for protecting your work surface when inking)
- Disposable Gloves (for protecting your skin while inking)
- Safety Goggles (optional for protecting your eyes while inking)
- Apron (optional for protecting clothes when inking)
- Paper Towels (optional for clean up)
- Towel (optional for making the transfer tape less sticky
How to Make Alcohol Ink Ornaments with Quote Designs!
DIY Alcohol Ink Ornaments
Learn to make one-of-a-kind DIY Alcohol Ink Ornaments with vinyl decals!
Materials
- One (1) 3.15" Clear Ball Ornament
- Alcohol Inks - I used the Tim Holtz Ranger brand Turquoise and Valencia Orange from the “Spring Break” set of colors -AND-
- Tim Holtz Ranger Brand Poppyfield Red Alcohol Ink -AND-
- Tim Holtz Ranger Brand Patina Teal Alcohol Ink -AND-
- Tim Holtz Ranger Brand Botanical Green Alcohol Ink -AND-
- Tim Holtz Ranger Brand Butterscotch Yellow Alcohol Ink -AND-
- Alcohol Ink Metallic Mixatives (optional, I used the Tim Holtz Ranger brand Gold and Silver colors)
- Compressed Air
- White Acrylic Paint with Pump
- Permanent Vinyl - I used White Cricut Value Vinyl
- Cricut StandardGrip Transfer Tape
- Design #783 (My free SVG/PDF/DXF design files are available in my free resource library - get the password by filling out the form at the bottom of this page)
Tools
- A way to cut your vinyl - I’m using the Cricut Maker 4, but you can also use a Cricut Maker Series machine, a Cricut Explore Series machine, the Cricut Venture, the Cricut Joy Xtra, or the Cricut Joy.
- Cricut Green StandardGrip Machine Mat 12" x 12"
- Brayer
- Scissors
- Scraper
- Weeding Tool
- Tweezers
- Pipettes (for dropping ink or water into the ornament)
- Small Paper Cups or Egg Cartons (for holding the ornaments as they dry)
- Isopropyl Alcohol -AND-
- Lint-Free Cloth (for cleaning the ornament)
- Fan (for ventilation)
- Butcher Paper or Newspaper (for protecting work surface when inking)
- Disposable Gloves (for protecting skin when inking)
- Safety Goggles (optional for protecting eyes when inking)
- Apron (optional for protecting clothes when inking)
- Paper Towels (optional for clean up)
- Towel (optional for making the transfer tape less sticky)
Instructions
STEP 1: GET MY FREE DIY ALCOHOL INK ORNAMENTS DESIGN FILES
First, download my free DIY Alcohol Ink Ornaments designs from my free library – look for Design #783. Alternatively, you can use the Save This Project form near the top of this post and the design link will be emailed to you.
Inside the SVG folder, you’ll see four vinyl ornament designs: “All Is Bright,” “Joy To The World,” “Silent Night,” and “Winter Wishes.”
In the DXF folder, there are files for cutting the vinyl designs with other cutting machines. In the PDF folder, there are versions of the designs you can use to help you cut the vinyl designs by hand.
For this tutorial, I’ll show you how to create an alcohol ink ornament, then decorate it with a vinyl decal cut with my Cricut Maker 4.
TIP: If you’re not sure how to upload, go to jennifermaker.com/svgs to learn how to unzip and upload SVG files.
STEP 2: APPLY ALCOHOL INK INSIDE YOUR ORNAMENT
NOTE: Alcohol inks are flammable and should be used in a well-ventilated area, away from heat and open flame.
Compressed air is flammable and should also be used in a well-ventilated area, away from heat and open flame. Do not inhale compressed air directly or spray it on skin.
- Cover your work surface with butcher paper or newspaper to protect it from staining.
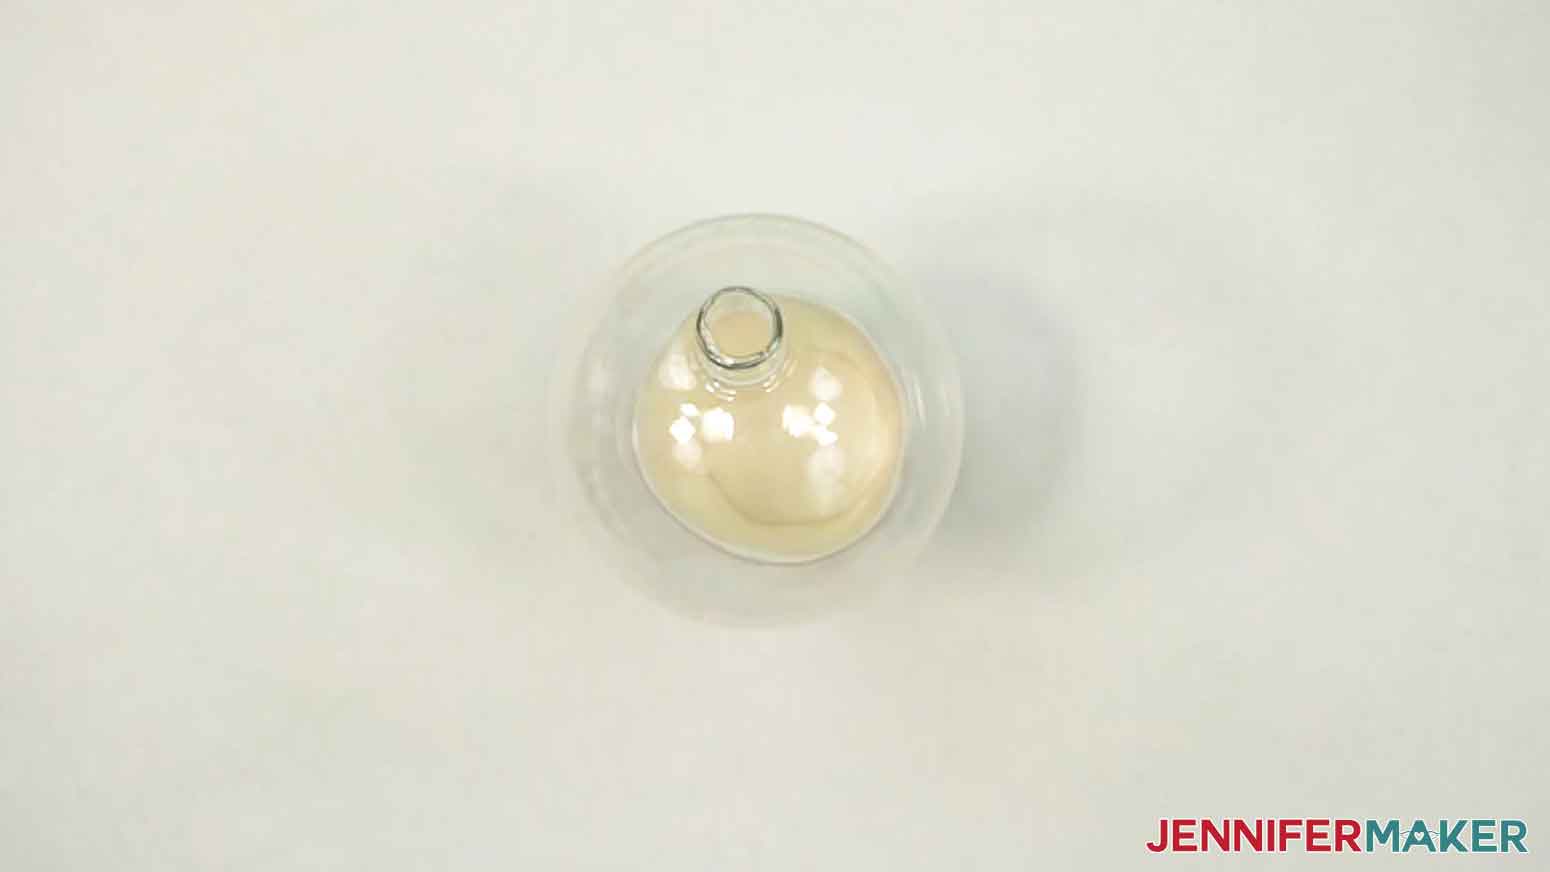
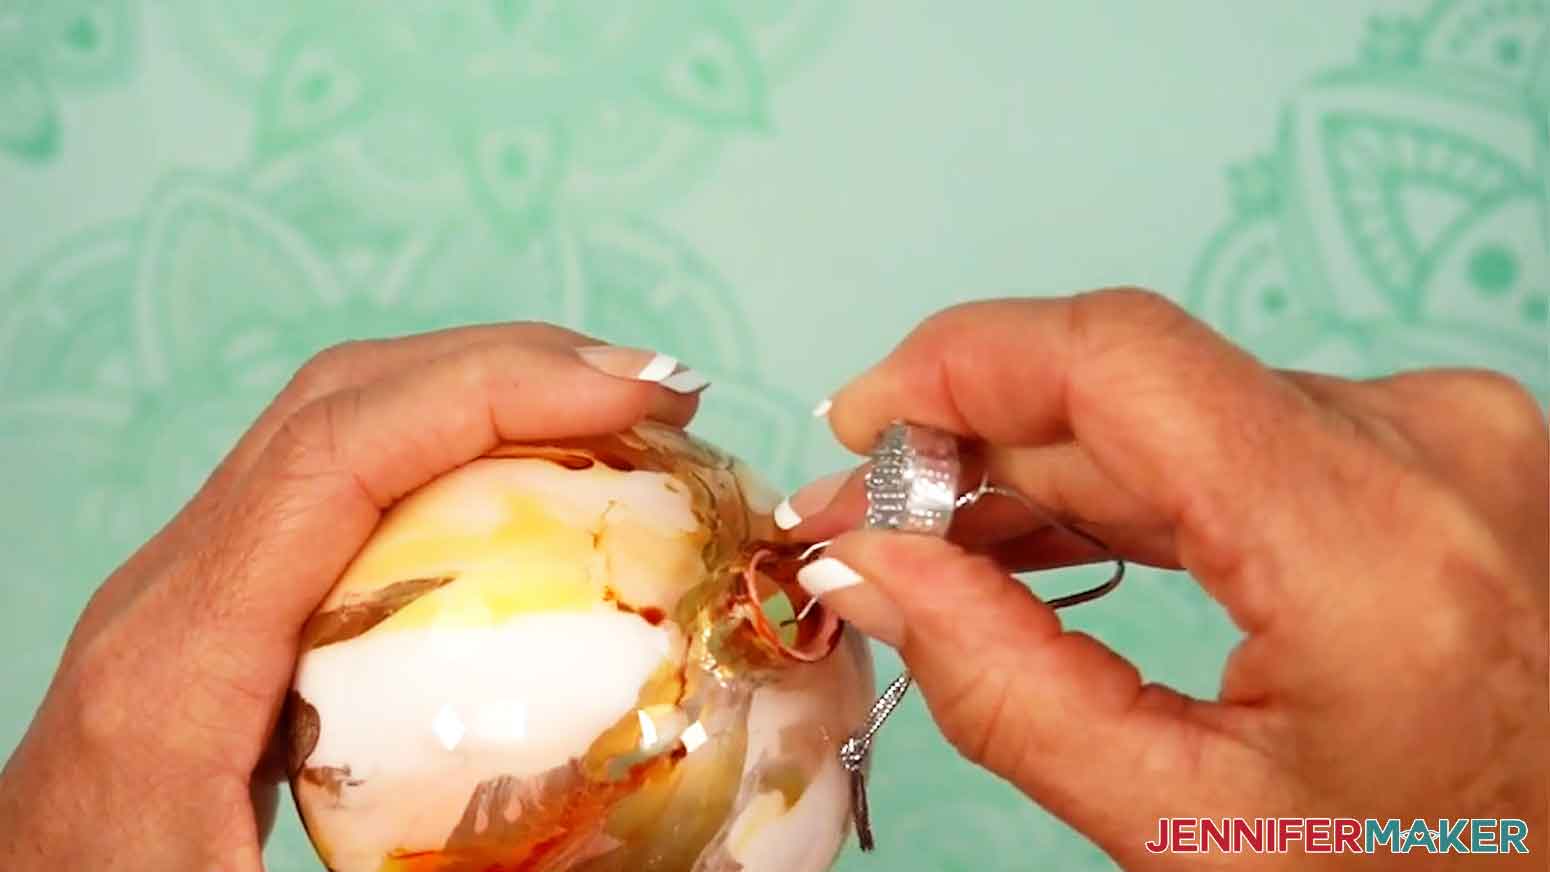
- Remove the metal cap and hanger from the top of the ornament.
- Place the ornament into the opening of a paper cup or egg carton to hold it steady, with the hole pointing straight up.

- Prepare your compressed air by placing the straw piece on the nozzle.
- Put on a pair of gloves to protect your hands from staining, a pair of goggles to protect your eyes, and an apron to protect your clothes.
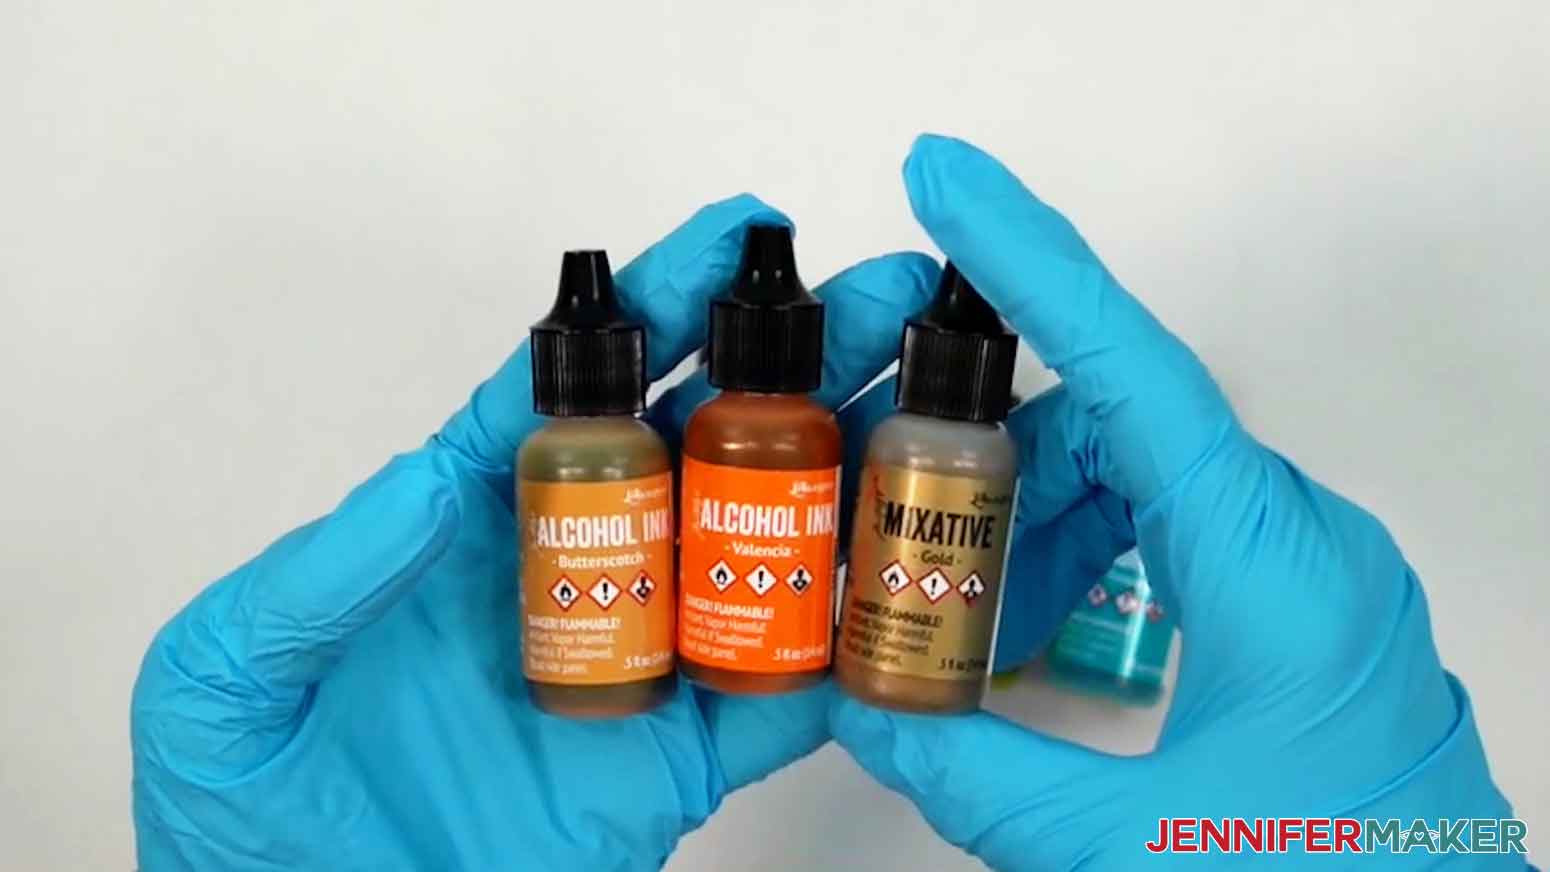
- Choose which alcohol inks you’d like to use.TIP: I recommend using analogous colors on your ornament, or colors that are next to each other in a rainbow or on a color wheel. For example, orange and yellow are analogous. Red and green are not. NOTE: I used Valencia (orange), Butterscotch (yellow), and Gold metallic colored alcohol inks.
- Make sure the caps are screwed on well, then shake each bottle thoroughly to prepare the alcohol ink. TIP: The metallics need extra shaking because the pigments tend to settle on the bottom of the bottle.
- Remove the caps from the alcohol inks.
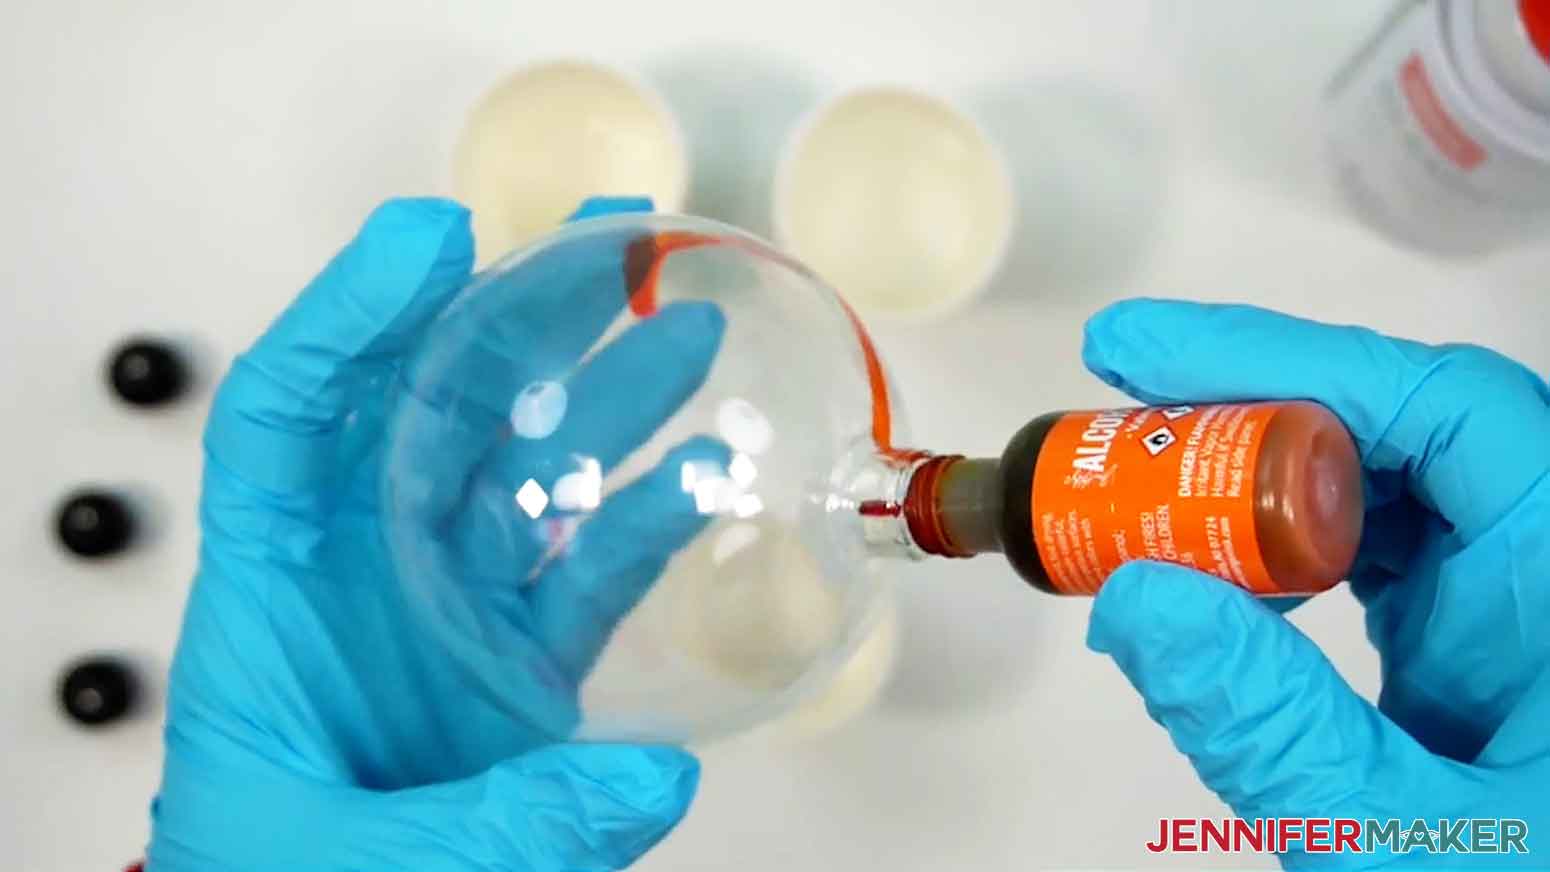
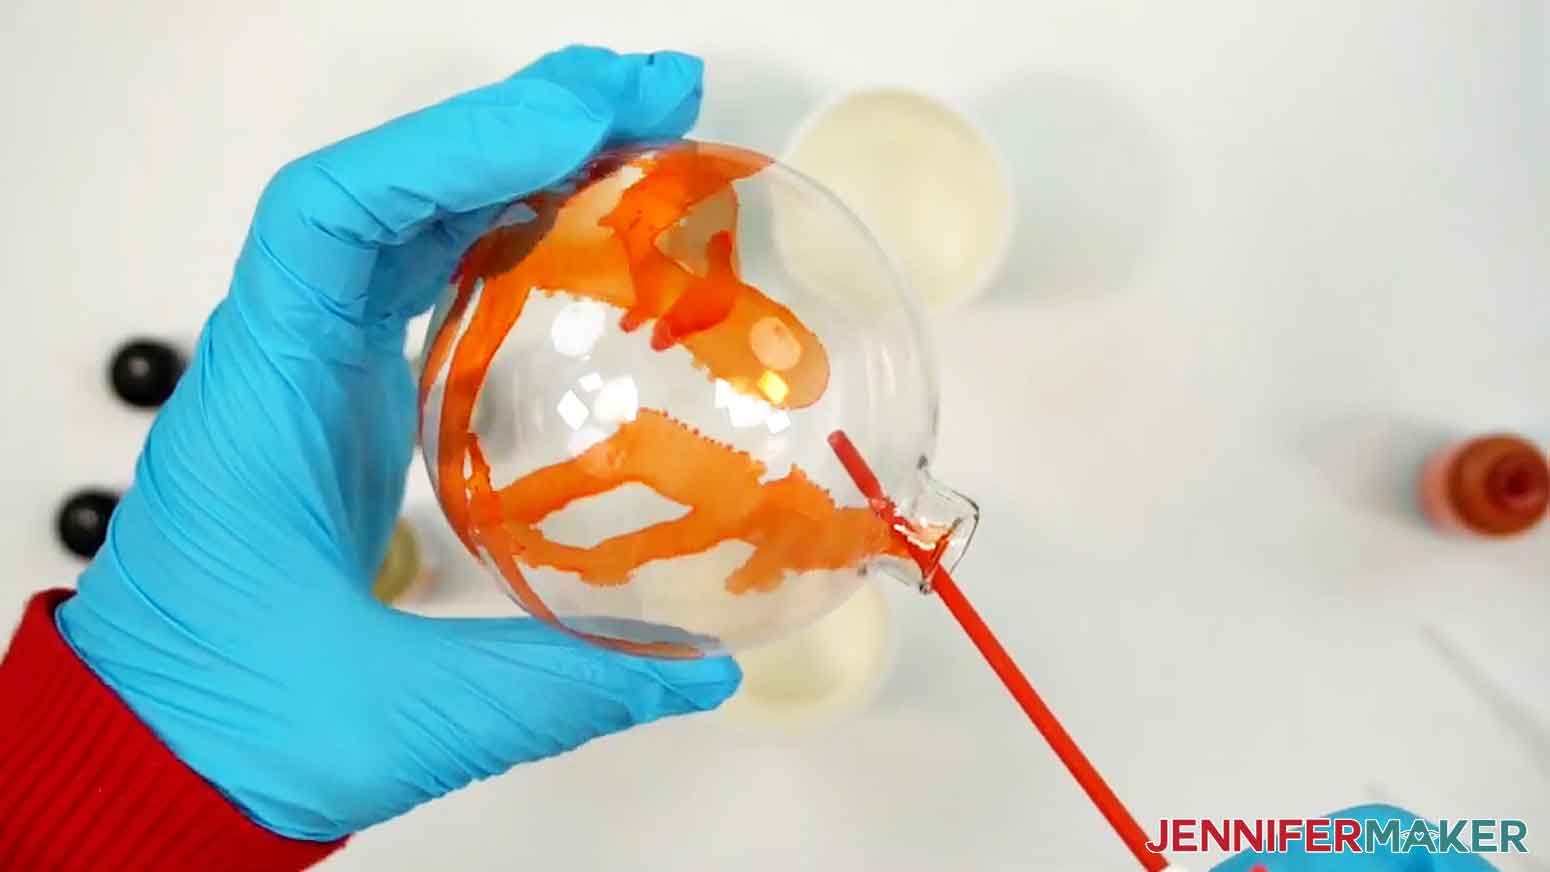
- Choose your first color of alcohol ink, then place its tip inside and against the opening of the ornament.
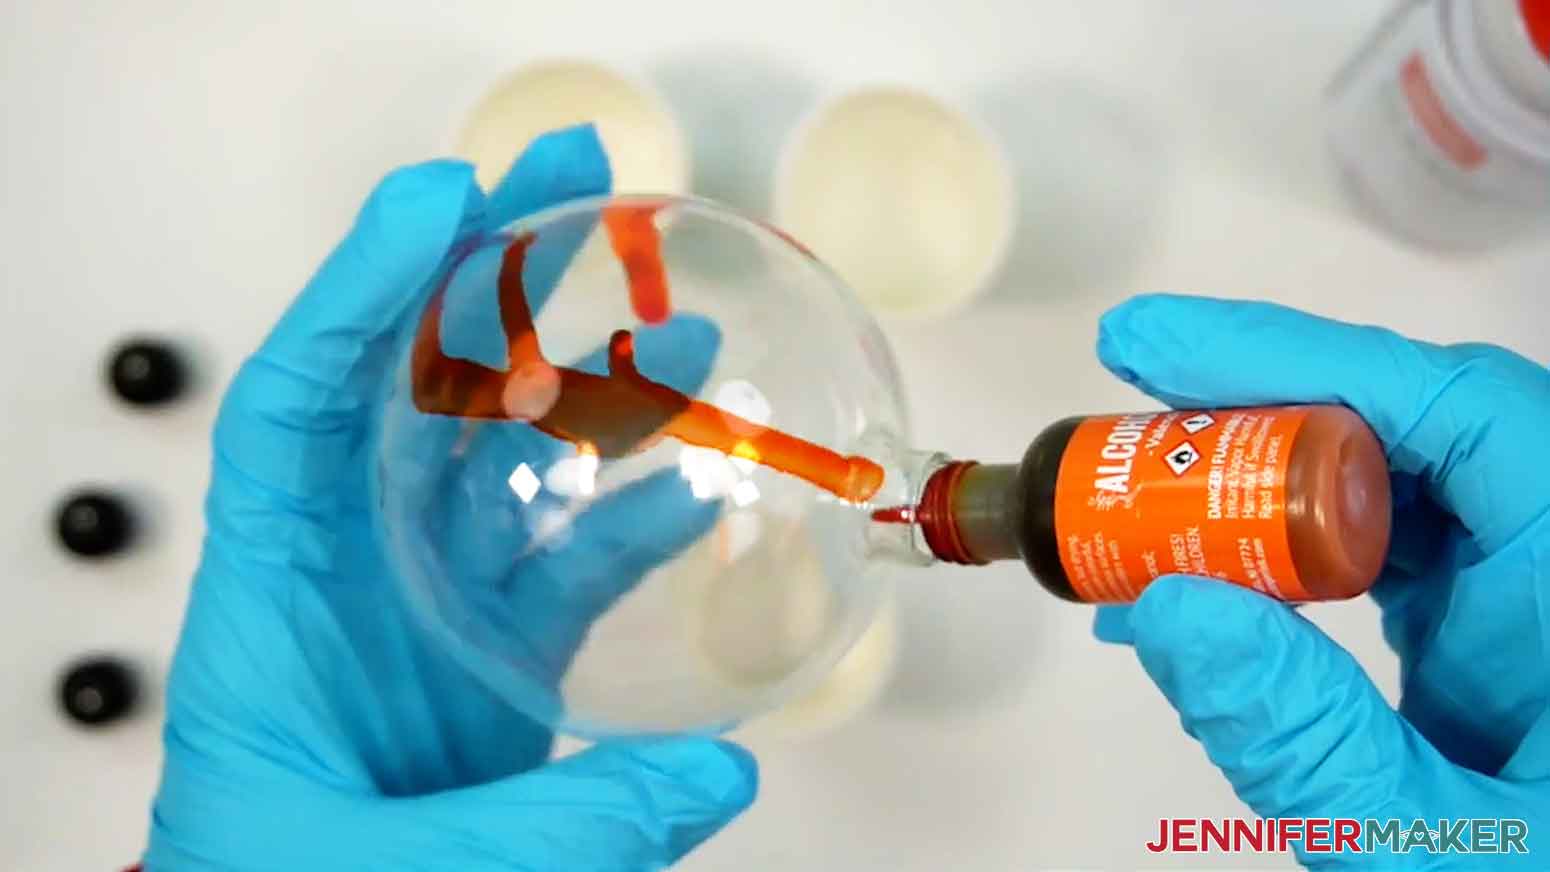
- Gently squeeze the bottle so a drop or two drips down the inside wall.
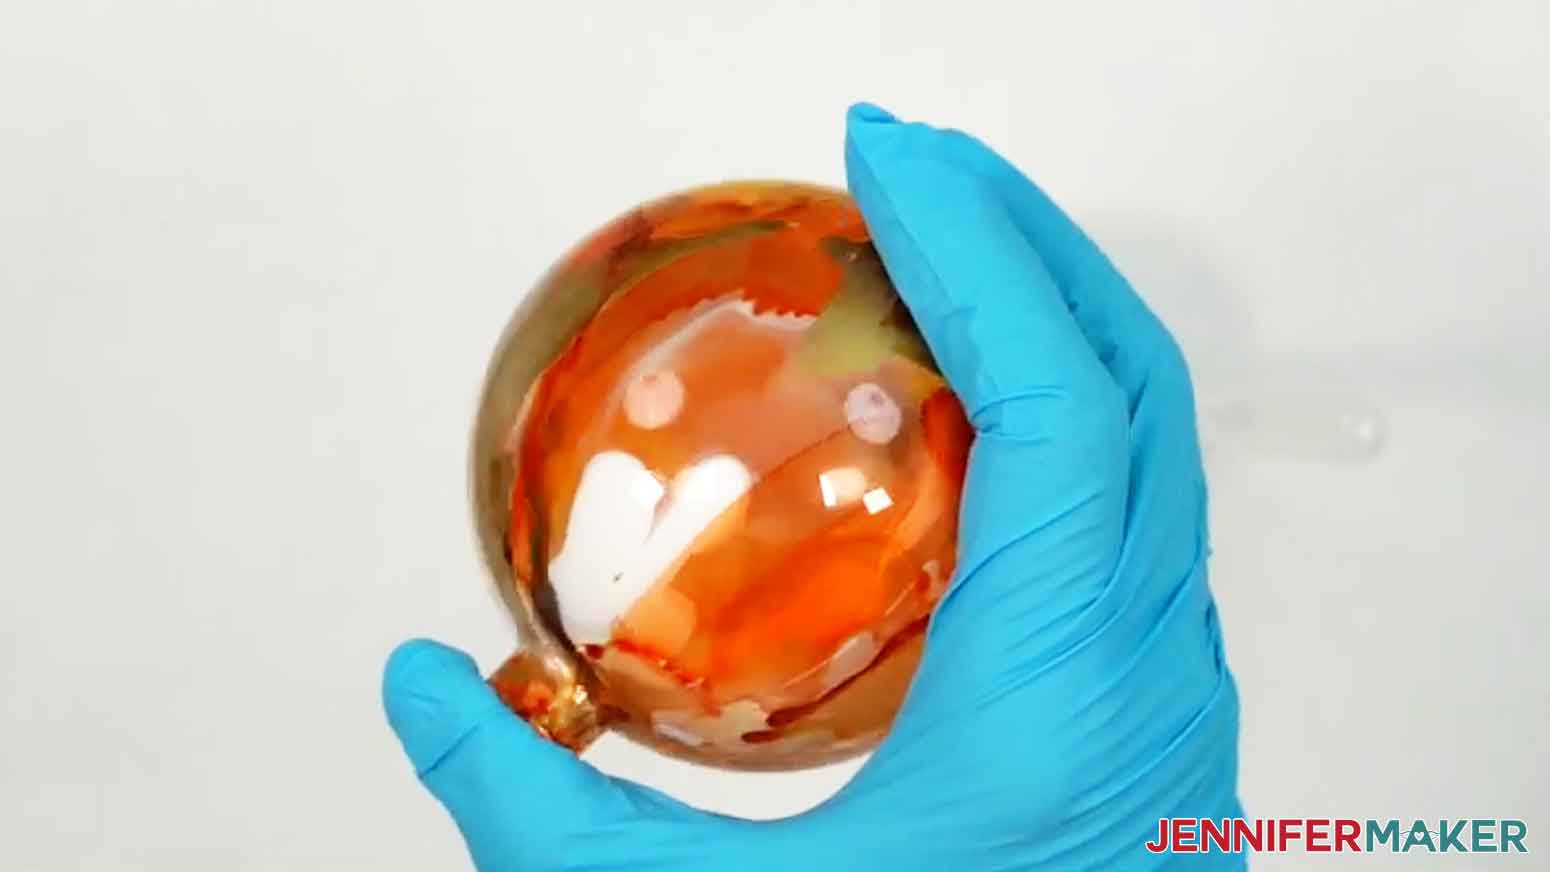
- Continue dripping the alcohol ink down the inside walls of the ornament until you’re satisfied with the way it looks. NOTE: I dripped one to two drops of orange alcohol ink down the inside walls of the ornament in three places. TIP: Don’t use too much ink, or it will pool at the bottom of the ornament.
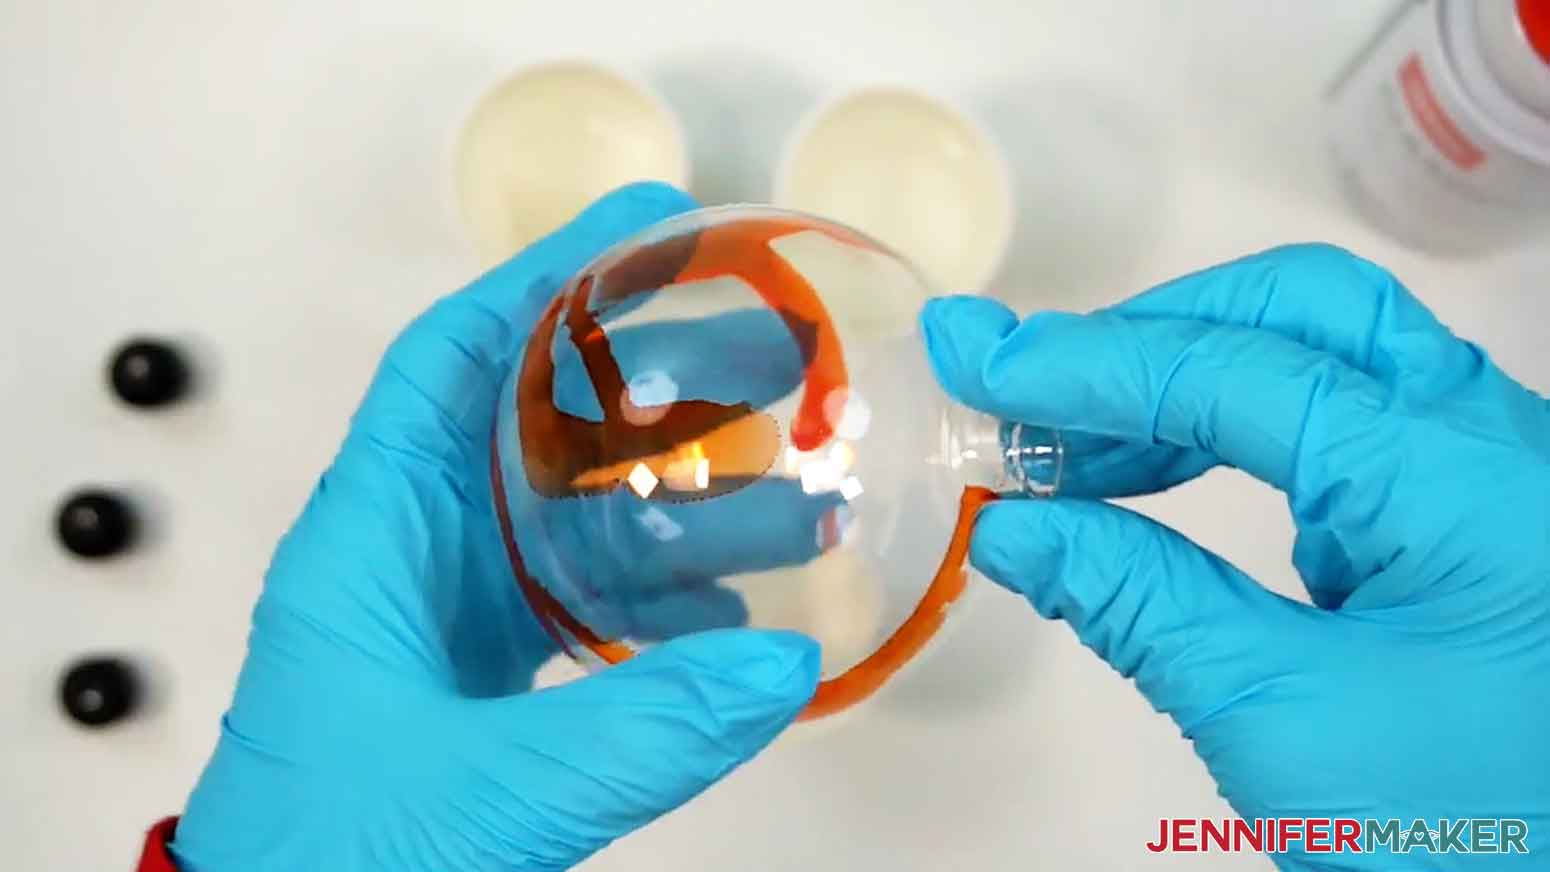
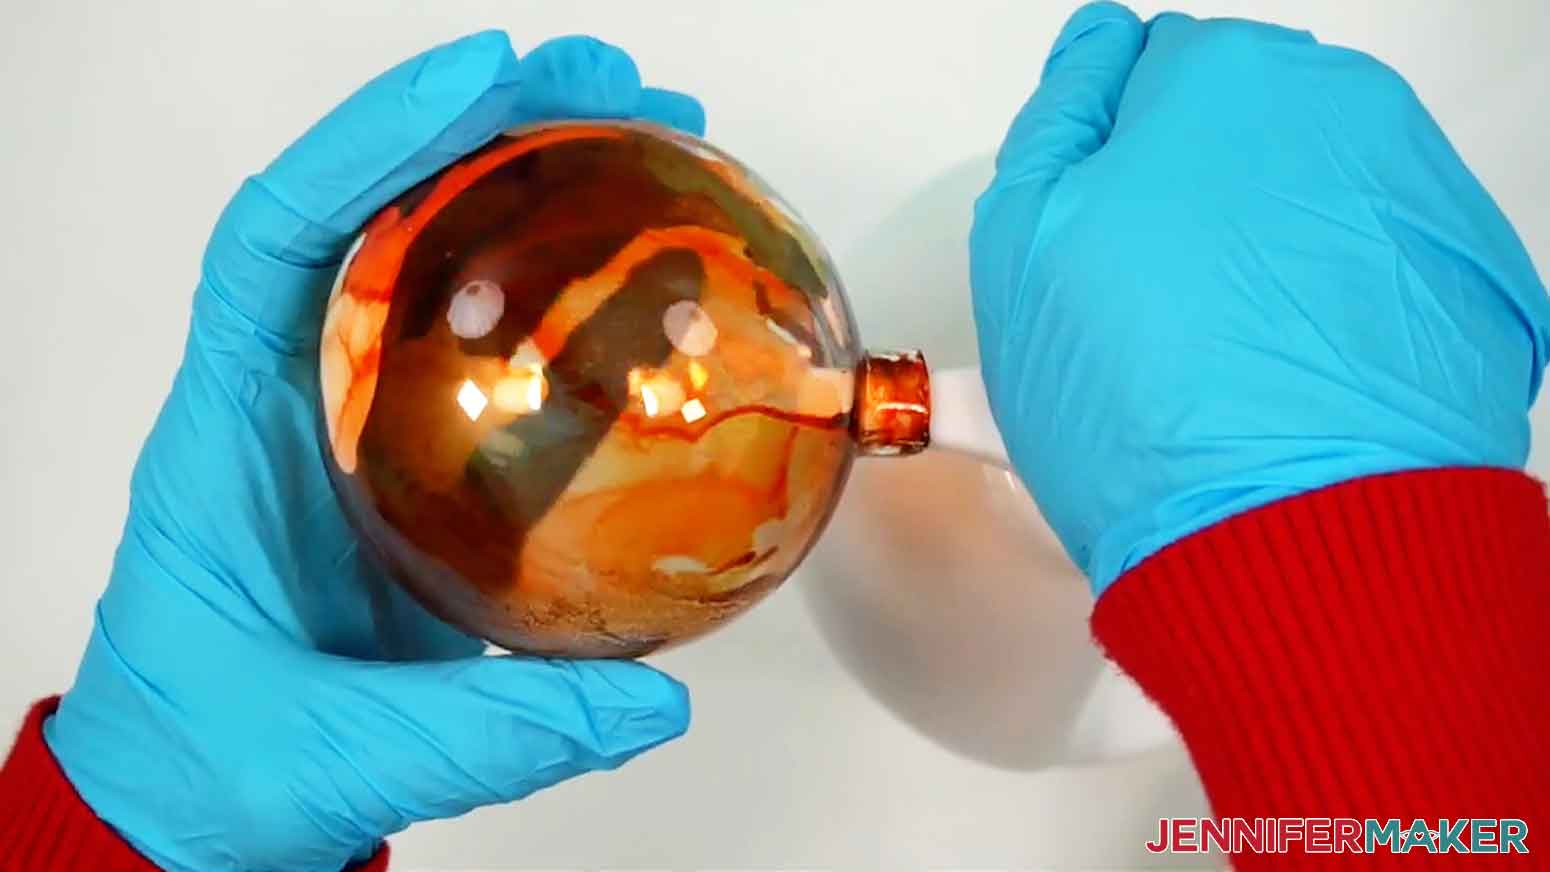
- To encourage the alcohol ink to move around on the inside of the ornament before it dries, insert the straw part of the compressed air can into the opening of the ornament.
- Gently squeeze the trigger on the compressed air to blow air onto the alcohol ink in short, small bursts. Move it around to spread the alcohol ink around the inside of the ornament. NOTE: Applying compressed air right after dripping the alcohol ink helps move the dye around more, but it may cause colors to thin or show up lighter than you expect. Letting the inks run and dry on their own leads to darker hues, but the results may look streaky.
- Grab your second color and place its tip inside and against the opening of the ornament.
- Gently squeeze the bottle so a drop or two drips down an open area on the inside wall.
- Continue dripping the alcohol ink down the inside walls of the ornament until you’re satisfied with the way it looks.
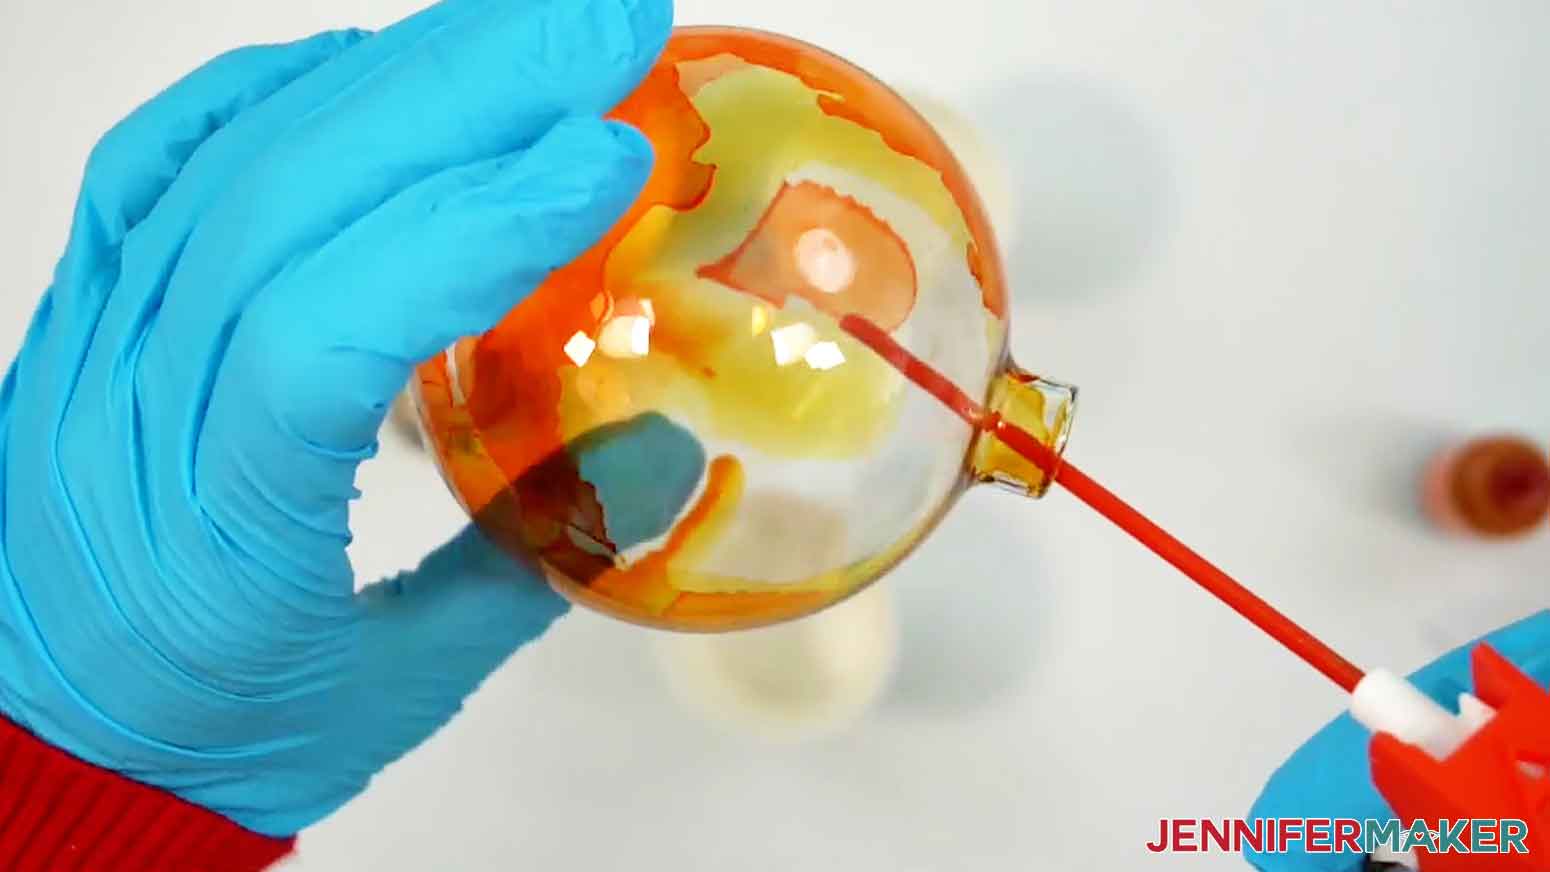
- Insert the straw part of the compressed air can into the opening of the ornament.
- Gently squeeze the trigger on the compressed air to blow air onto the alcohol ink in small bursts while moving it around to move the alcohol ink around the ornament and blend it with the previous color.
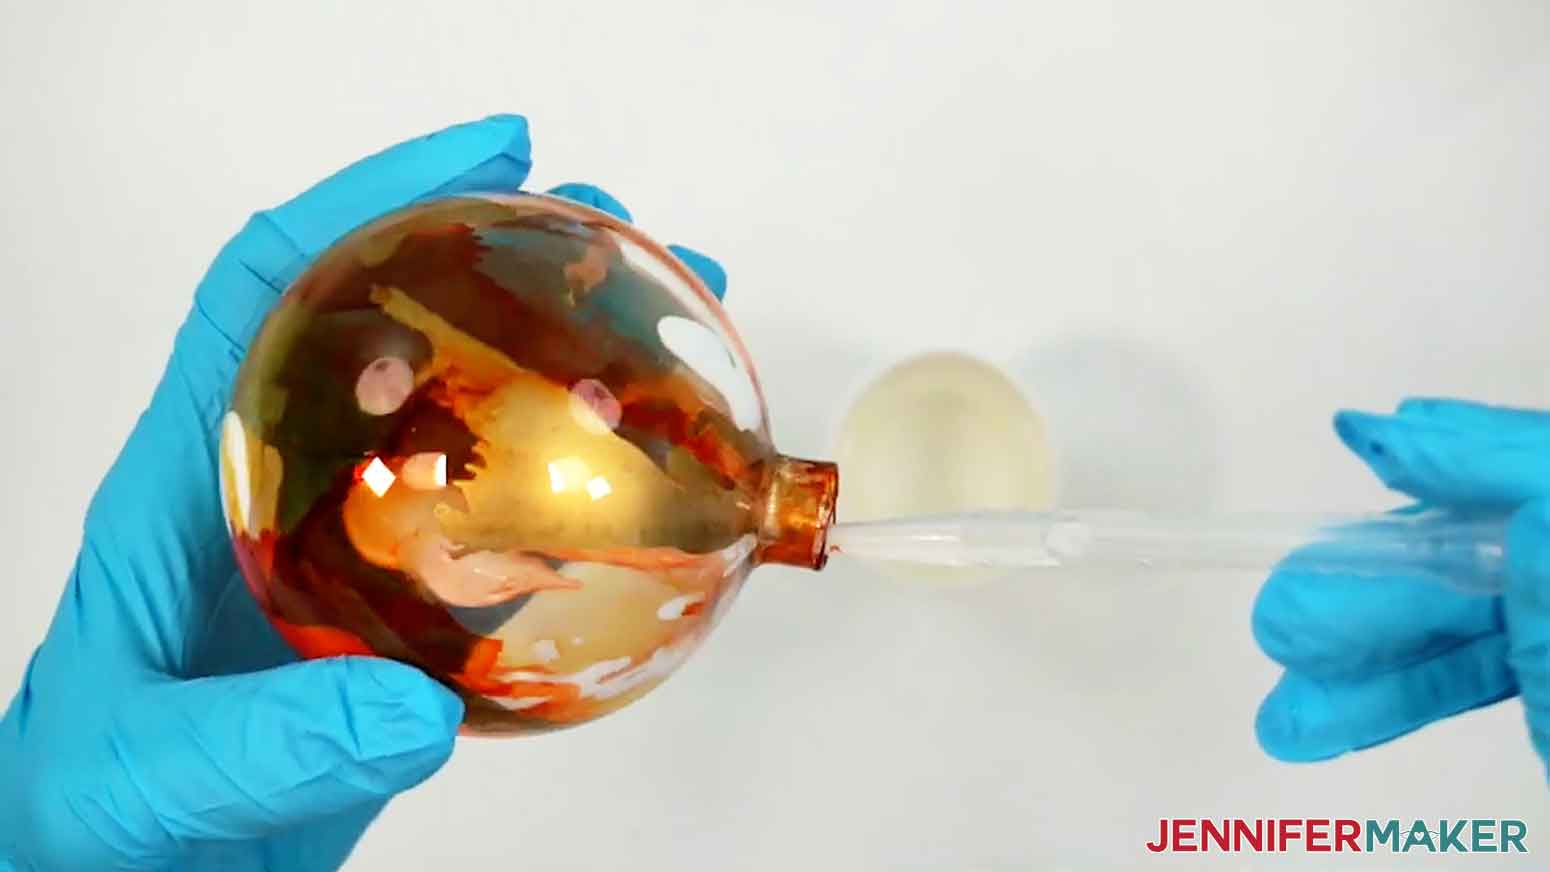
- Repeat steps 14-18 with subsequent colors of alcohol ink, if desired. TIP: Use a pipette to drip isopropyl alcohol into the opening of the ornament to reactivate the ink after it’s dried, or to “erase” areas.
- Set the ornament in the paper cup with the opening pointing down, and let the inside dry completely. It should be completely dry after five to ten minutes. TIP: Using more compressed air can speed up the drying process.
 NOTE: Applying compressed air right after dripping the alcohol ink helps move the dye around more, but it may cause colors to thin or show up lighter than you expect. Letting the inks run and dry on their own leads to darker hues, but the results may look streaky.
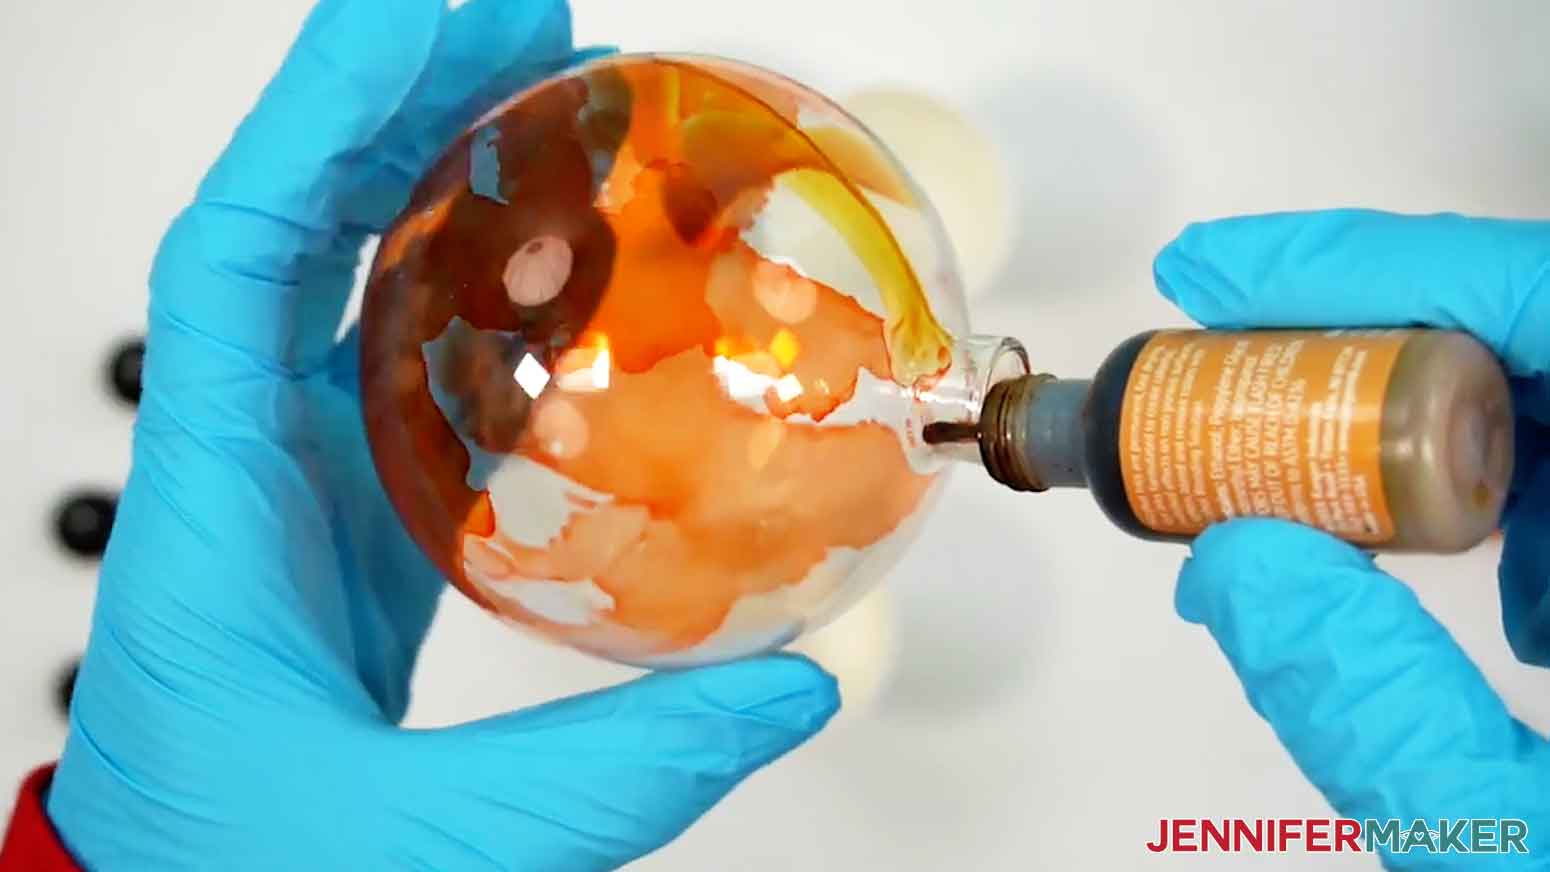
 TIP: Use a pipette to drip isopropyl alcohol into the opening of the ornament to reactivate the ink after it’s dried, or to “erase” areas.
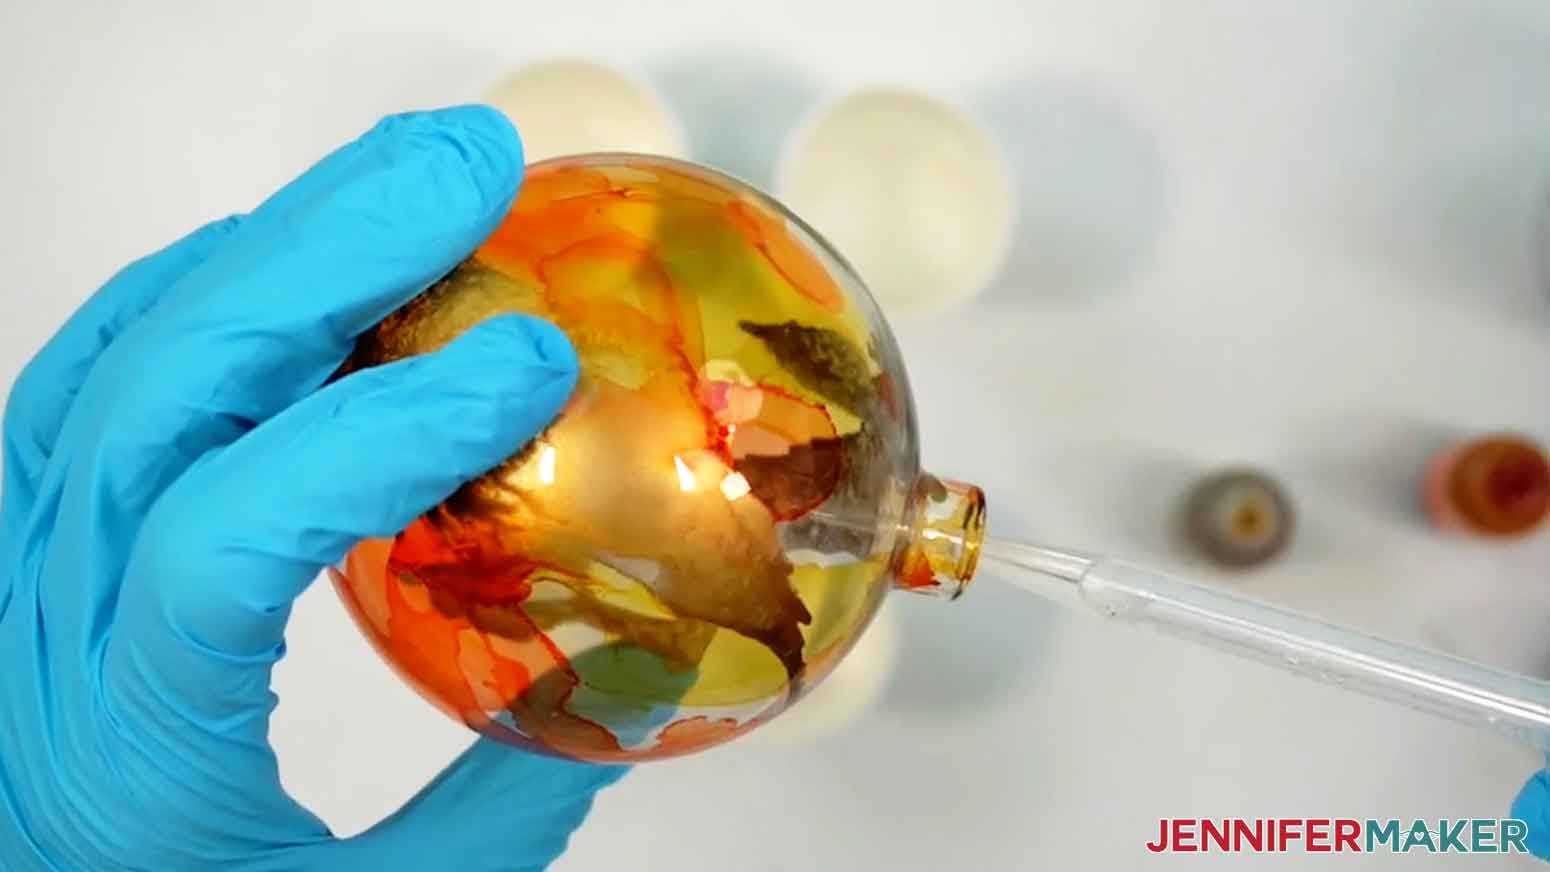
OPTIONAL: COAT THE INSIDE OF THE ORNAMENT WITH PAINT
NOTE: If you want to make the ink colors inside your ornament stand out more, you can coat the inside with white or light-colored paint.
- Prepare your paint by inserting the pump nozzle into the container. Make sure it’s fully screwed on and the pump works. I recommend pumping a few drops of paint into a paper cup to test it.
- Make sure the ink inside the ornament is fully dry. Then hold the ornament’s opening under the nozzle of the paint.
- Add three to six pumps of paint to the inside of the ornament, rotating it as you go so the paint is well-distributed.
- Load a pipette with water, then drip 10-15 drops of water into the paint inside the ornament. NOTE: You’ll want to add just enough water to get the paint moving, but not so much that it becomes runny.
- Holding the ornament in one hand, firmly cover the opening with your finger or thumb so the paint and water cannot escape.
- Shake the ornament vigorously in all directions to mix the water with the paint and disperse it evenly around the inside of the ornament. Be careful not to hit the ornament on your work surface as you shake it. NOTE: If you need more coverage, add one more pump of paint and a few more drops of water, then cover the opening and shake again. Don’t use too much paint or water, or the ornament will take an extra long time to dry.
- Turn the ornament so the hole is facing down, and place it inside of a paper cup to let any excess paint drip out.
- Rotate the ornament every 15-30 minutes for the first couple of hours to allow the paint to cover the entire inside of the ornament.
- Let the ornament dry overnight (at least 8 hours) before reinserting the cap and hanger.
 NOTE: If you need more coverage, add one more pump of paint and a few more drops of water, then cover the opening and shake again. Don’t use too much paint or water, or the ornament will take an extra long time to dry.
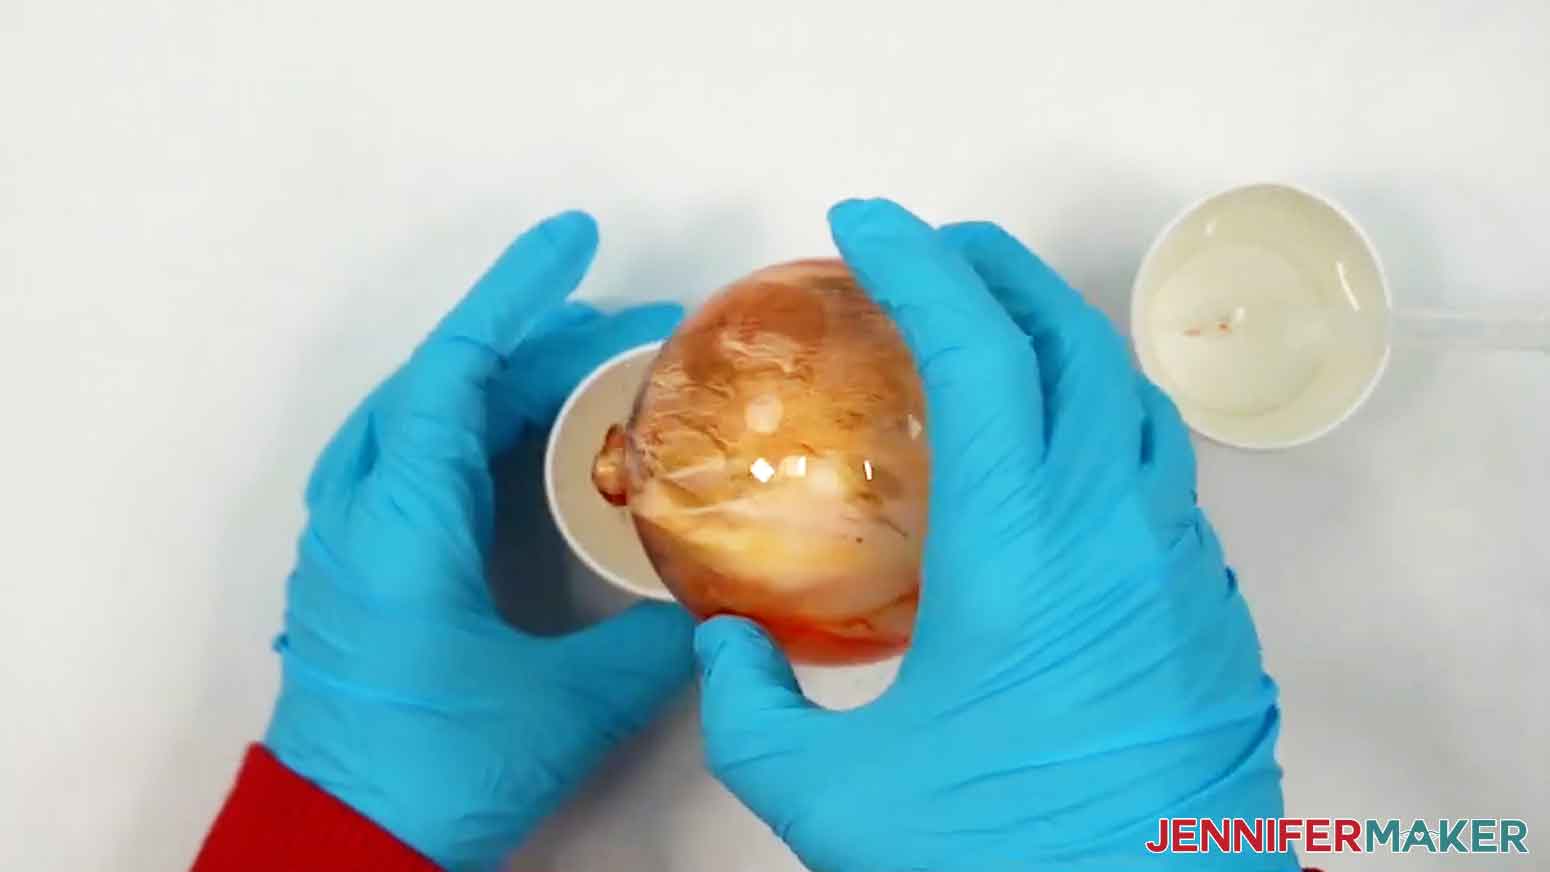
STEP 3: CUT & WEED YOUR VINYL DESIGN
CRICUT DESIGN SPACE
- In Cricut Design Space on a blank Canvas, click “Upload.”
- Click “Upload Image.”
- Click “Browse.”
- Find and select the SVG of your choice from the main SVG folder. NOTE: I’ll demonstrate with the “All Is Bright” design.
- Click “Open” and then “Continue.”
- Click “Upload” to add the design to your Canvas.
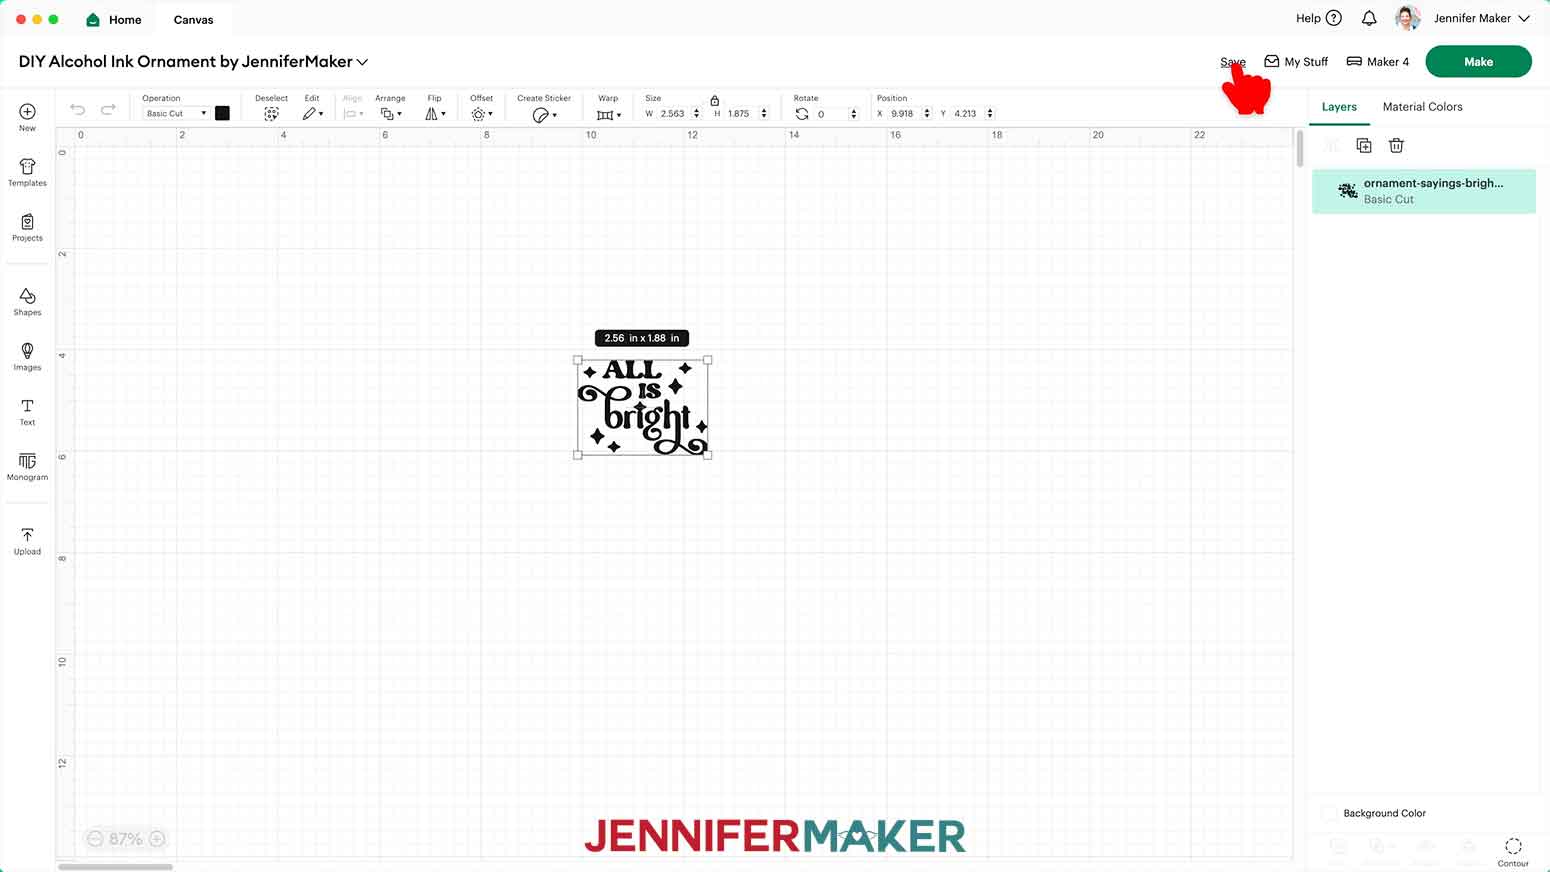
- Click “Save” and give your project a name.
- The designs are sized to fit the ornaments in my materials list, but you can use the corner handles to adjust the size as needed.
- Your design is ready to cut!
CUTTING & WEEDING
- Select your machine at the top right, then click “Make.”
- If prompted, click "On Mat," choose your mat size, and click “Confirm.”
- On the Prepare screen, make sure the correct Material Size is selected for your mat.
- Click “Continue.”
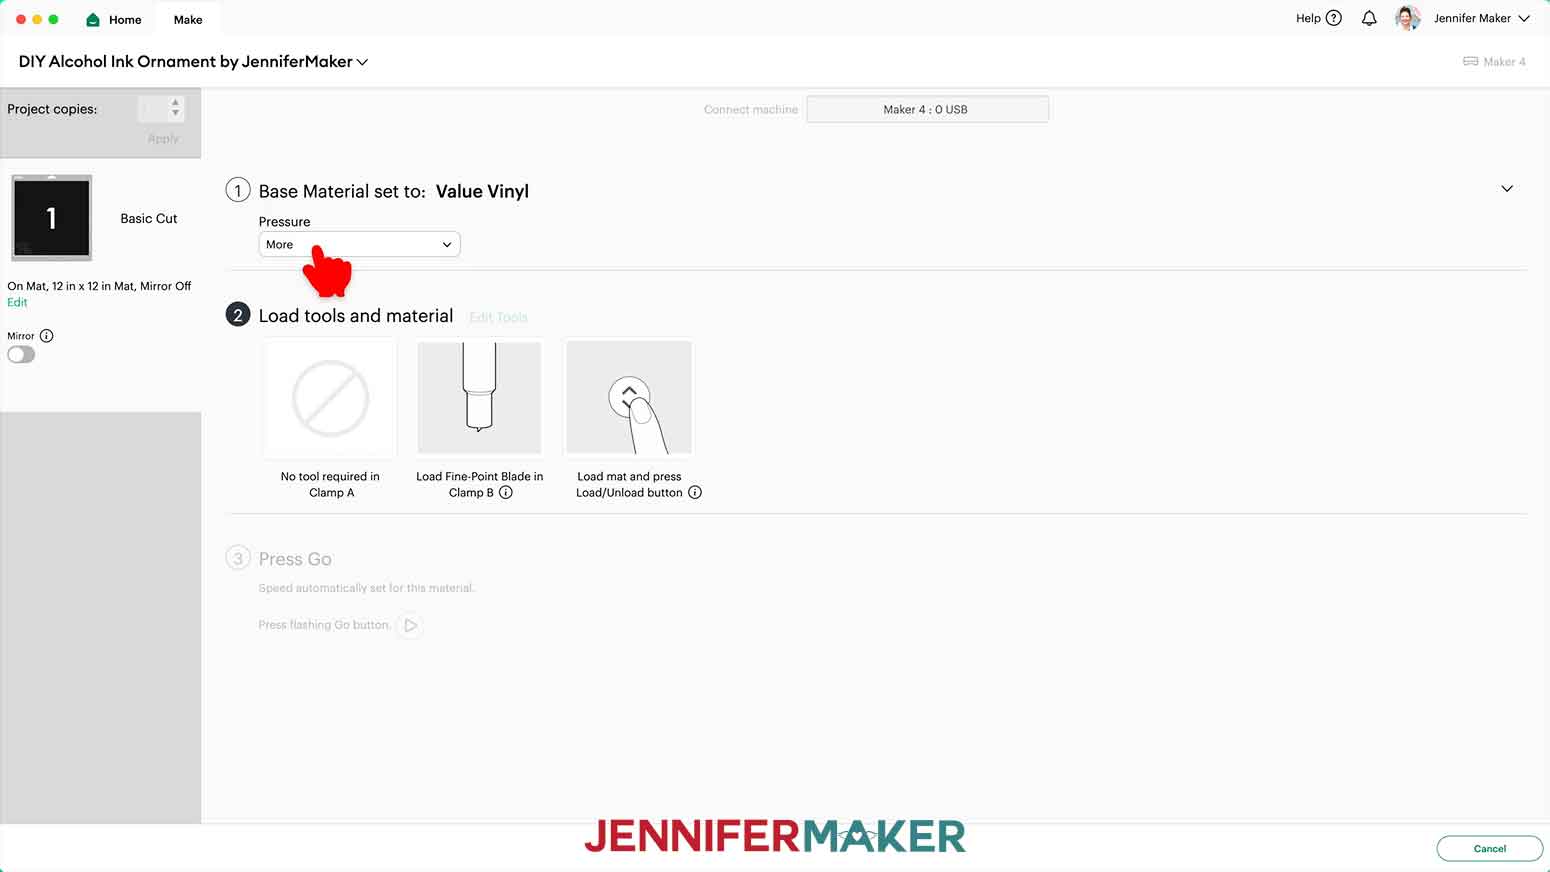
- On the Make screen, choose the material setting that corresponds to your material. I used the “Value Vinyl” setting with “More” Pressure.
- Place your vinyl pretty side up onto a green StandardGrip machine mat.
- Use a brayer to adhere it well.
- Check that your Fine-Point Blade is clean and in the clamp.
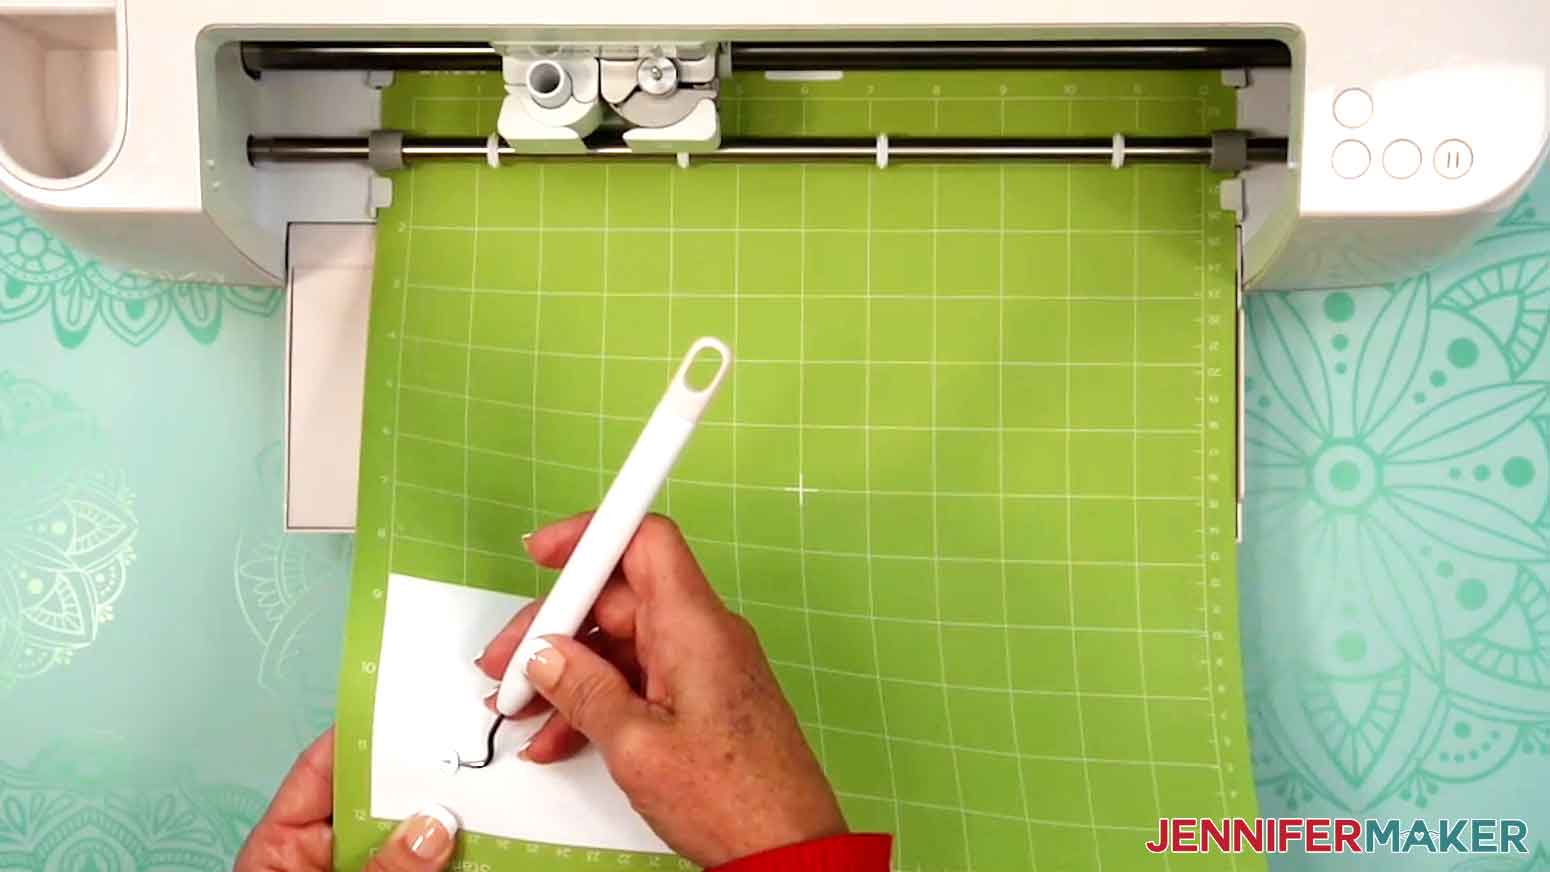
- Load your mat into your Cricut and press the flashing middle button to begin cutting.
- Before unloading the mat, use your weeding tool to gently lift one of the insides of the letters to see if the cut went through the vinyl, but not the carrier sheet. If not, press the middle button to cut the design in the same spot again.
- Once the vinyl is cut, unload the mat, flip it over onto your work surface, and roll it back to release the material. NOTE: If you have any issues with your cuts, check out my Tips & Tricks for Cleaner Cuts tutorial.
- Use scissors to cut away any excess vinyl, or to cut the decals apart if you cut more than one.
- Use a weeding tool to carefully peel away the extra background vinyl around the design, leaving the design behind on the carrier sheet.
- Use your weeding tool to gently lift and remove any other areas you want to remove, like the insides of the letters.TIP: It can be easier to weed vinyl, especially small, detailed designs, while it is adhered to the machine mat. If any needed pieces lift up, use your weeding tool to carefully tack them back down to the carrier sheet before continuing.

STEP 4: APPLY THE VINYL DECAL TO THE ORNAMENT
- Use a soft cloth and a little isopropyl alcohol to gently clean the ornament of fingerprints and dust.
- Place the ornament in a clean paper cup, so the hanger is pointed away from you and the side you want your decal to be on is facing you.
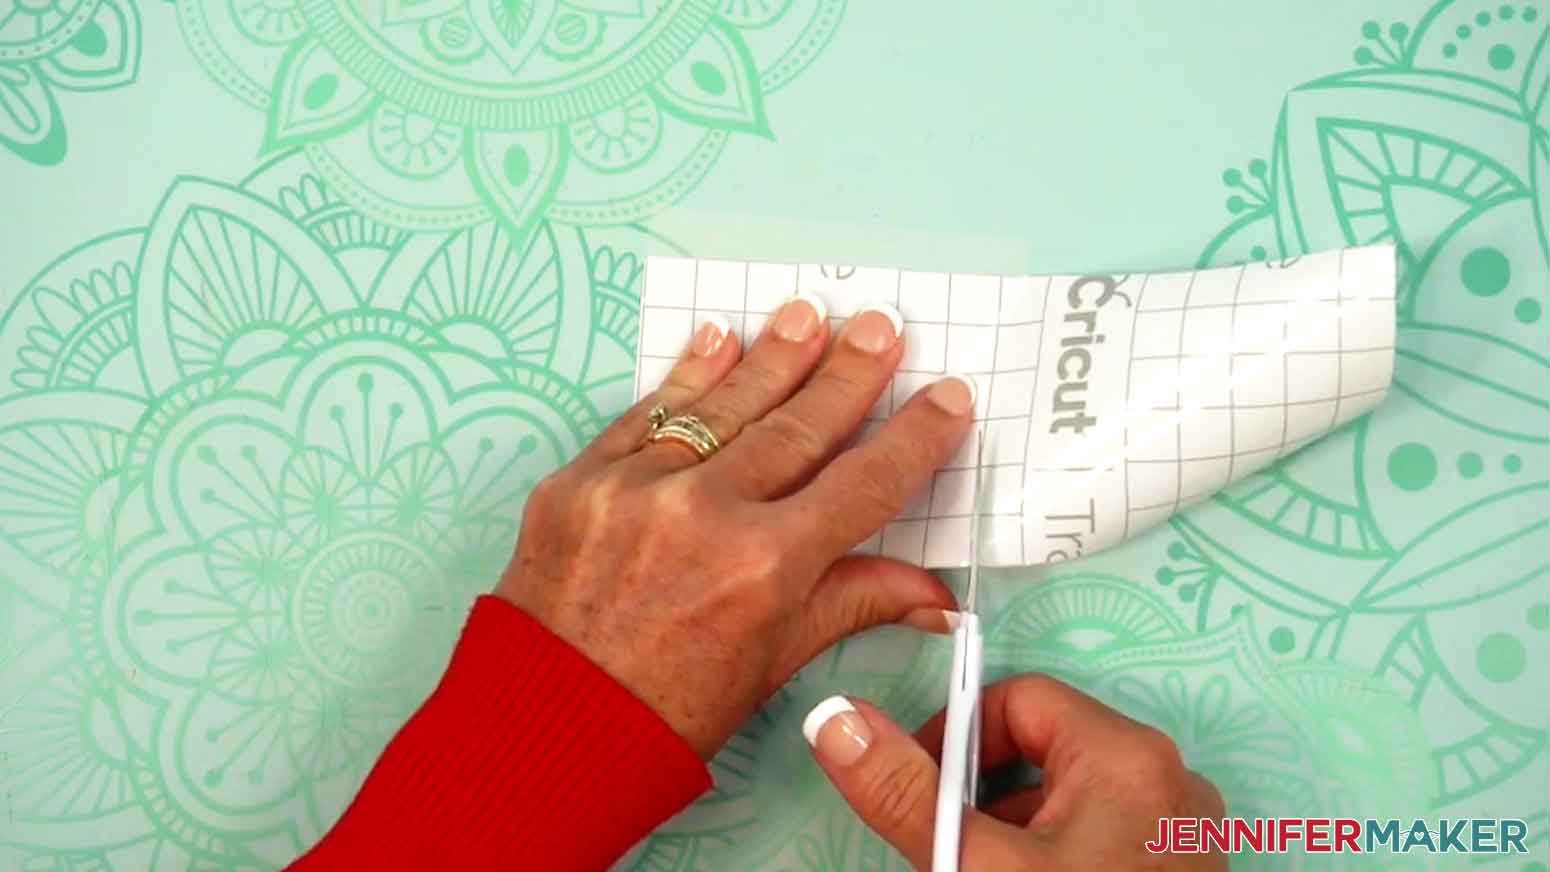
- Cut a piece of StandardGrip transfer tape that is slightly larger than your vinyl decal.
- Remove the backing from the transfer tape.
- Stick and unstick the transfer tape to a piece of fabric a few times to make it a bit less sticky and easier to remove from the ornament once the vinyl is transferred.
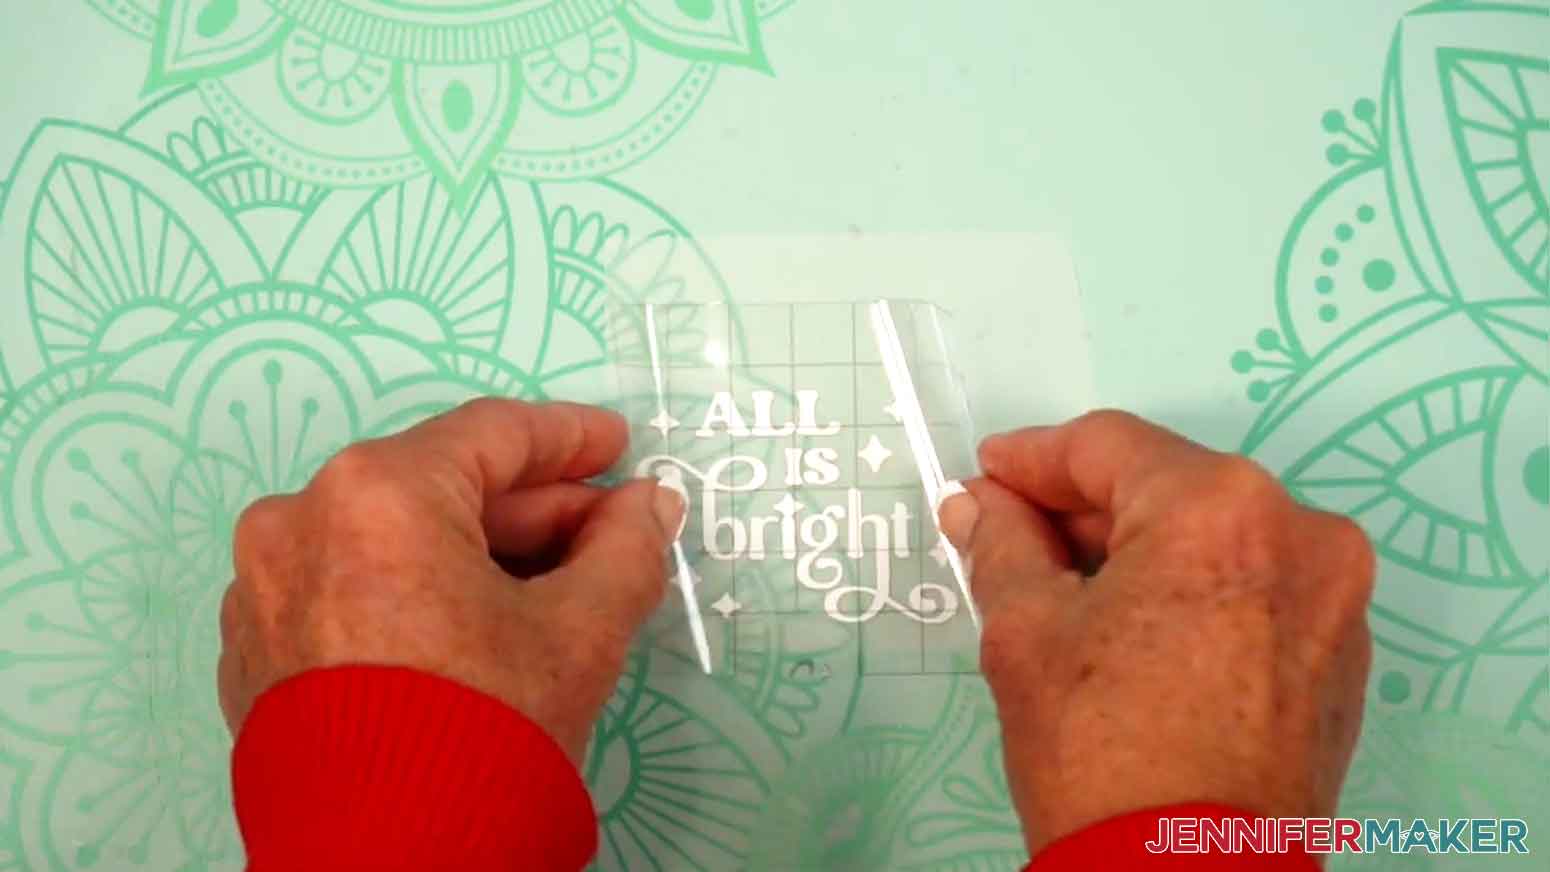
- Hold your transfer tape in the shape of a “taco” sticky side down, then touch the bottom of the “taco” onto the middle of the vinyl decal. To help align the decal on the ornament, try to align the grid lines on the transfer tape with the line(s) of text in the design.
- Use a scraper tool to burnish the decal to the transfer tape from the front and back.
- Gently peel off the backing from the vinyl.TIP: If any vinyl lifts up from the transfer tape, lay the backing back down and burnish again.
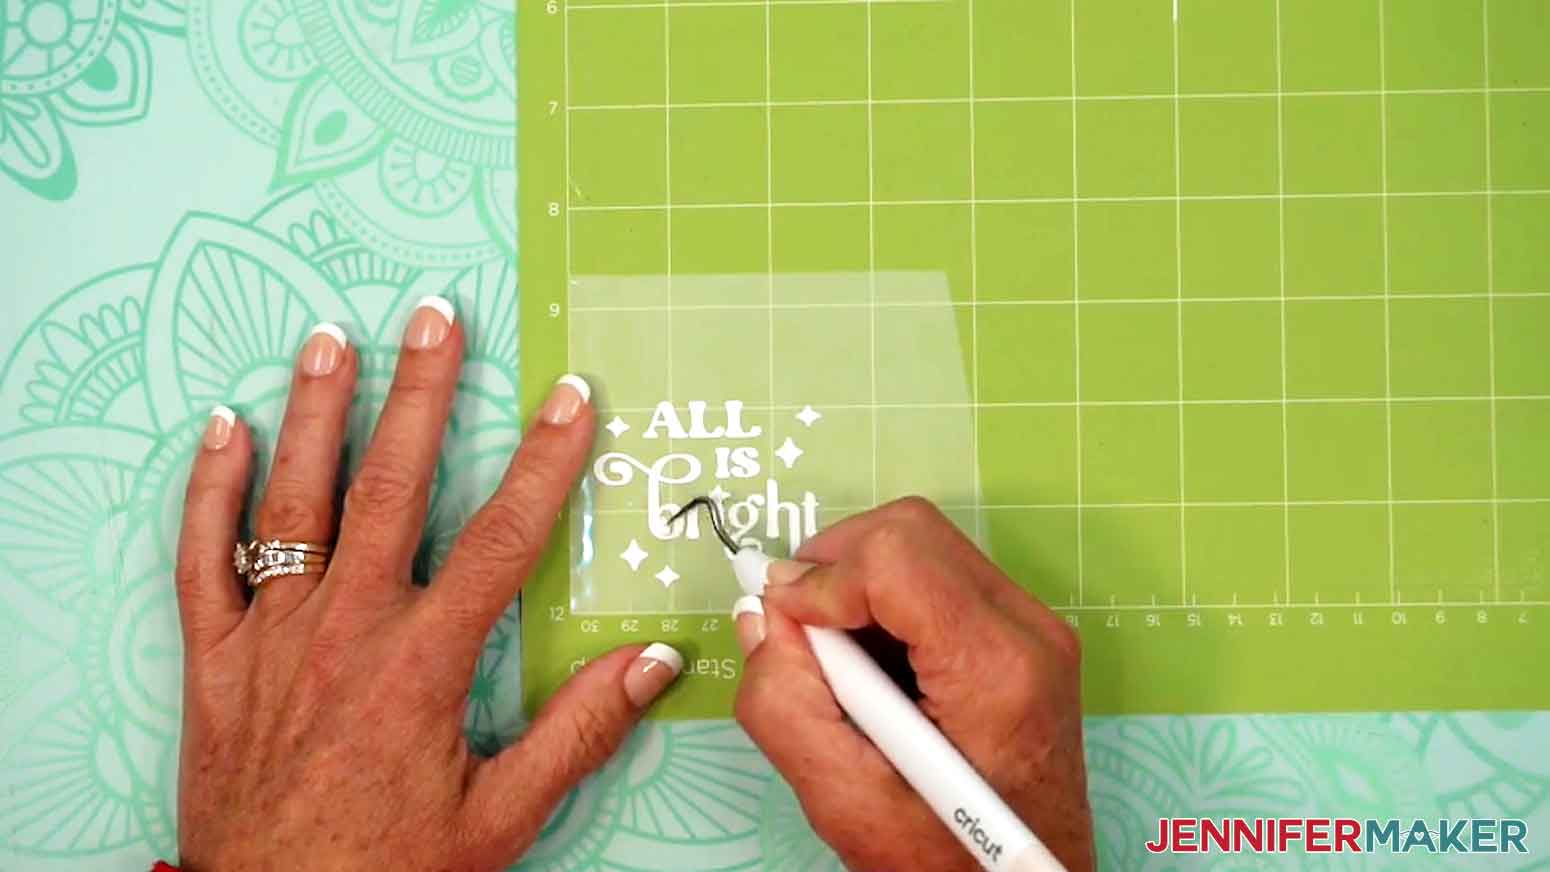
- Before you apply the vinyl to the ornament, use scissors to cut slits into the edges of the transfer tape. Cut into where the design is, but do not cut the vinyl. This allows the transfer tape and vinyl to bend around the ornament and curve to the surface, preventing bubbles and creasing.
- Bend the design into a taco shape and touch just the middle onto the approximate center of your ornament.
- Don’t smooth the transfer tape down yet.
- Pick the ornament up by its hanger and look at it straight on, at eye level, the way it would hang on a Christmas tree.

- Check that the design is straight and centered on the ornament. If it’s not, adjust it or pull it off and try again.
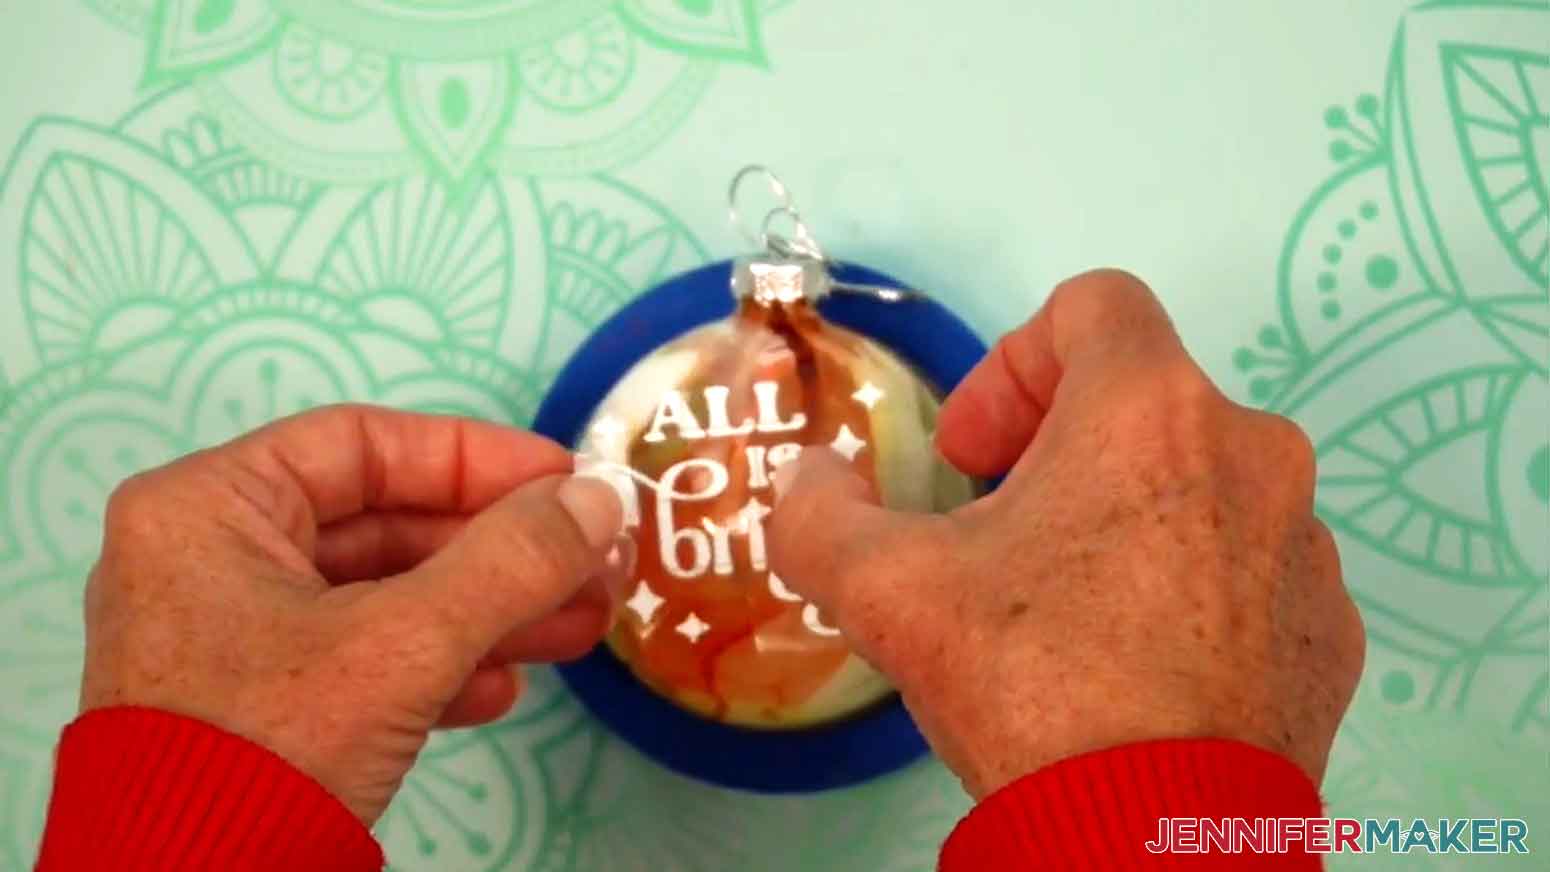
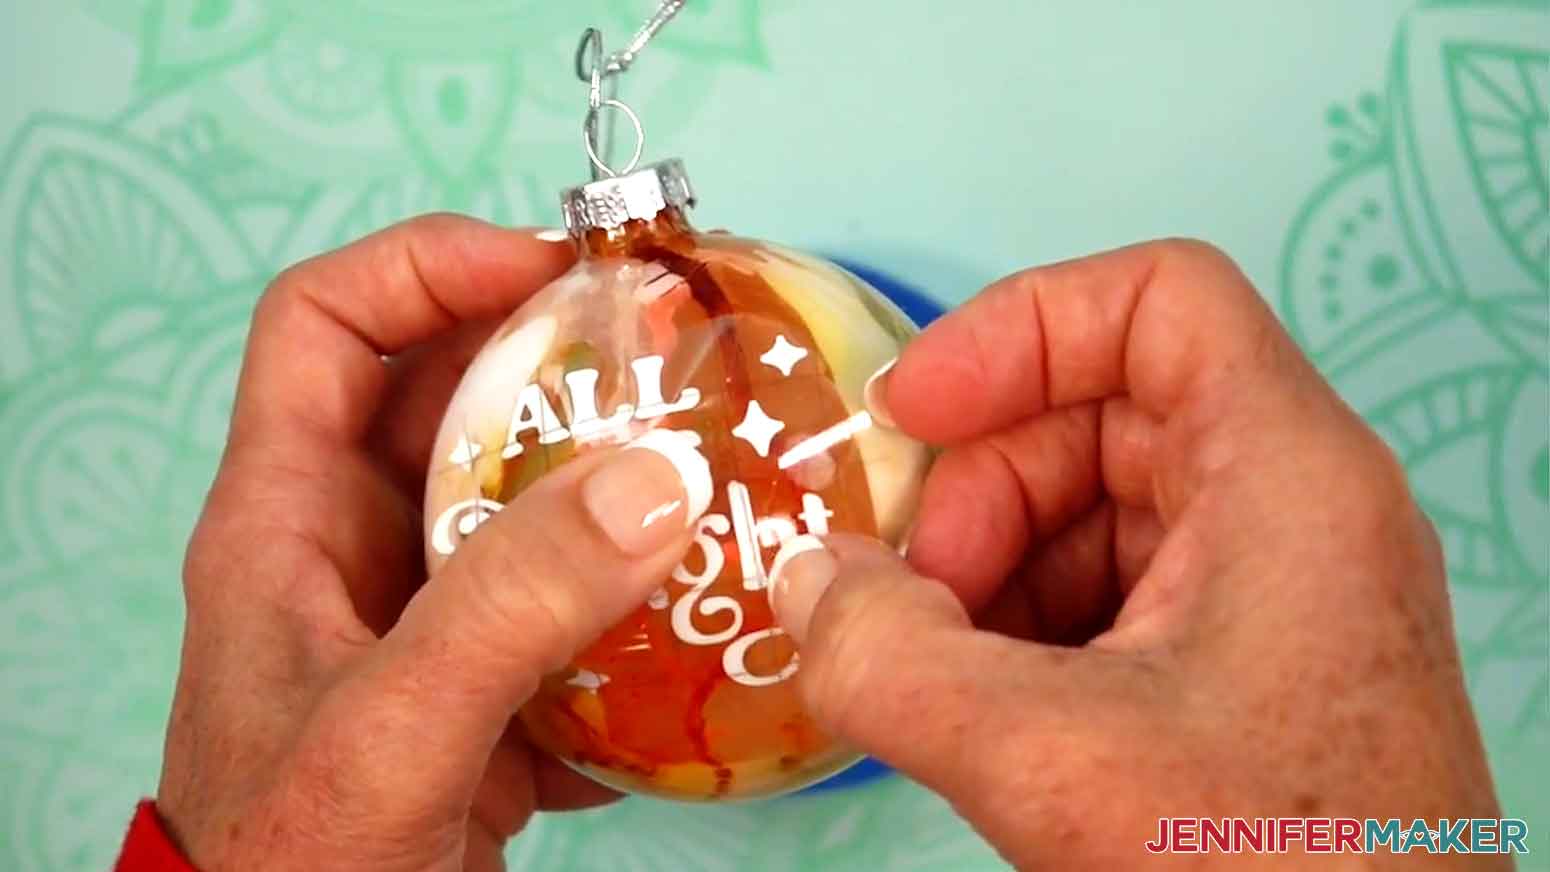
- When you’re happy with the positioning, use your fingers to smooth the decal onto the ornament from the center outward, smoothing out any wrinkles in the vinyl.
- Take your time and really press the vinyl well onto the ornament. TIP: Since you cut slits in the transfer tape, be sure that any vinyl you press down is directly touching the ornament. If the transfer tape gets wrinkled or overlaps itself as you press the decal into place, that’s OK.
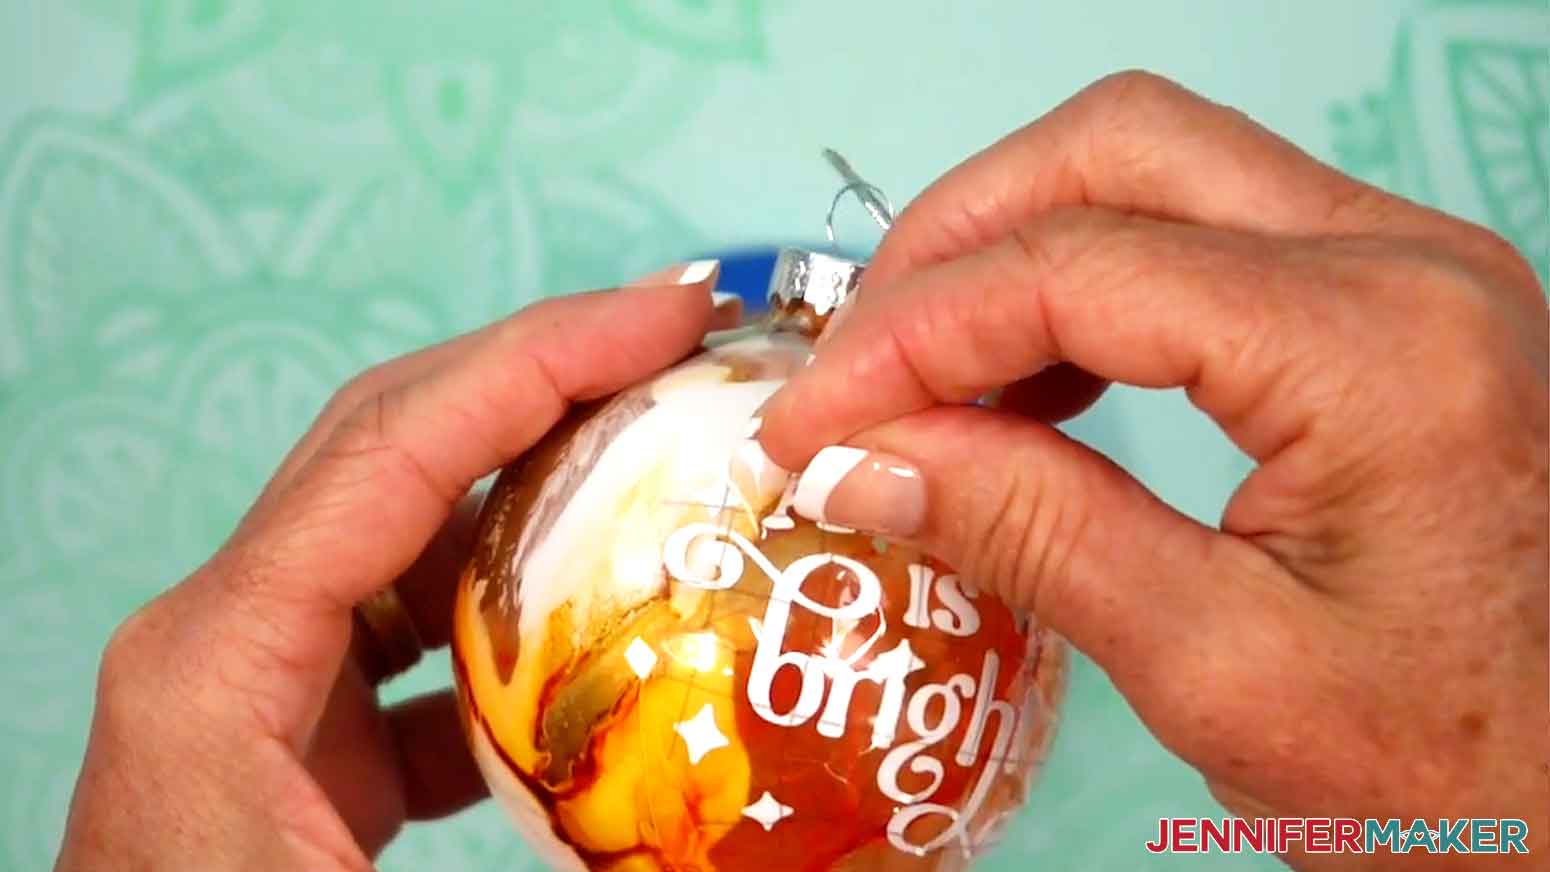
- Carefully remove the transfer tape from the ornament. Since you cut slits, it will likely come off in multiple pieces. NOTE: If there are some vinyl pieces that are not stuck to the ornament, push them down again with a little more pressure and continue to remove the transfer tape.
- Once the transfer tape has been removed, go over all parts of the design with your fingers and press down any vinyl that may not be adhered properly. Remove all bubbles as best as you can. TIP: If you notice a spot in the vinyl that has shifted or has bubbles or creases in it, carefully use your weeding tool to lift it up and move it, then use your finger to smooth it back down into the right position.
- Make sure the cap is securely inserted into the opening, and your DIY Alcohol Ink Ornament is ready to hang!

 NOTE: If there are some vinyl pieces that are not stuck to the ornament, push them down again with a little more pressure and continue to remove the transfer tape.
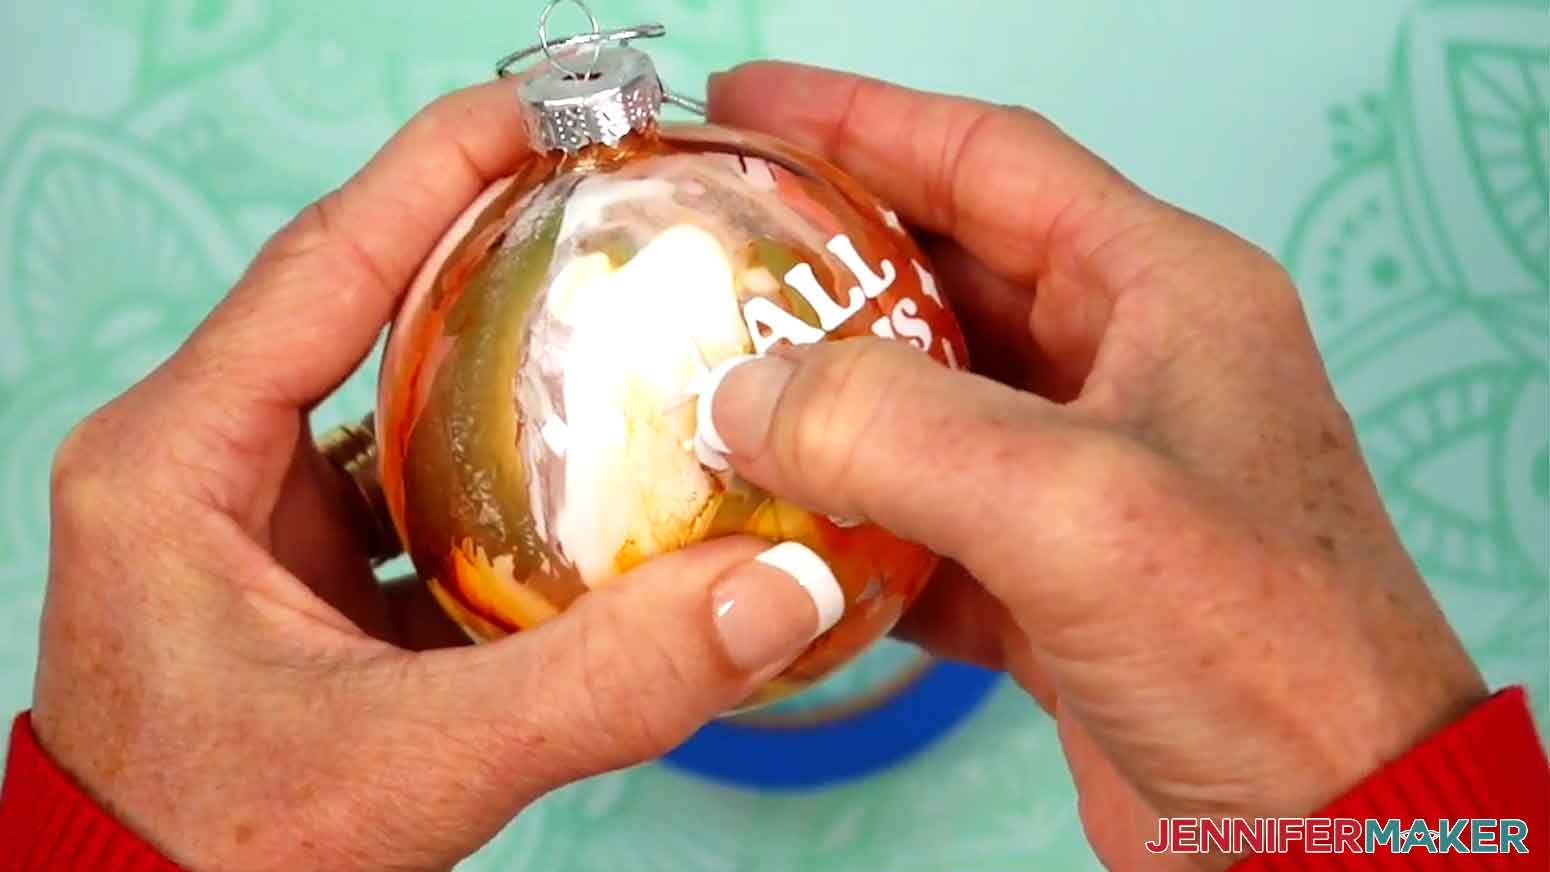 TIP: If you notice a spot in the vinyl that has shifted or has bubbles or creases in it, carefully use your weeding tool to lift it up and move it, then use your finger to smooth it back down into the right position.
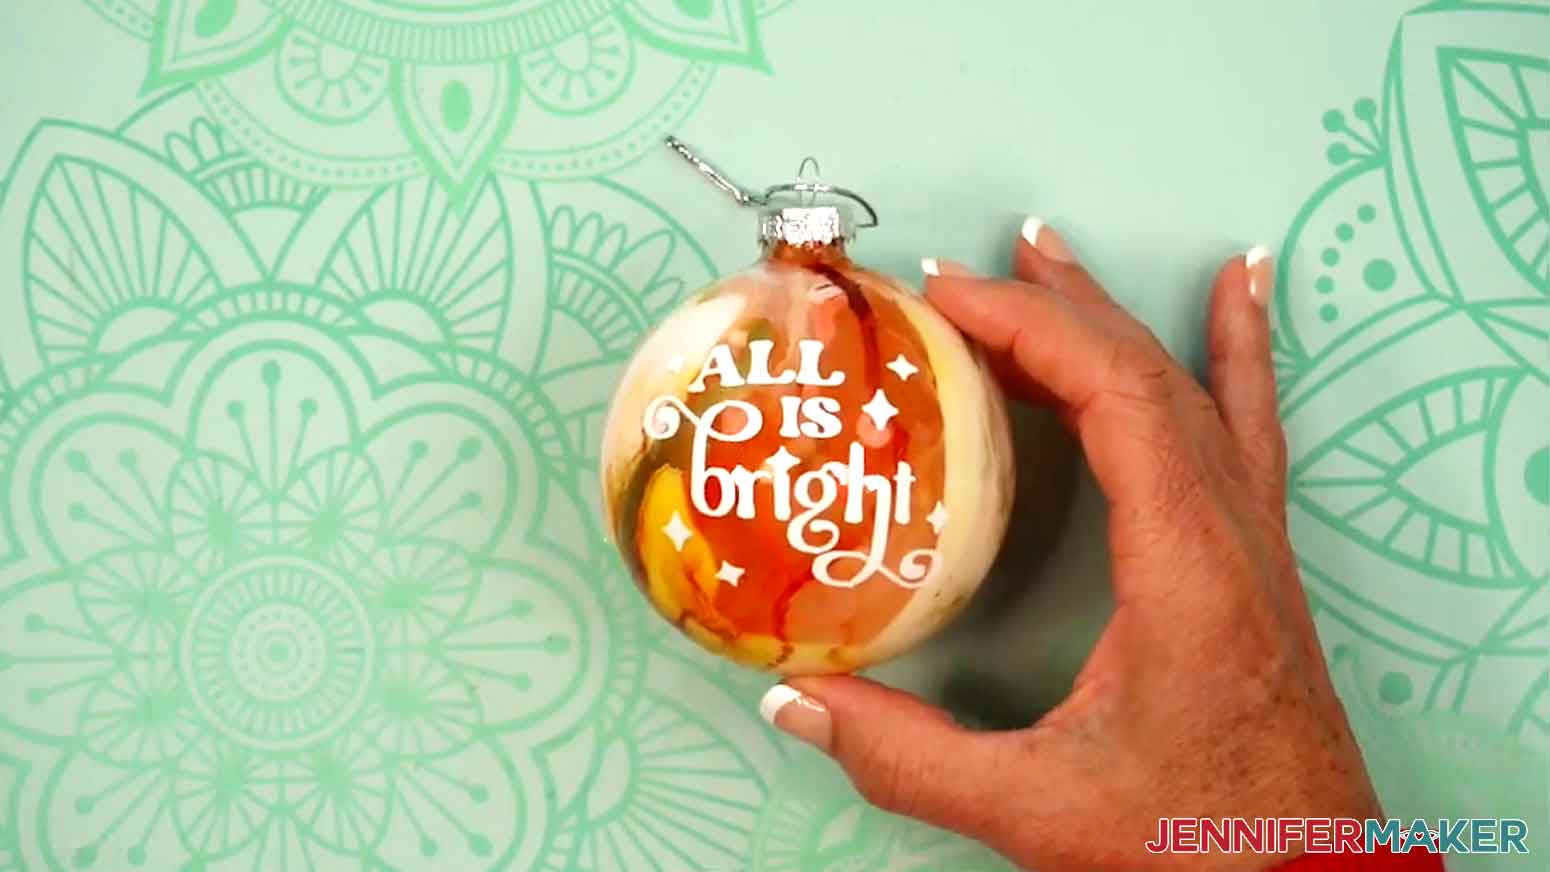
STEP 5: SHOW IT OFF!
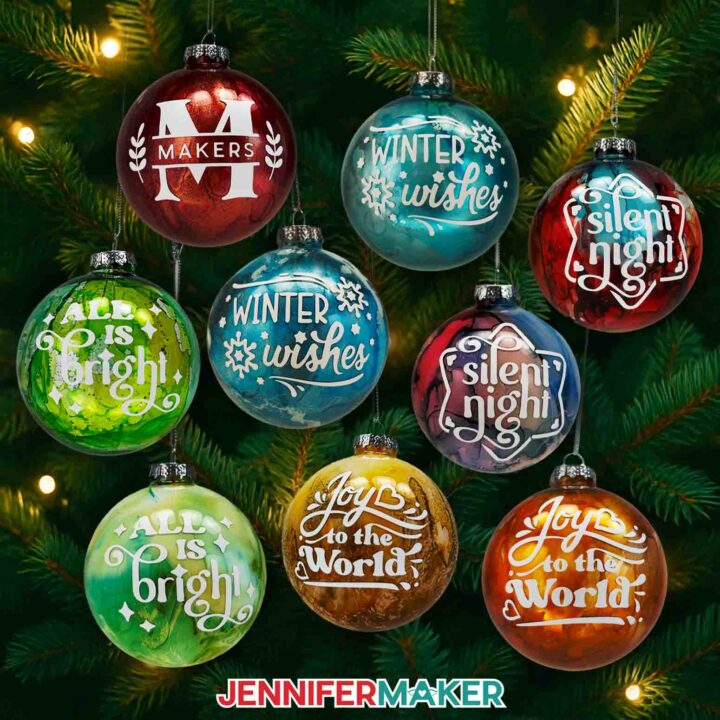
Here are what my DIY Alcohol Ink Ornaments look like!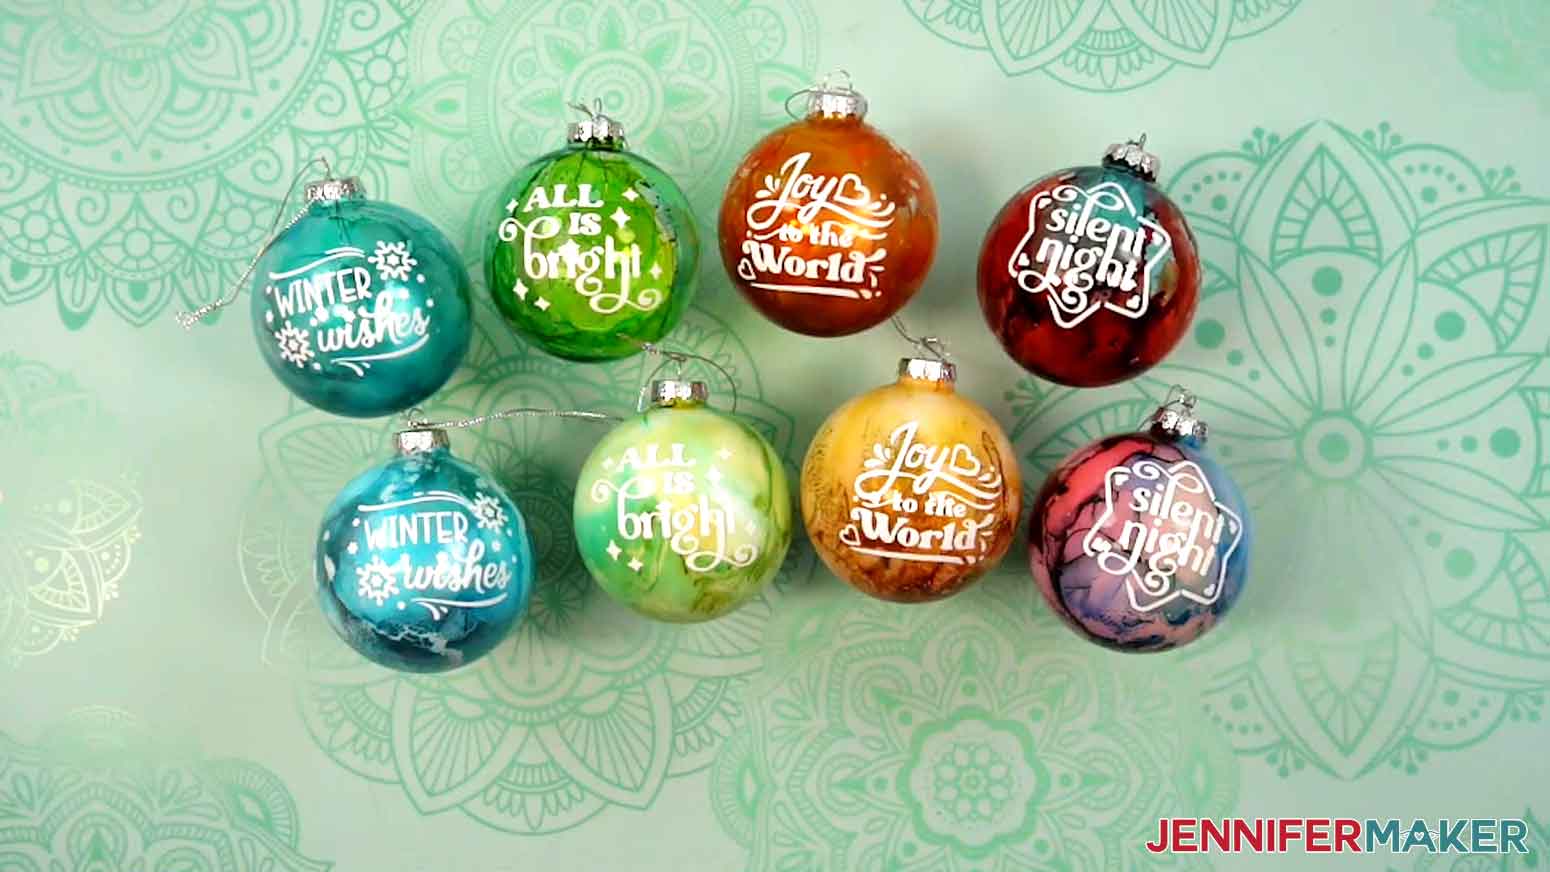
Notes
Finished ornament size: 3.15" x 3.15"
Decal dimensions:
“All Is Bright”: 2.56” x 1.88”
“Joy To The World”: 2.32” x 2.09”
“Silent Night”: 2.12” x 2.34”
“Winter Wishes”: 2.58” x 1.87”
Care: Store the ornaments in their original packaging or wrap them with bubble wrap to keep them from breaking. Gently wipe the ornament clean with a lint-free cloth as needed.
Typefaces used:
“All Is Bright”: Margin (free alternative: Margin for personal use only), Foghe (free alternative: Kaoly)
“Joy To The World”: The Trickster (free alternative: Amertha), Margin (free alternative: Margin for personal use only)
“Silent Night”: Foghe (free alternative: Kaoly)
“Winter Wishes”: Peachyday (free alternative: JM Sweet), The Trickster (free alternative: Amertha)
Alcohol ink colors used on set of finished ornaments above:
“All Is Bright”: Patina (teal), Botanical (green), Honeycomb (yellow)
“Joy To The World”: Valencia (orange), Honeycomb (yellow), Gold metallic
“Silent Night”: Turquoise, Poppyfield (red), Valencia (orange)
“Winter Wishes”: Patina (teal), Turquoise, Silver metallic
Answers to Your Questions About Making DIY Alcohol Ink Ornaments
Q: I want to design a custom vinyl decal for an alcohol ink ornament. How do I do that?
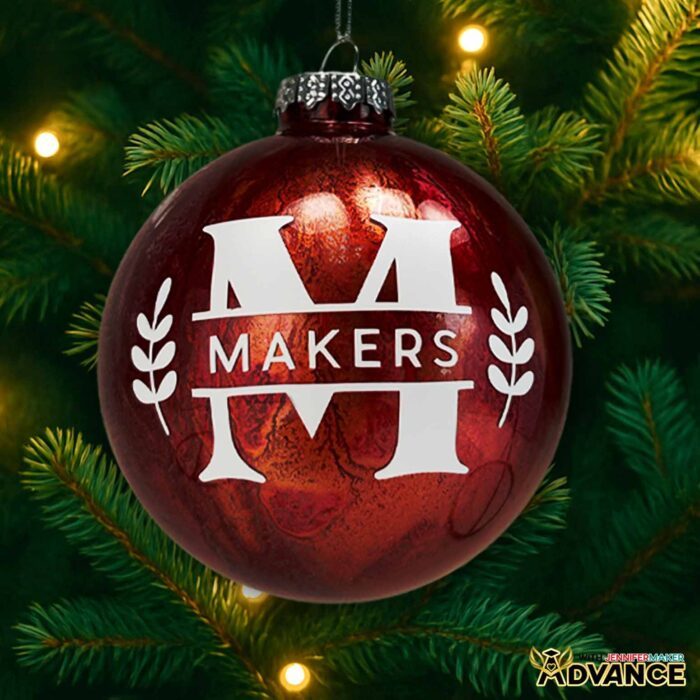
A: You can learn how to create a split monogram vinyl decal design for your DIY alcohol ink ornament in my ADVANCE program. Learn more about ADVANCE here!
Q: What are alcohol inks, and how do they work?
A: Alcohol inks are fast-drying, highly pigmented dyes that move and blend beautifully on non-porous surfaces like plastic or glass. When used inside clear ornaments, they create vibrant, swirling patterns that look like watercolor paints. You can reactivate or thin them with isopropyl alcohol or rubbing alcohol to get different effects.
Q: Can I use plastic ornaments instead of glass ones?
A: Yes, you can use plastic ornaments, just check hem for imperfections before getting started.
Q: What colors of alcohol ink should I use for the best results?
A: Choose different colors from the same family, like teal and green or red and pink, to create smooth blends. Mixing color combinations that are too far apart on the color wheel can make the inks look muddy.
Q: What’s the purpose of the white paint inside the ornament?
A: Adding a layer of white acrylic paint inside the ornament gives you a white background that makes your alcohol ink colors pop. It brightens the inks and helps the design look more vibrant from the outside. Add the paint after the pigment so it doesn’t cover the pretty colors!
Q: How much ink should I use?
A: You only need a small amount; a few drops of ink go a long way. Using too much ink can make colors pool or blend too heavily, while a little bit creates more control and variation. You can always add more, but it’s difficult to remove excess once it’s applied.
Q: How do I move the ink around inside the ornament?
A: Gently rotate, or use compressed air or an alcohol ink air blower to swirl and spread the ink. This helps coat the entire inside of the ornament and gives you that soft, flowing marble effect.
Q: Can I fix mistakes or redo areas that dried unevenly on my DIY alcohol ink ornament?
A: Absolutely! A few drops of isopropyl alcohol or rubbing alcohol will reactivate the ink, letting you adjust or blend it again. It’s a simple way to get smoother results.
Q: How long does it take for the ornaments to dry?
A: The ink dries in about ten minutes, but once you add the white paint, let it sit overnight or at least eight hours to make sure everything inside sets completely.
Q: Can I use metallic inks in this project?
A: Yes! Metallic alcohol inks like gold or silver add shimmer and dimension when used alone or mixed in with your main colors.
Get my free holiday quote decal SVG/DXF/PDF files!
(If you do not see the signup form above, click here.)
I love seeing what you make with my tutorials and how you customize them! Please share a photo of your DIY alcohol ink ornaments in our Facebook group or tag me on social media with #jennifermaker.
Love,

Want to remember this? Save this DIY Alcohol Ink Ornament tutorial to your favorite Pinterest Board!