
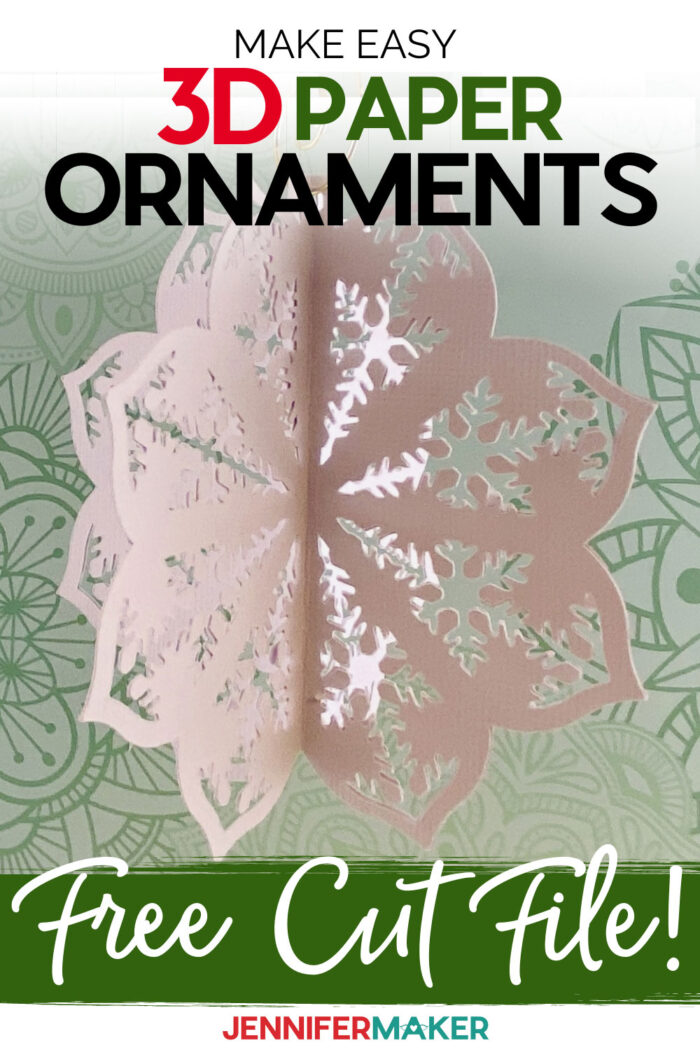
Learn how to make beautiful DIY 3D paper cut ornaments that are delicate yet strong!
Can you imagine decorating a wonderful Christmas tree filled with handmade DIY paper cut ornaments! In the past, I’ve shown you how to create Easy Floating Ornaments, Glitter Ornaments with Layered Vinyl, and easy Paper Orb Ornament. And these intricate paper ornaments are just as amazing! So for Day 10 of The Great Maker 25-Day Gift-Away Challenge, I am showing you how to make DIY Paper Ornaments!
See exactly how to make these intricate paper cut ornaments in my tutorial video (or keep scrolling if you prefer a printable step-by-step photo tutorial):
So today I want to show you exactly how to make this project.

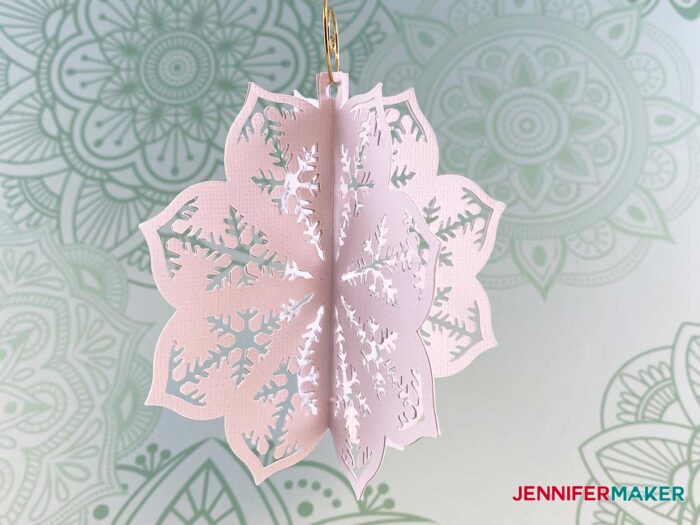
I love making my own ornaments, and I love it even more when they’re easy yet beautiful. And that’s exactly what these 3D paper cut ornaments offer. I love the intricate little paper cuts. And even though this is simply made from cardstock, the 3D structure makes it surprisingly sturdy — it’s strong and will last for years to come!
To make these paper cut ornaments, I used one sheet of 65 lb. cardstock. That’s all it takes. I used a variety of colors to make mine … you get to pick whatever colors and styles please you!
To keep it all together, you need tacky glue, which will set strong and clear. And some ornament hooks or thread to hang the ornaments themselves.
I cut these ornaments on my Cricut cutting machine using the blue LightGrip cutting mat and the fine point blade. To get these intricate cuts, you’ll want to use a sticky mat and a clean blade. And a scoring tool or stylus will be useful for folding, but it’s not absolutely necessary.
So let me show you where to get my free ornament design and then how to assemble your pretty paper cut ornaments! This post contains some affiliate links for your convenience (which means if you make a purchase after clicking a link I will earn a small commission but it won’t cost you a penny more)! Read my full disclosure policy.
Materials to Make a DIY Paper Cut Ornament
View our Amazon shopping list with the exact items we used to make this project!
- 1 sheet of 65 lb. 8.5″ x 11″ or 12″ x 12″ cardstock in colors of your choice
- Ornament Hooks
- Tacky Glue (this is the one I use)
- Cricut LightGrip Cutting Mat
- Cricut Spatula (optional)
- (Optional) A way to score your paper (I used the scoring wheel in my Cricut Maker, but you could also use the Scoring Stylus in an Explore, score by hand, or not score at all)
- A way to cut your cardstock (I used the Cricut Maker cutting machine but this can also be cut on a Cricut Explore and a Cricut Joy)
- Design #261 – My free SVG design files (available in my free resource library—get the password by filling out the form at the bottom of this page)
How to Make DIY Paper Cut Ornament
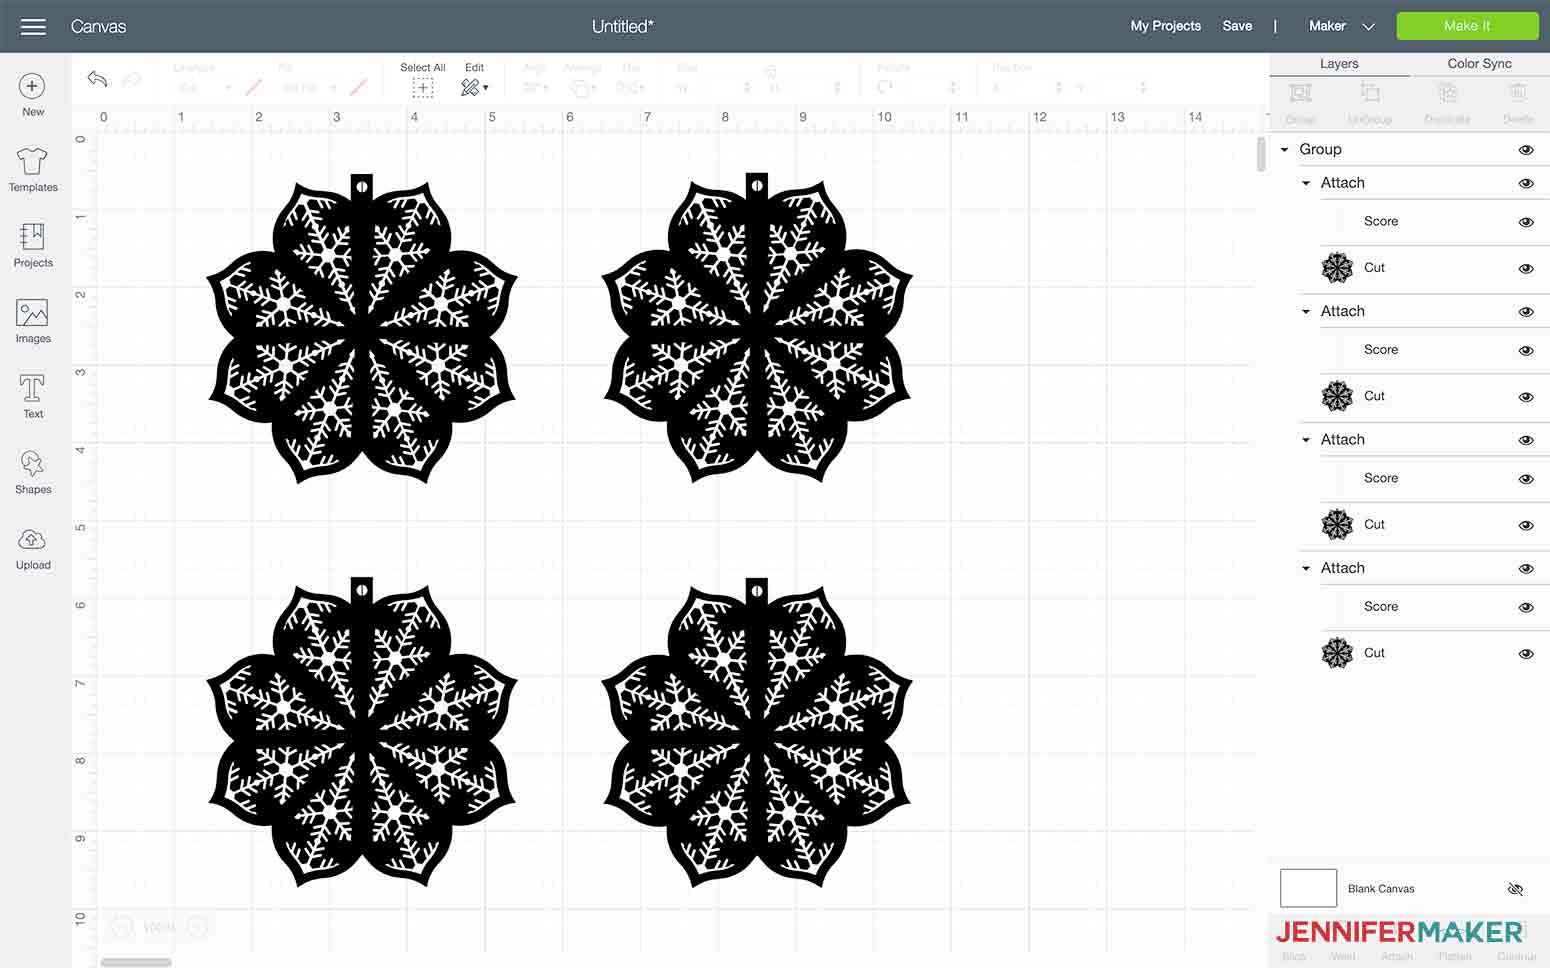
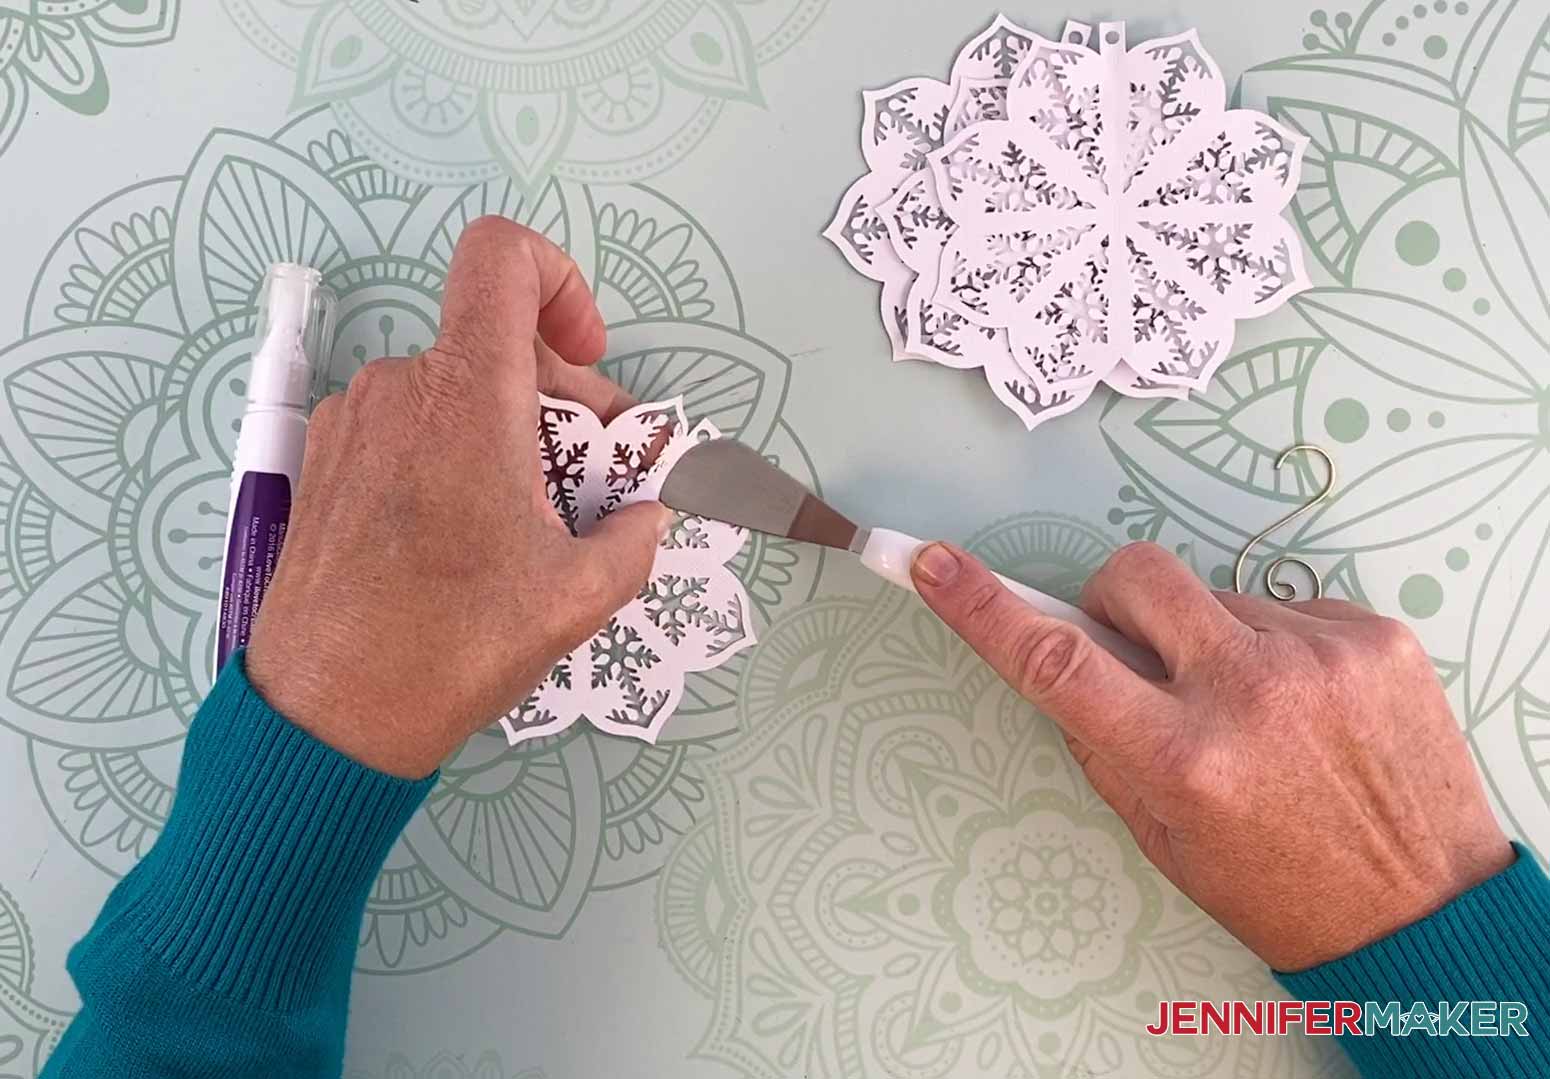
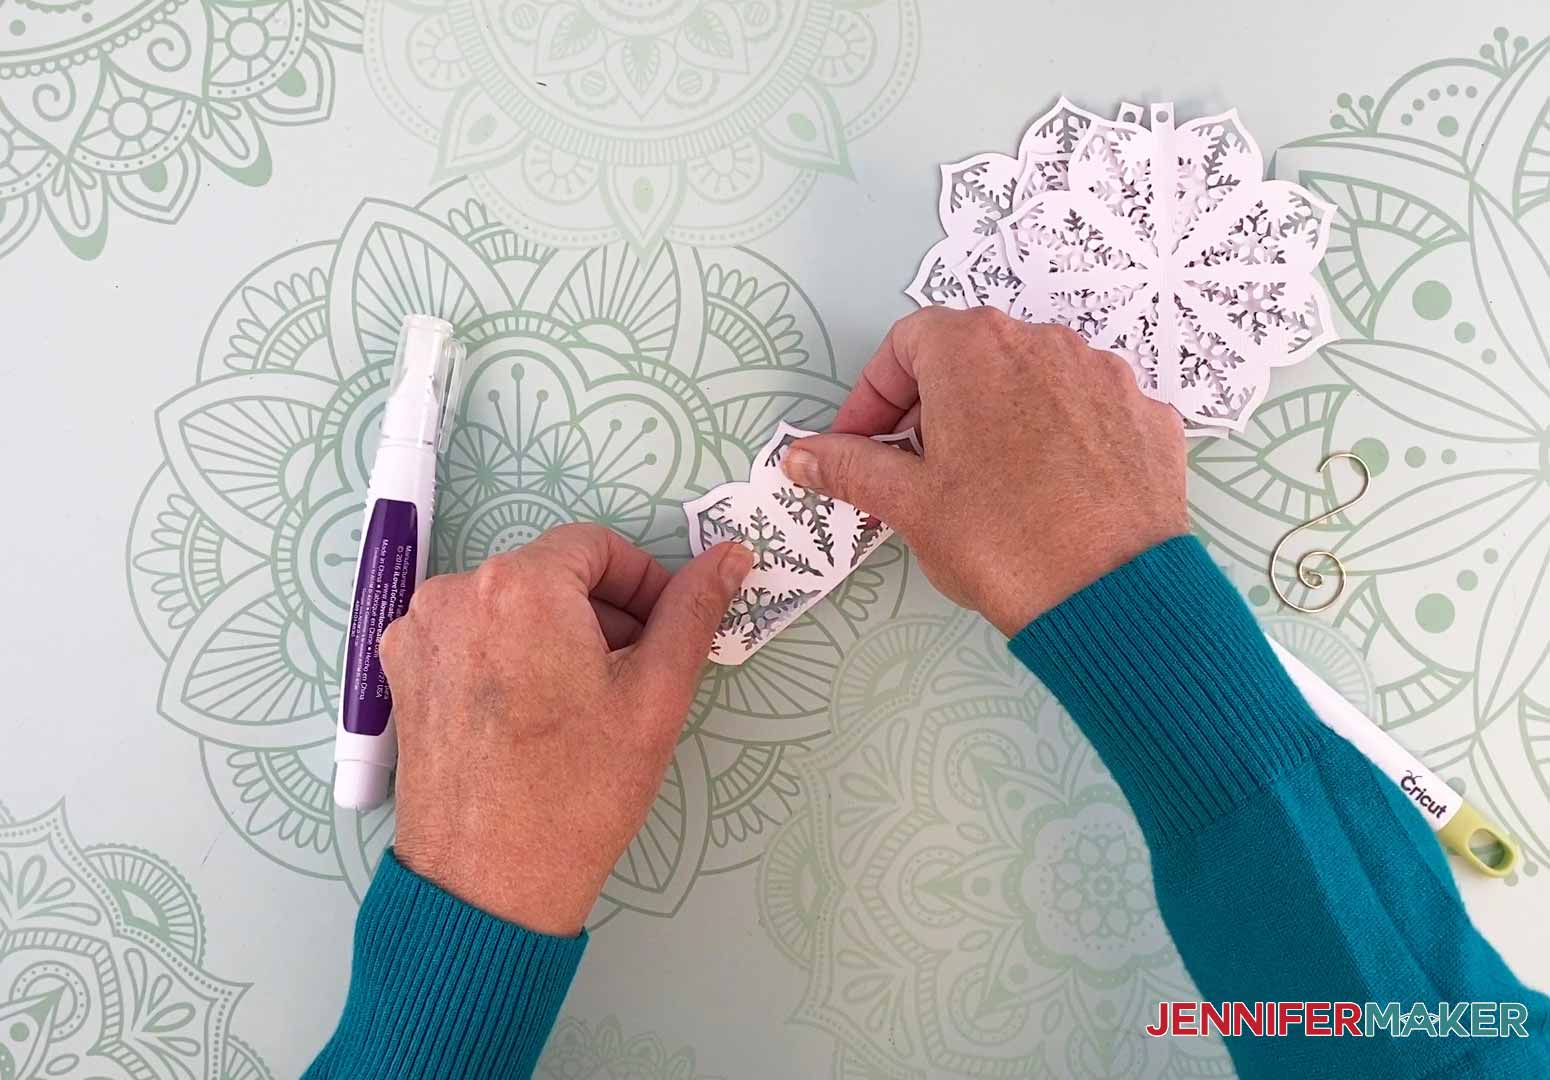
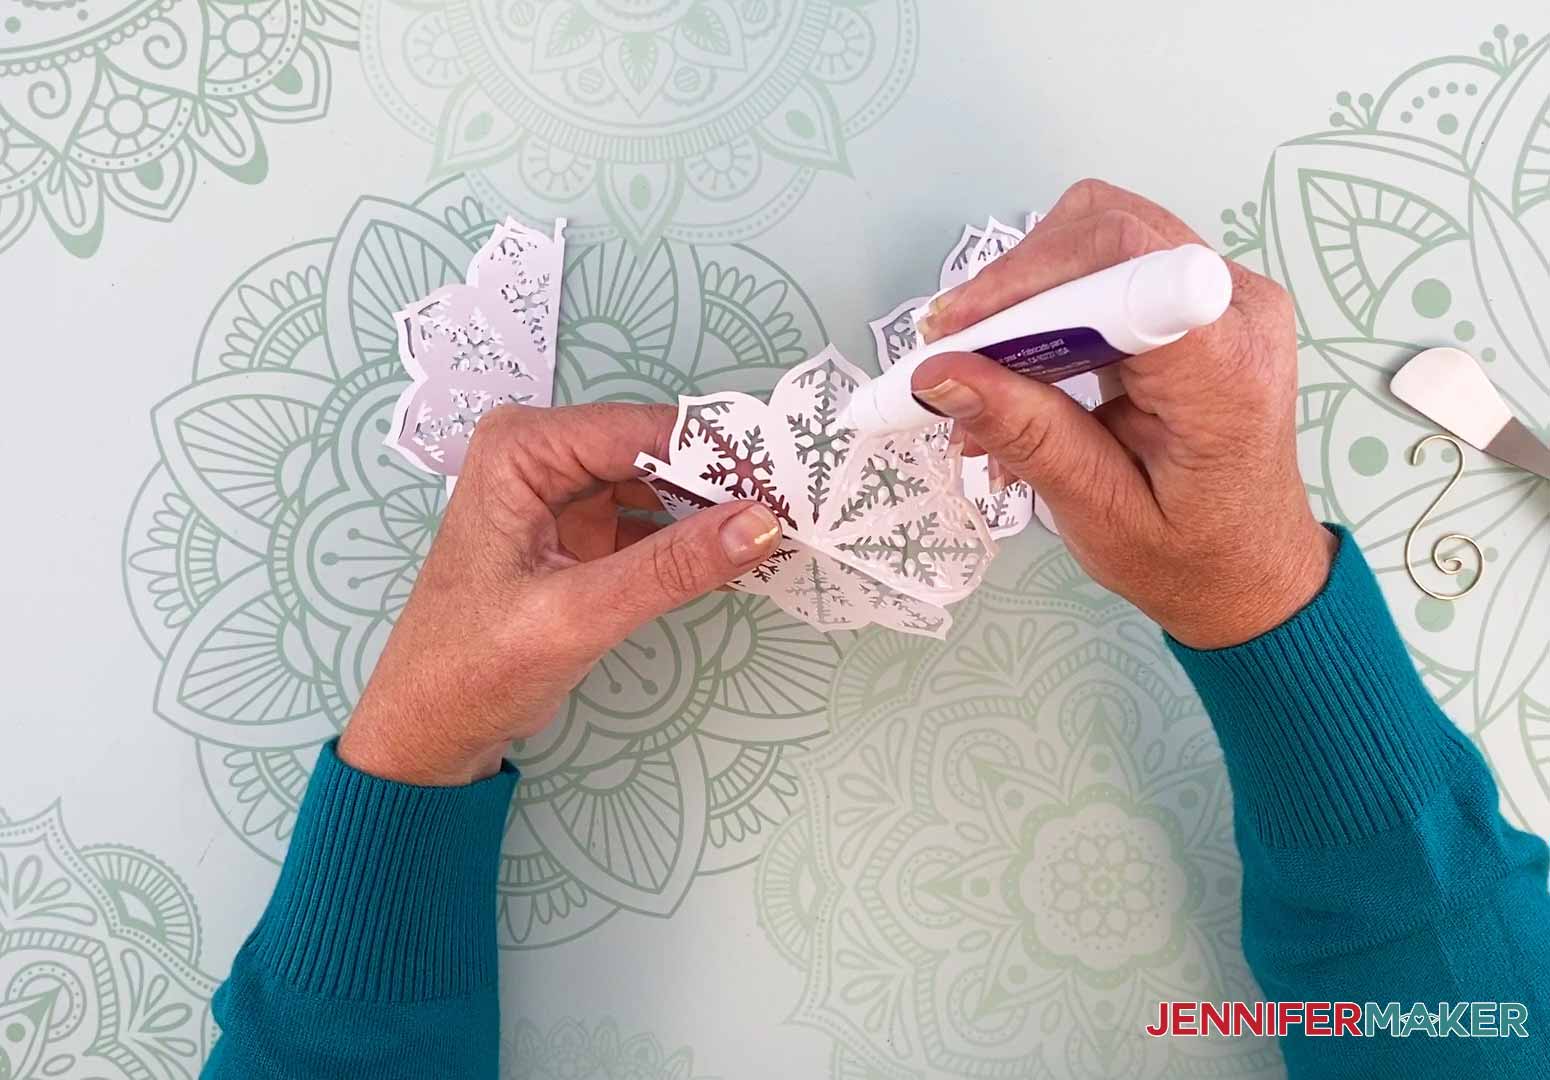
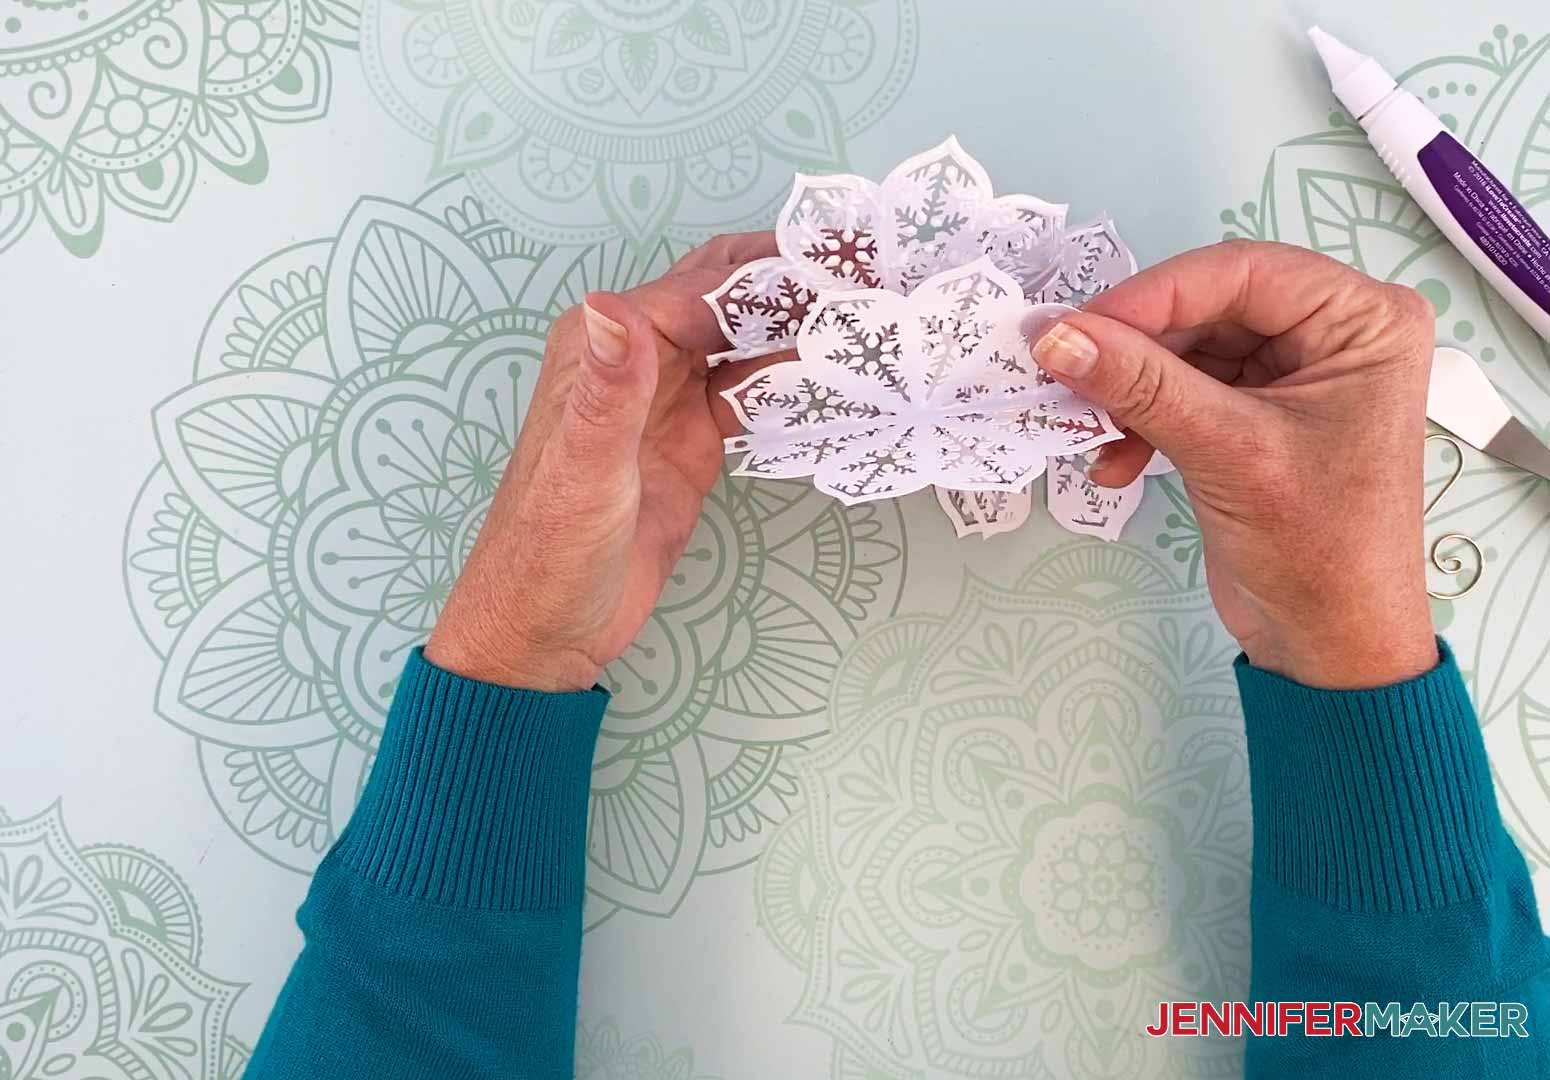
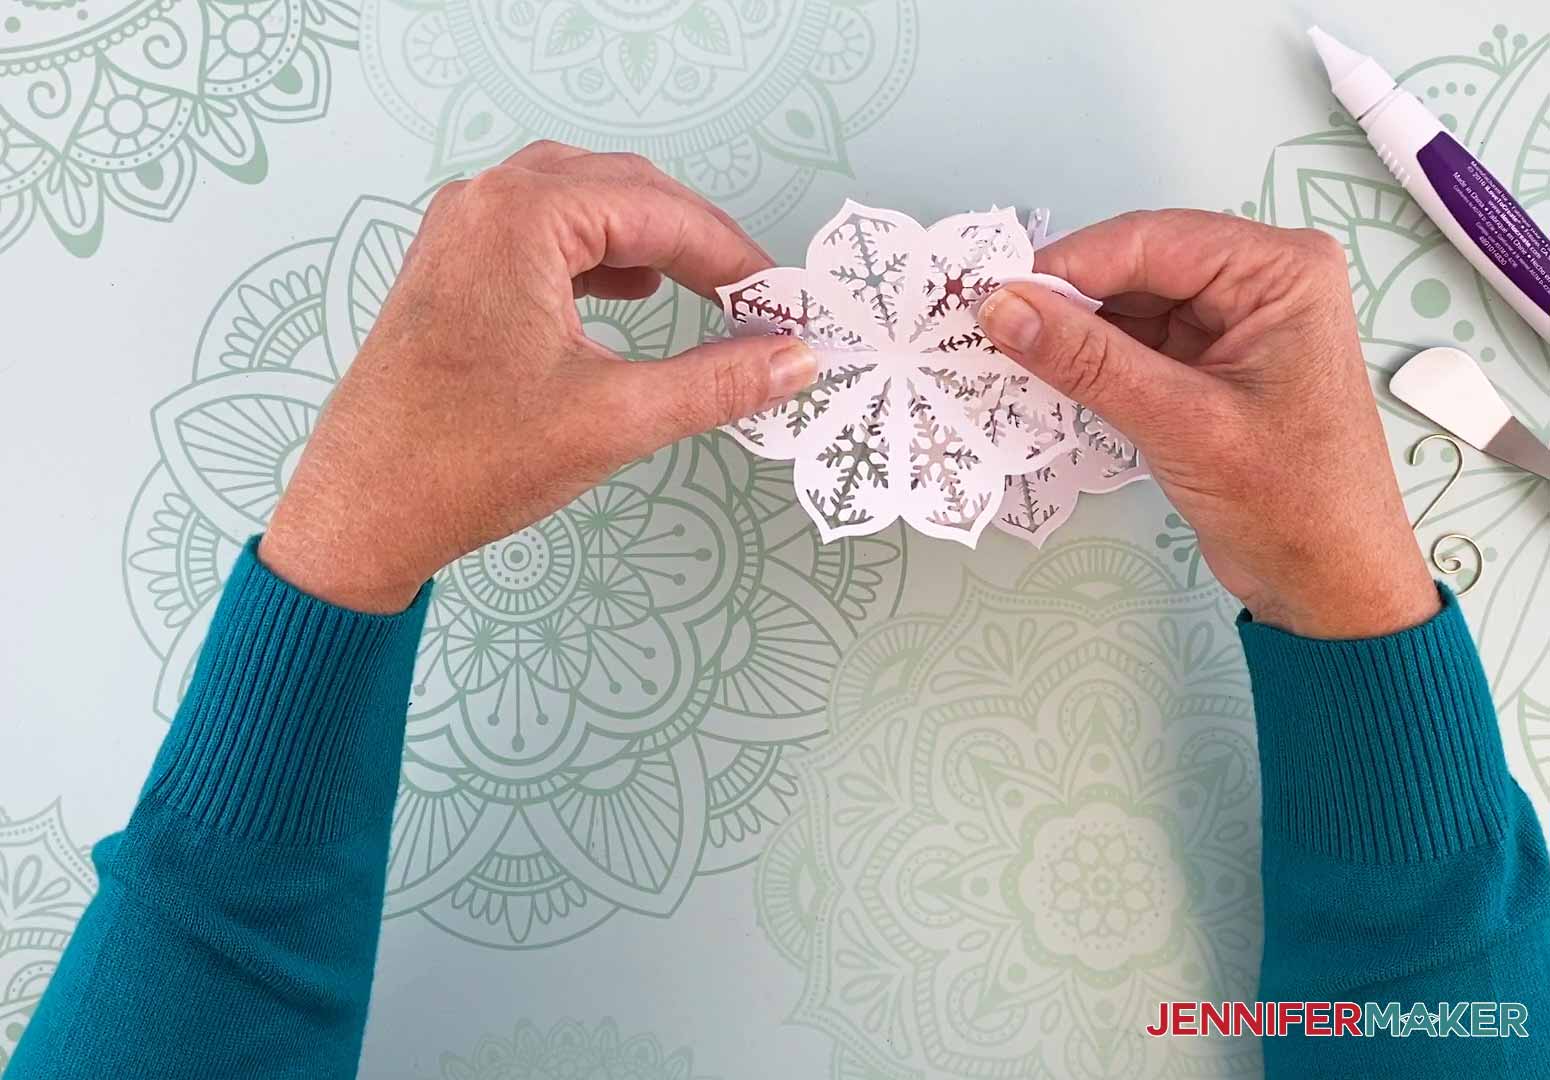
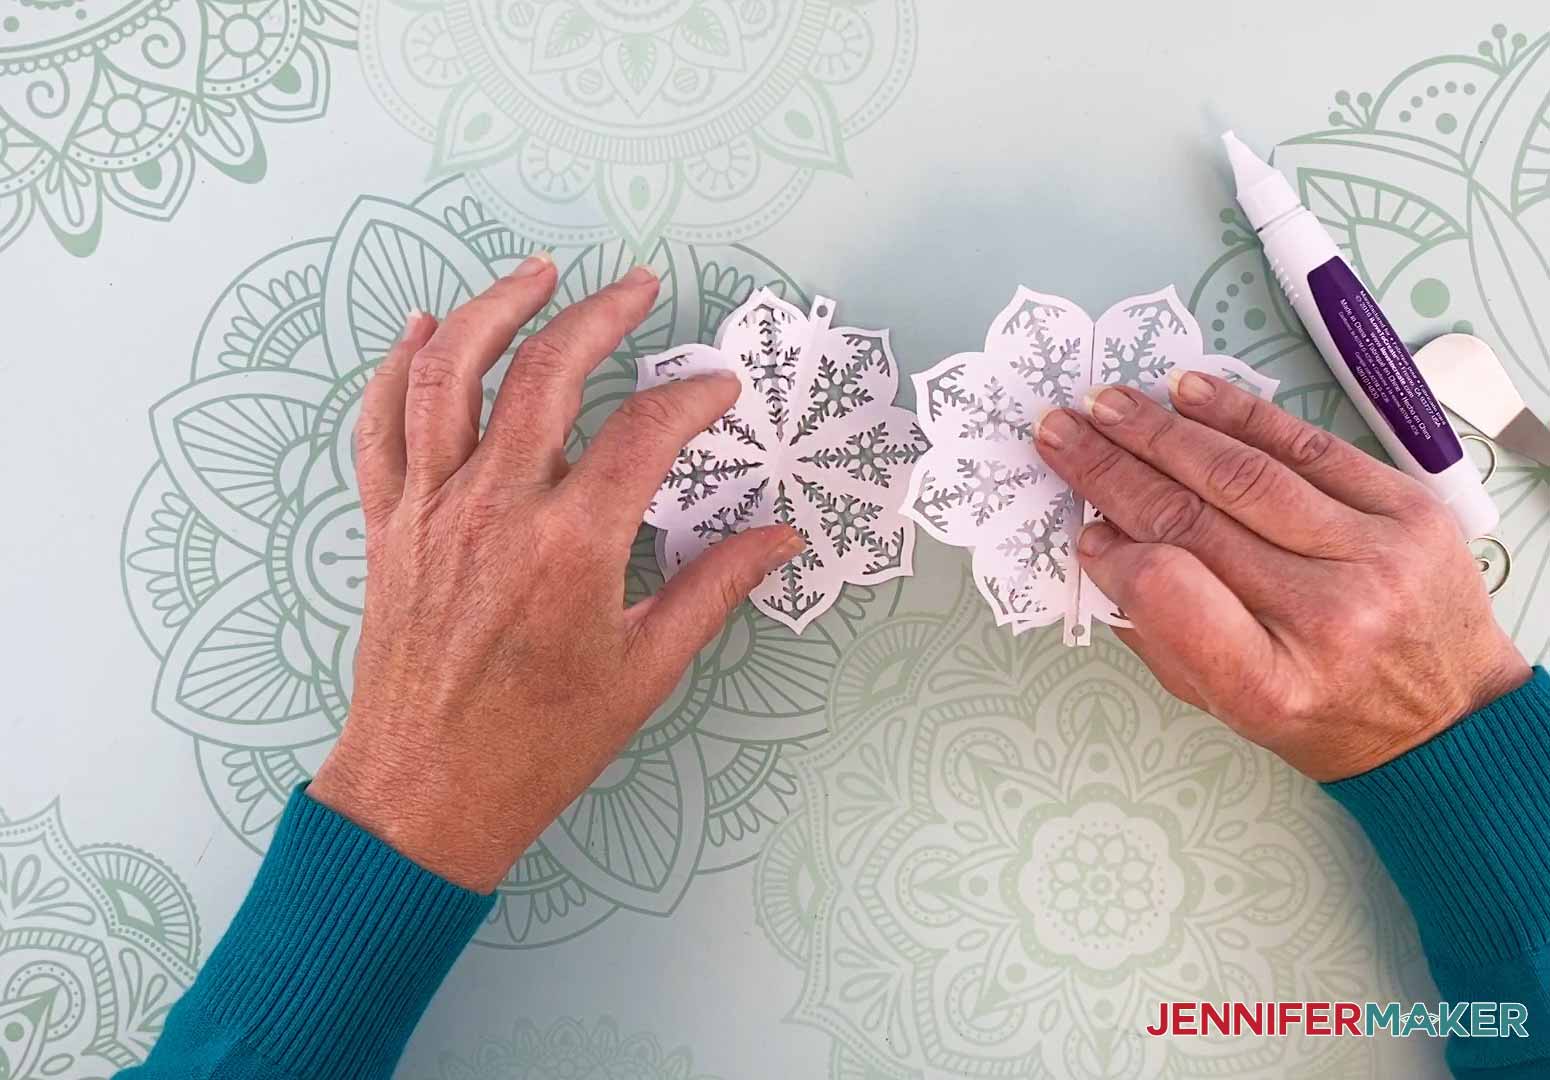
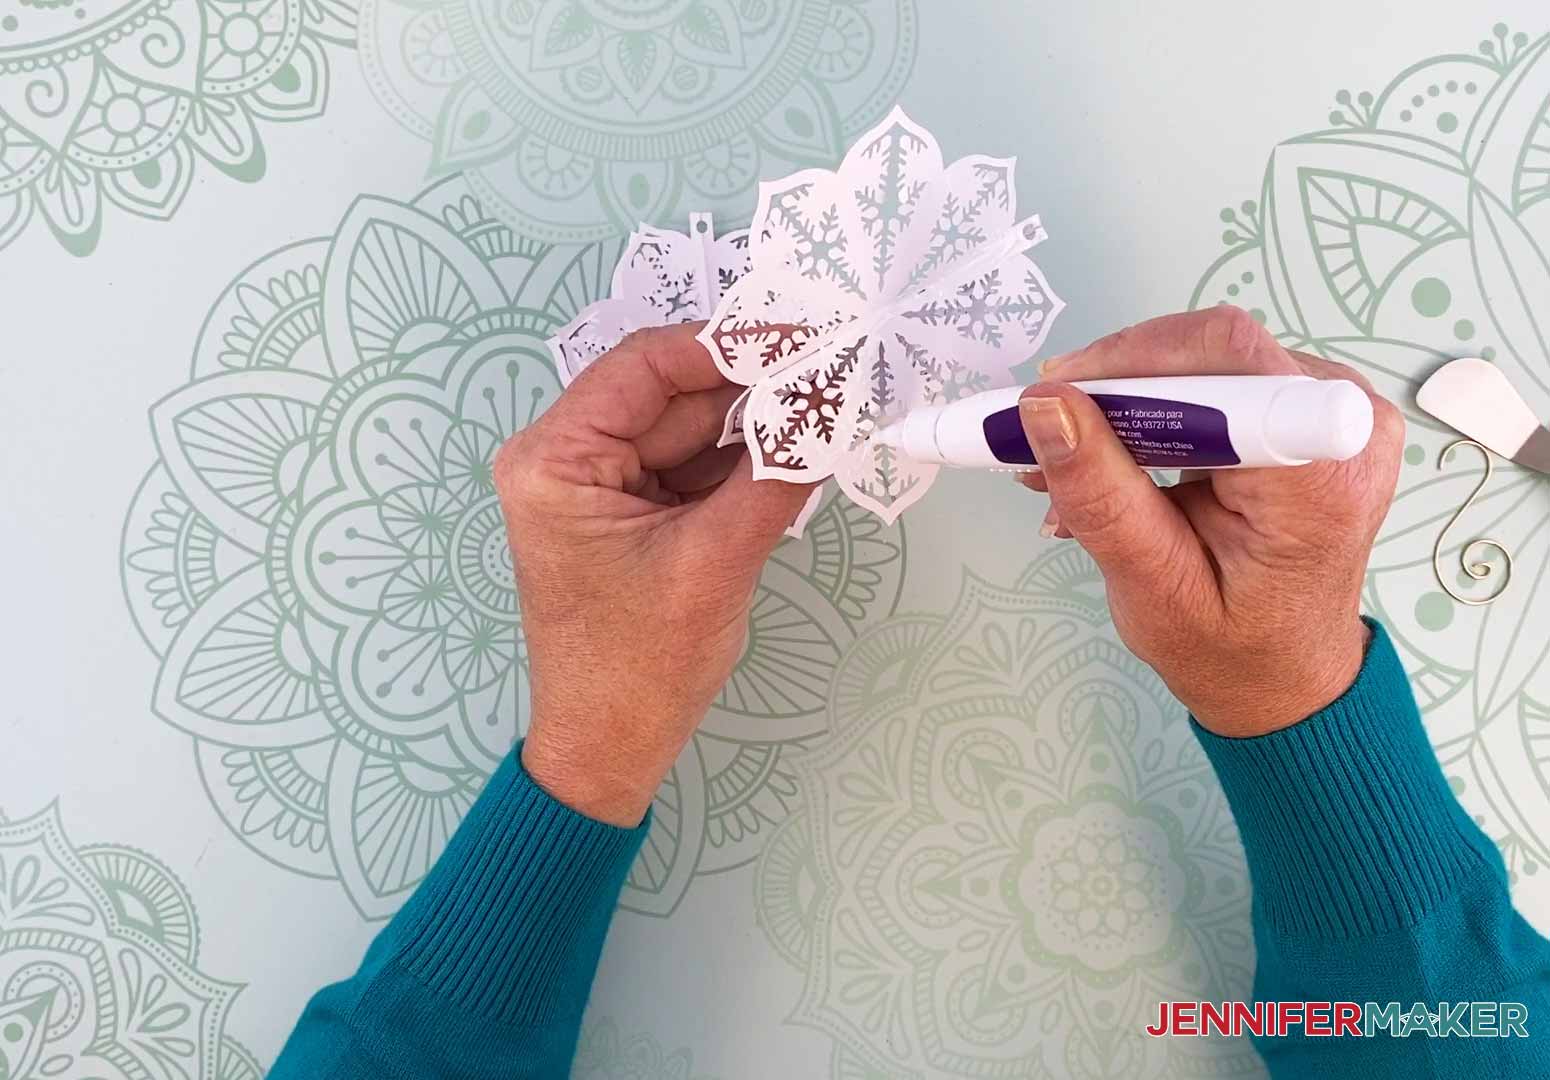
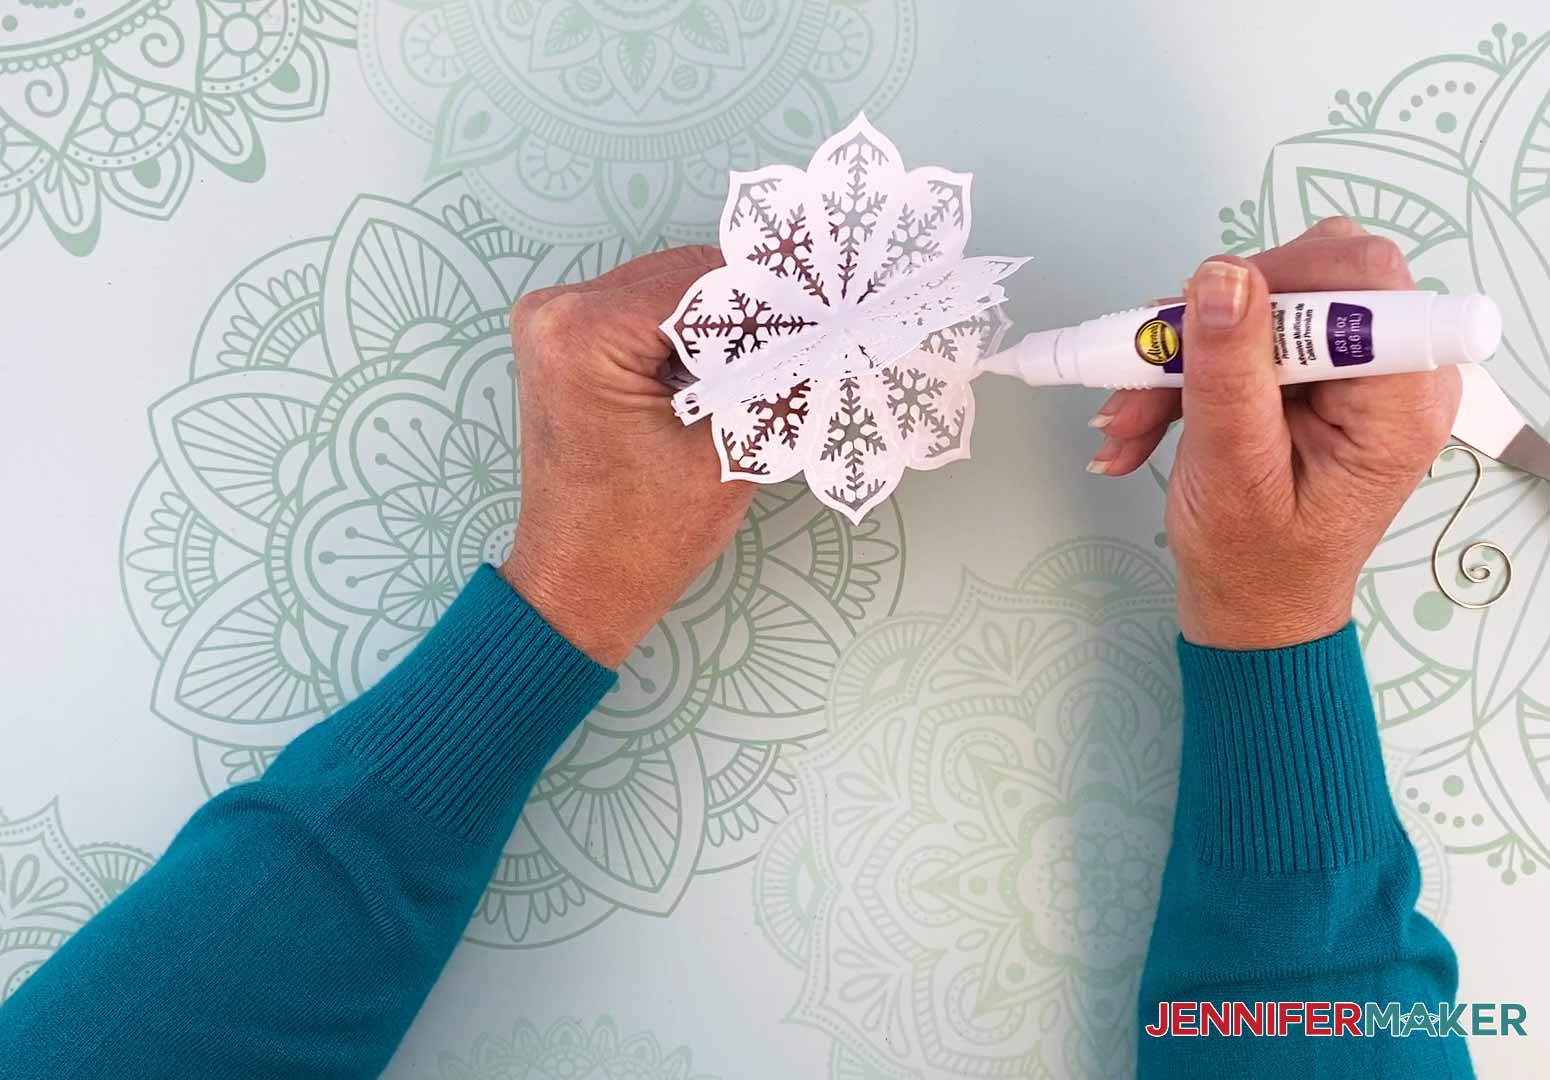
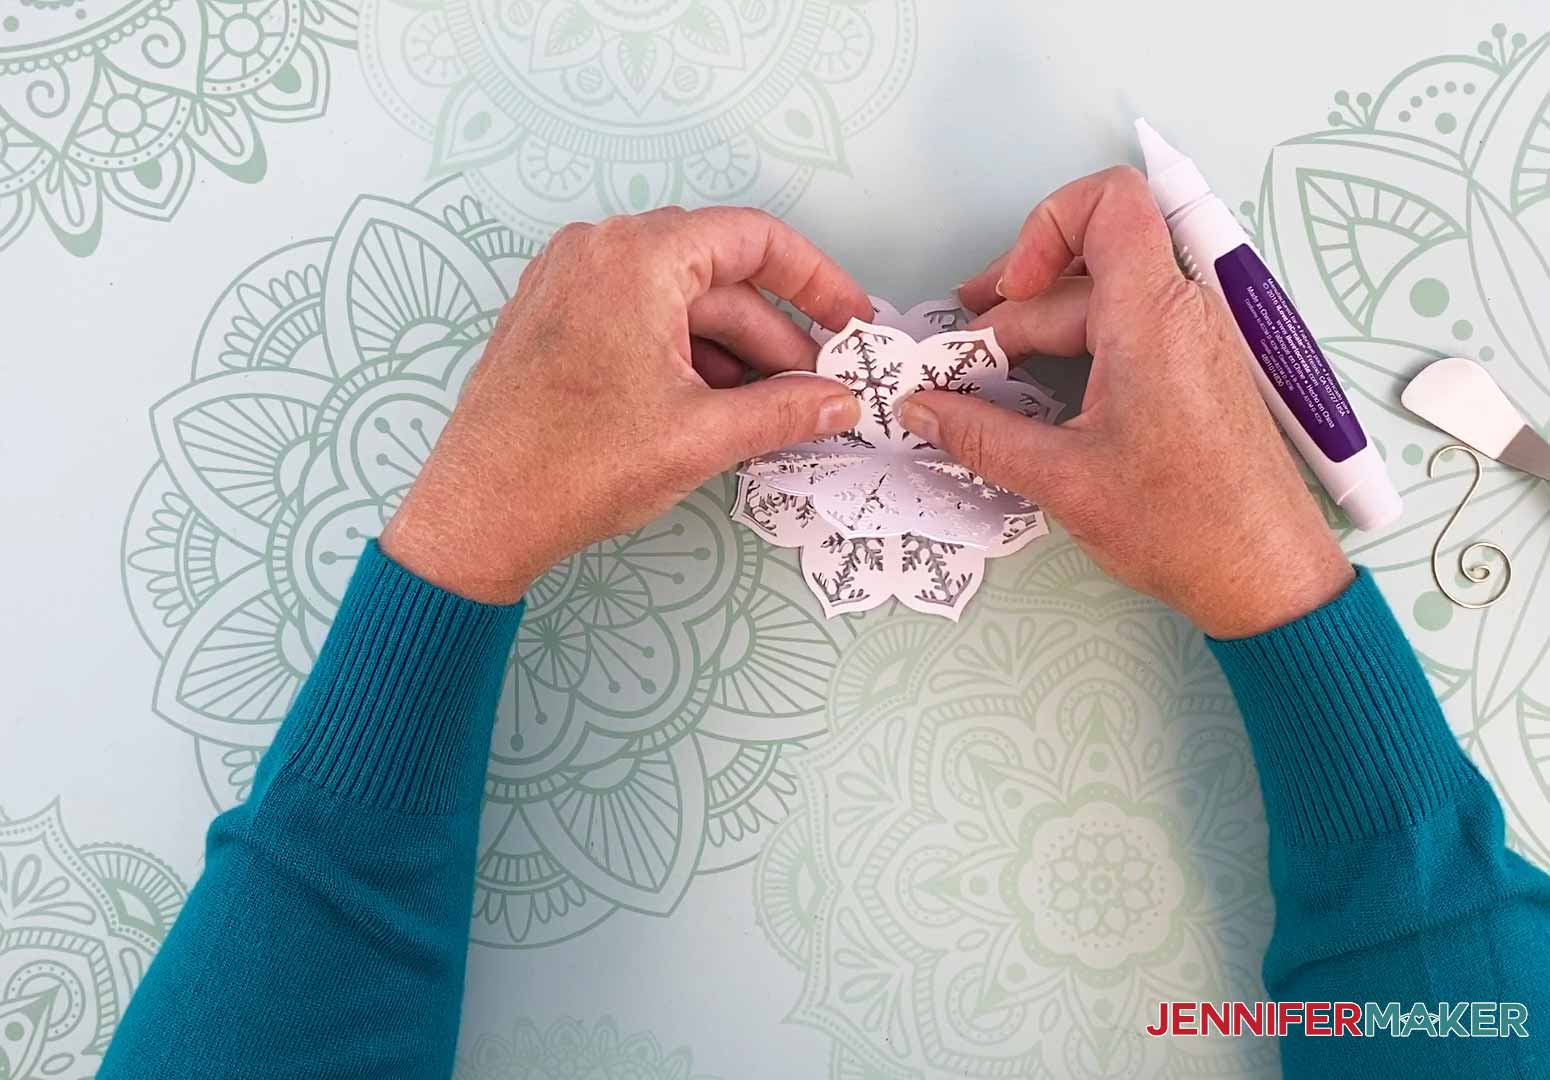
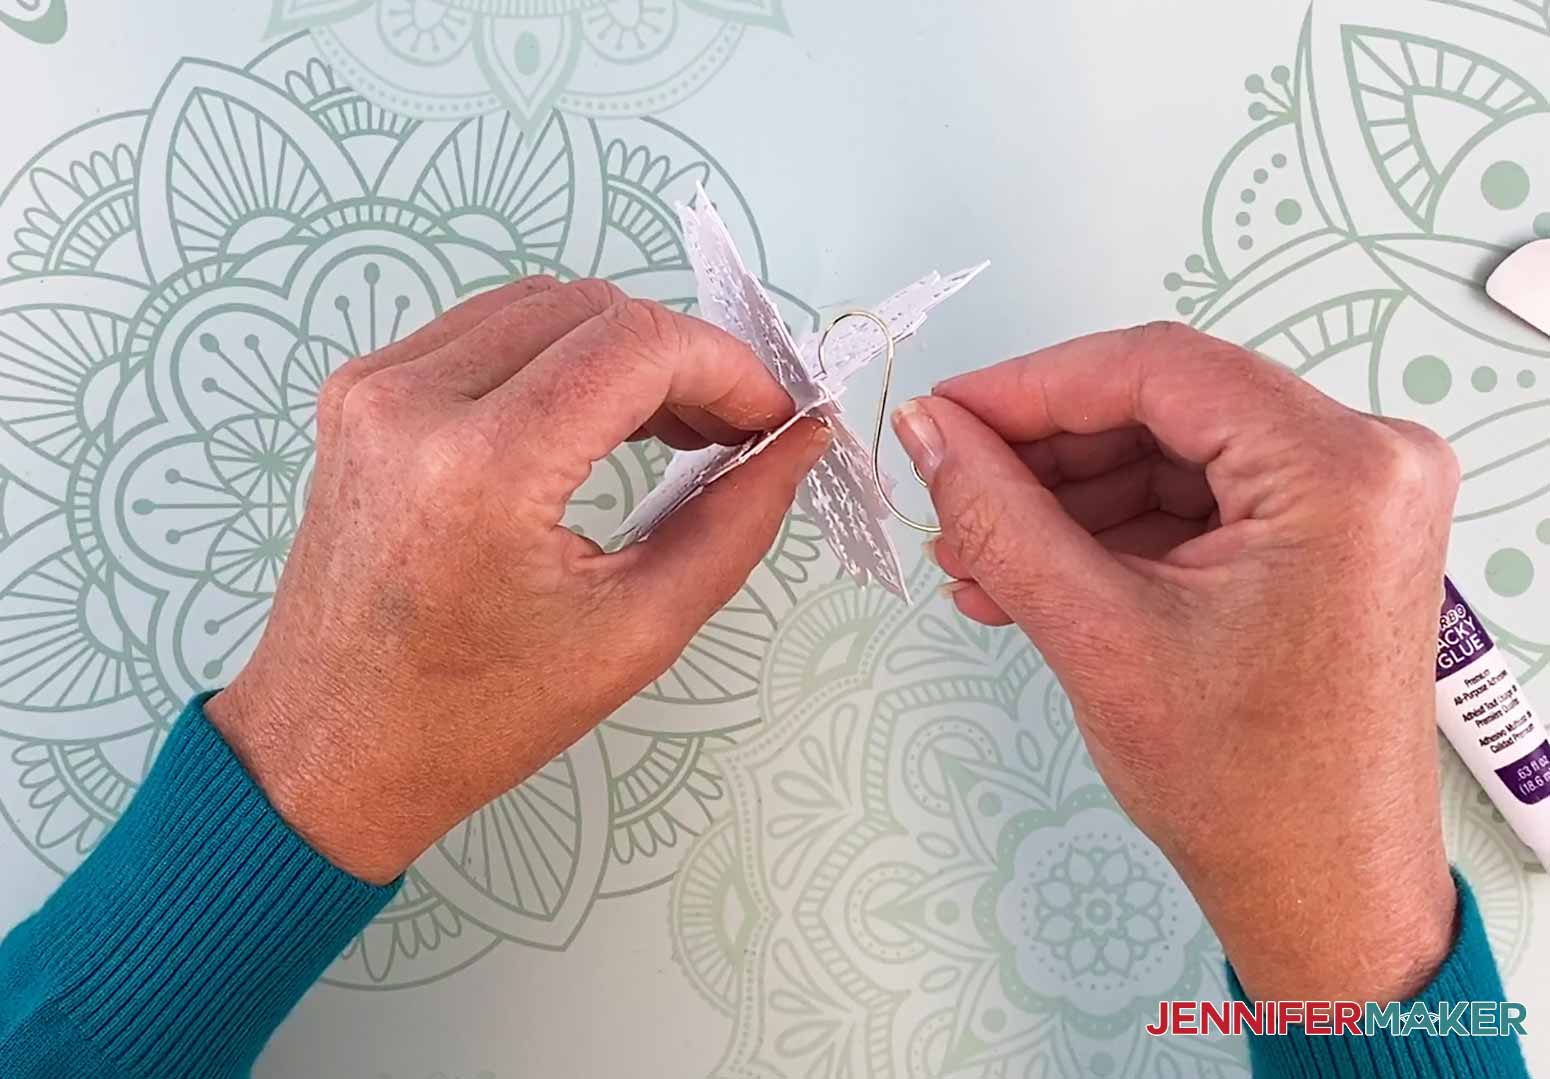
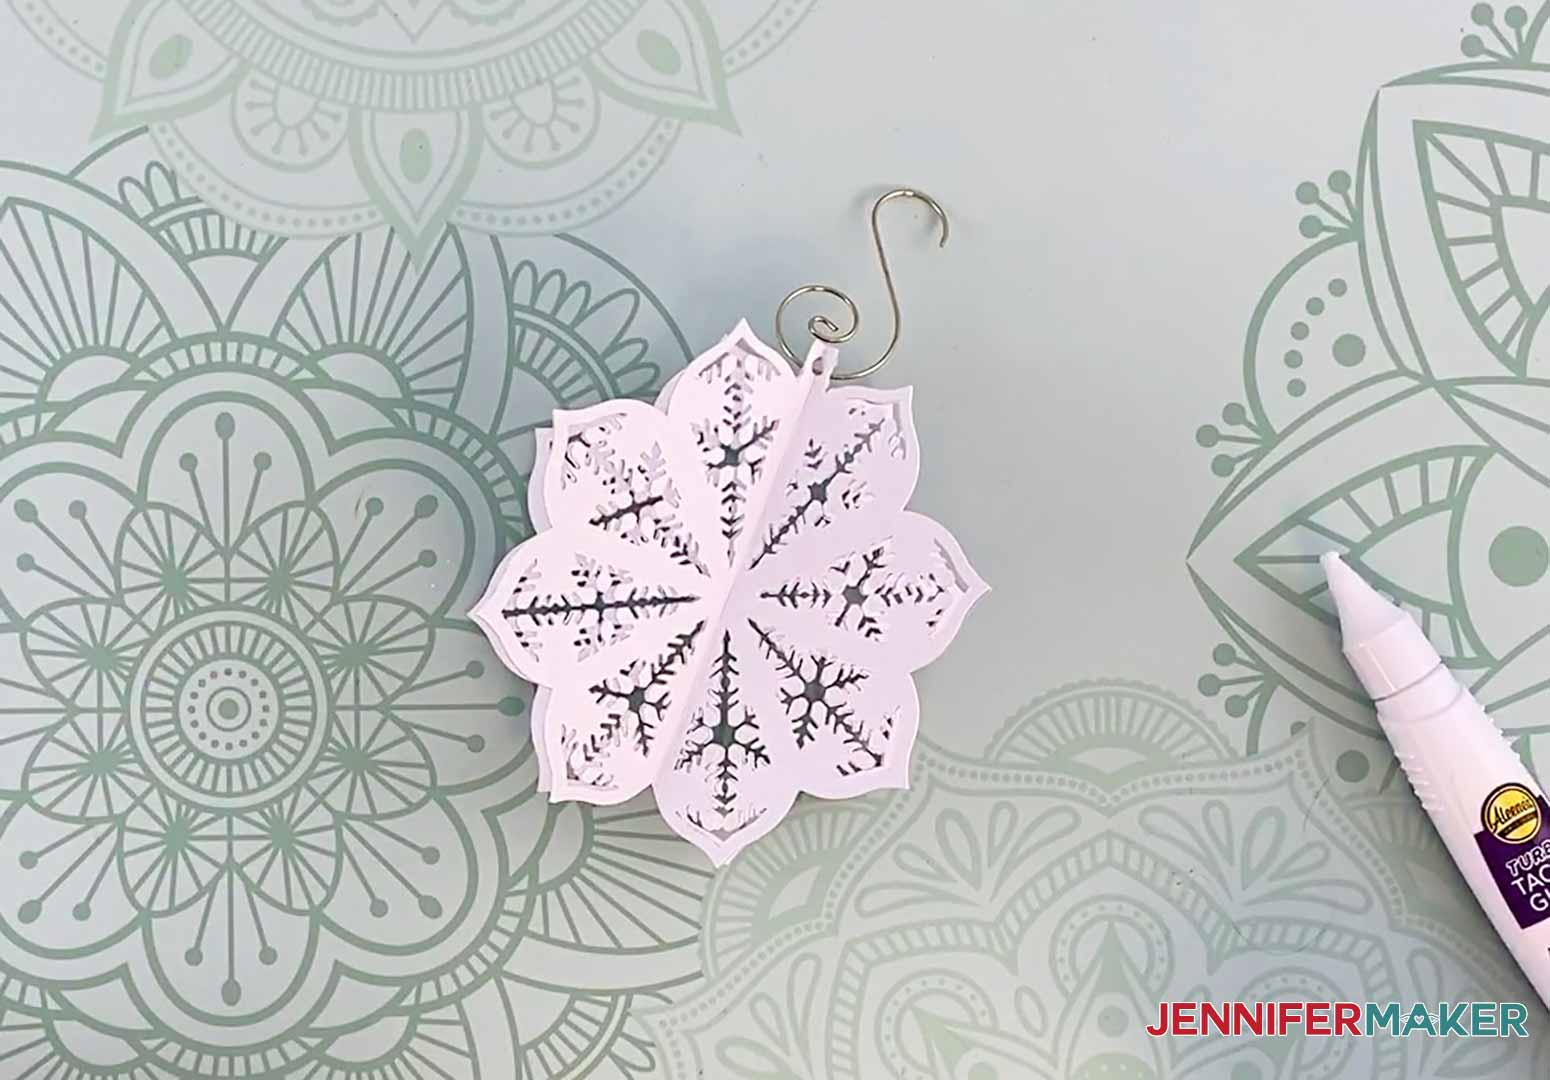
How would you like to decorate your holiday tree all with ornaments you make yourself? I'm going to show you how to make a 3D DIY paper cut ornament that is beautiful and elegant. First, download Design #261 which is my free DIY Paper Ornament SVG/DXF/PDF from my free resource library. If you're going to cut it on your cutting machine, upload the file to your design software. This is what the DIY Paper Ornament SVG file looks like in Cricut Design Space. Please note that this project when uploaded to Cricut Design Space should upload at 9.09 in wide by 9.22 inches high. If it does not, please resize it to that size using our Resizing Guide. Tip: If you're not sure how to upload an SVG cut file to Cricut Design Space, watch this helpful video training series I made. If you're on an iPhone or iPad, here's how to download and upload SVG files to the Cricut Design Space app. First, set the score lines and attach them to their base layers. If you do not know how to do this, please check my Scoring Guide at https://jennifermaker.com/cricut-scoring. If you do not have a scoring tool for your cutting machine, simply deselect the score layers by clicking the eye icon for each of the four layers. It takes one 12” x 12” sheet of cardstock to make one ornament in the size designed. I cut my design using 80lb cardstock and set the cut pressure to more. This is a delicate cut piece. If you have any issues cutting, check out my Cutting Problems Guide because it tells you all the tips I use to get clean cuts consistently. Remove the pieces carefully from your cutting mat. (Take a look at this tip if you're having issues with your cardstock curling or ripping.) You will need your four cut pieces, adhesive, and something to assist in folding the pieces in half. Take your first piece and begin folding it in half. I am using the Cricut spatula to assist me in folding on the score line. Fold the piece in half making sure the two sides match. Continue folding the remaining three pieces in half. Grab one piece and apply glue to one side of the fold. Grab another piece and stick the matching side to the side of the piece you just added glue. Slide the pieces around to align the cuts while the glue is still wet. Repeat this process with the other two pieces. Now you will have two pieces. Take one of the two pieces and add glue to one half of this piece. Take the other piece and match that side to the side of the piece to which you just applied glue. Slide the pieces together to align the cuts while the glue is still wet. Add glue to the other side of the ornament piece. Stick this to the side without glue making sure to align the cuts. Add a hook to hang your diy paper ornament. As the glue dries you will find the four panels of the ornament become stiffer. And this is what my finished DIY paper ornament looks like. This is what my finished DIY paper ornament looks like. As an Amazon Associate and member of other affiliate programs, I earn from qualifying purchases.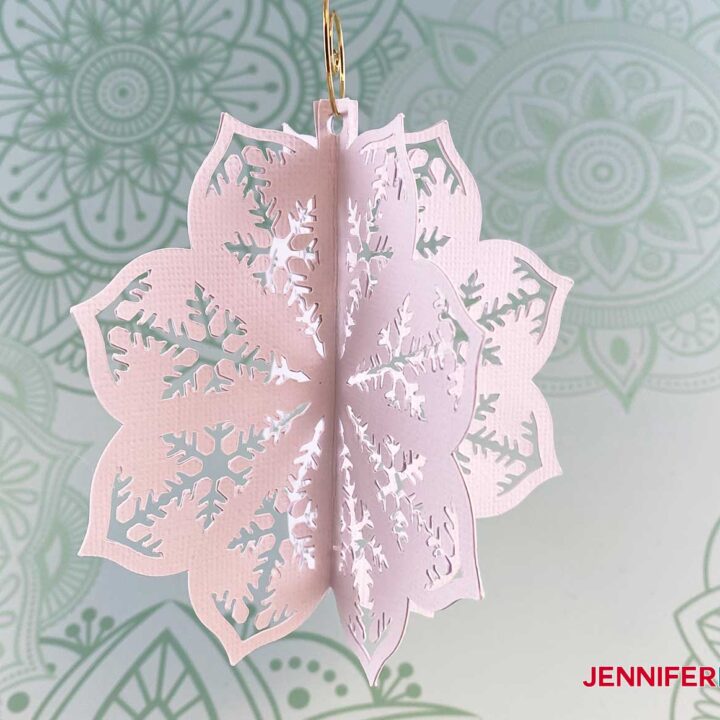
DIY Paper Cut Ornament
Materials
Tools
Instructions
STEP 1: GET MY FREE DIY PAPER ORNAMENT FILE
STEP 2: CUT THE DESIGN
STEP 3: ASSEMBLE THE DIY PAPER ORNAMENT


STEP 4: Show it Off
Recommended Products

Answers to Your Questions About DIY Paper Cut Ornaments
Q: Would a spray adhesive work on these ornaments?
Yes, it will work just fine!
Q: Can the ornaments be resized?
Absolutely! You can make a variety of sizes for your needs!
Q: Can you use glitter cardstock?
With the intricate cuts used on this project, I would not suggest using glitter cardstock as it can be challenging to cut those delicate designs!
Q: What if you don’t have a scoring tool?
That’s okay! You can use a ruler in place of a scoring tool.
Q: How can I store these?
These are easy to store! Just carefully fold them flat, and then gently fluff them back into their 3-D shape next year!
Get my free SVG files to make a DIY Paper Cut Ornament
I’d LOVE to see your pretty paper cut ornaments! Please share a photo in our Facebook group or tag me on social media with #jennifermaker.
See all of the projects, tutorials, and free designs in The Great Maker 25-Day Gift-Away Challenge!
Love,

Want to remember this? Save this DIY Paper Cut Ornament tutorial to your favorite Pinterest Board!

In one place you say to use 65 lb. paper for the snowflake ornaments and in the video you say 80 lbs. What would the difference be between using 65 lb or 80 lb.?
Hi Barbara! The 65lb. cardstock is just a lighter weight cardstock. Both can be suitable for this project.
Help! Only one of the snowflakes scored. The others did not have any score line. I checked and they all had score lines in DS. Any help appreciated.
I made sure to correct all of the files to have the score line attached and the file ready to cut. Try re-downloading to see if that helps, Joan!
Thank you for all the wonderful designs! I added the cut out insides to my ornament. No waste & so beautiful!
My pleasure, Sheron!
I just made this!! This is my first-ever Cricut project and it was so simple to make. I’m pretty sure I squealed when it was finished. Thank you, Jennifer Maker!
Hi Jennifer, I so enjoyed the 25 day Kick Off before Christmas. I’ll be catching up all this year on last years projects and classes. The 40 presenters was also a hit. Thank You and the Team for my beauties that are yet to come. Patricia Cheryl Schmitzer
So glad you enjoyed the event, Cheryl!