Learn all about Cricut Value Vinyl while decorating mirrors with uplifting messages!
I just love when Cricut releases a fun new material — there’s always so much creative potential that comes along with it. Will it be a welcome improvement to my quality of crafting, or maybe even a complete game changer? Perhaps it’s worth skipping all together. The only way to know is to try it out! So when I heard about the new Cricut Value Vinyl, I just had to get my hands on it. There are a few kinds, but I’m testing the value permanent vinyl first. And I have the perfect project for testing how well it works: mirrors with uplifting messages made from permanent vinyl! I’ve added vinyl decals to kitchen appliances, car windows, and so many mugs and tumblers, but mirrors are next level, and I think you’ll agree!
Watch the full step-by-step video tutorial on how to create message mirrors with Cricut Value Vinyl:

So, what is Value Vinyl anyway? According to Cricut, it’s a high-quality permanent vinyl they’re able to offer at a cheaper price by saving on manufacturing and distribution costs. Things like selling in bulk sizes or sampler packages, reducing packaging materials, and switching to a clear carrier sheet from a printed one help them decrease costs and pass the savings to us. It’s stuff we might not think about, but can still yield benefits for us! Another way they’re lowering costs is by making it only available for purchase online, either direct from Cricut’s website or through Cricut’s Amazon Storefront. So you can’t find Cricut Value Vinyl in brick-and-mortar stores, at least not at the time I’m writing this.

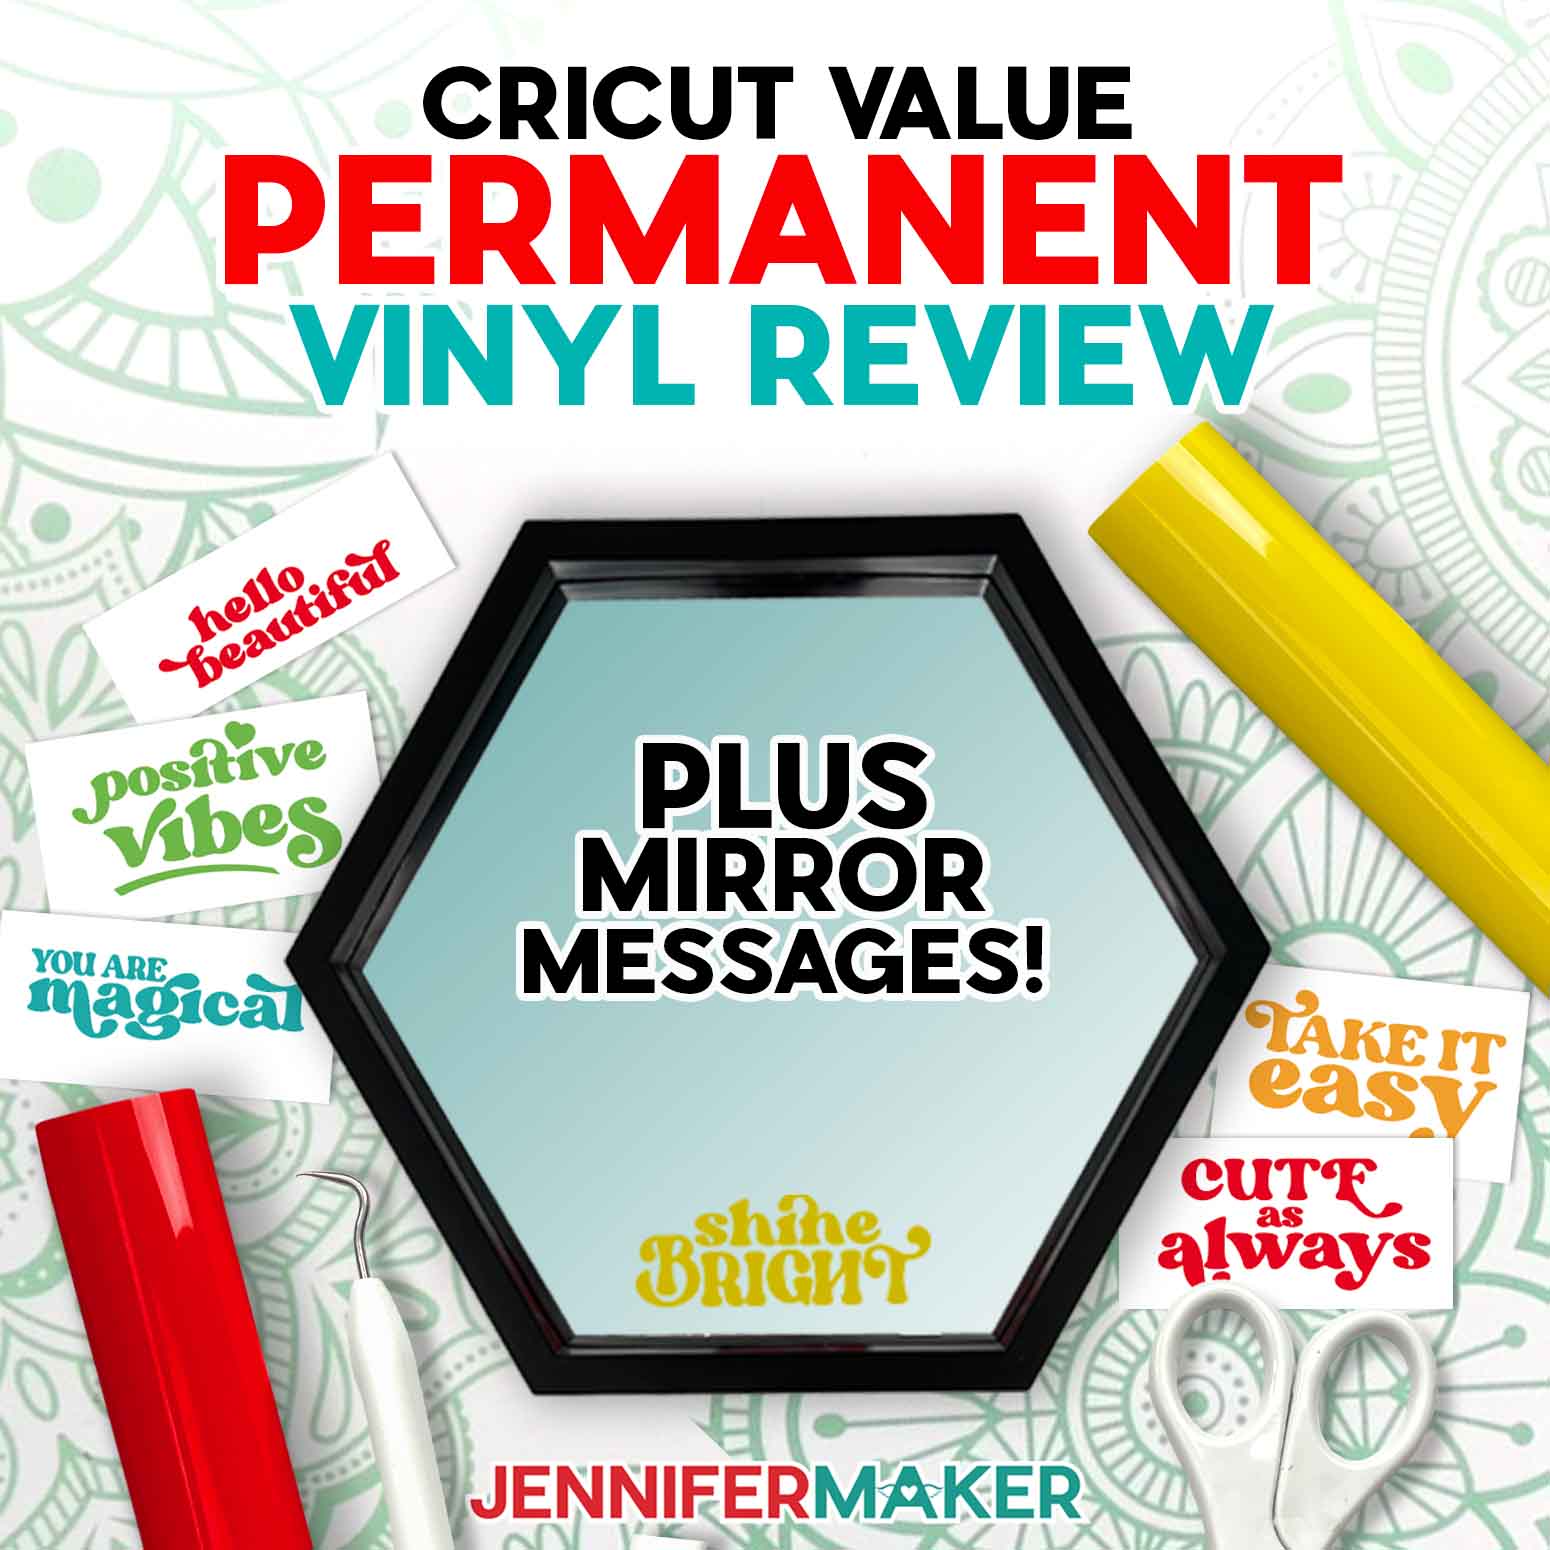
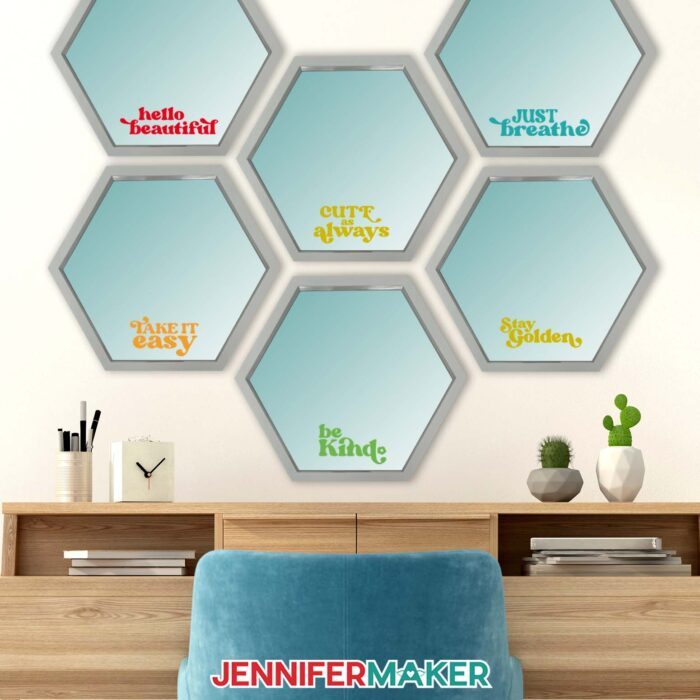
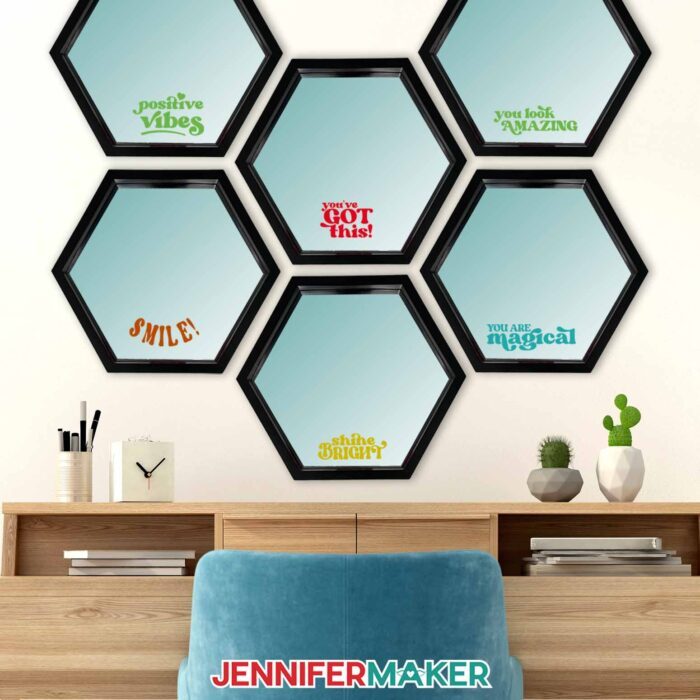
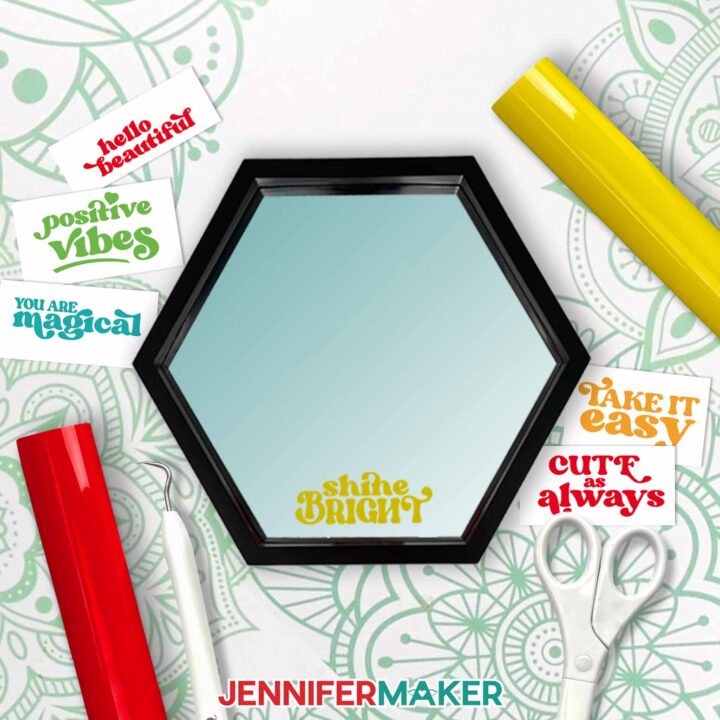
Saving money is great — and I’m a big fan of it — but what I really want to know about the value vinyl (and I’m sure you do, too) is how well it works for my vinyl projects! That’s why I am testing it out as a permanent vinyl decal on a hexagon mirror. This piece of wall decor is sleek, elegant, and looks great as a standalone accent. Or you can cluster a few mirrors together to create a unique pattern on your wall. And since I have 12 inspiring phrases to choose from, each mirror can have a different message in a different color of vinyl, giving you endless combination choices! No matter how you choose decorate your mirror, it’s sure to brighten the room while brightening your mood.
In my step-by-step video tutorial, I show you exactly how to transfer Cricut Value Vinyl onto a decorative mirror for a stunning result (and a daily dose of encouragement)! It only takes a few minutes from start to finish! I also show you how to adjust my SVG files in Cricut Design Space, and which cut settings work best with the value vinyl. And since assembling this project is so quick and easy, I can focus on testing out the finer qualities of the value vinyl as I go. To do that, I put the value vinyl head-to-head with premium vinyl. After cutting both on a Cricut machine, weeding each piece of vinyl, transferring the decals with transfer tape, and applying both vinyl decals so I can compare their differences, I know just what to expect from the Cricut Value Vinyl. I think the results will surprise you!
To assemble your vinyl decorated mirror, you’ll need a few basic crafting tools and materials, like a Cricut cutting machine, a Fine-Point Blade, and StandardGrip Machine mat. I used my Cricut Maker 3, but you can also use an original Maker, an Explore series machine (like a Cricut Explore Air), a Venture, a Cricut Joy, or Cricut Joy Xtra to cut your message from vinyl.
And don’t forget to download the design files! You’ll need at least one of my fun message designs to decorate your mirror. My SVG files will work with any of your Cricut machines, but I also include DXF files for other cutting machines. There’s even a PDF version of each cut file in case you need a pattern to cut your vinyl by hand using a craft knife and cutting mat.
Curious about creating a background layer in a different color of vinyl for your mirror’s message but aren’t sure where to start? Through my Advance membership program, I can teach you exactly how to do that and so much more! Learn more about ADVANCE with JenniferMaker by clicking here.
When you’re ready to get started, grab some Cricut Value Vinyl in the color of your choice, a weeding tool for removing excess vinyl from your cut design, a piece of clear transfer tape, and a scraper tool for burnishing your vinyl decal onto the right place!
Let me show you how to decorate mirrors with Cricut Value Vinyl! This post contains some affiliate links for your convenience (which means if you make a purchase after clicking a link I will earn a small commission but it won’t cost you a penny more, there is no additional cost)! Read my full disclosure policy.
Materials to Decorate Mirrors With Cricut Value Vinyl
View my Amazon shopping list for the exact items I used!
-
- Cricut Value Permanent Vinyl (I used Black from the Rainbow Sampler) -OR-
- Cricut Premium Permanent Vinyl – Black
- Dollar Tree 9” x 8” Hexagon Mirrors (alternative #1, alternative #2)
- Cricut Value StandardGrip Transfer Tape
- A way to cut your vinyl
- Cricut Green StandardGrip Machine Mat 12″ x 12”
- Brayer
- Weeding Tool
- Scissors
- Scraper
- Paper Trimmer (optional)

How to Decorate Mirrors With Cricut Value Vinyl
Cricut Value Vinyl Mirrors
Compare Cricut Value Vinyl with Cricut Premium adhesive vinyl and decorate mirrors!
Materials
- Cricut Value Permanent Vinyl (I used Black from the Rainbow Sampler) -OR-
- Cricut Premium Permanent Vinyl - Black
- Dollar Tree 9” x 8” Hexagon Mirrors
- Cricut StandardGrip Transfer Tape
- Design #690 (My free SVG/PDF/DXF design files are available in my free resource library - get the password by filling out the form at the bottom of this page)
Tools
- A way to cut your vinyl - I’m using the Cricut Maker 3, but you can also use the Cricut Maker, a Cricut Explore Series machine, the Cricut Venture, Cricut Joy Xtra, or even the original Joy
- Cricut Green StandardGrip Machine Mat 12" x 12”
- Brayer
- Weeding Tool
- Scissors
- Scraper
- Portable Trimmer (optional)
Instructions
STEP 1: GET MY FREE VINYL MIRROR DESIGNS
First, download my Mirror Message designs from my free library – look for Design #690. Alternatively, you can use the Save This Project form near the top of this post and the design link will be emailed to you.
In the download folder, you’ll find an SVG file for use with a cutting machine. There is also a DXF file with cut designs, and a PDF file with versions you can print and cut by hand.
Upload the file you need to Design Space to get started.
TIP: If you’re not sure how to upload, go to jennifermaker.com/svgs to learn how to unzip and upload SVG files.
STEP 2: PREPARE AND CUT YOUR VINYL MIRROR DESIGNS
CRICUT DESIGN SPACE
- Open Cricut Design Space and click “New Project.”
- Click “Upload” and then “Upload Image.”
- Click “Browse.”
- Select the “mirror-messages” SVG file.
- Click “Continue.”
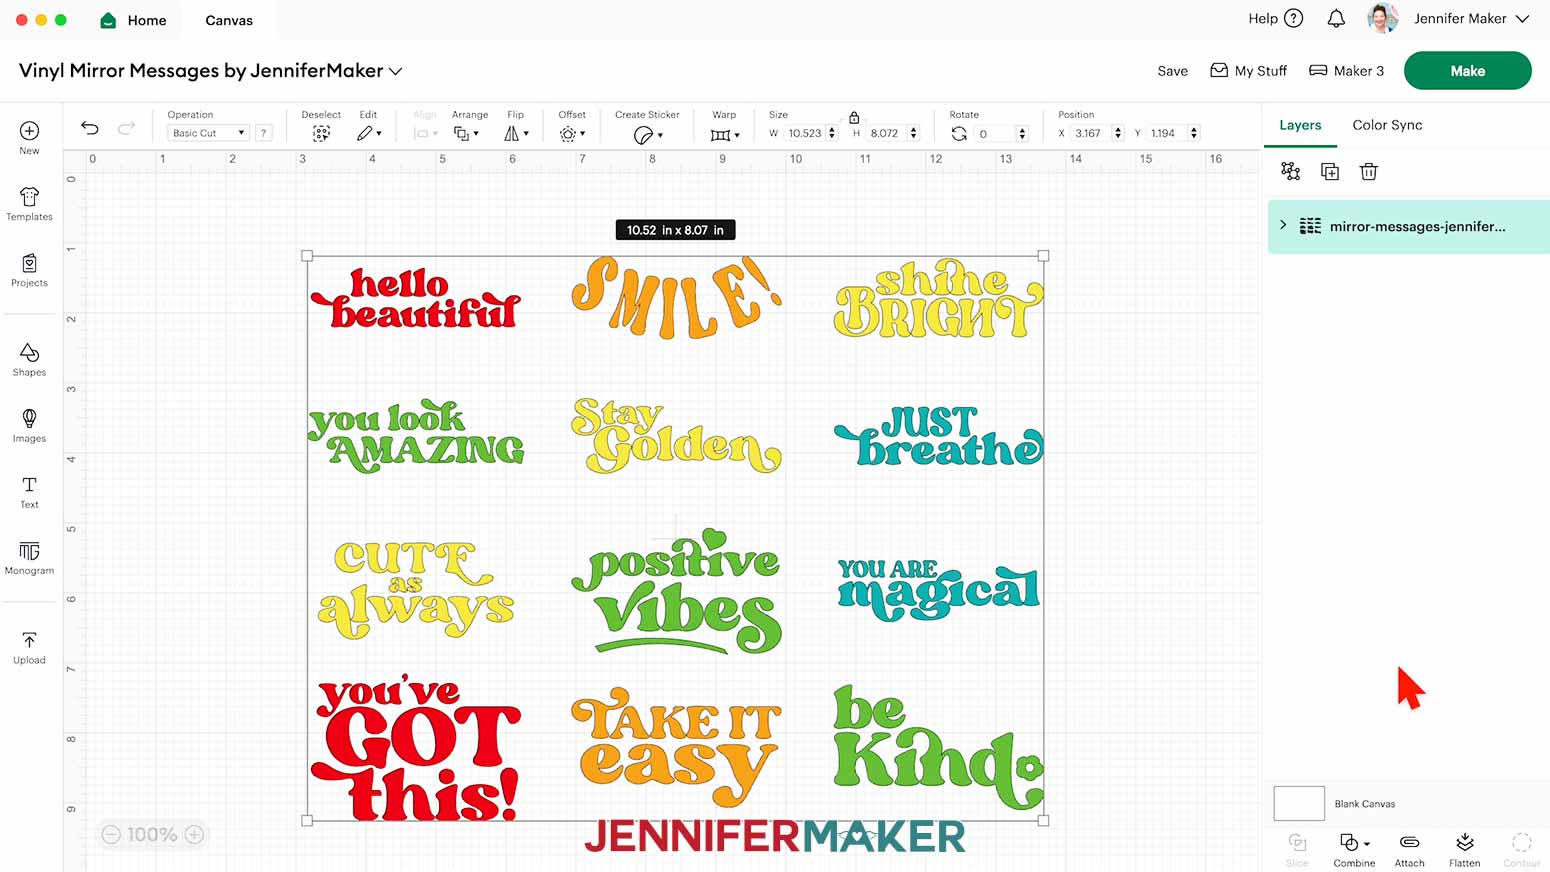
- Click “Upload” to add the design collection to your Canvas.
NOTE: Inside you will find 12 designs:
“hello beautiful”
“SMILE!”
“shine BRIGHT”
“you look AMAZING”
“Stay Golden”
“JUST breathe”
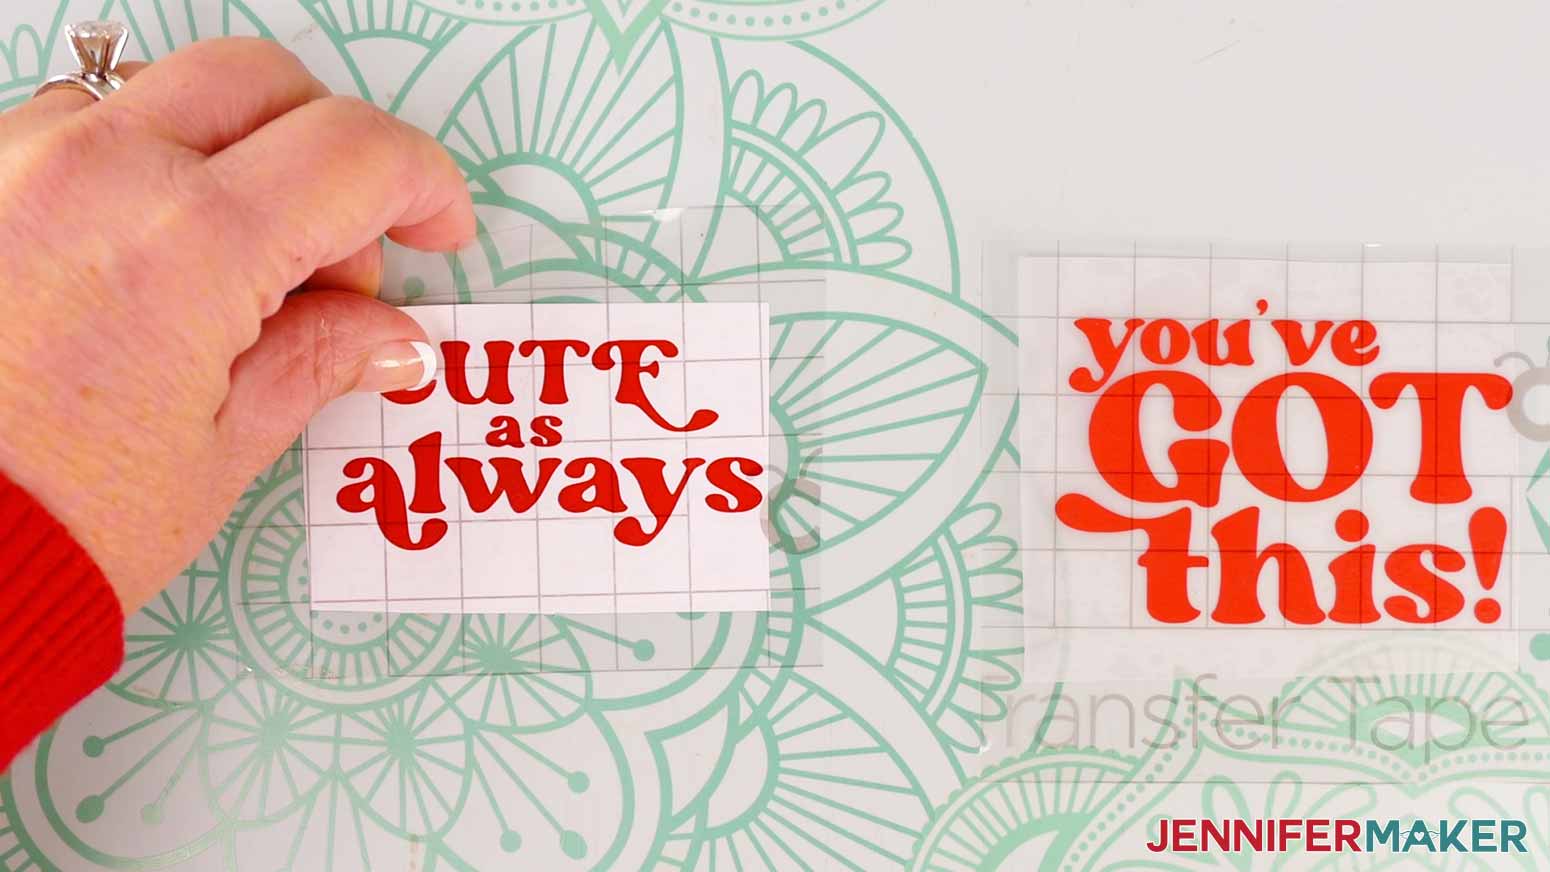
“CUTE as always”
“positive vibes”
“you are magical”
“you’ve GOT this!”
“TAKE IT easy”
“be kind”
- Ungroup the design collection.
- Delete any designs you don’t want to use.
- If you want to resize a design, click it, keep the Lock icon closed, and drag a corner of its bounding box to adjust it.
- If you want to use another color of vinyl for a design, select the appropriate layer in the Layers Panel and use the Color Box to adjust it.
- Your vinyl designs are ready to cut!
CUTTING
- Make sure the correct machine is selected in the top right.
- Click “Make.”
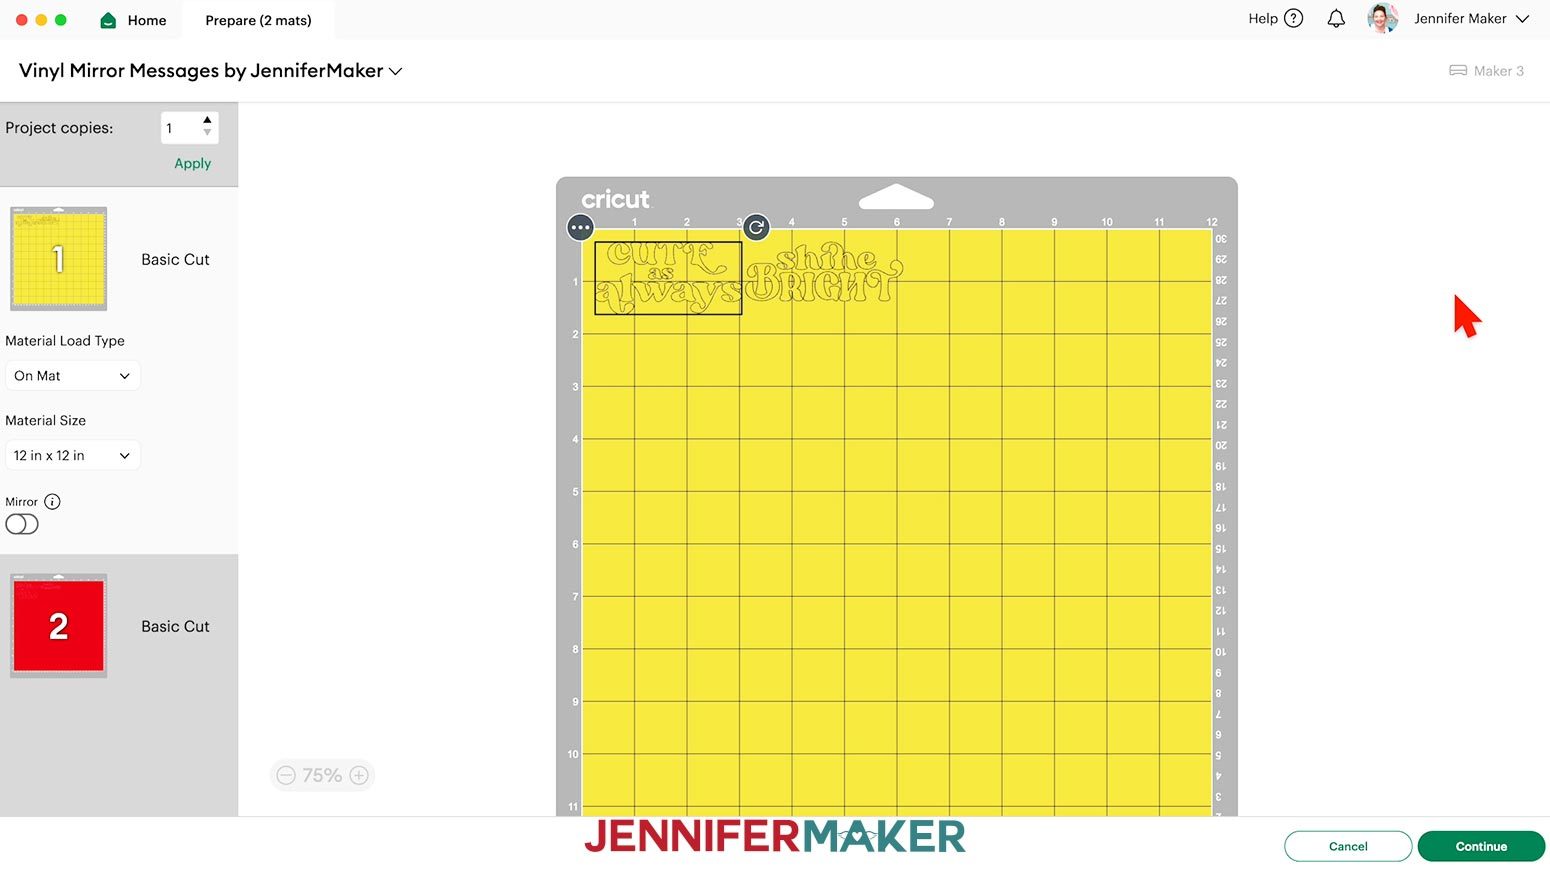
- On the Prepare screen, make sure the correct Material Size is selected for your mats. I’m going to trim my materials to fit the designs, so I’ll keep the 12” x 12” setting to use the whole mat.
- Select the first mat again and click “Continue.”
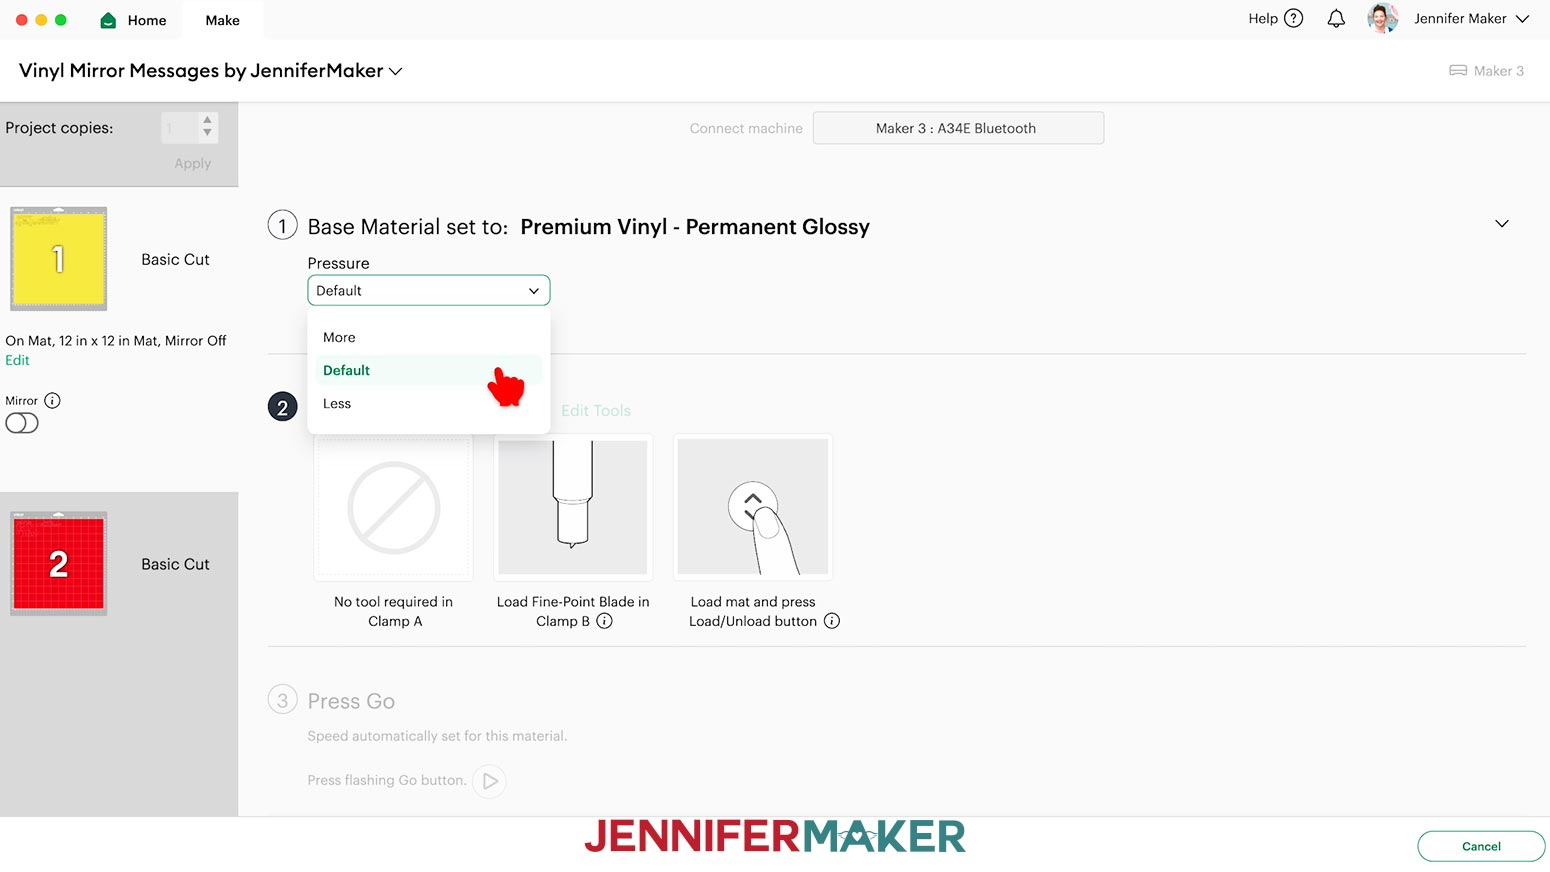
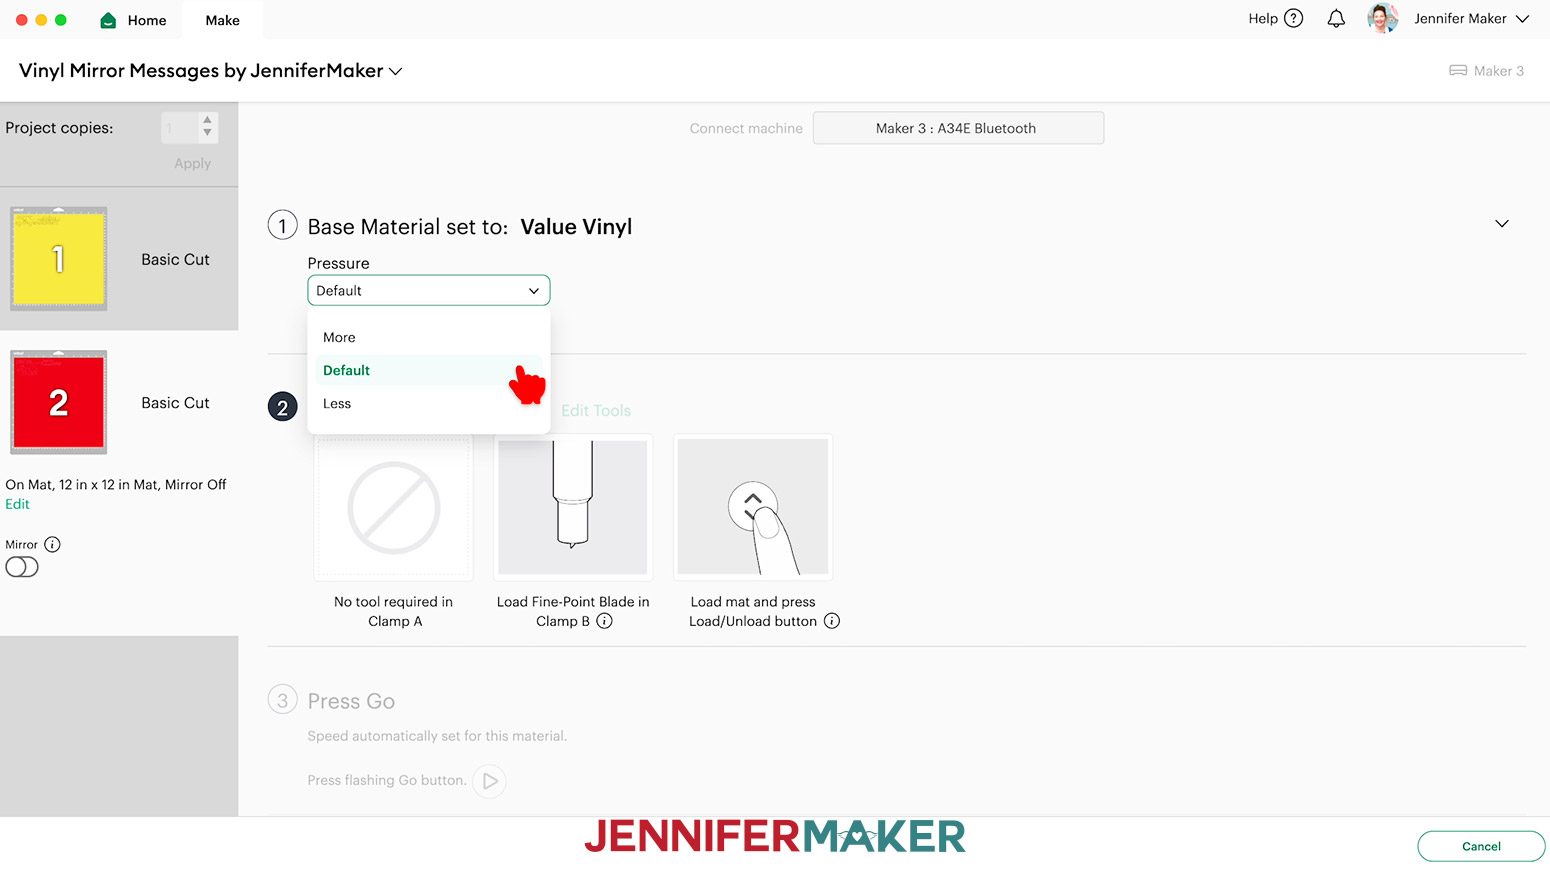
- On the Make screen, set the Base Material for your mats. I used these settings, but since all machines are different, making some test cuts is a good idea:
- For the Premium Vinyl, I used the “Premium Vinyl - Permanent Glossy” setting with “Default” pressure.
- For the Value Vinyl, I used the “Value Vinyl” setting with “Default” pressure
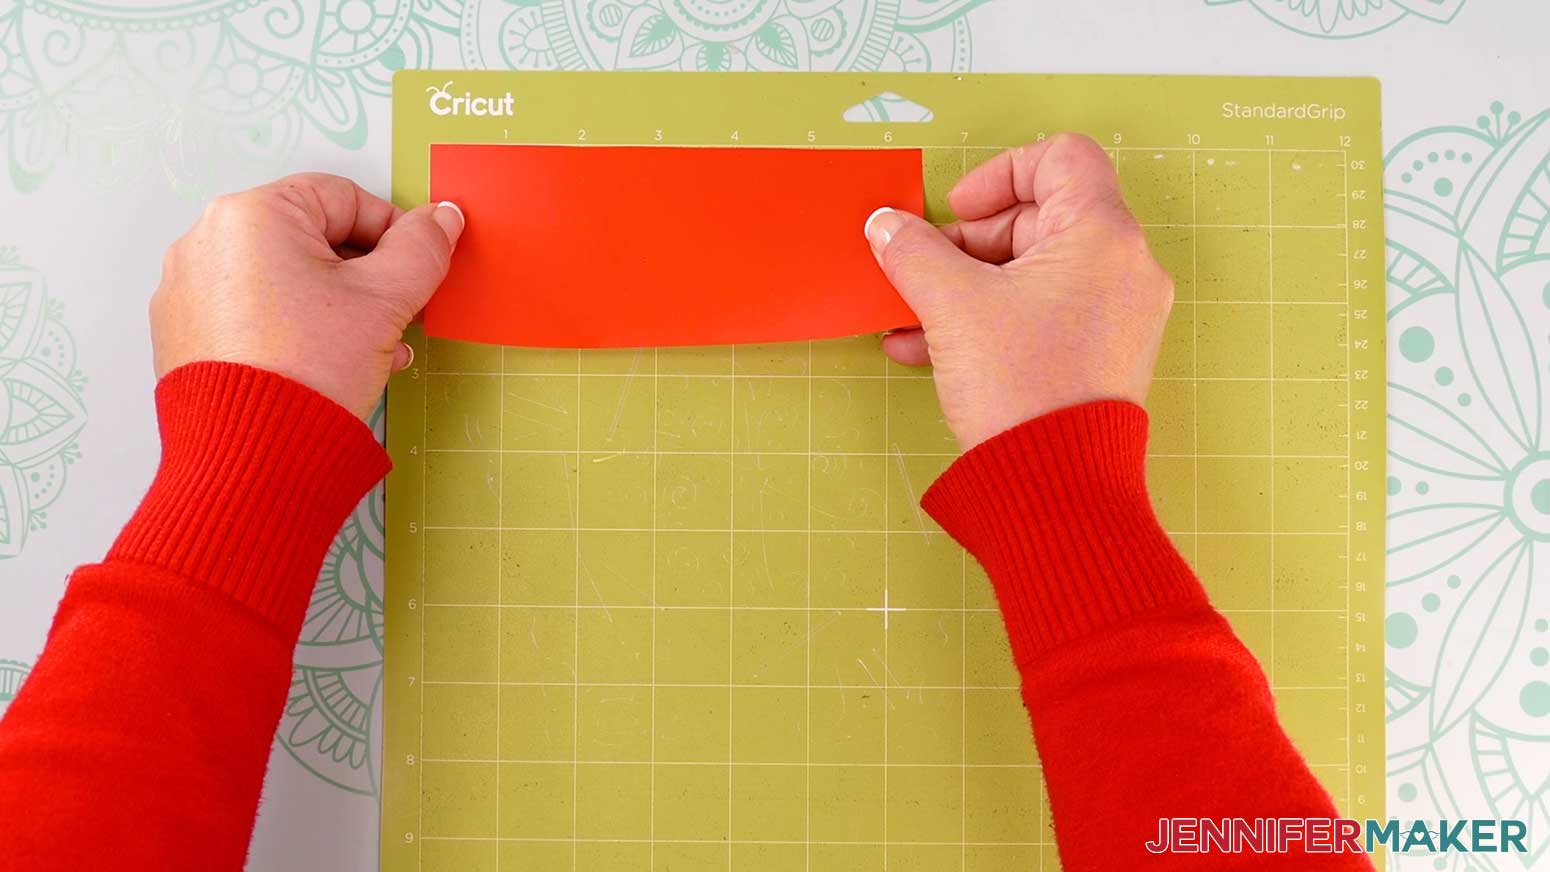
- Place your mat’s vinyl pretty side up on a green StandardGrip machine mat so it covers the design area on your screen.
NOTE: The Value Vinyl is matte, but the vinyl is still shinier than the carrier sheet side. - Use a brayer to make sure it’s fully adhered.
- Press the flashing “Load/Unload” button to load the prepared mat into your Cricut.
- Press the flashing “Go” button to begin cutting.
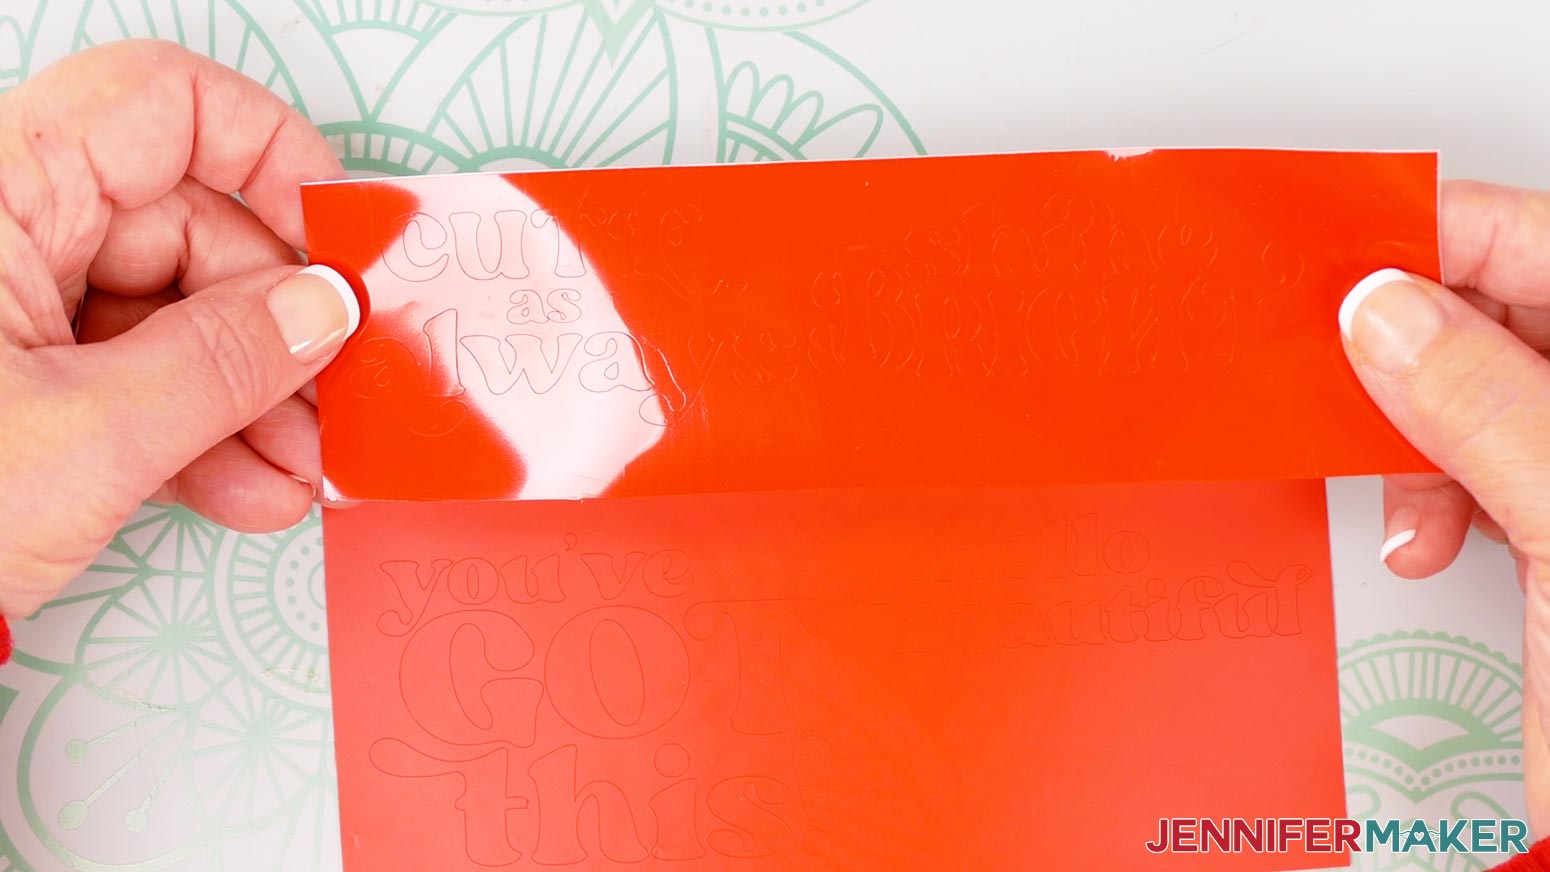
TIP: My designs cut in both materials after one cut, but every machine is different. When yours finishes cutting, check the cuts and make a second pass if needed by pressing the “Go” button again. - When the cuts are complete, unload the mat. Flip it over onto your work surface, and roll it back to release the vinyl.
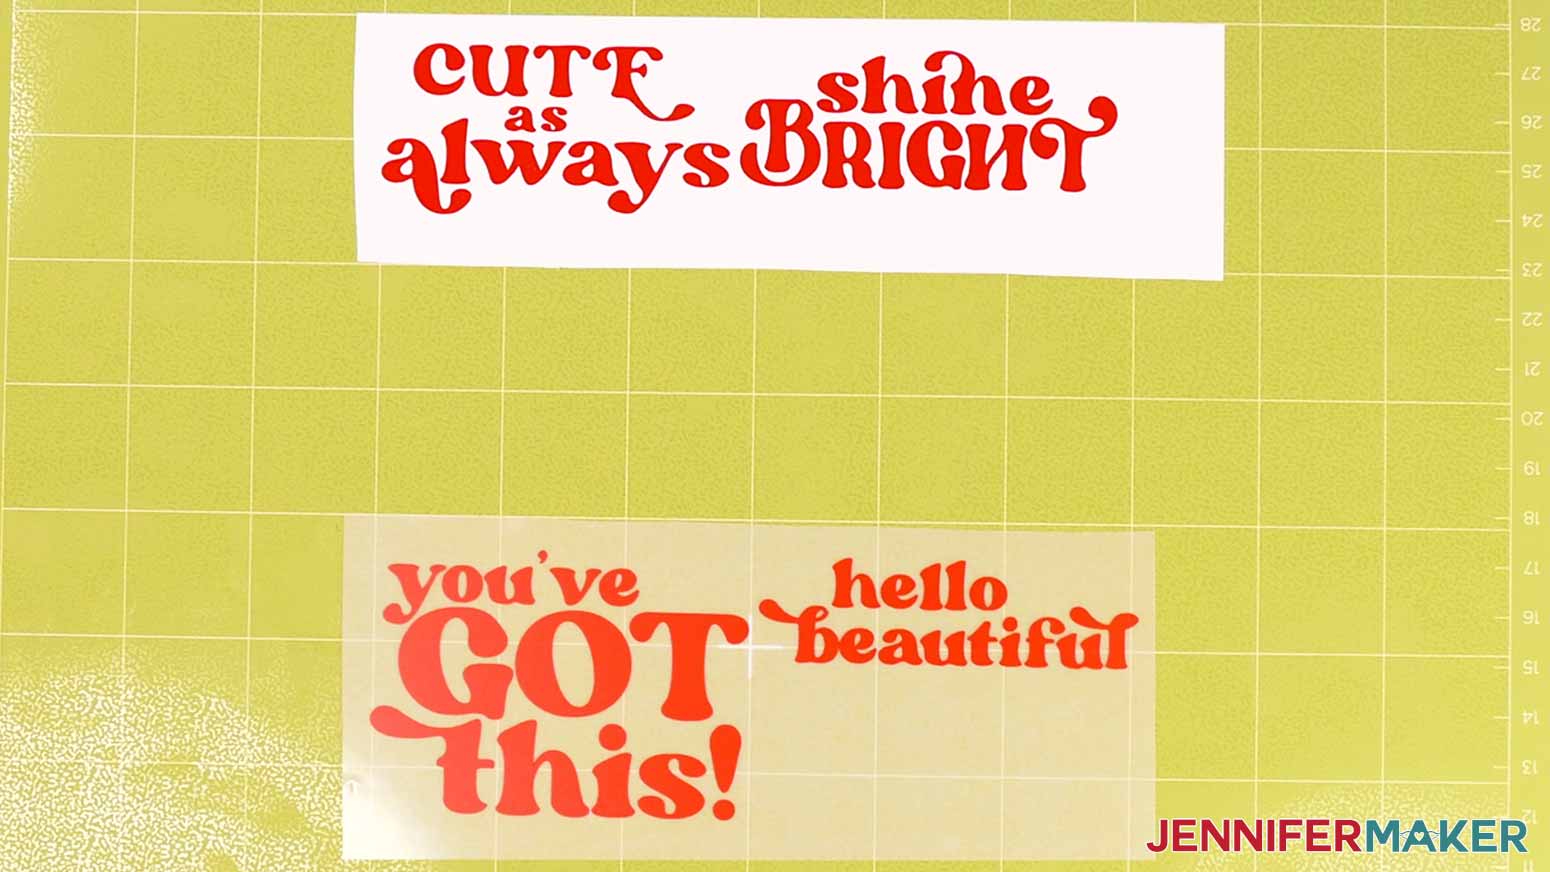
- For each cut decal, use a weeding tool to carefully peel away the extra background vinyl. I like to work from larger to smaller sections during weeding. Don’t forget the small pieces inside letters!
TIP: It can be easier to weed vinyl, especially small, detailed designs, while it is adhered to the machine mat.
STEP 3: DECORATE YOUR MIRROR
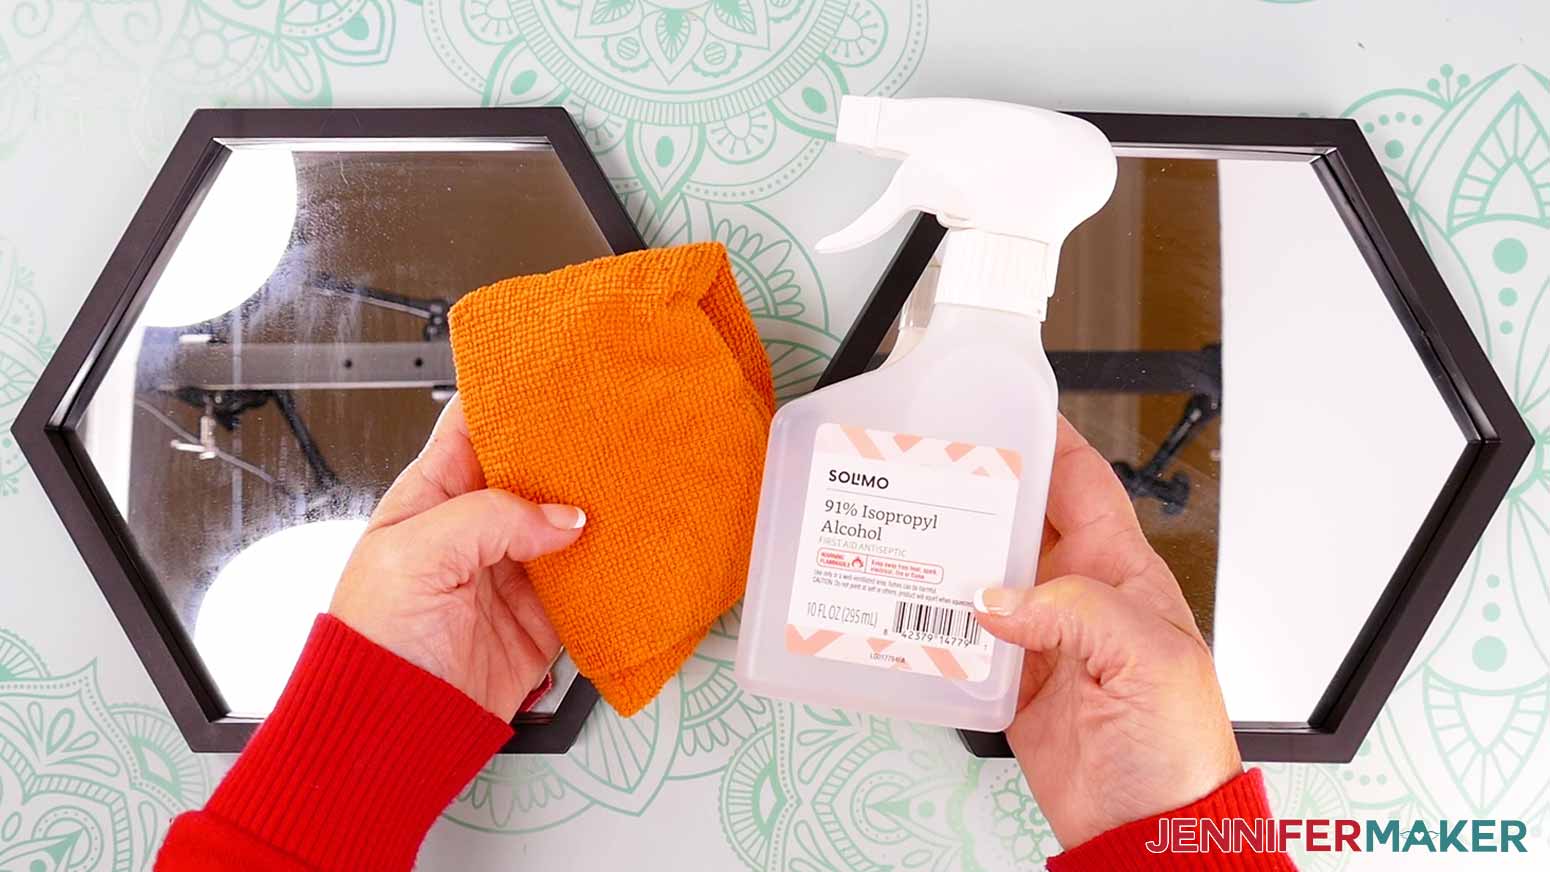
- Clean your mirror with rubbing alcohol and a lint-free cloth.
- If you’re decorating an item with a top or hanging hardware, make sure the hardware is at the top so your decal will face the right way.
- Cut a piece of StandardGrip transfer tape that is slightly larger than your vinyl decal.
- Remove the backing from the transfer tape.
- Hold your transfer tape in the shape of a “taco” sticky side down, then put the bottom of the “taco” onto the middle of your decal.
- Smooth the transfer tape over the decal from the center outward.
- Burnish the transfer tape and decal using the Scraper Tool.
- Flip the design over and gently peel off the backing from the vinyl.
- Make a little center crease just on the transfer tape, then line that up with the mirror’s vertical center in the lower section.
TIP: The tape’s horizontal lines help with the alignment, too! - Gently let the decal’s middle sit on the mirror, then smooth down the sides just like we did with the transfer tape.
TIP: Gently lift the decal to try again if the vinyl isn’t aligned the way you want it. - Using your scraper or finger, rub from the center of the vinyl outward, transferring the vinyl into place on the mirror.
- Once the vinyl is well-burnished, gently remove the transfer tape, leaving the vinyl on the mirror.
STEP 4: SHOW IT OFF!
Now you have cute, decorated mirrors!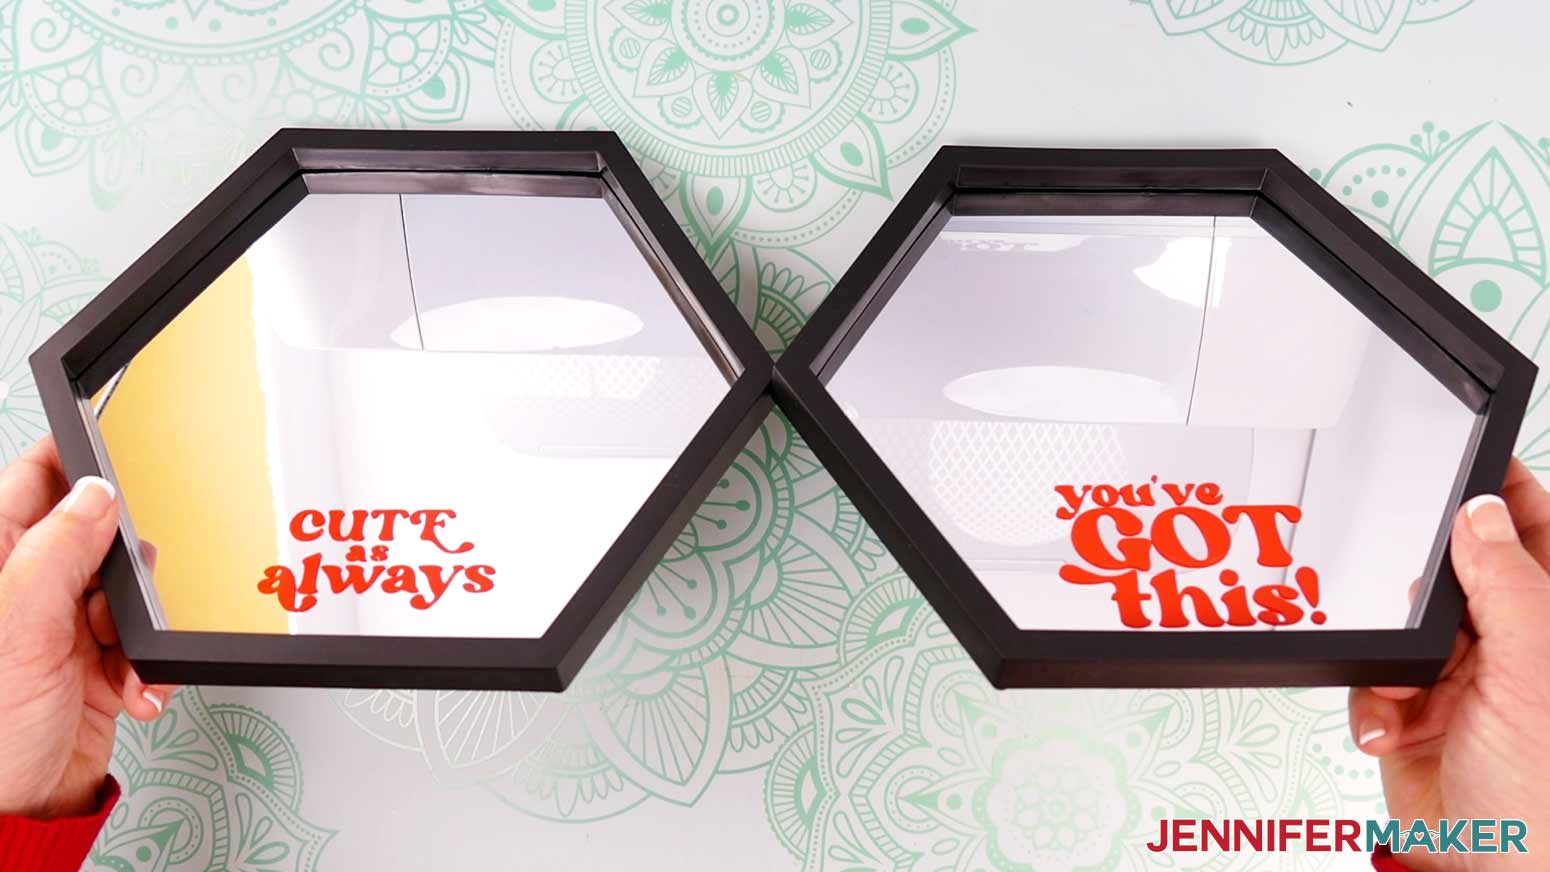
Answers to Your Questions About How to Decorate Mirrors With Cricut Value Vinyl
Q: I want a different design. How do I design my Cricut Value Vinyl decal with a background layer in a different color?
A: You can learn how to design your own customized message decal with a background layer in a different color in my ADVANCE program. Learn more about ADVANCE here!
Q: Can I cut these Cricut Value Vinyl mirror messages SVG pieces on a Cricut Joy Xtra or original Cricut Joy?
A: Yes, you can! The mirror messages SVG pieces in my free download file can be cut by any Cricut machine including the Joy and Joy Xtra.
Q: What font did you use?
A: Margin or a free alternative: Margin (for personal use only).
Q: Do I have to use a Cricut to cut my Cricut Value Vinyl and decorate my mirror?
A: No! You can make mirror message decals from vinyl that works with your equipment, or even just with scissors. We always include several versions of each free file in the free download ZIP file. If you have a Silhouette Cameo, which uses Silhouette Studio, you can use the DXF file in Silhouette Basic Edition. If you have upgraded to Silhouette Designer Edition, Designer Edition Plus, or Business, you can use the SVG format with your Silhouette machine to cut each intricate design. If you don’t have a cutting machine, you can print and then cut out my digital download PDF files, too! The ZIP archive in my resource library includes these file types and more!
Q: Help! My Cricut Design Space screen looks different from yours!
A: If you’re using the latest version of Cricut Design Space, your screen may have slight variations than the screen you see on the video tutorial. Good news: All of the same functions are there, they may just be in different spots or have new icons. Pause the video if you need, or follow along with the written tutorial. If you get stuck, ask for expert support in our Facebook group. Our group has become not just a help center, but also a vibrant community of real people and crafters! Plus, you can catch the latest news on JenniferMaker tutorials and more.
Q: Where can I find the supplies and tools to make a mirror with a vinyl decal?
A: My mirror messages SVG files can be made with simple supplies you may already have in your crafting stash. I like to shop on Amazon for their free shipping with my Amazon Prime membership (just make sure to look for sellers with 5-star reviews). You can also find most, if not all of the supplies and tools at your local craft store.
Q: Can I make and sell these mirror message designs?
A: I love supporting creative entrepreneurs! If you want to use my designs and projects for commercial use, please familiarize yourself with my important licensing information before selling your crafts.
I do not permit sale of my digital items, but you can sell the creative goods you make with them — as long as you follow my licensing requirements. That means you cannot sell the message SVG files, but you can sell mirrors with my Cricut Value Vinyl decals that you made with the files on platforms like Etsy. Whether you use the Etsy app or the browser version, you’ll find a global marketplace filled with thousands small businesses, and interested buyers can find thousands of made-to-order items. I love to see creative crafting businesses thrive with the help of my designs and inspiration!
Q: What is Cricut Value Vinyl?
A: Value Vinyl is Cricut’s brand of cost-effective vinyl. It is sold only online, in bulk, and with minimal packaging in order to lower costs while still meeting Cricut’s product standards. It’s slightly thinner than Cricut Premium Vinyl and has a matte finish rather than glossy one.
Q: Where can I buy Cricut Value Vinyl?
A: Currently Cricut Value Vinyl is designed for online sale only. You can find rolls and packs of sample sheets in Cricut’s official shop or by visiting the Cricut Store on Amazon.
Q: Can my machine cut Cricut Value Vinyl?
A: If you have a Cricut machine, the answer is yes! Cricut Value Vinyl is designed to work with all of Cricut’s cutting machines. It an also be cut on a Silhouette cutting machine, and likely many other machines (but you may need to do some testing!).
Q: What cut settings should I use for Cricut Value Vinyl in Design Space?
A: Cricut Value Vinyl (the permanent type) has its own cut setting in Design Space, which you can find by searching for “Value Vinyl” in the “Browse All Materials” window on Design Space’s “Make” screen.
Q: Is Cricut Value Vinyl permanent? Can I use it outdoors?
A: Yes, Cricut Value Vinyl is permanent and suitable for outdoor usage. I haven’t tested how well it holds up compared to Premium vinyl, though, so it might be better to stick with Premium just to be on the safe side.
Q: What other Cricut Value materials are available?
A: In addition to adhesive vinyl, the Cricut Value materials line includes iron-on heat transfer vinyl, cardstock, and transfer tape. Removable vinyl, glitter vinyl, and printable vinyl are not yet available as a Value material.
Get my free SVG/DXF/PDF files to decorate mirrors!
(If you do not see the signup form above, click here.)
I love seeing what you make with my designs and how you use them! Please share a photo of your Cricut Value Vinyl projects in our Facebook group or tag me on social media with #jennifermaker.
Love,

Want to remember this? Save this Cricut Value Vinyl Review to your favorite Pinterest Board!