Learn how to remove sublimation ink from a tumbler!
Who doesn’t absolutely love a super cute tumbler? But, whether you make them for yourself or to sell, we’ve all run into the dreaded sublimation mistake. It might have a printing mistake or a poor transfer, but your tumbler is not trash! Don’t worry, I’ll show you how to remove sublimation ink from a tumbler to save your sublimated stainless steel tumbler. There are ways to do damage control on a sublimation error, and I can’t wait to share them with you!


During the sublimation process, the ink is heated to a gaseous state, becoming infused into the polymer coating on the sublimation blank. This is typically a permanent process, but crafters have discovered that tumblers can be “un-sublimated.” This is done by re-heating the sublimated tumbler to a high temperature, returning the ink to that gaseous state. That allows it to lift out of the coating, leaving the original image lightened enough to be re-sublimated over. But why
Sublimating tumblers have some challenges, especially the seam and getting an even transfer on the entire curved surface. However, sometimes — or rather, pretty often — sublimation results don’t always come out as planned. Sometimes there’s a mistake in the printing process, or something in the sublimation process caused some less than perfect results, and now you’re left with a tumbler with a big mistake on it. What do you do?
All hope is not lost! I’ll show you two different methods how to remove sublimation ink from a tumbler, and together we’ll find out the very best way to give your “whoops” tumbler new life. Which method gave the best results? The first method uses a craft-purposed convection oven, and the second is by using a heat gun. You’ll have to watch to find out which one I consider the BEST method, and which one I’m more likely to skip.
While your tumbler will never return to its original condition, you should be able to lighten it up enough to sublimate it again! This can save a lot of money and frustration in the long run, and take some of the pressure off to get it perfect the first time.
Whichever method you end up choosing, though, be prepared: This process is going to take a long time. Some of my test tumblers took upwards of two to four hours before the design was lightened enough to sublimate over! For me, it was worth it, because I really dislike creating any more crafting waste than I absolutely have to. When you know how to remove sublimation ink from a tumbler, you’ll be able to craft in peace knowing that your tumbler won’t be landfill-bound if you make a small mistake.
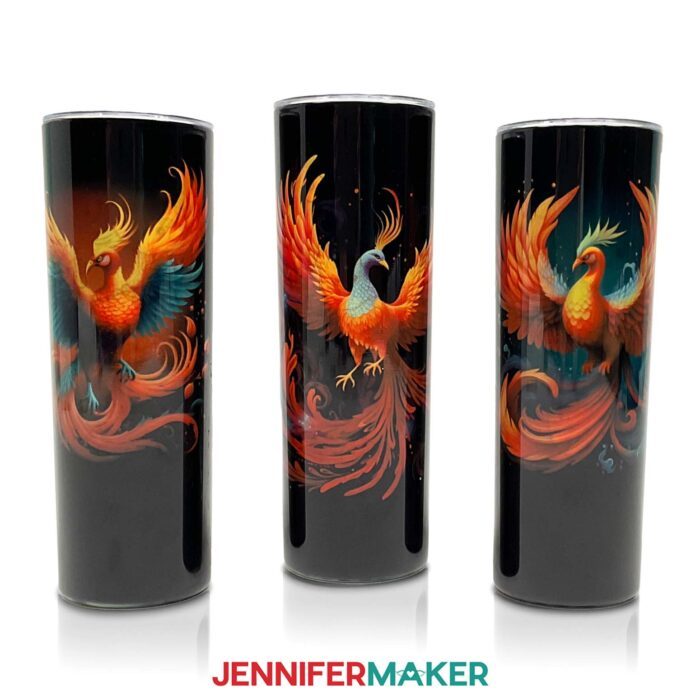
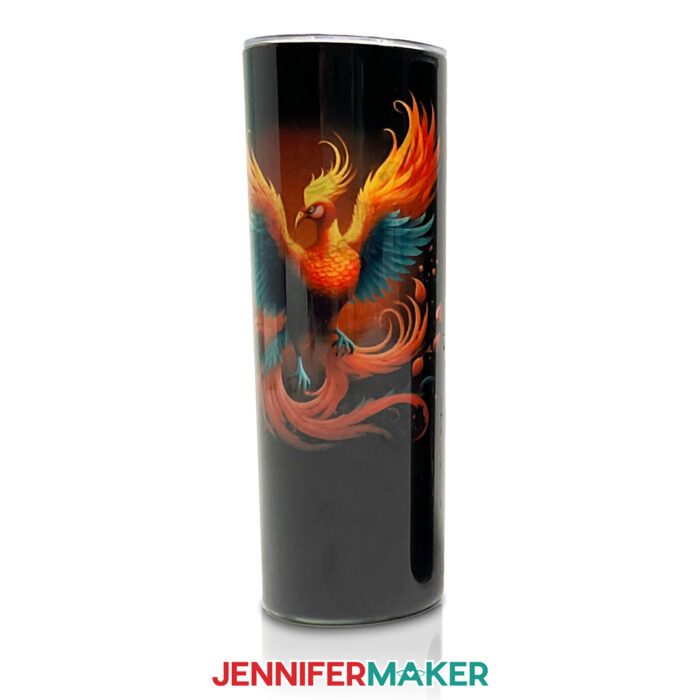
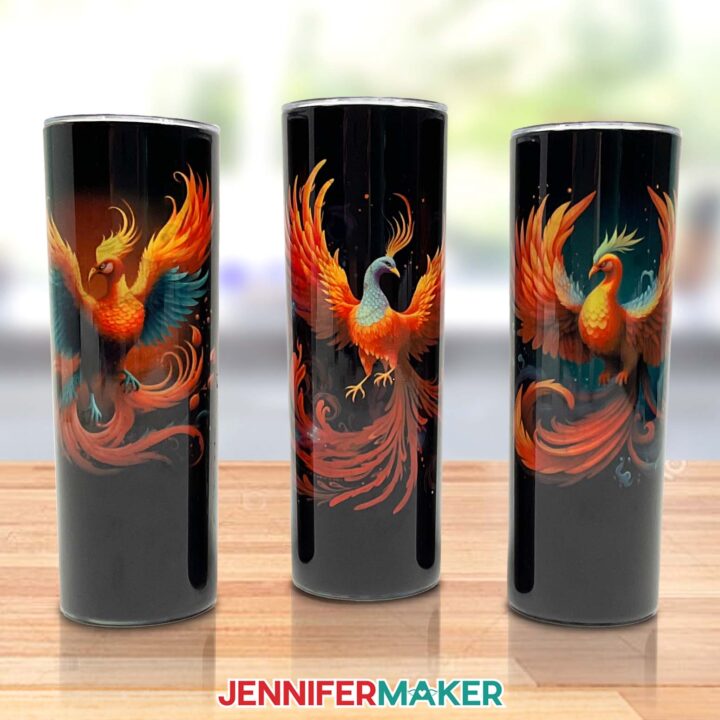
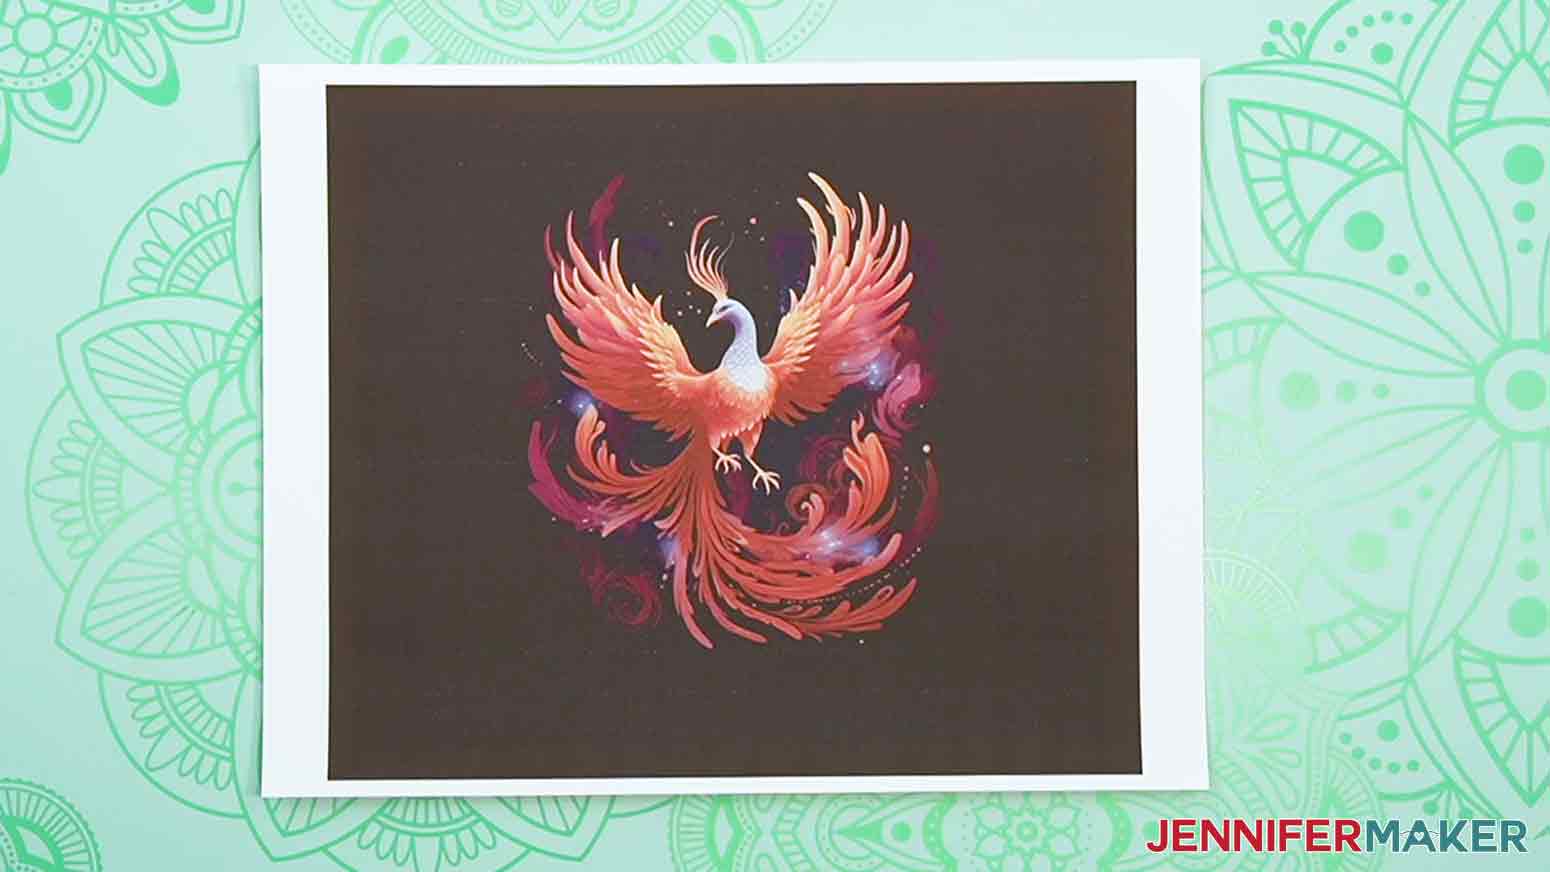
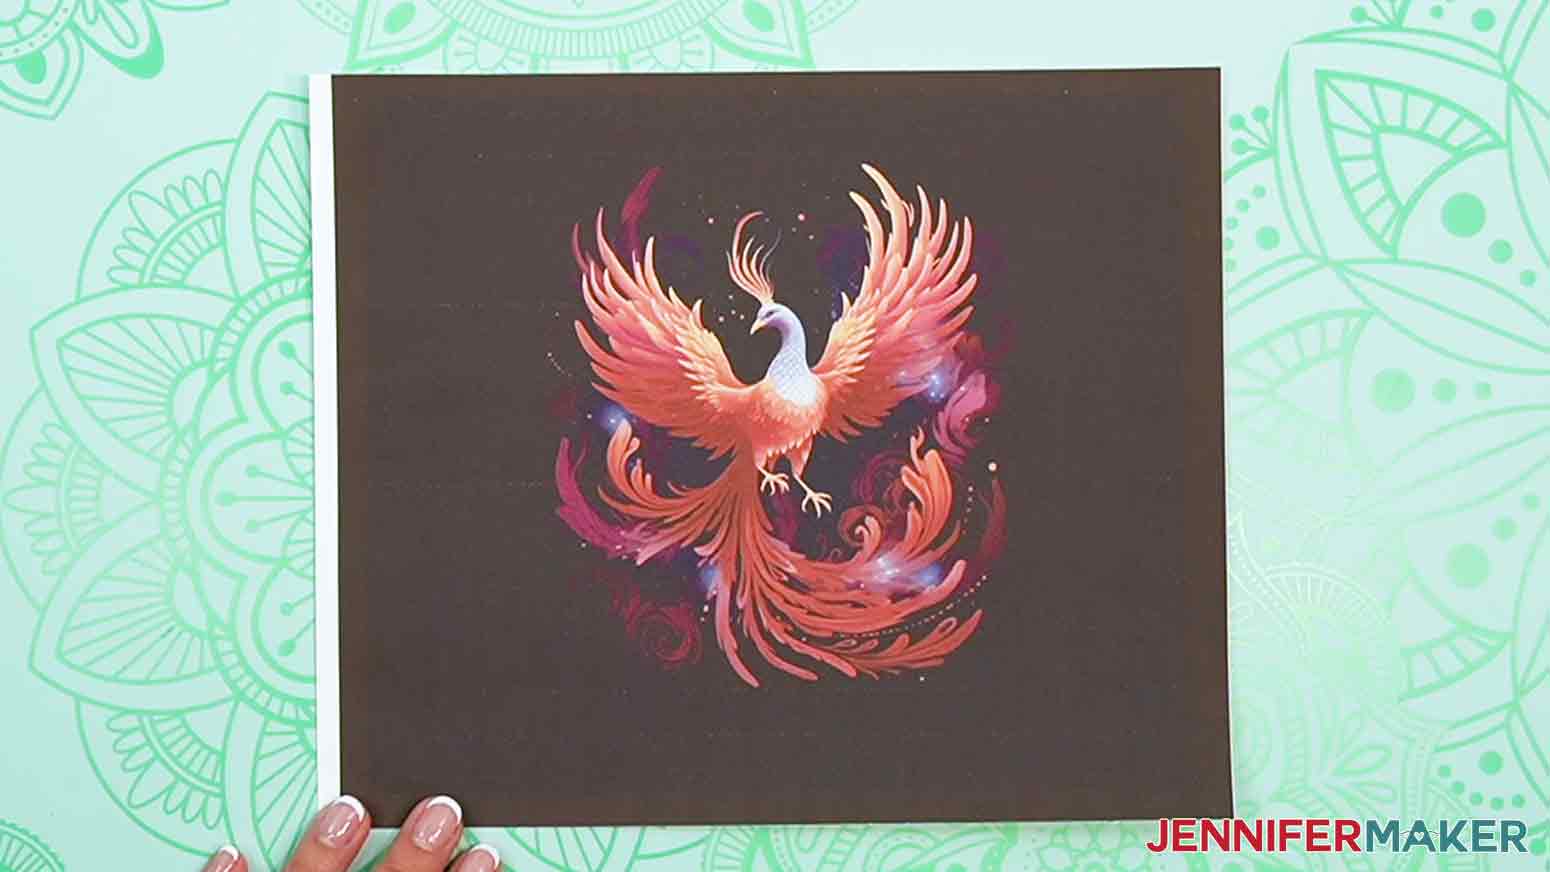
When choosing a design to re-sublimate on your tumbler, it’s important to choose one that’s dark enough to cover any residual original design that didn’t lift. That’s why I created my phoenix images with the help of AI software and Photoshop! They’re dark enough to cover any sublimation ink that’s left behind, so you are less likely to see any of the original image underneath. They’re also suitable for use with a skinny sublimation tumbler, a tapered sublimation tumbler, or a regular straight-side sublimation tumbler, and I’ll show where to learn how to edit the image for the right fit and the perfect wrap.
After that, I’ll give you my best tips on choosing your own new image to re-sublimate onto your salvaged tumbler. Not all images are great candidates for covering up the remaining ink that will be left on the tumbler, so I’ll tell you what to look for. Then I’ll walk you through how to re-sublimate your tumbler using silicone bands (and how to do it with a shrink wrap sleeve AND a silicone wrap, too!) so you can save your messed up tumbler and give it another chance to rise up from the ashes and shine!
Ready to learn how to remove sublimation ink from a tumbler? This post contains some affiliate links for your convenience (which means if you make a purchase after clicking a link I will earn a small commission but it won’t cost you a penny more)! Read my full disclosure policy.
Materials And Tools to Remove Sublimation Ink from Tumblers
To lighten a previously sublimated tumbler – I’ll show you how to work on a 20 oz skinny tumbler:
- Craft-Purposed Convection Oven -or- Heat Gun
- Isopropyl Alcohol
- Lint-Free Cloth
- Heat-Resistant Gloves
- Cricut EasyPress Mat 12″ x 12″
- Fan for ventilation
- Oven Thermometer
- Timer
To re-sublimate your tumbler:
- Sublimation Printer – I used a converted Epson EcoTank ET-4700 Inkjet Printer
- Sublimation Ink – like Hiipoo sublimation ink
- 8.5″ x 11″ Sublimation Paper to print a new design
- White Butcher Paper
- Paper Trimmer
- Heat-Resistant Tape
- Silicone Baking Mat for use with convection oven
- Silicone Sublimation Bands -or- Shrink Wrap for Sublimation Tumblers -or- Silicone Tumbler Wrap
- Flexible Measuring Tape
- Scissors
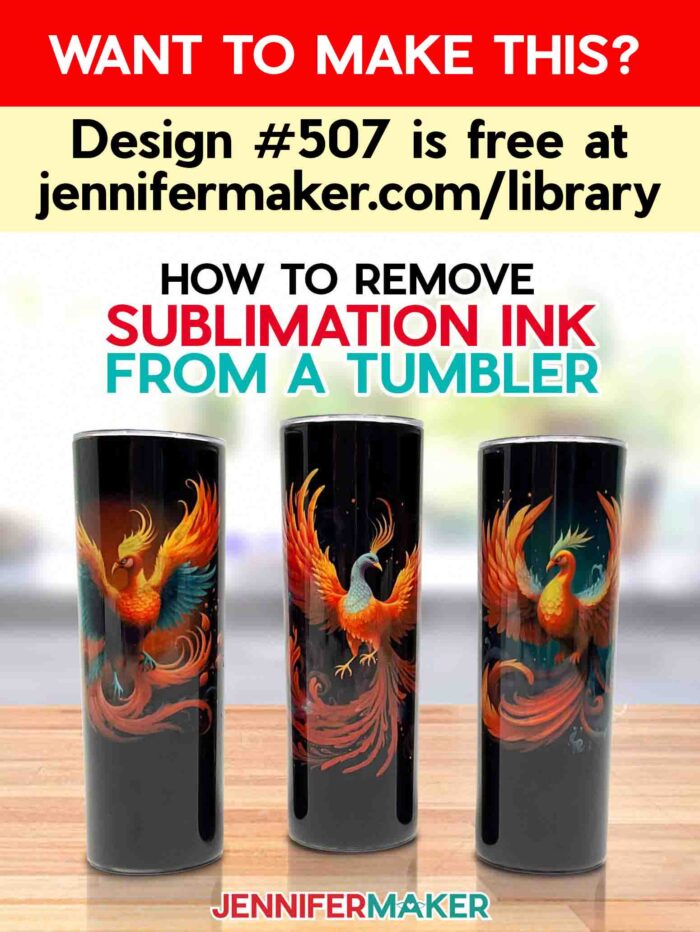
- Design #507 (My free sublimation design files are available in my free resource library – get the password by filling out the form at the bottom of this page)
How to Remove Sublimation Ink from a Tumbler!
How to Remove Sublimation Ink from Tumblers
Learn how to remove sublimation ink from tumblers and sublimate them again!
Materials
- Previously Sublimated Tumbler - I used a 20 oz skinny tumbler
- Sublimation Paper (to sublimate new design)
- Sublimation Ink (I use Hiipoo sublimation ink)
- White Butcher Paper
- Design #507 (My free sublimation design files are available in my free resource library – get the password by filling out the form at the bottom of this page)
Tools
- Craft-Purposed Convection Oven -or-
- Heat Gun
- Sublimation Printer (I used a converted Epson EcoTank ET-4700 Inkjet Printer)
- Cricut EasyPress Mat 12" x 12"
- Cricut Craft Trimmer
- Heat-Resistant Tape
- Heat-Resistant Gloves
- Silicone Baking Mat for use with convection oven
- Fan for ventilation
- Oven Thermometer
- Timer
- Silicone Sublimation Bands (to sublimate new design) -or-
- Shrink Wrap for Sublimation Tumblers (to sublimate new design) -or-
- Silicone Tumbler Wrap (to sublimate new design)
- Isopropyl Alcohol
- Lint-Free Cloth
- Flexible Measuring Tape
- Scissors
- Scraper
Instructions
STEP 1: GET MY FREE HOW TO REMOVE SUBLIMATION INK FROM TUMBLER DESIGNS
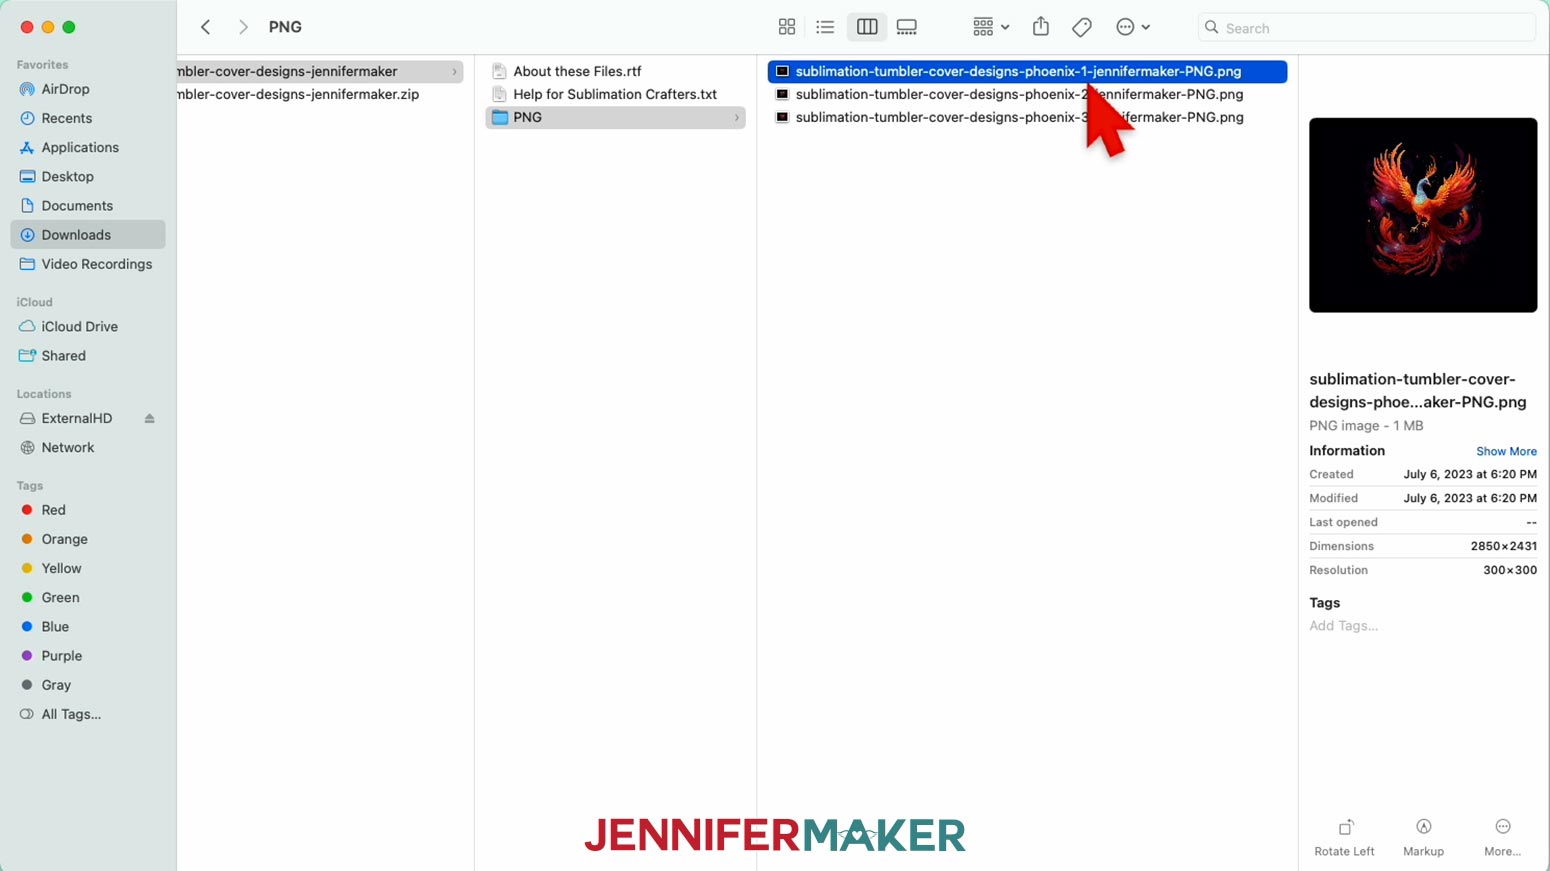
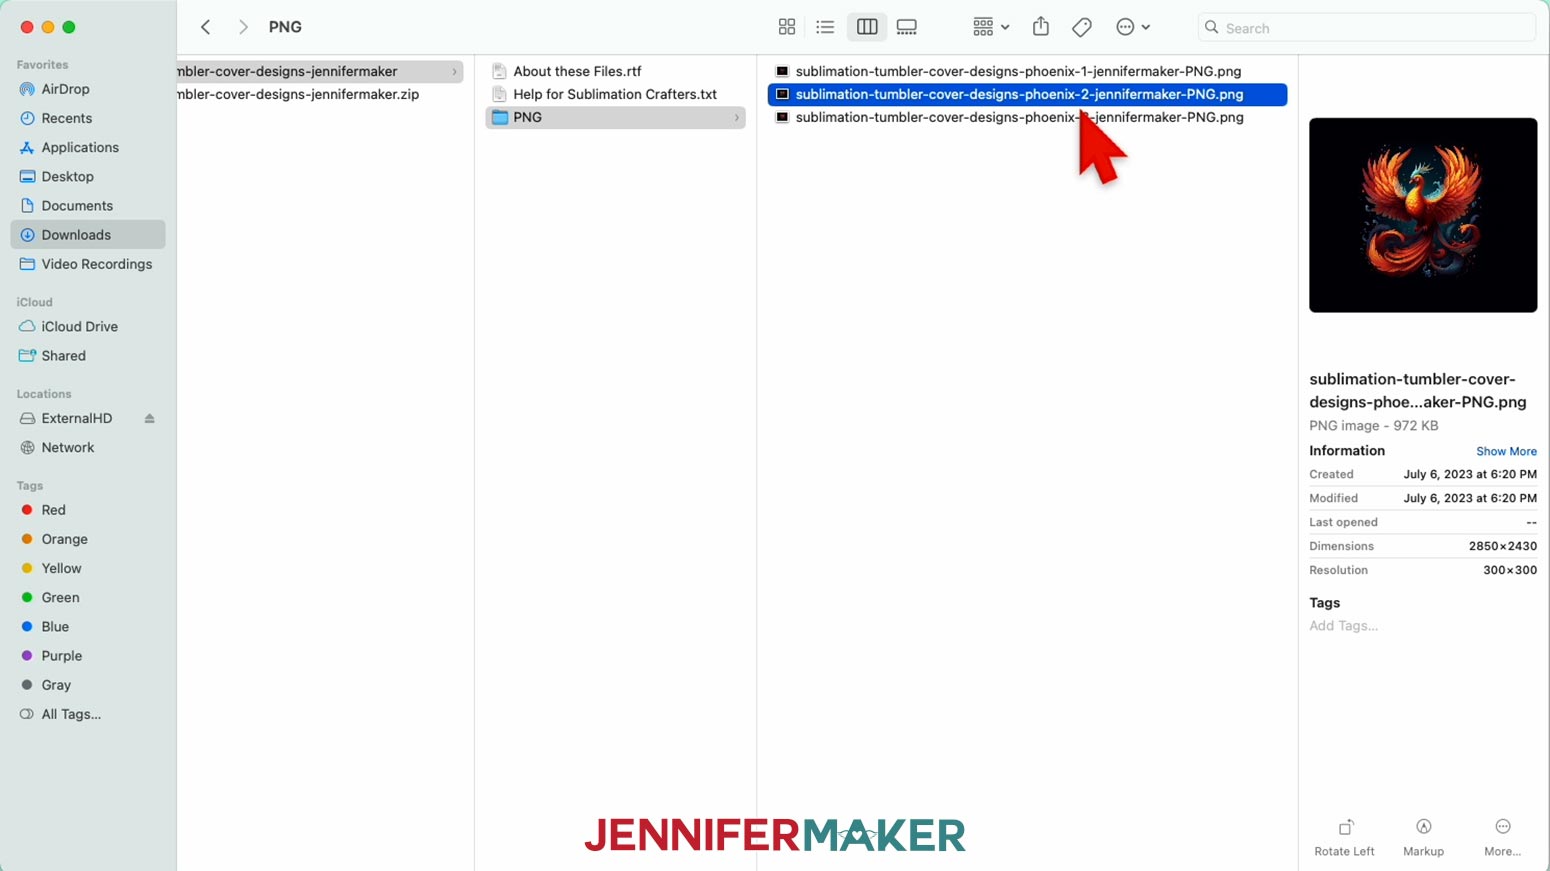
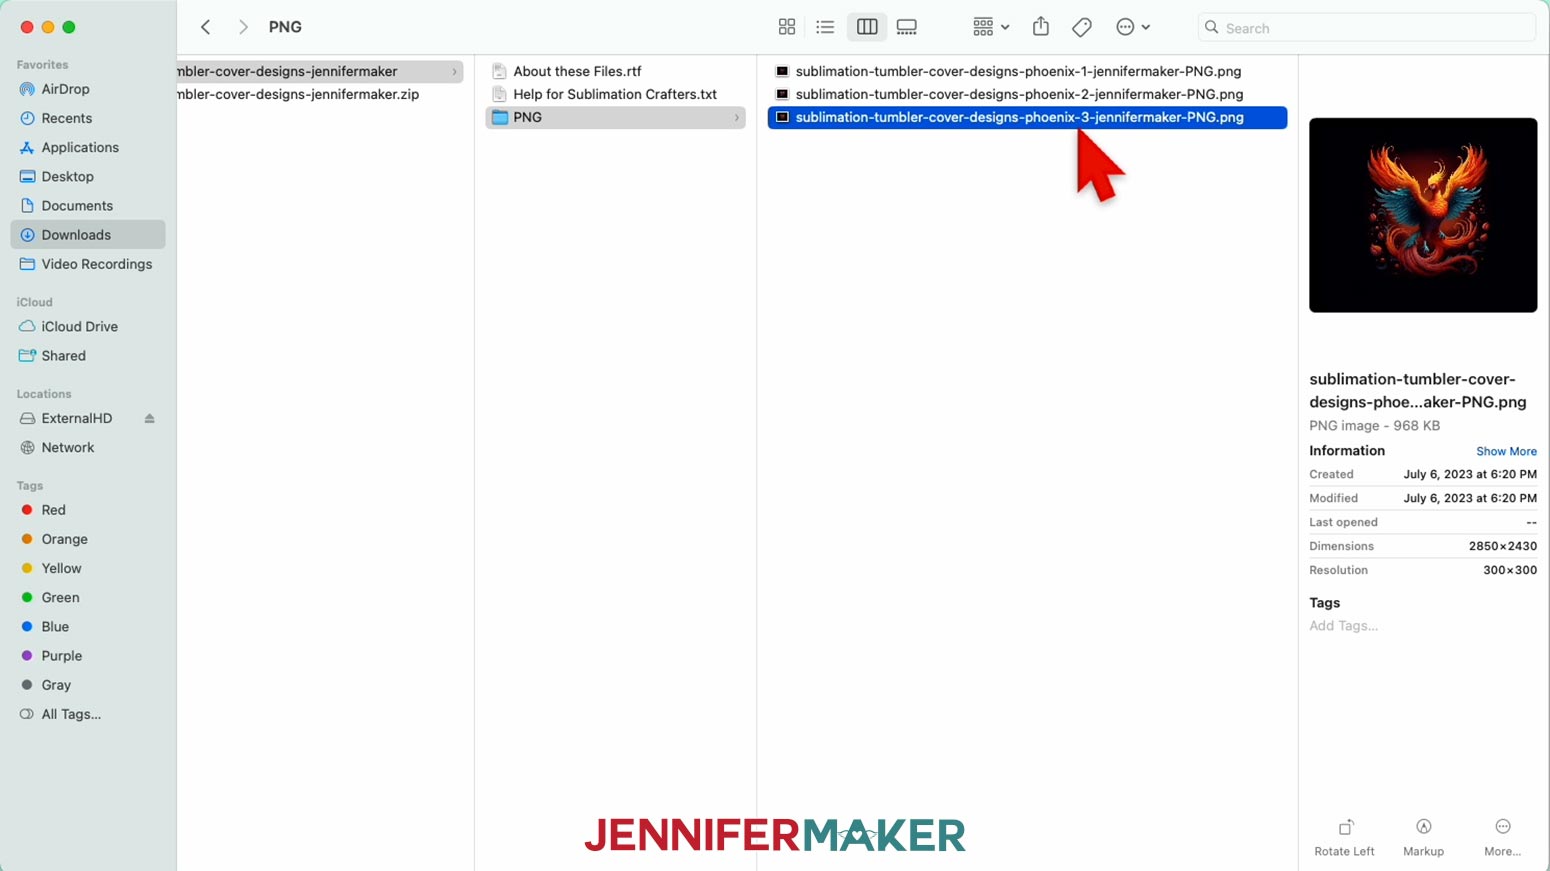
First, download my Sublimation Tumblers SVG/PDF/DXF files from my free resource library. It's Design 507.
TIP: If you're not sure how to upload an SVG cut file to Cricut Design Space, watch this helpful video training series I made. If you're on an iPhone or iPad, here's how to download and upload SVG files to the Cricut Design Space app.
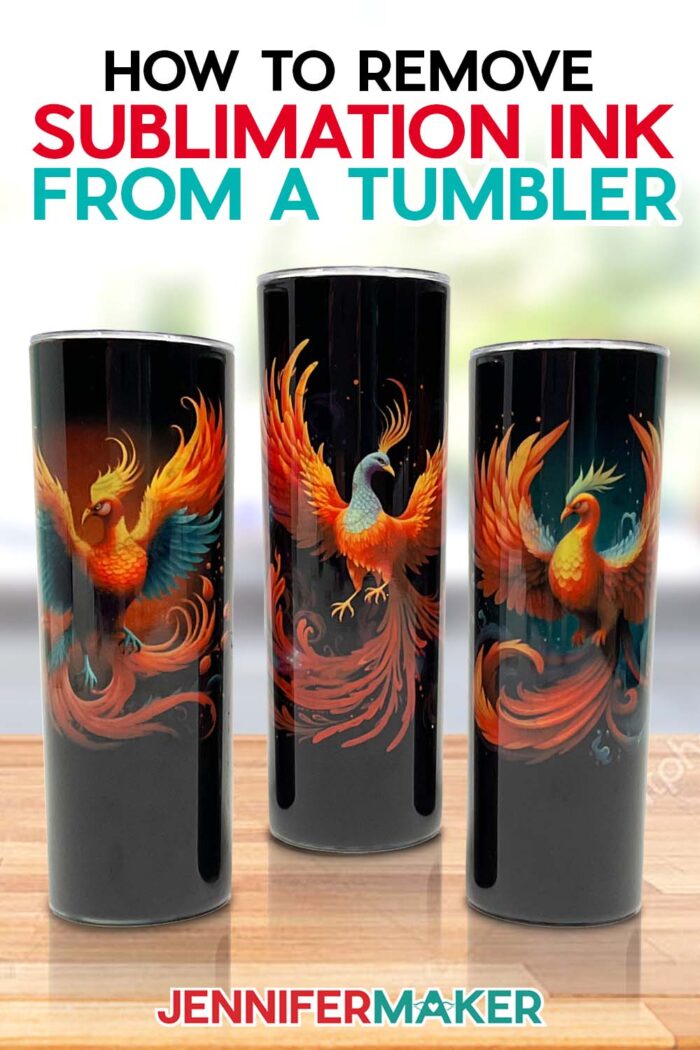
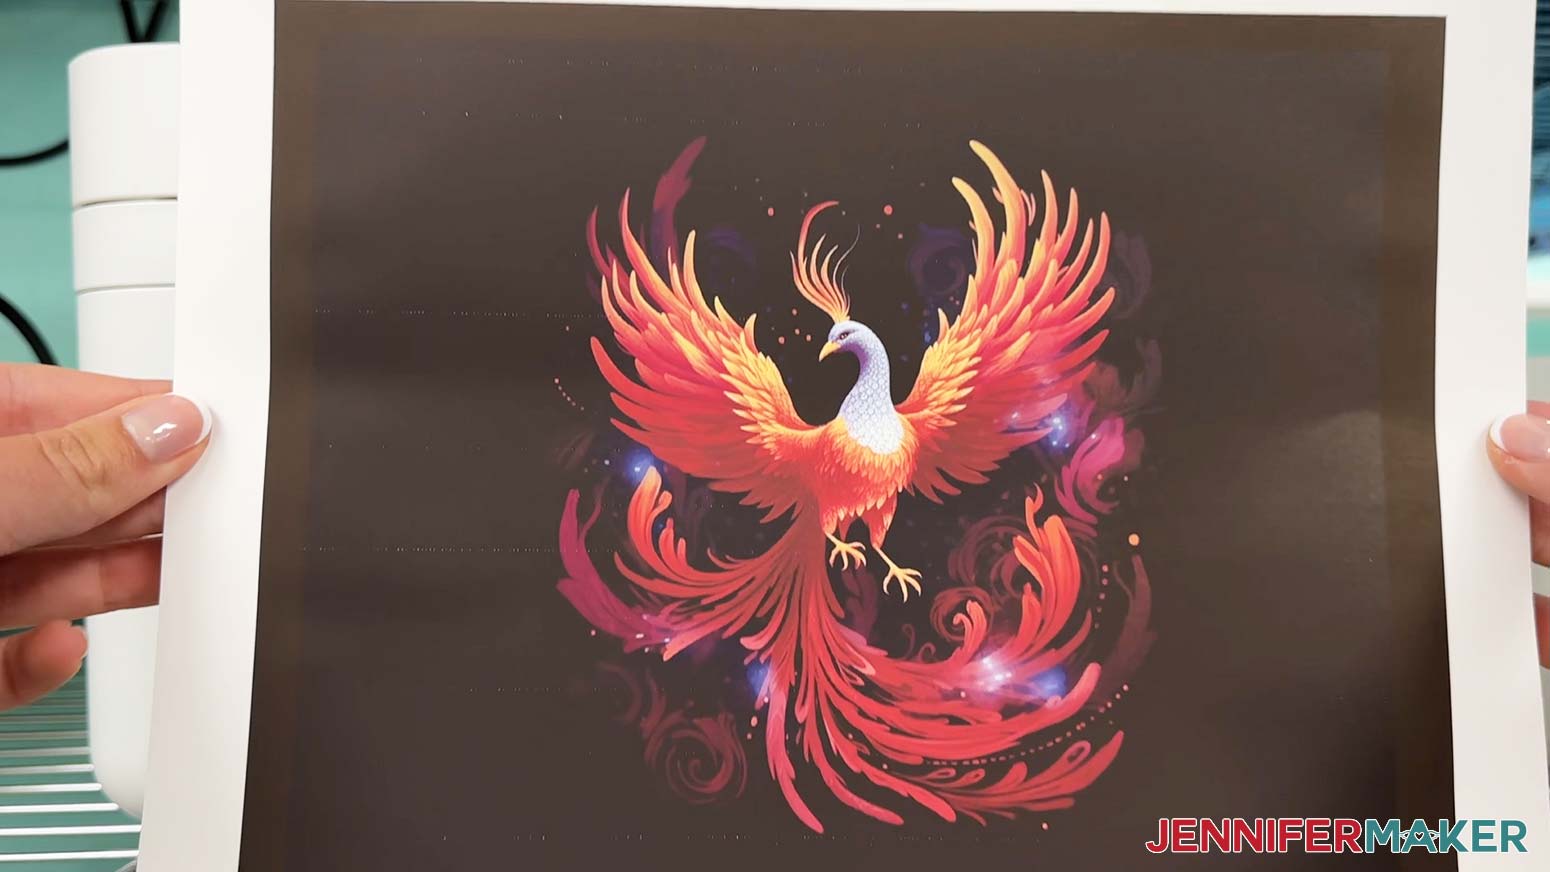
I have included three different Phoenix designs in the collection:
I’ll show you how to remove the sublimation ink from a tumbler and then sublimate over it with a new design. Let’s start!
STEP 2: REMOVE SUBLIMATION INK FROM A TUMBLER
Before you begin, make sure you are in a well-ventilated area or even outside. This process produces a lot of fumes.
Using a Convection Oven
NOTE: We will use cut squares of silicone placed on top of the tumbler opening to prevent any sublimation vapors from settling inside the tumbler, making it unsafe to drink from.
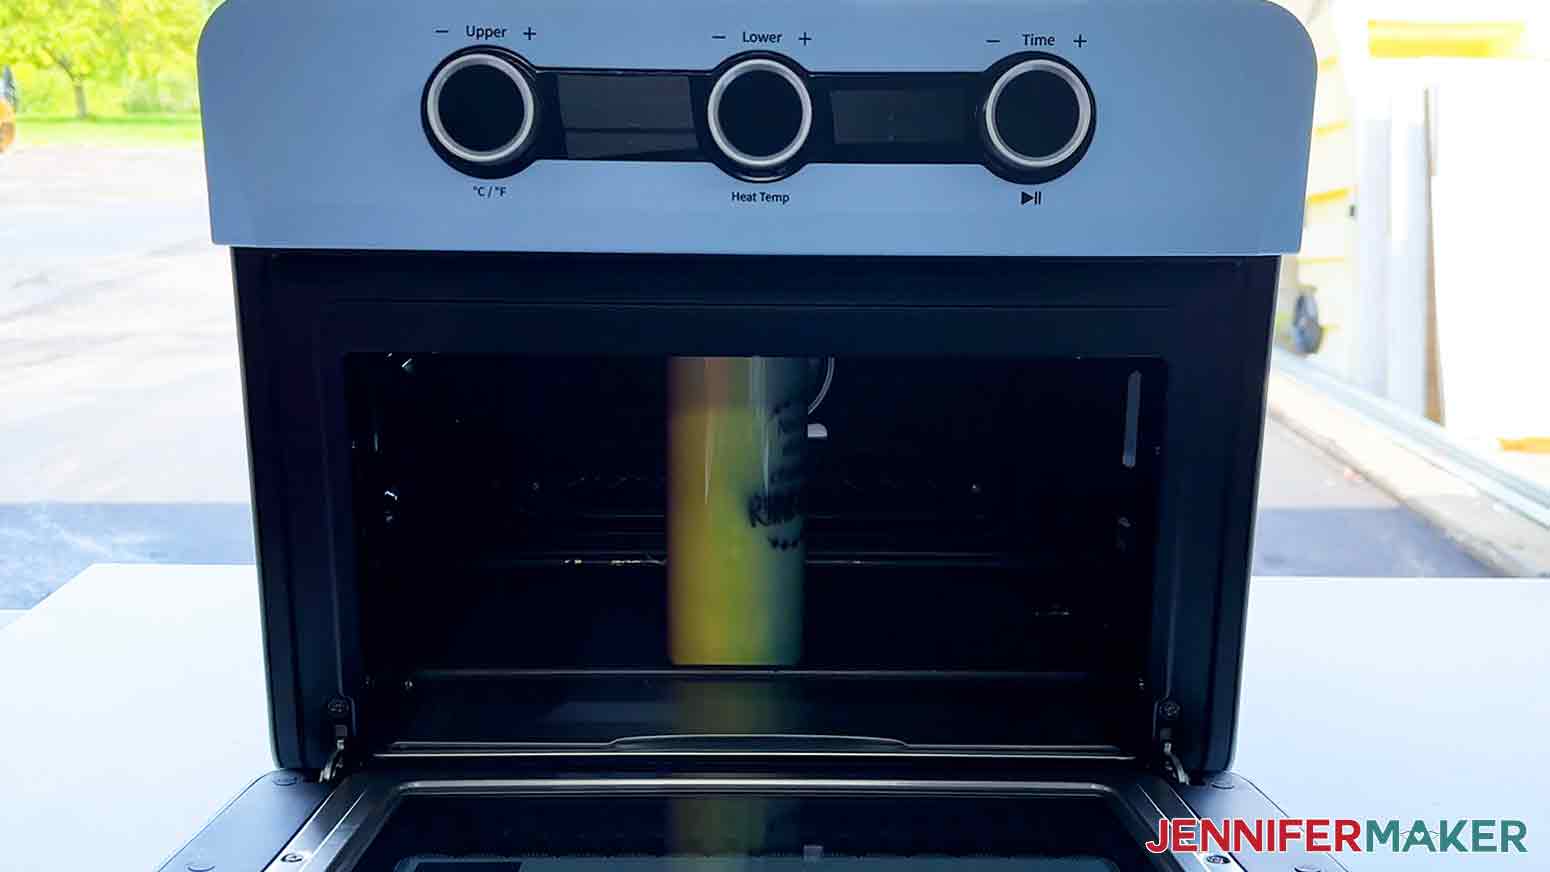
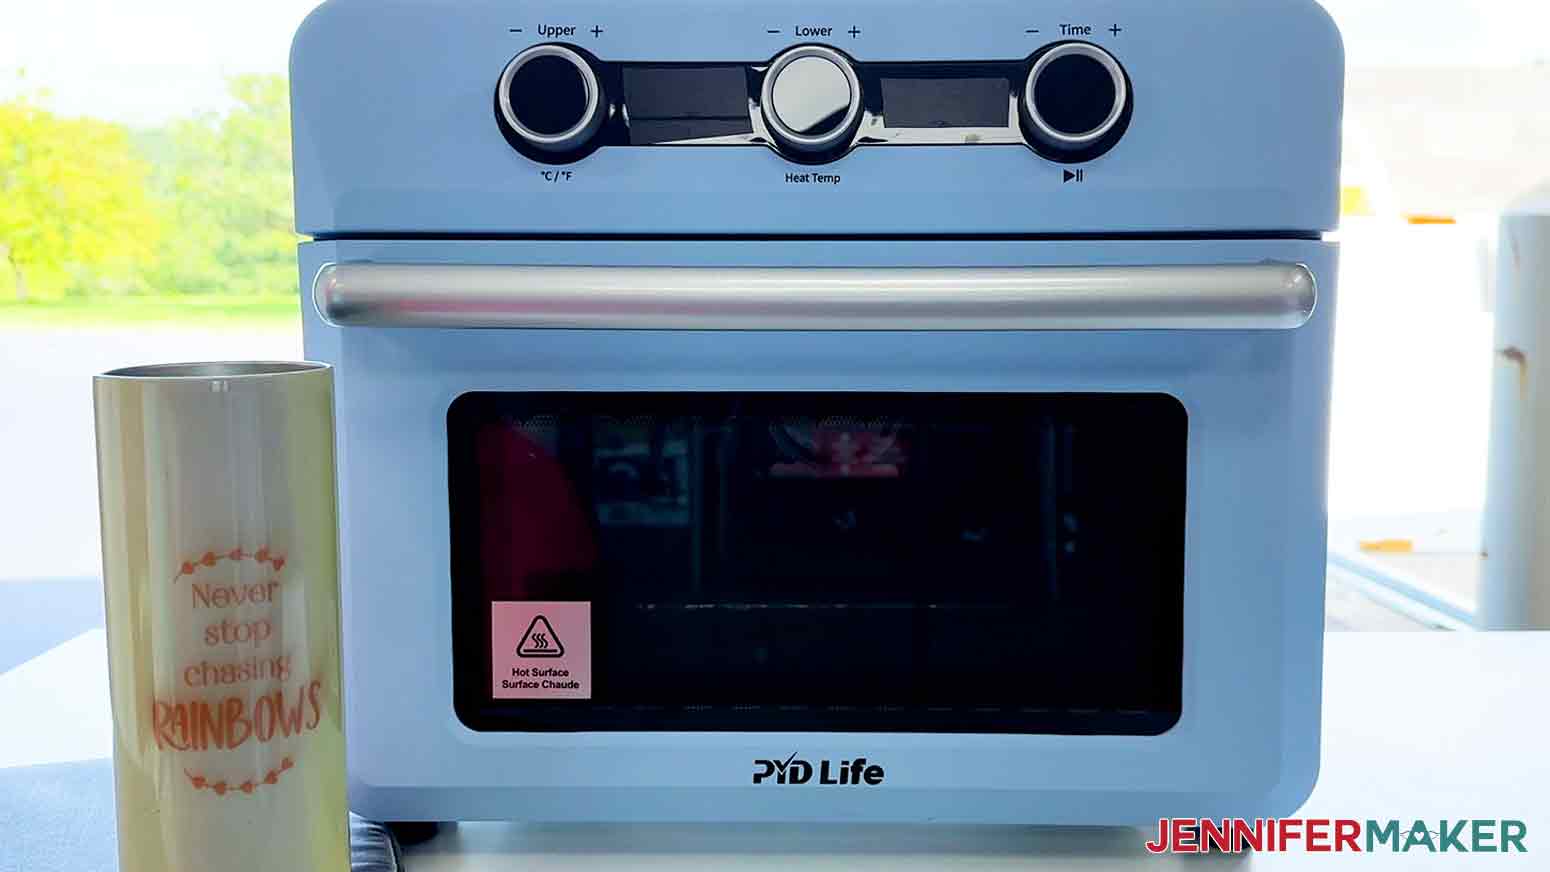
1. Select a tumbler to remove sublimation ink from. I'll use this one with a small "oops."
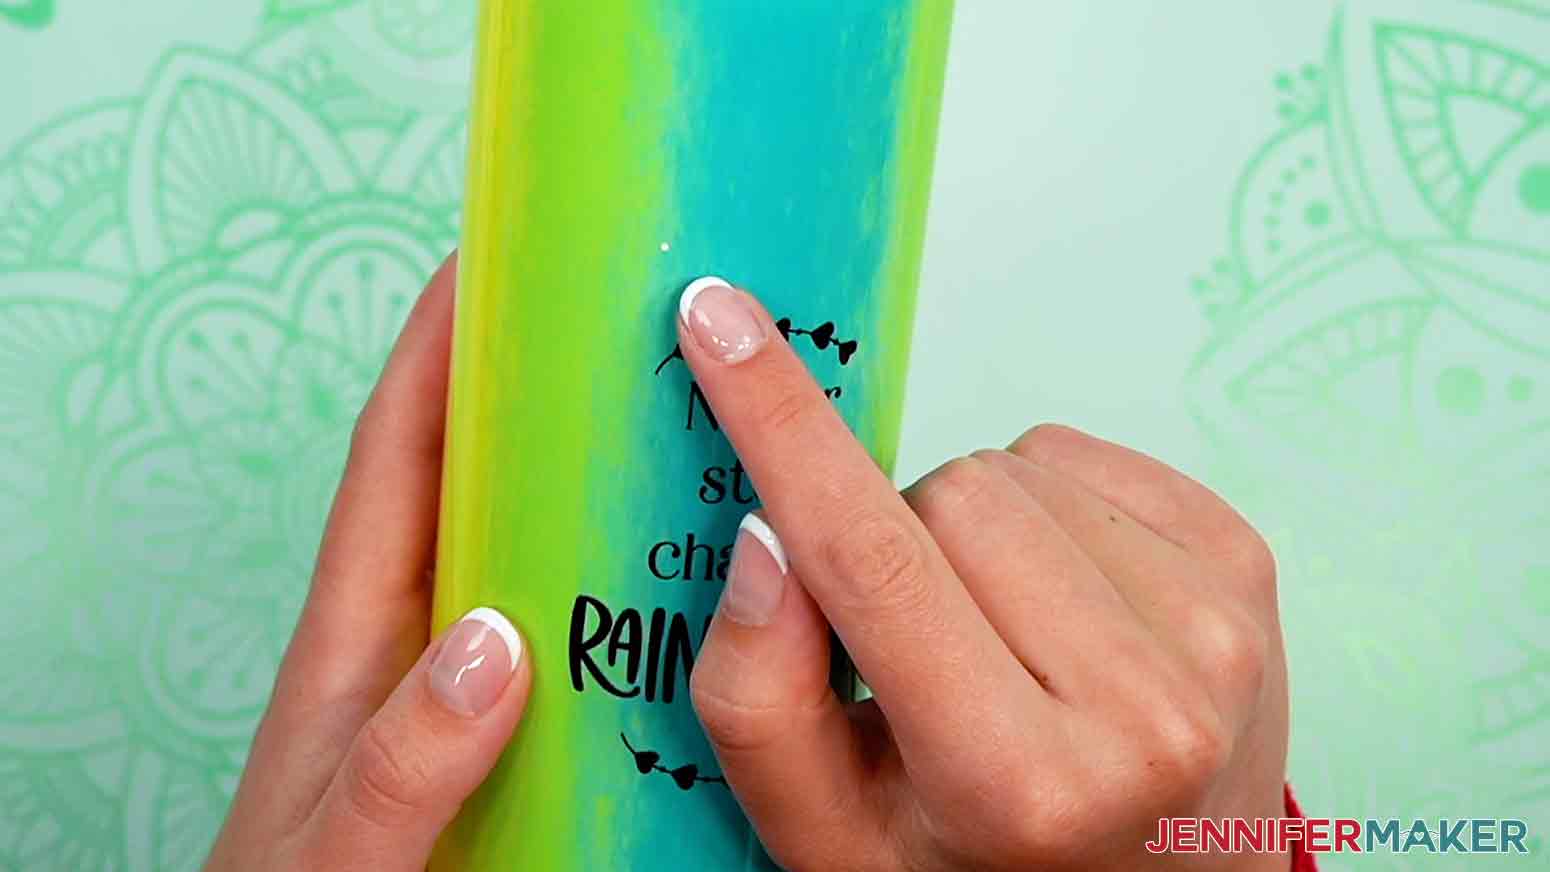
2. Clean the surface of the tumbler with alcohol and a lint-free cloth.
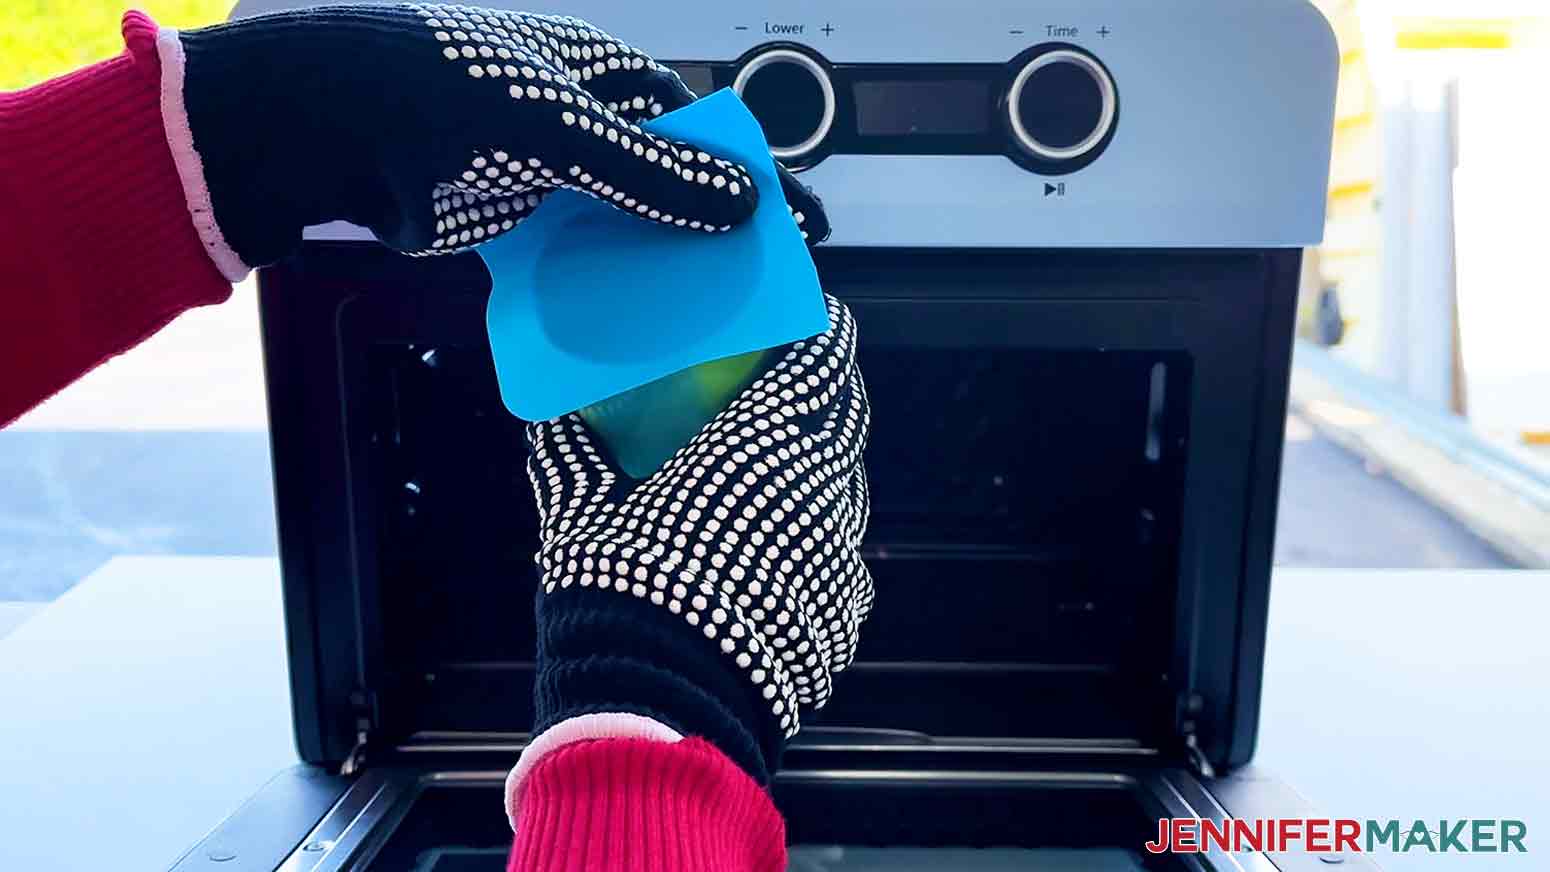
3. Cut a square that is larger than the tumbler opening from the silicone baking mat.
4. Preheat the craft-purposed convection oven to 385°F (196°C).
5. Use an oven thermometer placed in the center of the oven for accurate temperature.

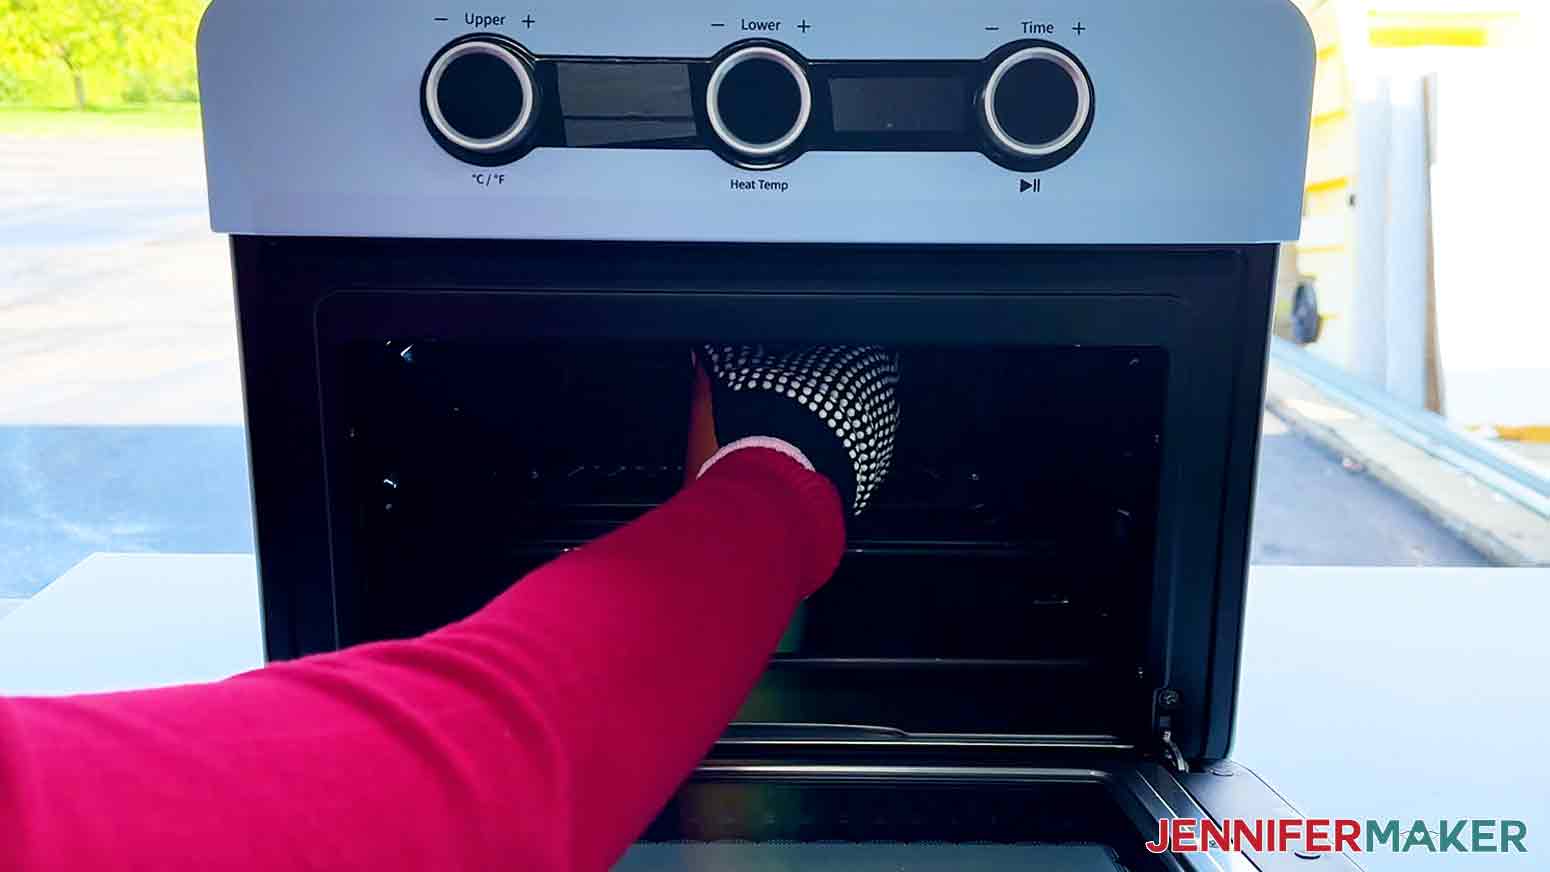
6. Put on heat-resistant gloves.
7. Place the silicone square on top of the tumbler.
8. Place the tumbler in the center of the oven.
9. Set a timer for 15 minutes.
10. When the time is up, check the tumbler’s progress
11. Rotate 180° and place in oven again.
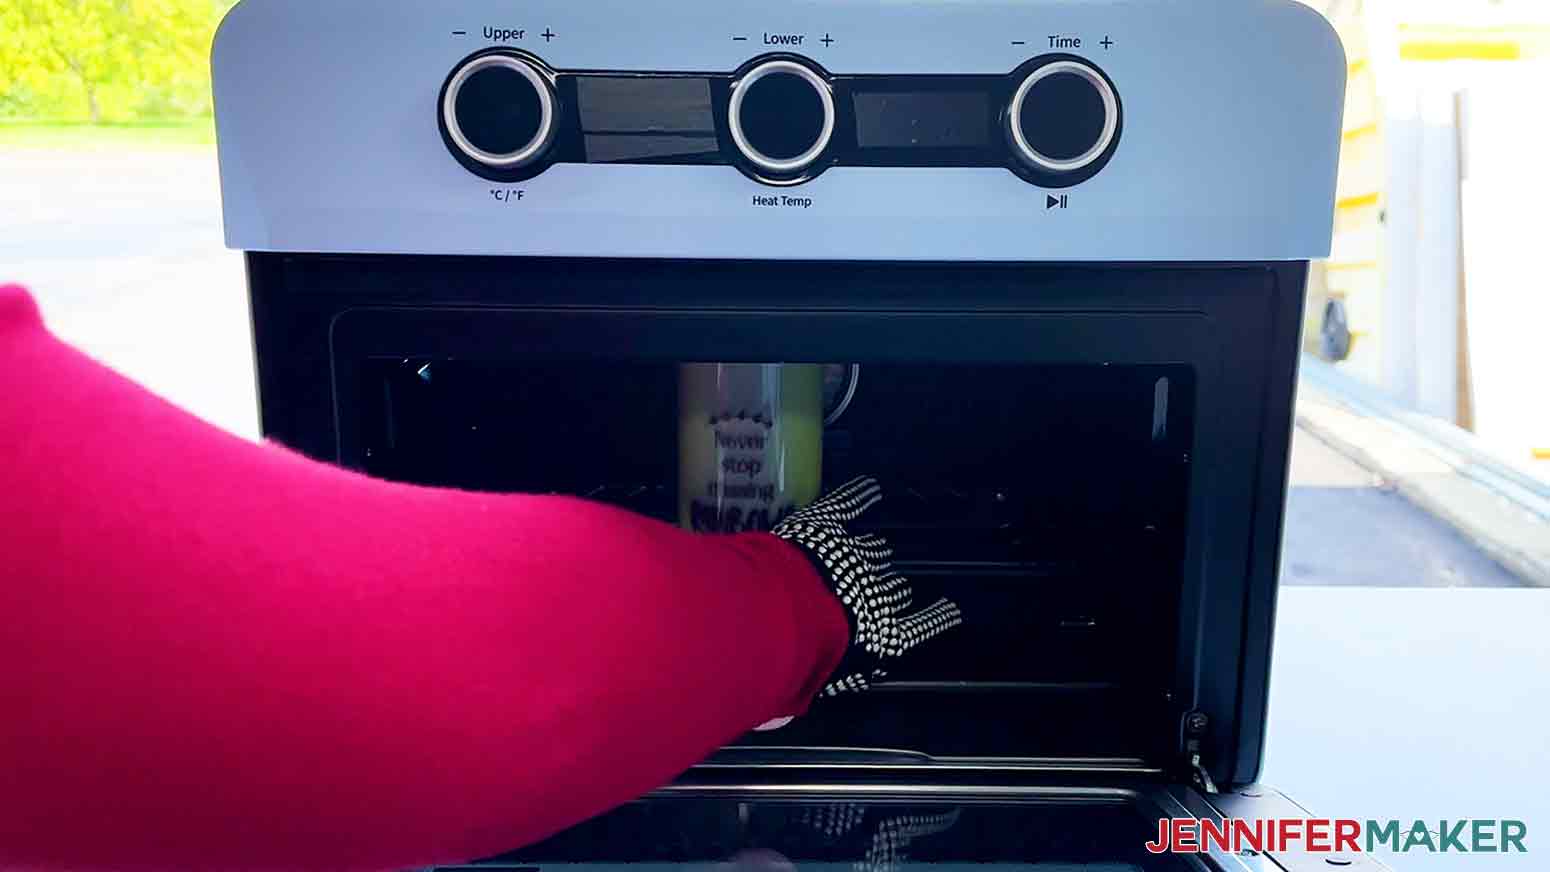
12. Continue steps 9-11 until you have done this for four cycles.
13. After the fourth 15-minute cycle, check the progress of the tumbler. The ink should be significantly lighter.
14. If the ink has released in some places more than others, return the tumbler to the convection oven for another 15 minutes. You can repeat this until you see no more progress.
15. Once the ink is lightened, remove the tumbler from the convection oven wearing heat-resistant gloves.
16. Place the tumbler on a Cricut EasyPress Mat or other heat-resistant surface. Allow the tumbler to cool for at least 40 minutes.
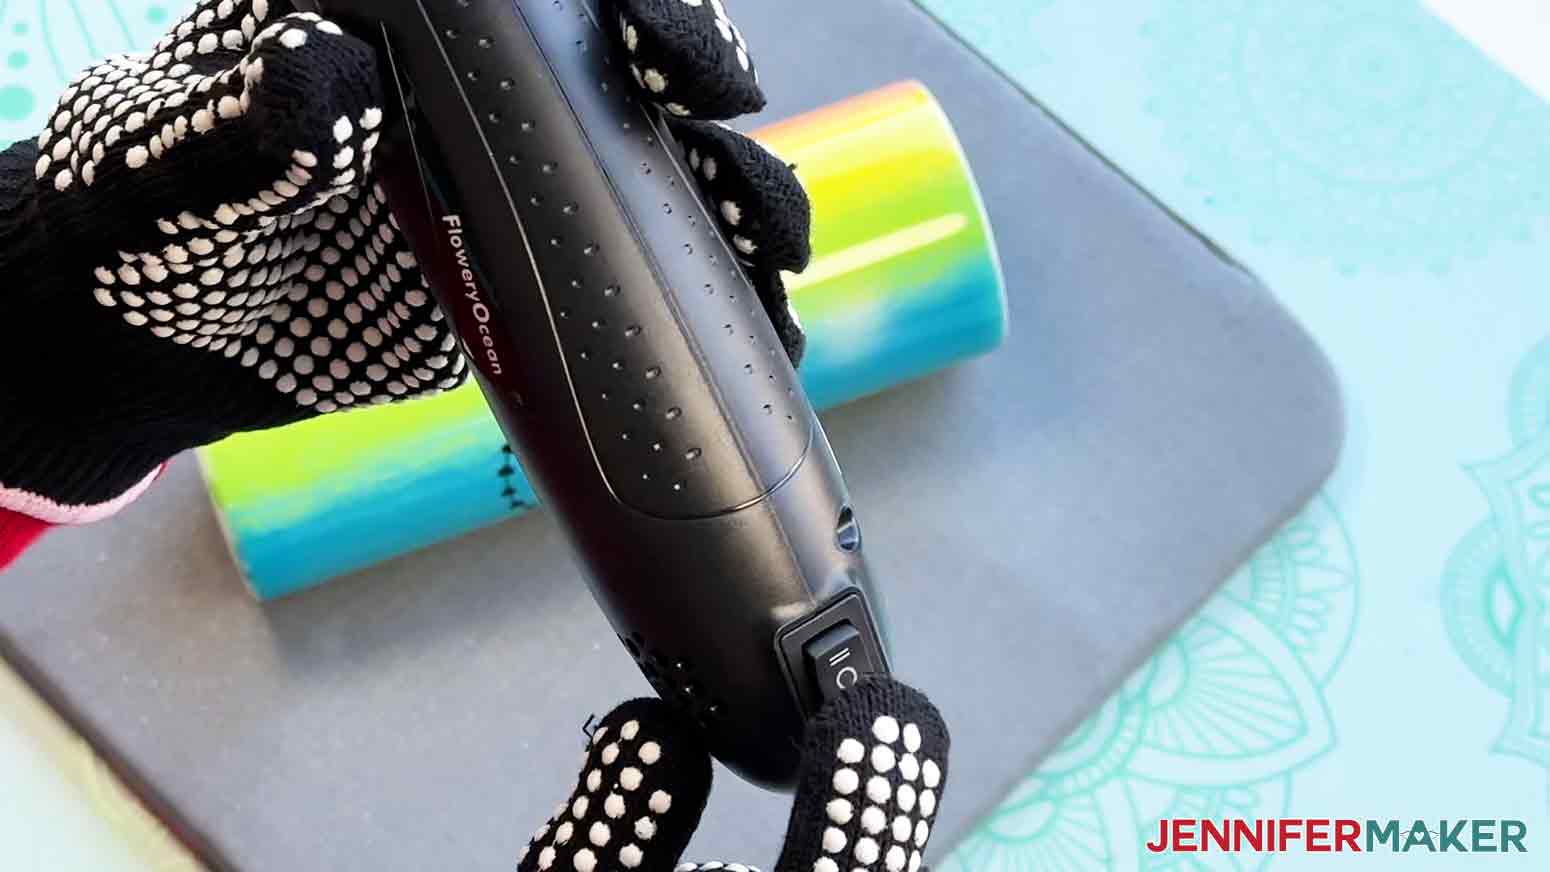
Using a Heat Gun
1. Put on heat-resistant gloves.
2. Place the tumbler on a heat-resistant surface.
3. Begin heating the tumbler using the lowest temperature setting on the heat gun.
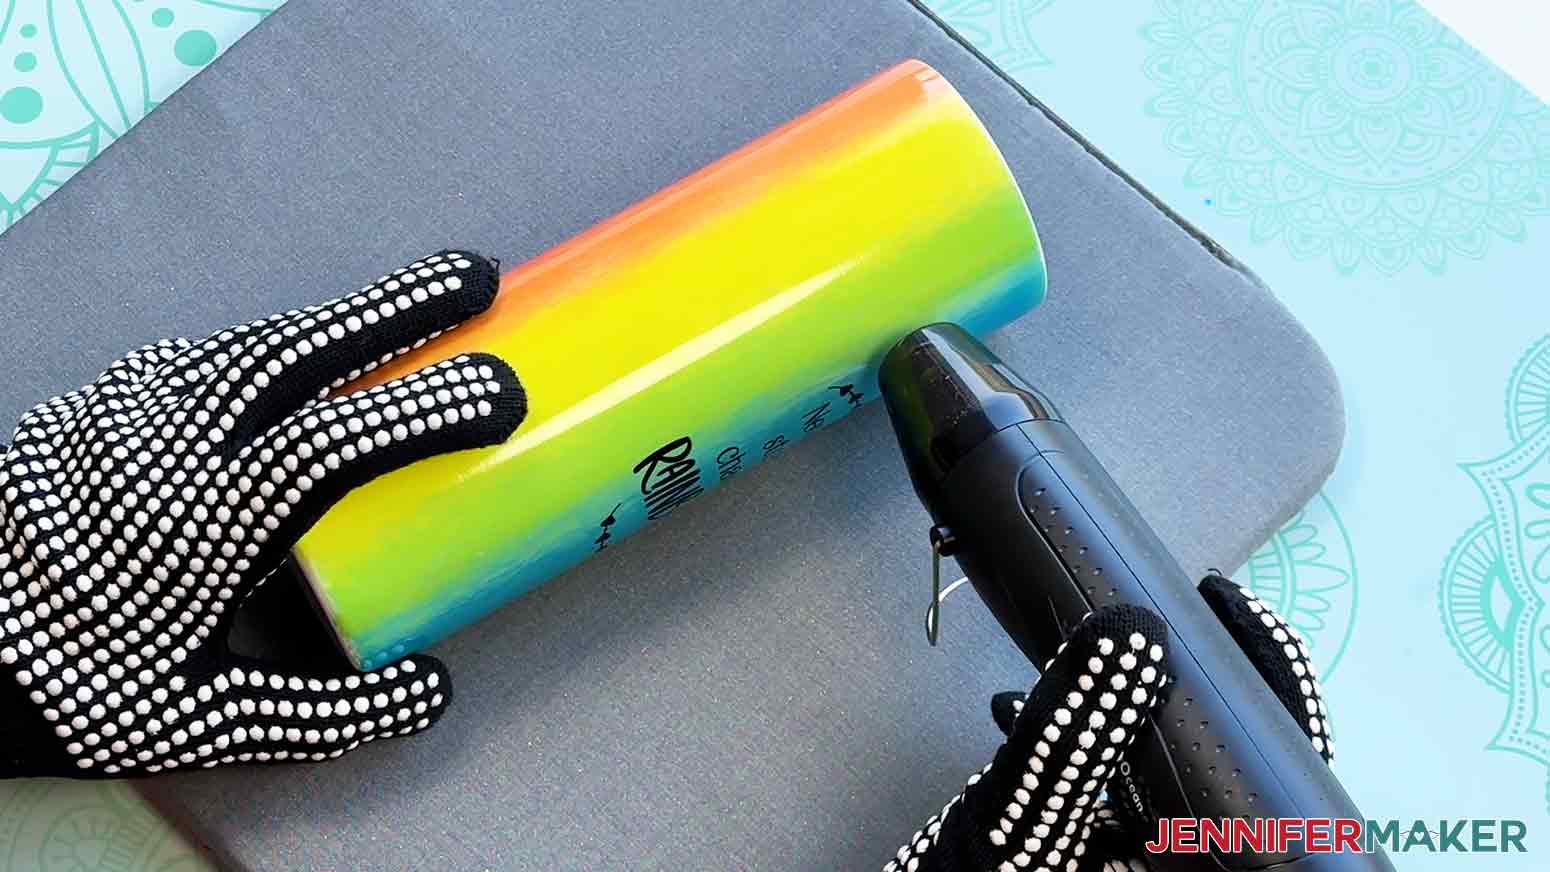
4. If the ink isn’t dissolving, use the higher temp setting.
5. Keep the heat gun at least a quarter of an inch above the tumbler’s surface.
6. Heat in sections to evenly dissolve the ink.
7. Repeat step 6 until the area you want to remove has lightened.
8. Place the tumbler on a Cricut EasyPress Mat or other heat-resistant surface. Allow the tumbler to cool for at least 20 minutes before handling.
STEP 3: SUBLIMATE OVER THE TUMBLER
Before you begin, make sure you have good ventilation by turning on a fan or opening a window.
1. Pre-heat your craft-purposed convection oven to 385°F (196°C).
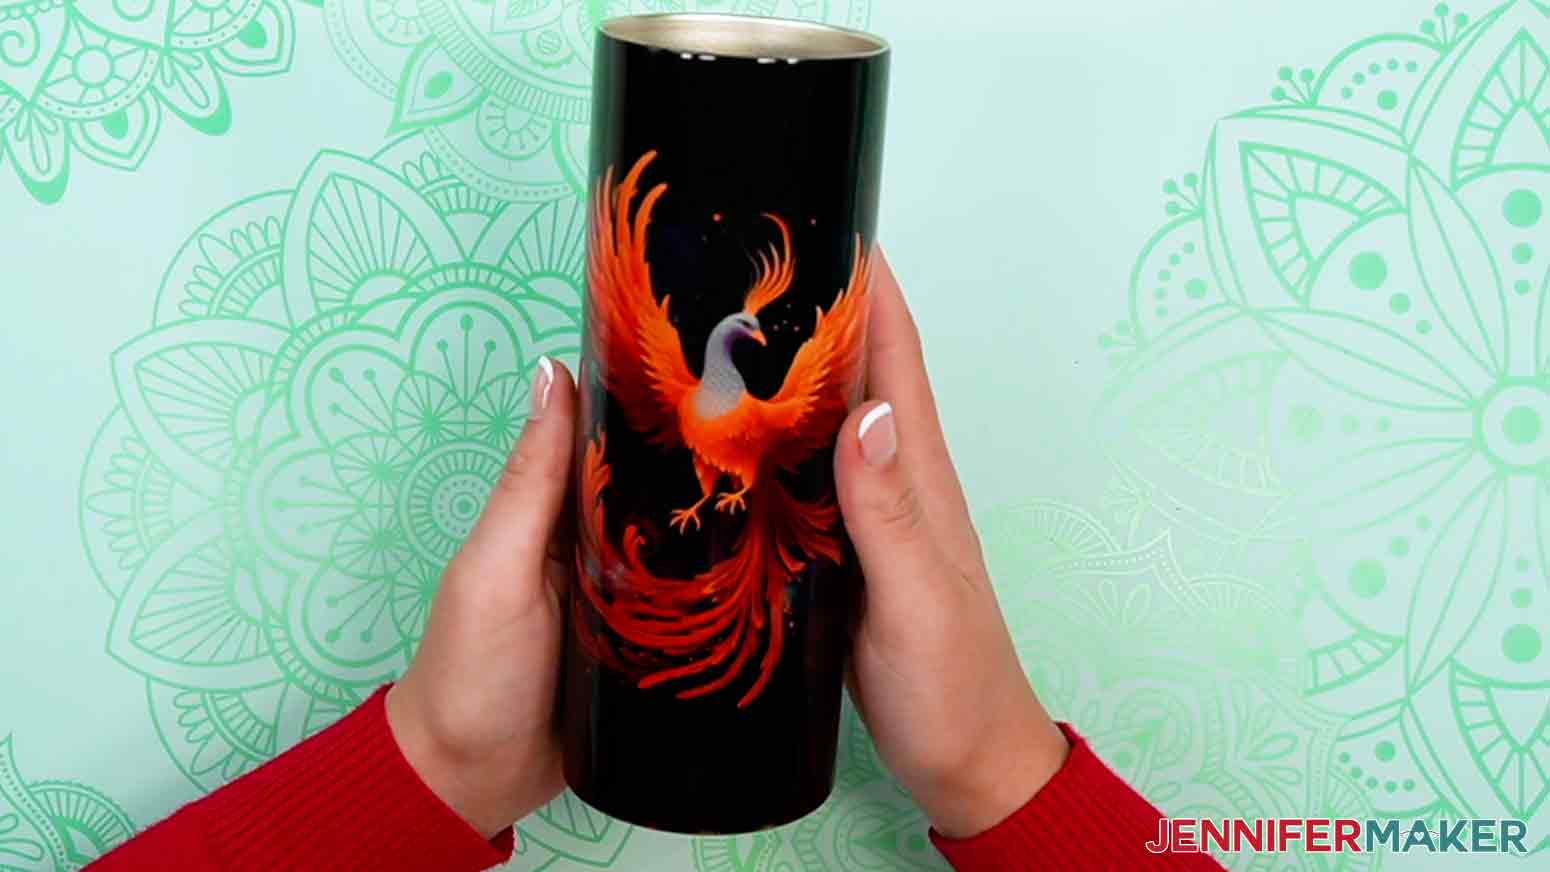
2. Select the design you’d like to use. I’m going to use the "phoenix-1" design.
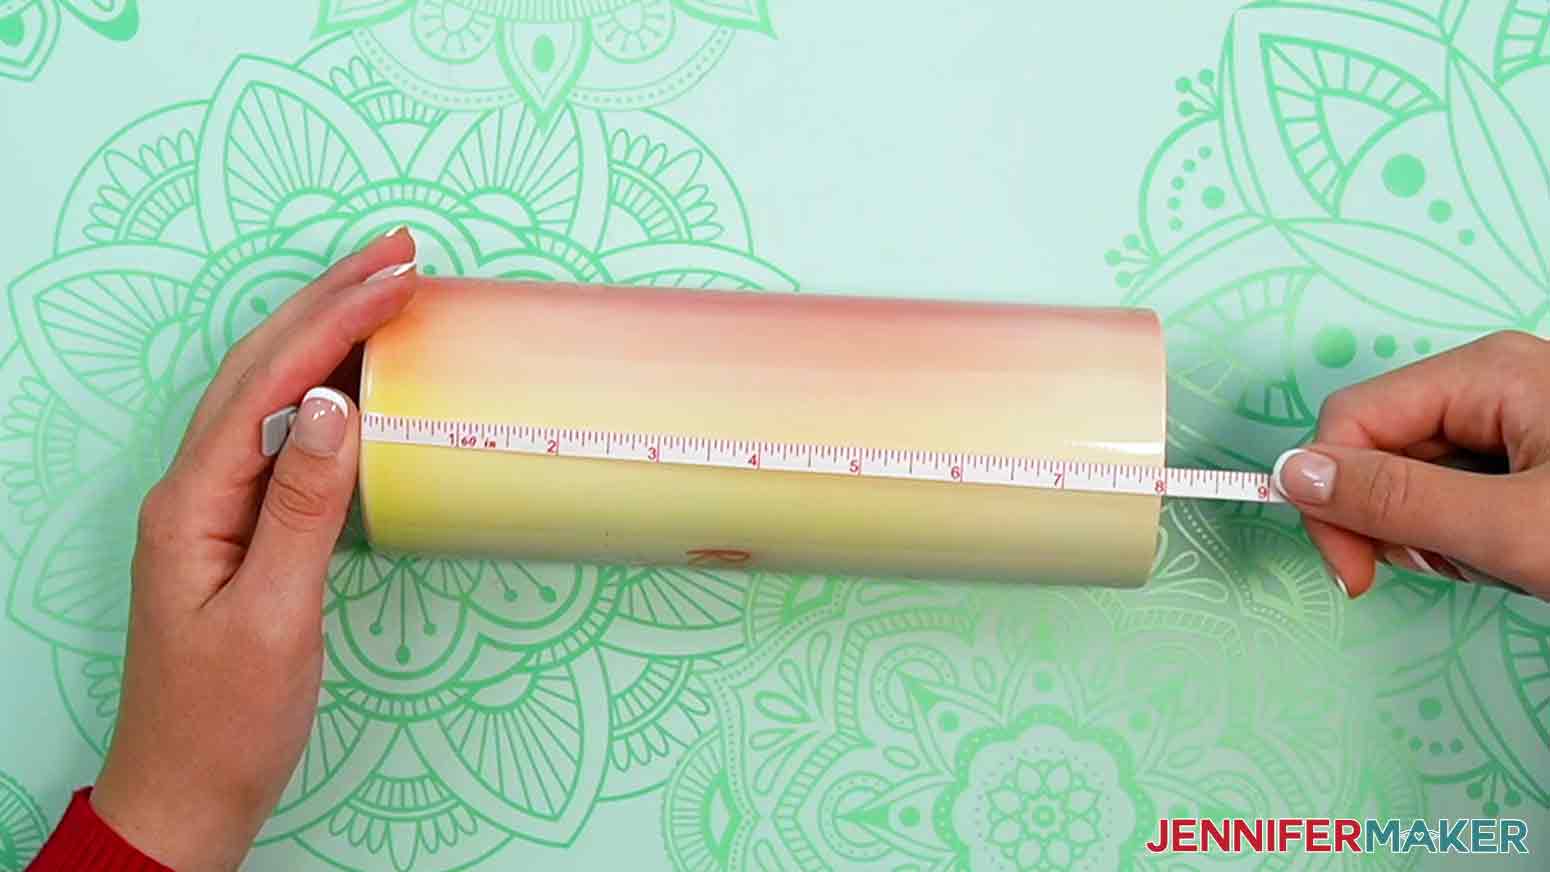
3. Measure the tumbler with a flexible measuring tape.
4. Prepare and print the design.
NOTE: For the complete steps, view my helpful tutorial How to Print Sublimation Designs. If you’re using a tapered tumbler, my How to Sublimate Tapered Tumblers tutorial has some helpful tips.
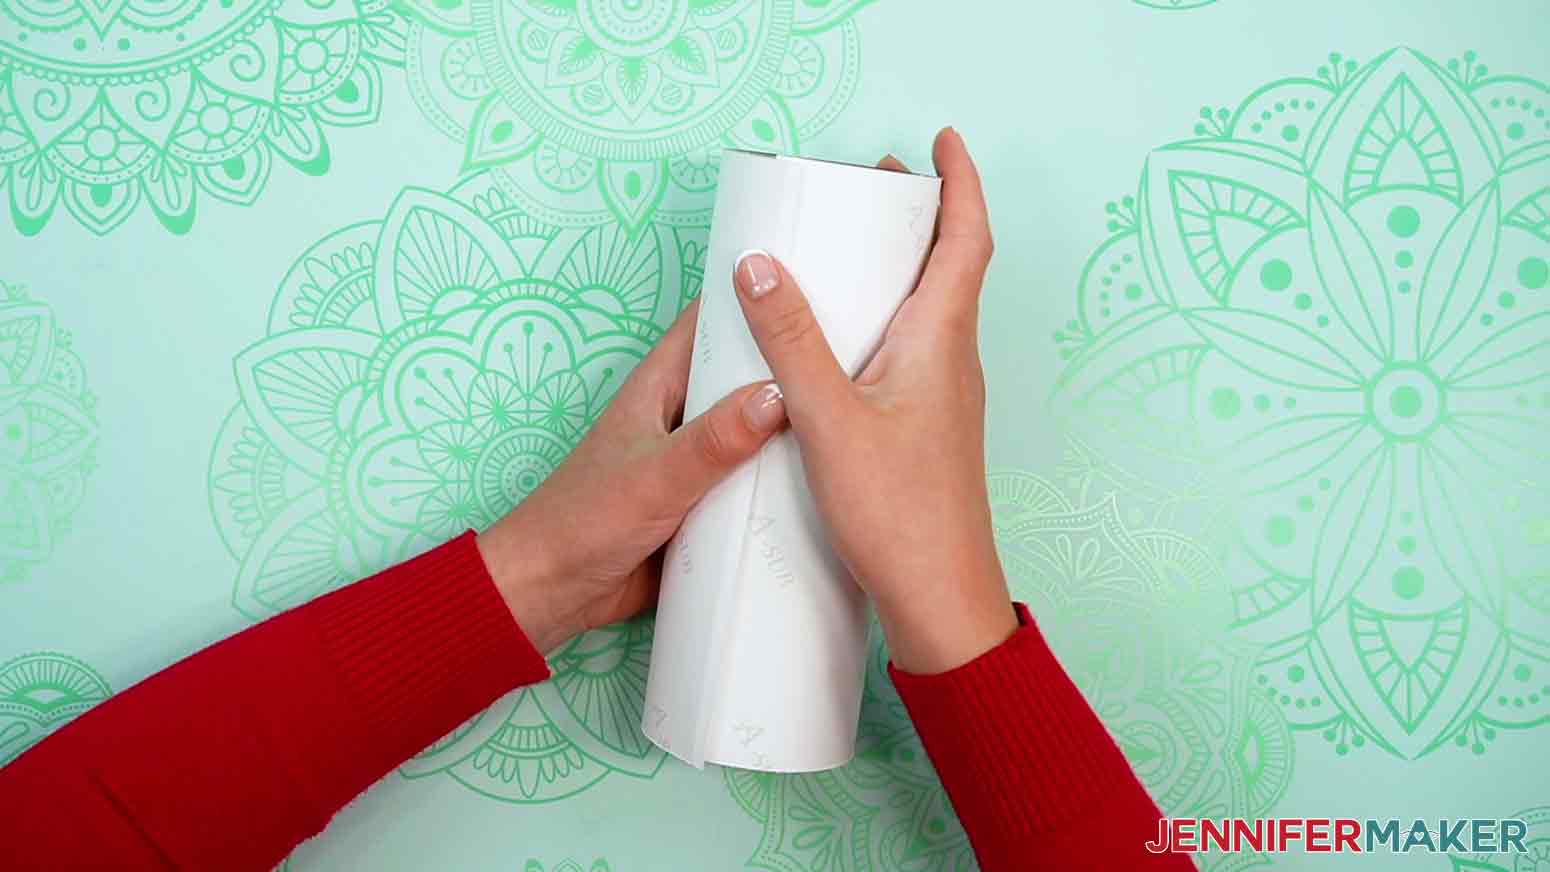
5. Place the print face-up on your work surface.
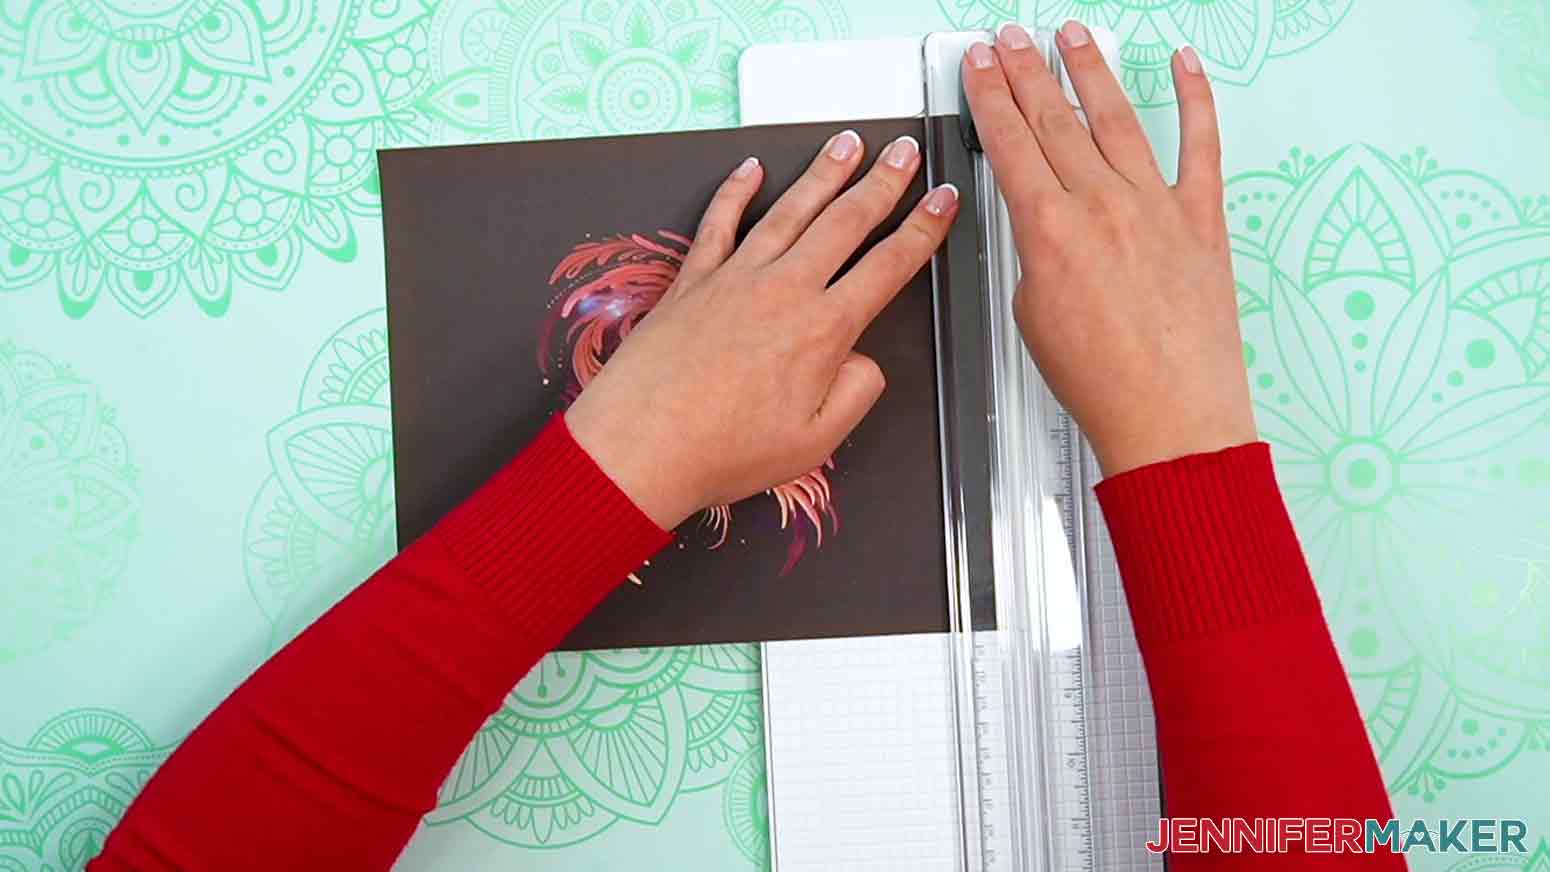
6. Trim the top, bottom, and right edges of the design right on the edge of the ink using a trimmer.
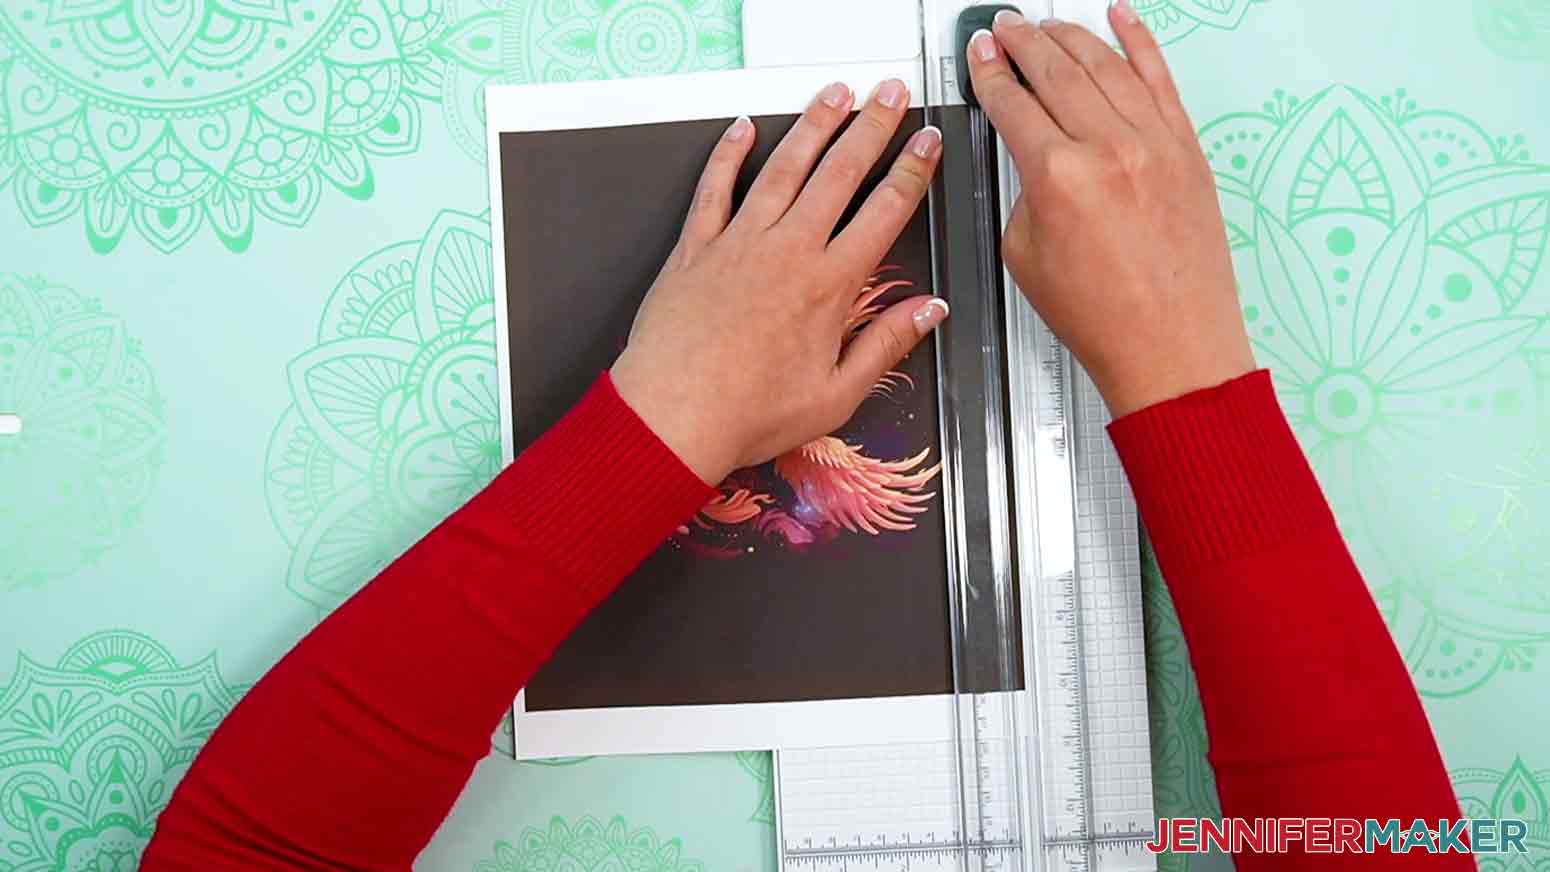
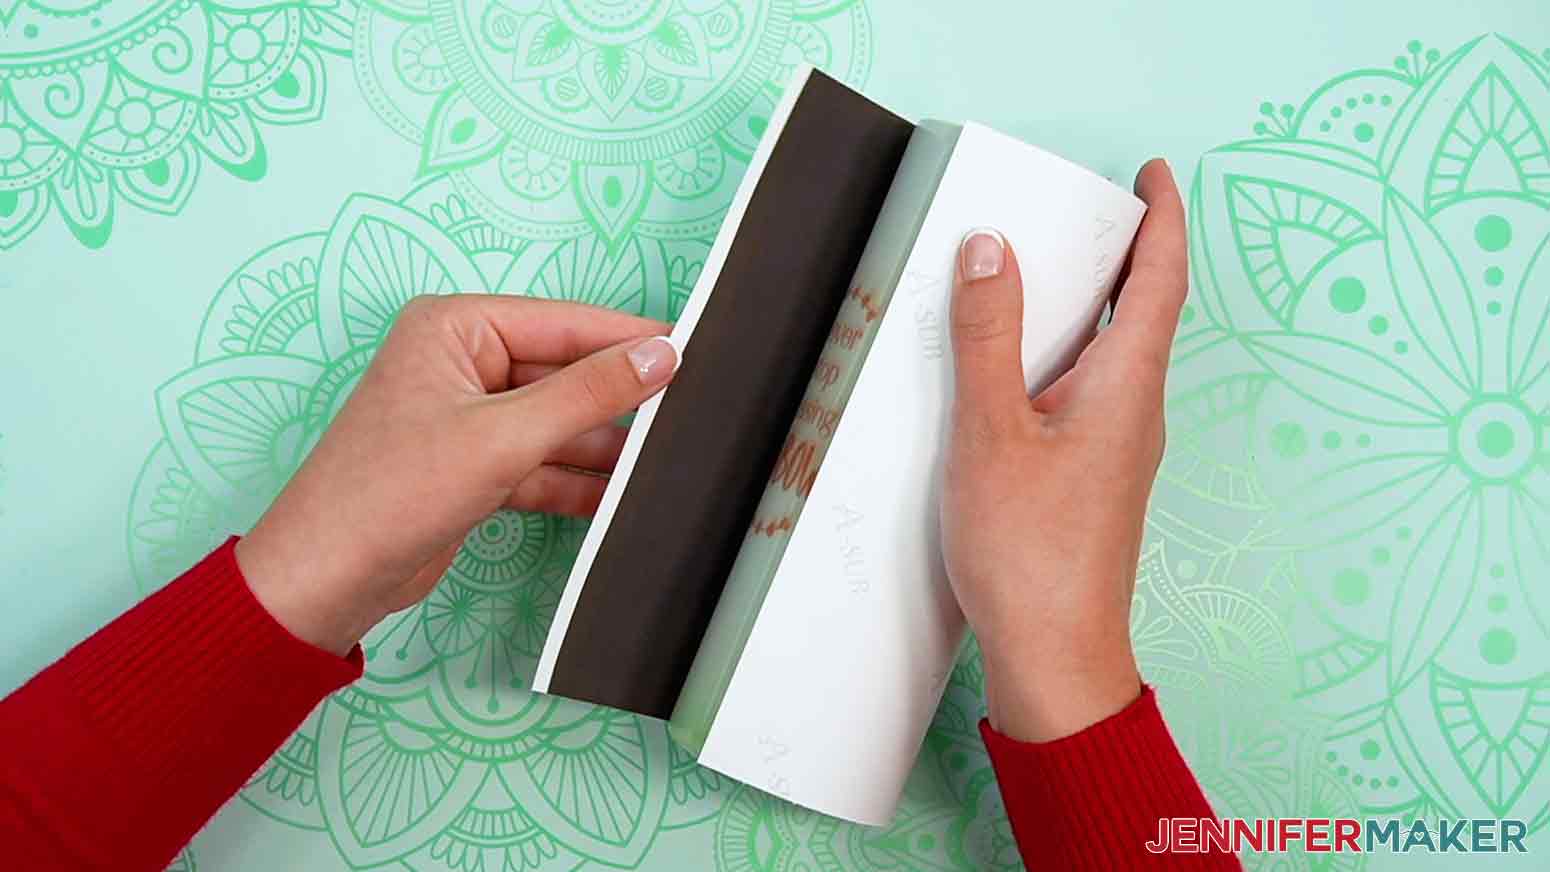
7. The left edge is where we'll create the overlap to blend the seam as much as possible. Trim that edge so there is about a 1/4" strip of white left next to the design.
8. Place the tumbler on your work surface with the open edge at the top.
9. Make sure the print is correctly oriented and wrap it around the mug so the ink touches the surface.
10. Where the edges overlap, put the side with the white showing on the outside of the layers.
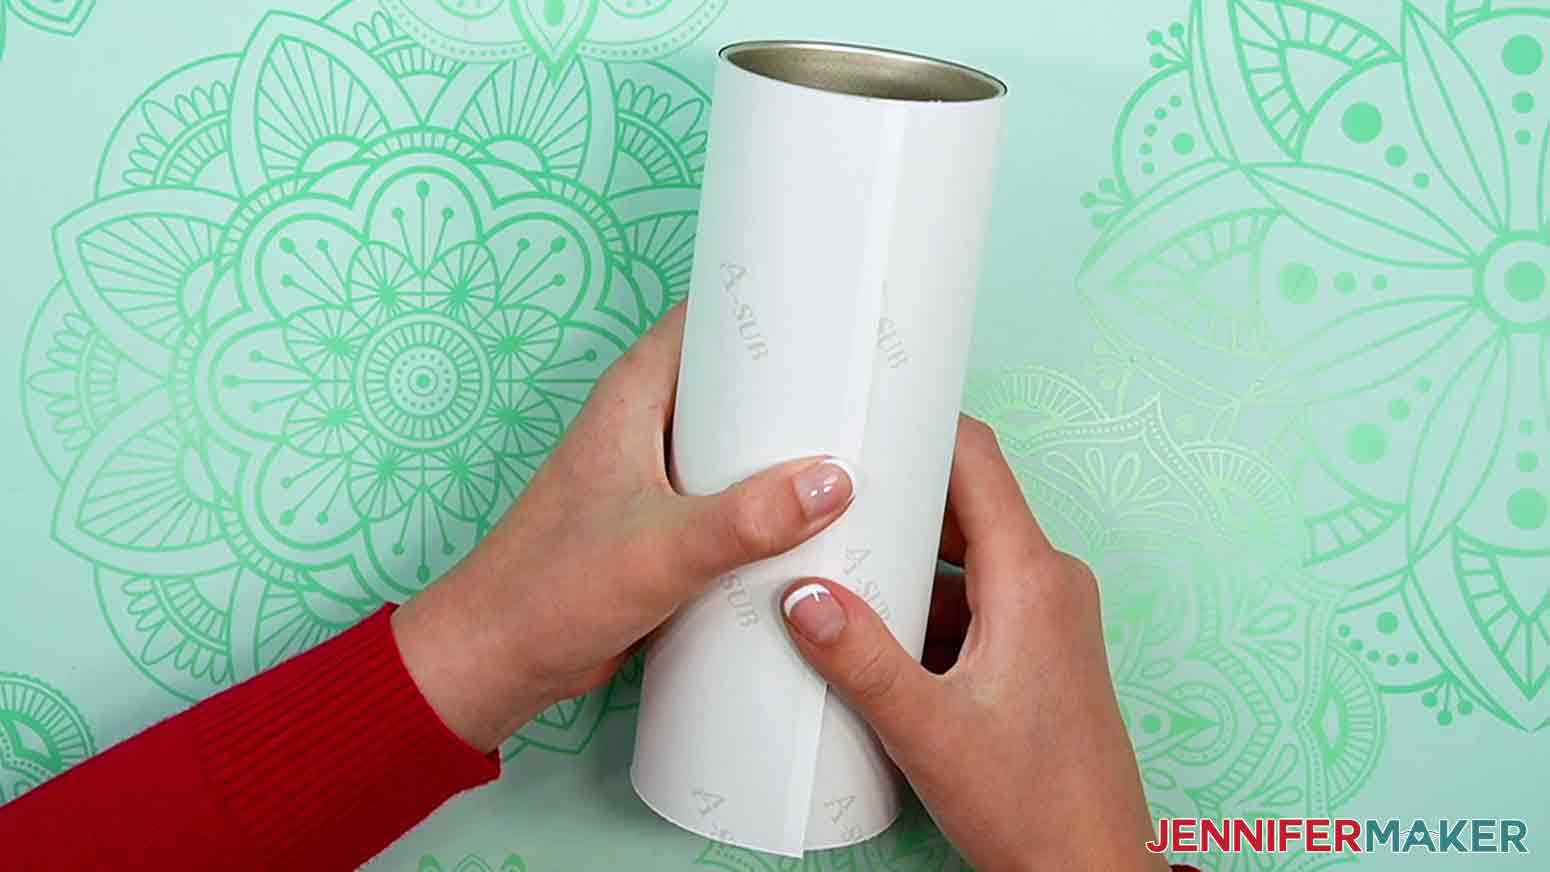
11. Check the top and bottom edges of the print. The edges of the tumbler should be completely covered all the way around.
12. Lay the tumbler on its side.
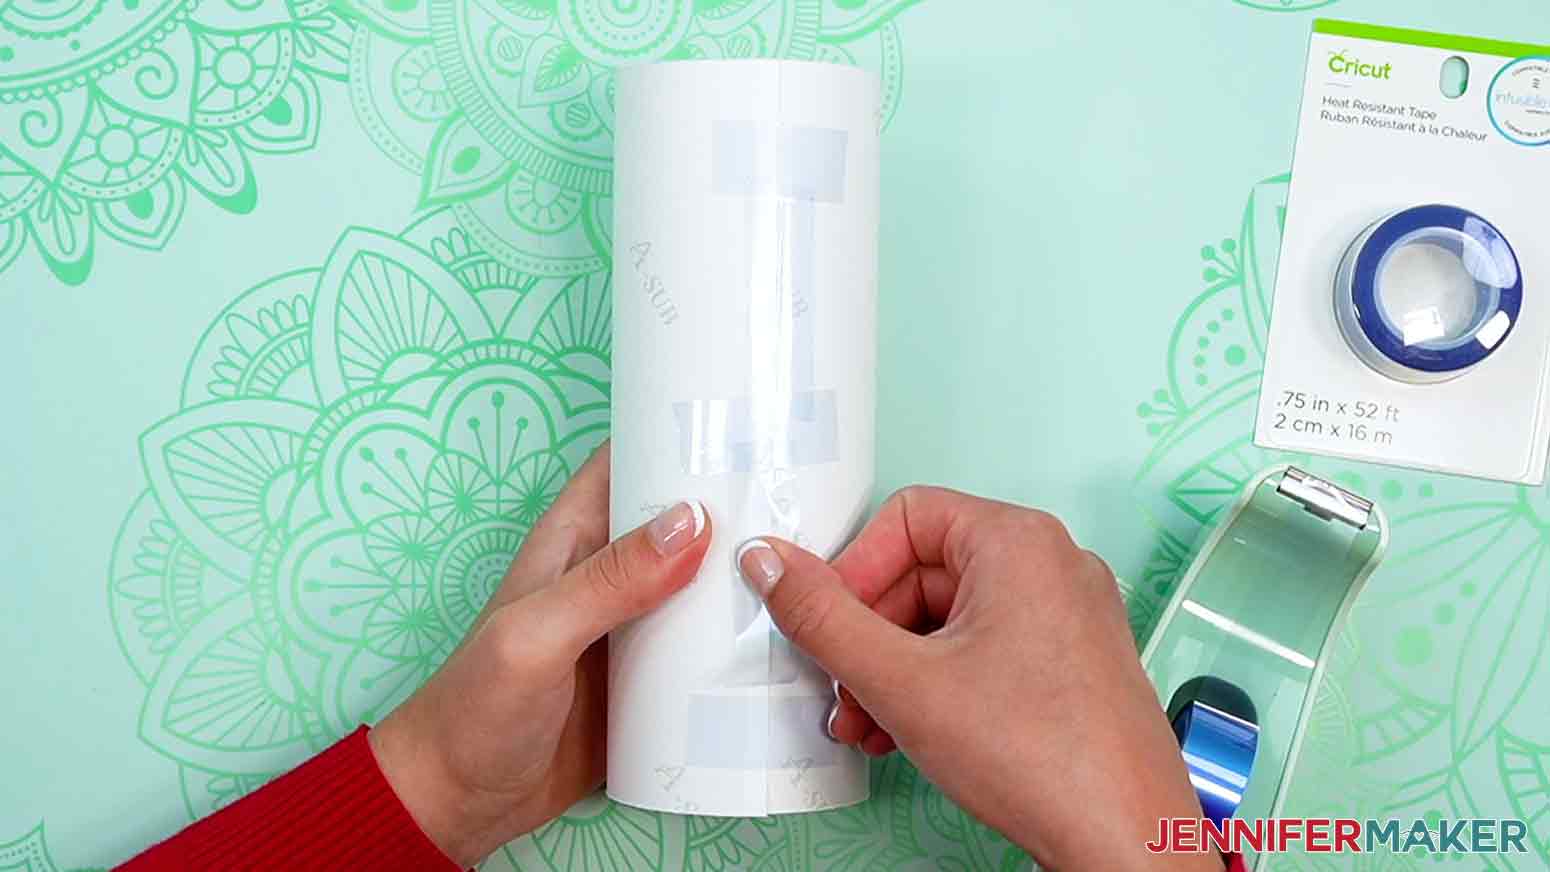
13. Place a piece of tape securely on the white edge of the paper, centered from top to bottom. Don't let the tape touch the paper on the other side of the seam yet.
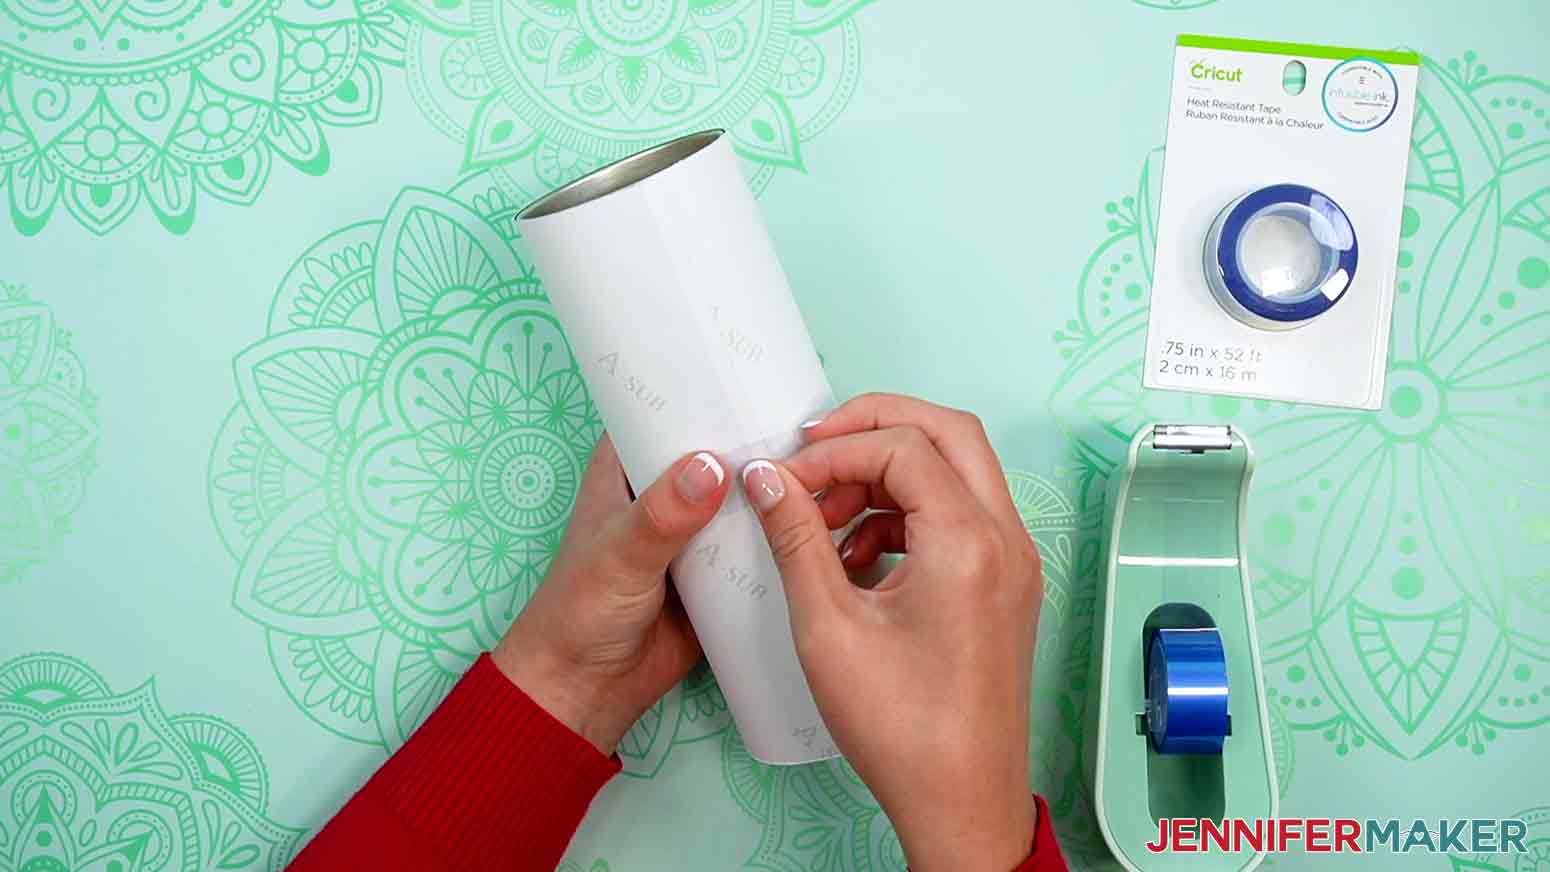
14. Use one hand to hold the lower layer of the design tight against the tumbler.
15. Pull the loose section of tape as tight as possible and press it in place on the lower layer.
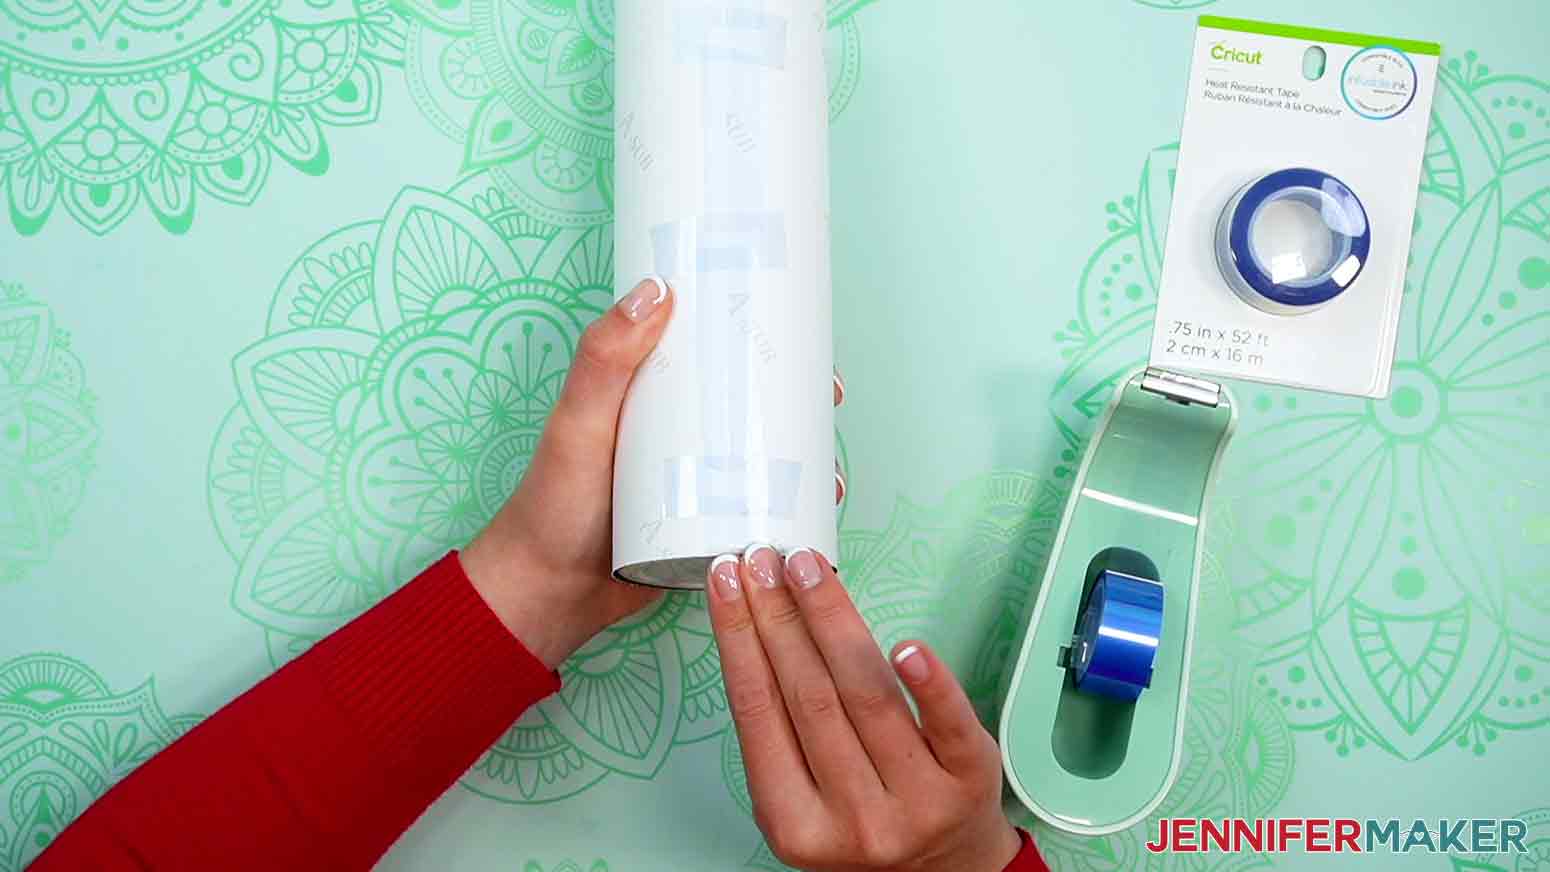
16. Add two more pieces of tape using the same method between the first piece and the top and bottom edges of the design.

17. Add more tape perpendicularly to bridge the three pieces and completely cover the seam in between them.
18. Once the paper is secure, add tape to cover the top remainder of the seam, allowing some to extend past the edge.
19. With your thumb on the tape, pull the extra tape as hard as you can over the edge and secure it inside the tumbler.
![]()
20. Repeat for the bottom portion, securing the paper to the bottom of the tumbler as well.
21. Trim a sheet of butcher paper and tape the butcher paper around the outside of the tumbler.
22. Use a shrink-wrap tube, silicone bands, or a silicone sleeve on the outside of the tumbler.
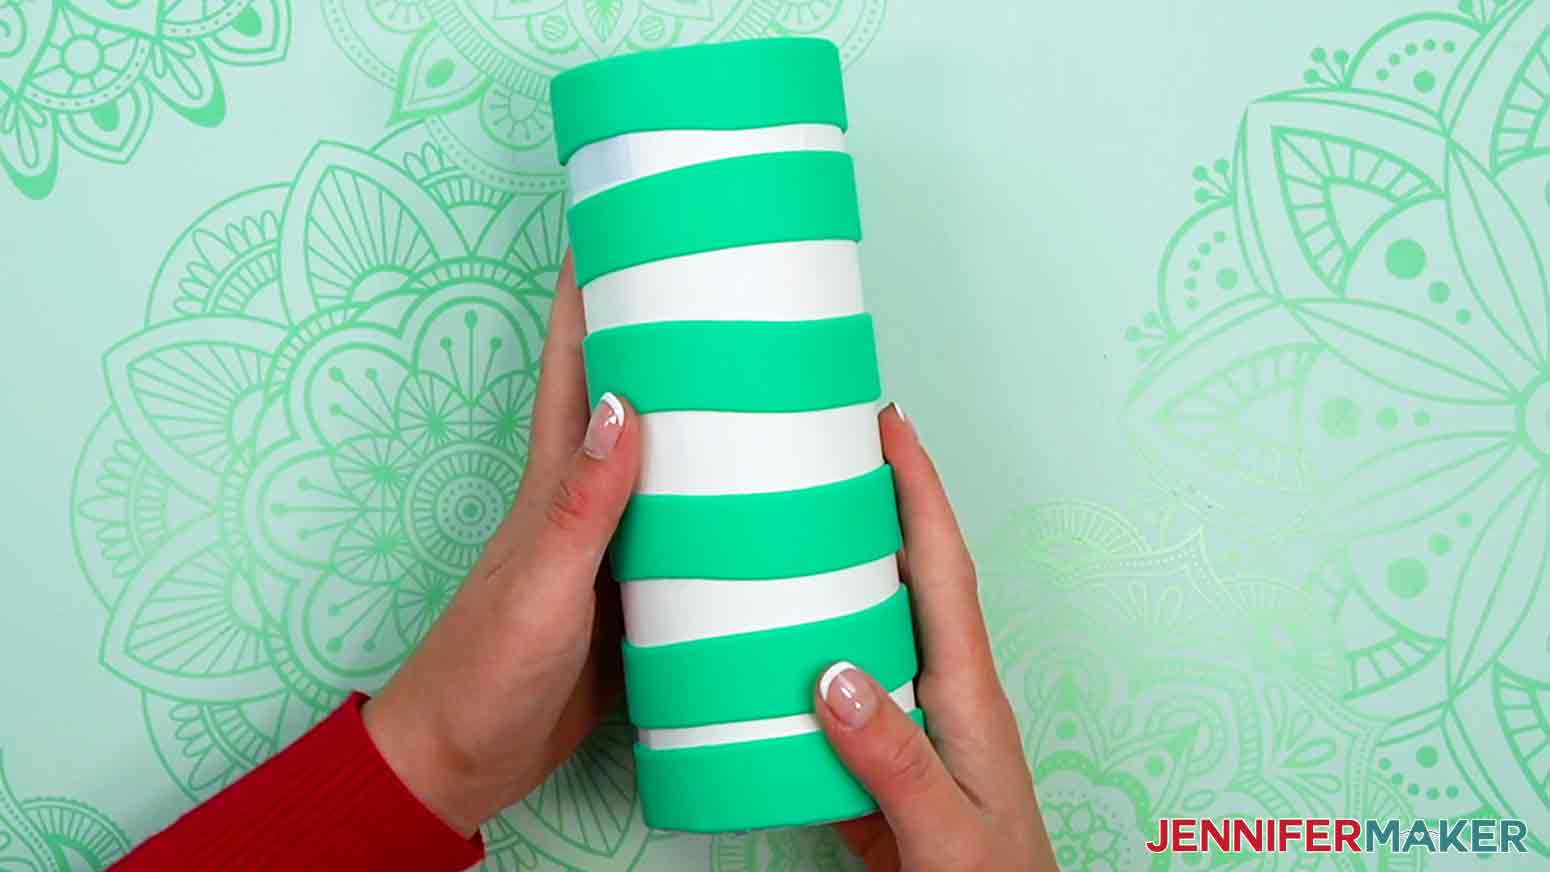
23. Place the prepared tumbler in the center of the oven.
24. Set a timer for 6 minutes, rotating 180° halfway through.
25. Remove the tumbler from the oven using heat-resistant gloves.
26. Allow to cool for at least 40 minutes before removing the outer layers of paper.
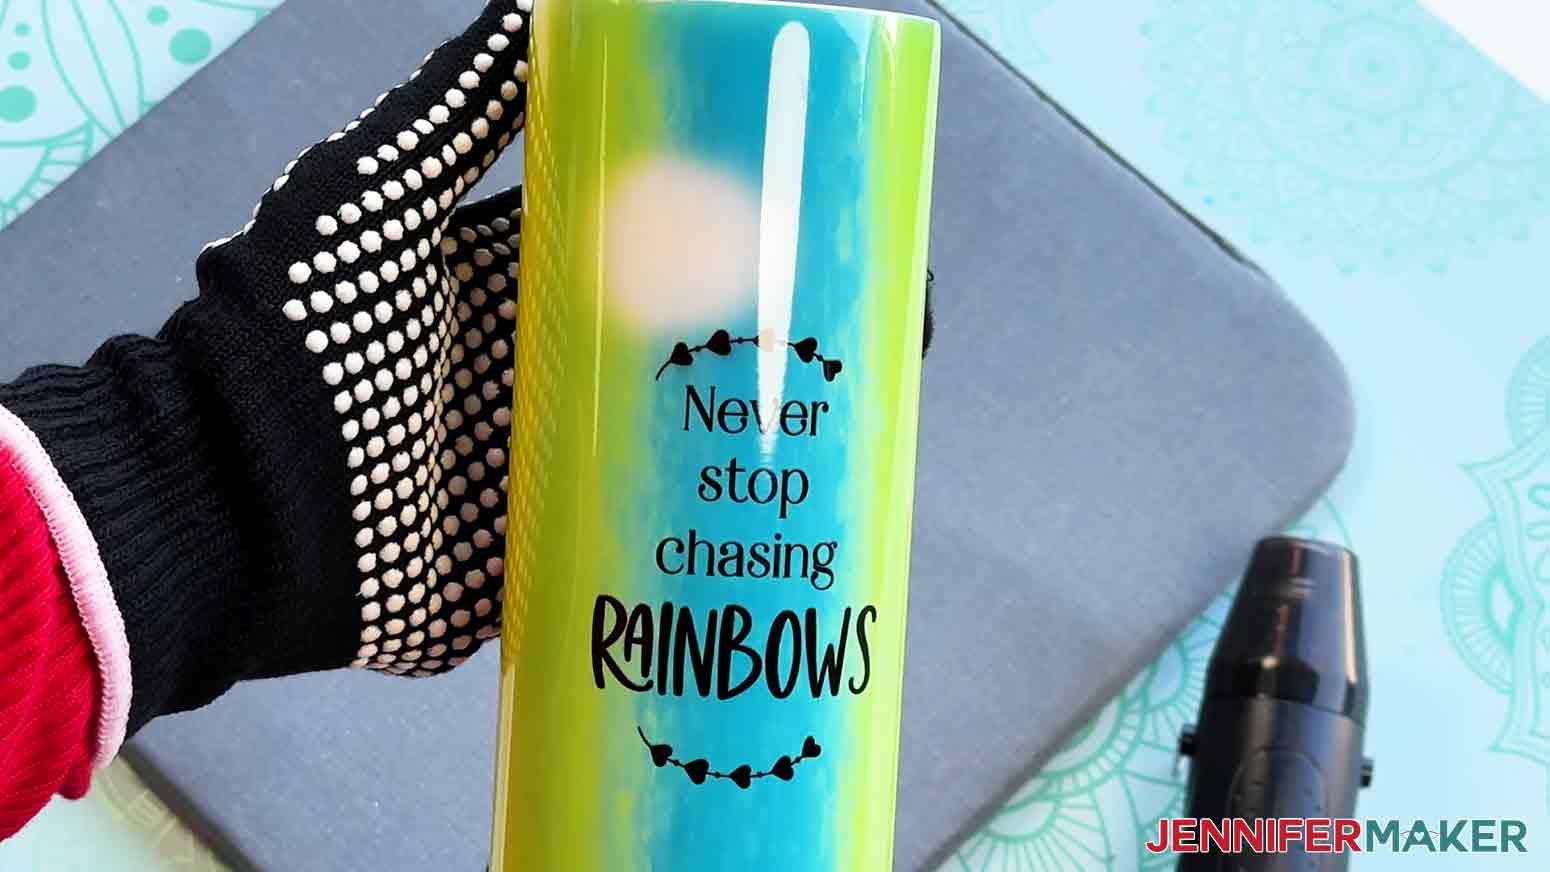
STEP 4: SHOW IT OFF!
Here is my newly sublimated tumbler. Isn't it beautiful?
Notes
Care instructions: Hand wash with mild dish detergent.
The printed size of the tumbler wraps measures 9.5” x 8.1”
Answers to Your Questions About How to Remove Sublimation Ink from a Tumbler
Q: Can I remove sublimation from a tumbler? Can sublimation be undone?
A: Applying high heat to a sublimated tumbler is an effective way to transform the sublimation ink back into a gaseous state. When this occurs, the ink can dissolve or evaporate out of the sublimation coating on the tumbler. While it’s unlikely that you’ll be able to remove ALL of the ink, you can significantly lighten the design, leaving the tumbler suitable for re-sublimating with a darker image that can cover the residual ink.
Q: How do you fix sublimation mistakes?
A: Sublimation mistakes are going to happen, but this tutorial can help with some of them. There are various methods to try to fix or erase sublimation mistakes, but this tutorial shows you how to do what I find to be the most effective method, which is using heat to lift the sublimated design out of the polymer or polyester material it was sublimated into. In this tutorial, I show you how you can use a convection oven to lighten your tumbler’s entire sublimated design, so you can re-sublimate it with another one. However if you just have a small mistake on an otherwise well-sublimated tumbler, crafters have had some success doing spot-fixes with a heat gun. I walk you through both methods in my video!
Q: Does sublimation ink wash out?
A: Sublimation ink (and infusible ink) becomes a part of the polymer coating or surface, and cannot be washed away. However, sublimated items like tumblers and sublimated mugs can lighten significantly when washed regularly with hot water, or repeatedly run through a dishwasher. Because of this, it’s best to hand-wash sublimated drink-ware with warm, soapy water. To remove sublimation ink from a tumbler, you’ll need to apply high heat from a convection oven or a heat gun.
Q: Can you sublimate a tumbler twice?
A: In my tests, I found that you can sublimate tumblers twice. However, it’s important to note that the re-sublimated tumbler’s design may be more prone to scuffing or scratching than the original sublimated image. I’m not sure if this is because of a degradation of the polymer coating from all of the heat or another reason, but it’s definitely something to consider. I’d recommend doing some tests on your own tumblers of choice, especially before gifting or selling them. In this tutorial, I’ll show you how to remove sublimation ink from a tumbler so you can give your “oops” projects another chance!
Q. How do I care for a sublimated tumbler?
A. To care for your sublimated tumbler and keep its design looking amazing, keep it out of the dishwasher! Simply hand-wash it with dish soap and warm water and a gentle sponge, then leave it to air dry or wipe it dry with a clean, soft cloth. Follow these care instructions and it should hold up indefinitely. The same applies for sublimation mugs, cutting boards, or anything else that you’ve sublimated that may need cleaning after use.
Q: Do you let sublimation tumblers cool before peeling?
A: Yes. Why is it a good idea to let your tumbler cool before removing the heat resistant tape, butcher paper, and sublimation paper? For one, the tumbler will still be sublimating after it’s removed from the heat source, and keeping the design in place will make sure the image fully sublimates. Also, moving the paper while it and the tumbler are still hot from the oven can cause the ink to smear or blur…which is what we’re trying to avoid! But if you have made a mistake like this, just follow my steps for un-sublimating your tumbler so you can give it a second shot. And next time, cool peel!
Q: What is the best temp for sublimation tumblers? How many minutes do you sublimate a tumbler?
A: Determining the best temperature and time to sublimate or re-sublimate tumblers depends on your heat source. If you’re using a craft-purposed convection oven like me, I recommend you sublimate your tumbler at 375°F (190°C) for 6 minutes. If you’re using a craft-purposed air fryer, I recommend 385°F (196°C), also for 6 minutes. If you’re using a tumbler press, I recommend sublimating at 360°F (182°C) for 100 seconds, using medium pressure (around 40 psi). These times and temperature recommendations are based on my experience, and I encourage you to do tests on your own tumblers to see what works best for you!
Get my free PNG files to Re-Sublimate Your Tumbler!
(If you do not see the signup form above, click here.)
I’d love to see YOUR re-sublimated tumbler! Please share a photo in our Facebook group or tag me on social media with #jennifermaker.
Love,

Want to remember this? Save this tutorial on How to Remove Sublimation Ink from a Tumbler to your favorite Pinterest Board!