
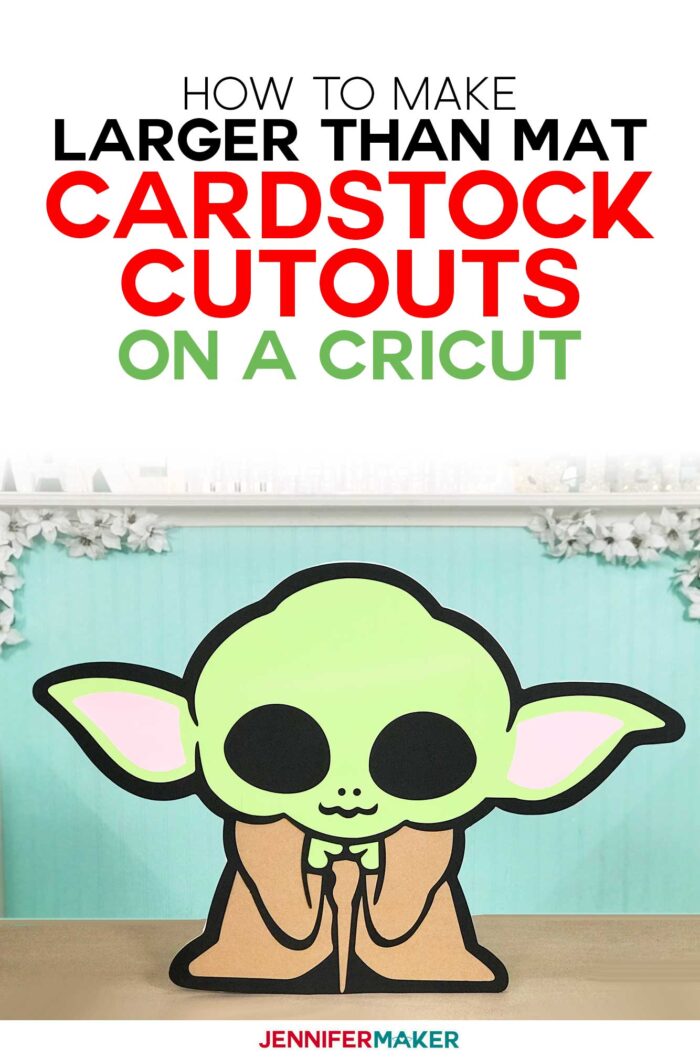
Learn how to cut an image larger than 12″ x 24″ on Cricut and make a large cardstock cutout of a favorite character or image! Use my larger than mat technique to cut any image on your Cricut, regardless of how big it is.
When I made my baby blanket yesterday, you all went nuts for my Baby Yoda and told me all about the ways you wanted to make more Baby Yodas. Like giant cardstock cutouts! And you asked how you could make a character like this HUGE, much bigger than the biggest 12″ x 24″ cutting mat that you can use with a Cricut. Cute cardstock cutouts for the wall or even just standing around are popular for parties and kids’ rooms, especially things like Disney and Marvel characters. So for Day 8 of The Great Maker 25-Day Gift-Away Challenge, I am showing you how to make cardstock cutouts larger than 12″ x 24″ and get off the mat with your Cricut!
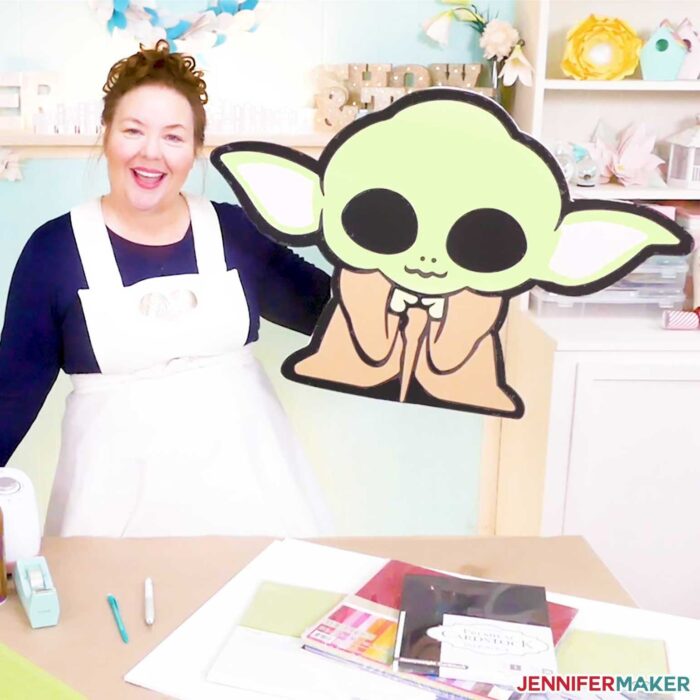
See exactly how to make cardstock cutouts larger than 12″ x 24″ and get off the mat in my tutorial video (or keep scrolling if you prefer a step-by-step photo tutorial):
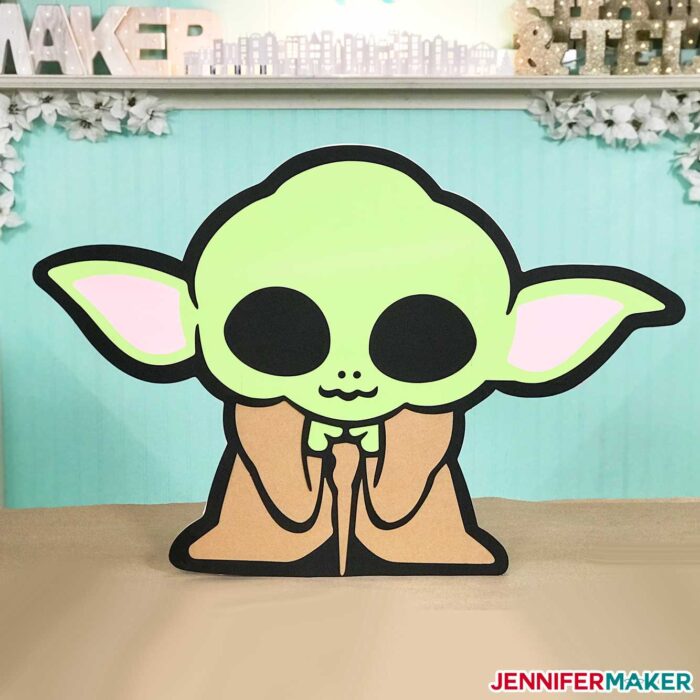
Still mystified by how this works? You can totally cut this Baby Yoda, or any other large character or other image, on your Cricut cutting machine, even though the largest cutting mat you can use with a Cricut is 12″ x 24″. You even do it with a standard 12″ x 12″ cutting mat. And I’m going to show you the secret to doing it and cutting “off the mat” in this tutorial.
For this larger than mat project, you’ll need some cardstock — any size from 8.5 by 11 inches all the way up to 12 by 24 inches will work, though the bigger the paper, the less work for you. Weight doesn’t matter a lot — you can use 65 lb, 80 lb, or 110 lb, though the heavier the cardstock, the sturdier it will be. You also need a cutting mat, ether the 12 by 12 inch size or the bigger 12 by 24 inch size. And you need some tape, glue, and spray adhesive. If you want to make your cardstock cutout lean against a wall or even stand entirely on its own, you’ll also want a couple of sheets of foam core and a craft knife to cut it with (you can’t cut foam core on your Cricut because it’s much too thick).
You also need a design that’s appropriate for this technique, so one that is all or mostly solid with extra layers on top will work best. There’s a lot of character designs over in Cricut Design Space that are ideal.
In this tutorial, I will show you where to find great designs for cardstock cutouts in Cricut Design Space, and then how to prepare the design for larger than mat cutting! This post contains some affiliate links for your convenience (which means if you make a purchase after clicking a link I will earn a small commission but it won’t cost you a penny more)! Read my full disclosure policy.
Materials to Make Cardstock Cutouts Larger Than 12″ x 24″ (Like Baby Yoda)
- Cardstock in sizes from 8.5″ x 11″ up to 12″ x 24″ (I used this 12″ x 24″ cardstock, and this 12″ x 12″ cardstock)
- Tape
- Tacky Glue
- Adhesive spray
- (Optional) Foam core (to make a rigid back and stand)
- (Optional) Craft knife (to make a rigid back and stand)
- A way to cut your cardstock (I used the amazing Cricut cutting machine!)
- StandardGrip cutting mat (either the 12″ x 12″ size or the 12″ x 24″ size)
- Baby Yoda design in Cricut Design Space Note: The Yoda design is available for purchase from Cricut. The links are also available in my resource library as Designs #174 and #173.
How to Make a Cardstock Cutouts Larger Than 12″ x 24″
Step 1: Find an Image for a Large Cardstock Cutout
Find an image you want to make of a large cardstock cutout, such as the Baby Yoda design in Cricut Design Space. Here’s what the Baby Yoda design looks like in Cricut Design Space:
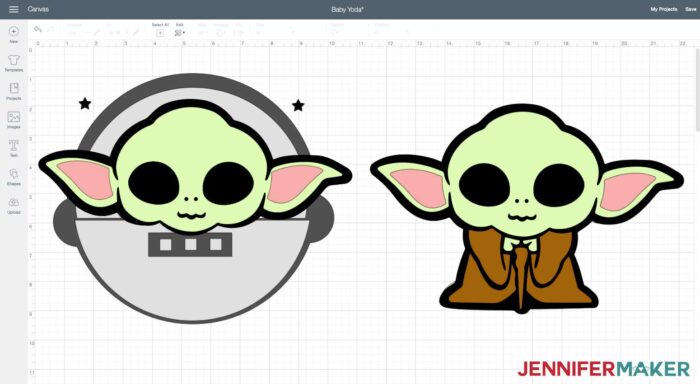
Note, the original Yoda design does not look like this Baby Yoda. To see how I modified the original image and created Baby Yoda, please see my DIY Milestone Baby Blanket tutorial.
There are many other great options ideal for large cardstock cutouts in Cricut Design Space, too! You can also upload SVG cut files — if you’re not sure how to upload an SVG cut file to Cricut Design Space, watch this helpful video training series I made. If you’re on an iPhone or iPad, here’s how to download and upload SVG files to the Cricut Design Space app.
Watch me complete Step 1: https://youtu.be/GbE9TOtUbK0?t=159
Step 2: Prepare Your Image for Cutting
This next step is the key to cutting a larger than mat image! You want to break apart the images that are too large into mat-sized pieces. Here’s how you do that…
First, resize your image to the desired size. Be mindful of the size of your mat (either 12″ x 12″ or 12″ x 24″) and try to keep your image sizes in those increments. I enlarged my baby Yoda to be about 22″ tall by 33″ wide so it would fit within the 12″ increments.
Next, click on Shapes, select Square, and create rectangles the size of your mat’s maximum cutting area. For example, if you’re using a 12″ x 12″ mat, your maximum cutting area is 11.5″ x 11.5″ so your square should be sized to 11.5″ x 11.5″. If you’re using a 12″ x 24″ cutting mat, your maximum cutting area on that mat is 11.5″ x 23.5″, so your rectangle should be the same size. Make enough of these correctly-sized squares or rectangles to cover your image. So for my baby Yoda, I needed three rectangles sized 11.5″ x 23.5″ to encompass him completely.
Now identify the layers you need to cut into mat-sized pieces. For my Baby Yoda, the pink and brown layers both fit within my mat. But the black and green layers are much too big. So it’s the black and green layers I need to cut down into mat-sized pieces. To do this, I duplicate the rectangles until I have enough to encompass both layers (so six total rectangles), then position the rectangles closely over the two layers making sure they just barely touch (no overlap, no gap. Now, I select each rectangle and the layer within that (black or green) and click Slice. Repeat until all layers are sliced with the rectangles. Now, delete the extra sliced bits you do not want until you just have Baby Yoda sliced into his mat-sized pieces.
Here’s a link to the Cricut Design Space canvas where I broke apart the image into mat-sized pieces.
Watch me complete Step 2: https://youtu.be/GbE9TOtUbK0?t=440
Step 3: Cut Out Your Cardstock
Cut out your cardstock on the appropriately size mats, whether that’s all 12″ x 12″ mats, 12″ x 24″ mats, or a combination of the two sizes.
Here’s a tip: If you have the 12″ x 24″ mat but only 12″ x 12″ paper, you can put two pieces side by side and allow it to cut them together. If you mat isn’t super sticky, you may want to tape the underside of the two sheets of paper first before placing them on your mat. I was able to do it without taping, but taping is probably safer because it will prevent any corners from sticking up as the mat moves through the Cricut cutting machine.
Watch me complete Step 3: https://youtu.be/GbE9TOtUbK0?t=1496
Step 4: Piece Your Cut Outs Back Together
Once all your pieces of cardstock are cut, make sure you know how to put it all back together. I recommend you refer to the images on the Cricut Design Space screen you cut from to make sure you know which pieces go where and in which orientation.
After verifying you know where all the pieces go in your cardstock cut out, it’s time to begin taping the layers that you broke apart back together again. It’s important you tape the pieces together on the BACK side of each layer. Again, refer to your screen to know which is the front and which is the back. If you make Baby Yoda, you’ll need to tape together the black layer, the green layer, and maybe the brown layer (if you cut it on two pieces of paper as I did).
Watch me complete Step 4: https://youtu.be/GbE9TOtUbK0?t=1552
Step 5: Attach Your Layers
With your layers put back together, you can now start attaching your layers together. Start with the bottom layer and work your way up. Use a thin layer of tacky glue or permanent spray adhesive on the back on each subsequent layer to attach them.
If you make the Baby Yoda, this is the order in which I attached them:
- Green Layer
- Brown Layer (robe)
- Black Outline Layer
- Ears
- Eyes
- Mouth
- Nose
Watch me complete Step 5: https://youtu.be/GbE9TOtUbK0?t=1609
Step 6: Add Foam Core and a Stand (Optional)
If you plan to just put your cardstock cutout on a wall, you are likely all done! But if you want him to lean against a a wall or even stand on his own, you need to add a stiffer backing to him because cardstock alone is not enough.
To add a foam core board backing, place a foam core sheet down on your work surface then put your cardstock cut out on top of it. Align the cutout so the bottom edge is against the bottom edge of your foam core. Now trace your character cut out on the foam core with a pencil.
Using a sharp craft knife, cut along the INSIDE of the pencil line.
Repeat with additional pieces of foam core as necessary, then tape or glue all of the foam core pieces together.
If you’d like to create an easel-like stand so your cardstock cutout can stand on its own, cut a 4″ strip of foam core board about 80% of the height of your cut out. Score a line about 4 inches down from the top (but do not cut all the way through), then fold it over. Now flip your cardstock cut out over, align the bottom of your stand with the bottom of your cut out, fold the scored section UNDER, and tape the scored section to the back of your cardstock cut out. Now just prop up your cardstock cutout with that easel stand and it’ll stand all by itself!
Watch me complete Step 6: https://youtu.be/GbE9TOtUbK0?t=1656
Get my free templates and cut files
I’d love to see your project! If you make one, please share a photo in our Facebook group or tag me on social media with #jennifermaker.
Love,

Want to remember this? Save the Cardstock Cutouts Larger Than 12″ x 24″ Tutorial to your favorite Pinterest board!


Your videos are always very clear and instructive. Thank you
This is really cool. I have yet to cut anything on my Cricut Explore 2. But your videos are inspiring.
Absolutely wonderful tutorial, as always, Jennifer! This made somuch sense and helped me immensely.
I cannot wait to use my MANY 12 / 24 mats to make life-sized characters for a party next summer!