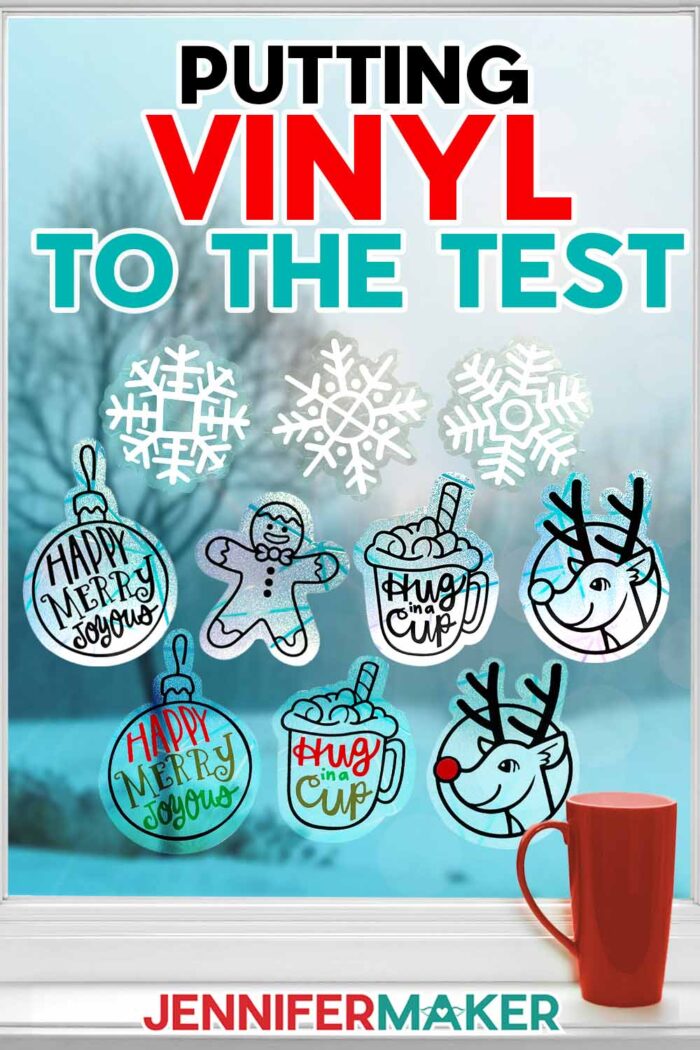
Find out which is the best permanent vinyl to create winter window clings with your Cricut machine!
Watch the full step-by-step video tutorial on making a window cling suncatcher:

If you’re unfamiliar with permanent vinyl, it is a high-tack vinyl product that can be applied to smooth, flat surfaces. It’s often used to create stickers and decals. And since it is water-resistant and can be handwashed, you’ll commonly find mugs, tumblers, and glass cans with permanent vinyl decals. It also layers onto other materials really well, making it perfect for my winter window clings made with textured privacy film. Unlike heat transfer vinyl (which you might have used for fabric projects, like tote bags with a heat press) it relies on adhesive and pressure to stick to surfaces. And unlike removable vinyl, you want it to stay put for a long time.
There are many different types of adhesive vinyl available on the market today, like glitter vinyl, shiny holographic vinyl, or vinyl with different patterns. There’s also color-changing vinyl activated by variances in temperature! Even regular, solid vinyl itself is available in a wide range of colors, giving you so many ways to create vinyl decals to decorate your favorite things. And if you want intricate designs like my detailed window clings, the vinyl must be high quality–but you can’t always tell the quality just by looking! Sometimes it takes a bit of trial and error.
I often prefer Cricut brand materials because I know they’re high quality and they’ve stood the test of time. But it’s always good to learn about other options for your vinyl designs. That’s why I’m leaving out Cricut’s Permanent Glossy Vinyl on my quest to figure out which is the best permanent vinyl. It worked great for my original Spring Window Clings, but I want to uncover more information to help you make the right choice for yours!
So instead, I’ll be testing Cricut’s Value Vinyl to see if it makes the best permanent vinyl clings. This one has a more matte finish than the premium version, but it should still work well for our purposes. I’ll be pitting it against HTVRont, Oracal, and Dollar Tree’s Crafter’s Square in the ultimate showdown to find the best adhesive vinyl. I’ll be using my gingerbread man design with all four brands of vinyl–isn’t he just the cutest little test subject? And I’ll compare key qualities like how well the vinyls cut, how easy they are to weed, how smoothly they transfer, and how well they stick to our rainbow window cling.
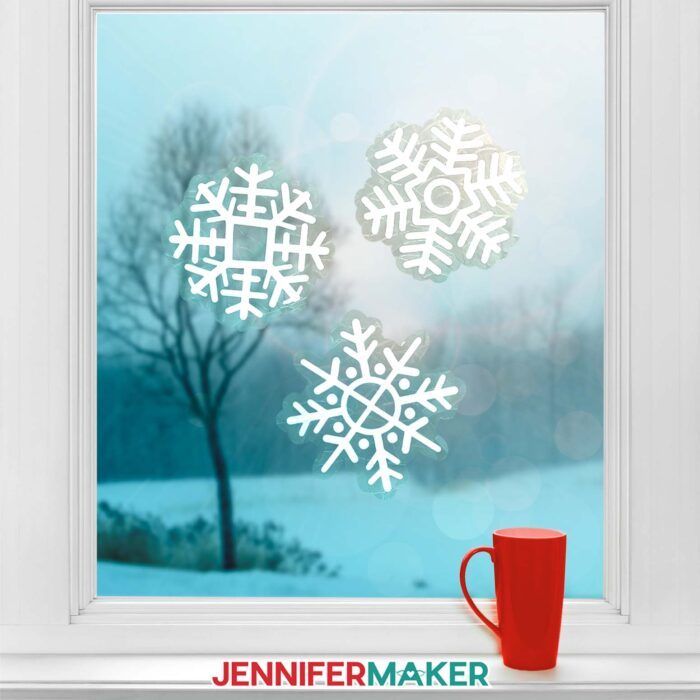
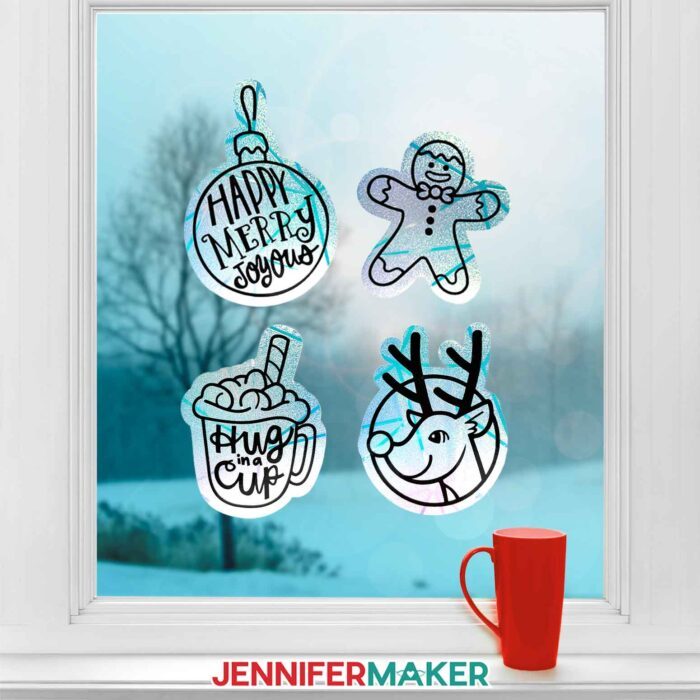
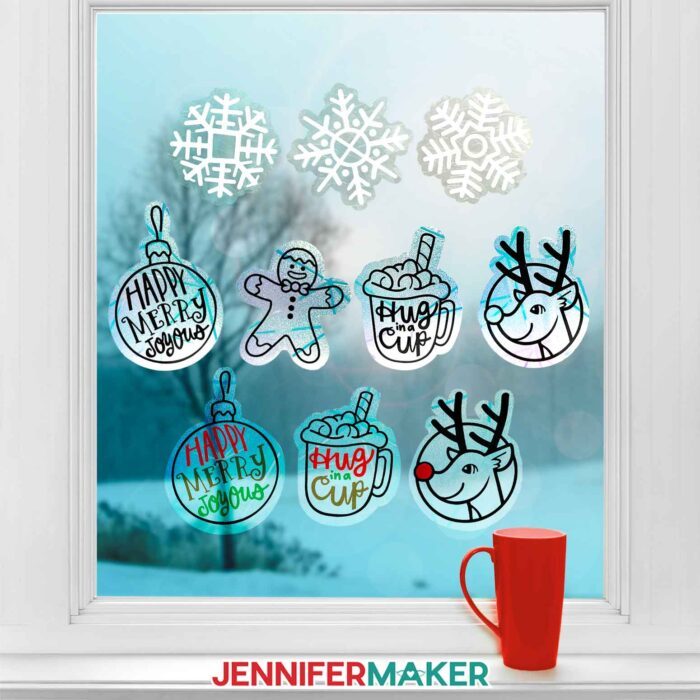
And don’t worry–I’ll do the testing for you so you can skip right to making your window clings! First, get my free download. I’ve included seven winter window cling designs: a cup of hot cocoa, a gingerbread man, an ornament, a reindeer, and three different snowflakes. Each design has two layers: a solid backing layer that we’ll cut from rainbow window privacy film so light dances when it passes through the suncatcher, and a details layer we’ll cut from black permanent vinyl.
And if you want your window cling designs to use multiple colors of vinyl, I can show you how to use Design Space’s contouring tool to create new layers with my ADVANCE with JenniferMaker tutorial. Learn more about Advance here!
If your cutting machine uses DXF files, I’ve got you covered there, too! You can also use the included PDF files so you can cut them by hand, but it’s much more fun to sit back and watch as your cutting machine does all of the hard work. I’ll demonstrate how to cut the winter window clings SVG pieces with my Cricut Maker 3, but you can also use an original Cricut Maker, a Cricut Explore series machine, the Cricut Venture, or the Cricut Joy Xtra.
You’ll need some basic Cricut crafting supplies like a purple StrongGrip machine mat to cut your window cling film, and a green StandardGrip machine mat to cut your vinyl. You’ll also want a brayer to make sure your materials adhere to the mats completely and evenly. And your weeding tool is key for removing the excess vinyl from the carrier sheet. You’ll also need to use transfer tape to apply the vinyl details to the window cling. I have a full list of tools and craft supplies you’ll need to make the suncatchers below, along with links where to find them!
So, which brand makes the best permanent vinyl clings? Watch the tutorial to see which vinyl I got the best results with!
Let me show you how to make winter window clings and test the best permanent vinyl! This post contains some affiliate links for your convenience (which means if you make a purchase after clicking a link I will earn a small commission but it won’t cost you a penny more, there is no additional cost)! Read my full disclosure policy.
Materials to Make Winter Window Clings
View my Amazon shopping list for the exact items I used!
- Rainbow Window Privacy Film (I used part of a roll)
- One (1) Sheet of:
- A way to cut your materials – I’m using the Cricut Maker 3, but you can also use the Cricut Maker, a Cricut Explore Series machine, the Cricut Venture, or even the Cricut Joy Xtra
- Cricut Green StandardGrip Machine Mat 12” x 12”
- Cricut Purple StrongGrip Machine Mat 12” x 12” (for window cling)
- Cricut StandardGrip Transfer Tape
- Brayer
- Scraper
- Spatula
- Weeding Tool
- Scissors
- Cricut Portable Trimmer (optional, especially helpful if you’re using a material more than 12″ wide)
- Parchment Paper
- Isopropyl Alcohol (or a spray bottle of your favorite glass cleaner) – AND –
- Lint-Free Cloth
How to Make Winter Window Clings!

Suncatchers: Compare the Best Permanent Vinyl
Find out which vinyl makes the best permanent vinyl clings for these adorable winter suncatchers!
Materials
- Rainbow Window Privacy Film (I used part of a roll)
- One (1) Sheet of Black Cricut Value 12" x 12" Permanent Vinyl - OR -
- One (1) Sheet of Black HTVRont 12" x 12" Permanent Vinyl - OR -
- One (1) Sheet of Black Oracal 12" x 12" Permanent Vinyl
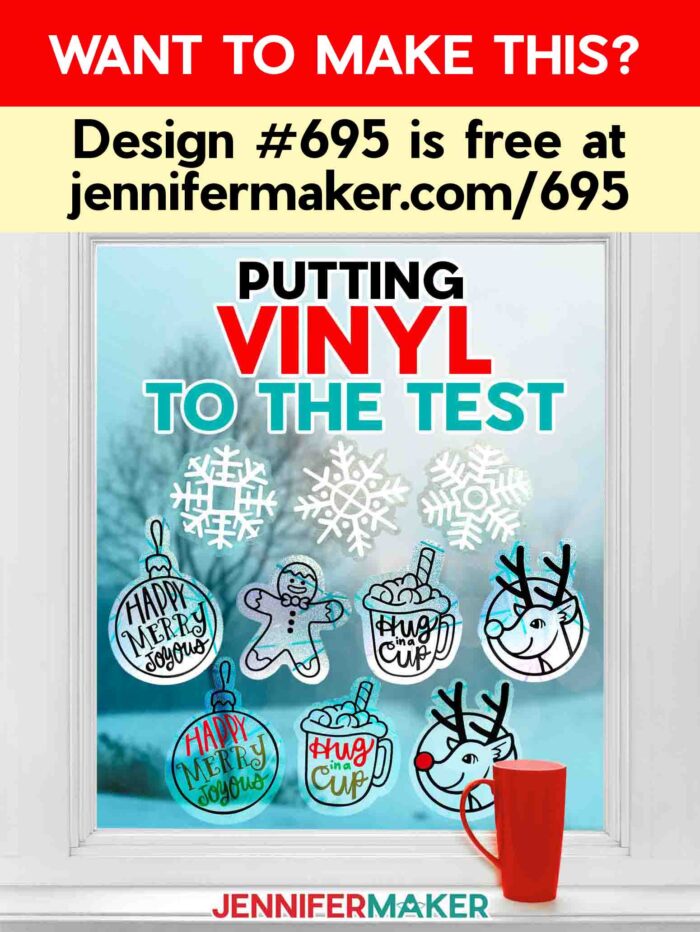
- Design #695 (My free SVG/PDF/DXF design files are available in my free resource library - get the password by filling out the form at the bottom of this page)
Tools
- A way to cut your materials - I’m using the Cricut Maker 3, but you can also use the Cricut Maker, a Cricut Explore Series machine, the Cricut Venture, or even the Cricut Joy Xtra
- Cricut Green StandardGrip Machine Mat 12” x 12”
- Cricut Purple StrongGrip Machine Mat 12” x 12” (for window cling)
- Cricut StandardGrip Transfer Tape
- Brayer
- Scraper
- Spatula
- Weeding Tool
- Scissors
- Cricut Portable Trimmer (optional, especially helpful if you’re using a material more than 12″ wide)
- Parchment Paper
- Isopropyl Alcohol (or a spray bottle of your favorite glass cleaner) - AND -
- Lint-Free Cloth
Instructions
STEP 1: GET MY FREE WINTER WINDOW CLING DESIGNS
First, download my Winter Window Clings designs from my free library – look for Design #695. Alternatively, you can use the Save This Project form near the top of this post and the design link will be emailed to you.
In the SVG folder, you’ll find seven winter window cling designs: a cup of hot cocoa, a gingerbread man, an ornament, a reindeer, and three different snowflakes.
There is also a DXF folder with cut files, and a PDF folder with versions you can print and cut by hand.
Upload the files you need to Design Space to get started. I’ll demonstrate with the gingerbread man, but the steps are the same for all seven designs.
TIP: If you’re not sure how to upload, go to jennifermaker.com/svgs to learn how to unzip and upload SVG files.
STEP 2: PREPARE AND CUT YOUR GINGERBREAD MAN WINDOW CLING DESIGN
CRICUT DESIGN SPACE
- In Cricut Design Space, open a blank Canvas.
NOTE: If you’re new to using Cricut Design Space, go to cricutkickoff.com for my introductory tutorial on Design Space basics. - Click “Upload” and then “Upload Image.”
- Click “Browse.”
- Select the SVG file of your choice.
NOTE: I’ll pick the “cookie” version for the gingerbread man design. - Click “Open,” and then “Continue.”
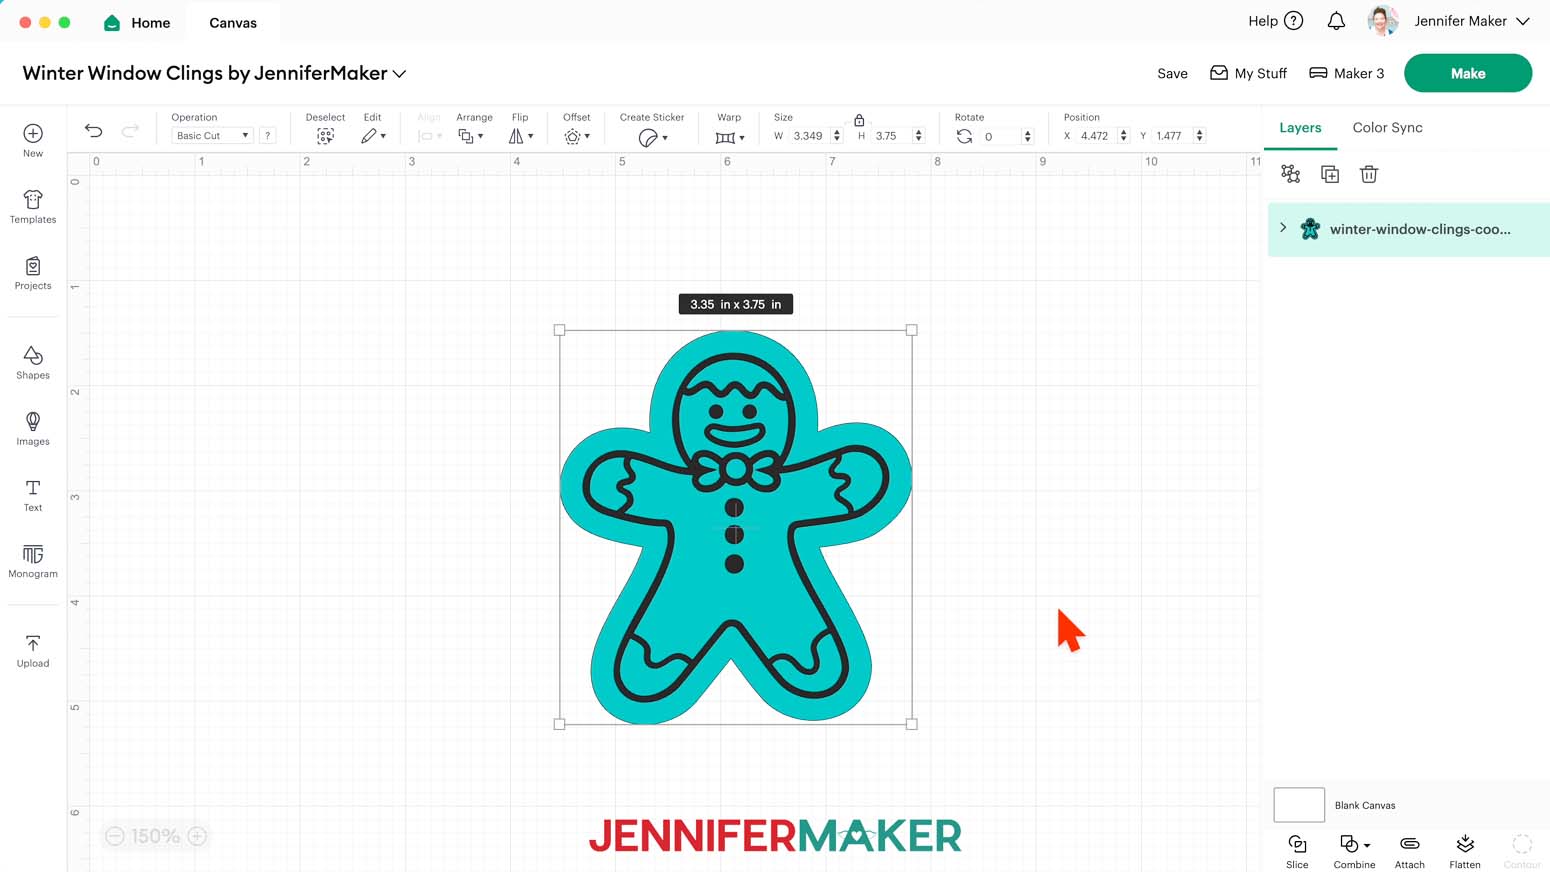
- Click “Upload” to add the design to your Canvas.
NOTE: Each design has an offset layer on the bottom for the window cling and a details layer on top for the vinyl.
- Click “Save” and give your project a name.
- If you’d like to resize your design, click it, keep the Lock icon closed, and drag a corner of its bounding box to adjust it.
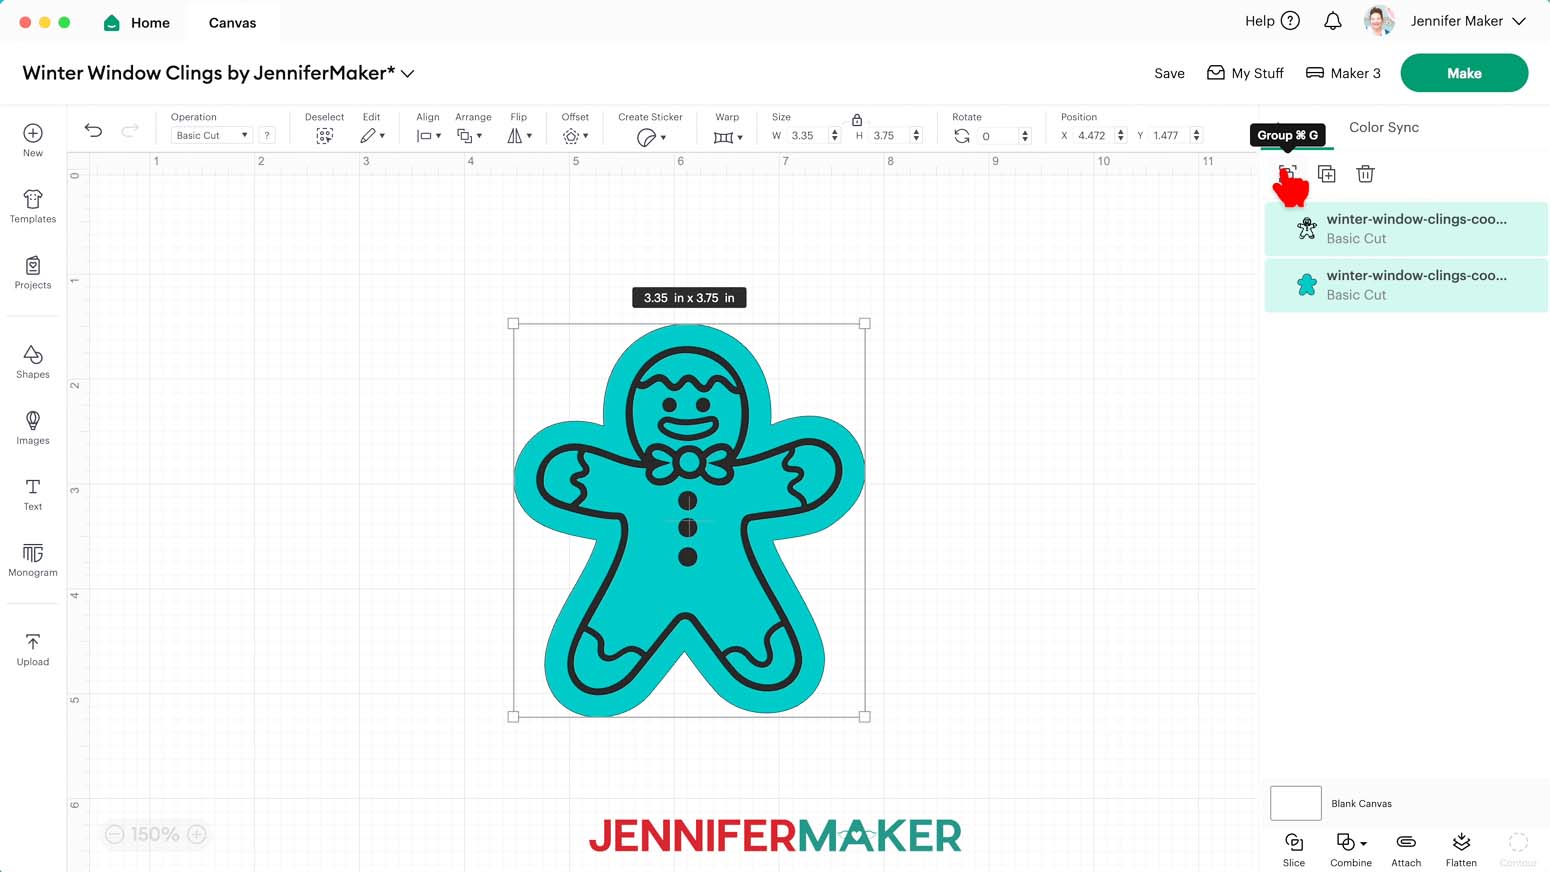
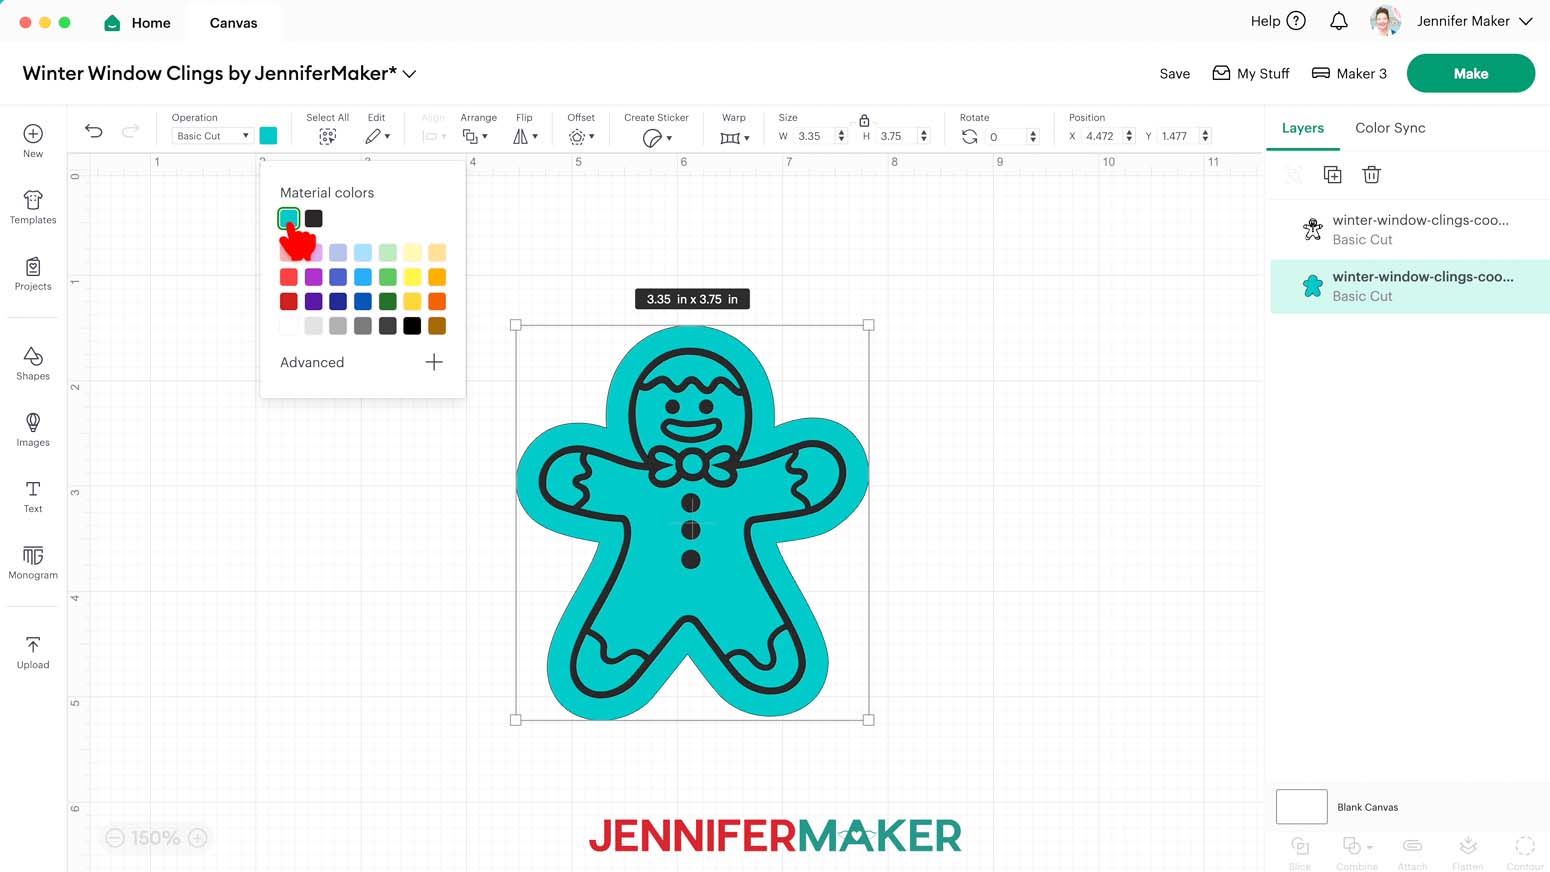
- If you’d like to change the color of a layer to match the window cling or vinyl you’ll use, ungroup the design.
- Then select the appropriate layer in the Layers Panel and use the Color Box to adjust it.
- Your project is ready to cut!

CUTTING
- Make sure the correct machine is selected in the top right.
- Click “Make.”
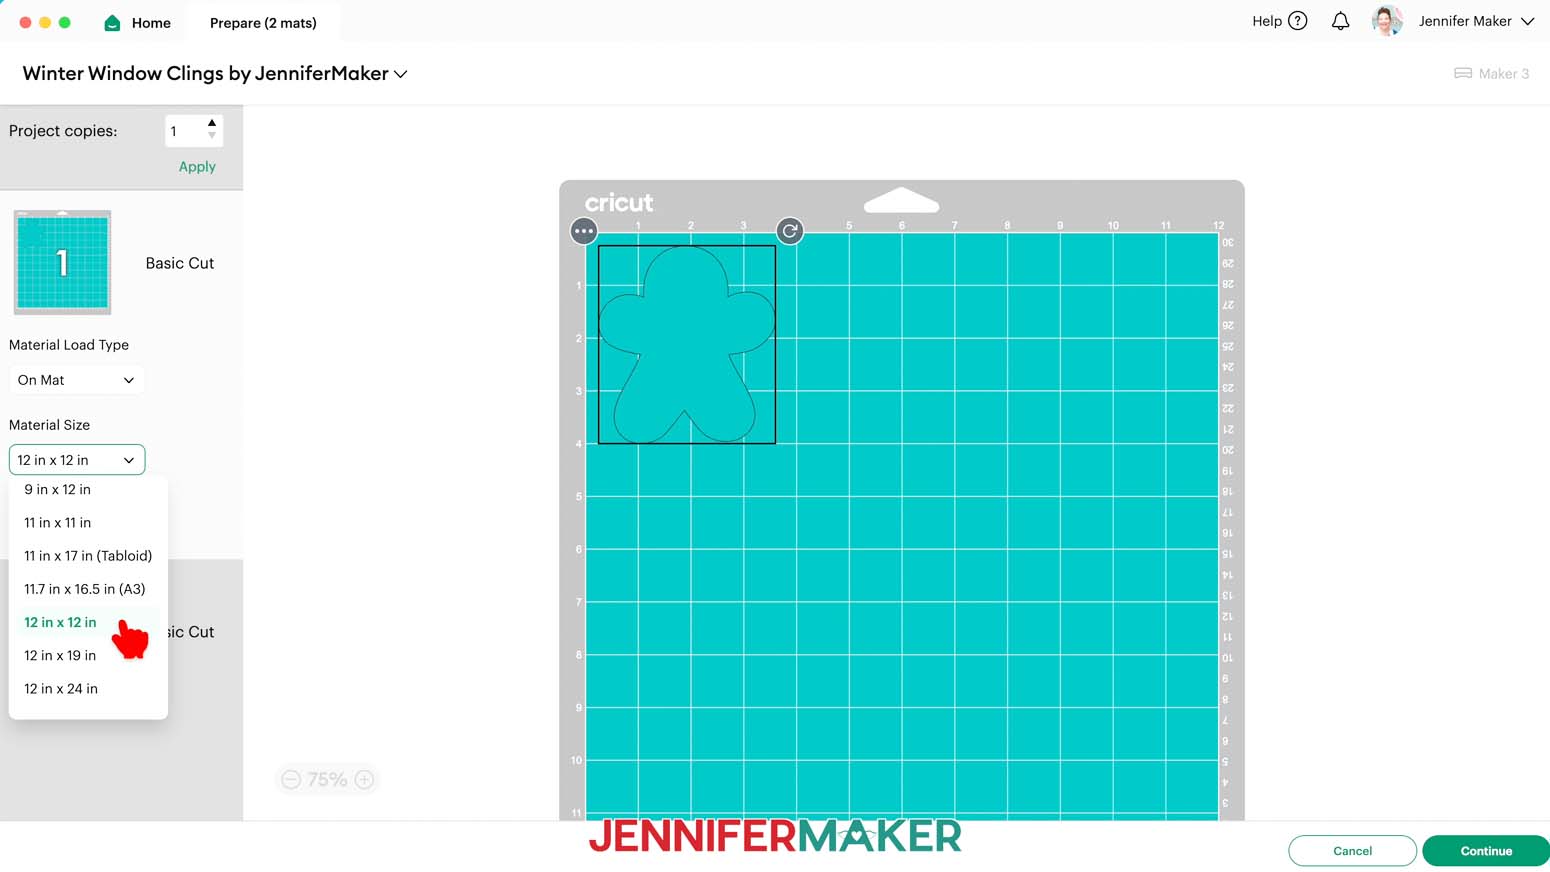
- On the Prepare screen, make sure the correct Material Size is selected for your mats. I’m going to trim my materials to fit the designs, so I’ll keep the 12” x 12” setting so the whole mat is available.
- Select the first mat again and click “Continue.”
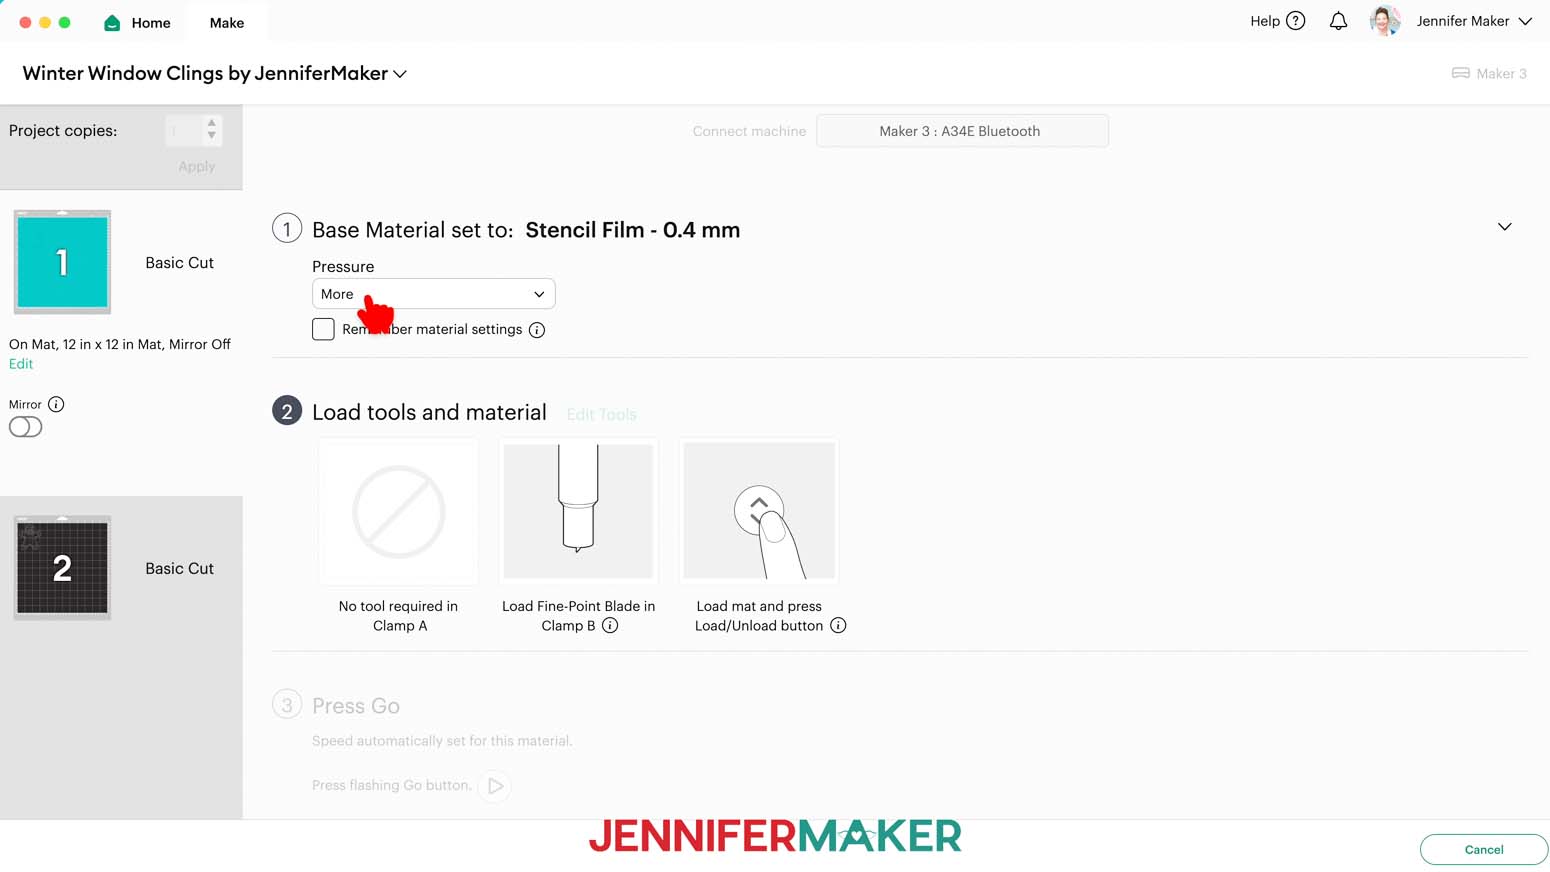
- On the Make screen, set the Base Material for your first mat. Mine is the window cling layer, and I used the “Stencil Film - 0.4 mm” setting with “More” pressure for both the Rainbow and the Holographic window cling.
NOTE: These settings worked well for me, but since all machines are different, making some test cuts is a good idea.
TIP: Changing the Pressure to “More” results in a cleaner cut. - Check the screen to see how large the window cling needs to be to cover the design plus an inch or so around it.
NOTE: Each grid box is one inch. My window cling needs to be about 5” wide and 5” tall to cover my design. - Use a paper trimmer or scissors to trim your vinyl down to size.
TIP: You can trim your vinyl closer to size and save the smaller pieces for other projects. - Place your window cling shiny side or texture side up on a purple StrongGrip machine mat so it covers the design area on your screen.
- Use a brayer to make sure it’s fully adhered.
- Check that your Premium Fine-Point Blade is clean and in the clamp.
- Press the flashing “Load/Unload” button to load the prepared mat into your Cricut.
- Press the flashing middle button to begin cutting.
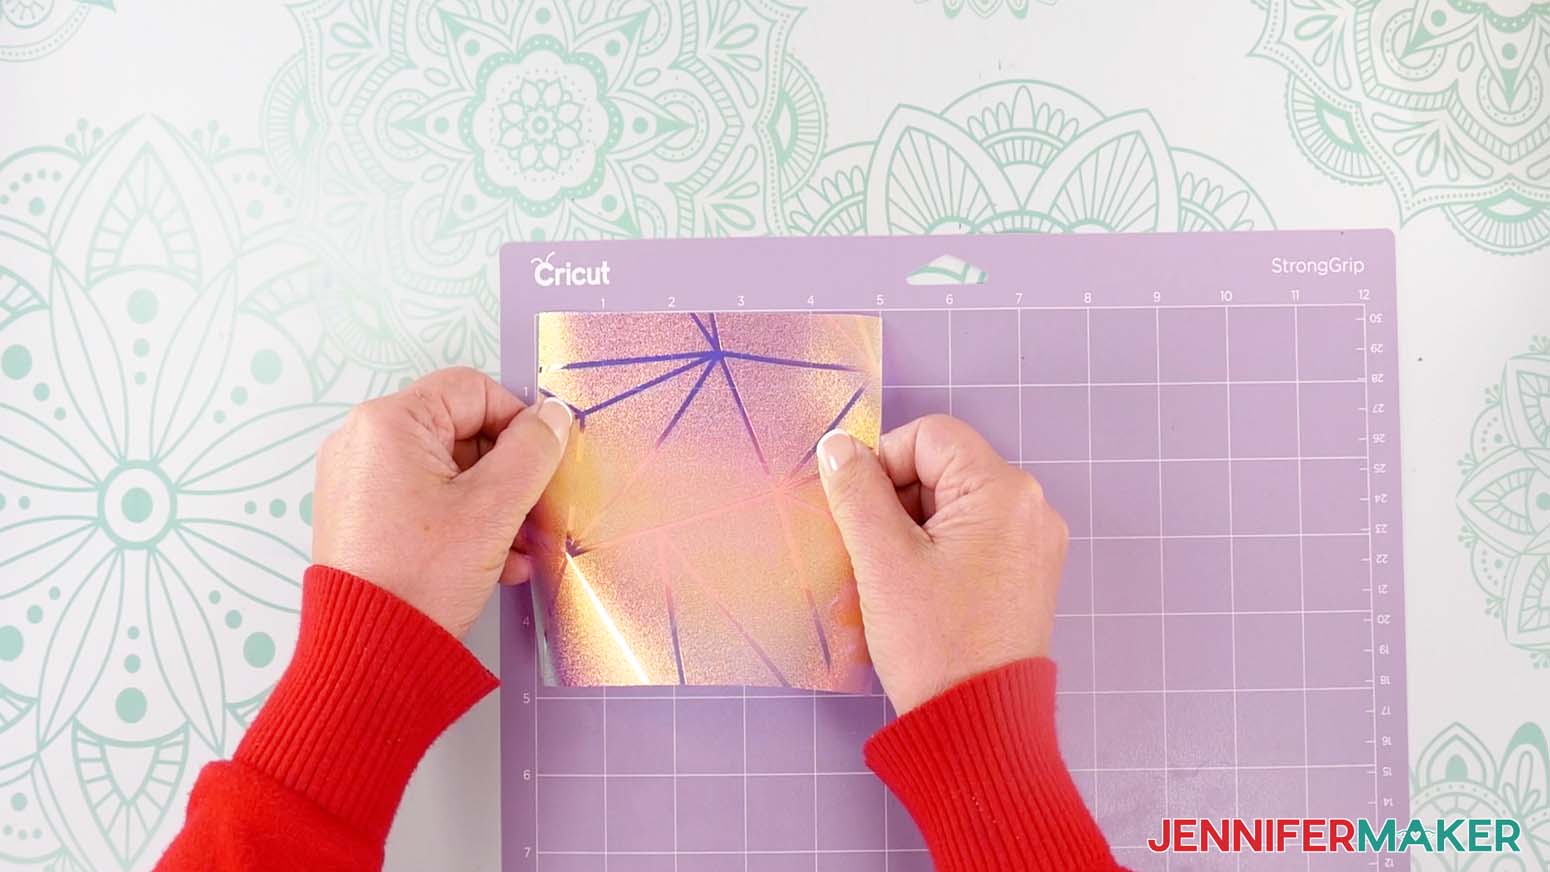
- When it has finished cutting, don’t unload the mat right away. Gently lift a corner of the material to make sure the cut went through the film. If it didn’t, press the middle button again to make a second pass in the same place.
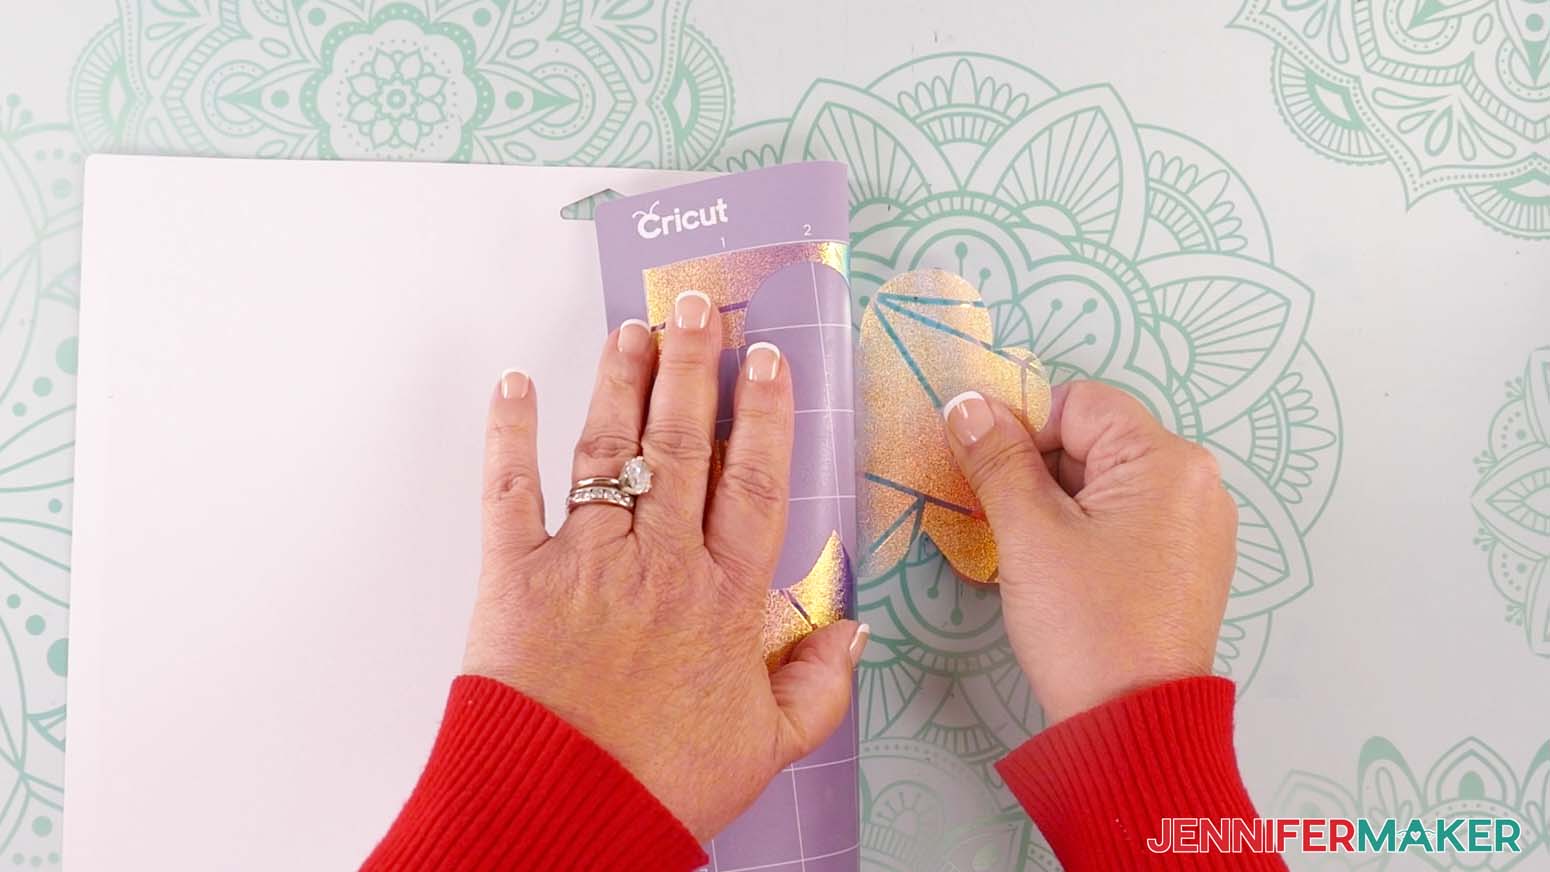
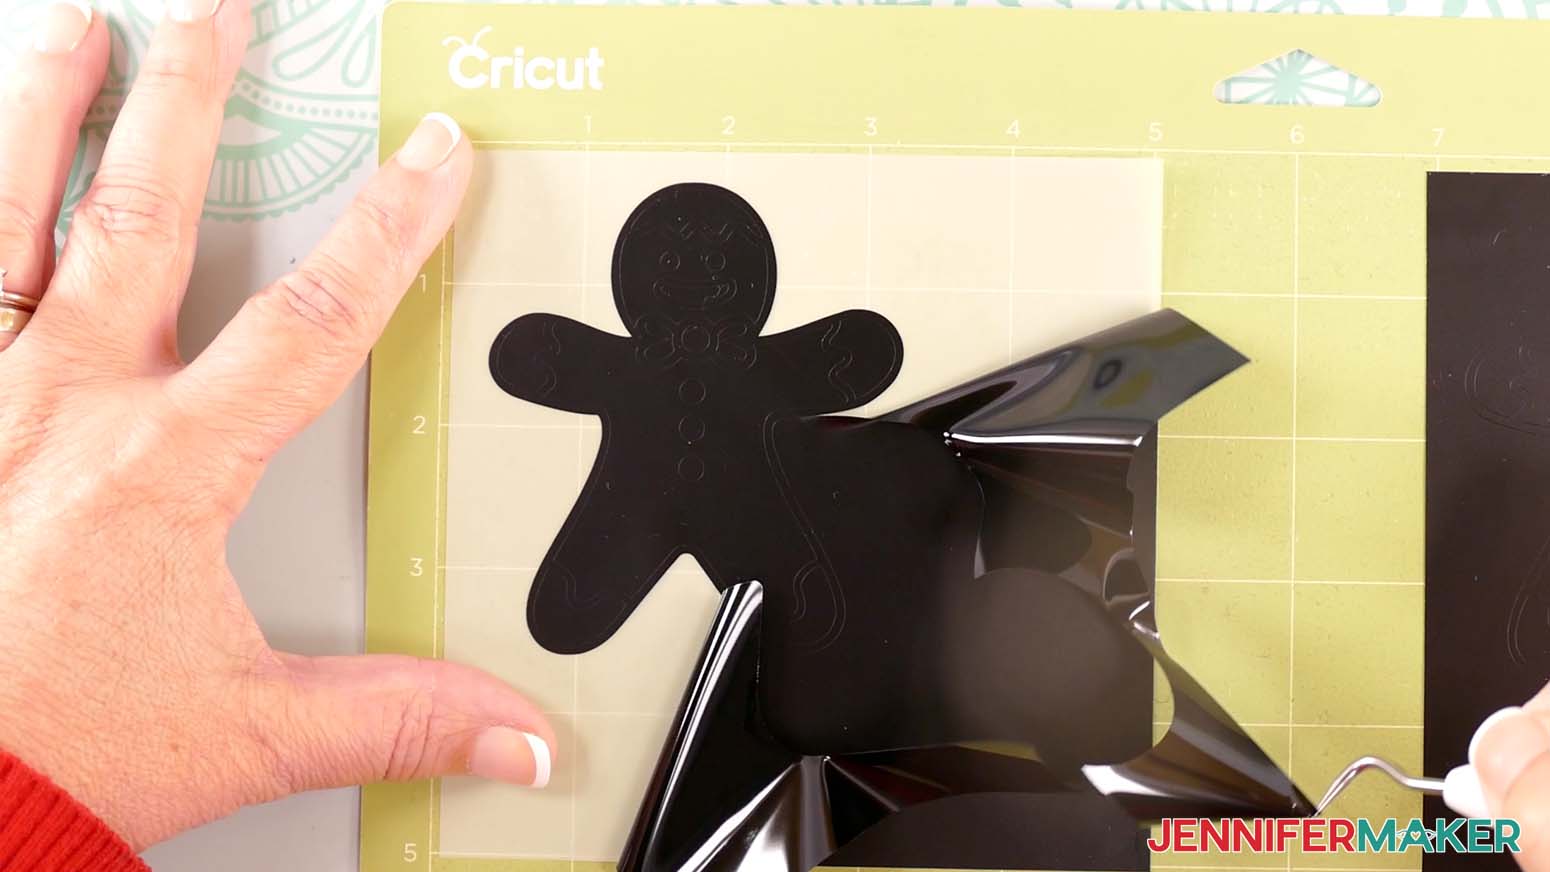
NOTE: Cuts should go through the material, but not the carrier sheet. - When the cuts are complete, unload the mat, flip it over onto your work surface, and roll it back to release the window cling and its carrier sheet.
- When you get to your plain vinyl mat, remember to change your material settings. I used the “Premium Vinyl - Permanent Glossy” setting with "More" pressure for my Cricut, HTVRont, and Oracal vinyl.
- Use a trimmer or scissors to cut a piece of vinyl down to size.
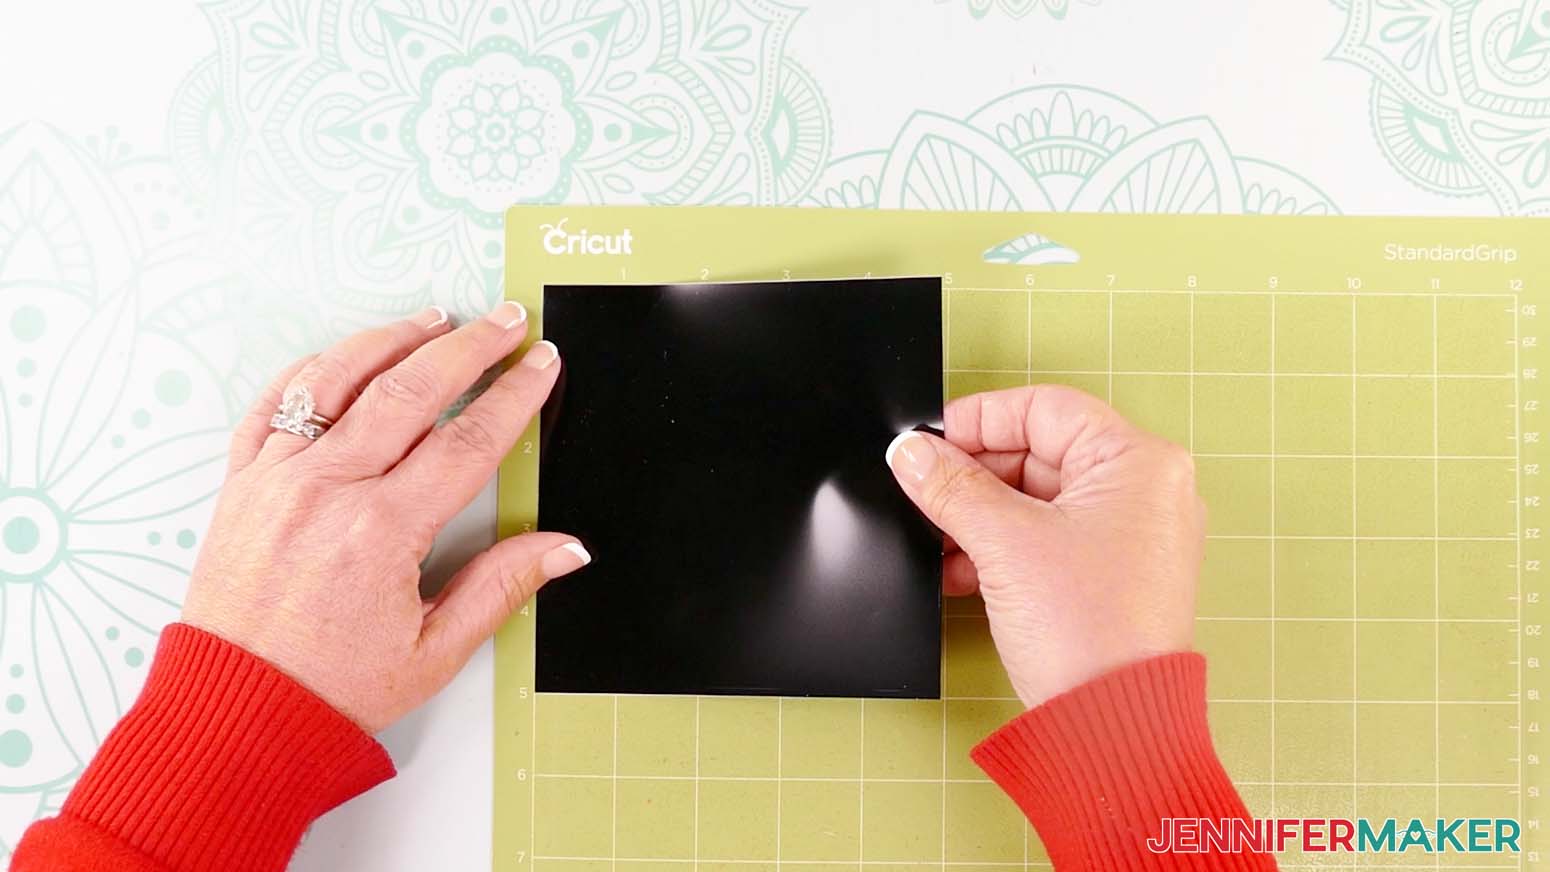
NOTE: I’ll make mine 5” x 5” so the design will fit completely and still have extra space around it. - Place your vinyl shiny side up on a green StandardGrip machine mat so it covers the design area on your screen.
- Repeat Steps 9-14 to load and cut your vinyl.
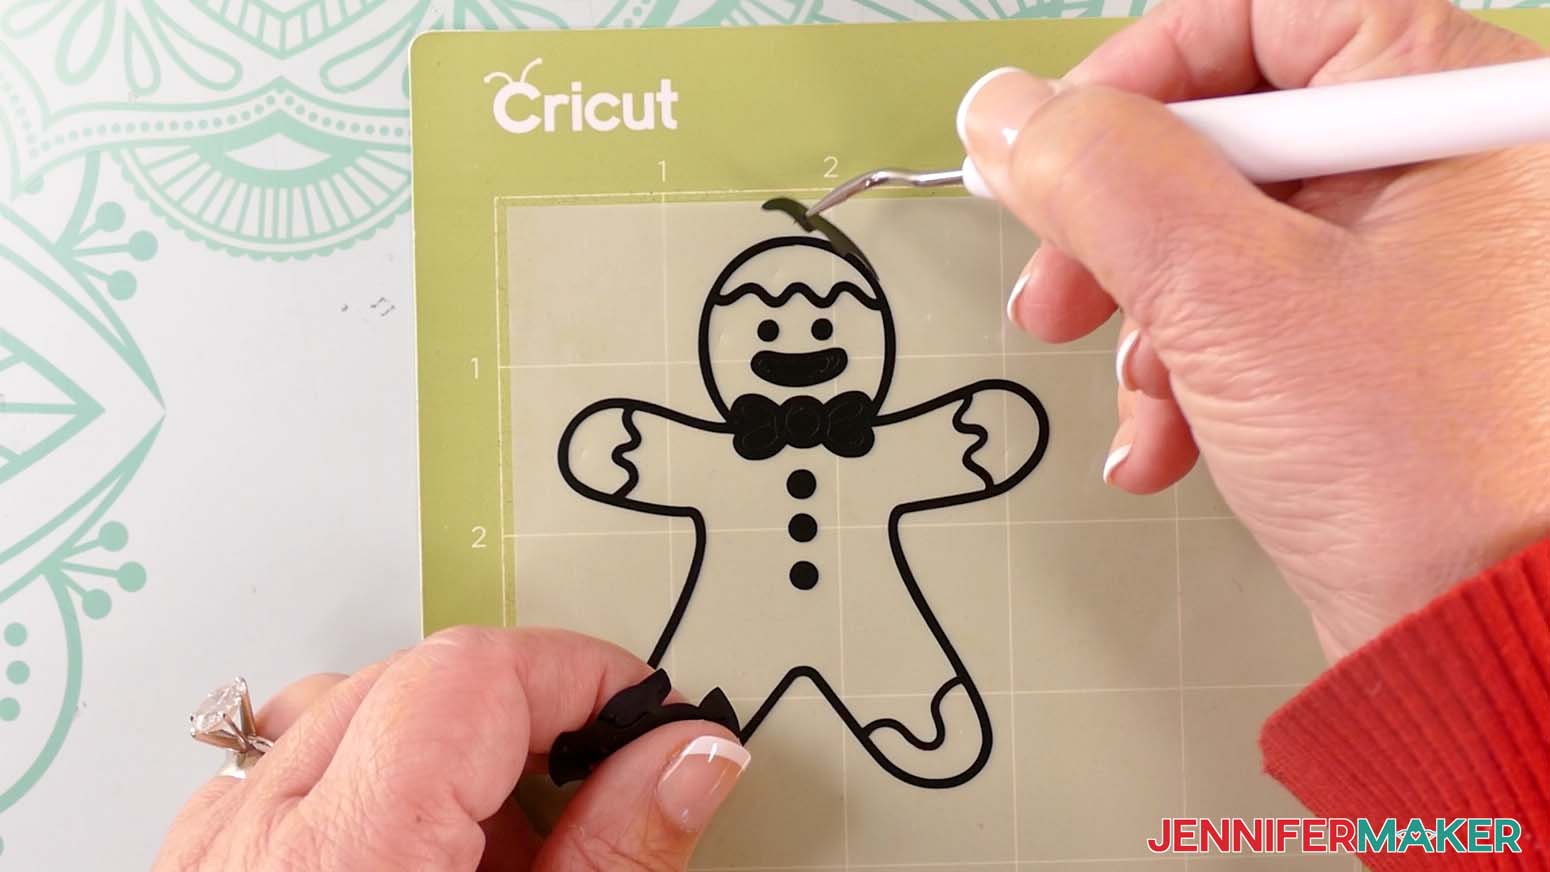
- Use a weeding tool to carefully peel away the extra background vinyl from your vinyl decal. I like to work from larger to smaller sections during weeding.
TIP: It can be easier to weed vinyl, especially small, detailed designs, while it is adhered to the machine mat. - Poke your weeding tool into each section of the design you want to remove. Gently lift it away from the design.
TIP: Make sure you do not pull up any pieces you want to keep! If they come up, gently pat them back in place and try again. - After you’ve finished weeding, lay your window cling and vinyl decals face up.
STEP 3: ASSEMBLE YOUR GINGERBREAD MAN WINDOW CLING
- Place your window cling layer on a machine mat, carrier sheet down, to keep it in place and flat.
TIP: You can also use painter’s tape to secure it to your work surface. - Make sure your vinyl decal is face up on your work surface.
- Cut a piece of StandardGrip transfer tape that is slightly larger than your vinyl decal.
- Remove the backing from the transfer tape.
- Hold your transfer tape in the shape of a “taco” sticky side down, then place the bottom of the “taco” onto the middle of your decal.
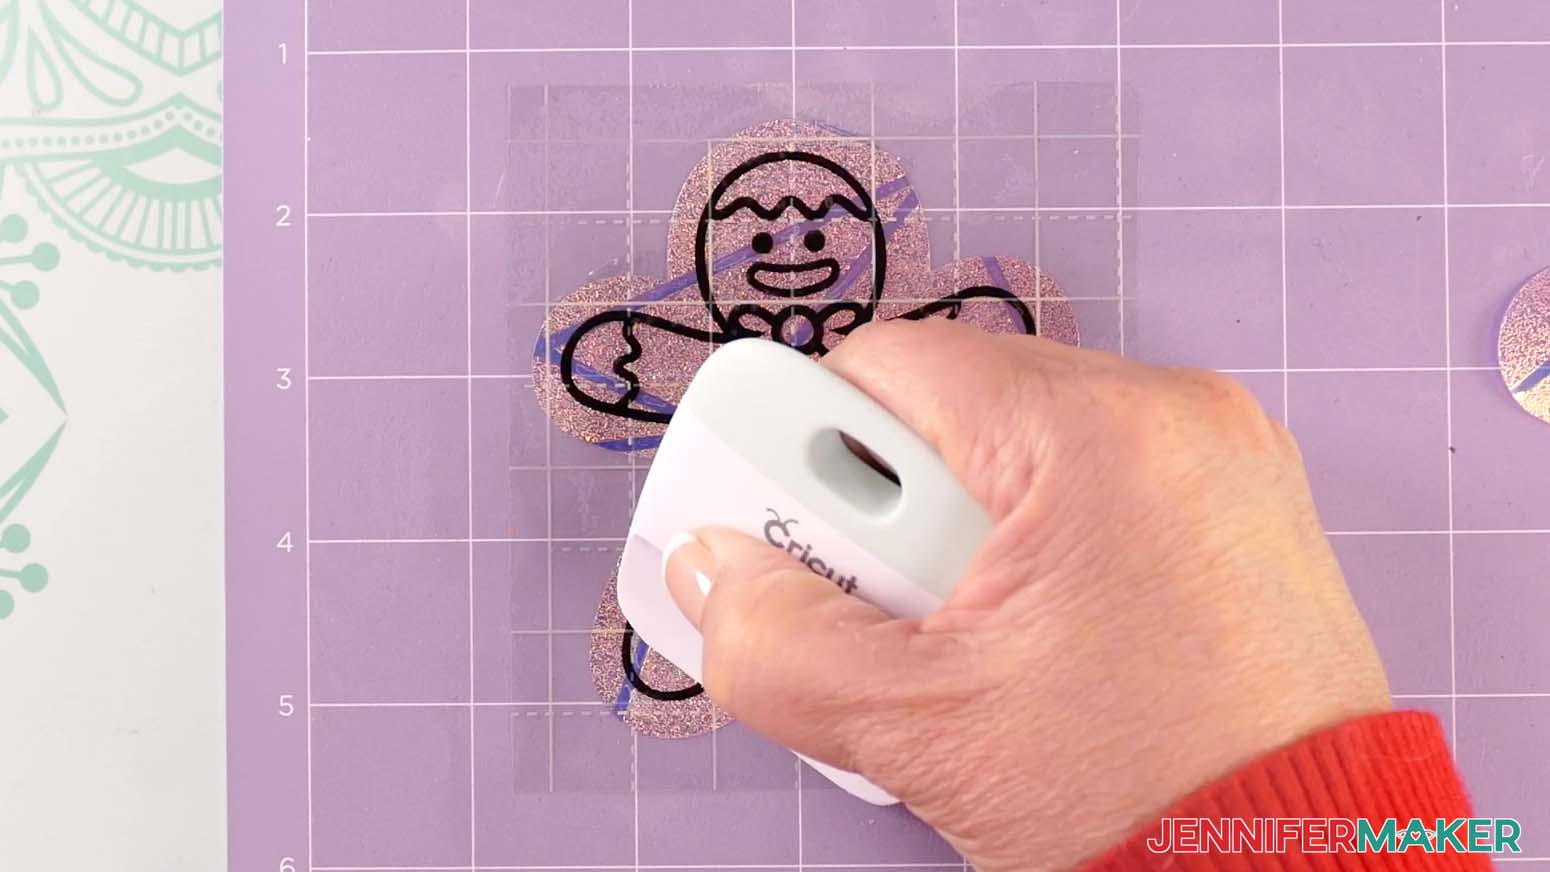
- Smooth the transfer tape over the decal from the center outward and burnish it down using the Scraper Tool.
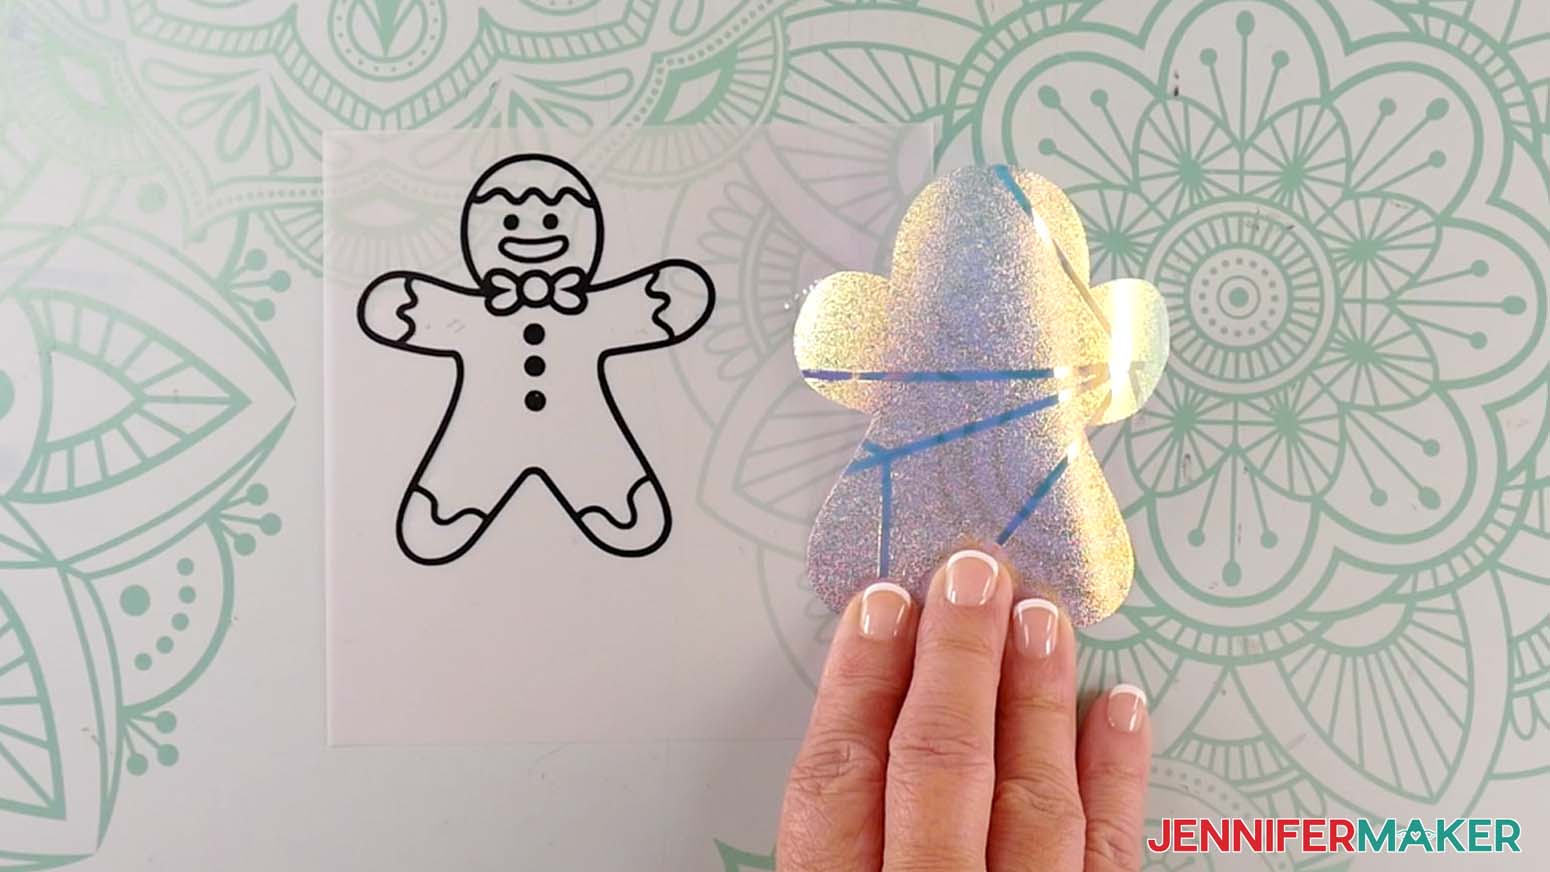
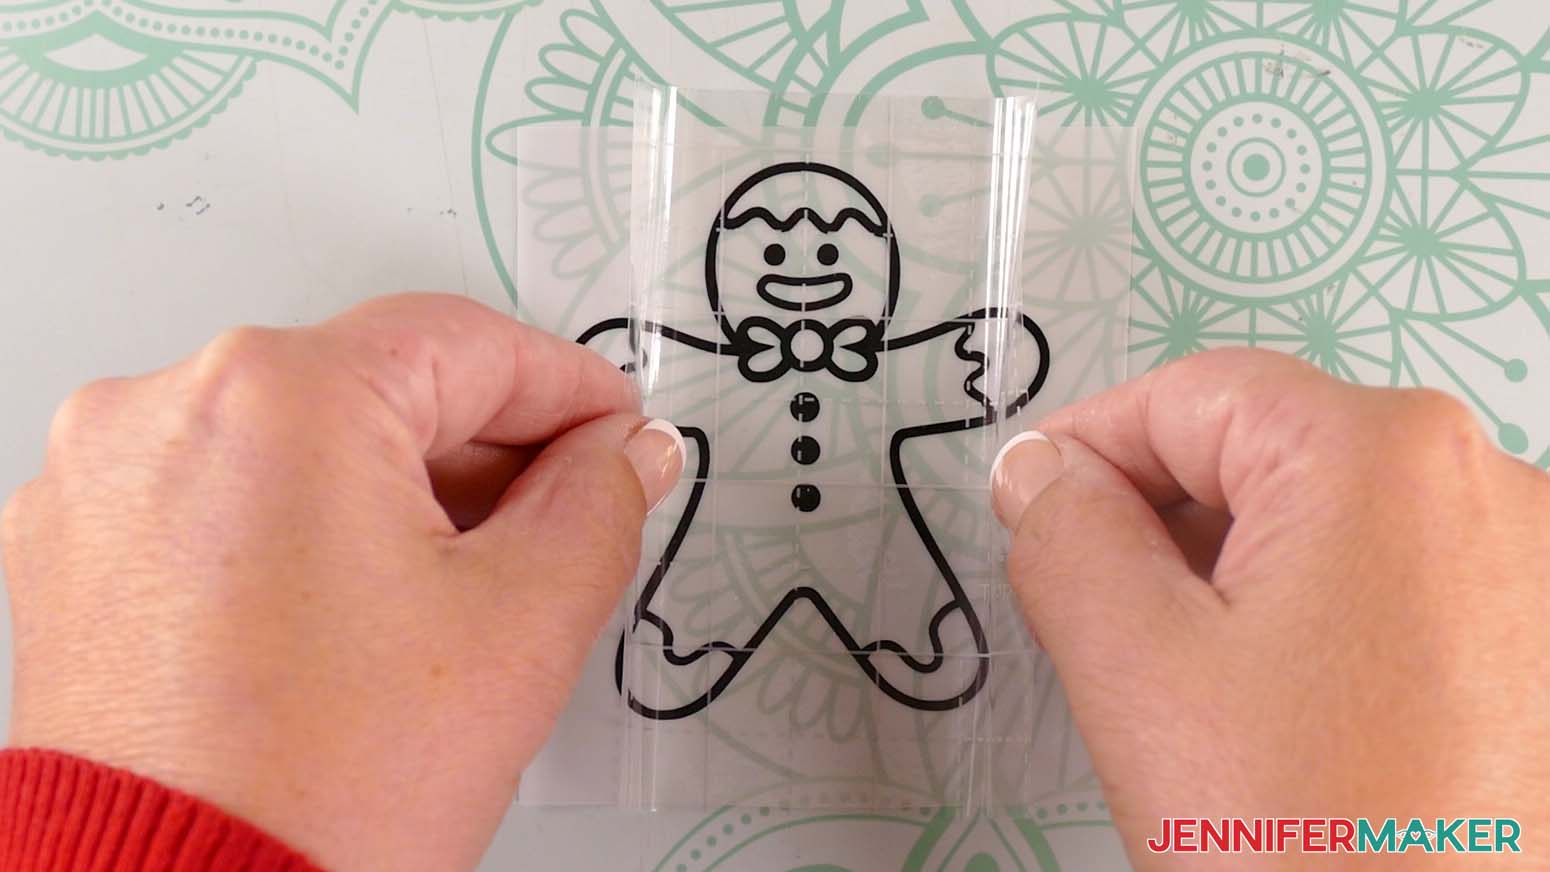
- Flip the design over and gently peel off the backing from the vinyl.
- Use the taco method to place the center of your decal onto the window cling layer.
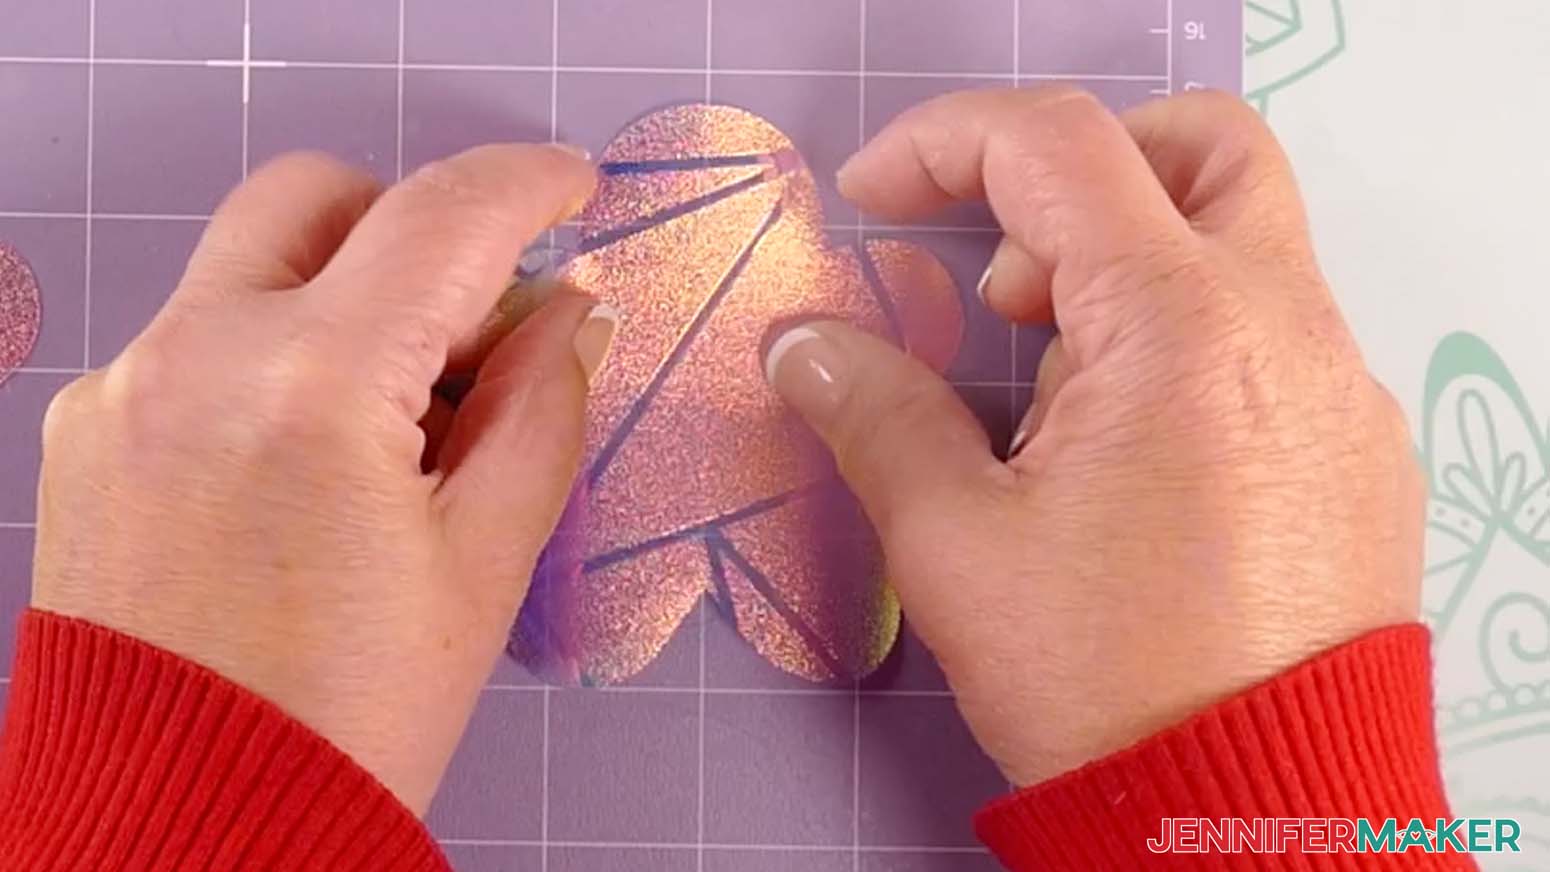
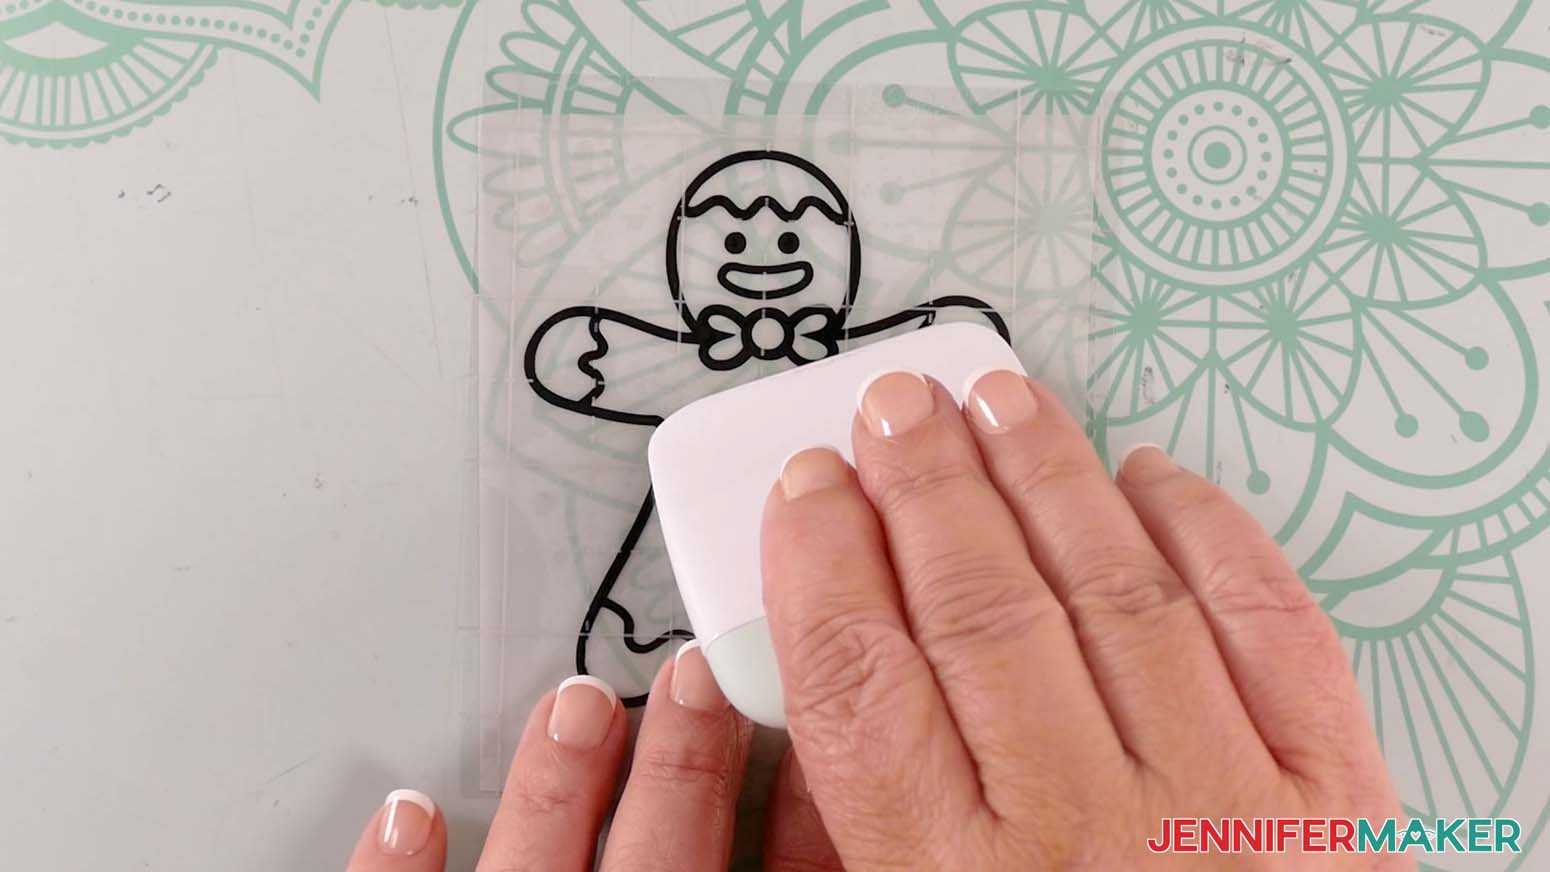
TIP: Gently lift the decal to try again if the vinyl isn’t aligned the way you want it. - Using your finger, rub from the center of the vinyl outward, tacking the vinyl into place on the window cling.
- Take your time and use a scraper to press out as many bubbles as possible.
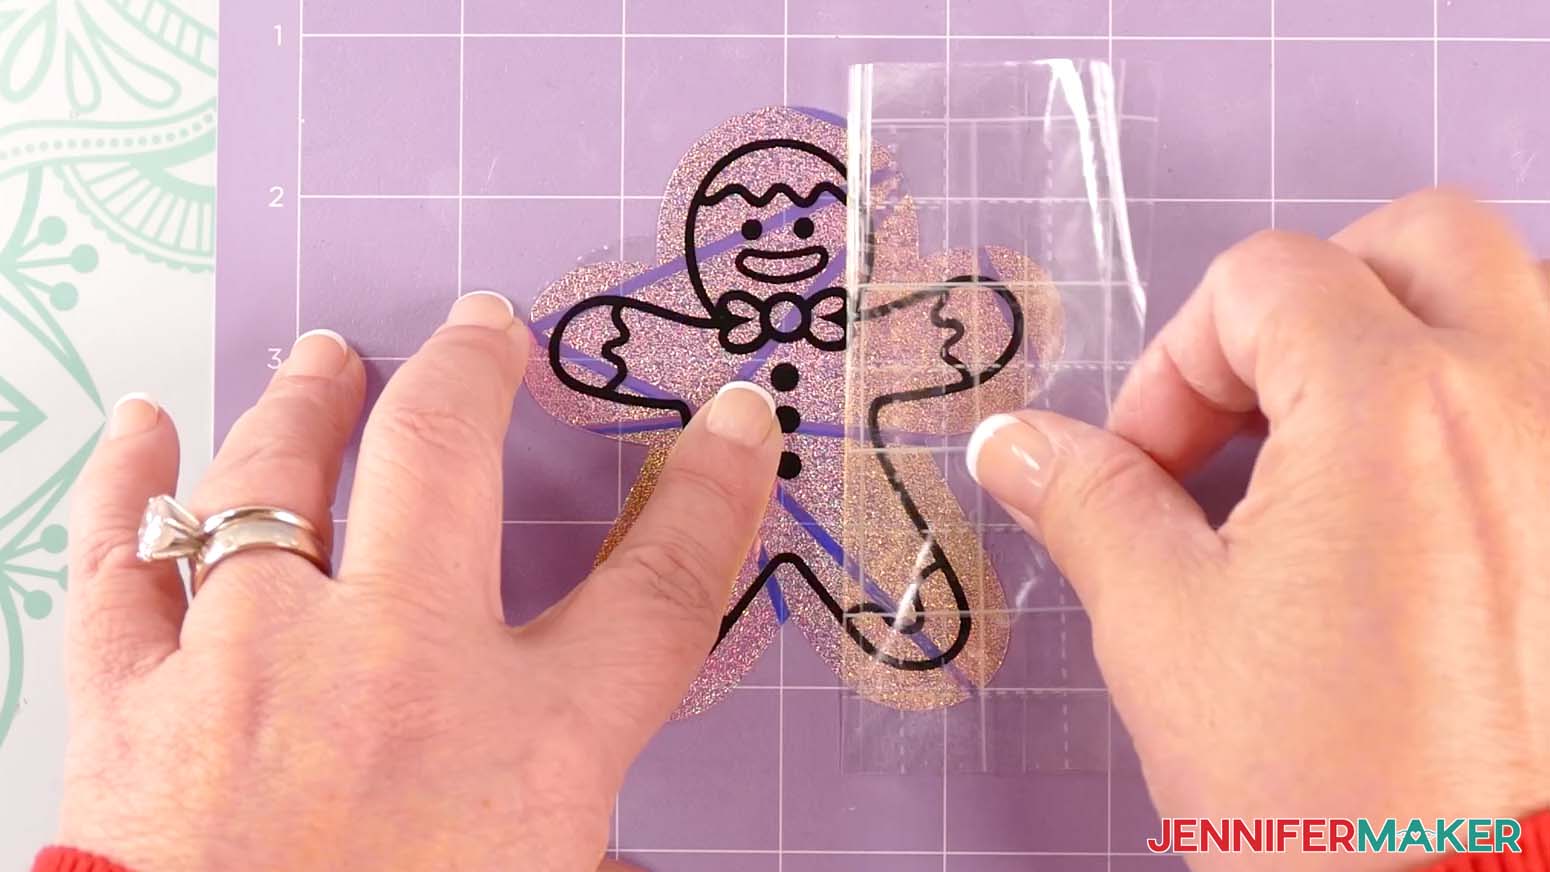
- Once the vinyl is well-burnished, hold the cling down and gently remove the transfer tape, leaving the vinyl on the window cling.
STEP 4: SHOW IT OFF
You now have a cute gingerbread man winter window cling to show off!
When you’re ready to decorate your window, peel the backing off the cling material, then affix the cling in your desired location!
Notes
Finished Sizes: 4" x 4" to 4" x 6"
All fonts used are hand drawn.
Answers to Your Questions About How to Make Winter Window Clings
Q: I want to use different colors for my design. How do I design my own winter window cling layers with color?
A: You can learn how to design your own customized window cling layers with different colors in my ADVANCE program. Learn more about ADVANCE here!
Q: Can I cut these winter window clings SVG pieces on a Cricut Joy Xtra or original Cricut Joy?
A: The winter window clings SVG pieces in my free download file can be cut by any Cricut machine without resizing except the Joy. I don’t recommend resizing for the Joy as some of the pieces are very small and might not cut well. If you need help resizing your design, please see our Resizing Guide.
Q: Do I have to use a Cricut to cut my winter window cling SVG pieces?
A: No! You can make these winter window clings from cling film or vinyl that works with your equipment, or even just with scissors. We always include several versions of each free file in the free download ZIP file. If you have a Silhouette Cameo, which uses Silhouette Studio, you can use the DXF file in Silhouette Basic Edition. If you have upgraded to Silhouette Designer Edition, Designer Edition Plus, or Business, you can use the SVG format with the Silhouette machines to cut each intricate design. If you don’t have a cutting machine, you can print and then cut out my digital download PDF files, too! The ZIP archive in my resource library includes these file types and more!
Q: Help! My Cricut Design Space screen looks different from yours!
A: If you’re using the latest version of Cricut Design Space, your screen may have slight variations than the screen you see on the video tutorial. Good news: All of the same functions are there, they may just be in different spots or have new icons. Pause the video if you need, or follow along with the written tutorial. If you get stuck, ask for expert support in our Facebook group. Our group has become not just a help center, but also a vibrant community of real people and crafters! Plus, you can catch the latest news on JenniferMaker tutorials and more.
Q: Where can I find the supplies and tools to make winter window clings?
A: My winter window clings SVG files can be made with simple supplies you may already have in your crafting stash. I like to shop on Amazon for their affordable prices and free shipping with my Amazon Prime membership (just make sure to look for sellers with 5-star reviews). You can also find most, if not all of the supplies and tools at your local craft store for a good price, too.
Q: Where is the best place to stick my window clings?
A: Anywhere that gets lots of sunlight makes a great place for your window clings! The more light that passes through the rainbow film layer, the more the colors will reflect onto the walls and floors of your home.
Q: Can I make and sell these winter window clings designs?
A: I love supporting creative entrepreneurs! If you want to use my designs and projects for commercial use, please familiarize yourself with my important licensing information before selling your crafts.
I do not permit sale of my digital items, but you can sell the creative goods you make with them — as long as you follow my licensing requirements. That means you cannot sell the winter window clings SVG files, but you can sell winter window clings that you made with the files on platforms like Etsy. Whether you use the Etsy app or the browser version, you’ll find a global marketplace filled with thousands of small businesses, and interested buyers can find thousands of made-to-order items. I love to see creative crafting businesses thrive with the help of my designs and inspiration!
Q: What fonts did you use in the project?
A: None, actually! The lettering in this project is all hand drawn.
Q: Can I use adhesive vinyl for outdoor permanent displays?
A: Yes, you can still use Cricut Premium Permanent Vinyl for outdoor projects with hard surfaces that need durable vinyl and the design never has to come off, like vinyl car window decals. It is made to withstand variables like temperature changes and bad weather that can negatively impact the durability of your vinyl films over time.
Q: Can I use the “Window Cling” setting to make my suncatcher designs?
A: The “Window Cling” setting is meant for Cricut Window Cling material, which is thinner than the privacy film I recommend for suncatchers. That setting won’t cut with enough pressure and may damage your material, so only use the settings from my tutorial.
Q: What can I use to make suncatcher window stickers?
A: The materials and tools you’ll need for your beautiful suncatcher window cling projects are listed above, with links where to find them.
Q: How do I attach a suncatcher to a window?
A: If you use window cling like I did in my tutorial, you don’t need anything special to secure a suncatcher to your window like a suction cup or glue. The film uses static to stick to the window’s inner surface, so clean the glass well to make it smooth, then place the layered design right on! Remember to smooth out any air bubbles, because even a little bit of air will interfere with static cling and will make the rainbow cling more likely to fall off.
Q: What is the difference between a window decal and a window cling?
A: Window decals use self-adhesive vinyl to stick to the glass, while a cling like these suncatchers uses static and surface tension. You may see non-adhesive items referred to as suncatcher decals, so it’s always good to check the application instructions just in case.
Q: Which side of the window should I put the suncatcher on?
A: Place the suncatcher on the inside surface of the window so you can enjoy the design and the rainbows in casts indoors. If you put it on the outside, the sun’s rays won’t create the same effect. It will also be subject to harsh weather conditions.
Get my free SVG/DXF/PDF files to make winter window clings!
(If you do not see the signup form above, click here.)
I love seeing what you make with my designs and how you use them! Please share a photo of your winter window clings in our Facebook group or tag me on social media with #jennifermaker.
Love,

Want to remember this? Save this Best Permanent Vinyl Test to your favorite Pinterest Board!